Leaderboard


Popular Content
Showing content with the highest reputation on 01/05/21 in all areas
-
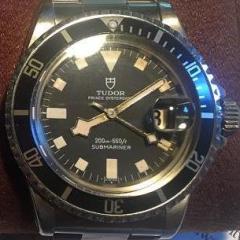
Well guys here is an Original Godfather watch. Wow gotta luv that. VID_20210105_111442.mp44 points
-
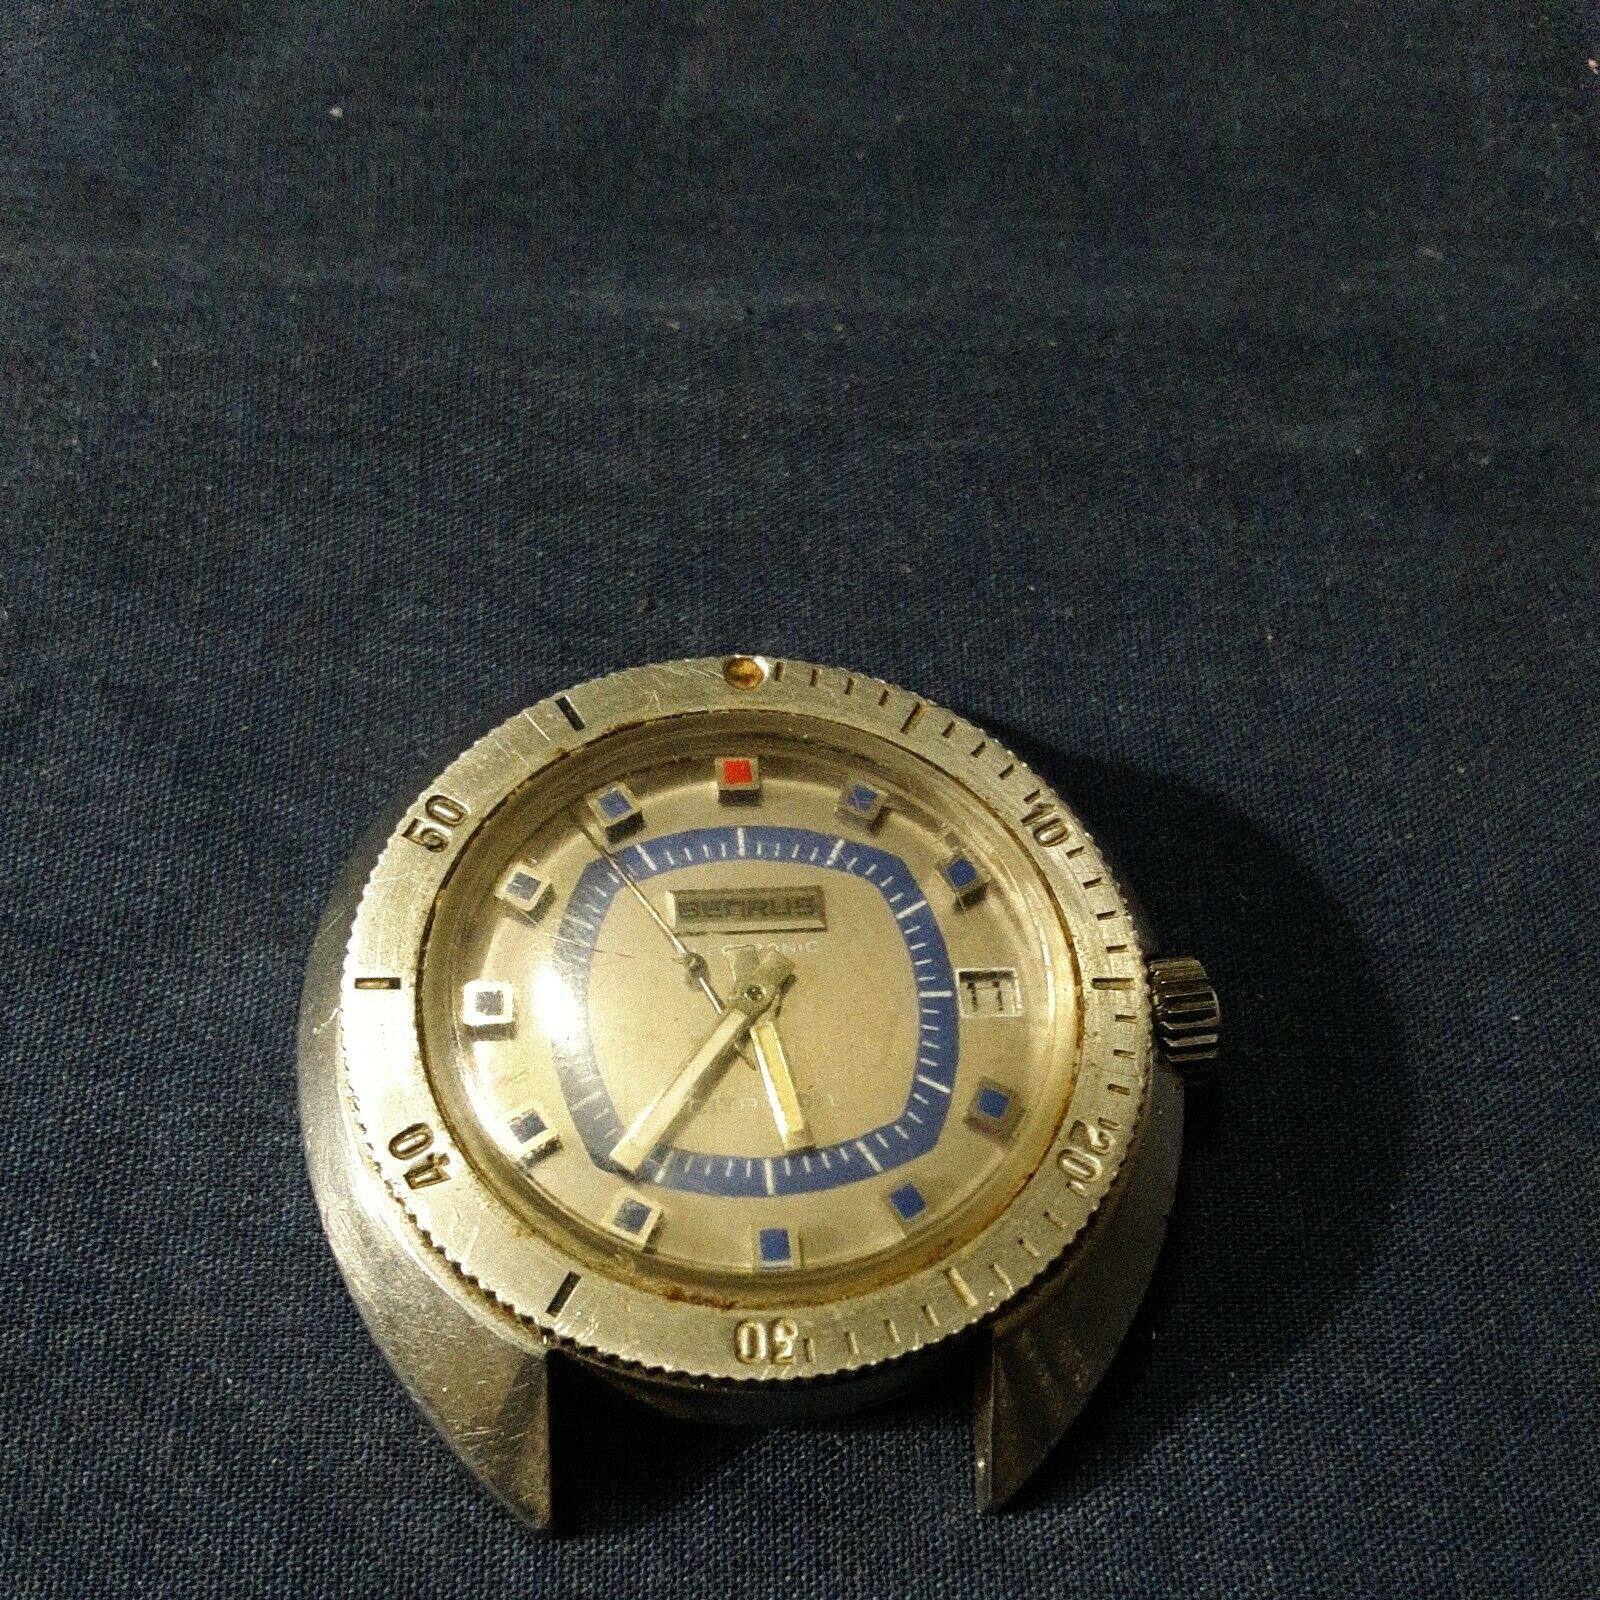
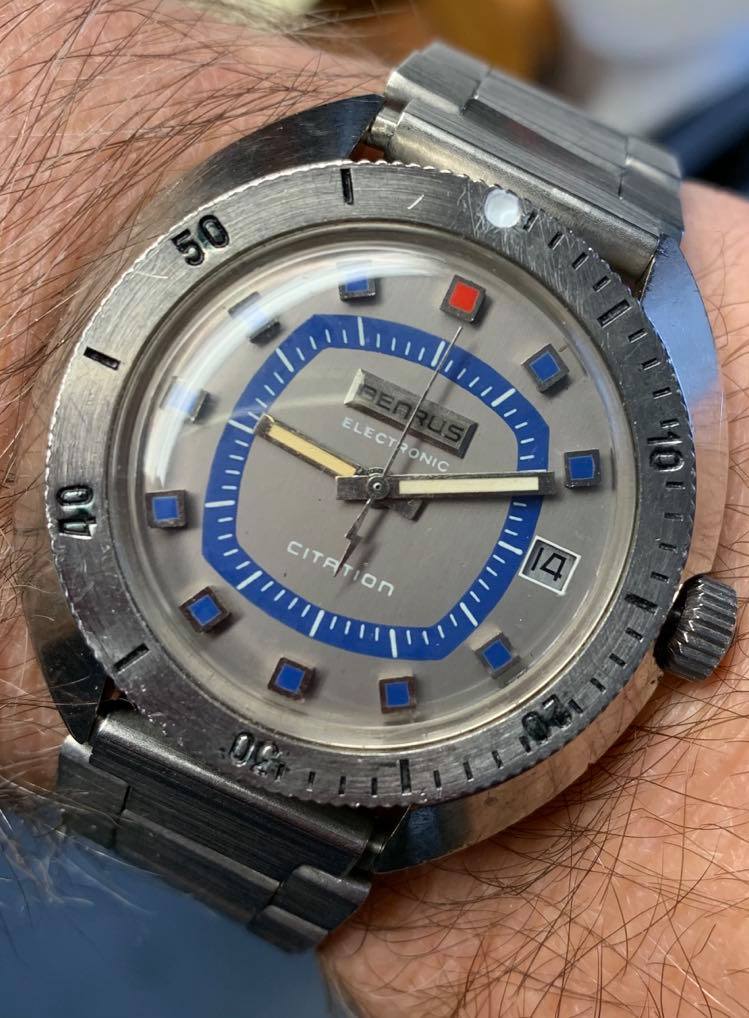
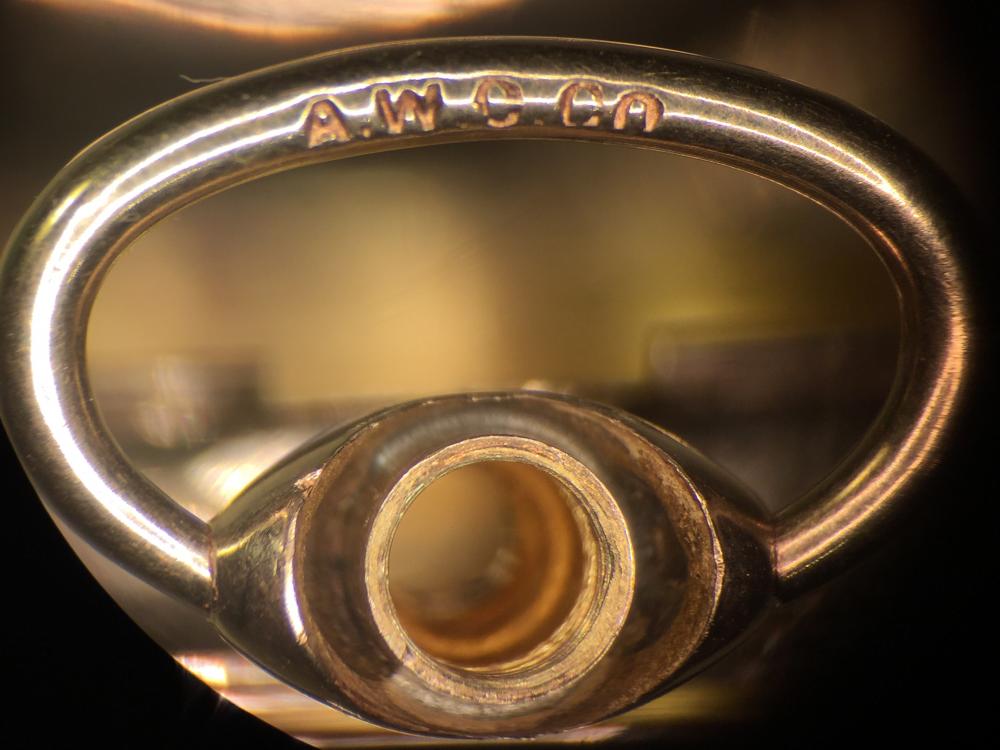
Recent repair to Vintage Benrus Electronic Citation . It was listed as not working and the seconds hand haven fallen off. Wen it came in I found it to be quite a nice value with its all stainless steel front loading case. I good soaking to the case, buff to the crystal, touch up to the ring and quick clean to the movement and here it is. All happy again. I used nail polish to fill in the ring ?

 2 points
 -
2 points
-
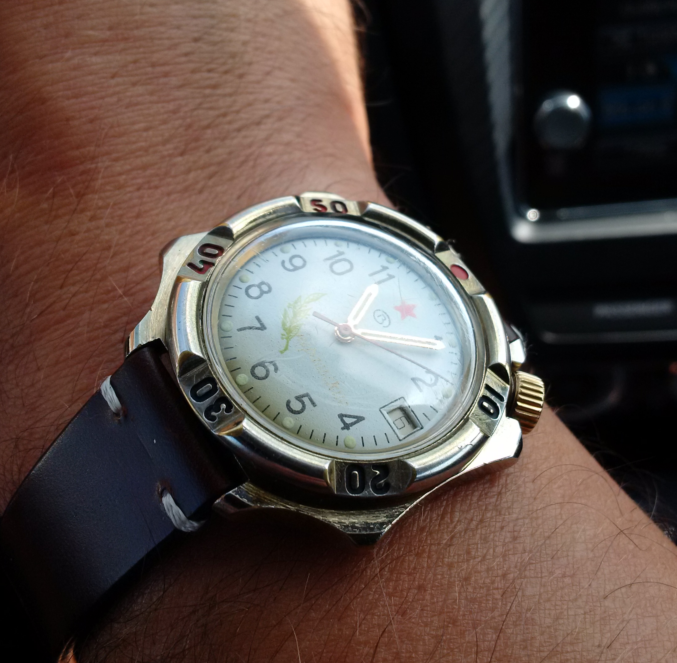
Just found the video I linked to in my first post. If you're curious about the Vostok Amphibia you won't be able to see this video without wanting one. I guarantee it! ?2 points
-
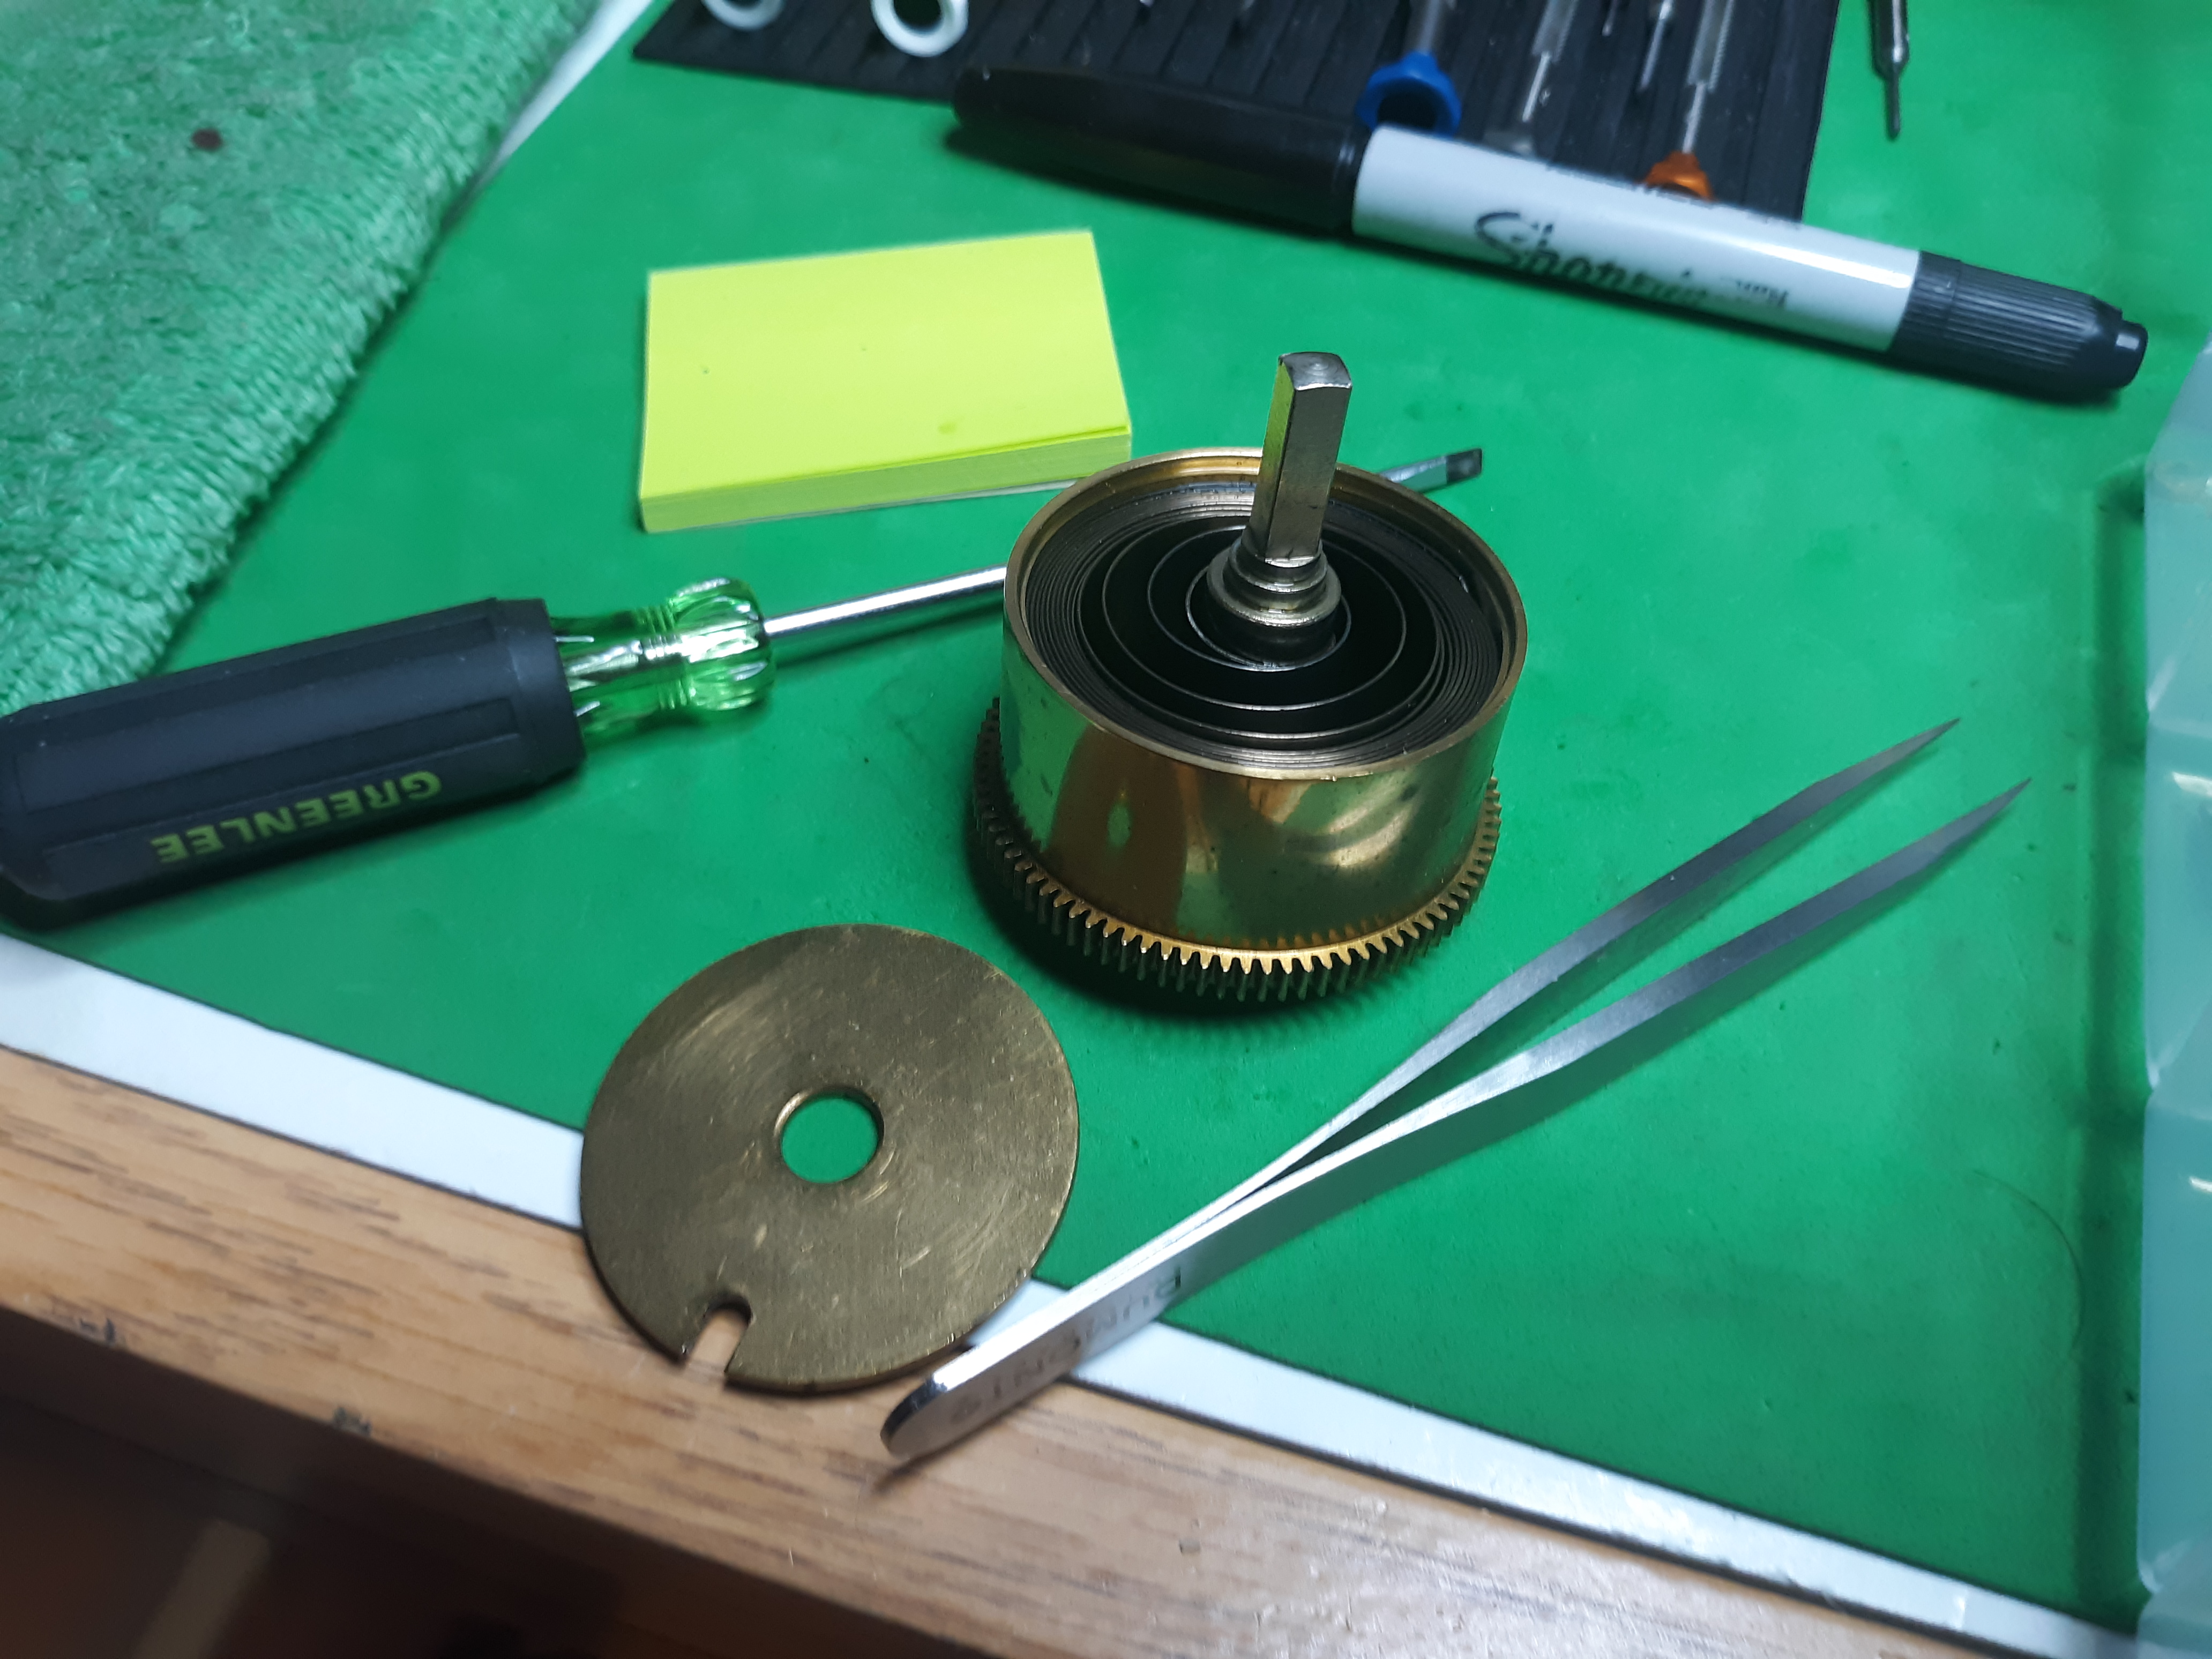
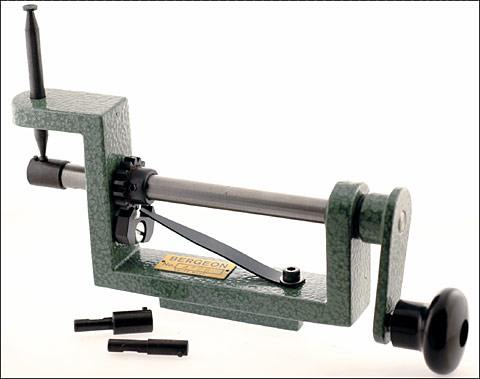
This is similar to the mainspring winder I have, nothing fancy it gets the job done and will take the largest fusee mainsprings.
 2 points
 -
Hi Mike these springs are prety strong and hand removal is a non starter. Have a look on the net fro Joe Collins mainspring winder. He designed these for the 400 day clocks and have been modified for all clocks except the fusee as they are real heavy. Attached are picks of the DIY solution. I have build two and Member "Moose" has also build one and they work very well for a DIY product, as you see the ratchet is a reversible spanner with click so pretty strong.
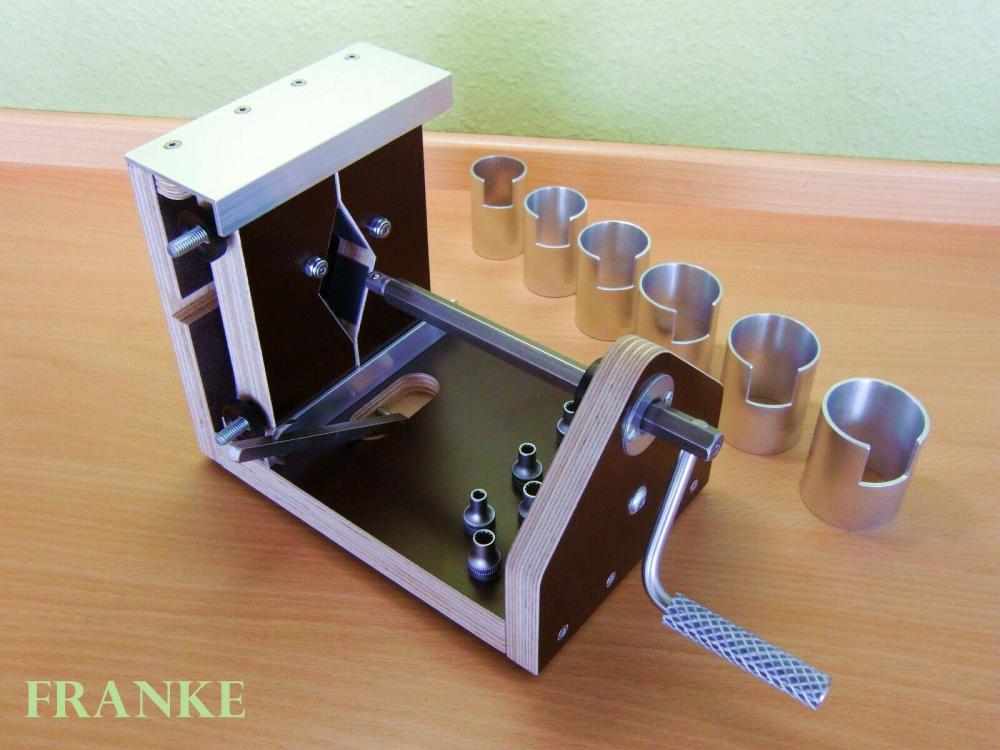
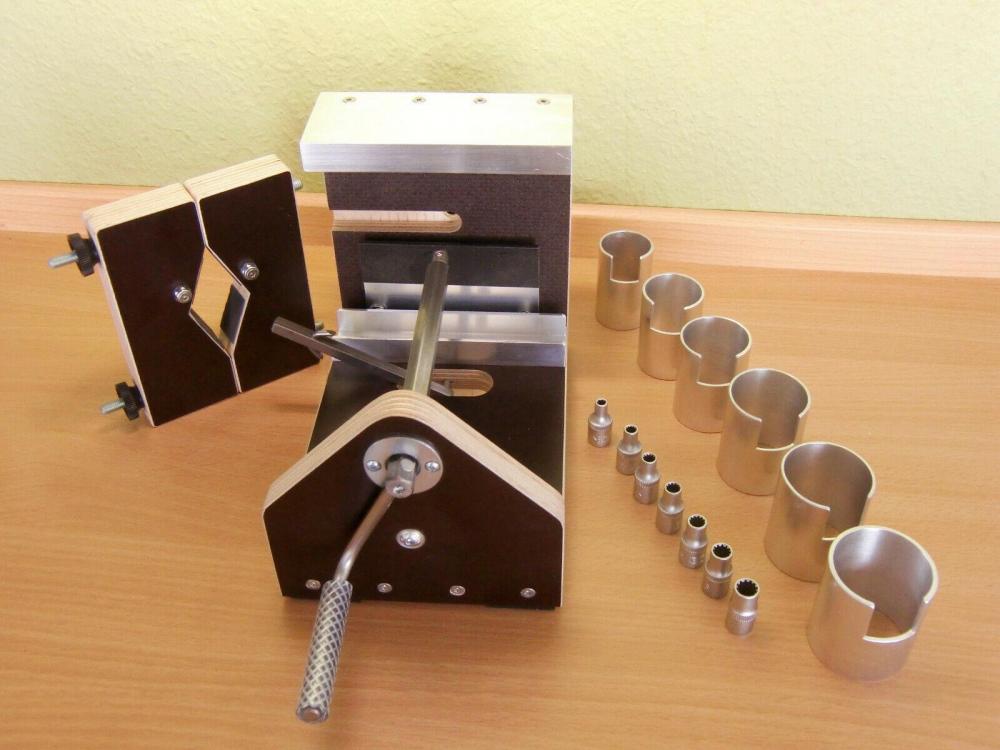
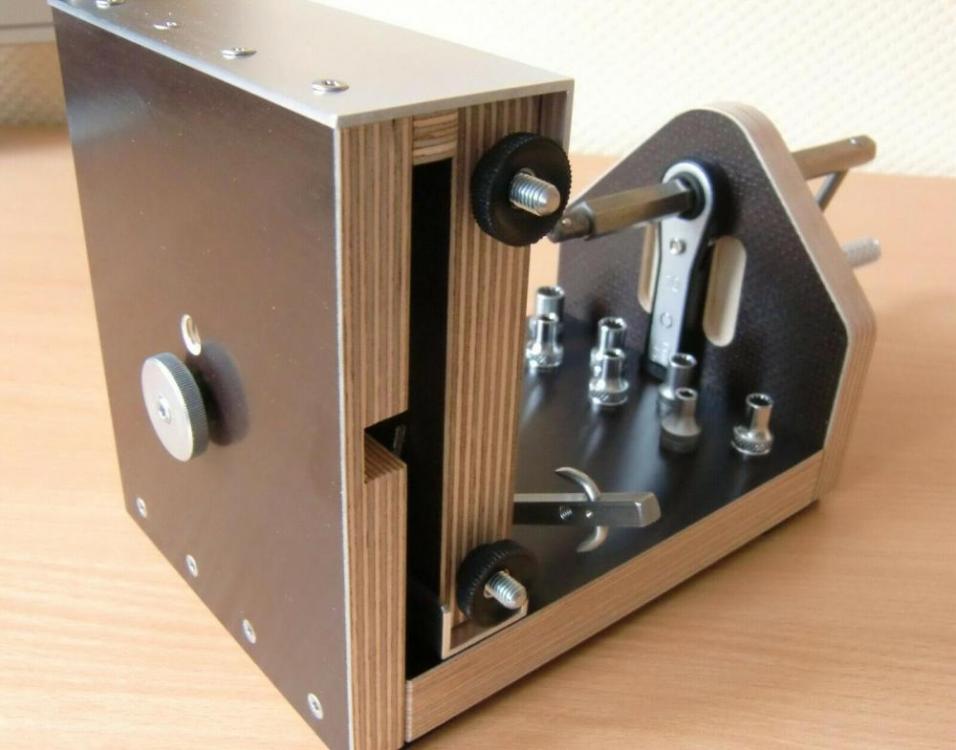 2 points
 -
My advice is don't remove it without a mainspring winder, if you do you will distort the spring which will then cause the clock to be a bad time keeper.2 points
-
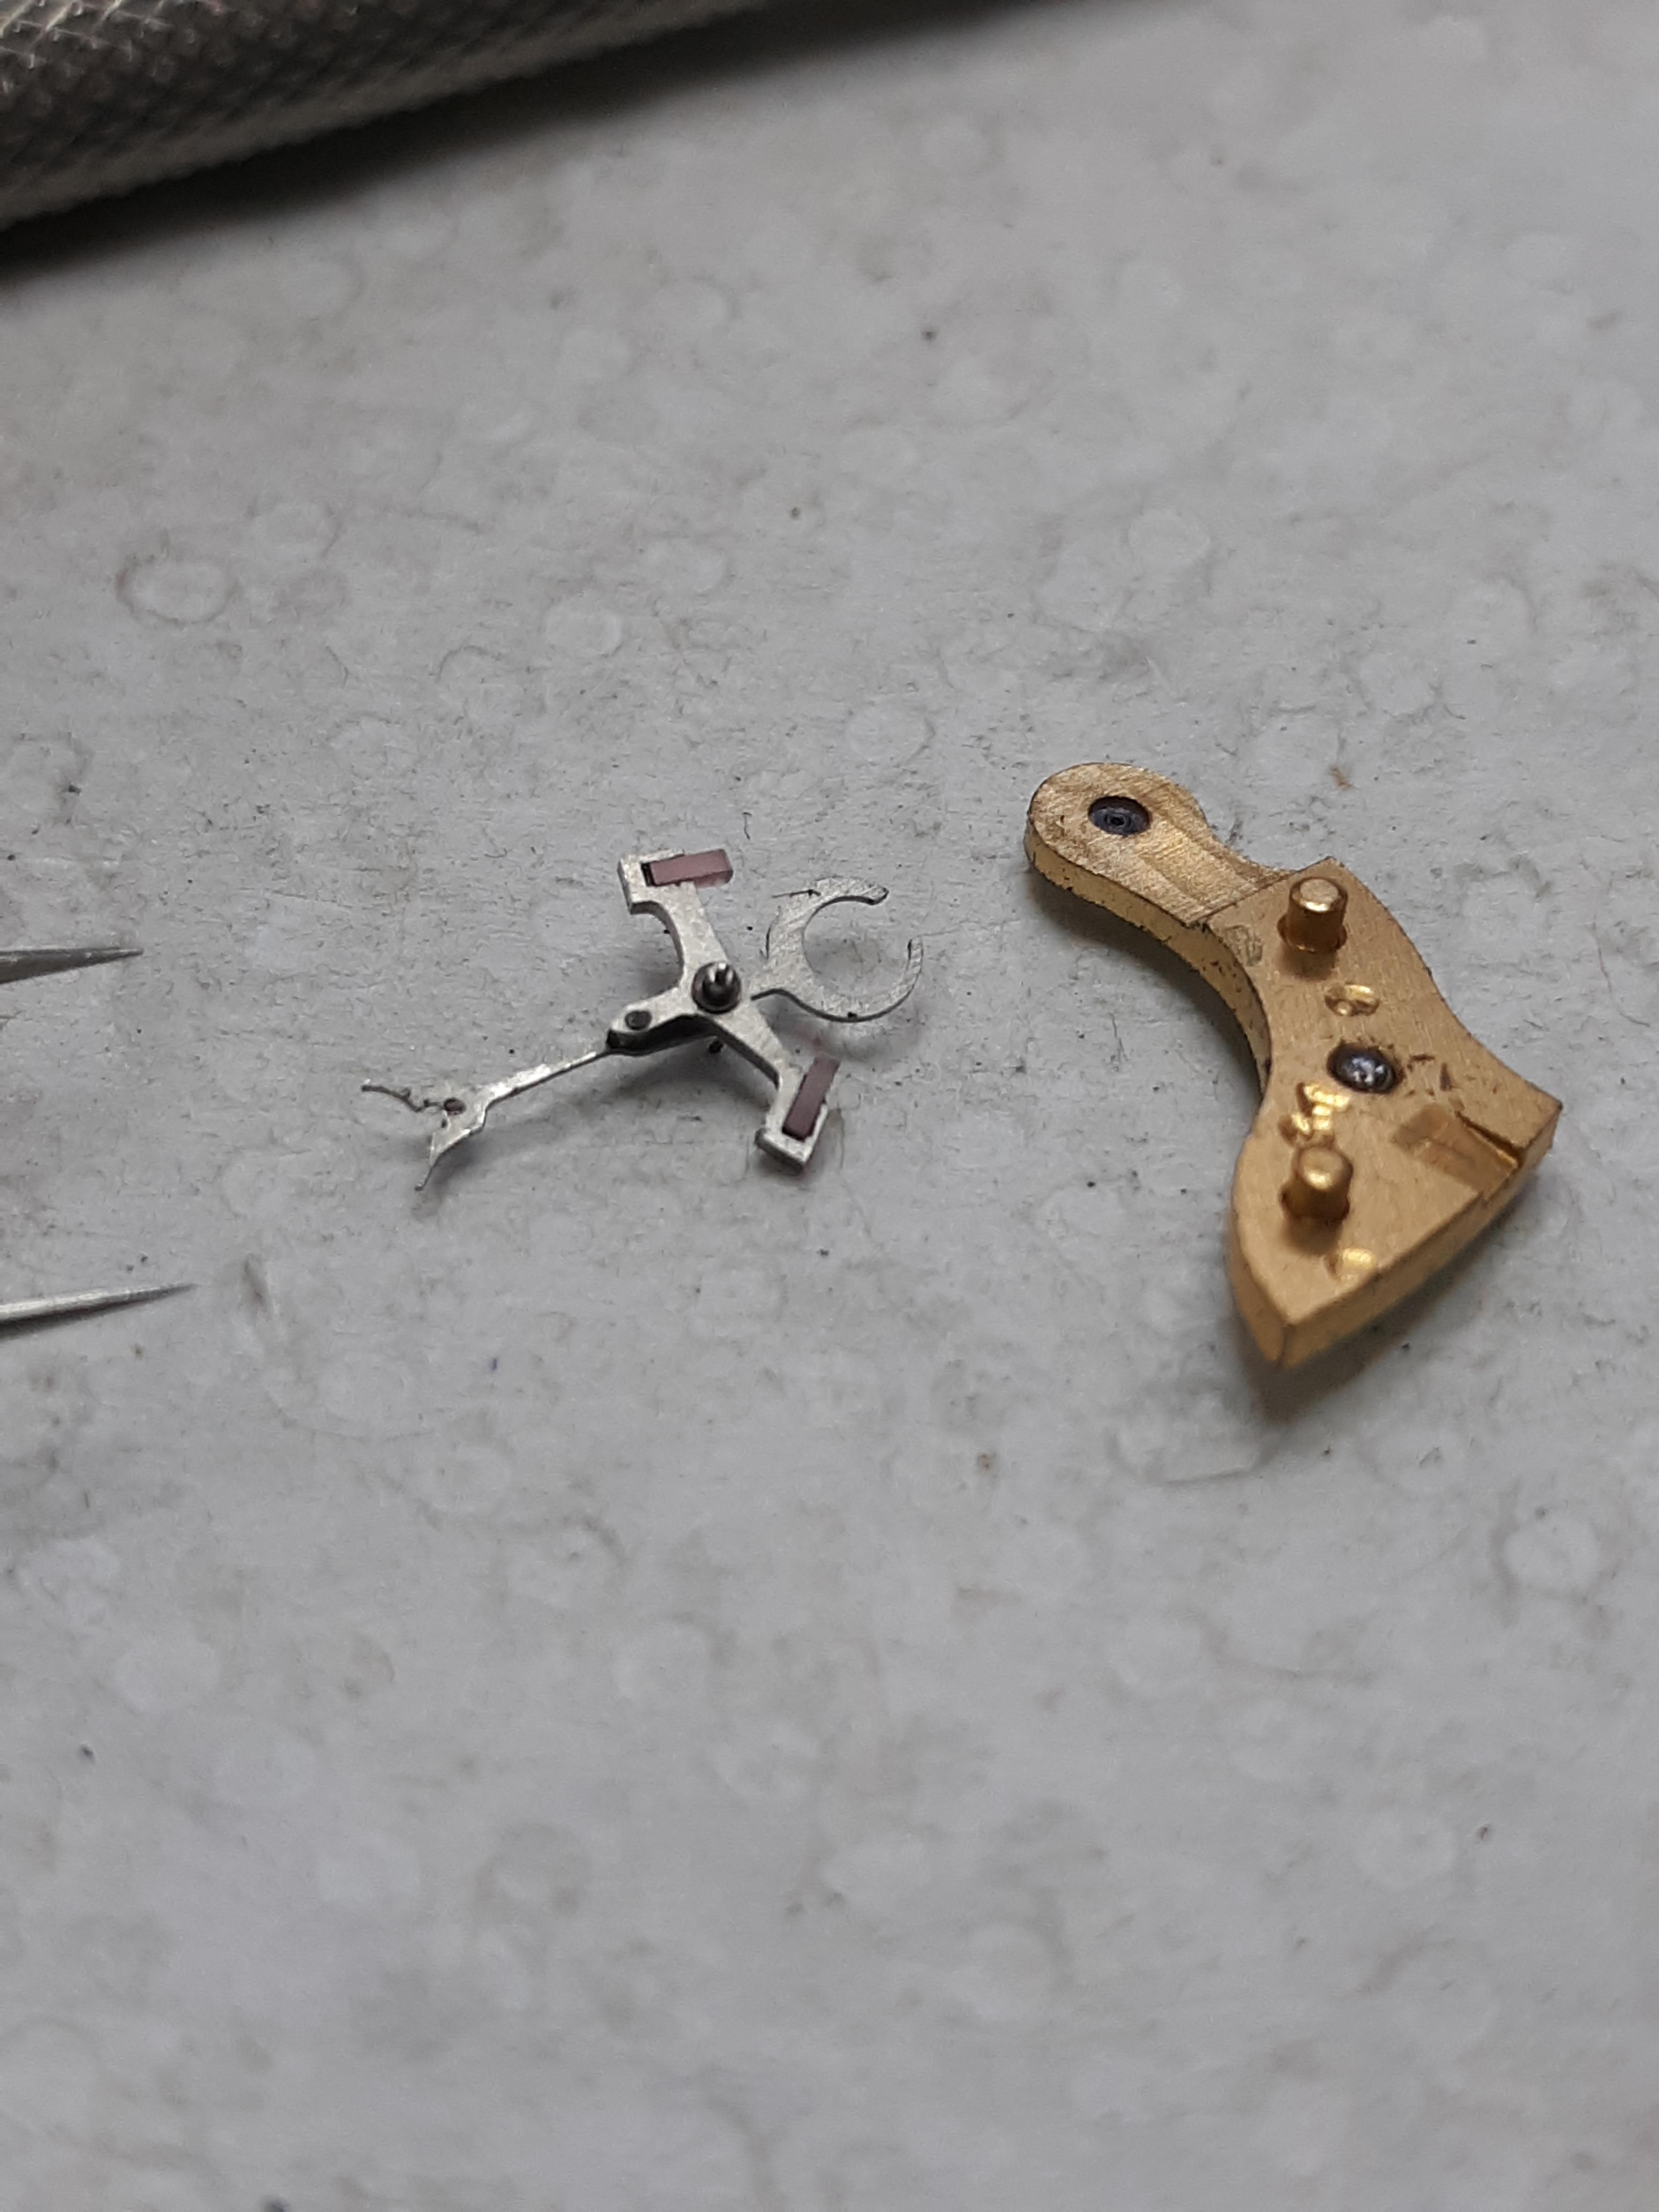
I think I'm starting the New Year's off with eyesight issues or confusion issues? The hairspring looks perfect to me and I don't see where it's sticking. I snipped out something what I am seeing is in over coil which wraps around and then comes down giving the impression that it's sticking where I don't think it actually is. It's the angle of the photography that's the problem. It would really be nice to get a picture of that as numbers are pointless without seeing the graphical display. Also you're missing the amplitude which is really important when were looking at the beat error. Then continuing with my eyesight issues the regulator arm is off the bridge. It looks like somebody has regulated just about as fast as it can go. It's hard to tell with the image but if the arm goes that far off it might be catching on the edge of the bridge itself?
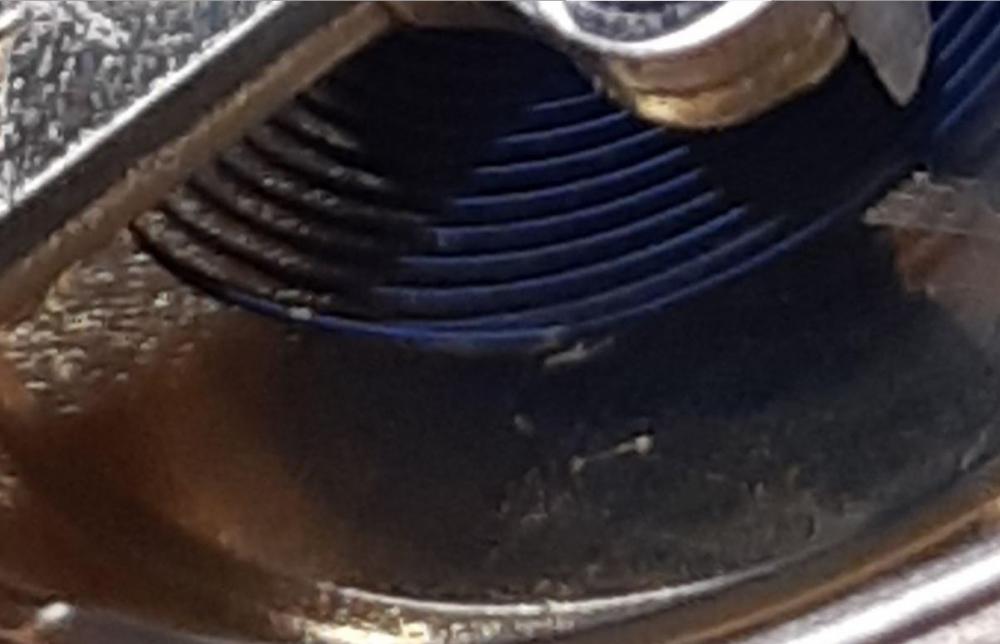 2 points
 -
Hi admins and others, I am wondering if we can have a designated section for service sheets and official documents, that are in the public domain. My vision of it is just as a repository for PDFs, not a message board. I think this might be a good addition to the website and would save us having to trawl through many posts when trying to find one. I am not sure of the feasibility of this, but I wanted to suggest it.1 point
-
Apparently that's what I'll get if I answer an email that I received. I probably should, as according to them, it is the 5rd time they have tried to contact me. Aren't I slack.1 point
-
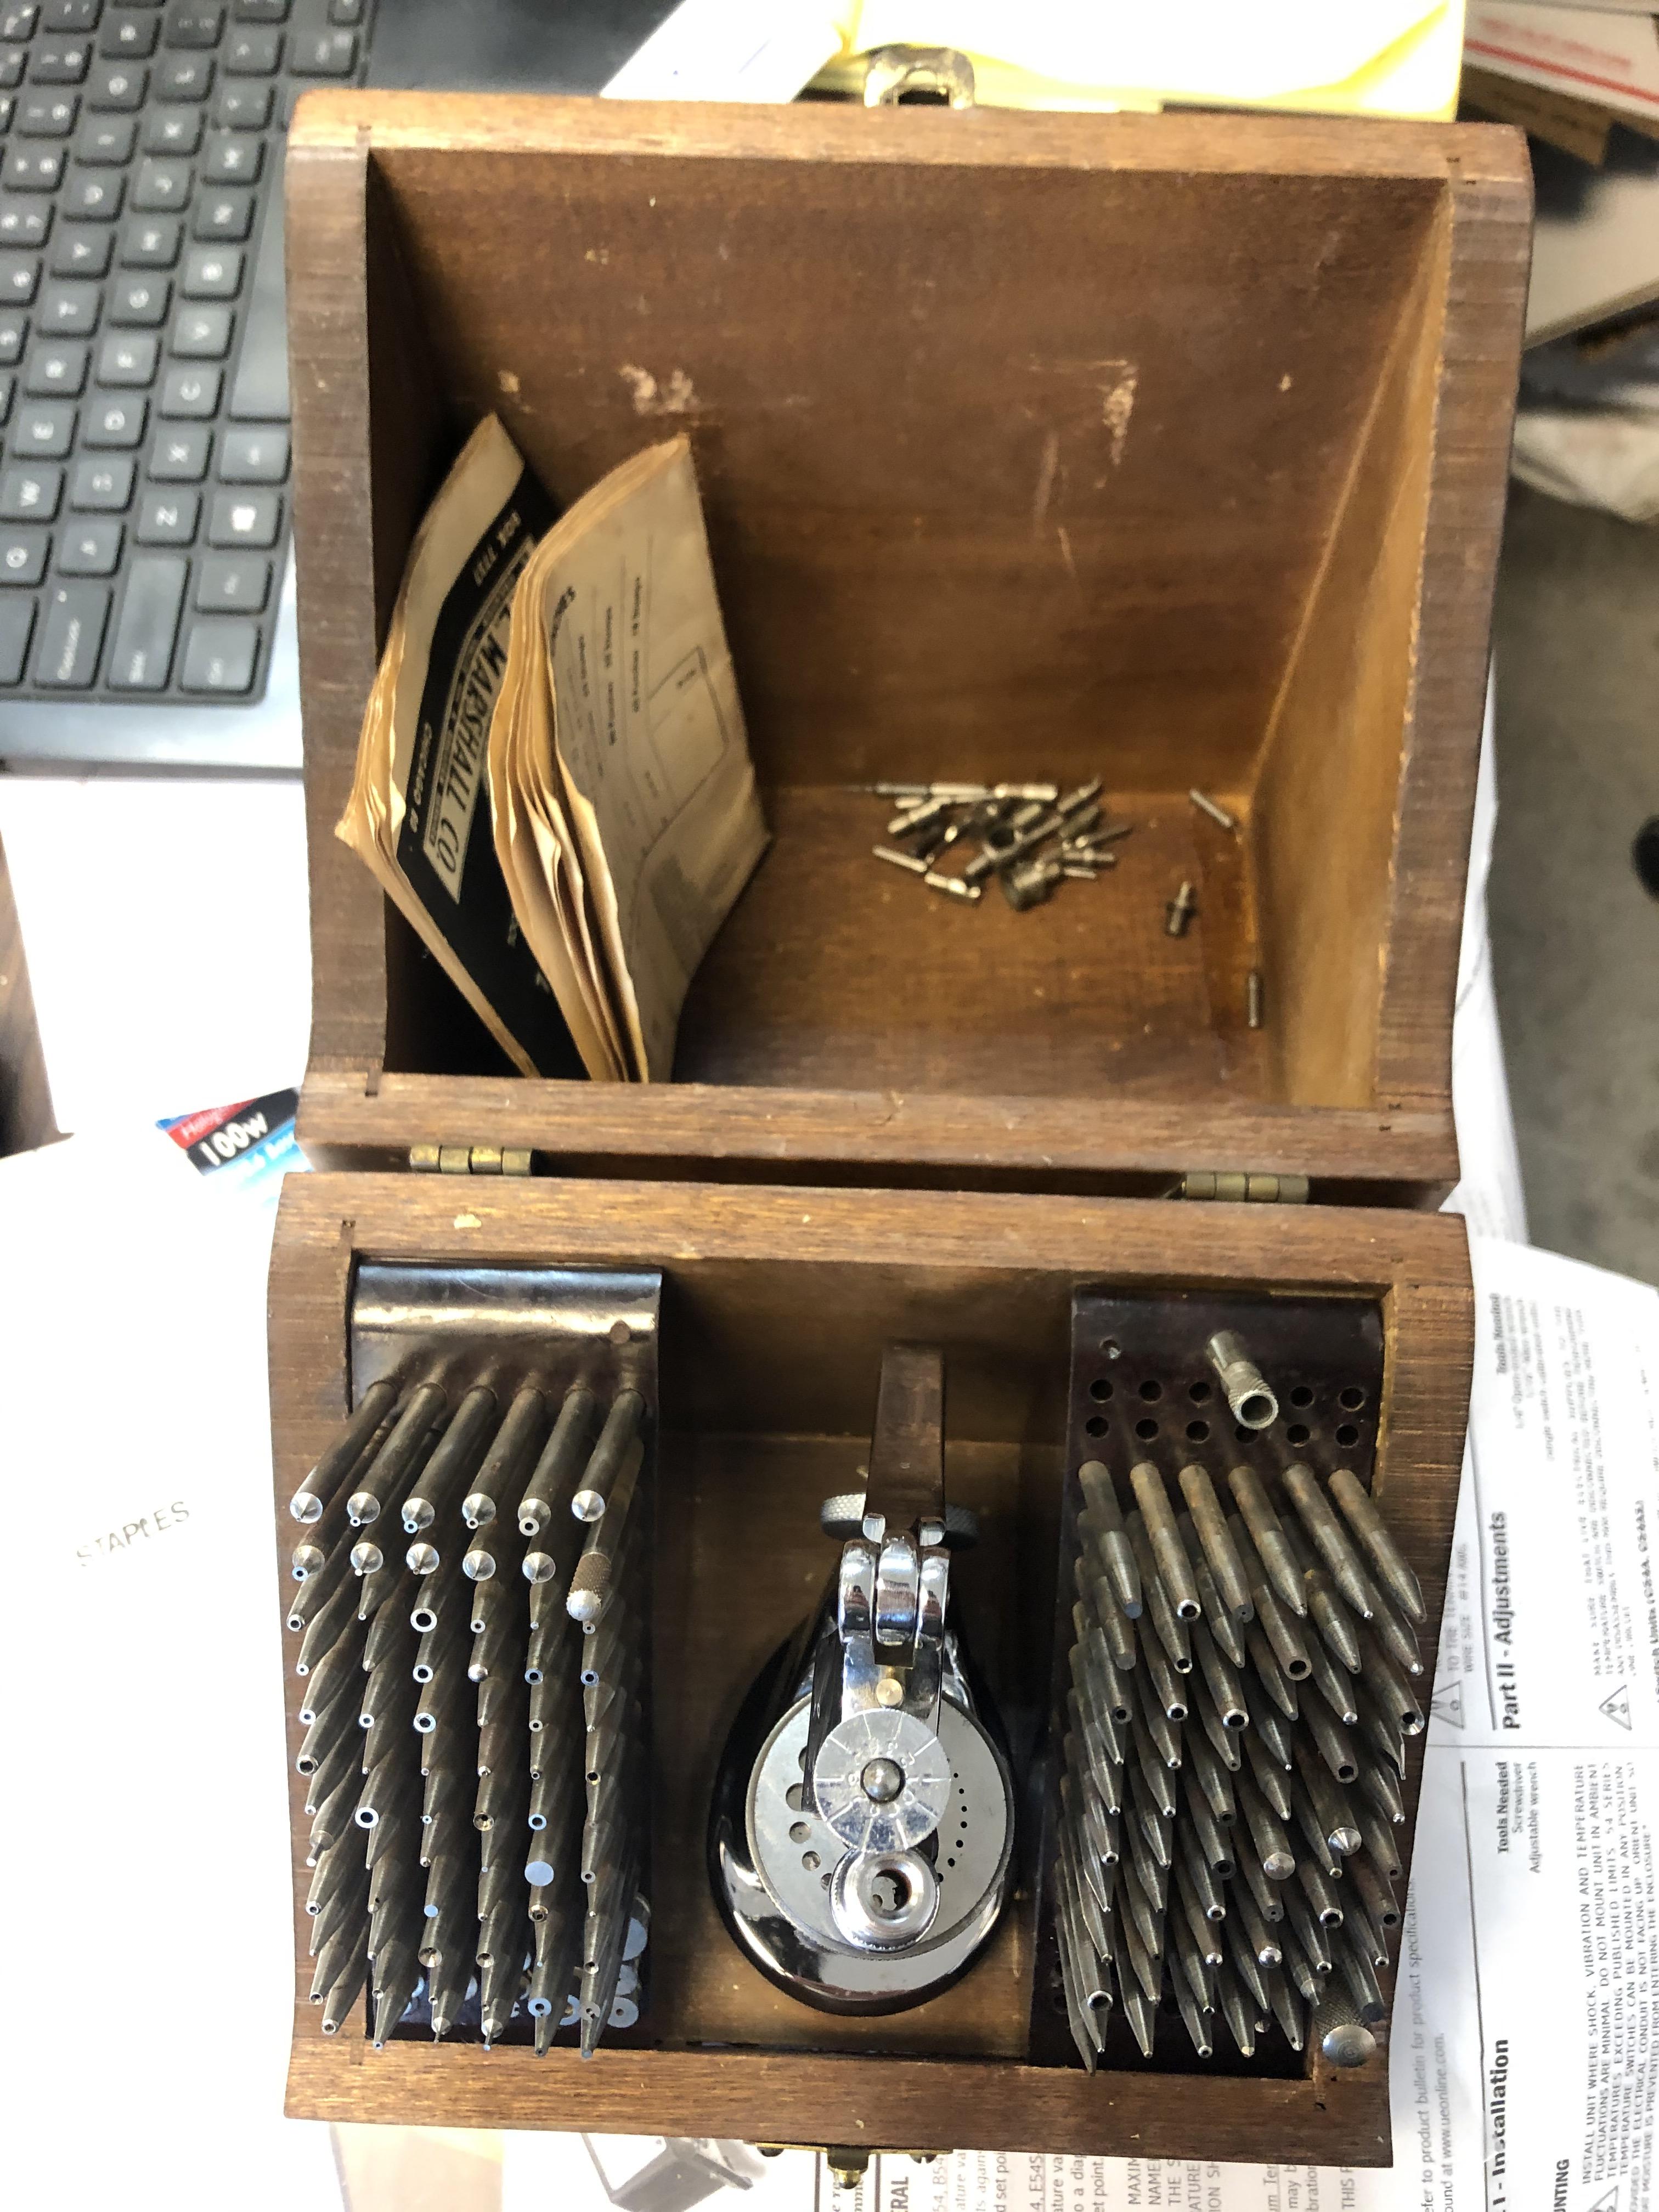
So, I firstly want to extend thanks to @oldhippy for taking a look at this before I parted ways with my hard earned bucks. I wanted to get ONE set, with which I could stake and set jewels with (and take to the grave). Otherwise, you end up spending double in the long run. Bear in mind I do know how this thing works; however, have no experience using it. Yet. My sights are set on some dead Chinese clone movements taking up space which will be my first victims (enter diabolical laugh here)! This thing is in outstanding condition. Seller double-boxed and bubblewrapped it nicely. Wooden storage box itself is quite lovely- solid, not veneered. Some lemon oil and polish and it should look like new. Photo is "as-unwrapped" condition. The tool itself is gorgeous. Really looks to be new. Light brasso (Honestly, probably not needed) and then hard wax and it'll look brand new(er). The table shows all the graining from when it was originally ground. A couple tiny specs of rust only. Literally as good as new. The table lock works perfectly. Stake guide is tight, and has light surface rust inside (found when I passed a very snug fitting stake through the bore). It has no perceptible wear. Definitely good. And this can run inverted stakes. The fully Monty. The bad: I need to snug the set screw for the jeweling attachment a bit. I think all the stakes and stumps are here. Minor damage to the Bakelite stake holders, but I have superglue and I'm not afraid to use it. Then I'll load a collet in the lathe and start polishing all the stakes n stuff. I have the original manual with it, so I'll be able to tell if I'm missing anything. Currently, only the skill set is missing. Who doesn't like getting a new tool!?!? I'm pretty happy at the moment, despite a global pandemic.
 1 point
 -
Hey, big thanks. Cutting a balance staff on Friday and putting it on YouTube. The closeups should be great with my new setup.1 point
-
Before we do anything at all what does the watch do it self? In other words if you set the watch the time 24 hours later is it still running and how does it compare to what the timing machine is suggesting? Usually low amplitude usually lower than what were seeing on the machine and high beat error by an indication of an amplitude problem not a beat problem. I'm not saying you don't have a beat problem but I'm just suspicious of what the machine is showing. Yes you can put the regulator wherever you want if you disassemble it. But if the watch needs to be serviced oiling the balance jewel or in this case both jewels because you have access is just a quick fix it's not a replacement for proper lubrication and cleaning. Thank you for better pictures because we have a problem or possibly several. I did a minor enhancements and we can see things better and then snipping out something peculiar? In a watch that has an over coil type hairspring the regulator pins are supposed to be as tight as possible allowing the hairspring to slide. A normal flat hairspring the hairspring pins be a little more farther apart. But yours has been opened considerably at least it looks open which might be an attempt to slow the watch down. Then in the zoomed in picture notice it looks like a kink right at the regulator pins where they should not be? But even more troubling is the straight edge that I'm seeing that shouldn't be there at all? We need a slightly different images to see this better but I'm wondering if somebody broke the hairspring and patched it or some other horrible things happened here?
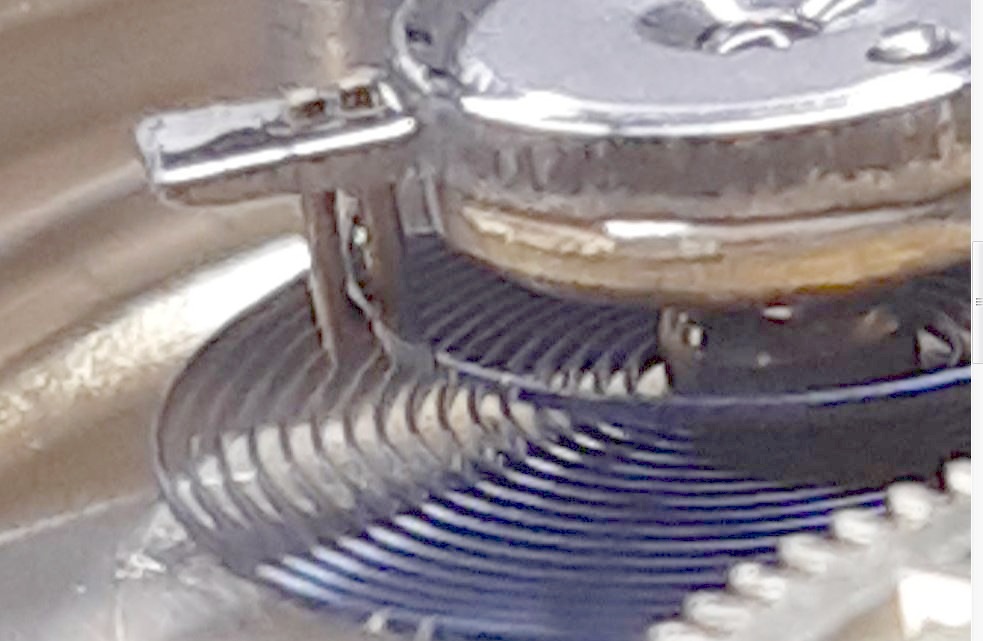
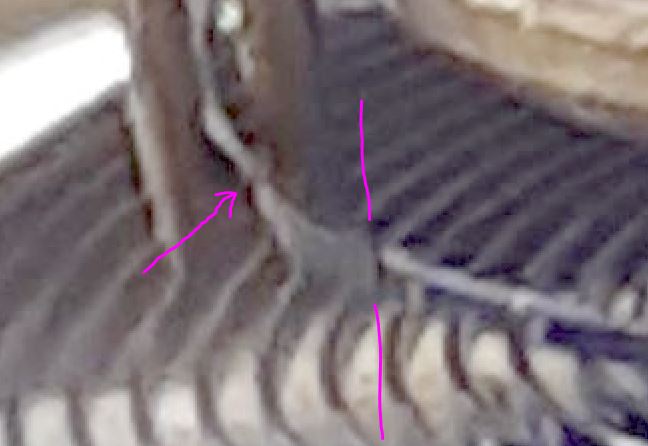 1 point
 -
Hi Mike The thing is they work allowing safe removal and re fitting of clock springs. Ok its not a Bergeon or an Olli Baker but it does the same job. The Olli Baker requires you to hold the barrel in a gloved hand these versions do not the barrel is clamped so no danger. I think "Moose" build his in a week. I did a Haller 400 day some years ago. It has been on the shelf since then but the other day my wife put it on the window sill for show so Leveled it up and away it went. I like these clocks ,nice to watch the pendulum1 point
-
1 point
-
English is bery bery tof. specially counting van, to , teeree, for ...?1 point
-
Can we get a pic with the balance at rest? Perhaps someone got very motivated poising it in the past and removed a lot of weight from screws. Or, it could be missing a screw... though that usually would give a much greater gain, like hundreds of seconds. However- the regulator pins have been spread quite wide, and it is set way past a normal position in trying to slow it down, so if the pins were closed as they should be and the regulator was in the middle AND it had decent amplitude*, you might actually have a few hundred seconds gain. *quite often, but not always, these old pocket movements will have a significantly smaller lift angle than modern wrist watches, like as low as 38, often 40-42, even the ubiquitous Unitas 6497 has 44. You may have less amplitude than you think.1 point
-
Hoo teached you how to spoke Inglesh? Ah?1 point
-
Even I know the correct way to say this in English, it 5nd time not 5rd.1 point
-
You would be surprised by the gullability of the human race two world wars are testimony to that.1 point
-
There will always be that possibility as you don't know how long it has stood in that condition. They are strong springs and will probably be ok and relax when out of the barrel.1 point
-
Looking at the spring it does not look in a bad condition normally I would recommend always remove the spring BUT that is a strong so leave it in situ. I have a Ollie Baker spring winder and even that sometimes struggles with the big springs.1 point
-
There needs to be more detail in the question because there are other factors which need to be considered such as the amount of torque transferring the movement part, and also the fact that plating can in some cases offer lubricity and in some cases offer resistance to wear.1 point
-
Hi again all- Hard at it on this one. With no mainspring tool, anyone know how to remove this behemoth without losing an eye or a finger? Kundo Anniversary clock circa 1950.
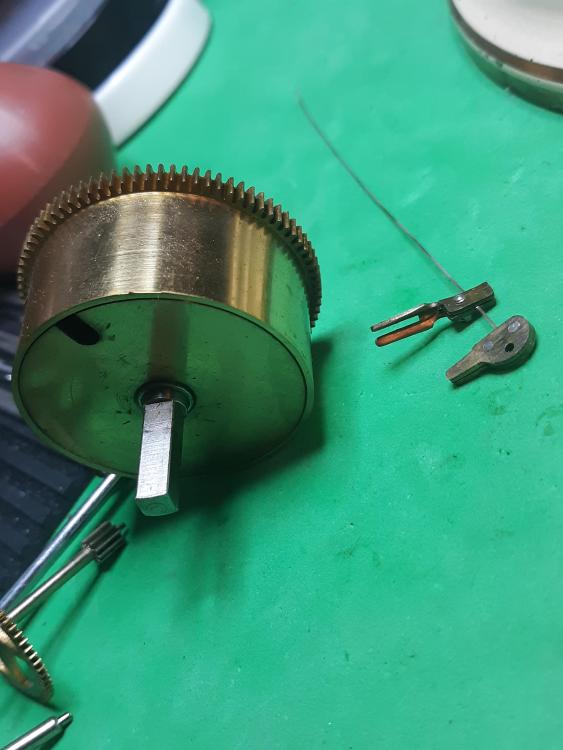
 1 point
 -
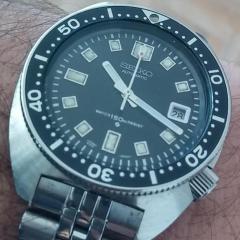
I think what you see in that google picture is a movement holder for working on the movement. A caliber specific movement holder and very nice. It is easy to find Seiko part numbers in the Jules Borel database. http://cgi.julesborel.com/ type in CS#6349-xxxx replace the x's with the number on you case back. The problem is, the Mumbai specials don't always have the correct case back. The crafty devils at Seiko code their part numbers so you can derive the size and shape of the gasket from the number. Many of the dress watches use a flat gasket. Now that I think about it, you may only have to take off the winding framework and ratchet wheel to see it it is a real 6349. The barrel bridge will have a jewel in it if it is a 6349. Sadly it is the main plate that wears worst at the barrel arbor. Something is better than nothing I guess. The 6309 and 6319 use a bushing on this bridge. I would follow the tech guide and remove parts in the order given to get to this point. These parts are step 25-26 and step 38-39 of 49 steps total. May as well strip it down completely. I have done just the steps 25-26 and 38-39 to get a peak at the jewel or lack of. Nothing else is in the way. There is a nice tech guide, in color, on the internet. It is much clearer than the grainy scan most commonly available. Search for "Seiko Technical Guide hires and colors". It may be here but I have it saved on my computer so I never looked.1 point
-
At last, something unique to put on my CV. ?1 point
-
My feeling is that if you can master the disassembly, cleaning, assembly, testing, timing, and fault finding, then you can worry about the plates! If you are like me, that might take a little while.1 point
-
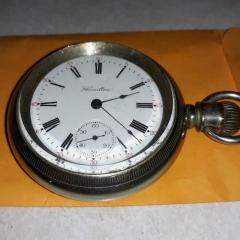
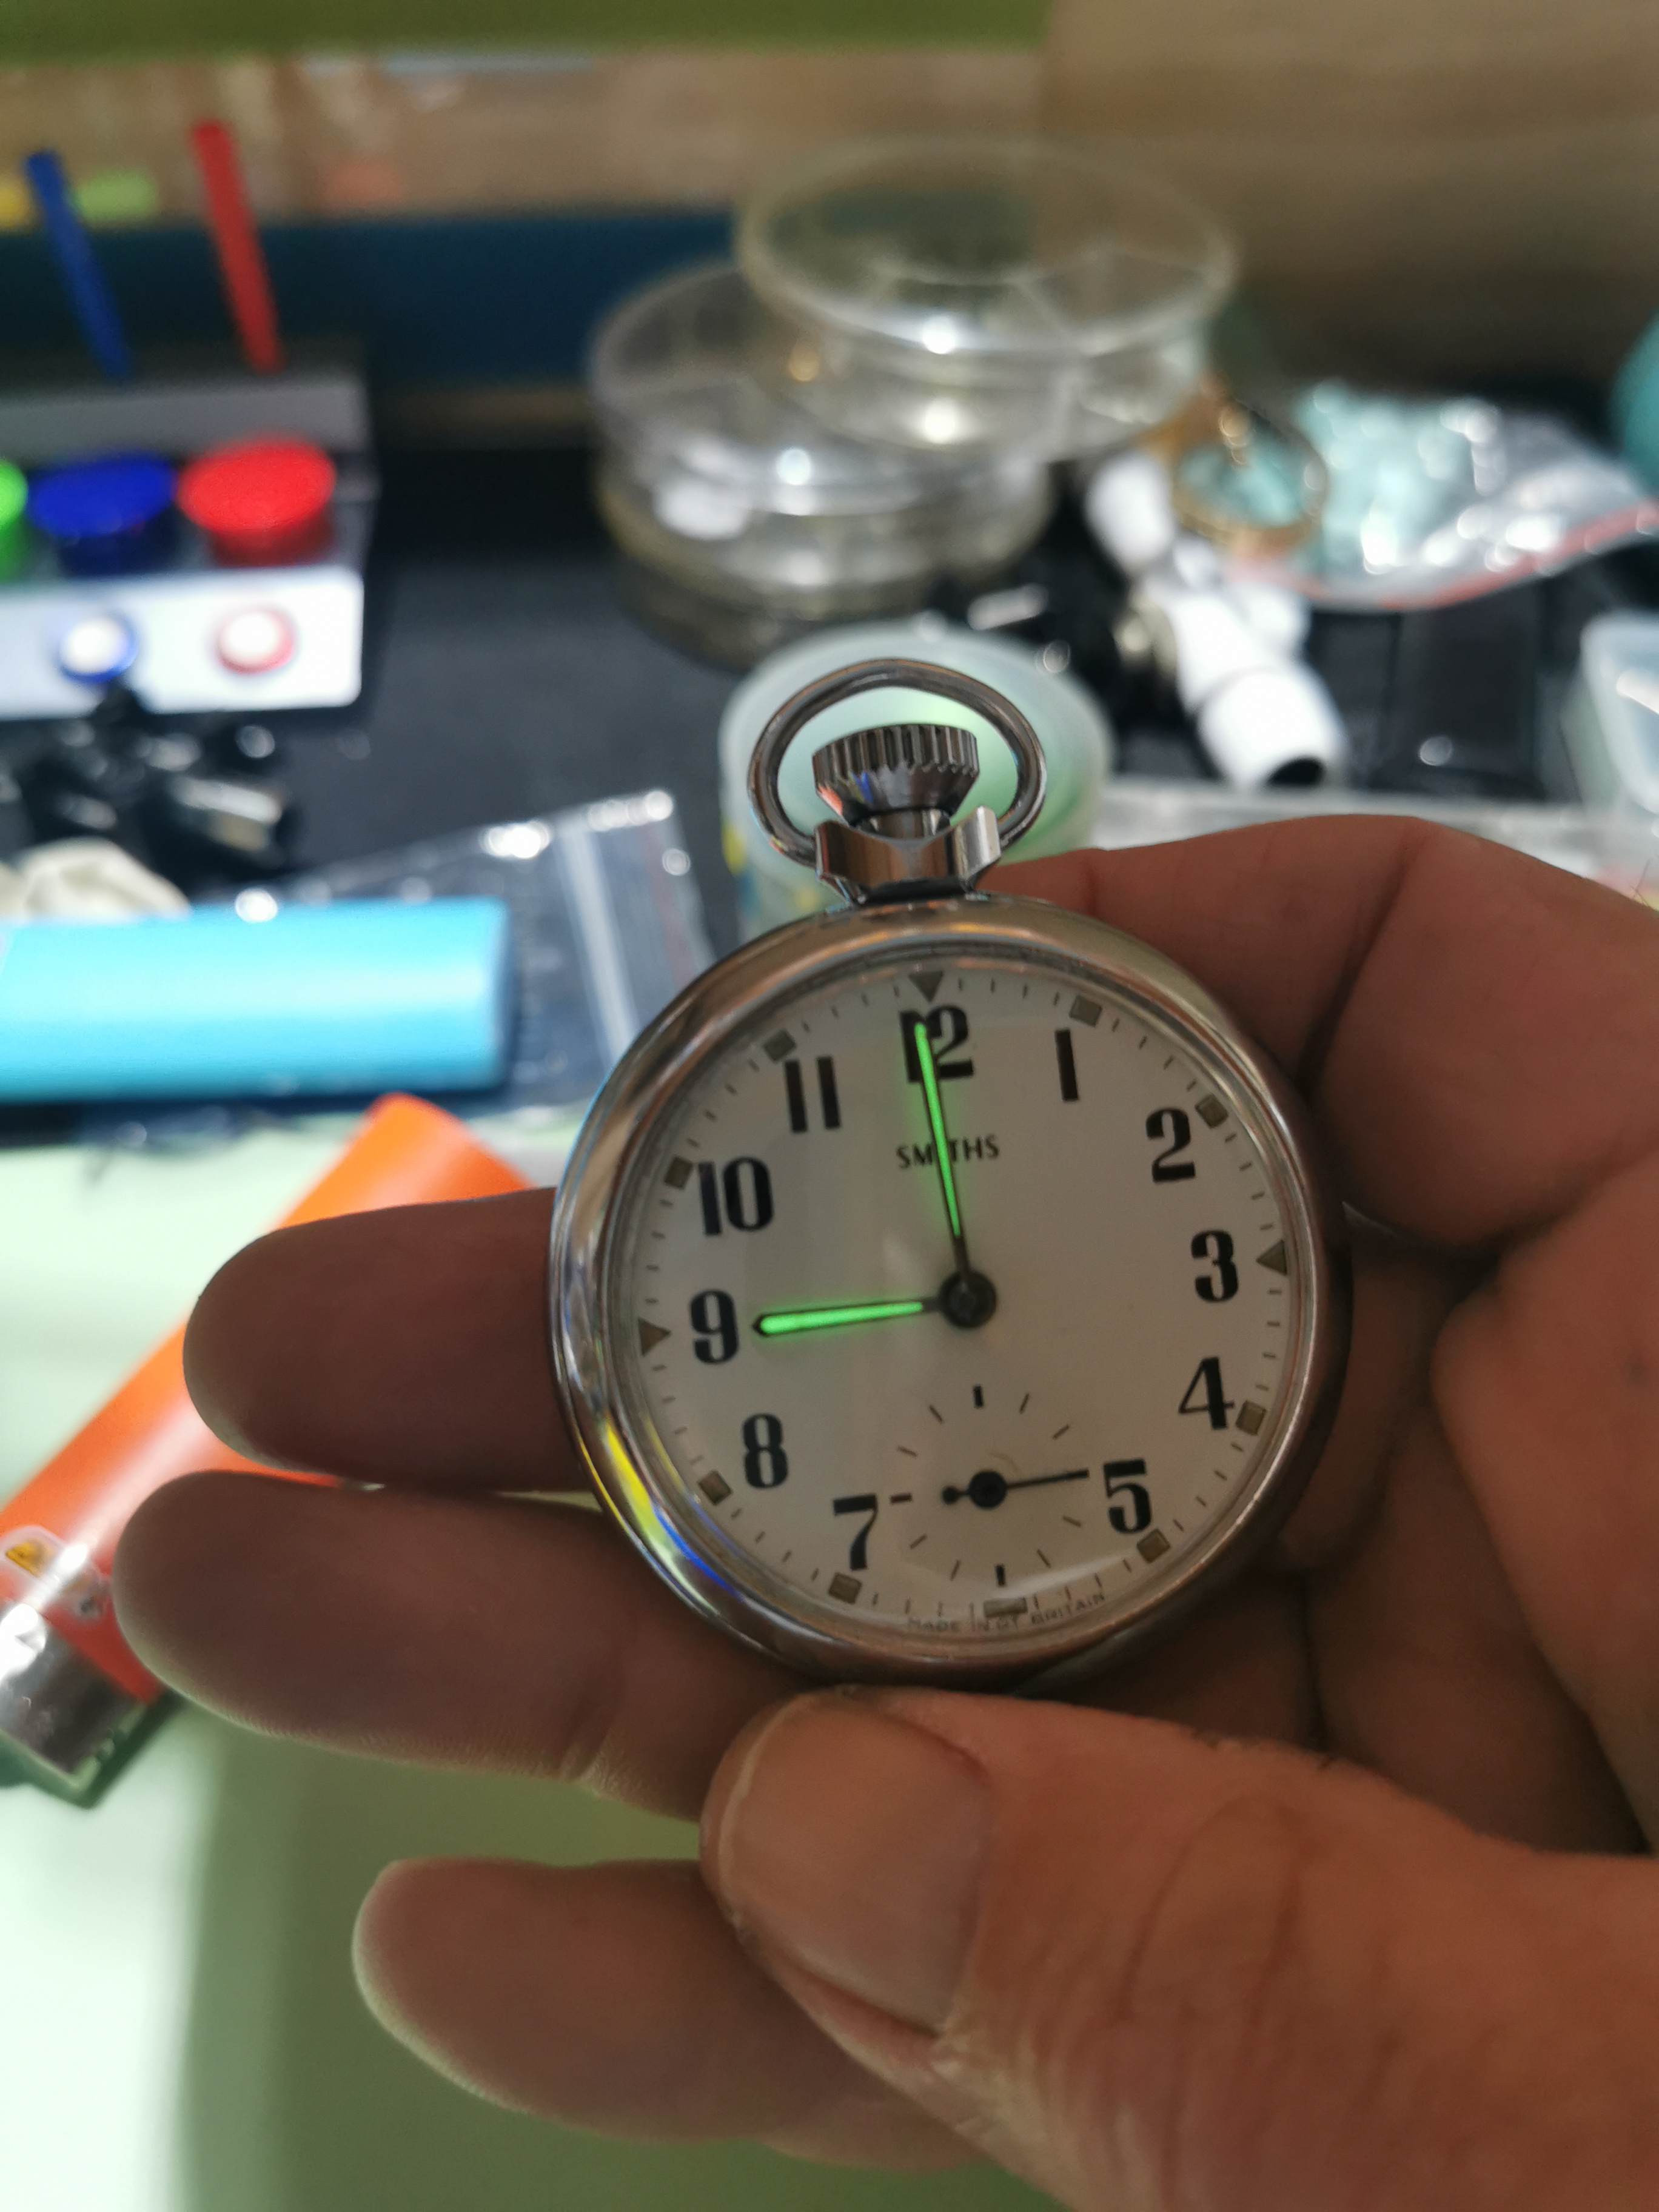
Oh wow! That's a rare one! And it still works.1 point
-
That’s great! But, the next 5-minute job will take a week, not counting time waiting for parts to arrive... Ask me how I know.1 point
-
Hi AndyHull I think it's great to have moments like these, what you thought would take forever is only a 10 minute job, I have 6 of those every hour. Anyway I searched the net for a microscope box lock fixeruperer and it looks like your it. Good job1 point
-
I did not even know that it is called dressing (English is not my mother tongue). Interestingly I have not read your advise or any other advise after the video for dressing and I almost did the same thing on my own following common sense. I worked on my brass tweezers internally first - the only difference was that i used grit 800 and i did not fold it only worked on one of them at the time -, then i worked on them along the sides - perpendicular. I am sure it is not perfect as I did it more or less the first time, but i am sure it is a way better then they were before. I also bought a pair of Dumont tweezers as you are not the first one who said the same thing but with different words: "it was like going from a riding lawn mower to a Rolls Royce". However i have not felt that big jump, i bought a set of 8 stainless steel tweezers from cousinsuk and they are quite ok. (They were advertised as "Superior Quality" but could not compare them to something else - before the Dumont - as it was my first set ever for watchmaking) Well they are good or I am just not experienced enough to feel the difference between those and the Dumont. When I look at them under the microscope the Dumont looks better though. ? I know: practice, practice, practice. All in all very good advice, thank you. ?1 point
-
I thought those were only suitable for use on a Panerai?1 point
-
First thing is to only use brass when you need to- cosmetic parts that will show scratches. Keep them out of reach, not right next to the others. Dressing tweezers is often covered in the books, because it is like dressing drivers, and you need to do it often. Check your books, or perhaps online sources. I like to get the tips in good shape internally first- usually a piece of 600 grit folded so there is grip on both sides, is held within the lightly closed tweezers until any high spots are removed (even finish on both tips). This helps to make the internal surfaces parallel as well. Now, the most important thing is to look at the closed tips with a bright backlight. I have seen (and made myself, before I perfected my technique) "dressed" tweezers that fail this test- when you squeeze them, the very tip should always be closed (not passing any light). Often the tips can separate when closed fully, and then parts fly out when you close them. Once the inside is right, I pull 600 across (perpendicular to their length) slowly to give the tips a slight bit of 'grip'. I used to polish them with 1000 to reduce scratches, but properly dressed AND HANDLED they won't scratch, and the grip "force" is reduced, thereby reducing the chance of scratches as well. You grab screws by the threads typically and plates that are not seen in the final assembly do not need brass tweezers either. Obviously the train gears don't need brass and only the large wheels on the mainspring (which might be decorated and/or polished) I would consider brass, but typically stick with the steel ones there too. Light touch! Keep them demagnetized, or get anti-magnetic ones. I had decent tweezers before, but when I got my anti-magnetic Dumont ones, it was like going from a riding lawn mower to a Rolls Royce. Unbelievable how much that made a difference in my control and confidence. Light touch! Brass tweezers are dressed exactly the same way, but often the tips just get bent due to being sofer. Dropping them on the floor is the best way to reuin them forever. I have cheap ones that I spent an hour dressing before use, and they are fine, but rarely used- only when I have to use them. So, I bend them back into shape as much as possible before dressing the tips as I do for my stainless ones.1 point
-
The downside of having a x45 microscope on my desk is that EVERY WATCH looks filthy and I take all watches apart completely to clean. That includes pocket watch cases.
 1 point
 -
I don’t know if it is because of their beat rate is remarkably slow, small about spring power required or their build quality but I found very few have had to be re-bushed. The most common fault is the suspension spring either being twisted/ kinked or just broken. If the pivots are polished all parts are spotless and the suspension spring is in good order they run. For the clock to run for several weeks / months they must be bang on in beat.1 point
-
MechanicMike, You are going to need a lathe at some point for clock work. A unimat 3 would be ideal for you it is able to carry out all your clock work apart from balance staffs for platforms for which you would need a watchmakers lathe. Going back to the Unimat 3 it will accommodate Long case clock barrels and the Long case center wheel. Look on ebay for one and try to get something with accessories as accessories are expensive and this model is no longer in production. I sold mine years ago but about 3 years ago I bought another. You can even get a milling attachment for it.1 point
-
Agree with Melt it looks like the date change wheel is worn. Wondering if the date jumper spring could be reduced in strength a little. If so it might allow the date ring to rotate.1 point
-
I guess you could fill the gap with a chemical metal......worth a try if you can't find a replacement.1 point
-
Speaking of moustache, remember this one?
 1 point
 -
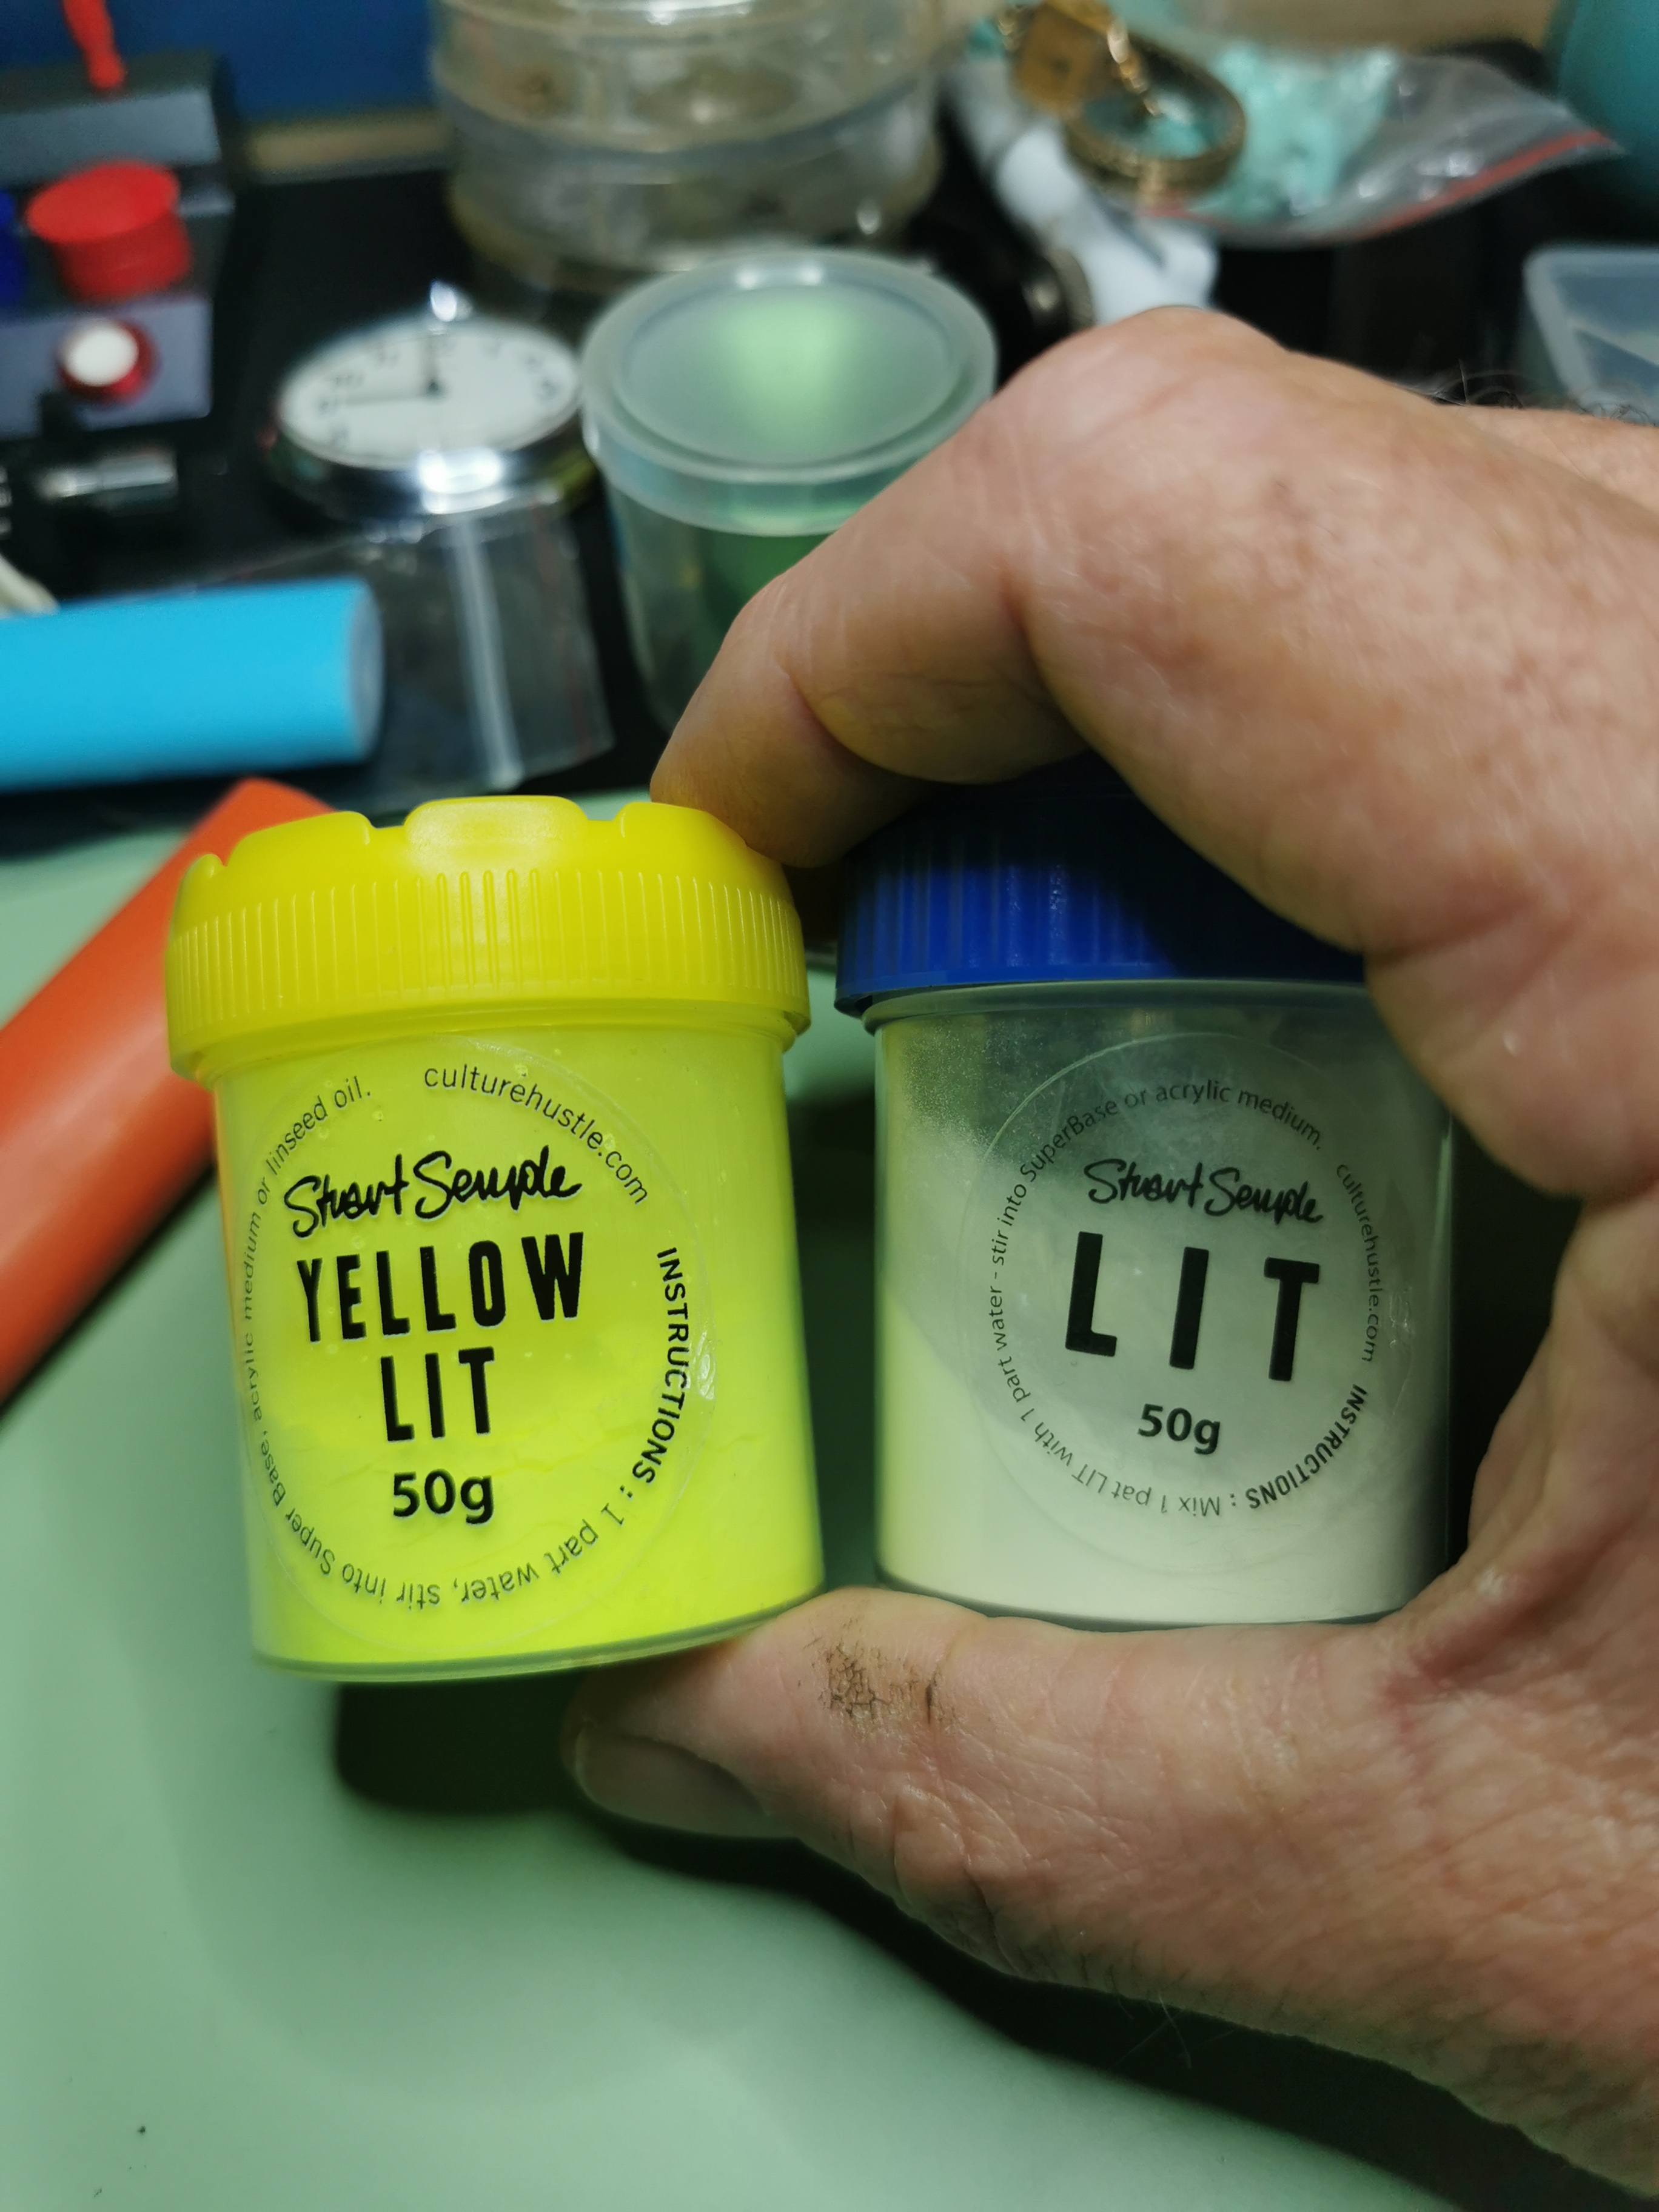
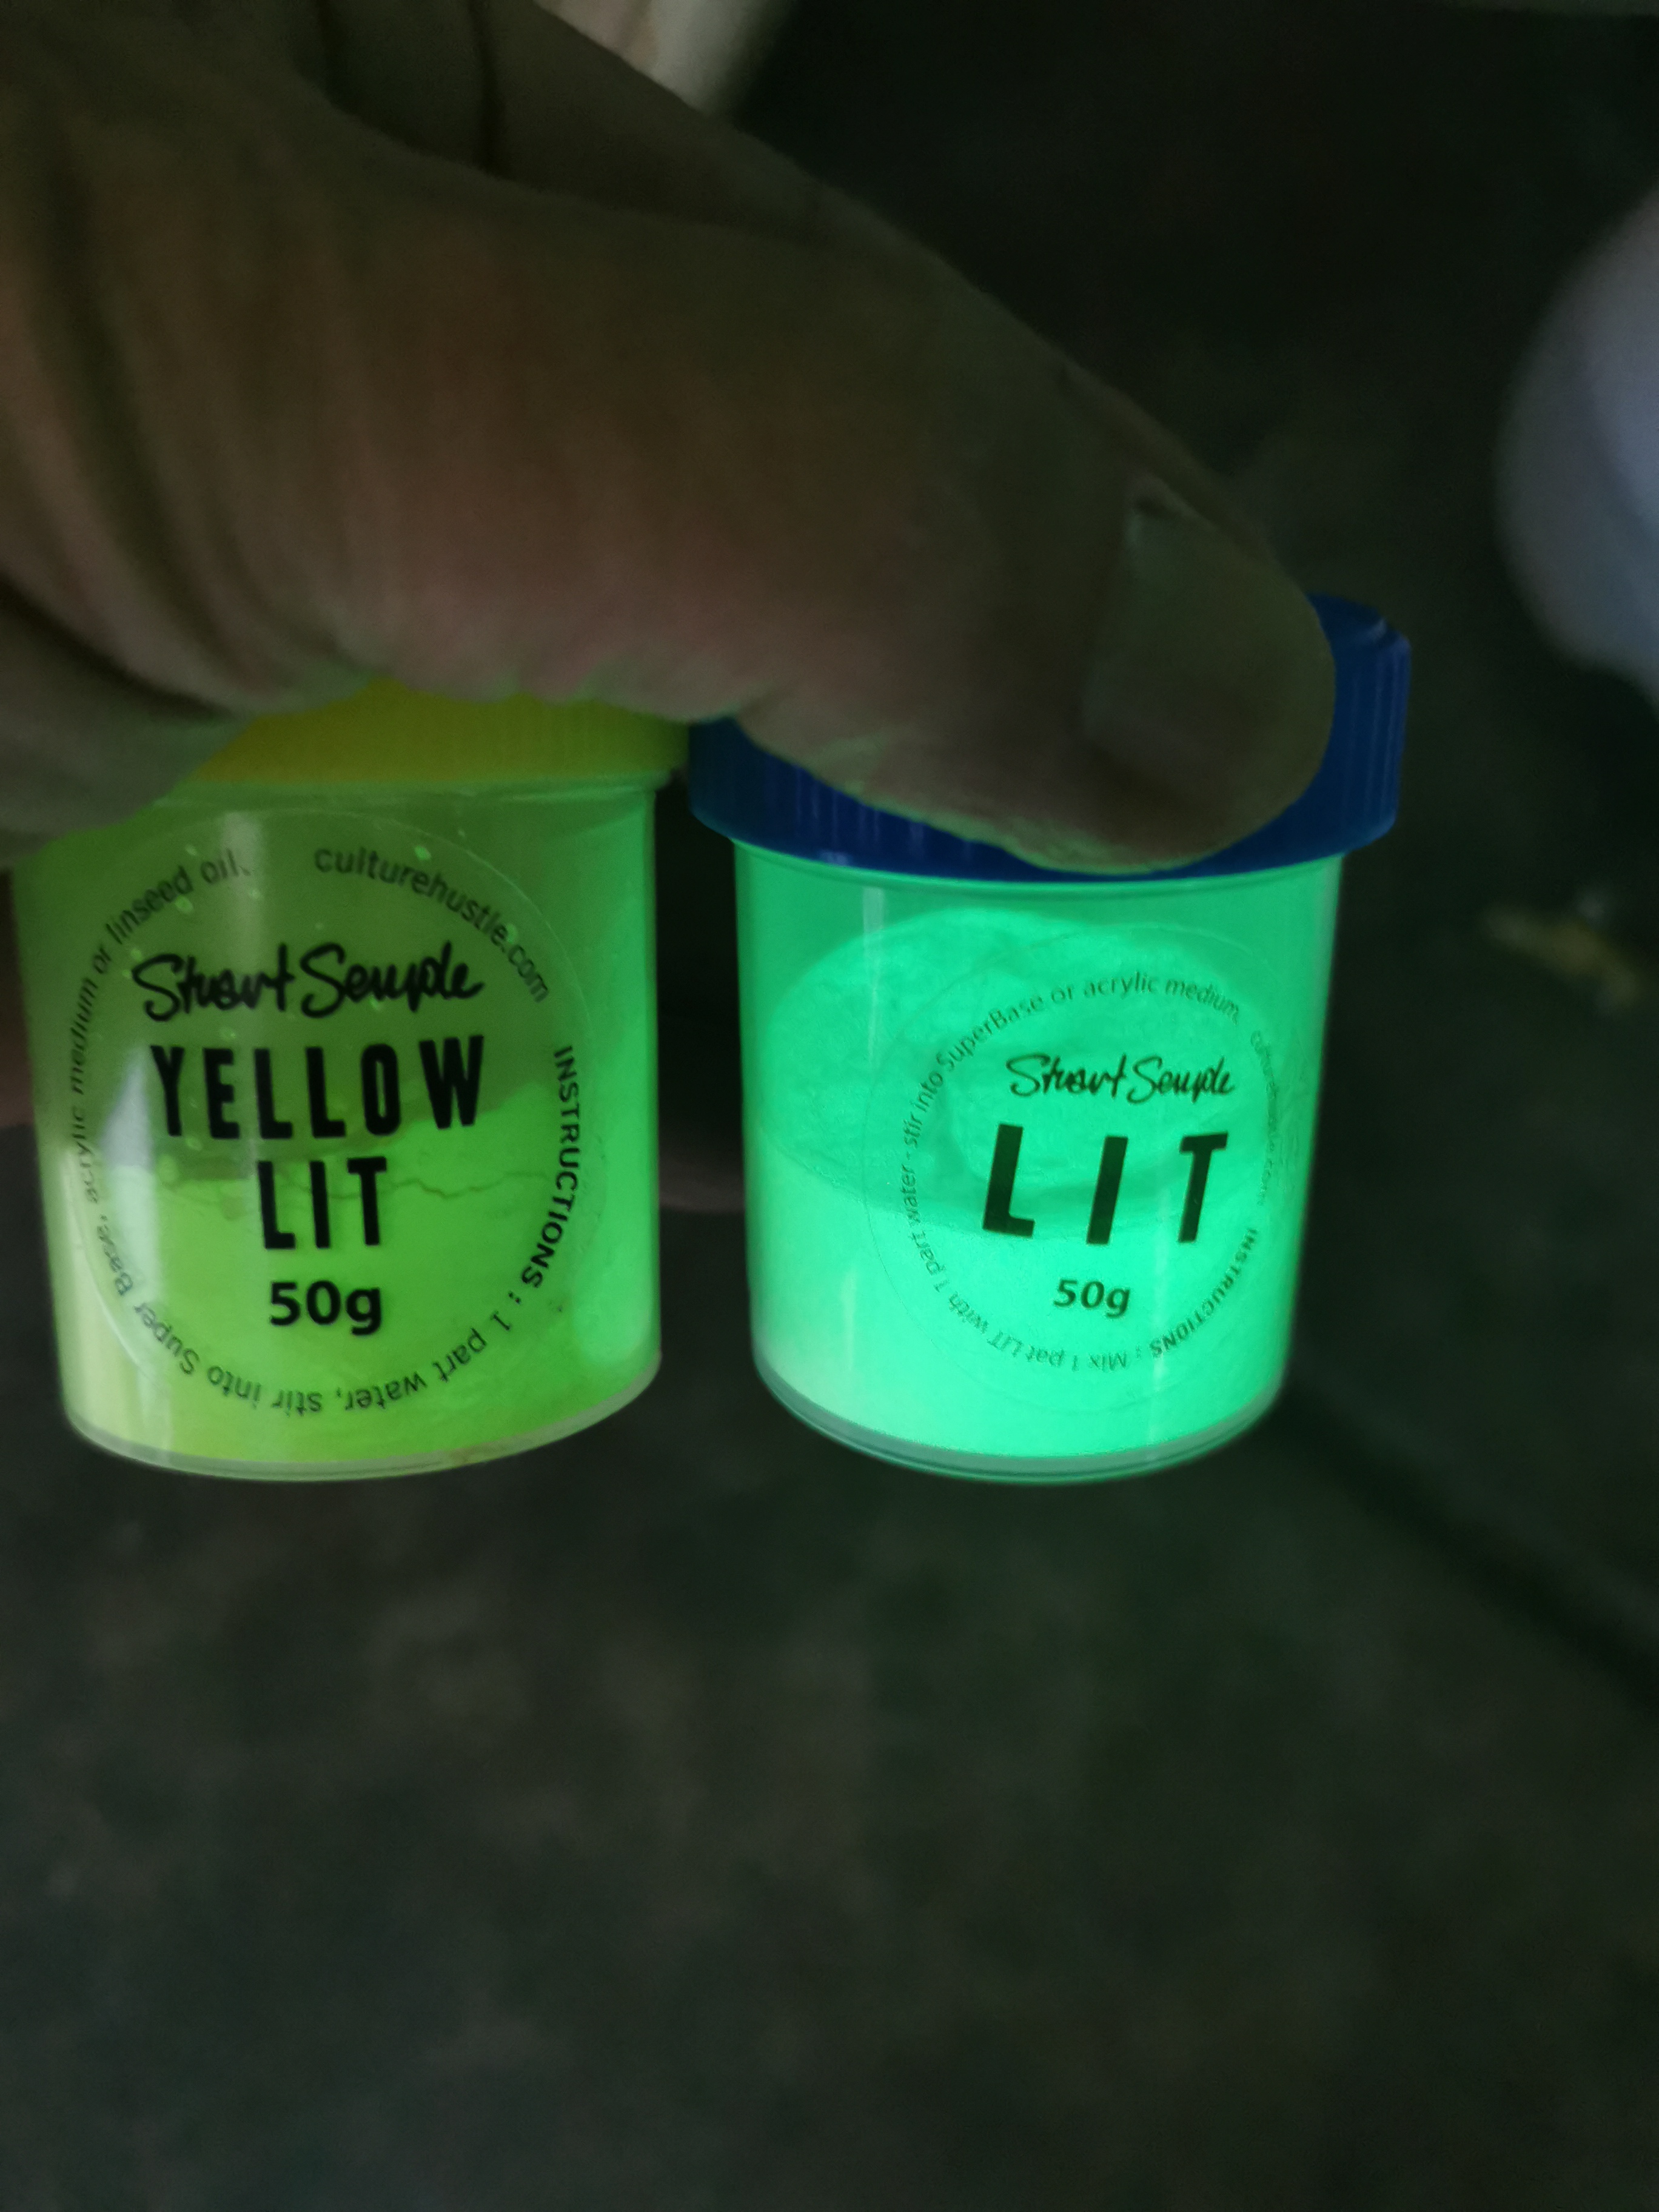
Hi there, I purchased this luminous powder from Stuart Semple website about a year ago thinking I will give it a try. It's pretty good for luming hand or whatever on non collectables. It's a fine powder and mixes very well with binder and epoxy lasts quite a while glowing. Check it out.


 1 point
 -
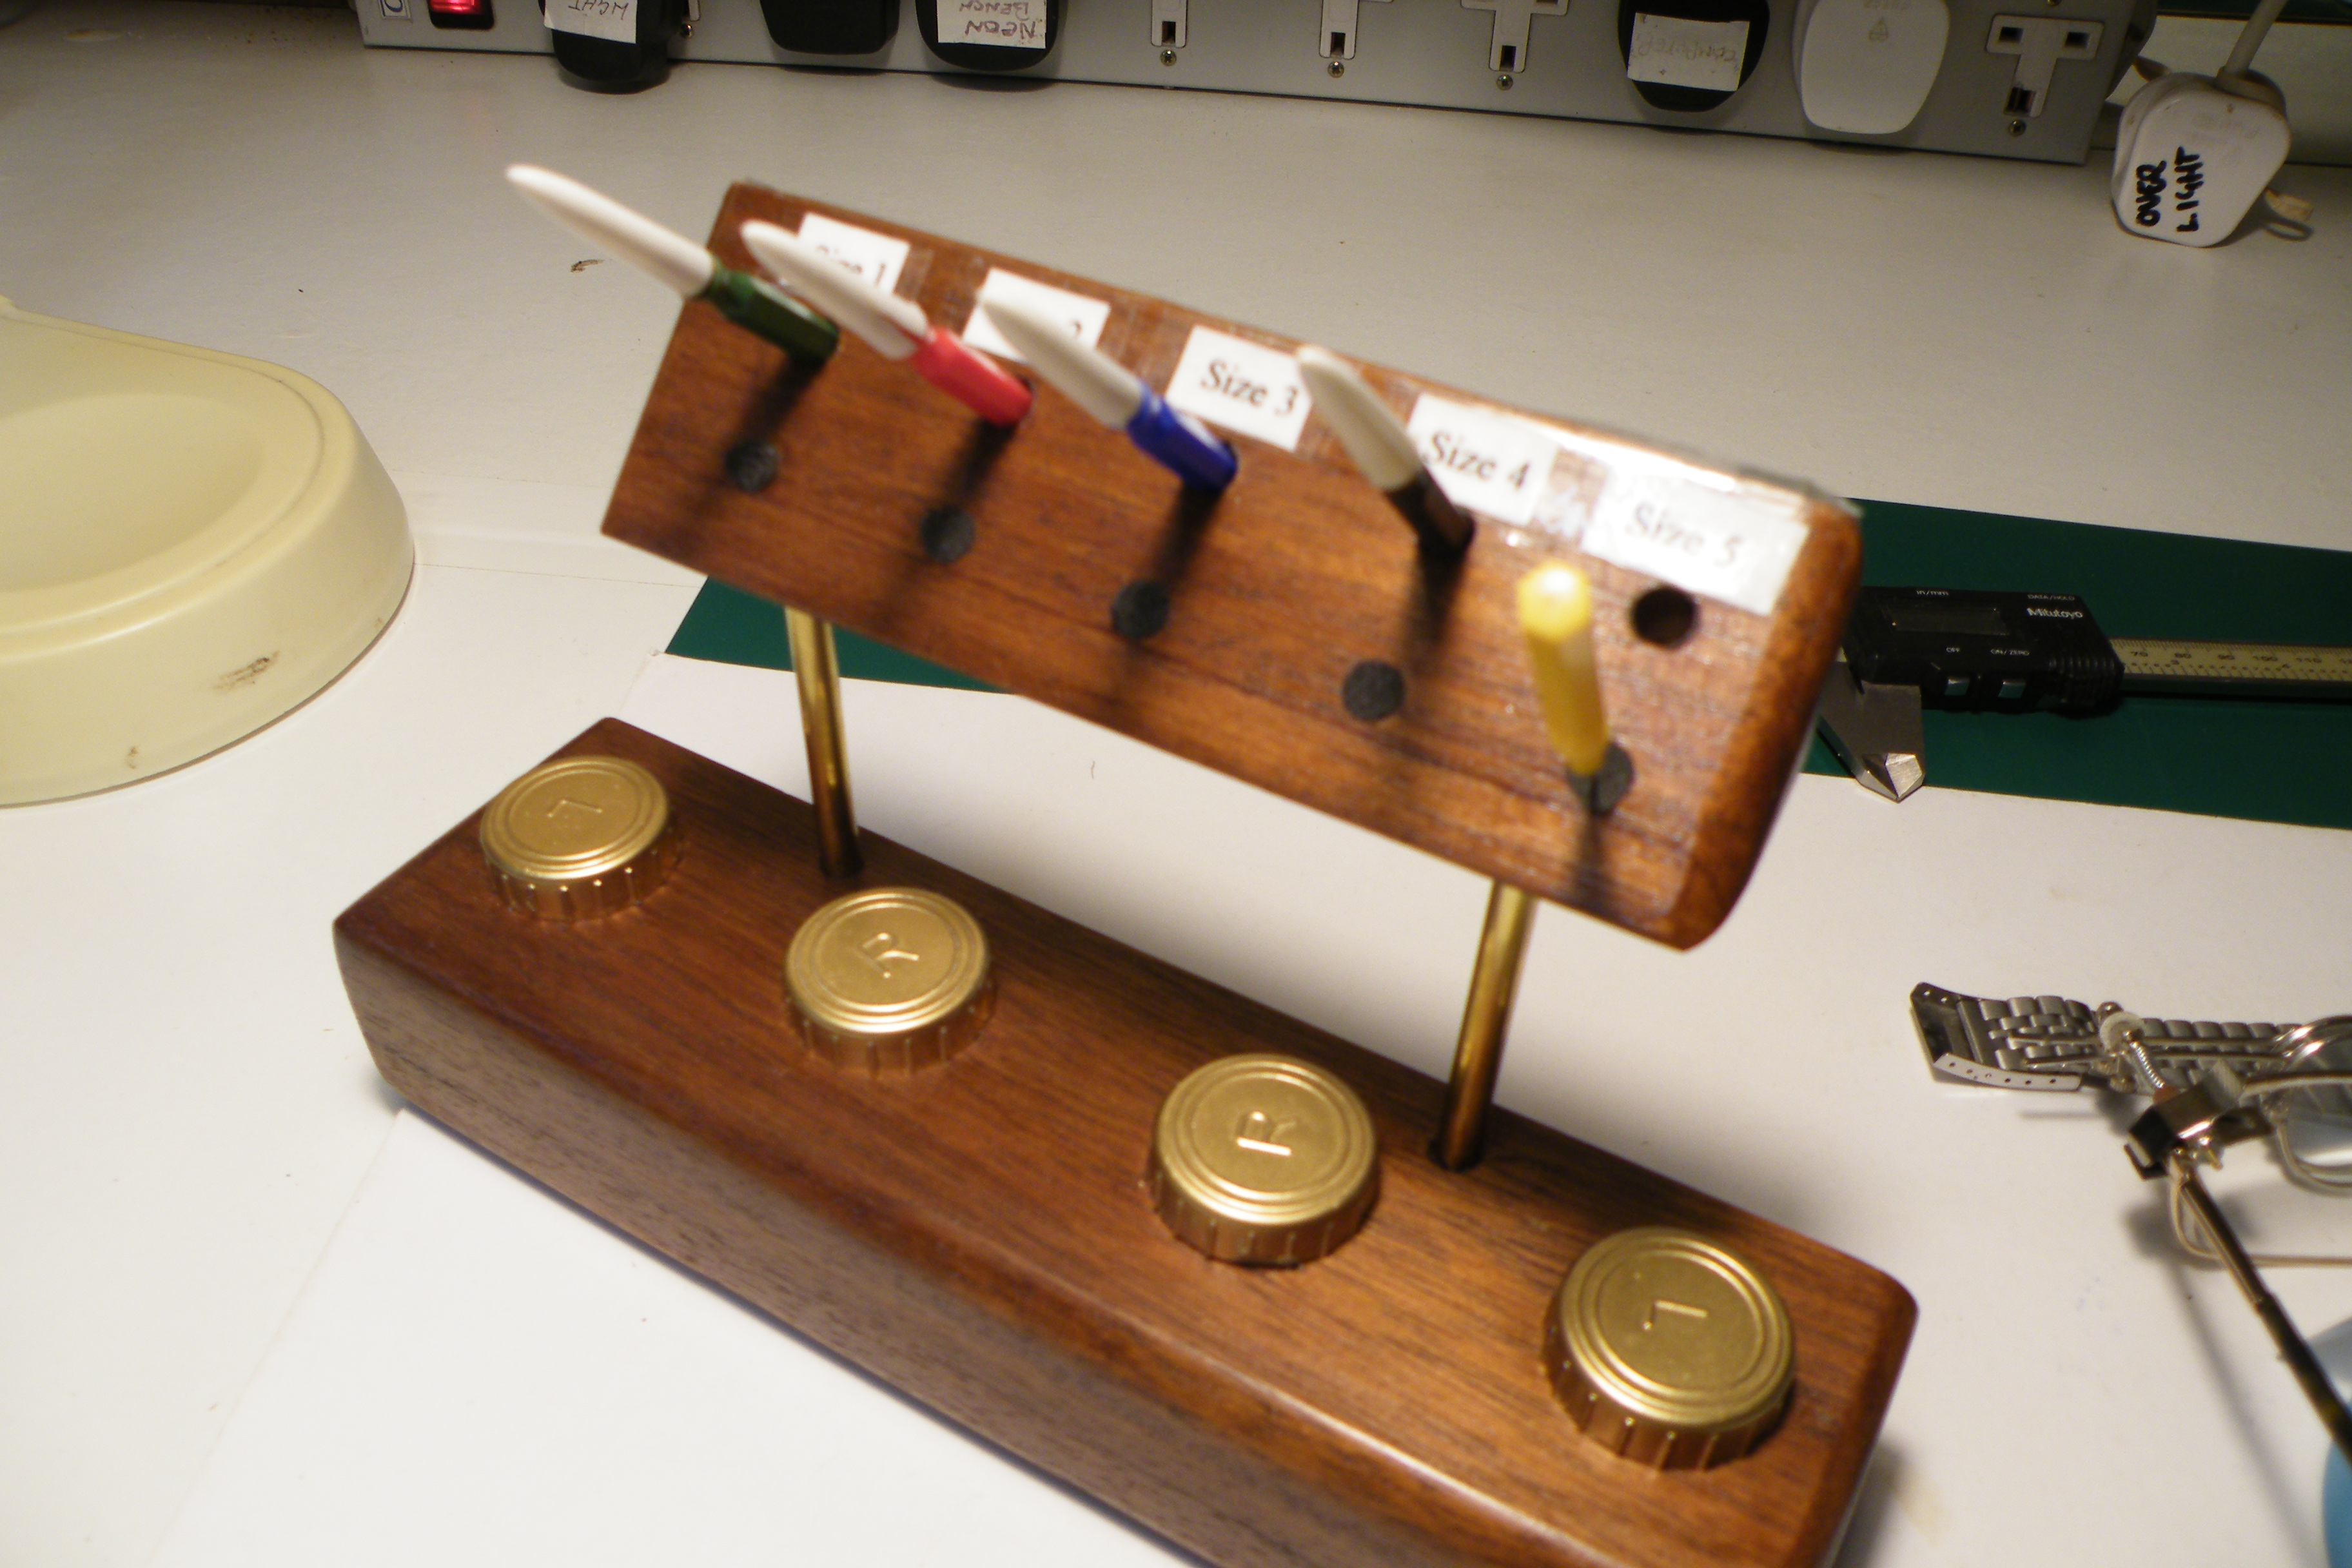
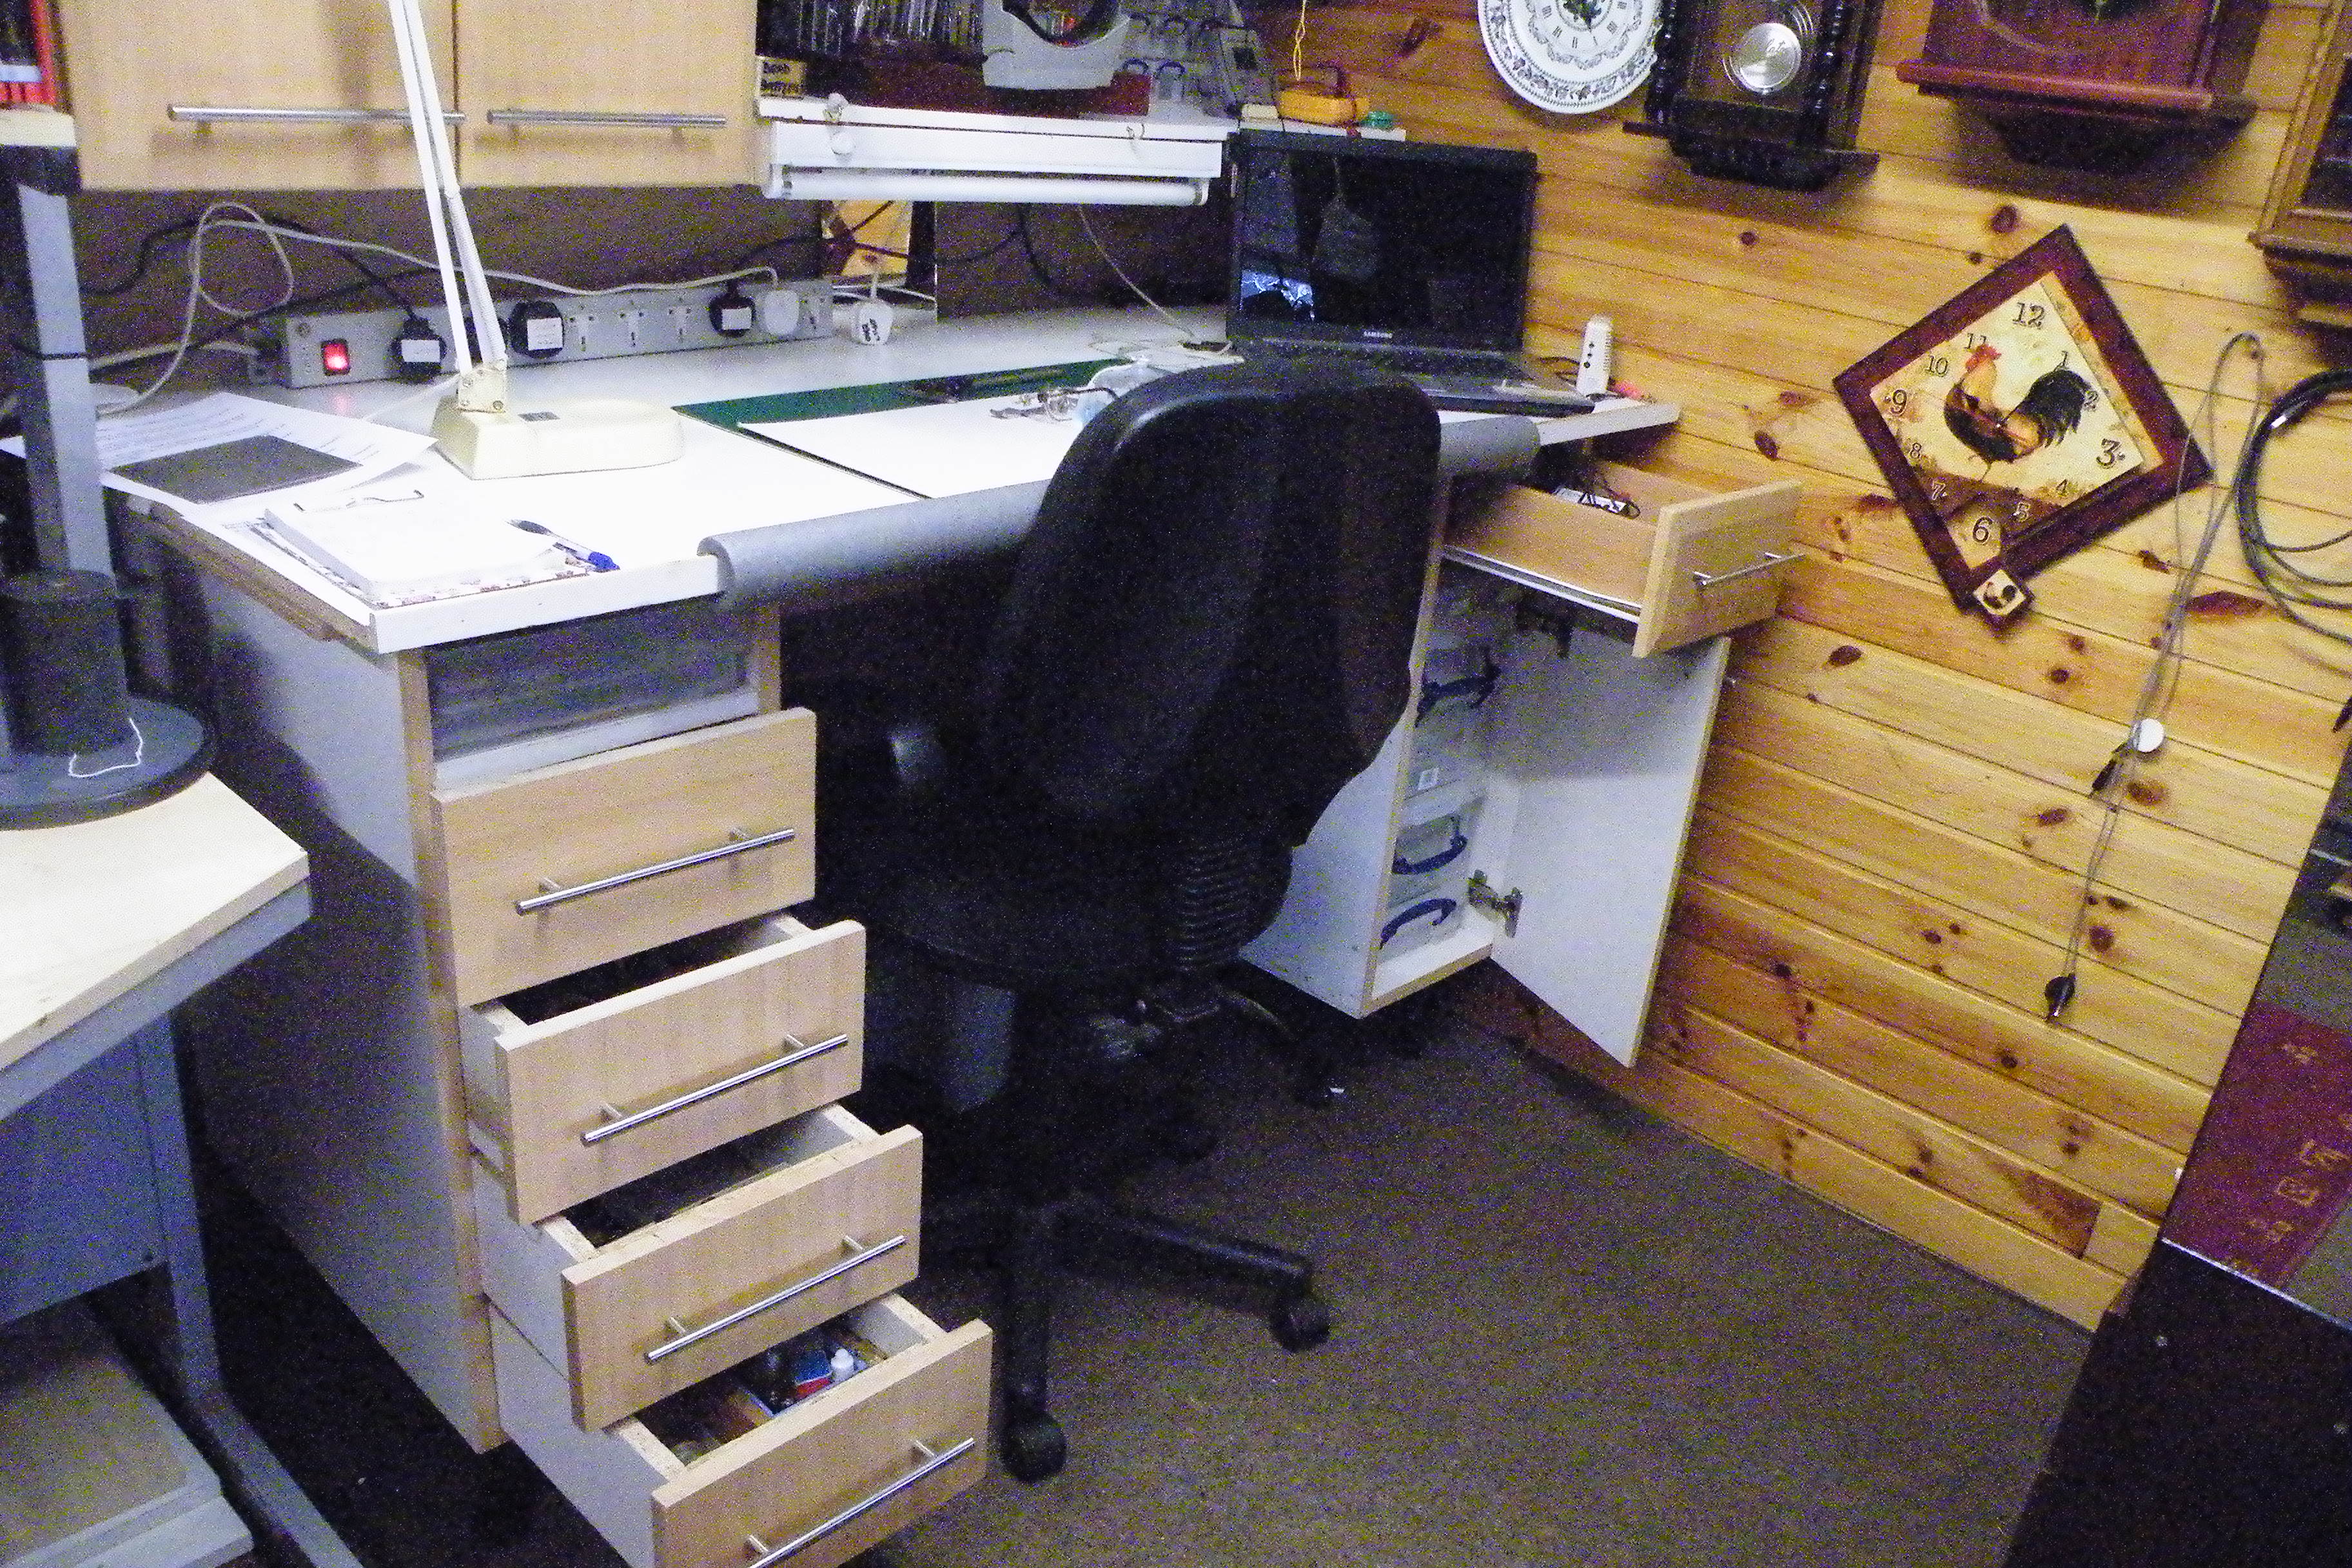
Hi Luiazazrambo attached below is the oil cup stand and oilers made from the contact lens cups and one of the workbench build at zero cost from redundant scrap cabinets. Made the drawer unit and modified the cupboard. the oilstand also zero cost apart from the investment of time.
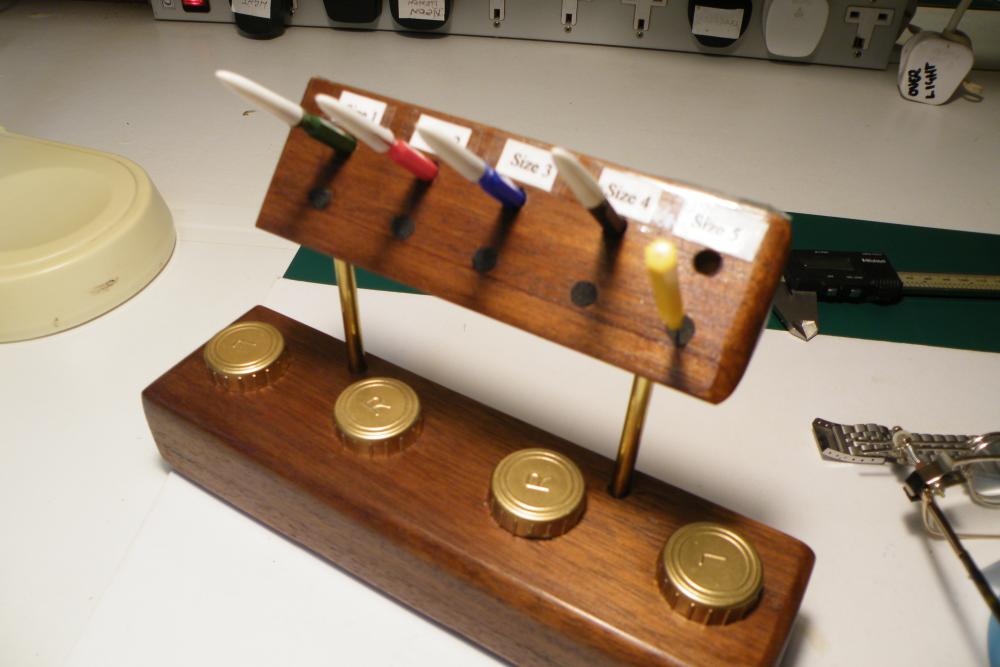
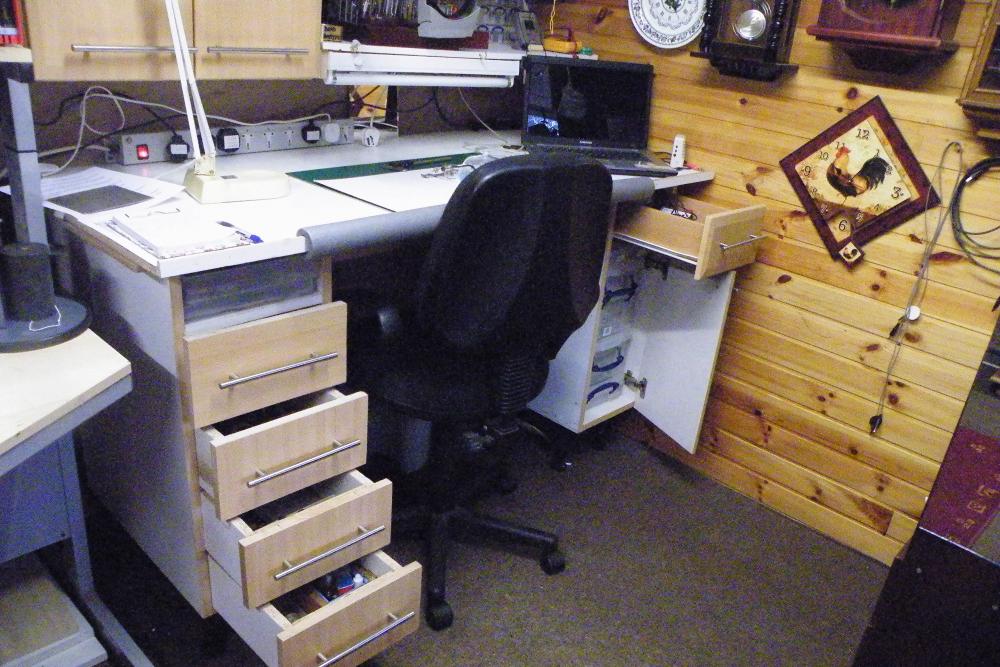
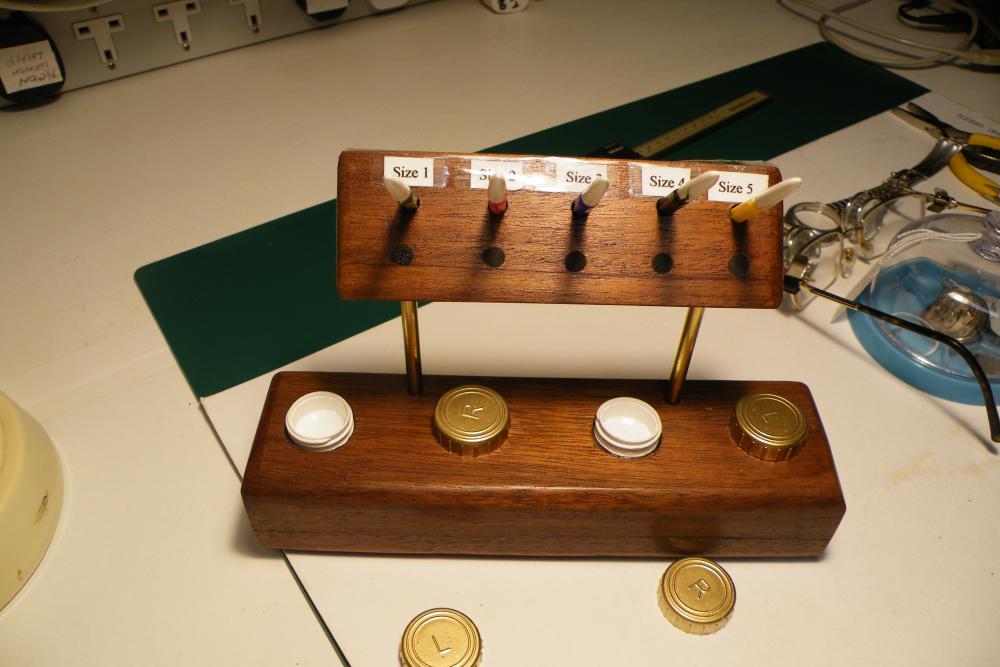 1 point