Leaderboard


Popular Content
Showing content with the highest reputation on 06/17/20 in all areas
-
Much better after running for 10h! [emoji846][emoji846] Sent from my SM-G975F using Tapatalk3 points
-
the hard learned lessons are the best teachers. but they suck to have to live through! Maybe I'll put that on a t-shirt!2 points
-
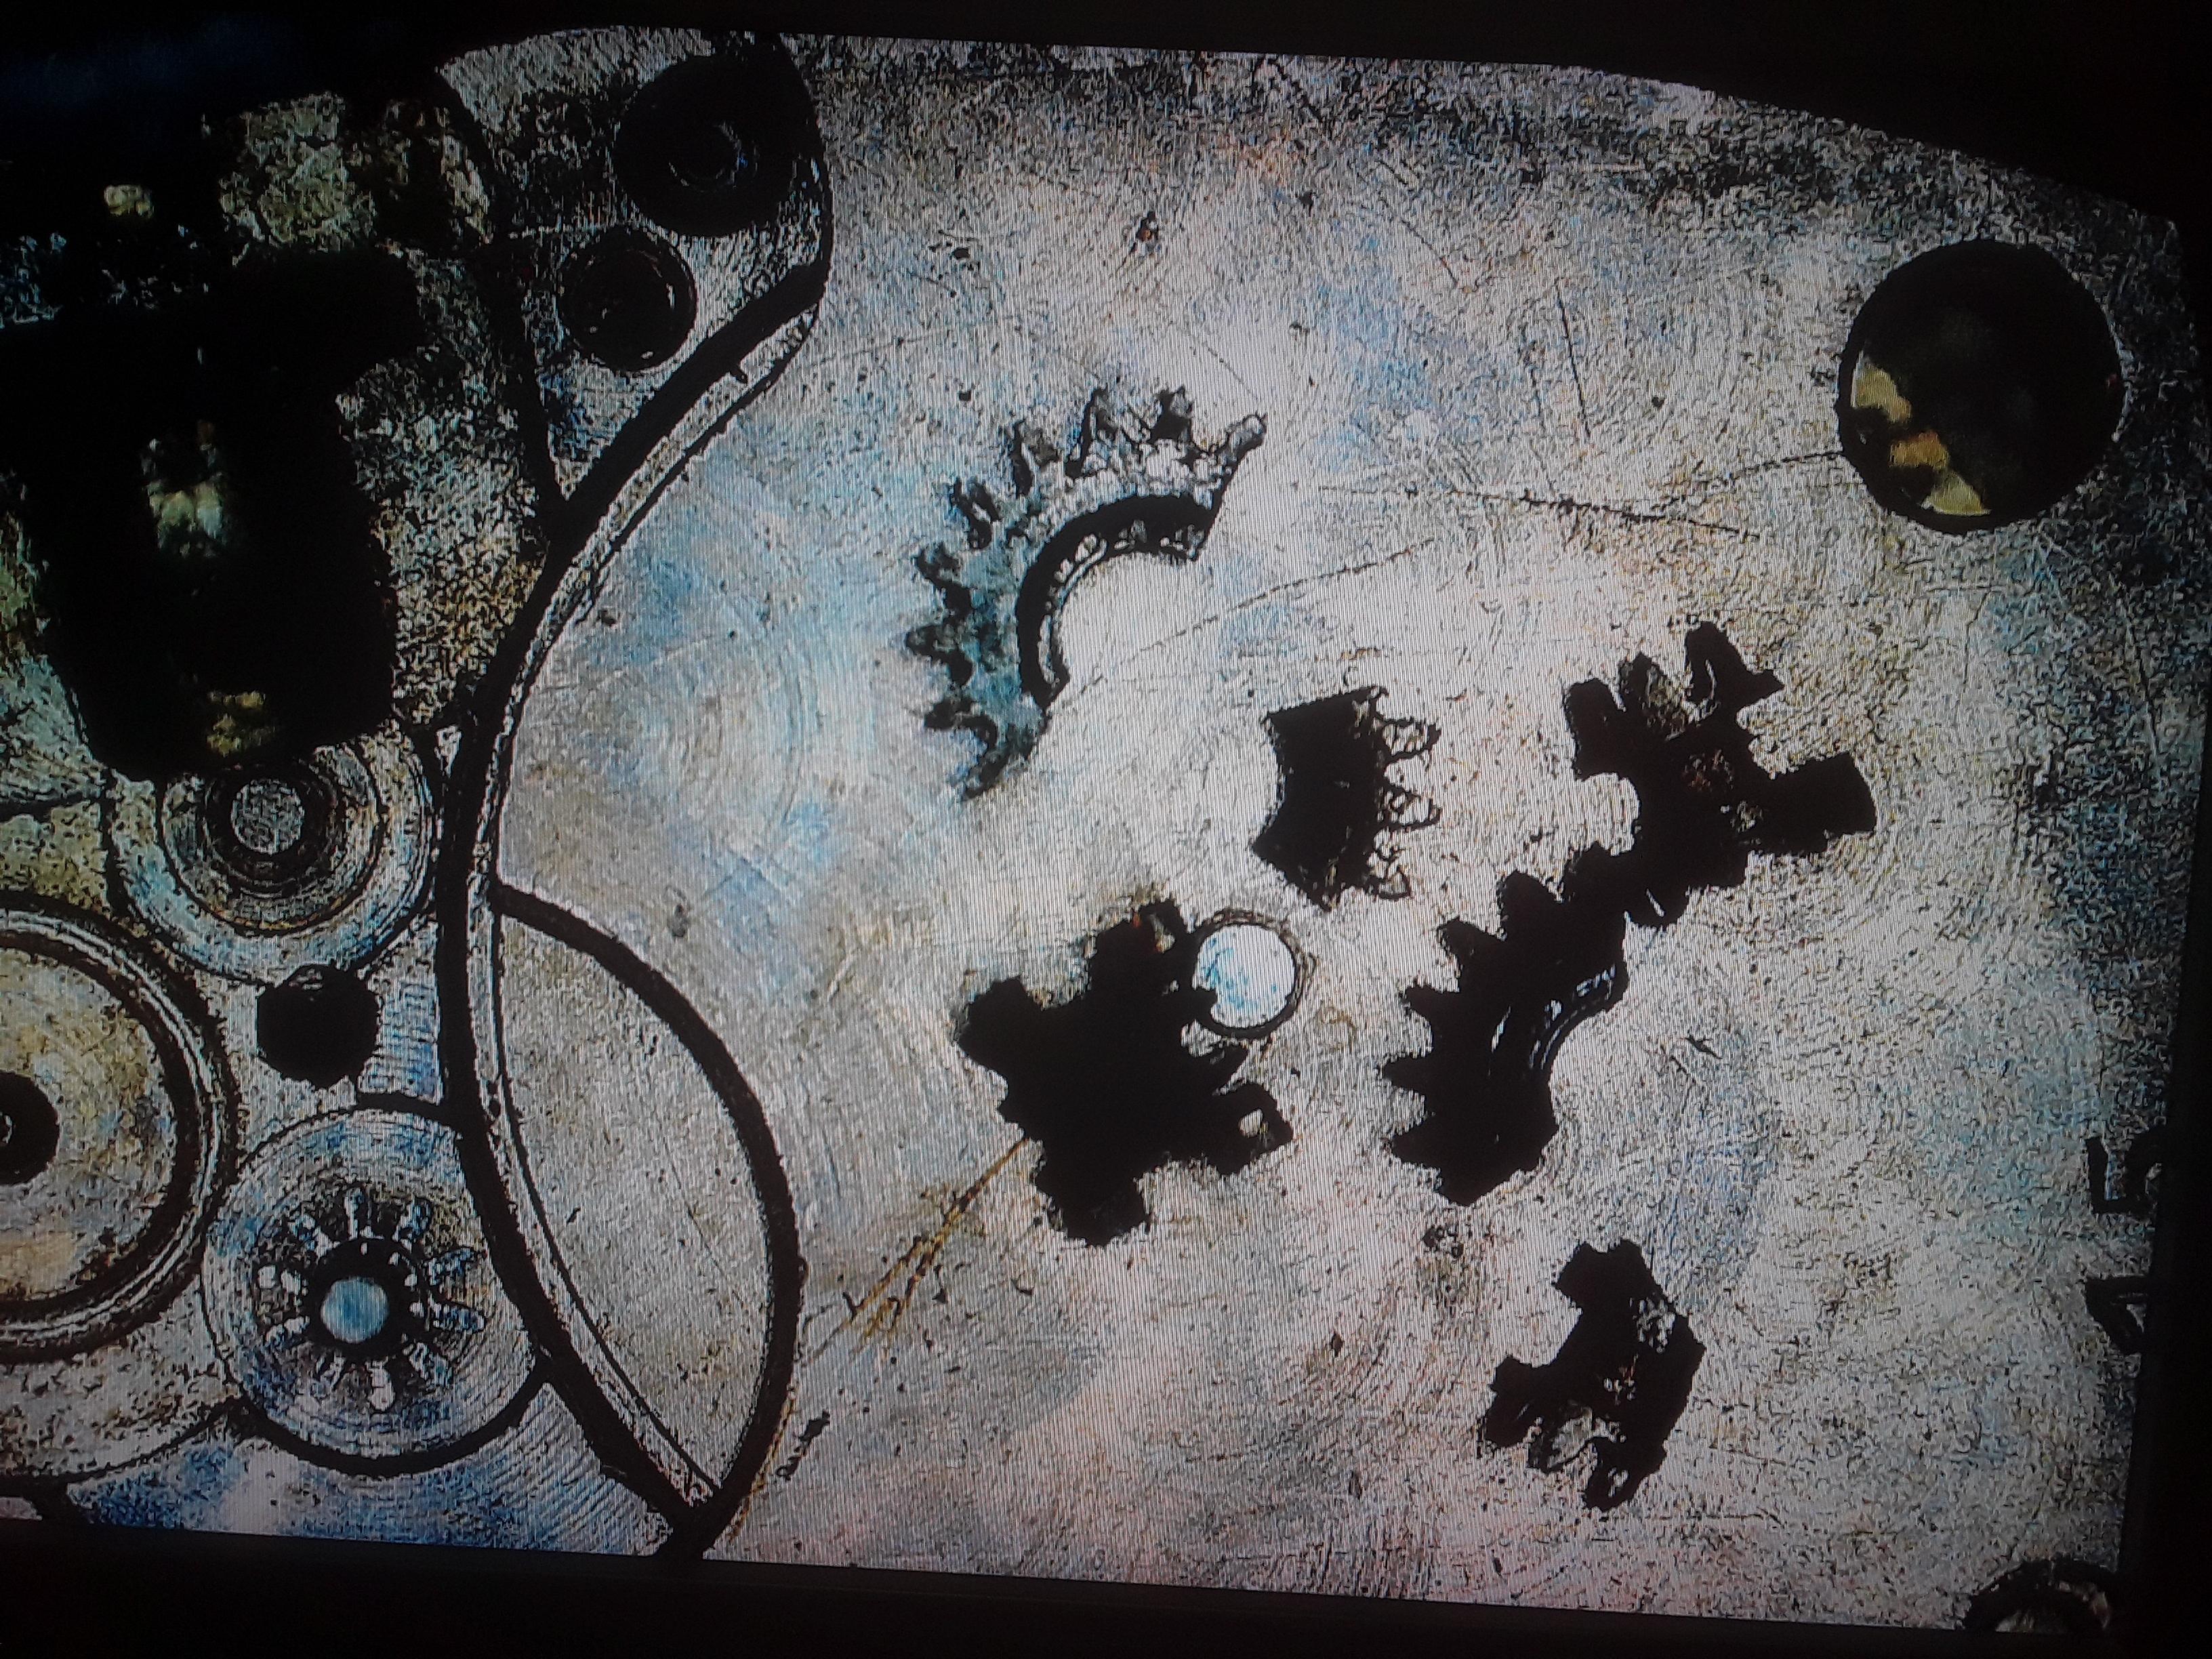
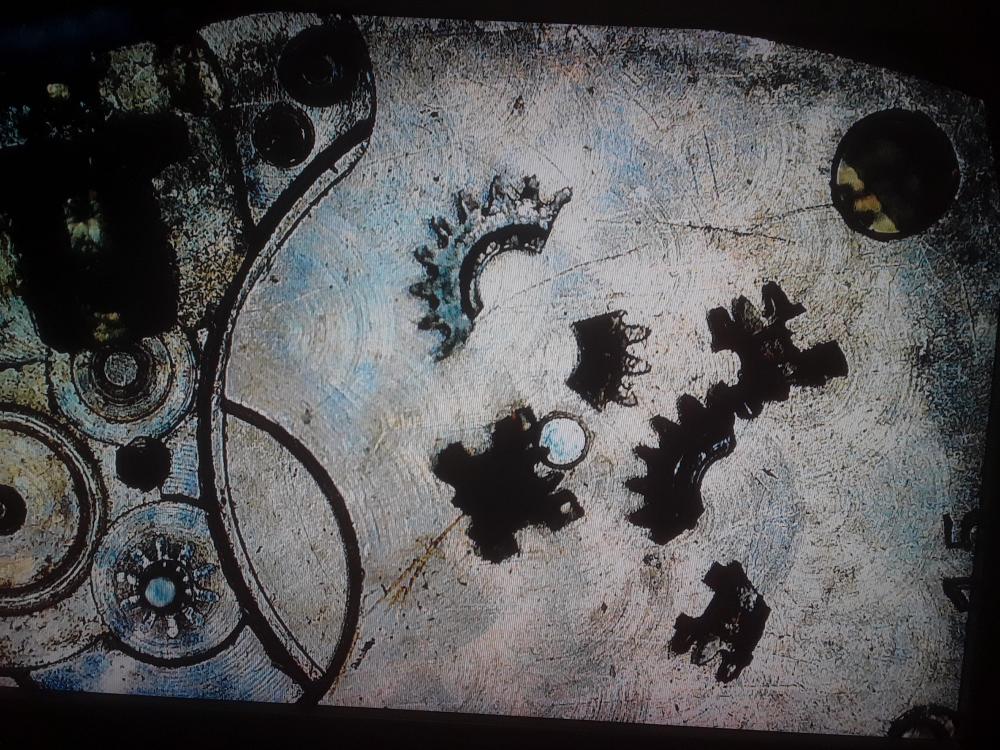
I don't necessarily agree that a broach will find the center of a worn hole. With some reamers the tool may well center in the oil sink, which in most cases is concentric with the original pivot hole, but a broach will tend to average over the original center and new center. In the image the outer circle is the oil sink, the black portion is the original hole and the cross the original center. The light blue portion is the worn area, the red circle its center and the magenta circle is the "average center". If we just broach the hole open the broach will tend toward the average center, or perhaps a bit more toward the original hole as it's larger, but will still be off. That the clock ran until its current state of wear, it will almost certainly run and run better than before even with the new "average" center, but it could be better. The upside is if a bushing is put in, even in the semi-wrong location, future wear will be in the bushing, which will be replaced and be in the same location (i.e. you won't be stacking up wear errors). Personally I tend to give a few licks with a file or drift broach to get the hole reasonably centered, but in some cases especially if the wheel or pinion isn't right next to the plate I trust that the oil sink will center my tool.
 2 points
 -
Looks like it can be pulled out. Carbide is not a good choice for a soft and catchy material, it would have to spin real fast with that small diameter. Better a regular HSS bit driven by hand.2 points
-
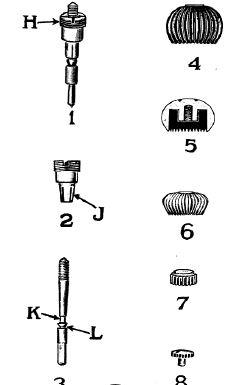
Typically on the majority of American pocket watches the movement is set up similar to yours. This is where the watch itself has no stem as that is in the case. So your movement is fine make sure when you're putting it together to lubricate all of the stuff associated with the setting so it's slide smoothly. Link down below so you can look at the pictures. It's not really important but you're missing the micro regulator adjustment. You can still regulate the watch fine without it. Then the crown is most definitely does not look like the right crown for this particular case. It almost looks more like a wristwatch style crown for American watches. I went attached some images you can see what the wristwatch version looks like. Also a picture of the typical pocket watch stem and sleeve arrangement. https://pocketwatchdatabase.com/search/result/illinois/4927242

 2 points
 -
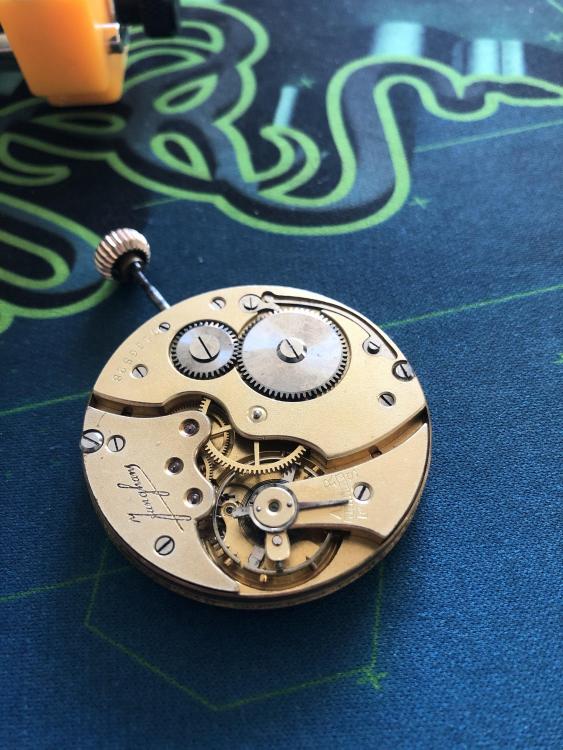
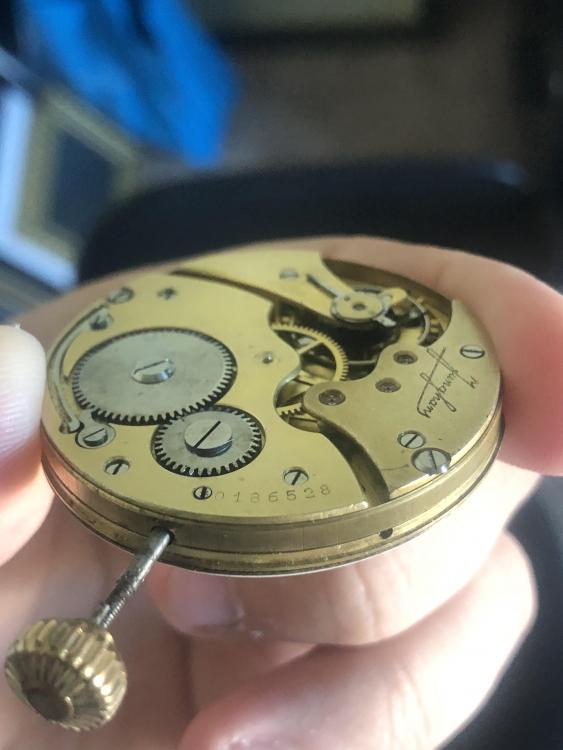
Hello everyone, hope you’re doing well. After swapping out a movement in a citizen automatic watch I’ve always wanted to actually tear down and restore something. So I started looking at pocket watches due to their bigger size and simplicity. My current skill level is only interest and have swapped out a movement before, changed some hands, and the case. So basically little to none. i found this Junghans pocket watch on eBay for cheap cheap. It winds and the balance wheel does move when messed with but other than that there’s no life. So I’m going to tear it down and clean it, seeing if I can catch any damage. This watch seems relatively unique for a junghans (or maybe a knock off) because I don’t see many others where the 3 o clock position sits near the crown. I’ll be keeping this thread updated as I make progress.

 1 point
 -
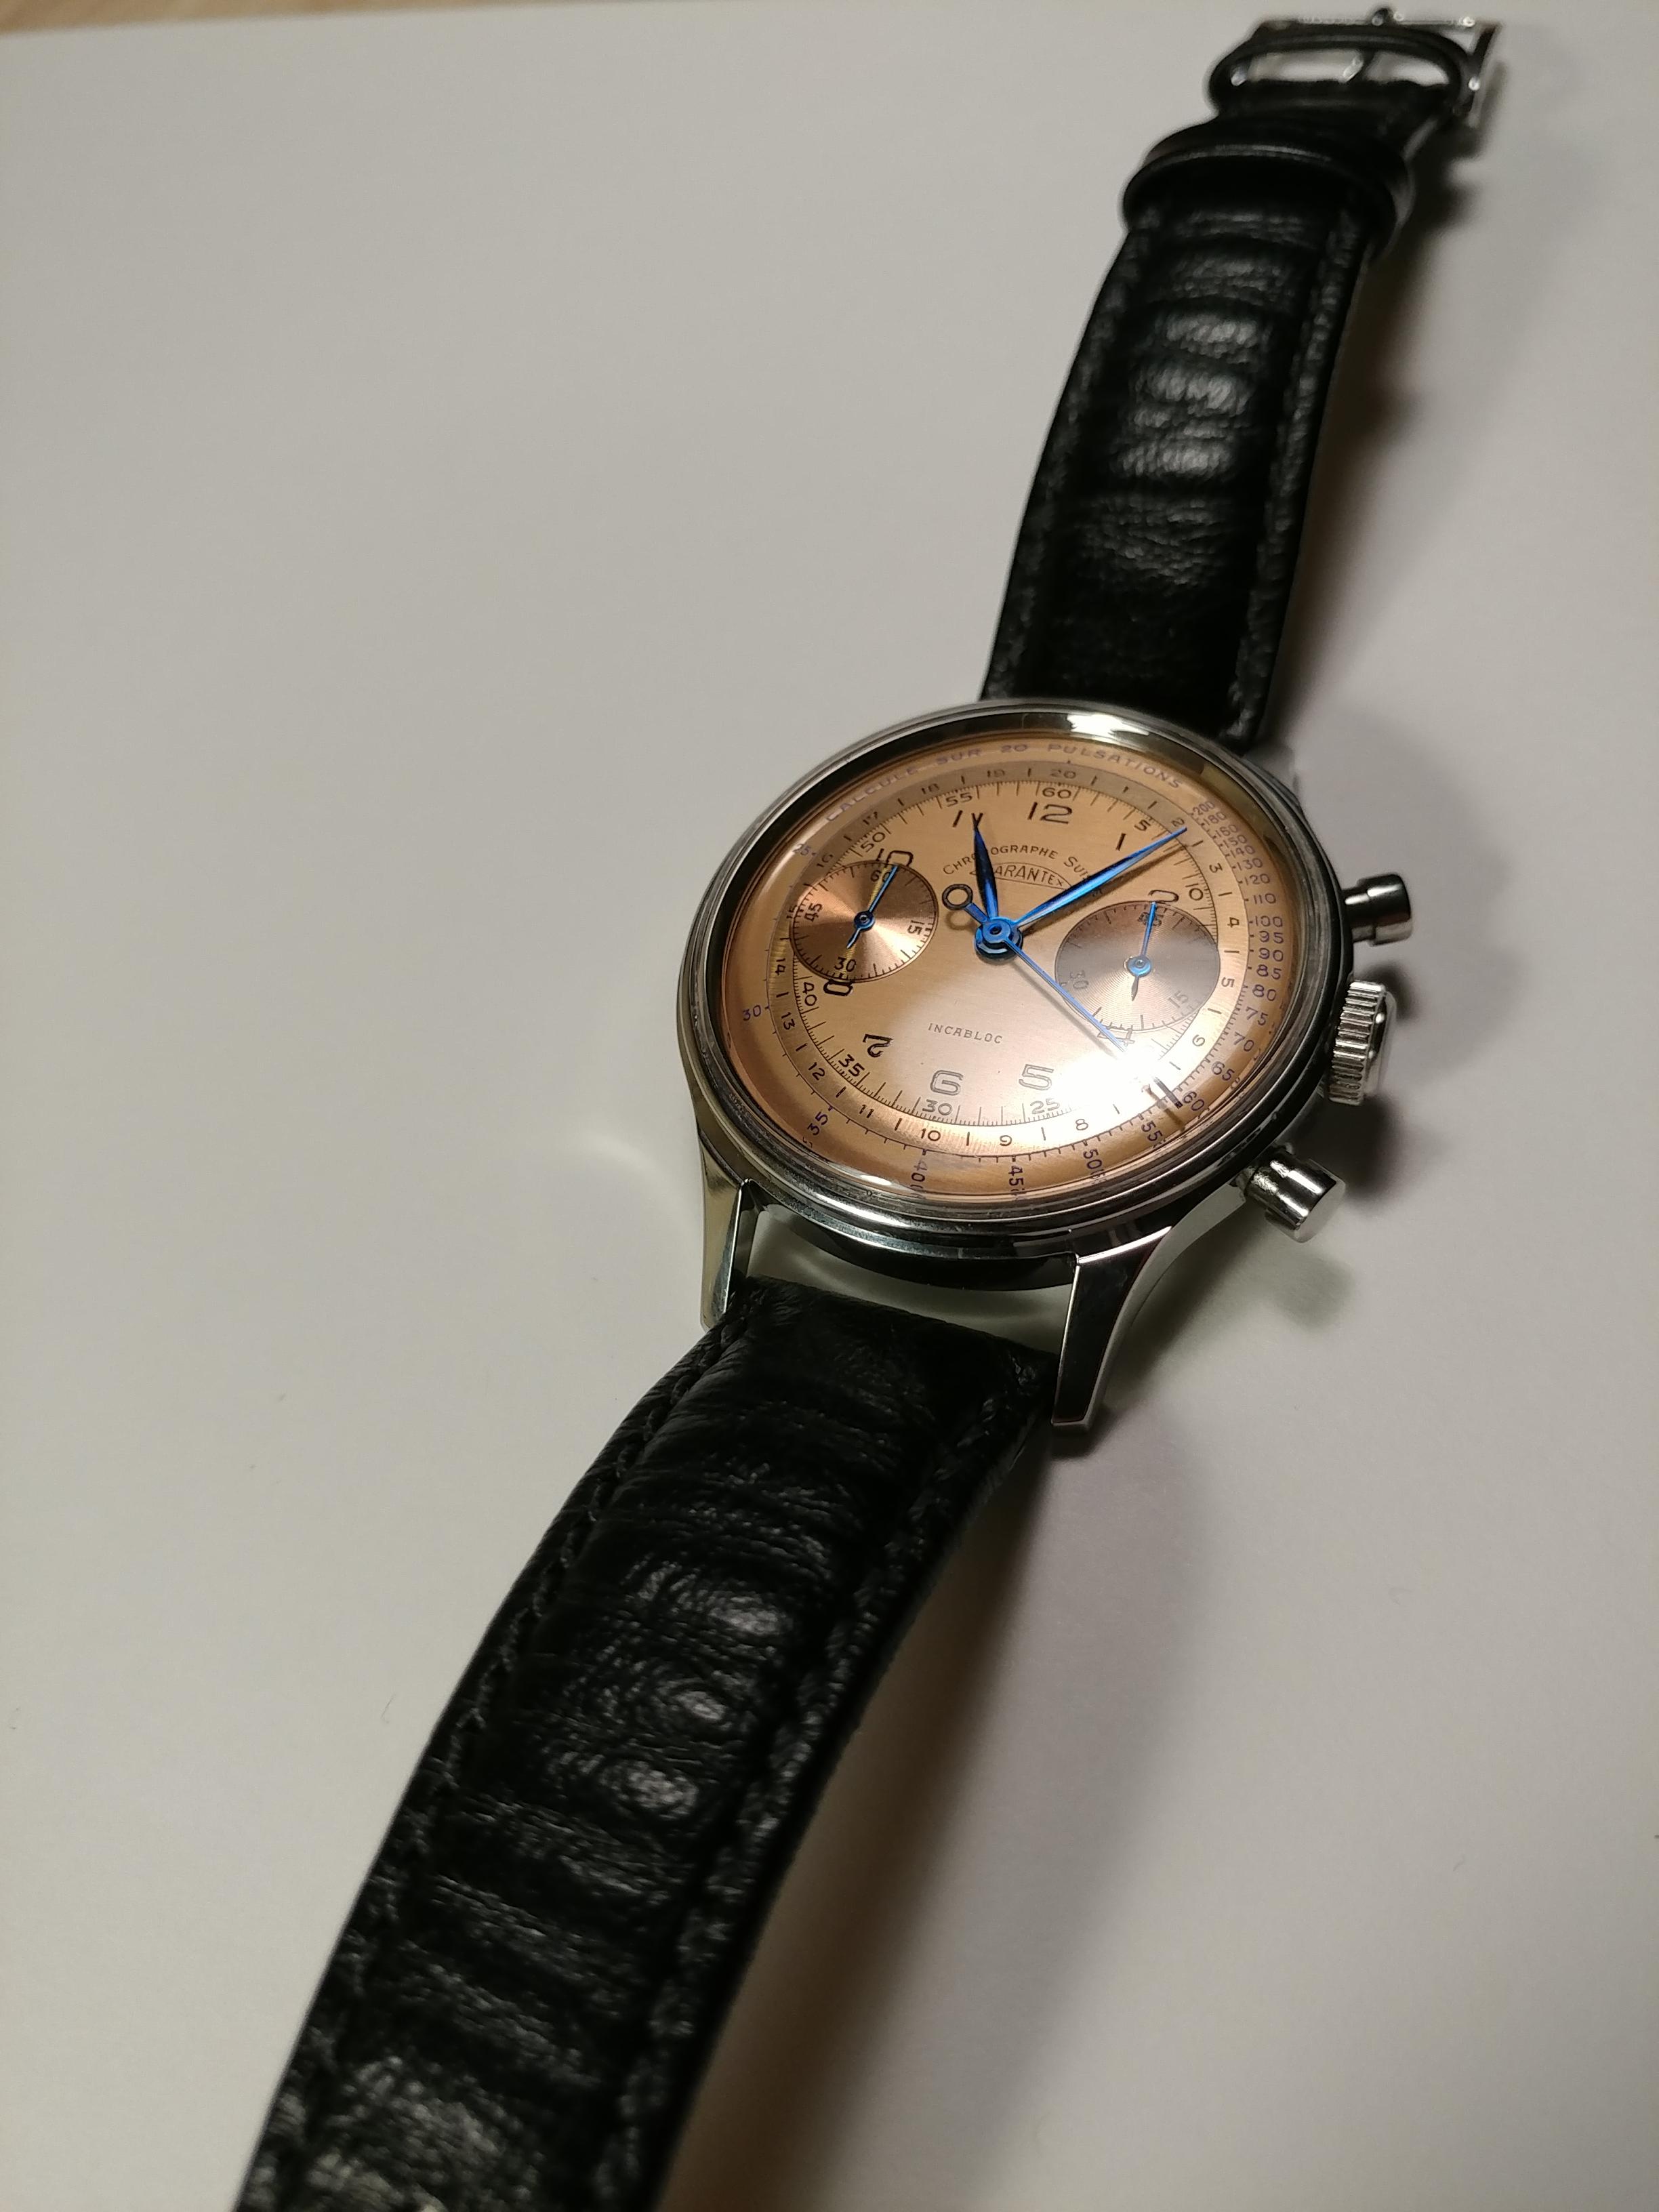
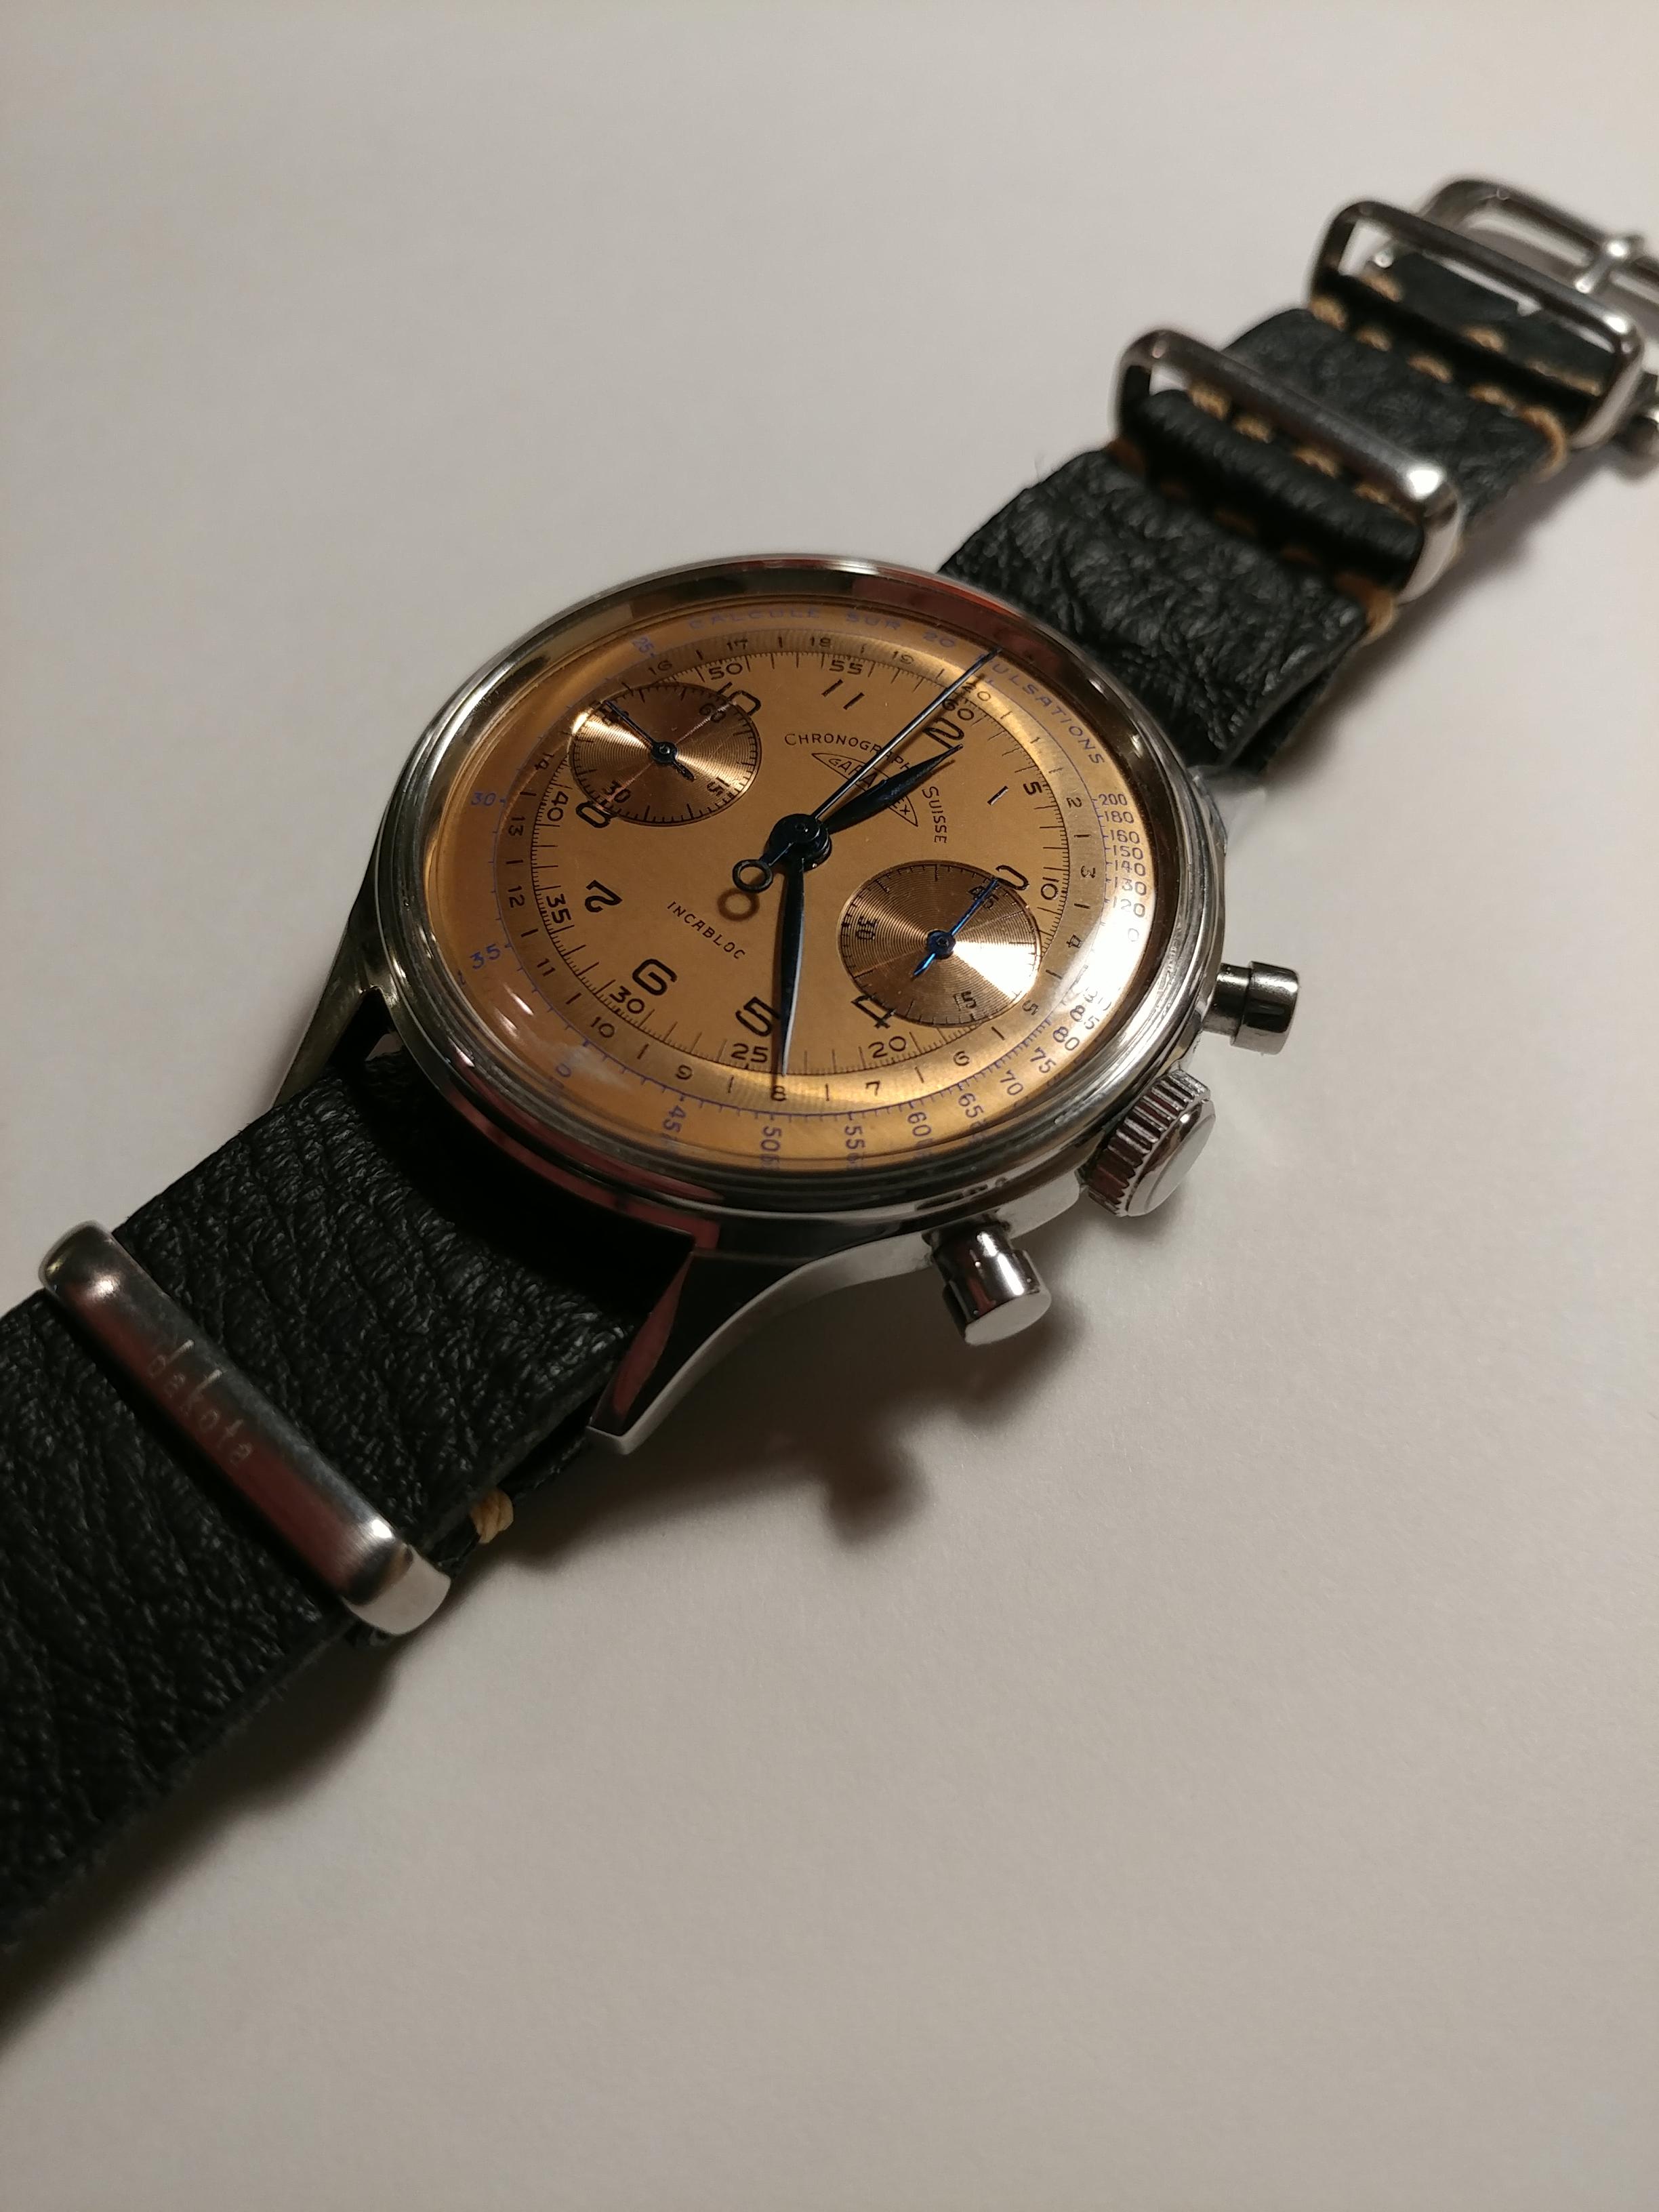
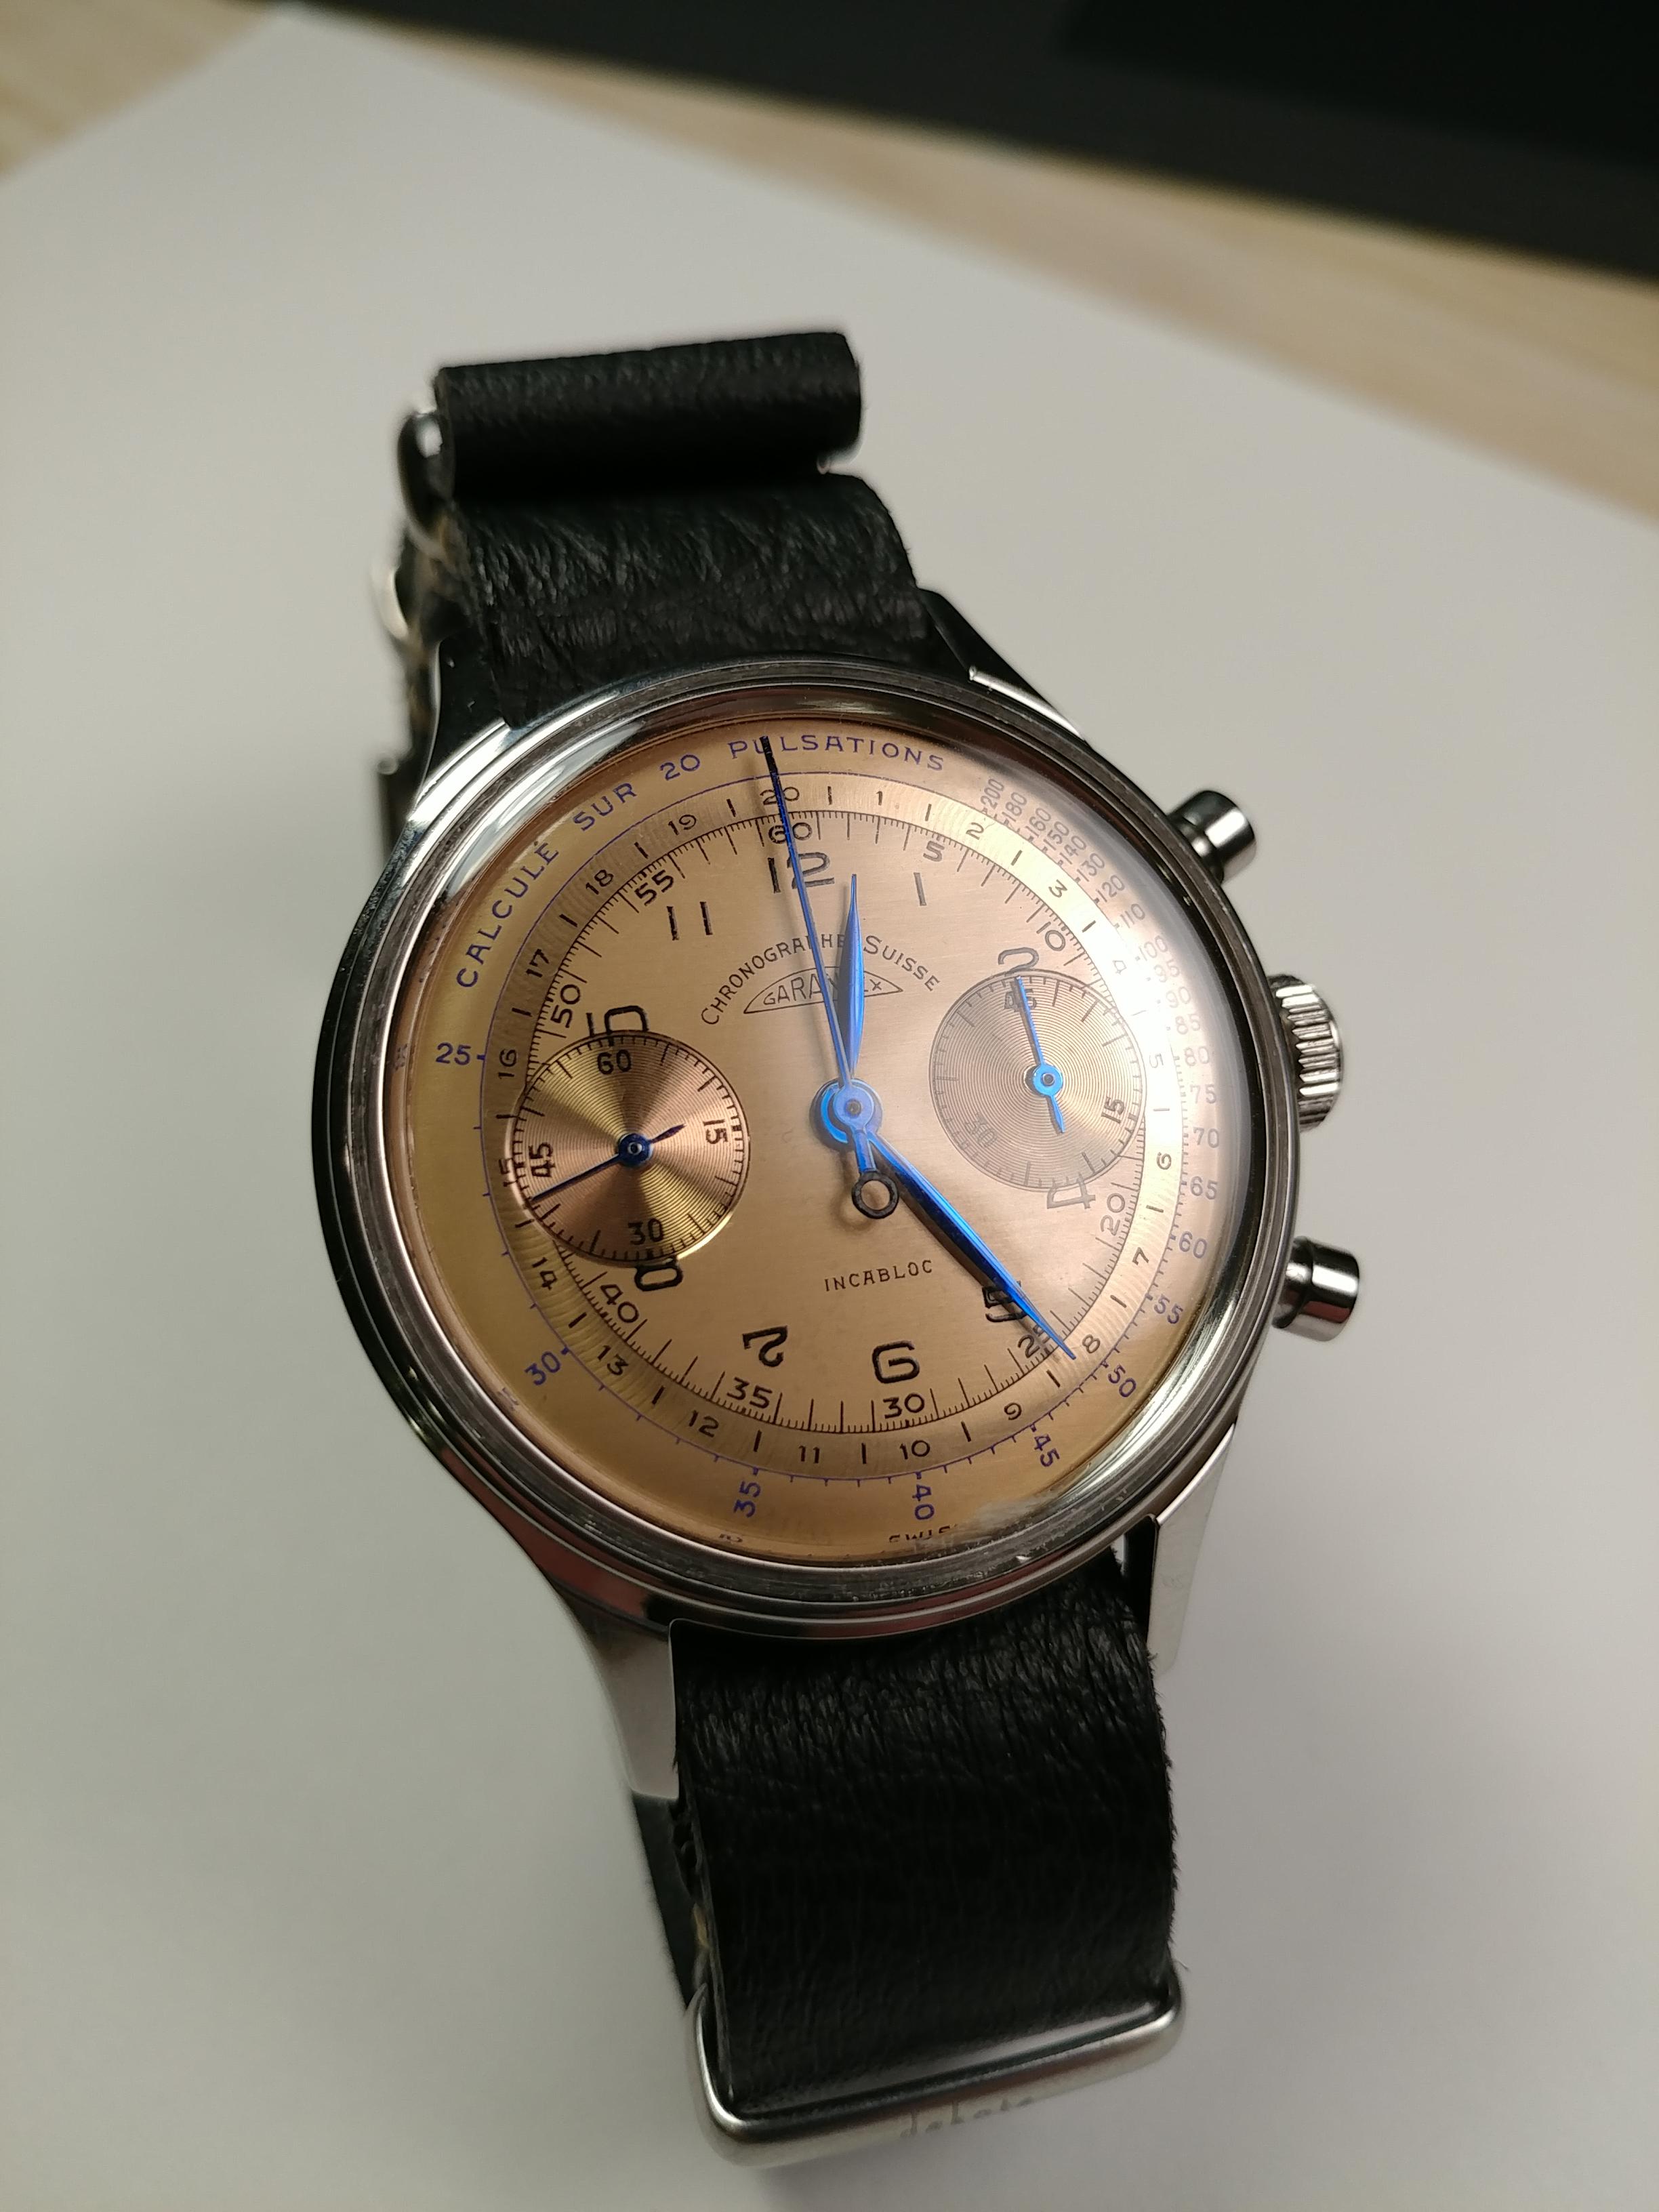
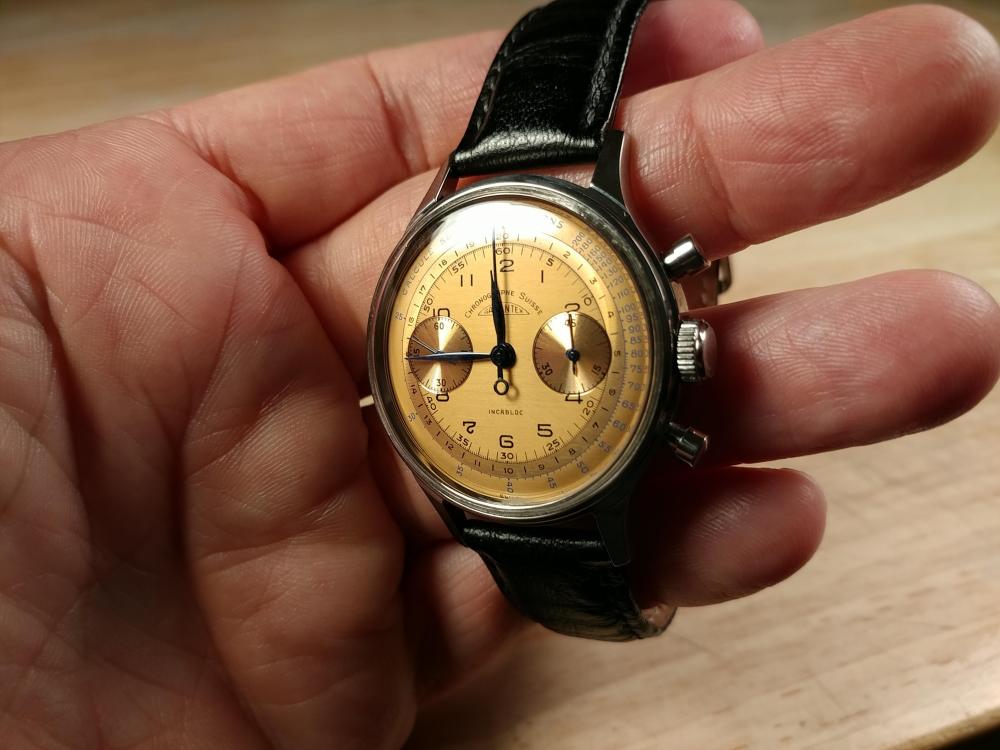
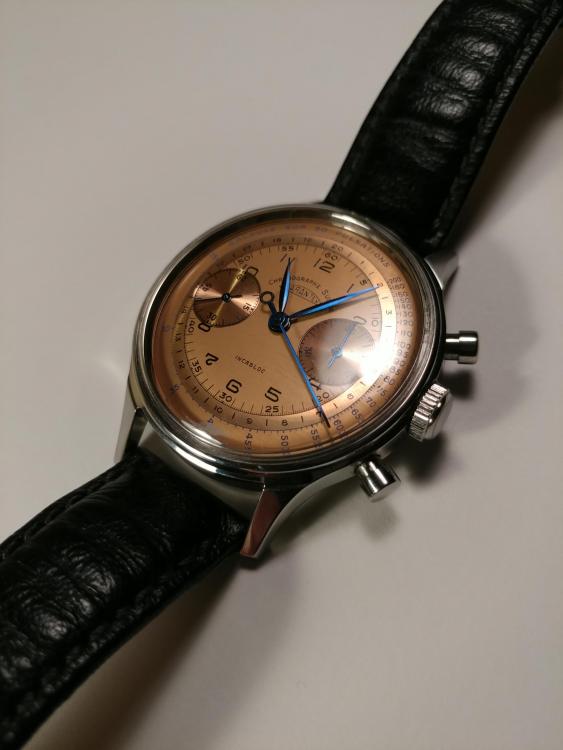
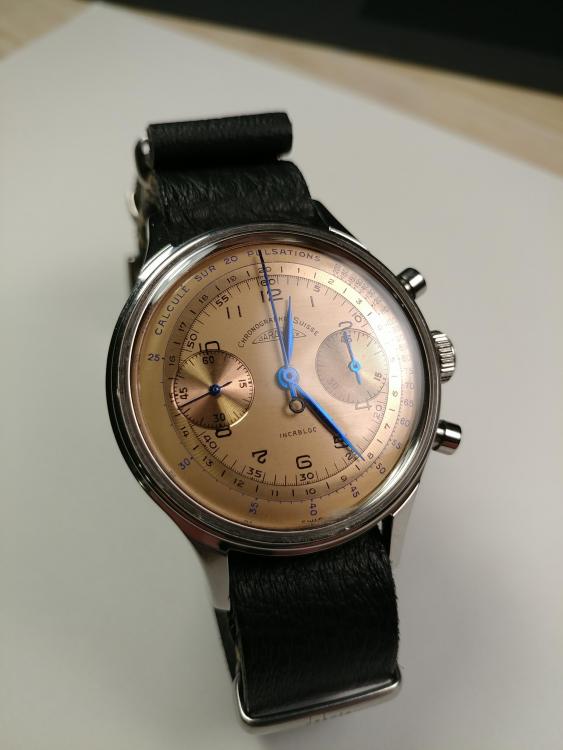
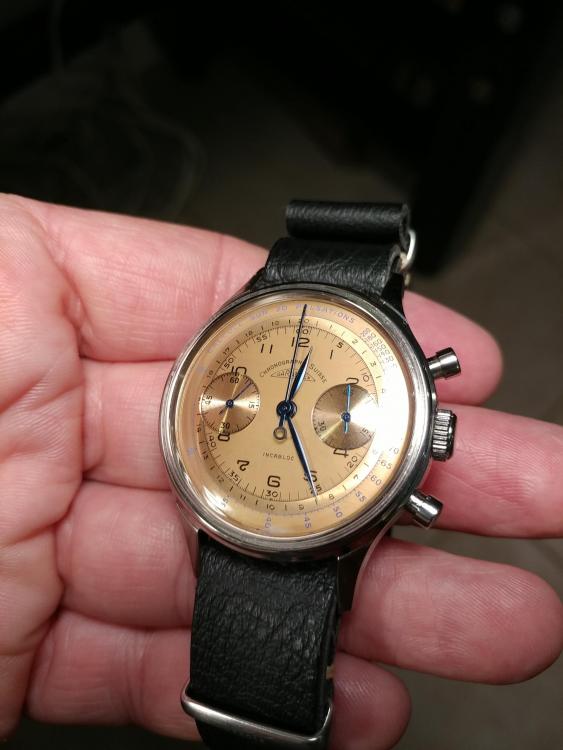
Hello fellow watch lovers, I have just completed a build from part sourced from various sellers. It turned out to be the best build for me yet and I have really amazed myself and the skills I had to exercise on this timepiece. I have impressed myself with this one and it is a stunner with a salmon dial. The NATO strap is very lovely on this timepiece. I apologize for the lack of details on this beauty, Enjoy


 1 point
 -
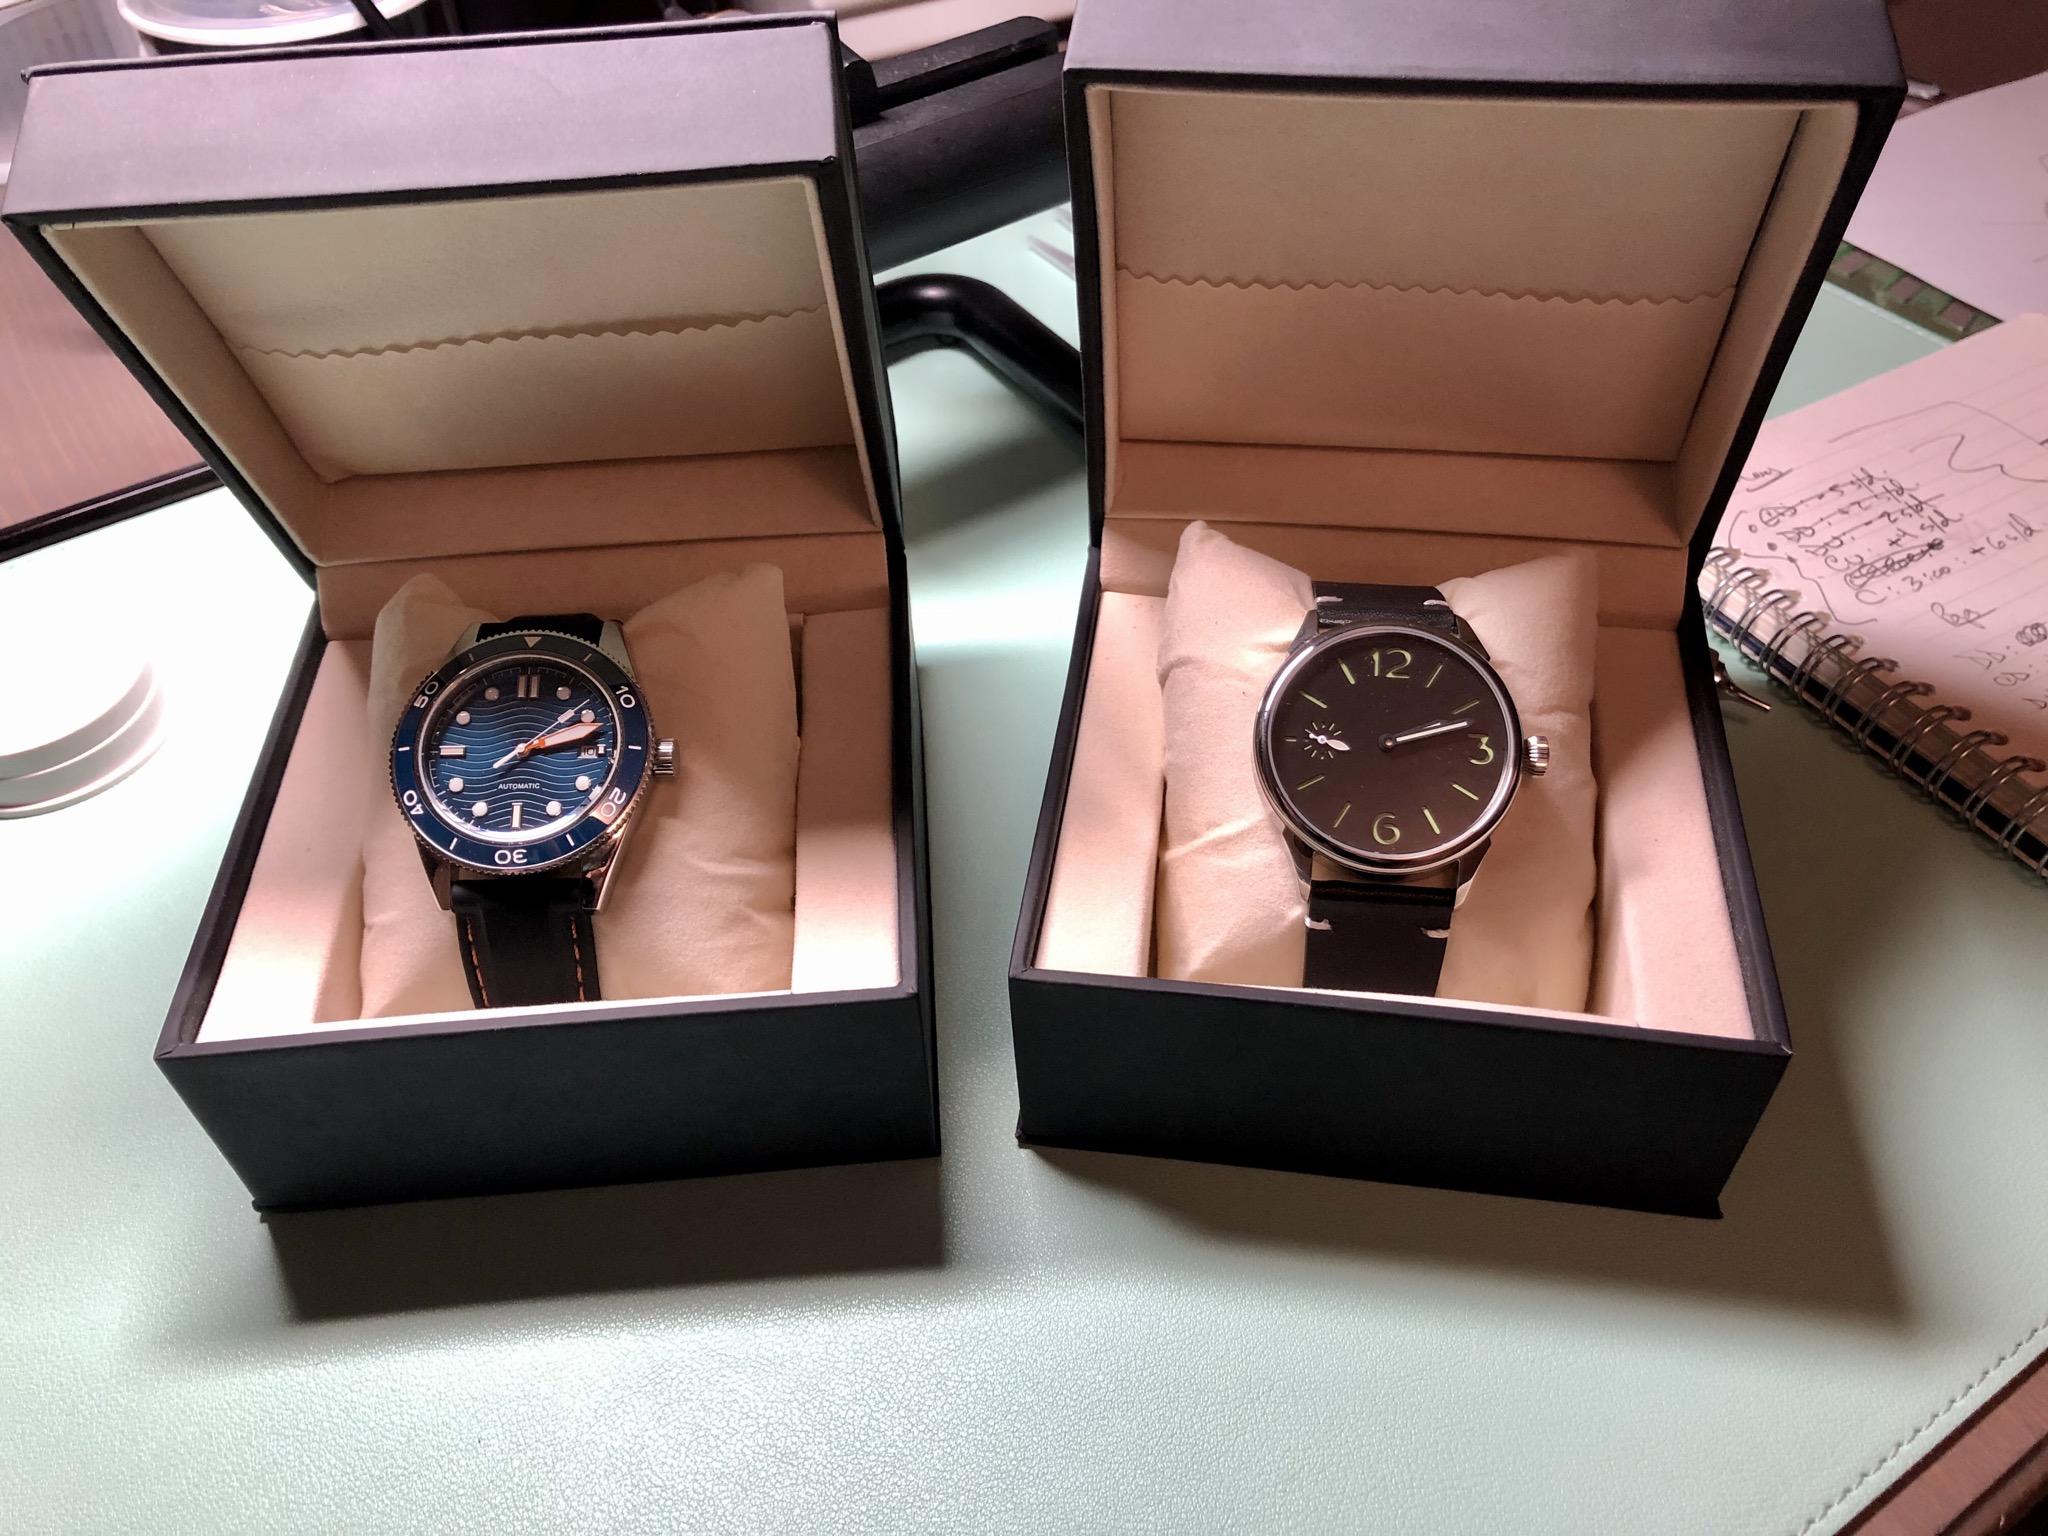
Hi Everyone! Just wanted to share these two watches which I made and serviced for my parents. The blue dial one I had posted before, but just serviced it (runs a Miyota 8215). The black dial one is newly made and running a Seagull ST36. It’s incredible how well these movements can perform after servicing. I got both to within +/- 5 sec/day in 5 different positions. Special thanks to Mark Lovick for his awesome watch repair course and to everyone on these forums for all your help! Best regards


 1 point
 -
My opinion would suggest it's a bit off (e.g franken) Looks like the dial has been stamped breitling and the bridge marked breitling is from a different movement. Hands look like they do not go with the dial. However I am by no means a expert in breitlings, waiting on more experts to chime in Sent from my ONEPLUS A6003 using Tapatalk1 point
-
Nice! Thanks i just saw the video and try it! thanks, i finally take the movement out its an elgin 884 movement1 point
-
^^^ What he said. press gently on the dimple shown below with the point of your tweezers. The stem should release without much effort.
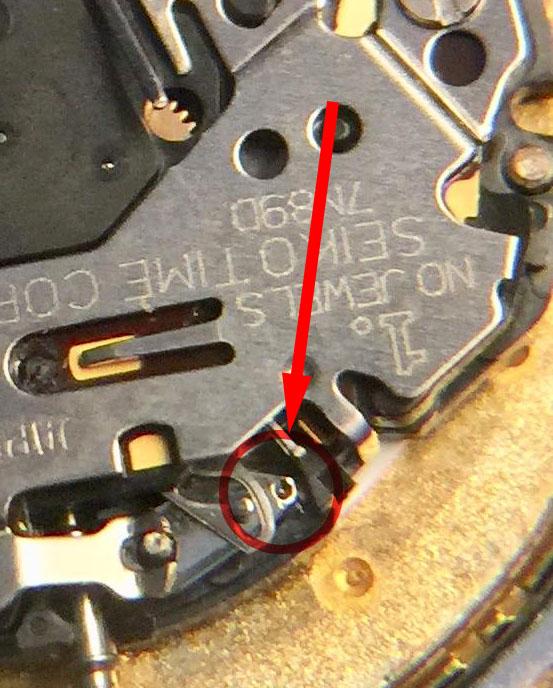 1 point
 -
Hi Its a while since i did one of these, I believe that where the plate spring (forked end ) fits to the right hand end of the lever there is a dimple press genty and release the stem. I have attached the tech sheet for your interest. Cheers Seiko 7N82A, 7N83A, 7N89A.pdf1 point
-
CGS stands for Centimeter, Gram, Second. CGS is a metric system of units. adapted in horology to express the torque or the strength of a spring in terms of.1 point
-
@eccentric59 Jeepers mate, thank you very much! That explains it! Just bought the battery on ebay. An other adventure to come!1 point
-
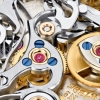
A nice clean looking Kienzle is on its way. Not sure what is inside. Lets see what interesting Kienzle mechanism turns up. From the style I would say perhaps 1950s. ... maybe.
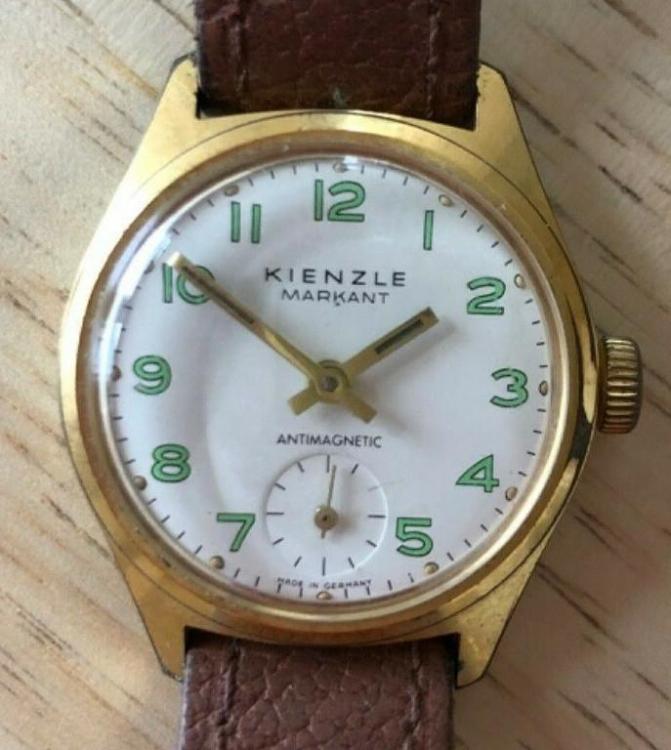 1 point
 -
With a five sided reamer it will work from the original hole and miss the elongated part at first only when it is cutting will it cut the outer which will be the worn part. If you use the right size tool and insert it in the hole you can see it isn't touching the elongated part. Looks like we will have to agree to disagree. Stay safe my friend.1 point
-
Hi Hector A typical 5 minute taking hours, been there a few times. good luck.1 point
-
Hi Adam The offer still stands, If you PM me your address I will dig out the plans for you and post them down. I will see if I can get them onto the site as well. cheers1 point
-
Its quite difficult to glue feet back on but heres a tip. I usually do it first before assembling. What I do is fit the feet back in a bare movement so that they stick out a bit equally, then dress the tips so that they are flat, Next Apply some JB weld to the dial where you want the feet to go .. sighting thru the hole in the middle of the dial to ensure you get it really centred. Use blobs of rodico on the edges to ensure the dial stays level. If you like you can reattach the centre wheels, canon pinion/minute wheel to ensure that the dial is really centred. Leave it overnight or longer and then remove dial from movement . Good luck Anilv1 point
-
I would suggest an EB8800. They're a super simple in pallet movement and the are dozens listed on eBay for under $40. These were incredibly common back in the day and parts are readily available.1 point
-
I suggest a decsent quality good looking vintage swiss manual wind for which you can buy a donor movement.1 point
-
Disclaimer: I'm a deep end guy. I learn to swim on the kitchen floor (read like crazy until I feel comfortable), then just jump in. Date complications are tiddlywinks. Nothing to be remotely concerned with. The only thing you might hold off on is something you care about breaking. A chronograph is complicated, but if you're careful and pay close attention, it's not at all impossible. The approach I backed into mostly because shipping hasn't been all that timely during the pandemic is to fiddle around with what's to hand. I had a collection of crappy old watches that I accumulated years ago; cheap junk, because it's what I could afford in college. Mostly eBay type stuff I thought looked OK at the time, or things that came in lots with other things I actually wanted... That sort of stuff. Nicest and most complicated watch I've messed with out of that lot is a 7S26B Seiko 5 that was broken in a car wreck. Turned out not to be so broken, so I'm actually trying to make it run. Automatic, day, date, center seconds... The only thing that's given me headache is the mainspring barrel was a pain to split and I ended up warping it a bit (I had a spare badly running 7S26C, so lesson learned, part salvaged, moving on), and I roached the hair spring up good. I managed to screw the second hair spring up a bit as well, but I'm not calling it dead yet. The only things that gave me any issue at all are in no way specific or even related to automatic or day/date functionality. @AndyHull has been playing a game he calls the "404 Club" (I think it refers specifically to a group of watches in his collection, but I'd almost go so far as to advocate it become A Thing™). @FLwatchguy73 and I have been dabbling a bit with the challenge as well. The premise is finding watches for £4.04 (currently $5.08/€4.52) and having fun (it's a hobby after all!). So far, I've managed to score a handful (ten or so) of French and Swiss watches, all fully jeweled (17+)... Well... Mostly... Still waiting on shipping. If I screw any of them up beyond any usability or parts salvageability, I'll be out an absolute max of $15 including shipping. Cheap experience. That experience moves quickly. The first "modern" watch I dis/reassembled was a Tongji, and I had a **BLEEP** of a time manipulating the shock springs. Last night, I popped the shock springs on and off the Seiko a handful of times with no issues, and first attempt each time. Elapsed working time between the two couldn't have been more than 5 hours (though it's taken me weeks trying to find time with a newborn, two tech professionals working on what has literally become the bandwidth equivalent of an unreliable dial up internet connection, and a pandemic). Jump in. Break shit. Learn. Move on.1 point
-
I’m going to suggest, only because it’s was the first automatic I worked on, a Seiko 6309. They are abundant in basic watches, have a very simple automatic winding mech and pretty straight forward keyless, no unruly springs to ping off into oblivion and unless they are completely beat up you can achieve good results. Sent from my iPhone using Tapatalk1 point
-
What is that you like? Get that or similar if too expensive, maybe just not a chrono yet. A complete watch that you can then wear would be ideal IMO, you did good with Mark's and now deserve a reward..1 point
-
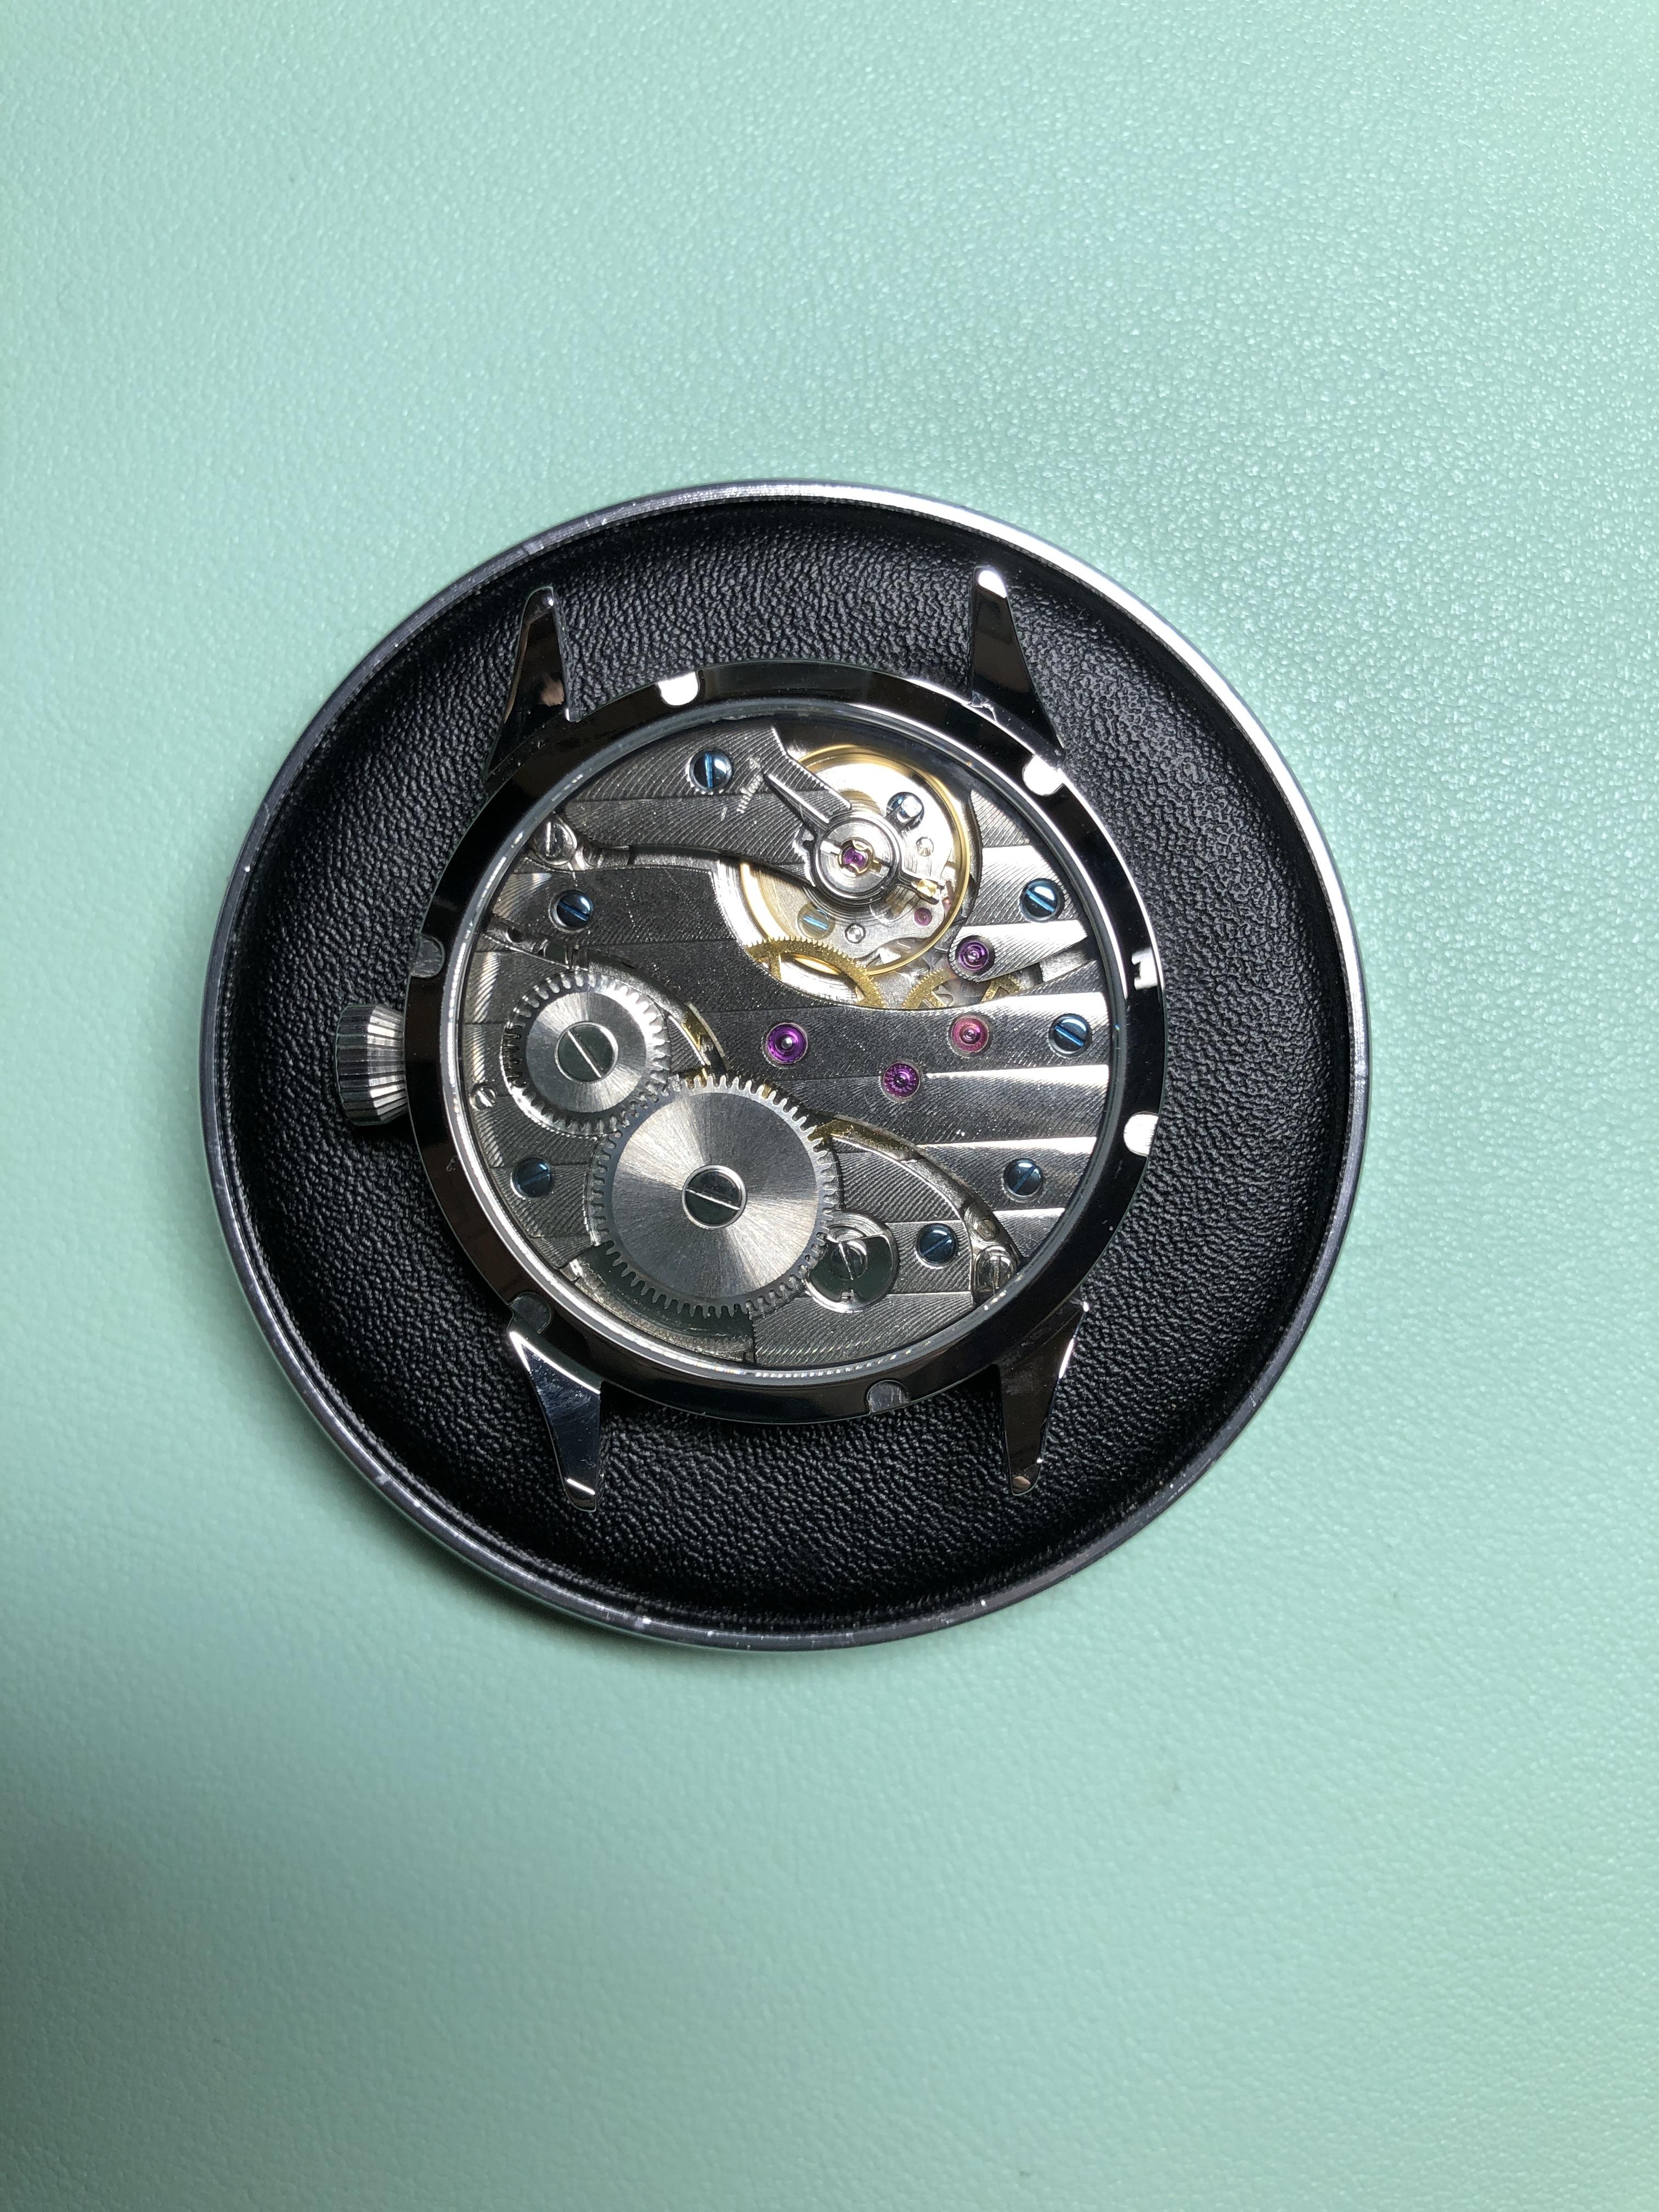
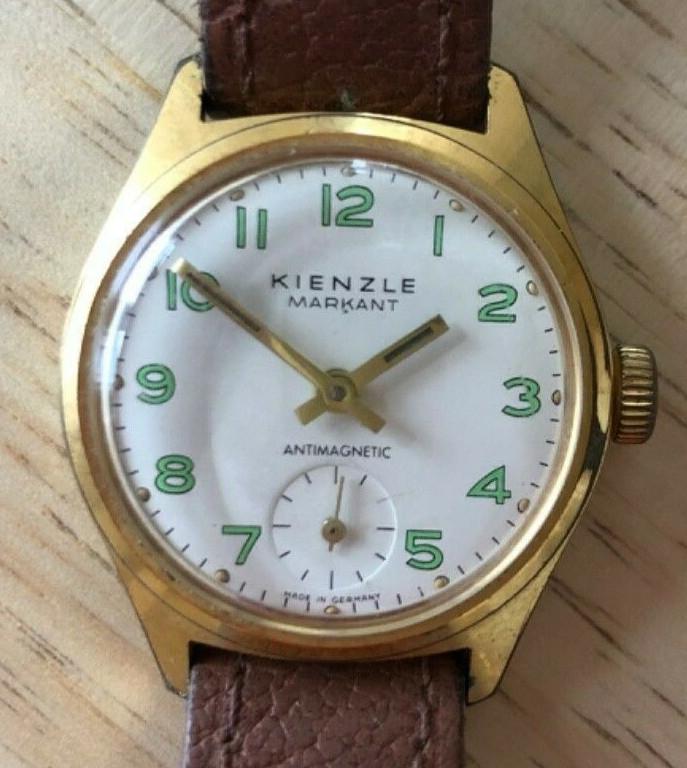
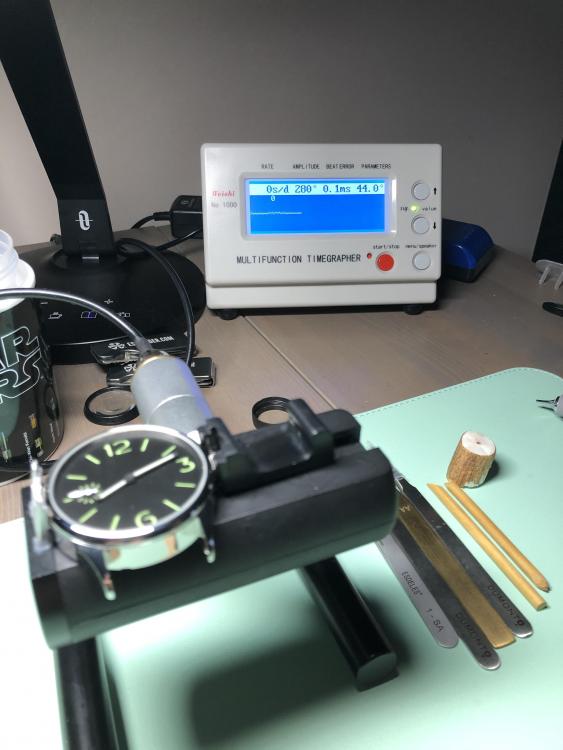
All working perfect now. Everything was good all the time. After I test the motion work with power on the mainspring everything behave as expected and all working perfect! Really happy to accomplish my first amateur Rolex service!! Bit error is at zero but amplitude is a bit low at 275'. I think amplitude might not be great because I'm not really good at lub the jewels on the pallet fork and made a bit of a mess with the Moebius 9415. Thanks again for all the fantastic support.
 1 point
 -
This is an often asked question.There is no magic secret place, we all on an this forum buy on the same places available to you and anyone else: Search Internet, material-houses which sell online, Ebay. Looks like you have found a good source already, I guess you could sell these 10 pounds each if guaranteed quality, and work out pre-paid shipping. Pays for your need and gas money. I suppose you've never handled Chinese call bearings. Below the expected performance, good luck getting 5 seconds from an average Chinese one. Assuming they will fit, which is not a given.1 point
-
Hi The general convention was to add 0.01 to the measure ment. I suggest you have a look at the Esslinger web site and watch their tutorial for fitting crystals, It contains a lot of useful information, better than I could explain.1 point
-
If you do indeed have the Z011 calibre and not the Z020 (both are in the instructions you posted) then you have two batteries. The large battery (relatively speaking) you see when you take the cover off is for the back light only. The battery you bought (CR1220 ) looks like the large of the two. The smaller battery under the larger one is what powers the movement. I think the battery you are looking to replace is a SR626SW (Sony 377). You can read someone else's adventure with that here: https://www.fixya.com/support/t11449536-replace_second_battery_in_lorus_z0111 point
-
I keep combustible materials in a metal cabinet away from ignition sources. A good fire extinguisher rated for liquid fire is on hand.1 point
-
Isopropanol will soften and wash away the shellac. Take care with the balance and pallet fork. Just a quick dip of a few seconds, then straight onto watch paper to take off the excess, then use a puffer to dry the critical areas where the shellac bonds on the jewels. After 4 years using lighter fluid and thinking I was getting parts clean, I now use Elma watch cleaning product. Amazing how I fooled myself about how clean was clean. Also, try an ultrasonic which are very cheap nowadays. In general, IPA (isopropyl alcohol)is not a good cleaner, but is good for the final fine rinse if done quickly. Sent from my iPhone using Tapatalk1 point
-
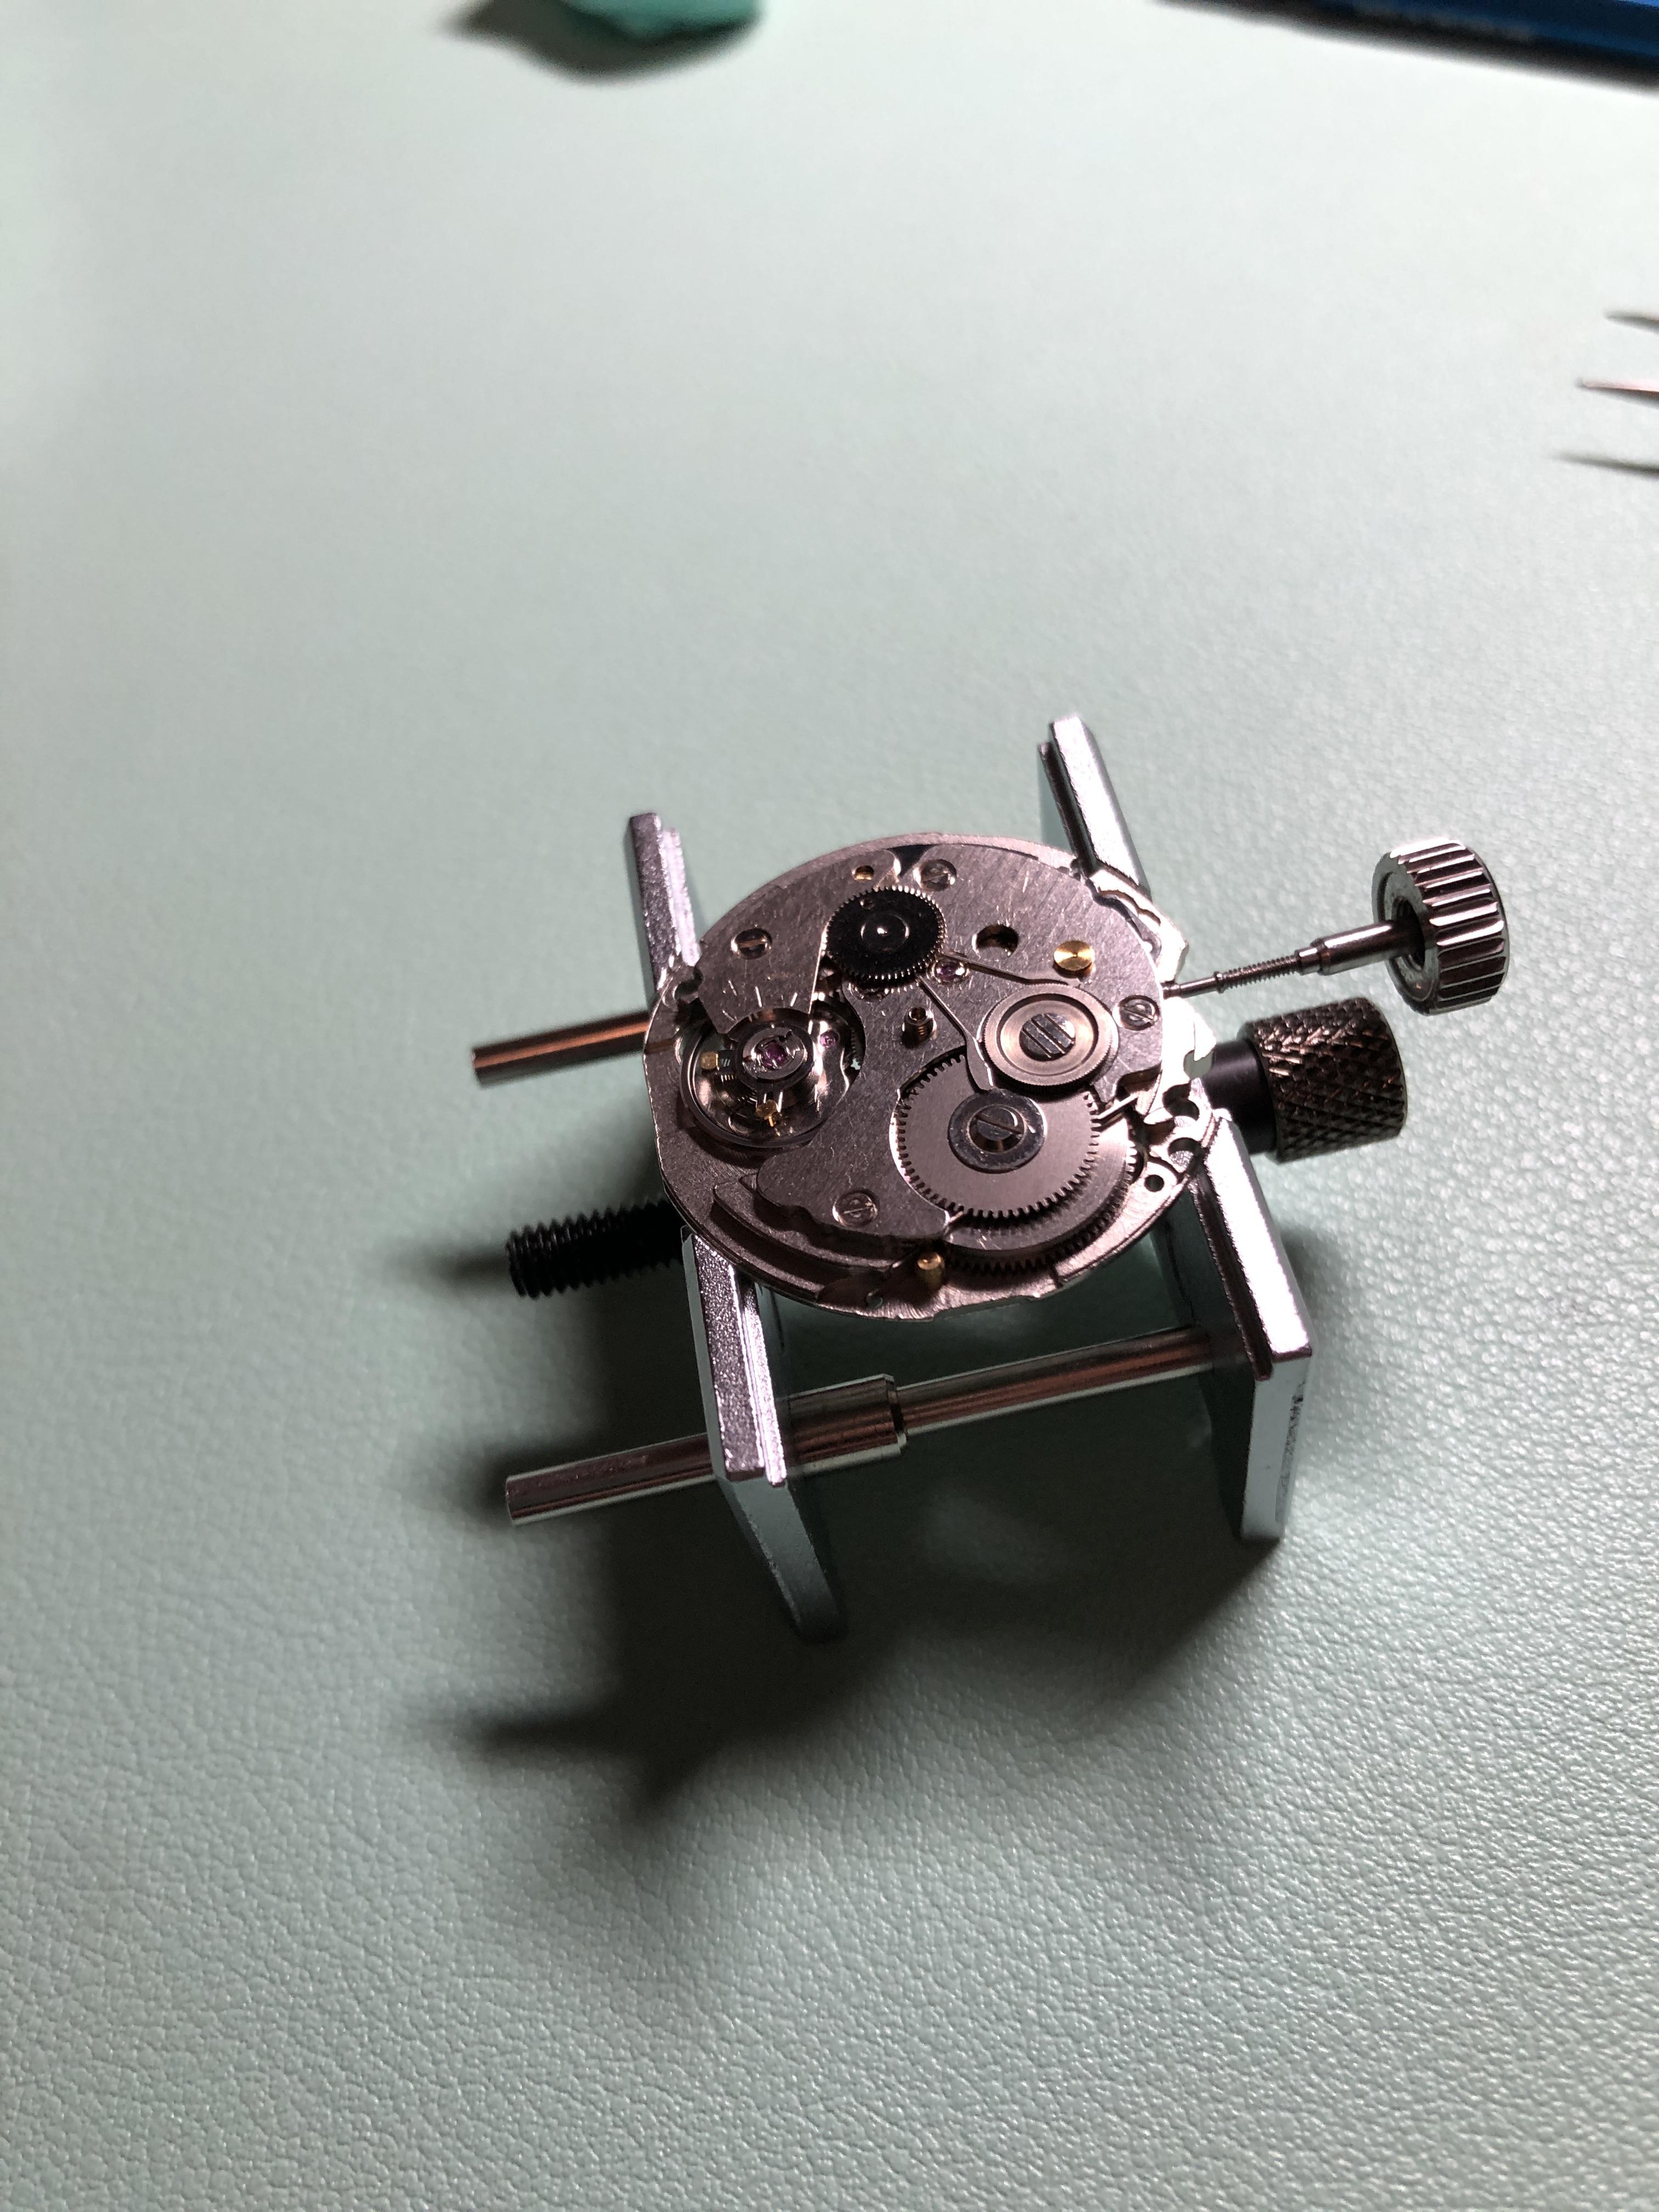
Amazing is an understatement. Here is what I got accomplished last night... I got the entire motion works back together. It actually runs great. The oscillating weight spins nice and free. The mainspring barrel is only supported on one side, but it really doesn't seem to have any adverse side effects. Everything was mostly surface rust. I scrubbed everything with a bit of peg wood and it all came off. Any pitting was very shallow, just barely under the plating. I dug out a screw from an older junk Seiko I had to replace the missing bridge screw. I'll work on the keyless works and the day/date components tonight.
 1 point
 -
I use the Greiner GS concentrate. It's mixed 1:19 with distilled water, so 50ml makes a liter. The rinse is pure isopropyl alcohol, and my machine distills it so it's clean, 1st rinse, dump the alcohol then 2nd rinse in clean alchohol. Drying is in warm filtered air. Greiner recommends rinsing the balance and fork alone in the first clean alcohol bath for 30 seconds to a minute to avoid softening any shellac; the rest of the parts then go through as above. For clocks I use a water based solution that is a recipe from the Finnish watchmaking school; with that I clean in the ultrasonic, rinse in warm running water, then a final rinse in alcohol to absorb the water, dry in warm air flow. Both are fairly gentle cleaners, and I've never had anything rust with the water based cleaners. I like them as they are pretty environmentally friendly, and I'm never wondering is the final rinse is clean enough.1 point
-
What I would recommend doing is reading the PDF For the cleaning fluid it has detailed specifications. Basically what they're saying tap water to mix up your solution anywhere between 3 and 10 minutes for cleaning. I wouldn't go over 10 minutes and I wouldn't make the solution stronger that supposed to be it has ammonia. Ammonia is really good at making things bright and shiny and looking clean but if you go too long it Can frost the Brass parts. Basically starts doing the opposite of cleaning stuff looks not clean. Then you're supposed to follow up with the water rinse and their real clear on what that water is supposed to be distilled or demineralised. I assume what they're basically saying is the water needs to be clean. Does not specify unfortunately how long it should be in the water but you do want to remove the cleaning product. Then the last rinse is the Suprol . In this case is used to displace the water before drying to keep the parts from rusting as a guess. If you are using a non-water-based cleaning fluid then you would typically have several rinses so in each one could reduce the concentration of the previous solution more and more. Then it says error dry? But how do curiosity and looking at one of the watch companies recommendations which is three minutes in each of the rinses they are recommending three. Followed up by warm air drying. So basically off to figure out some of the stuff on your own like whether you really can error dry or not? You may find that a little but a warm air blowing across the parts helps. Then is there any reason why You're not using the non-water-based watch cleaner?1 point
-
And I now know why the stem didn't do anything in the Bulova.
 1 point
 -
Is there a tool for installing the echalon shock spring as used by Seiko? I tried with two pairs of tweezers and it is so difficult. Mark makes it look easy. When I tried it it pings everywhere. I even tried putting a thin plastic bag over it while trying to engage the ends. Failed miserably. I've had to hold this one in abeyance till I get the nerve or the tool to try again.1 point
-
Just wanted to let you all know the bag and pegwood worked perfectly. Cheers1 point
-
Insidently the last time I tried the wife wanted to throw me out as the language was somewhat colourful when the spring pinged for the 30th odd time.1 point
-
Sorry to keep popping up! I saw the video linked above. It’s pretty good with the exception that no sandpaper is typically used. Buffing is instead of sanding and then polishing is the finishing step. I learnt quite a bit from this video from the Lititz Technicum: Cheers! Sent from my iPhone using Tapatalk1 point