Leaderboard


Popular Content
Showing content with the highest reputation on 10/23/19 in all areas
-
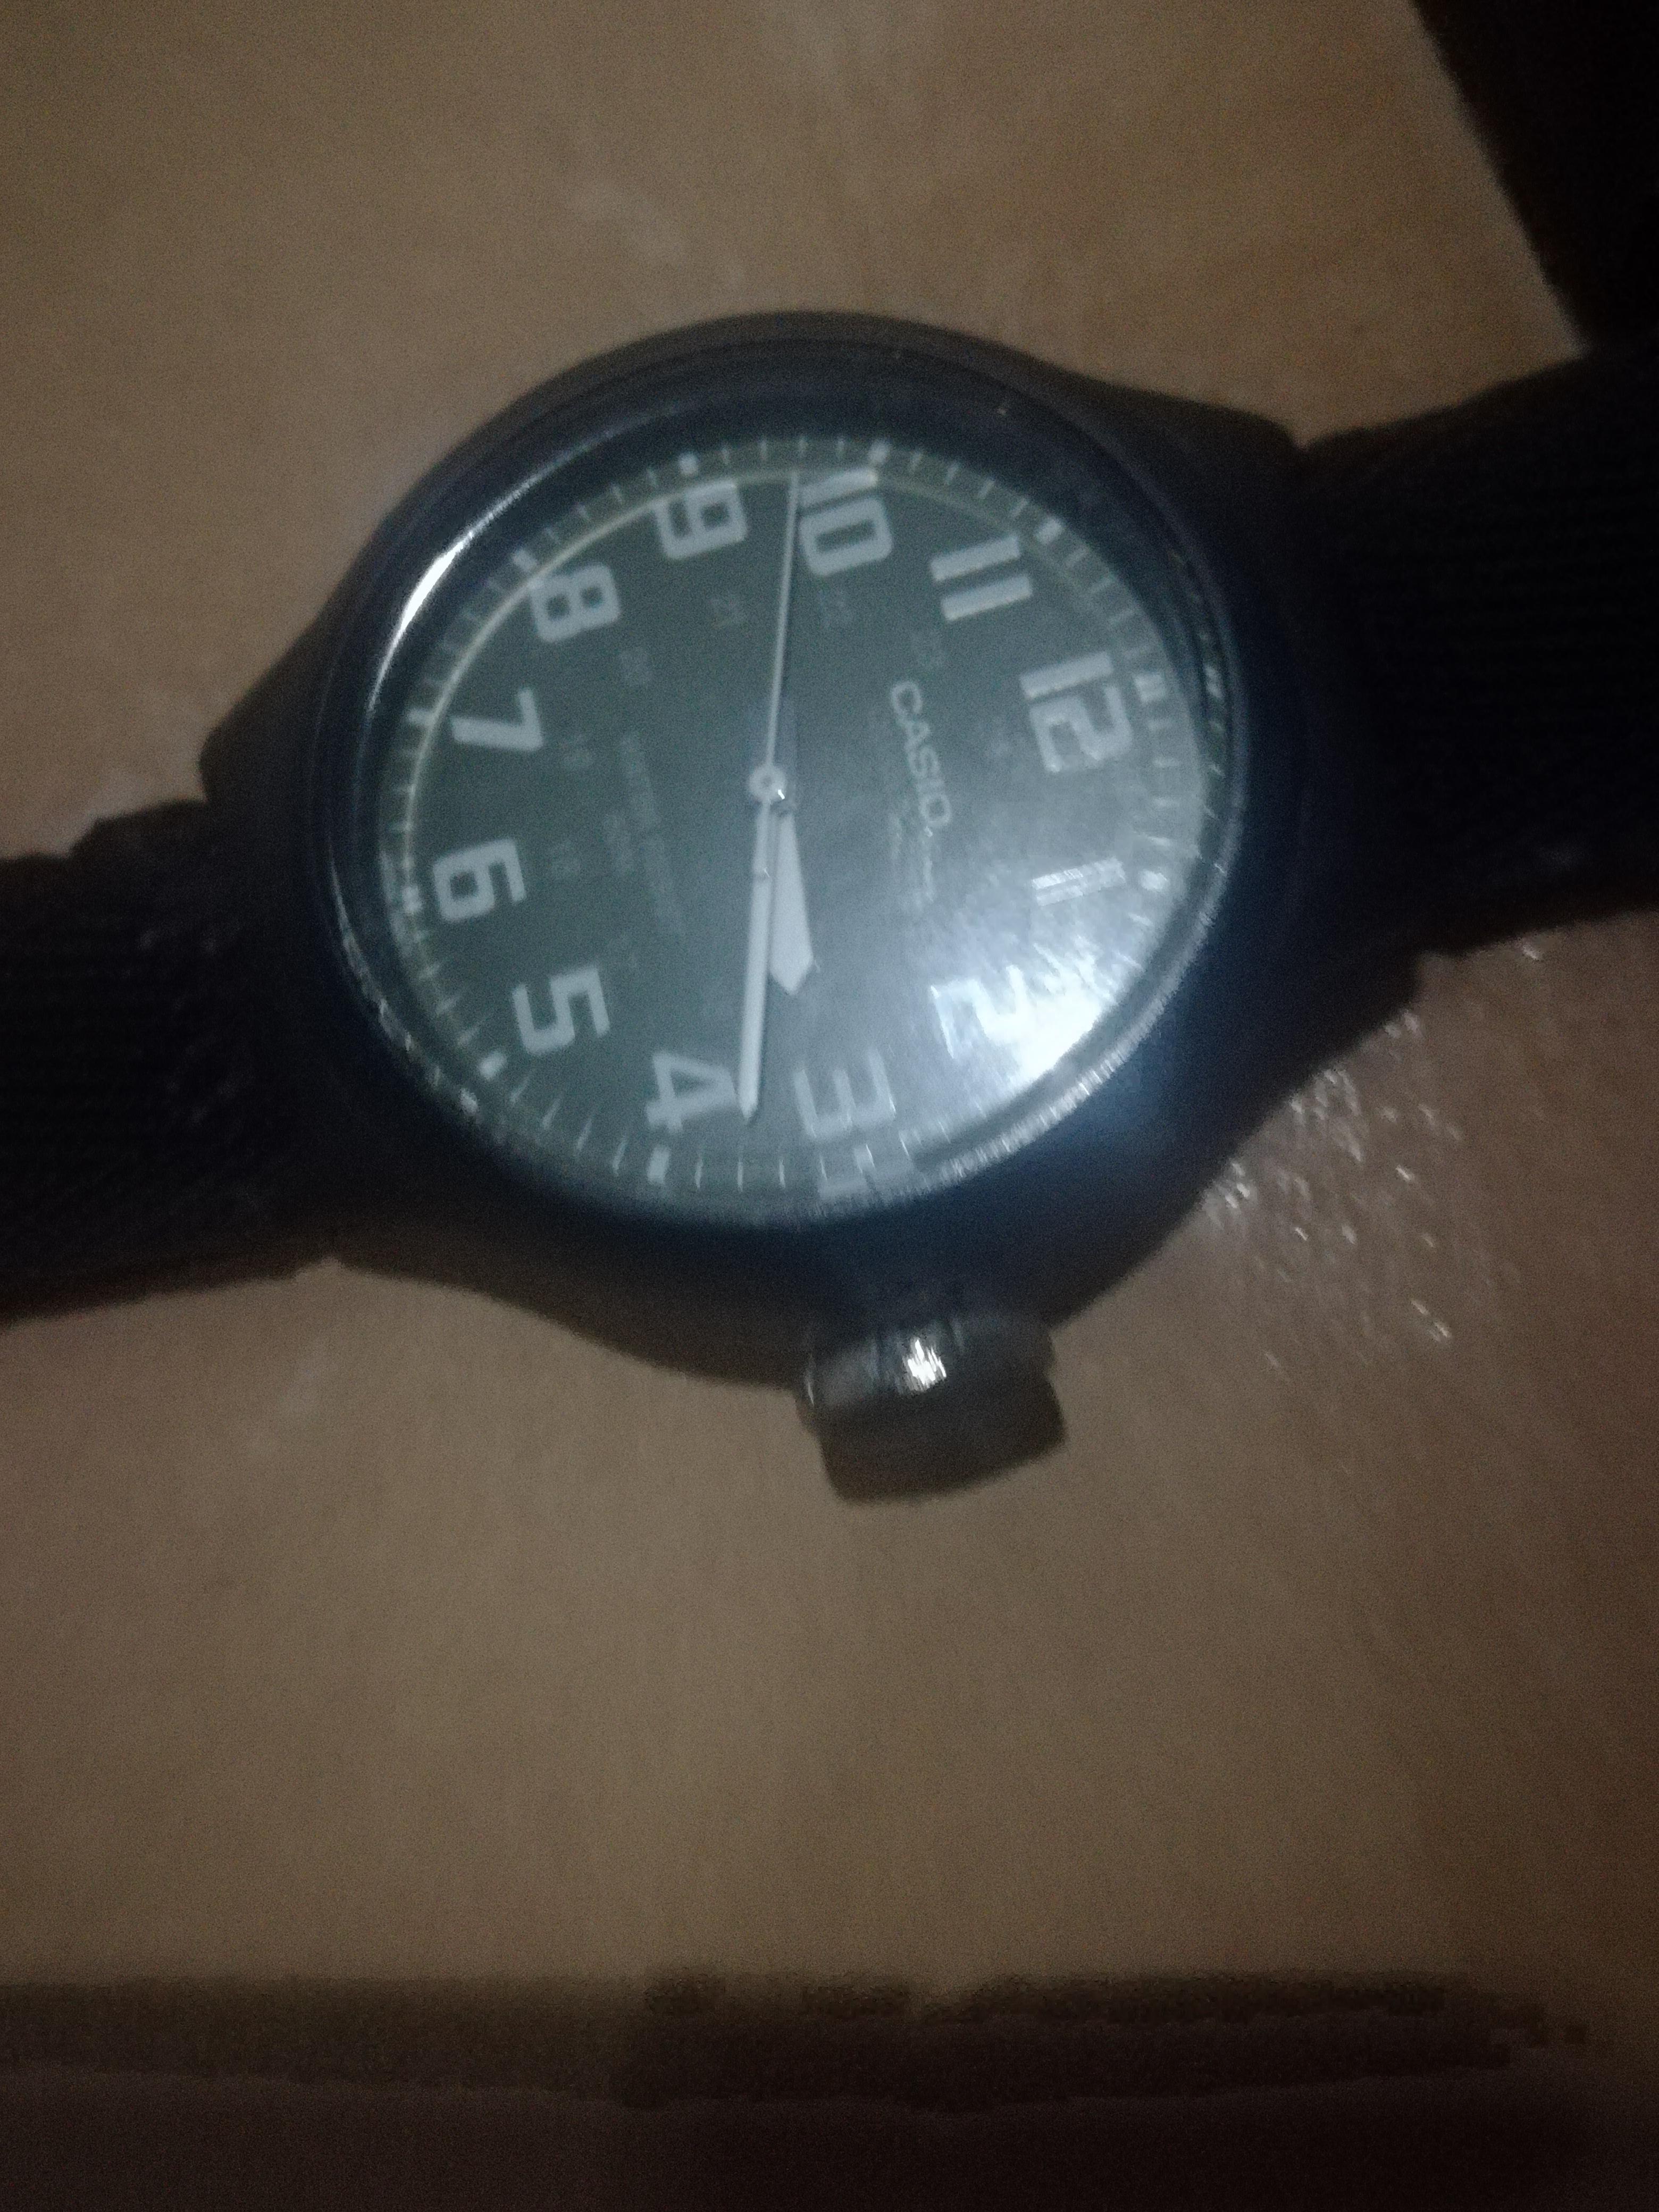
Could the second hand be catching the inside of the crystal? That may explain it always stopping in the same spot. For the first several hours after winding, the mainspring has enough torque to overcome the friction.3 points
-
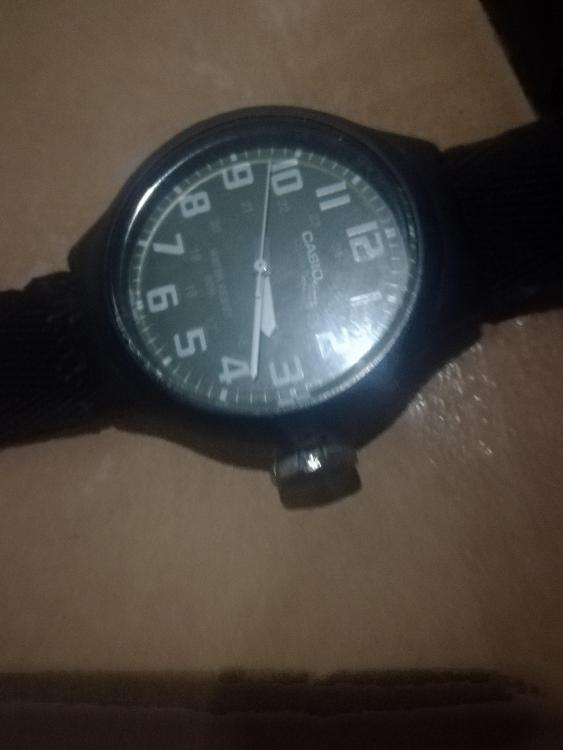
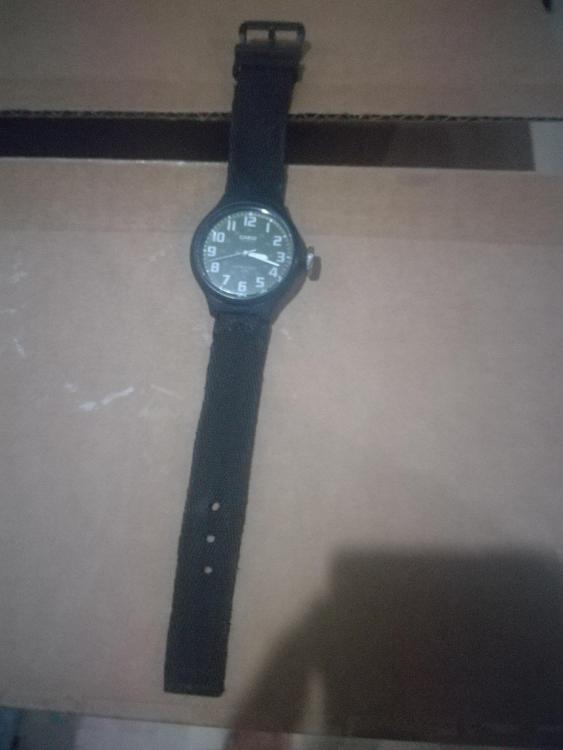
Welcome here. Now, what you call "clone" isn't at all identical to the original as the term implies. Depending from the level of sophistication of the counterfeiting it can use from a decent imitation to a very cheap and unreliable mov't. In all cases no spare parts are available, So, assuming isn't the second hand stuck on the minute, you would need first to learn how to take apart, diagnose and service a mechanical watch. To do that I suggest that you watch the video on Youtube by hour Host Mark. Sometime it can be more expeditious to replace to entire mov't, for that you would have to post a good picture.3 points
-
I don't really know why I did this, but learned few things in doing it. Maybe it can be useful to someone. https://docs.google.com/spreadsheets/d/e/2PACX-1vQByD2urHoi67sG_-Li_pJCBSscfVn86lFErnKfXepajtIcW0LEbLh7l9NDZt1Gu-DNrWfHEOpDmUA1/pubhtml2 points
-
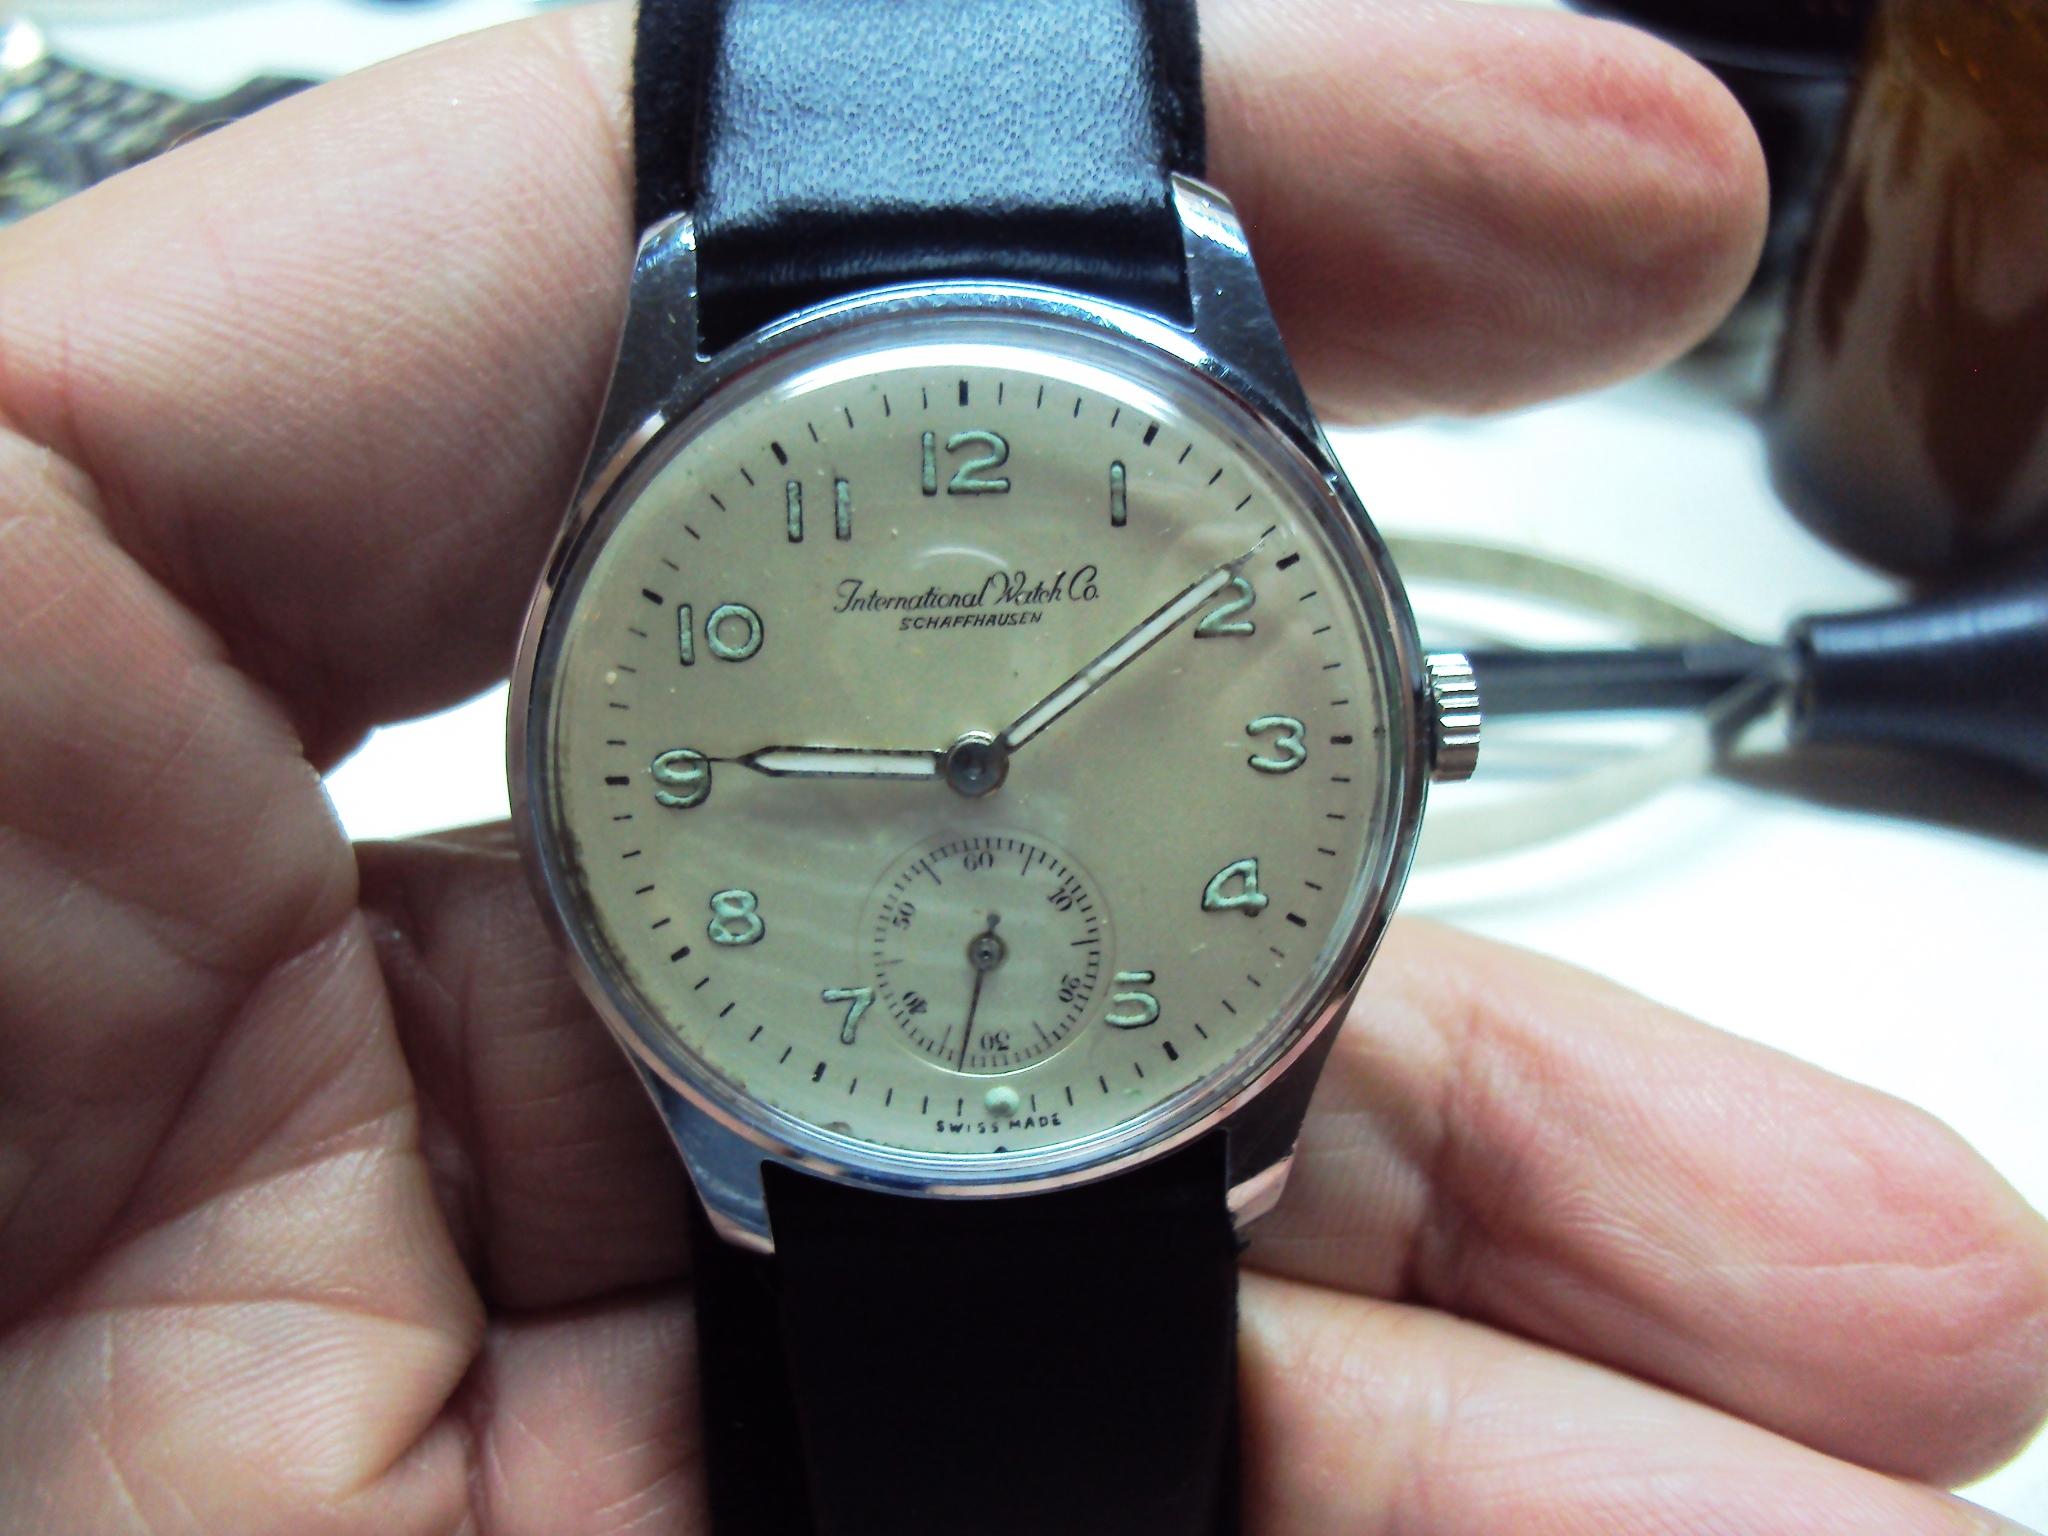
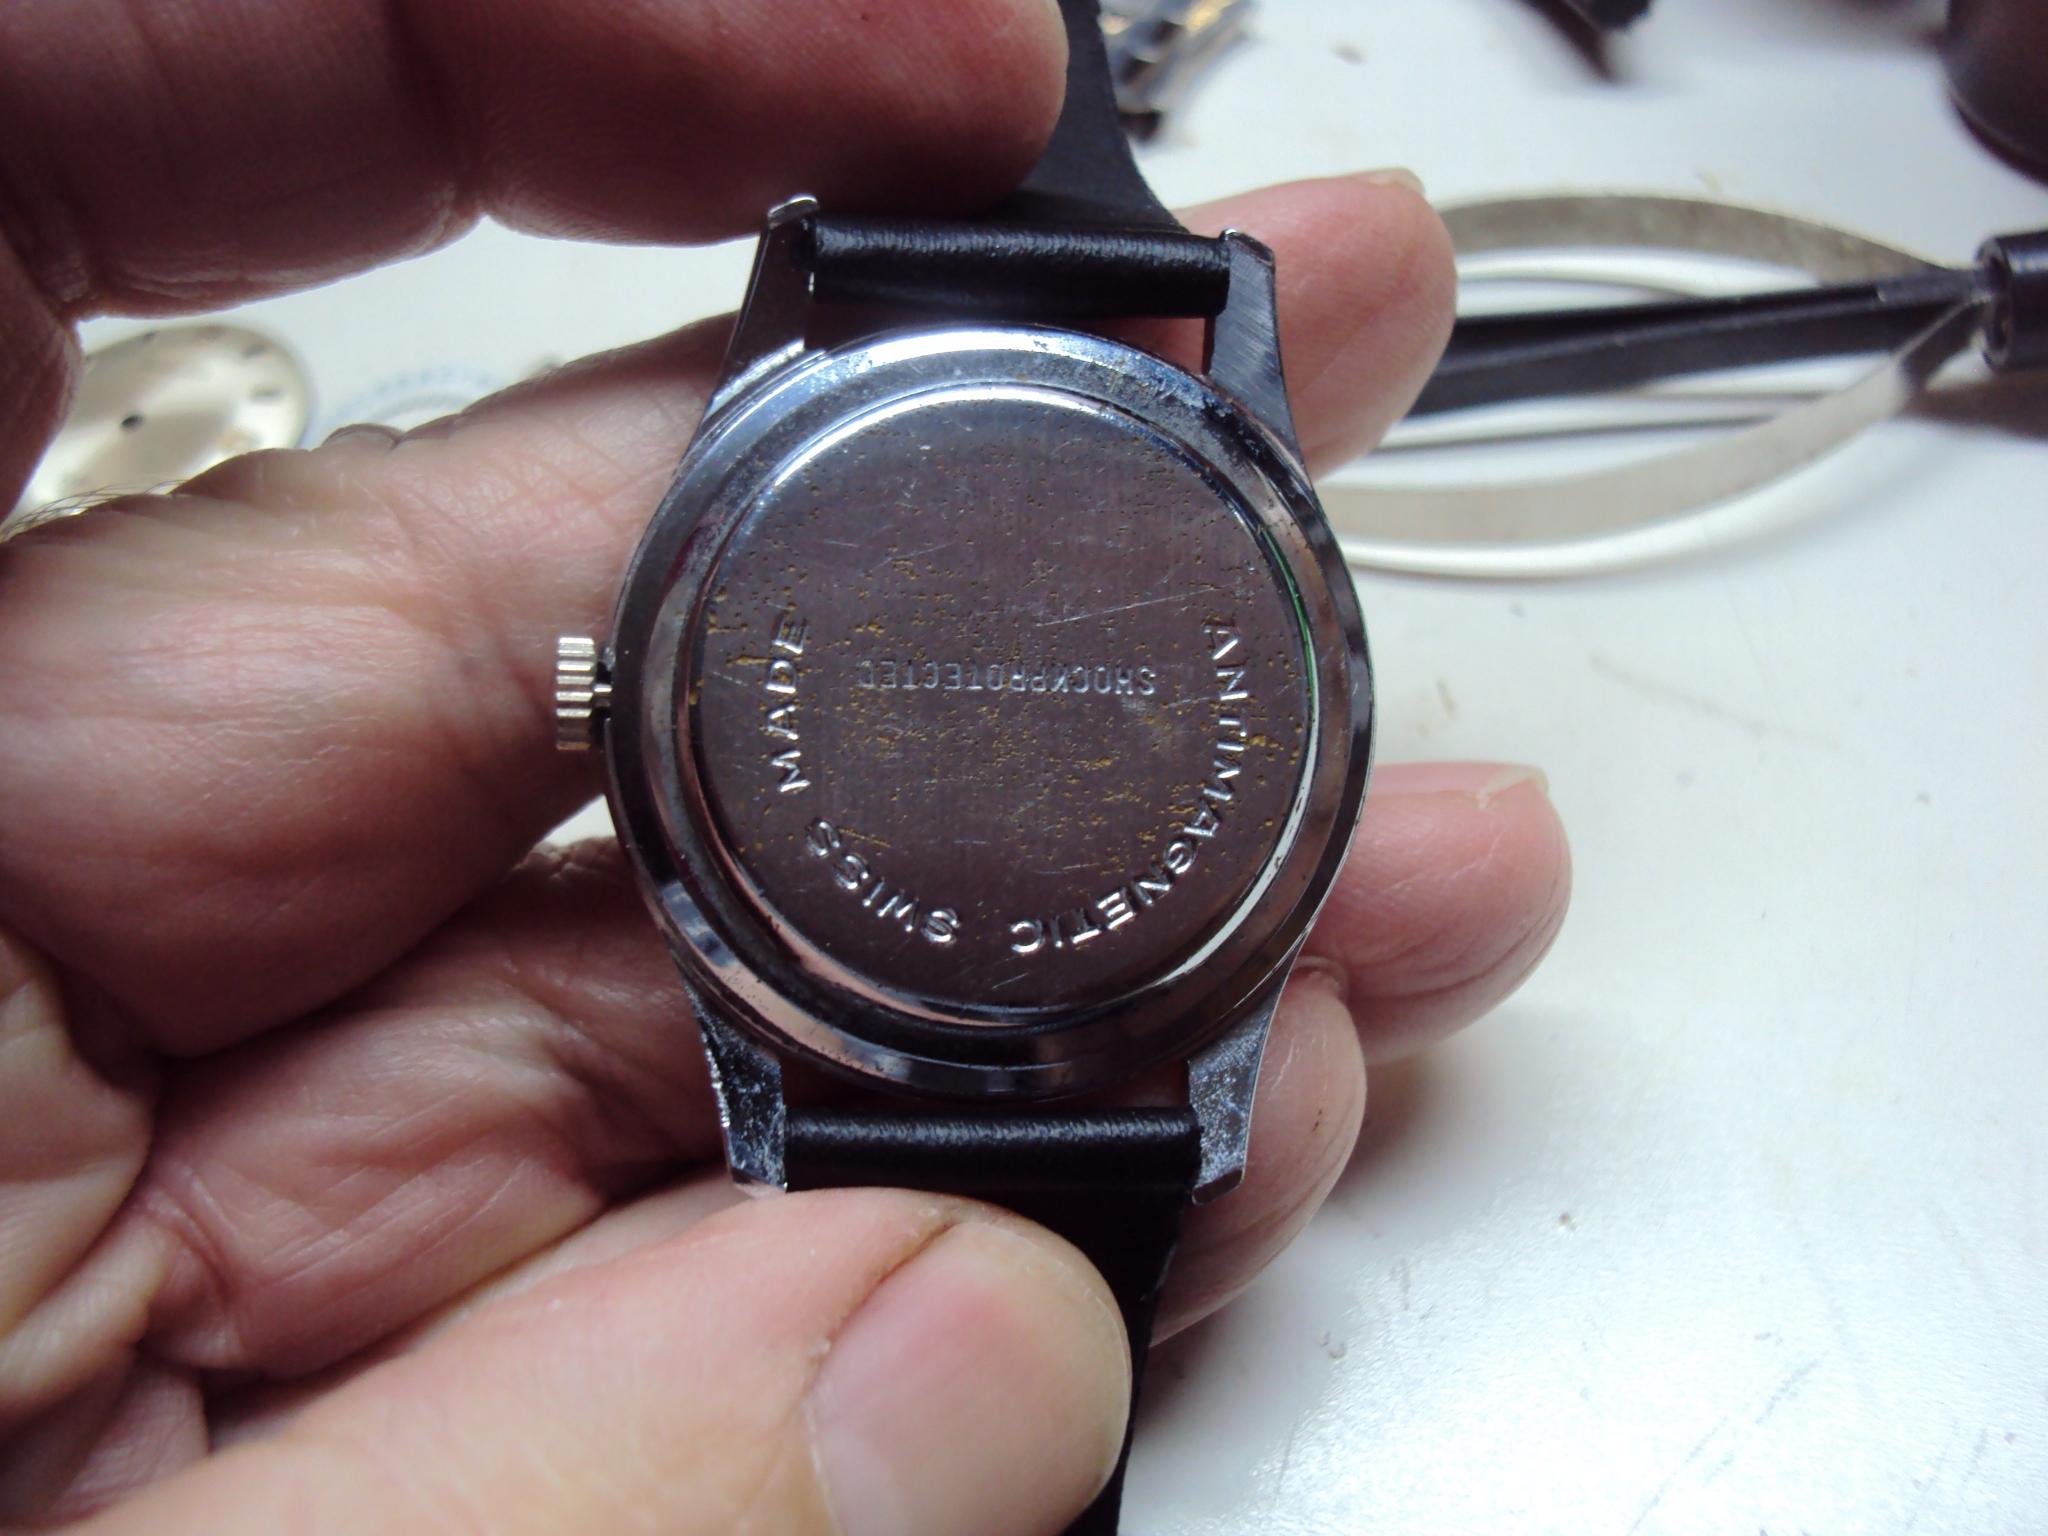
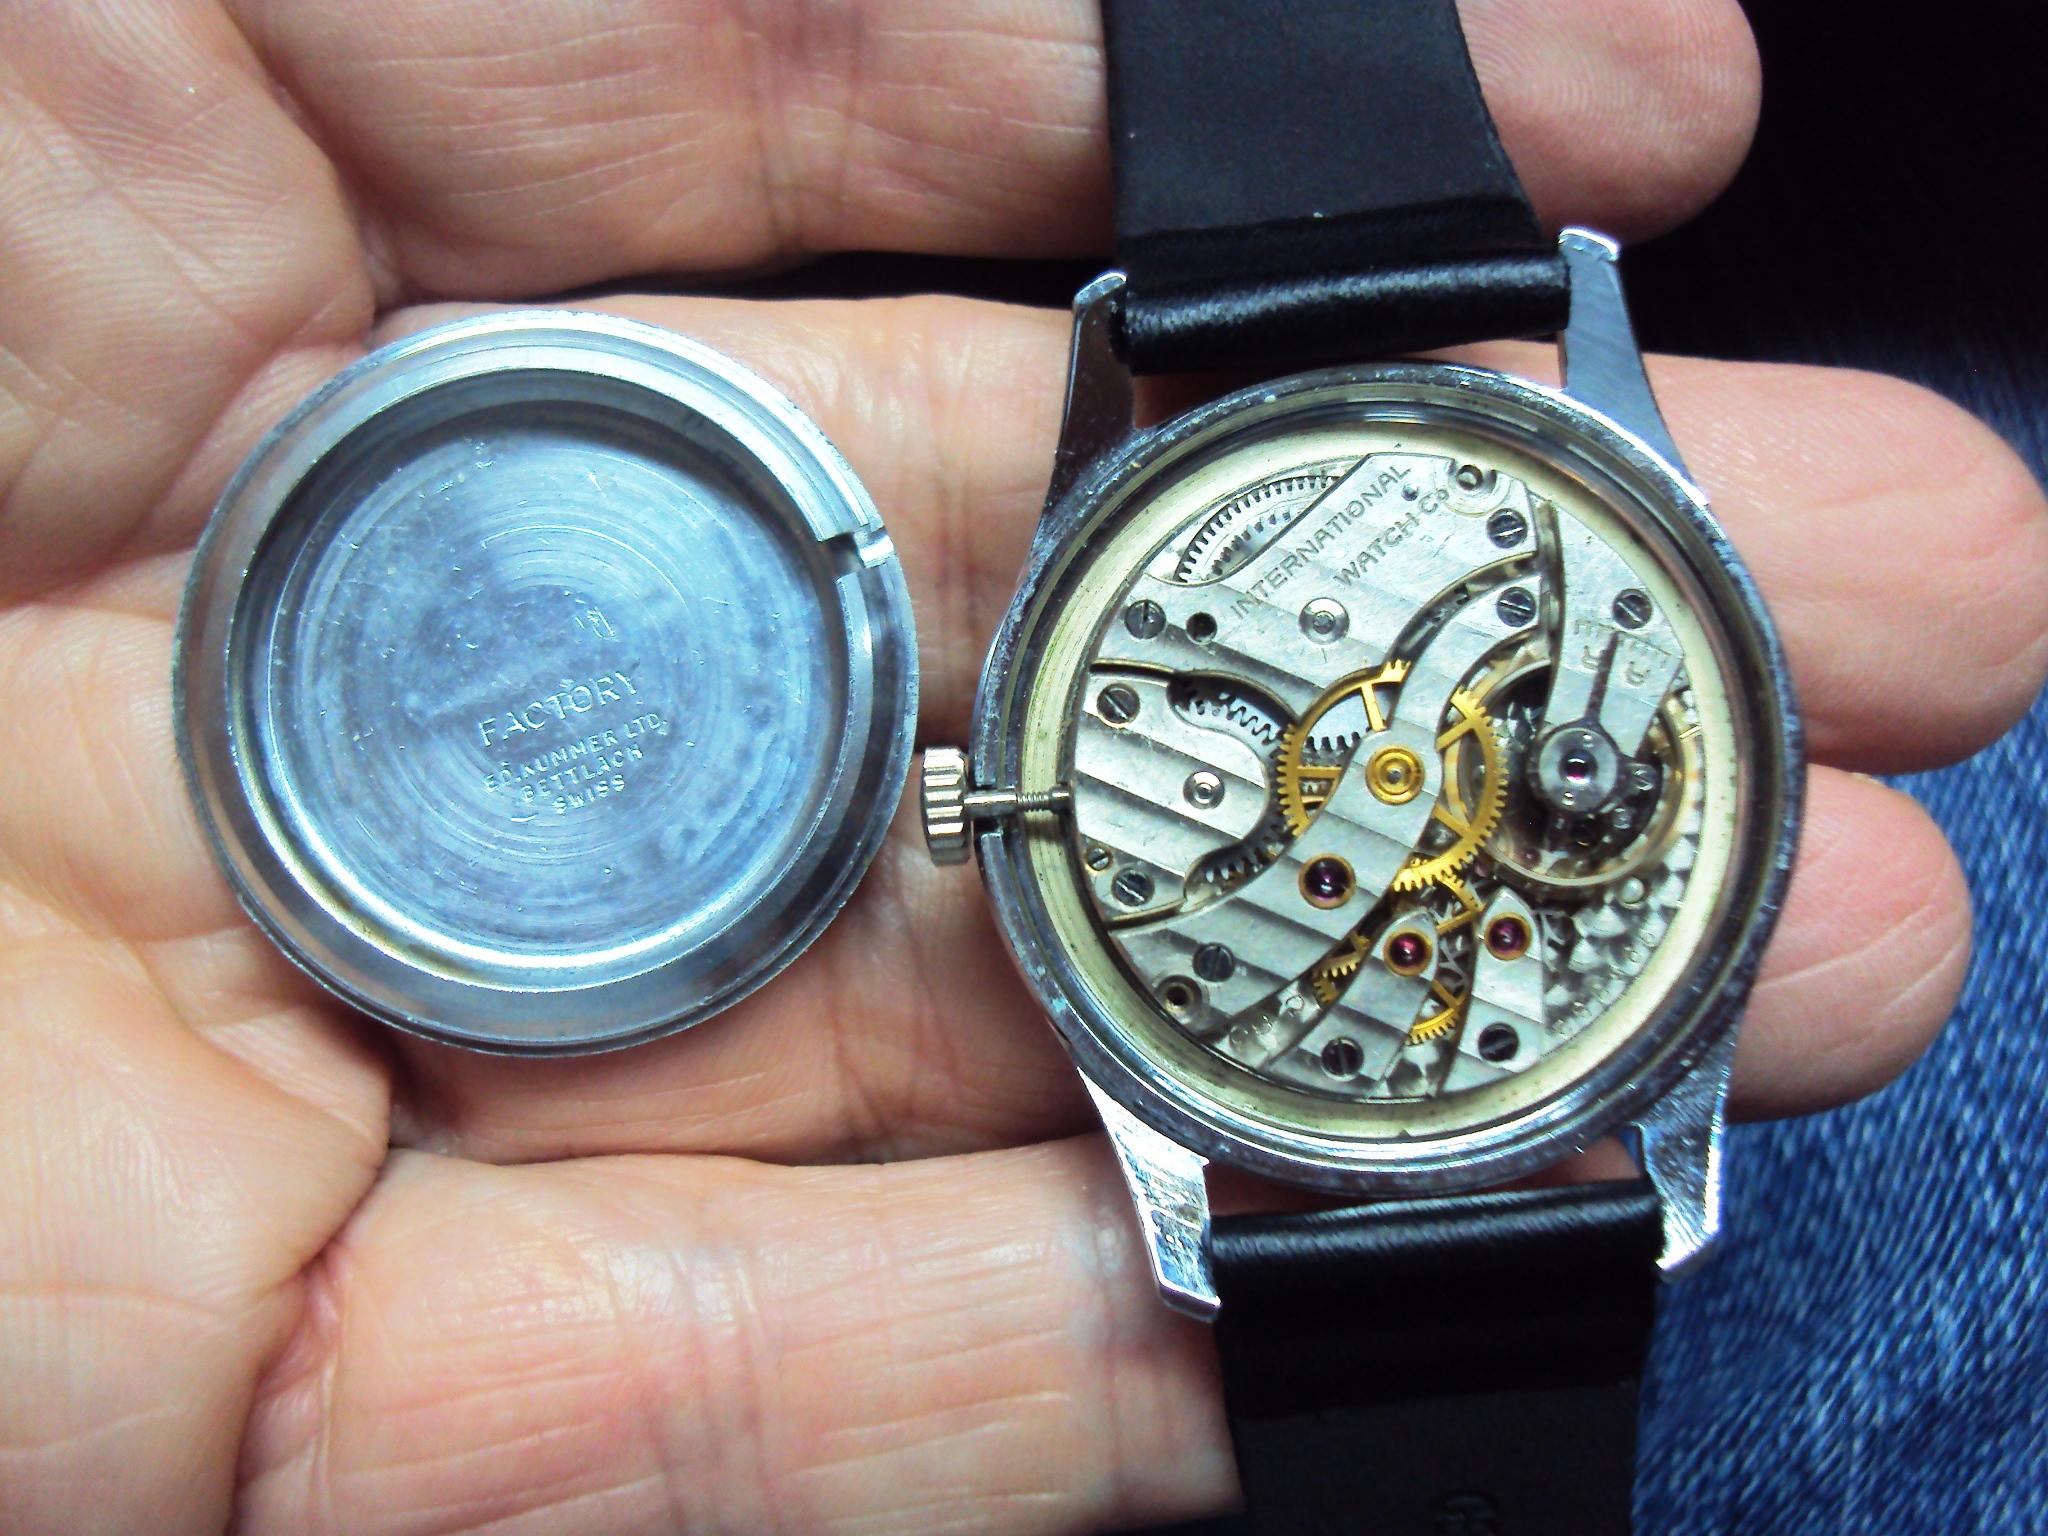
I'm looking to aquire an original IWC case to match with this fantastic watch I have in my collection. Can anyone lend some advice other thatn search EBay? Or should I just leave this one as is? BTW, I bought this watch for $10.00 Well it was missing the case, the stem was broken and rusted in the movement, the staff was broken. So I think it was a great deal in the end...
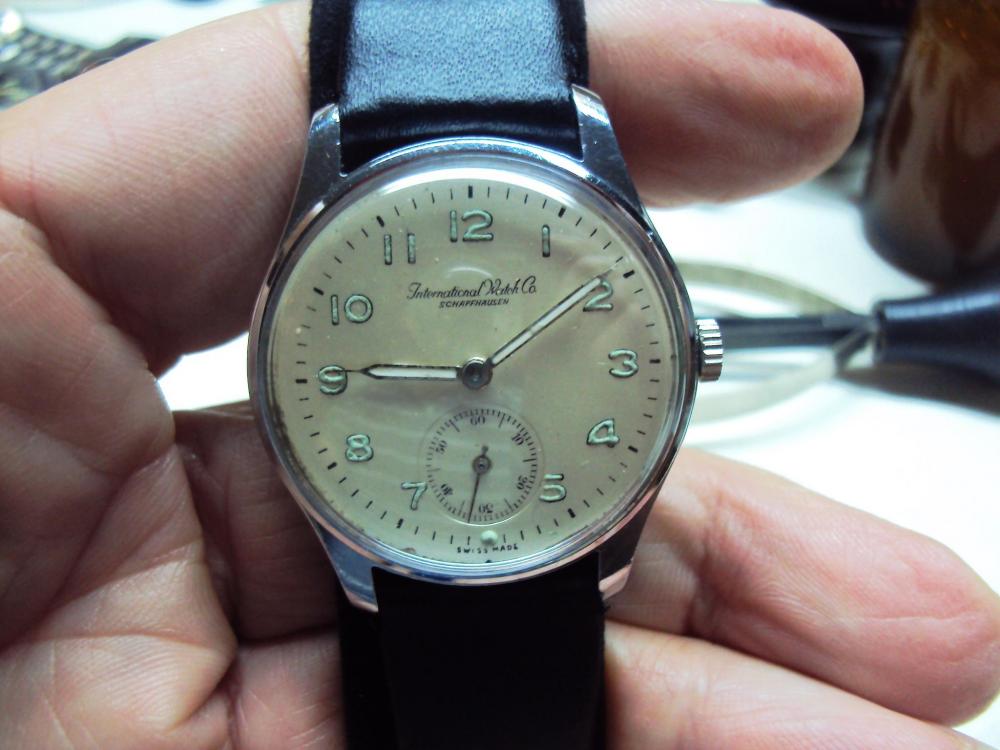

 2 points
 -
Are you using the right breaking grease, and the right amount? How many turns of the arbor do you get before the bridle slips?2 points
-
There is no secret source for parts (Seiko or other brands), we all use the same ones that are revealed by searching the Internet. An don't be surprised it it can't be had, there are tens of thousand different ones. Is it a flat crystal? If so, use a generic. Otherwise if isn't cracked you can polish it.2 points
-
Hi guys … I had promised that I would make a « custom decal dial tutorial » on another thread there So here we are … There are many variations of decal dials, the best IMHO being the « negative gilt » dials which gives the best results. The process I’m showing today is aabout how to make a dial with black printings on a one color background. I had a cheap quartz diver waiting in my drawers so I’ll make a Heuer diver hommage based on the 980.016 model (quartz one too). DAY 01 : It’s 4:30 AM (I’m an early bird) and I have 2 hours to kill before a business trip to Paris (I’m French) so I decide I have time enough to begin. The first part of the process is to prepare the dial plate : - stripped it, removing all the lumes bars and dots - soaked the dial for some minutes in acetone to remove the paint - filled the tiny holes where the bars and dots go with cyanolite glue - sand everything flat I sand with 800 and don’t try to get a smooth surface as I want the paint to adhere perfectly to thedial plate. Here is the result … Then I want to spray paint. I make a tube with some painter’s tape, from a « curve » with it and place it on a plastic bottle cap. I want it curved so that I can stick the dial on it without any risk of bstructing the center hole or the date window of the dial plate. So I stick the sanded dial plate on the tape tube. As you can guess from the pic below … that’s not the first time a make an orange dial. Then I place the bottle cap and dial plate on a paper sheet and spray paint in orange. I use street art spray paint as it is « water resistant ». As you can see on the next pic, I don’t try to get a smooth surface, or even to perfectly cover the dial plate at first. I will let this coat dry, sand it with 2000 grade, then spray 1 or 2 coats until I get a perfectly smooth orange dial plate, ready for receiving a decal. So I place the bottle cap and dial under a shooter glass and will let it dry for about 24 hours before sanding and spraying the second paint coat. The 24 hours drying time is really important (though it could depend on the paint you use). The paint I use looks perfectly dry after about 5 hours but if you spray the second coat without waiting enough, that coat won’t perfectly adhere to the first and you could get a granular surface like an orange peel. And here is the dial waiting under the shooter glass. On the right is a « negative gilt » dial (third and last matte varnish coat) On the background there are two Raketa 2609 movements from the 70ies, quietly (really loudly to be honest) ticking for test after I‘ve recently serviced them. Now it’s 5:45 AM so I will have a and go to the train station. I’ll sand the dial plate this evening and spray the second paint coat tomorrow morning. Then sand it in the evening and spray the third coat (if needed) the day after. DAY 02 - DAY 03 : So here's what you get after the first paint coat … doesn't look really good but no matter as there's still some work to do to get a better result. And here's what you get after 3 coats of paint, each one sanded with 2000 grade, to get a perfect finish, flat and smooth. Now the dial plate is eady to receive the decal. DAY 03 : I won’t explain anything about Photoshop and Illustrator here … I’ll only explain how I print my decals. One thing really important, from my own experience, is the definition of the design. I’ve tried several, from 1200ppp to 6000pp and the best results I’ve got on printing decal sheets were with a 4000ppp definition. So all my dial designs are done in 4000ppp. The result is really BIG files … for example an A6 template with 12 dial desings ready to print is about 800Mo. As that dial is black printing only I open it with Photoshop and let the softwre (so ont the printer) deal with the printing quality. My printer is an old Epson Picturemate with a 1200 maximum definition. As the good quality decal sheets are not cheap and as I’m a « skinflint» I often print on A7 sheets … 6 dial designs on one sheet. When printed you should let it dry for about 4 hours then spray 2 really thin coats of matte varnish, letting each coat dry for at least 12 hours (24 hours is better). DAY 04 - DAY 05 : 2 days of speed-hiking with my wife so I didn’t worked on that tuto. You can check on the net what speed-hiking is, but to summarize it’s hiking as fast as you can with really light backpacks, trying not to run (or only short runs). On a good day you can walk 5 to 6 miles/hour … when trained you can walk up to 6,5 miles/hour … and while I trained for my first 62 miles ultra I achieved to walk (no running) up to 6,85 miles/hour (11 km/heure). DAY 06 : Today is Monday 6:00 AM. It’s been 5 days since I begun that tutorial and … my legs ache and all my body is painful (see Day 04 - Day 05) The dial plate is ready and the decal sheet too. You can see that the decal sheet looks matte now. That is because I have sprayed 2 coats of matte varnish on it, to protect the inkjet ink while I’ll soak the decal in water. Of course if you print with a laser you won’t have to spray varnish as the laser inks are (almost) water resistant. First thing to do is to chose the best item on the decal sheet and cut it round. Then you are ready to go. On the next pic you can see all you need now : - dial plate … fixed on a foam board using the dial feets - decal dial … nicely cut round - tweezers - thin and smooth brush (mine’s a watercolor brush) - some « micro set » … or just vhite wine vinegar (it helps the decal to set on the dial plate) - cold water Now you put the decal in cold water and while it soaks you brush some micro-set (or white vinegar) on the dial plate. Then you put the decal on the dial plate. Here you can see why I prefer using clear decal sheets on coloured dial plates … because it’s much easier to « perfectly » positionate the decal, using the central hole and the date-window. When you’re happy with the position of your decal you use a paper tissue to absorb the excess of water. Do that carefully as you don’t want to move the decal on the plate. And here we are … everything worked fine while absorbing the water and the decal position is OK. I’ll let it dry for about 12 hours before I cut the central hole and the date window, before I proceed to the varnish finish. Still Day 06 but 7:00 PM The decal has dried for about 13 hours so now I can proceed on cutting the decal sheet That's what I do then I : - fix it back on the foam board - apply some « micro set » around the center hole, the date-window and the outer diameter - gently press with a paper tissue so that the decal is perfectly applied (no more «air bubbles) And I let dry for 3 hours more Evening … 10:00 PM Now the decal is « perfectly » applied and dried and ready for the finish Last pic for today is after spraying the first coat of glossy varnish I will let it dry for 12 hours, sand it with 2000 grade paper and apply the 2nd coat. DAY 07 : 20:00 AM … only 1 pic today just after finely sanding with 2000 grade the 2nd varnish coat I applied yesterday DAY 08 : Yesterday evening I applied the 3rd and final varnish coat after finelt sanding and cleaning And today I can show you the final result … and say I'm pretty happy That dial is so glossy it’not easy to get a good pic, even on close-up. May I say that me hpone is nit the best at shooting pics (just like me) and the actual dial is much much better that it looks on the pictures below. I hope that you liked that tutorial and that it could be helpfull to members who want to try to build their own watch dials. I’ll try to make better pics with a real camera and a better lens … next week of the week after, after luming the dial together with the hands. Then I will still have to get a case and rework it so that it could be a 980,016 lookalike. Some of you may wonder how much time did I spend to make that dial. It took 8 days to achieve the all process but I spent only 1 hour the first day then only from 15mnm to 5mn the days after. So, apart from the design work on Illustrator and Photoshop (which took me hours), I would say that the whole process is about 2 to 3 hours. I must say that it's not my first try at dial making and I've trained for 2 years now. So if you want to try you should consider spending a few more hours but it's really worth the time spent as at the end you get your unique DIY dial.1 point
-
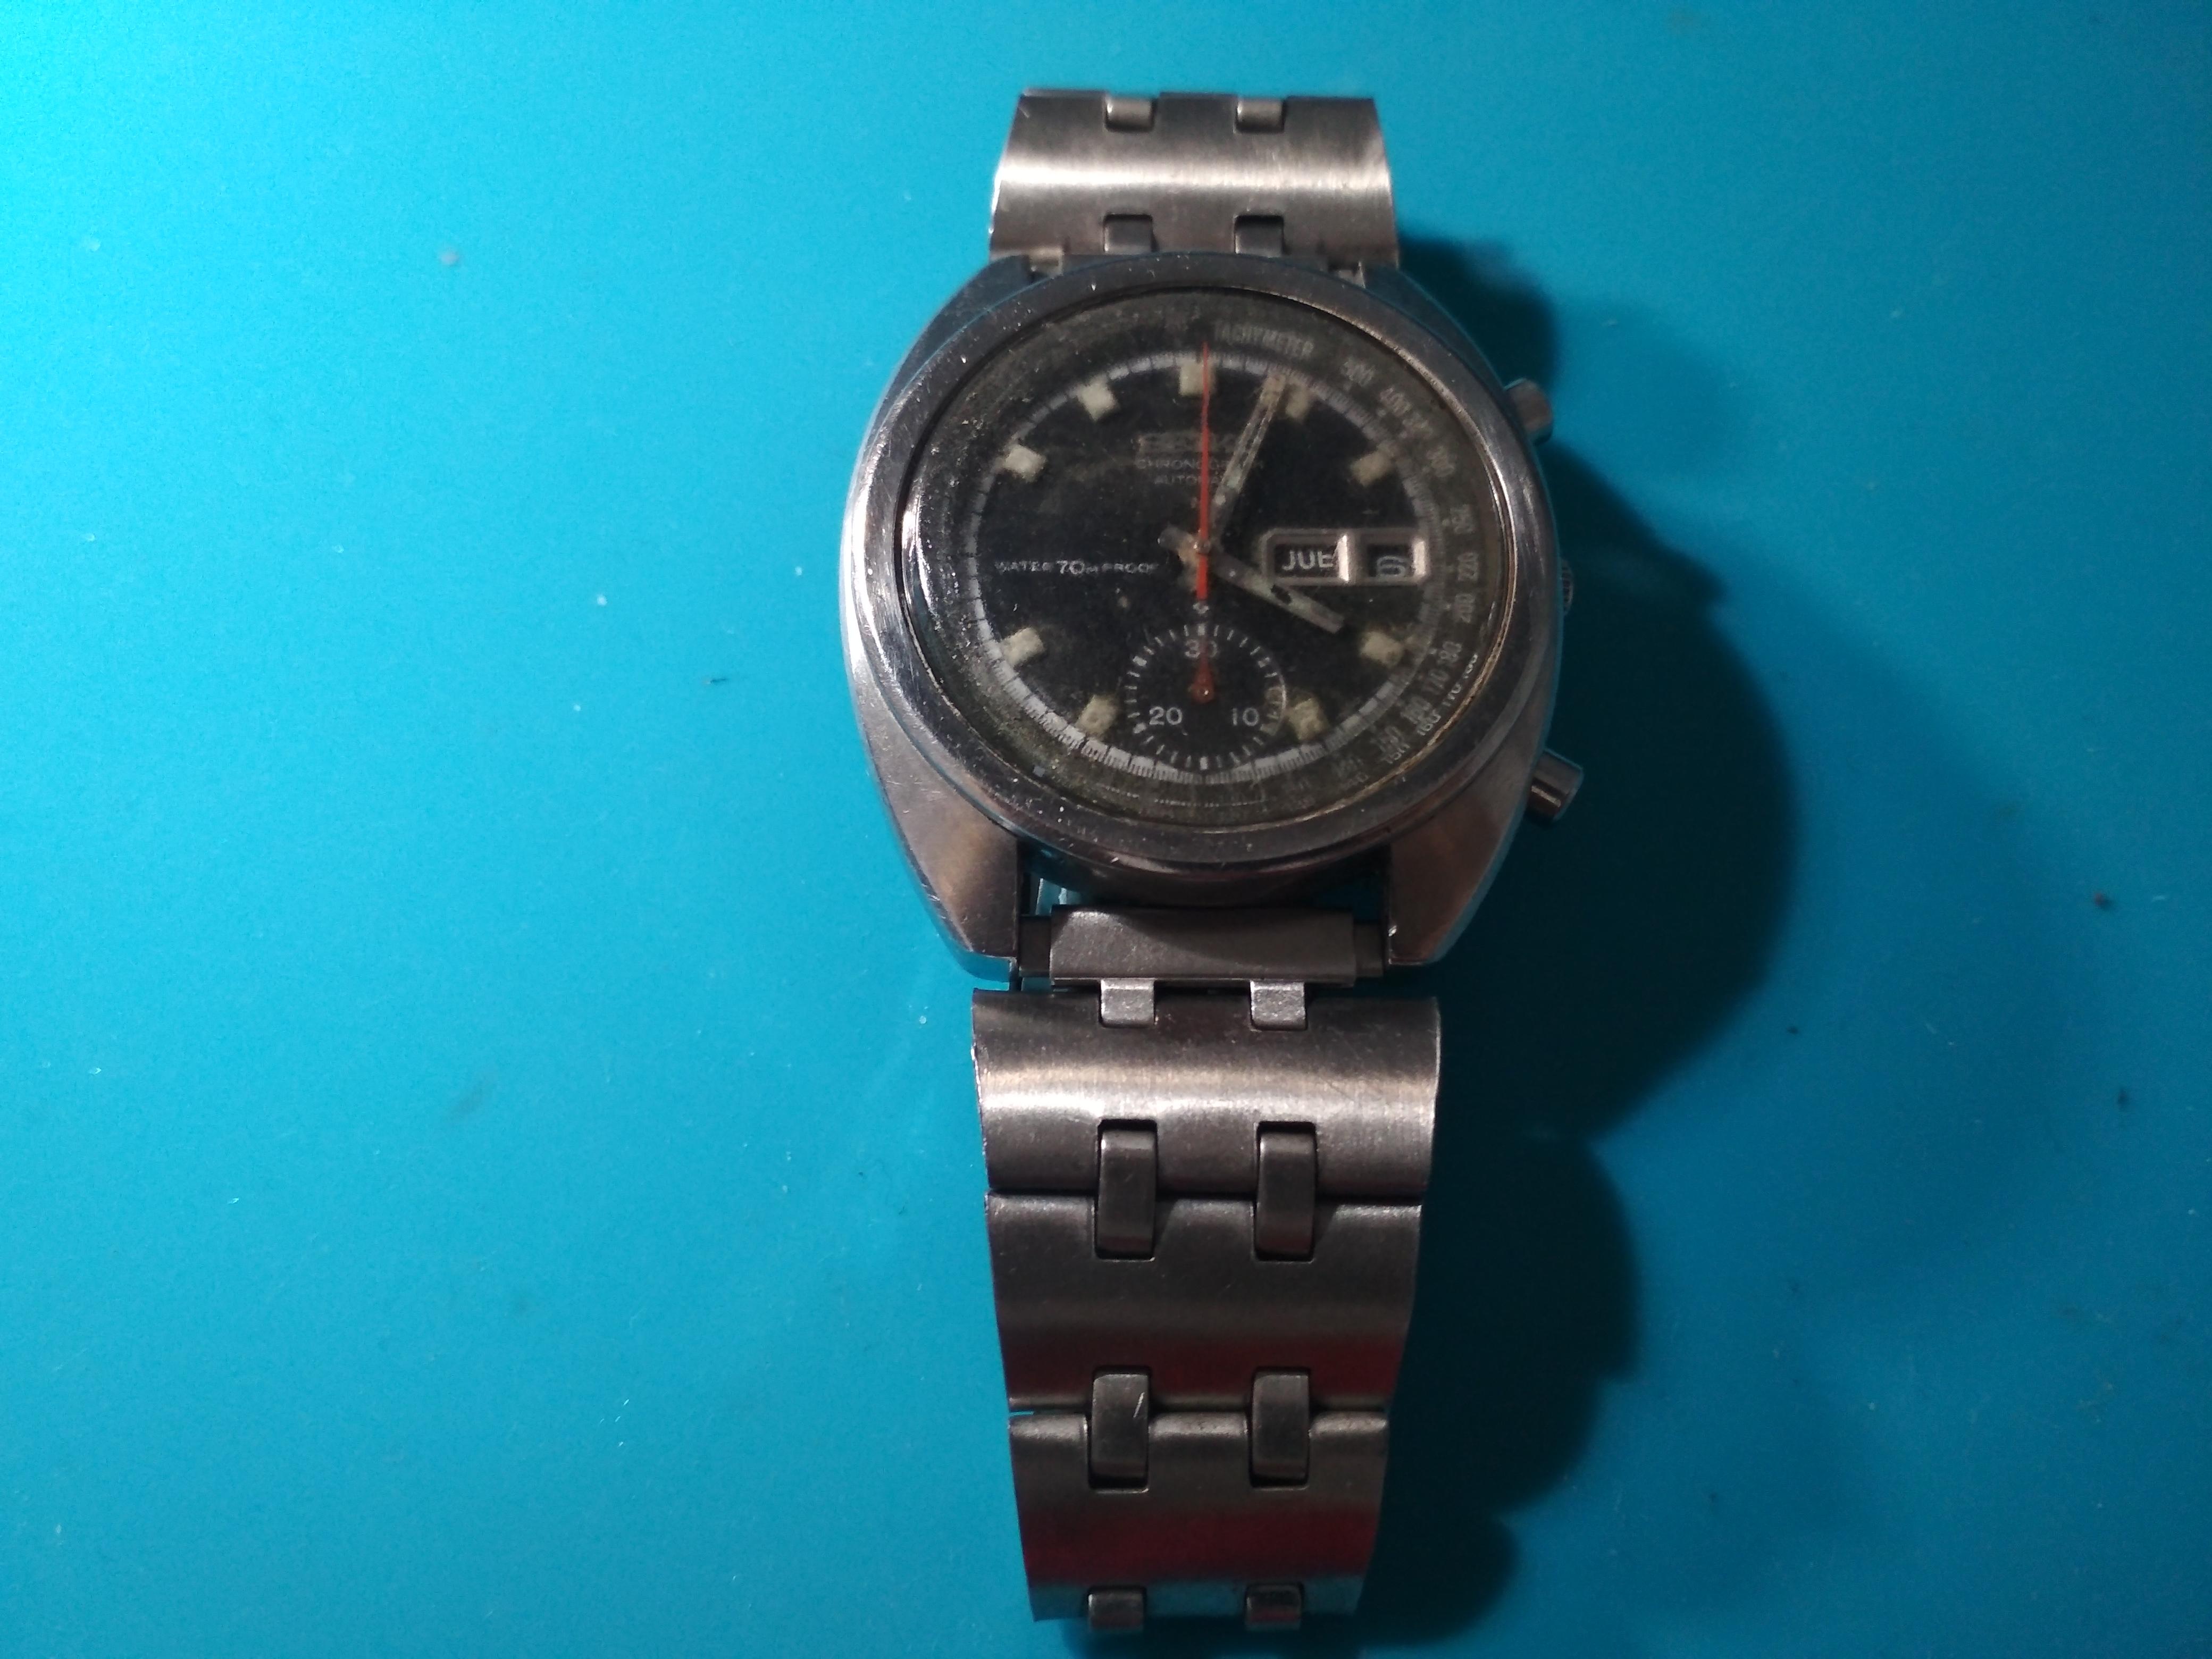
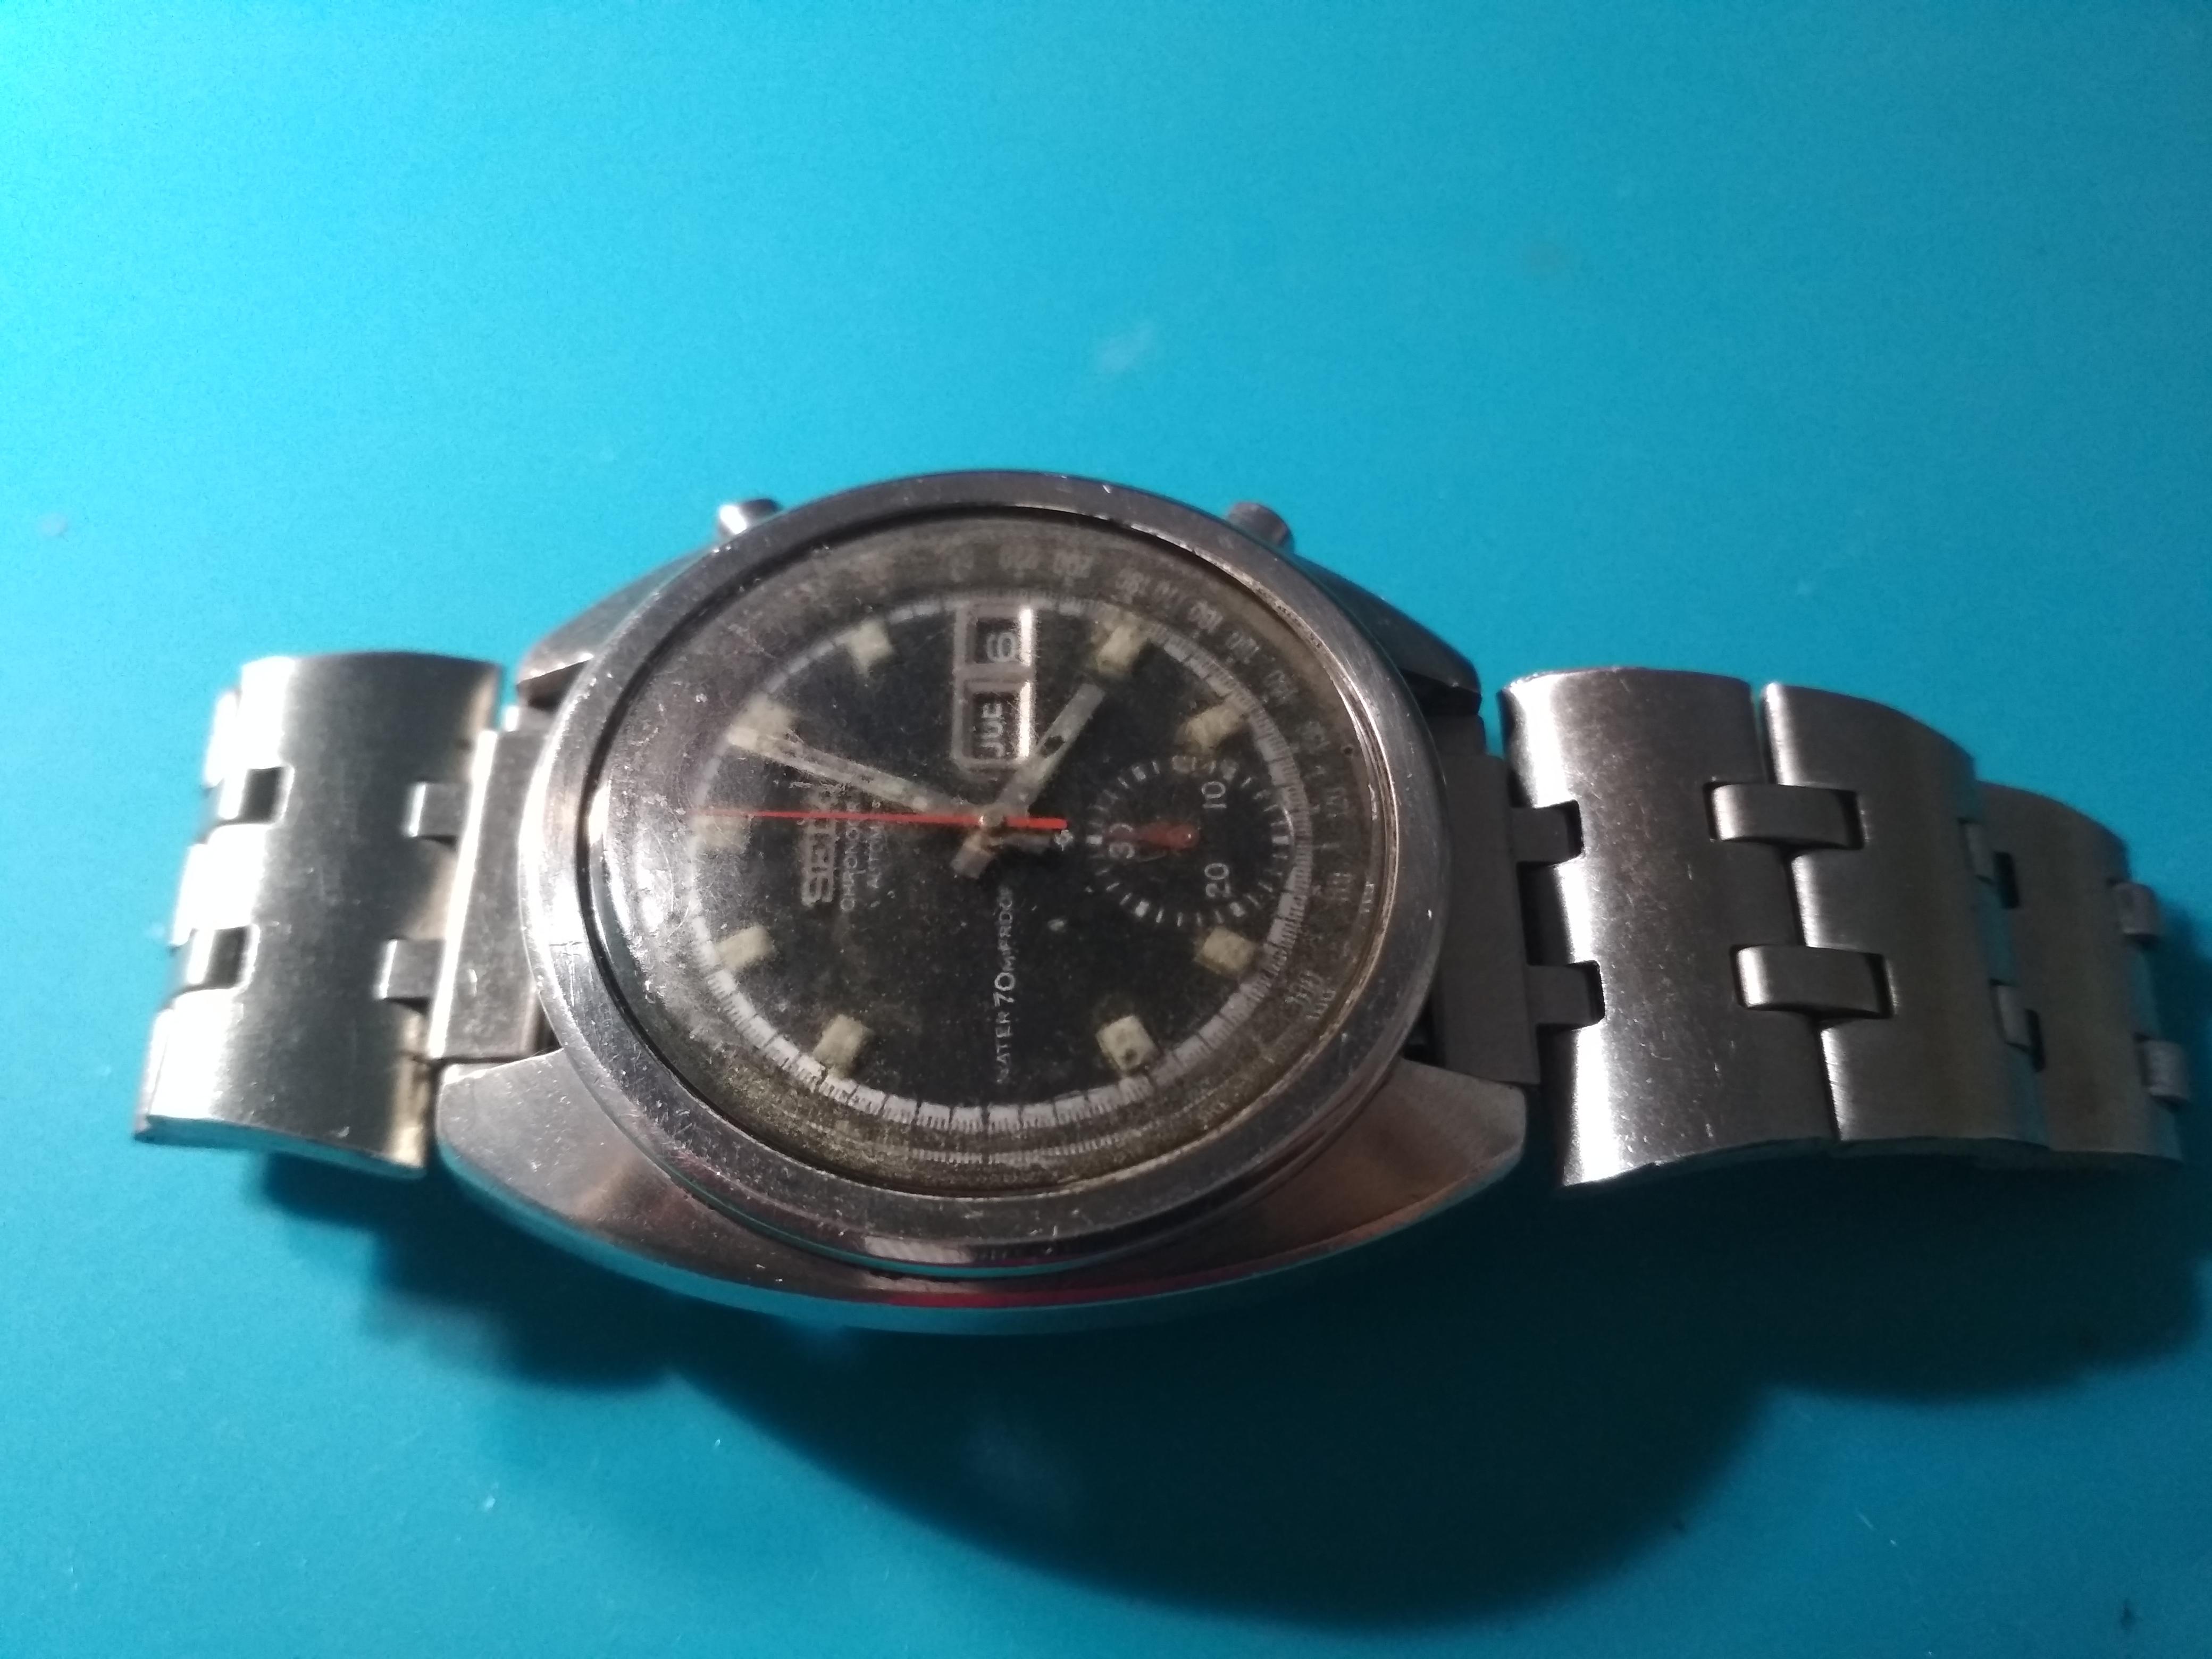
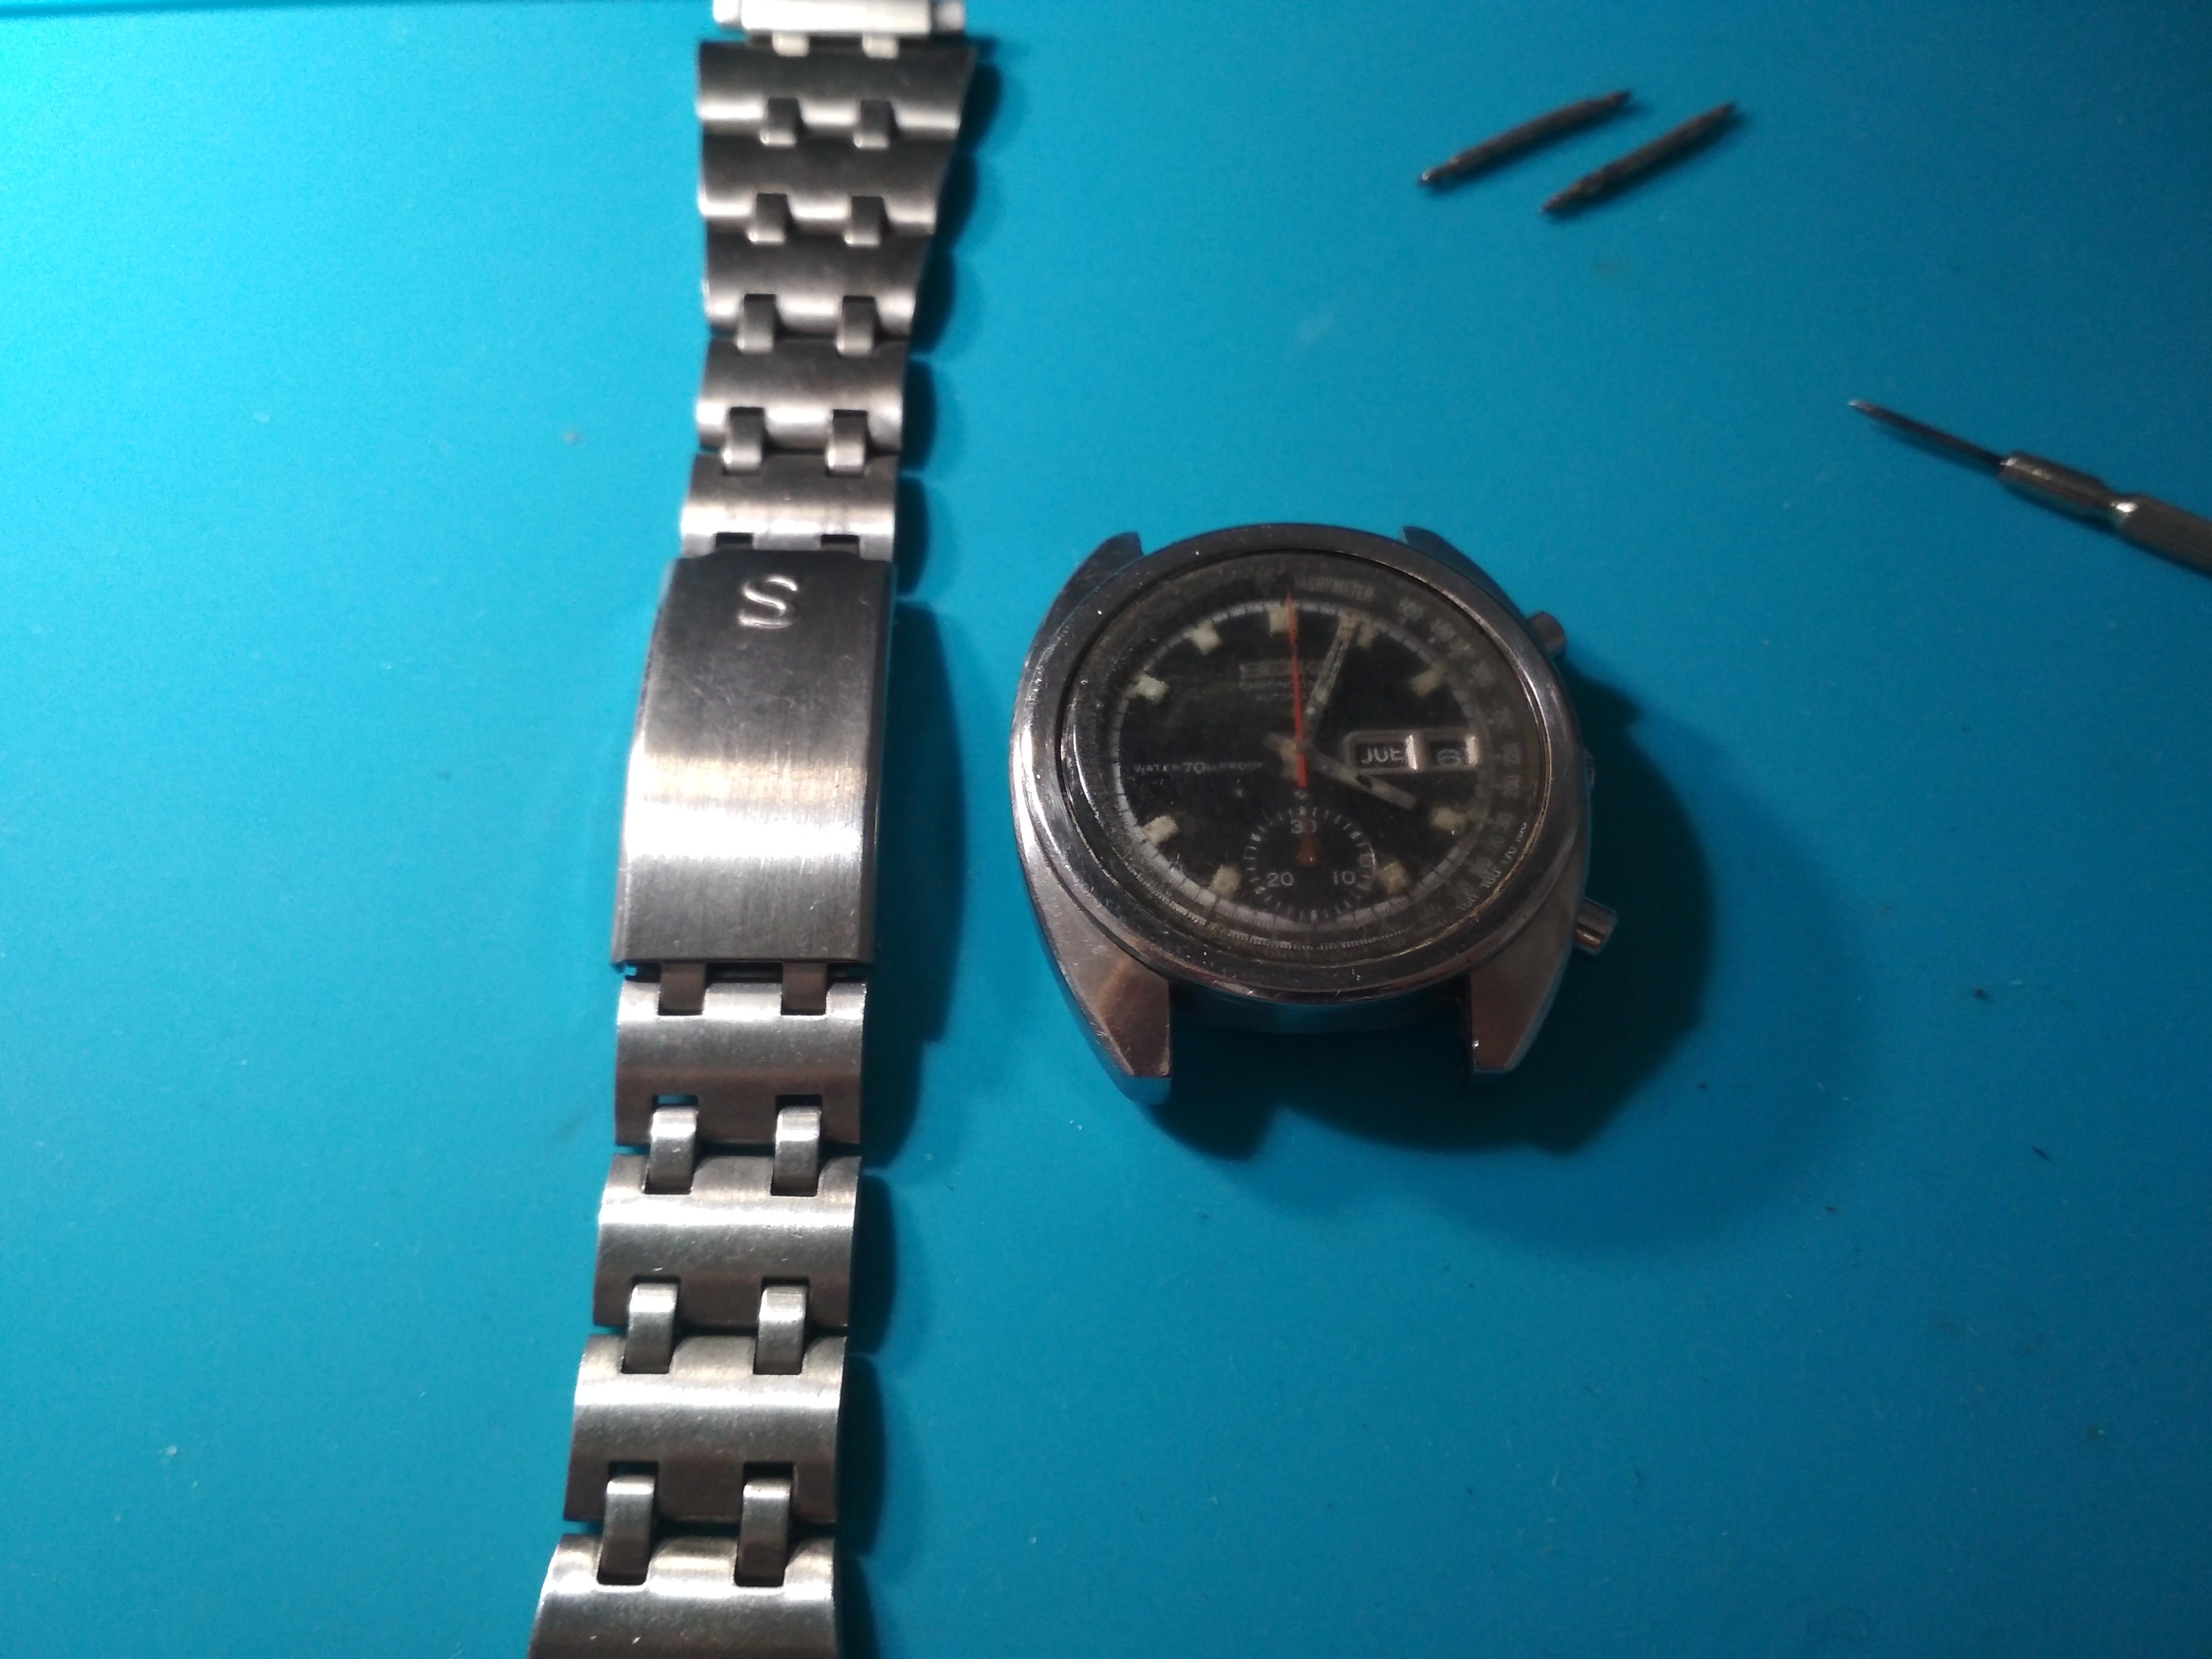
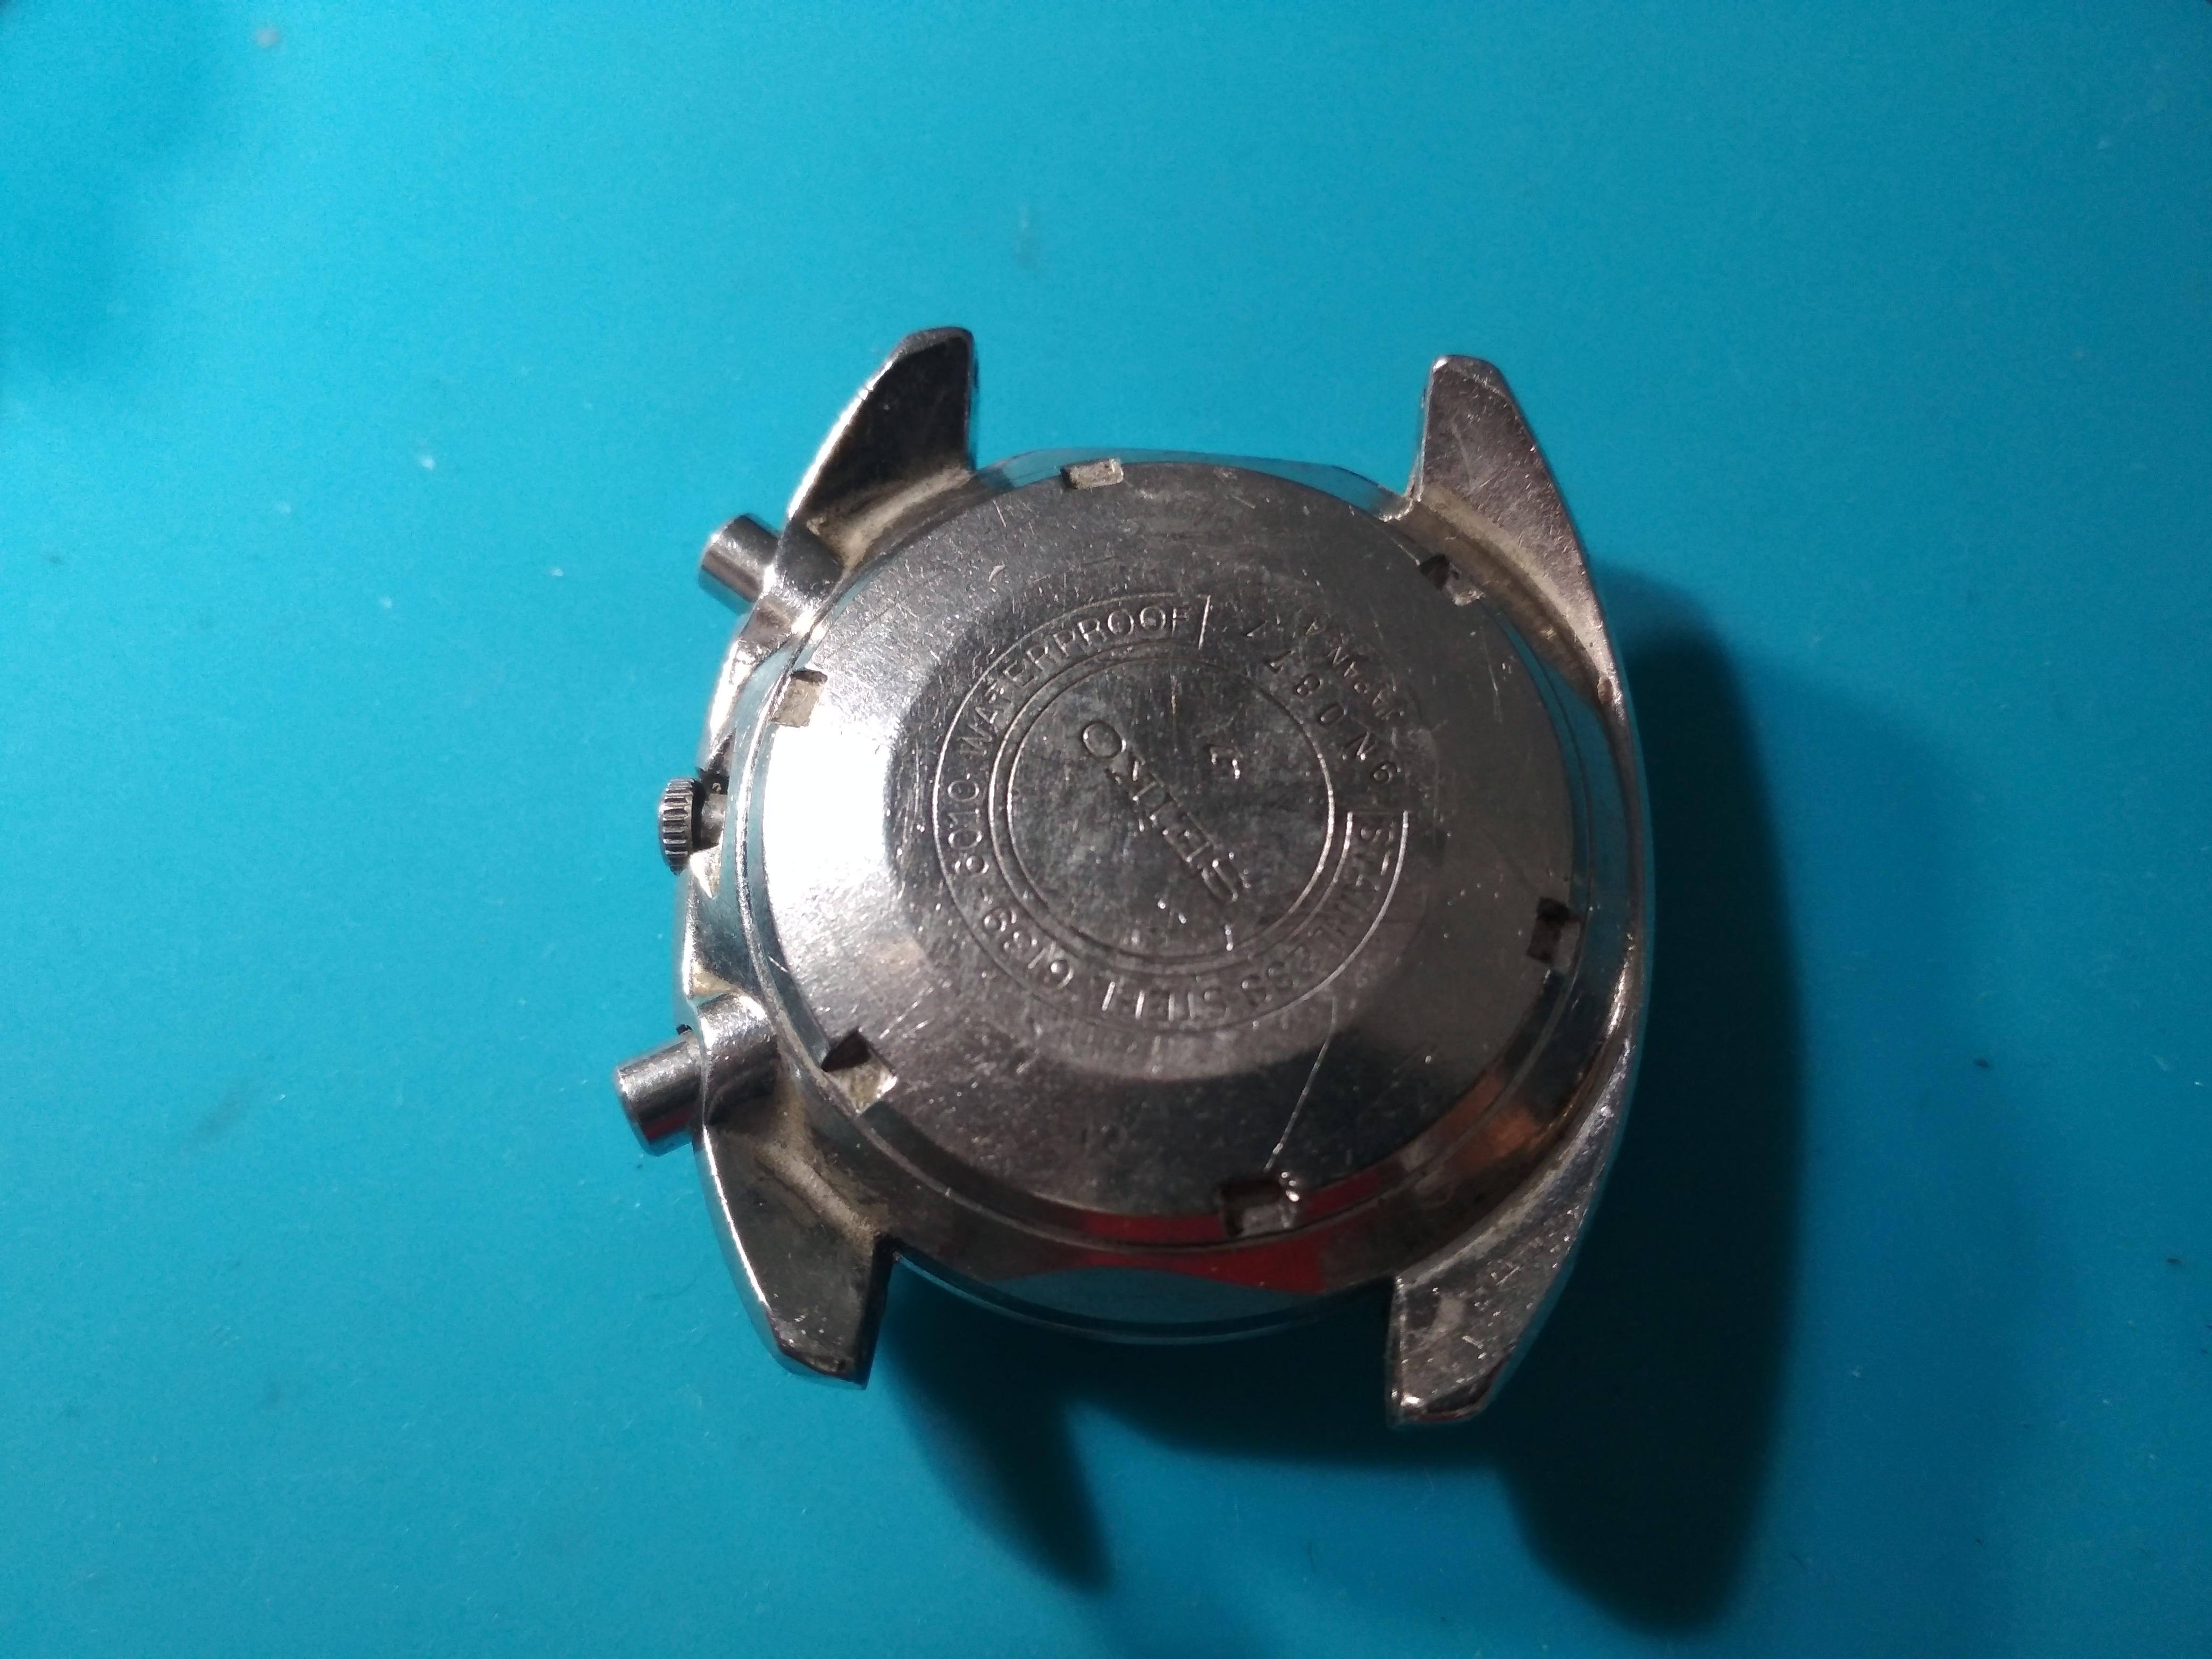
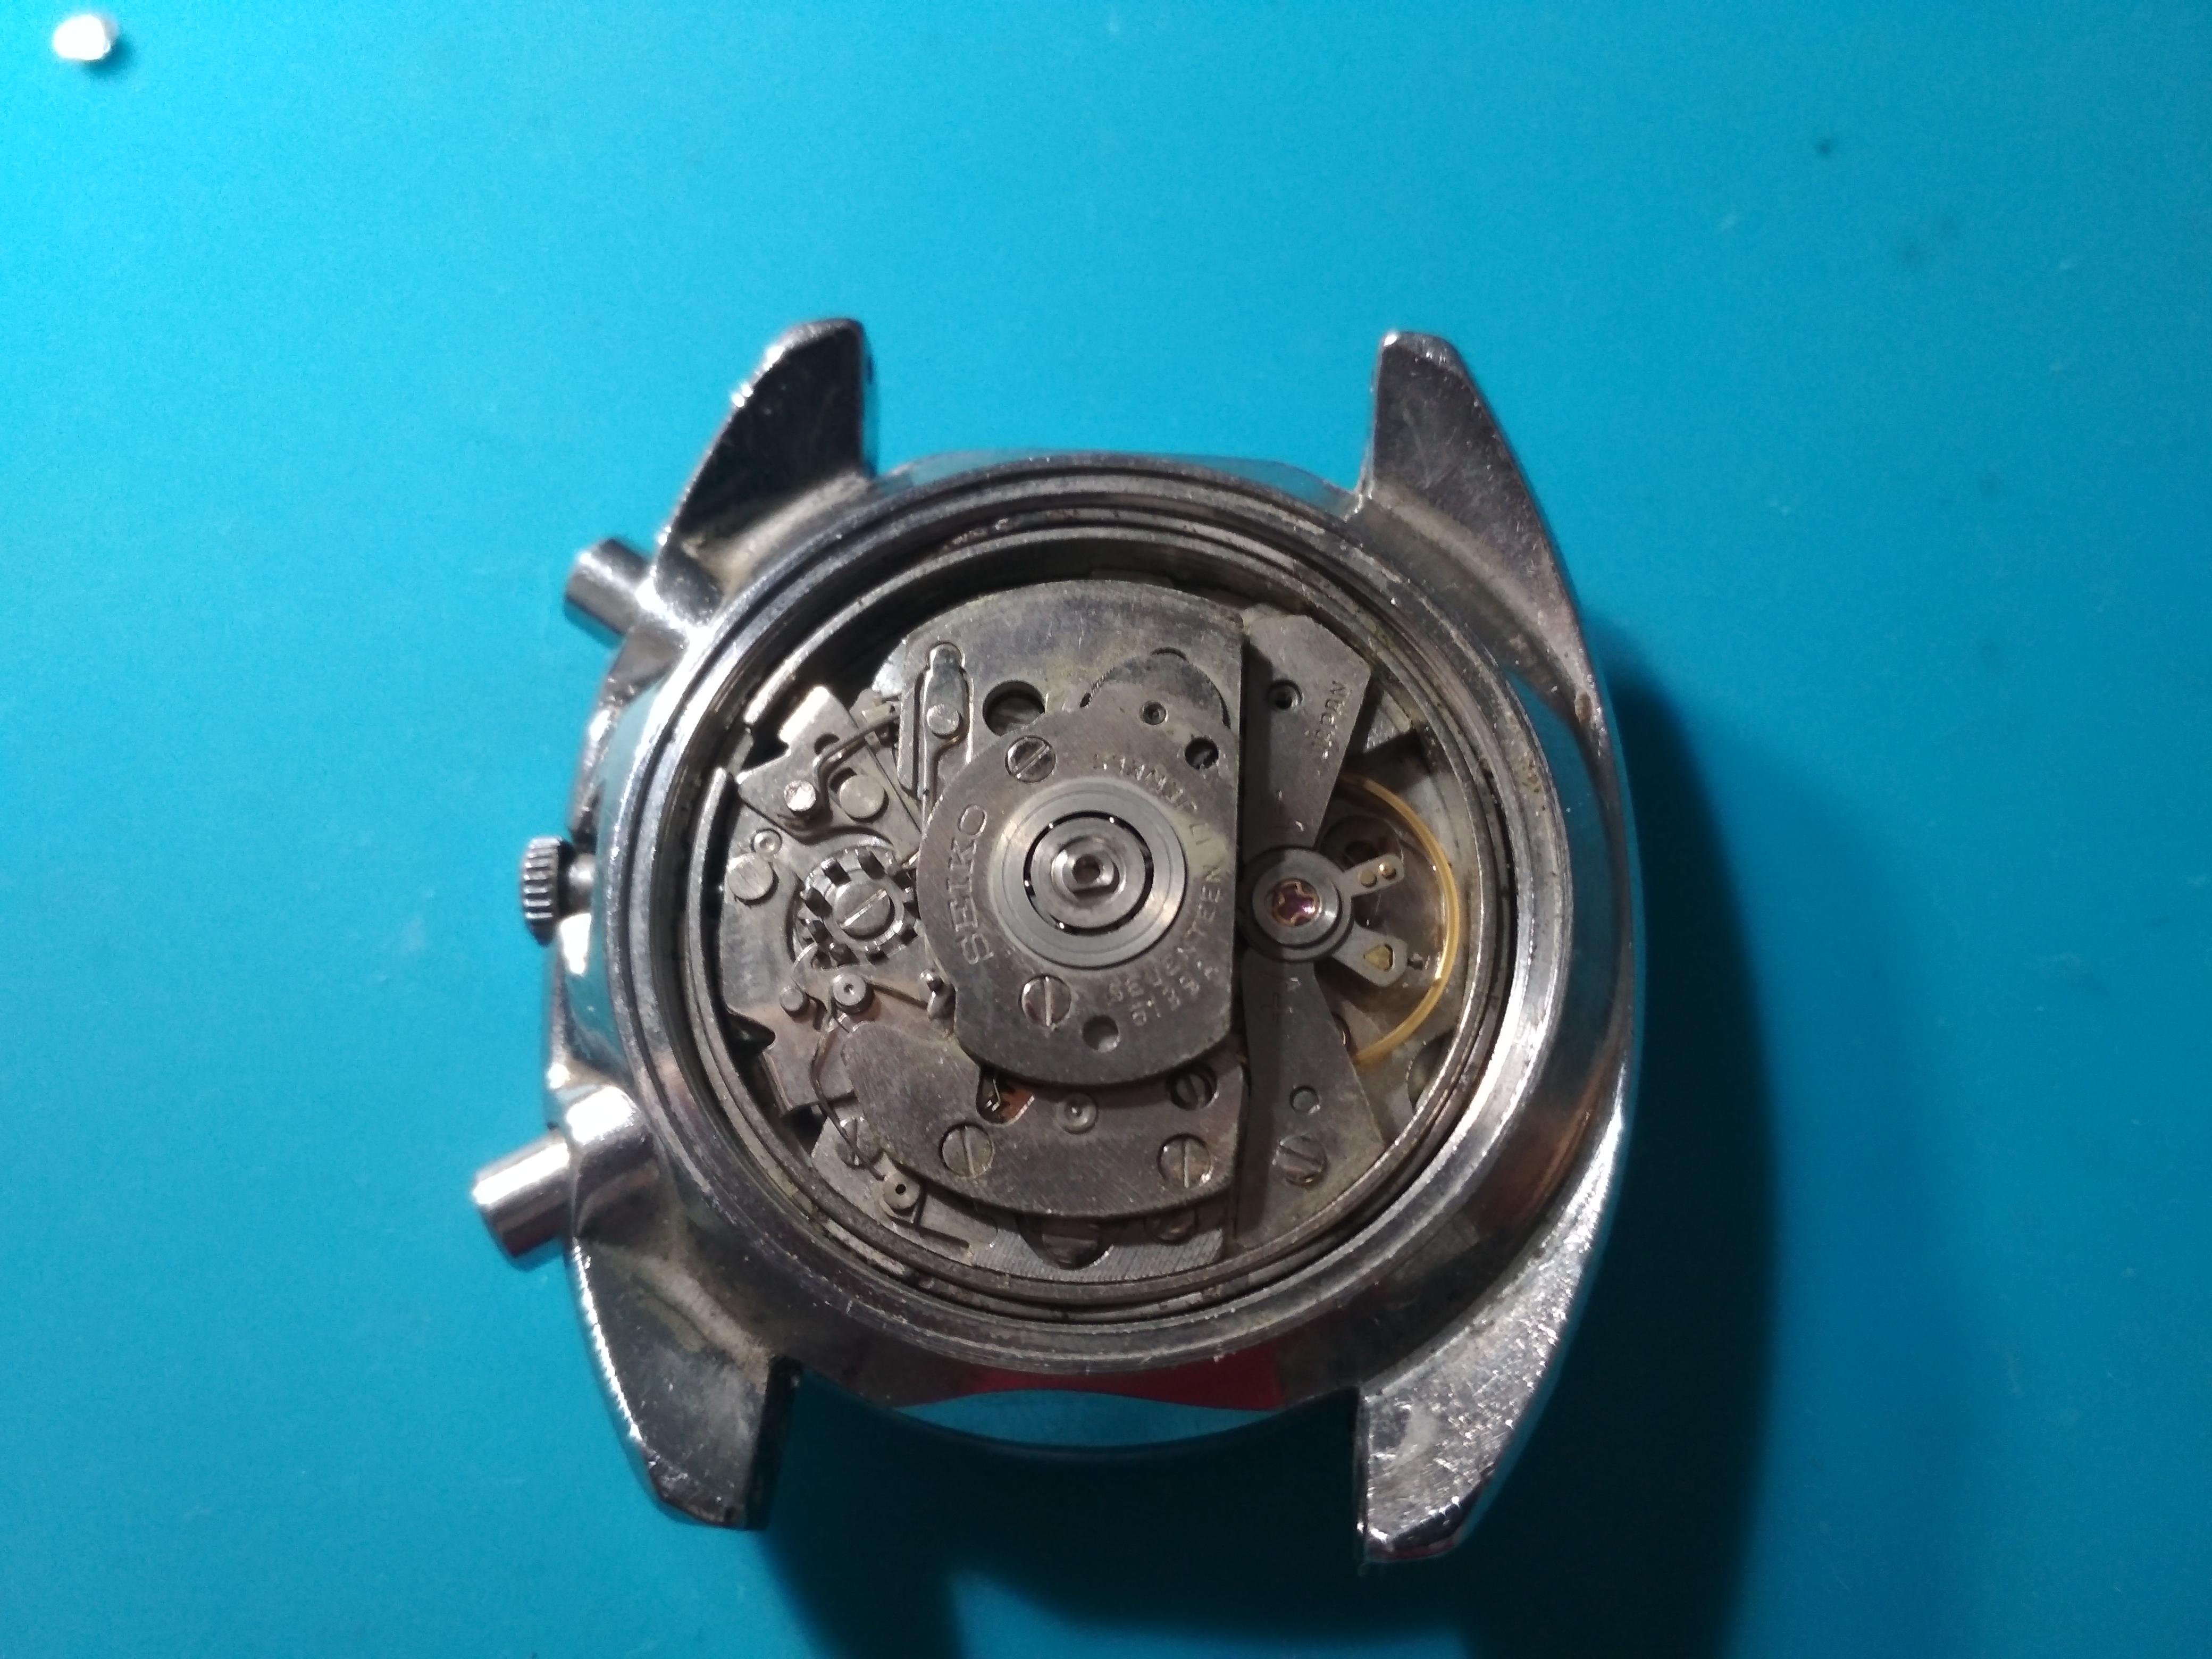
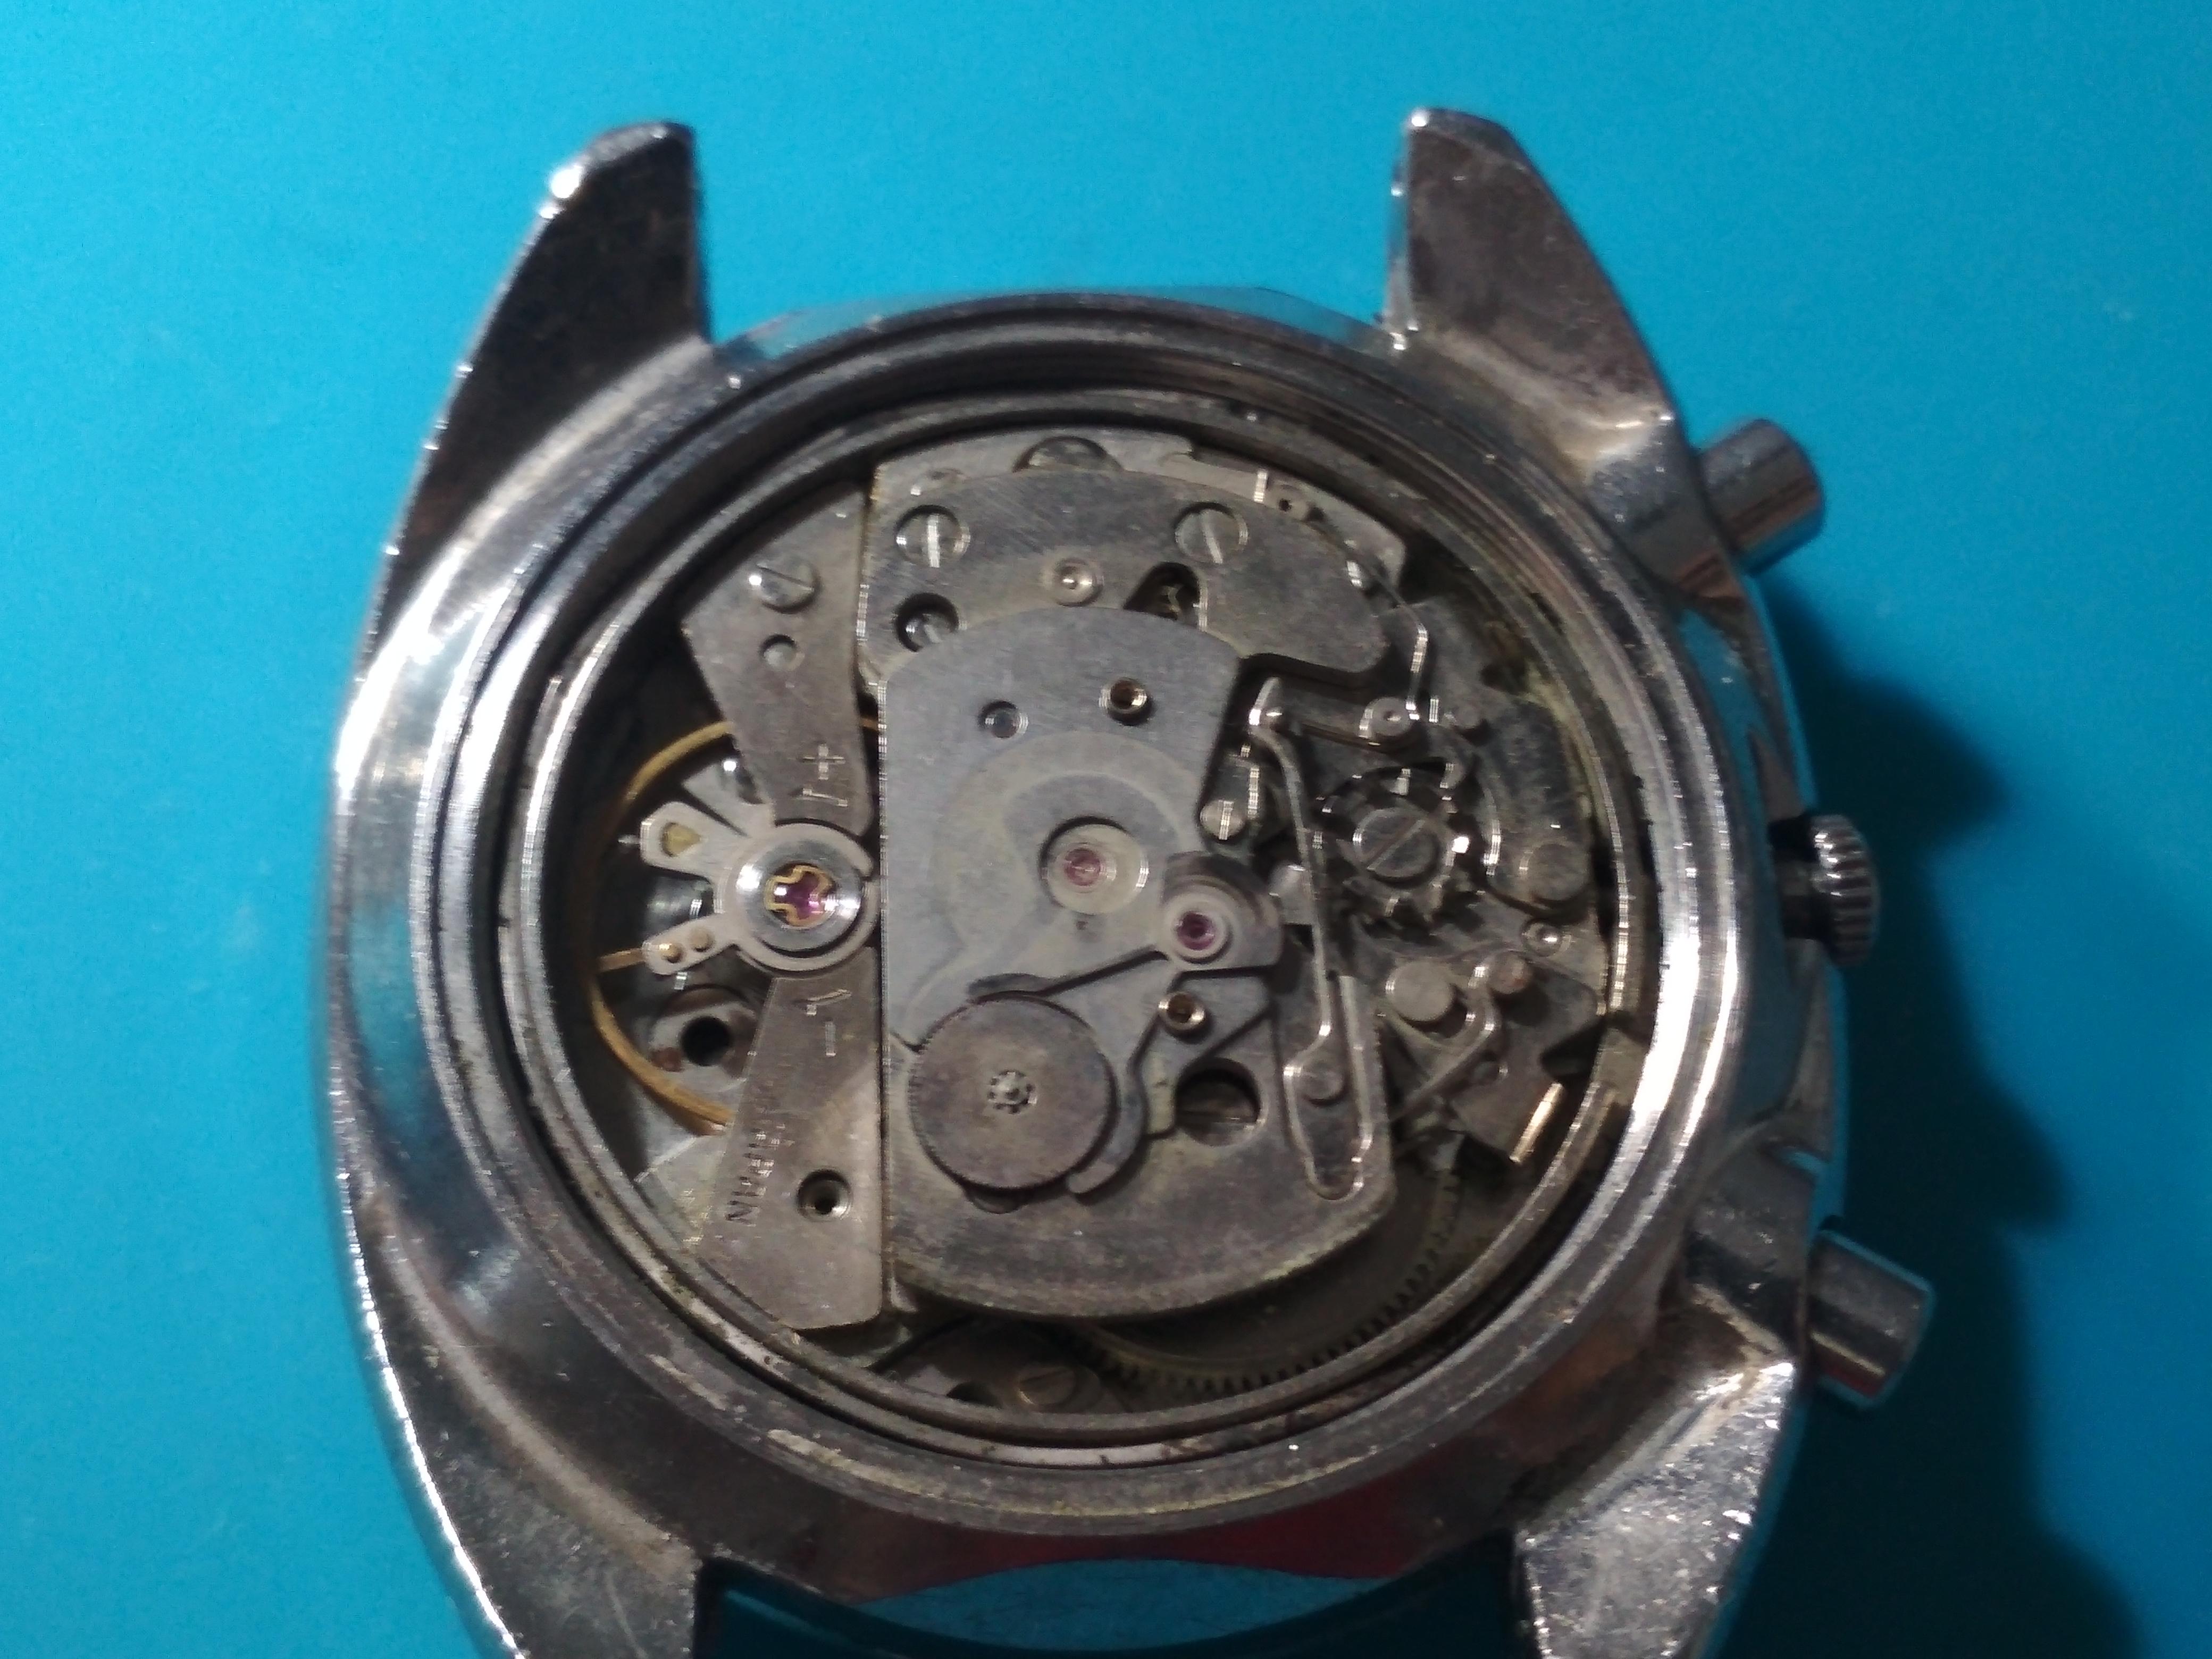
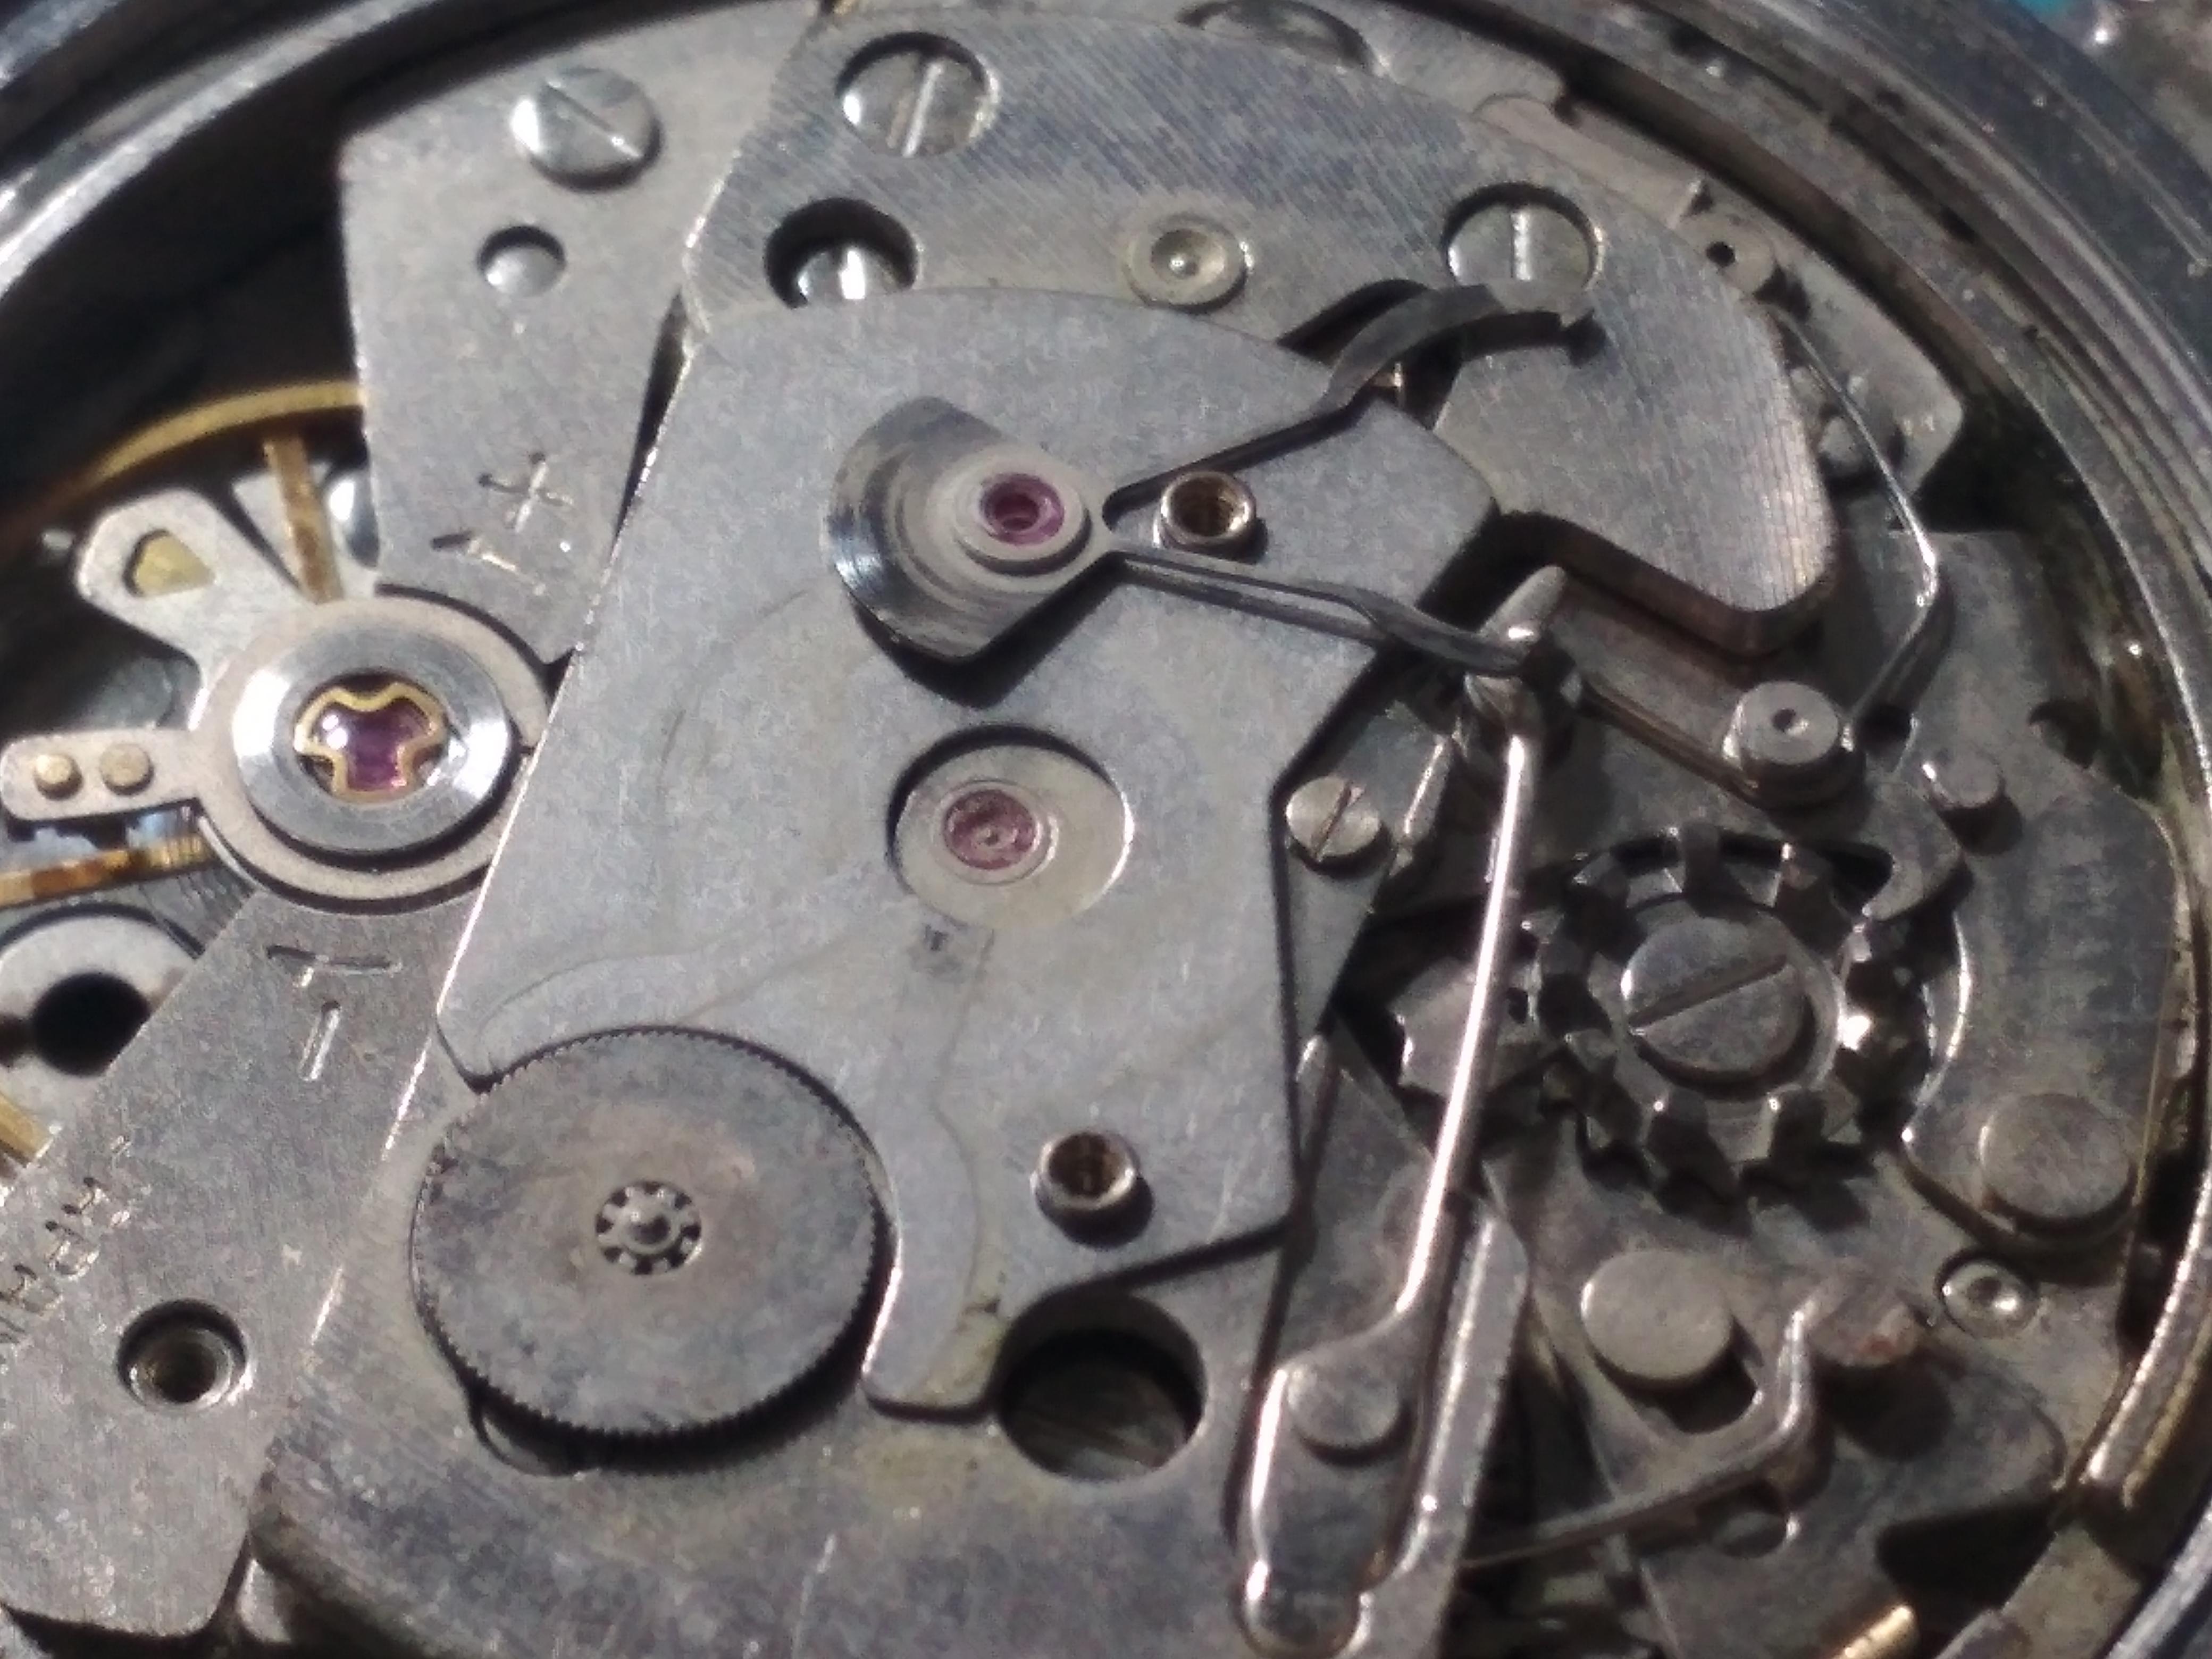
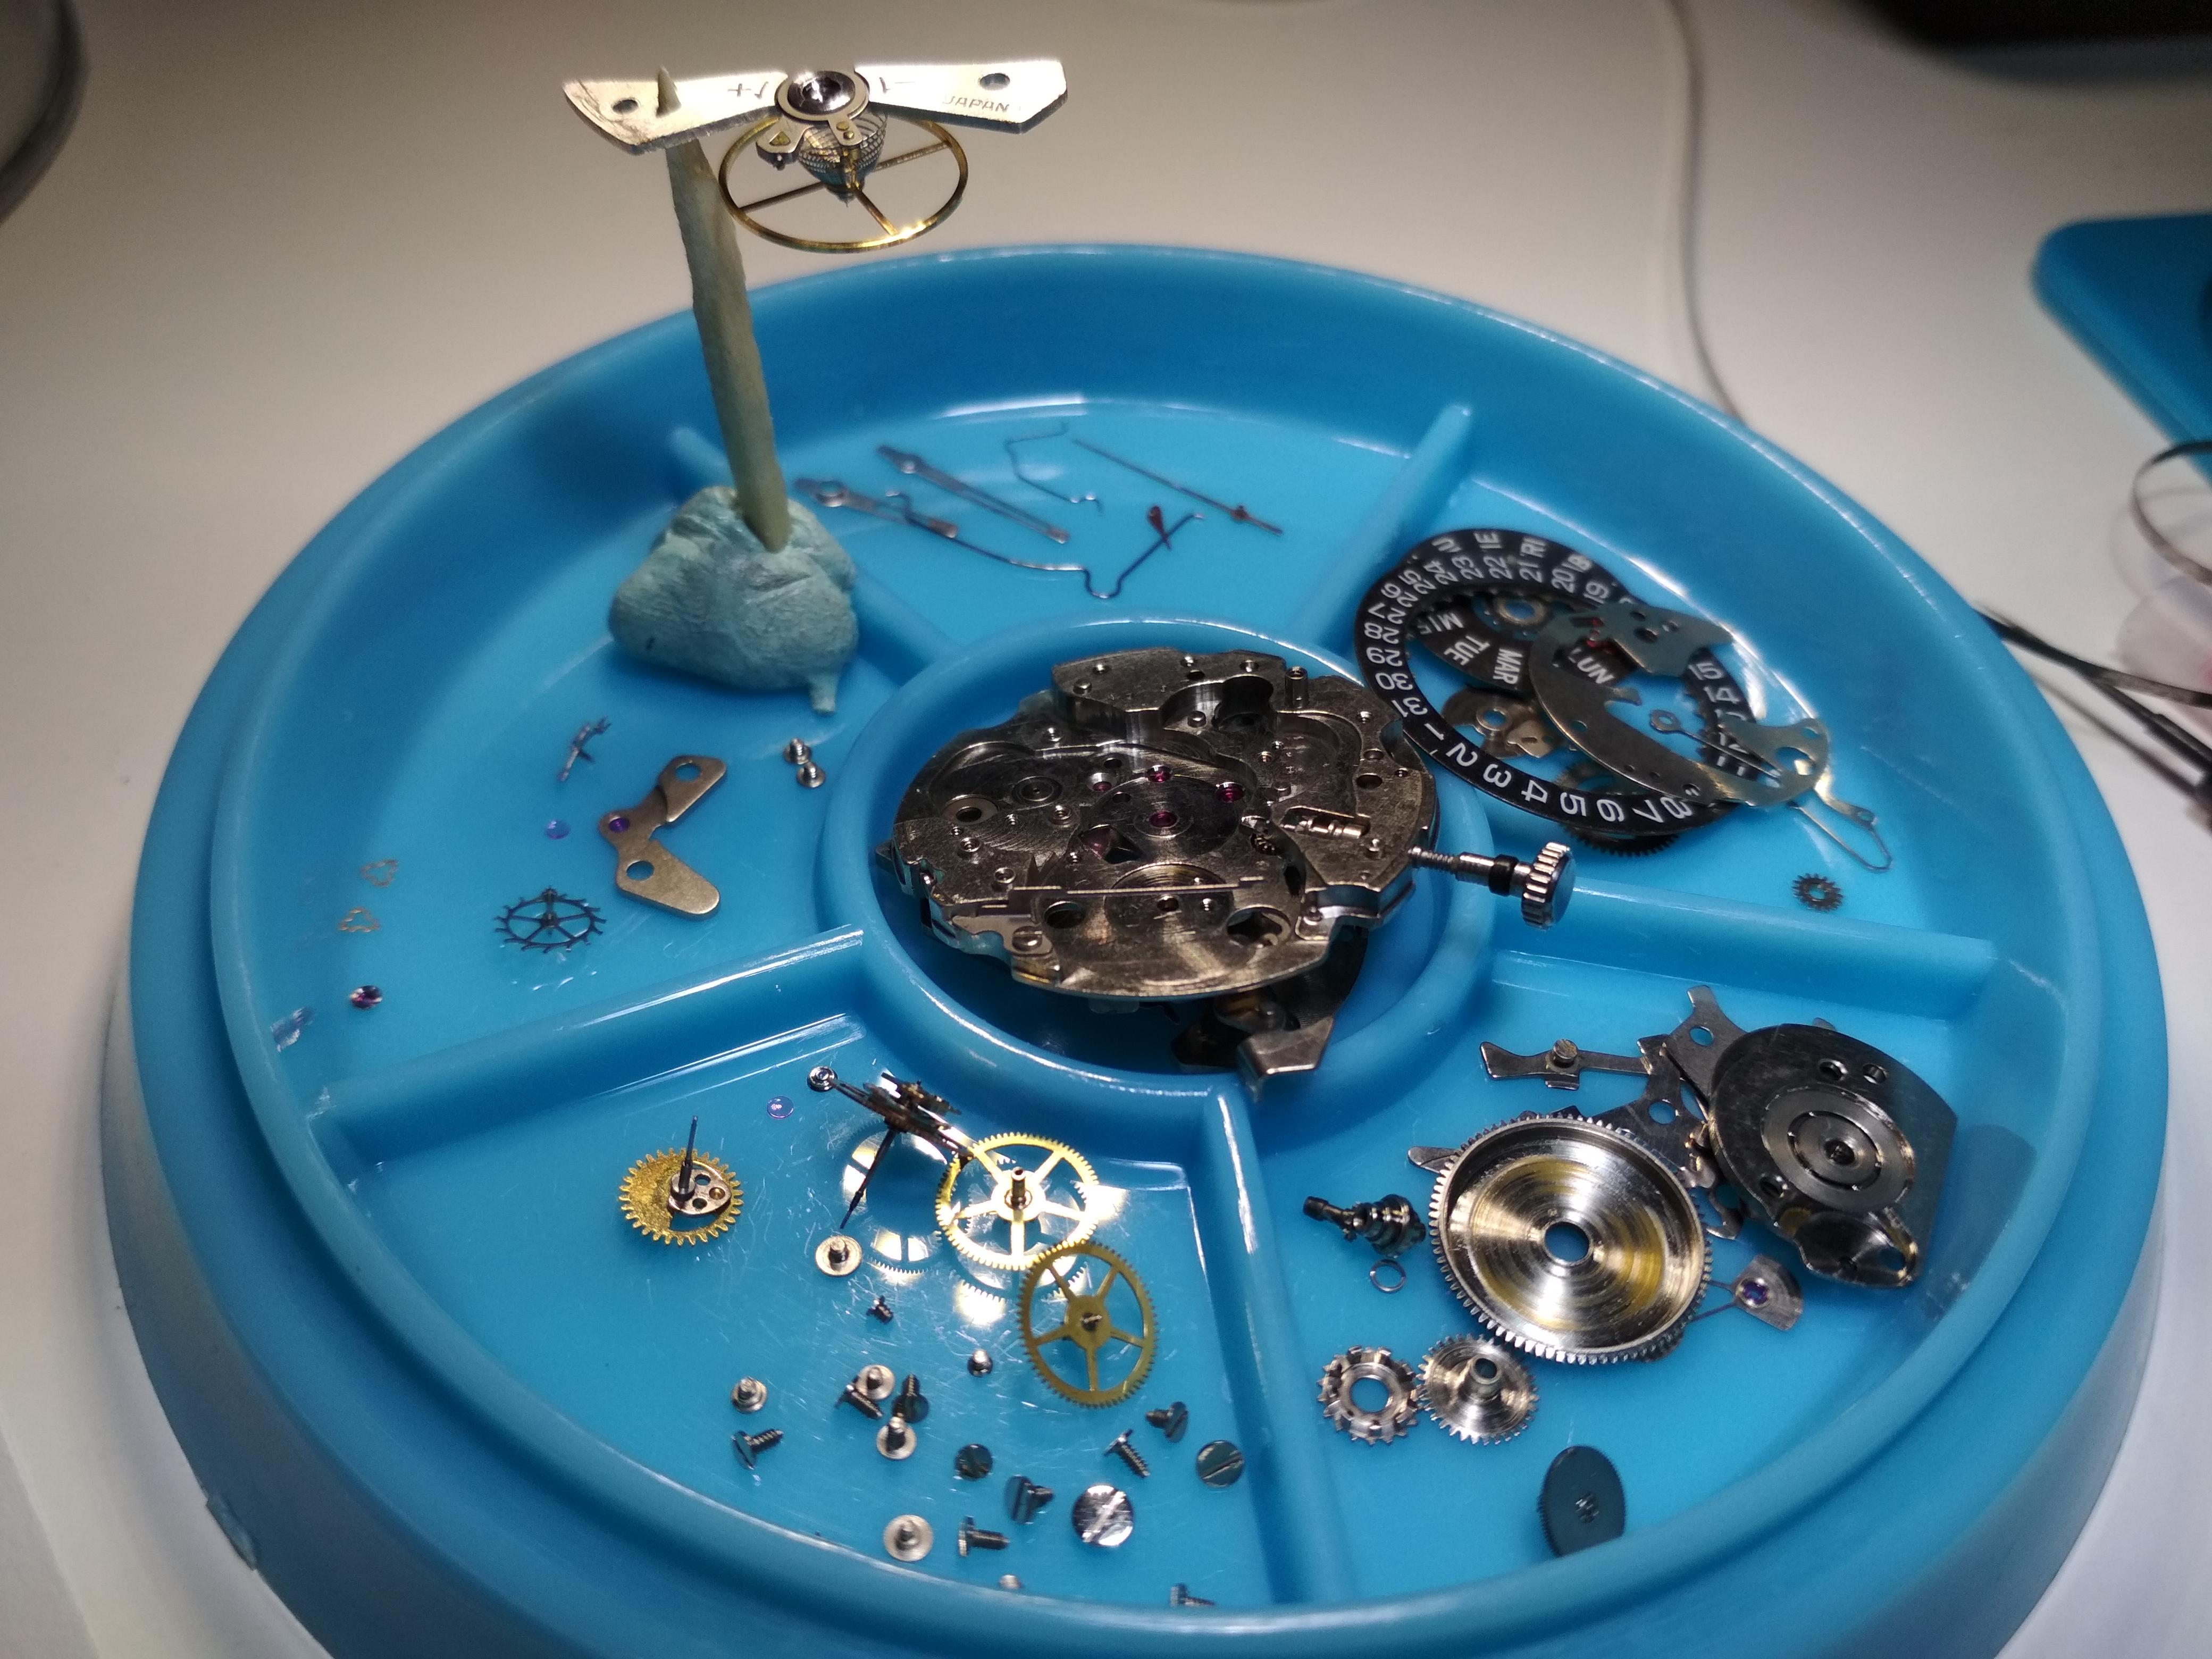
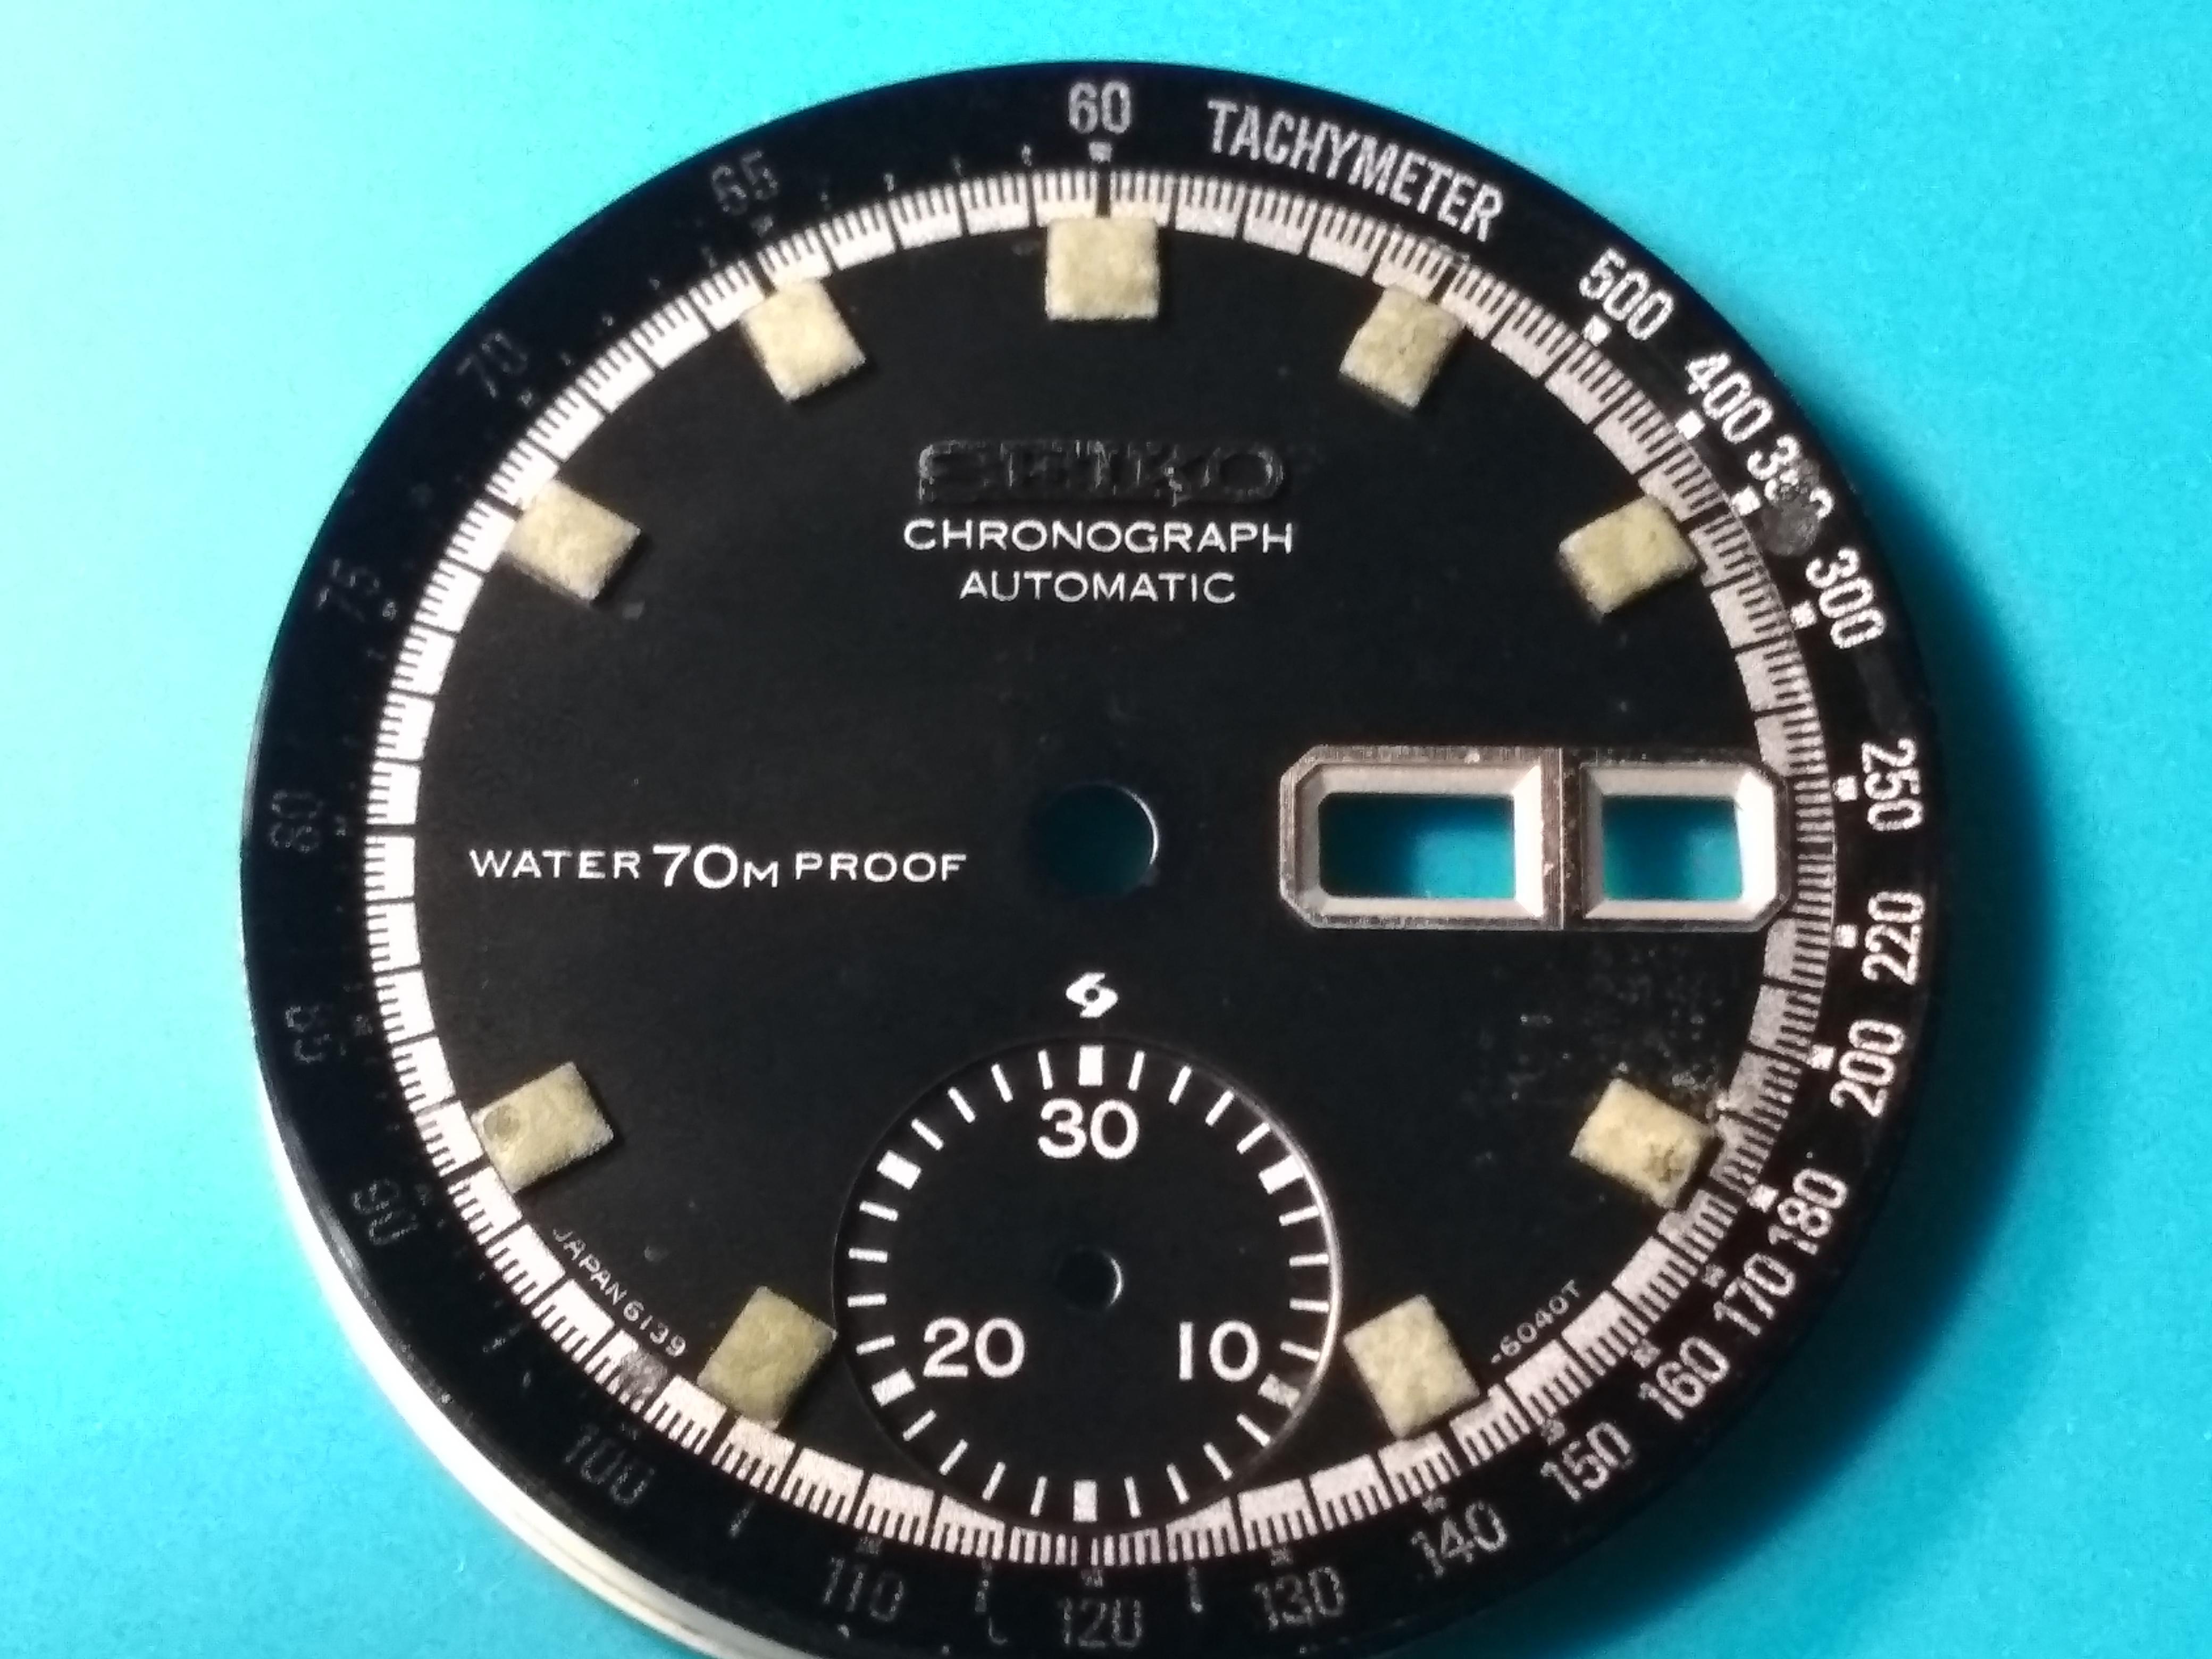
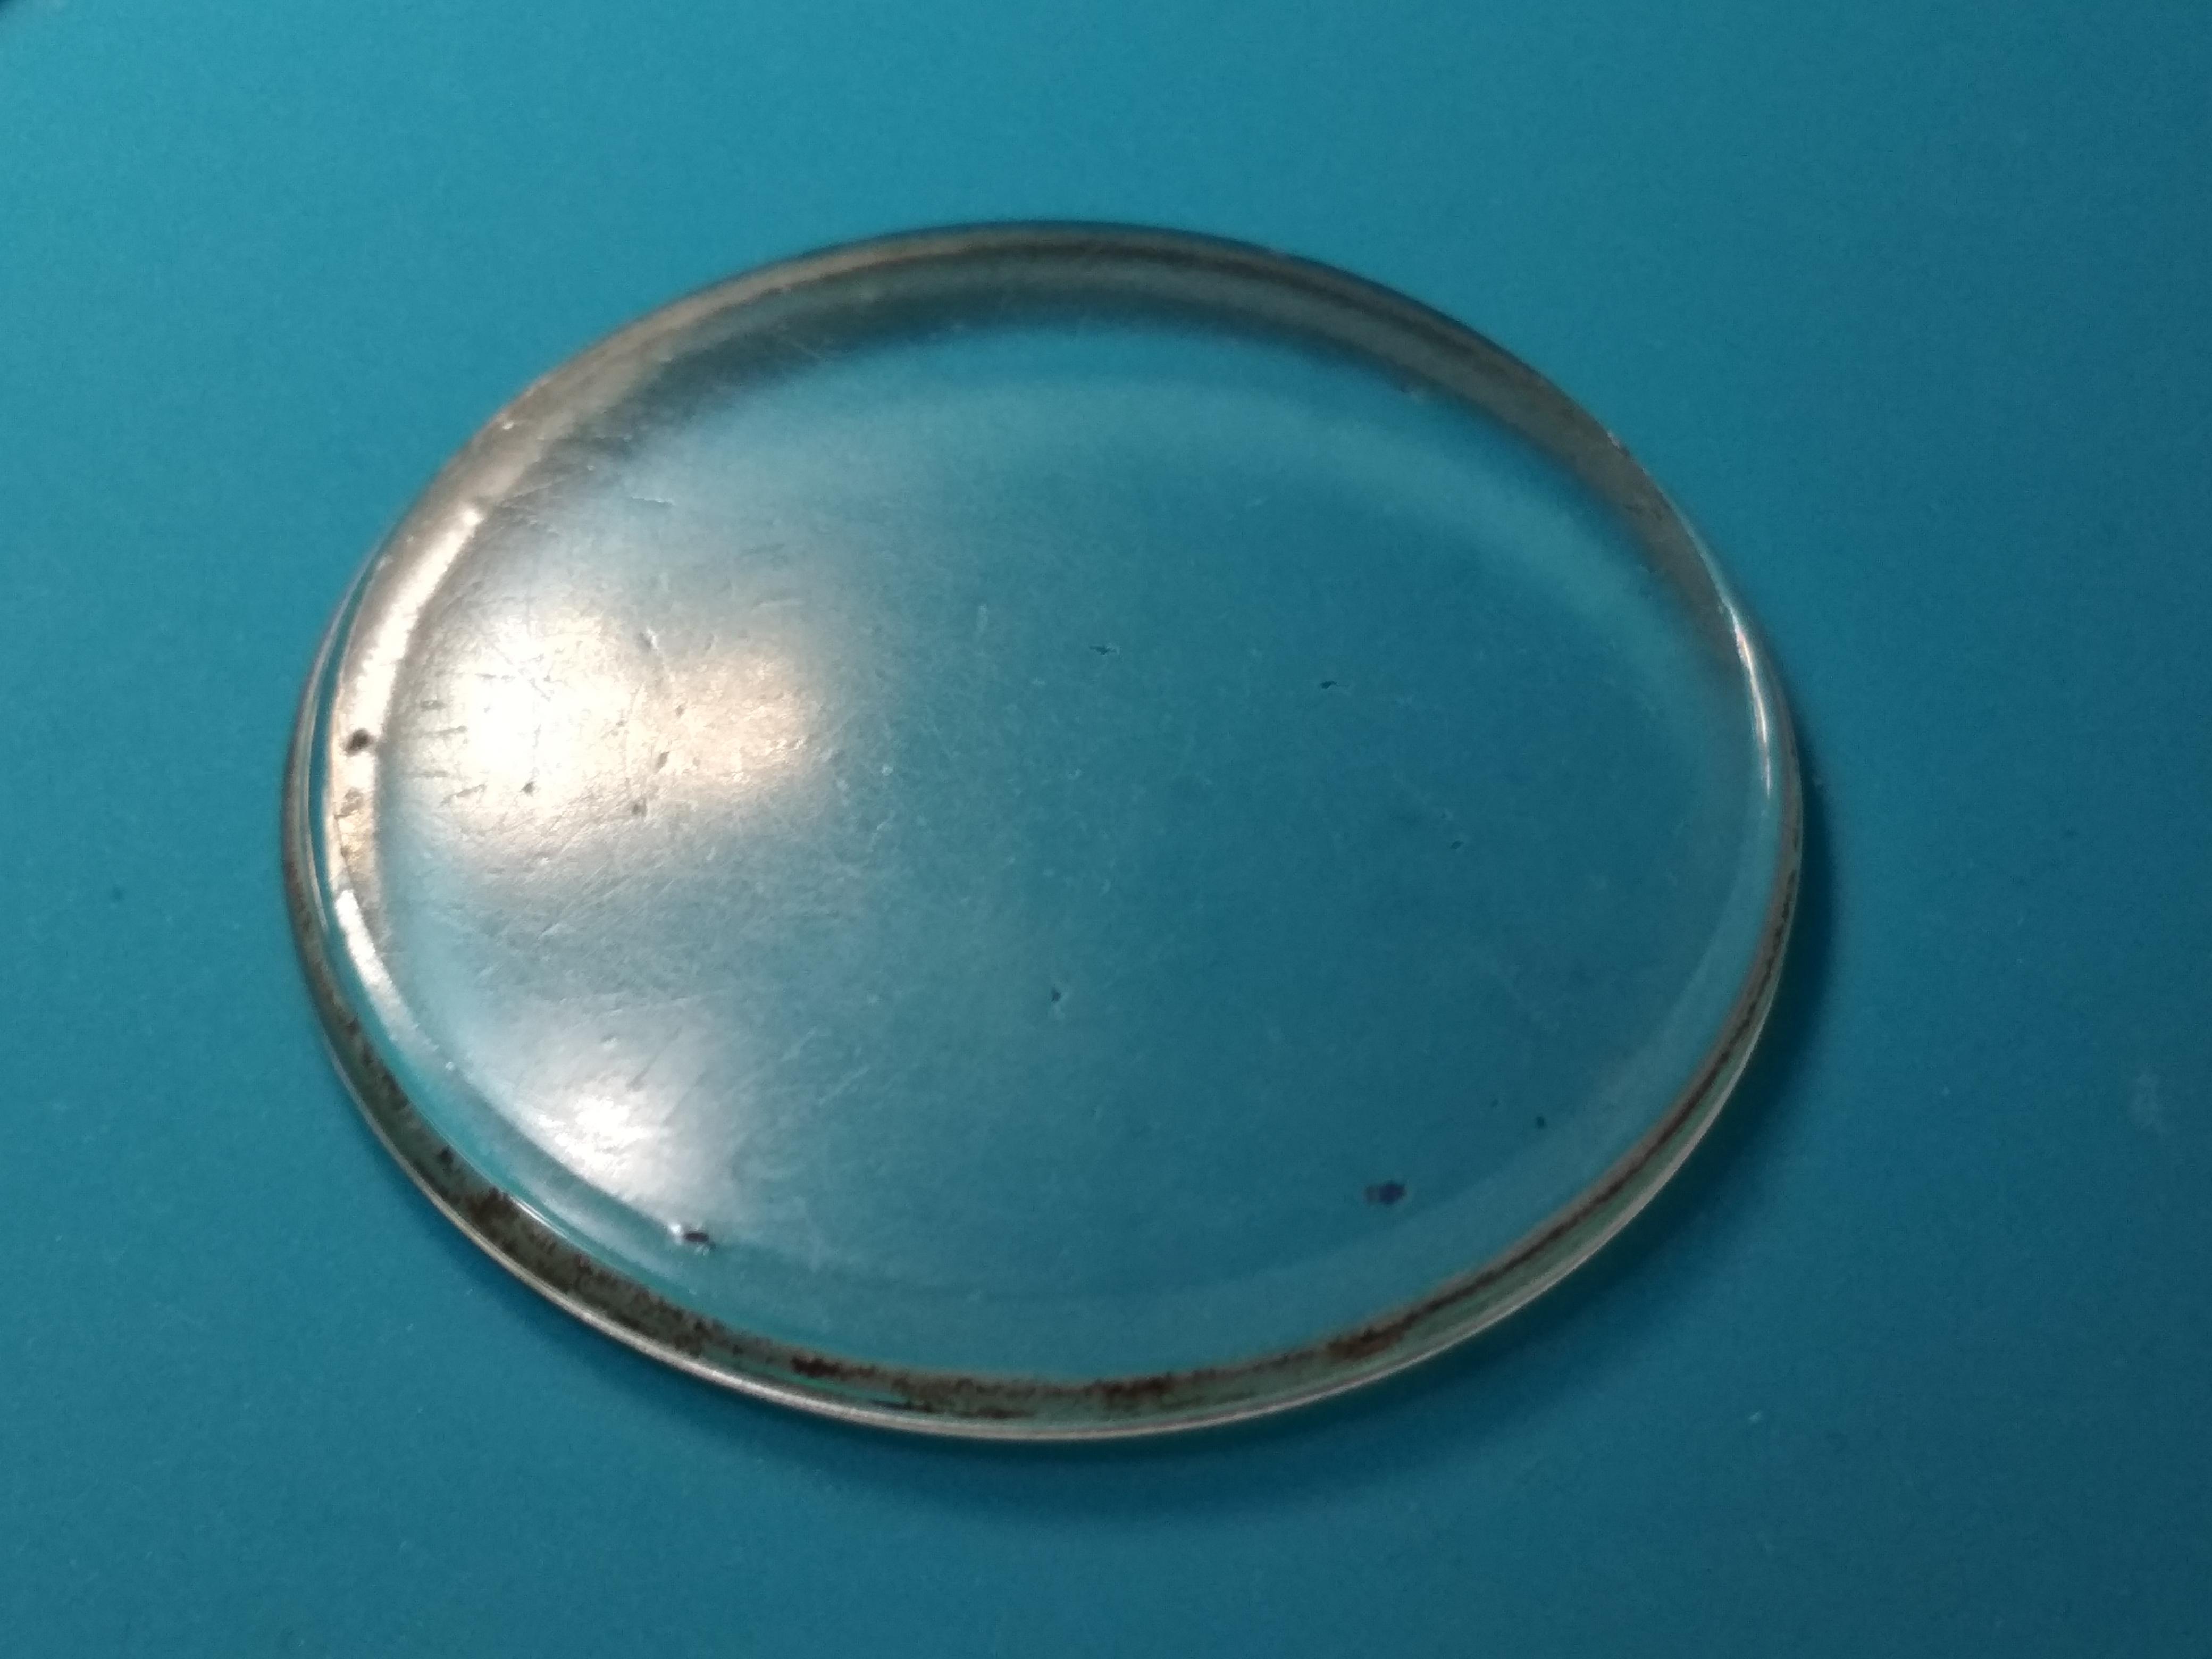
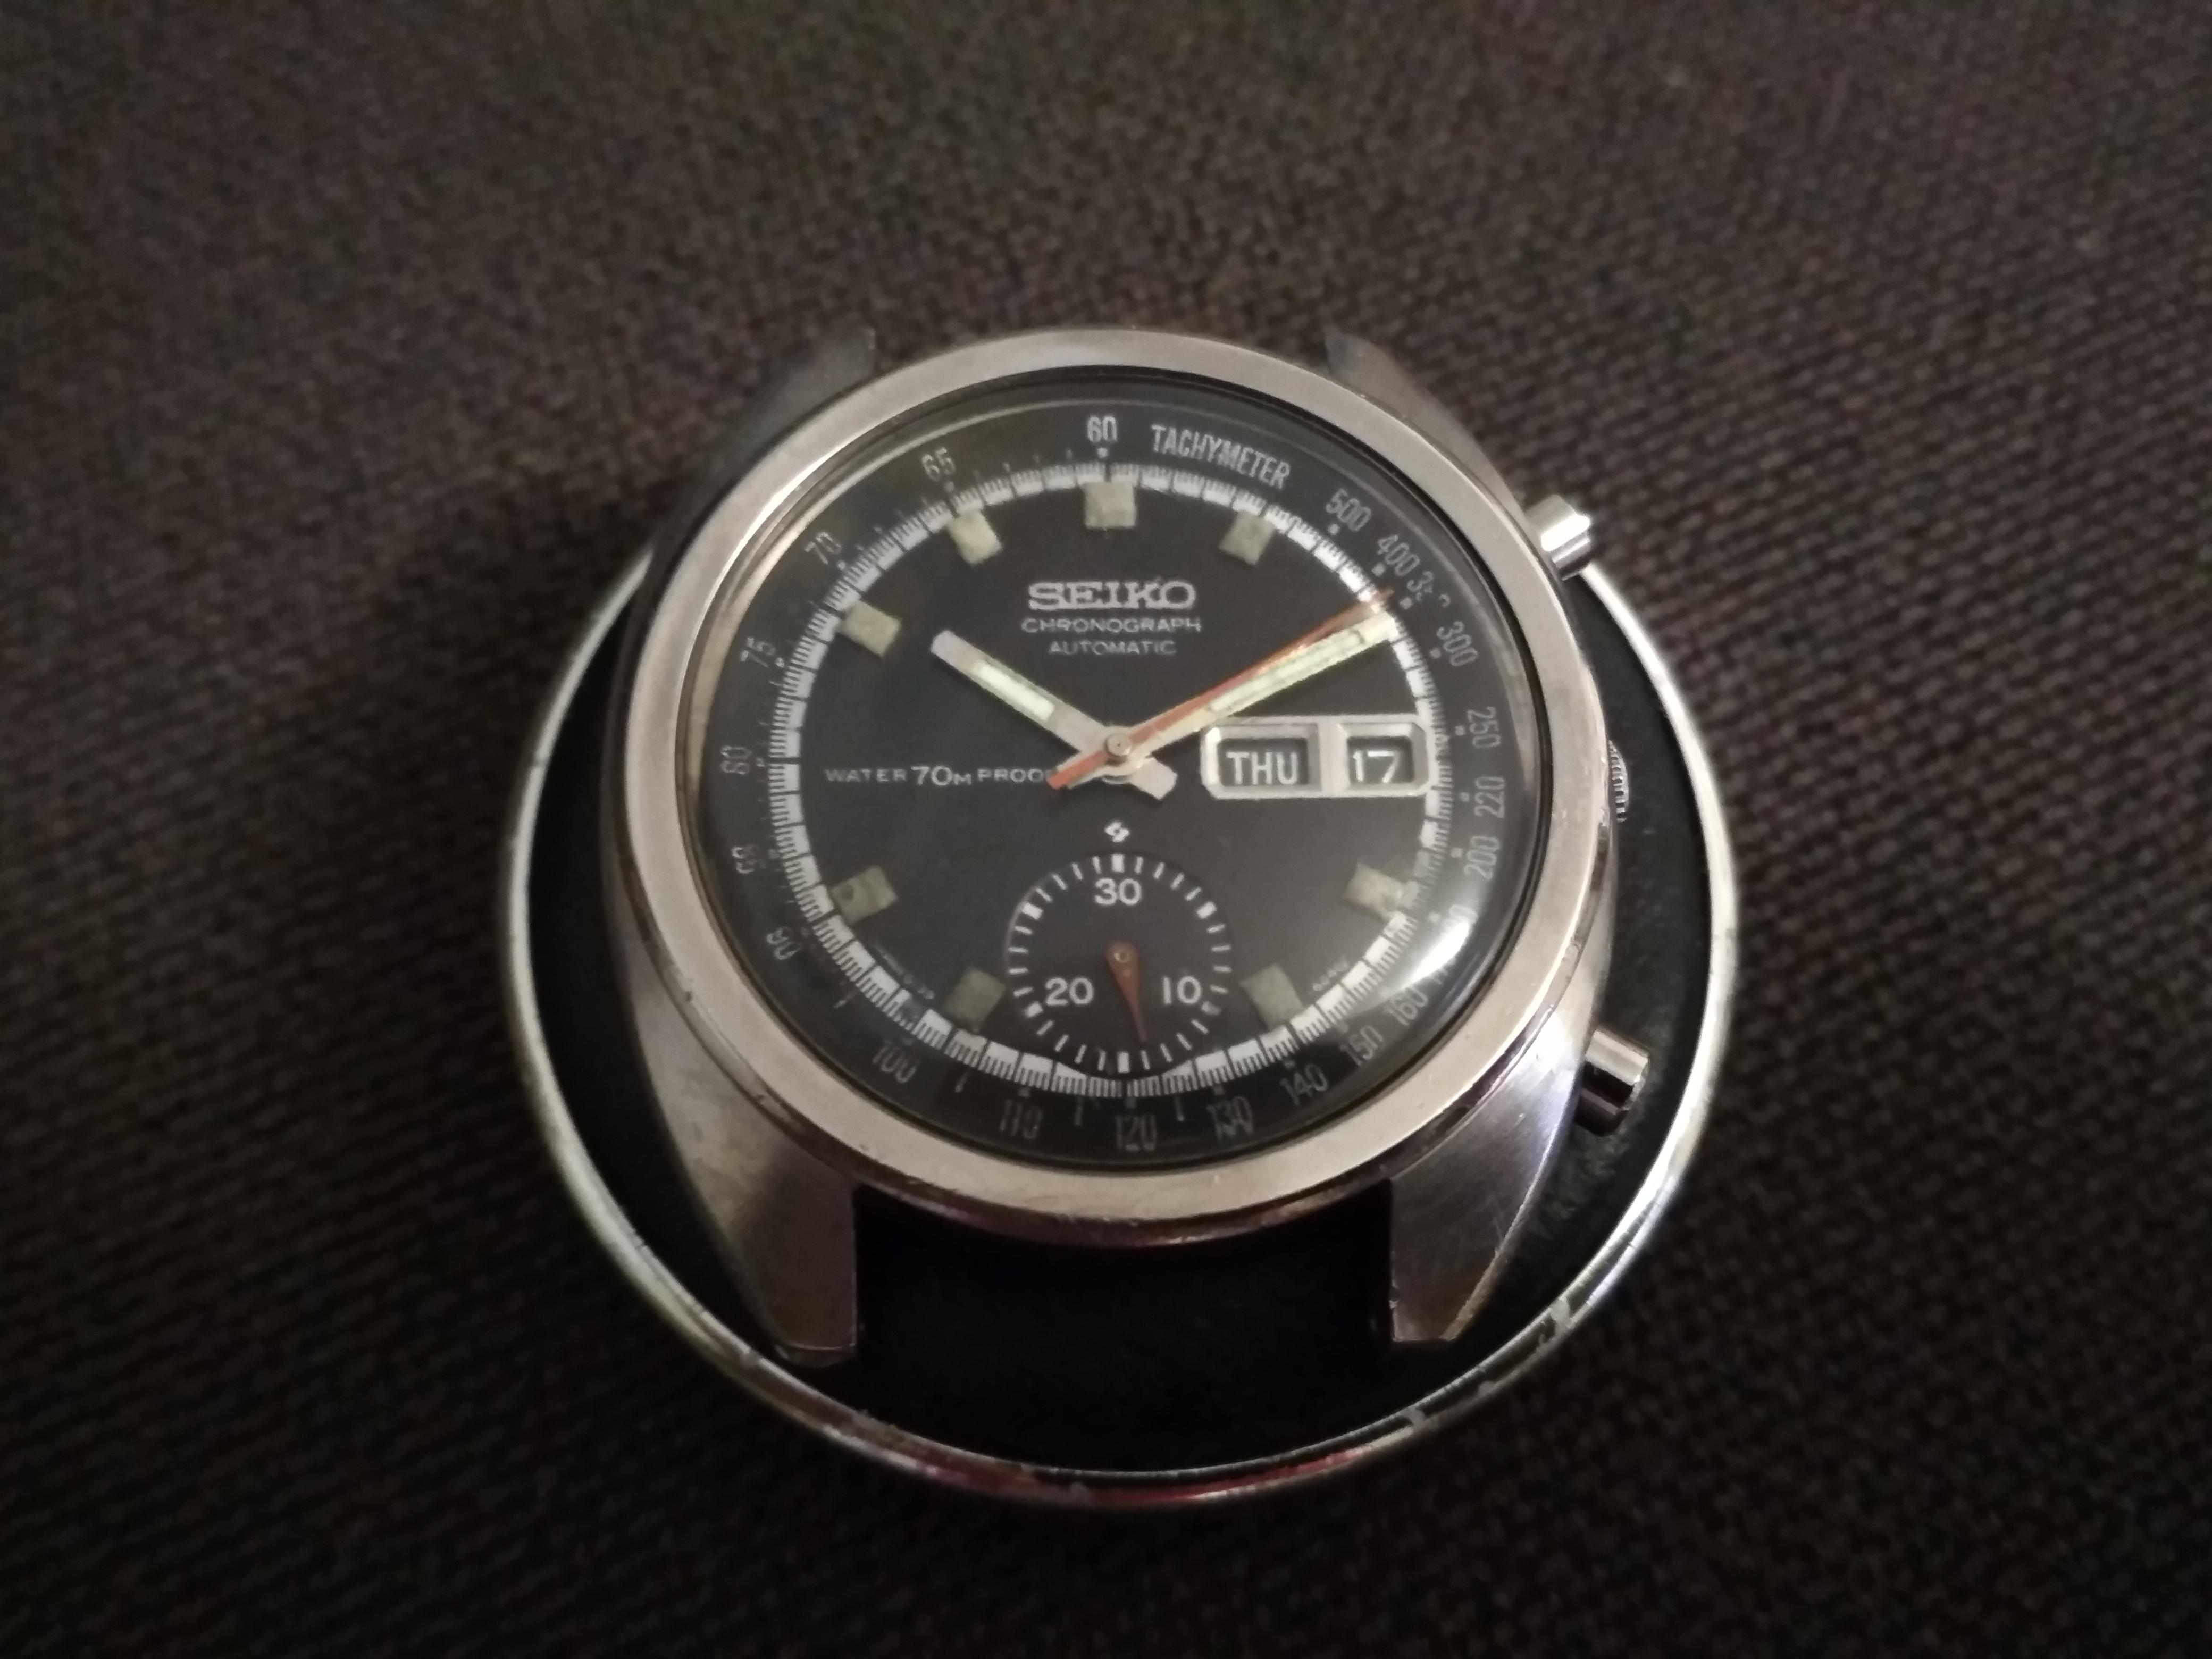
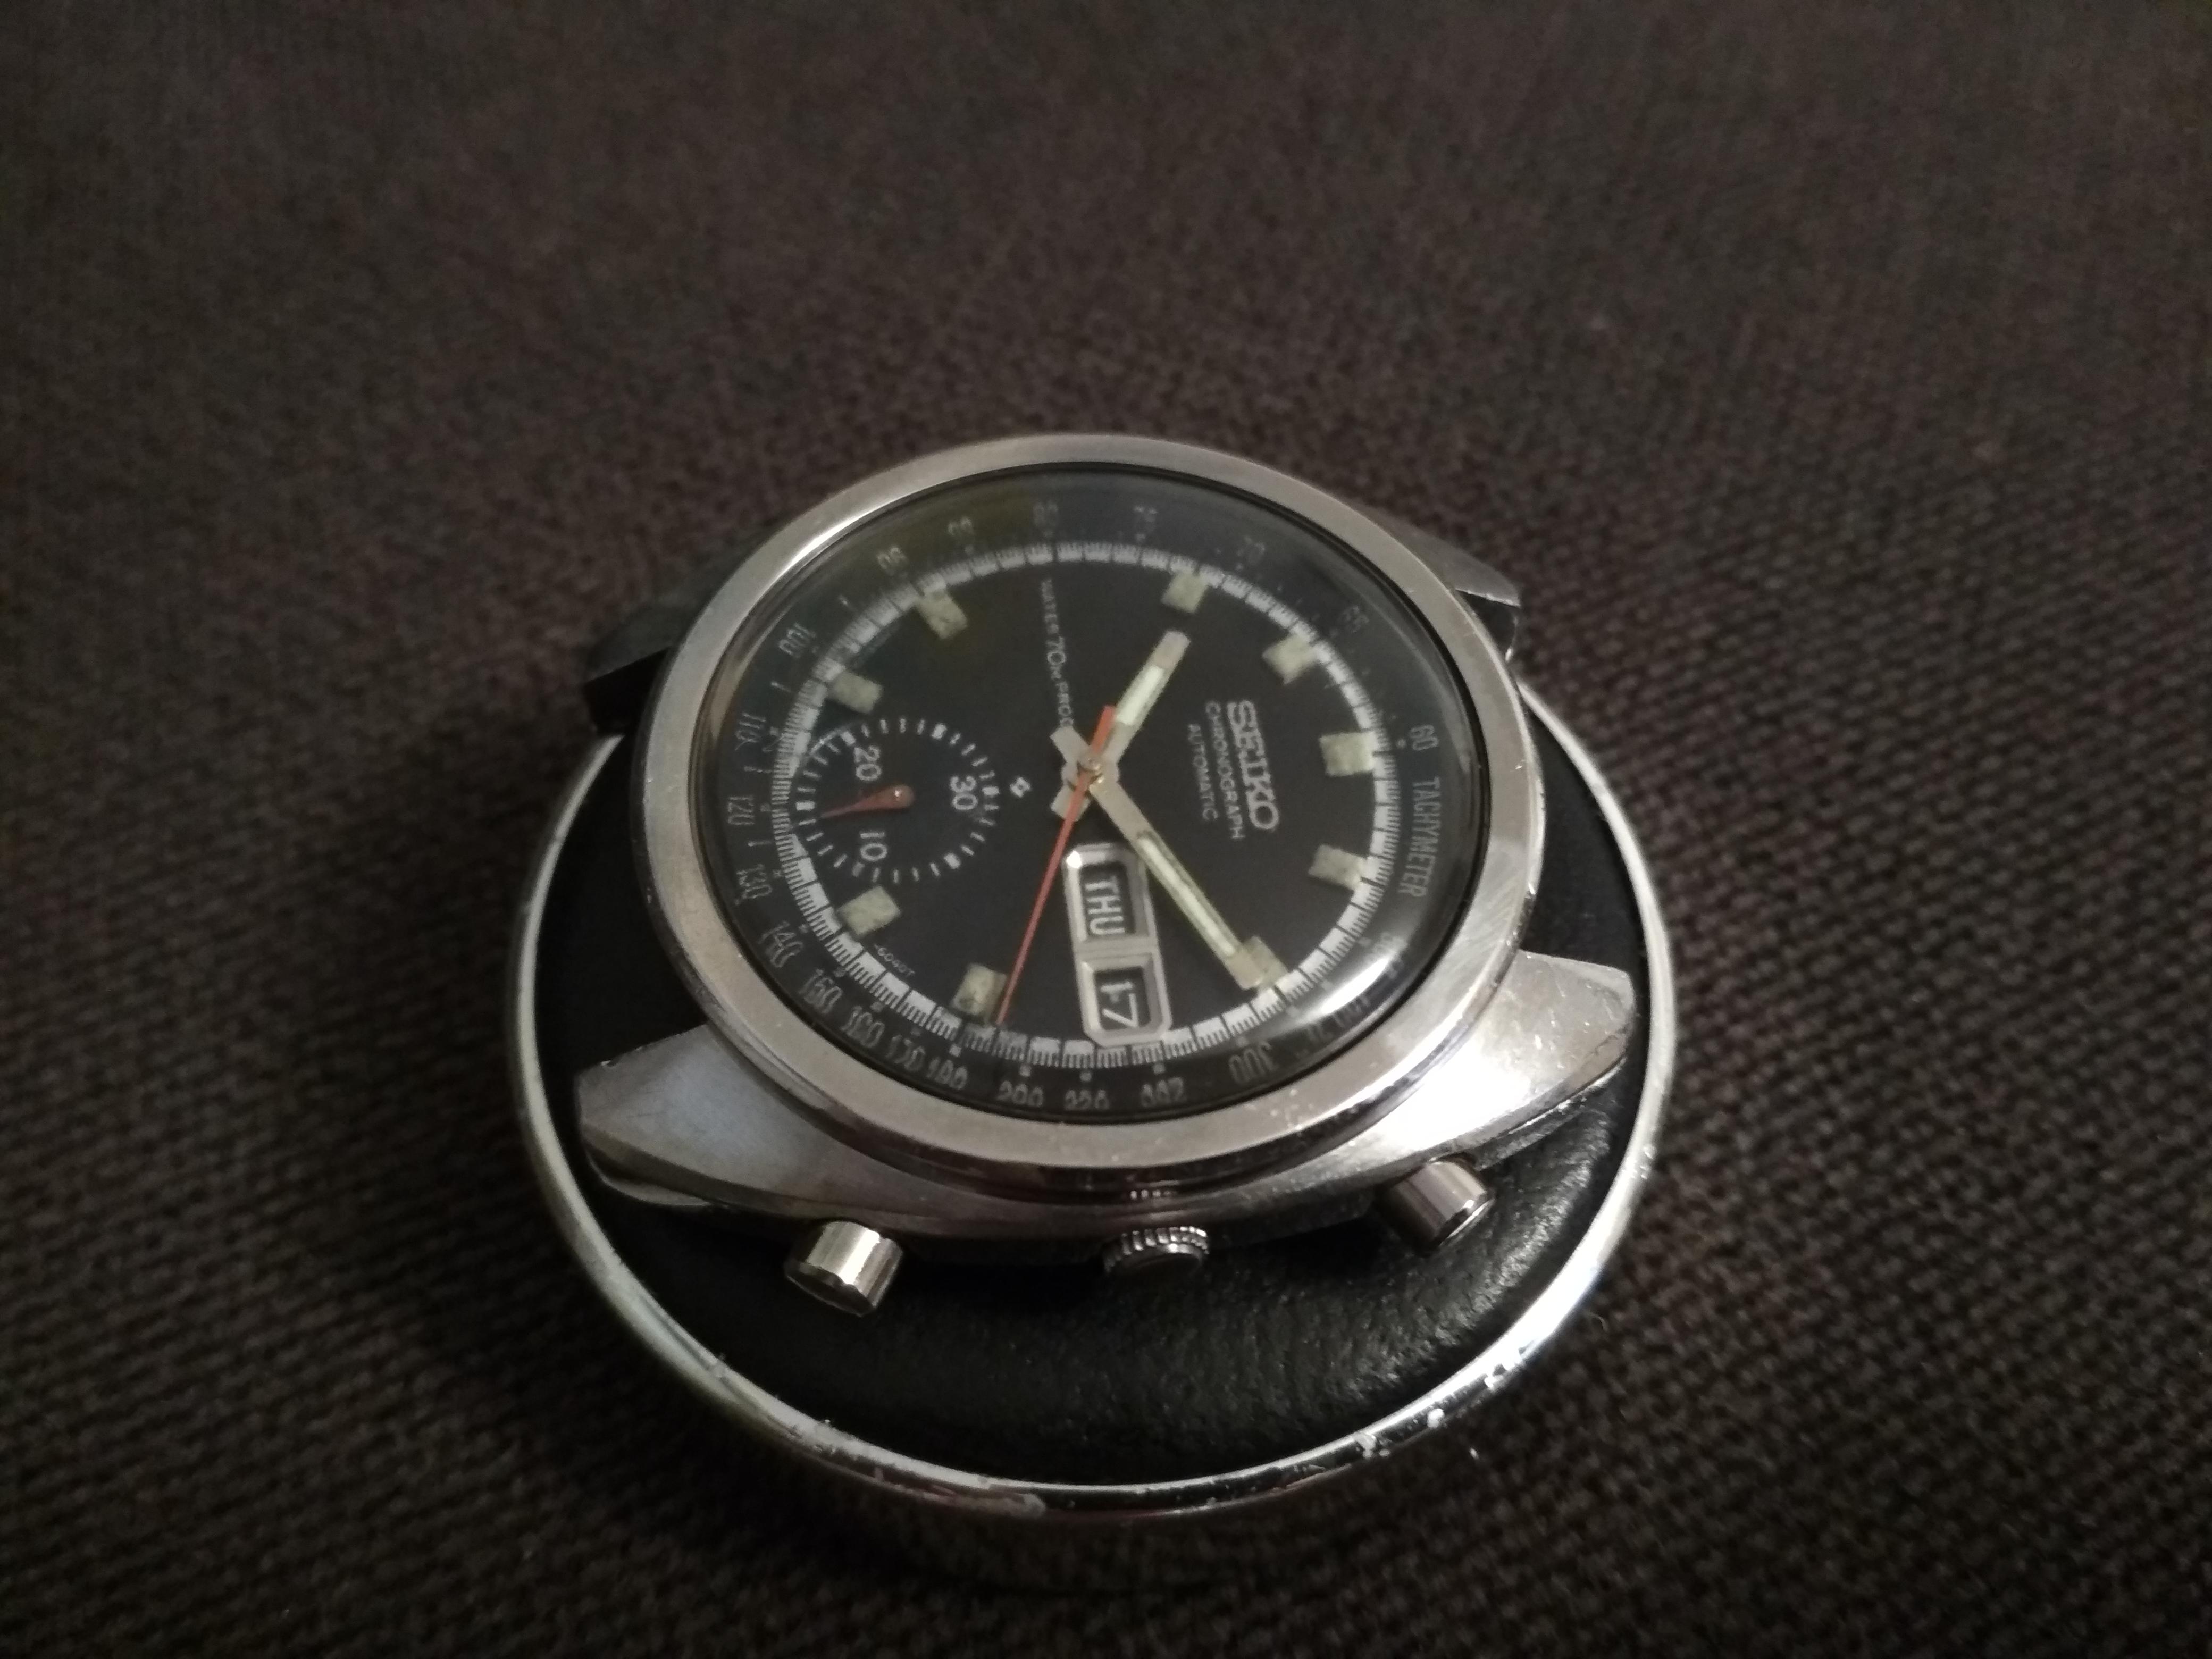
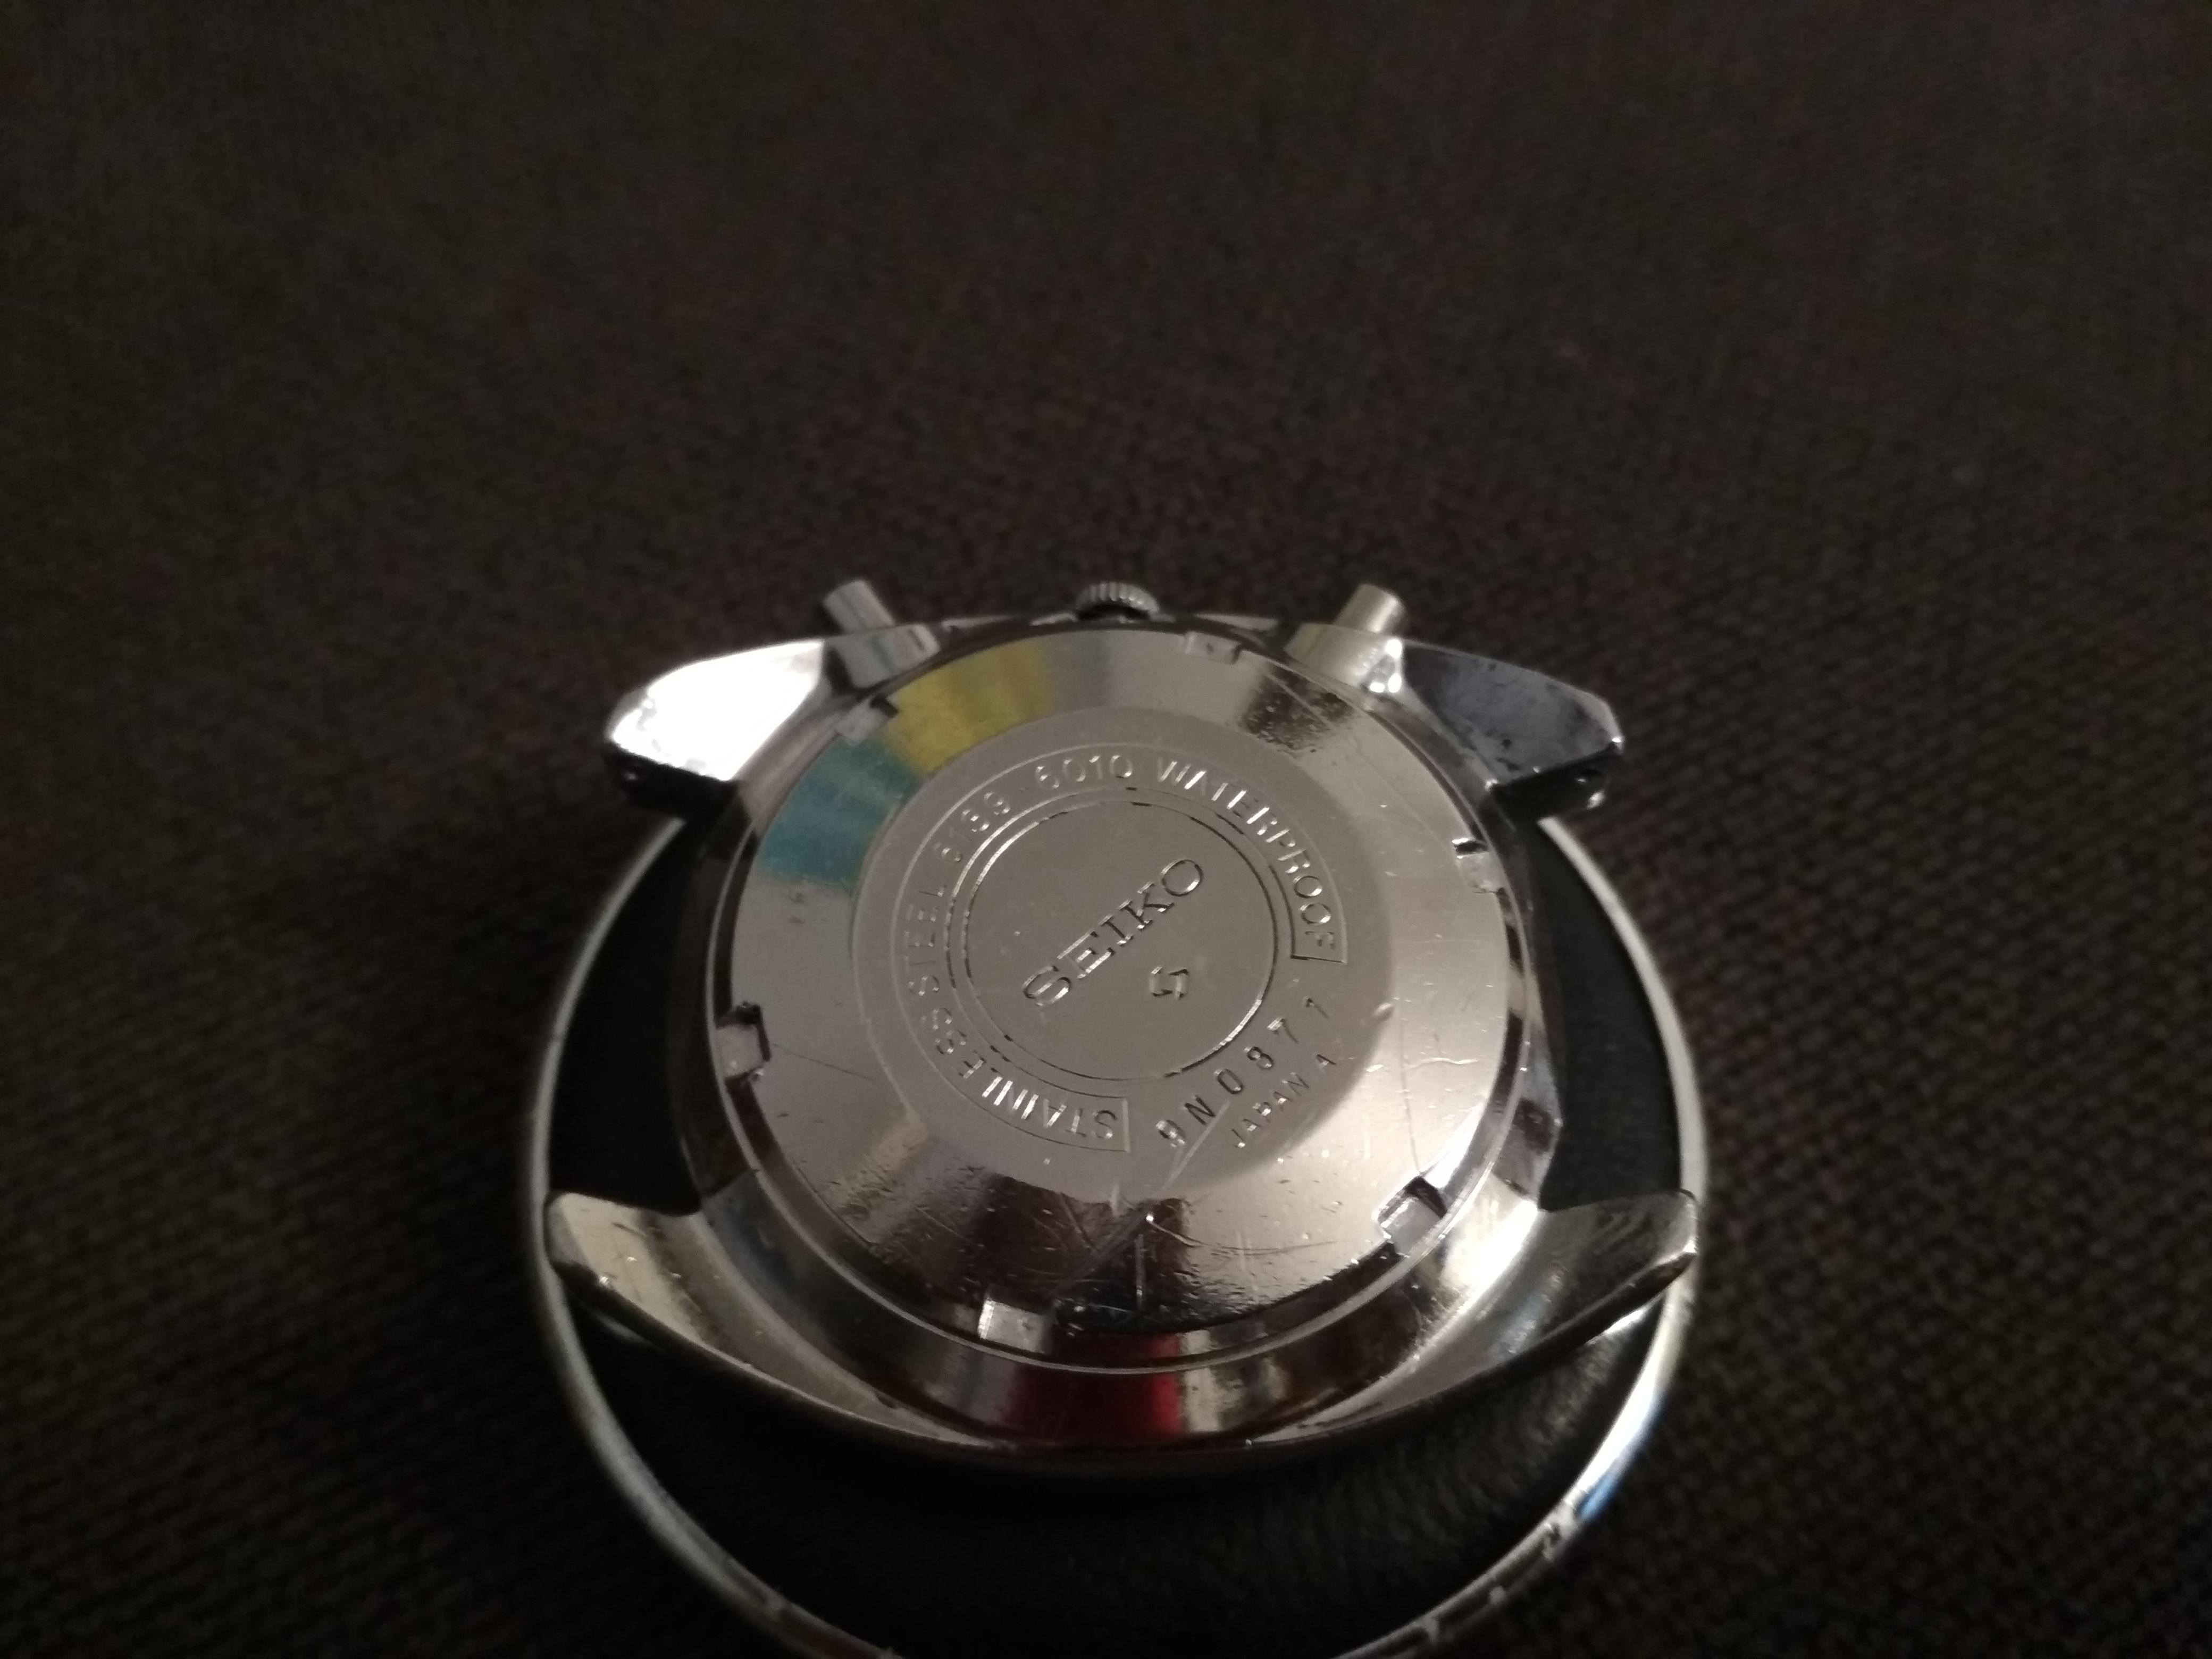
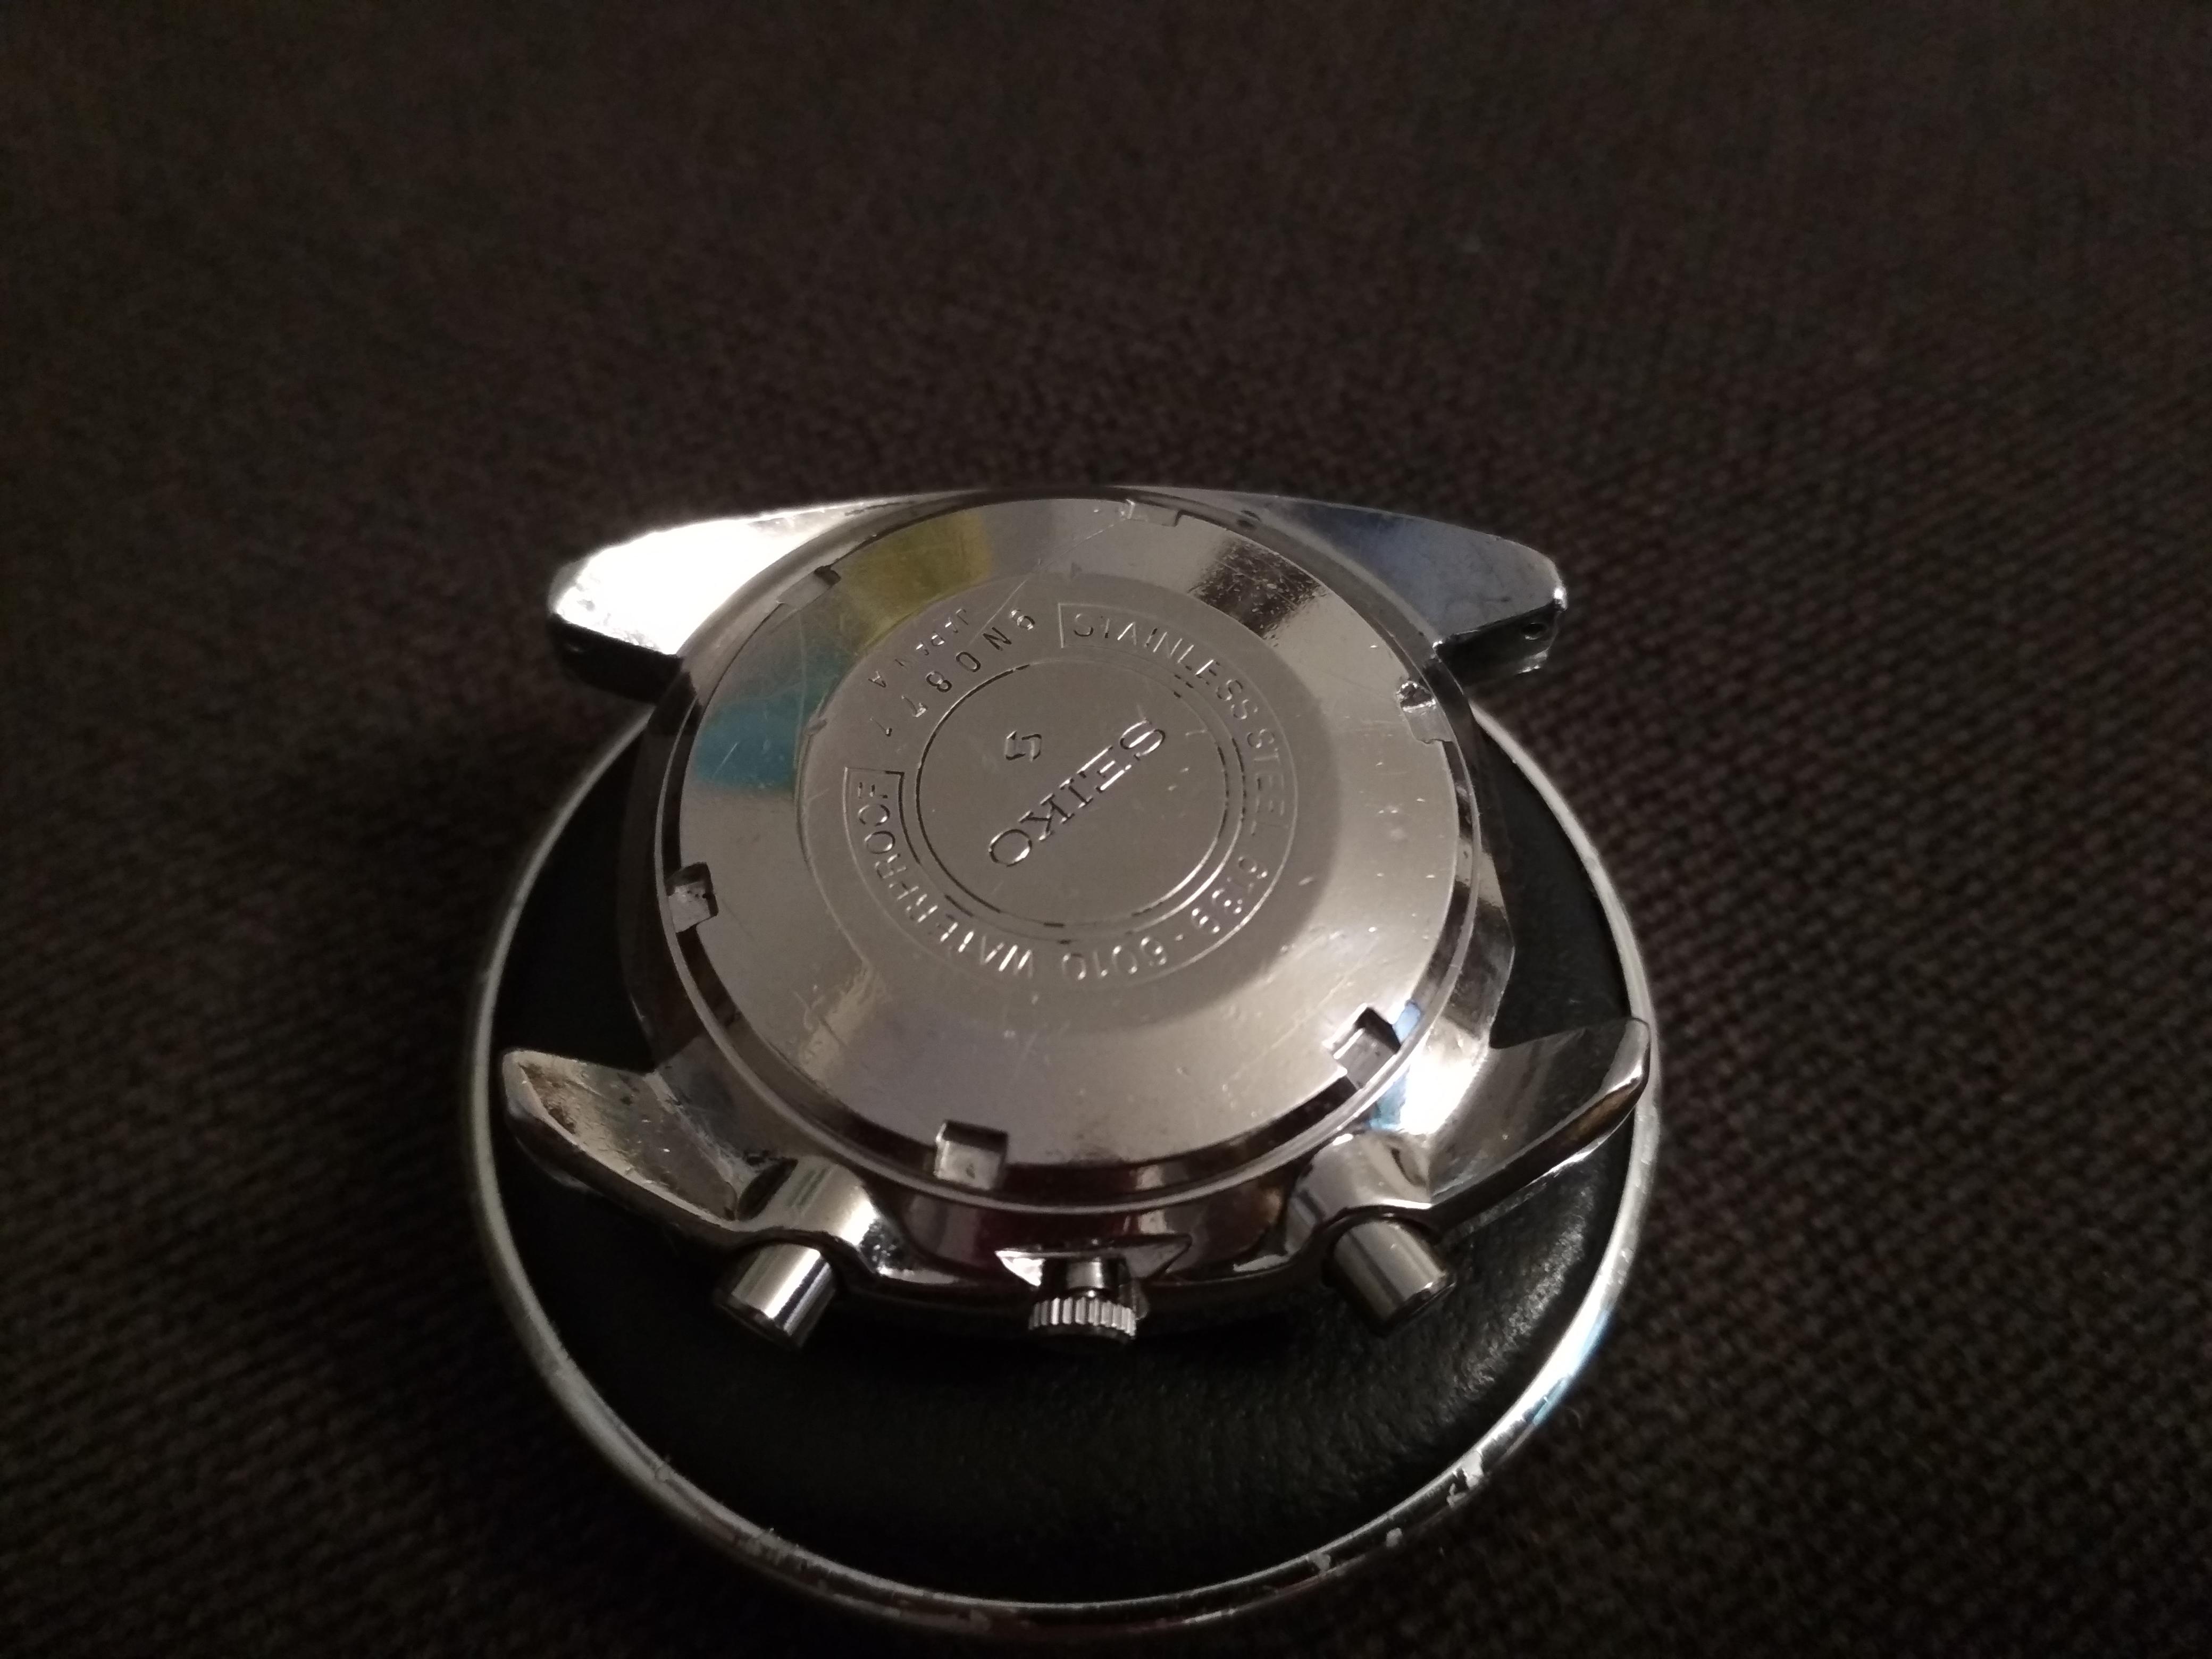
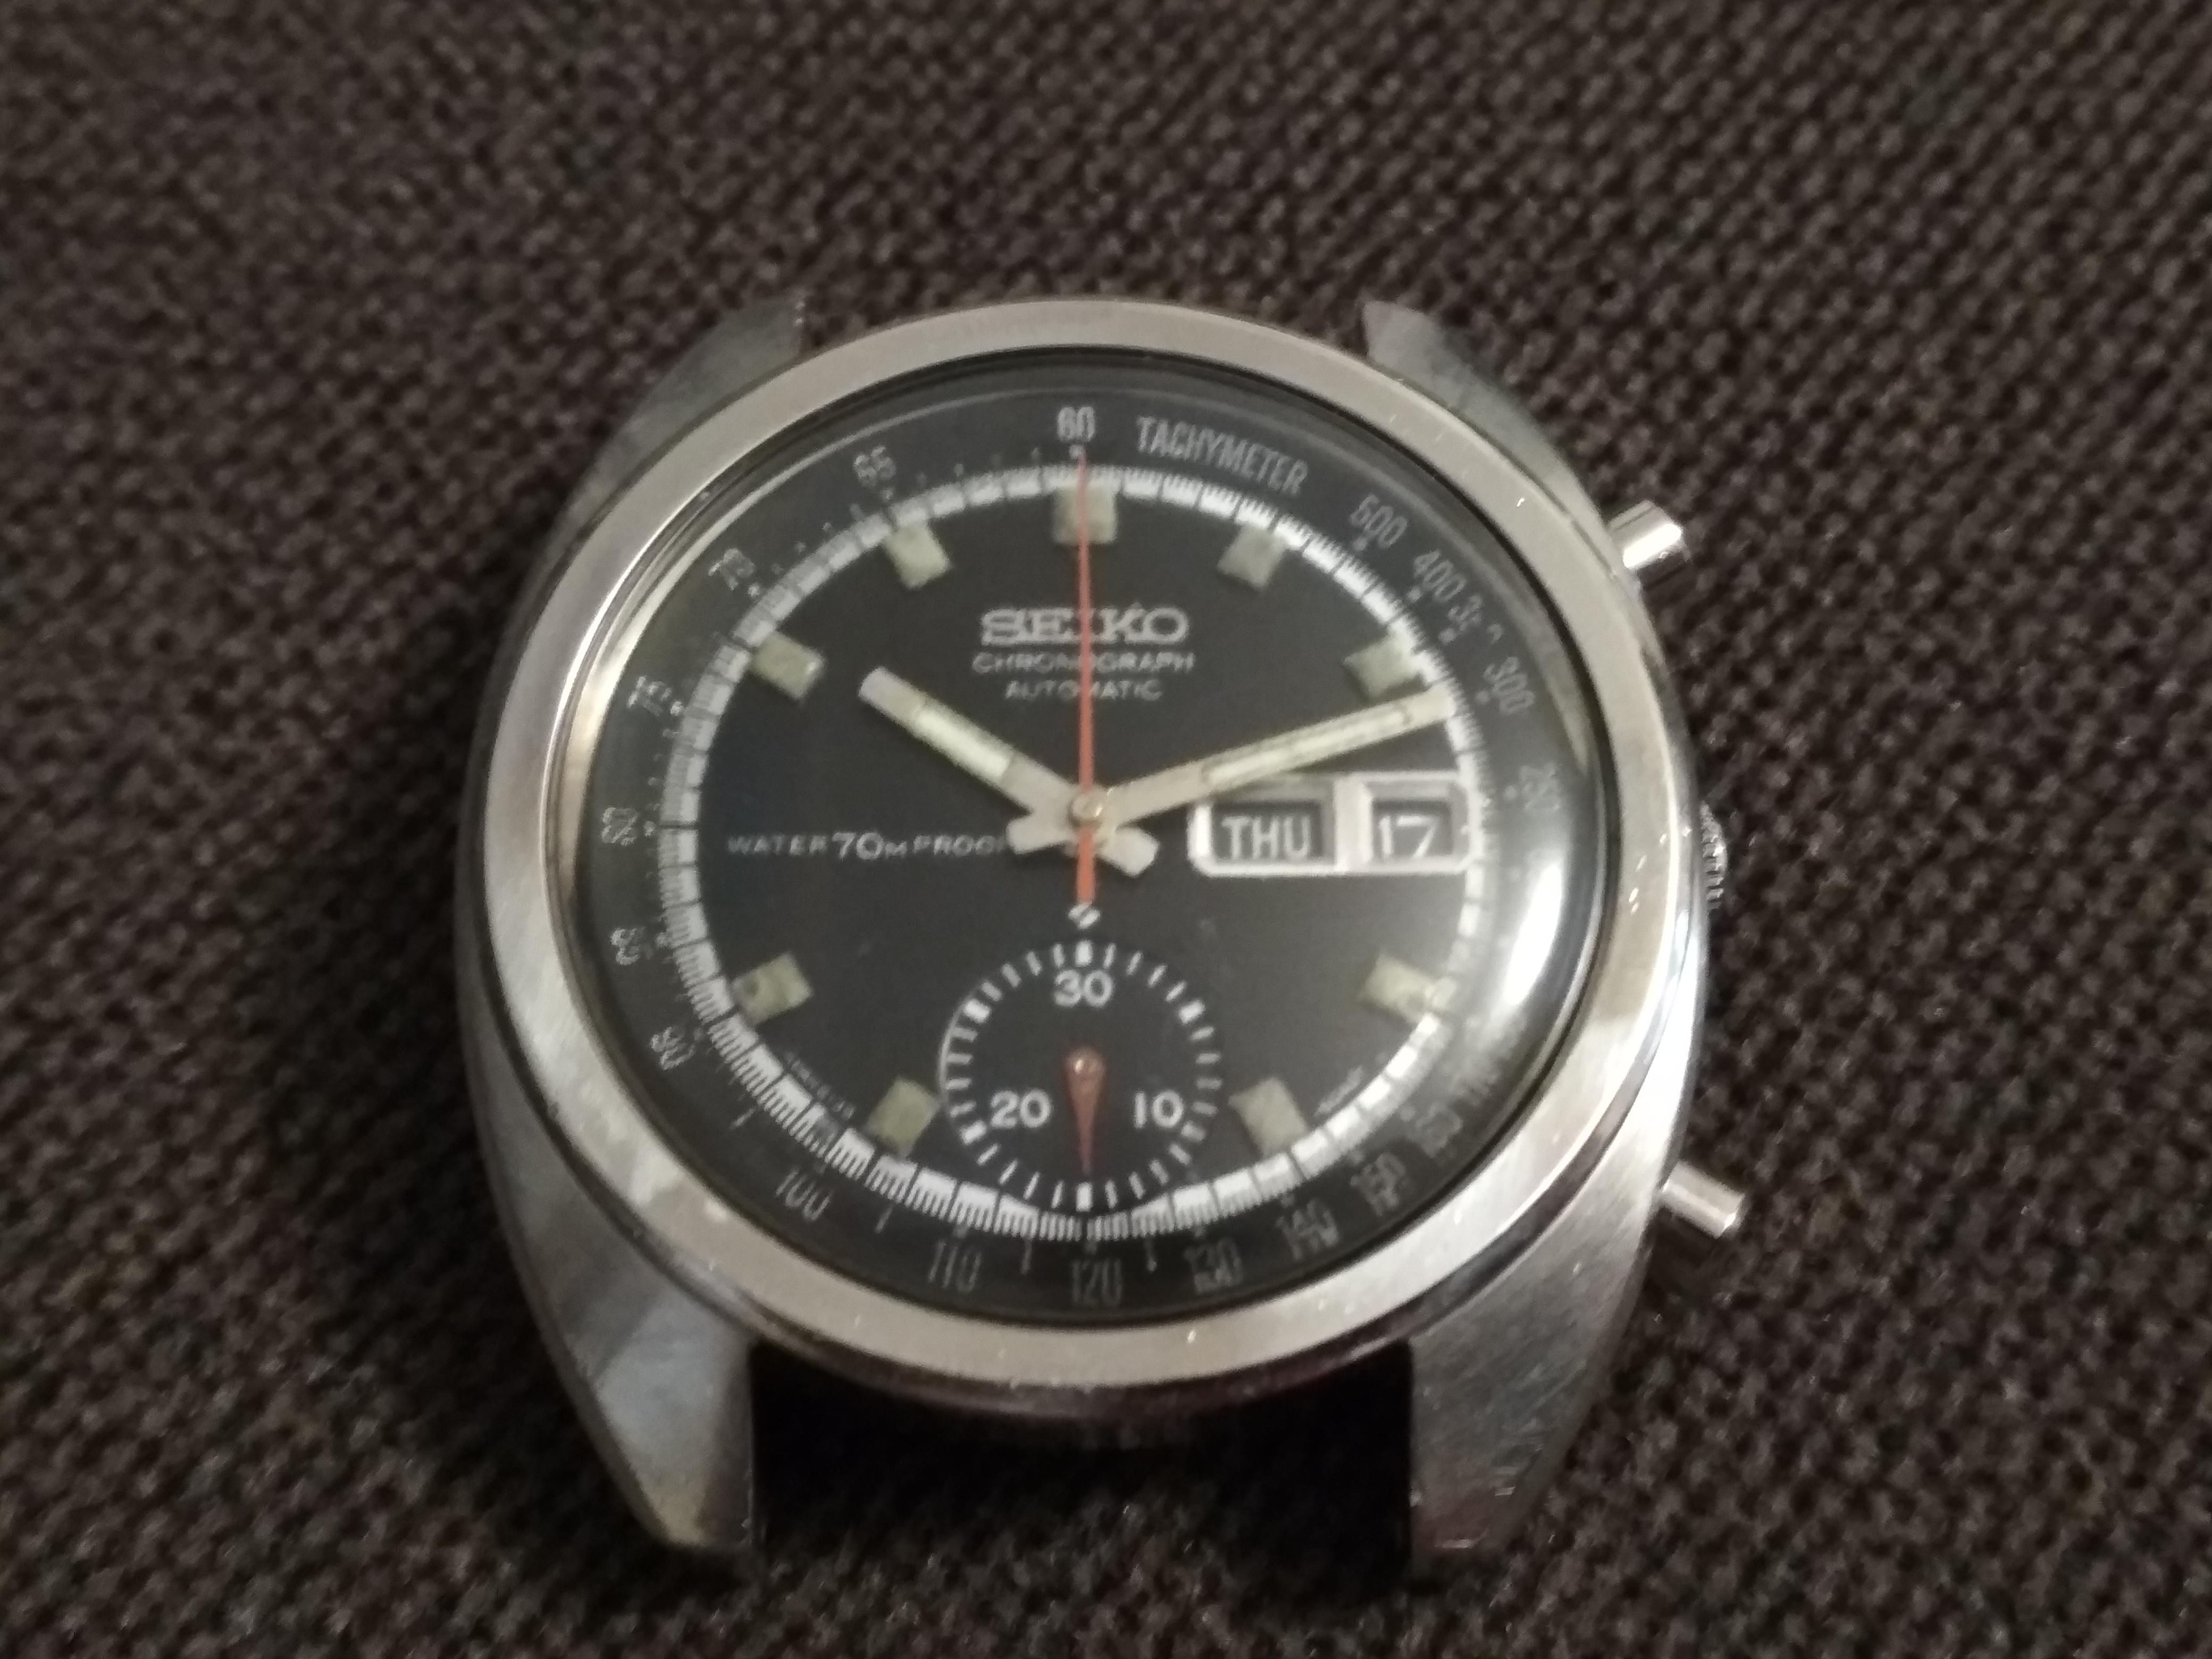
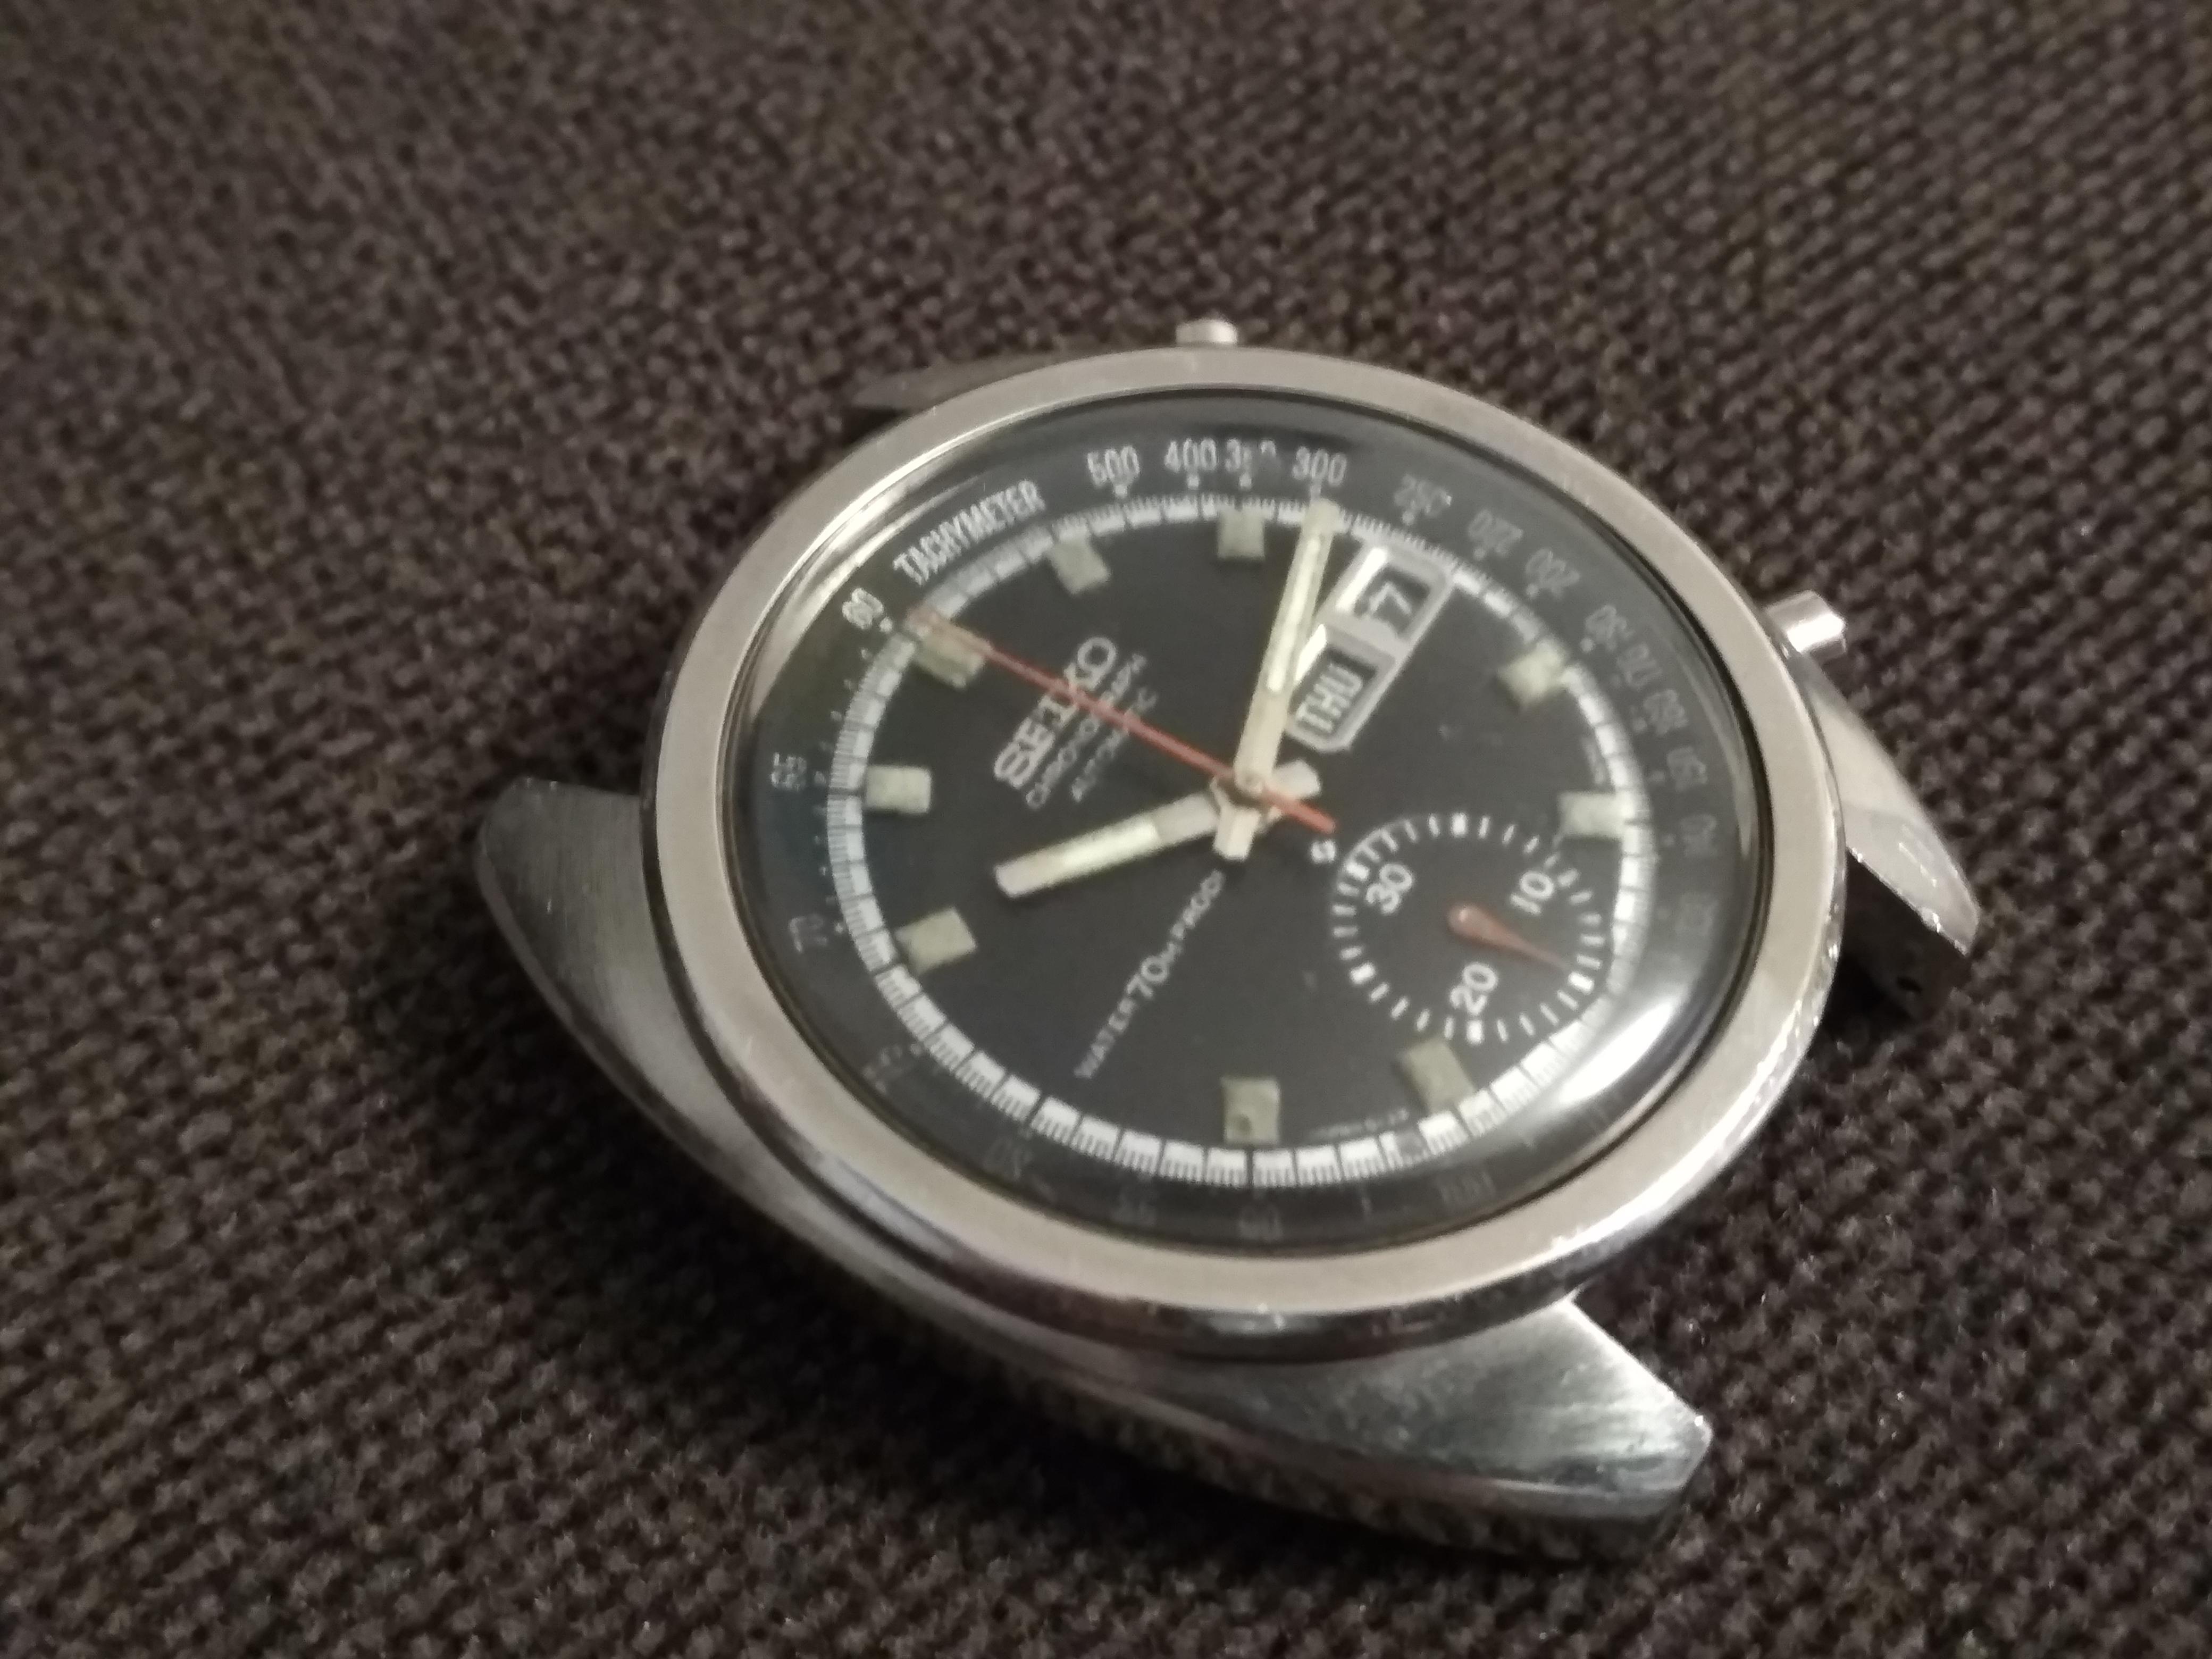
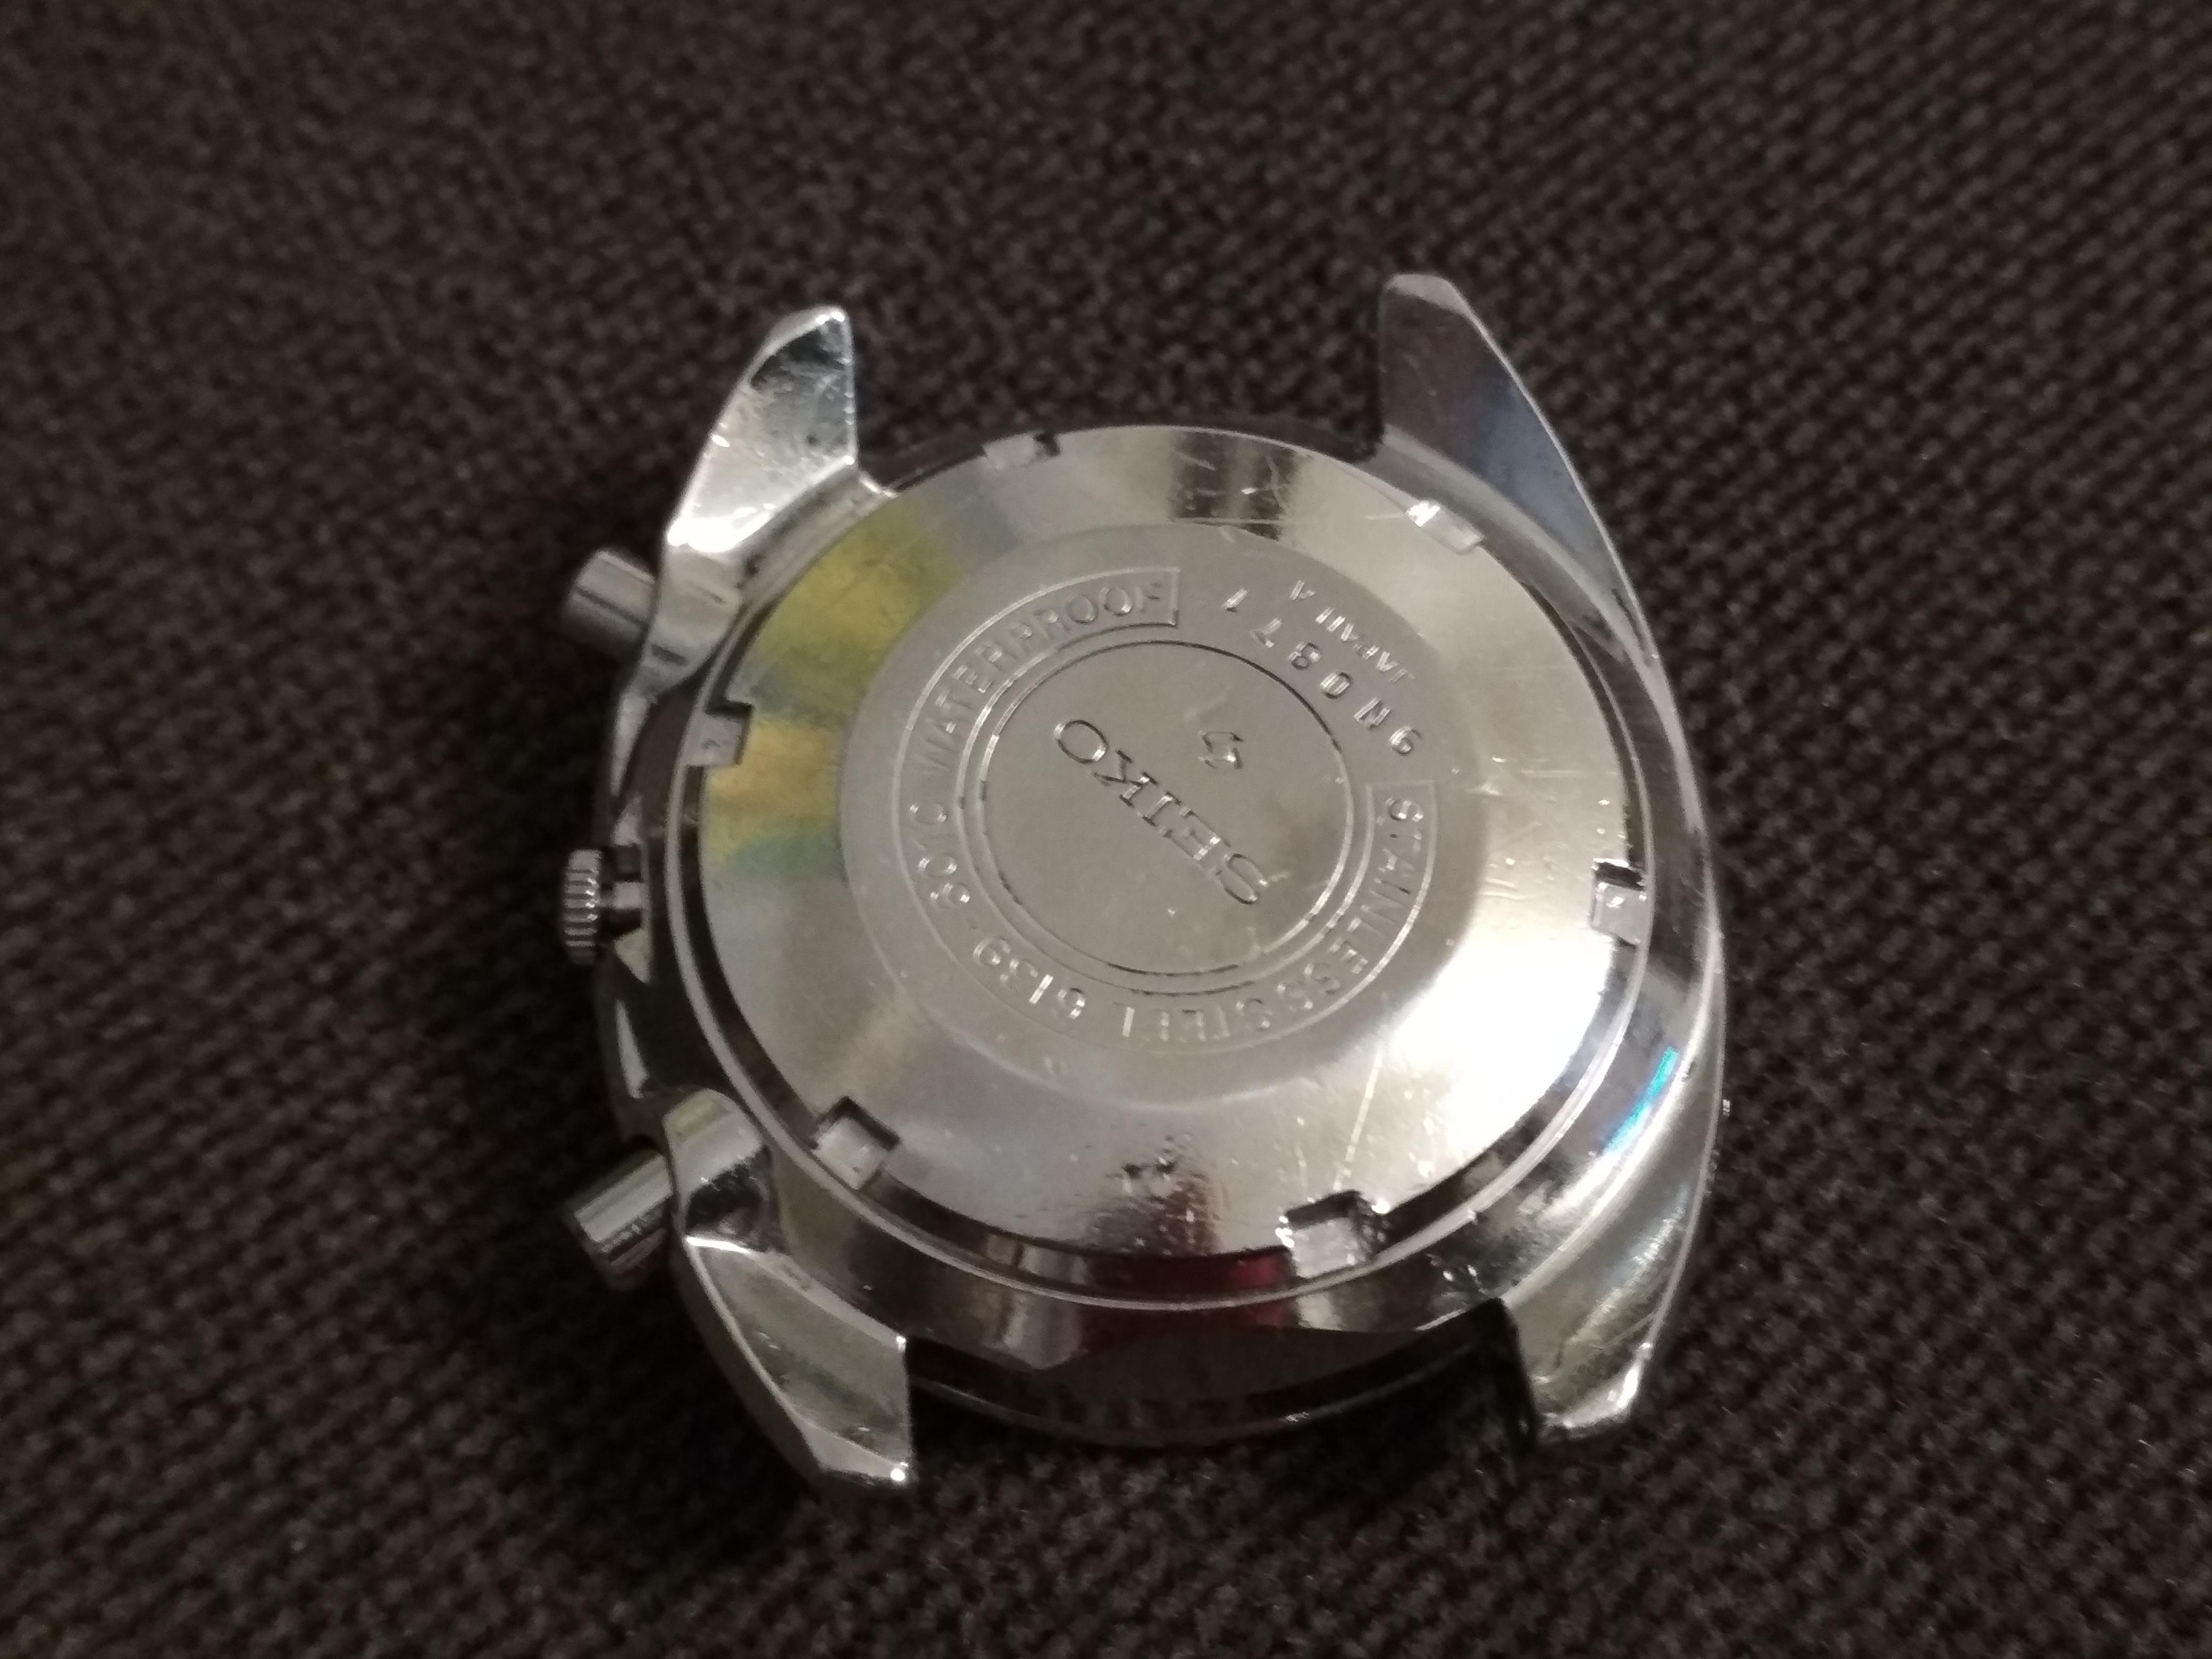
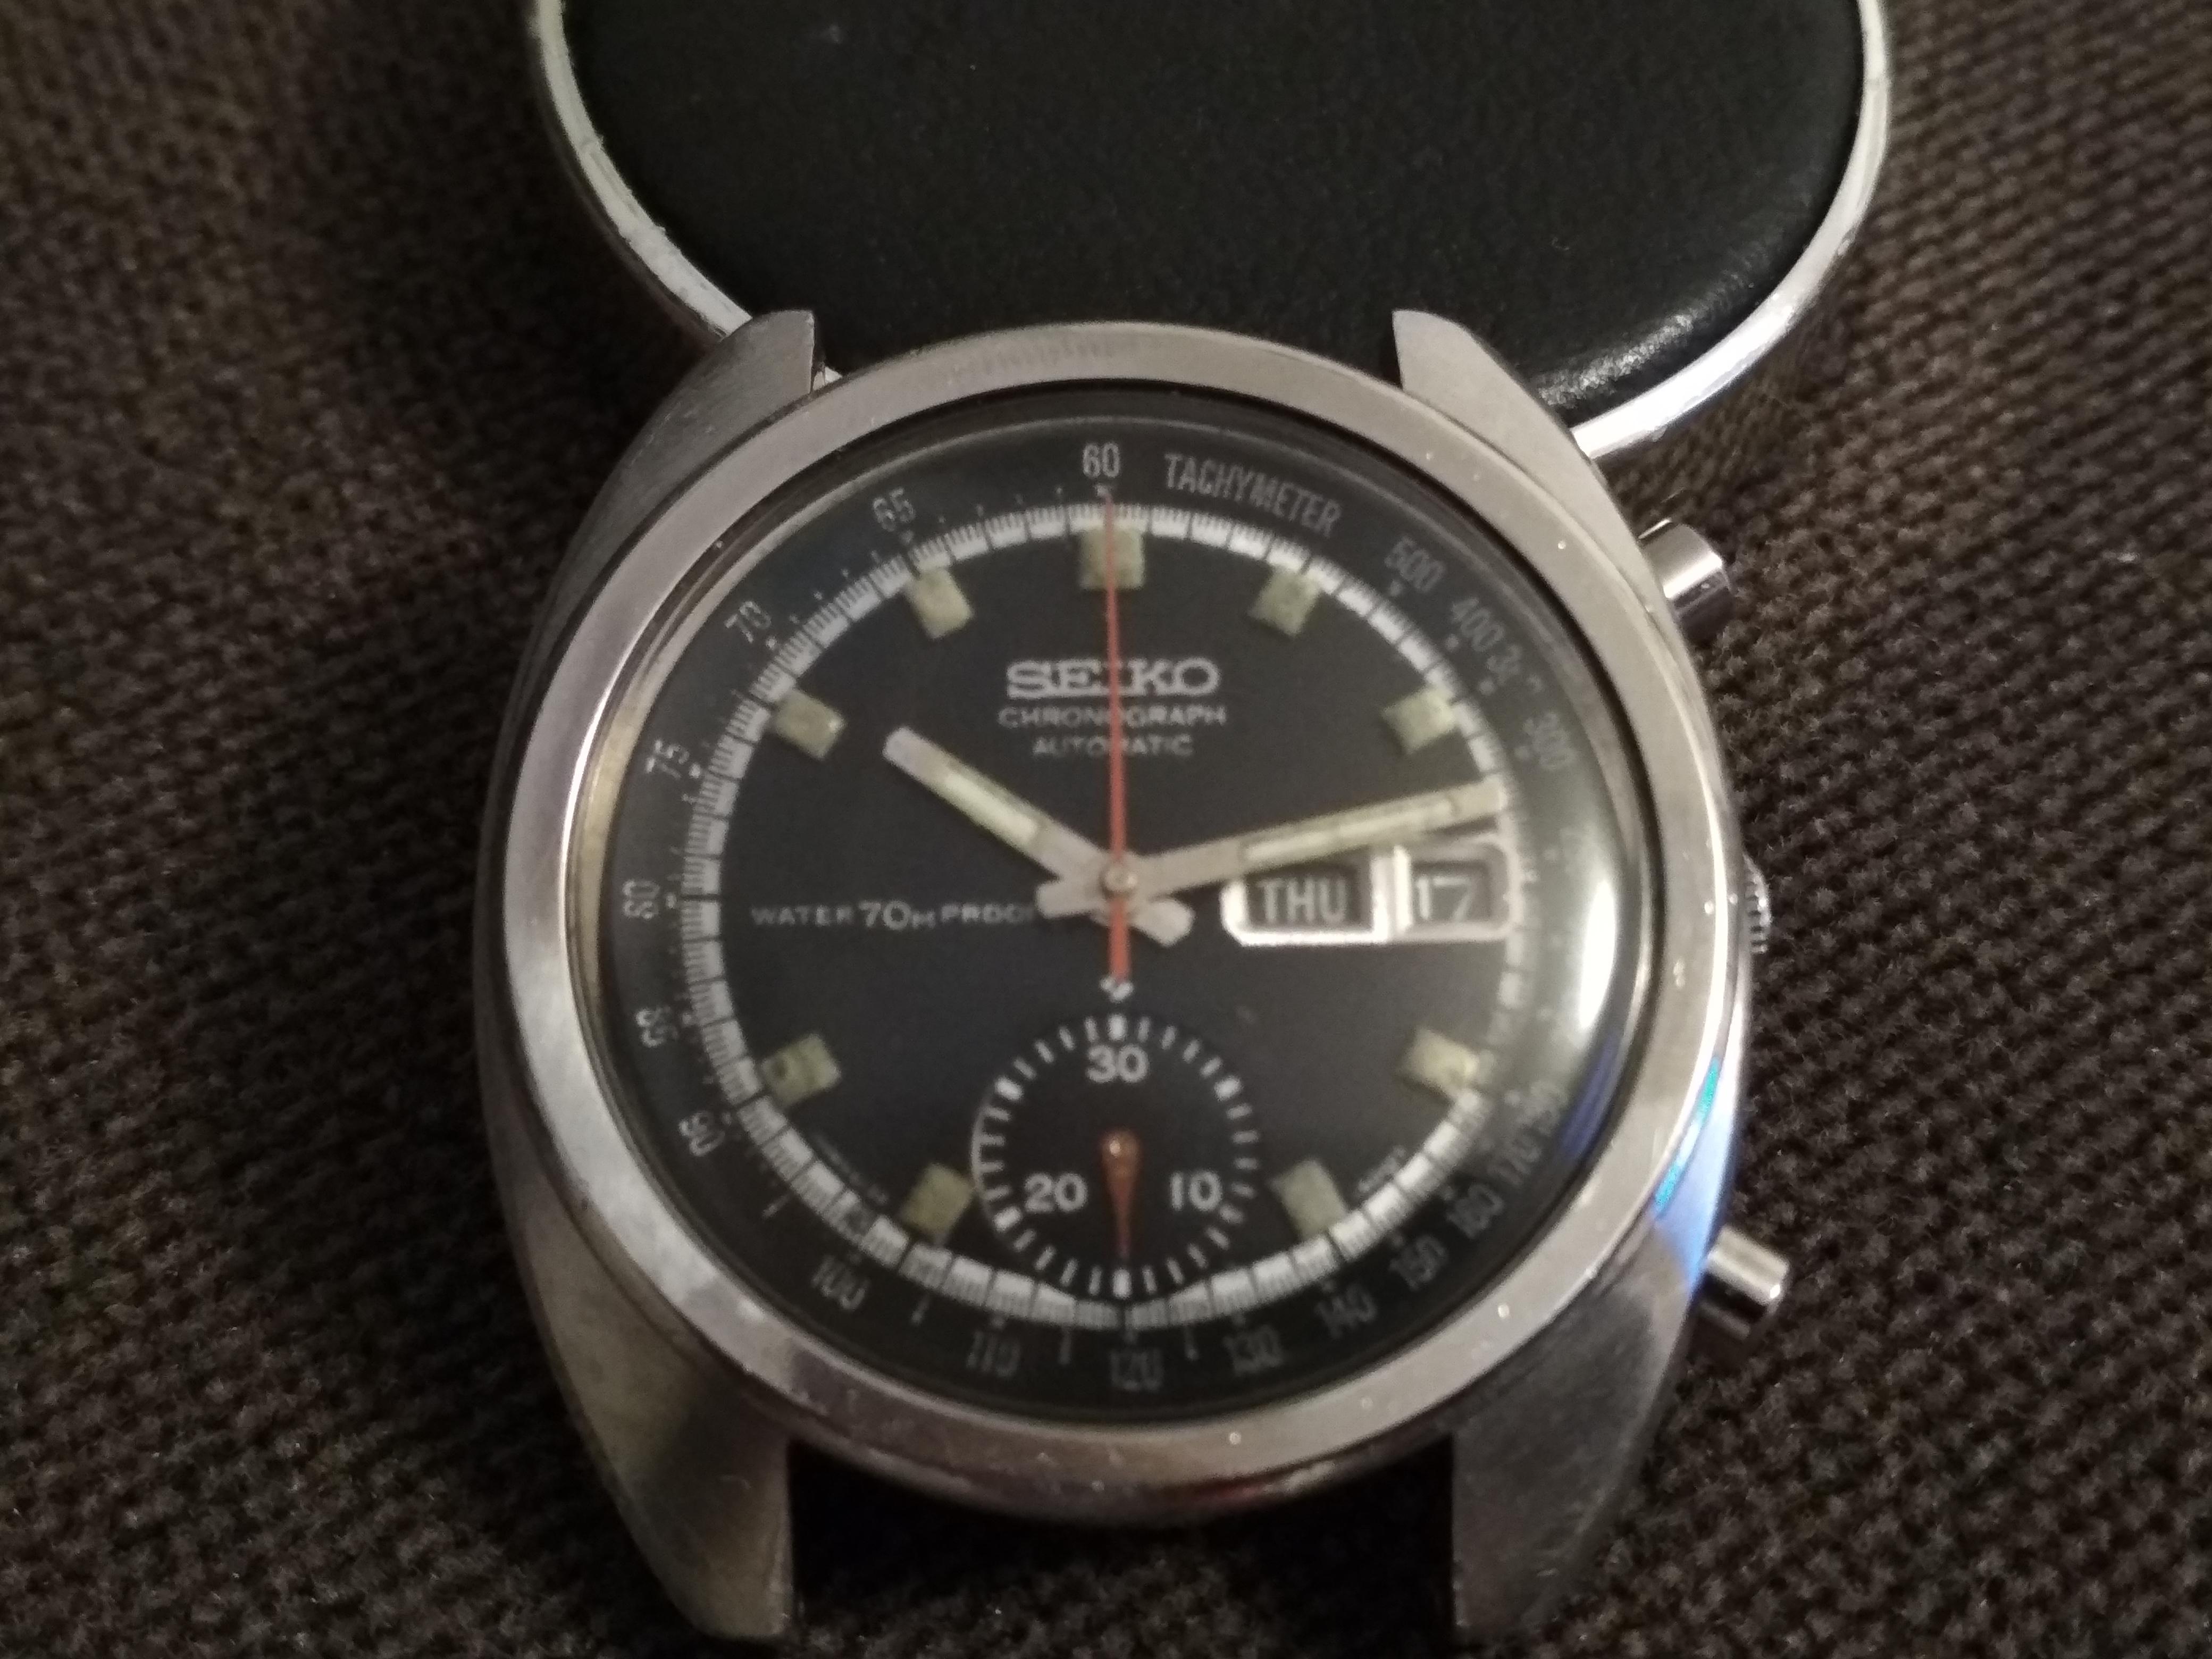
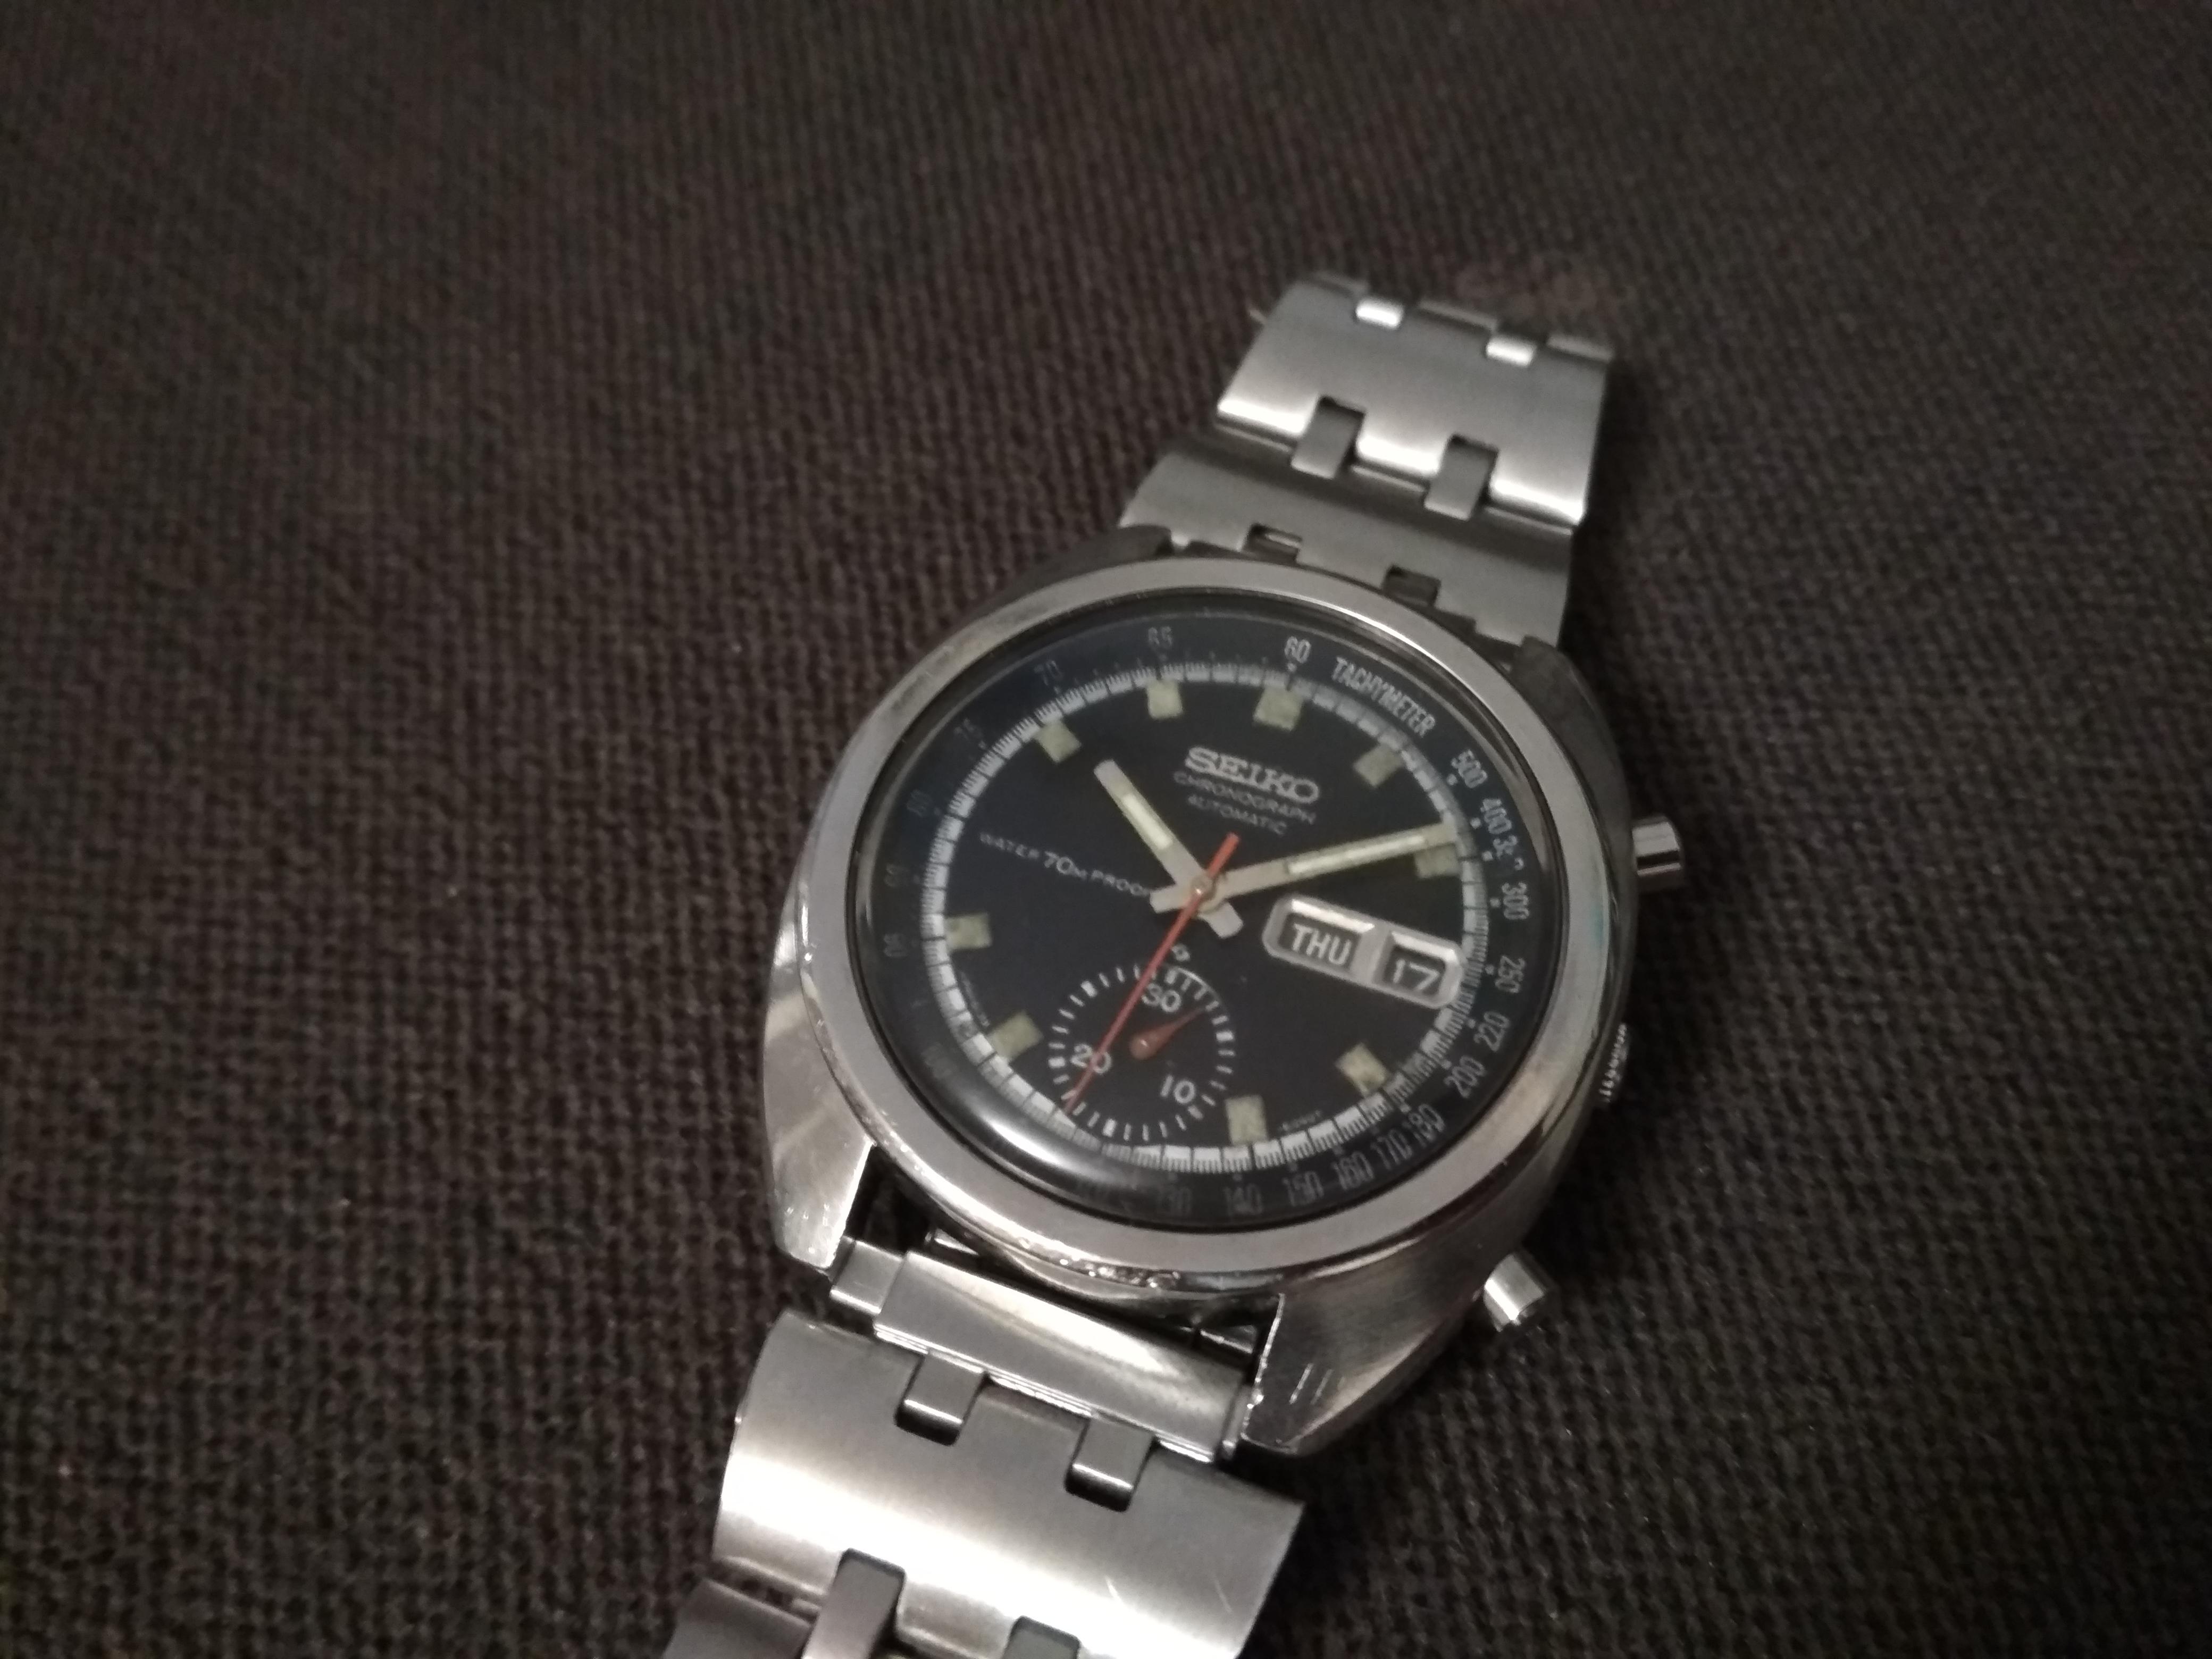
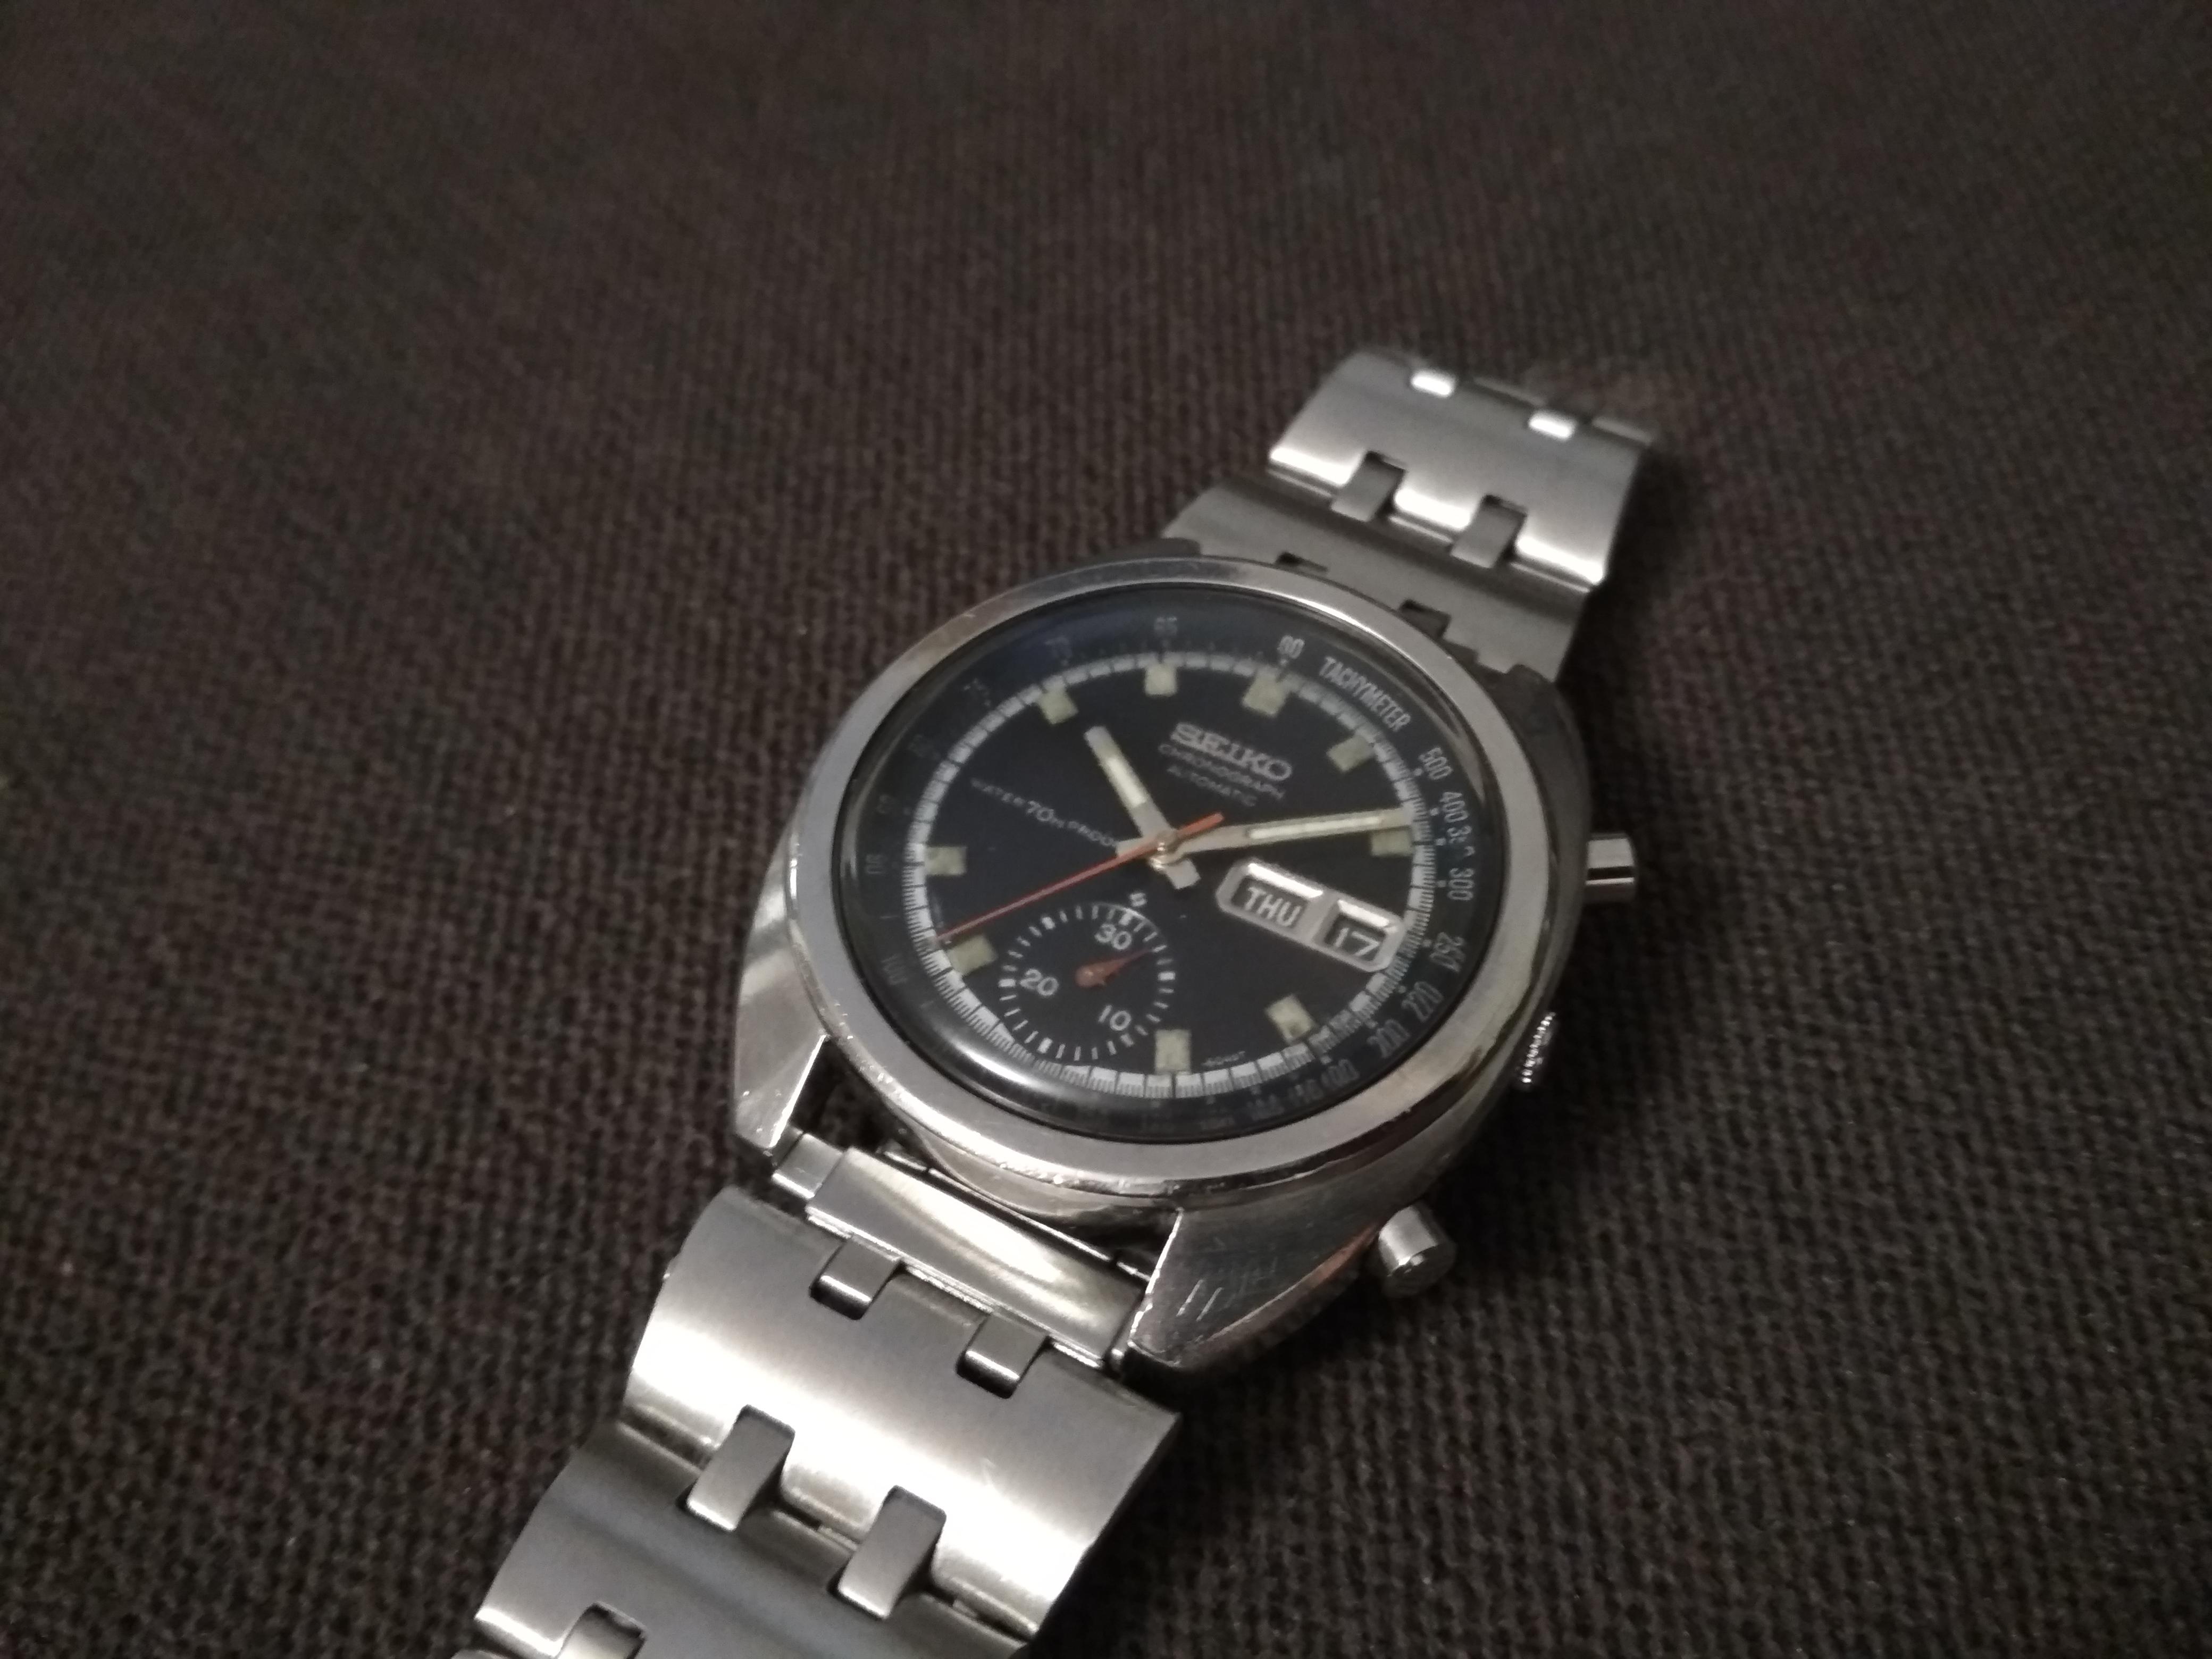
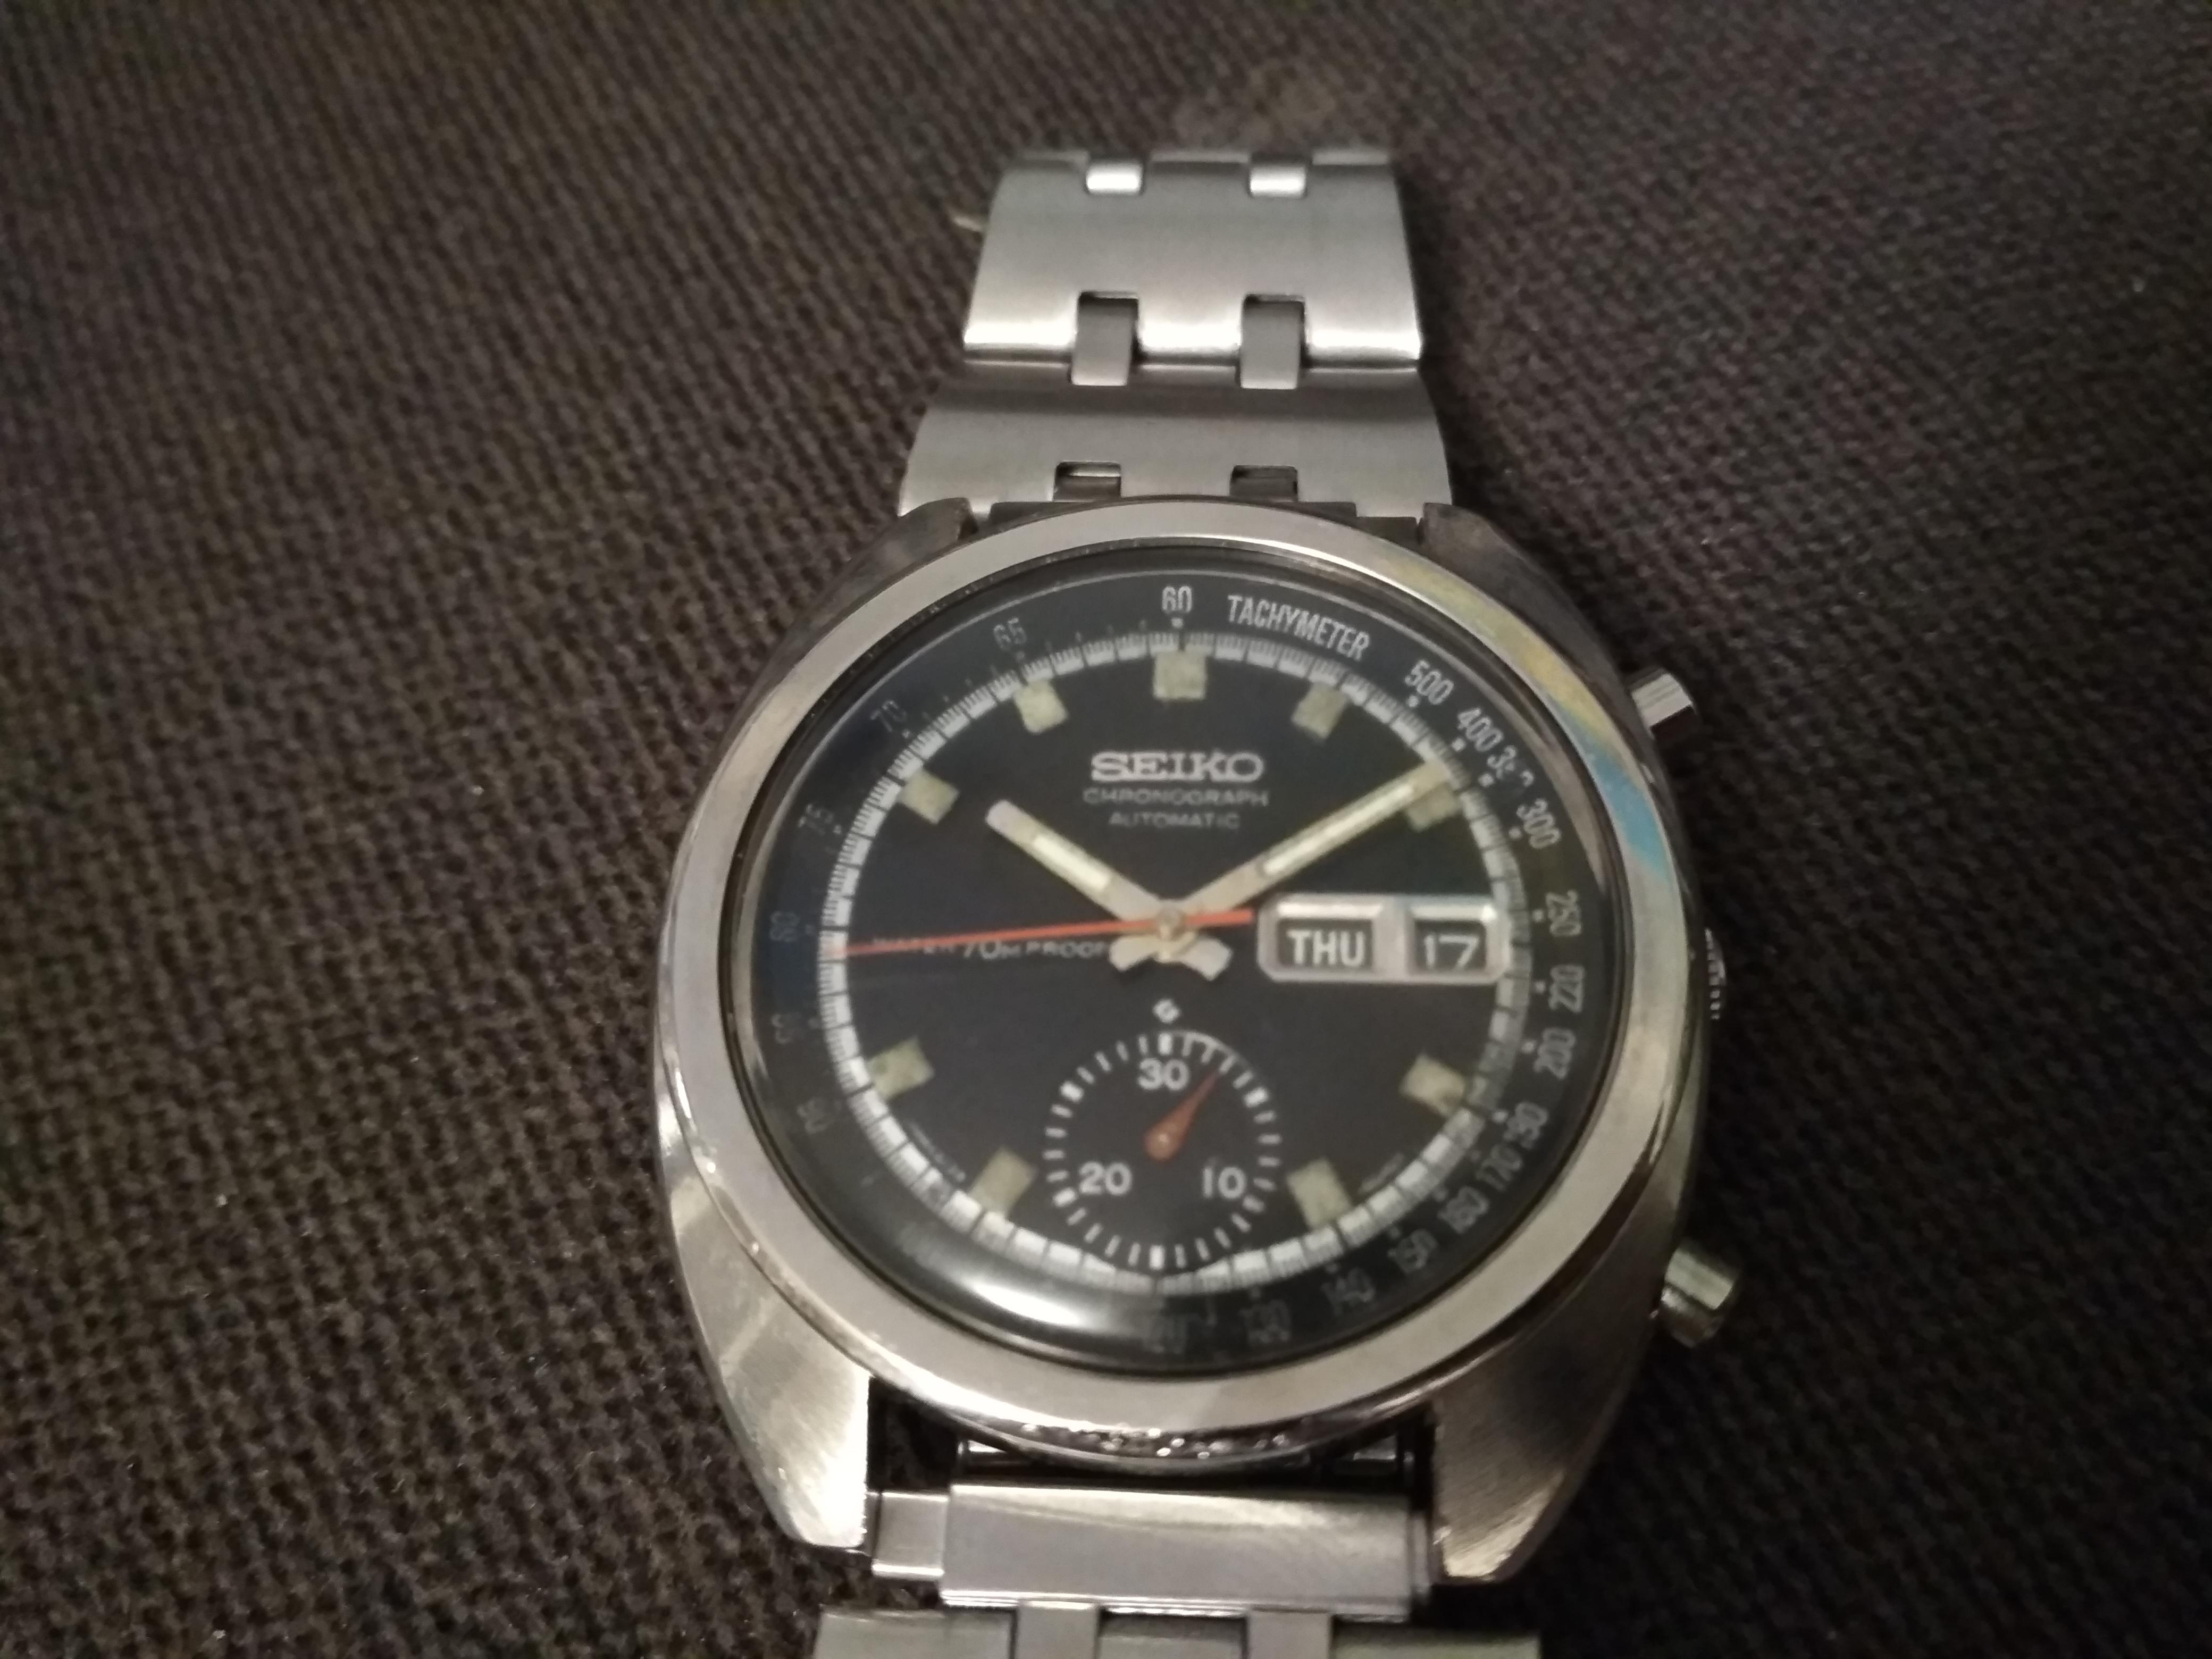
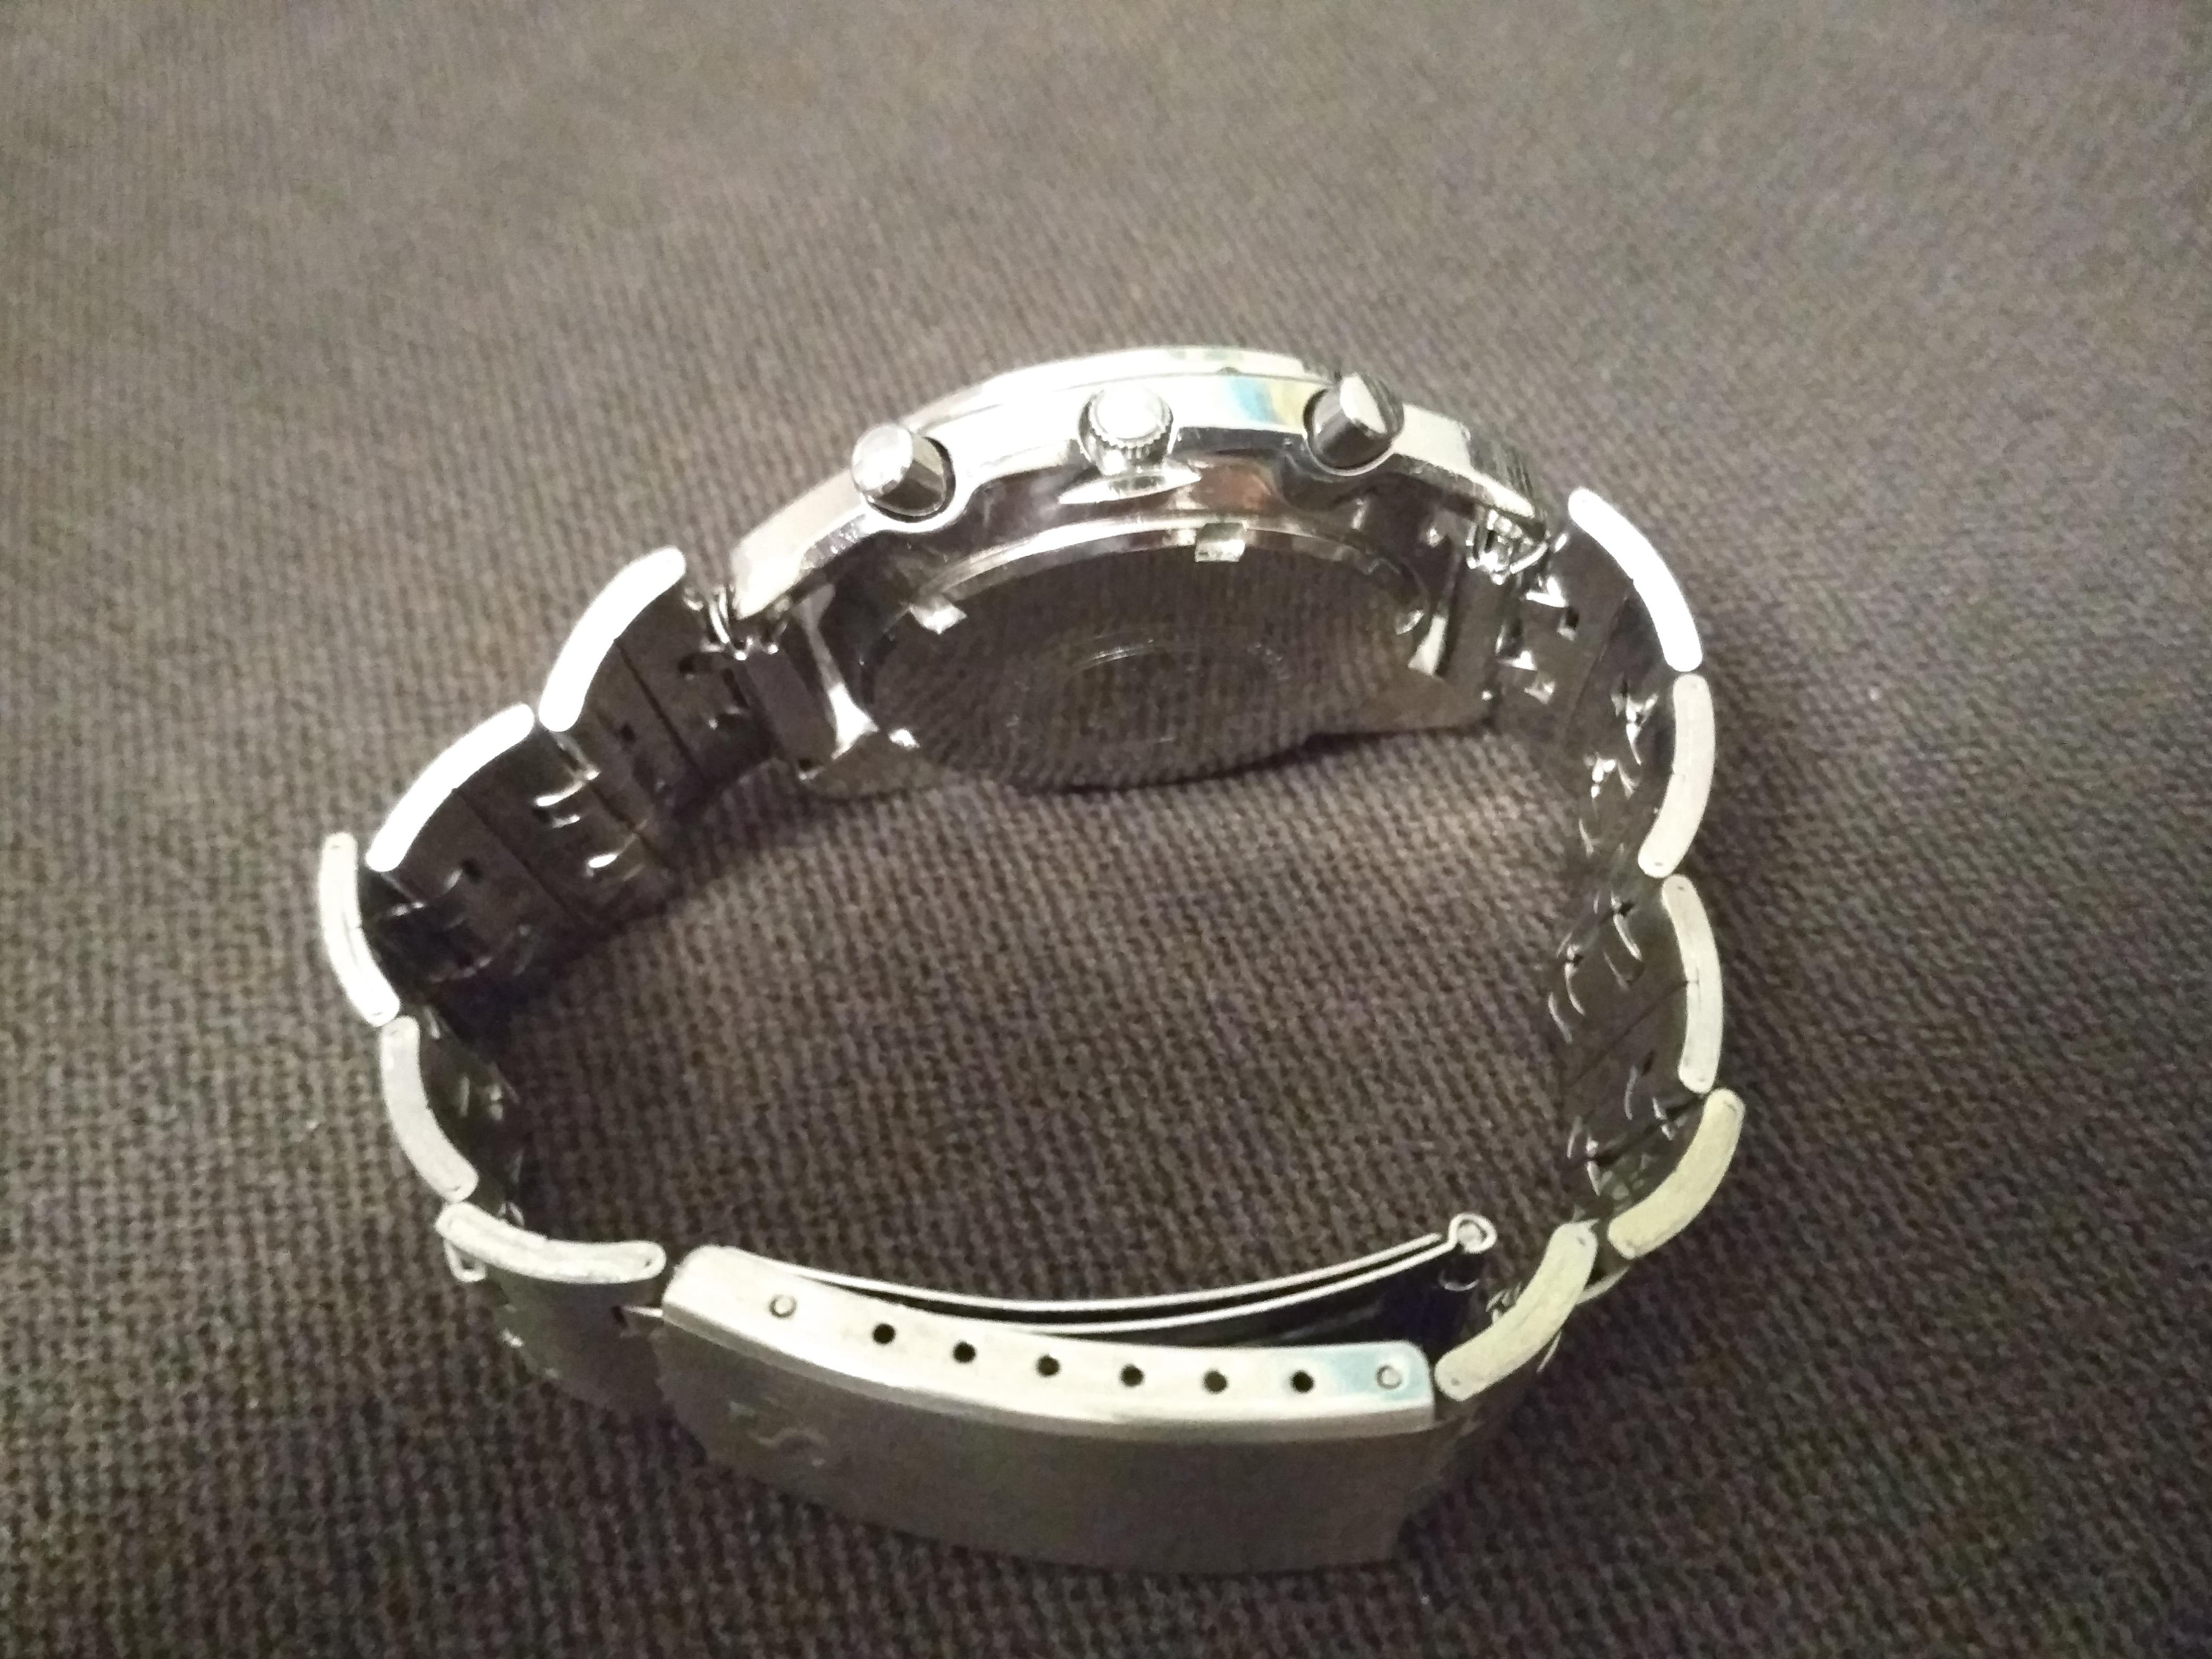
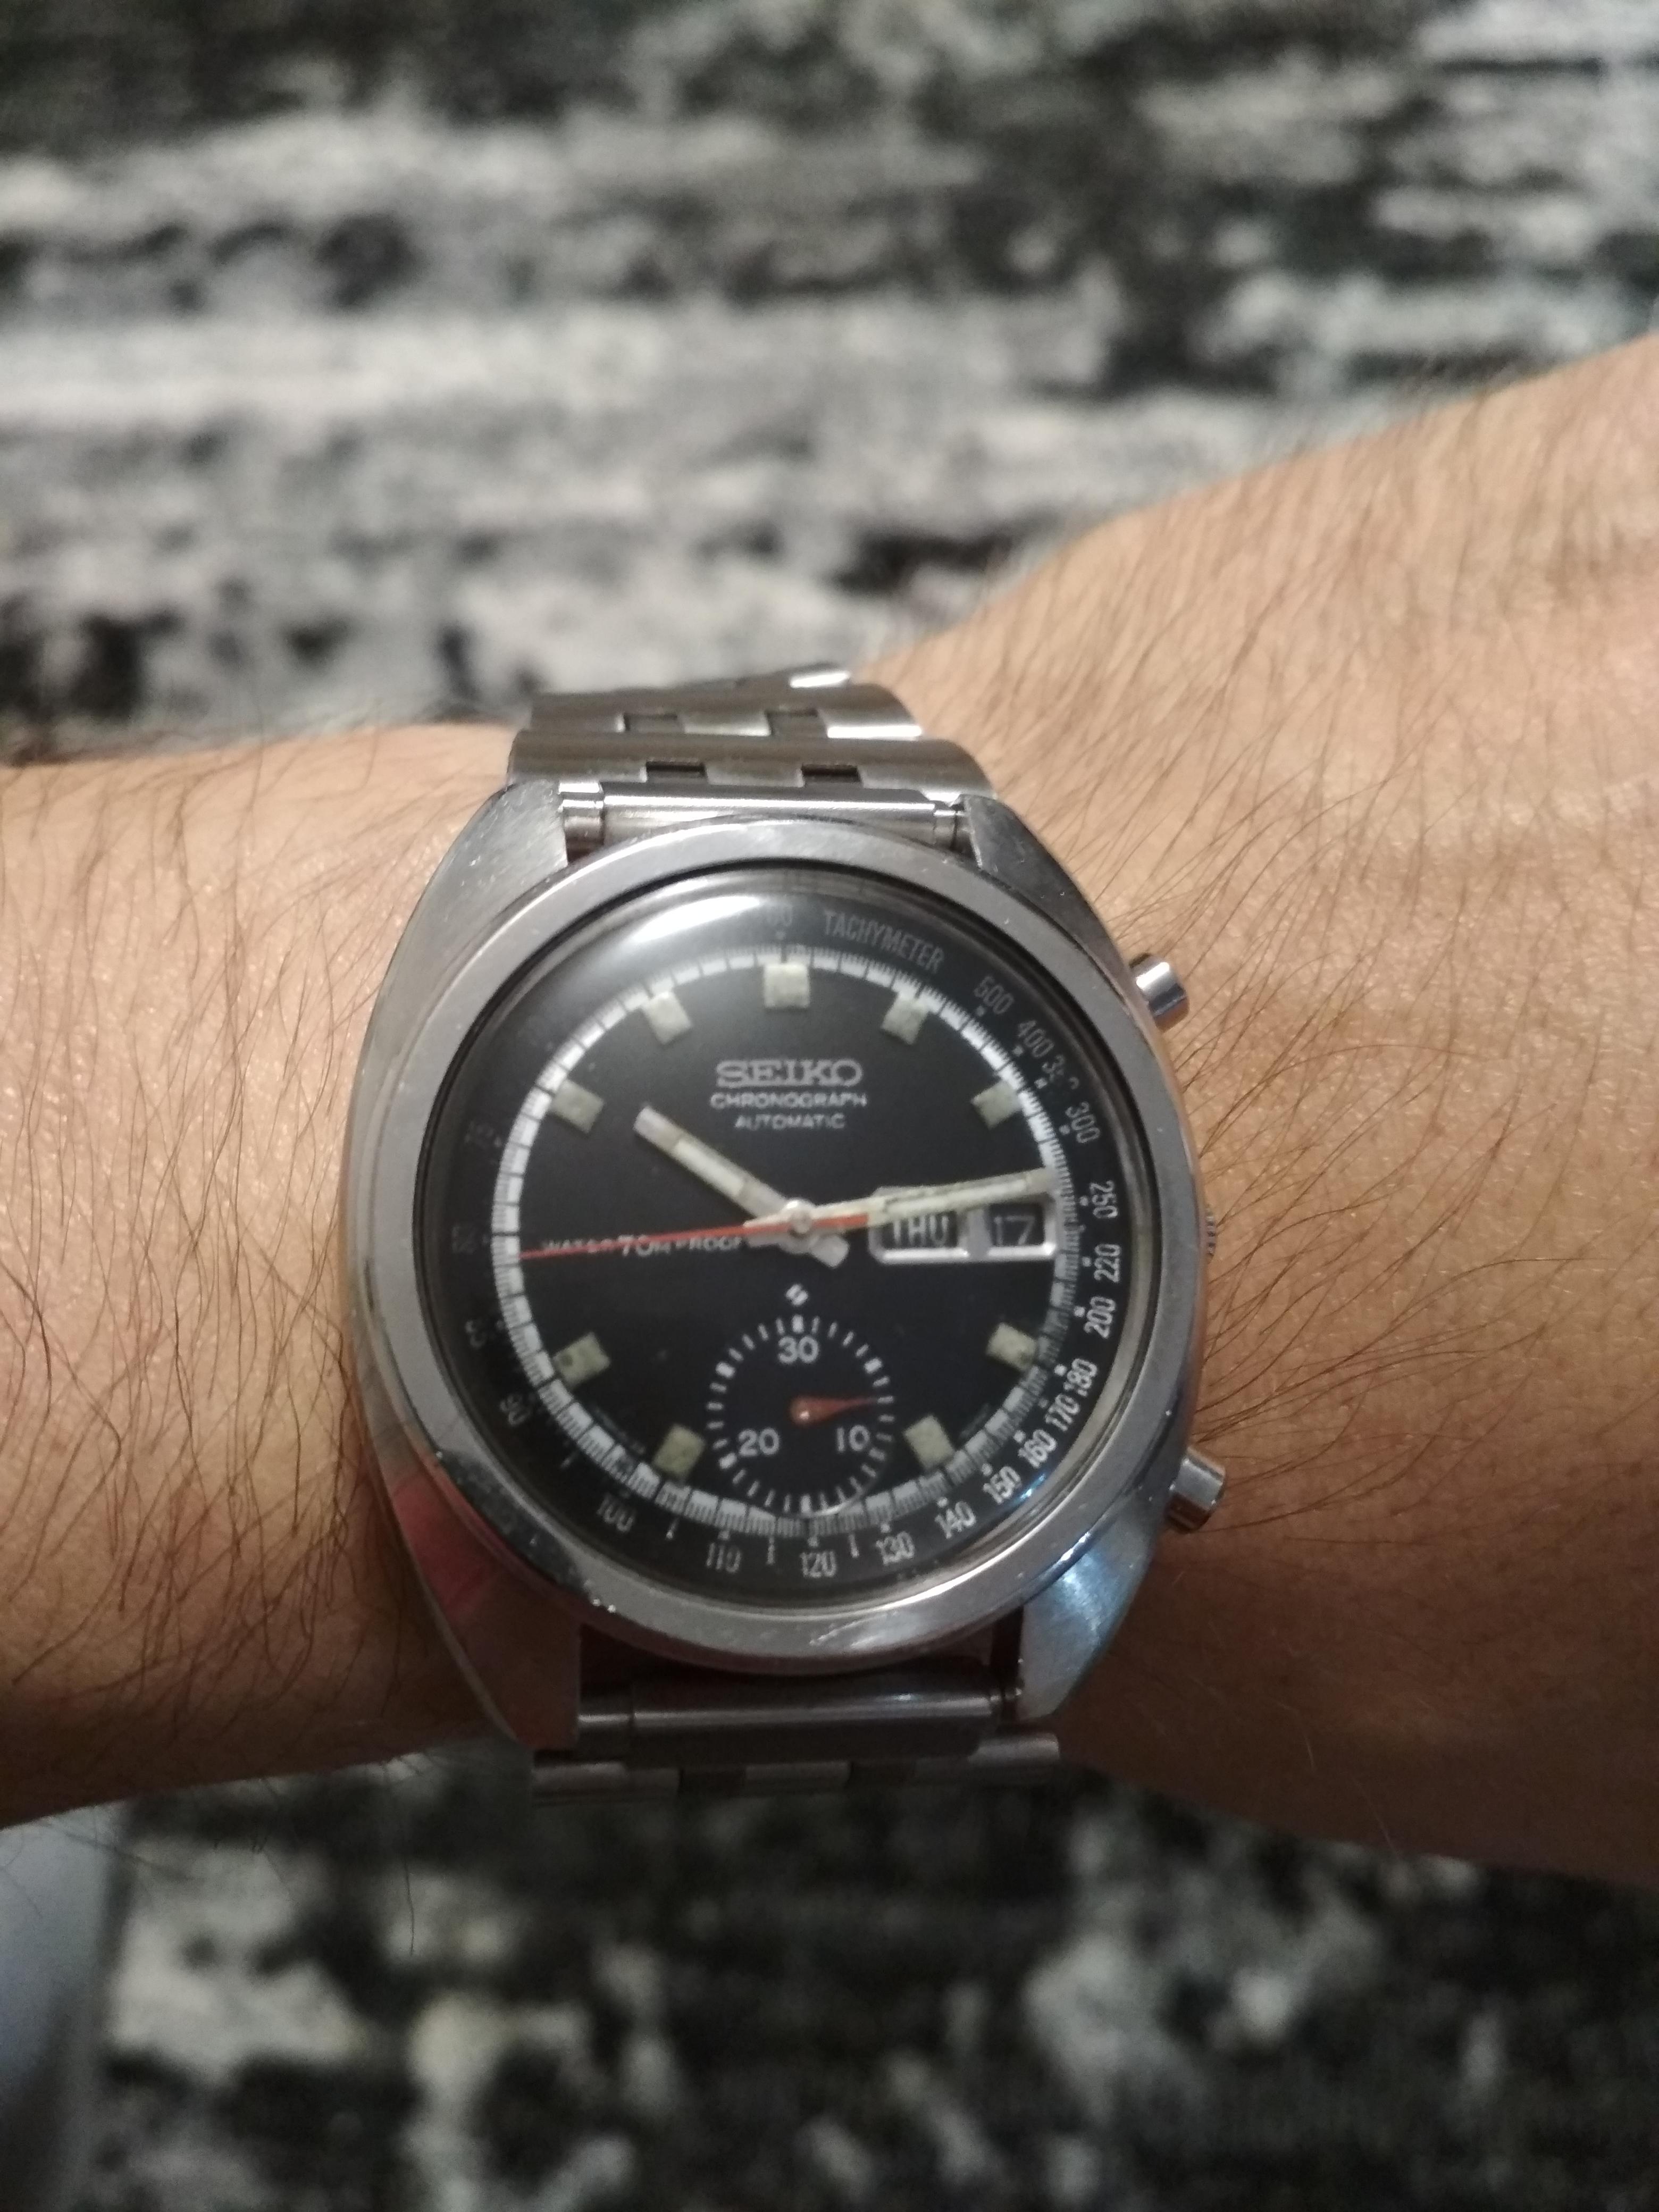
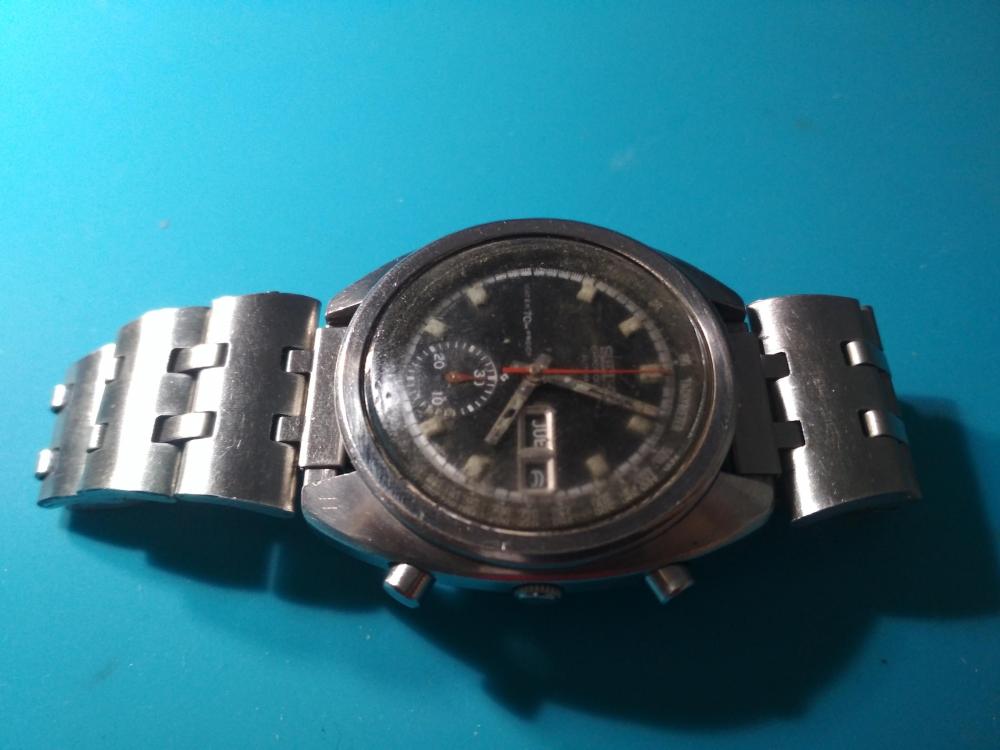
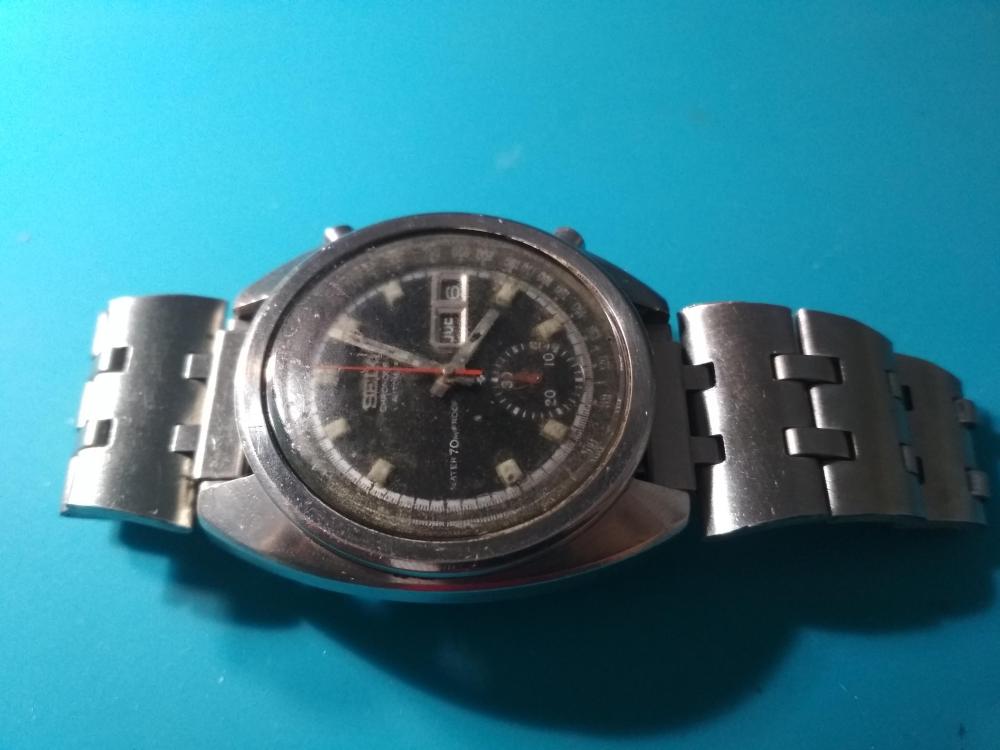
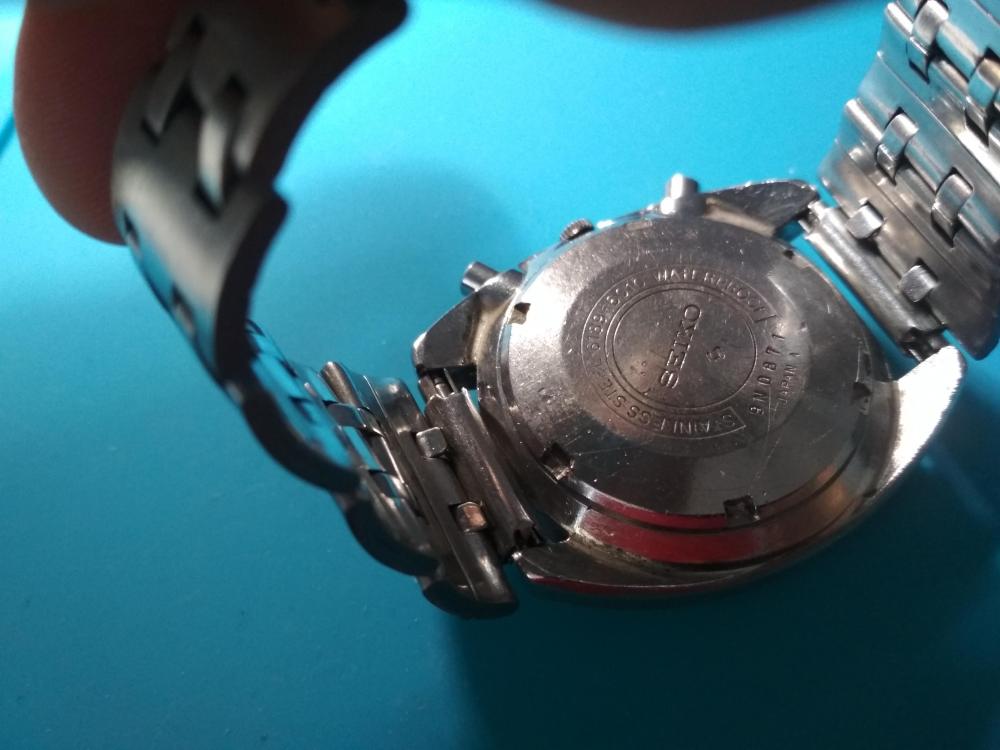
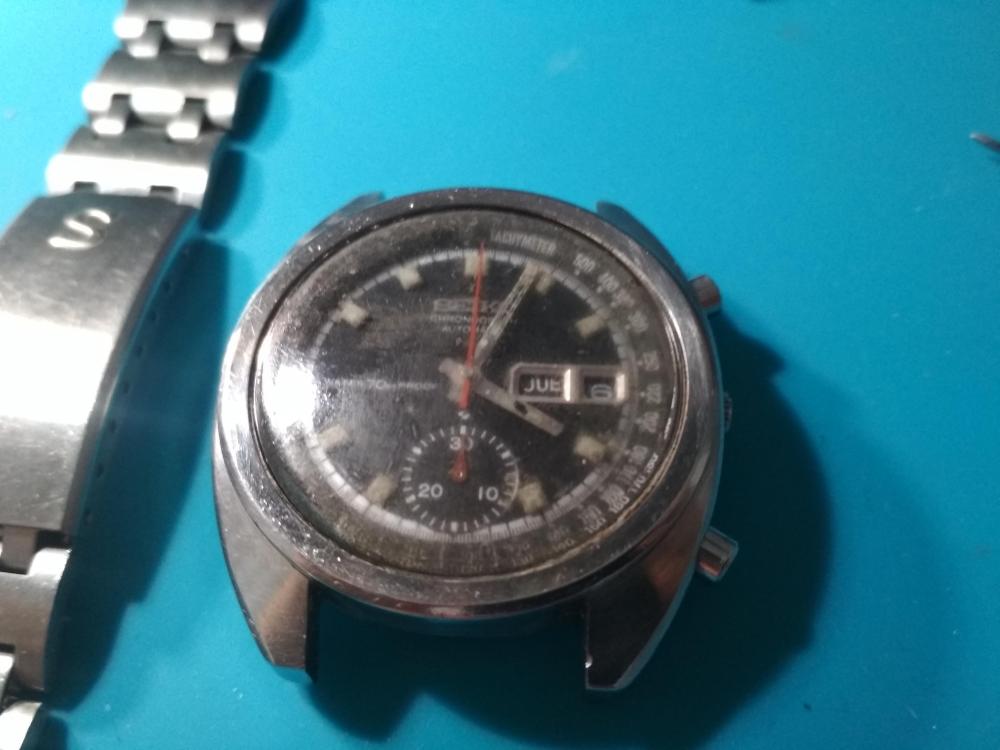
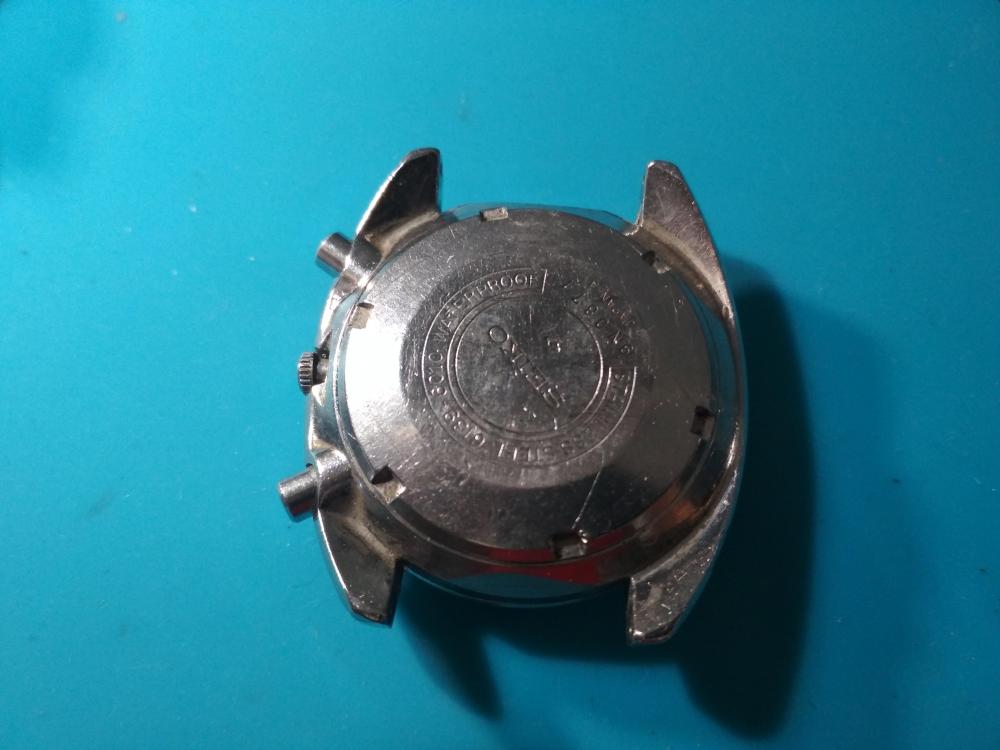
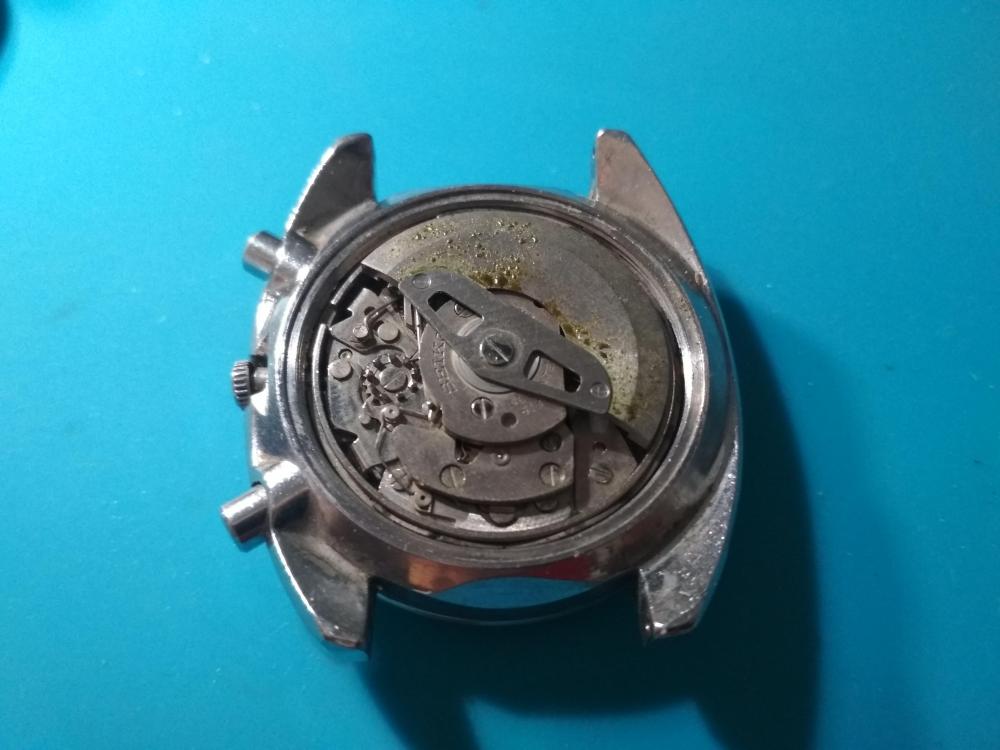
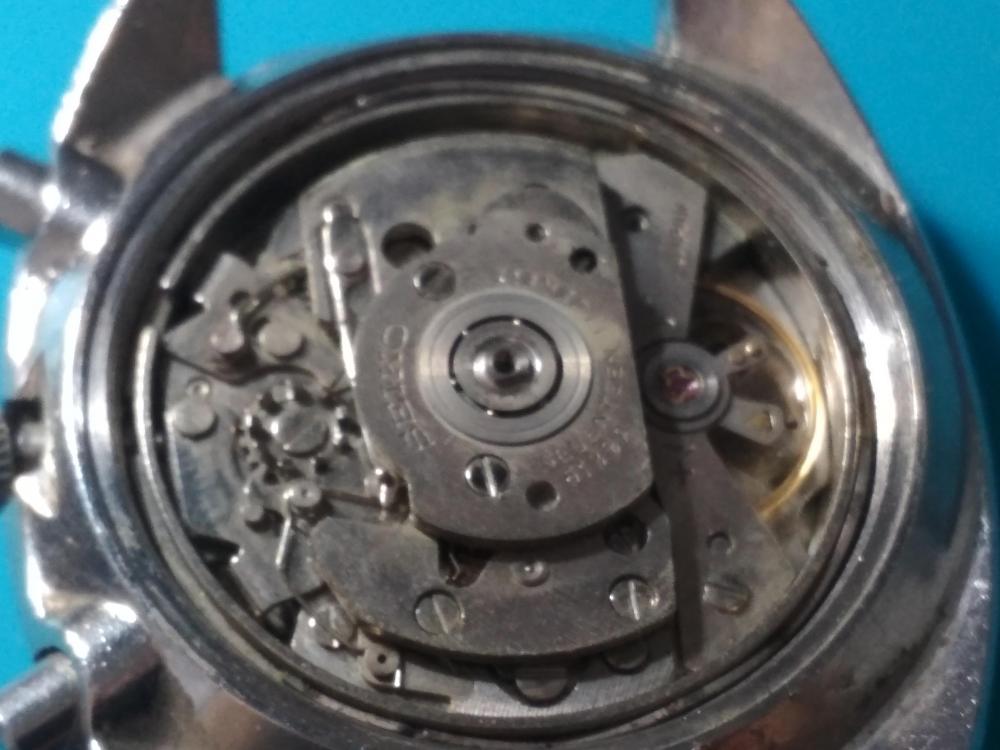
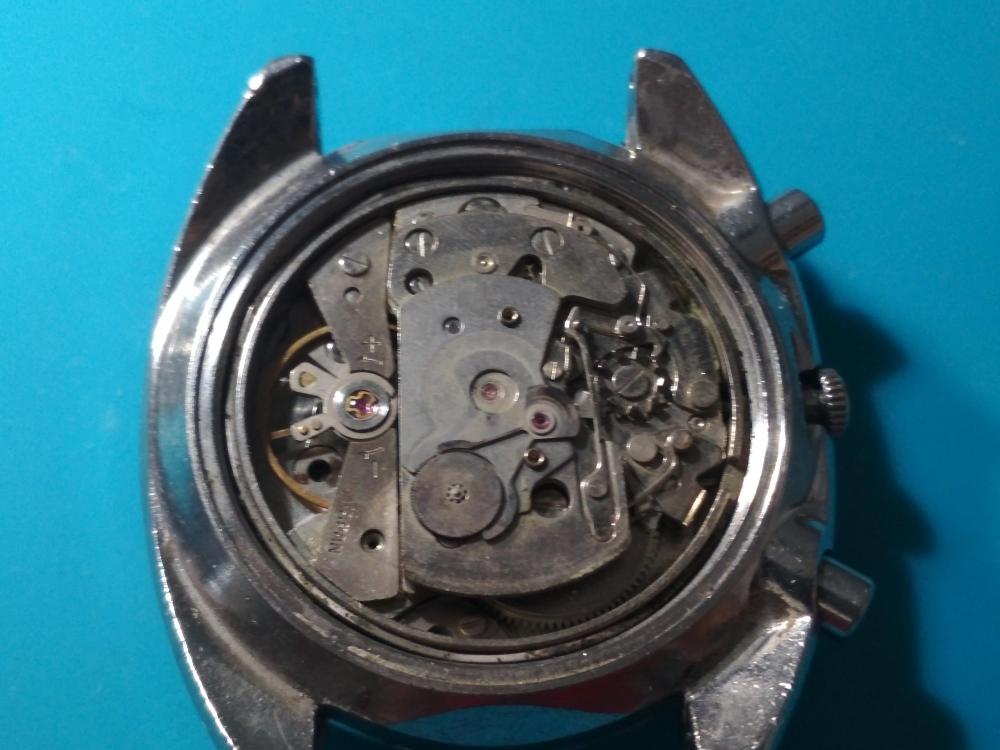
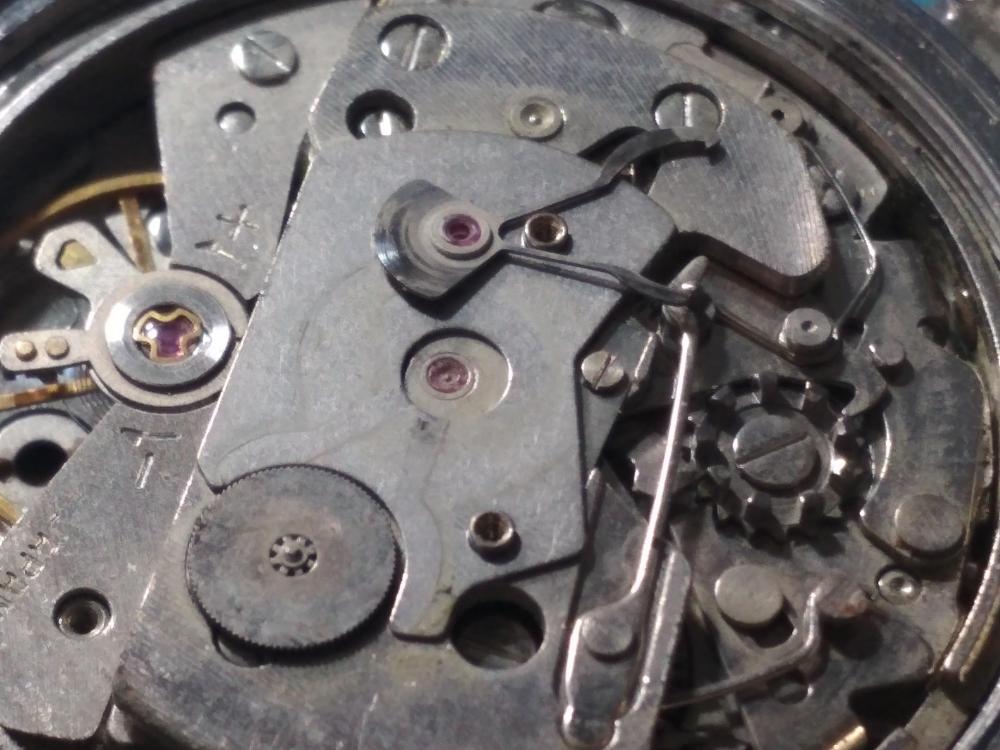
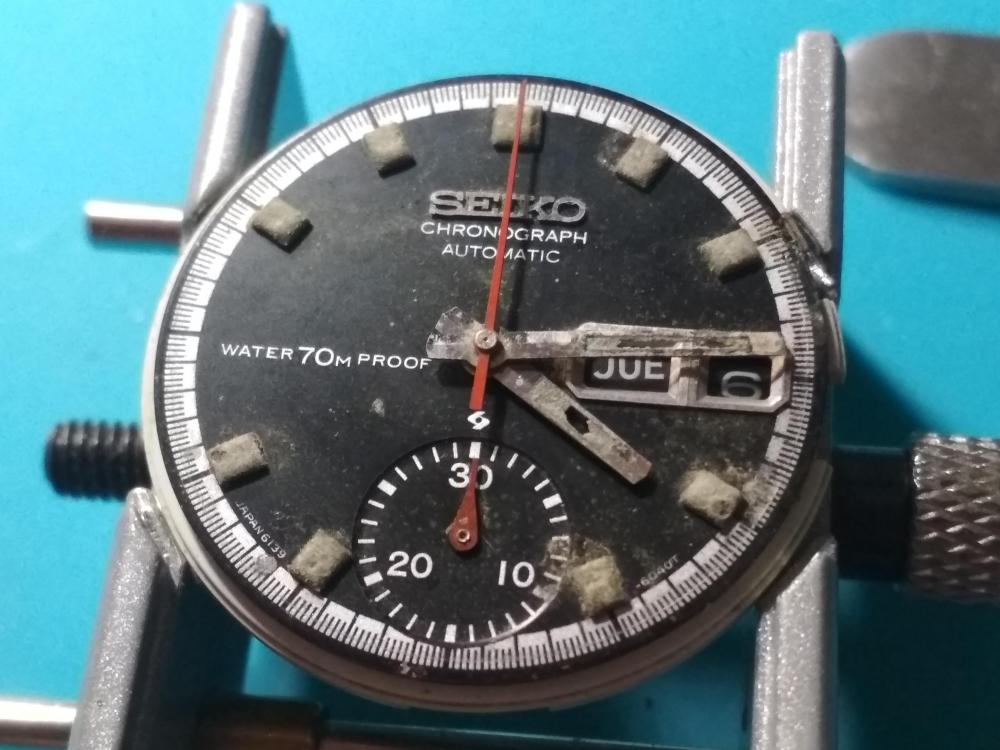
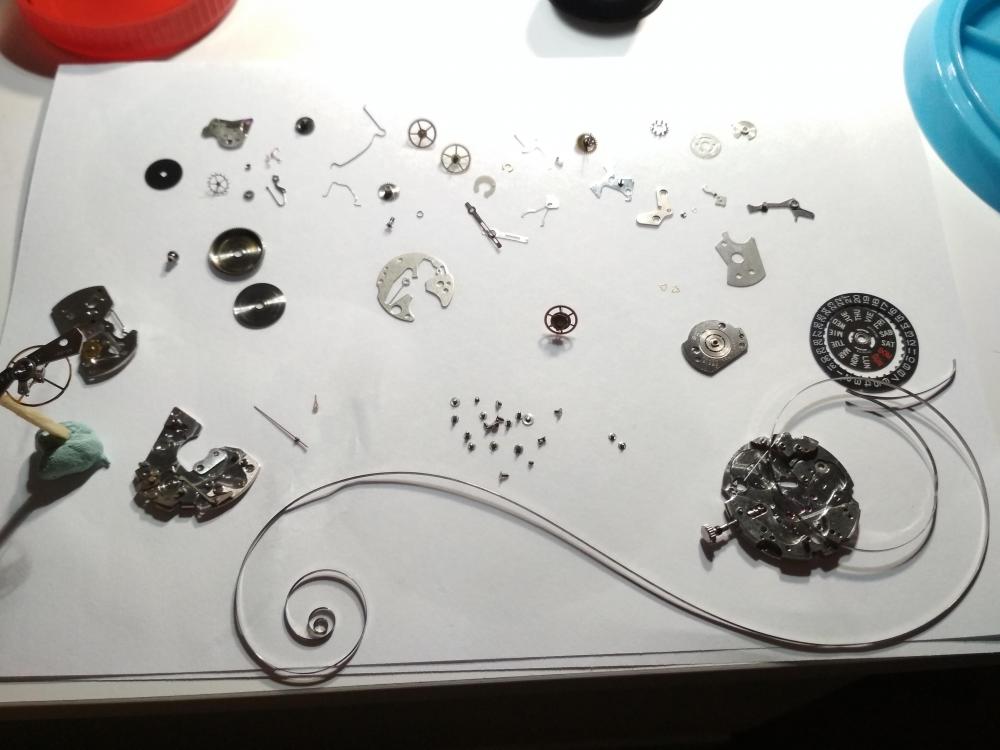
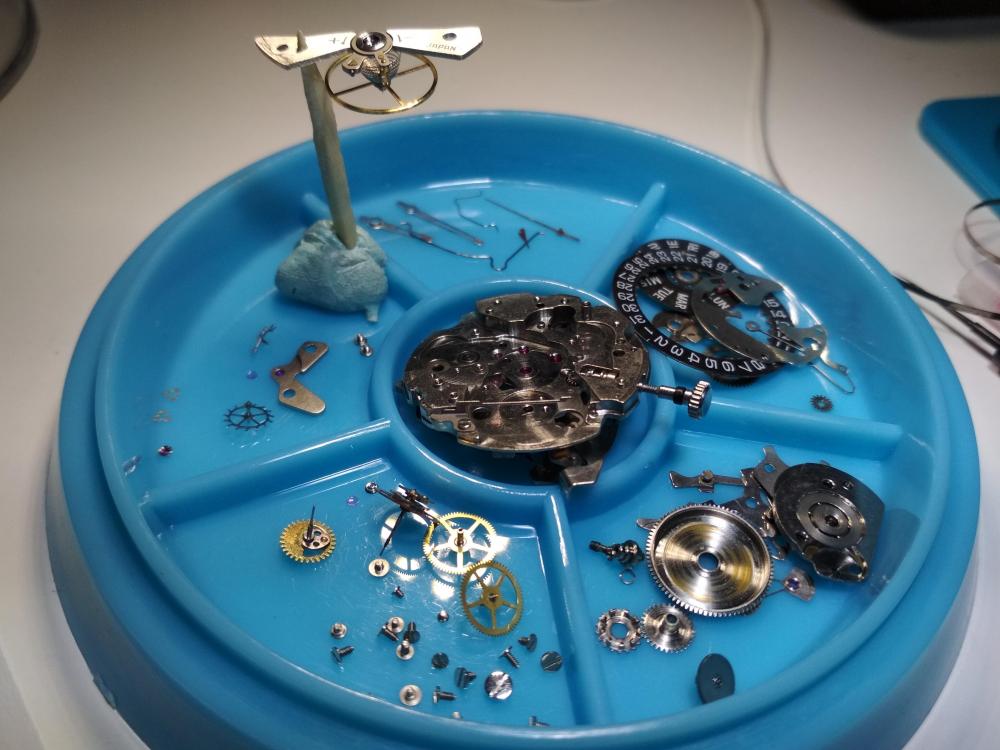
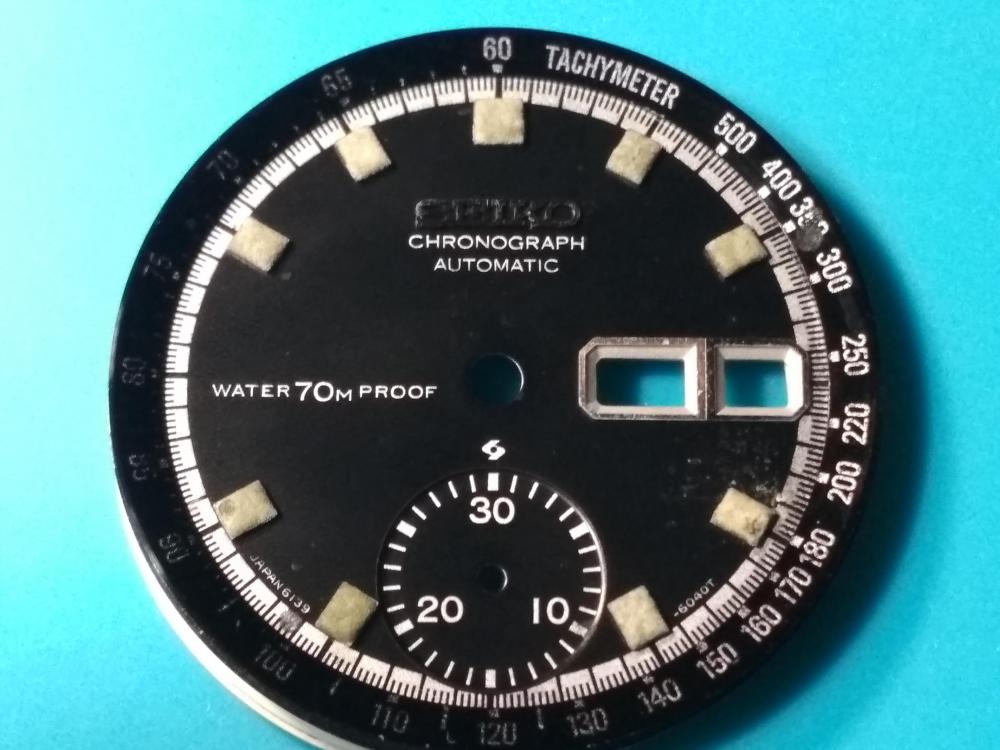
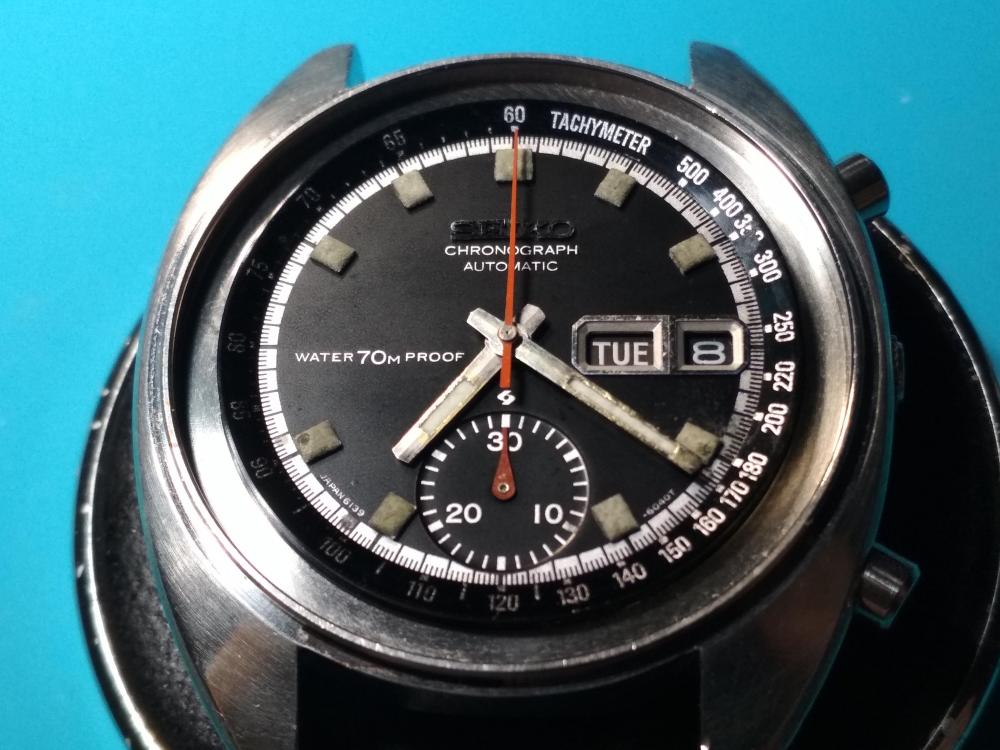
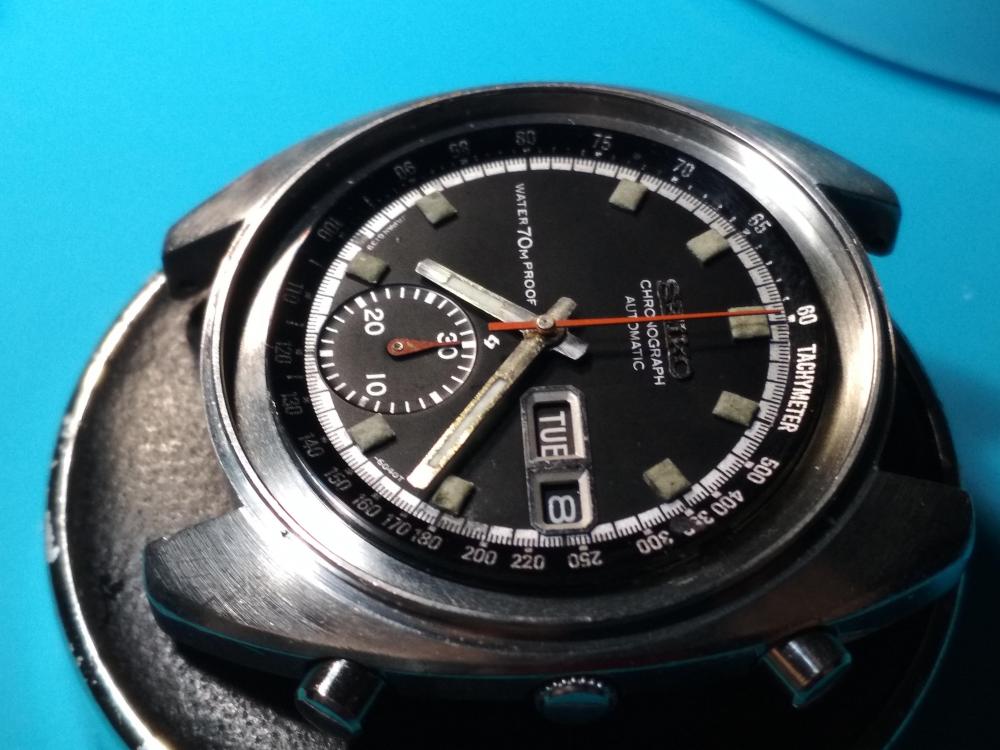
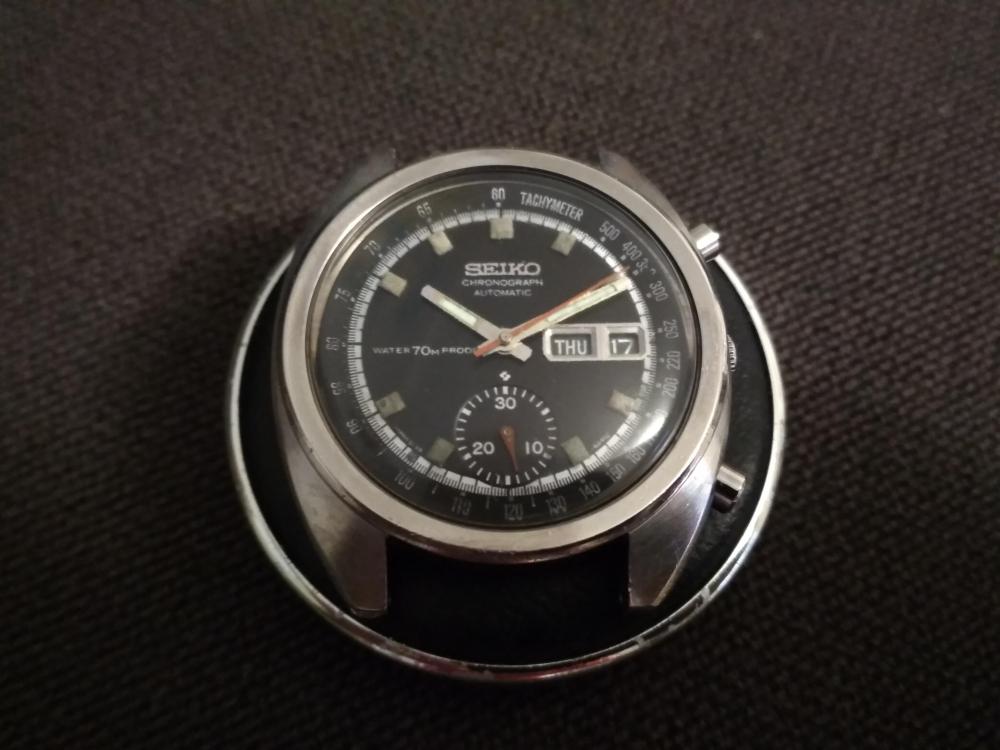
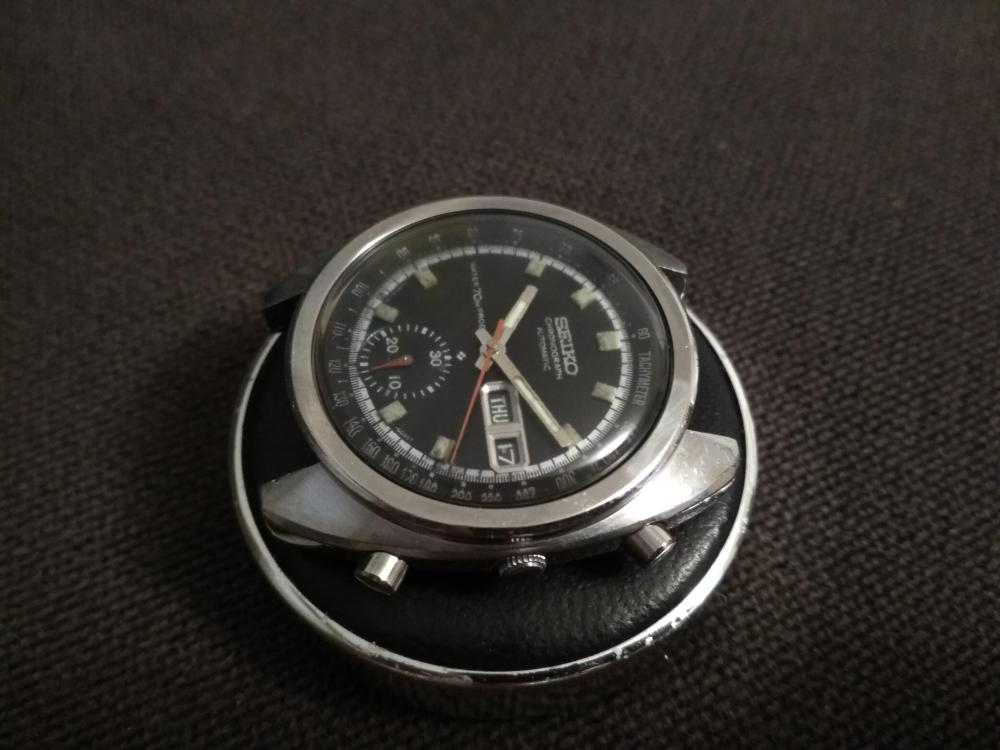
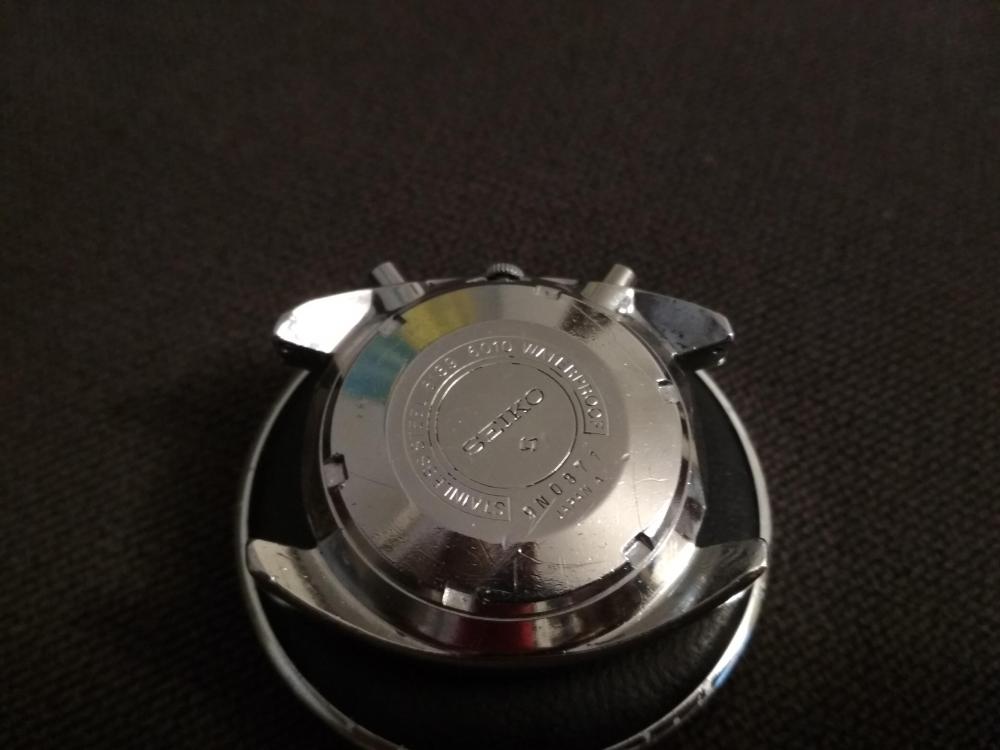
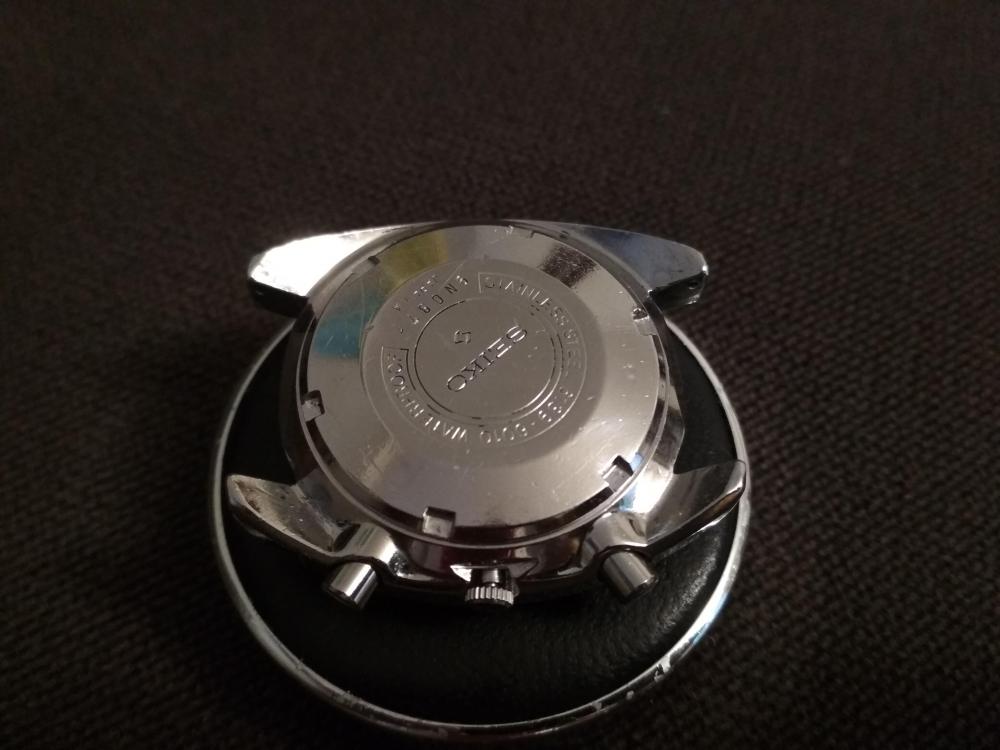
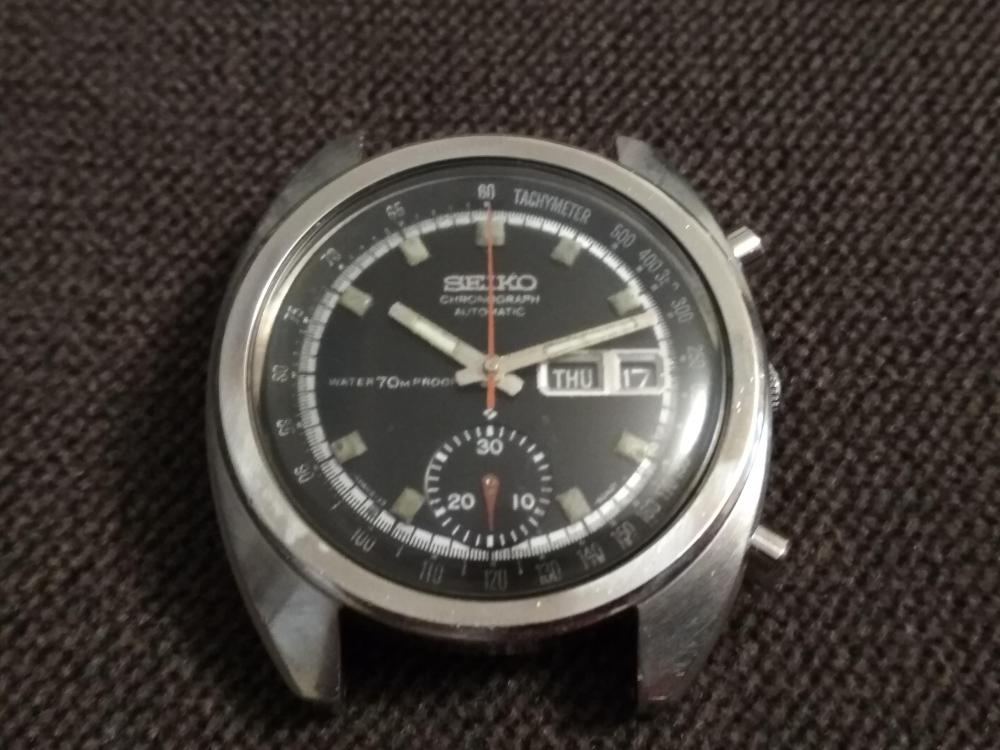
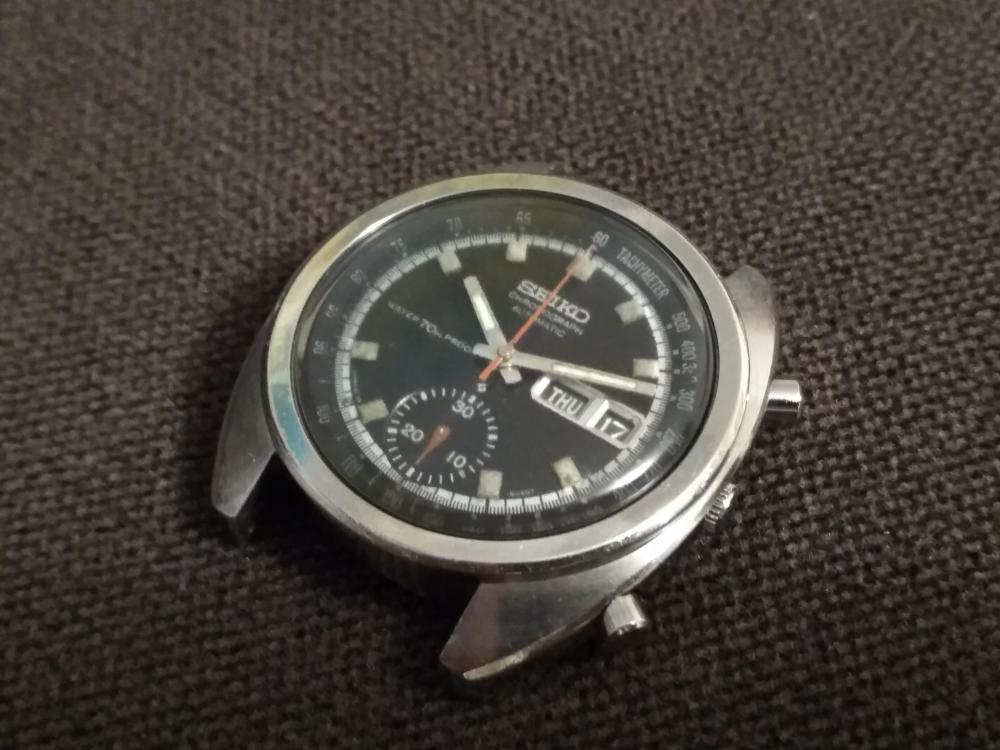
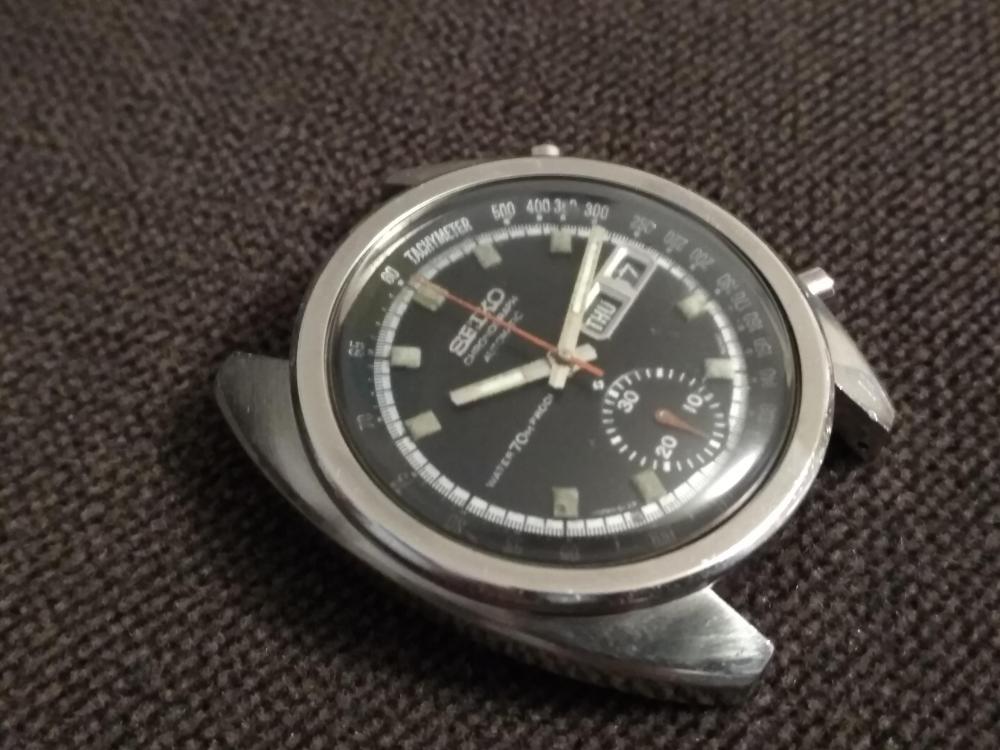
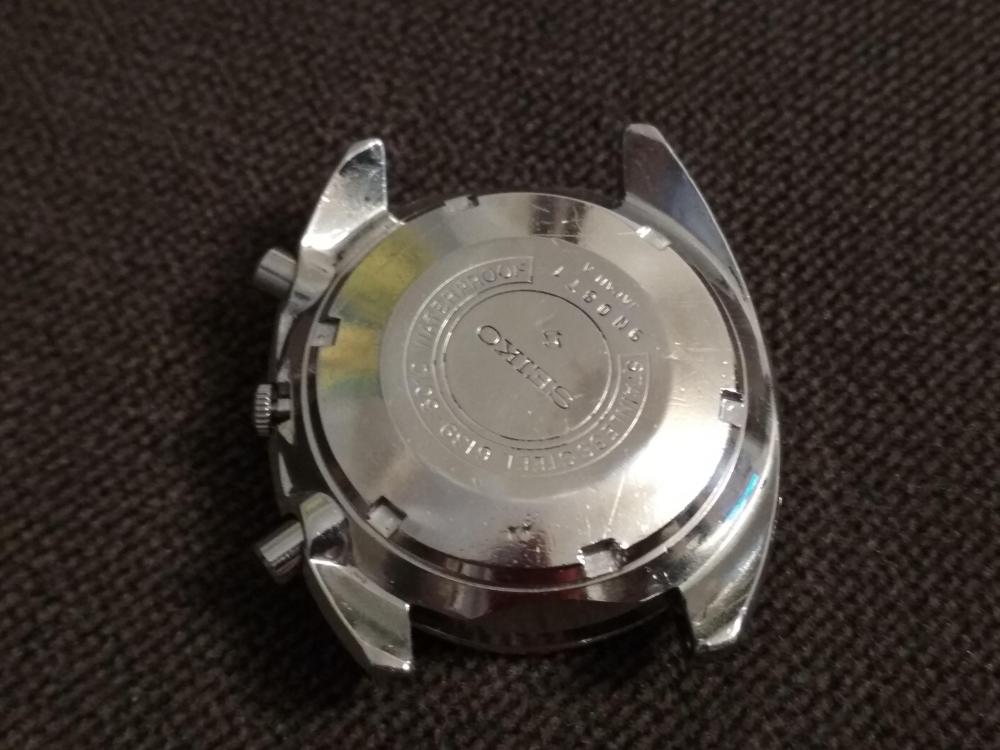
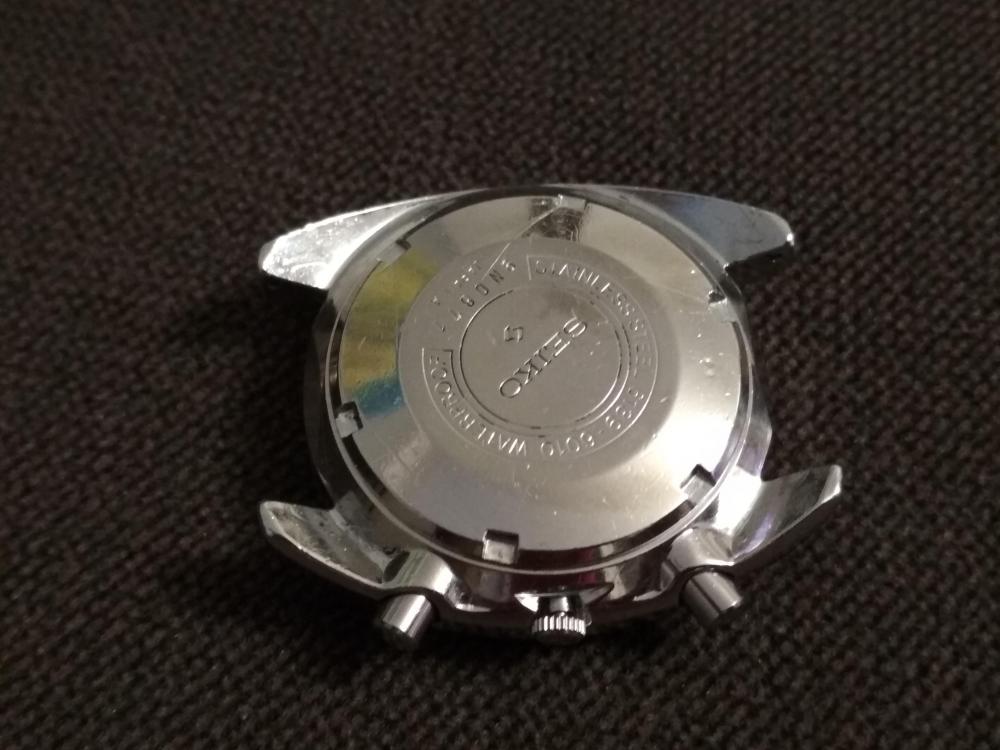
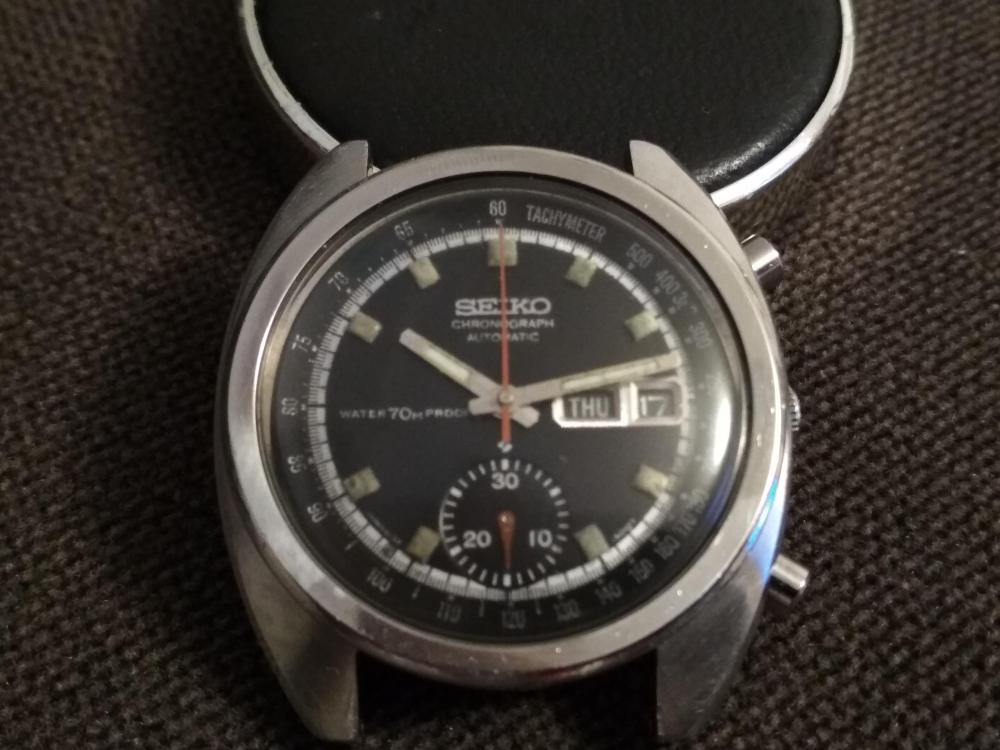
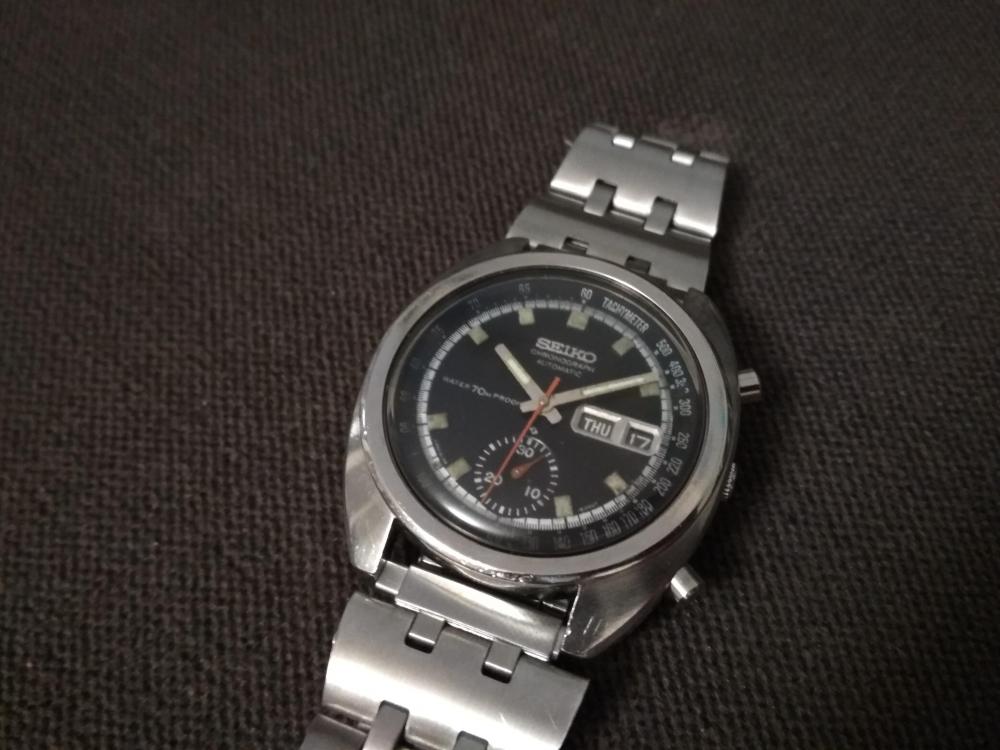
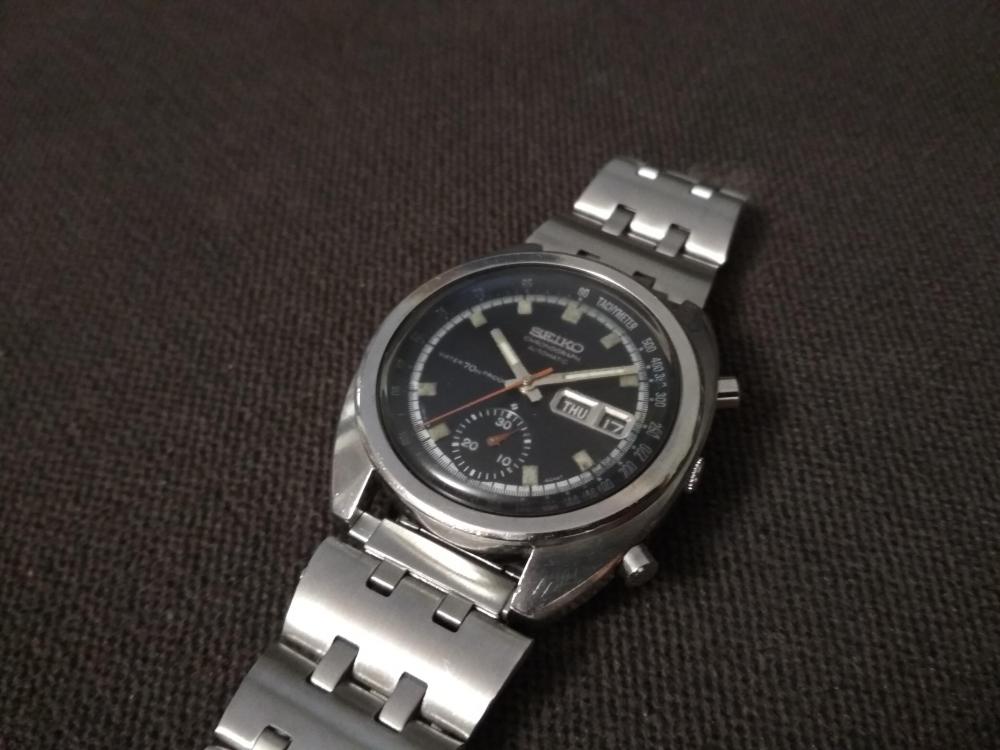
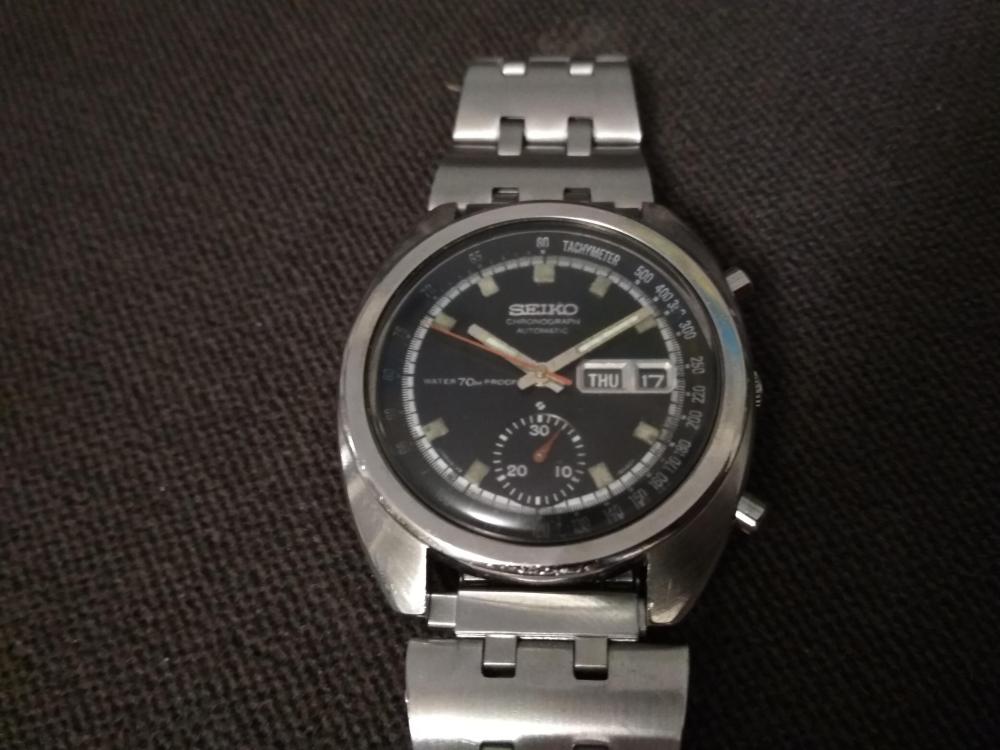
Hello guys. This is my last project – Seiko 6139-6010 aka Bruce Lee. Watch is from ‘69and it is based on the 6139A movement. Nice shot for the 50th Seiko anniversary of first automatic chronograph development. So please see the pictures below from all restoration proces. It took me 3-4 evenings. The watch came to me as non runner. Crystal was scratchy with many chips. Dial was dirty and dusty with signs of water damages. Hands lost their lume. Day calendar was loosen and didn’t work properly. Movement was complete but very dirty and dry – there weren’t any residues of old oil in the jewels. Somewhere were signs of water flood. I dissasembled movement and I gave it a bath in ultrasonic cleaner then i’ve assembled and oiled movement. Star disk od date wheel was repaird with small amouth of resin glue. Movement had tend to stop sometimes. Inspection showed that the tiny chip on the bottom pivot of the escape wheel. It was hard to see it. After replacment movement ran as a champ. I polished the hands cause there was rust and gave them new lume. Dial was cleaned. I didn’t touch the lume on the hours indexes. I was affraid to screw up it. I think now it is quite good despite the fact that the lume does not glow. Orginal crystal was polished but I decide that in the future I will replace it. Case and caseback got some polish works only with polishing paste, not too much cause I didn’t want to loose the sharpnes of orginal edges – as usual I did it. Bracelet was matted with abrasive wool. Everything was mix up and combined and there is the result. After measurments on timegrapher and adjustment it is a nice timekeeper. An amplitude satisfy me as well. Now I am enjoy to wear it. Please let me know what do you think of this restoration project and about my works on it. I appreciate your comment and your spend time. Cheers folks VID_20191016_170551.mp4 VID_20191017_195141.mp4


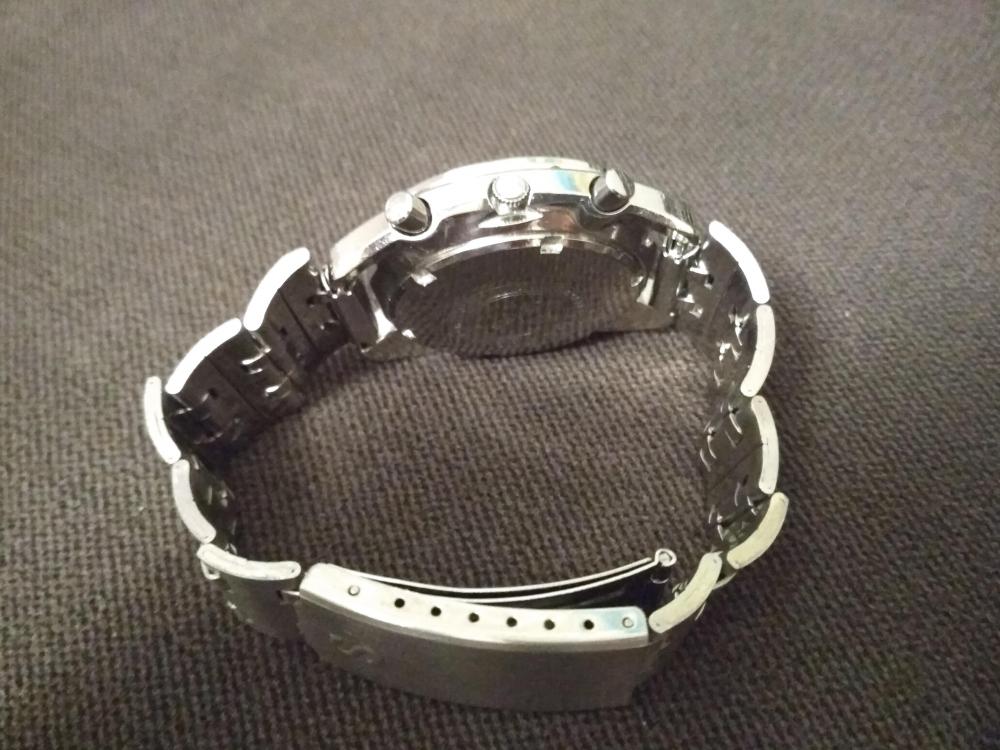
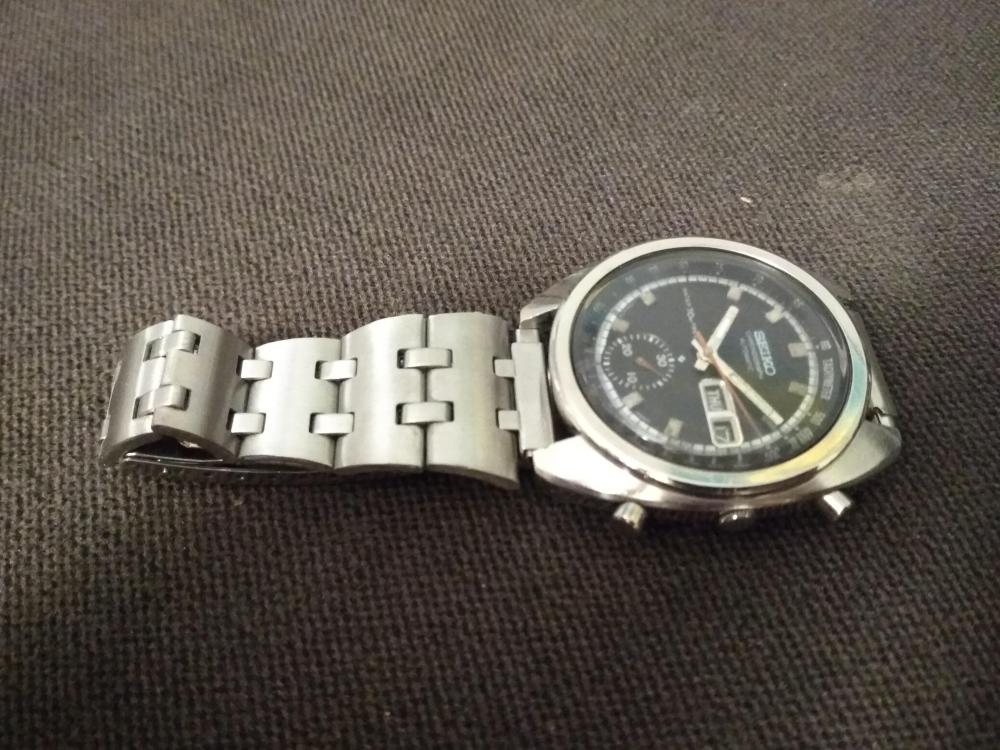
 1 point
 -
Hi The workshop in question was at York R.E.M.E strensall where I visited to repair computer equiptment in their workshop so got to know some of the men. most were apprentice trained by the Army then. The workshops were all closed down about 20 years ago when the Britsh Army were leaving Germany. I visited them as well before the shut down Moenchengladbach was a small military vehicle workshop, Willich was a REME engineering workshop and Wetter on the rhur was a heavy tank refurbishment work shop sadly all closed. there still are centralised workshops in the UK but only civilian contractors are allowed in on legitimate business. There are no casual visitors allowed at all. They are guarded by the MOD Police on the gatehouse .1 point
-
As jdm stated, the movement in the watch is obviously not going to be as high a standard as a genuine Rolex. You could attempt to service it yourself, assuming you are willing to take that risk, and have the patience and dexterity, tools, good lighting and good magnification necessary to do this. If the second hand is sticking, then there are a couple of possibilities, the most obvious of which is dirt, which would probably be relatively easy to remove, if you stripped and cleaned the mechanism. If the mechanism is damaged in some way, then replacing it entirely would be the simplest option, unless of course you can source the parts from a donor watch and are willing to fit them yourself, since most professional watch repairers will charge more for this than the watch is likely to be worth.1 point
-
I always used a arkansas stone set in a wooden block with a little oil.1 point
-
A fine India stone is pretty much the standard.1 point
-
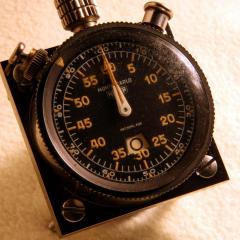
Did you buy that set because of that black stamp? Probably someone can say "Mission accomplished" then. Else such tools are unmarketable today. Even in 1944 (wartime, always desirable items) that set was outdated by far. Frank1 point
-
Hi Back in time the British Army R.E.M.E. repaired a lot of army instruments them selves, nothing being out sourced. They had their own Watch repair department which was fully equiped with all the tools. I was once priviledged to enter one of these workshops on a work visit and chat to the men, they repaired all small instruments including compasses. The arrow mark is indeed M.O.D.1 point
-
Don't know about the origins, but that's old school stuff there (at least whoever was using it was old school). Those arbors would hold the drill, the pointy side would fit in a divot on the side of a bench vice, and the plate or whatever held against the drill while the arbor was driven by a bow. Lot of crazy work was done with that crazy setup.1 point
-
Slava. The emoji dial is I am sure a testament to the non existence of maintenance it was shown.1 point
-
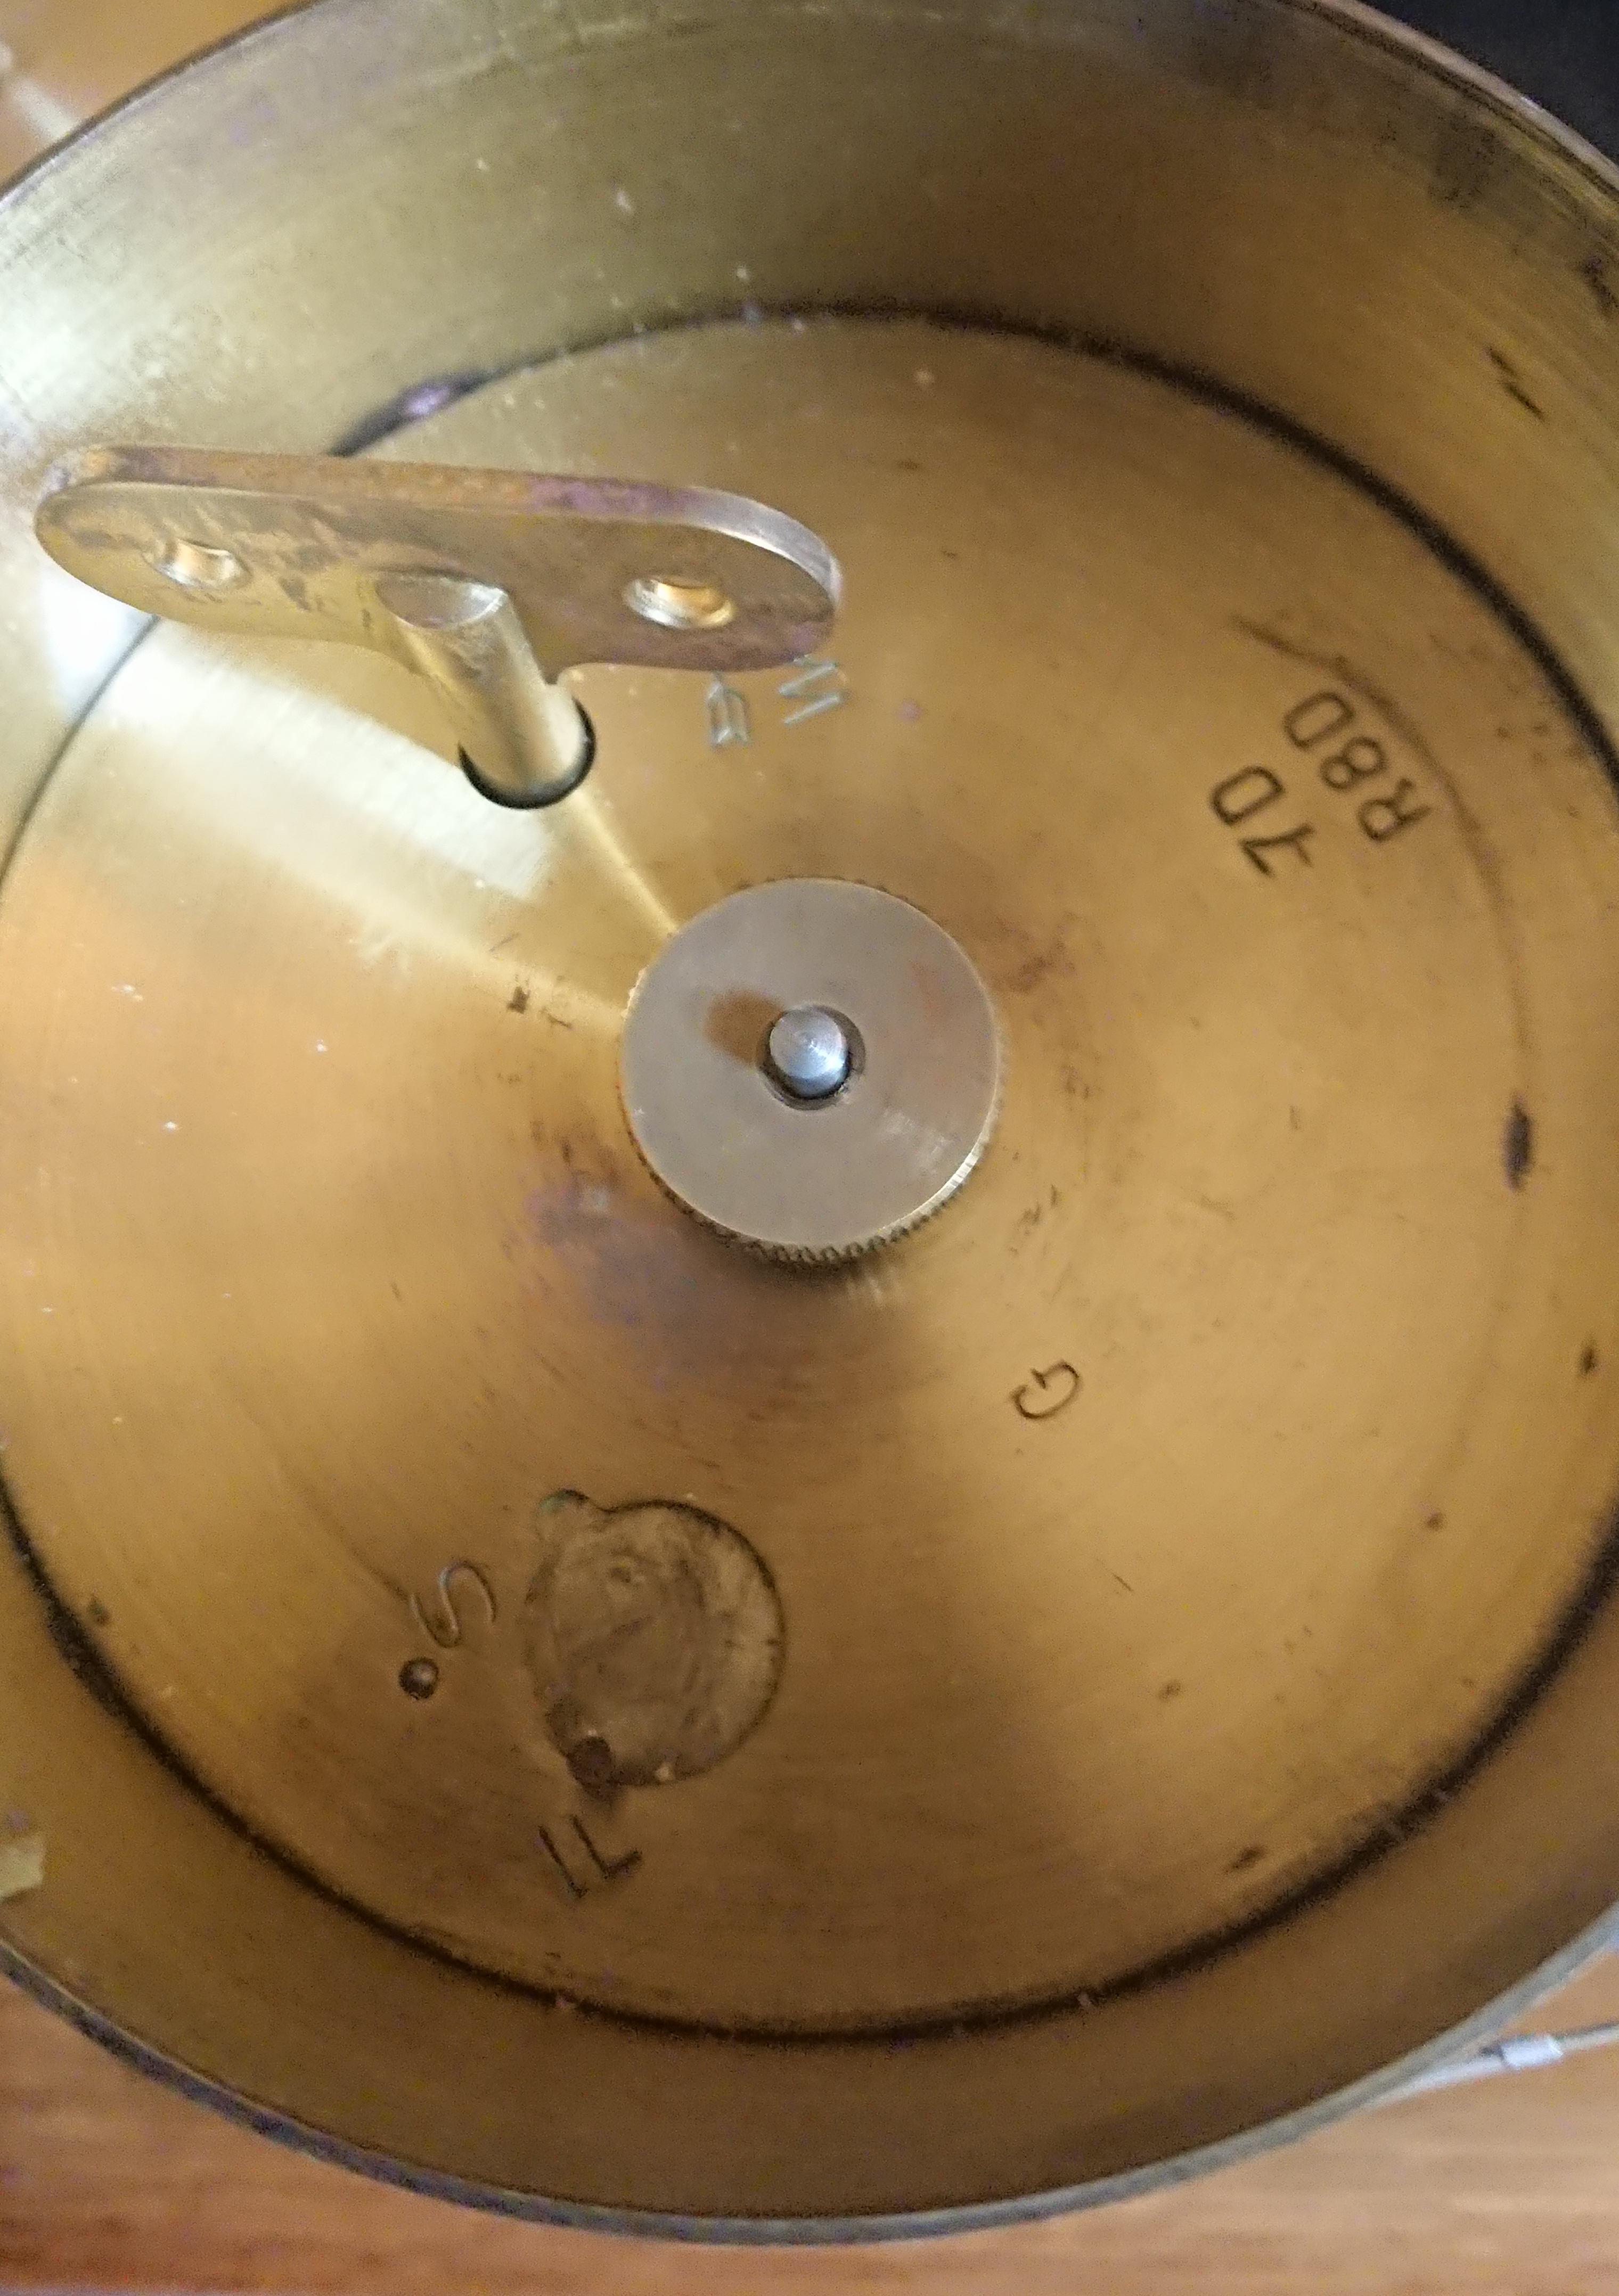
My Barograph uses the same movement as yours it has a screw down nut that fits to a central shaft and is unscrewed to lift the drum off, could yours be a pushfit instead ?
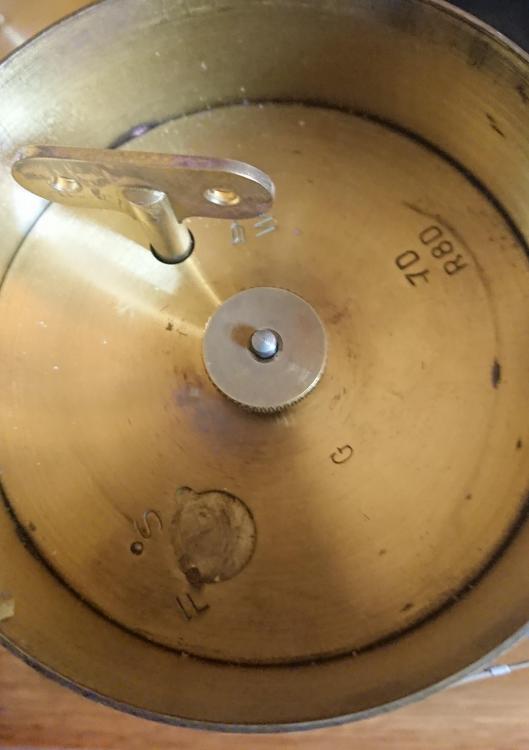 1 point
 -
wearing today my rebuilt diver watch with parts from eBay and a used pre-owned dial from an OMEGA Seamaster
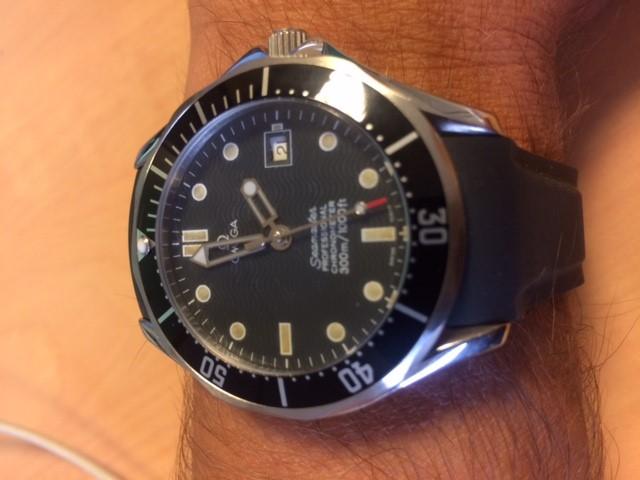 1 point
 -
If the seconds hand stops at the same point each time, then my guess would be that the sweep seconds wheel could be suspect. It could also stop in a pattern if there is an issue with how it meshes with the adjacent wheels. Id suggest you take out the sweep seconds wheel and inspect the teeth. Also see if it is straight where the seconds hand attaches. They occasionally get slightly bent by ham-fisted watchmakers when hand fitting. For the keyless works lubricants, don’t get too hung up over whether a grease or a heavy oil is used. Both will work fine. I have a preference for grease myself here as it’s easier to apply in some respects. The correct oiling of the main wheel train bearings is more important.1 point
-
Great gob Sent from my GT-N5110 using Tapatalk1 point
-
That made no sense at all mate. For a mainspring you can remove by hand, and you are correct with the grease and light oiling. As for putting the mainspring back in the barrel, I generally put mine in by hand but I also have a number of mainspring winders, no matter how I put them in the barrel I always wear either finger cots or latex gloves. These stop your hands getting greasy but more importantly stop contamination of the mainspring from the oils in your skin.1 point
-
Think i have some 2472 parts . Can have a look . Maybe the threads ar worn in the setting lever. They look a little short?1 point
-
Where was this workshop and when did you visit them? Is it possible to do such a visit still?0 points