Leaderboard


Popular Content
Showing content with the highest reputation on 05/02/22 in all areas
-
Yes, the purpose of the oiling is to allow the cannon pinion to rotate on the driving wheel when setting the time. I wouldn’t take apart the cannon pinion from the driving wheel when oiling it; it’s quite easy to distort the rim holding it in place if you do that. Just a tiny amount of Molykote DX or hp 1300 in the gutter is enough. You can get it to distribute by setting the time after assembly.3 points
-
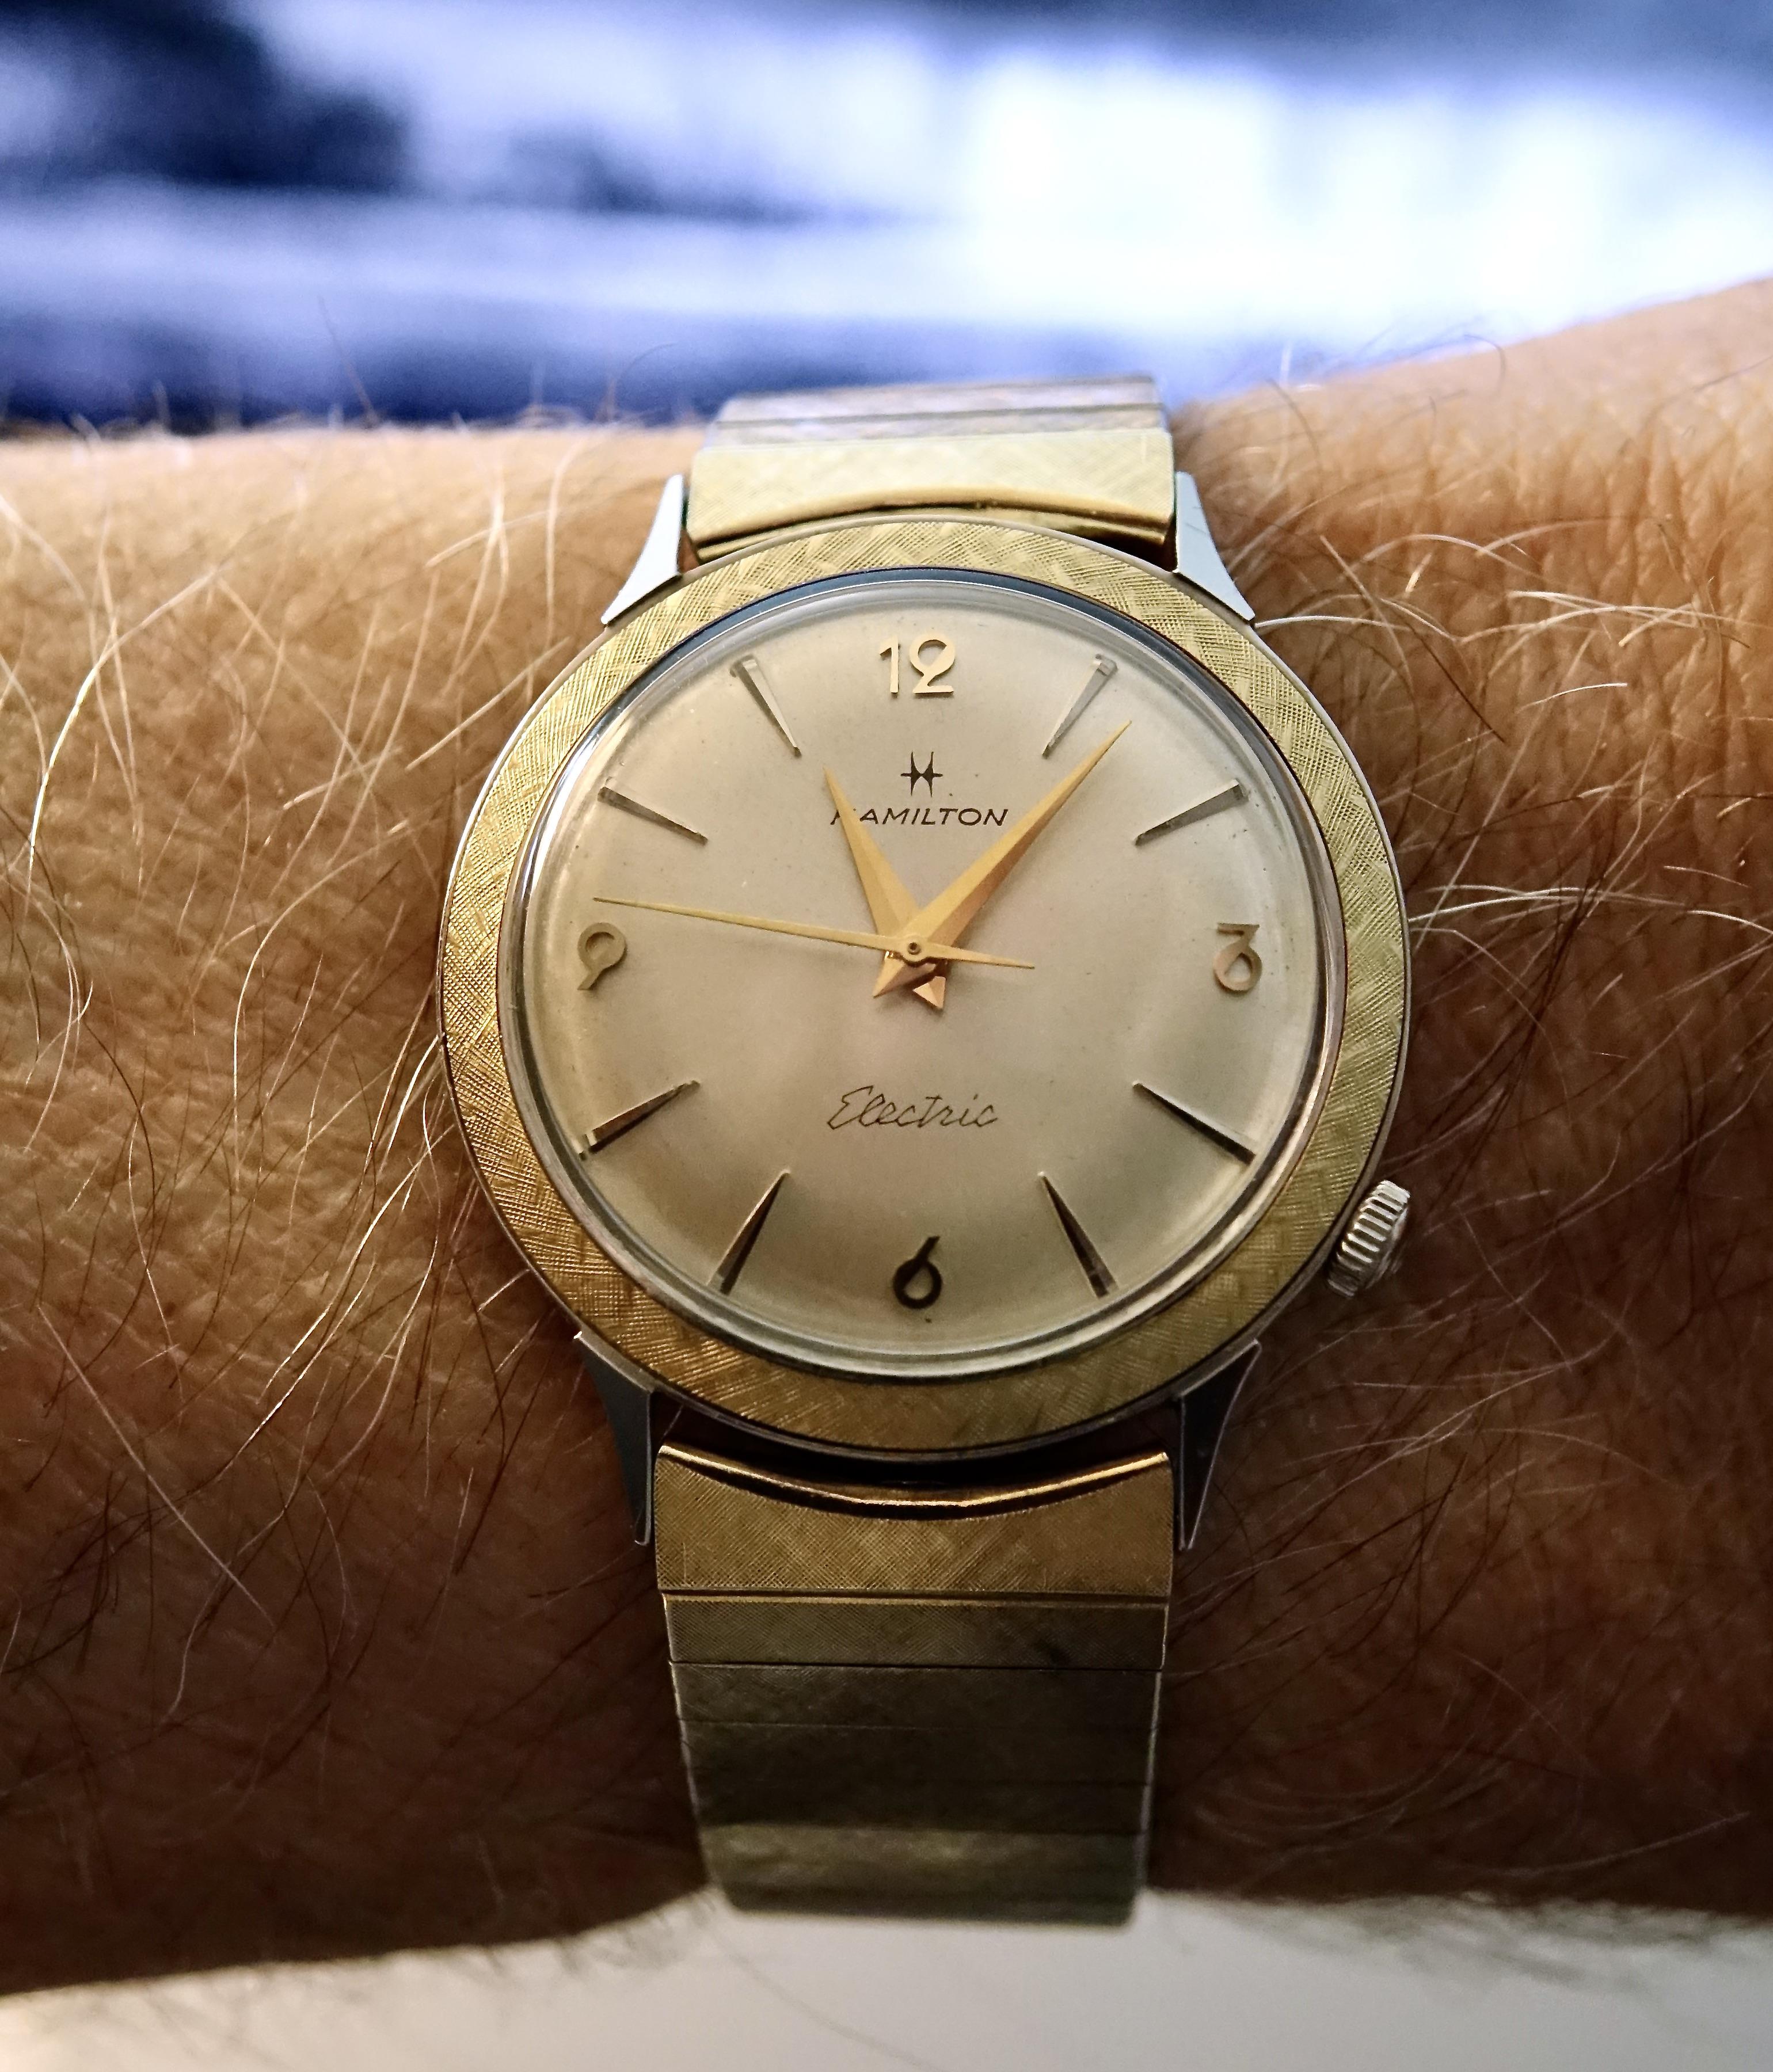
Hamilton Nautilus 450, 1963
 3 points
 -
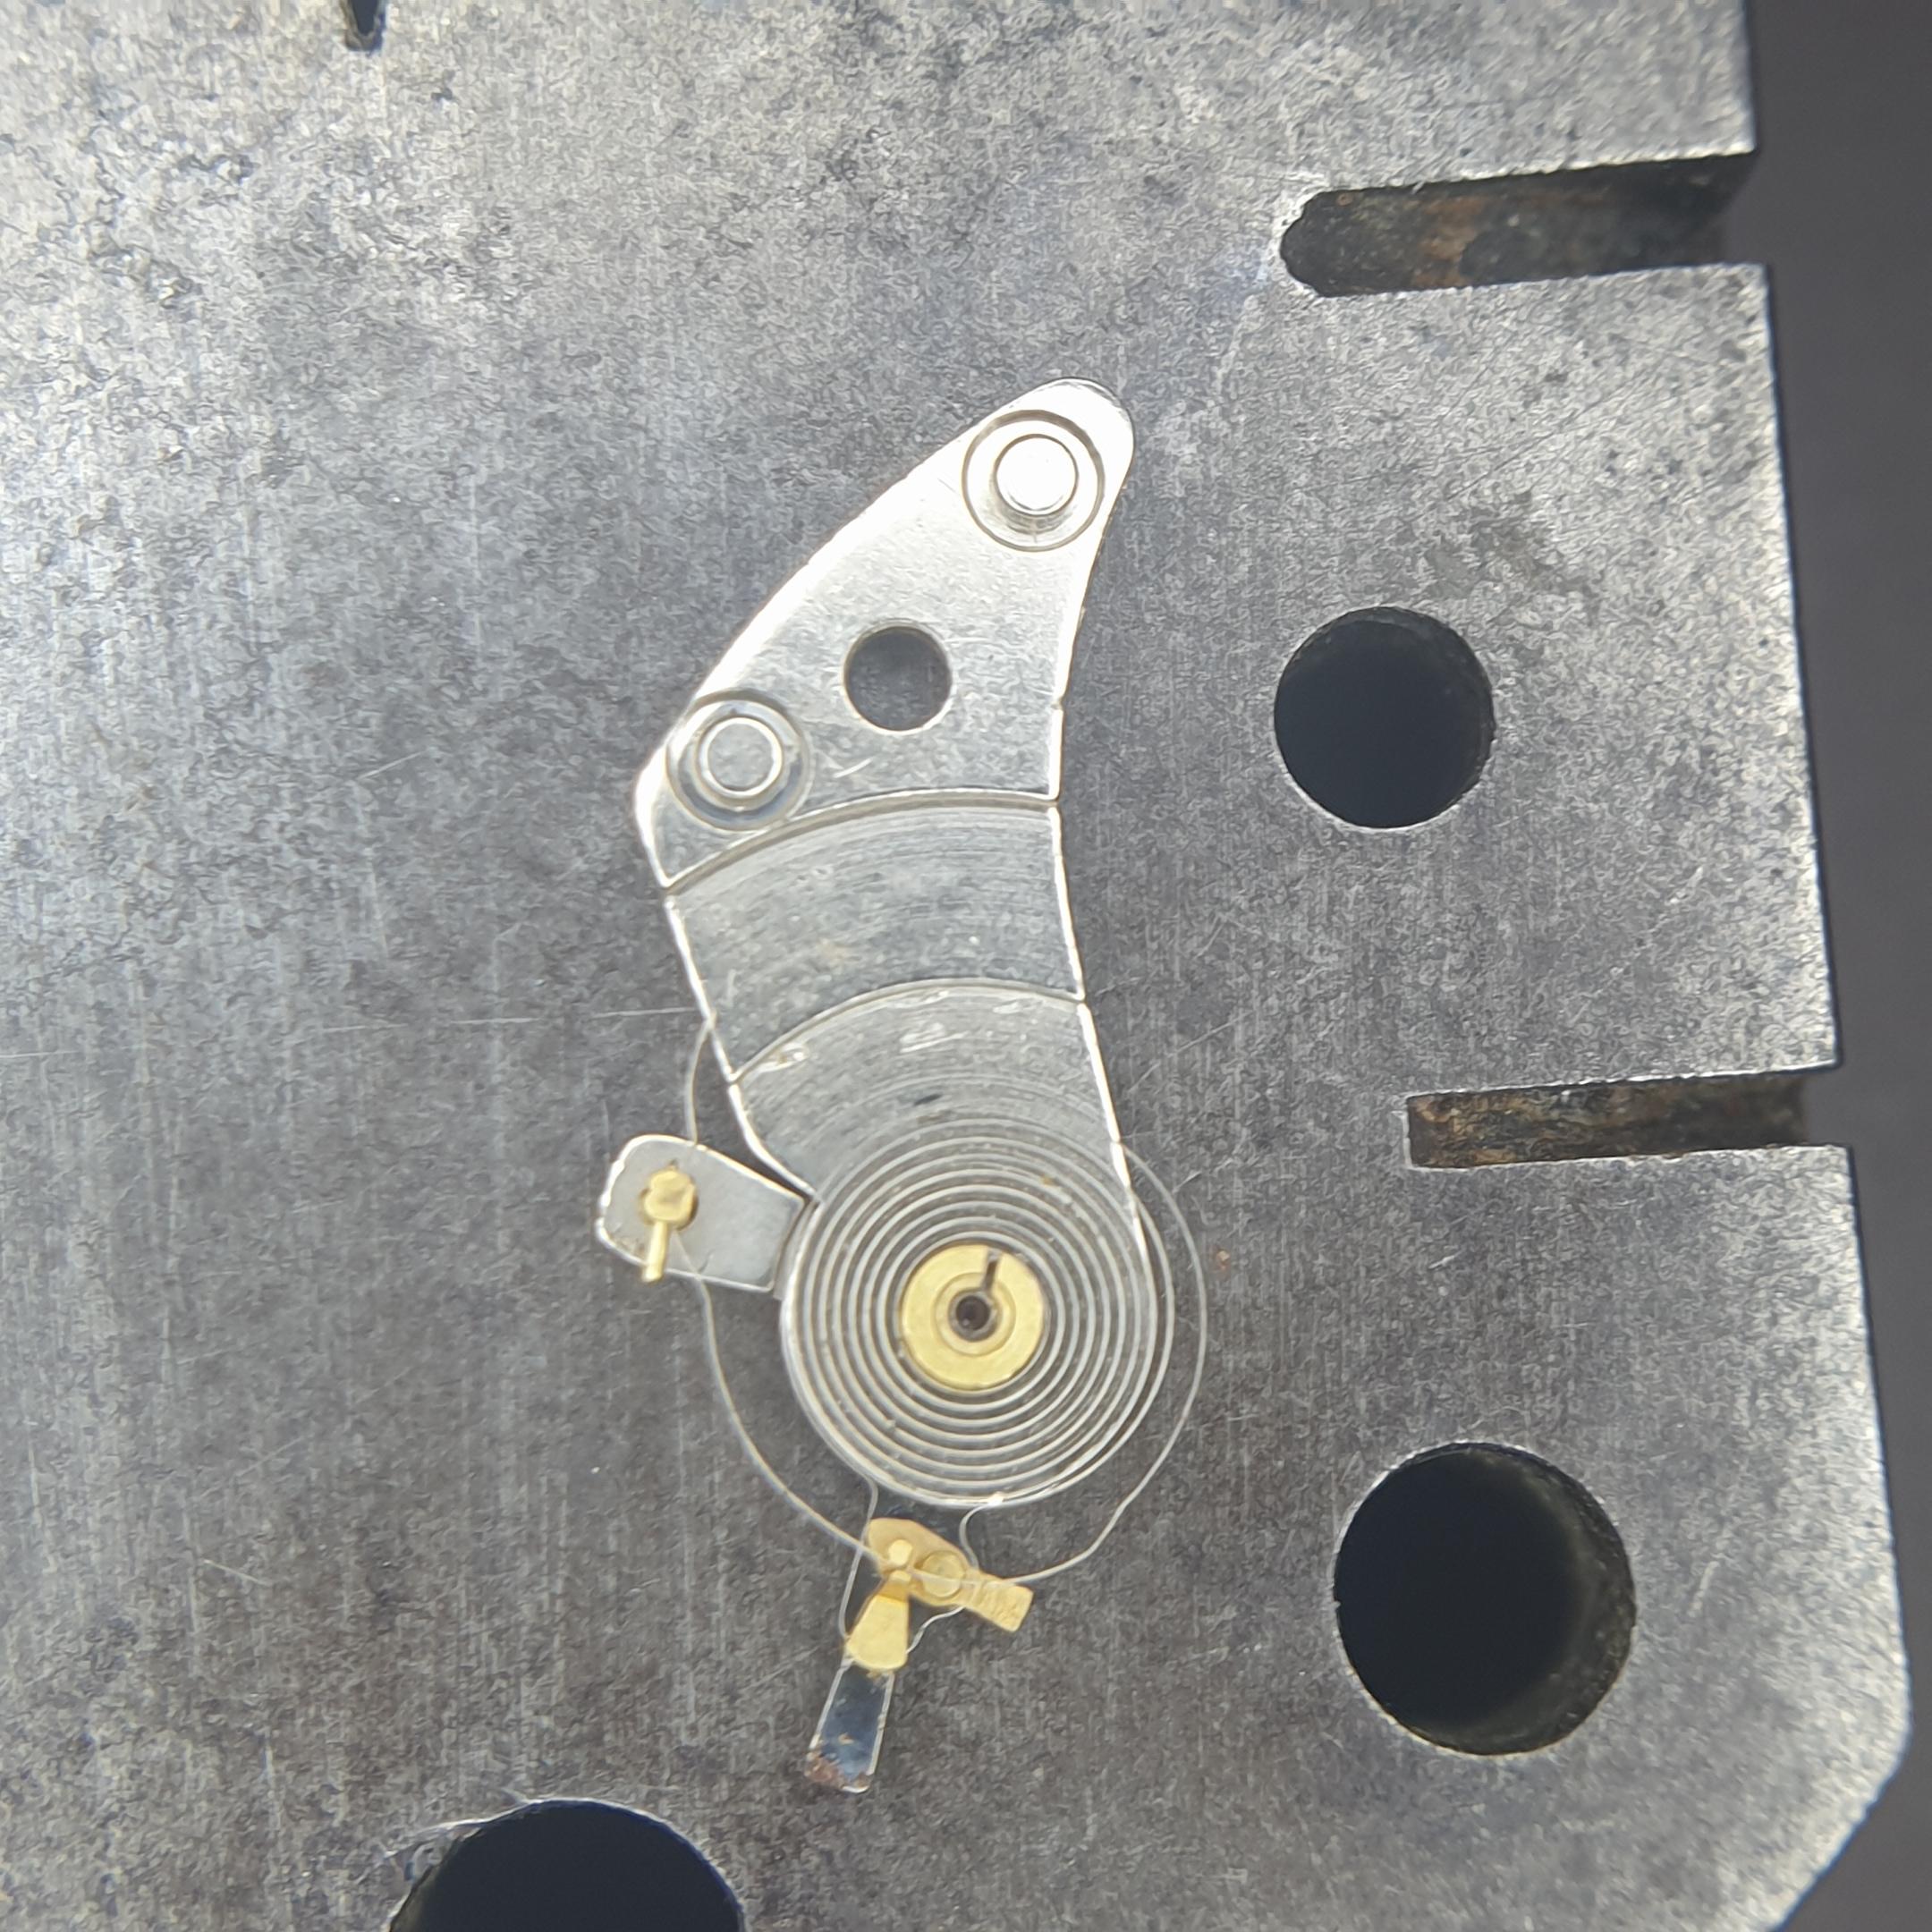
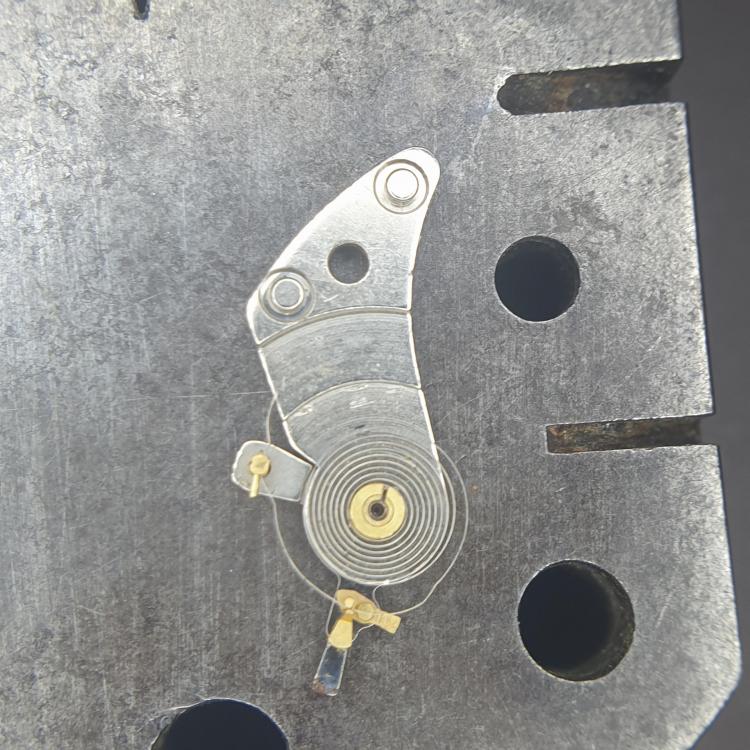
Got the endcurve formed and centered the hairspring. Now to check the poise of the balance wheel.... if I can find my piosing tool....
 2 points
 -
You would oil at position 2, near the tiny gutter at the interface between the cylinder. You can use Molykote DX, or even HP 13002 points
-
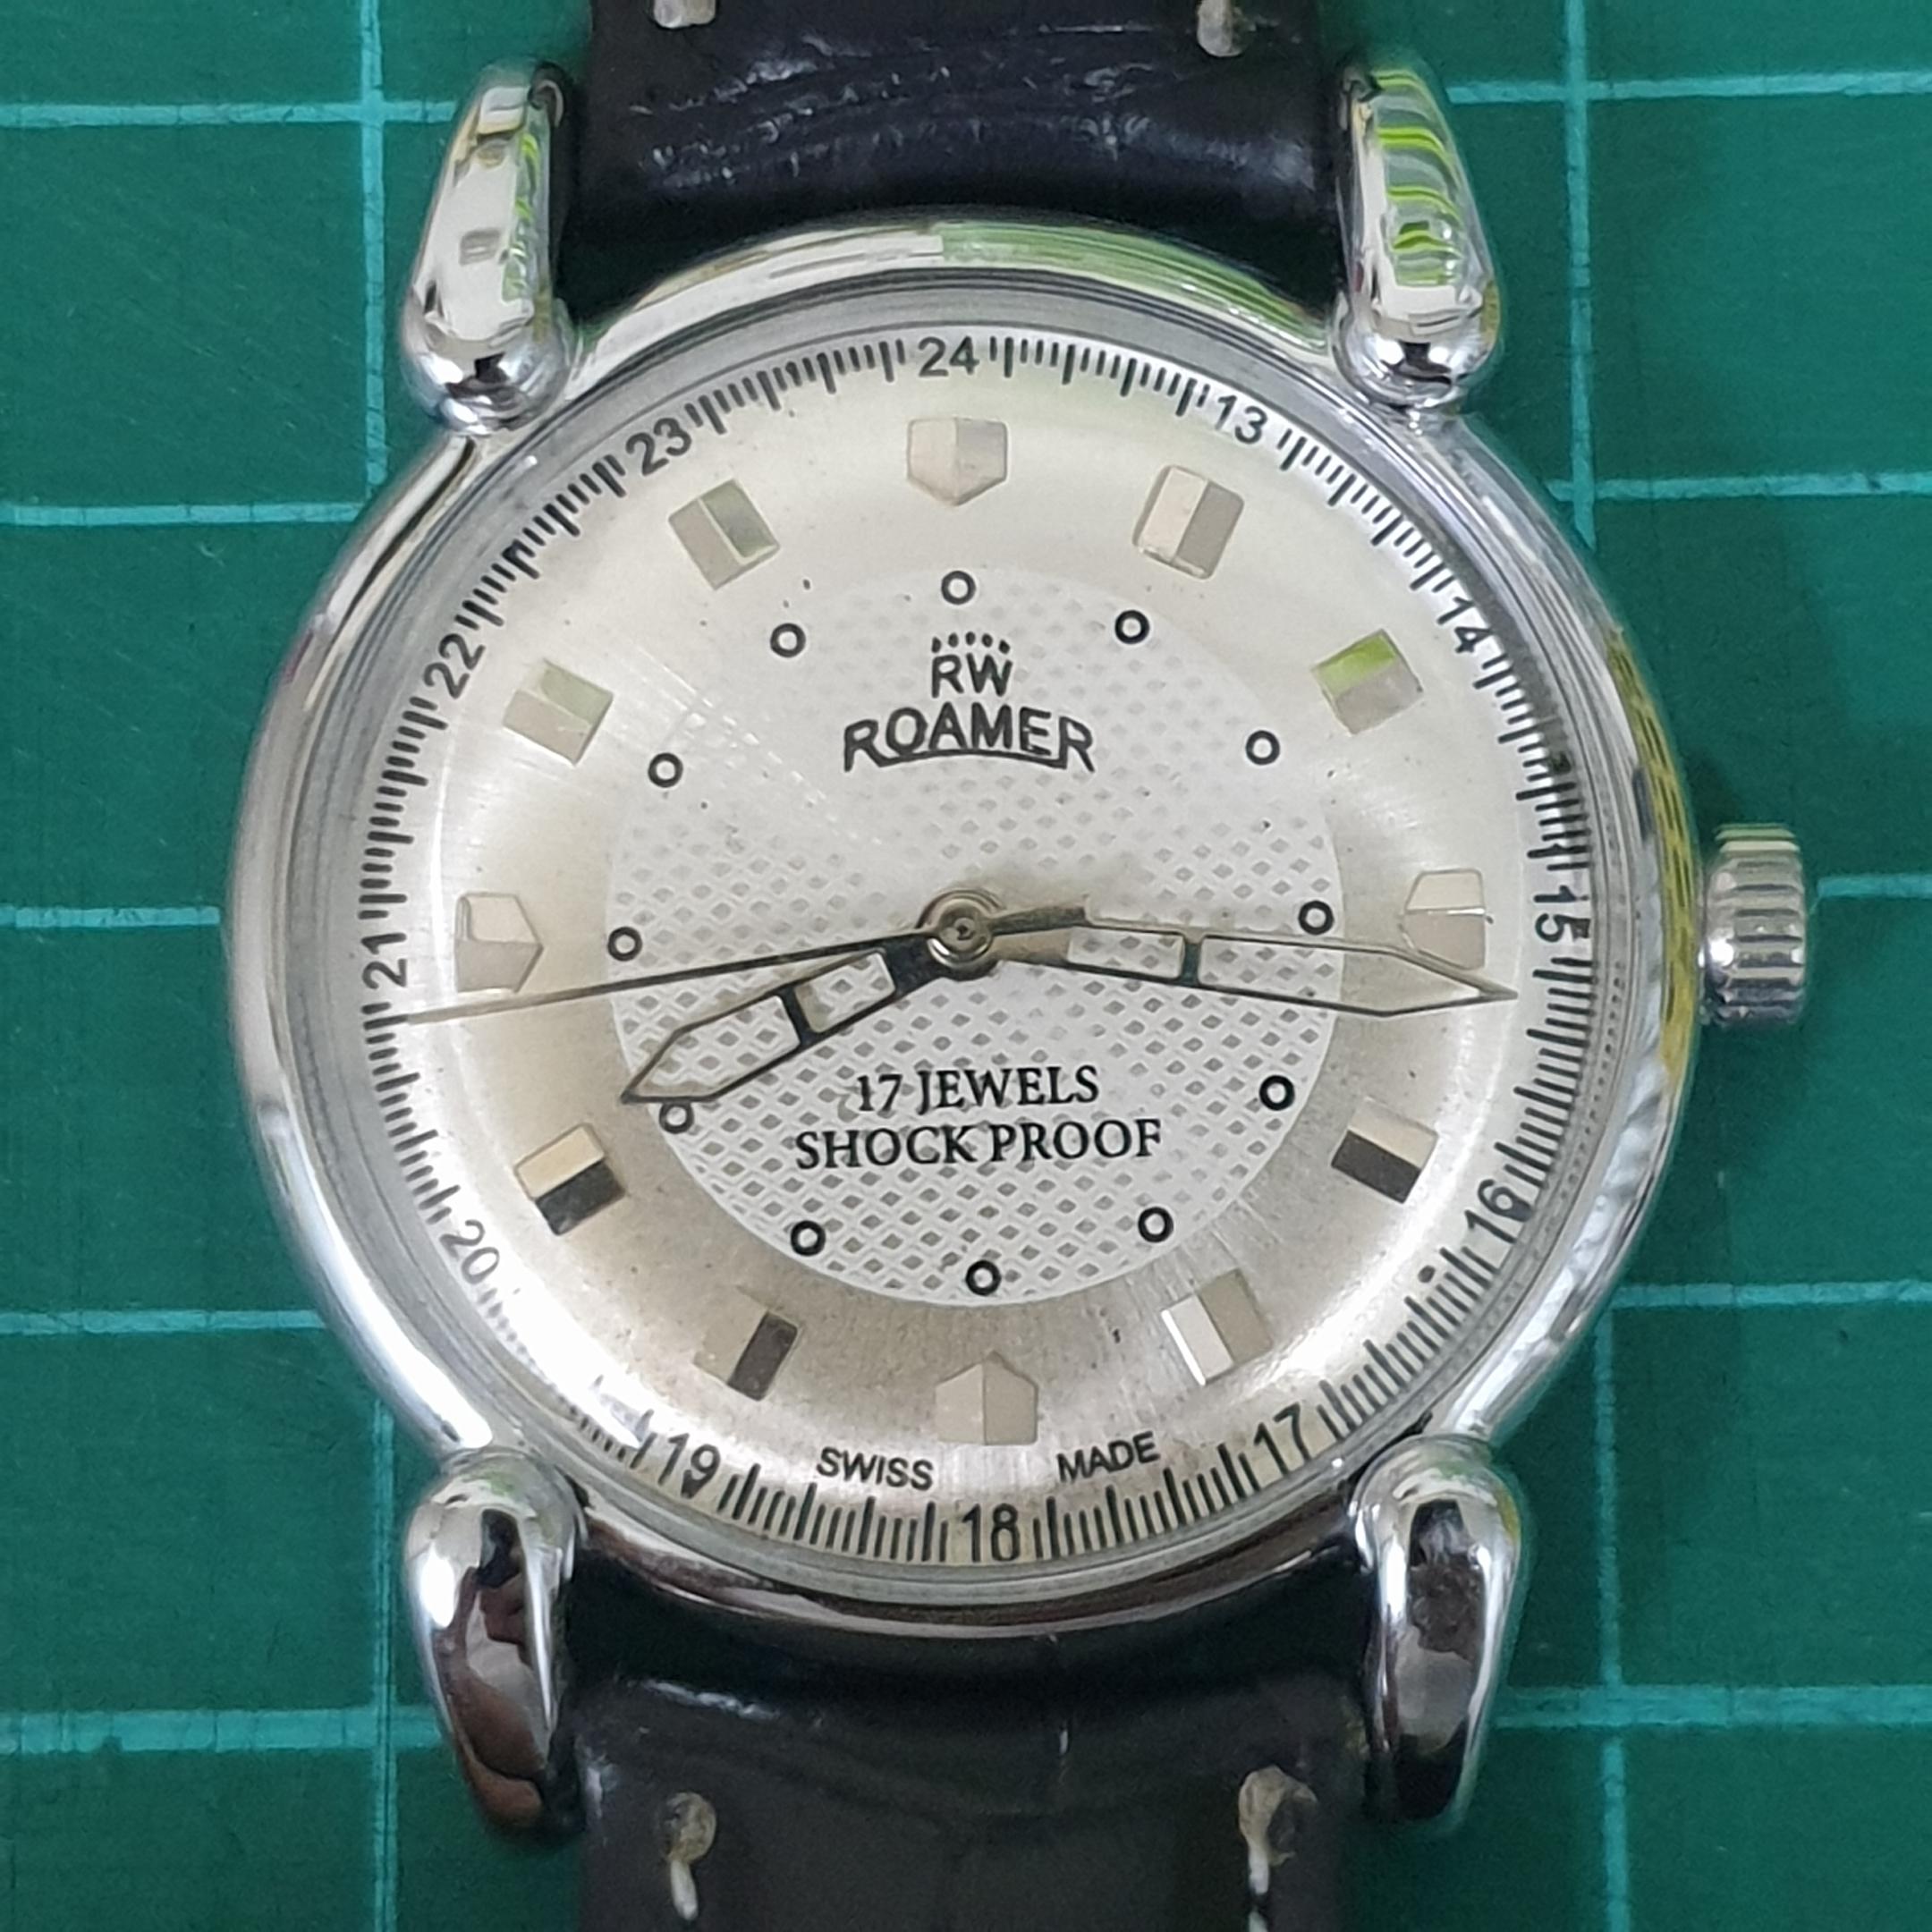
Haha yes it's extremely accurate but only twice a day. My guess is the seller was just a little bit shy on the truth. Its kind of nice looking though in a dodgy non genuine wasted some money kind of way. Nice bit of shellac as well, I could french polish two mousemen sideboards with that.2 points
-
Apparently this is typical of the Mumbai Specials If it works think yourself lucky but don't panic it won't work for long. I have been know to pick up the odd cheap one, £10 max just to get a movement for spares for another watch I was working on. I think there is a watch conspiracy on eBay, sellers selling watches that have a hidden history and end up not working then under another of their many user names sell you a movement so you have some spares to put the first one right. Mind you its not just the Mumbai sellers doing this, over the last year I have bought quite a few watches and movements on eBay, mainly from European sellers and not one of them has been an honest unadulterated watch, all once stripped clearly had a hidden history, even those claimed to be virgin watches that they have owned from new, once stripped had clear signs of someone having a fiddle at some time in there watch past, damaged screw heads, scratches from a lest than careful stripdown, parts from a gold watch in a silver watch etc. I do enjoy some of their descriptions like for example a new never been worn watch that in the description had the case and back replaced because it was rusty, a strap replaced with an after market one because the original was scratched, the dial repainted because the old one was water damaged but still insist its brand new and unworn. Just treat watches you buy from that region as potential parts watches. You a search on YouTube there are videos showing the conditions in the backstreet watch Shops that would make you cringe, with buckets full of parts just sitting in the open in their dirty and dusty shop and a stack a mile high of boxes of repainted dials, with the watch assembler just putting movements together with old junk quality tools and not a drop of watch oil anywhere to be seen.2 points
-
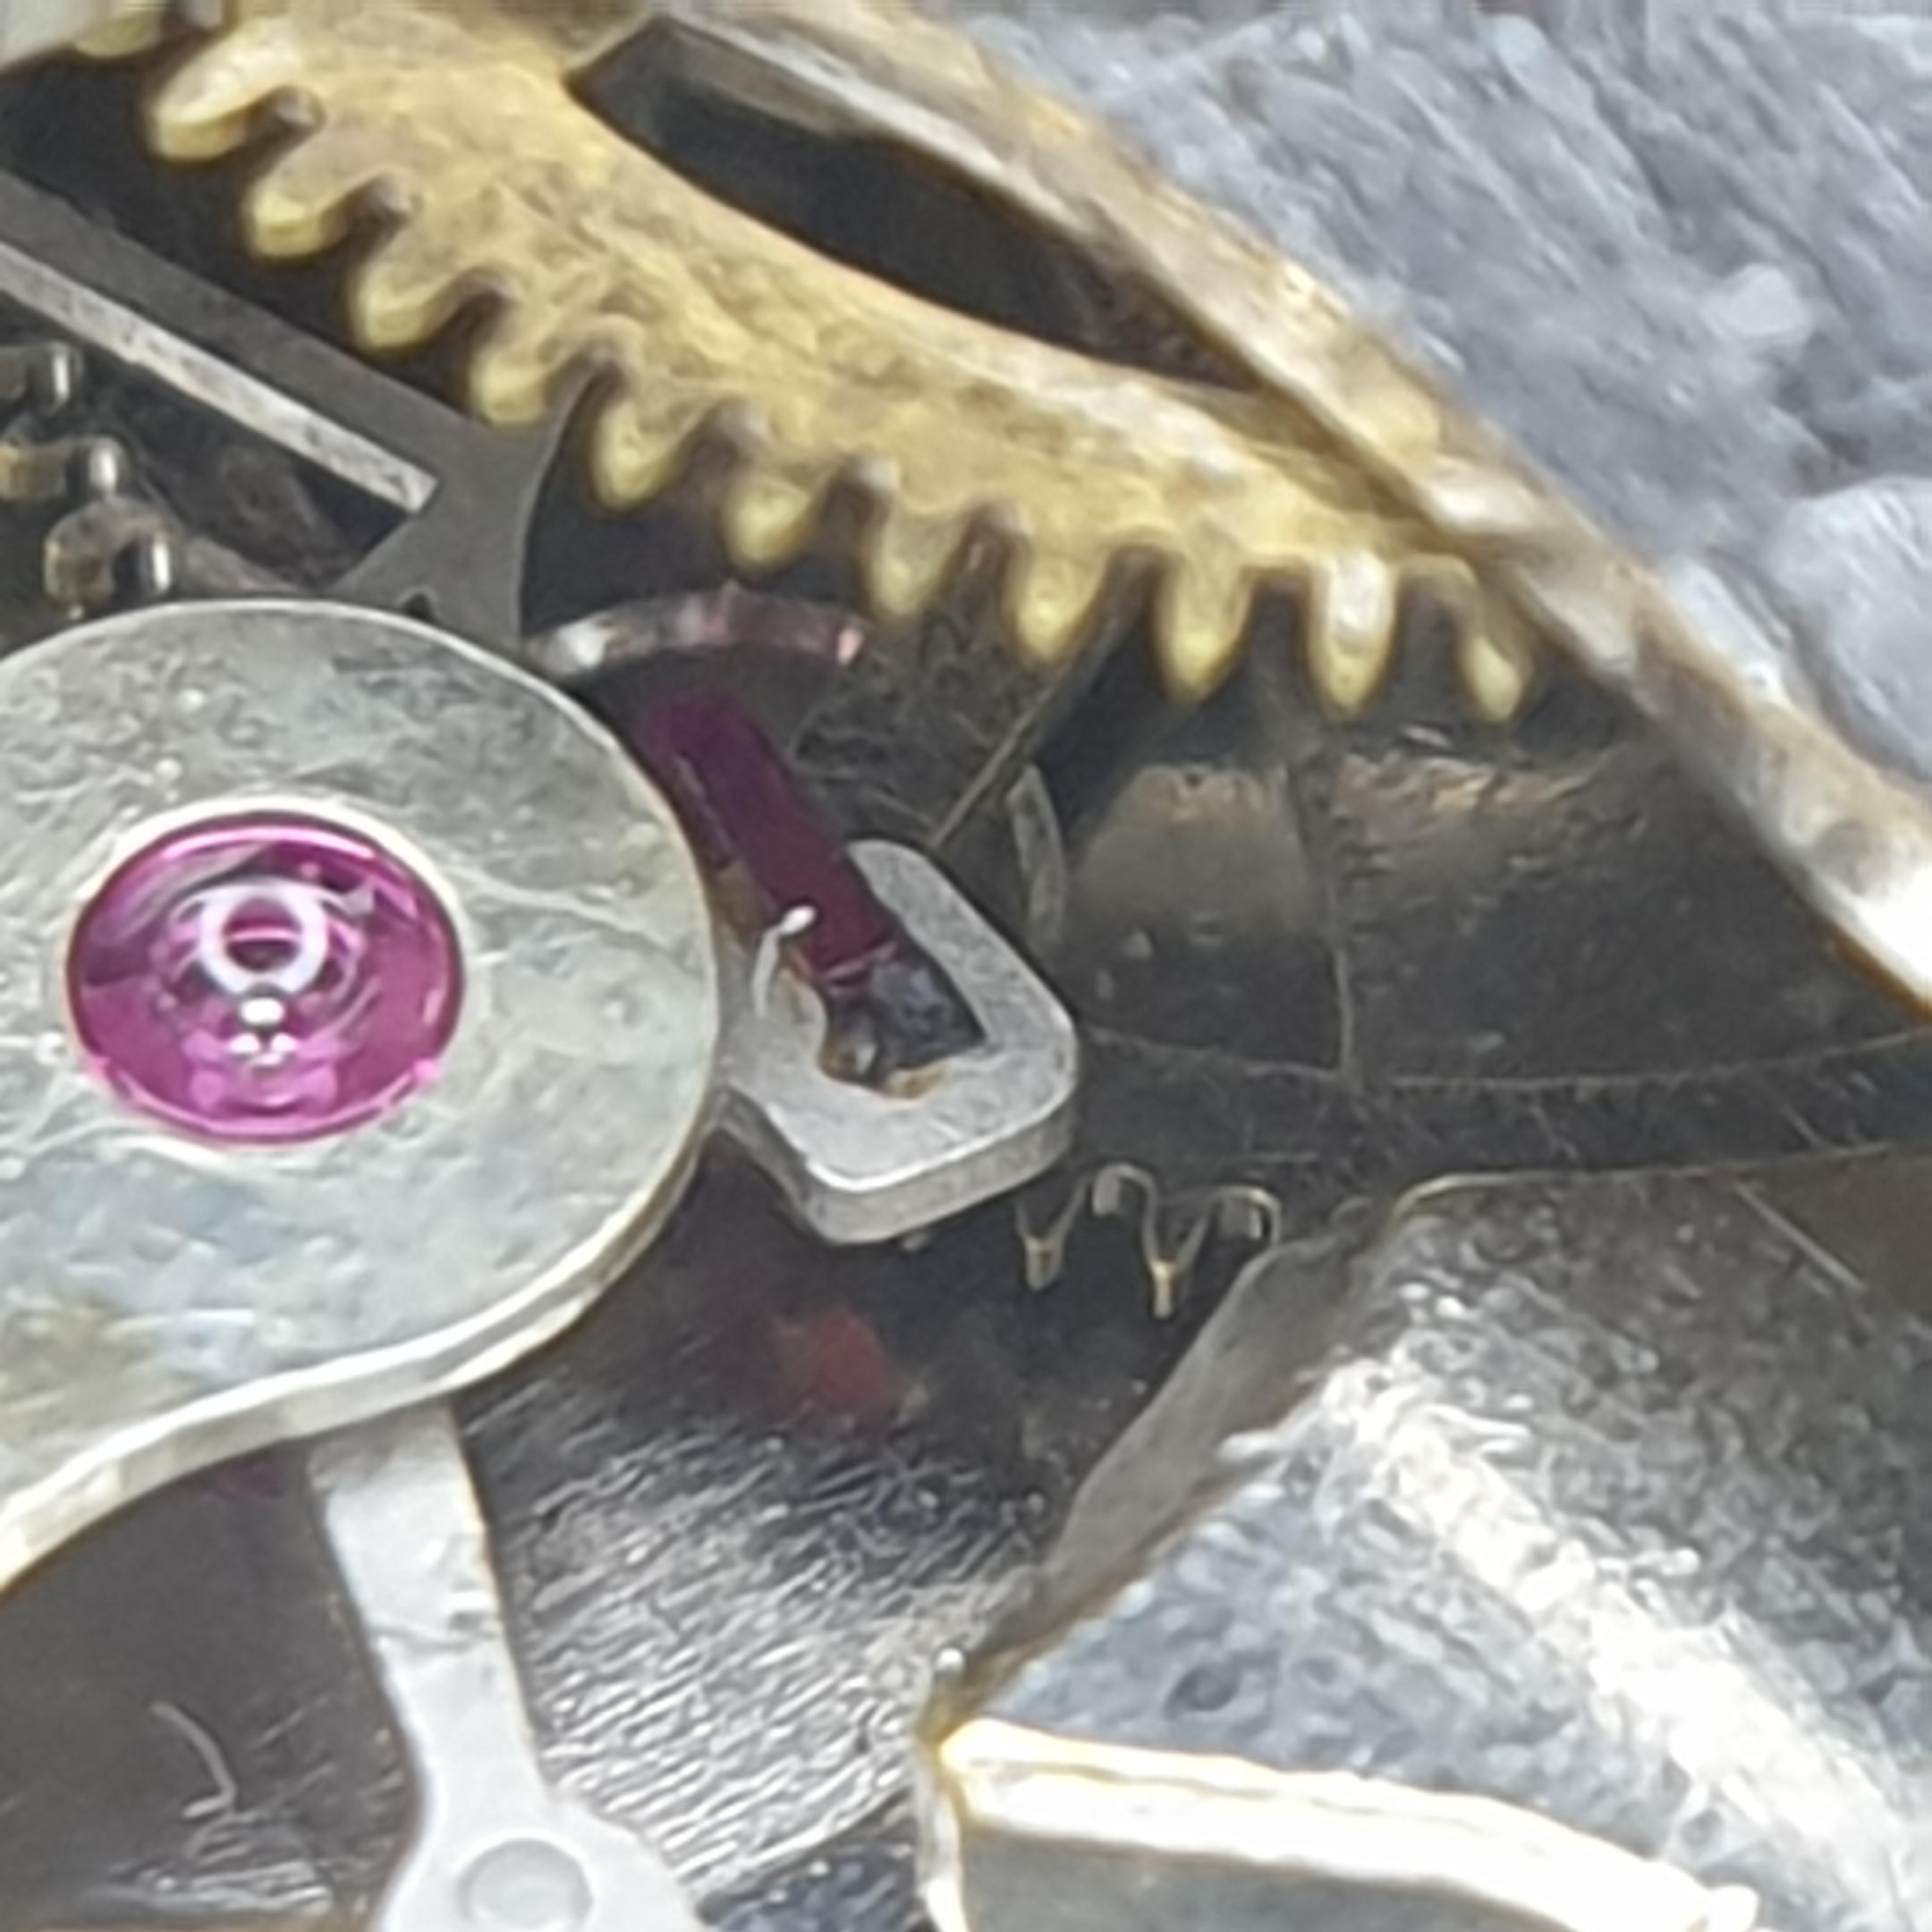
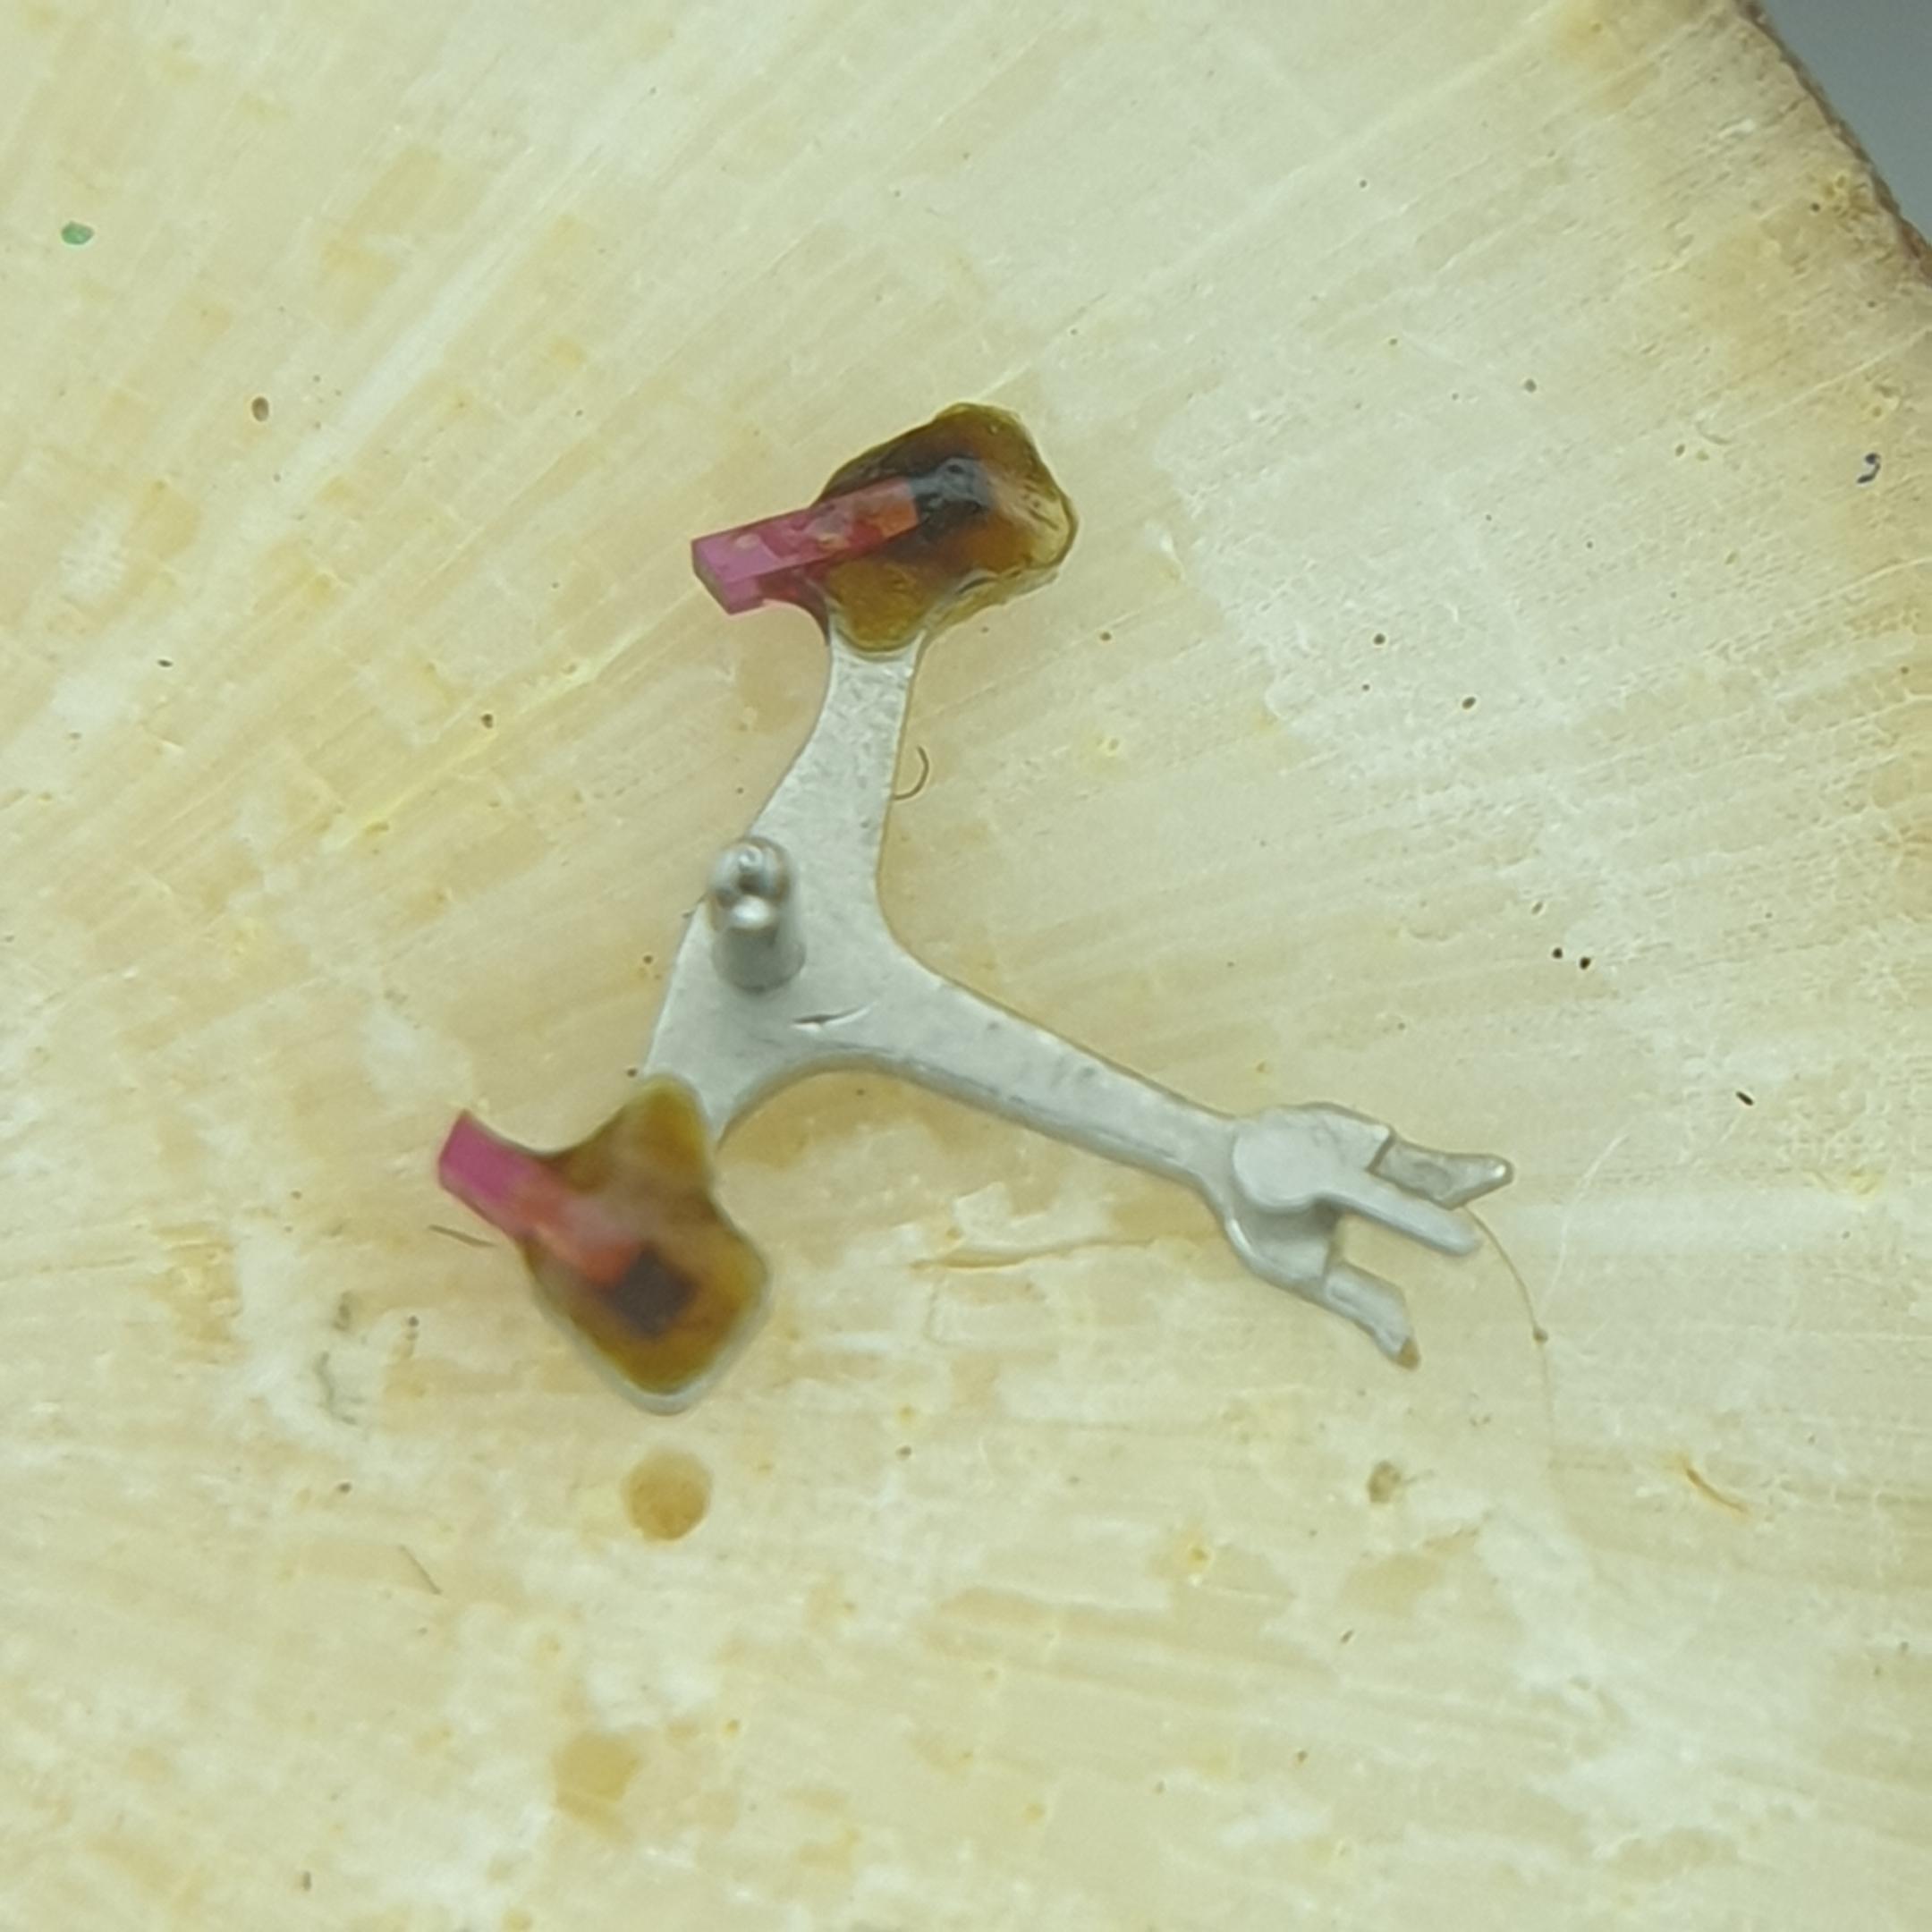
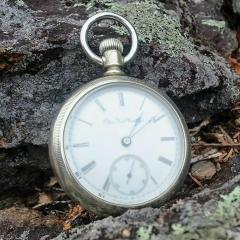
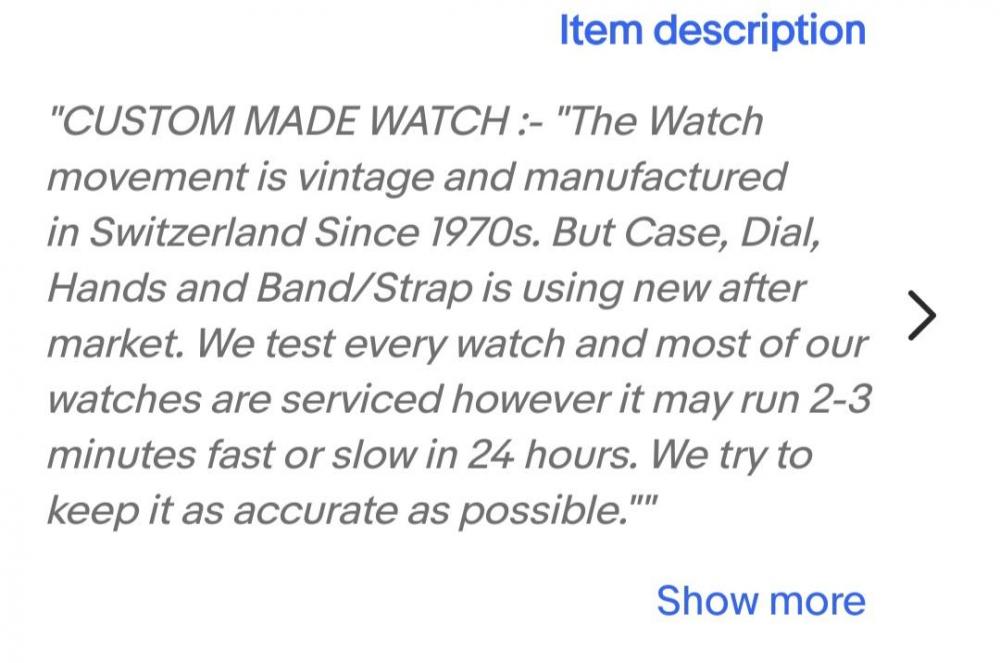
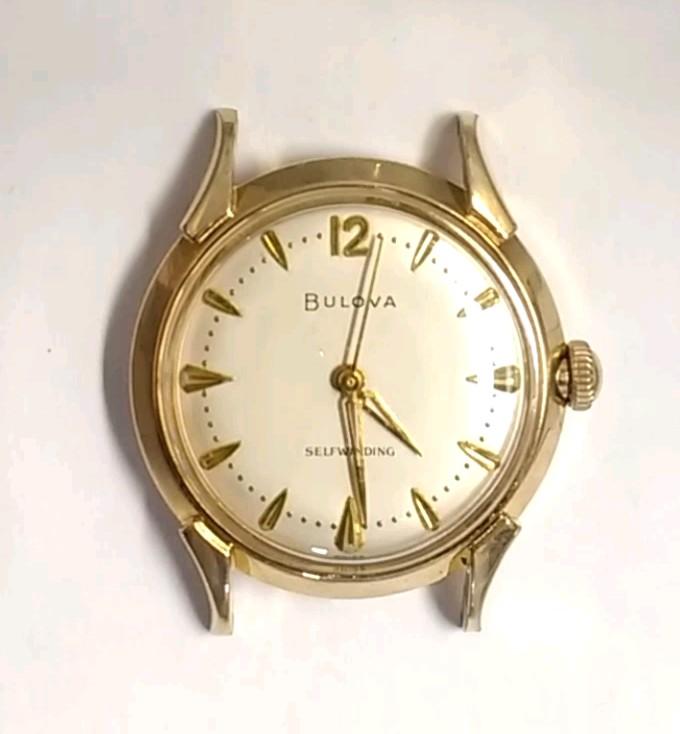
Look at this beauty it got off eBay for $30. A great bargain right? However, it doesn't run. I contacted the seller, who replied in a condescending tone that the watch is a mechanical wind watch and has to be wound up every 34 hours to work. I popped the back off and found that the balance wheel could be turned but it bangs into something. I assumed that the balance was overbanked, probably from a hard bang during transport. But when I took off the balance and inspected the pallet under a microscope, I found that the entry pallet is so deep that the escape wheel can't unlock. Just look at the amount of shellac on the fork! So the entry jewel can't unlock, how did the seller test the movement to be accurate to 2-3 minutes a day? Are they checking the watch at the same time everyday, so the time on the watch shows the correct time?


 1 point
 -
Hi Everyone, Just joined, and completed Level 2 of Mark's course. Based in the UK, former engineer and now Osteopath, learning watchmaking as a hobby. Looking forward to meeting like minded peeps and learning more! Best, Andy1 point
-
They do ifibrin good point. It has happened to me a couple of times, not so much of a problem bending a pivot in the ultra sonic but you have to be really careful getting it out of the basket afterwards.1 point
-
YES...this is an excellent method!! I think I learned it from @watchweasoland have successfully used it multiple times. In some respects better than a wrench. Invite @Neverenoughwatchesover for a beer and use his hand to hold the watch.1 point
-
If This truely a screw down back try the super glue method. Glue a lange nut on the back and let it dry then take a spanner and turn the back off. The nut is easilly removed using acetone (nail varnish remover) and leaves no marks.1 point
-
A flat slinky then. Nice work Mr. Mumbai 6 hours, wow you did well Ross. Indian cooking yes , er Indian watches no. HMT were apparently good though Hmmm. What time we eating matey, I'll get there early and help finish cooking and wash up I've seen worse readings and looking at the amount of shellac on the pallet, I'd be thinking of counterbalanced the other end with a house brick.1 point
-
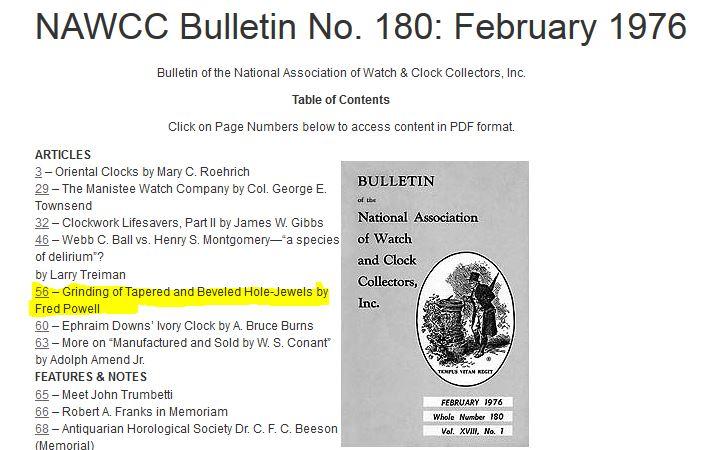
it's good that you're a member because that means you can get one of the past bulletins? I have a link you do have to be logged in as a member to get to the appropriate page. Specifically you're looking for NAWCC Bulletin No. 180: February 1976. then when you get there you want to download the PDF titled 56 – Grinding of Tapered and Beveled Hole-Jewels by Fred Powell. the problem so many times with burnished in jewels are there just really hard to find. even if you have an assortment finding the right one can be difficult at times. The article shows how to modify modern jewels by rounding the outer shape so now it's equivalent to burnished in jewel and it can be burnished in. https://www.nawcc.org/publications/watch-clock-bulletins/watch-clock-bulletins-past-issues/
 1 point
 -
Eyup Tiny. Hand winding is a little risky, although I do it mostly and I have big joiners hands. But I also have suite good manipulation and a little whirlygig that helps me. I thought Seiko only provided the barrel completes. VWatchie mentioned the other day. I love your workstations mate , nice job I'll keep an eye out for you on ebay mate. Although they don't always fit what you might be working on.1 point
-
I once spent a while trying to remove a rusty set lever screw - WD40 overnight. It did come out the next day, but it was already broken - the rust was holding both bits in
 1 point
 -
I tried the blue rubber mat (silicone) but found it too soft. And the hobby style cutting mats too hard. When handling small parts (especially cap jewels) you need a surface with just a little 'give'. I imagine the drawing board covering is about right. I use an offcut of vinyl flooring. It has just enough 'give' to stop parts pinging off, and is cheap !1 point
-
I'm new. Had exactly the same problem on a setting lever screw on an old pocket watch. Advised, and did as advised, WD40 on a cotton bud. Soaked overnight. Movement, movement, more movement. Lifted out. What a treat for a beginner. Knackered the barrel arbor, but that's another story. Good thread Regards Ross1 point
-
There’s a few on eBay, just be careful when you open them up for the first time. The amount of times I’ve been crawling on the floor with my loup looking for small parts that have somehow gone Ping onto the floor1 point
-
The usua w l method was that the watch maker would order cases from a maker such as Dennison who would make the cases to the specific sizes of watch, Of course being silver they had to be passed by the assay office hence the marking and date coding and the grade of silver used. In some cases the watches and the dials and cases ended up with the finisher who assembled them all together and fitted a named dial. He was not always the maker, people like bensons , smiths, ingersoll and may others made the complete watch and assembled it.1 point
-
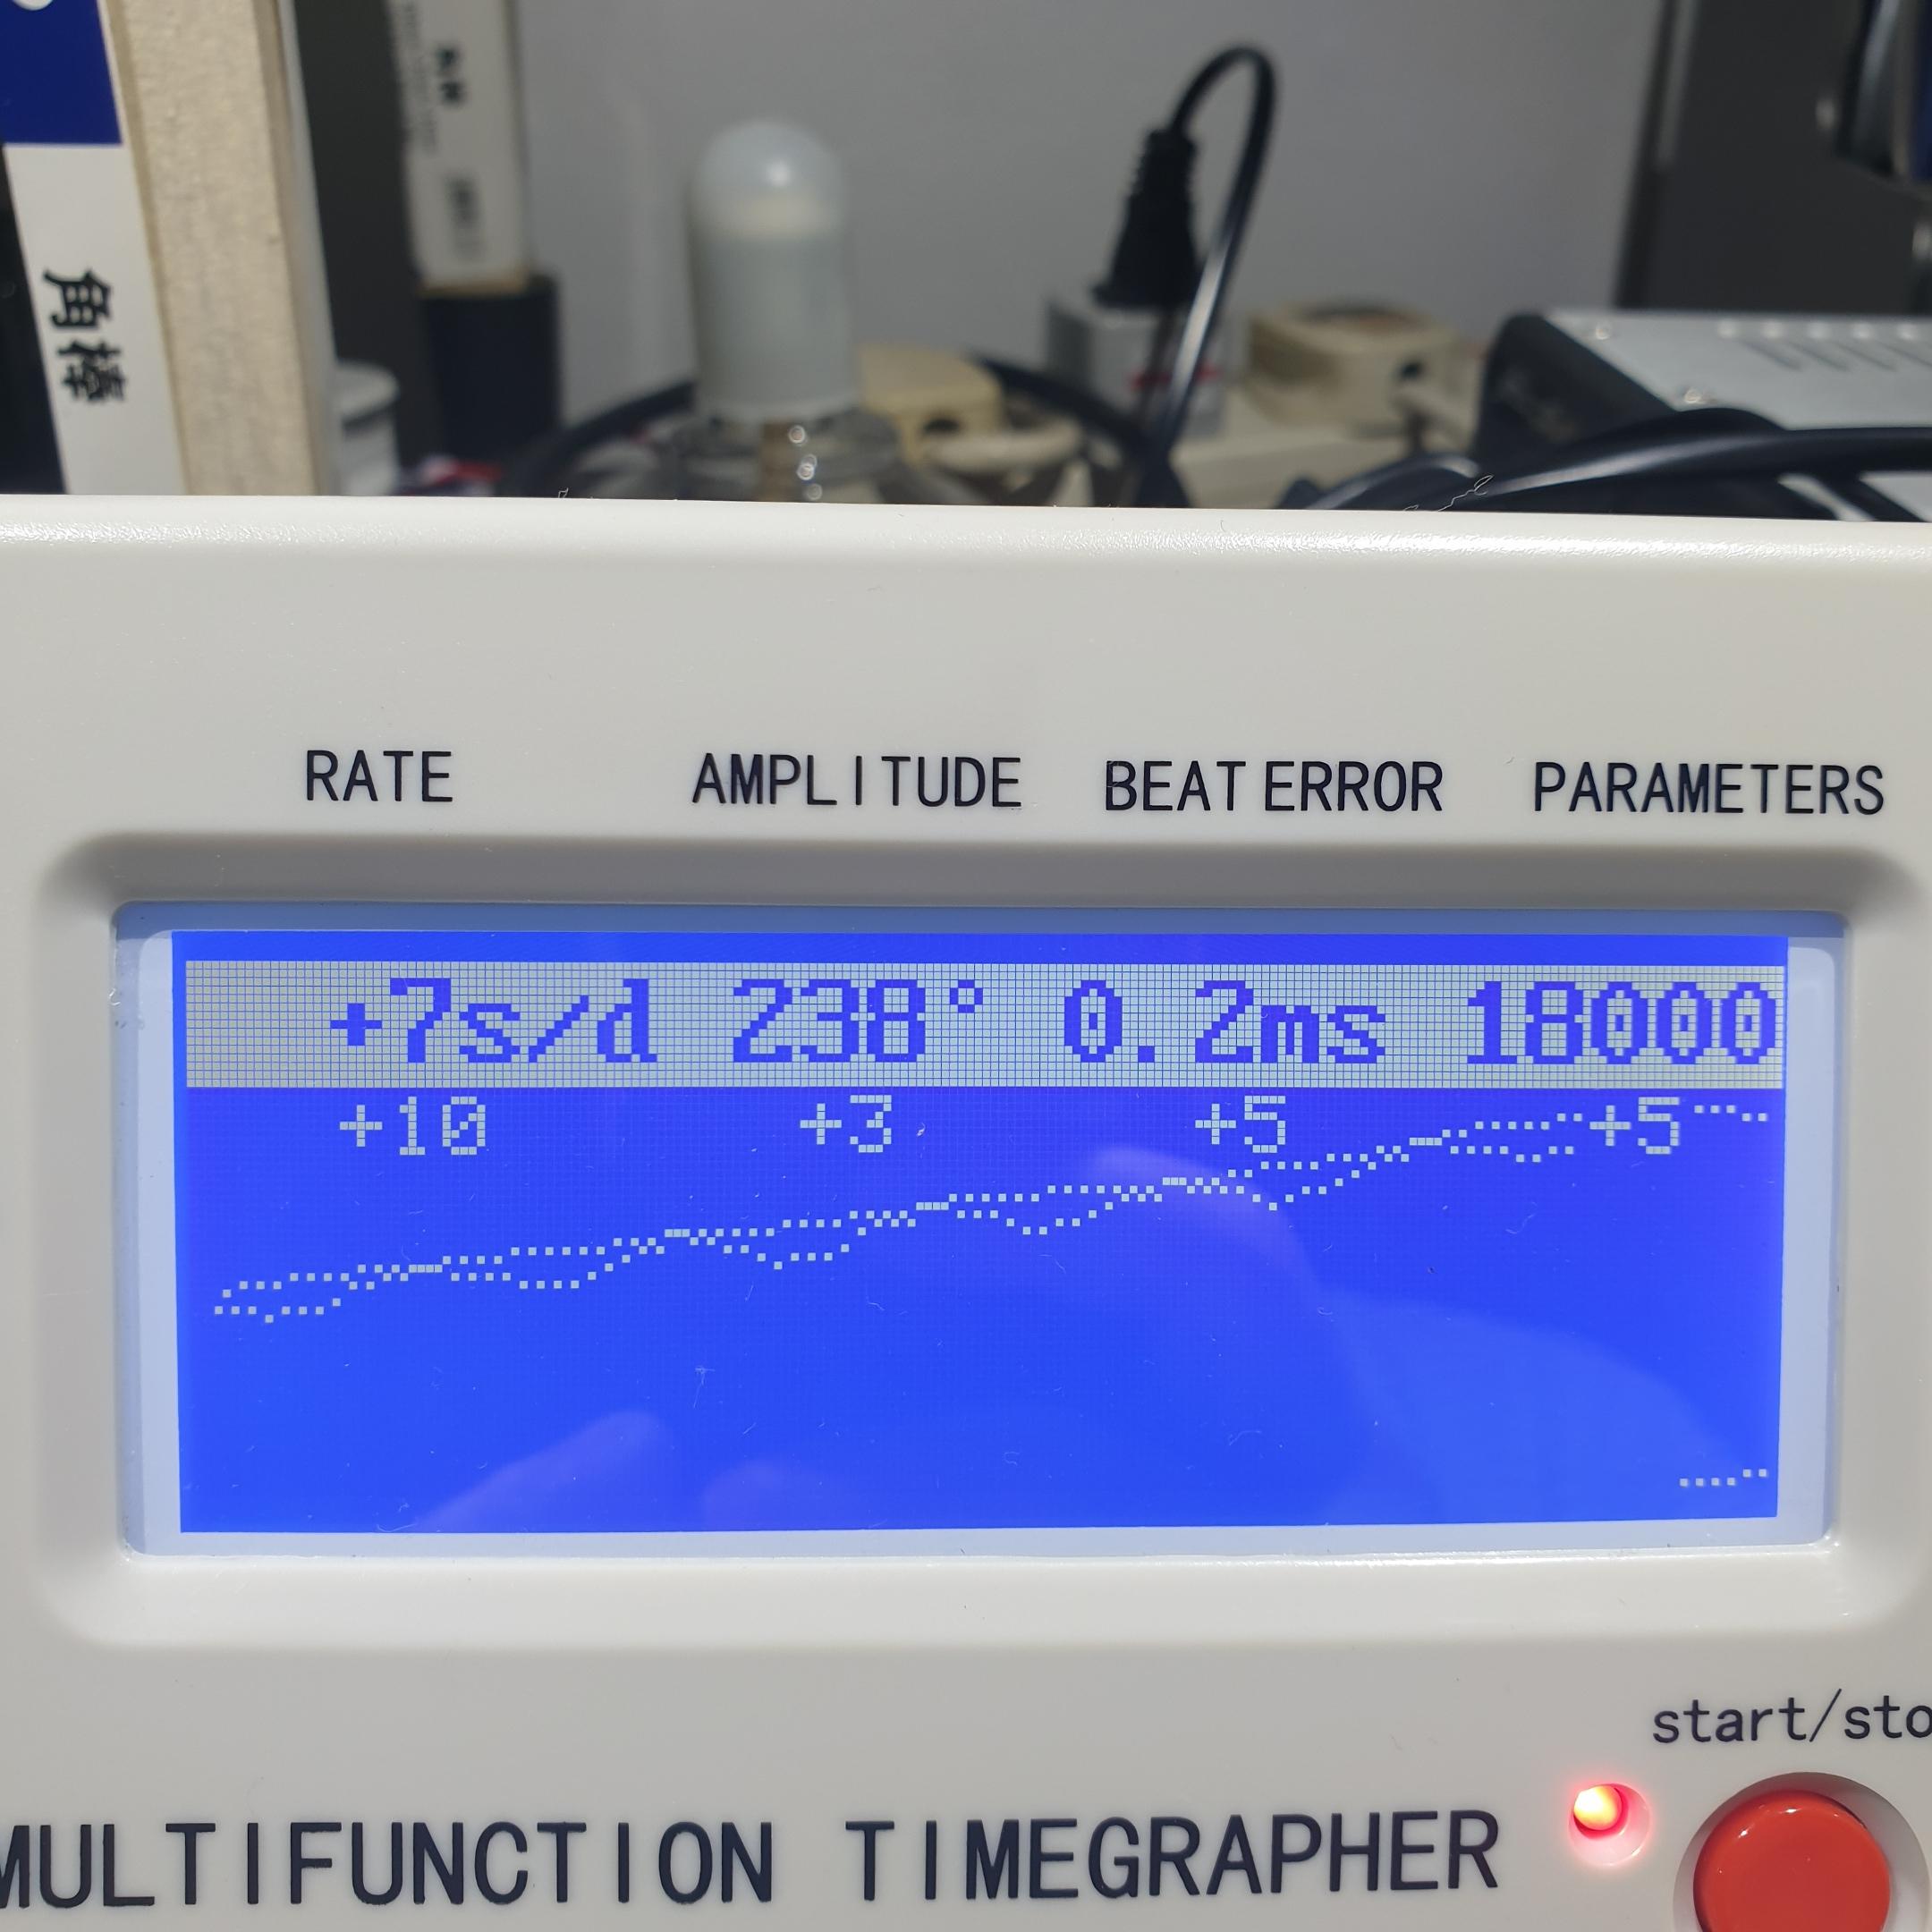
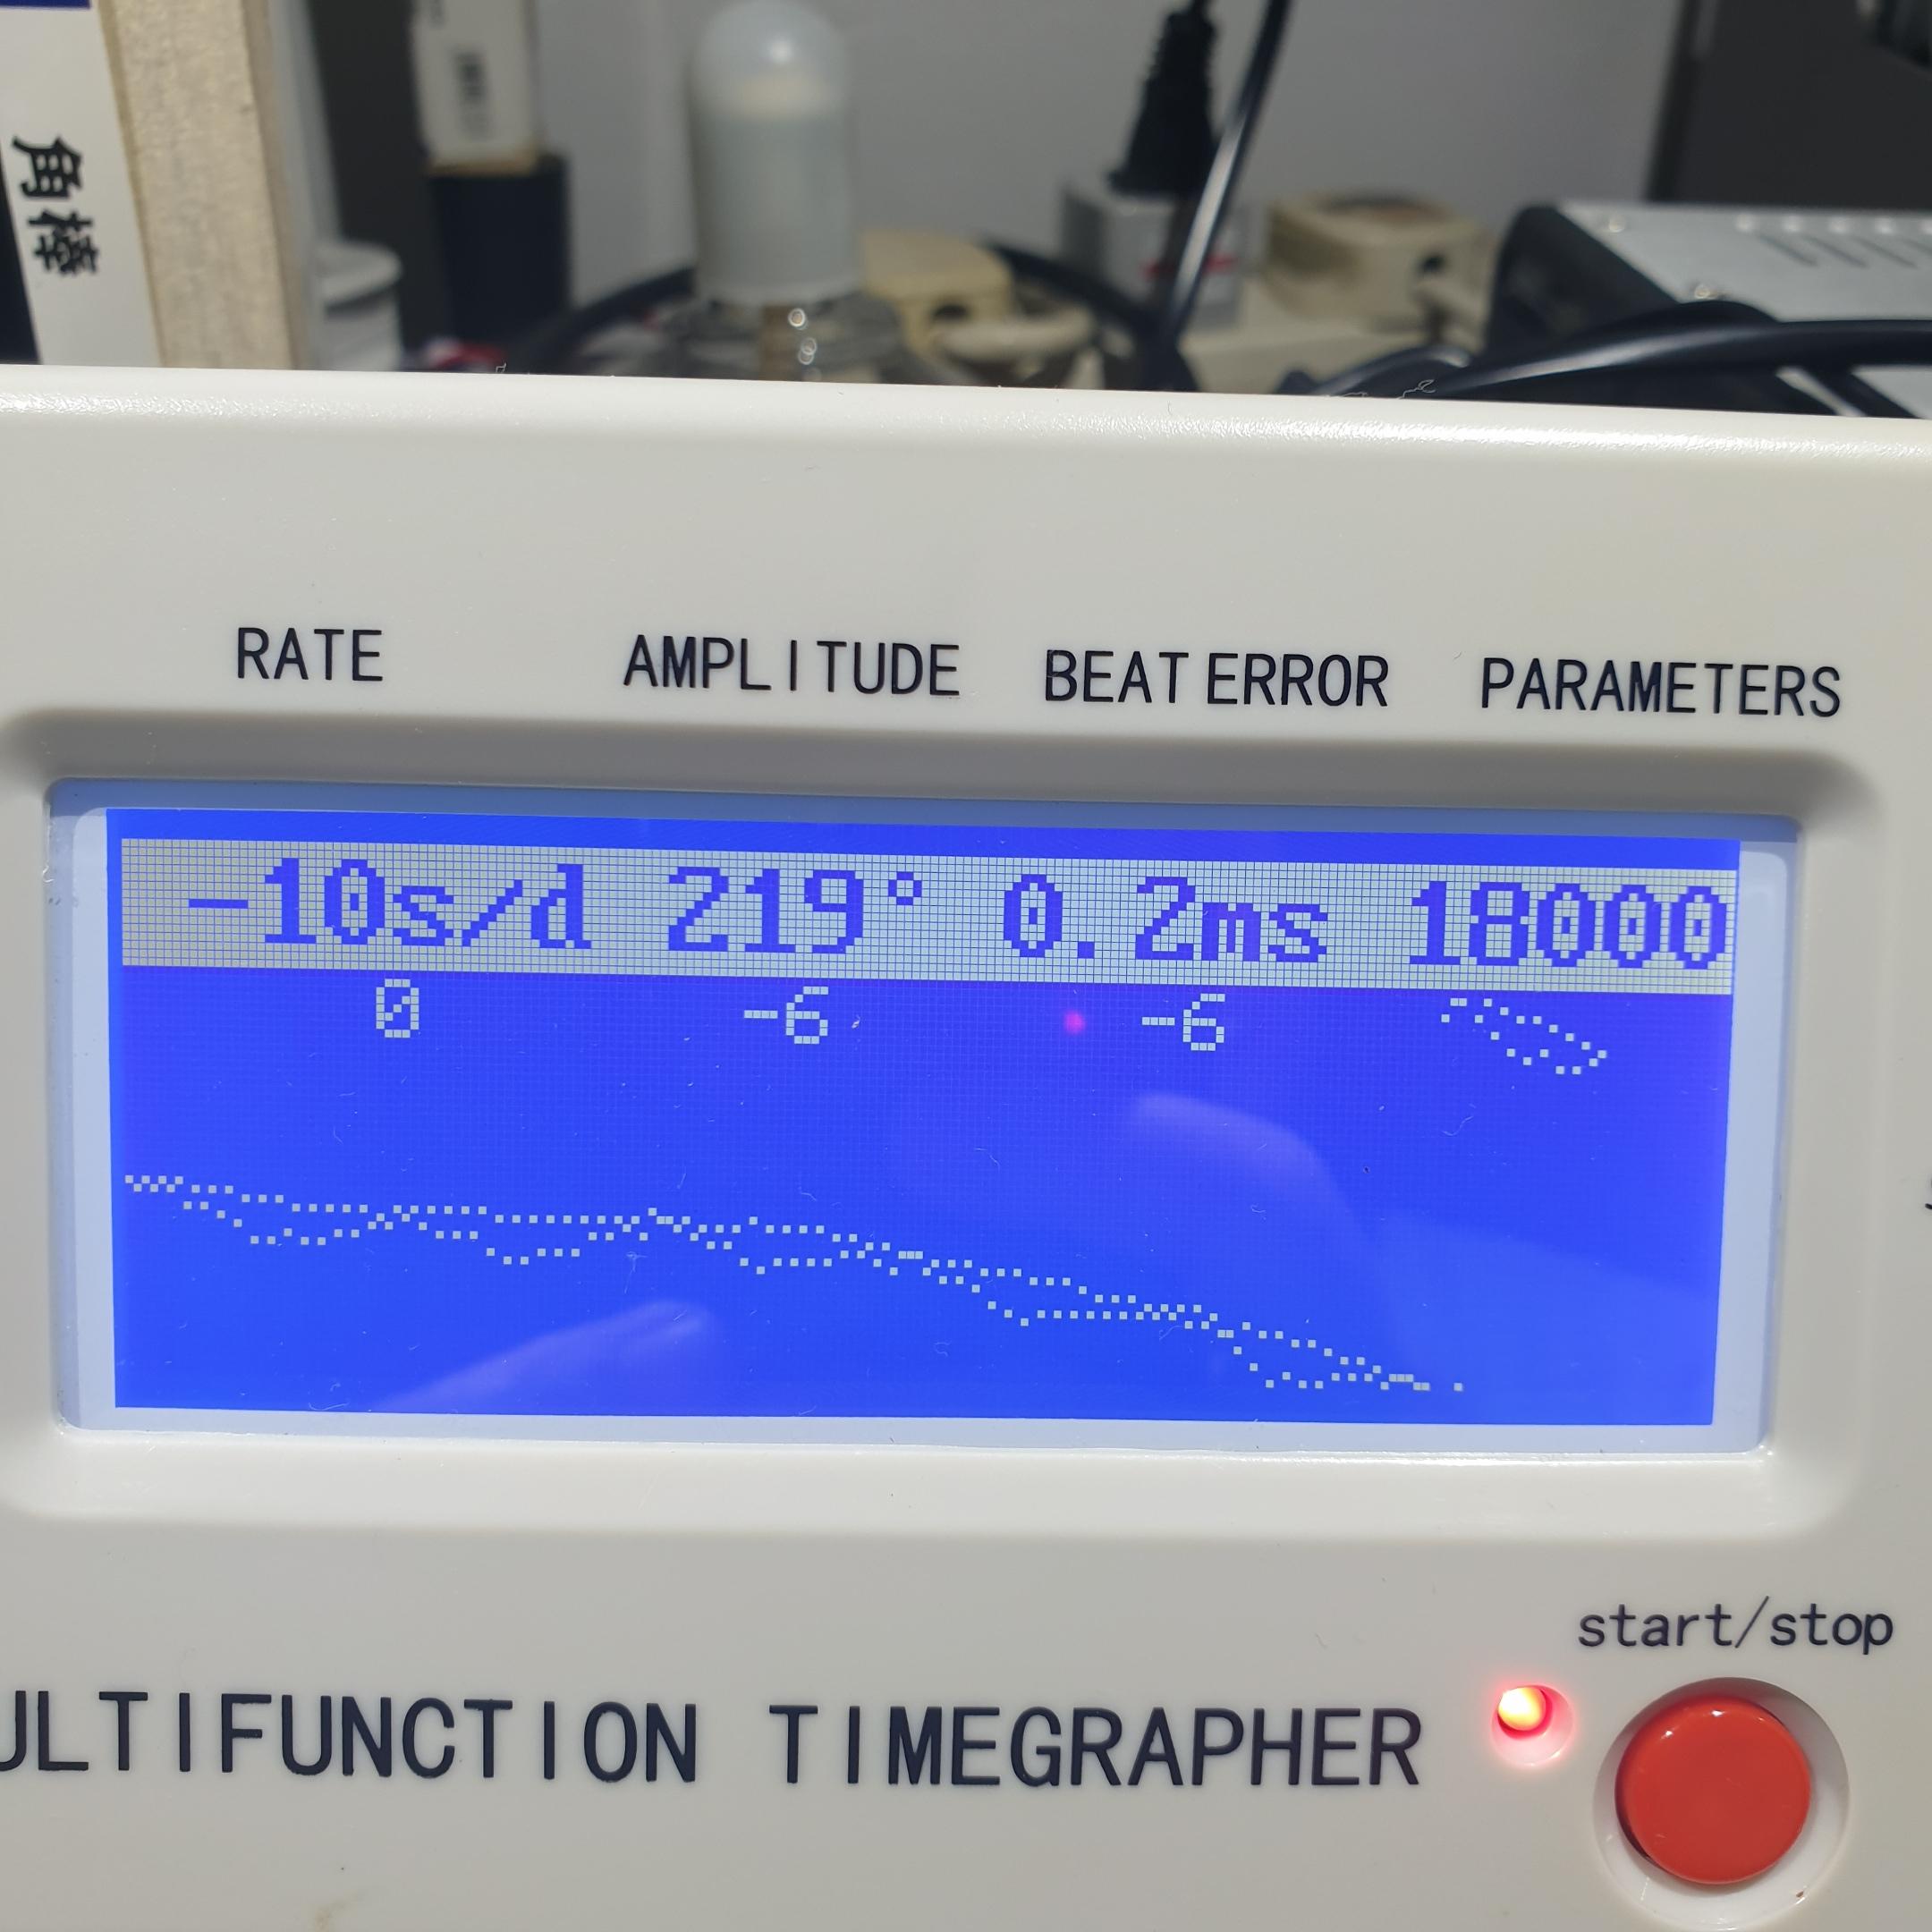
Thanks @Nucejoe. Here's the report card. DU and DD. Not great but I can live with that for now. Definitely an issue with the escape wheel too. CR also doesn't look good, could be an issue with the 2 big blobs of shellac on the pallets.

 1 point
 -
I'm looking for same myself since someone on the NAWCC board (I'm a member--also a great source of info) has offered to help with replacing the jewels if I can source the ones I need (all in the main plate--a 4th wheel, an escape wheel and pallet fork). I suspec this is the long pole in the tent.1 point
-
I have never worried about the escape wheel. However, I am careful about the center wheel because it has a long pivot that can go through the mesh of my L&R spinning machine. I make sure it does not protrude downward into the lower basket and not the upper lid mesh.1 point
-
Fat chance. If it were original, it should have an endcurve already formed. I don't think the balance is original either. I'm quite fond of Indian food. Had 4 samosas for lunch and will be cooking beef rendang (Indonesian style curry) for tomorrow's lunch.1 point
-
What an interesting thread. Even though I'm new to watch repair, I have 2 Mumbai specials. Citizen 7 and a Kajat. Both worked for 6 hours. I do not yet have enough skill to repair effectively. Mark Lovick's course will give me that confidence. Smell of curry on the straps was overpowering. Has abated now and smells like coffee. Regards Ross1 point
-
It's easy to break the thread at the set lever. I'd soak it in WD401 point
-
The eBay translator is well known for getting it wrong, especially when translating Indian (South Asian as they seem to be called nowadays) to English. When the seller writes 'Its a rusty Brocken scratched to hell wreck the translator converts it to never been worn mint condition1 point
-
The watch I was working on when I posted "Do Not Open, Bulova Sealed" is, once again, alive and well. (I still need a gasket for it) This one tested my patience and I needed to step away at multiple times. Both balance jewels and their clips needed to be dug out of their respective pockets. The hairspring needed to be slowly soaked and delaminated coil by coil. Once the oil was desolved, just about every part needed to be brushed to remove some hardend deposits of polomerized crud. An arduous two weeks of not knowing exactly when the expletives would start. At the end I should have stepped away at least one more time. I rushed installing the hands and put the minute hand on several minutes fast. I pulled the hands back off and slipped putting them on the second time, scratching the dial. The scratch (at 10:30) is small and unnoticeable with my naked eyes but is there and will haunt me every time I wear it. I hope this will help everyone myself including take your time and breathe.
 1 point
 -
Nothing beats Arabic numerals for classic aesthetics. Lovely timepiece. J1 point
-
Driving home from my College Station, we stopped in Lockhart--if you are not familiar with these places...you should be We stopped at Blacks BBQ and then to an antique store. I picked up this Waltham Crescent St 21J watch. Very nice. 10K gold filled case. All for a hundred bucks (not including the BBQ)!!
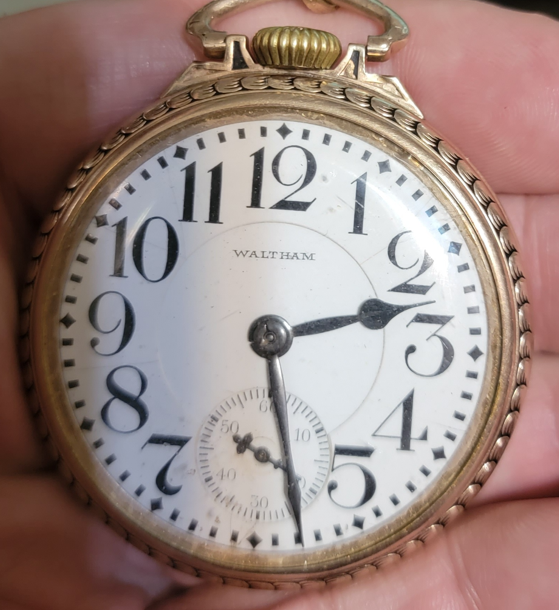 1 point
 -
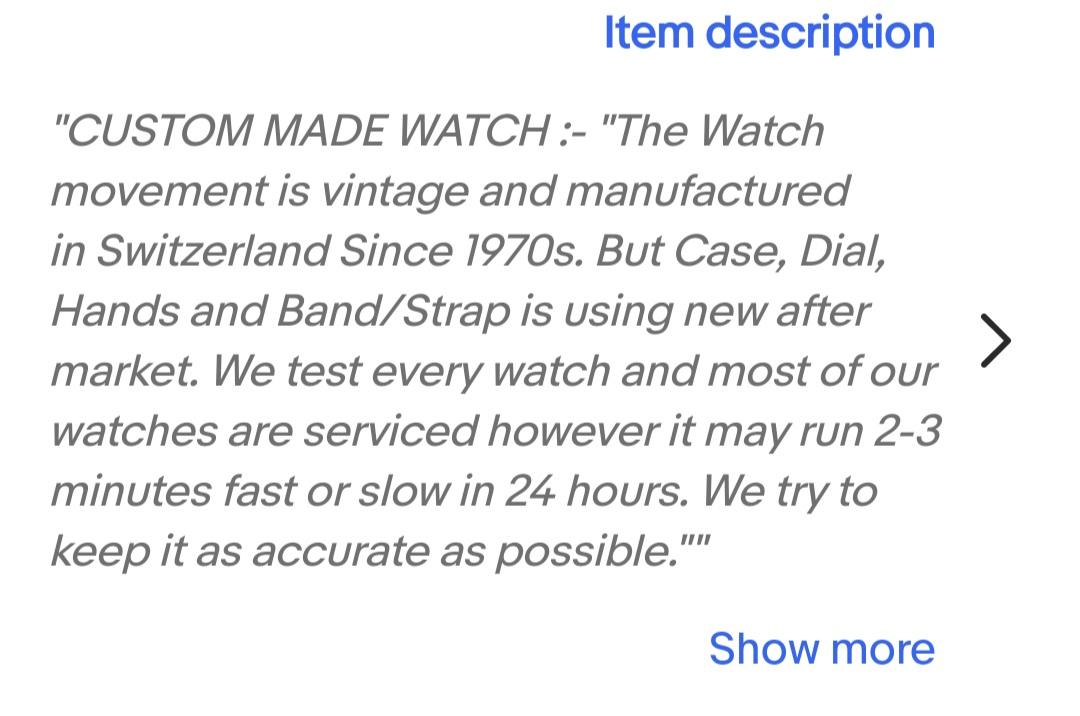
What do you think of custom watch dials
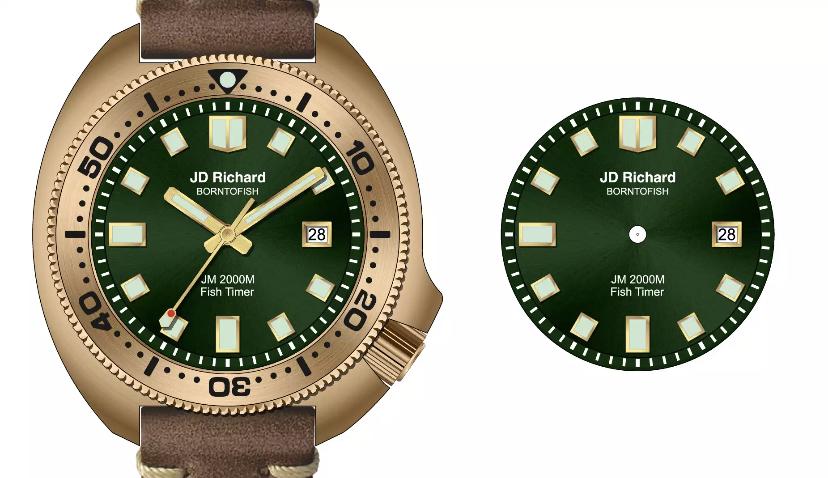 1 point
 -
I meant the scope gets your working head height at a comfortable position relative to a normal bench height, rather than needing to bring the work surface up high enough to not cause neck injury. I went the opposite direction in my shop by cutting the legs off an already short stool to bring my head down to bench height rather than the other way around. It's not as comfortable for my legs, but was an inexpensive trial of the work height adjustment, and my toddler will get plenty of use out of it if I don't. Since I got my scope, I haven't used the stool for anything more than a foot rest.1 point
-
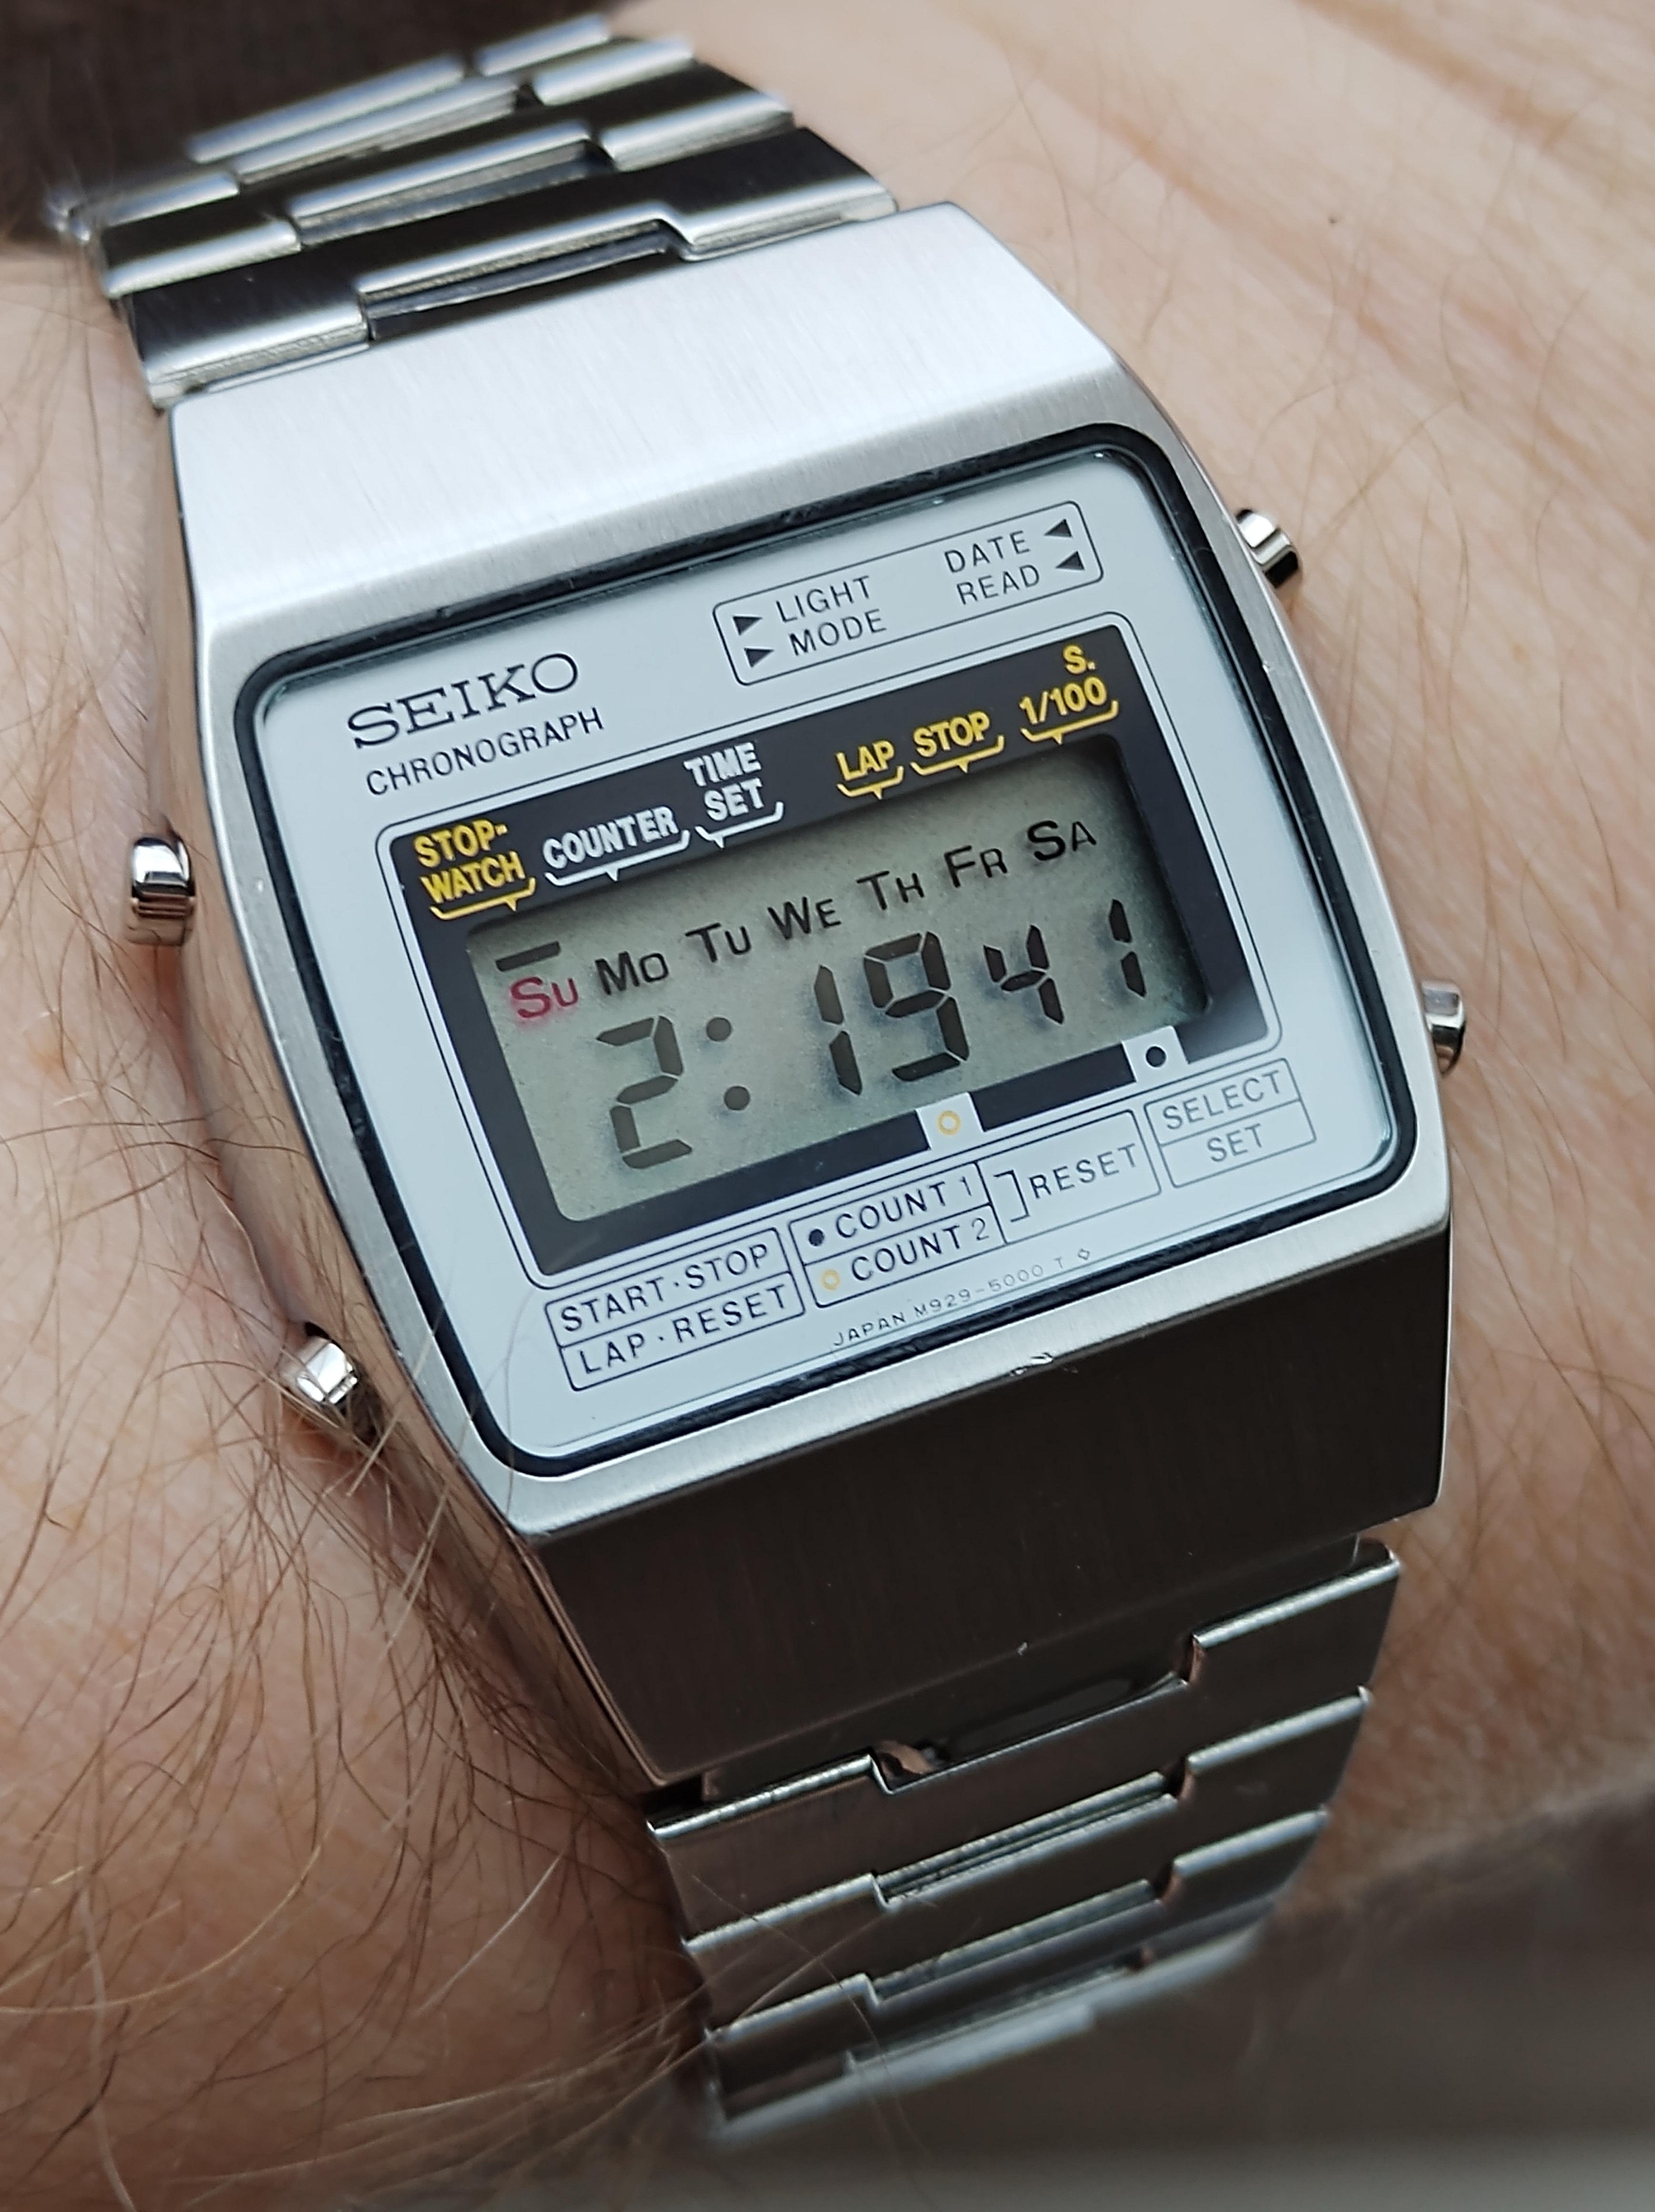
Seiko M929-5000 (September 1979) With original bracelet. Worked out a nice way to install the rubber seals on the pushers using the end of a cocktail stick. Will share that soon. Looking for an M929 LCD so I can finish up another one.
 1 point
 -
in fact, impossible IMHO. I have four classic watch benches. A stereo scope does not work for me on these. my fifth is an electronics work bench. My stereo scope sits there1 point
-
Reading about Yosuke Sekiguchi and his Primevere was very heartening. It inspired me to look around and see who else might be building mechanical watches from scratch. And I found this young man here in the states: https://weisswatchcompany.com/ Anyone here heard of Weiss? I can't say I've run across one yet. The website paints a pretty picture, but I think it would be interesting to have one in front of me.1 point
-
See your point regarding the re sale value of the Rolex being a known premier brand, We all need a dream in life other wise its pointless although I dont do the Lottery and the pension wont strech that far but Hey.1 point
-
Indeed phosphoric acid does breakdown iron oxide. Also stomach lining lol.1 point
-
I know Coca-Cola works like penetrating oil, someone here expalined that phospheric acid in it is the active ingredient, not sure if its a degreaser or rust killer. Sugar is unhealthy , I give the parts a bath in tap water in ultrasonic to disolve any sugar residue , dry and another bath in lighter fluid.1 point
-
Hiya matey. Any idea what the coke does. I know it does contain phosphoric acid. I've been put off using it because of the sugar content. Diet coke?1 point
-
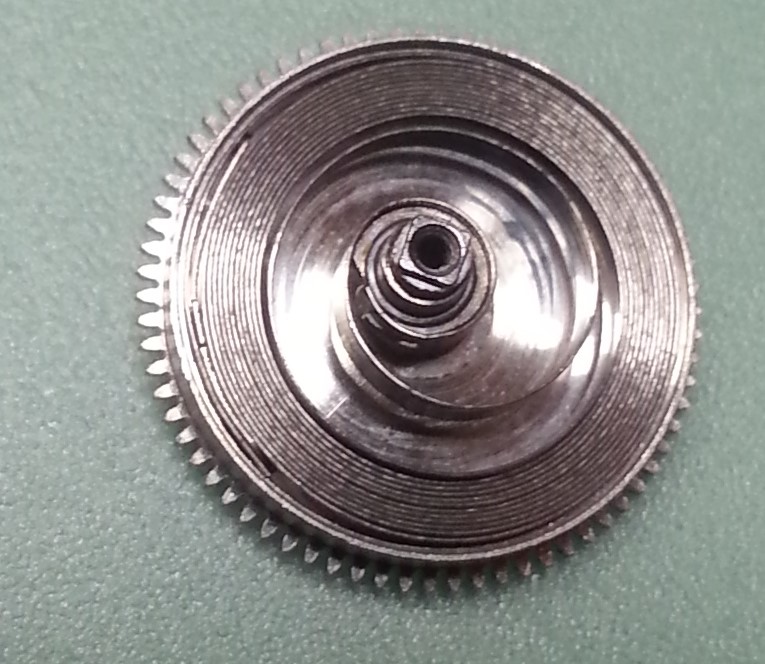
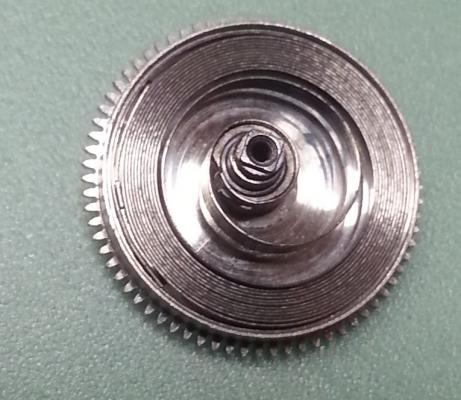
From what I can see, you have to pop off the barrel cap and use a pin vise to grip the barrel arbor to secure it before you can turn the ratchet wheel off.1 point
-
Hi Referring to your second picture , the barrel lid can be removed then the mainspring can be pulled out of the barrel, you then have the arbour all expsoed to be grabbed in long nose pliers and unscrew the ratchet screw . Rememer ratchet screw always tightens as the barrel winds. Give all part a 48hrs soak in Coca Cola, it really works. Good luck pal1 point
-
How are you getting enough force on the barrel? I'm sure the arbor is turning when you turn the ratchet wheel/nut.1 point
-
It might be time to make a tool to fit the 2 holes so you can get more purchase on the nut to prevent slippage and damage if that's what it is. Even if its friction fitted the twisting action should start some removal of it. Some releasing agent shouldn't be a miss before hand. A good grip of the barrel teeth in the wooden jaws of a movement holder and also the ratchet wheel if possible. I made a good movement holder from a jewelers vice for little money and have peg wood inserts for gripping and a small pair of pliers with rubber sleeves to fit over the ends. With car and applance repair I often Introduce some heat to get things moving. The differing expansion rates of materials and also the relative sizes of components can create some reduction of the friction joint. Pressing bearings into washing machine drum arms was such fun lol. But it can work and at this stage you may be needing to step your game up. It would be much easier if you knew what you were actually dealing with, friction or thread, what is seperate and what is not. As soon as you have a fraction of movement you will be more than half way there. And if like me be very proud of yourself for sticking with it and achieving success. Good luck1 point
-
Seiko 7005-8160-P (October 1971) Pinched the strap from a Seiko LCD watch purchased recently (wrong lug width for that watch but fits the 7005 nicely).
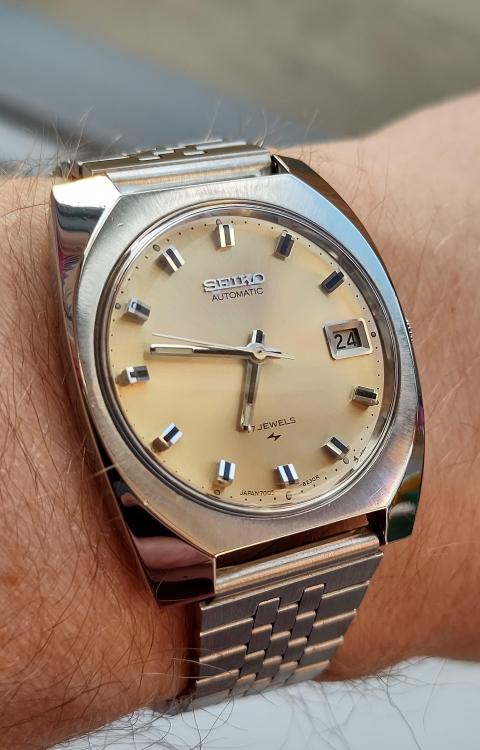 1 point
 -
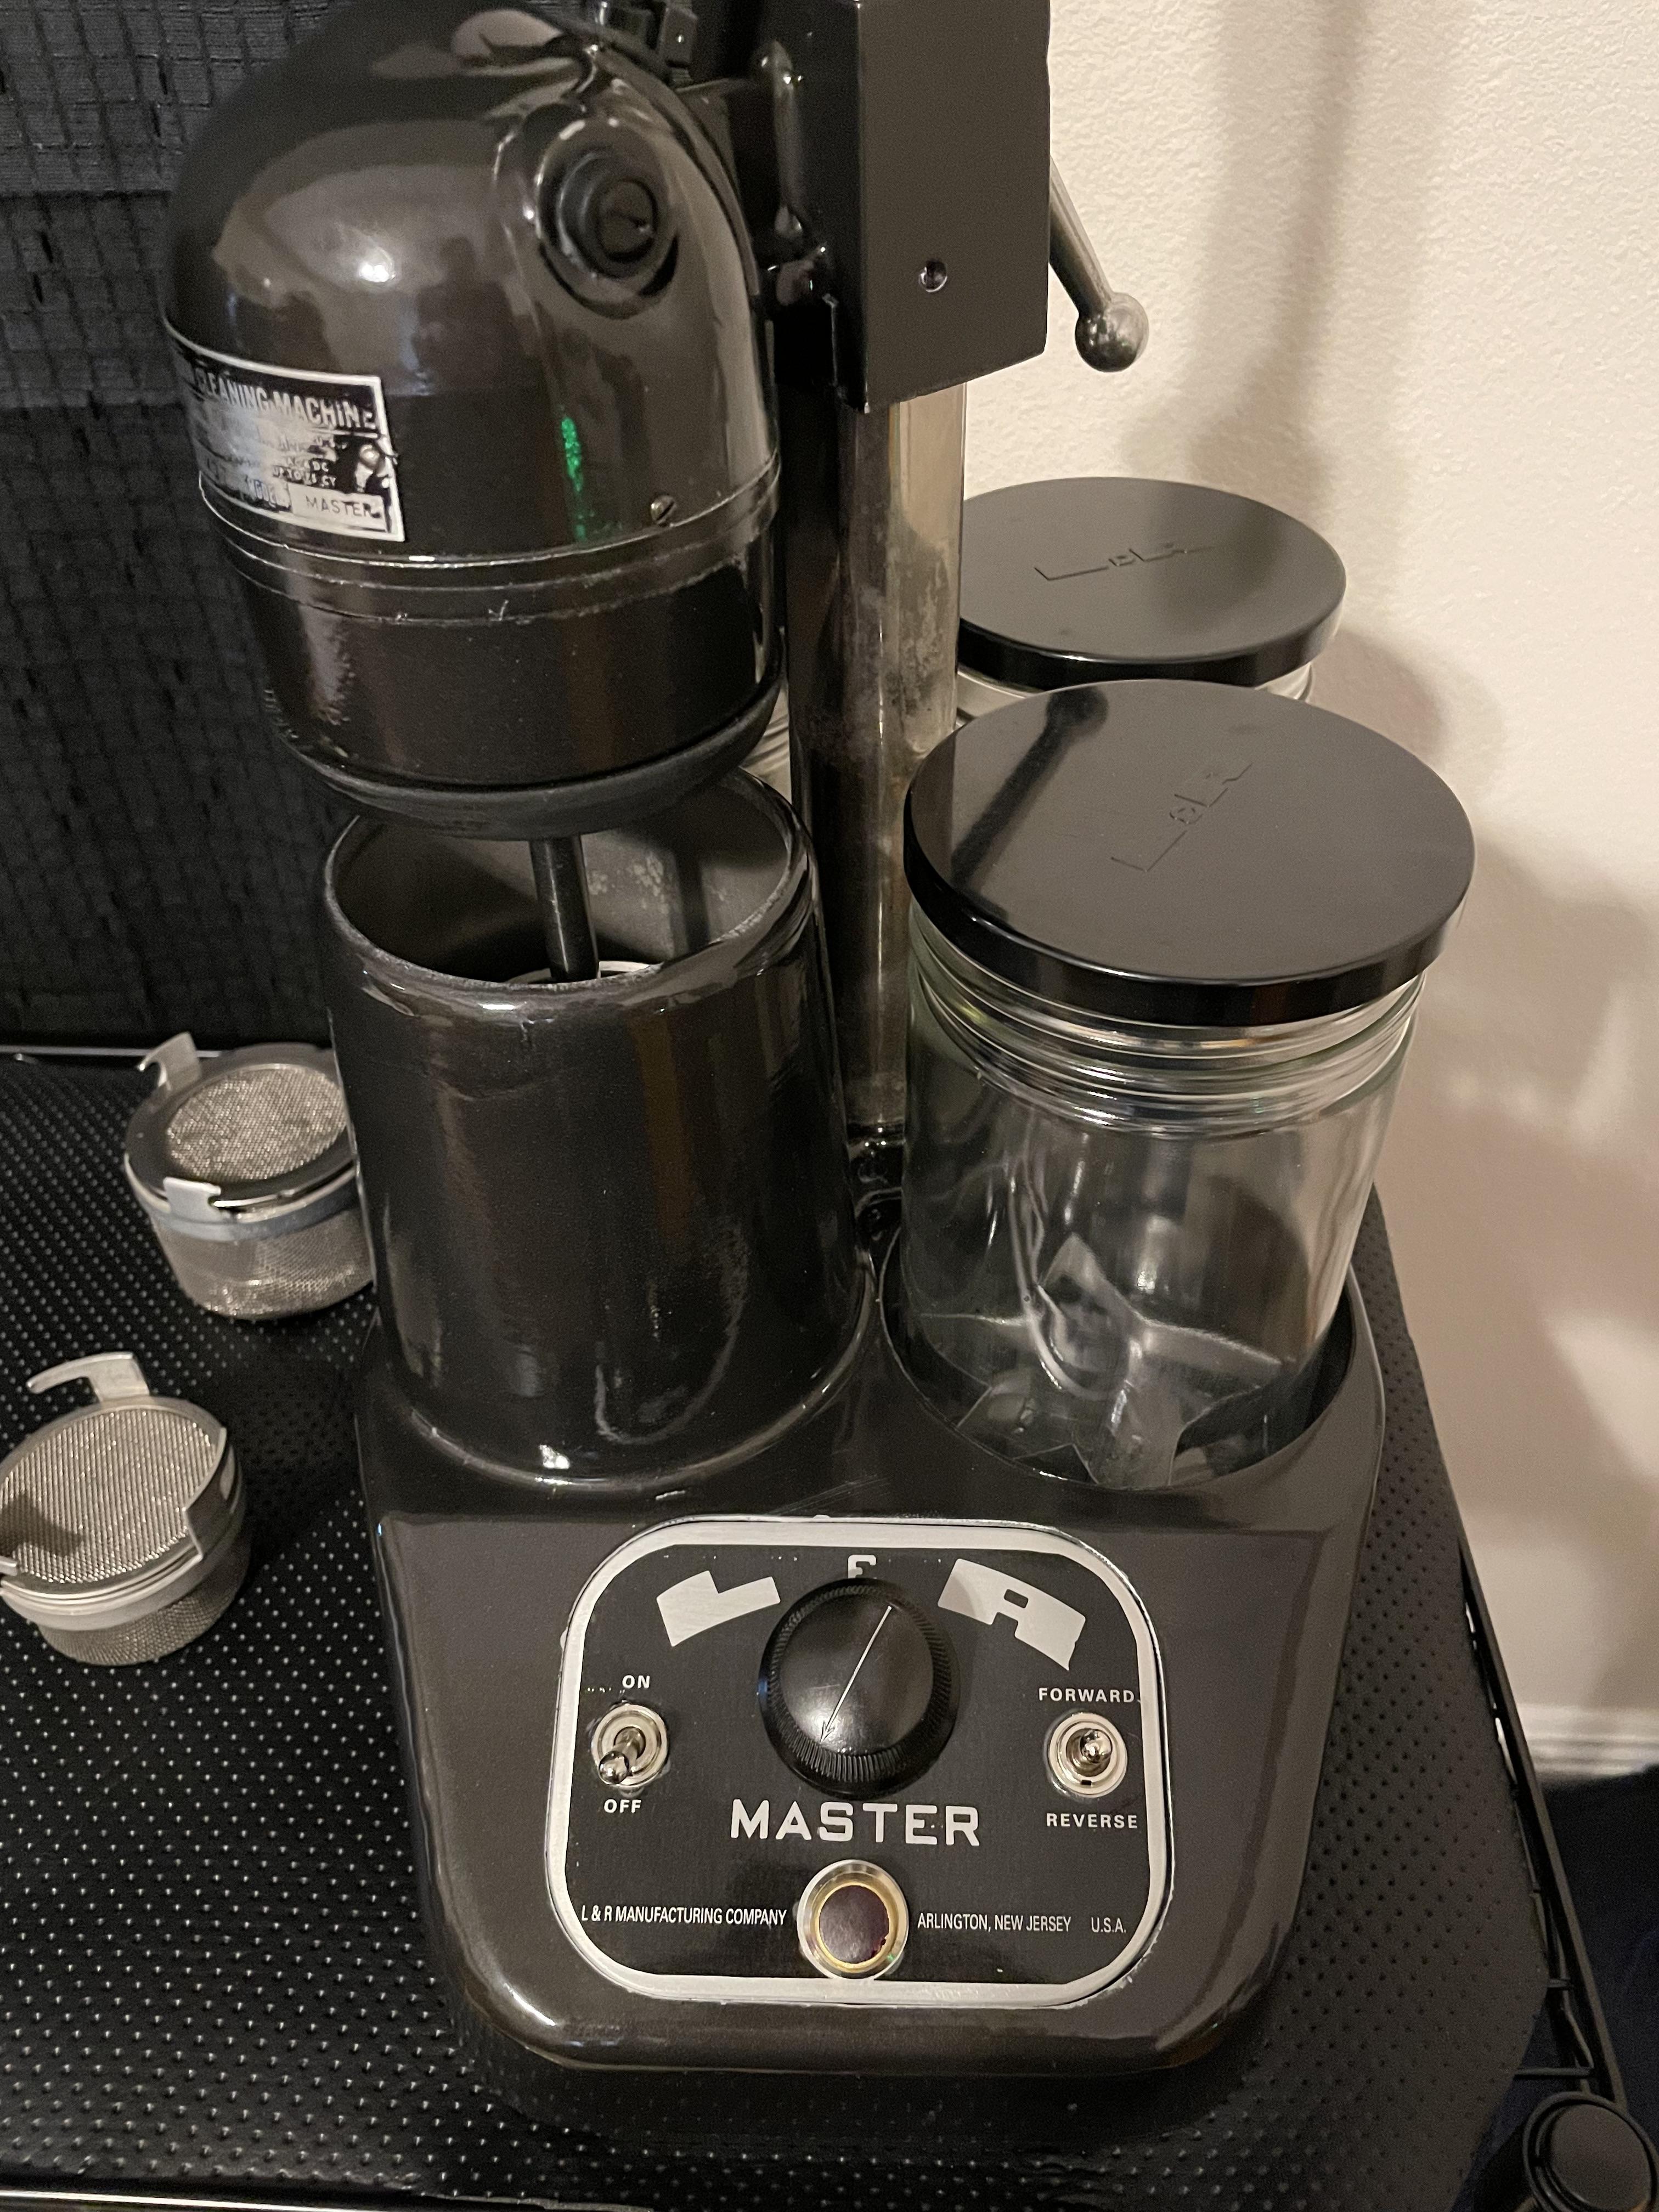
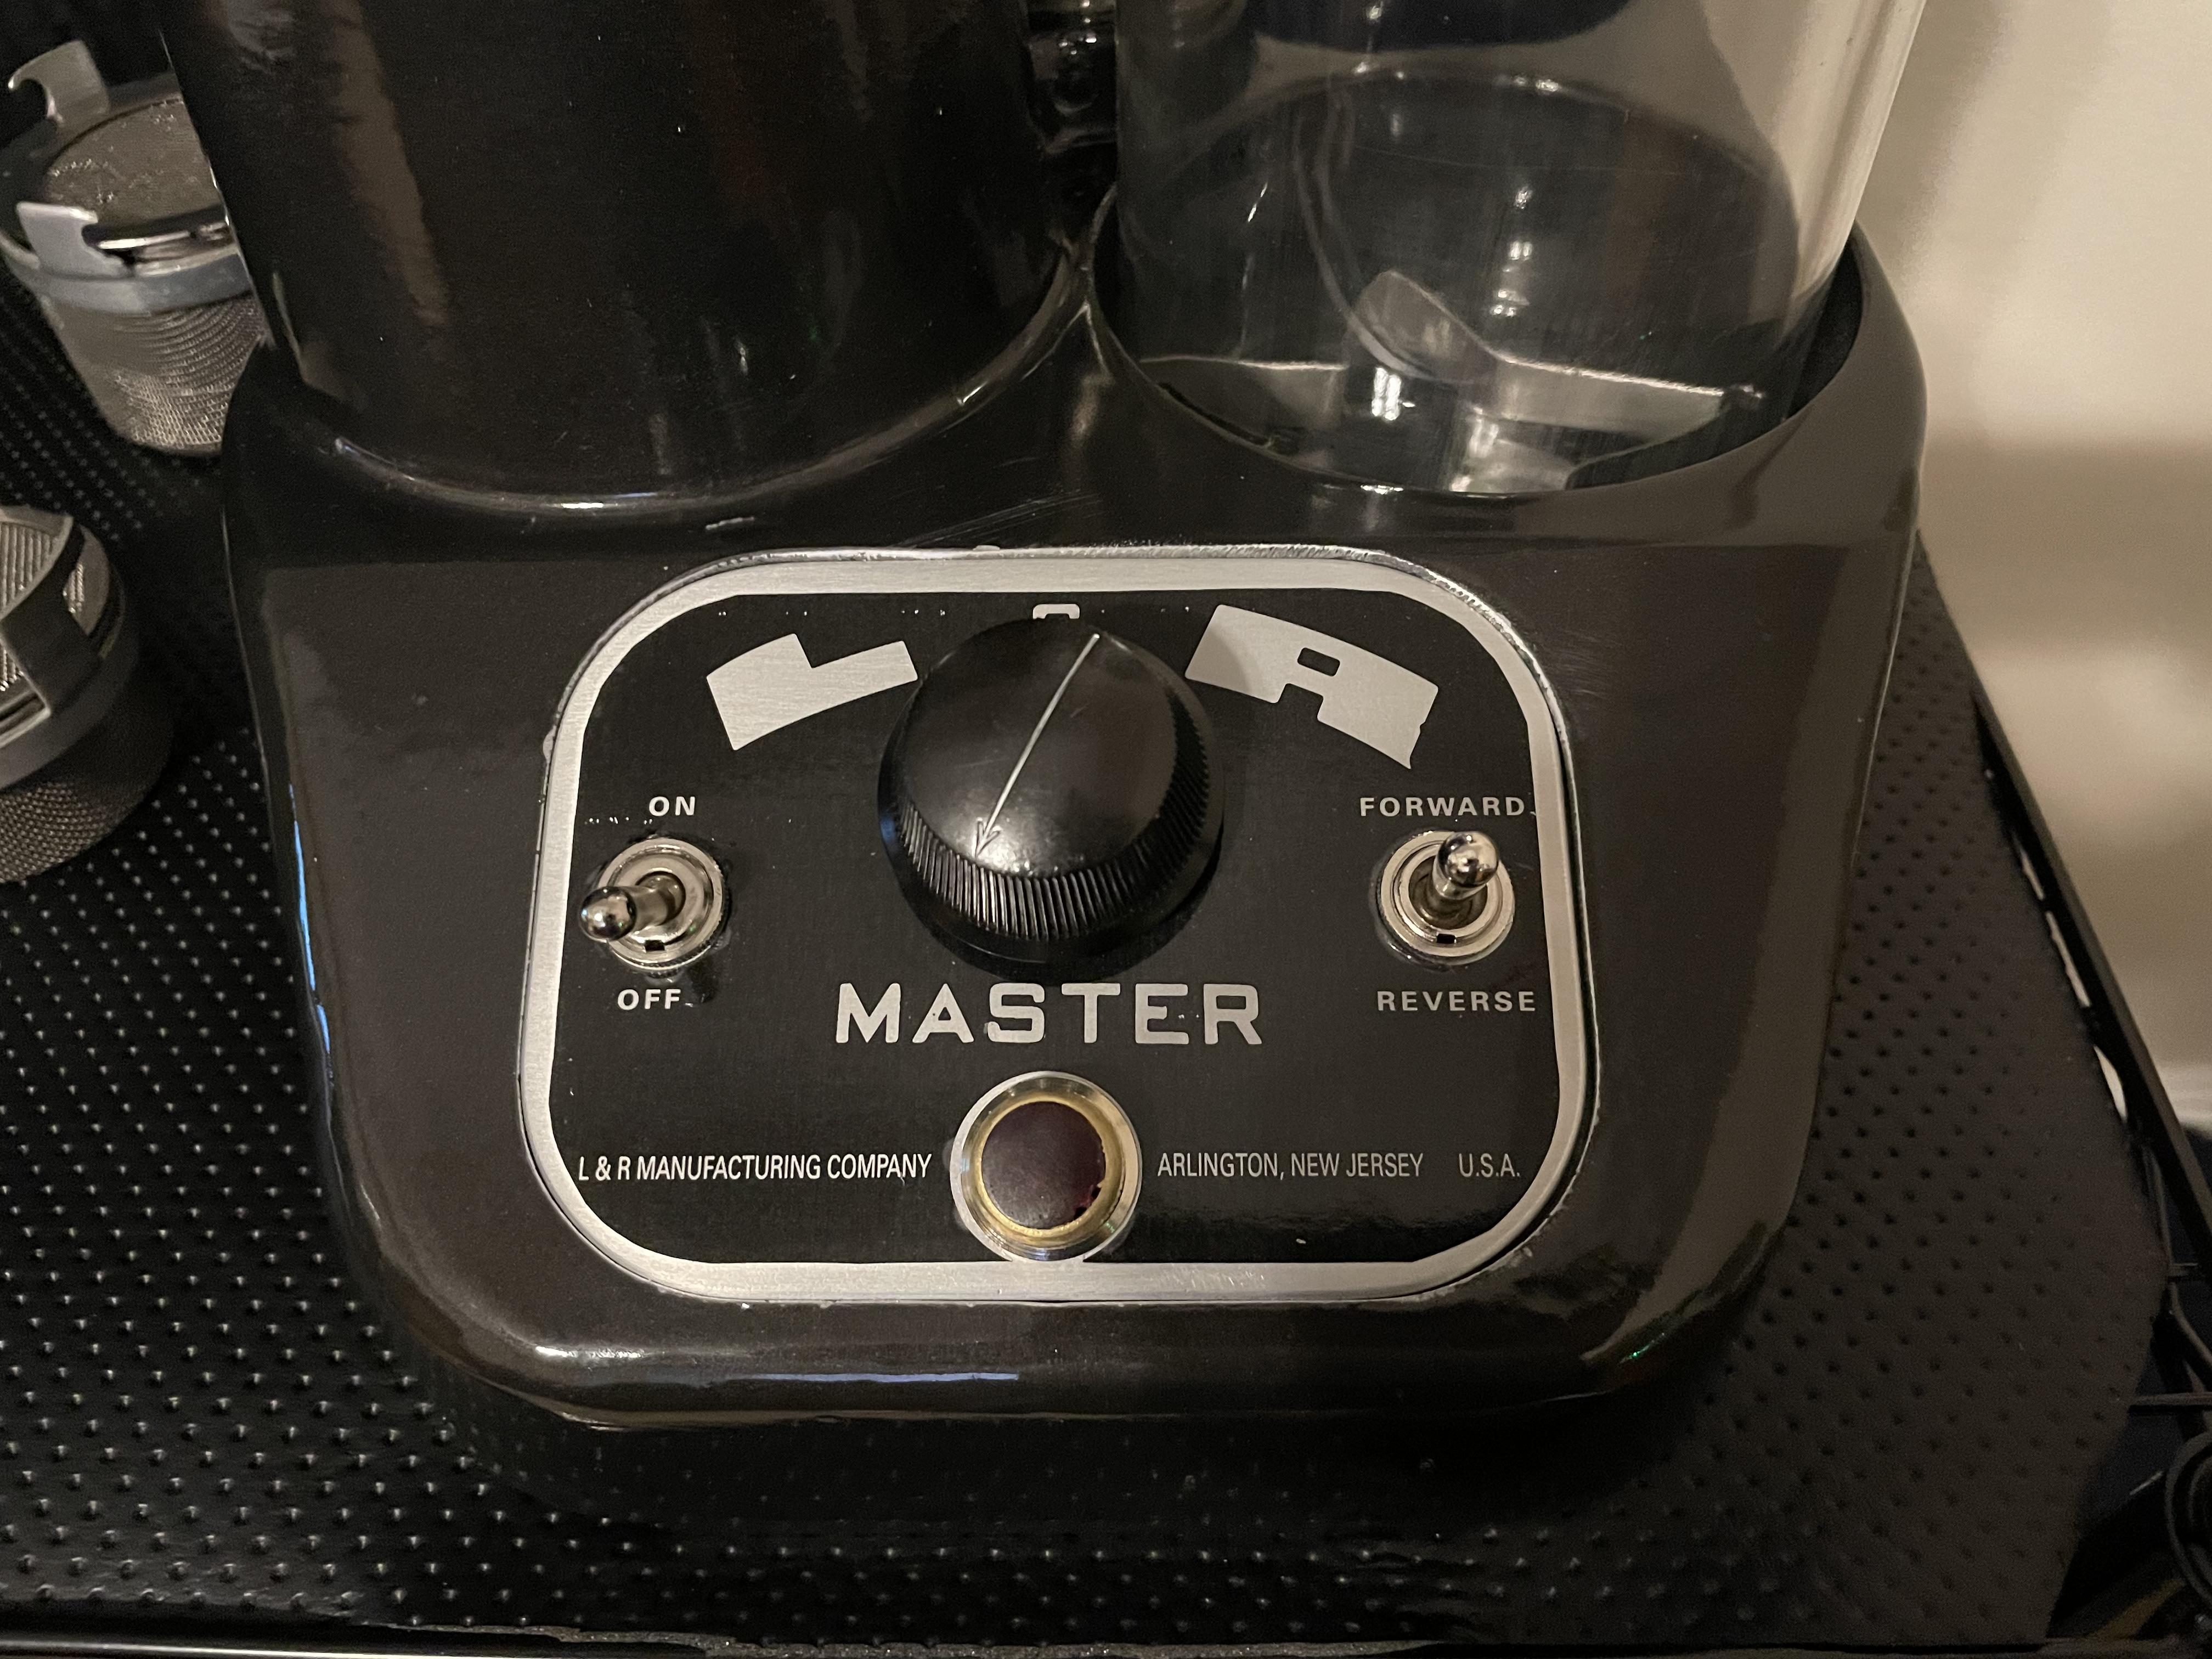
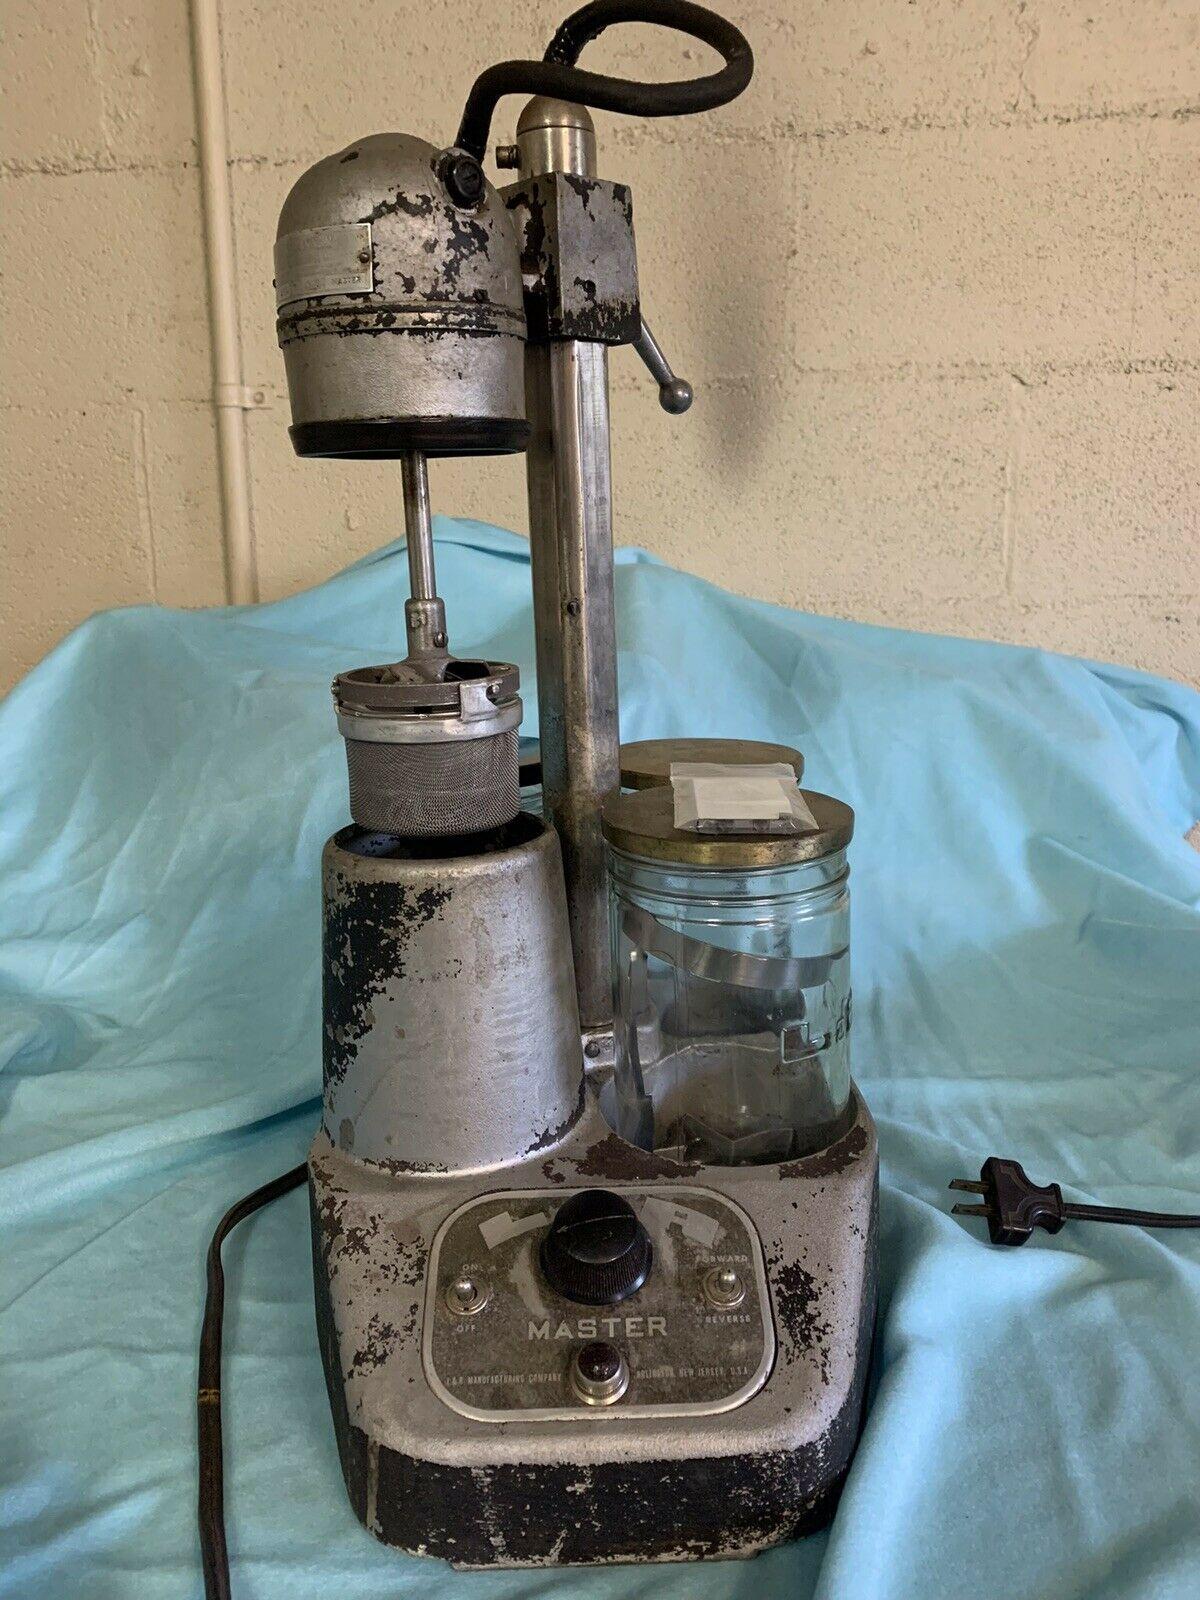
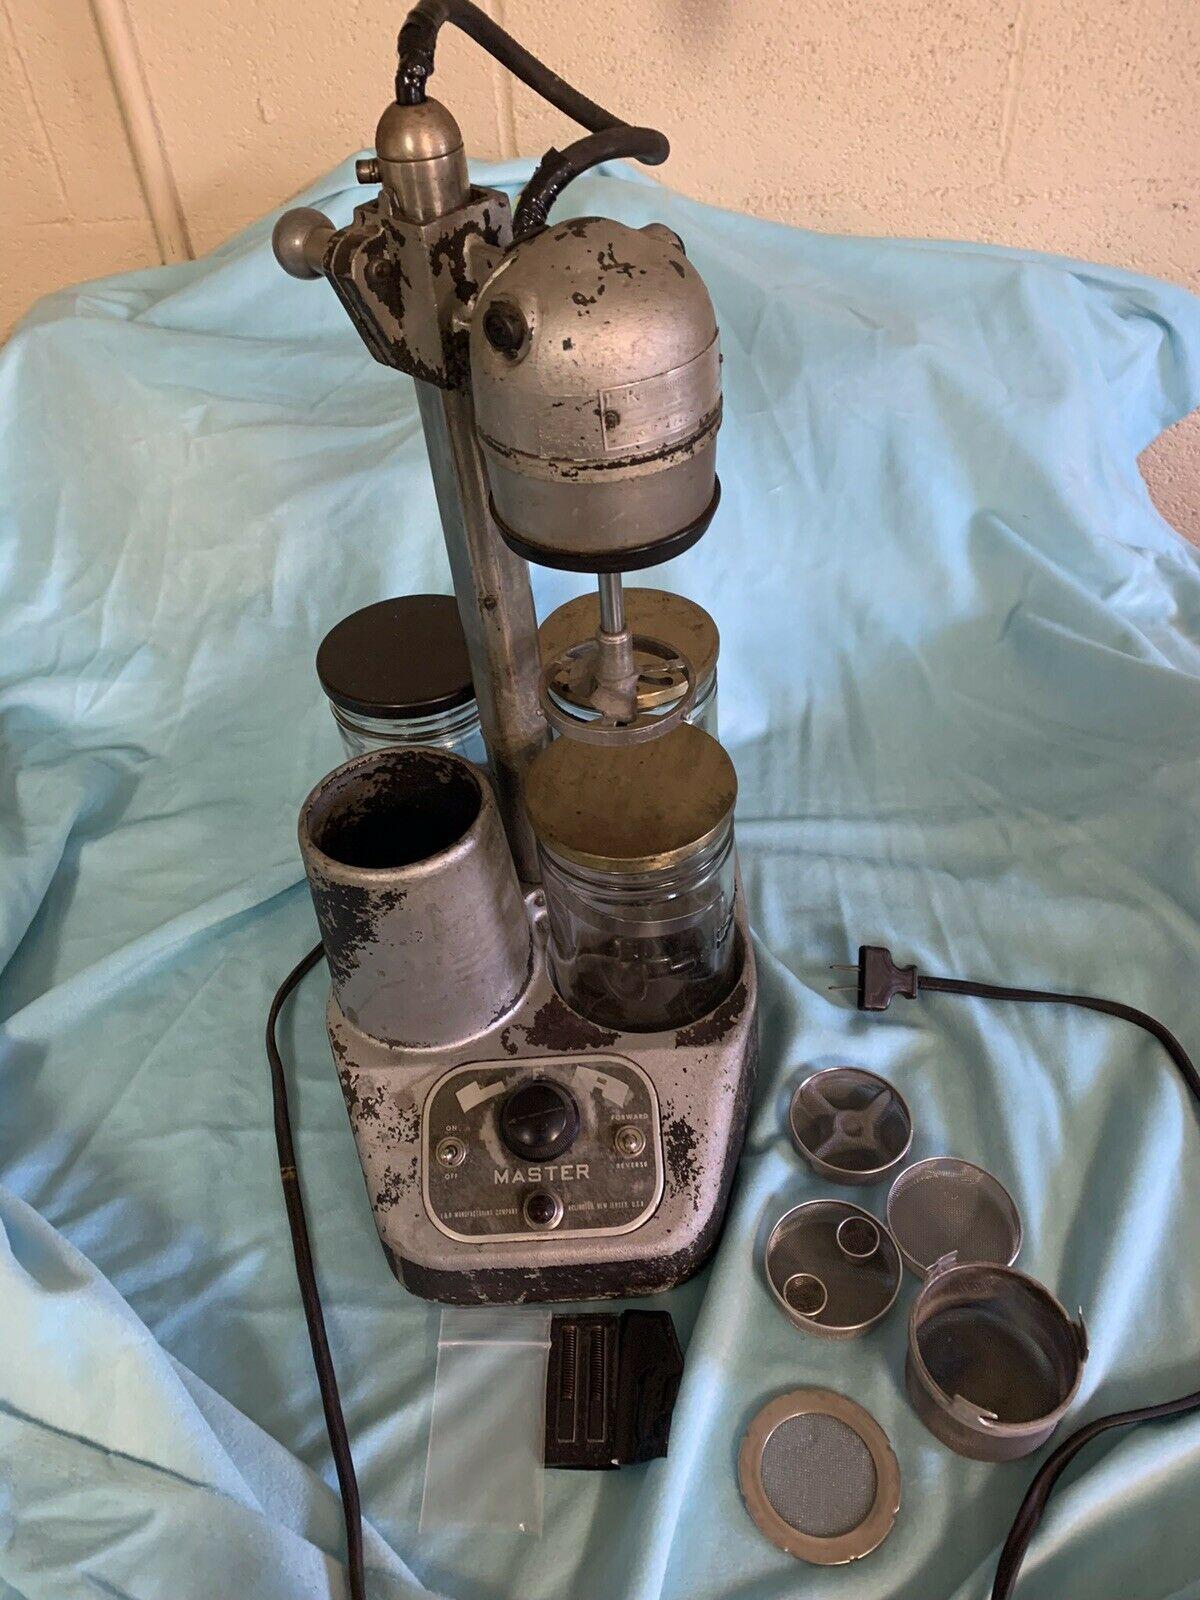
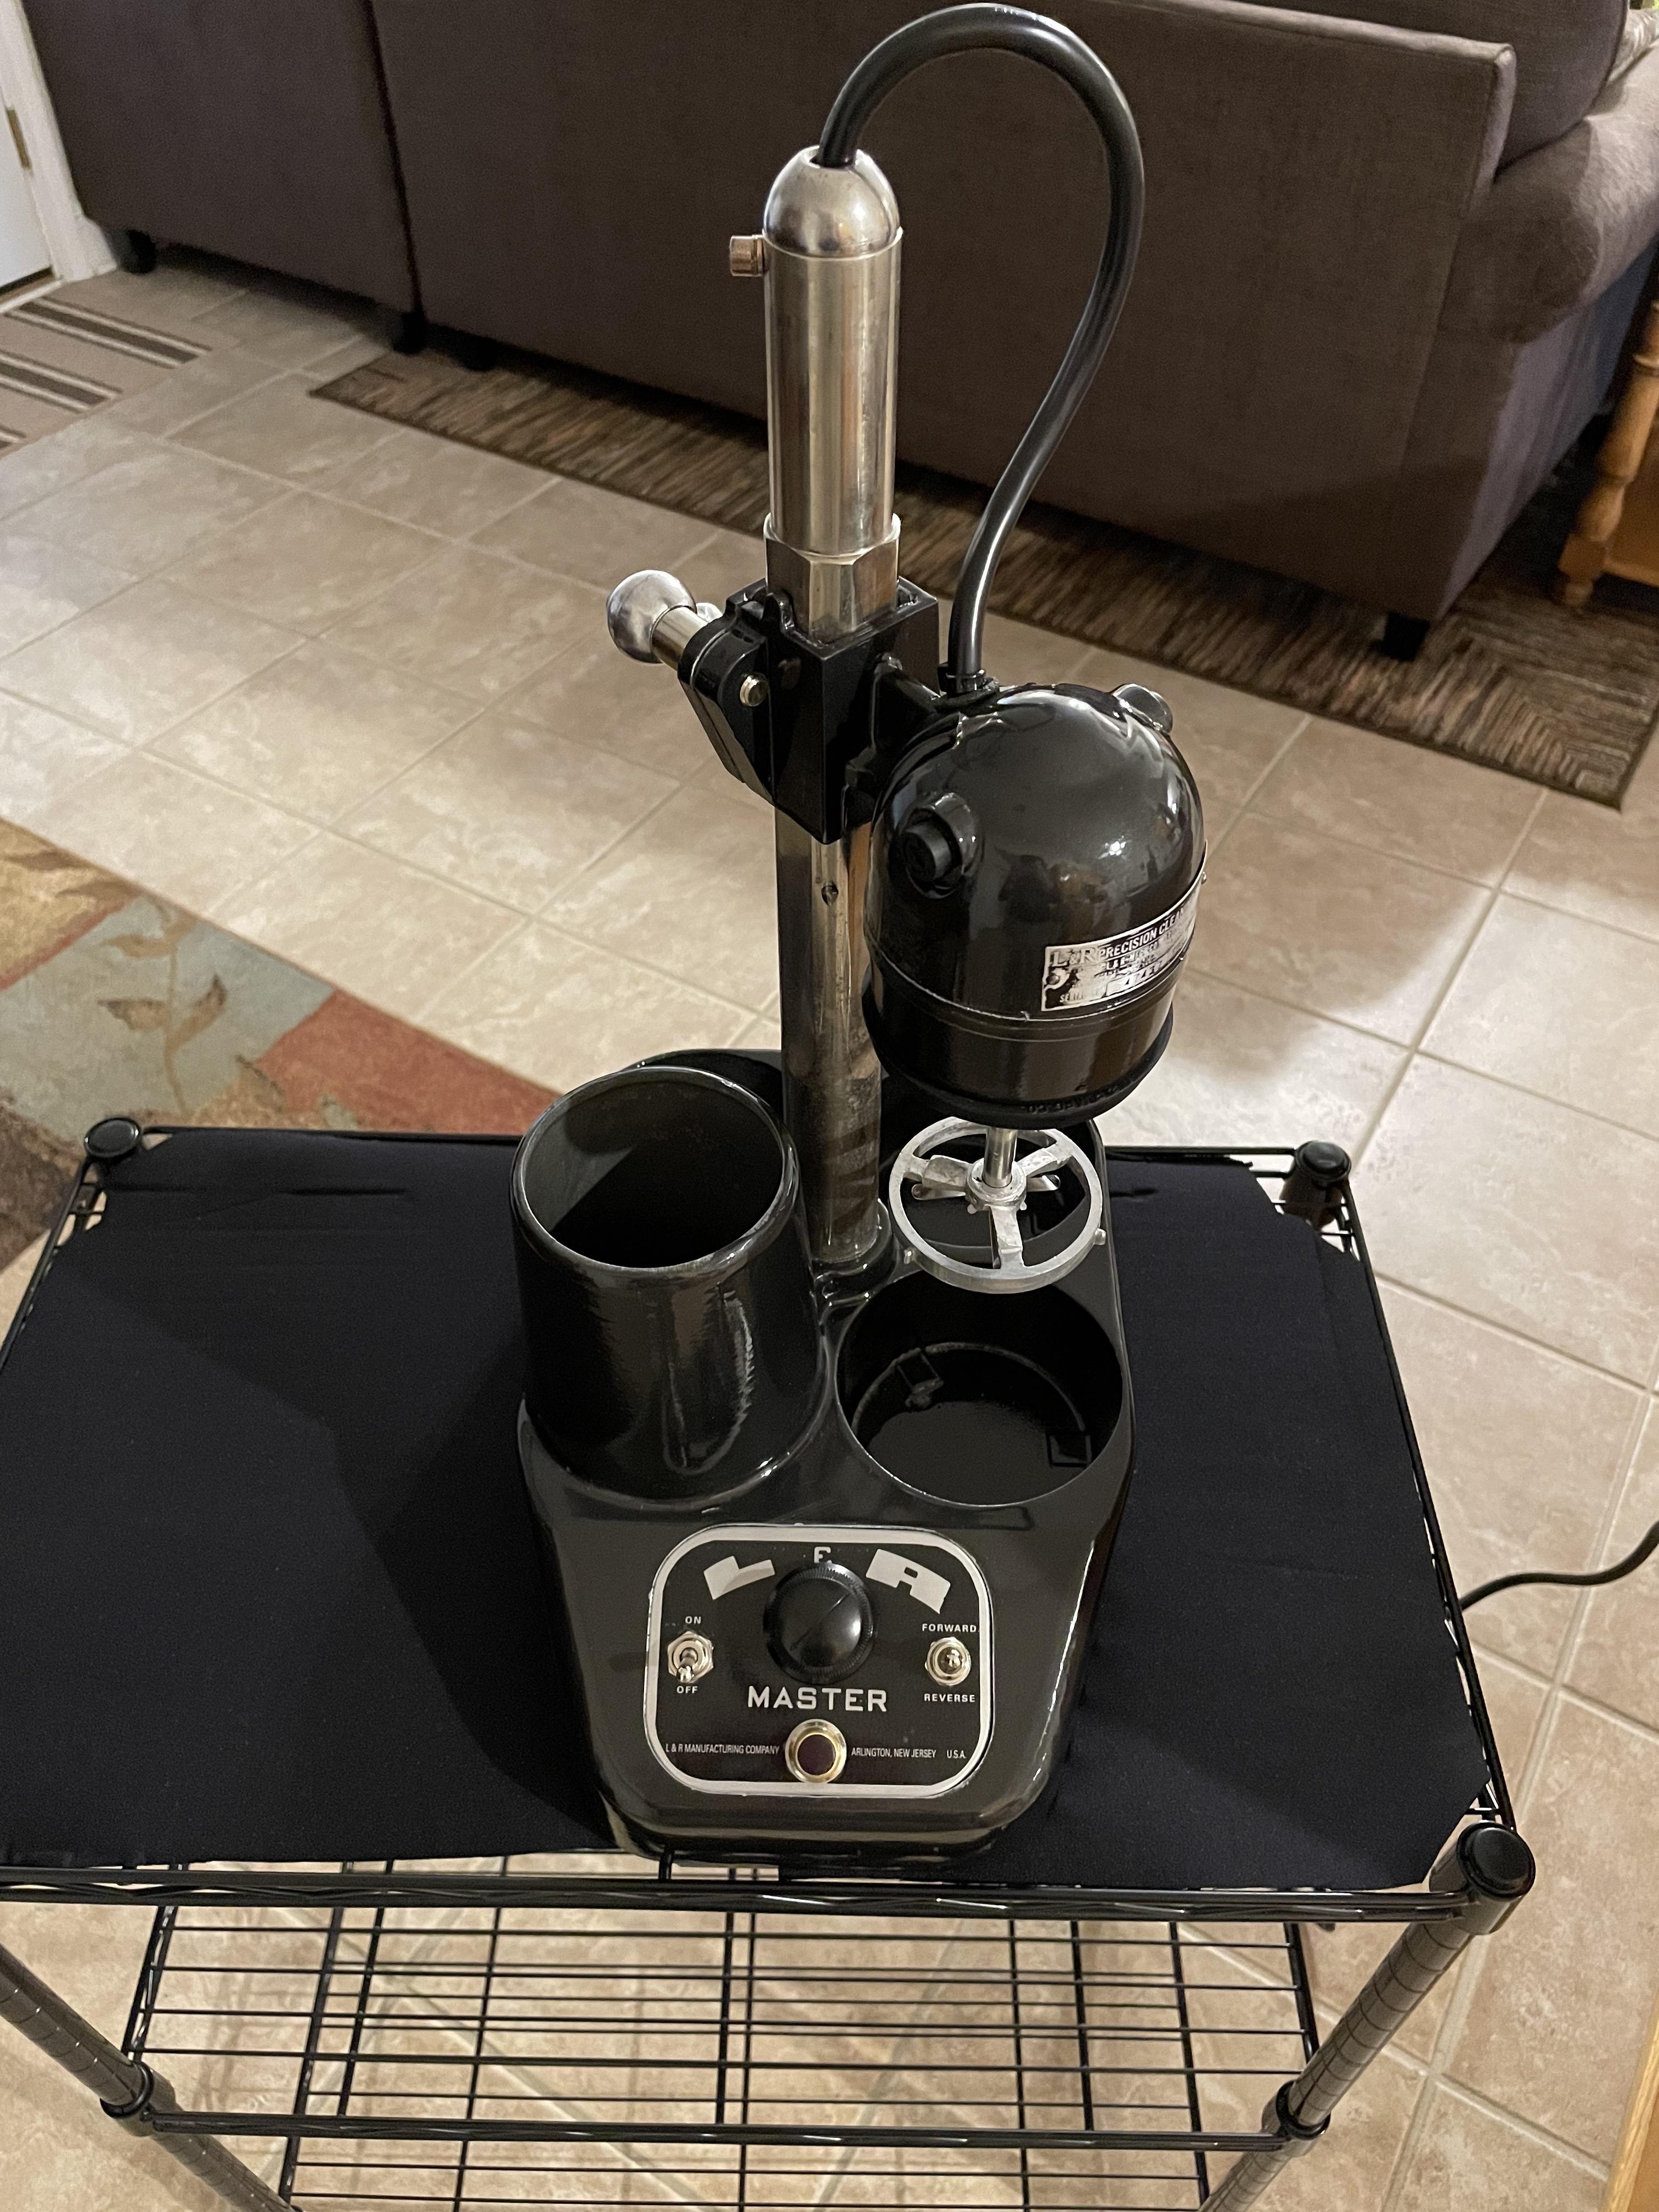
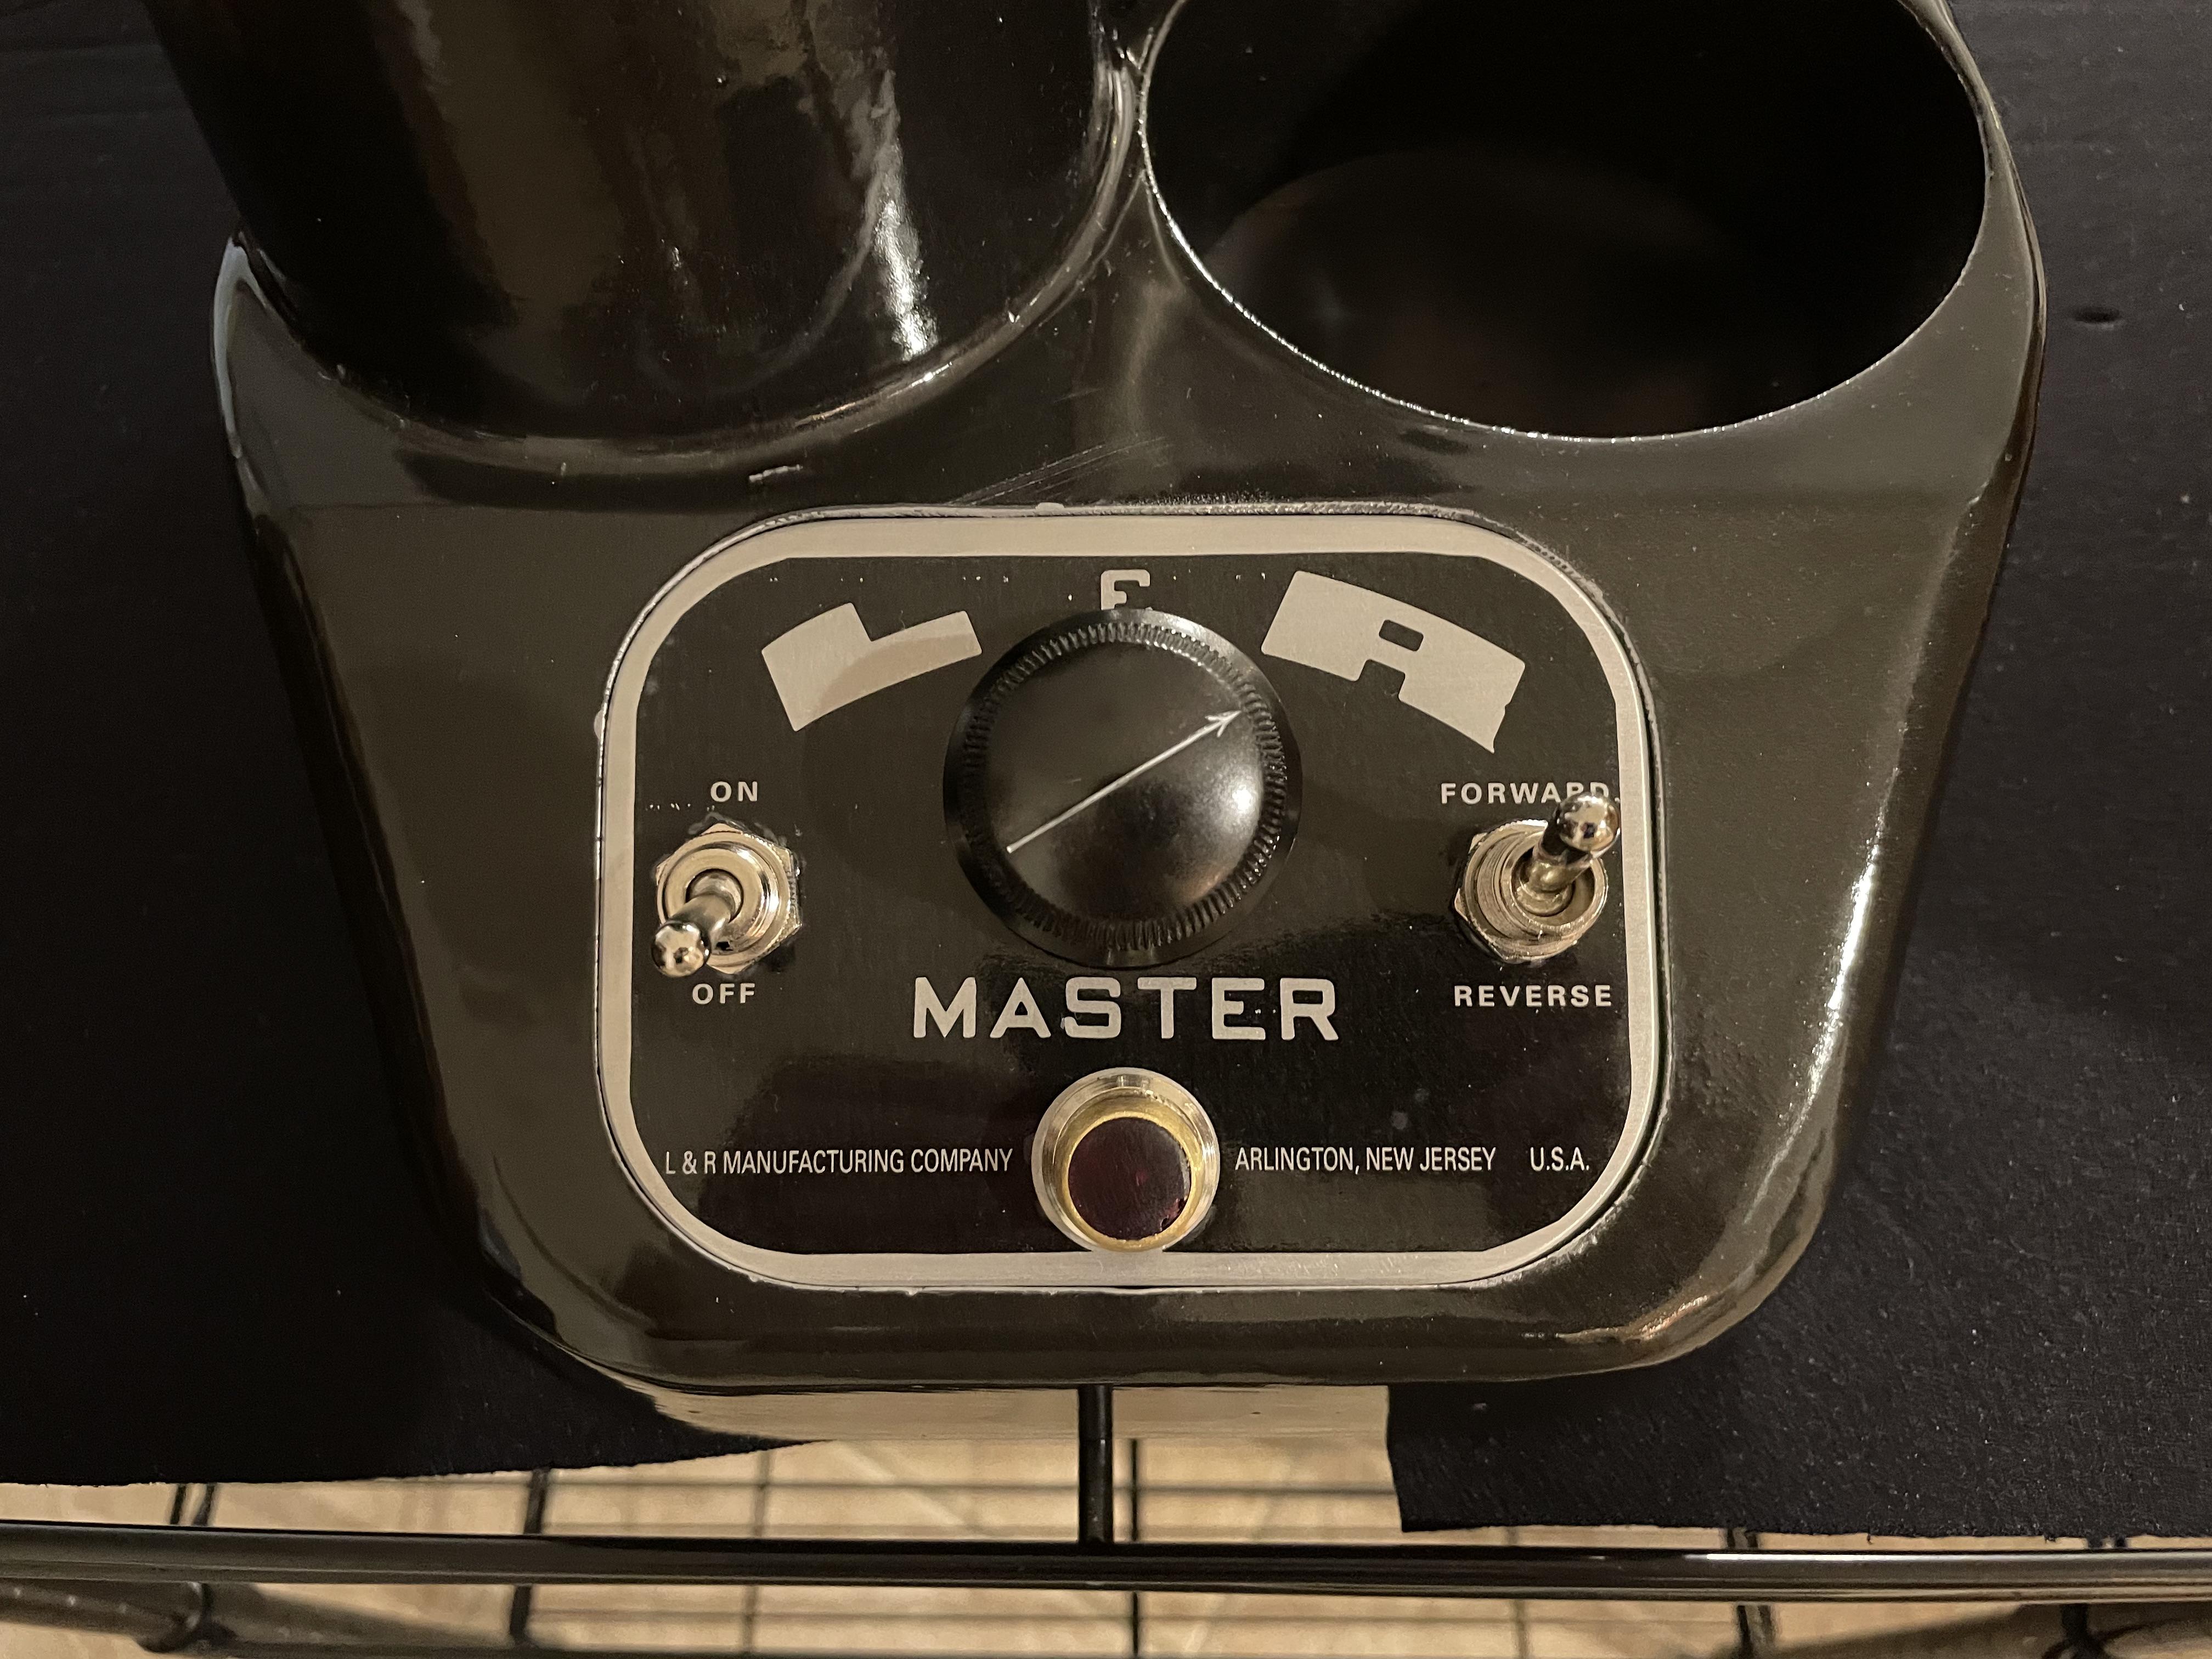
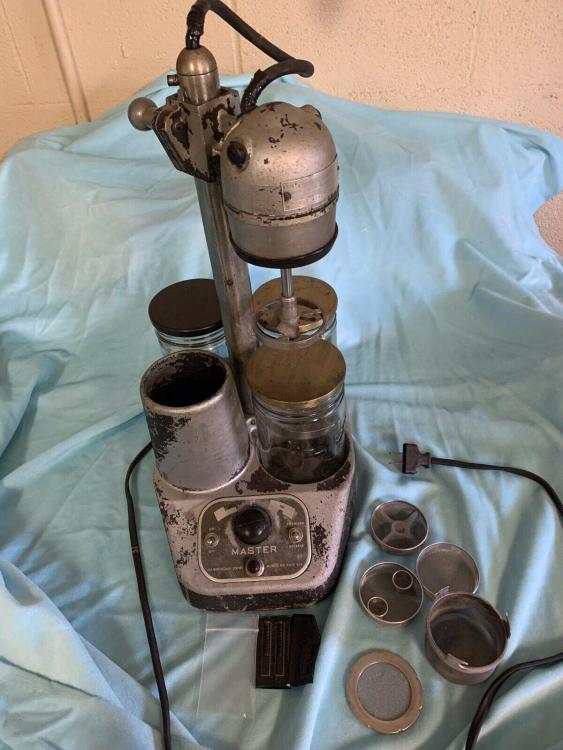
A few more glamour shots with all the accessories (jars, lids, baffling, stars, etc.). I also figured out why switches come with two mounting nuts....I didn't realize it was to adjust how much of the switch sticks out of the top, DUH, so I fixed that as well and now the switches don't stick out so much and are more level and look nicer. I also tried and tried to redo the manufacturer's tag on the motor housing but the lettering hardly sticks out so no matter what type of sandpaper or Scotch Brite I used, it would always take off additional material, so I left it as is and figures it shows the machine's age and battle scars so to speak. The red cover over the light had A LOT of pitting so I sanded them all out and that's why it is now flat, I'll keep my eye out if there is ever one for sale or anyone has one from a donor machine. Have a great weekend everyone and please stay safe.


 1 point
 -
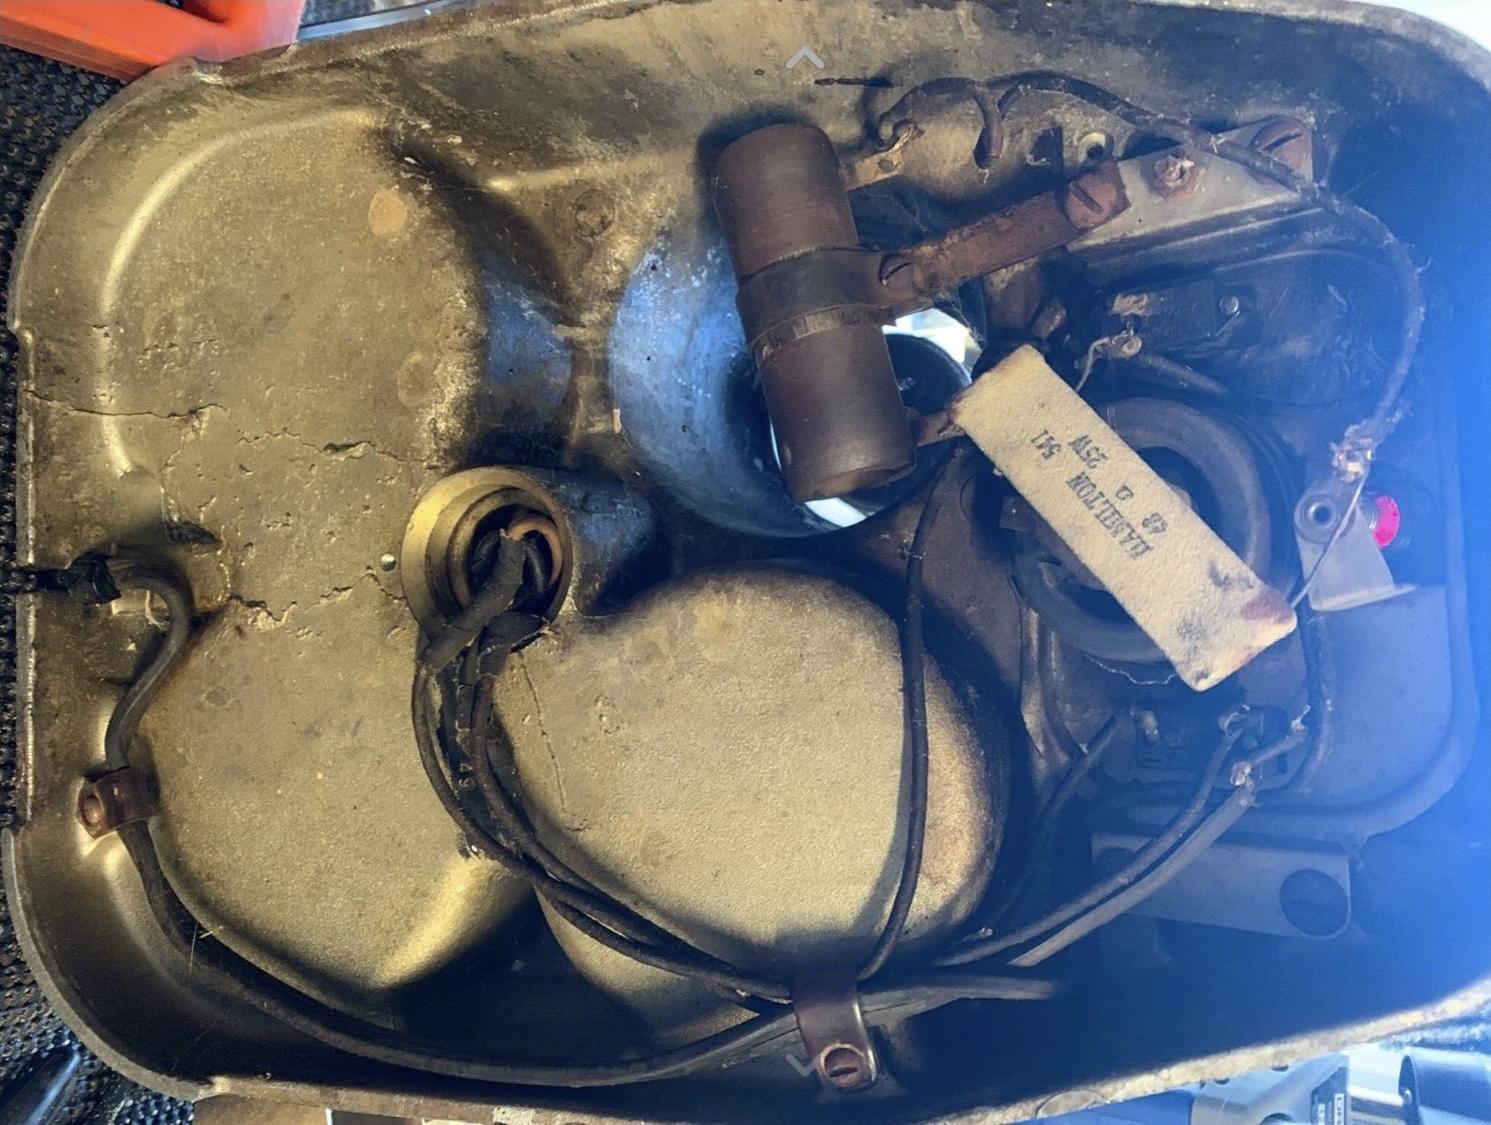
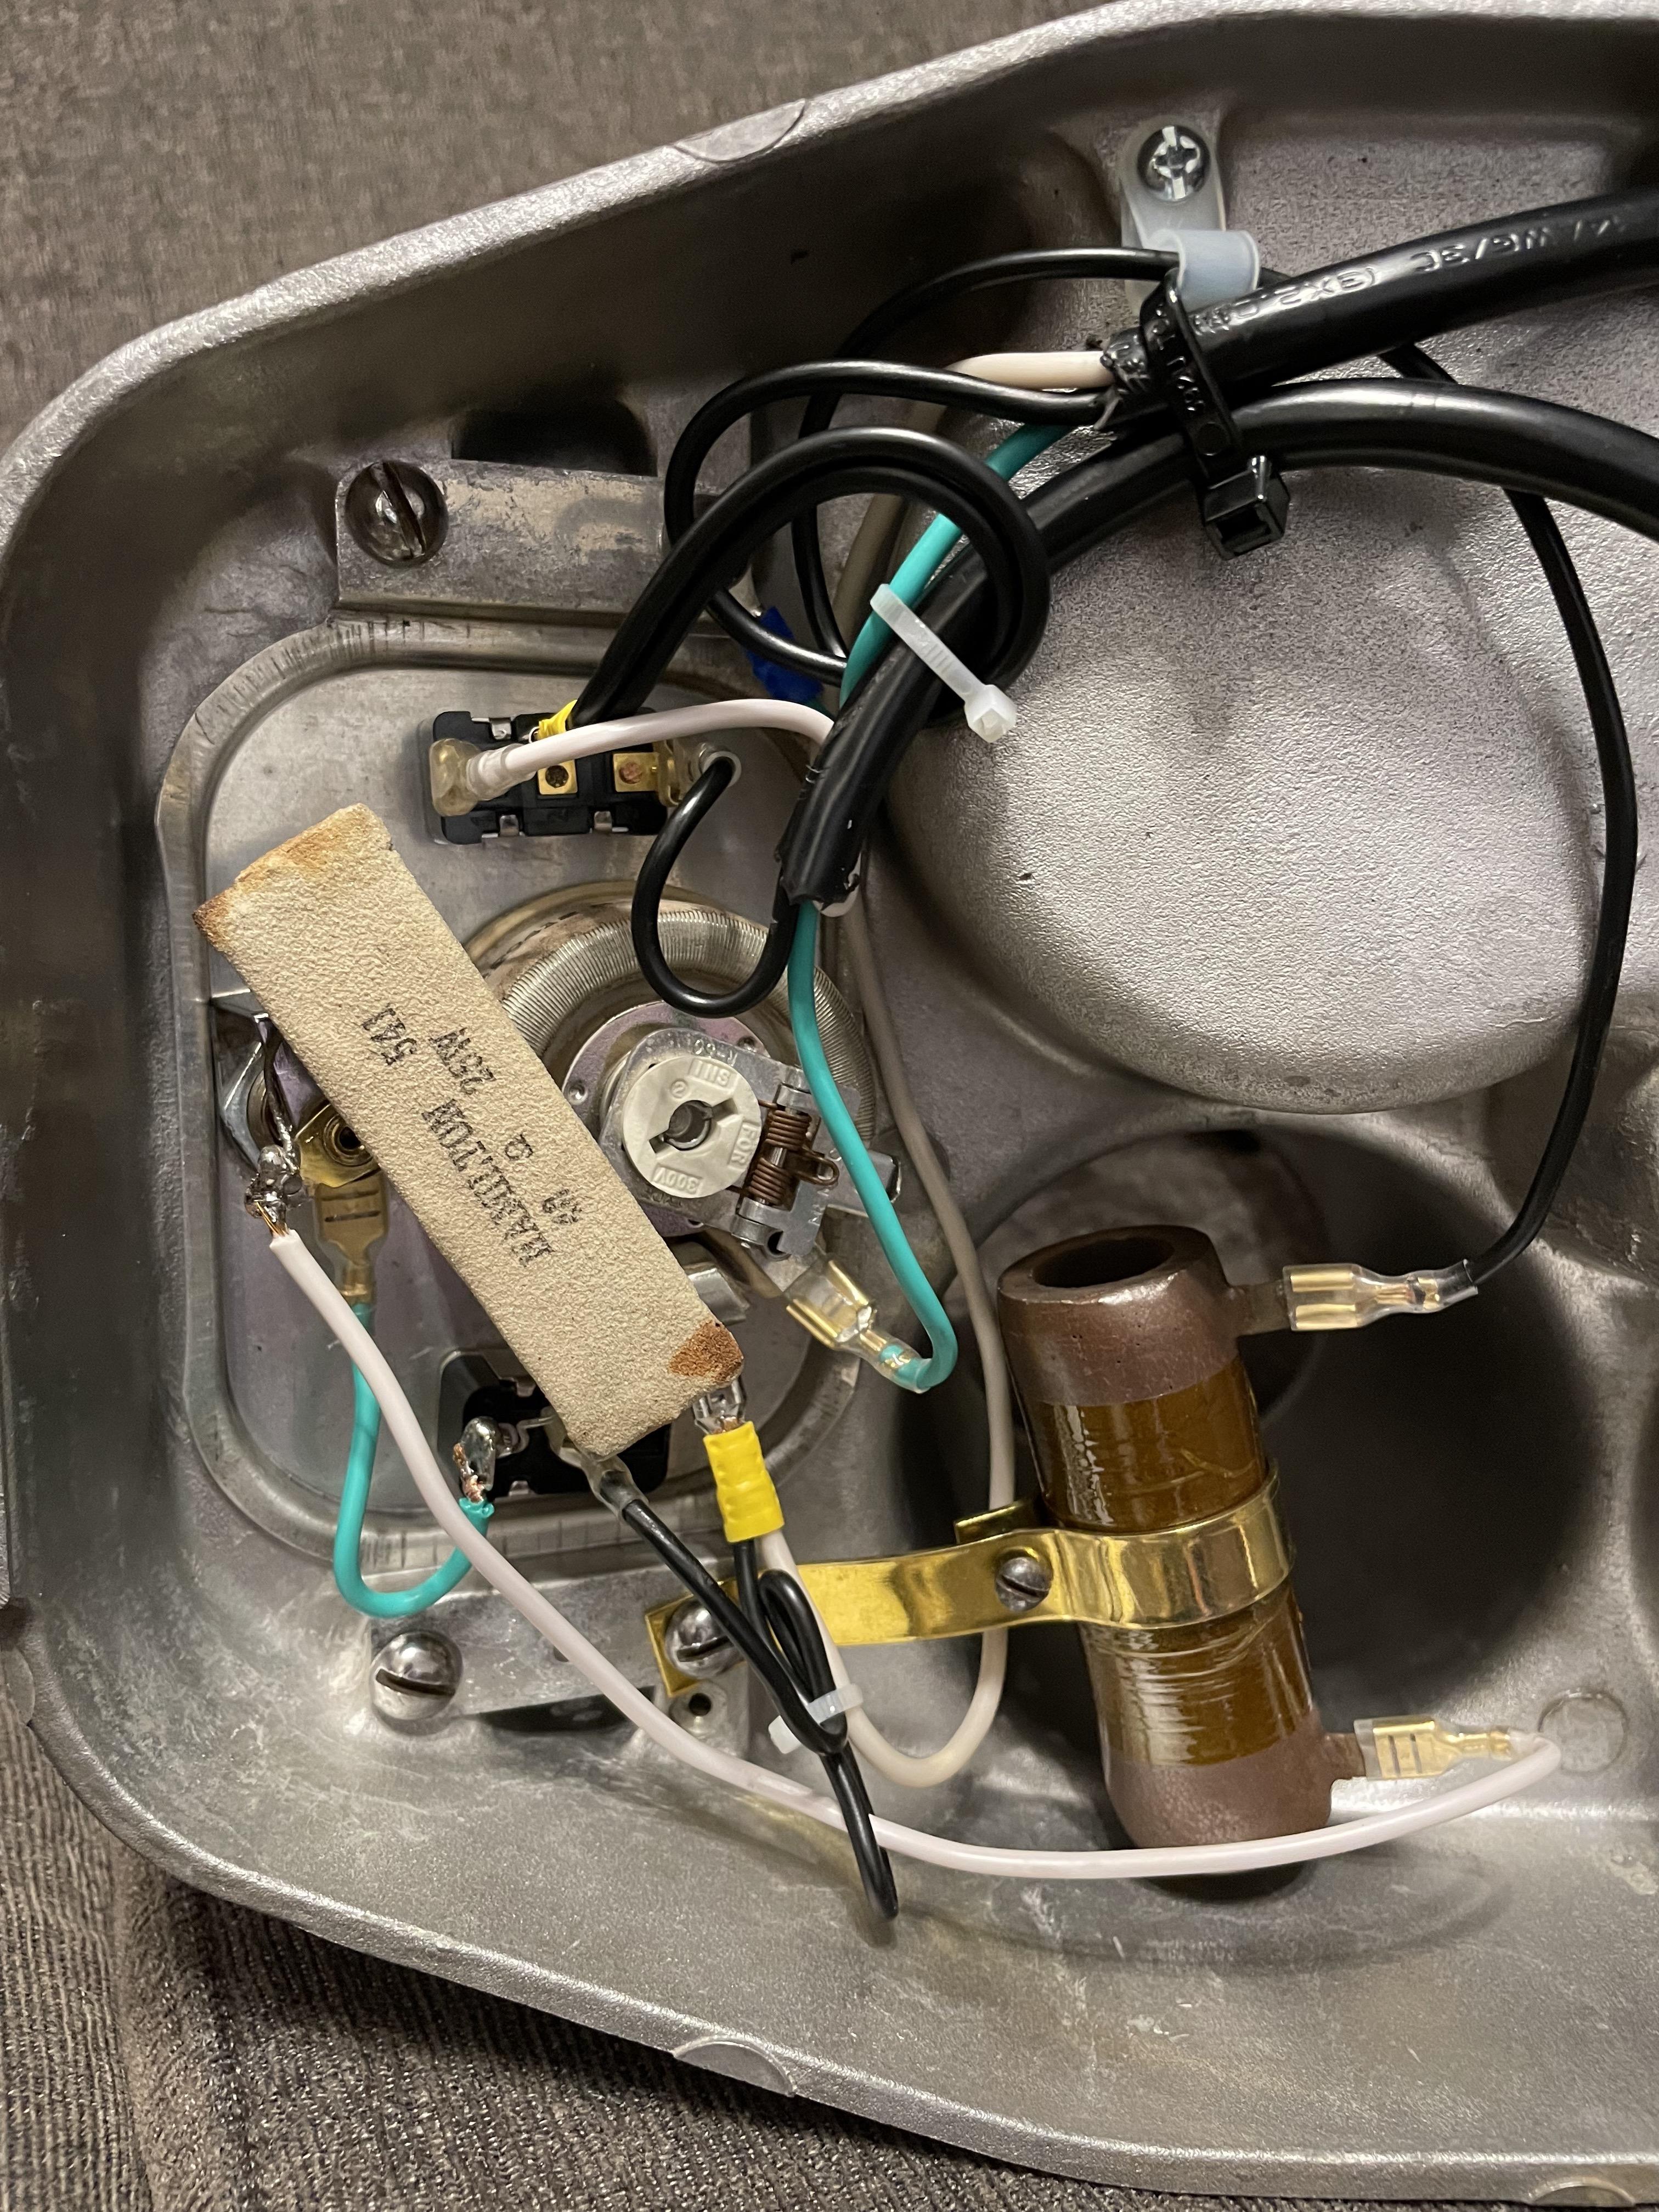
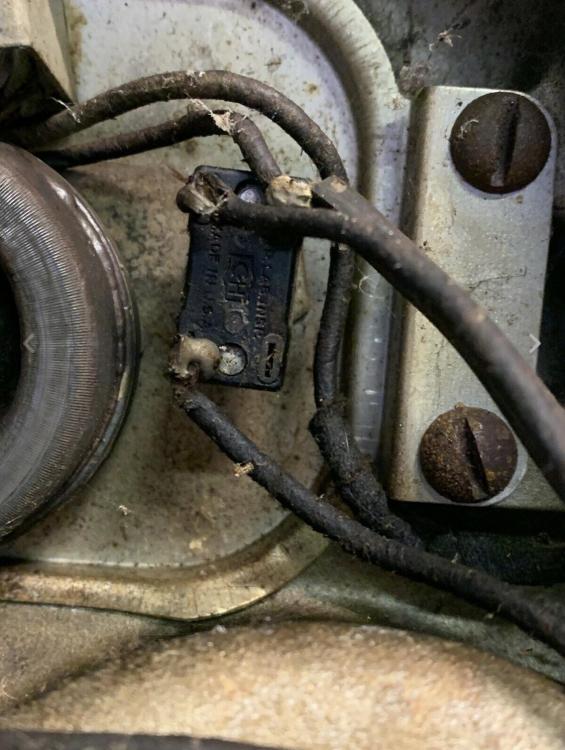
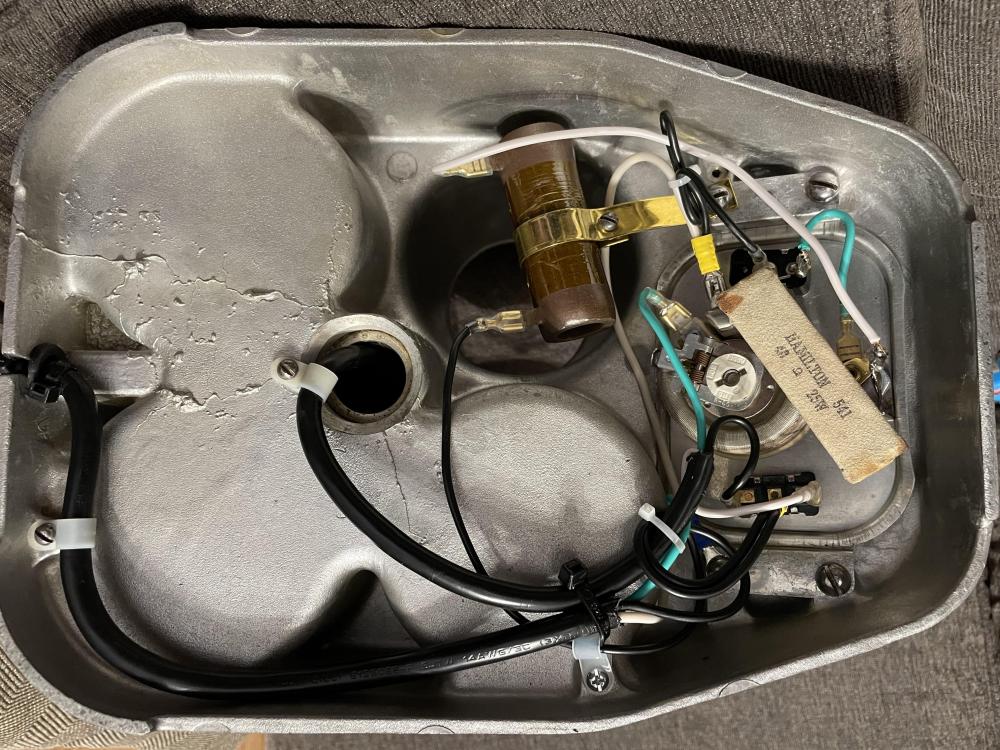
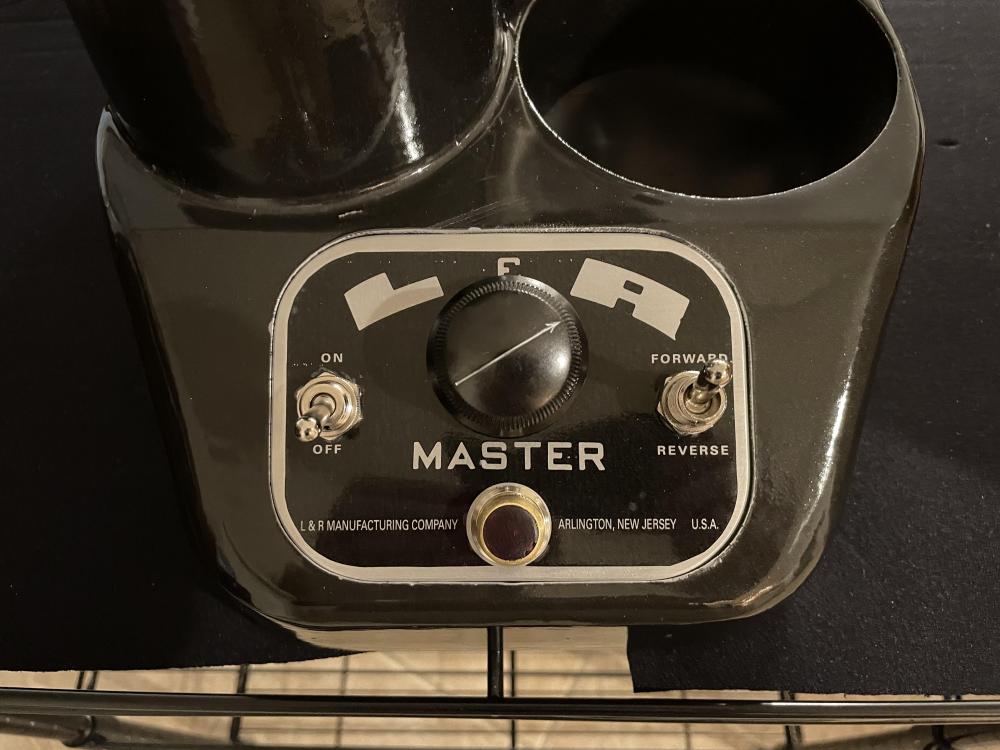
Greetings everyone, hope all is well. Well, it's done. I don't call this a full restoration due to lack of skills and still learning techniques, etc. so we will call this a half or semi-restoration. Everything works perfect and is SO MUCH quieter than it was when I originally got it. There are a few things I did that couldn't stay true to the original.... The power cord strain relief connector is homemade with a rubber grommet and two zip ties. I know they make them for this but will just have to keep looking and will be easy to switch out in the future since I used quick discomments (spade connectors) for most of the connections to assist with future maintenance if needed. For the Forward and Reverse switch, I elected to go with the one that has 3 positions or ON OFF ON instead of the original design that has just two positions. I figured this would be another good safety measure to have so I can ensure everything is completely off when plugged in. I did elect to keep the ceramic\concrete resistor that is for the light, just because it was original, the company Hamilton for Hamilton Beach is on the resistor as well as it was still in spec. These were the only two connection points I soldered due to the heavy gauge wire from these. I think the label for the control panel turned out ok. I put a piece of mylar over the print to help protect it as I printed the sticker clear labels from my laser printer. I originally was going to go to Office Depot, but the last time, their prints also had dots here and there where the toner missed. Compared to how it was, I think it's an improvement and I wasn't going for museum quality as I plan on using this. Well I think that just about does it for me, I know the paint job is very amateurish and that will be the LAST time I use spray lacquer over spray paint, will save lacquer for wood products. Hope my journey helps someone in the future as everyone here has helped me out so much. Enjoy the before and after pics. Take care and stay safe.
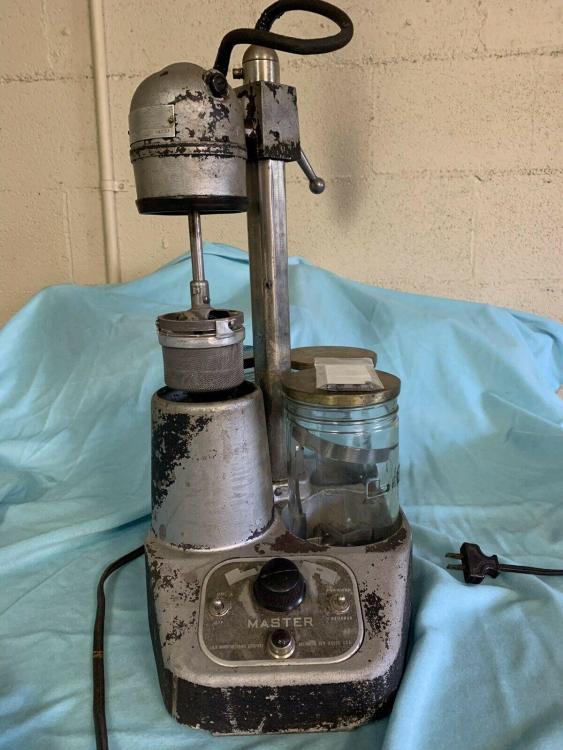


 1 point
 -
Why getting left and right, in case the wise is incorrect all one has to do is transfer in a roundel and flip it.1 point
-
Thanks for responding. See, this is where my problem is with the right/left terminology, I could call doing the same direction either right or left handed unfortunately. Take the following photo of a barrel I've just opened: I would call that right handed, but I can also see calling it left! So what should I be calling it? I realise the answer would be to get a right and left handed set, but with limited funds I'm wondering if a right handed only set would be useful. Any thoughts? Thanks Stephen
 1 point
 -
Neat tips. Thanks1 point
-
Hello to you all, I've been watching you all since mid february and have laughed and seen myself in so many of you( springs flying off, cap jewels in the carpet etc) anyway I want to tell you my method of cleaning and rinsing parts through trial and lots of errors which gives me good results. I bought a small ultrasonic machine about £50 off fleabay.I then bought a fine mesh tray and a couple of small mesh baskets with snap on lids. I generally put the autowind and calendar side parts in one small basket and the gear train and screws in the other, larger parts i.e. spring, plates with balance attached as Mark does, barrel and even the stripped out case lay in the tray. I use Elma 20/1 chrono clean with low or no heat 10 mins shake the small baskets turn plates over and another 10 mins,change the fluid for a rinse, same procedure change fluid for a final rinse, do the same let it all drain then dry it all off in the basket with a hair dryer. Whole process takes about an hour. Really grotty stuff I'll let soak over night as hobbyists we have the luxury of not being in a hurry. I currently use the L&R no 3 rinse which gives great results but needs changing regularly and is expensive so im going to try their ultrasonic and see if that is more economical. I'll let you know!1 point
-
Copied from a previous post:- "The first thing I do when I strip a watch is wash the parts in a container with lighter fuel. This gets rid of most of the oily residue before using the ultrasonic bath. If the movement is really gummed up, I will let the parts soak overnight. I use a small amount of water soluble “carburettor cleaner” dissolved at a ratio of about 1 part cleaner to10 parts water in the ultrasonic bath. I heat this up to about 30C then clean the parts for 3mins. The parts are then rinsed I fairly hot water and rinsed again in alcohol before being gently blow dried on a clean sheet of good quality kitchen towel. If I am having real difficulties cleaning the parts (dried oil in jewels) I will put the movement in a jar of lighter fuel and hold the jar in the ultrasonic cleaning solution for three minutes at a time until the jewels are clean. The ultrasonic vibrations penetrate the jar and agitate the lighter fuel. DO NOT PUT LIGHTER FUEL DIRECTLY INTO THE ULTRASONIC CLEANER!! This maybe conflicts with professional cleaning methods, but it works for me."1 point