Leaderboard


Popular Content
Showing content with the highest reputation on 01/24/21 in all areas
-
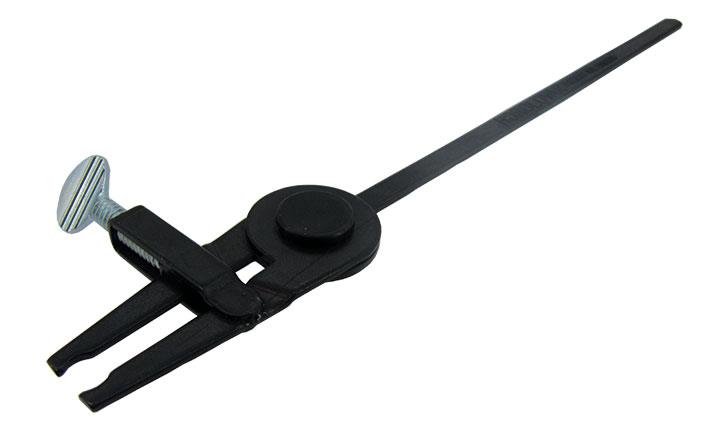
I took this idea from "canthus" Using a 4-40 tap, I put threads in the nail clippers. Then I printed a knurled knob to attach to a 4-40 screw. I used a knurled threaded insert is the "tightener" adjacent to the clippers. Seems to operate as expected. If I do this again, I will use finer threads (did not have a finer tap on hand). canthus tool post
 2 points
 -
How's the running of the train without the pallets installed? If you turn the crown a few clicks, does it run down smoothly or jolt to a stop?2 points
-
I've always had trouble with solvent based lume. I think it has something to do with the climate. I live in Singapore which is usually hot and humid. (32°C, 80% RH) I discovered that UV cured nail varnish works really well here. Just mix lume powder to the desired consistency and use the biggest oiler. It has unlimited working time. If you make a mistake, just wipe it off and start again. And there is minimal wastage, any unused lume can be stored in a light proof container and reused. When you are happy with the results, just pop it into the UV curing unit and cure it for a minute or two.2 points
-
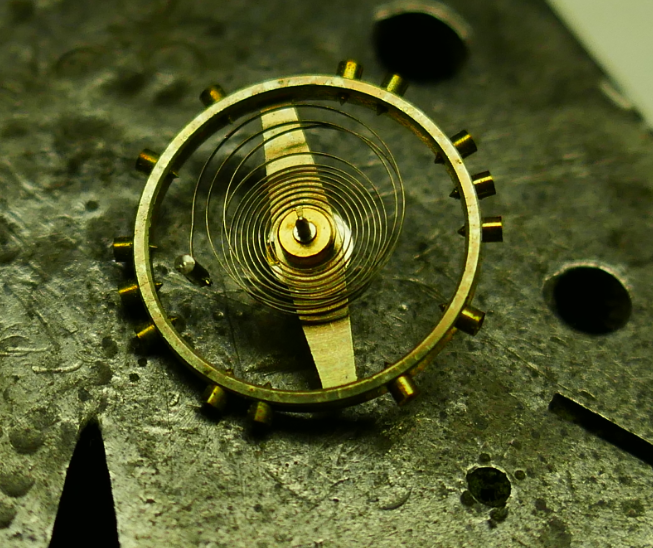
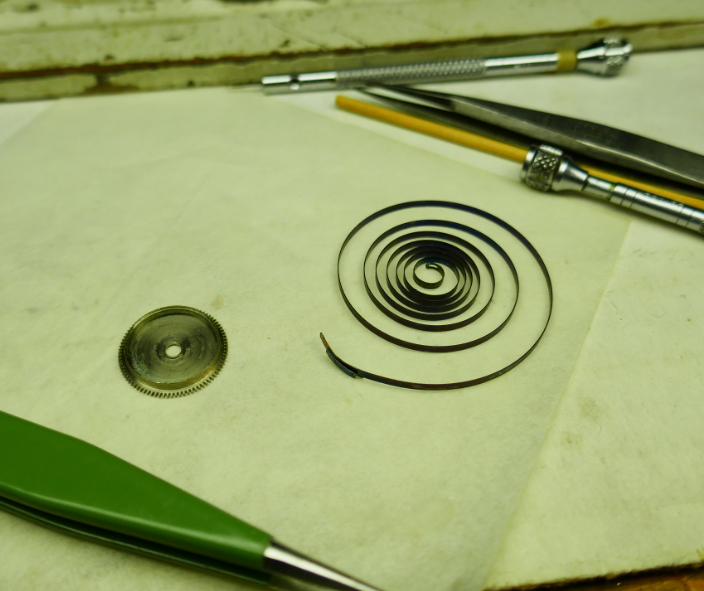
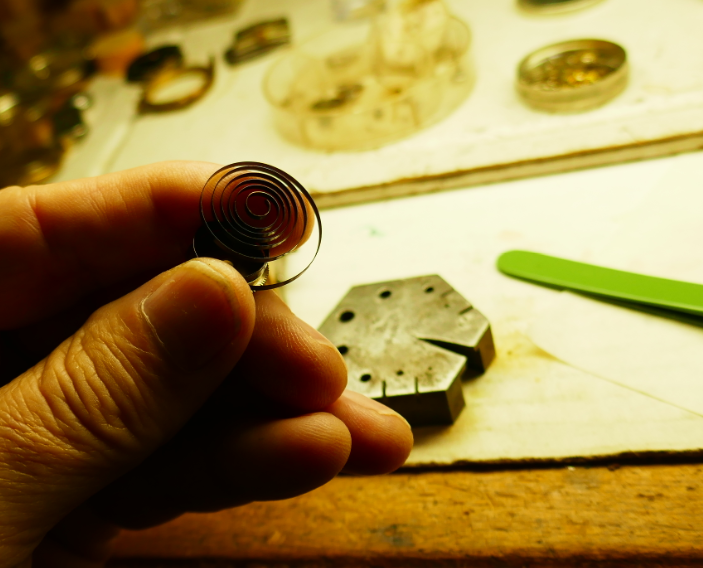
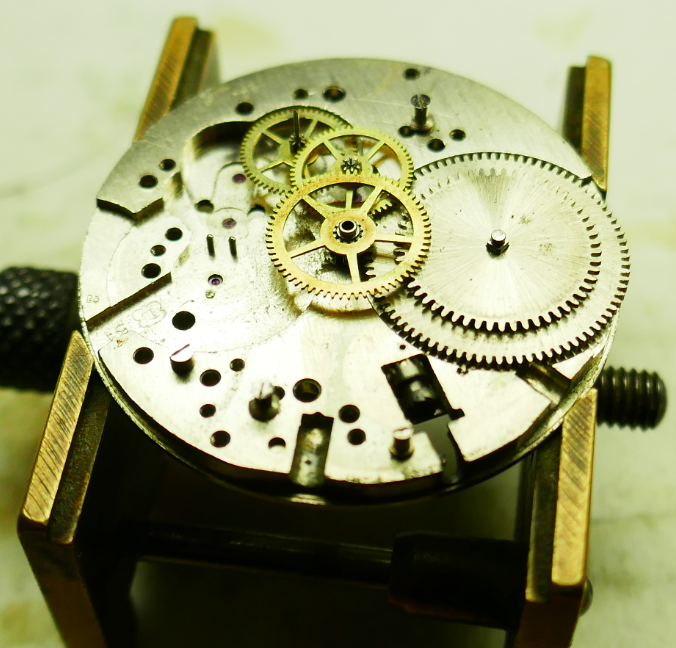
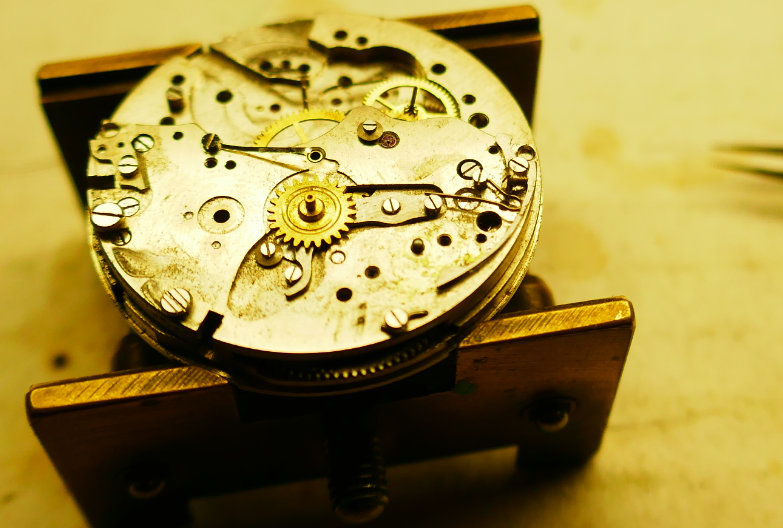
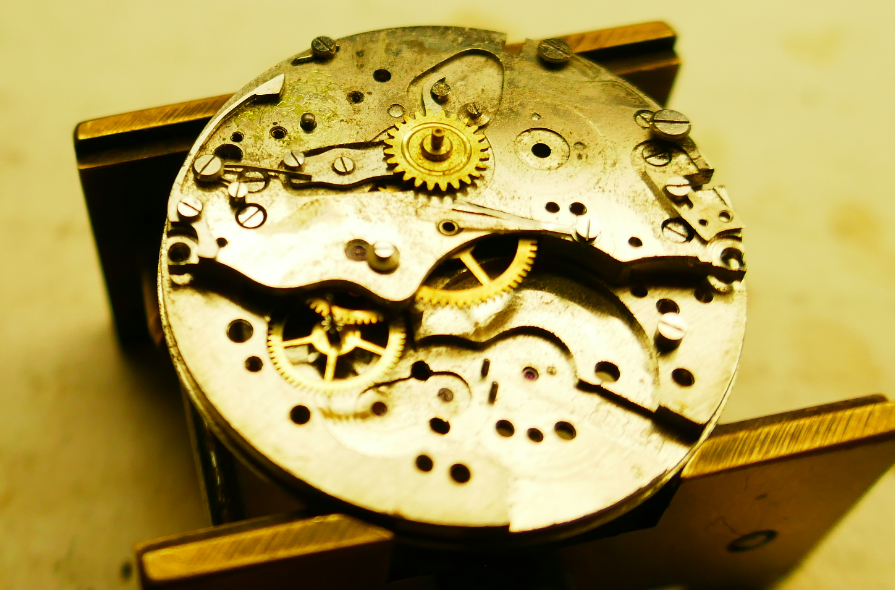
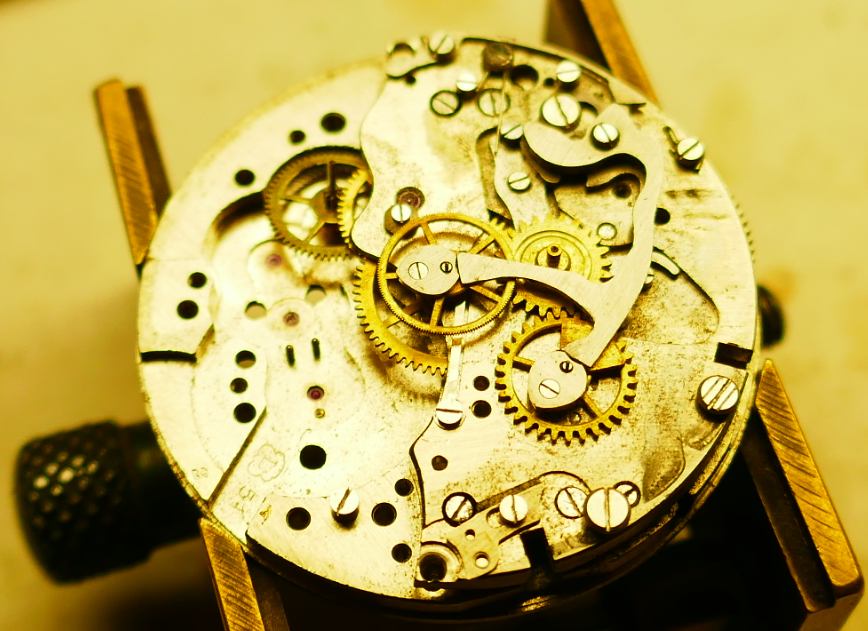
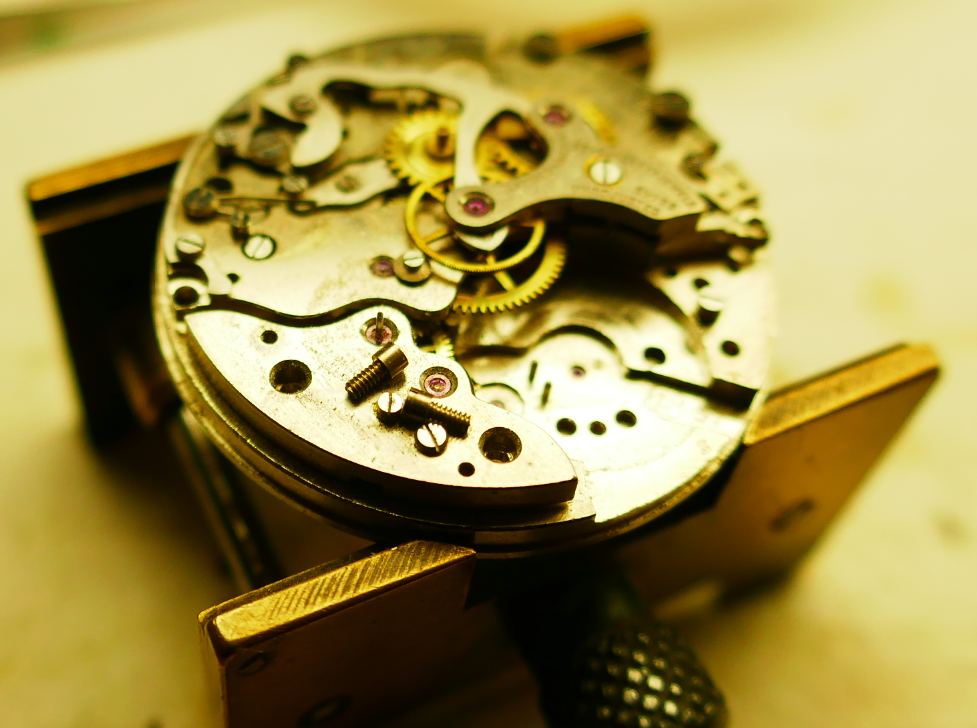
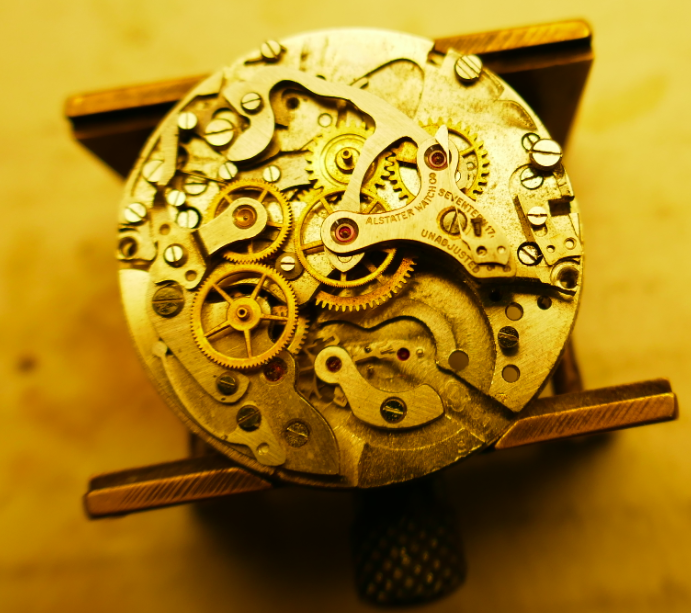
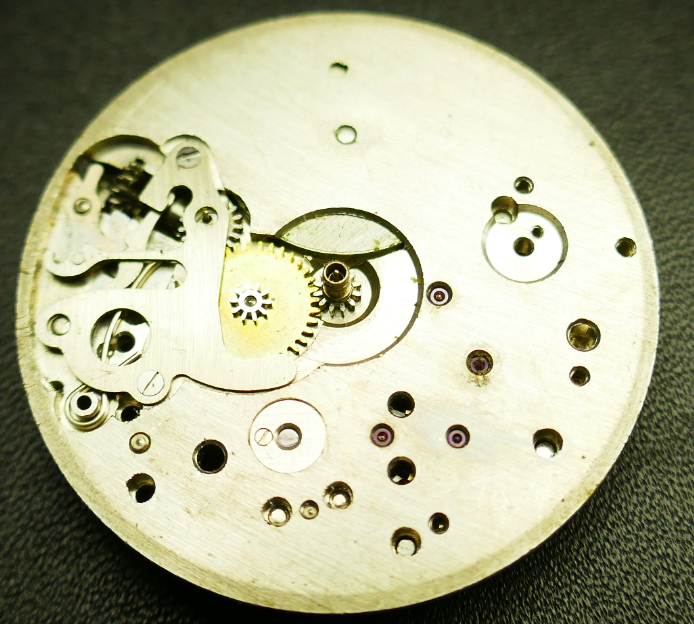
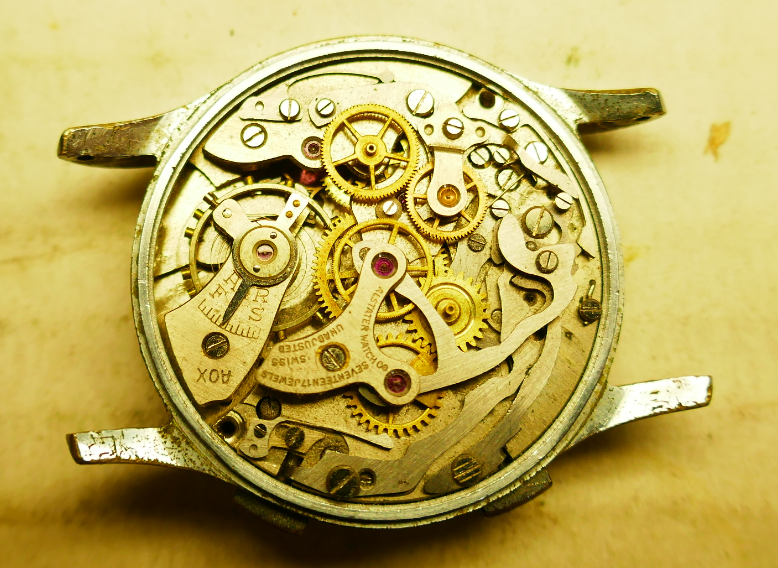
In preparation for the repair of my own chronograph, I found this one amongst the watch graveyard and decided to take it down and put it back together. These are the photos of the disassembly. After disassembly, I put forth an effort to clean the parts with Ronsonol. I was not passionate about the clean because the purpose was to validate both disassembly and reassembly. I am happy to say that everything went off without a hitch. I even removed the mainspring and found the appropriate mainspring winder among my dad's tools. No problem. The hairspring was quite gnarly due to the watch's misadventures among others in the scrapyard! I did my best to straighten it. It tic'ed a few strokes when I realized that it was way out of beat. So, after watching some videos, I rotated the hairspring until it was close. It tic'ed a little more, but the hairspring was just not playing along. That is OK, I accomplished the goal of tear down and rebuild, and I also got to experiment with hairspring adjustments. No springs, and no screws were lost!!
 1 point
 -
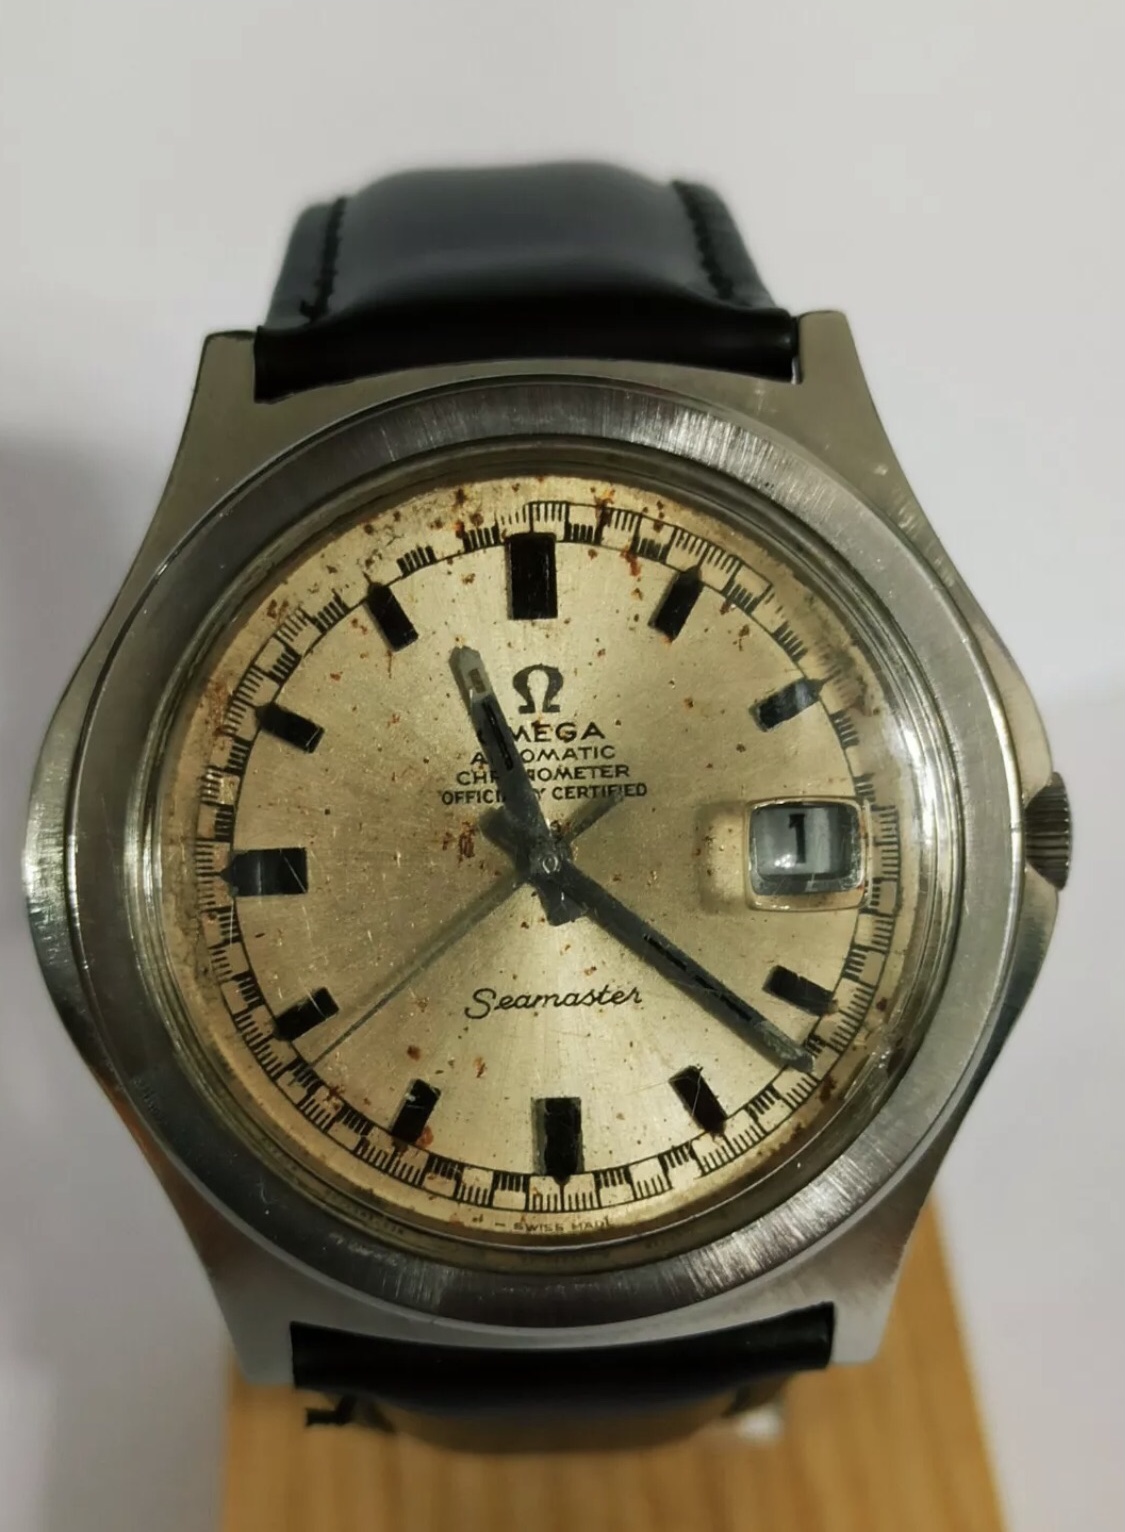
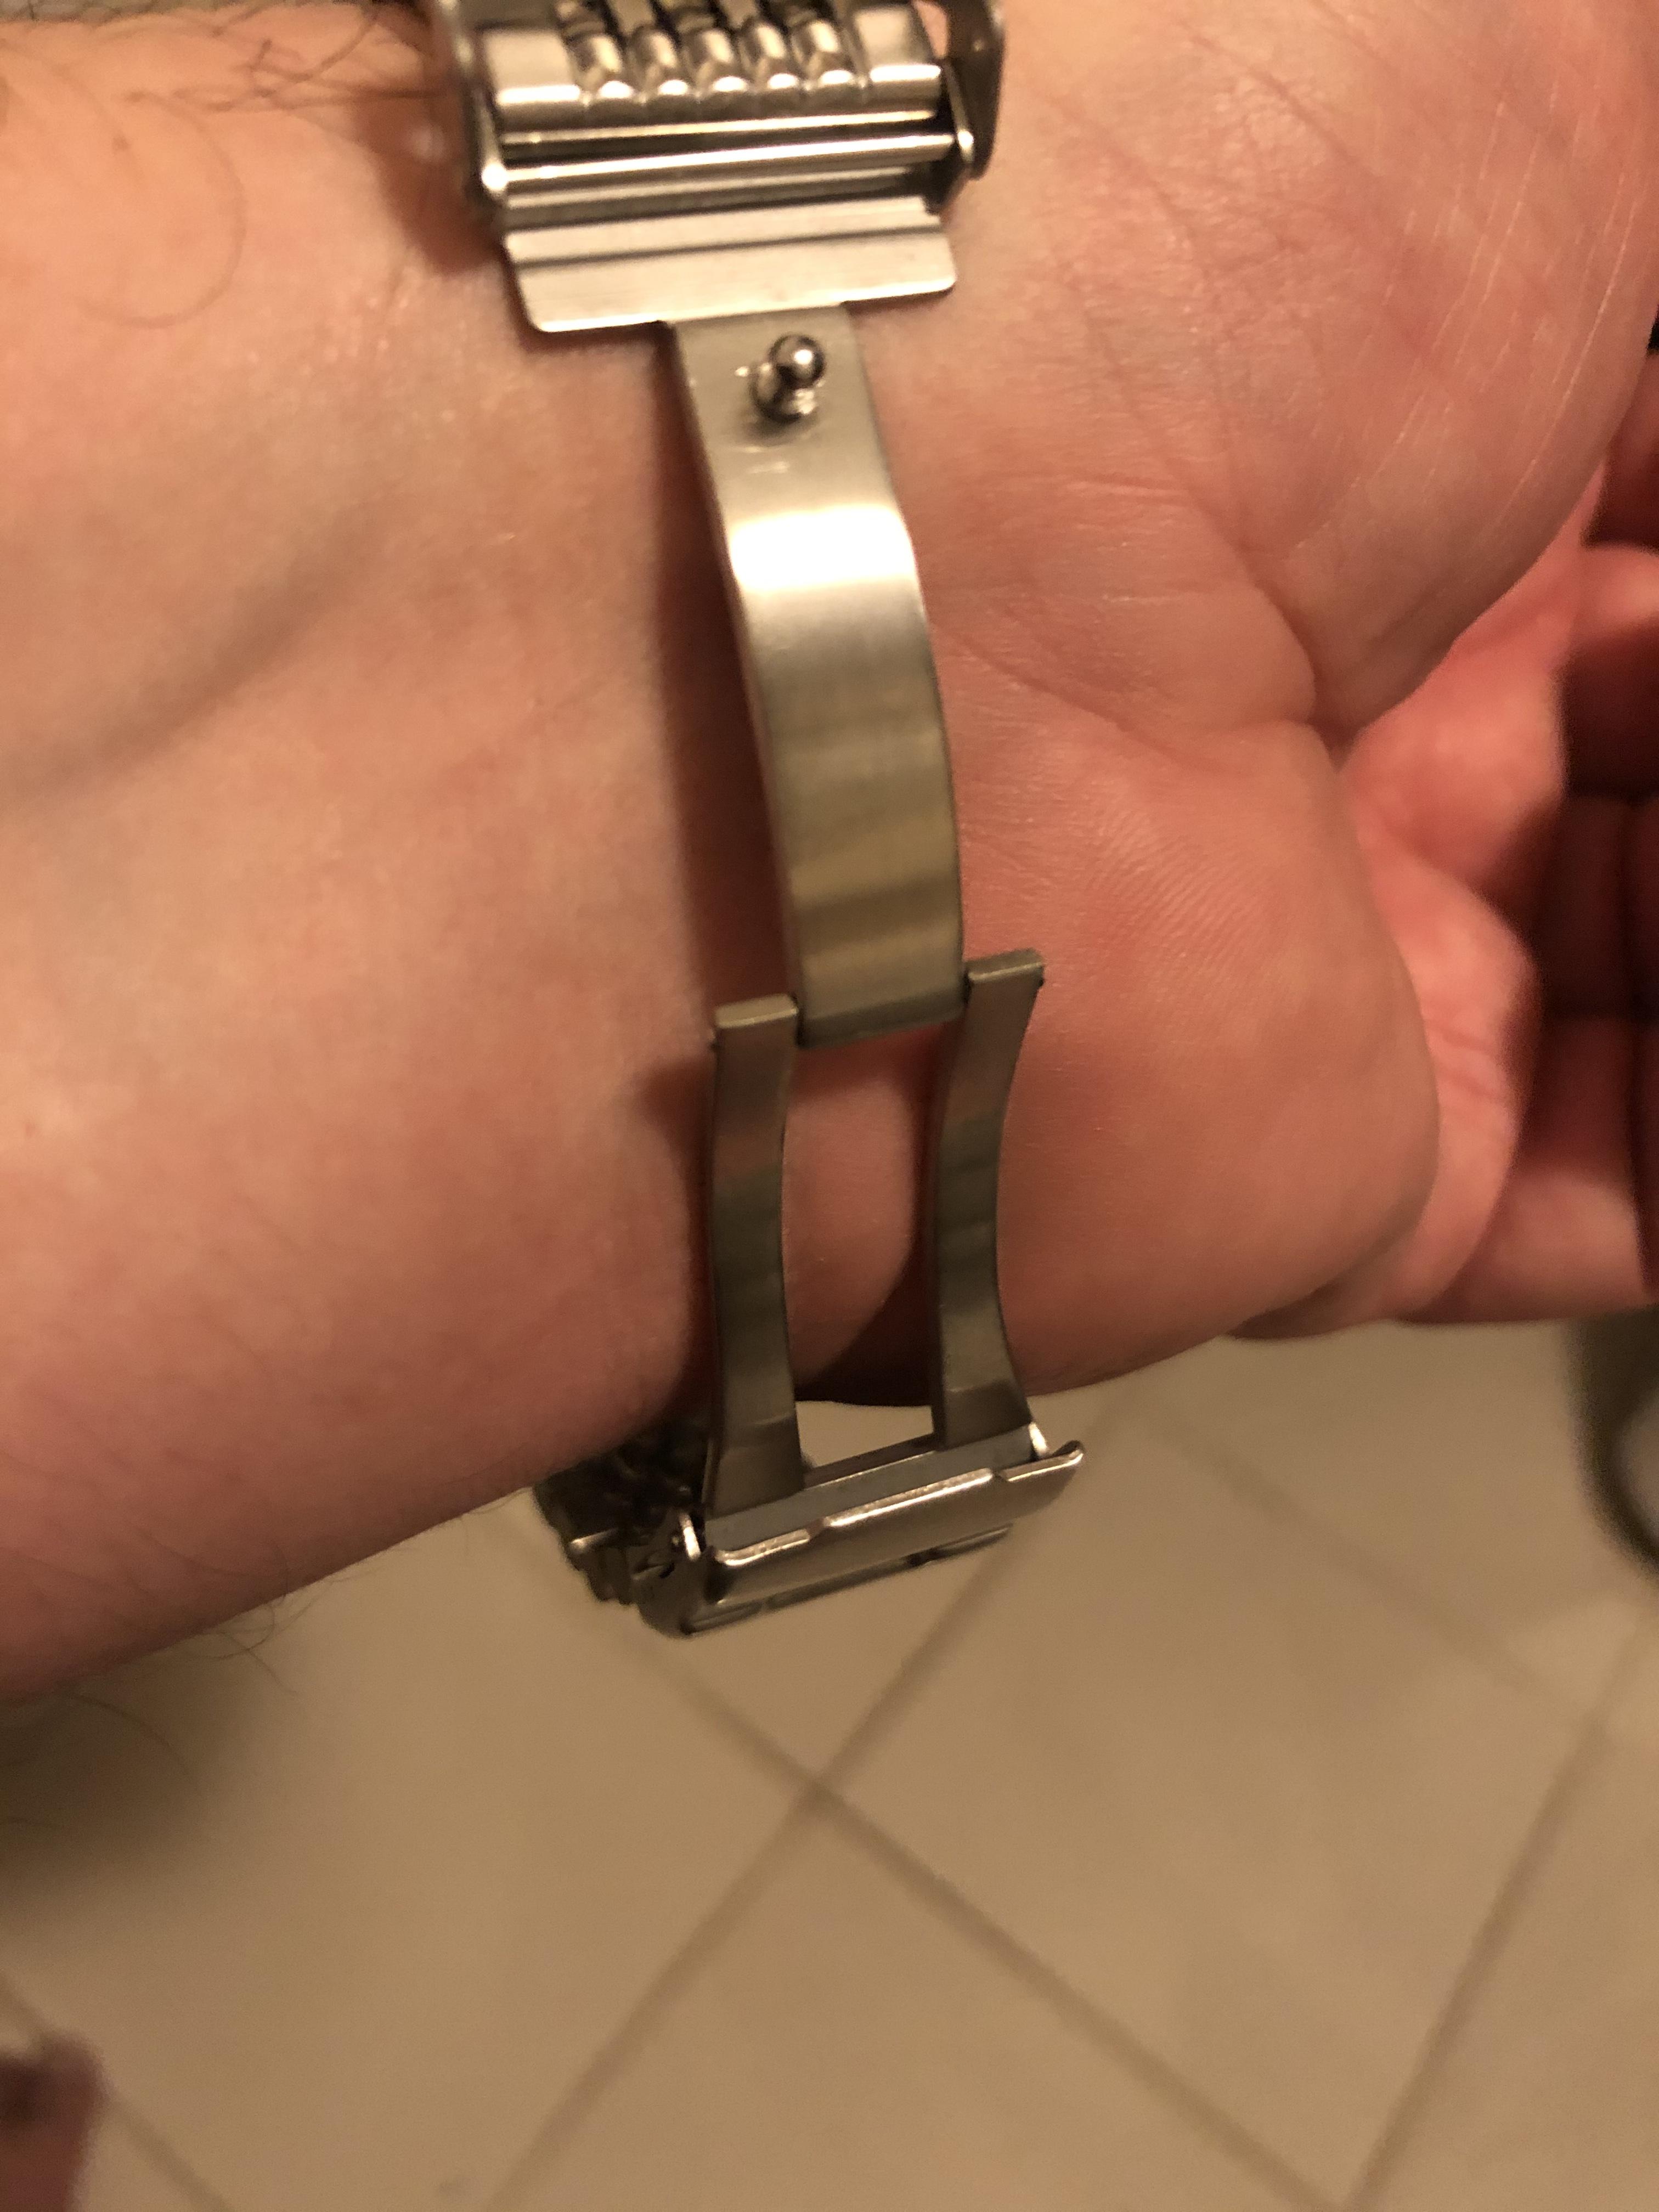
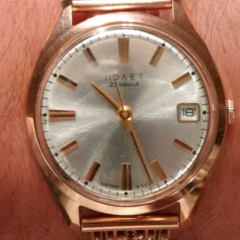
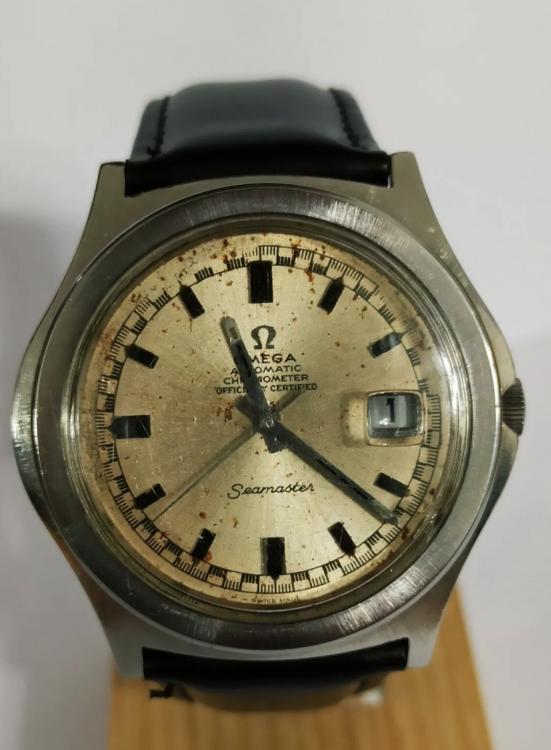
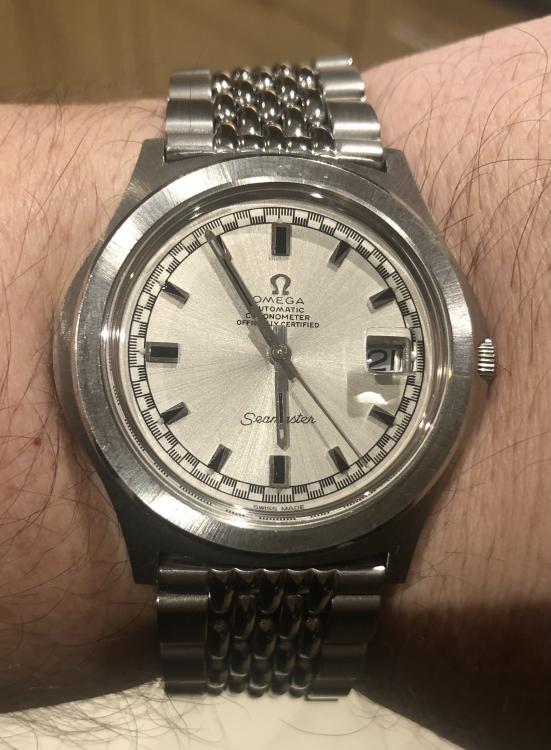
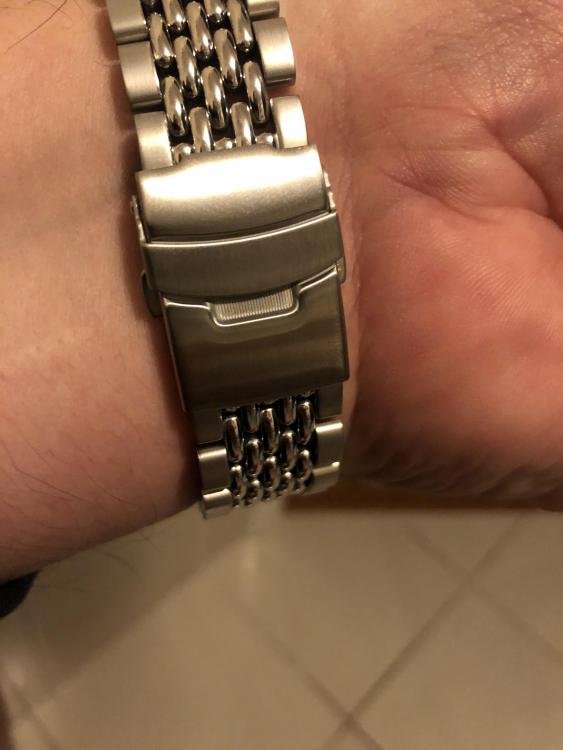
Hi, Just wanted to show a before and after of a recent project. I completed Mark’s online courses a few months ago and have done a few small projects. Mainly servicing and repair of movements. I am an Omega collector and wanted to acquire the Seamaster Racing 1974 due to the Cal. 564 movement. I bought this on eBay for $500 and yes it was as rough as it looks. Rust, corrosion and badly maintained movement. I managed to find a NOS replacement crystal and bezel. I serviced and repaired the movement back to Chronometer specs. Unfortunately, I can not take credit for the dial as I sent it to Bill & Sons. But I will take credit for saving £200 off the bill by getting the Cliche for the outer race track on the dial done myself. I never liked the leather strap or the original one from Omega. Wanted a modern version of a beads of rise look but polished to match the watch. Also wanted a fully mulled double clasp. there are the final results today after assembly.

 1 point
 -
Just fixed up my old YEMA Jump hour from 1975ish. As shown earlier I polished through the chrome and had to re-plate it, and did a full service on it as well. This bad boy will be going for years to come ? 582951535_Untitled2_1080p.mp41 point
-
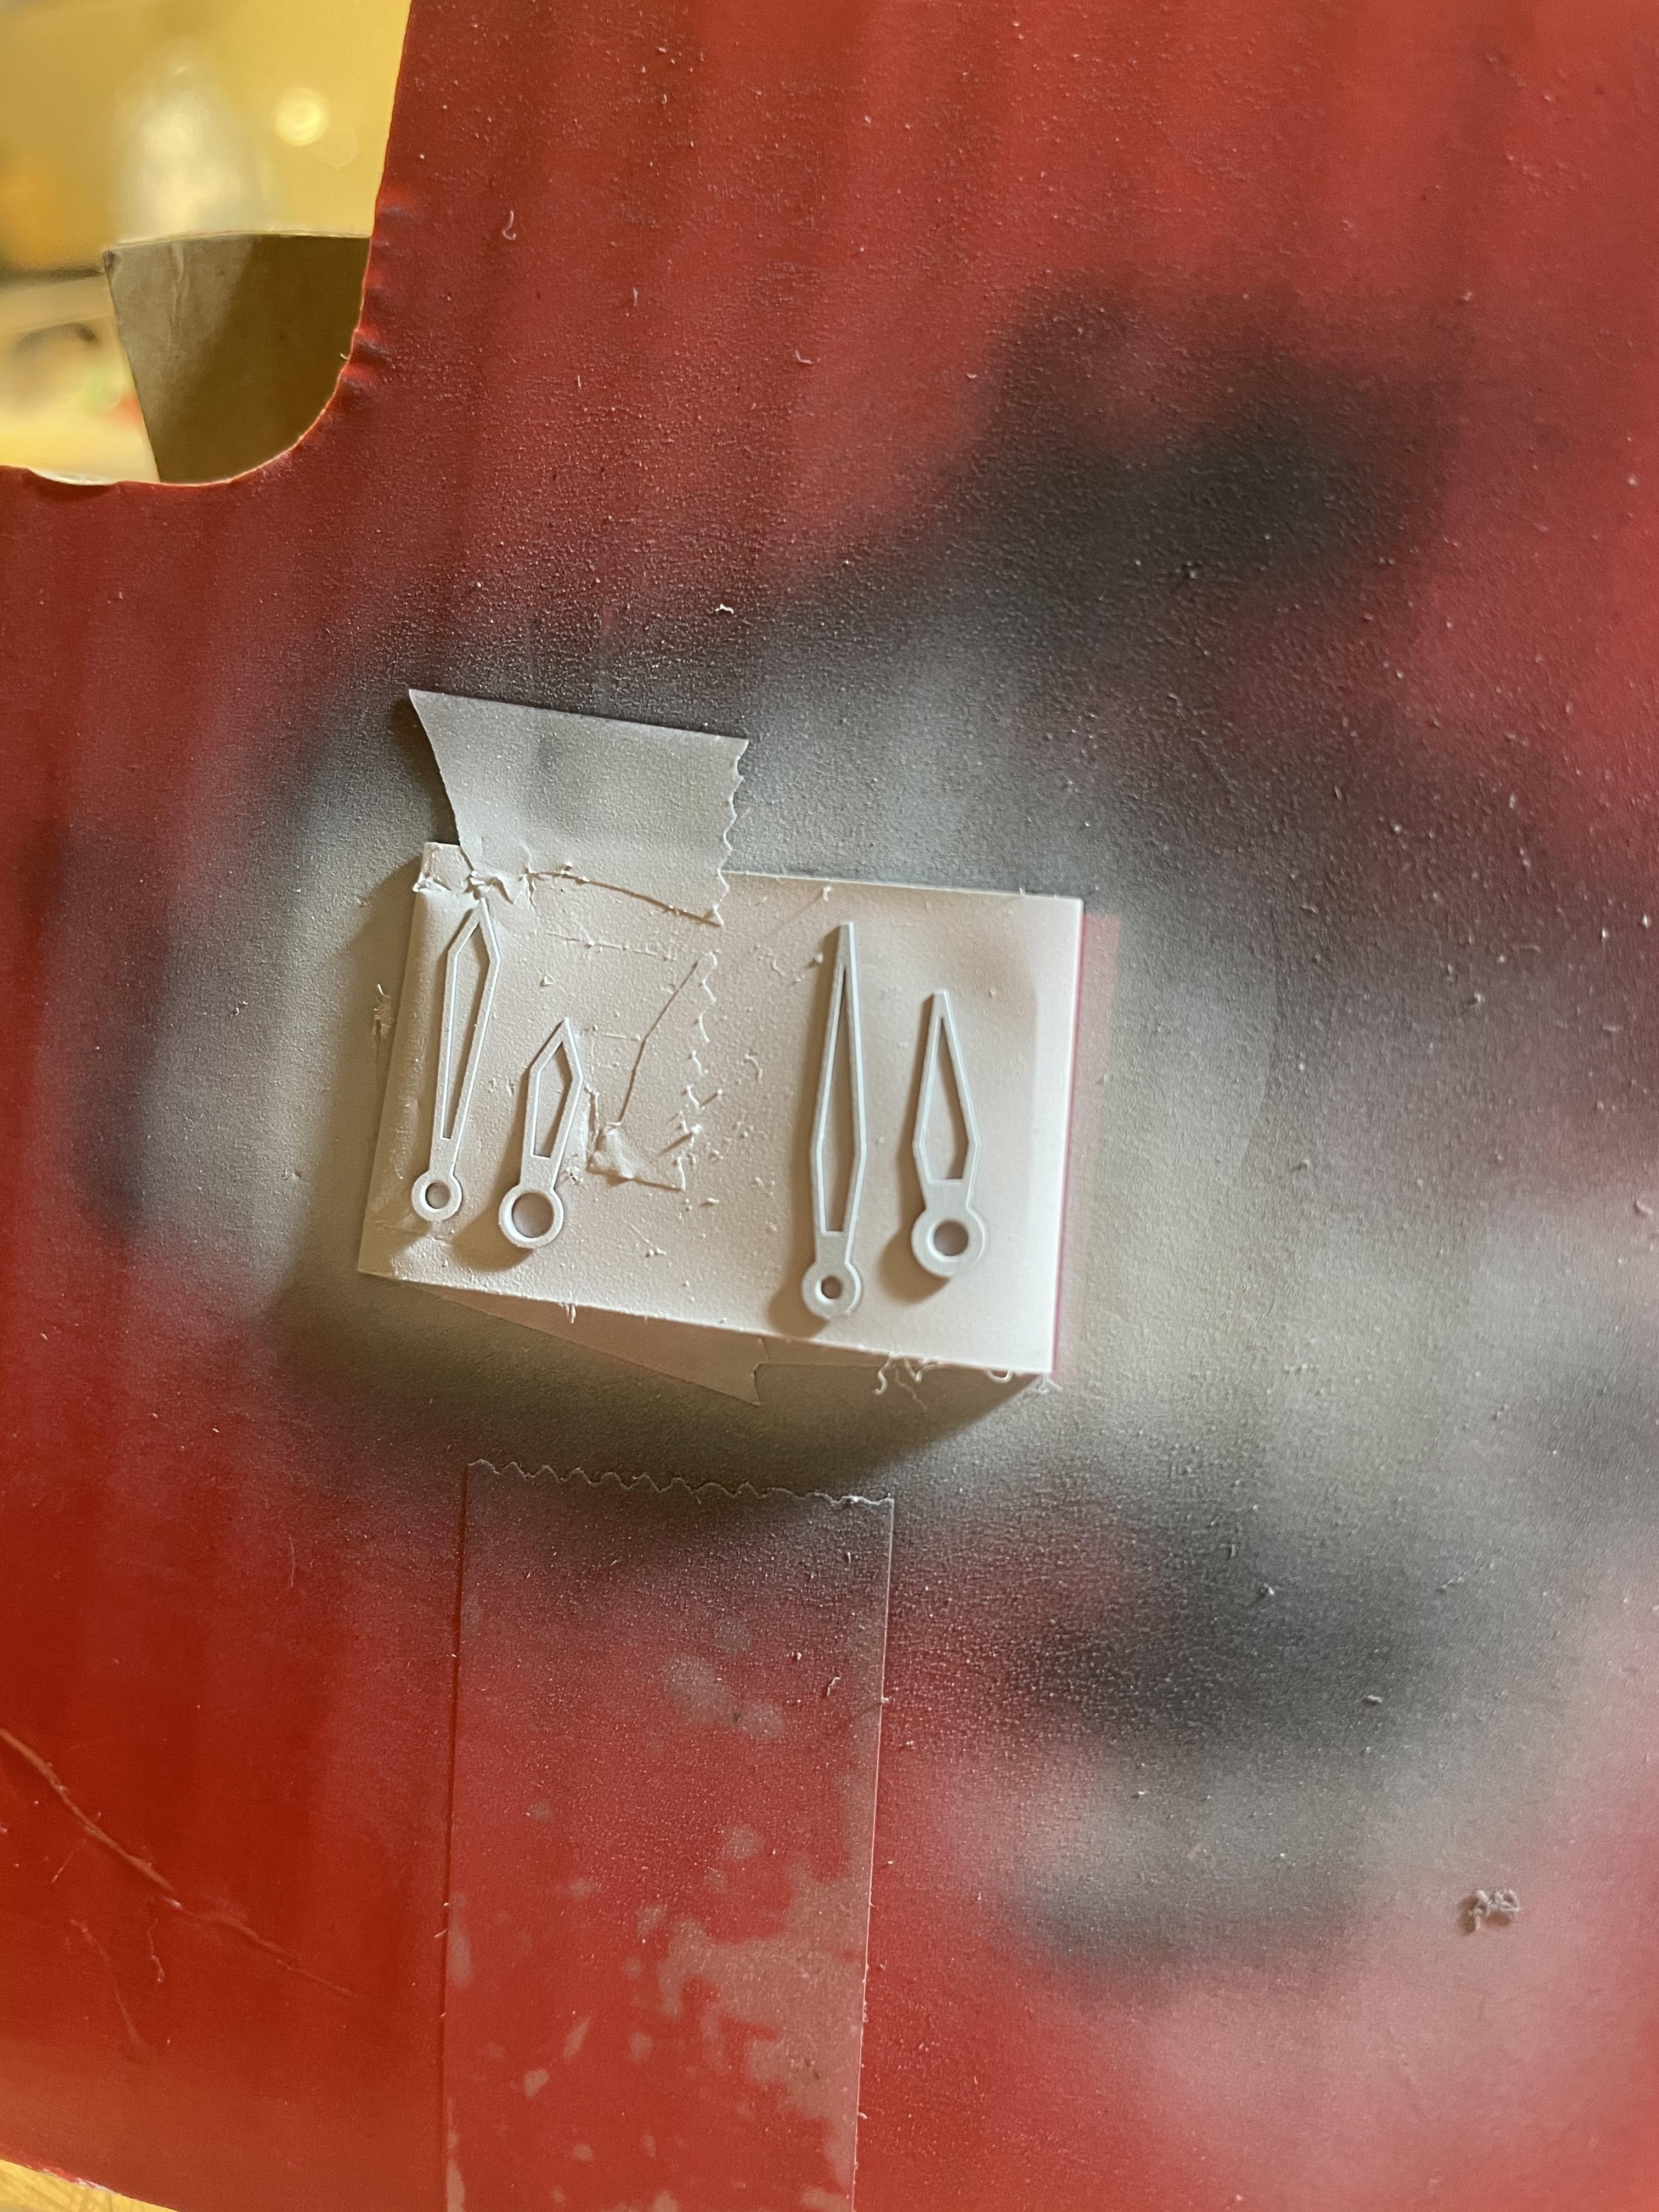
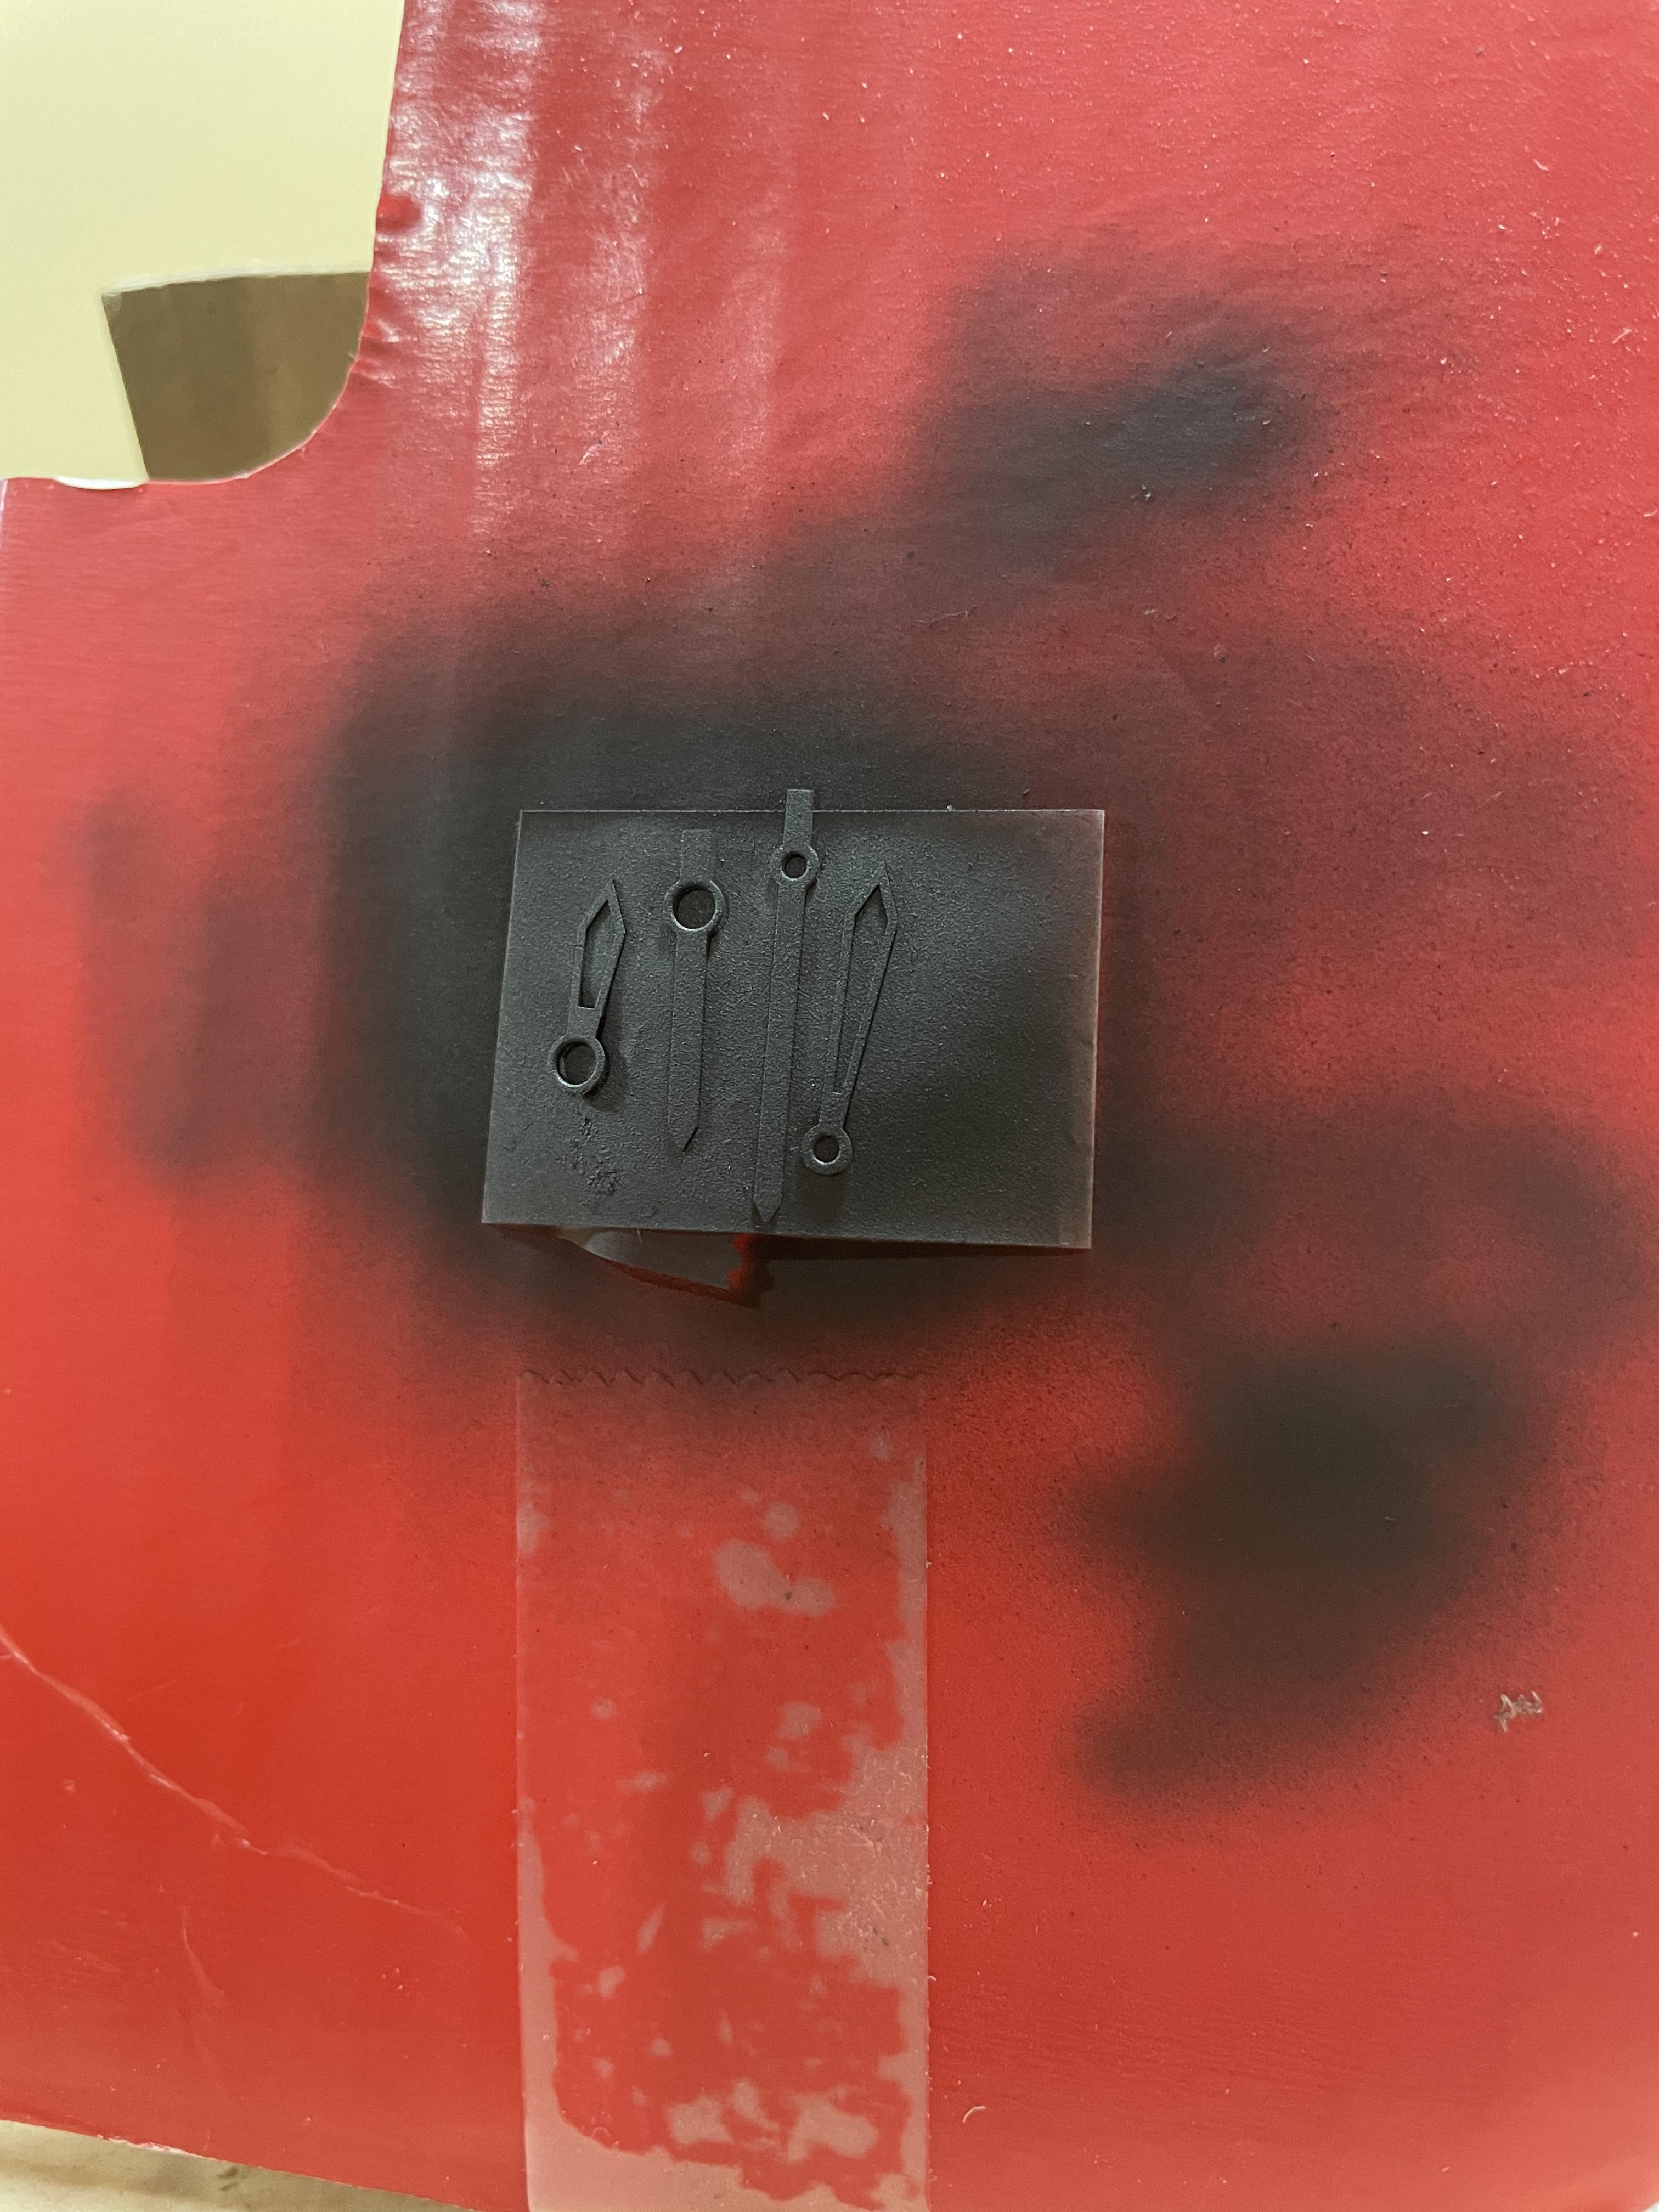
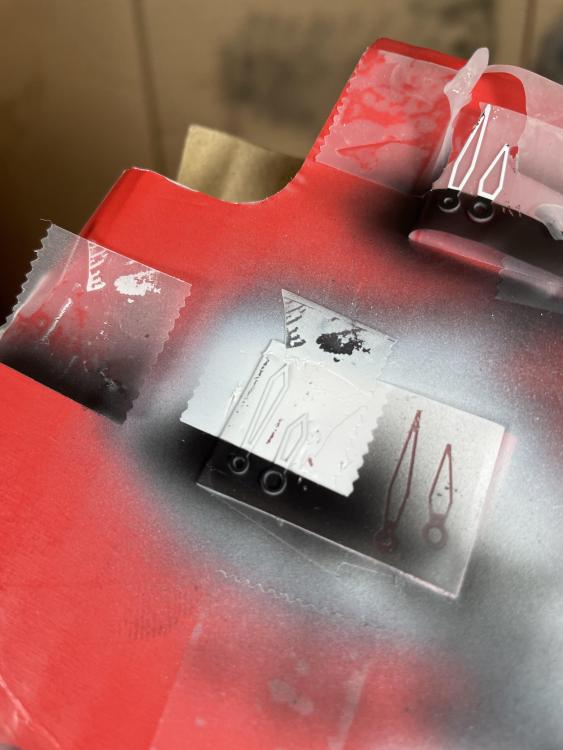
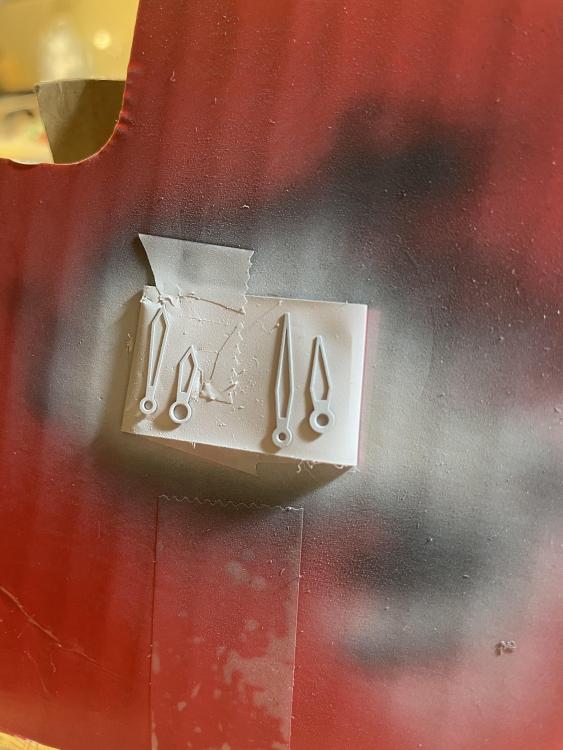
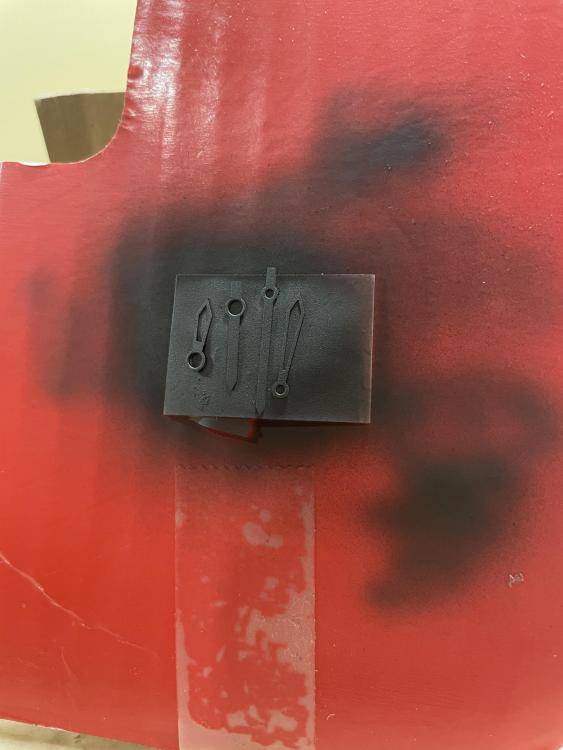
I’m working on the hands for the pilot watch I’m building. 5 attempts to apply lume and has proven to be difficult. The airbrush gives me good professional results but the lume is a challenge.

 1 point
 -
A simple but effective tool, better than the wedge stake and a hammer.1 point
-
Brill idea. It must surely work the key is a controlled squeeze and this absolutely gives it. Bergeron beware !!!!!!!!L1 point
-
I,d dull the cutting edge of the clippers so it wouldn't cut into the canon pinion.? Regs Joe1 point
-
I think it may be more complicated than you think (or less depending on your perspective) as those appear to be rubbed in jewels rather than friction fit.1 point
-
This one uses a brass finger on the roller table to interface with the pallet fork instead of an impulse jewel. This one appears to be yours. It has a jewelled impulse pin (no brass finger) but doesn't have any shock protection. This one is the shock protected version of the brass finger balance. You need BFG 34 7931 point
-
This might be of some help. qw305,307,309,314,315,358,364,388.pdf1 point
-
Are you looking for something like a technical communication? Or specifically the file I've attached? _c_t_ct_6498-1_fde_482382_10.pdf1 point
-
If you can't locate a new replacement crown (what is so special about it?), you have three options: - leave as-is - lubricate the O-ring and try to squeeze it inside the crown through the gap, going around .. Could be fun (not) - disassemble the crown (that "washer" can be pulled out), insert O-ring, and then try to secure that plate / washer (good luck) I would go with new replacement.1 point
-
That hairspring can be saved. Come back to it when you have had more practice.1 point
-
Hi Mike If you can get one of these tools it makes the escapement easier to adjust, nt cheap the one pictured is from cousins at £27 you can get them cheaper though.
 1 point
 -
Well no turning back now Mike, You will enjoy the experience, they are just a bit different from the norm. cheers1 point
-
The movement is brass, be careful with the rest as it is only plate and you don't want to rub that off.1 point
-
For what its worth, I've used PLA (wood glue), clear nail polish and UV cure nail polish, all of which work reasonably well. The trick is to make sure the mix is nice and "gloopy", as it needs to bridge the gap without dripping. I've only ever used lume powders, not pre-mixed stuff, and I suspect that this makes life a little easier as you can always add more lume powder to thicken the mix, or more of the fluid to thin it. In the case of PLA, you could also add water. Nail polish can be thinned with acetone if you need a very wet mix. I've no idea if acetone works with the UV cure but I suspect that it may, since I think the UV cure stuff appears to be removable with standard nail polish remover, which is generally just 99% acetone with a little scent and colouring thrown in to jack up the price. My worry with PLA is that it may be hydroscopic and if so, might cause steel hands to rust. I've no evidence to support this idea, it is just a possibility.1 point
-
Now managed to get a thin piece of steel wire to which I filed a taper and polished it and which now fits in the cannon pinion for a ladies watch. I mounted the tool in a small bench vice so that the screws end was upwards. This leaves 2 hands for turning the setting and pinching screws. It also made it much easier to fit the cannon pinion in position as it is fed downwards into the pinching slot to get the starting set point, and allows the wire to be manipulated to feel a good pinch status and allow removal of wire. I did note that the pinching screw can still be tightened beyond the stop screw setting due to flexibility of the arms, but this actually allowed a bit more control over the pinch !! The cannon seems to be working fine now.1 point
-
Late reply but it worked fine Sent from my iPhone using Tapatalk Pro1 point