Leaderboard


Popular Content
Showing content with the highest reputation on 05/04/20 in all areas
-
You need to check that when the hammer is down it's in full contact with the seconds heart cam and there is a tiny freedom on the minute cam. The jumper should be centered on two teeth at this moment.2 points
-
You know what they say practice makes perfect. No harm in putting a little pressure by using your finger on the top plate, then use your tweezers on each wheel, longest pivot first. When all wheels are in their places keep you finger there until the screws have been added, just remove any finger marks with rodico.2 points
-
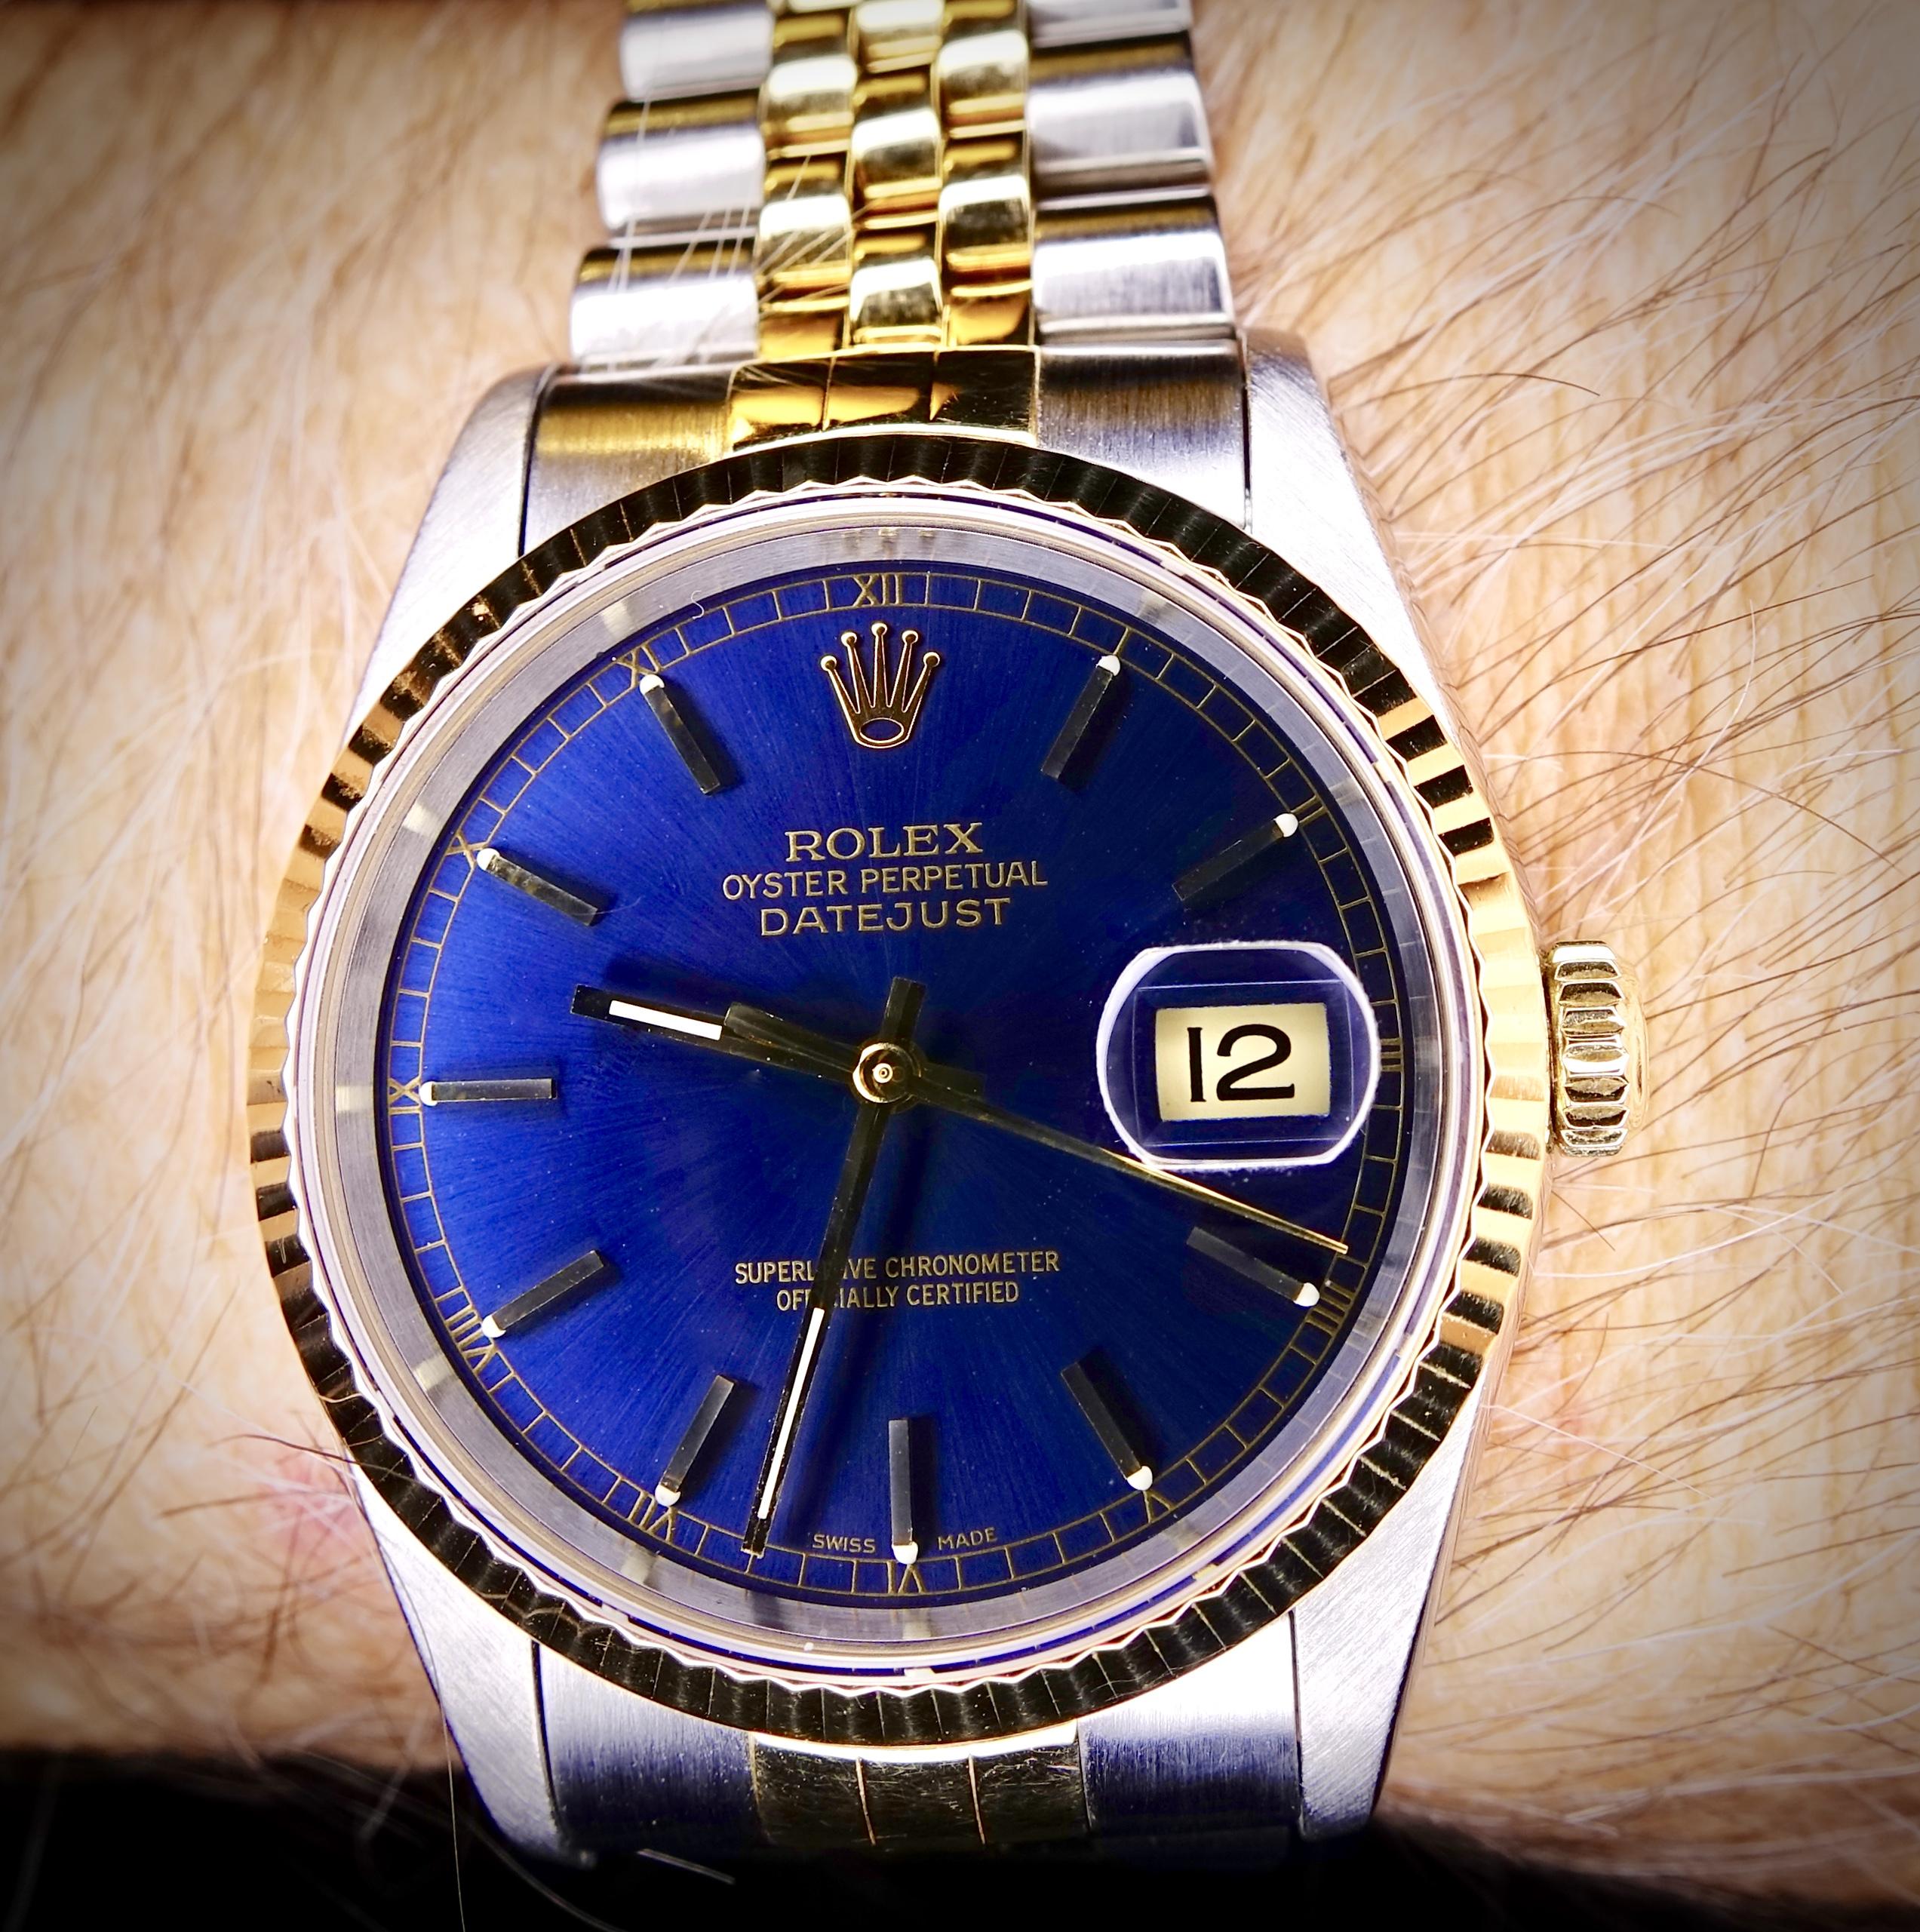
Seamaster Chrono Blue Dial 1972 145.029 cal. 861 "Rolex Datejust 18k/Stainless 1995 Bob
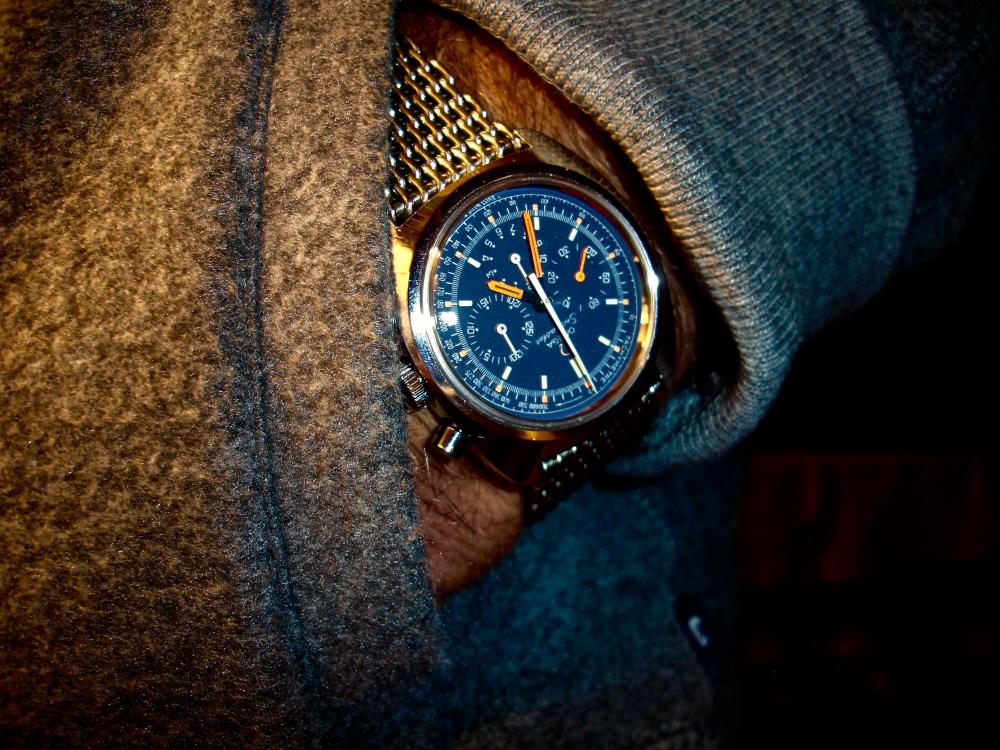
 2 points
 -
A circa 2005 Swatch Irony rises from the junk pile today. Yet another one of the "part of a job lot, but not the one I was interested in" watches. The second hand had fallen off and the crystal looked terrible. It had some green emulsion paint on it, and about 1/4" of broken strap still attached at each side. Since I have no Swatch straps I had to hack one out of another junk pile strap. So in summary, junk, strapped to more junk. There is a little polishing compound on the glass when I took the picture, which I hadn't noticed, so it looks slightly smokey. In reality, apart from that ding at around the seven o'clock position and a couple of other very minor craters, it looks fine. So much so that I actually sprang for an after market black resin strap for it. I also have a swatch buckle in the junk pile, so it should look fairly authentic once I'm done with it. So that will be a junk buckle on an ersatz strap, attached to a junk pile watch. Just perfect for wearing while doing the garden I would say. Speaking of which, we recently sowed some seeds from a packet that has been lying around since 2004, so round about the time this Swatch was made. They seem to have germinated just fine. If you are wondering how I re-fitted the second hand on a non-servicable watch, well with care, you can remove the bezel by prising it up carefully with a case knife, taking great care not to mar it, or the watch. The bezel and the crystal then come out as separate pieces. Refitting it requires a crystal press, and way more pressure than feels comfortable or safe. Needless to say, the crystal is also non standard, so good luck finding a replacement for that.
 2 points
 -
Fitted replacement crystals to both of these today (arrived from 'Cousins' lunchtime), currently wearing the 7S36 'Superior' .........1 point
-
Yes a press tool is definitely needed for armoured crystal I use a Robur press and a set of aluminium dies like these: I find the new Robur presses are pretty rubbish, as they are too light and don't even sit on the bench without wobbling, but the older cast Robur press is the business!1 point
-
Hi what I do is to pop in the screws and tighten down sufficiently just to hold the wheels and then juggle them in but as the thing giving you the pain is the escape wheel, Andy's method will work quite well. The same principal was used and published By Sylvester Crowley a while back when assembling three train clocks, rodico holding the wheels in place before dropping the back plate on. I have a copy of his publication. cheers1 point
-
I tend to prop it up on a small blob of rodico. This makes it slightly easier, as you can adjust its position relative to all the other bits that are moving randomly about, but it is still very hit or miss. Keep the swear jar handy, you will need it. I presume there was some sort of clever jig in the factory that kept everything upright while they screwed down the lid.1 point
-
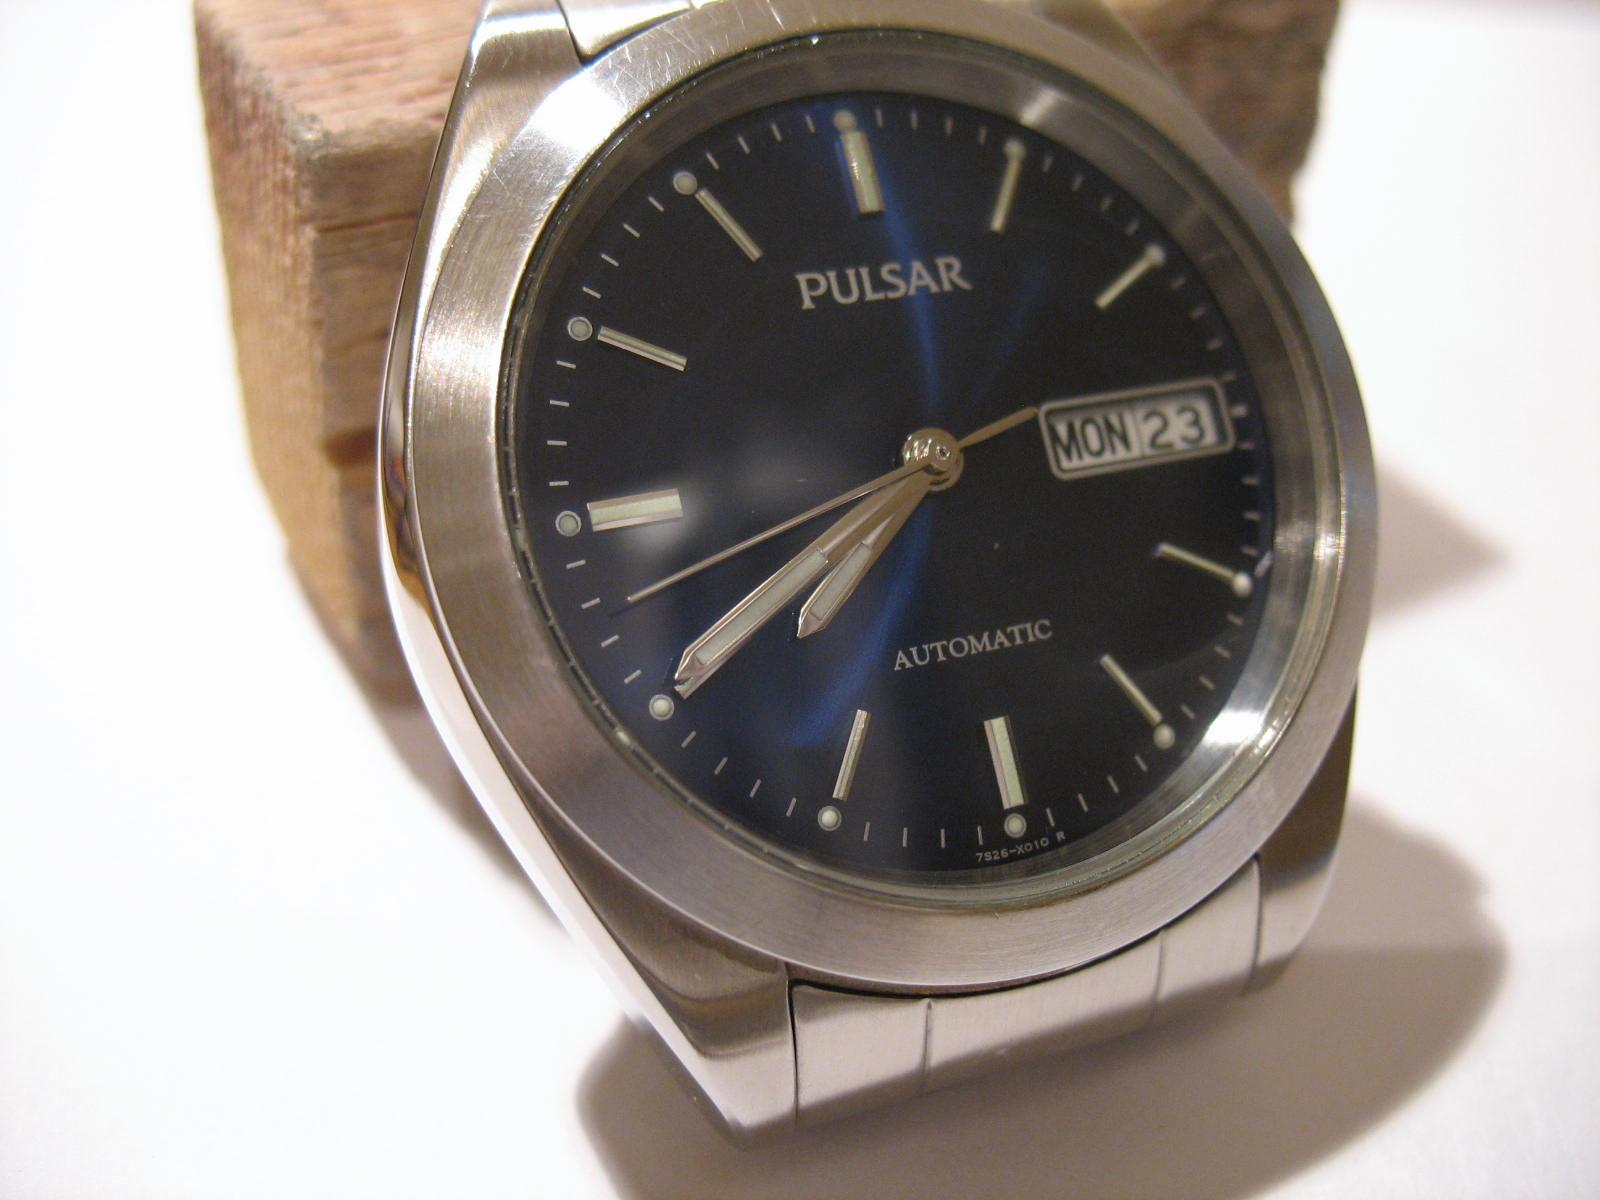
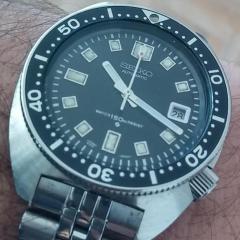
Late addition to blue dials; this is a Pulsar with Seiko 7s26 movement. Does not wind, nor does it hack, but nice looking I think.
 1 point
 -
United steel workers of America. Local 1258..Youngstown Ohio.
 1 point
 -
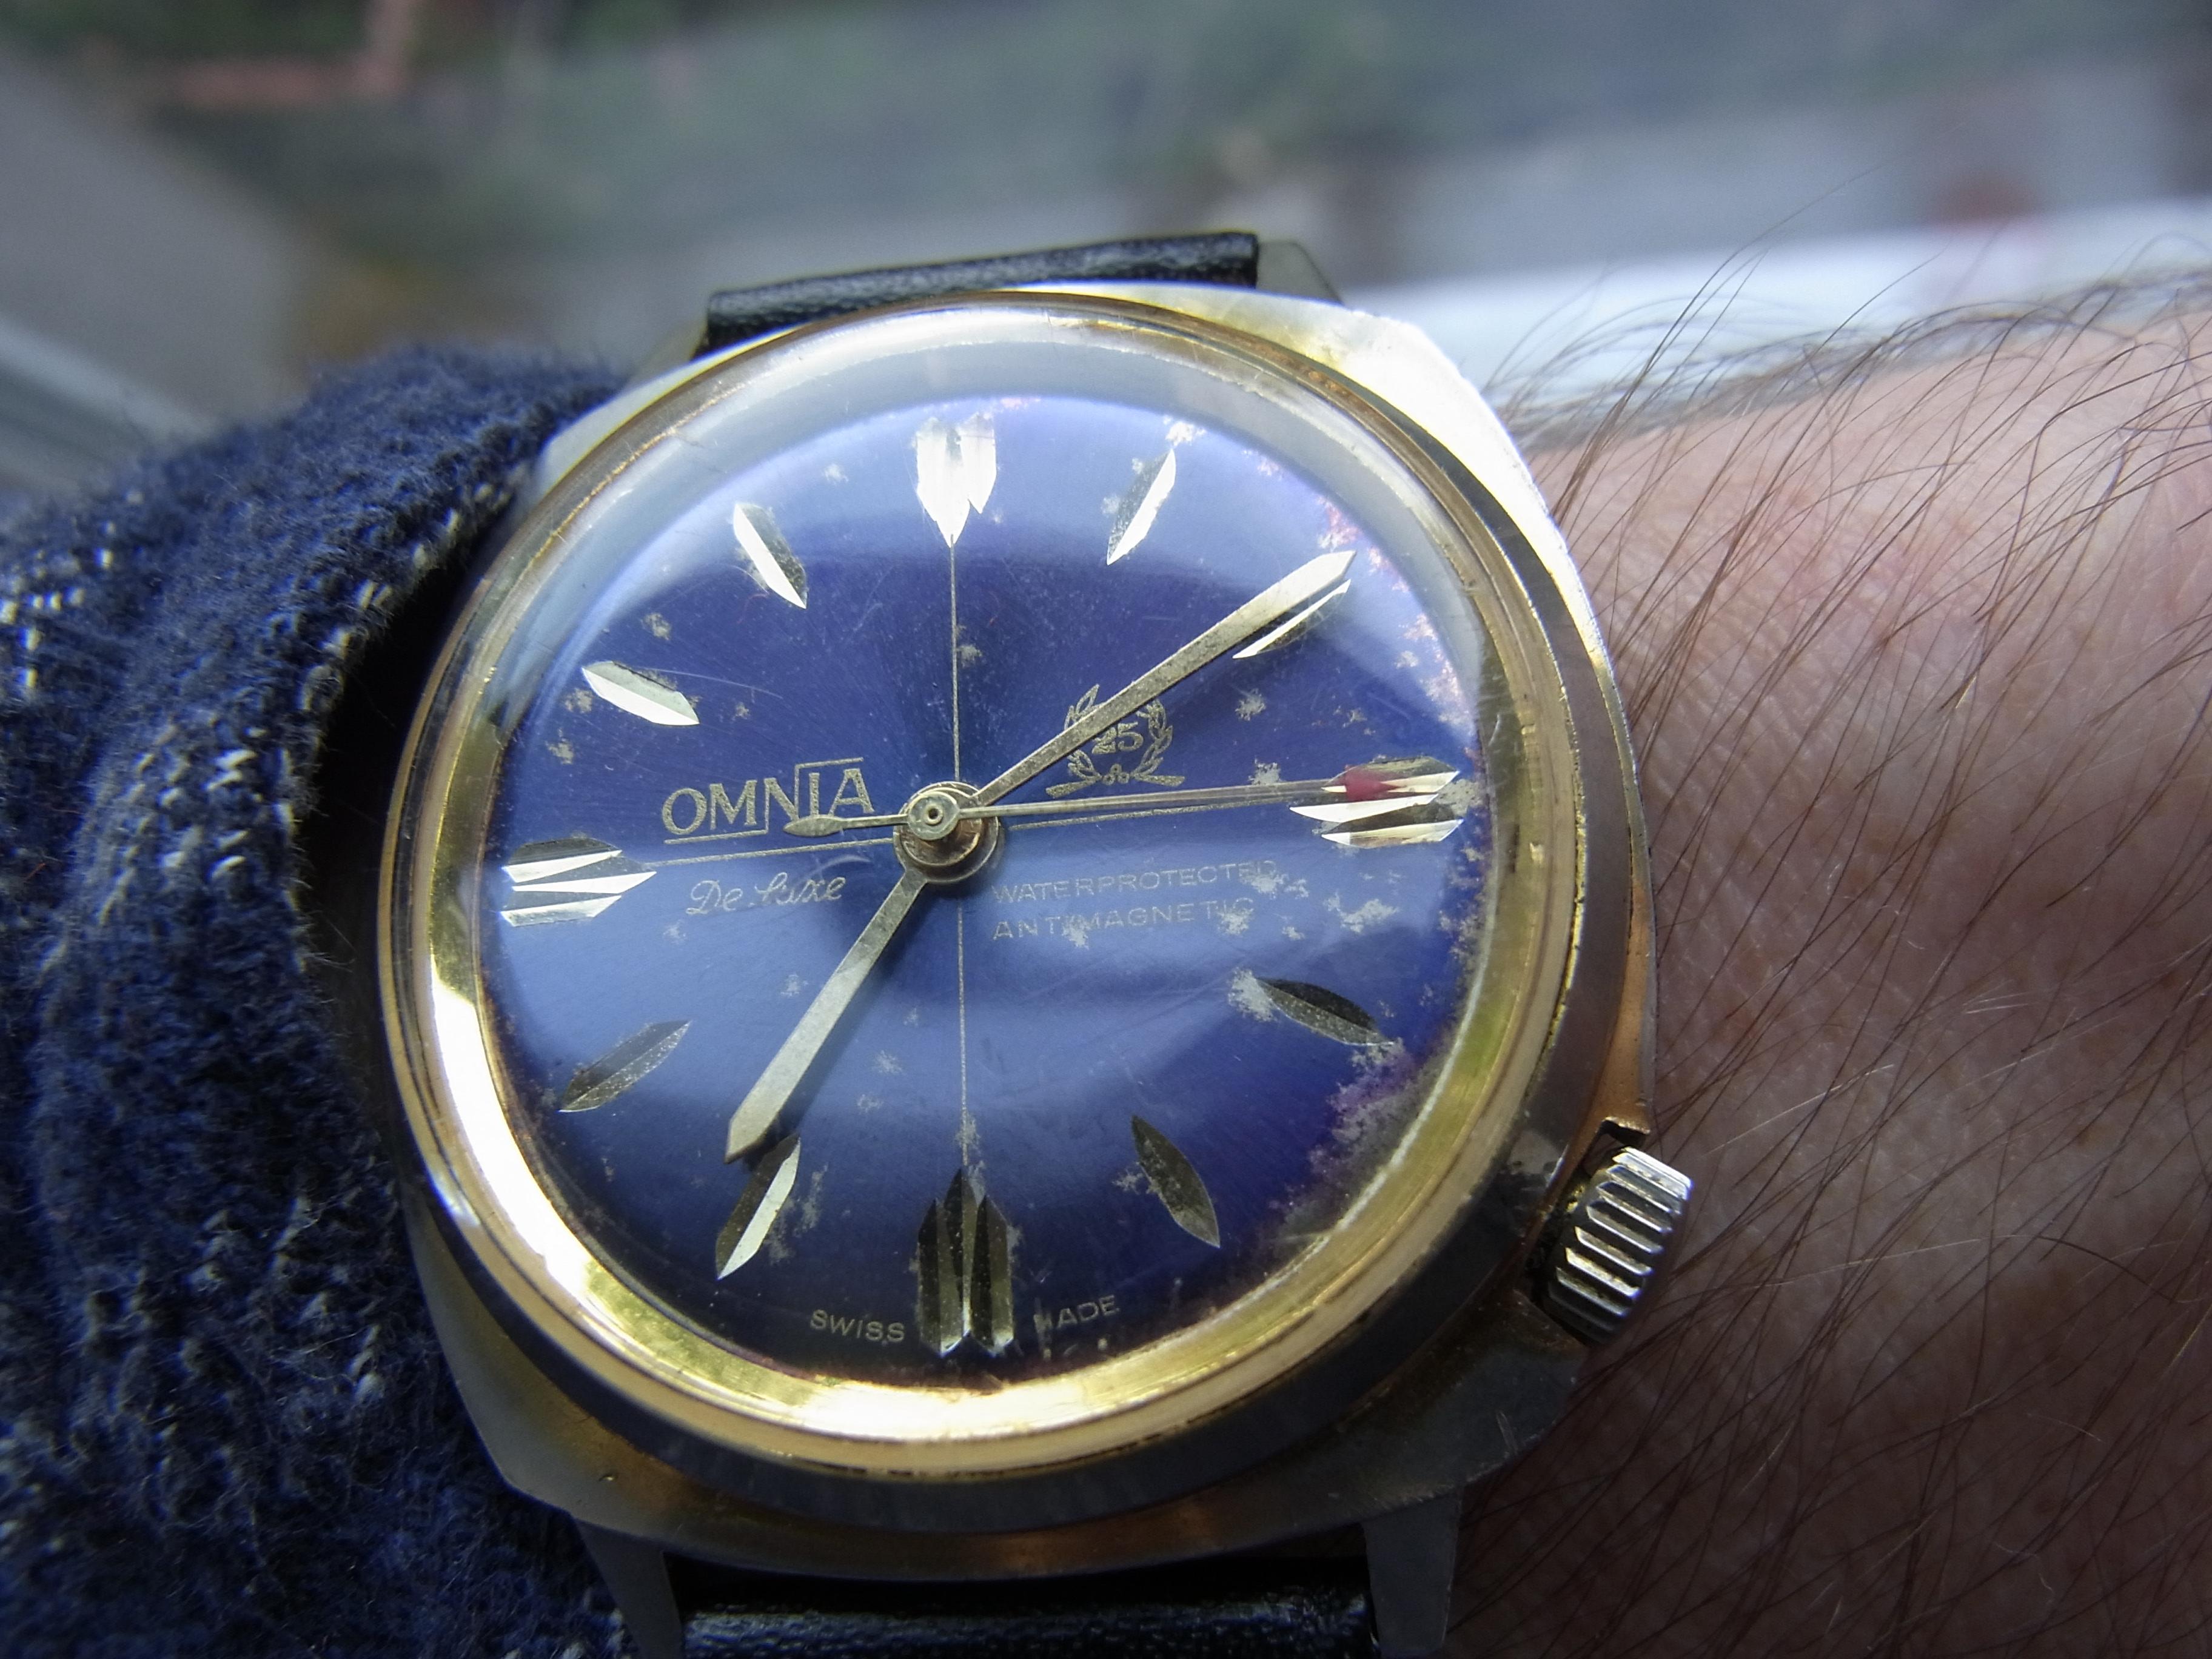
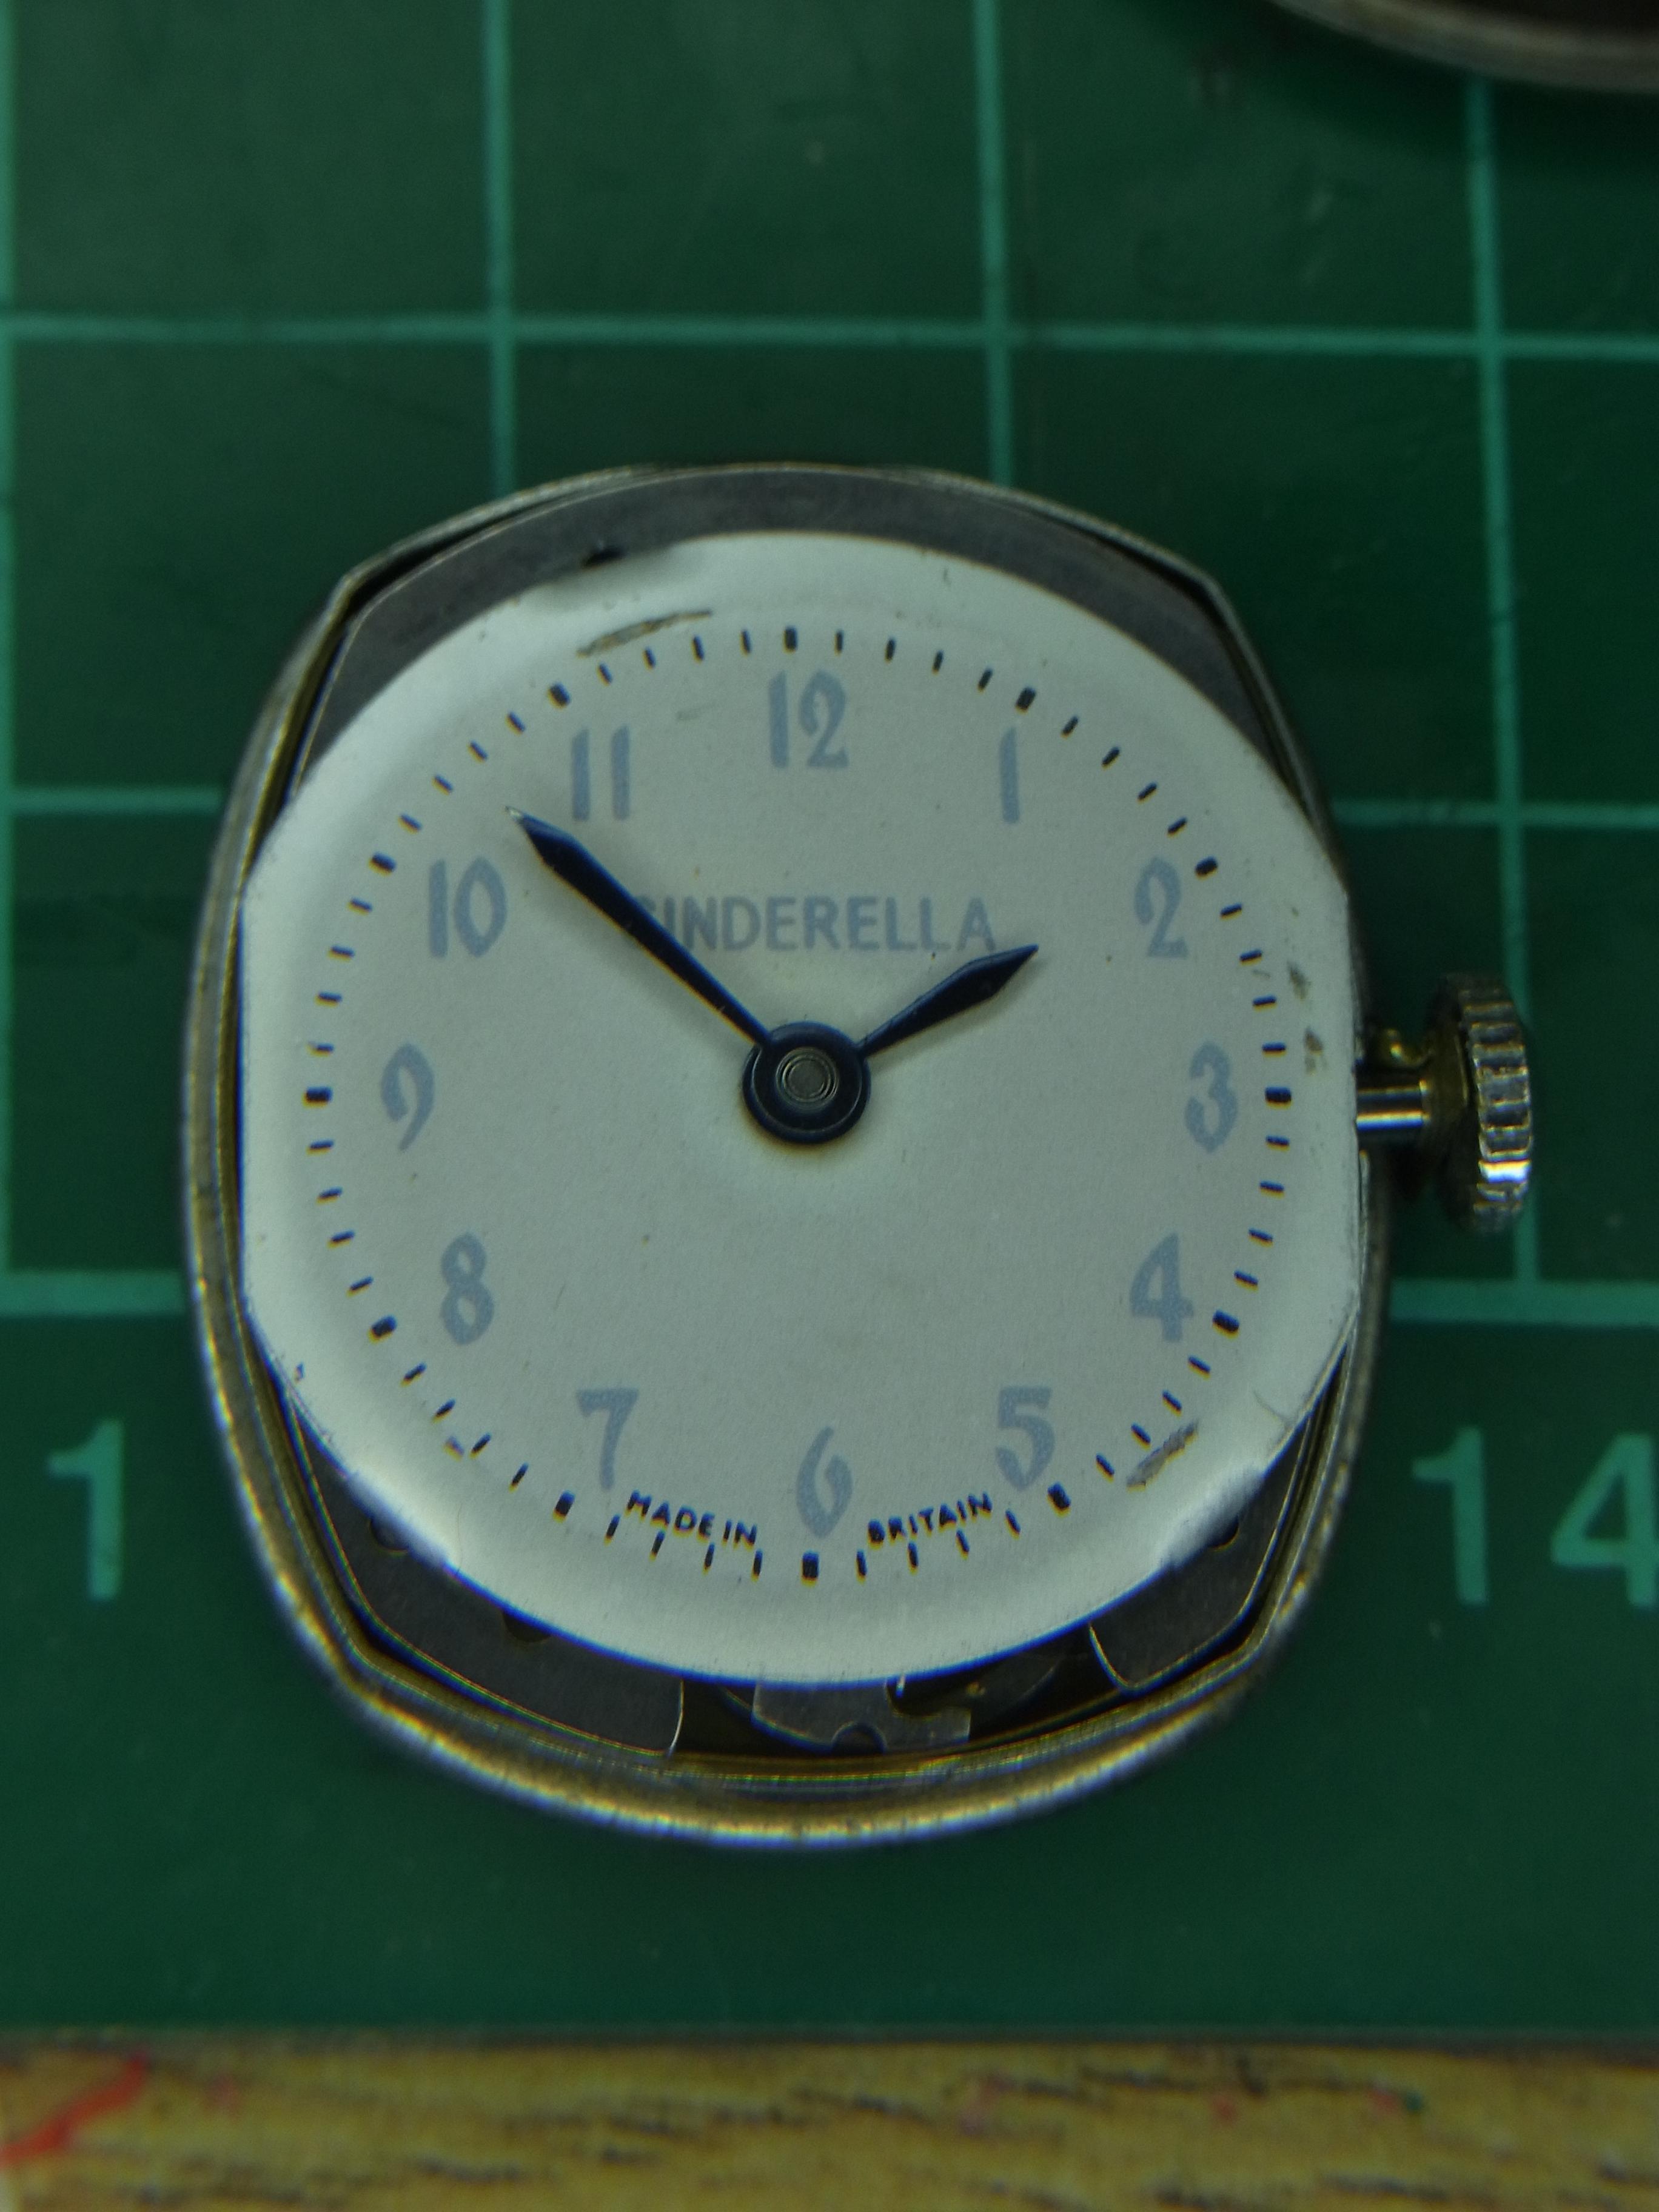
Powder blue dial (which doesn't really show in these pictures) with light blue lettering, so it kind of qualifies as a Blue dialled Timex. Circa 1964, and manufactured in Dundee. I must admit the mystery dial above puts this one in the shade. I don't suppose you would consider a swap? No? Thought not. There are several versions of "Timex Cinderella", and later versions have a picture of the Disney character on the dial. Omnia BG866 based late seventies pin lever with the ubiquitous for the time, offset crown. I posted this recently on the Watch of Today thread. Of the three, it is far and away the winner, despite the pitting on the plating.

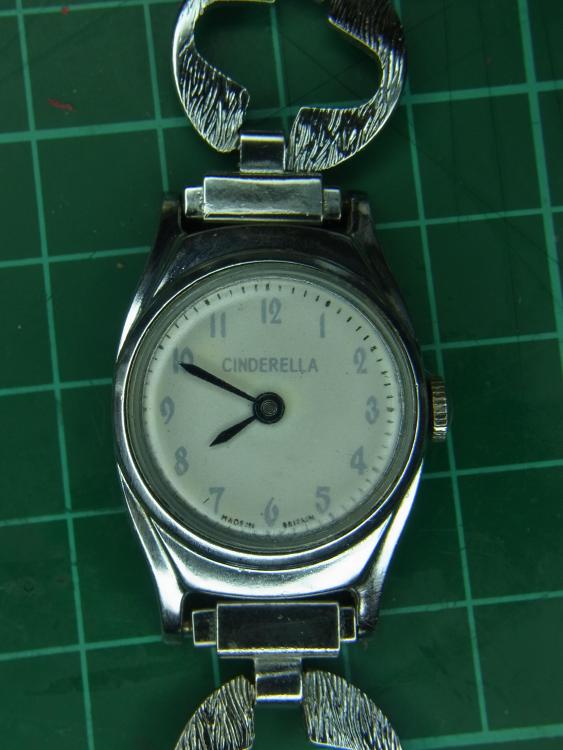

 1 point
 -
Hamilton 992 with a salesman case. Sent from my iPhone using Tapatalk Pro1 point
-
First thought is watercolour blocks which come in a huge array of colours and would give you the matt effect as well as fine control over colour. They can easily be ground to a fine powder and added in small quantities to a mix. Also consider that a constituent of umber is iron oxde ... or rust. Making your own rust powder is easy enough and I would think provide a better matt finish than coffee powder.1 point
-
The cheap China demagnetizers are ok. But you have to use them correctly. They do not come with a auto power down function like some expensive models. What you have to do is press the red button, feel the object that you are trying to demagnetize vibrating, then slowly lift it away from the demagnetizer perpendicularly to about 6" - 8" away. Then release the red button. If this is done incorrectly, you could end up magnetizing the object instead. You can get a small magnetic compass, even those small compasses attached to watch straps, to check for residual magnetism. There are some phone apps that can measure magnetism also. Practice on your screwdrivers. Magnetize one of them first. Then hold it near the compass, the needle will move. Then demagnetize it. If done correctly, the needle shouldn't move anymore. Best of luck.1 point
-
Hello, Looks like an AP Royal Oak if I'm true (real or fake I dont mind ) I have never rebrushed any of those watches but the method I have used to successfully refurbish my father-in-law's really worn Rolex bracelet (with polished central link) should work I suppose. So here's what I would do ... STEP 1 - remove the bracelet from the watch and put the 2 parts and clasp apart STEP 2 - gently clean with ultrasonic or just bathing it with a cleaning fluid (I use "essence C" but that's a french product denomination) STEP 3 - put some double-sided tape on a perfectly flat surface and stick the bracelet parts on it, downside-down, while checking that all the links are perfectly aligned ... press vigorously and check that not any part can move STEP 4 - gently sand (YES) your bracelet with an abrasive block of really high grade (1200 or higher would be good) until all the big scratches have disappeared ... if some of the scratches remain then consider them as "part of history" of your watch because you dont want to thin your bracelet here ... you just want it to be clean and nice NOTES : - after part 4 your bracelet will look dull and unbrushed but don't worry you will solve that problem later - if the down-side of your bracelet is scratched too (it doesn't seem scratched on your pic but who knows) you just repeat steps 3 and 4 on that side - if the sides of your bracelet have scratches you should do the same process but here you will have to hold the parts with one hand and do the sanding work with the other ... proceed slowly and carefully because you will have to repolish those sides STEP 5 - blow the metal dust which remains on your bracelet after sanding it ... DO NOT scrub it because doing this you would create more thin scratches STEP 6 - clean your bracelet parts again with cleaning fluid and let everything soak or dry everything STEP 7 - repolish the sides of your bracelet, using Cape Cod polish or any other steel polisher you can get ... the best is if you have a dremel (or you can borrow one) and use White Dialux with a felt disc then Blue Dialux with a cotton pad NOTES : - of course you have to proceed both sides of each part of your bracelet - I really dont know how the clasp should be polished ot brushed so just check on the web STEP 8 - clean your bracelet parts again (YES) with cleaning fluid and let everything soak or dry everything STEP 9 - put some new and clean (no steel dust) double-sided tape on "the above" perfectly flat surface and stick the bracelet parts on it, downside-down, while checking that all the links are perfectly aligned ... press vigorously and check that not any part can move STEP 10 - stick a ruler (or a perfectly straight piece of wood, steel or any other material) on your work surface close to one part of your bracelet ... you must check that it is perfectly parallel to the axis of the bracelet part you will work now so take your time and align everything perfectly STEP 11 - take an abrasive block of medium high grade (I'll explain how to choose the grade in a note below) and put it on your bracelet, placing the side of your block against the ruler so that you can use the ruler as a guide to produce perfectly parallel marks STEP 12 - brush the bracelet part slowly and regularly, always proceeding from one end to the other and always on the same direction (I generally brush from the part close to the watchcase to the one that fit to the clasp) ... do as many pass as needed to obtain a perfect brush ... DO NOT apply too much pressure on your sanding block because you DO NOT want to brush the polished chamfers on the sides of your bracelet STEP 13 - repeat the process with the other parts of your bracelet STEP 14 - blow the steel dust, clean again, put back on your watchcase and ENJOY STEP 15 - now if you have done really good work you should think that your watchcase too needs some rebrush/repolish ... but that's another story NOTES : What is really difficult is to figure out which grade of sanding block you should use to get a perfect final brushing. It really depends on the brand and the model of the watch (I didn't redo my wife's vintage DJ Jubilee bracelet the same way than my father-in-law's Daytona bracelet). The best could be to get a piece a clean stainless steel and do as many tests as needed and decide which grade will do the best finish. That's all and hope it helps1 point
-
Imagine where a watch will spend most of it's life and regulate for that. So usually left wrist crown down and bedside table dial up. Best compromise of these two positions should give good results.1 point