Leaderboard


Popular Content
Showing content with the highest reputation on 12/02/19 in Posts
-
Hi If you follow jdm's advice and practise on somthing cheap with no practical value to gain experience no matter if it ends up as toast you will have learnt a lot. I take it you live in America so look out for garage sales or yard sales for some cheap stuff. good luck in you venture into the world of watch repair.2 points
-
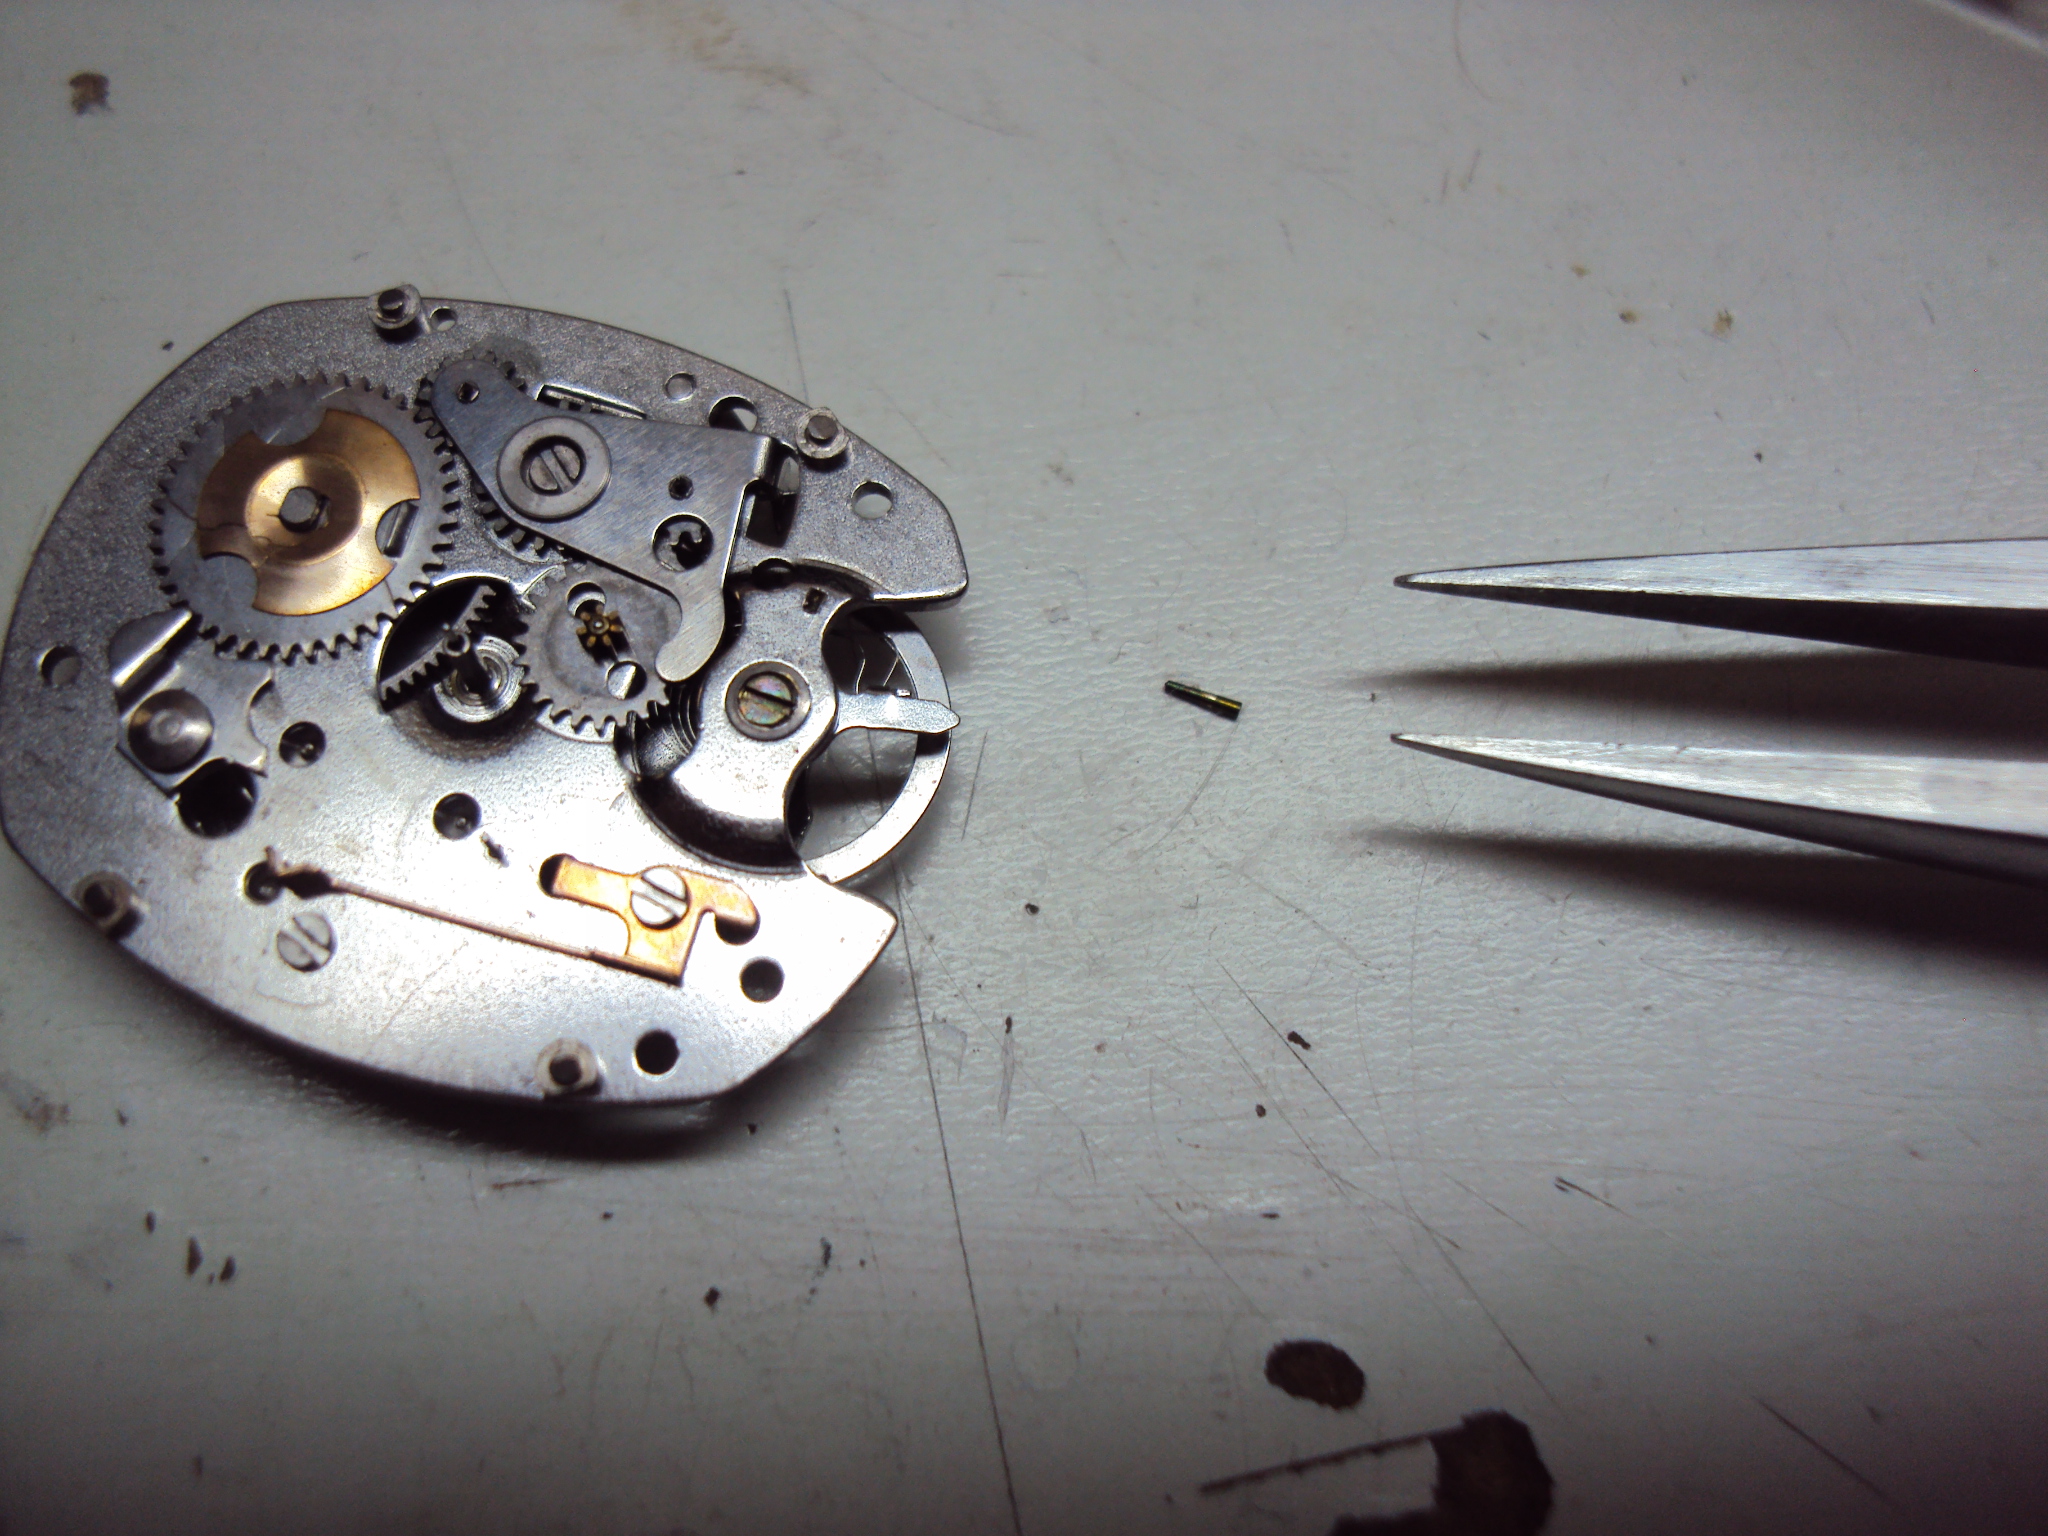
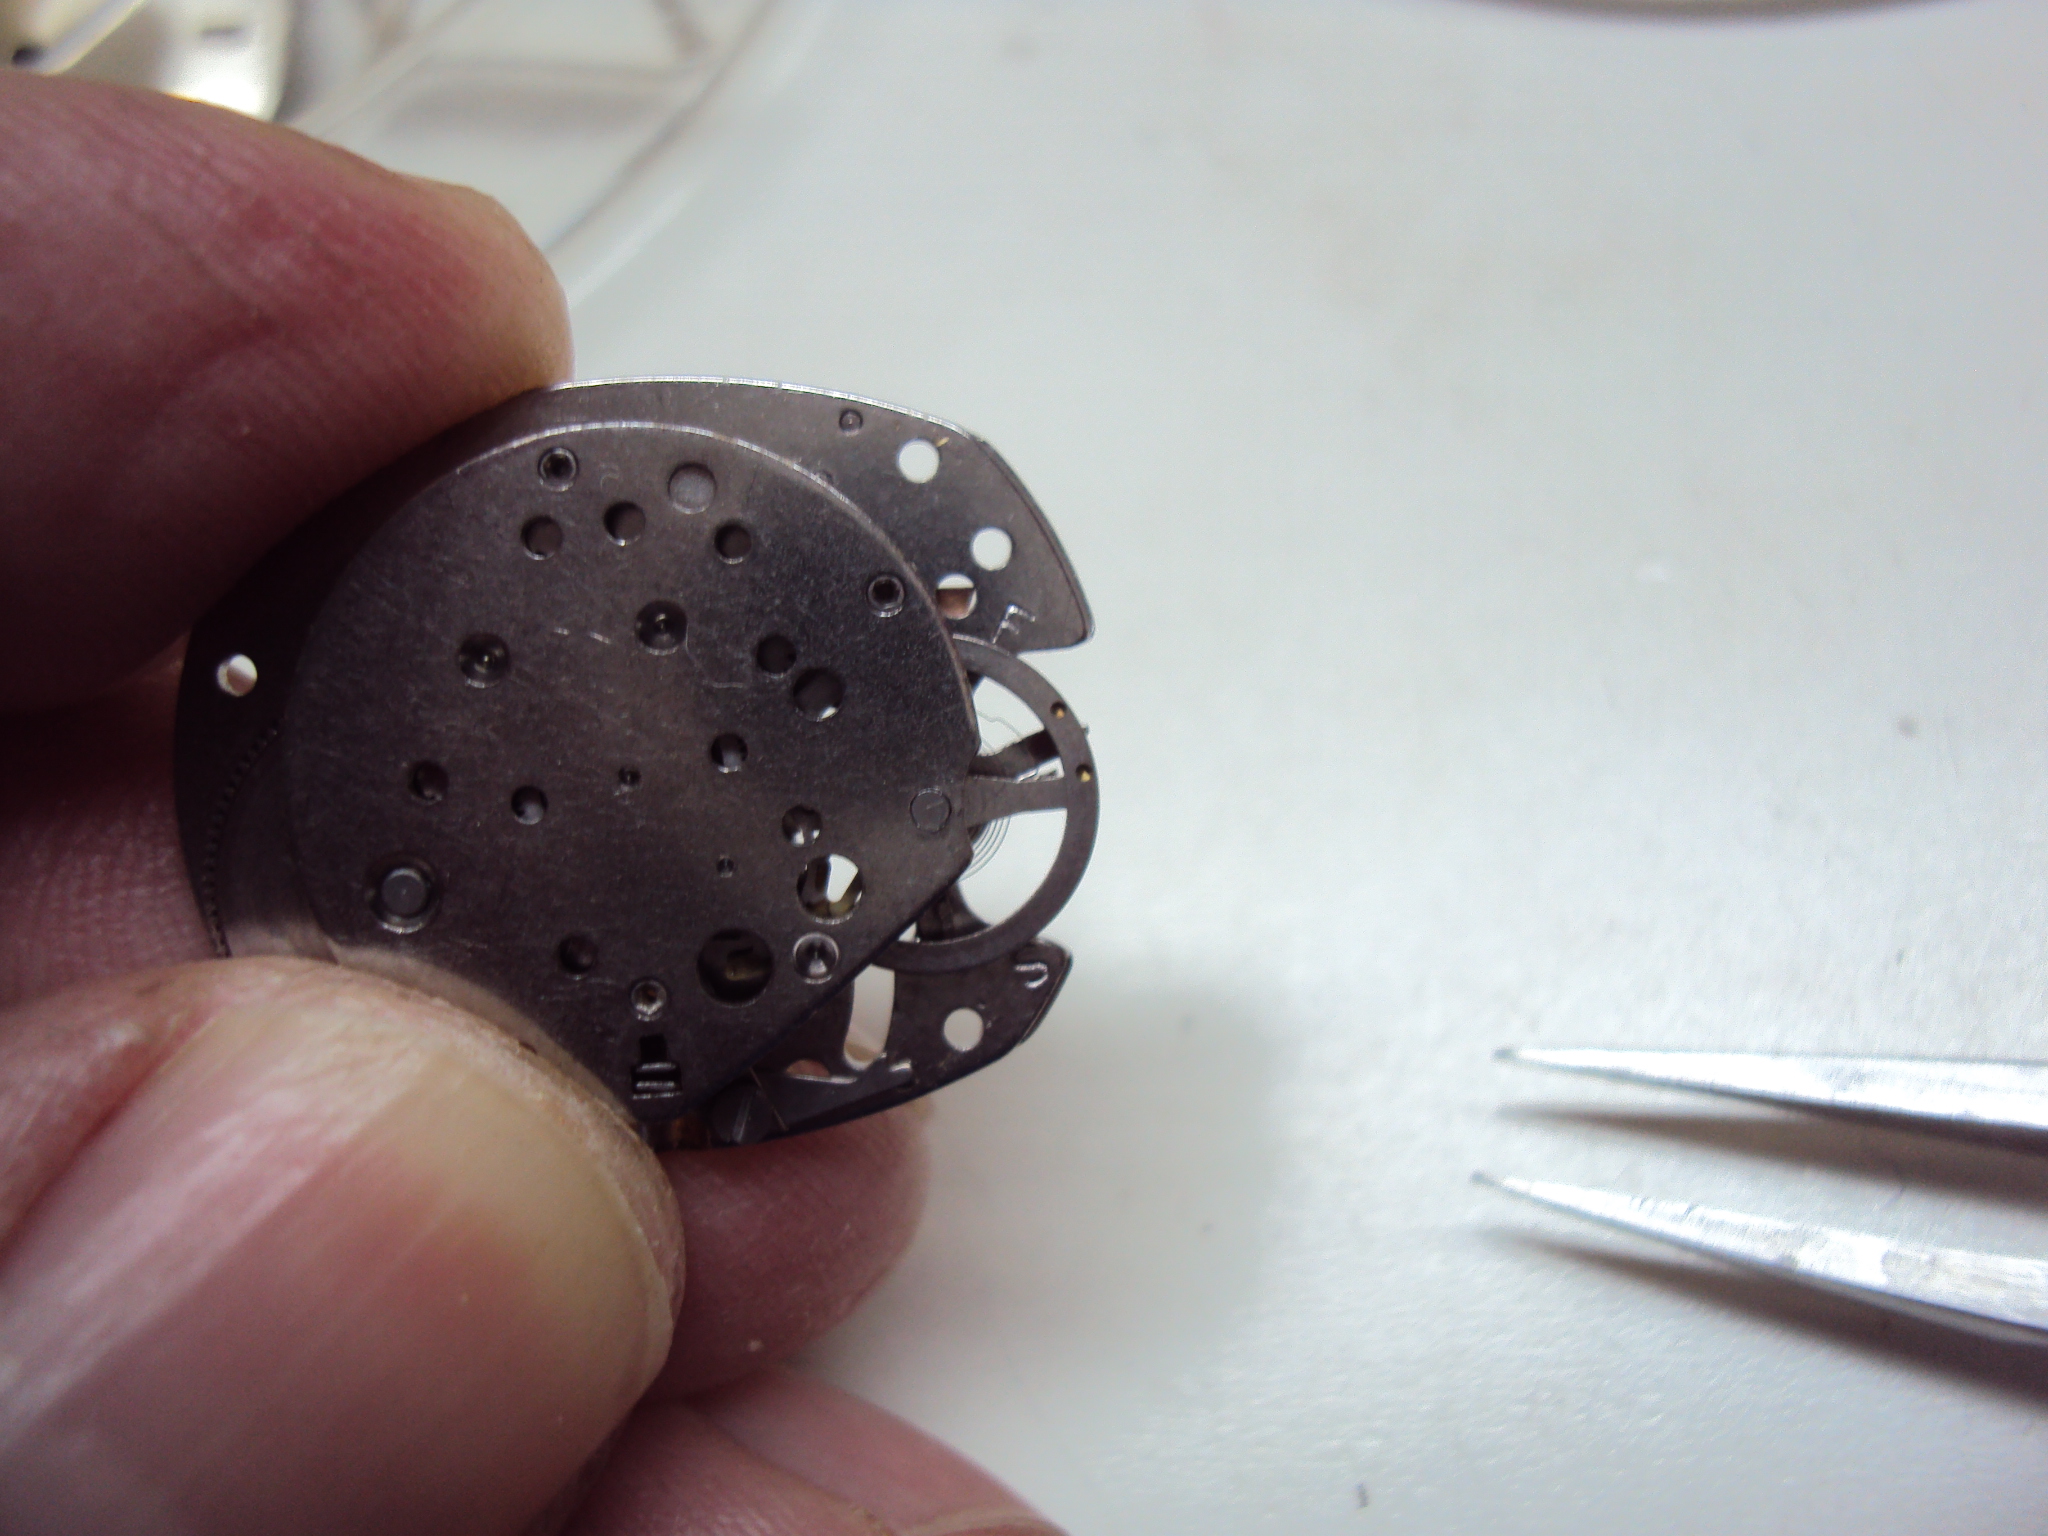
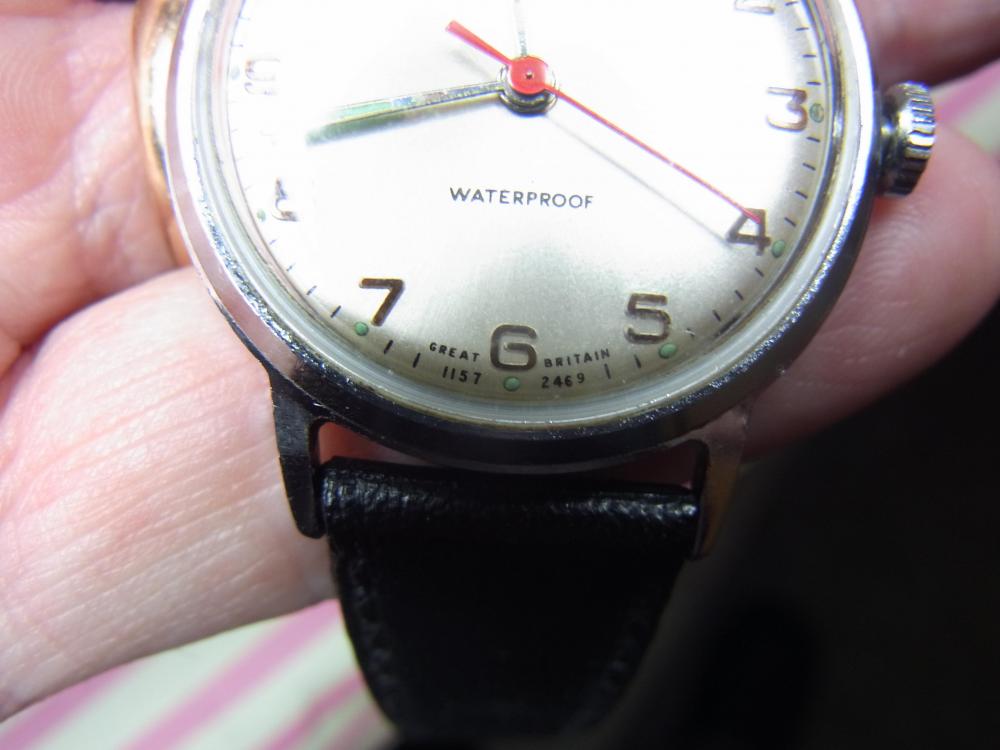
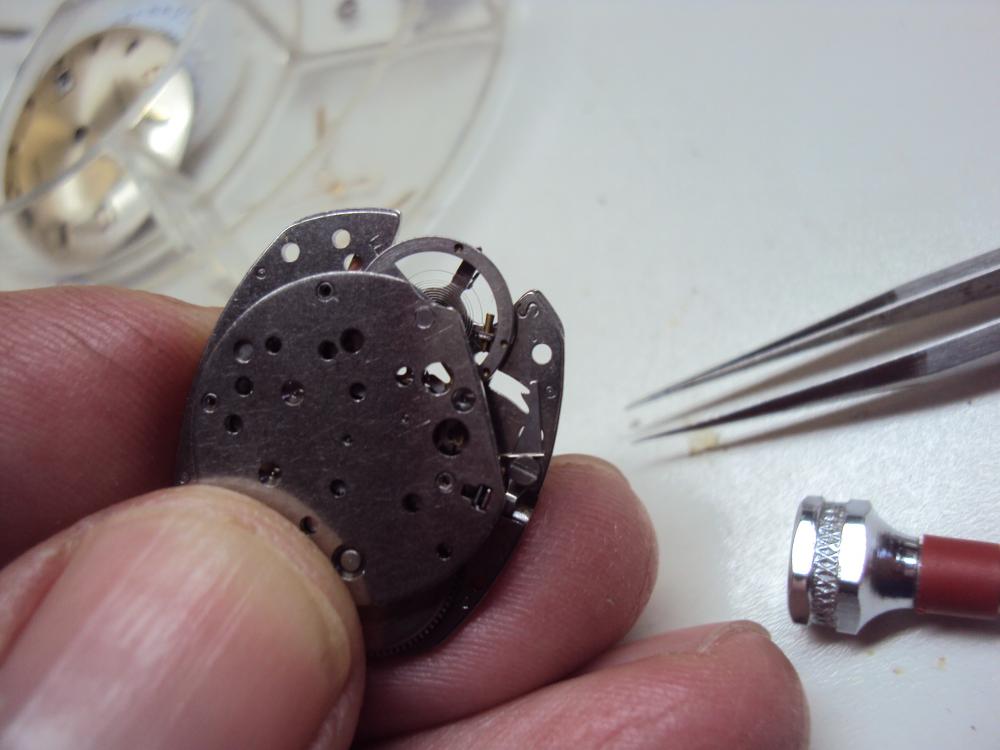
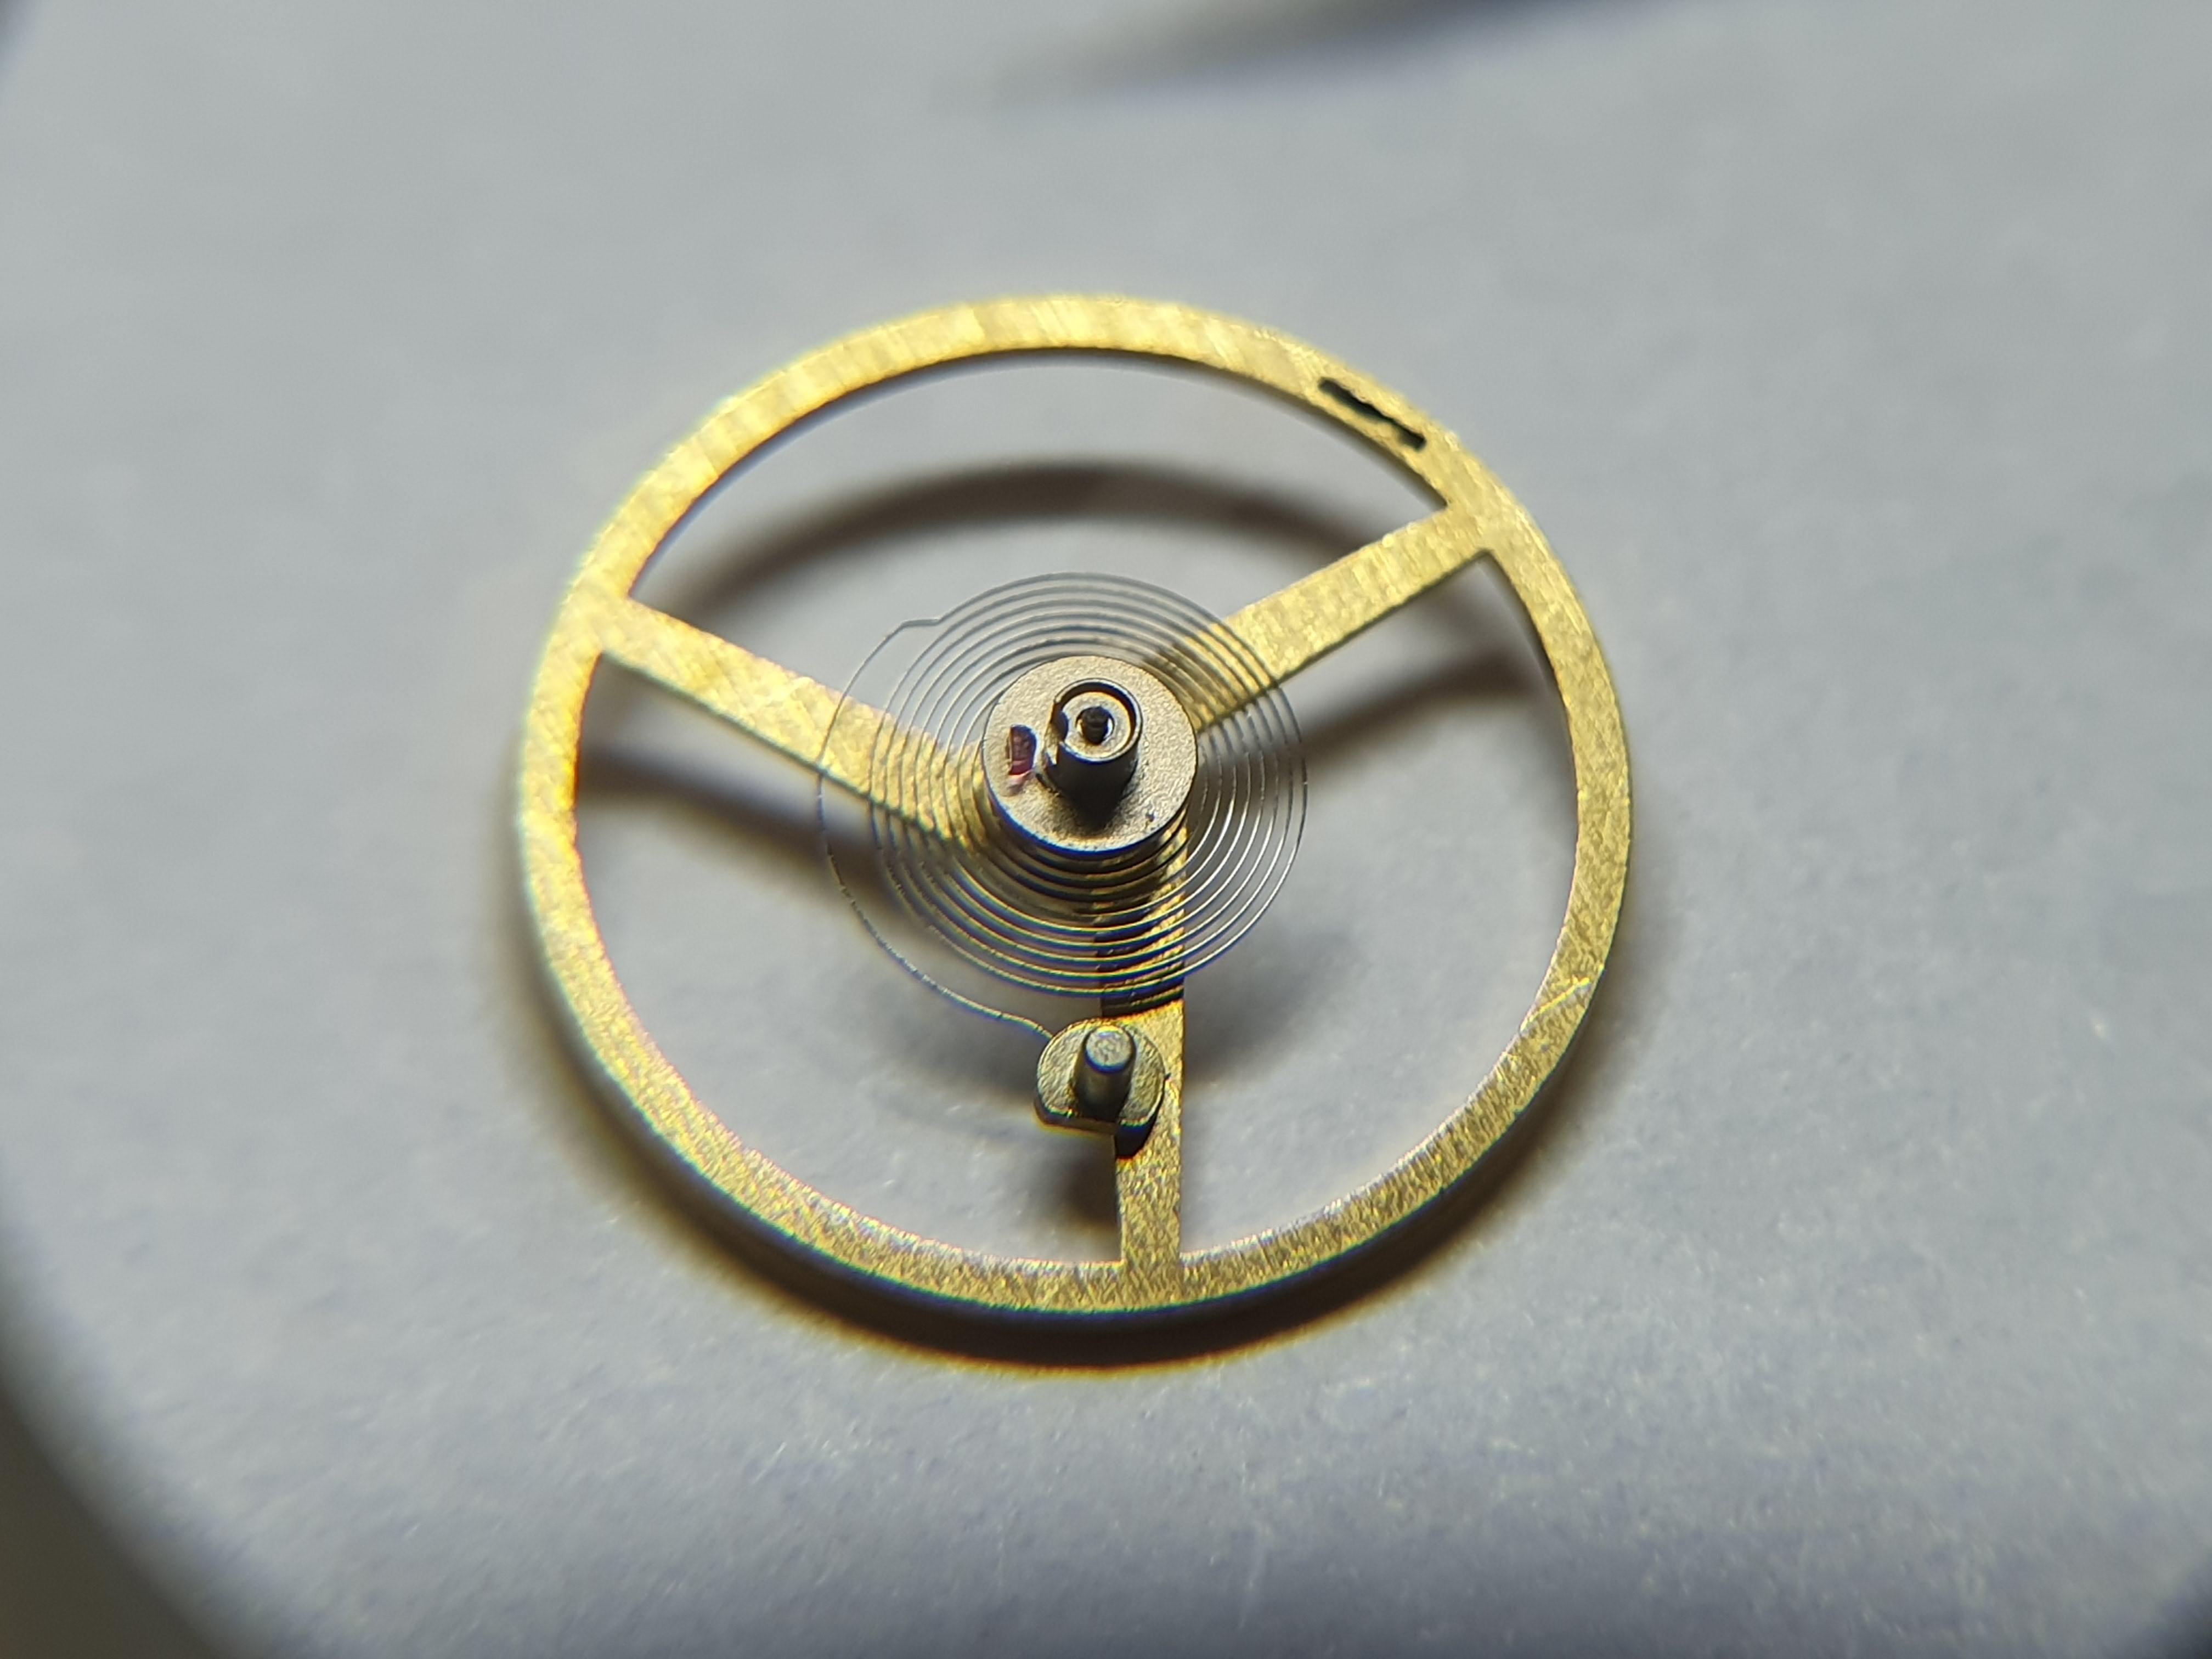
Plastic movement tissot 2250. Nothing damaged inside but it keeps running at about +250 s/24h so I'm suspecting the hairspring.


 1 point
 -
Thanks for the advice rogart63. Unfortunately I don't have lathe skills yet, though something I'm interested in learning at some point.1 point
-
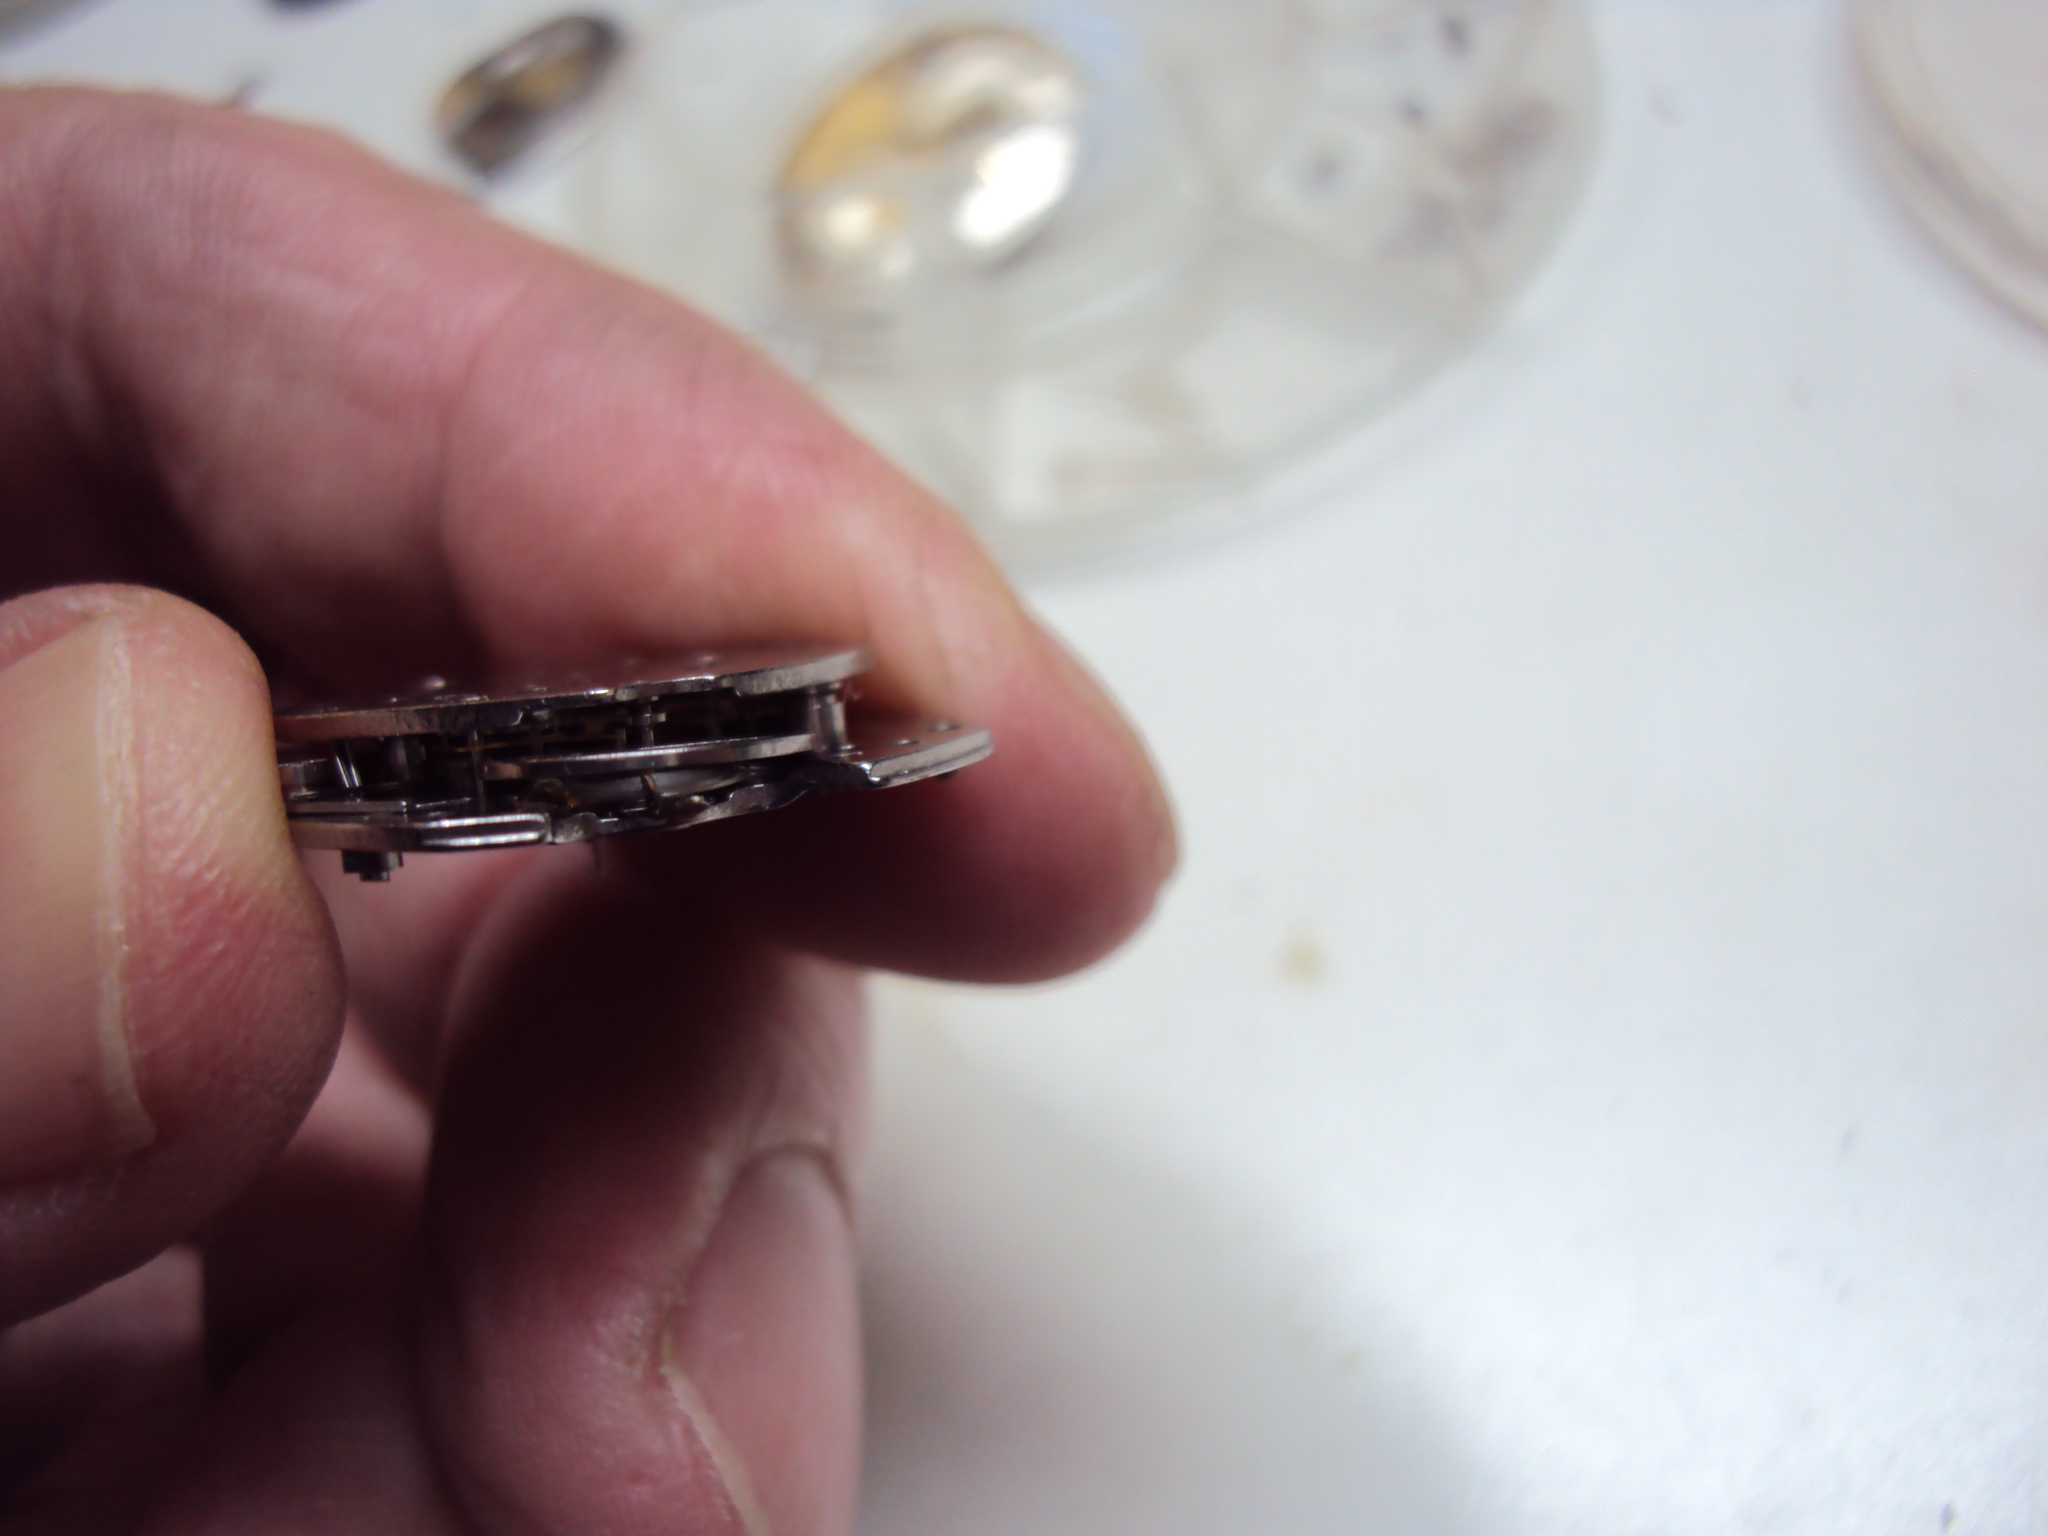
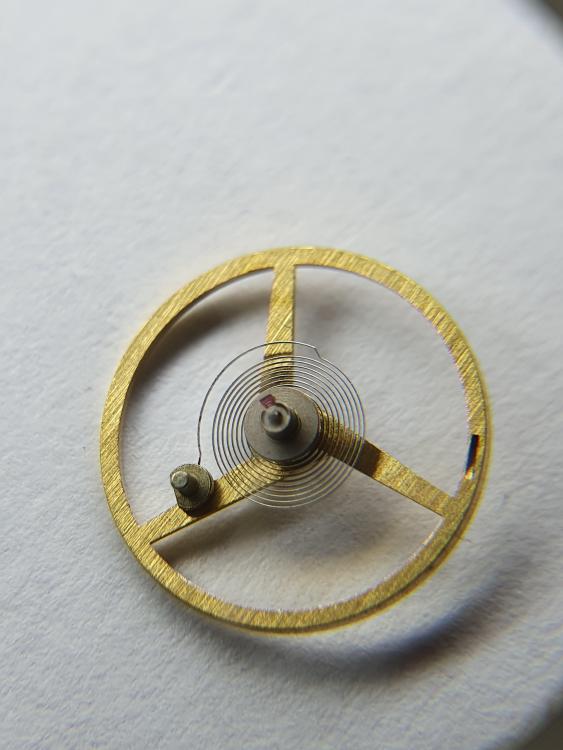
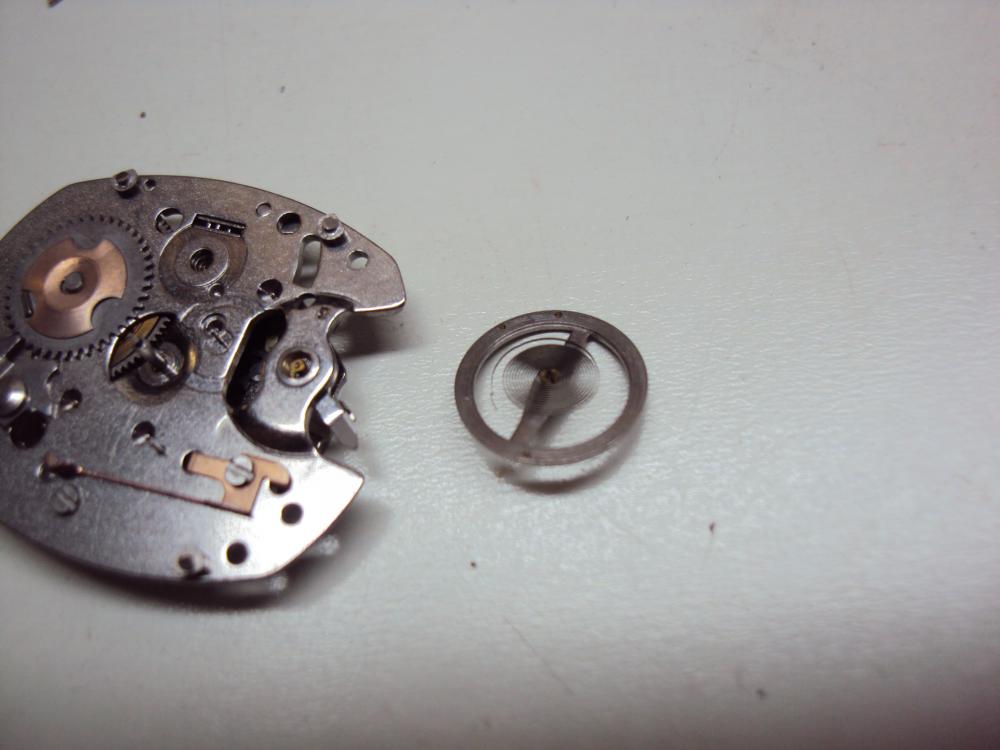
Hi the only true way to determine the flatness of the spring is to fit it in the watch correctly then look at it on the horizontal in which case it should be perfectly flat, and when observed from above the coils beating evenly. as the photo shows there is a pronounced sag in the spring caused by the fixing stud dragging the spring down at an angle1 point
-
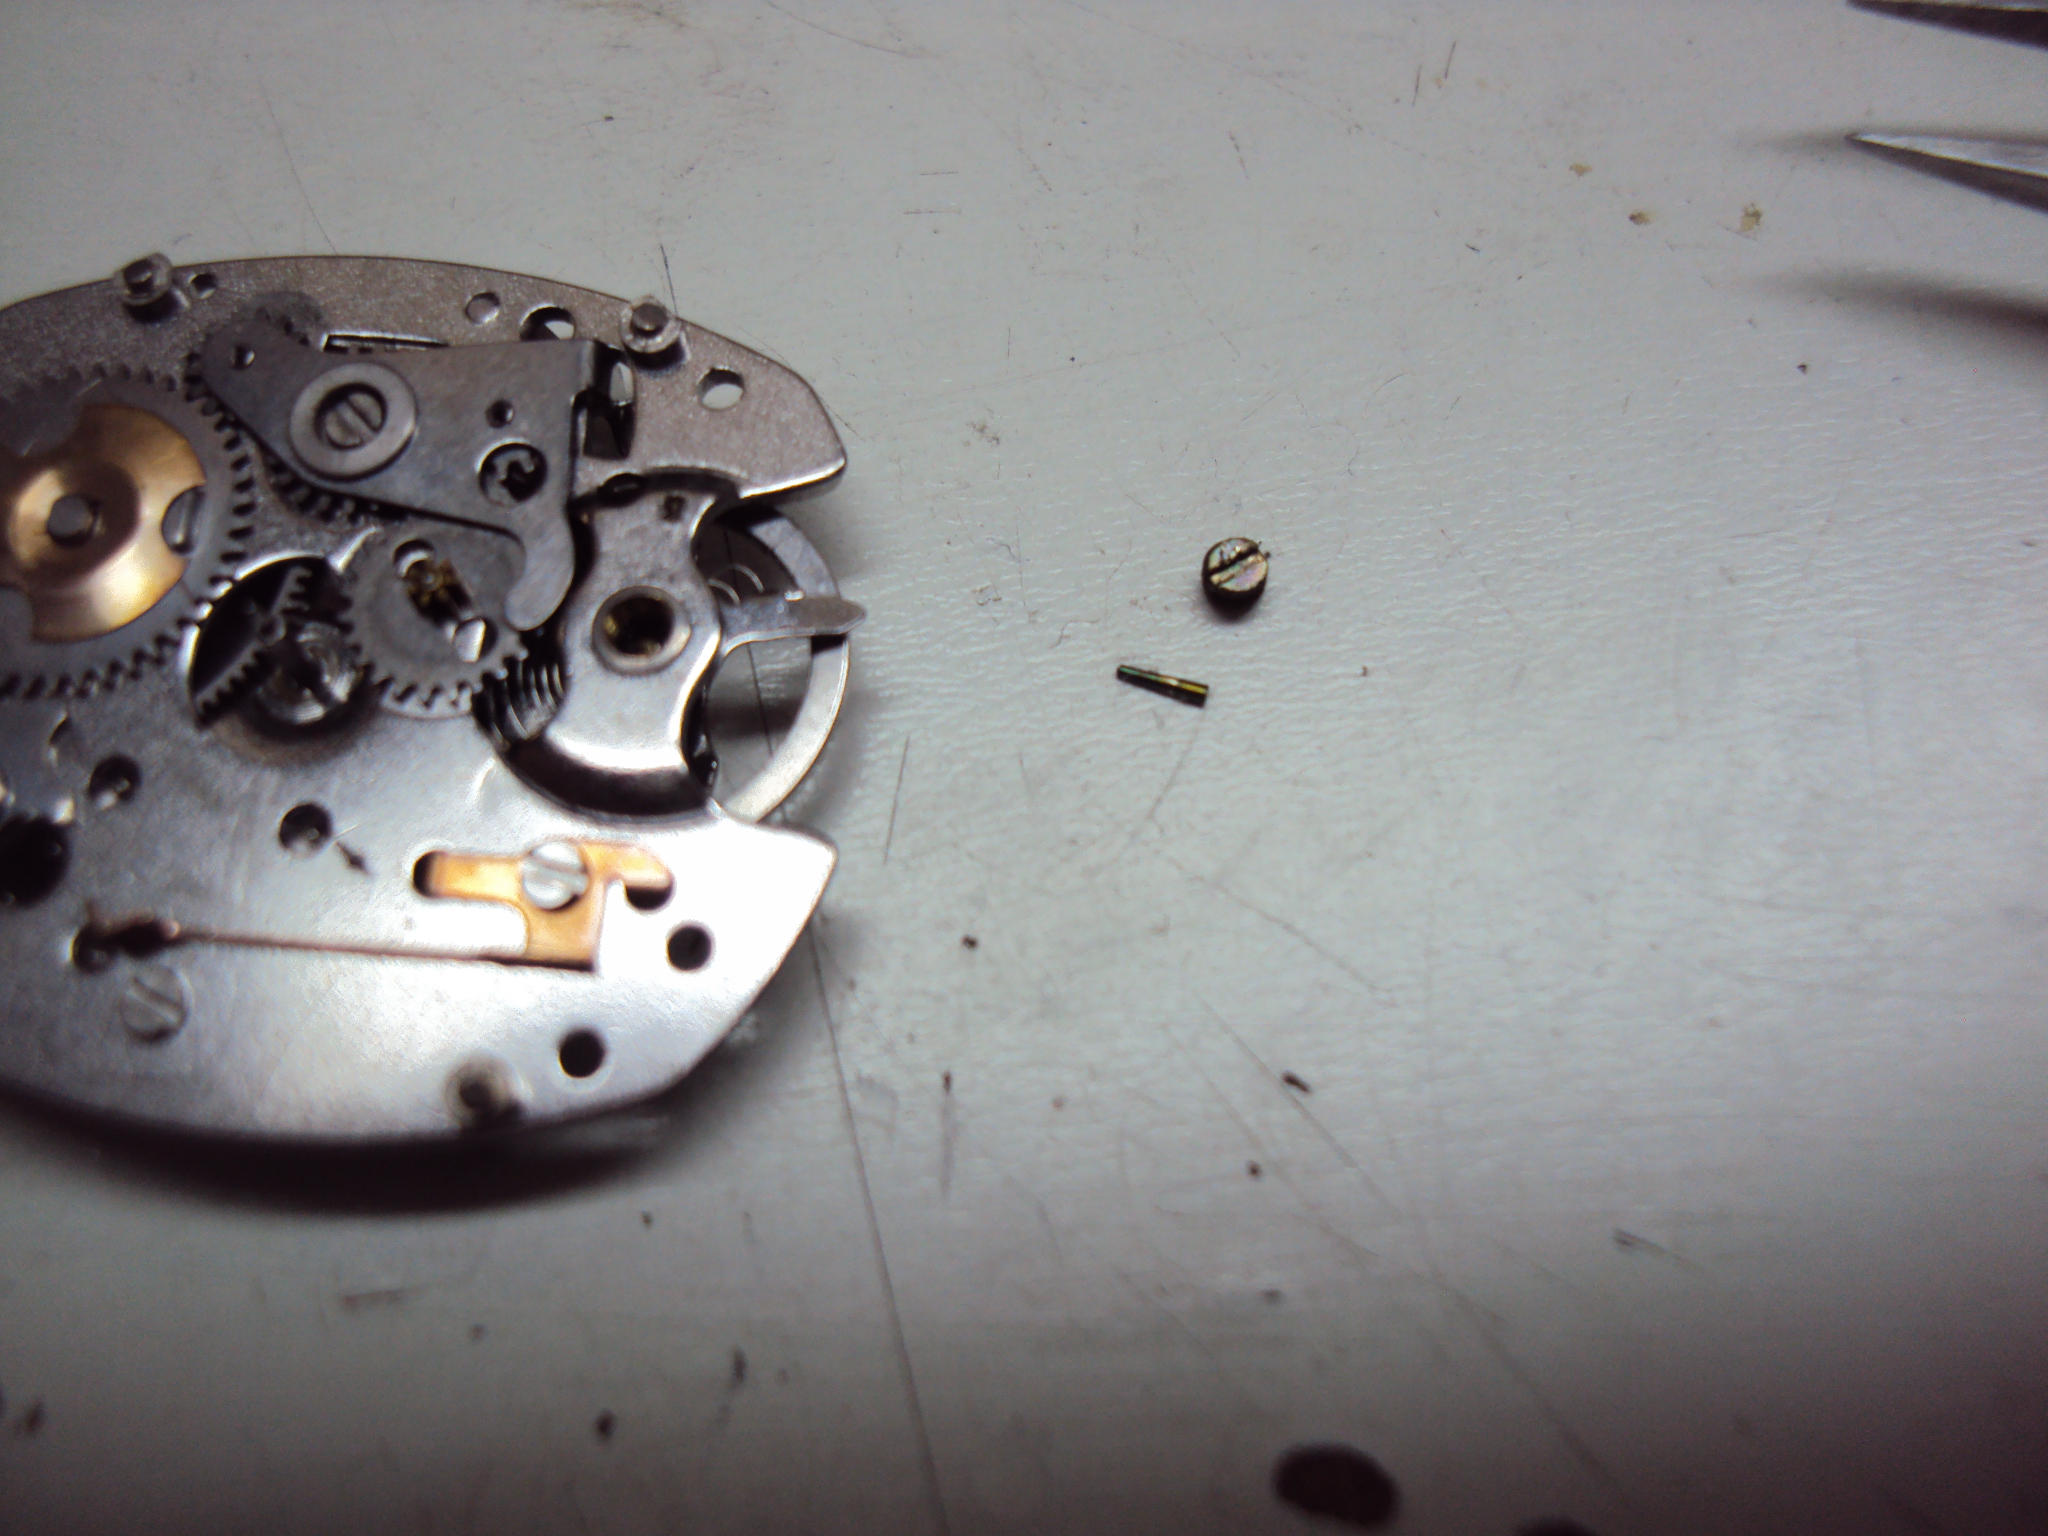
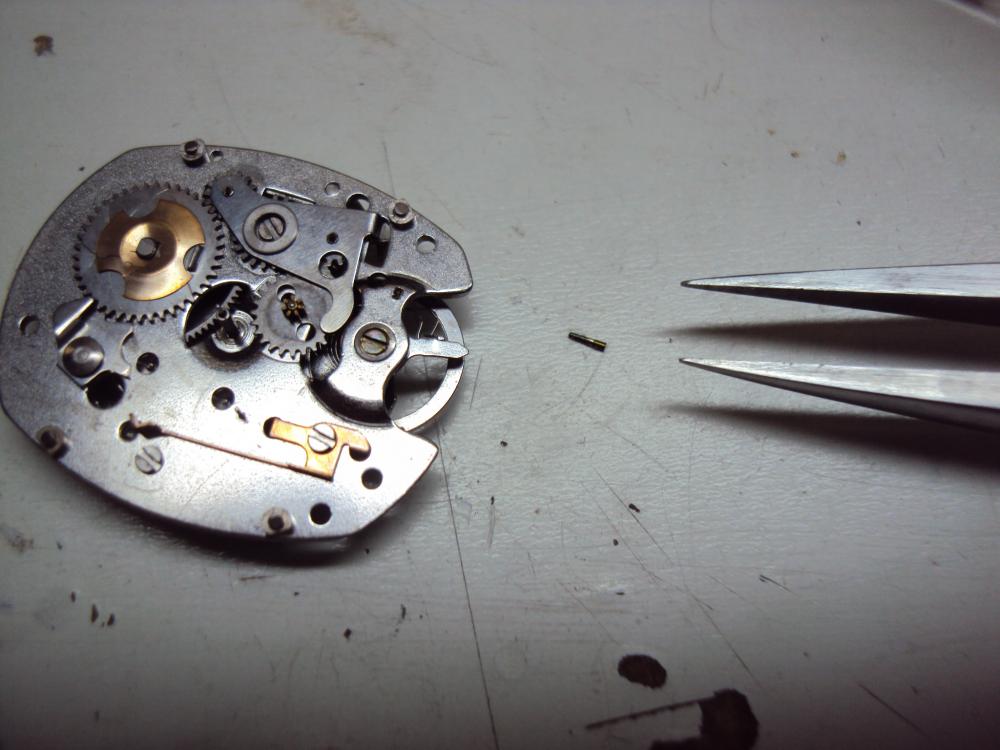
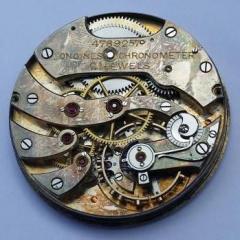
The other images of this movement appear to show some sort of (red) regulator piece with a screwdriver slot in, as part of the case, which I don't see in your pictures. This would allow adjustment of the rate. https://ambwatches.com/2014/01/29/1970s-tissot-astrolon-caliber-2250/
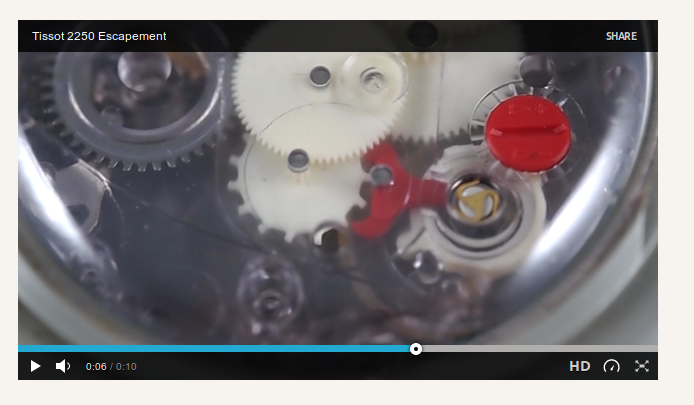 1 point
 -
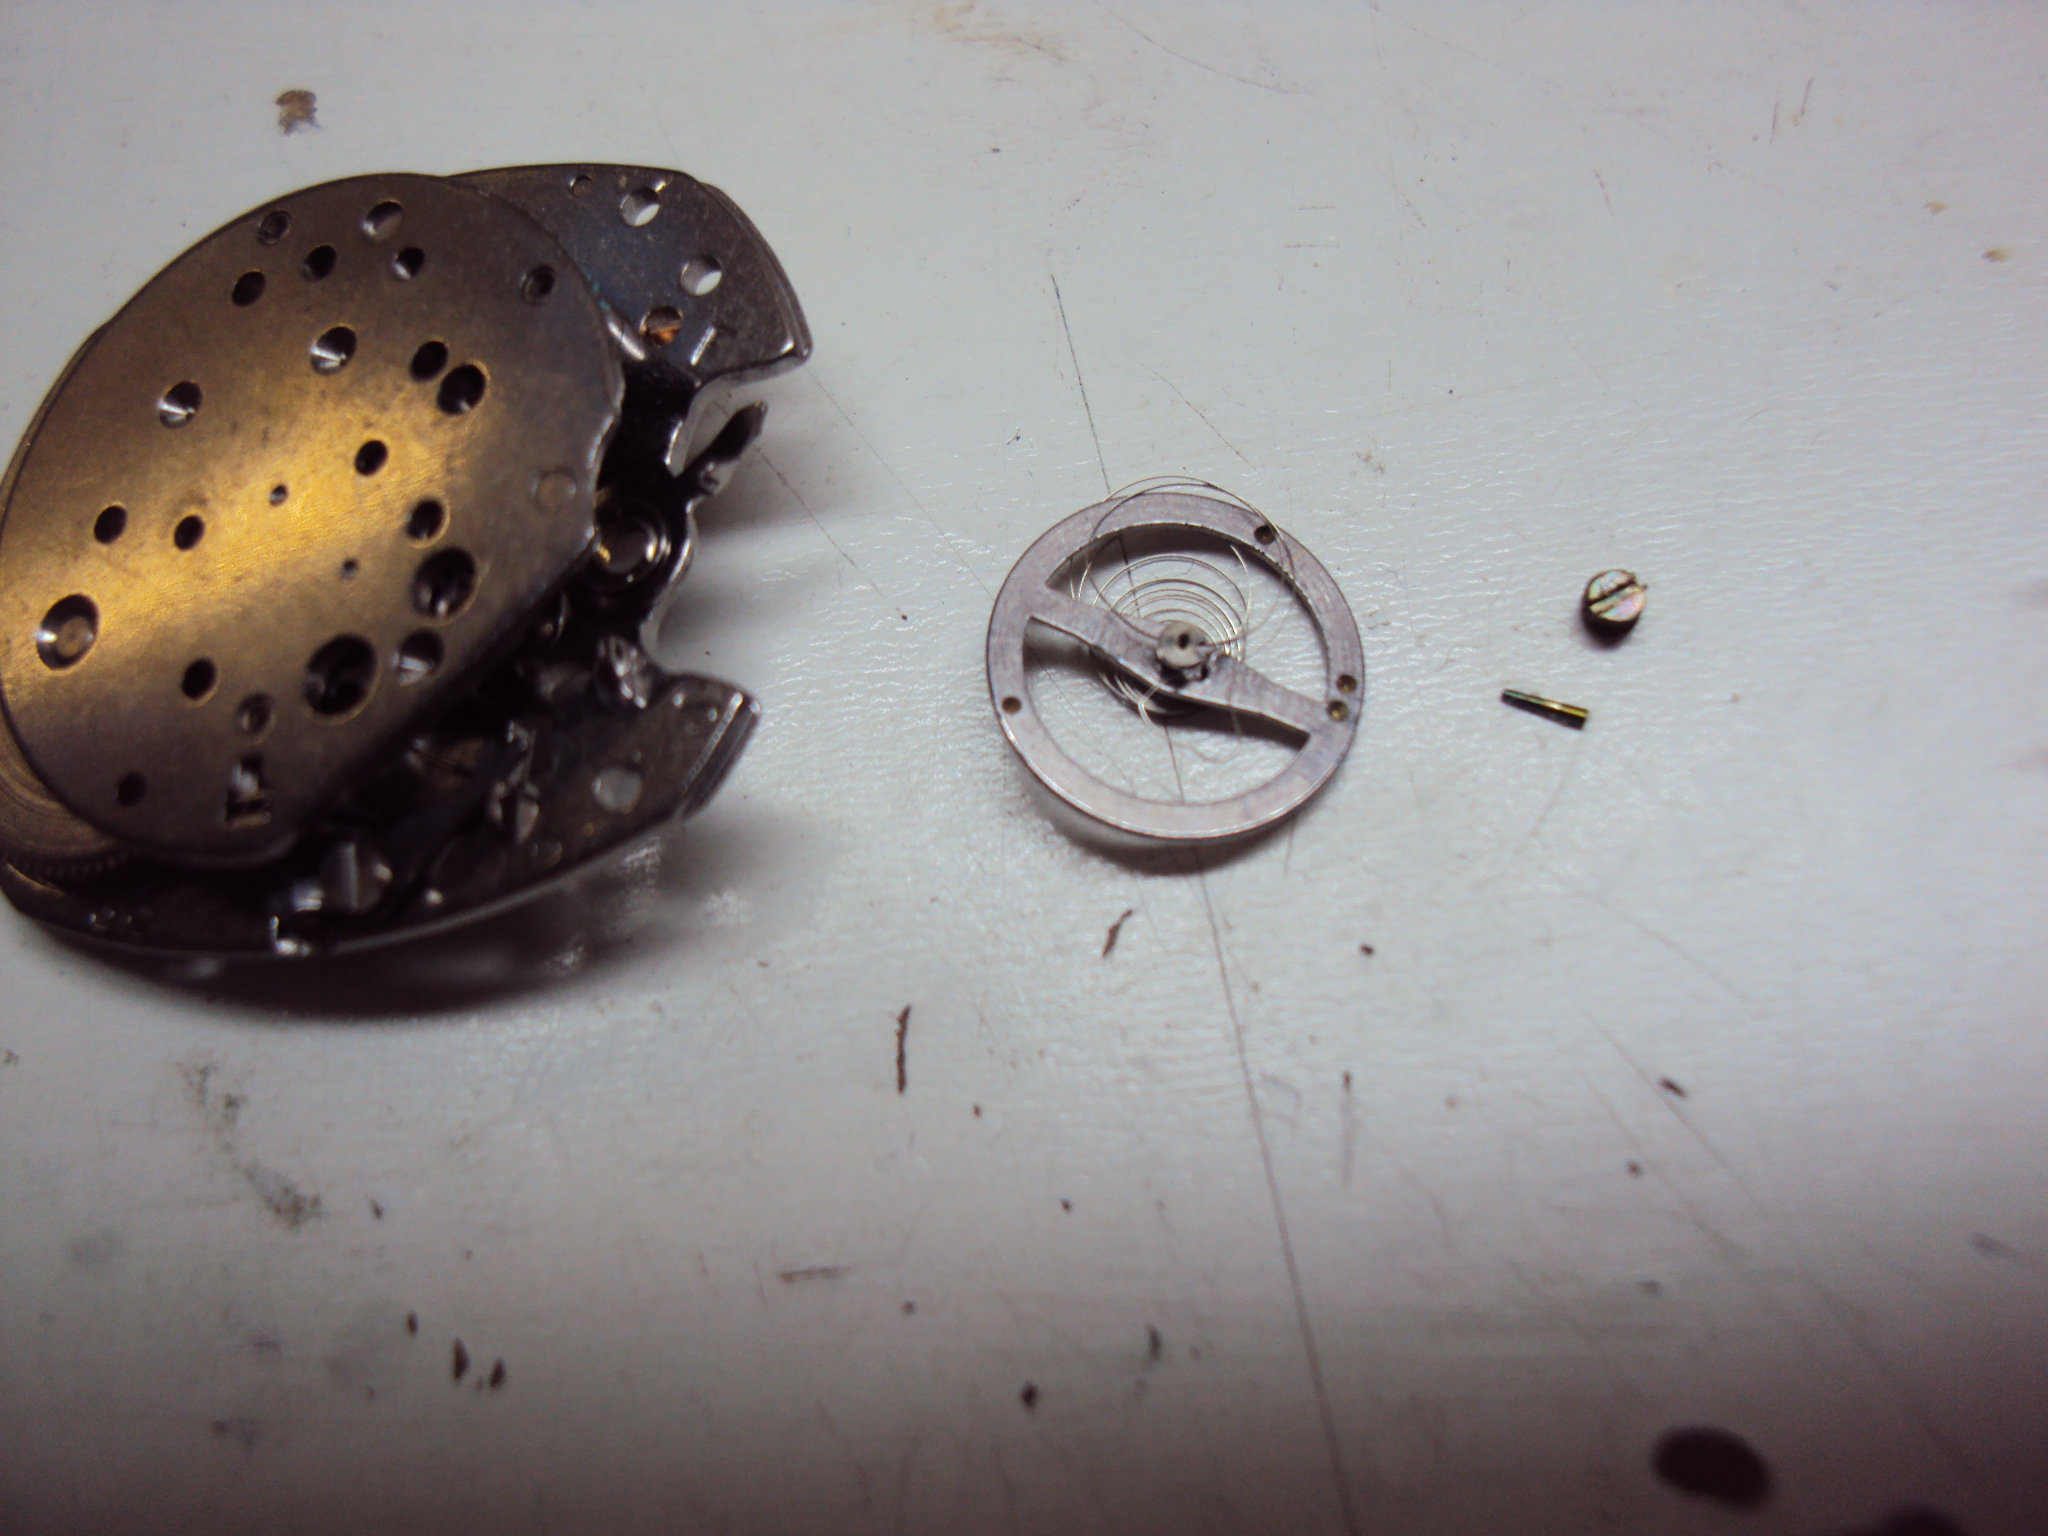
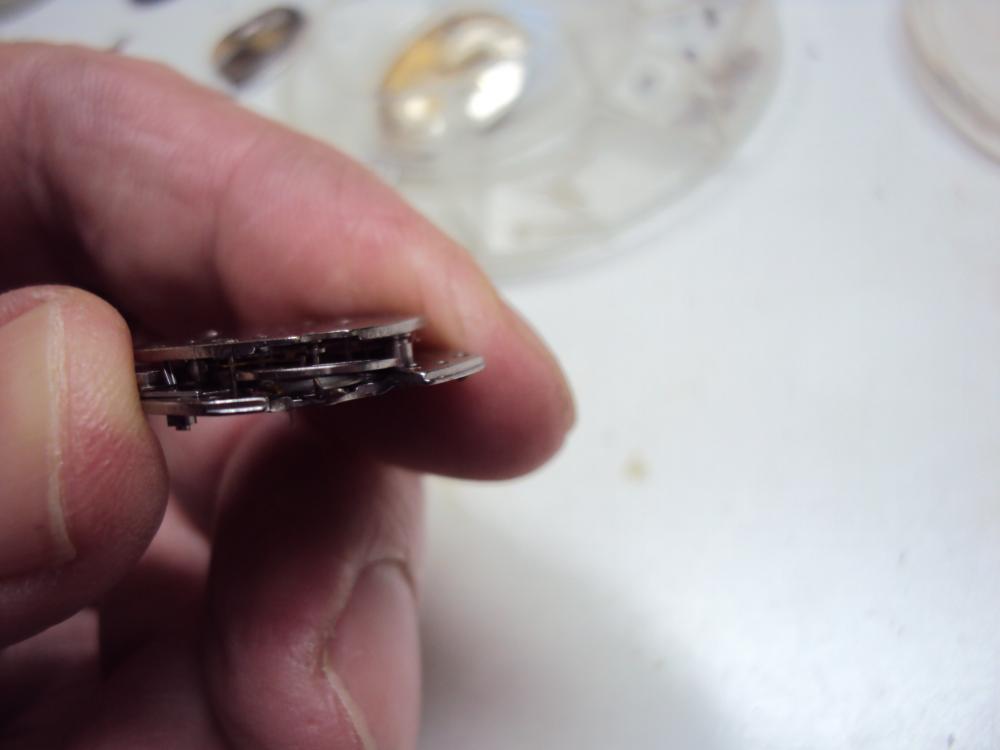
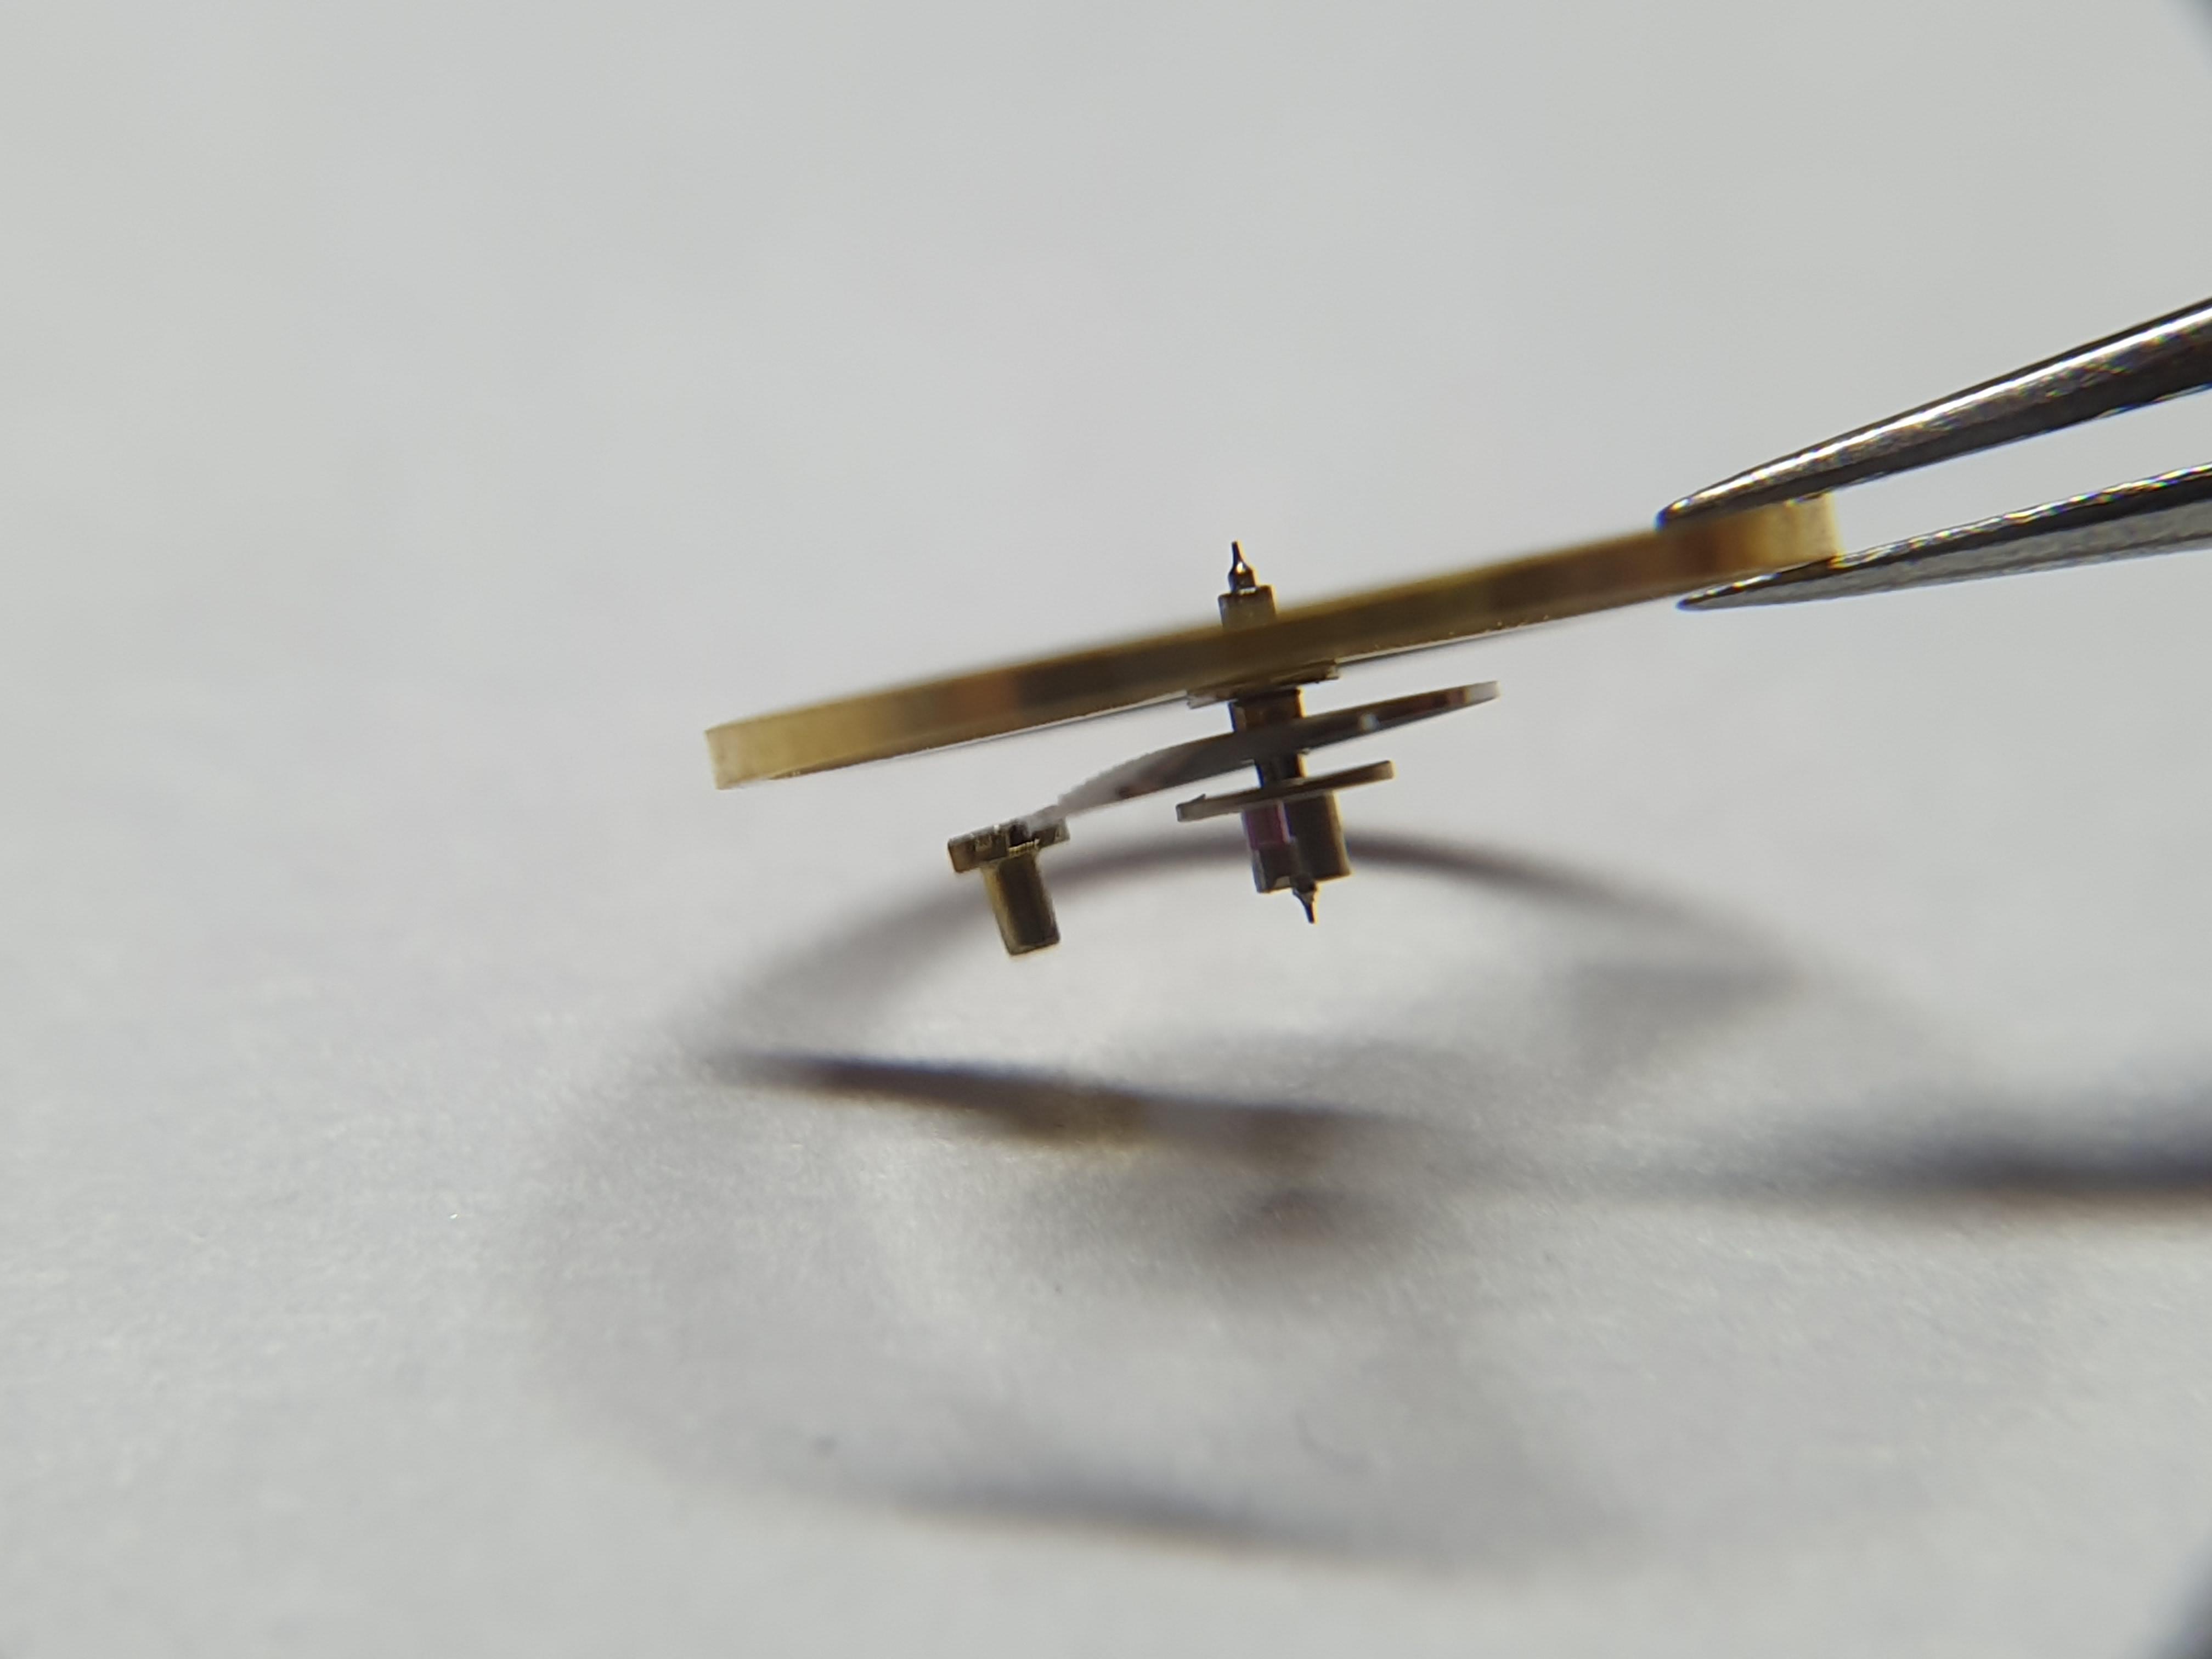
I was in two minds about that. The balance retaining pin looks relatively heavy, so I presumed that the reason the spring wasn't lying flat in the first set of pictures, could be down to that. I guess we need a side view of the balance in situ to see if it lies flat when fitted to the balance cock to be sure, but it does sound like the hairspring is not lying flat.1 point
-
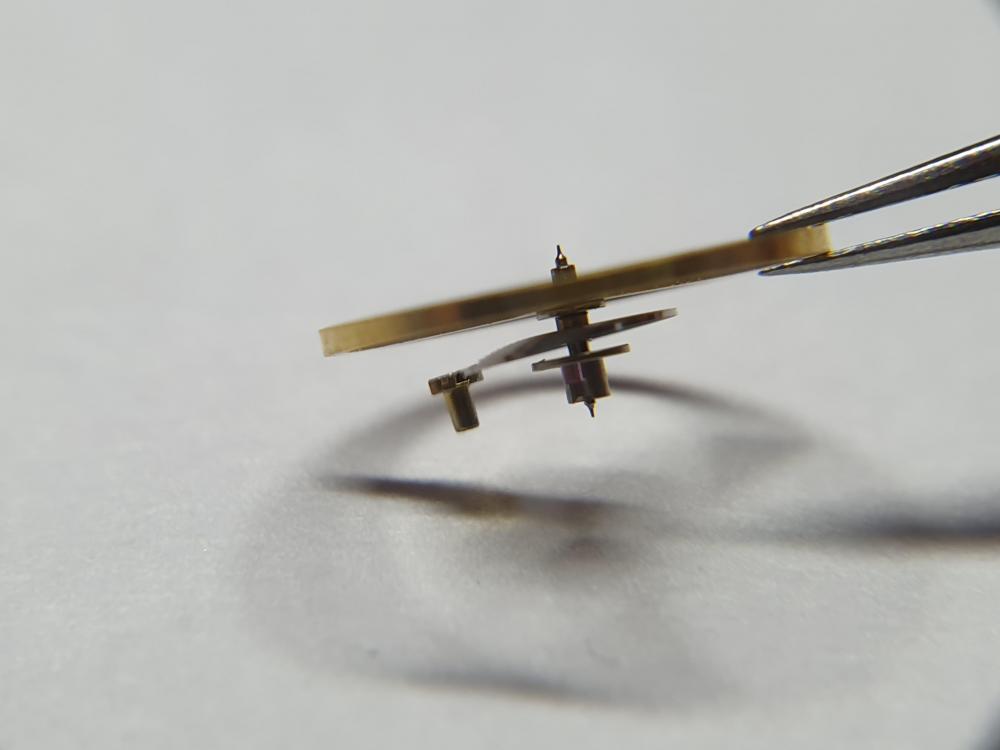
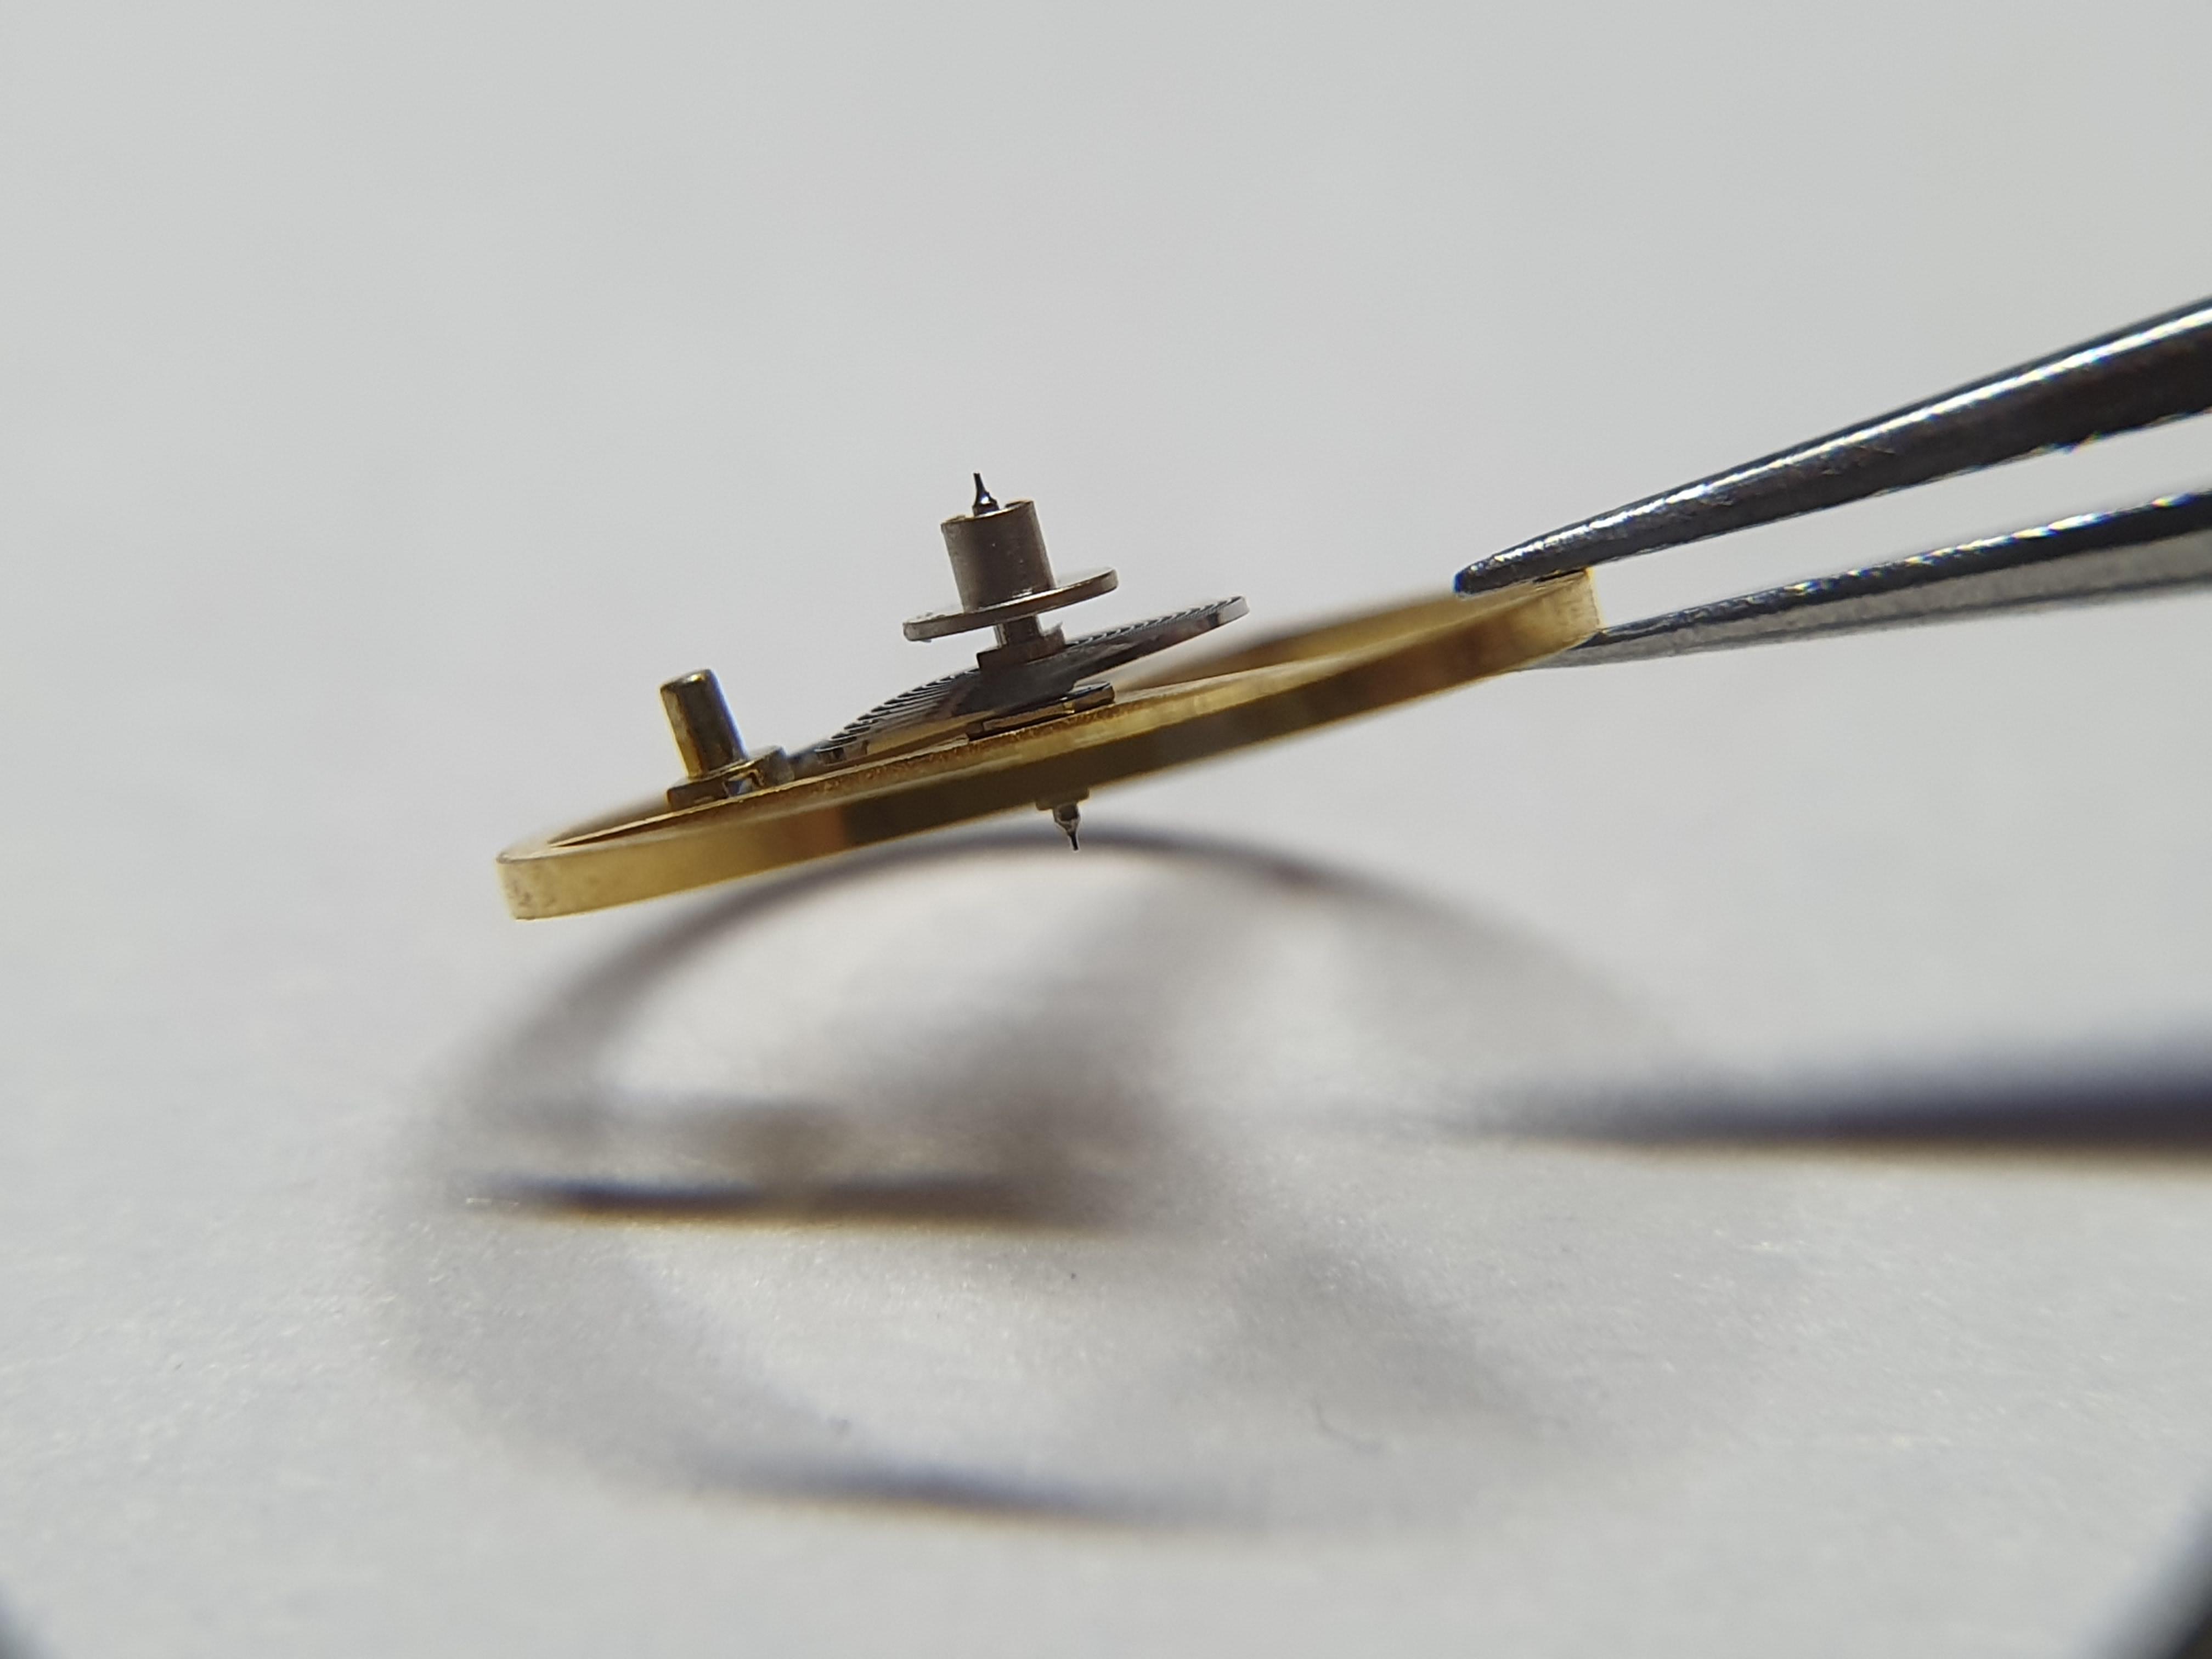
sorry to say this but this spring is not good to my standards. The spring should lay flat even if its not in the movement. it may have been stretched out at some point like a slinky making an arc (happens when its held upside down by the cock and balance slips out of the pivot hanging over the cock) and therefore the spring is not centered under the pivot. attach to the foot and hold it up letting balance hang. when looking at directly above the cock the coils should be centered under the cock hole jewel and wheel should be lay at parallel, if it looks like its off to the right or left or balance is titled then the hairspring is warped. this is most likely your issue and will explain why its running so fast.1 point
-
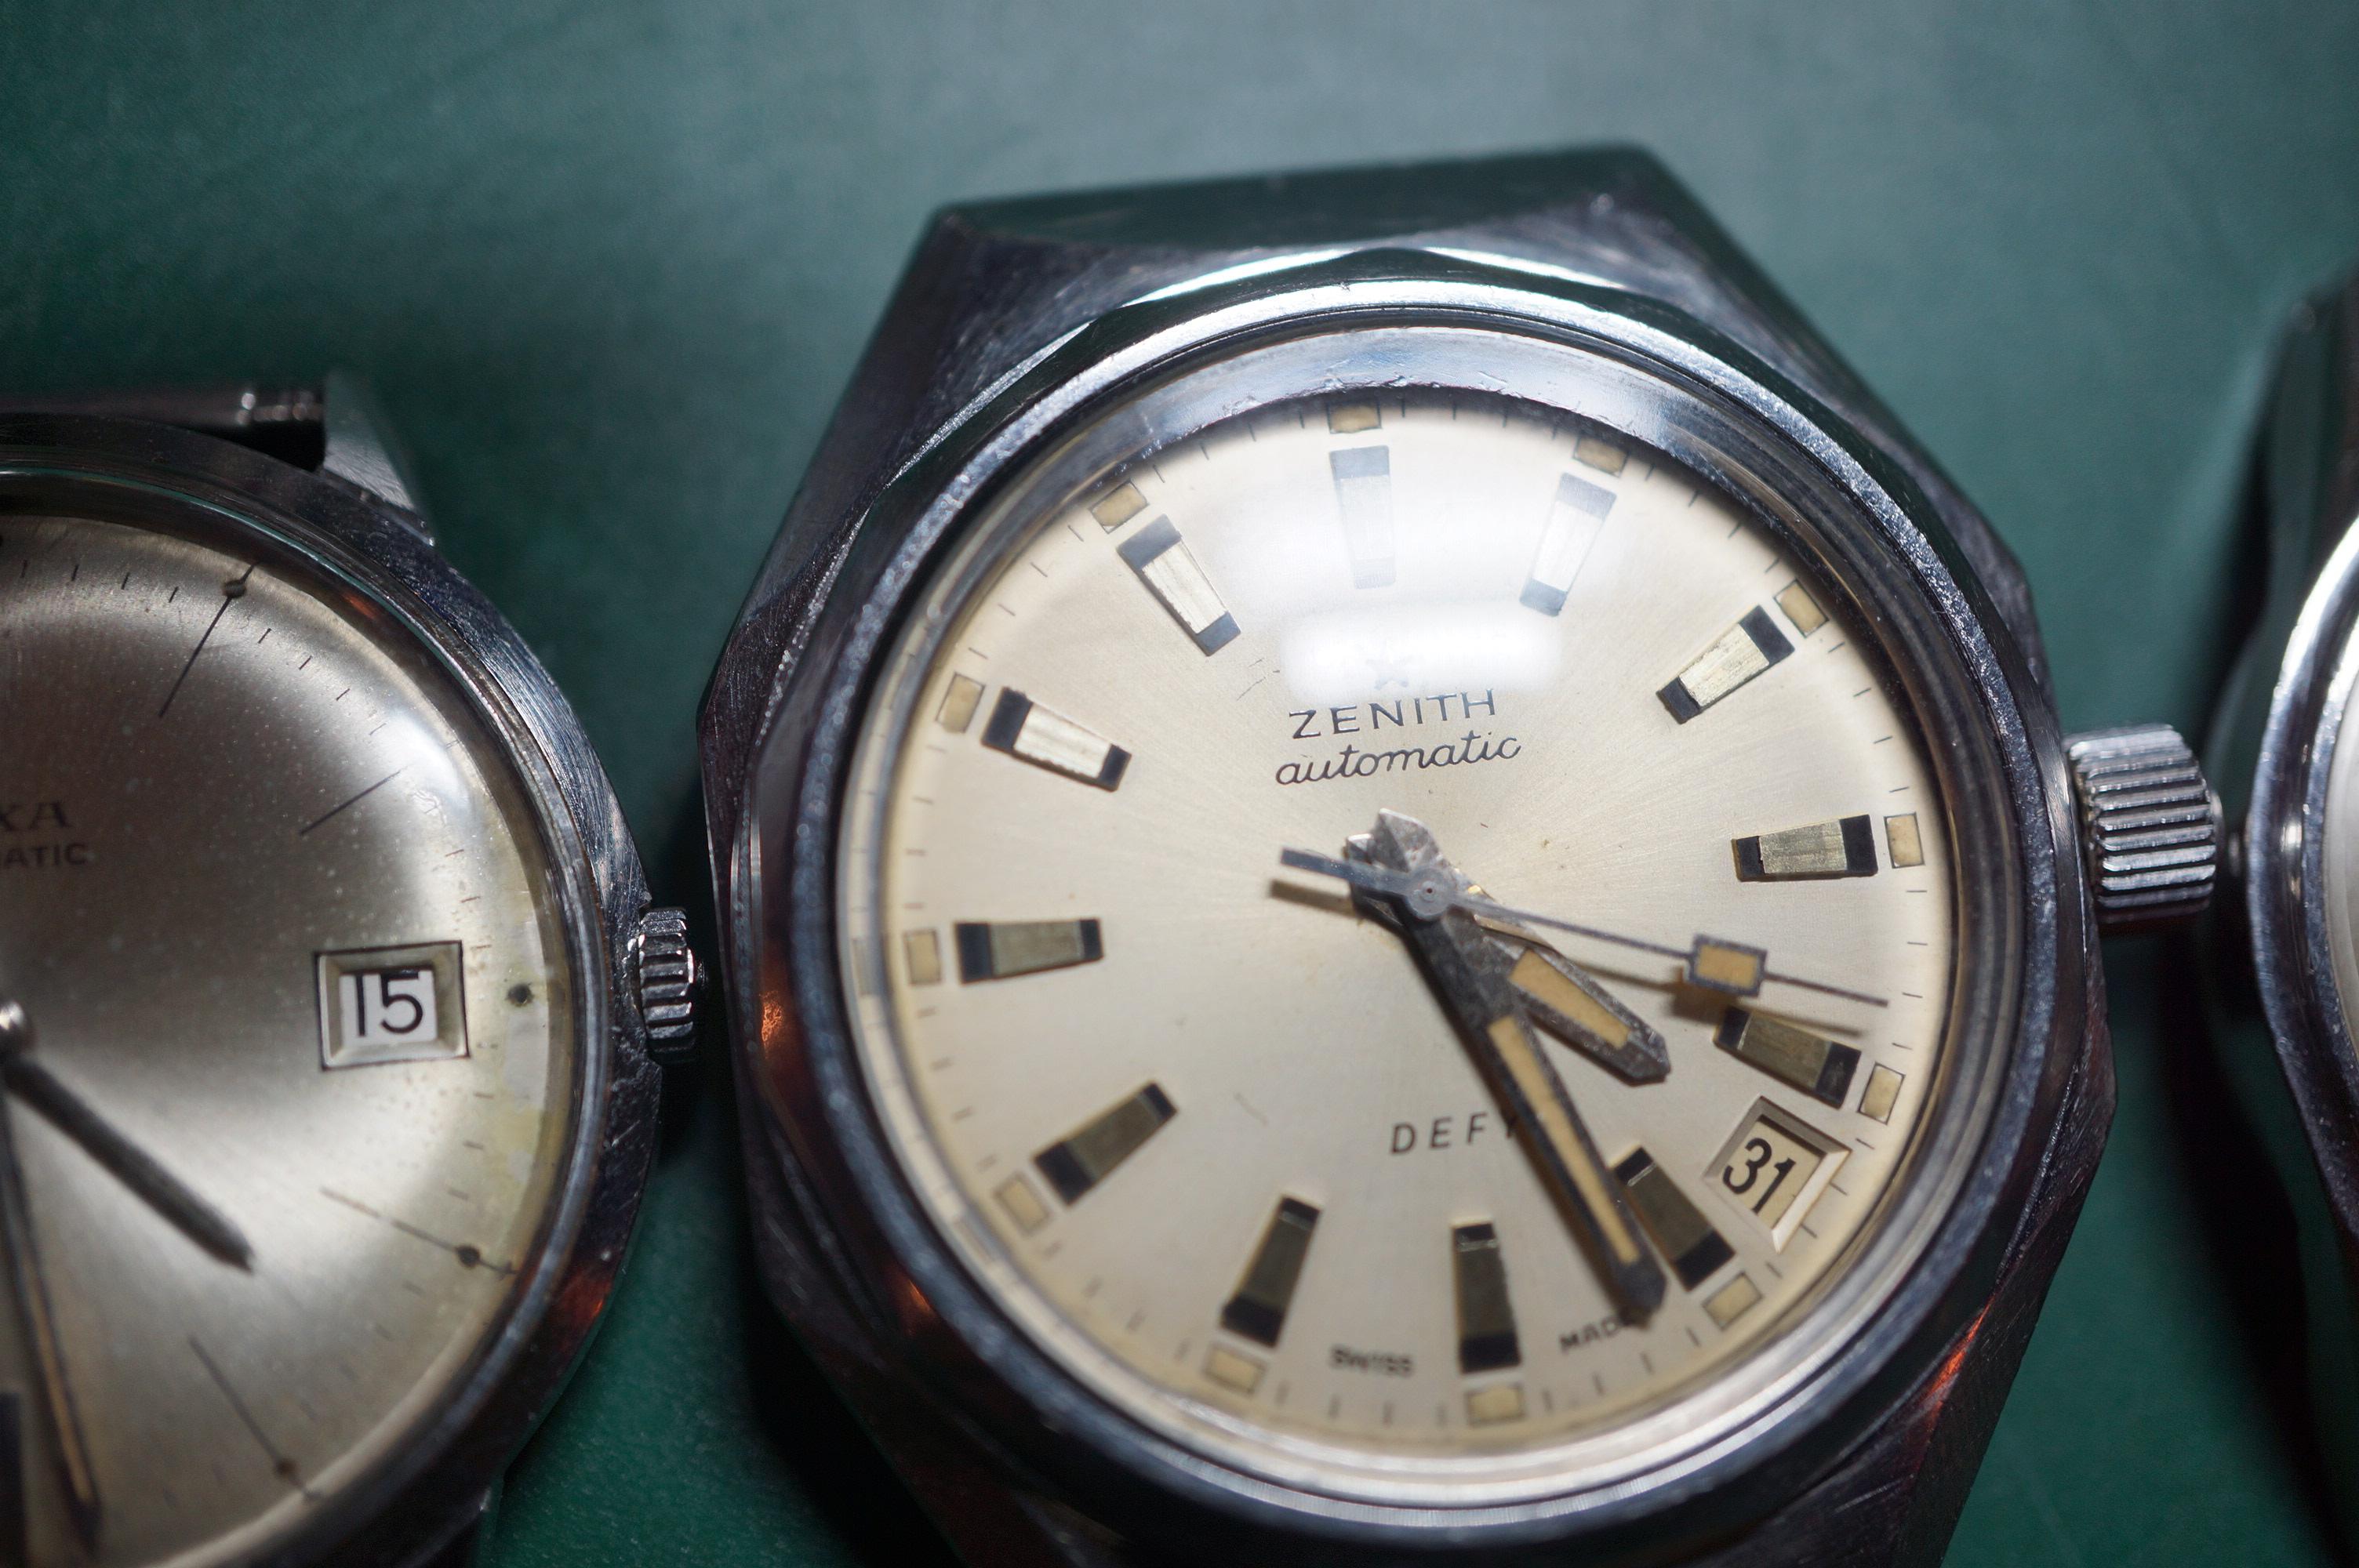
Great result Chopin If you look att the zenith it's not perfect either. I could have used a finer wet and dry paper before i polished it. A 2000 or maybe even 3000 paper would be perfect.1 point
-
i guess you never heard of vibrating hairsprings and adjusting beat error1 point
-
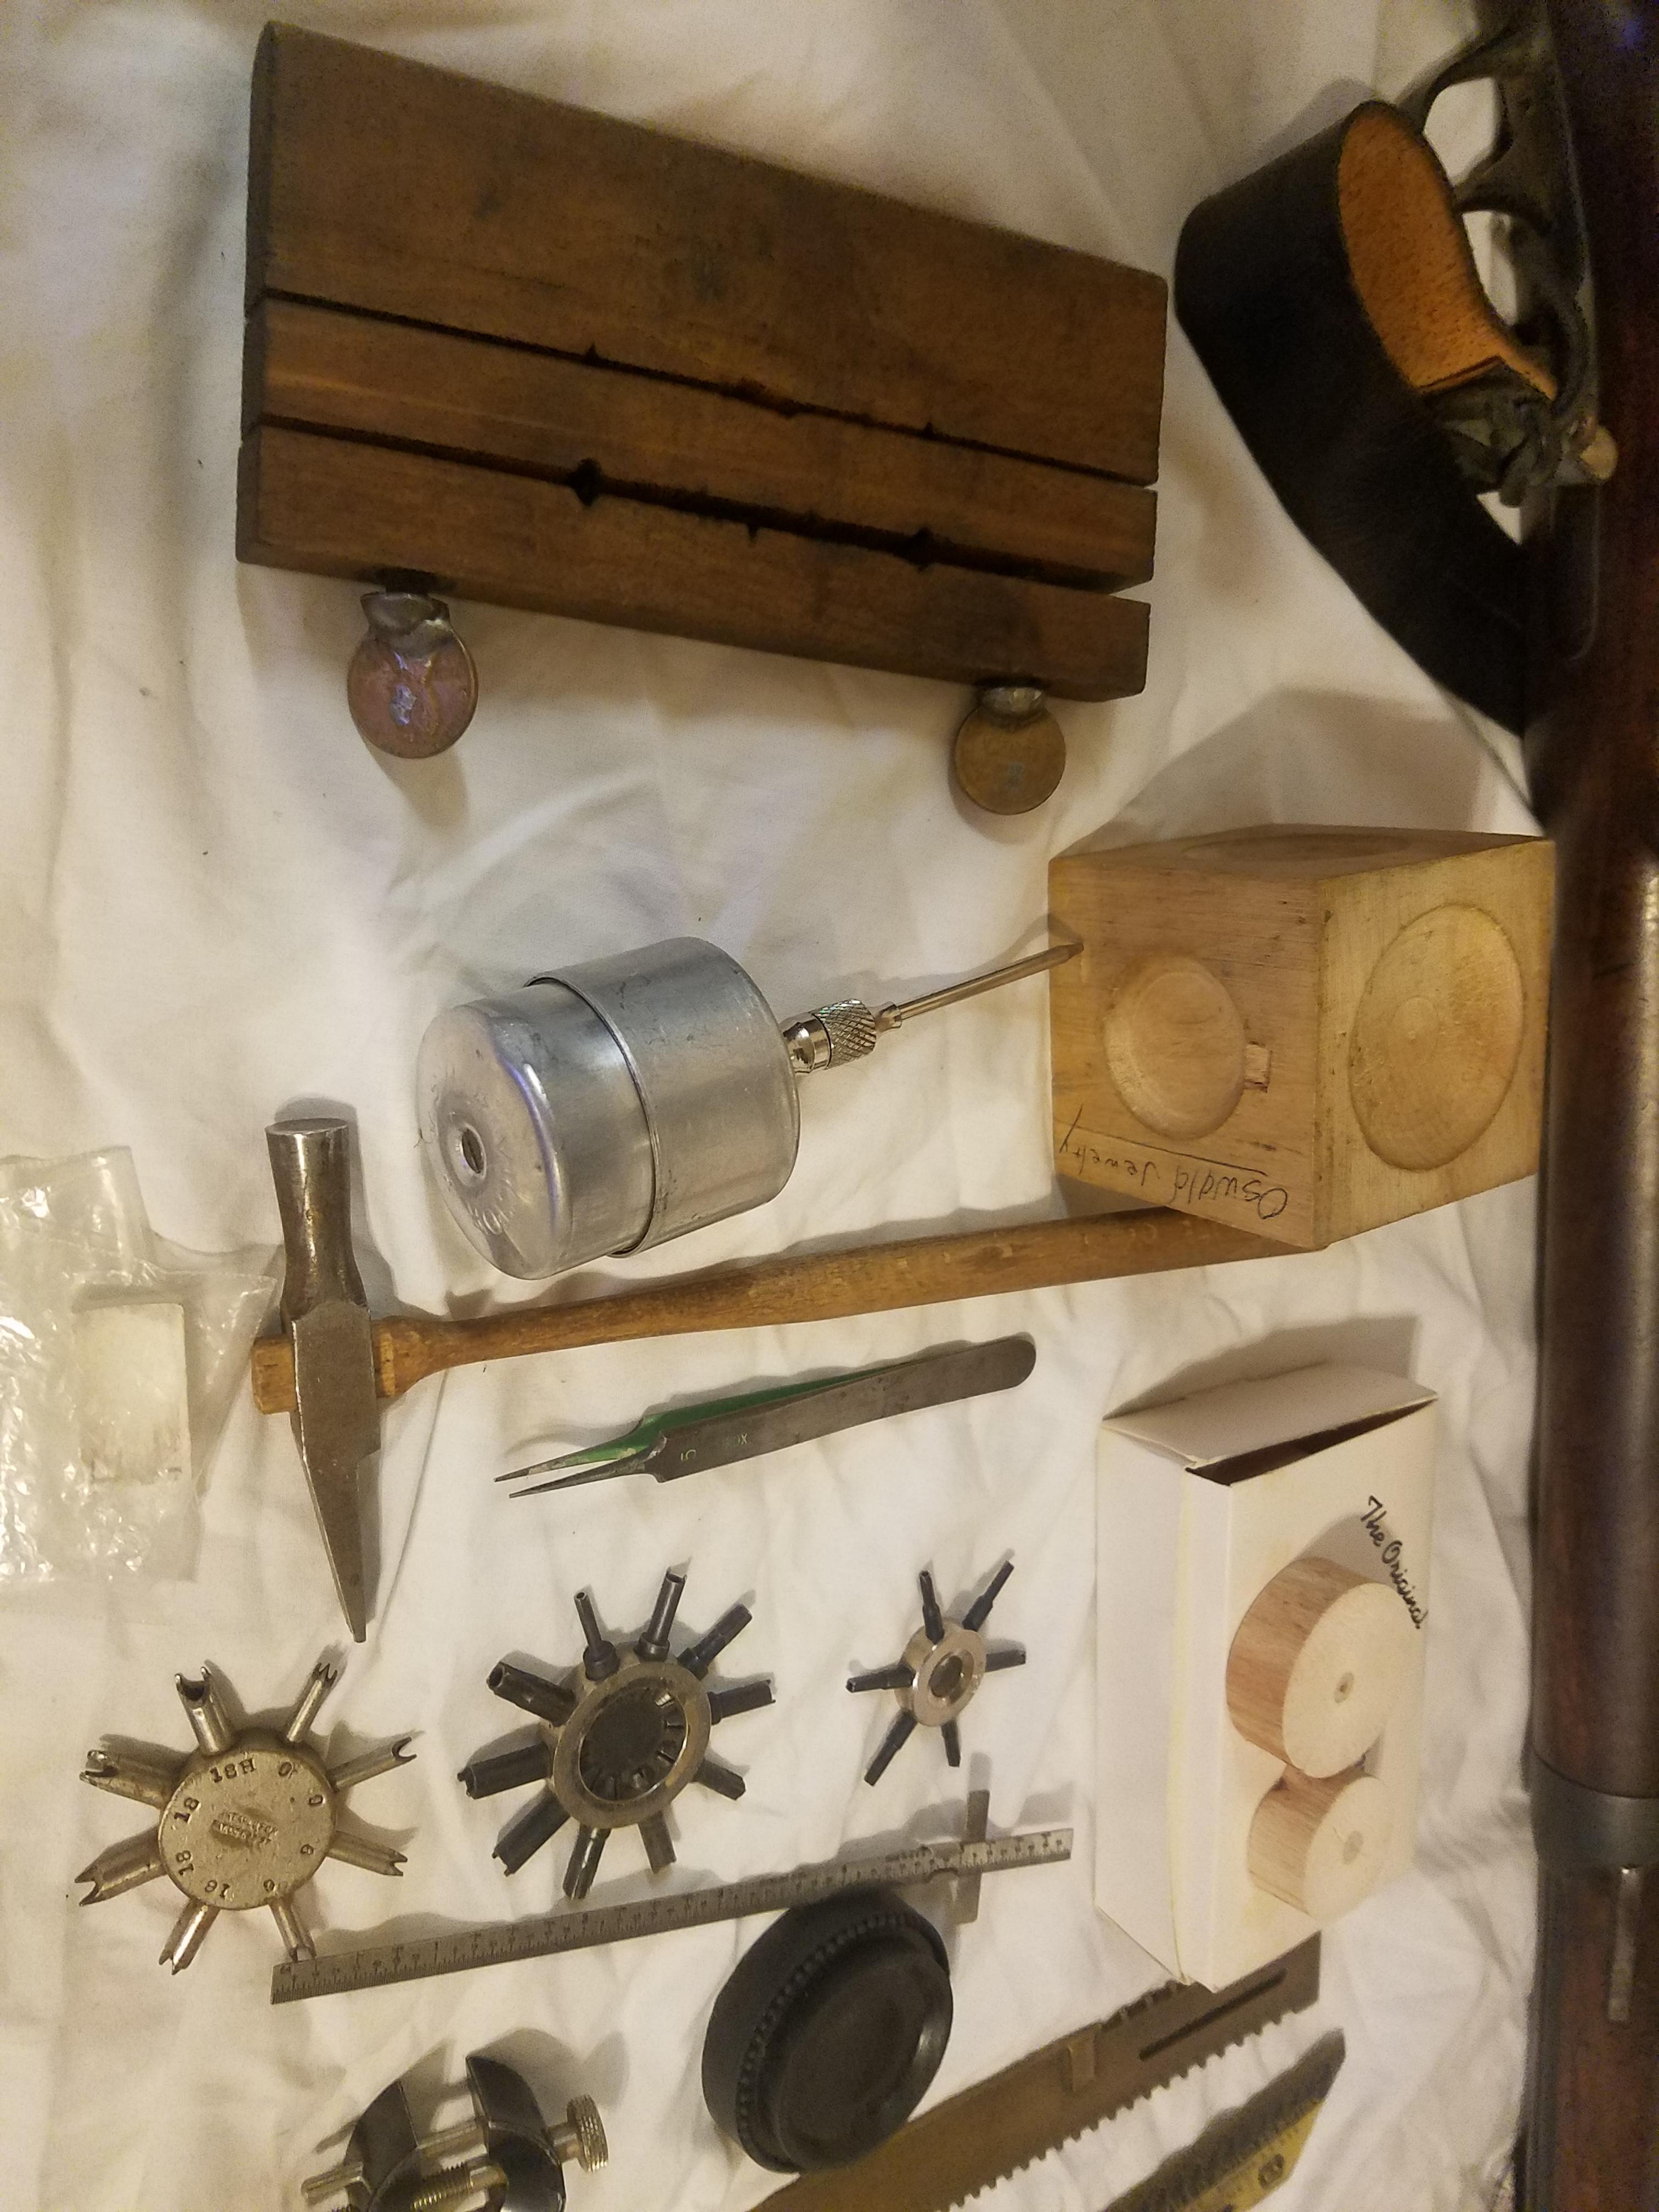
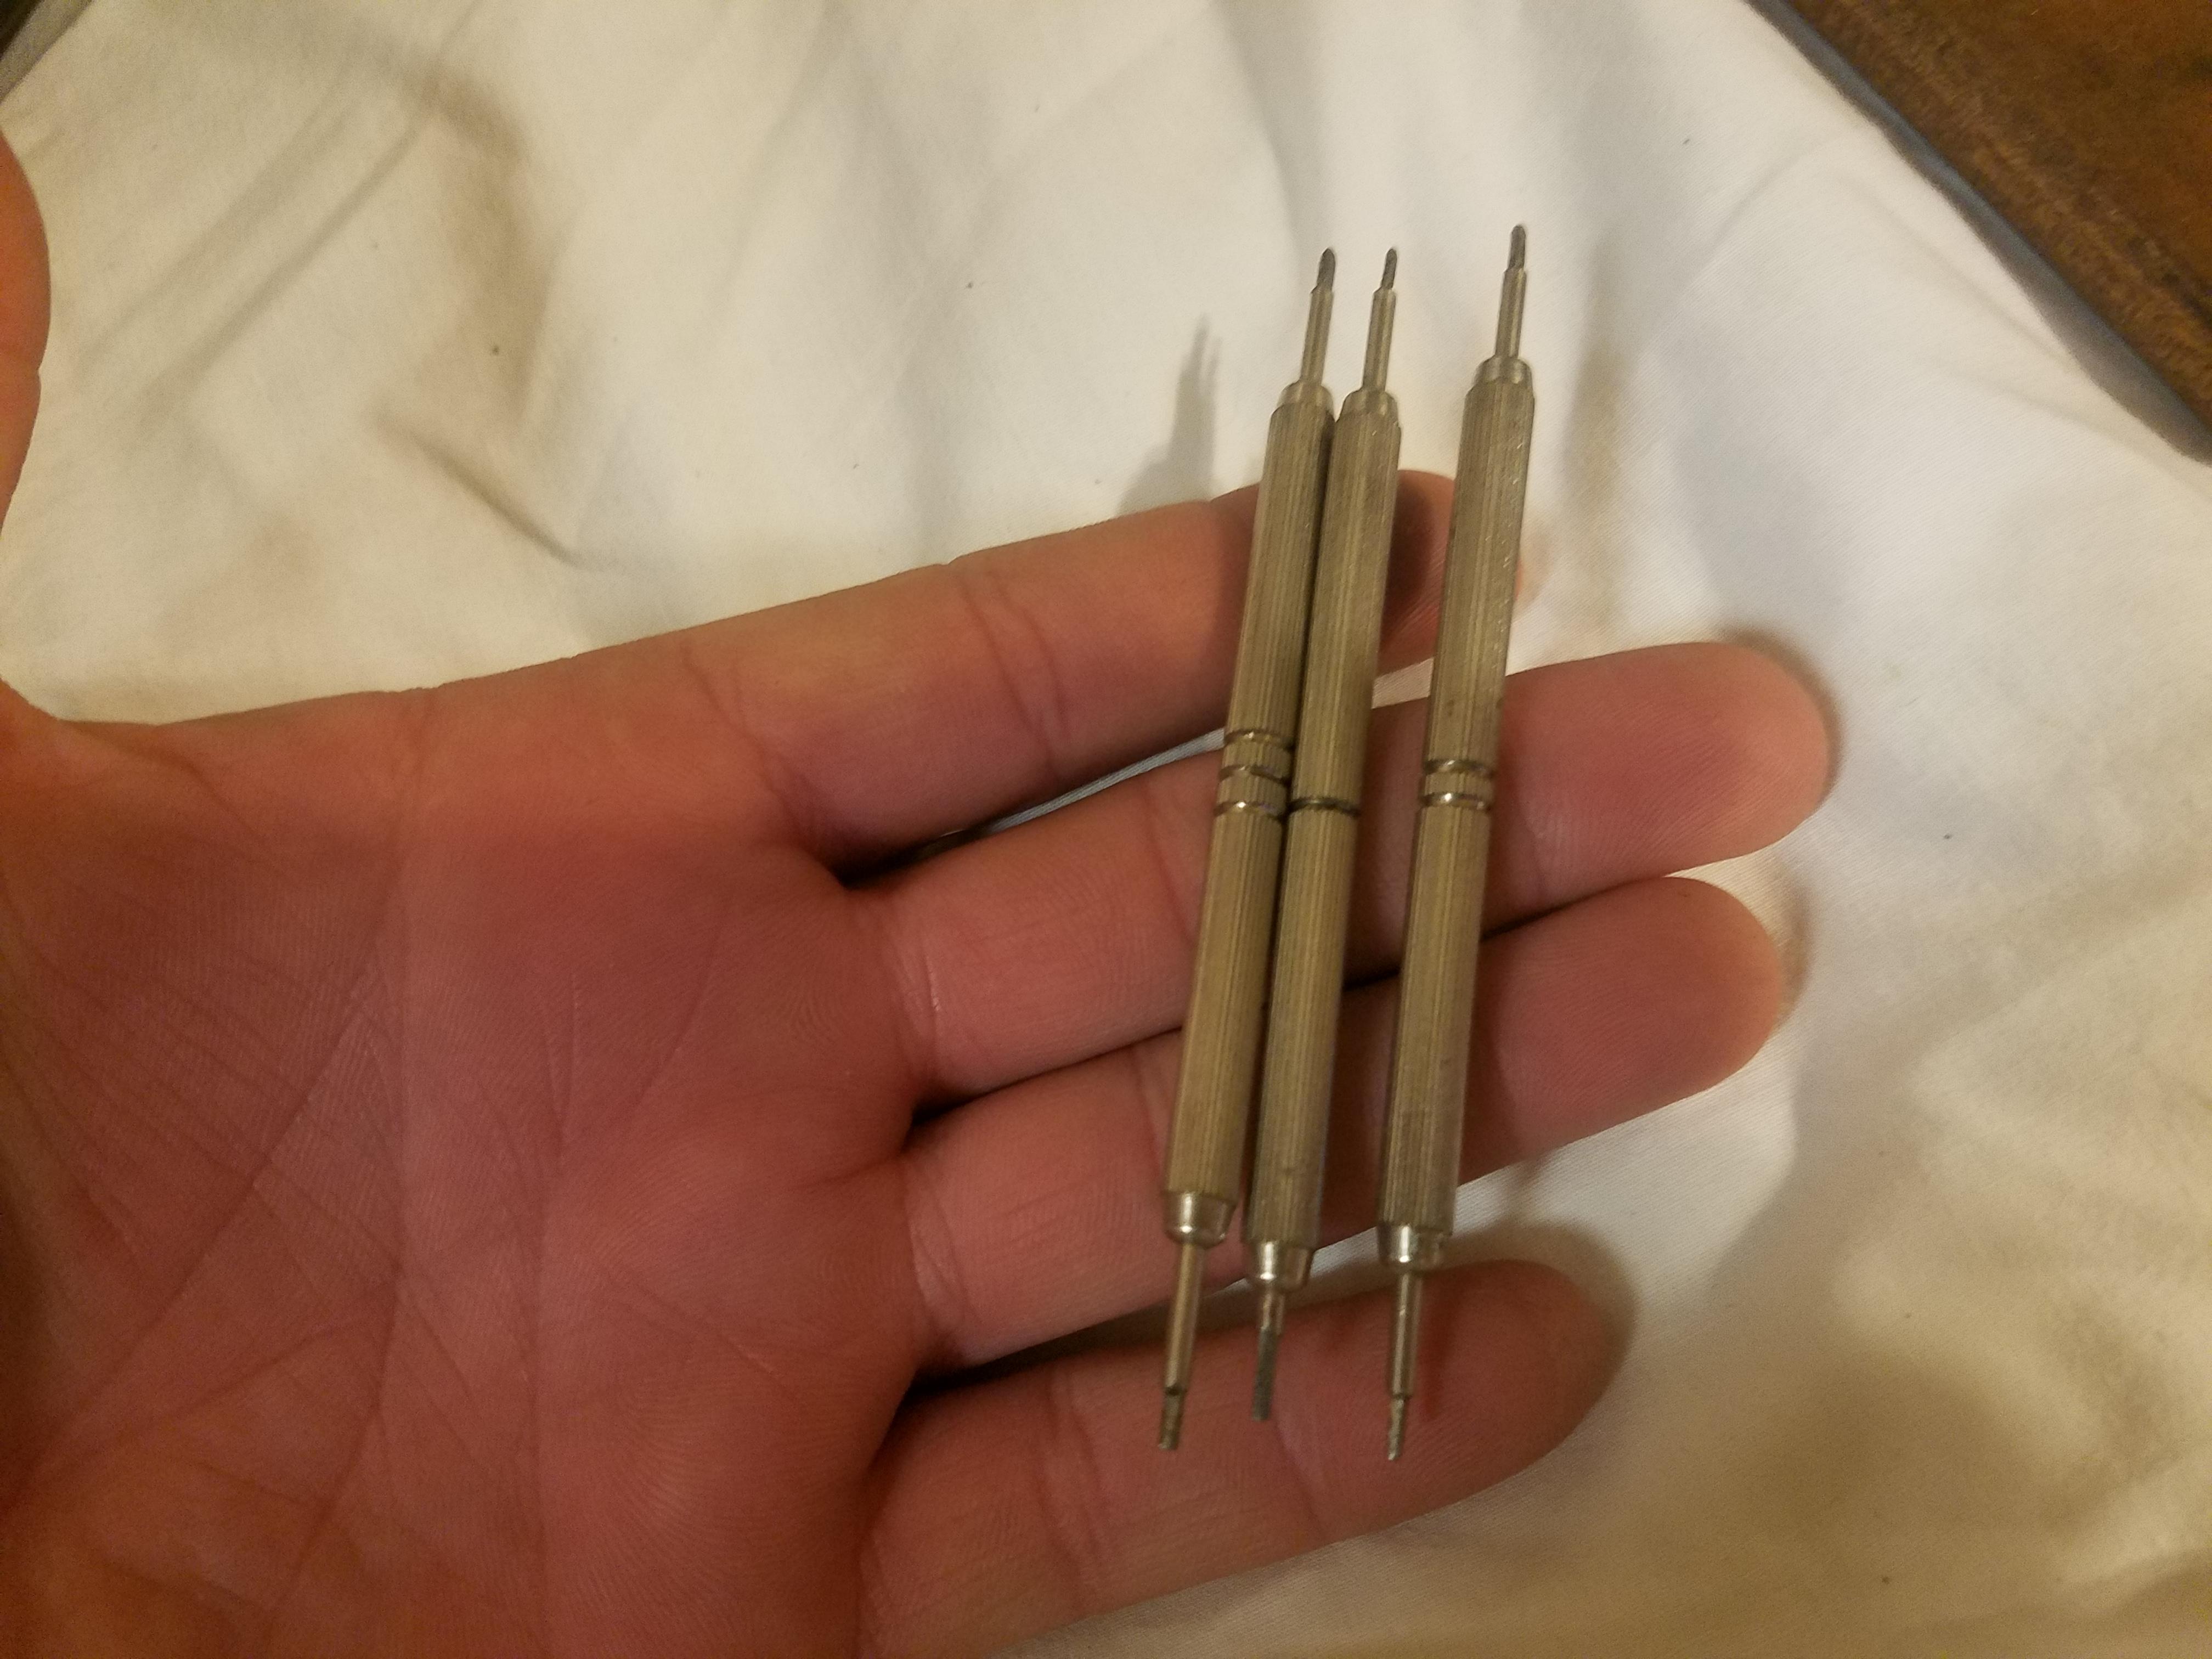
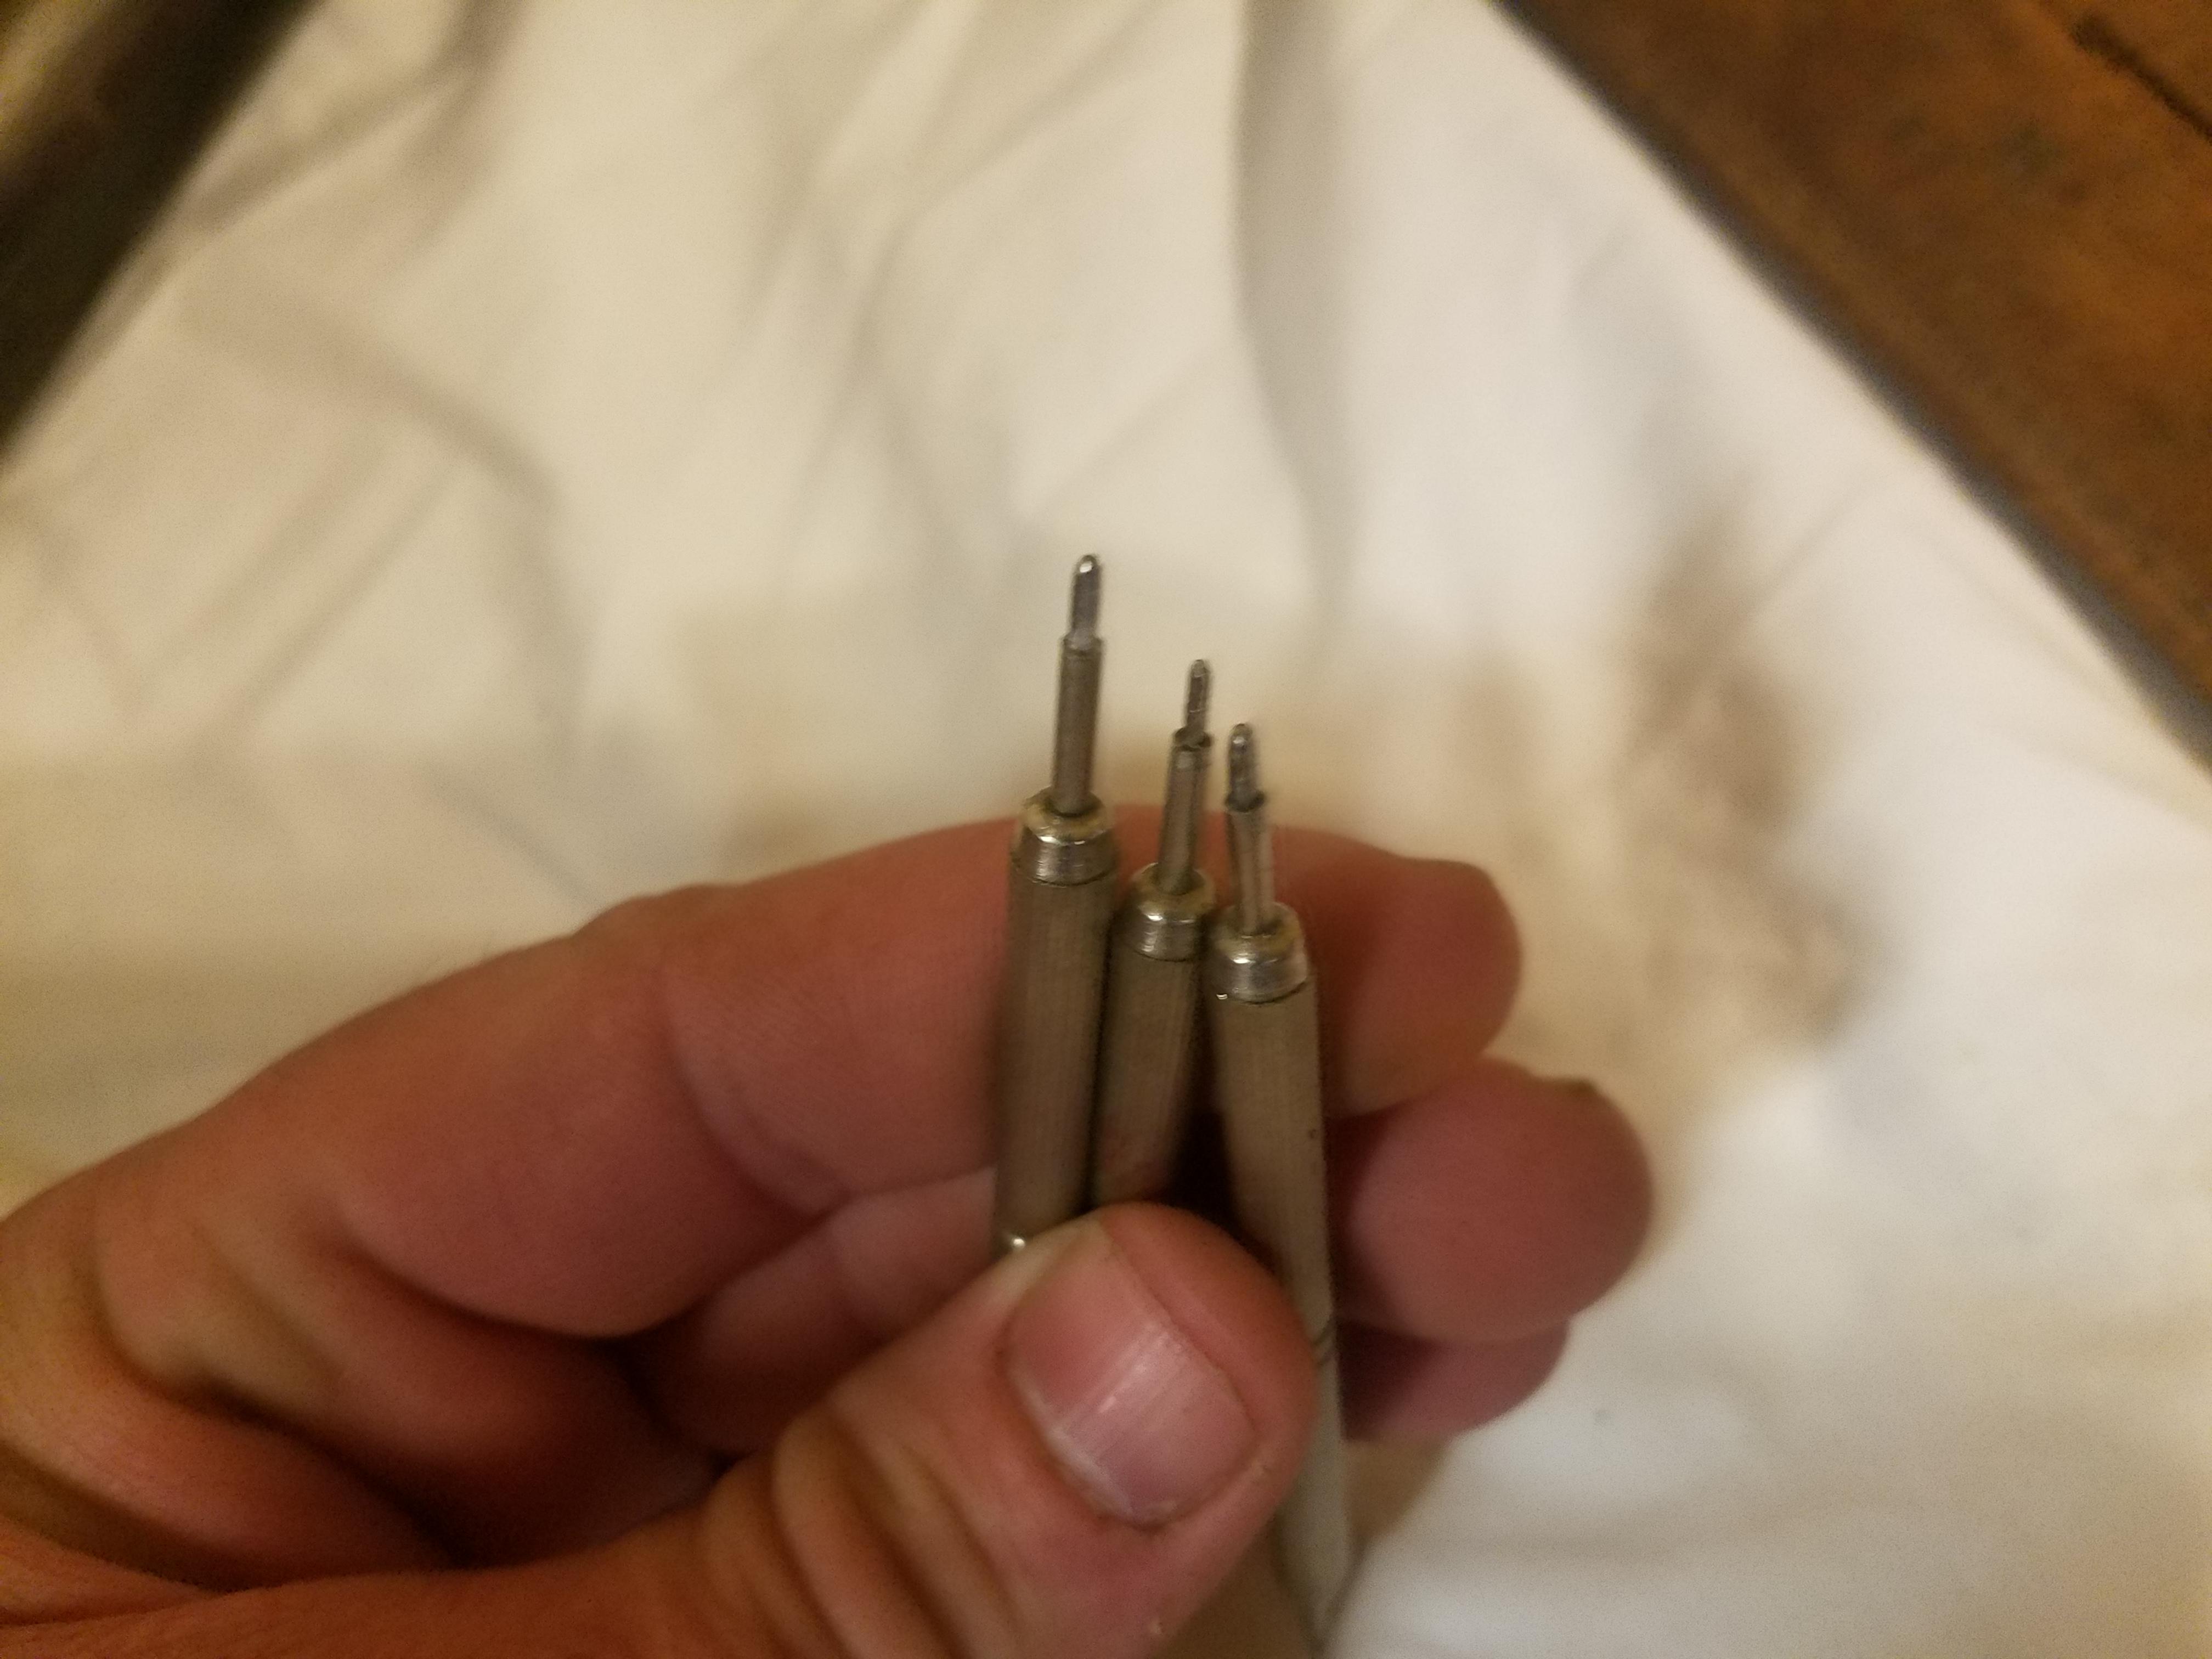
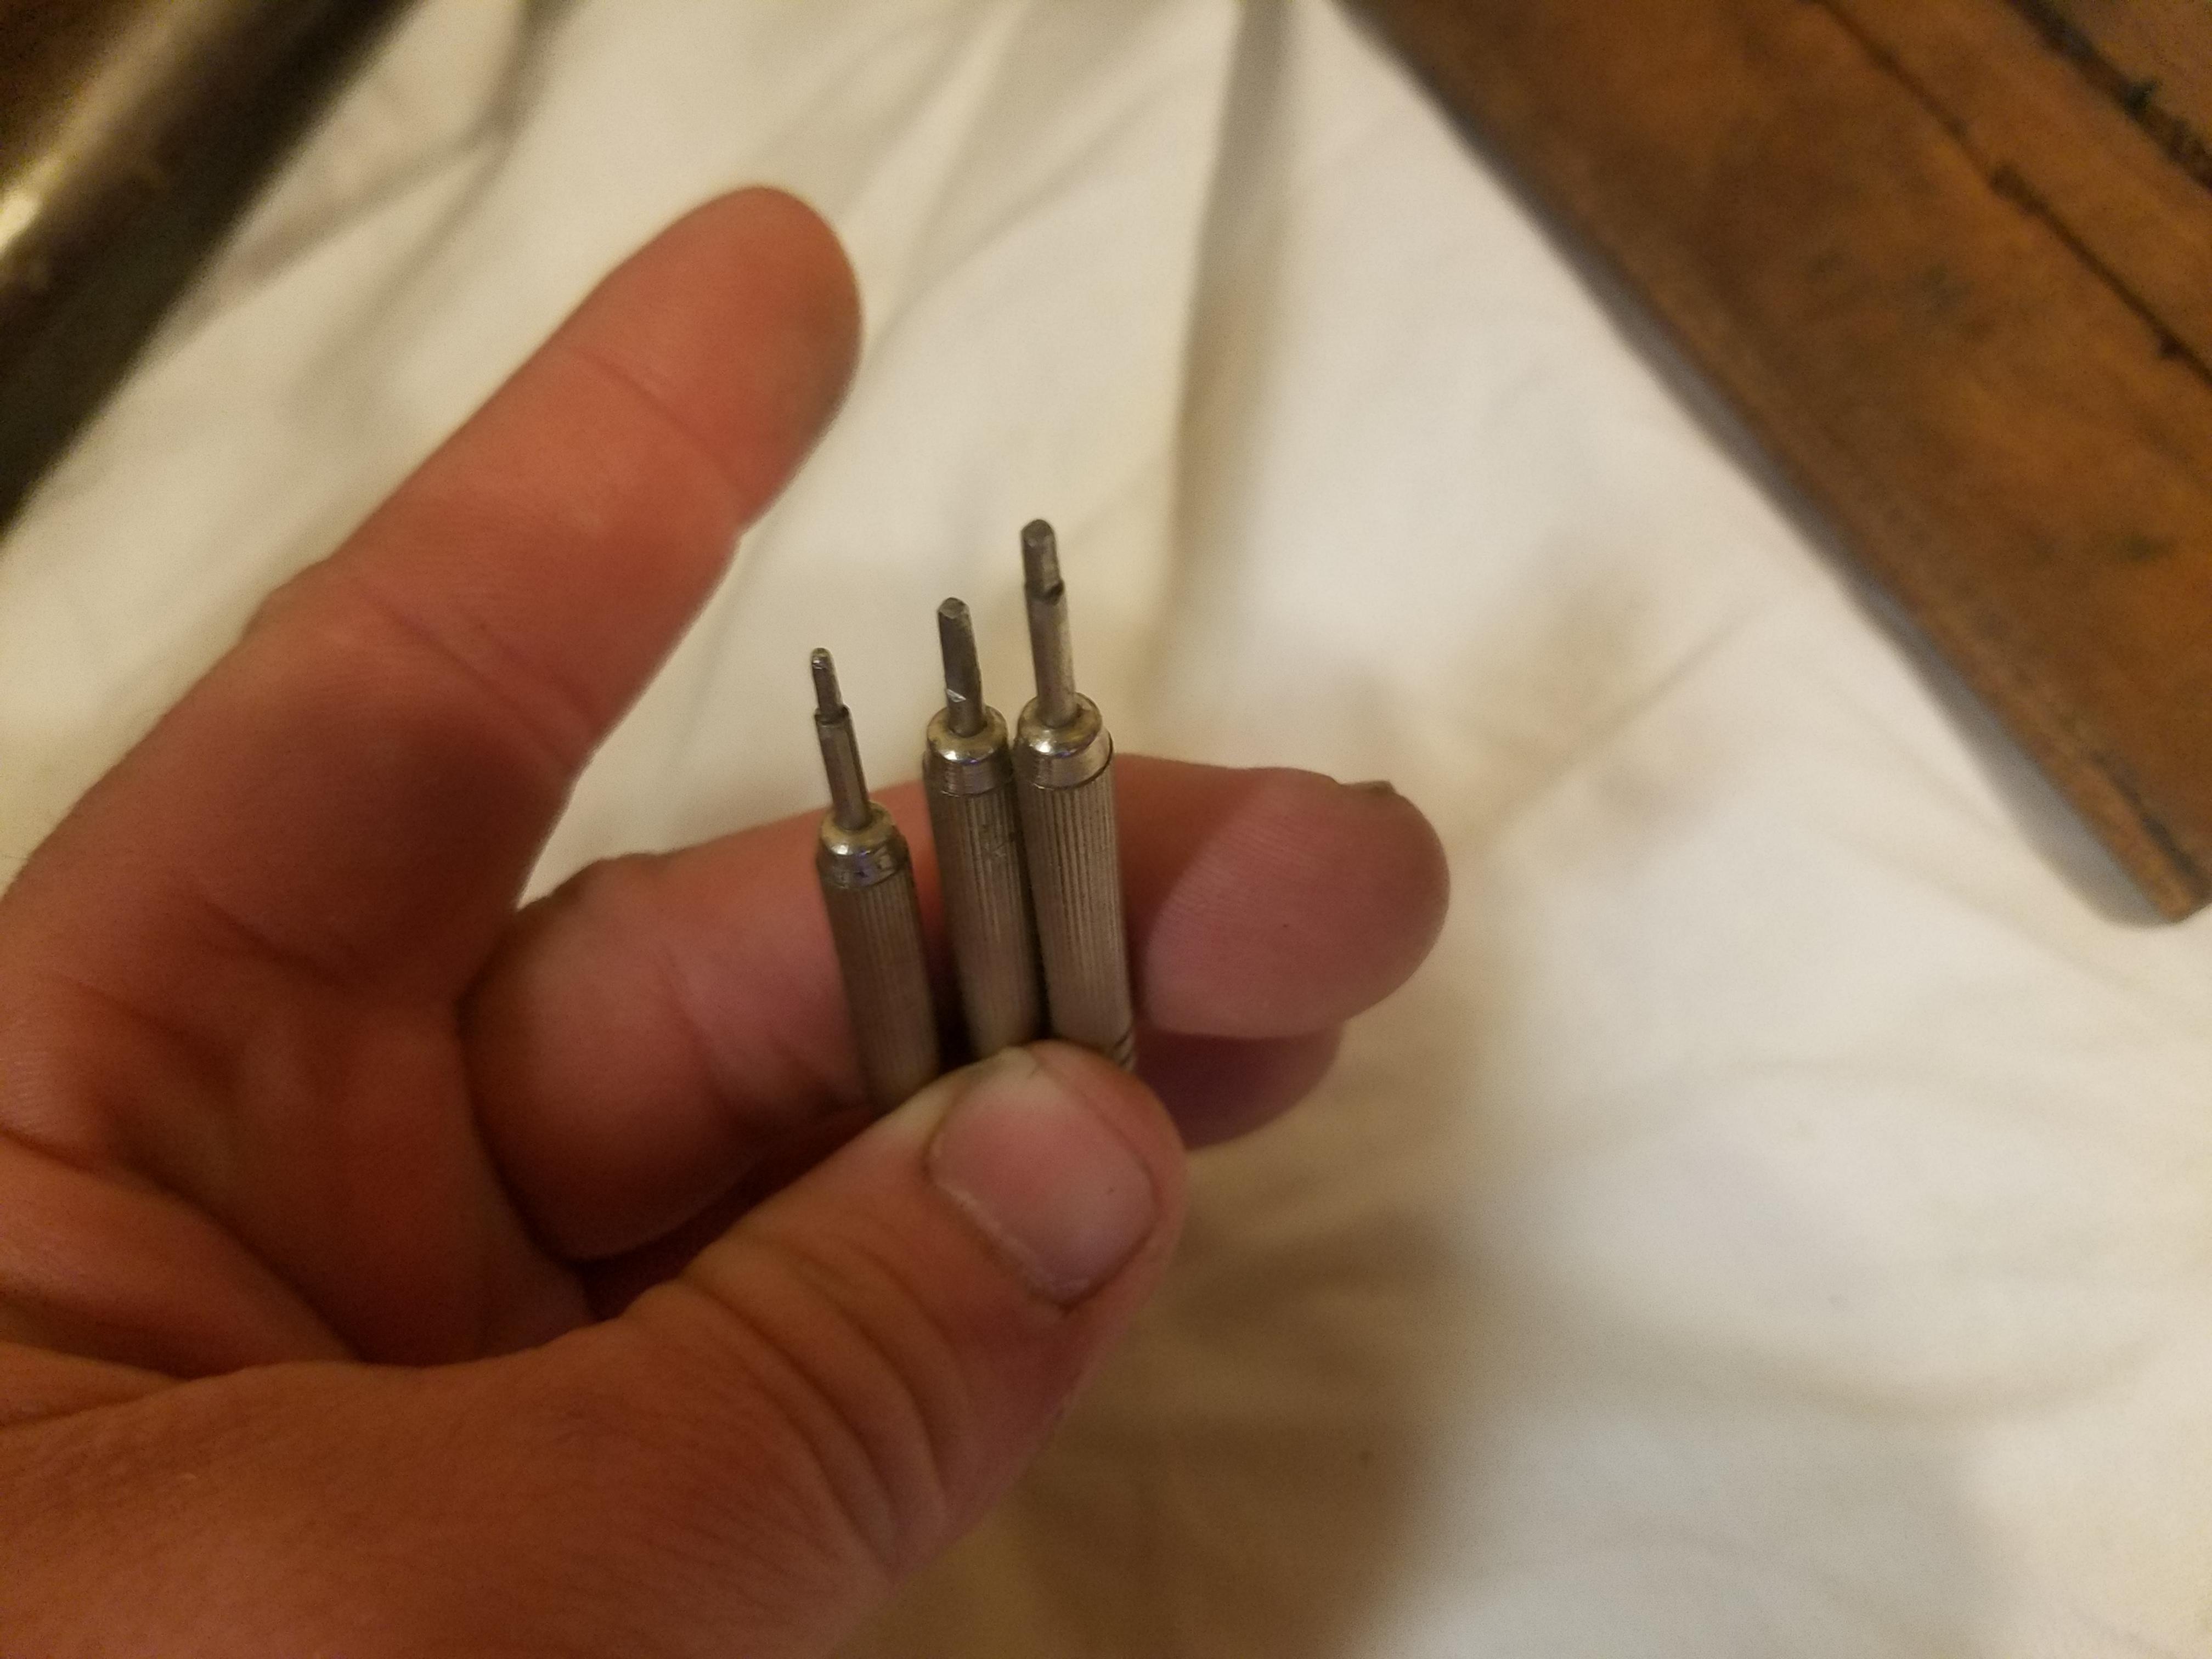
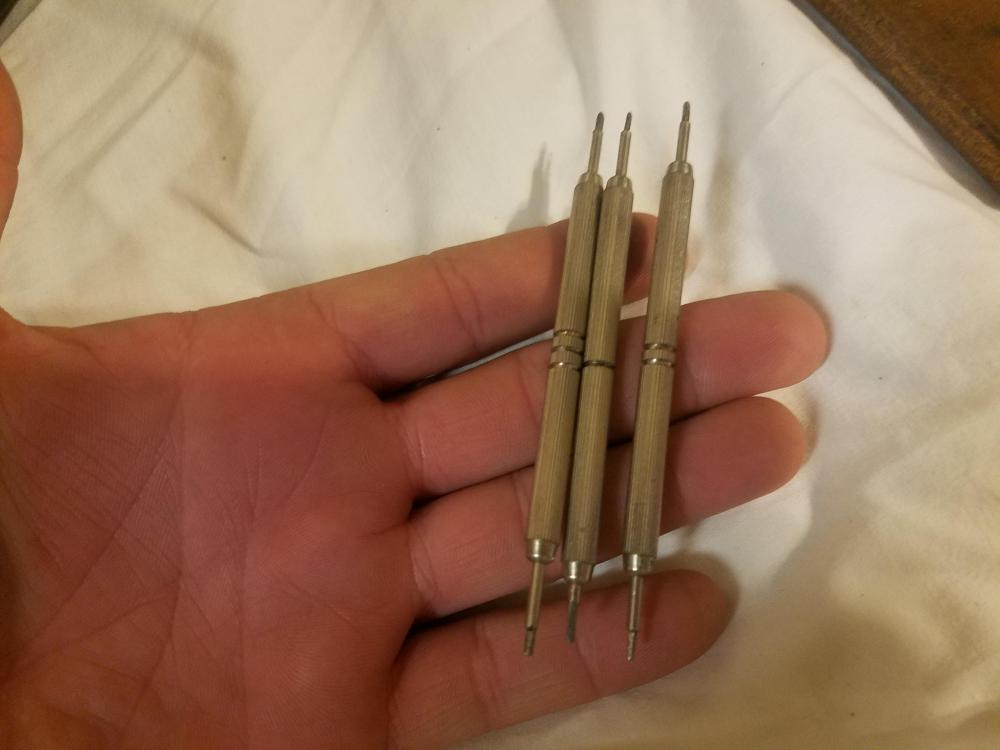
Happened to be given a springbar tool for drilled lugs to try out and review, have been chatting with the maker and having suggested the possible addition of fork tools for standard bracelet lugs also, (like the expensive Bergeon tool), he's going to look into incorporating that. Link to review here for those interested. https://www.youtube.com/watch?v=vSutgRceWIk&t=35s1 point
-
Thanks. For the record it's a Chinese mov't, the Seiko's are 1,000 times easier to deal with. For these I have made the following video that shows how to follow your advice with pegwood.1 point
-
Loosen 1 1/2 turn the stem release screw and remove stem and crown. it's the smaller one nearer to the crown. That must be sure shown in any decent video. In any case it looks like a nice piece, I don't know how much you paid it but In Italy nothing about watches is let go for cheap, so I would recommend that you practice on something of small or no value first, since the chances of a beginner loosing or breaking something are very high. Not to mention you may not having got yet the correct tools.1 point
-
Don't have a video, but if you look at the pic it's a matter of the design of the bloc. The spring has to come in from the back, the outside. Some blocs have more of a chamfer at the perimeter, and where they are seated may have a decent chamfer, and some of the smaller springs have a smaller "T" end, and can be coaxed into place one "T" tip at a time without disturbing anything. But often the bloc needs to be pushed out a bit to allow access to the slot for the T. And, on some calibers the slot for the T is too accessible and the spring wants to fall out when open. On Incabloc the concept is it remains captive, but on some smaller calibers (like 5x7 ladies movements) particularly on the dial side the bloc sits proud of the mainplate surface and the spring just falls out when open.
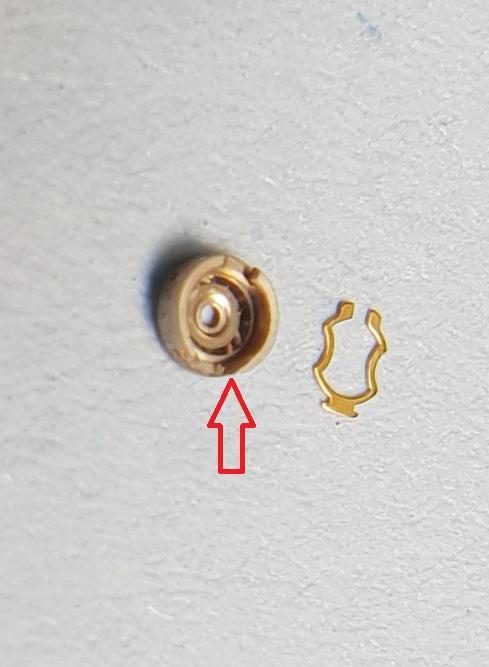 1 point
 -
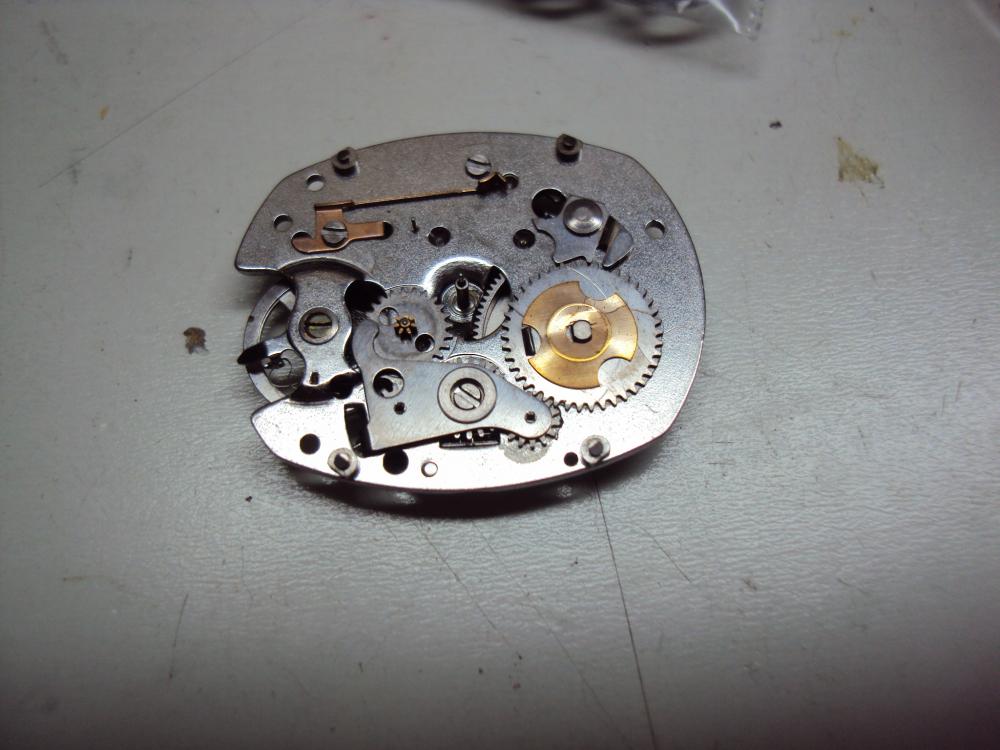
Looks OK, pinions also look complete, but as Watchweason says, probably needs cleaning (or possibly, but less likely, de-magnetizing). Does the watch run free without the balance fork? Does the balance fork click over nicely when fitted? Is everything clean? Given that it is a plastic movement, how did you clean it? How did you lubricate it (if at all)? Is the shock arrangement surgically clean? I haven't looked at any of the Tissot plastic movements, but I did fix a couple of similar plastic Q+Q movements, and they seem to be very finiky if they are not absolutely clean and free of grease and oils. I cleaned mine with lighter fluid and a cotton bud, and used the lightest oil I had on the balance pivots only, and that seemed to be sufficient. Any other oiling, particularly on the fork or escape wheel, seemed to be counter productive. The Tissot 2250 may be different of course.1 point
-
Looks good. As one makes progress in polishing it becomes important not only to obtain the best possible result, but to get there quickly and with the minimum effort and mess.1 point
-
I had to improvise a bit... not sure if pic is good but I am pleased with the result. like I said it was only a bit opaque due to age, I guess.
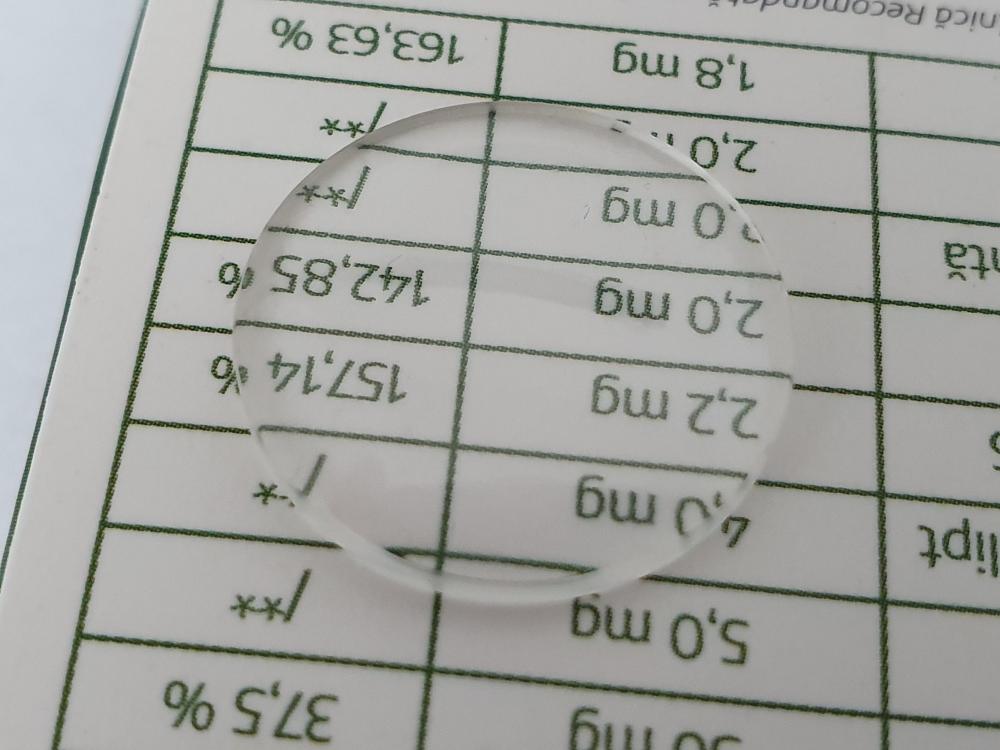 1 point
 -
Have you used a rotary tool? Without it you would spend a lot of time for little progress. And the tool must be kept steady by some sort of holder.1 point
-
You need to post a good picture front and back. BTW we have a seection where it's considered polite to introduce oneself.1 point
-
I had some diamond paste around and decided to use it. Result is good overall. The glass had no visible scratches with the naked eye but it was a bit opaque. The paste did the job. (Not perfect but almost) Have ordered some gaskets and I hope that the glass will be a tight fit. Will remember your advices for future projects. Thanks!1 point
-
Hi, I'm Simon. I'm from Ohio and new to here also. Pocket watches are my thing, and I know nothing about them haha! I'm hoping to get some good tips on how to work on them and the guys here so far have been great.1 point
-
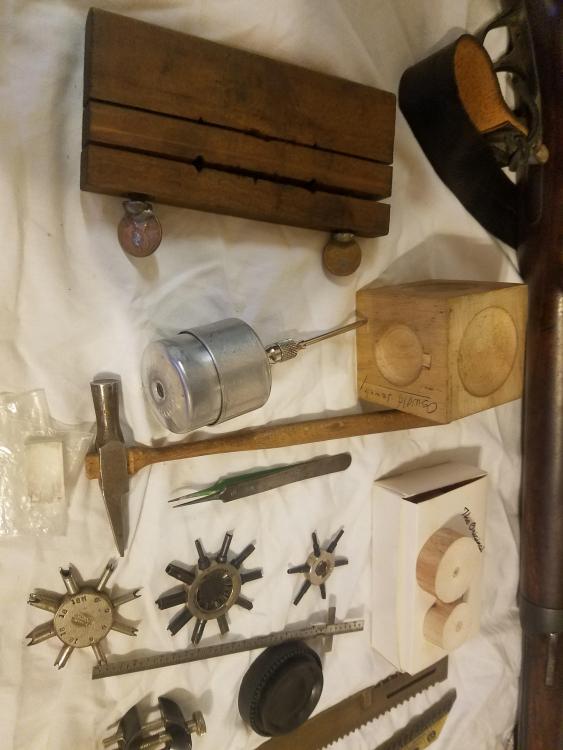
The flintlocks are my restorations (I'm a little proud ). I think watches are far more challenging but I don't know as of yet because I am so new I don't even know what some of these tools are haha. Pocket watches, their repair and restoration have always fascinated me. I have a collection I love. I just found a local guy who has been doing it for 40 years. I took him a Waltham Crescent St. that I plan to give my dad for his anniversary and when I saw his shop it sparked me to want to start too. Plus I have a Waltham or two that isn't going to be hurt by tinkering on them as they already don't work.
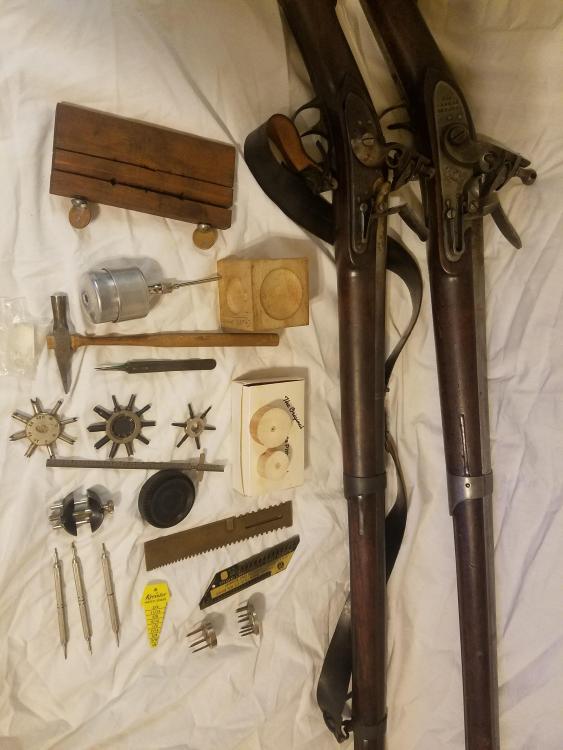


 1 point
 -
I use diamond paste to. I polished this with 400 paper then 800 and last 1200 wet . And last diamond paste . As i didn't have any ceriumoxide. Result is pretty okay?
 1 point
 -
So many topics written about this, but the same questions are always asked. In short: Only wet paper removes scratches. Depending on various factors, there is no set grade. 400 or 600 are the rough ones to start. Wet paper is not an effective way to finish work after, say an 800 or 1000 grit pass. Use diamond paste on an hard wheel instead. Cerium oxide is not indispensabile. You may find that if fact it does nothing than fine diamond paste does not do but seems harder to clean.1 point
-
My money is on fossilized lubricant.1 point
-
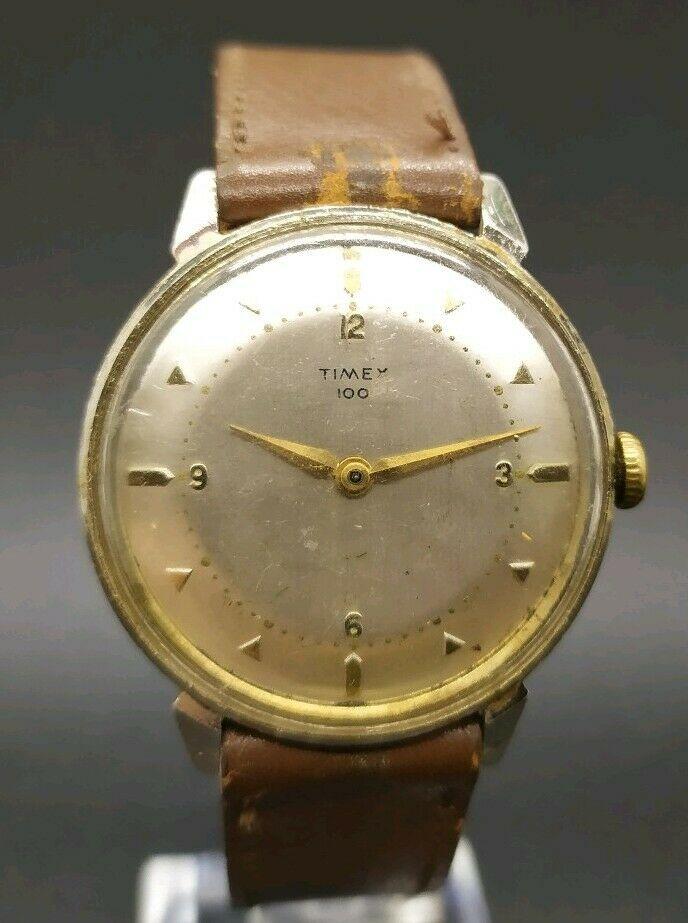
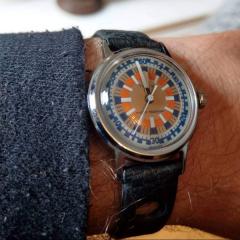
just placed an order for a ratty Timex 100, 50's vintage. Hopefully @JerseyMo will have a few parts available for me to purchase to freshen this up. I also acquired one of my personal grail watches, a Sicura Satellite. This one needs some attention and a thorough polish on the crystal. The Satellite has the most unique and massive second hands I've ever seen

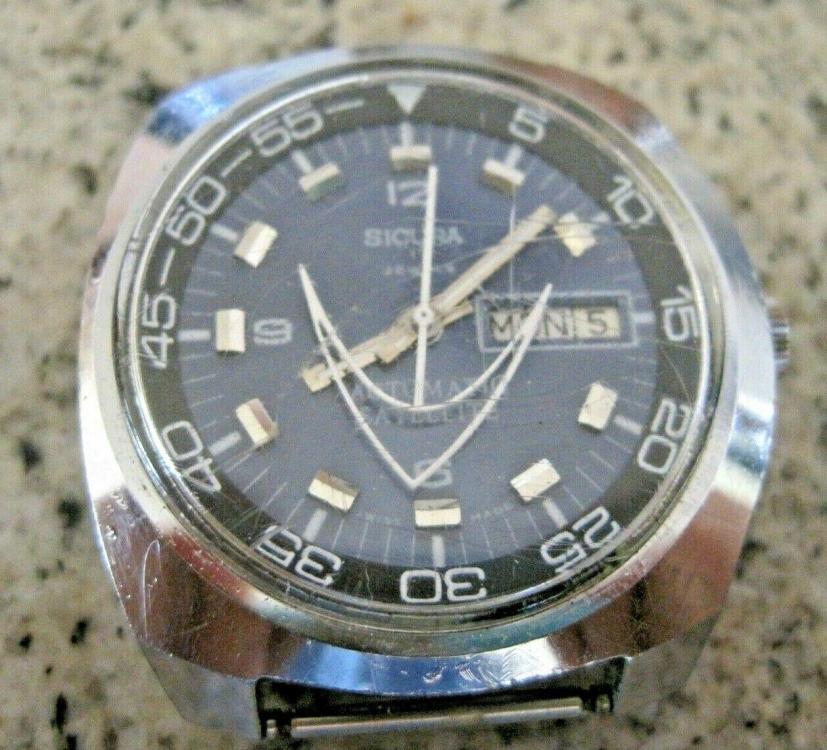 1 point
 -
I just found one with automatic on bottom hoping to get it running when received. Sent from my SM-G975F using Tapatalk1 point
-
How bad is it . Can you polish the crystal. With wet and dry paper and ceriumoxid.1 point
-
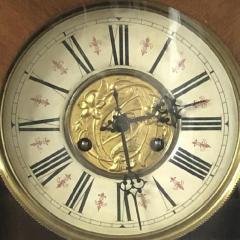
I love the sound.1 point
-
Same, I have clocks ticking and chiming in my little room but have to silence them because the wife moans at how much noise they make1 point
-
Ahh; the sound of a pendulm clock in tune with your rocking chair. vin1 point
-
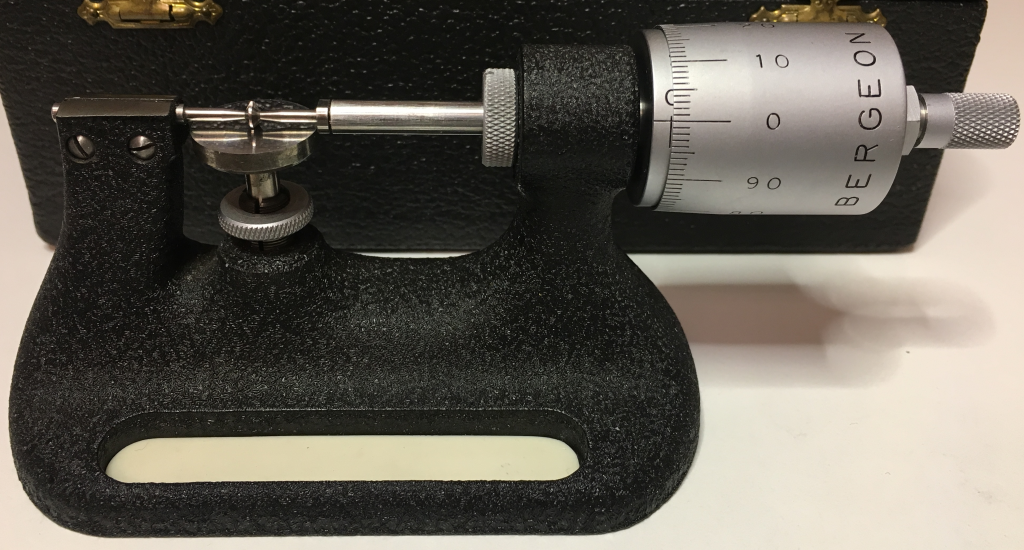
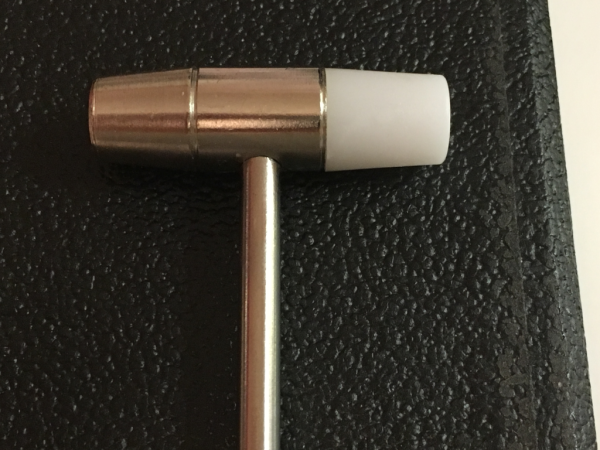
Mission accomplished. The Eagle has landed! So, I’m all good to go! Just can’t thank you enough guys! I know that for you seasoned repairers this is nothing special, but me, well, I feel like I’ve successfully taken off in a rocket! For those of you finding this thread in the future here’s some additional info that I learned on the way. After having removed screw A and B the spindle C just wouldn’t move pulling it by hand. So, I tapped on it ever so lightly horizontally in the direction towards spindle F and it moved in increments. To tap I used the plastic part of the hammer in the picture. I also needed to rotate the spindles C and F slightly. I did this by grabbing on to the thick part of the left spindle C (after having tapped it out a bit) with pliers with a bit of transparent and though plastic film (zip bag) in between the pliers and the spindle. To rotate the right spindle F I simply used a small BAHCO adjustable wrench. Loosening screw K as @nickelsilver and @rogart63 point out is indeed the way to get the scale back to normal! The inner sleeve can then slide as well as rotate without affecting the thimble (the barrel with the graduations 0-99). I’m really thrilled to own this beautiful precision tool! It gives me the same feeling that I get from looking at a really fine watch movement. So again, a really big thank you to all of you!

 1 point
 -
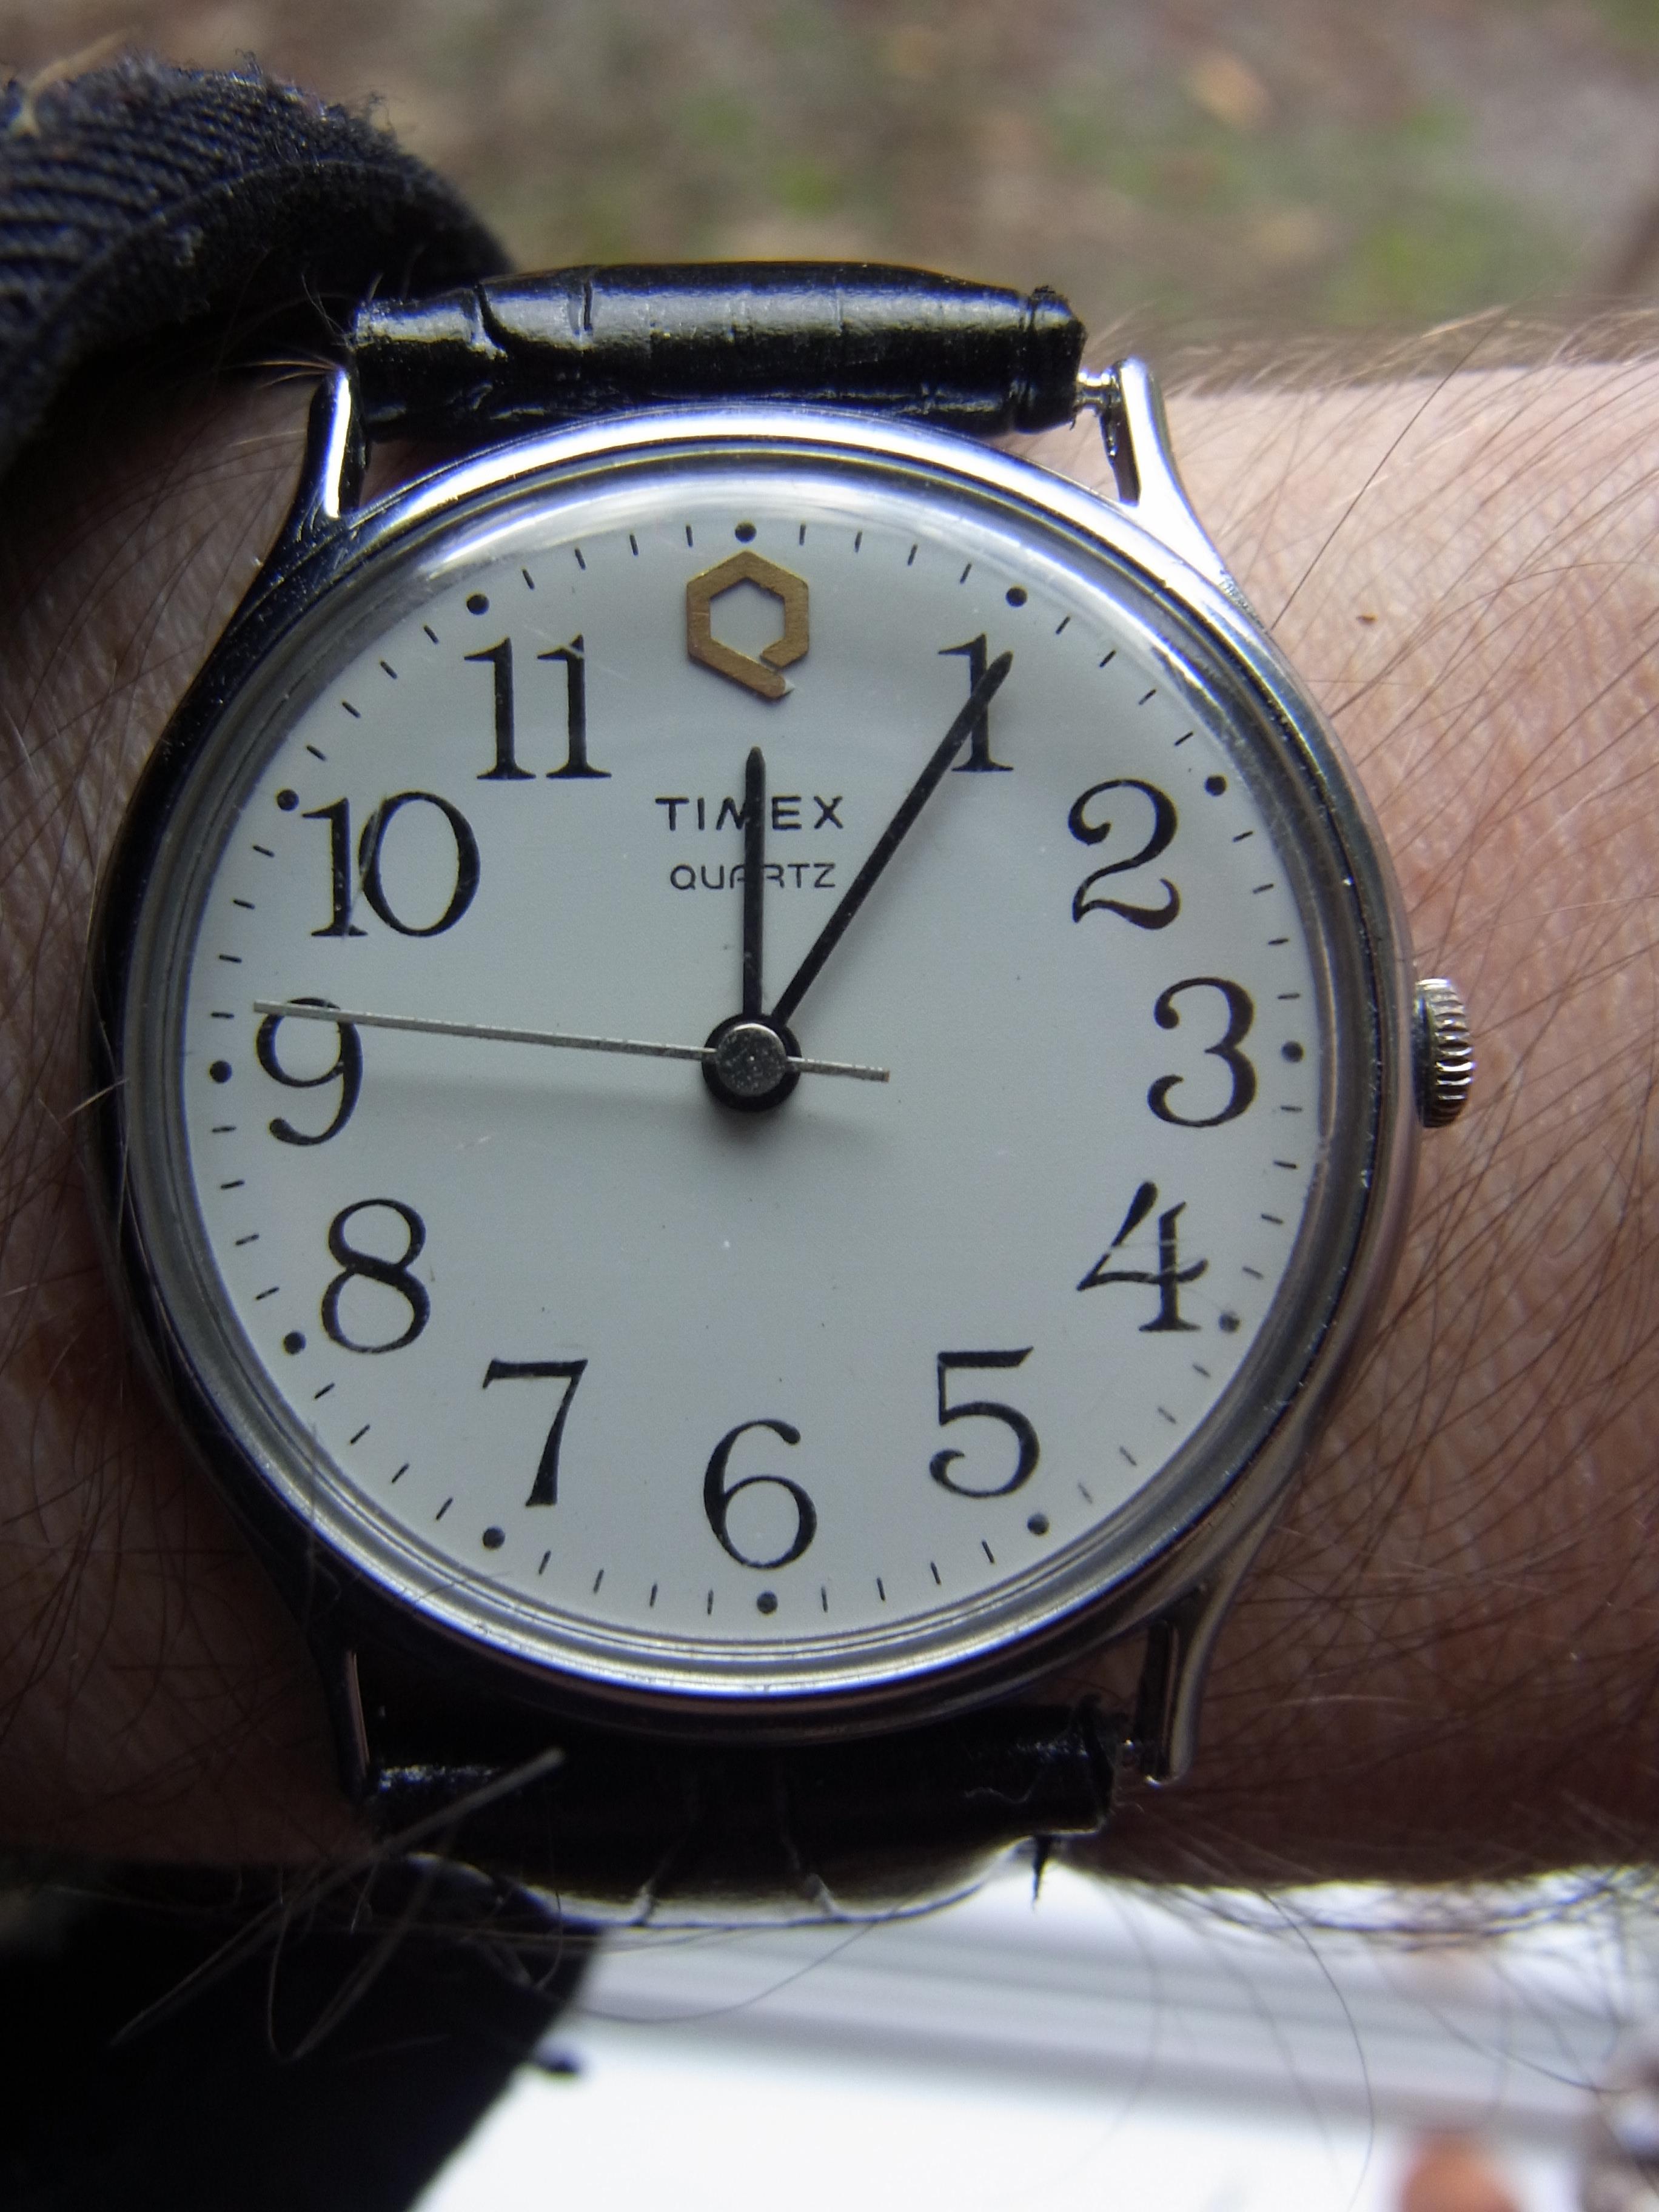
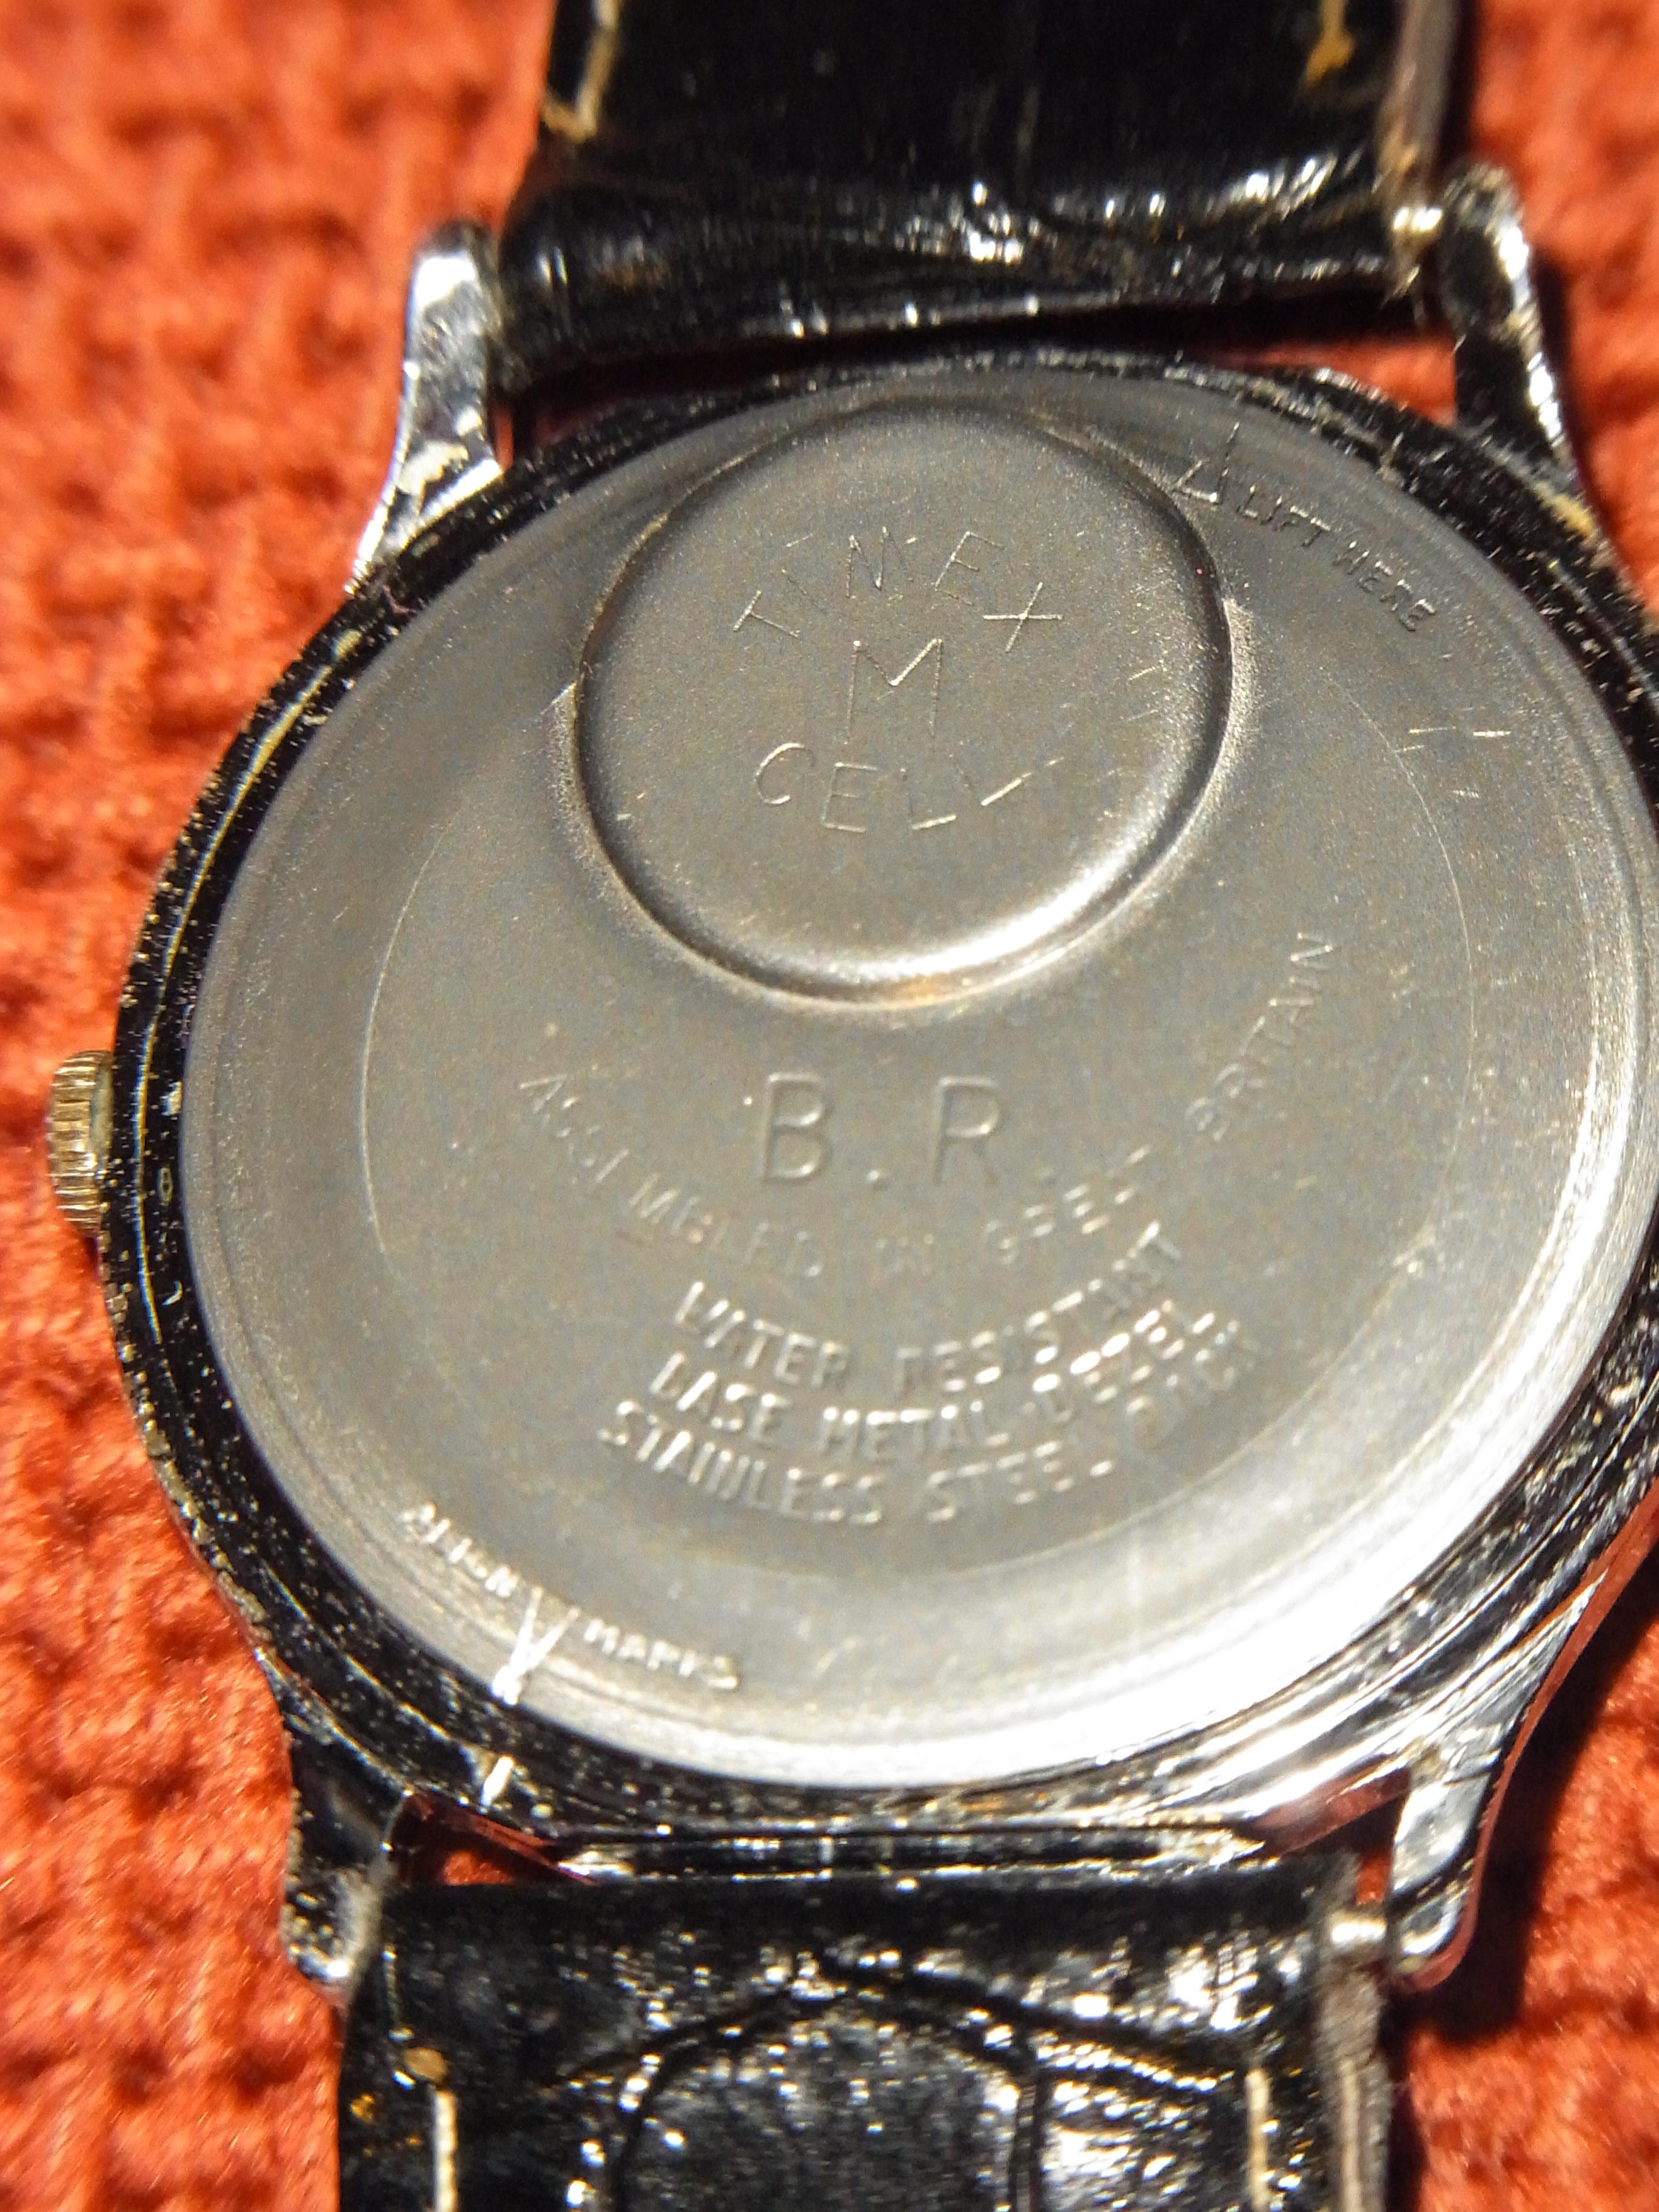
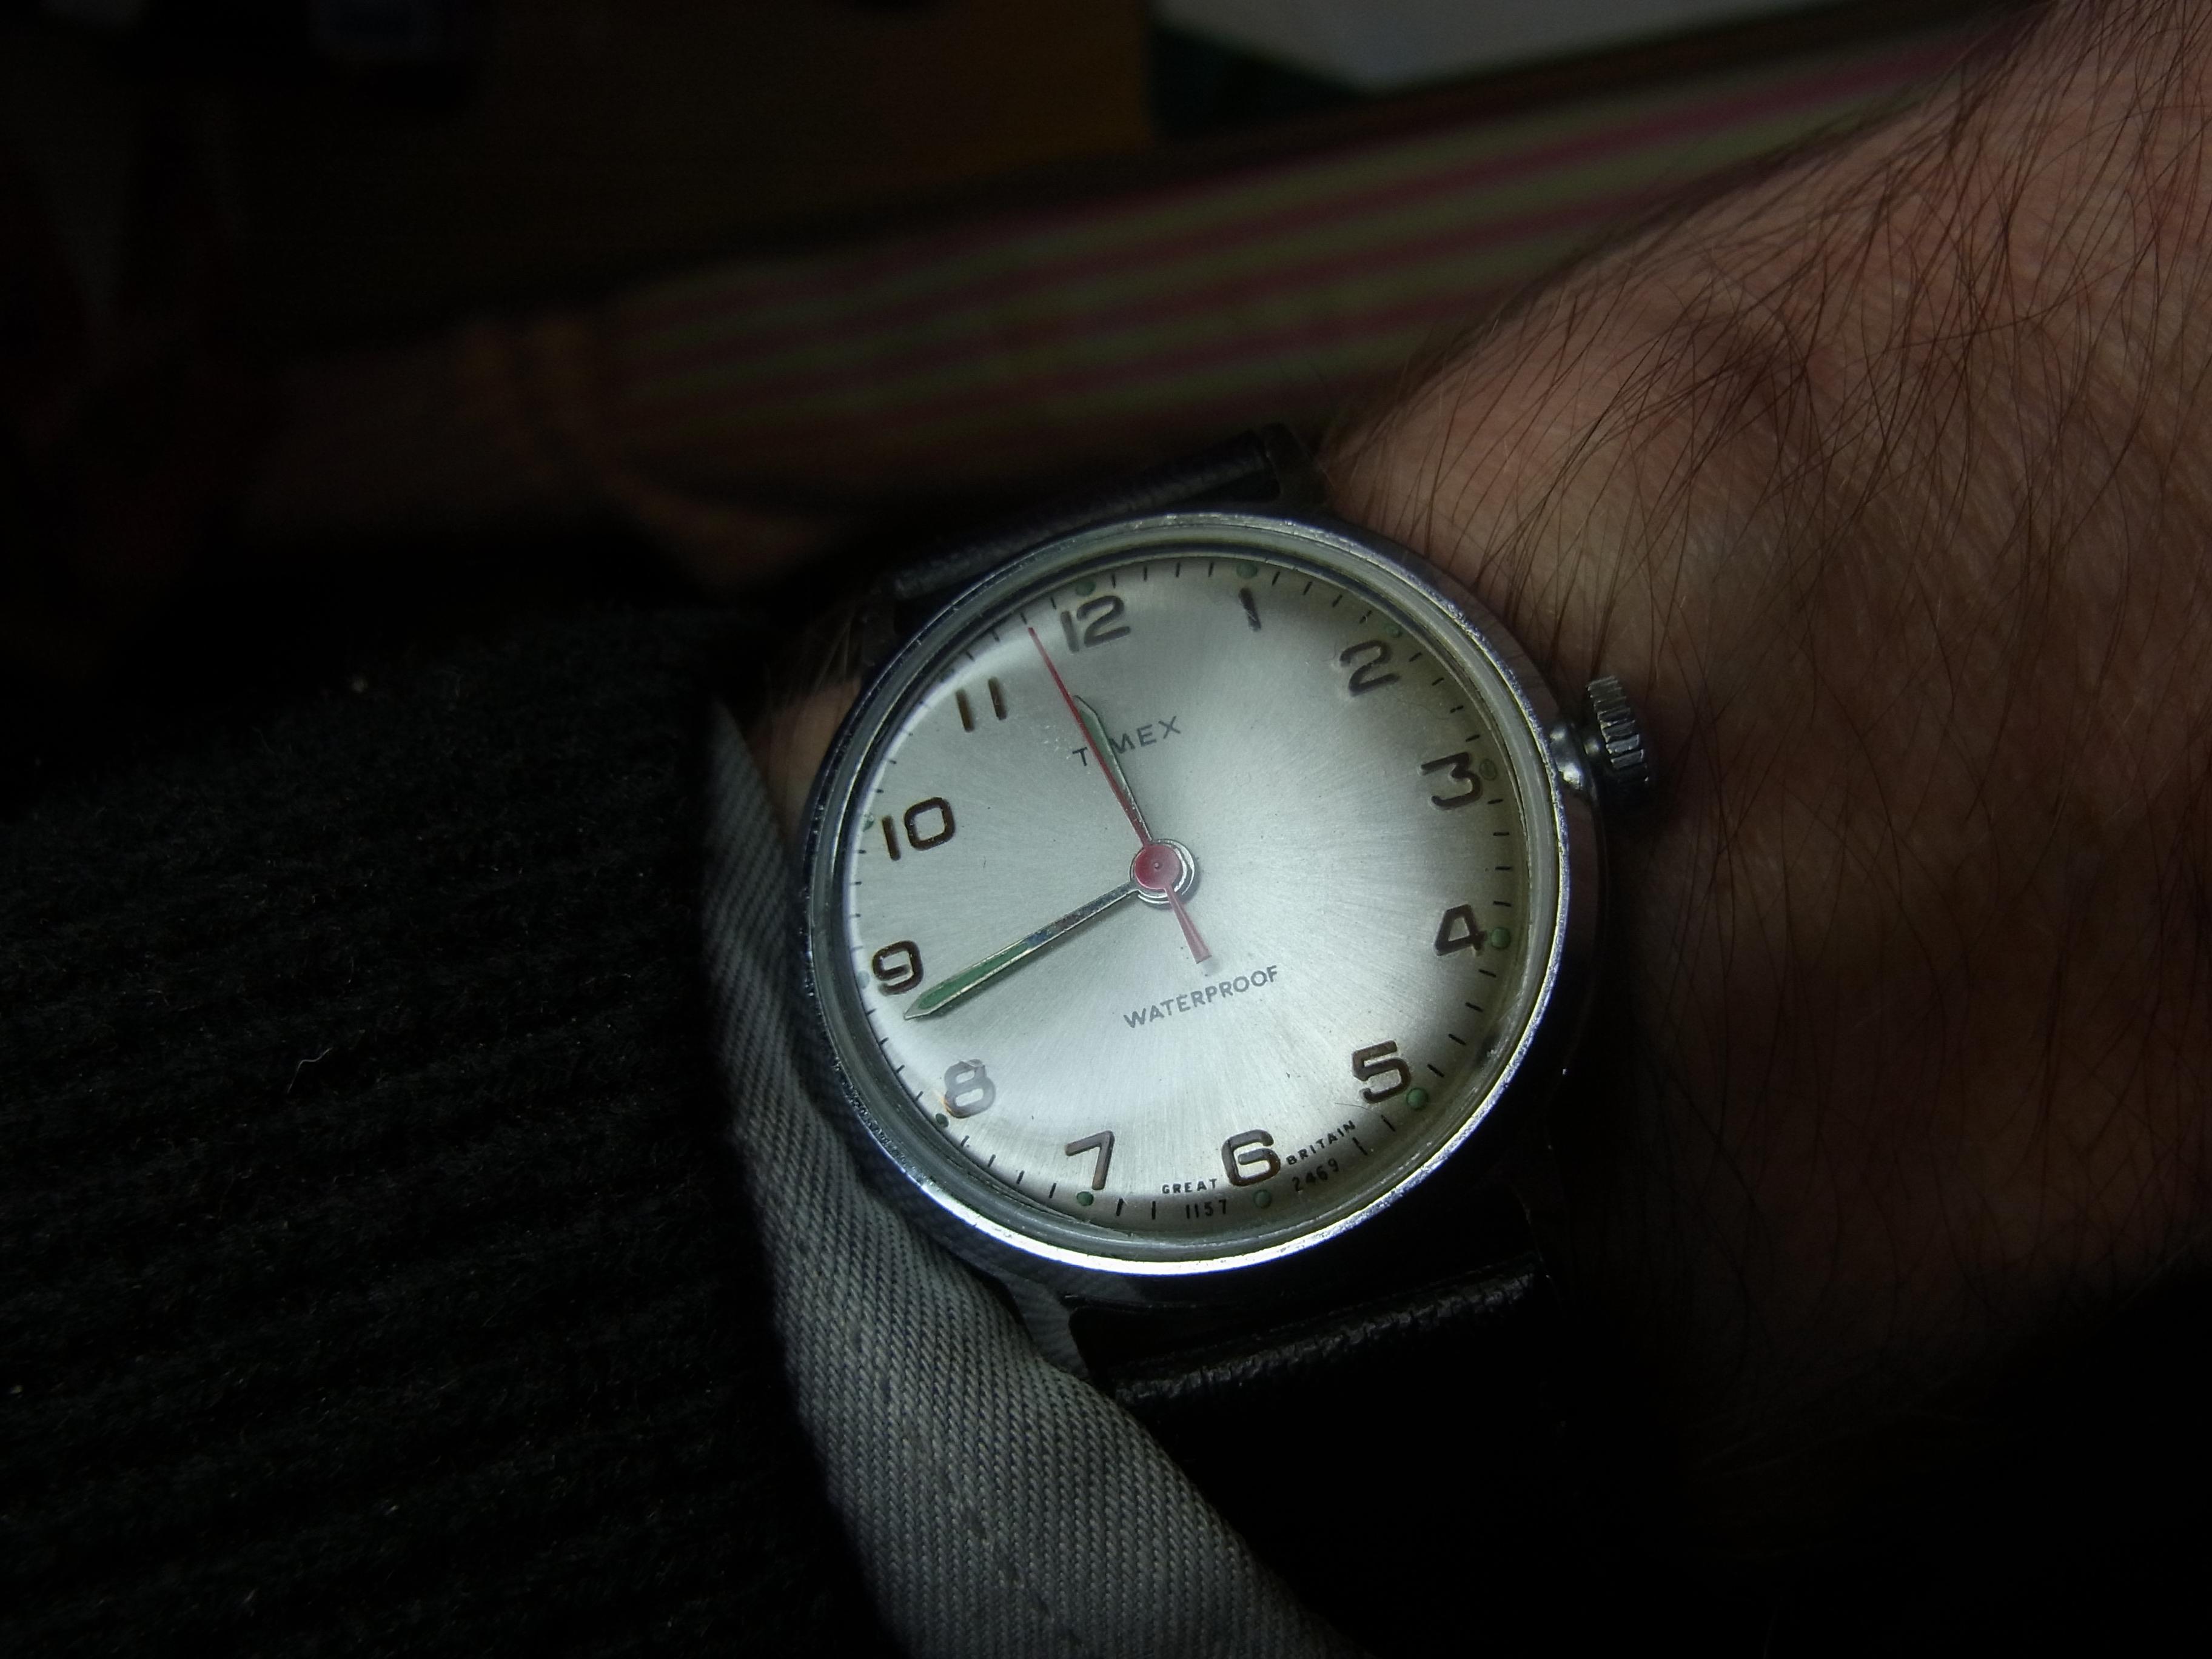
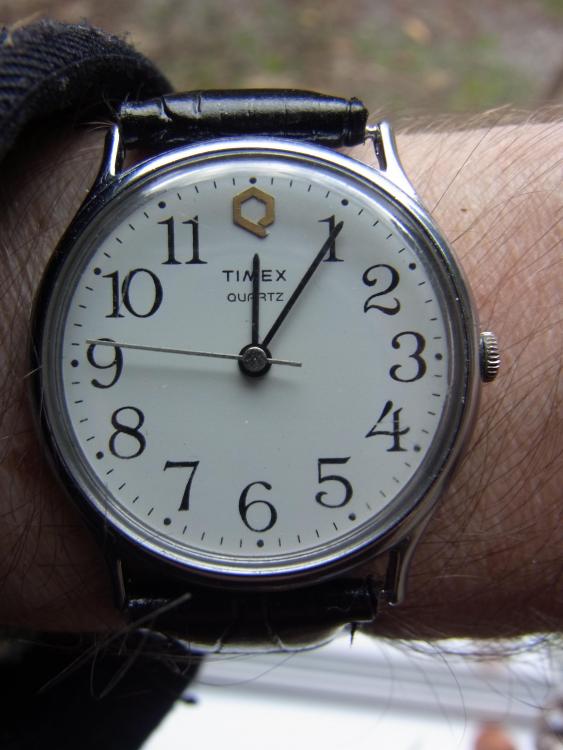
Railway time today, in the form of a British Rail Timex "Q" I posted about one of these a while back, with a made in France dial. This one is similar but different. This one appears to be from Dundee, but the exact date of production is not obvious. It must be pre- 1997 since that was when British Rail was "privatized" (or arguably the profit was privatized and the loss was subsidized, but that is a whole 'nother story). The watch arrived sans pins or strap, in a filthy condition and listed as spares or repairs, not working, but a quick scrub and brush up, and a fresh 'Timex "M" cell' (AG10) and off it went. These high readability dials are perfect for telling the time at a glance, or waving at customers as they charge along the platform trying to jump in to the moving carriages, or indeed ensuring you don't miss your thirteenth tea break of the day as you sit in the warmth of the guards van, guarding a few bashed parcels an old milk churn and a tandem with a wonky back wheel, or whatever other junk the traveling public has entrusted to your care that day. It has a few remaining battle scars, but that is just part of its history. Whether it spent its life with the 'romance' of "The Calendonian" Inverness sleeper trains or passed its days trundling back and forth on the eight fifteen to Bognor, we will never know.
 1 point
 -
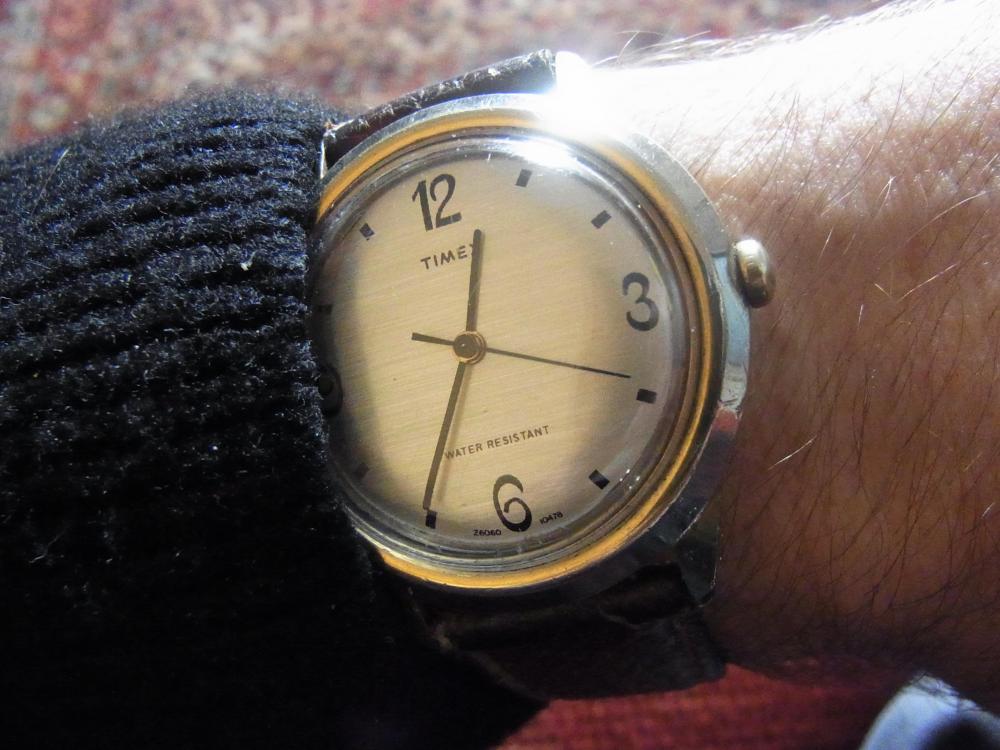
Scraping away layers of paint and grime, revealed this 1978 Timex Marlin front loader. Dead as a door nail, and fully wound when it arrived, it is now running well. It obviously still has a few battle scars, and the crown needs some attention, but what would a vintage watch be, without a little age related character.
 1 point
 -
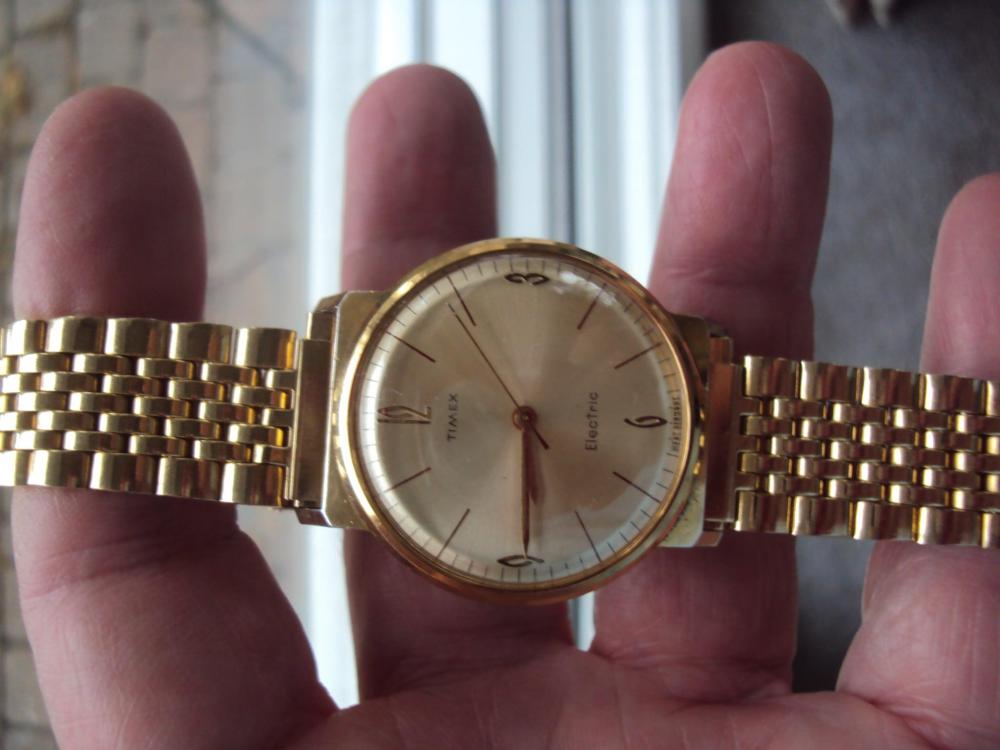
a 1965 backset electric - found at flea market, not running, and in needs of some TLC. cleaned up and running again.
 1 point
 -
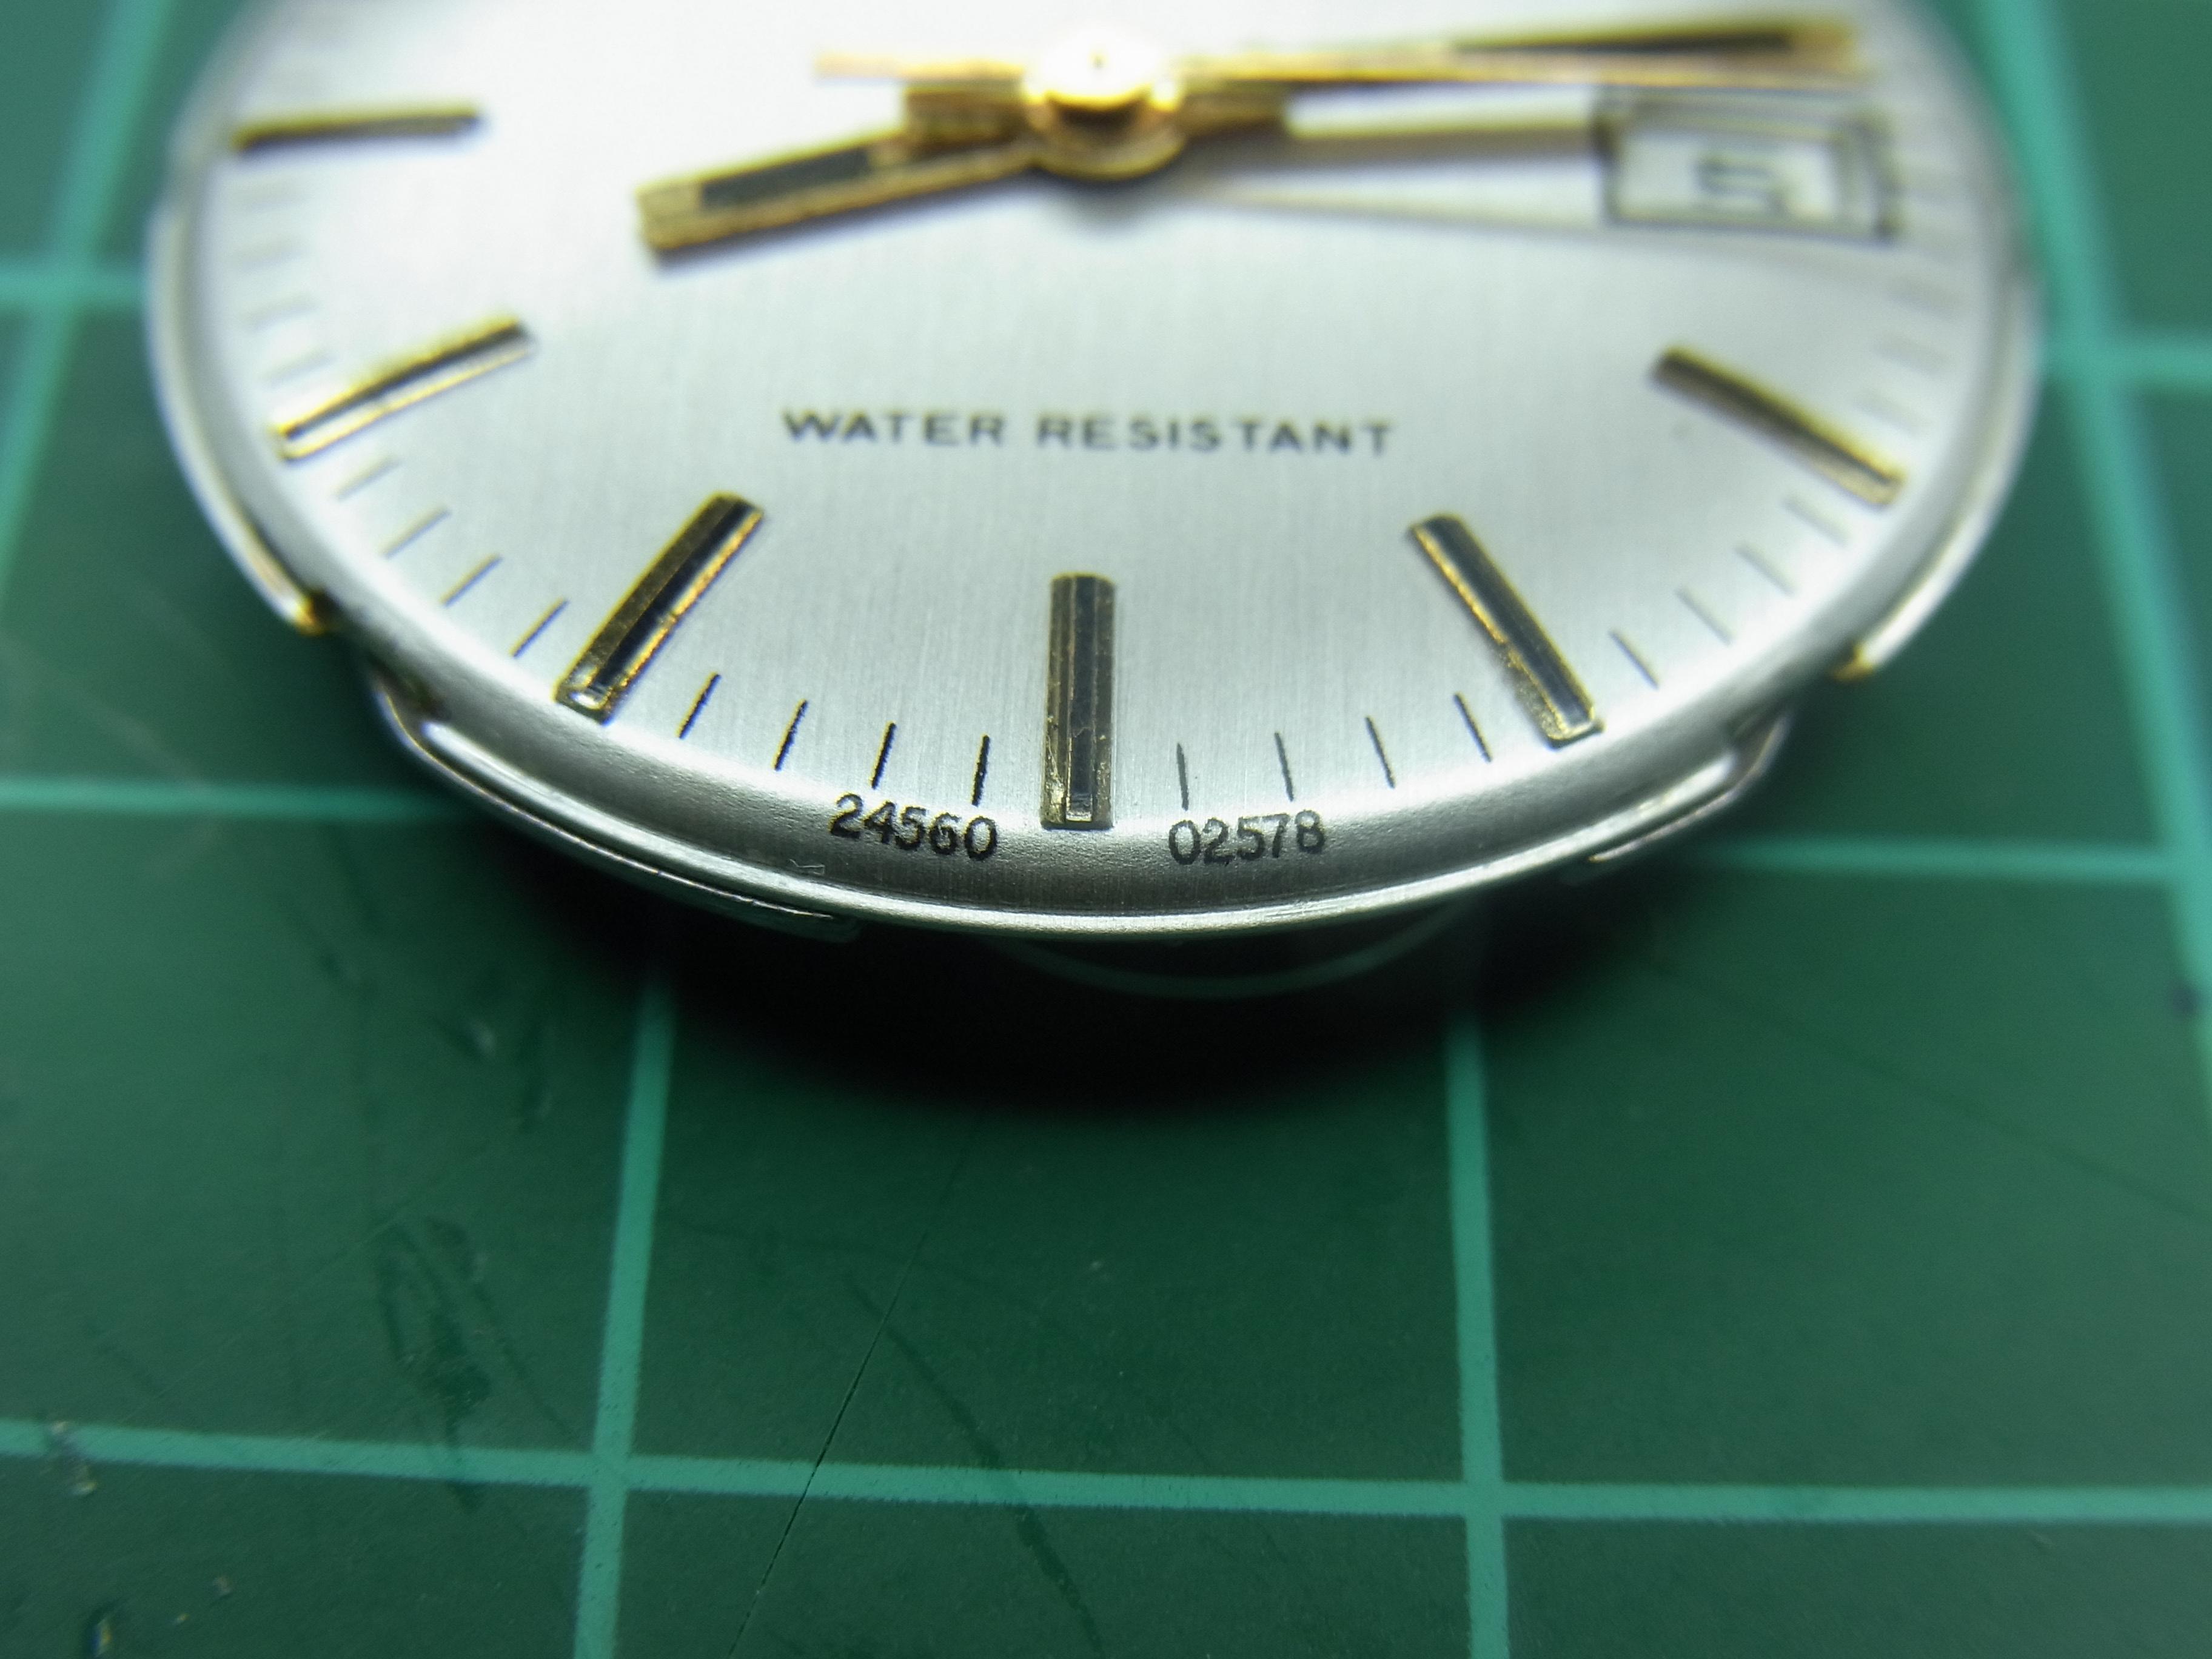
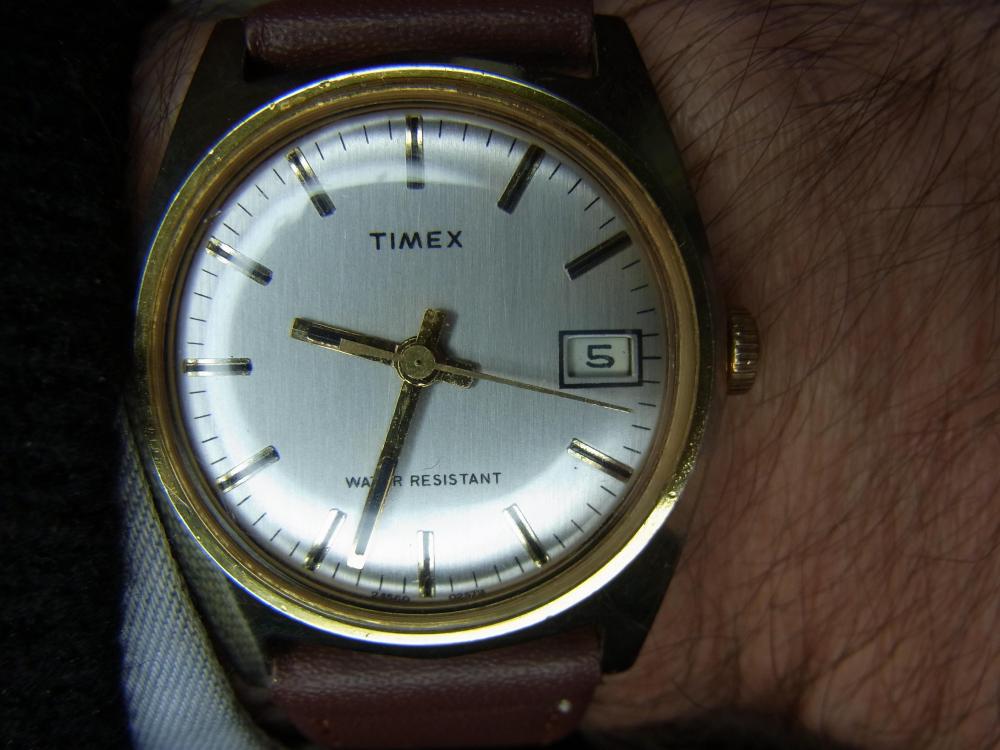
Keeping with the Timex Dundee theme a 1978 Marlin(?) (24560 02578). This was a junk lot watch. I could see in the ebay advert that the date ring was missing, and as I discovered when I opened it, so too was the movement holder, but fortunately I had both in my stash. Here it is just prior to putting the lid back on, after cleaning and servicing. The crystal was heavily scratched with some paint marks for good measure. Advertised as not running, how could I resist? It looked a perfect candidate for the 404 club. This was the starting point. The dial and hands look fine, but the rest was a bit of a mess.


 1 point
 -
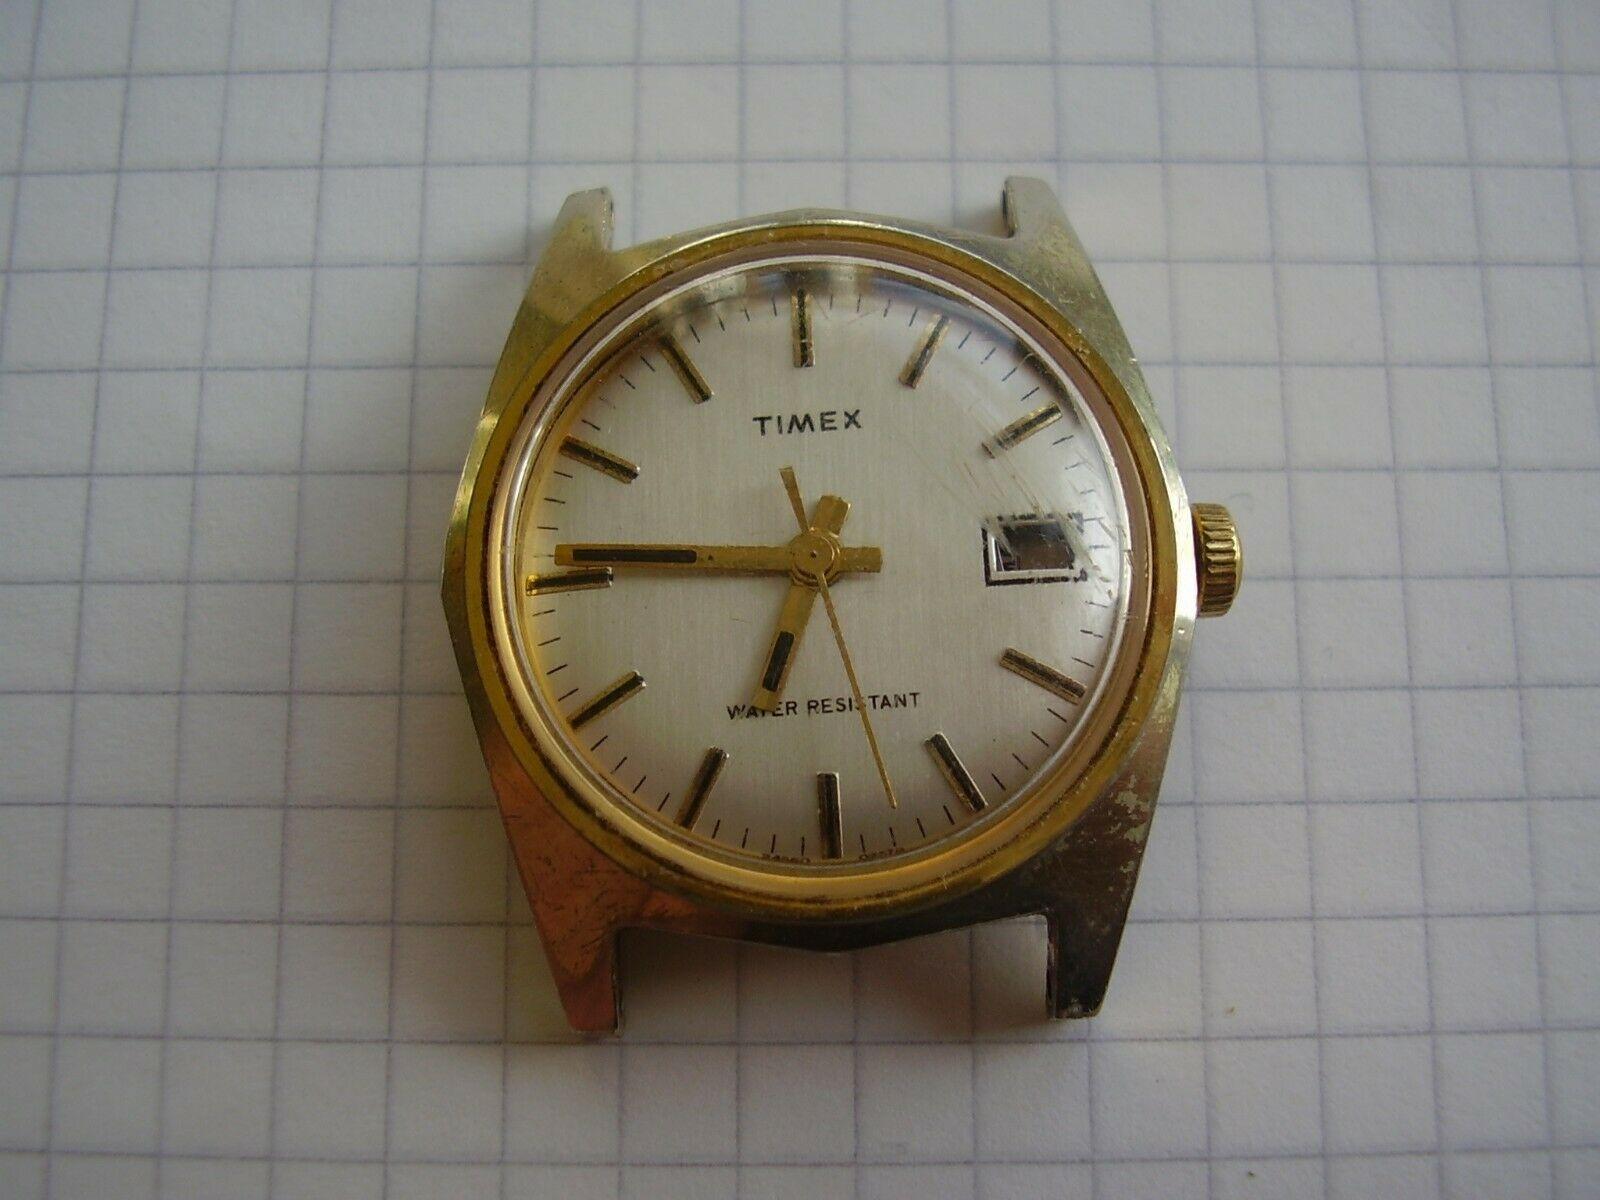
Watch of Today, another spruced up sunburst dialed Timex from sunny Dundee. This latest member of the 404 club is form 1969.

 1 point
 -
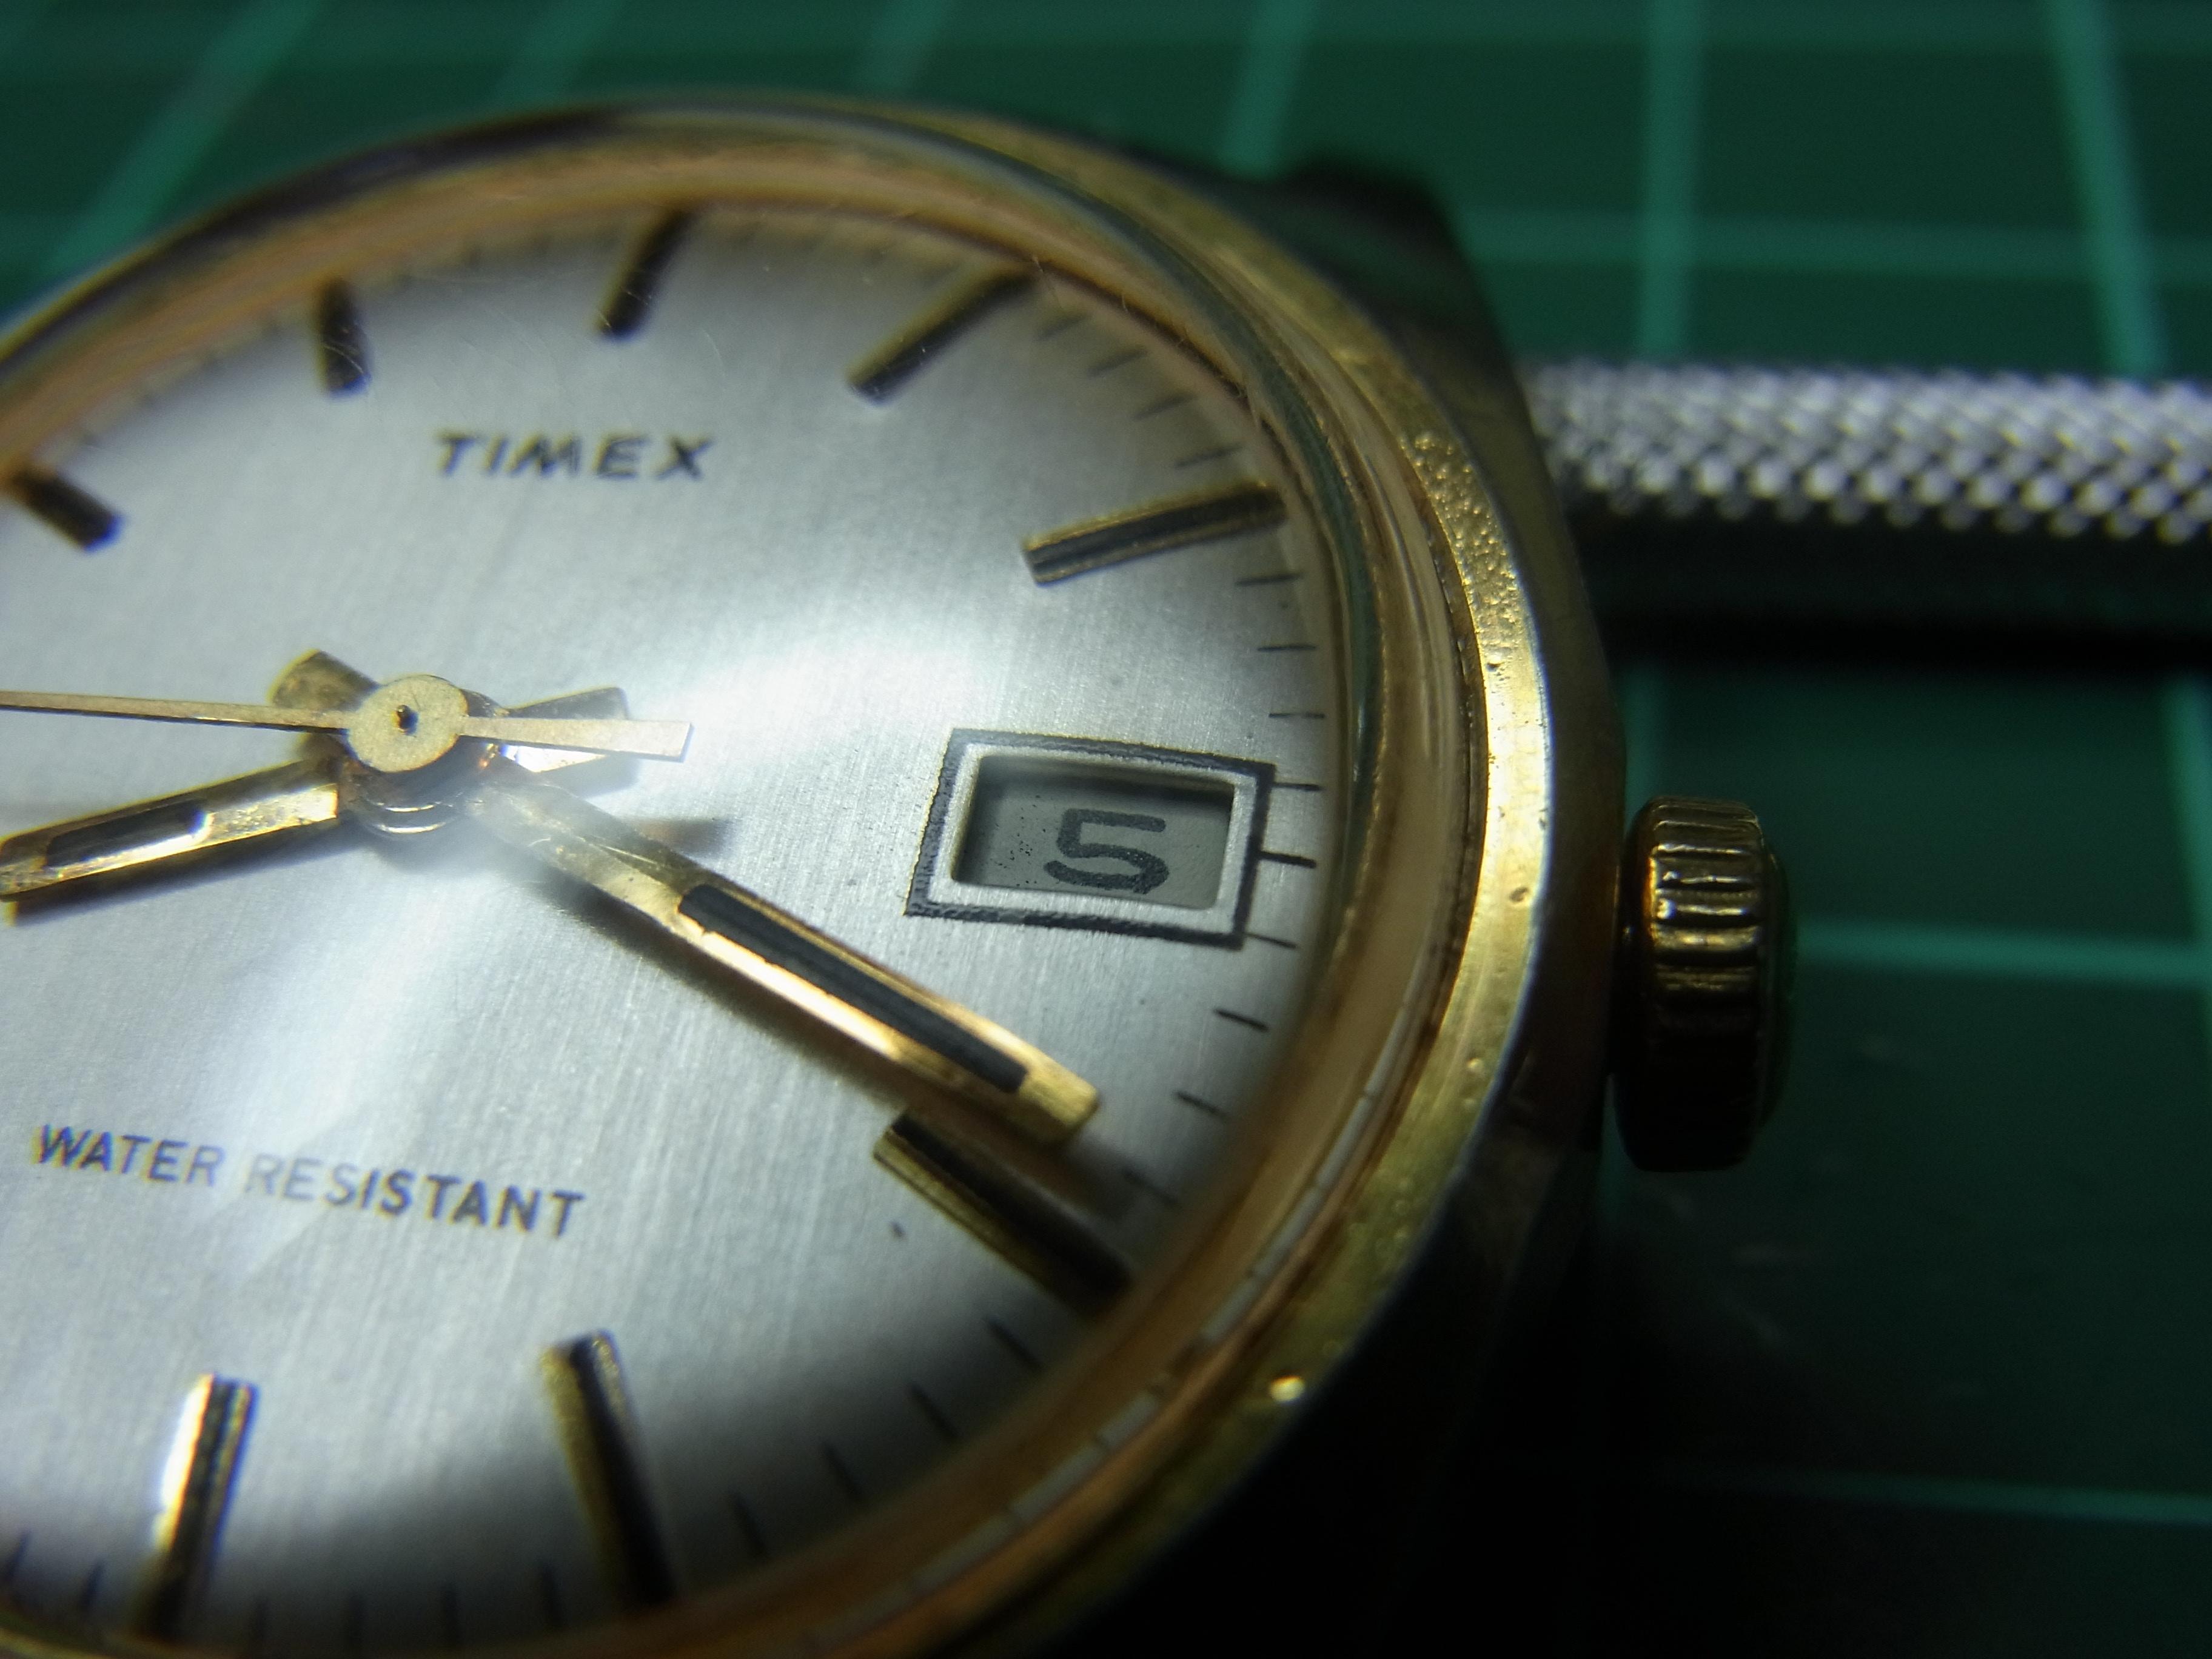
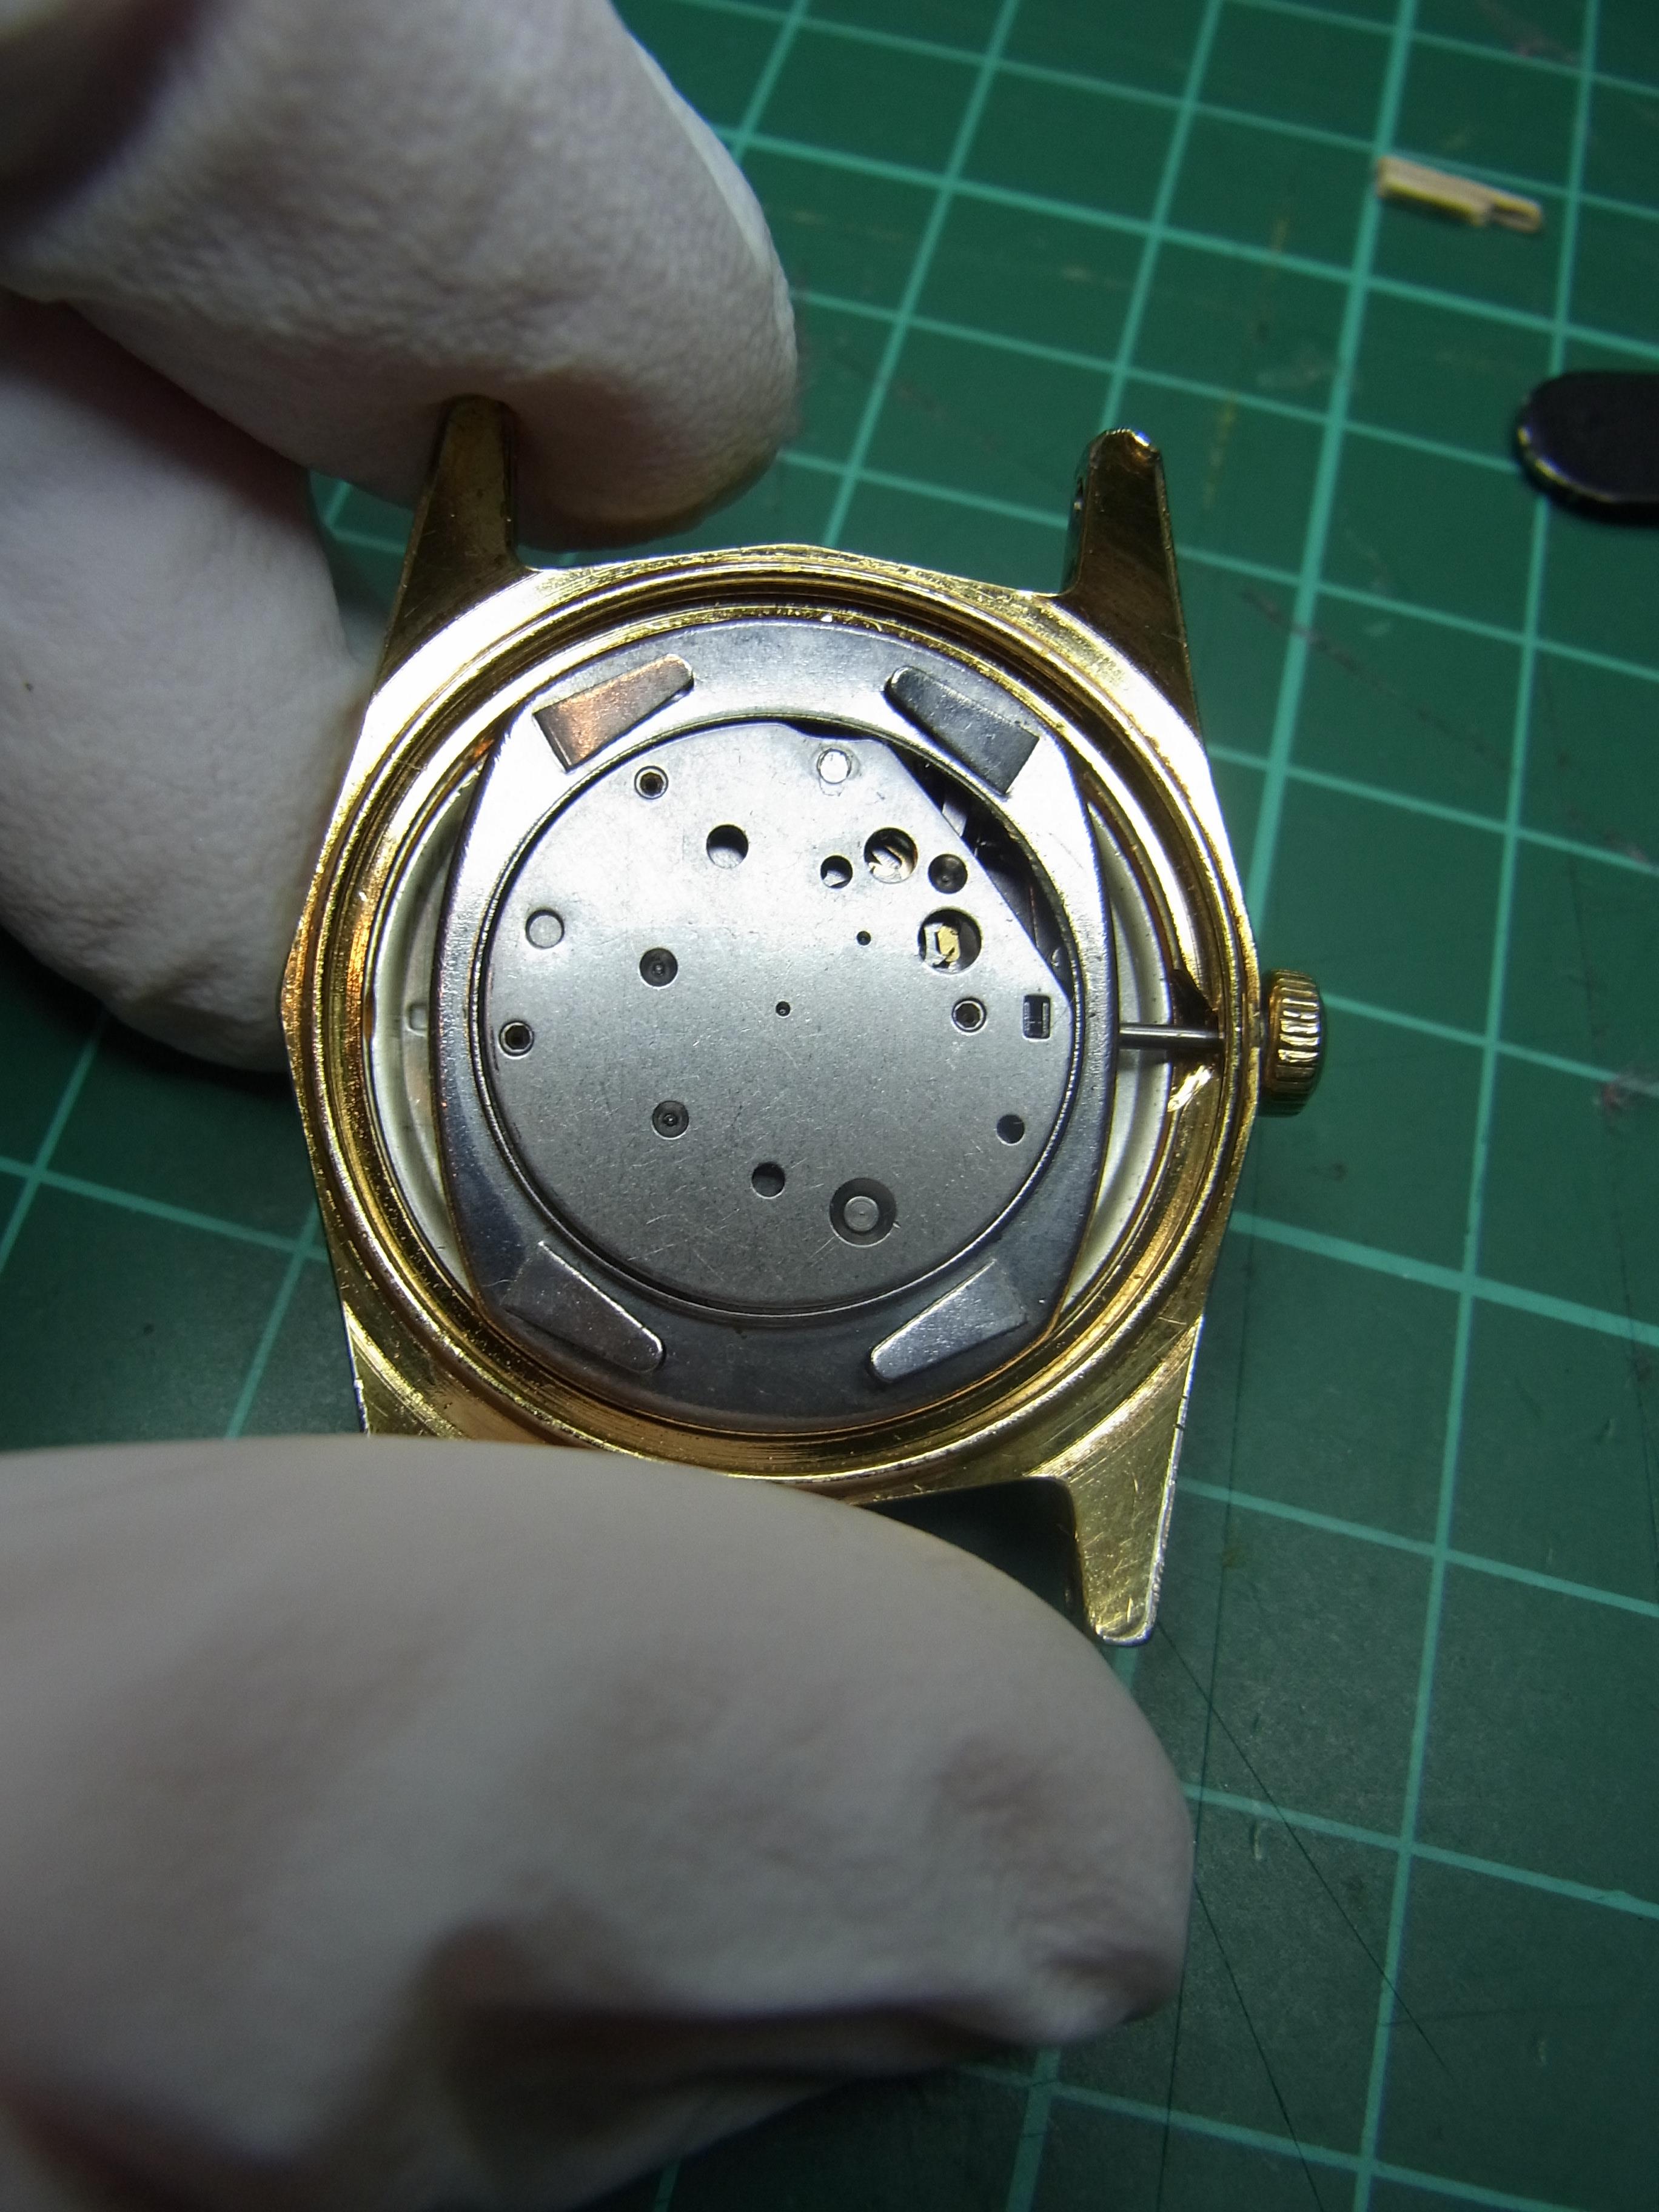
This evening I have begun to repair a 1970 Marlin Calendar and found the hairspring had been pulled. A few years ago I would have avoided such a repair but with time what once seemed impossible now has become easier. So let me walk through the repair for you. 1. Here we see the hairspring has been pulled. Note the access window at 5 o'clock. This window is to allow you to push out the brass wedge pin. 2. NOS hairspring \ balance assembly. 3. Wedge Pin 4. Remove the wedge pin and cap screw 5. See damage 6. 10 x view of the famous V conic end caps. This is what made Timex stand out against other low end makers. 7. NOS parts ready to go to work 8. Note the bend at the tip. As you rotate the balance this bend will first slip into the regulator. Than it fits exactly into the bridge and held in place with wedge pin. Just use fine tipped tweezers to help guide along the way. What I like to do is keep the cap screw a bit tight so the spring stays in place. 9.Wedge back in and just give it a push to get it to seat. 10 just a bit of room to allow me to shift the pallet fork back in place. than just slowly screw down the cap. 11. All done see the .MOV file at end MOV08159.AVI


 1 point
 -
I know it is a very common thought that Timex produced watches for a short duration of service. But after having handle thousands of them over some 8 years now, I an more apt to think they were more focused on cost savings. After all they designed their movements to be what would latter be called upwardly compatible in computer jargon. For example they take the #24 movement modify it some and now it is the #25 with date ring. take that same base 24 add a rotor and you have an automatic. Plus the metal used was a benefit of having manufactured for the US military. Light weight and durable plus an over sized balance staff that can stand up for who knows how long. And even though the watch cases were base metal they stood up for years even as an everyday working man's watch.1 point


.thumb.jpg.1e0c8e712e274abf69e39fb770fd4b73.jpg)