Leaderboard


Popular Content
Showing content with the highest reputation on 11/15/20 in all areas
-
Thank you for your introduction and welcome to this friendly forum.2 points
-
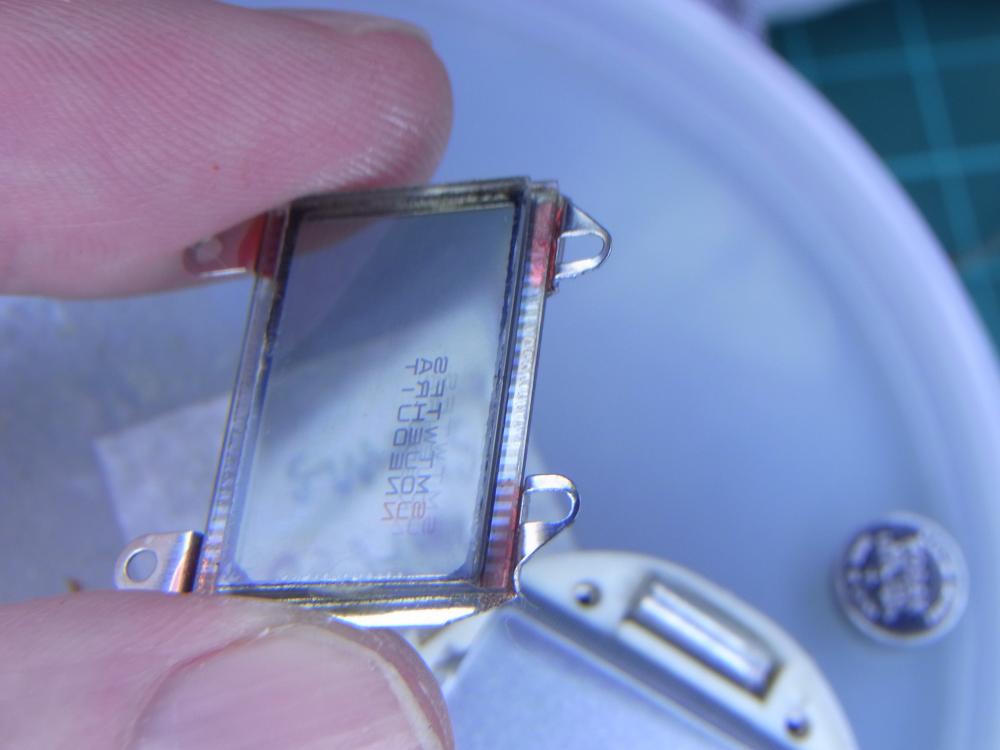
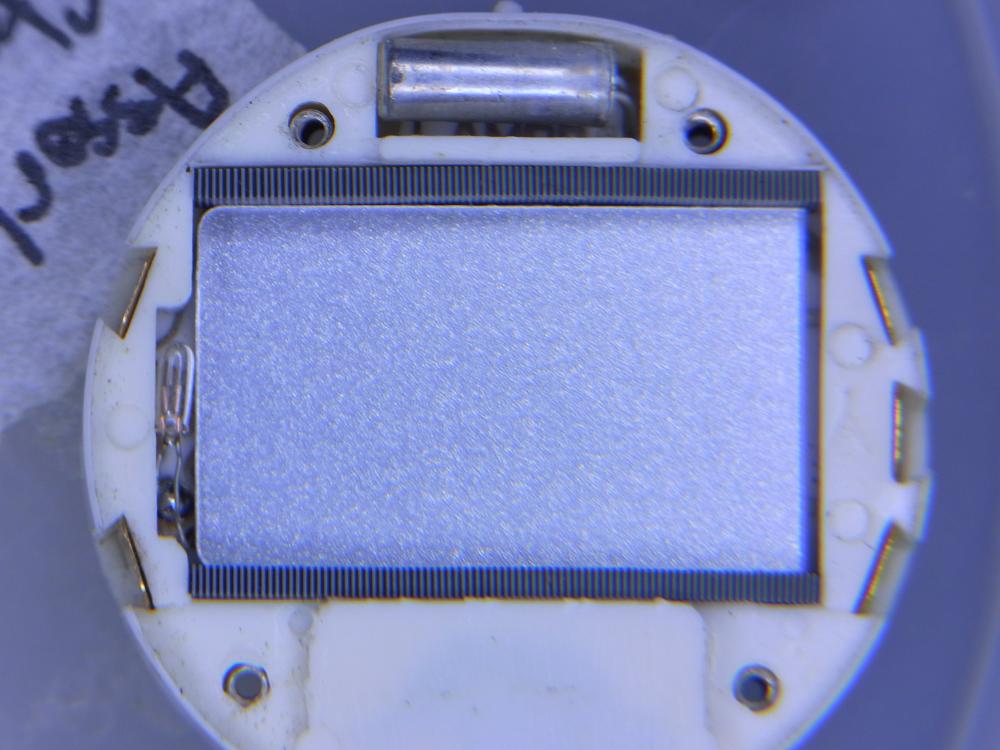
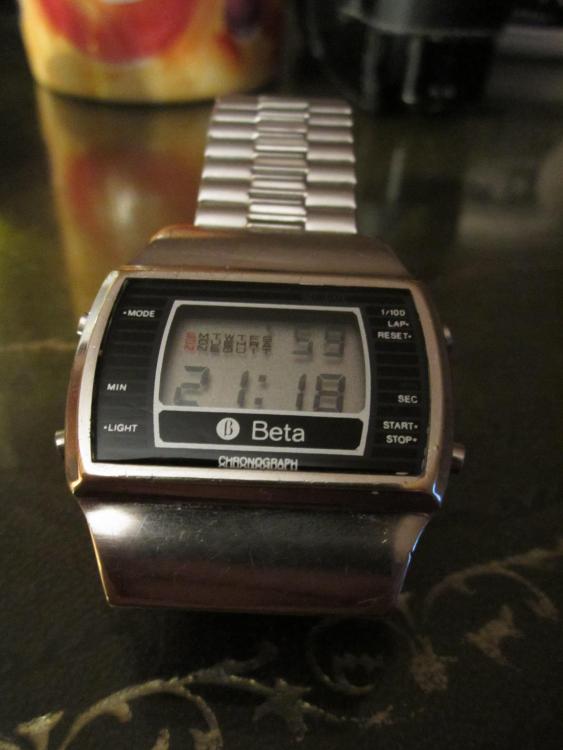
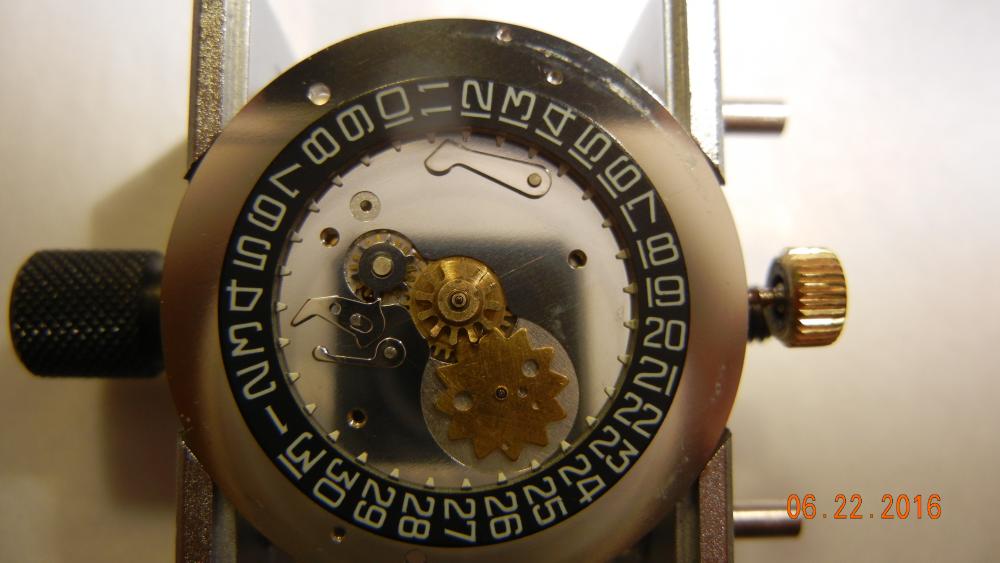
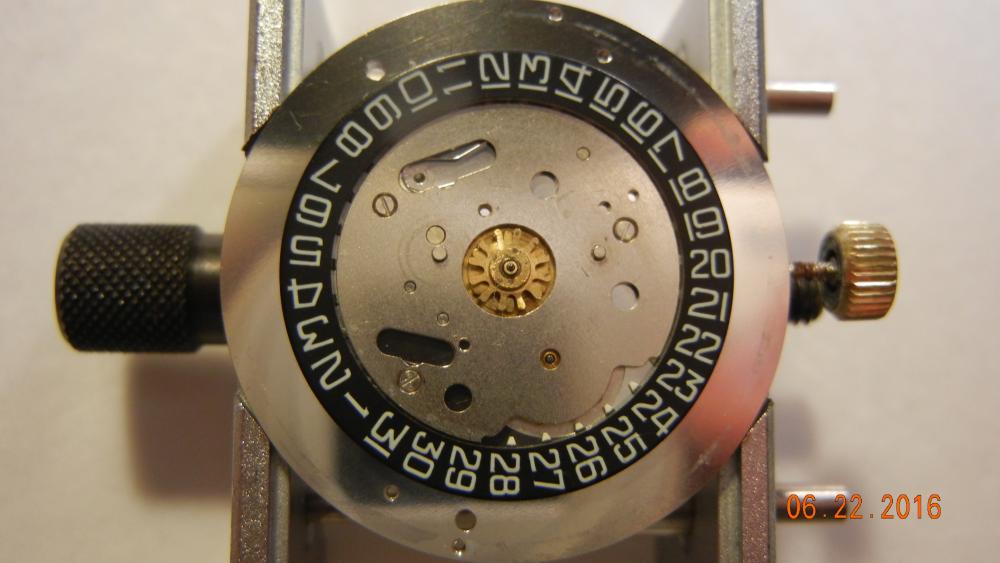
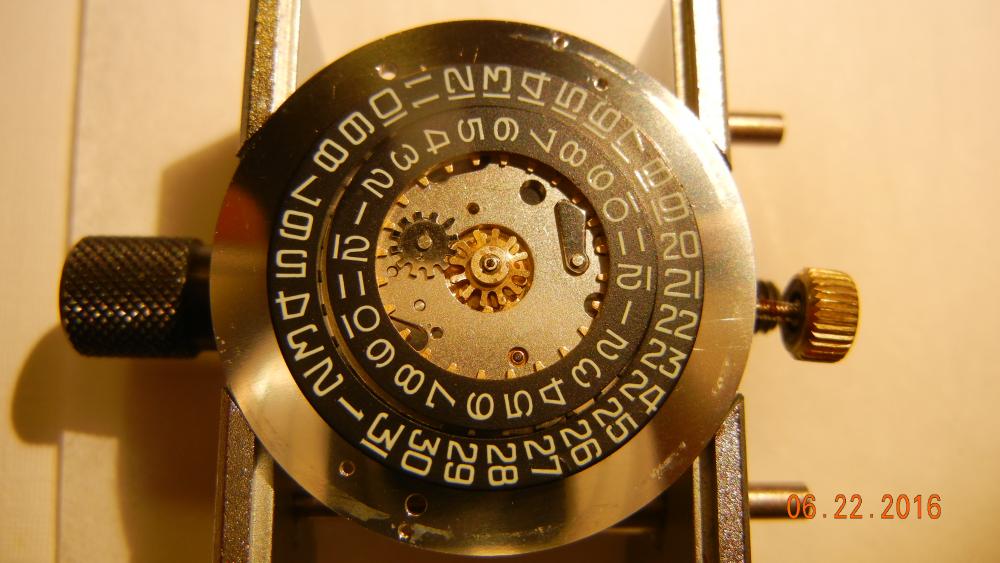
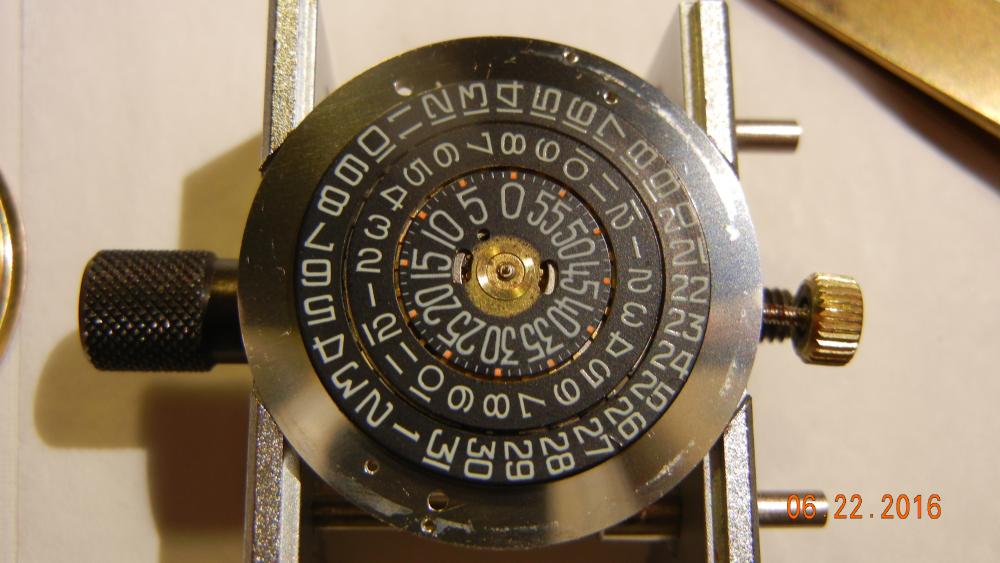
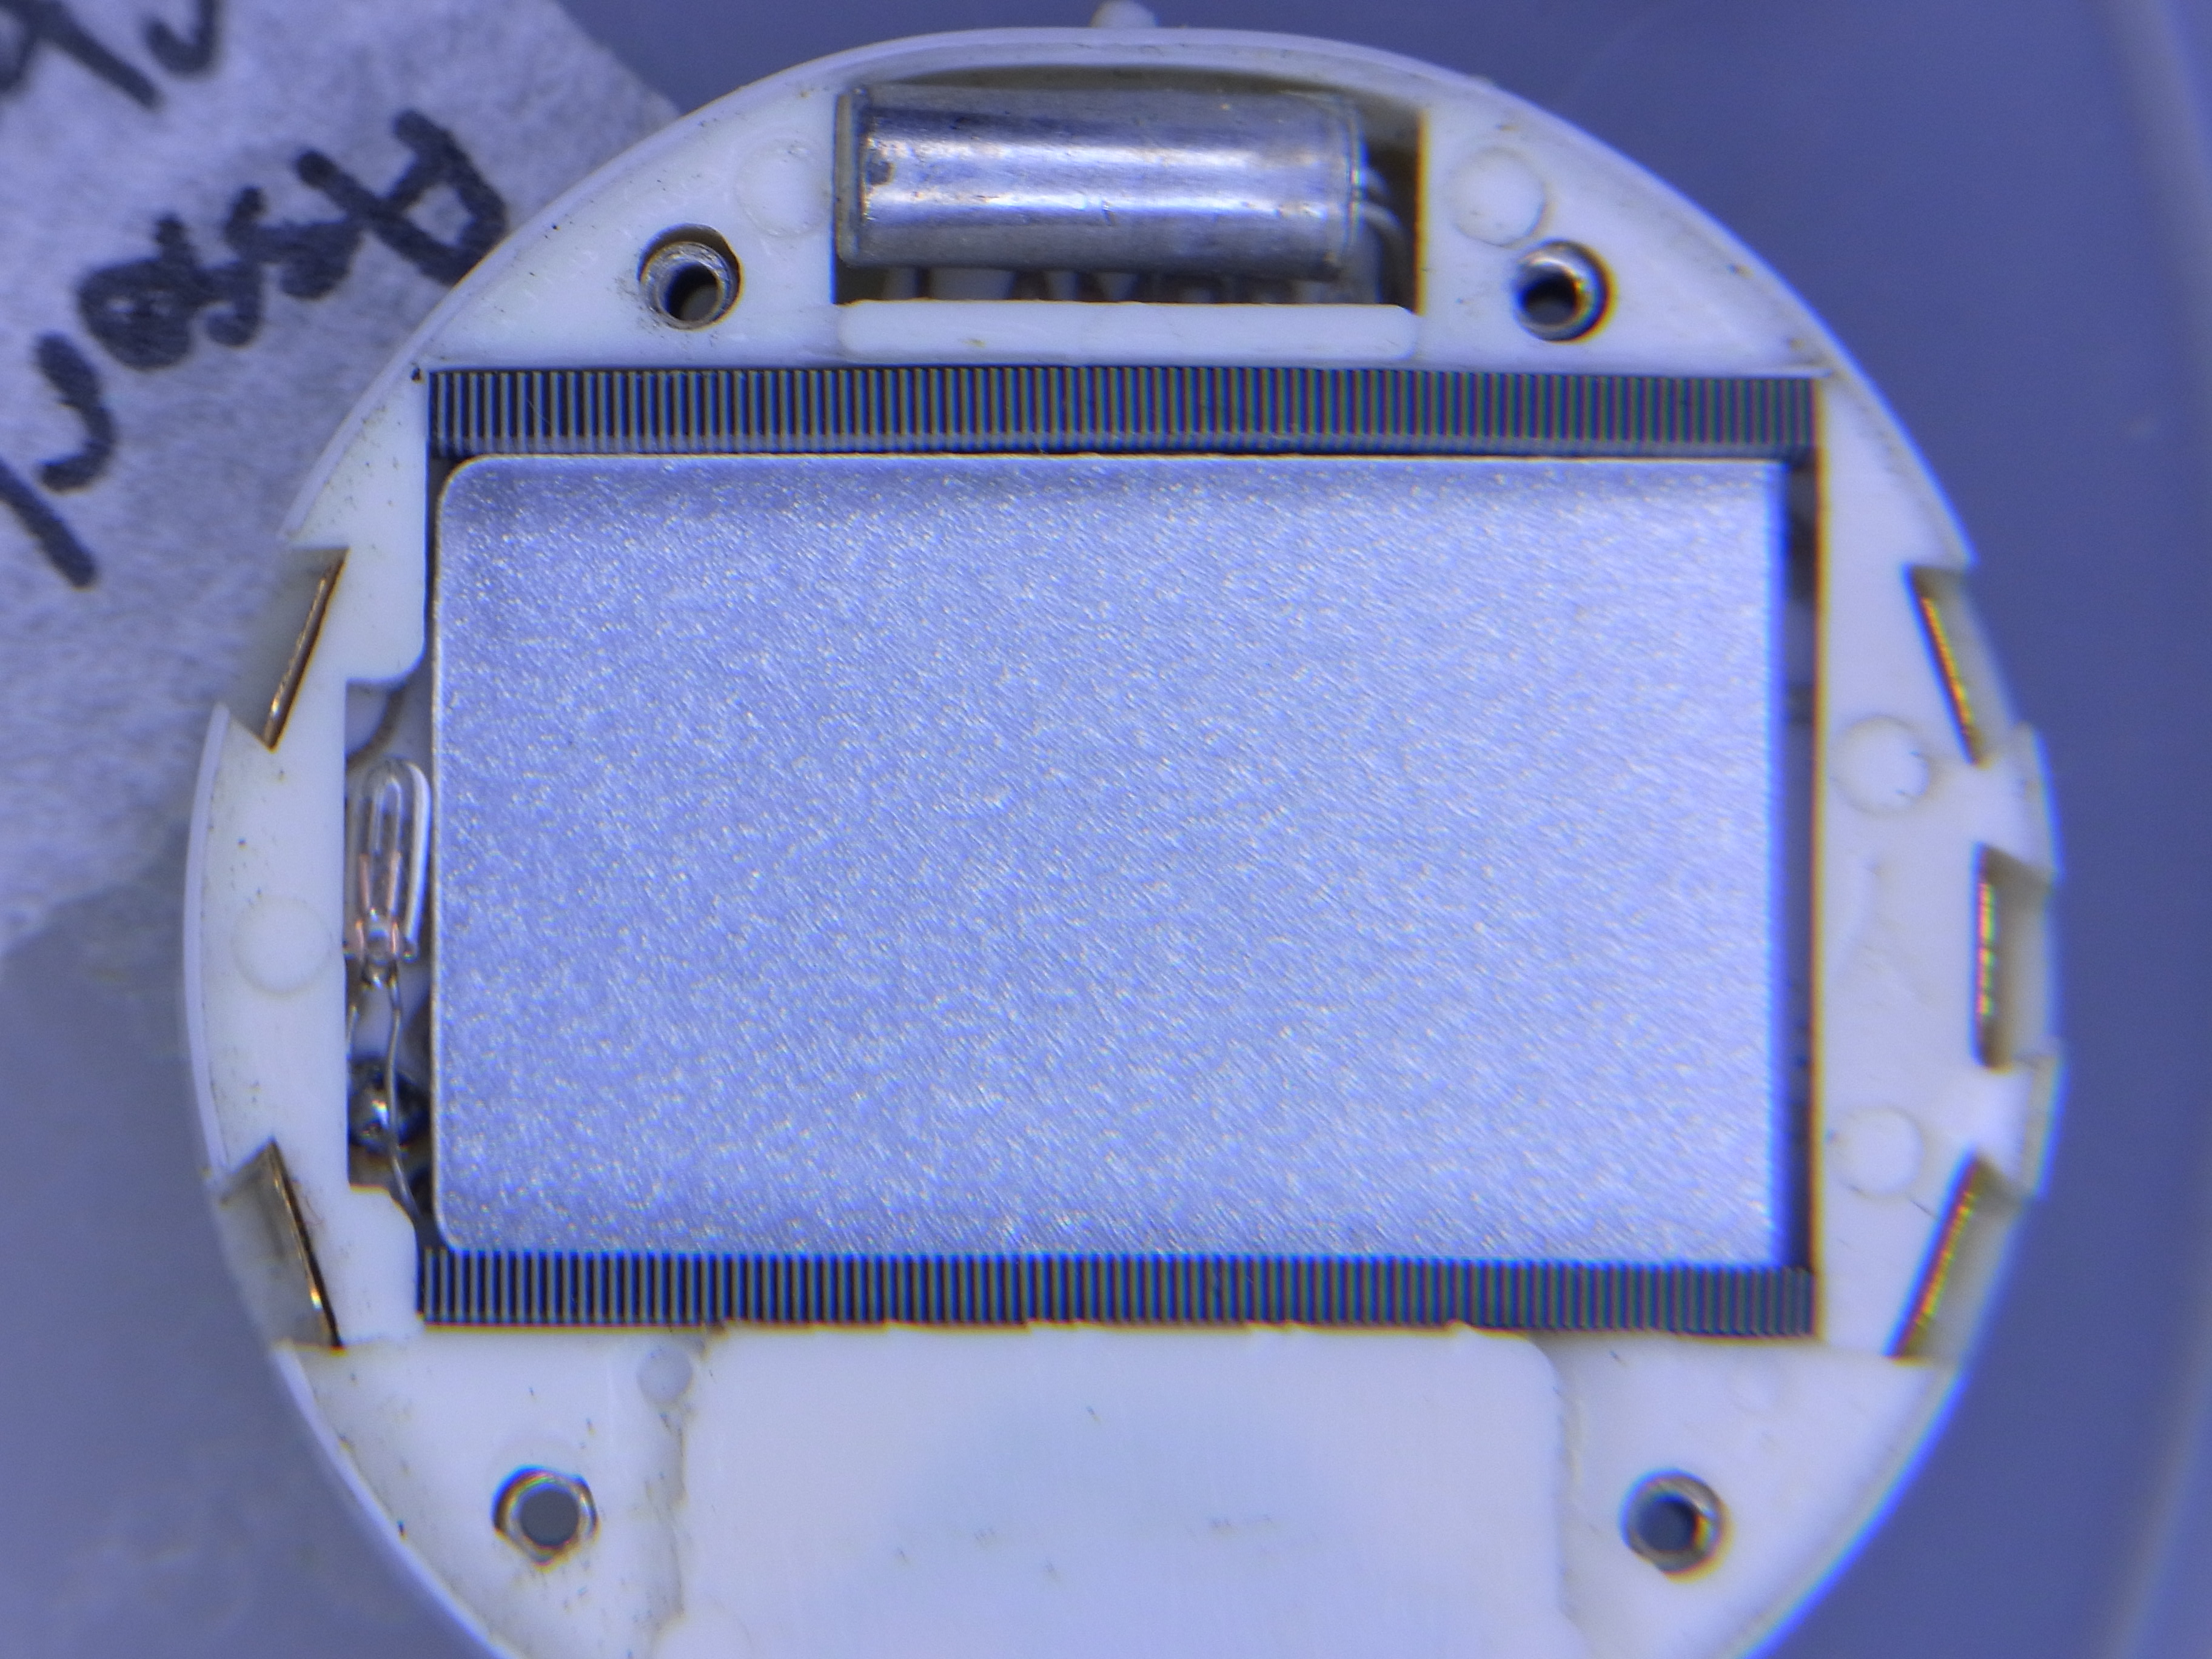
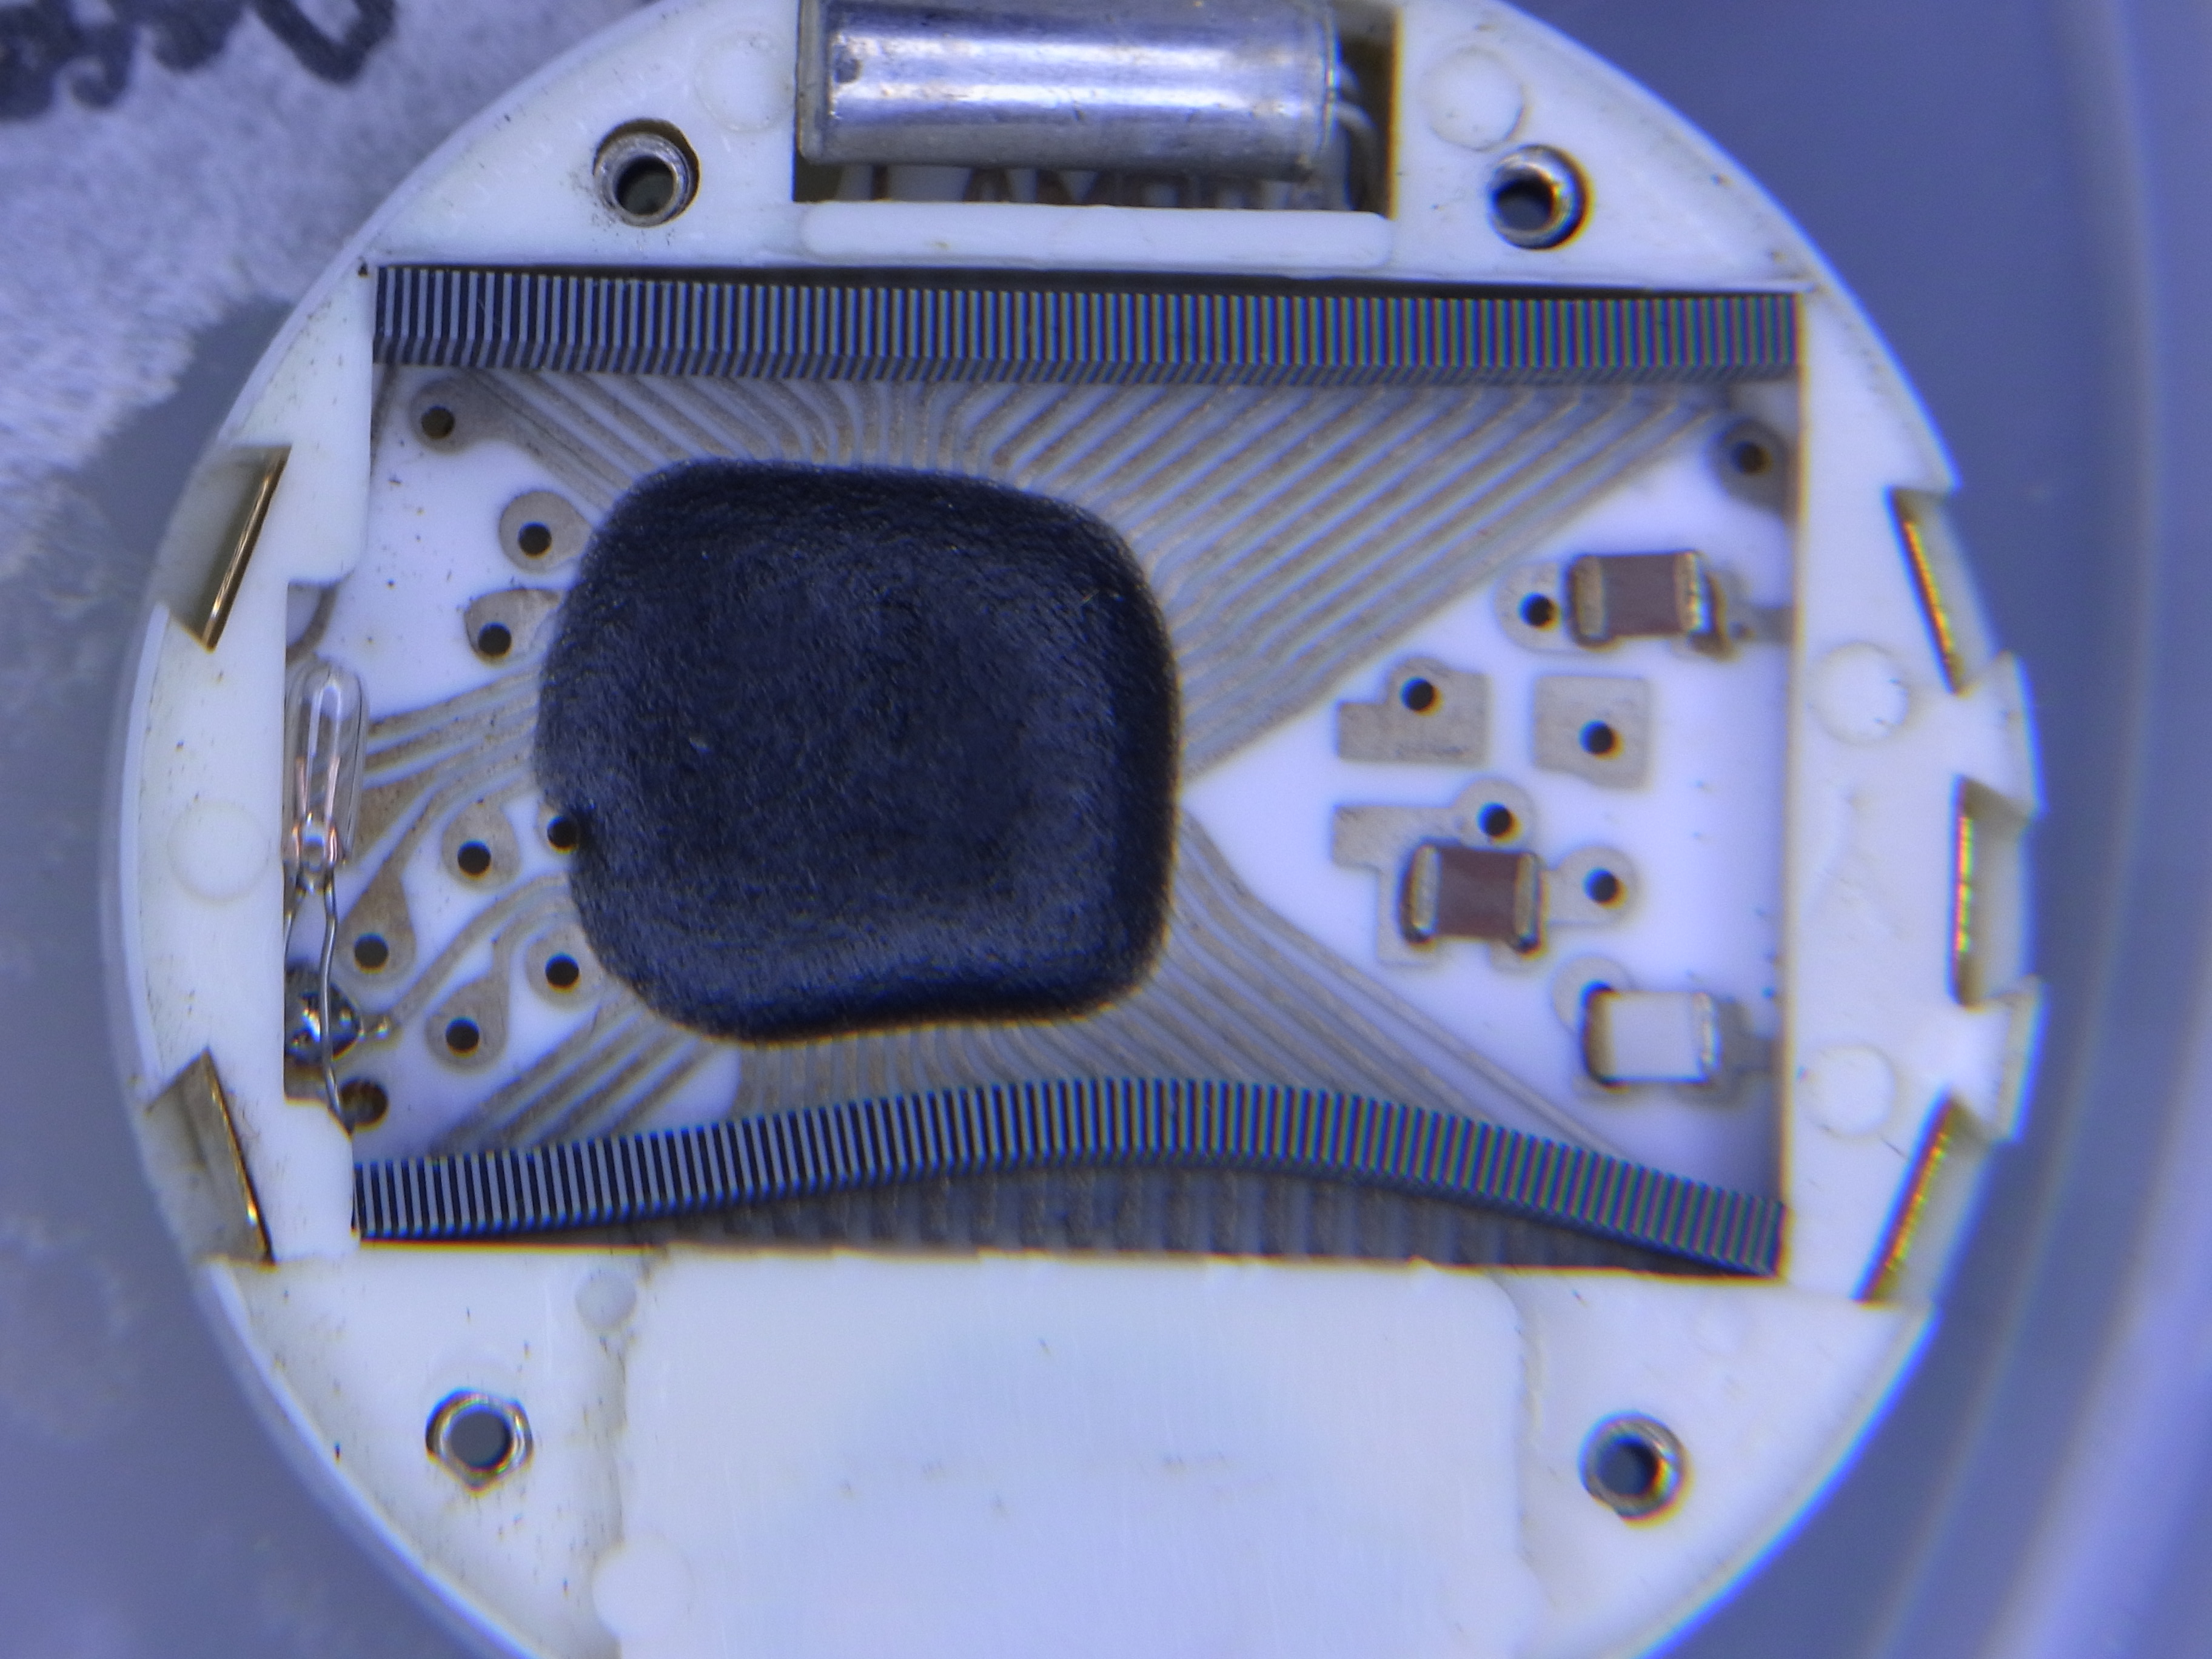
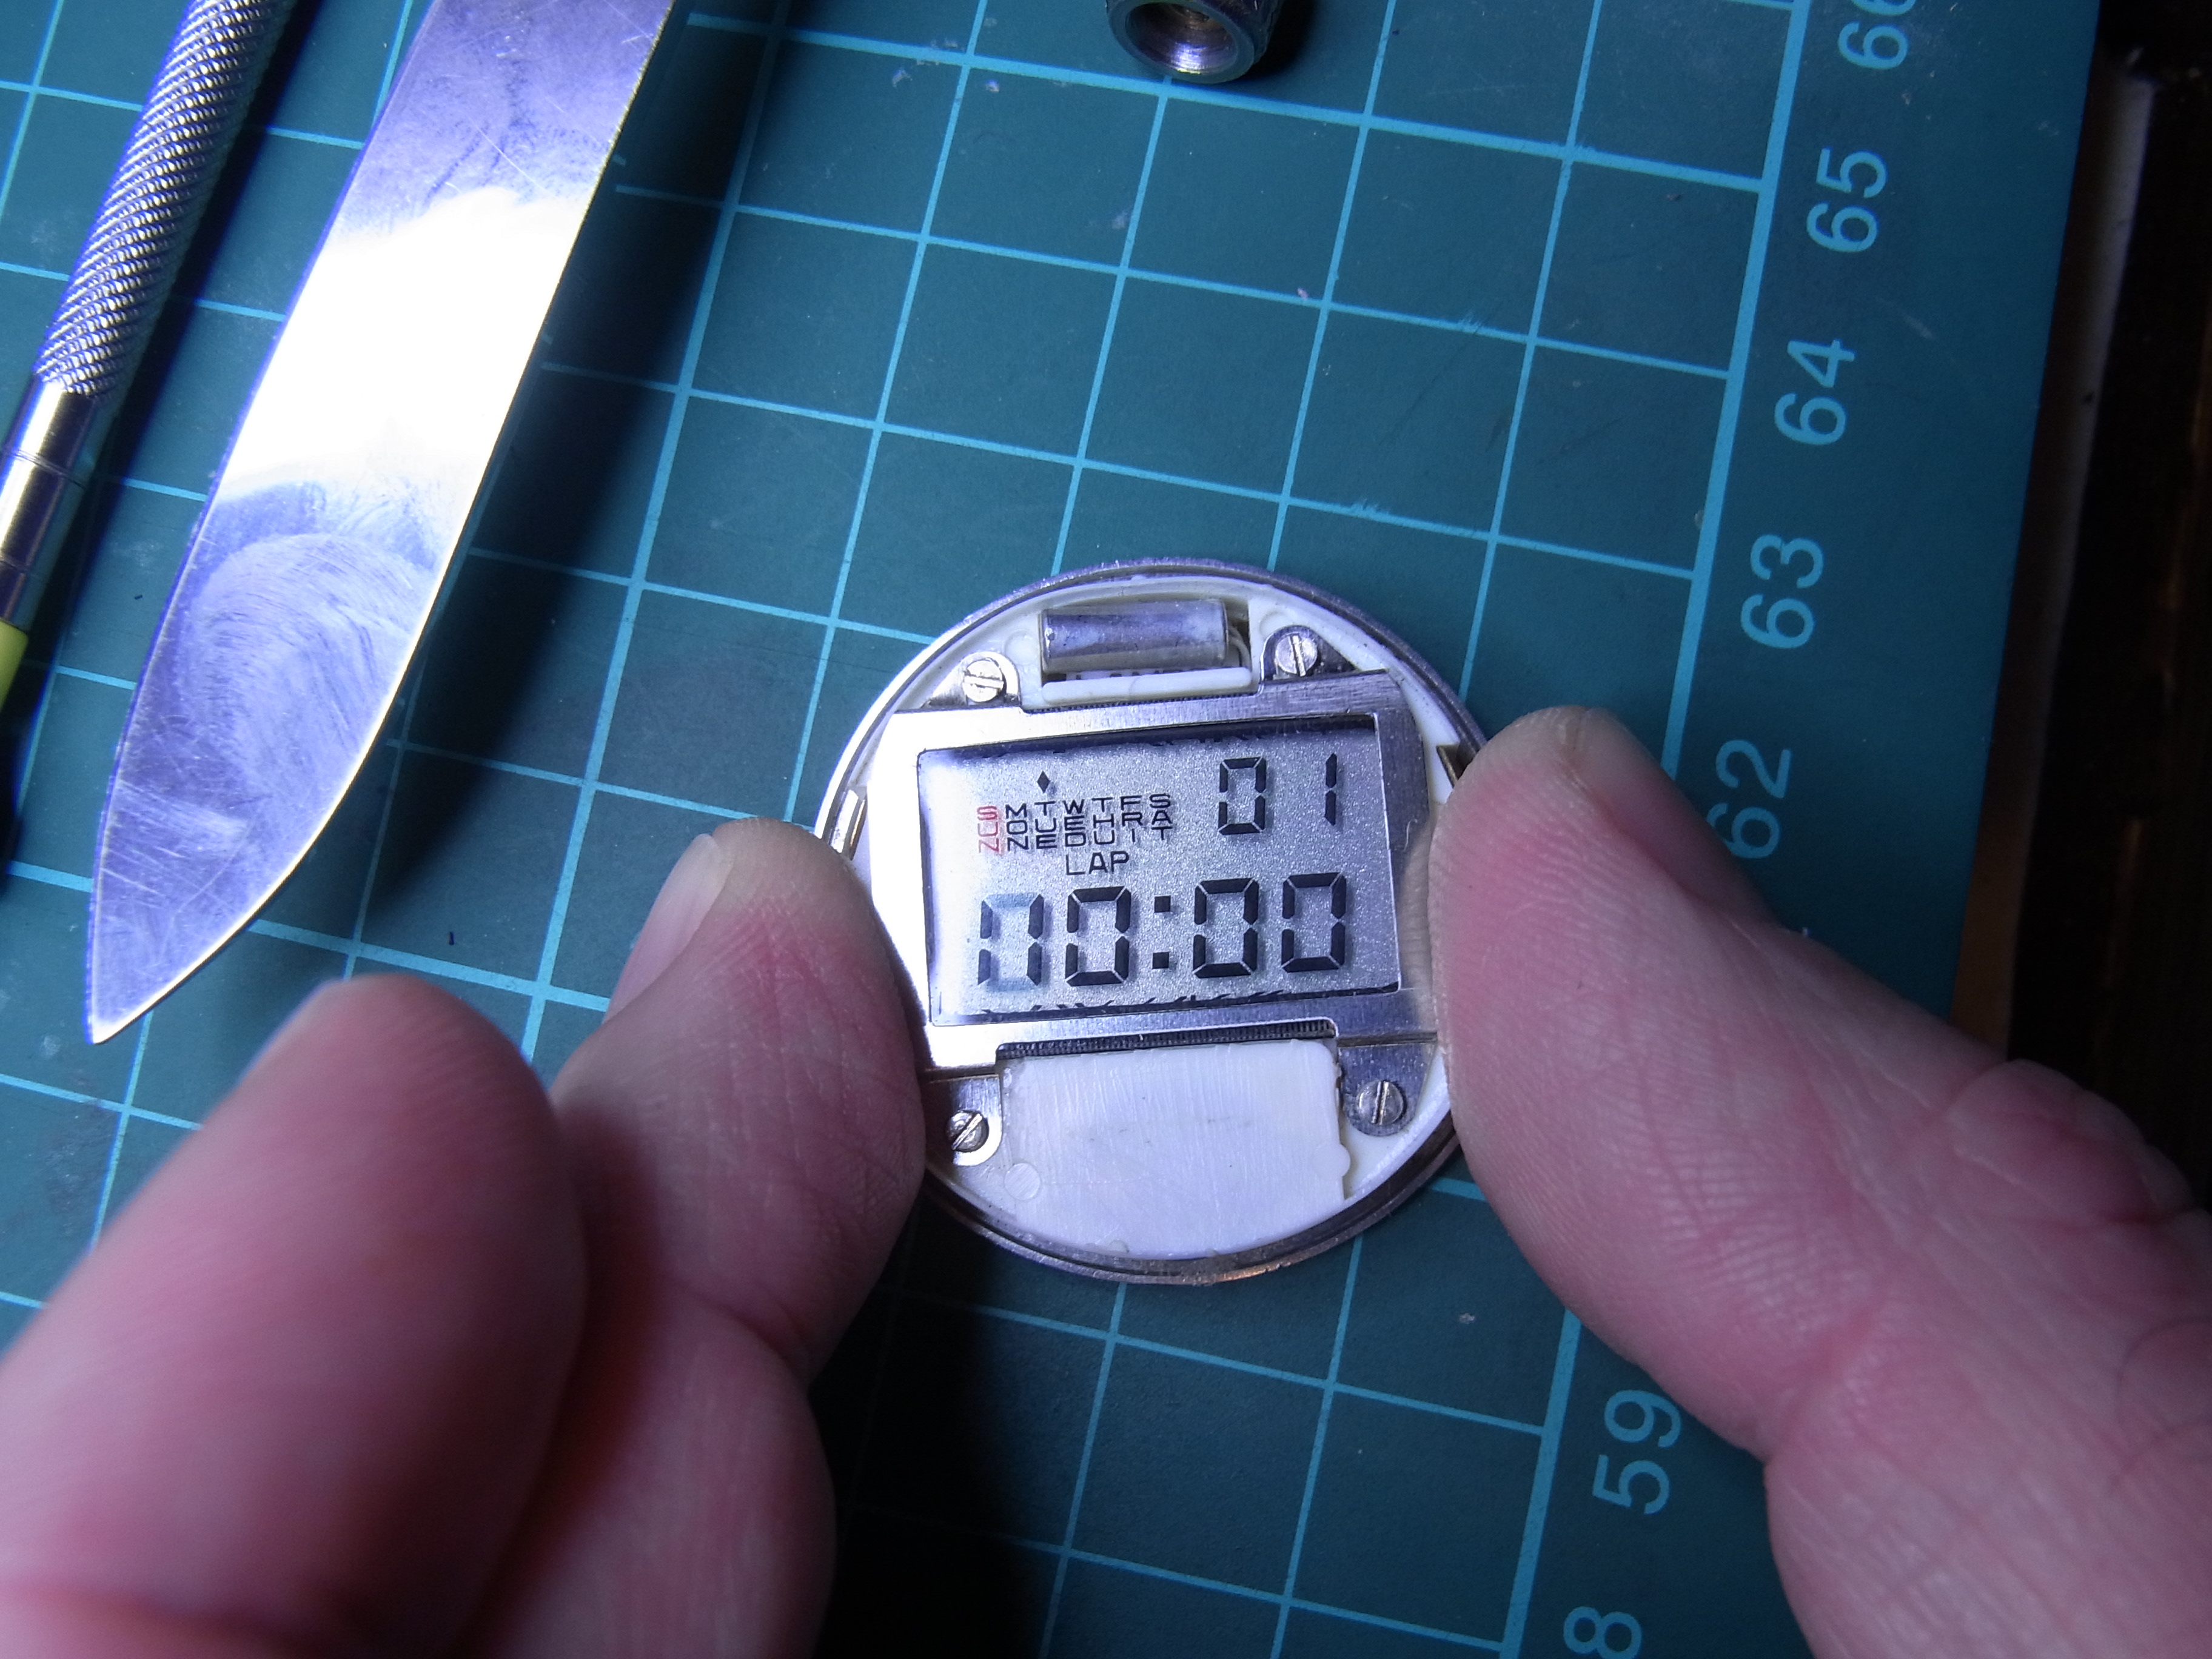
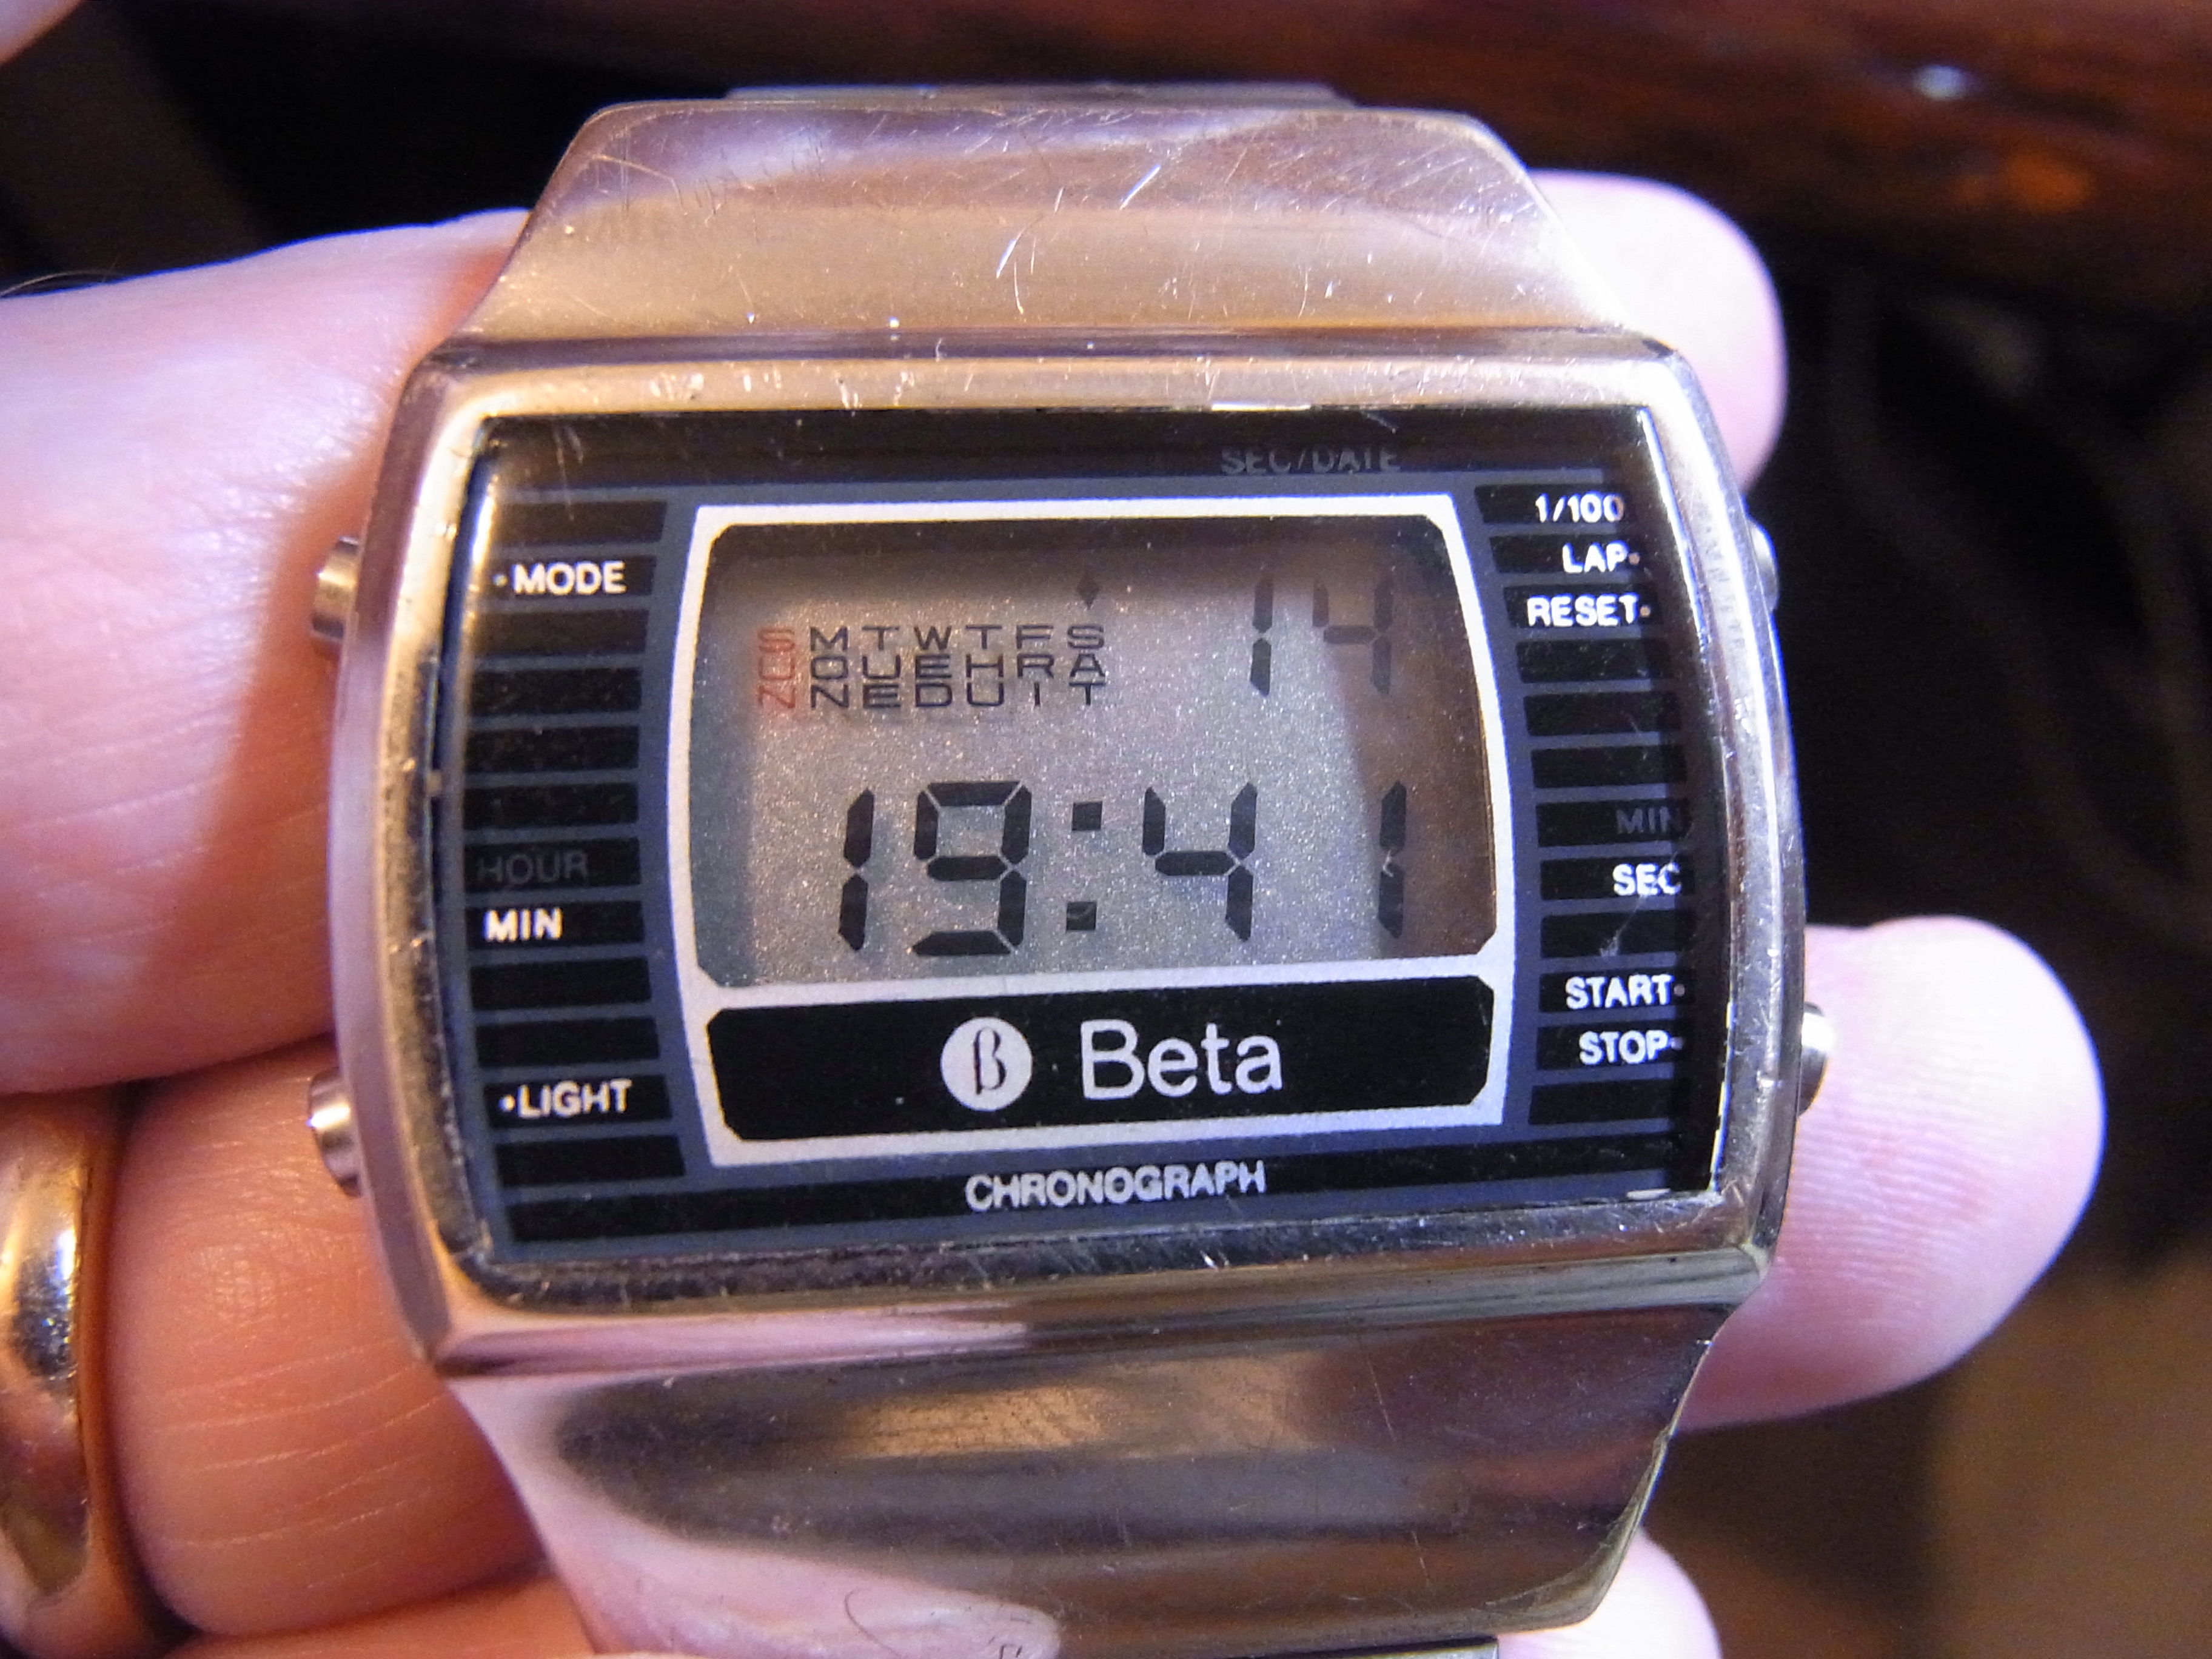
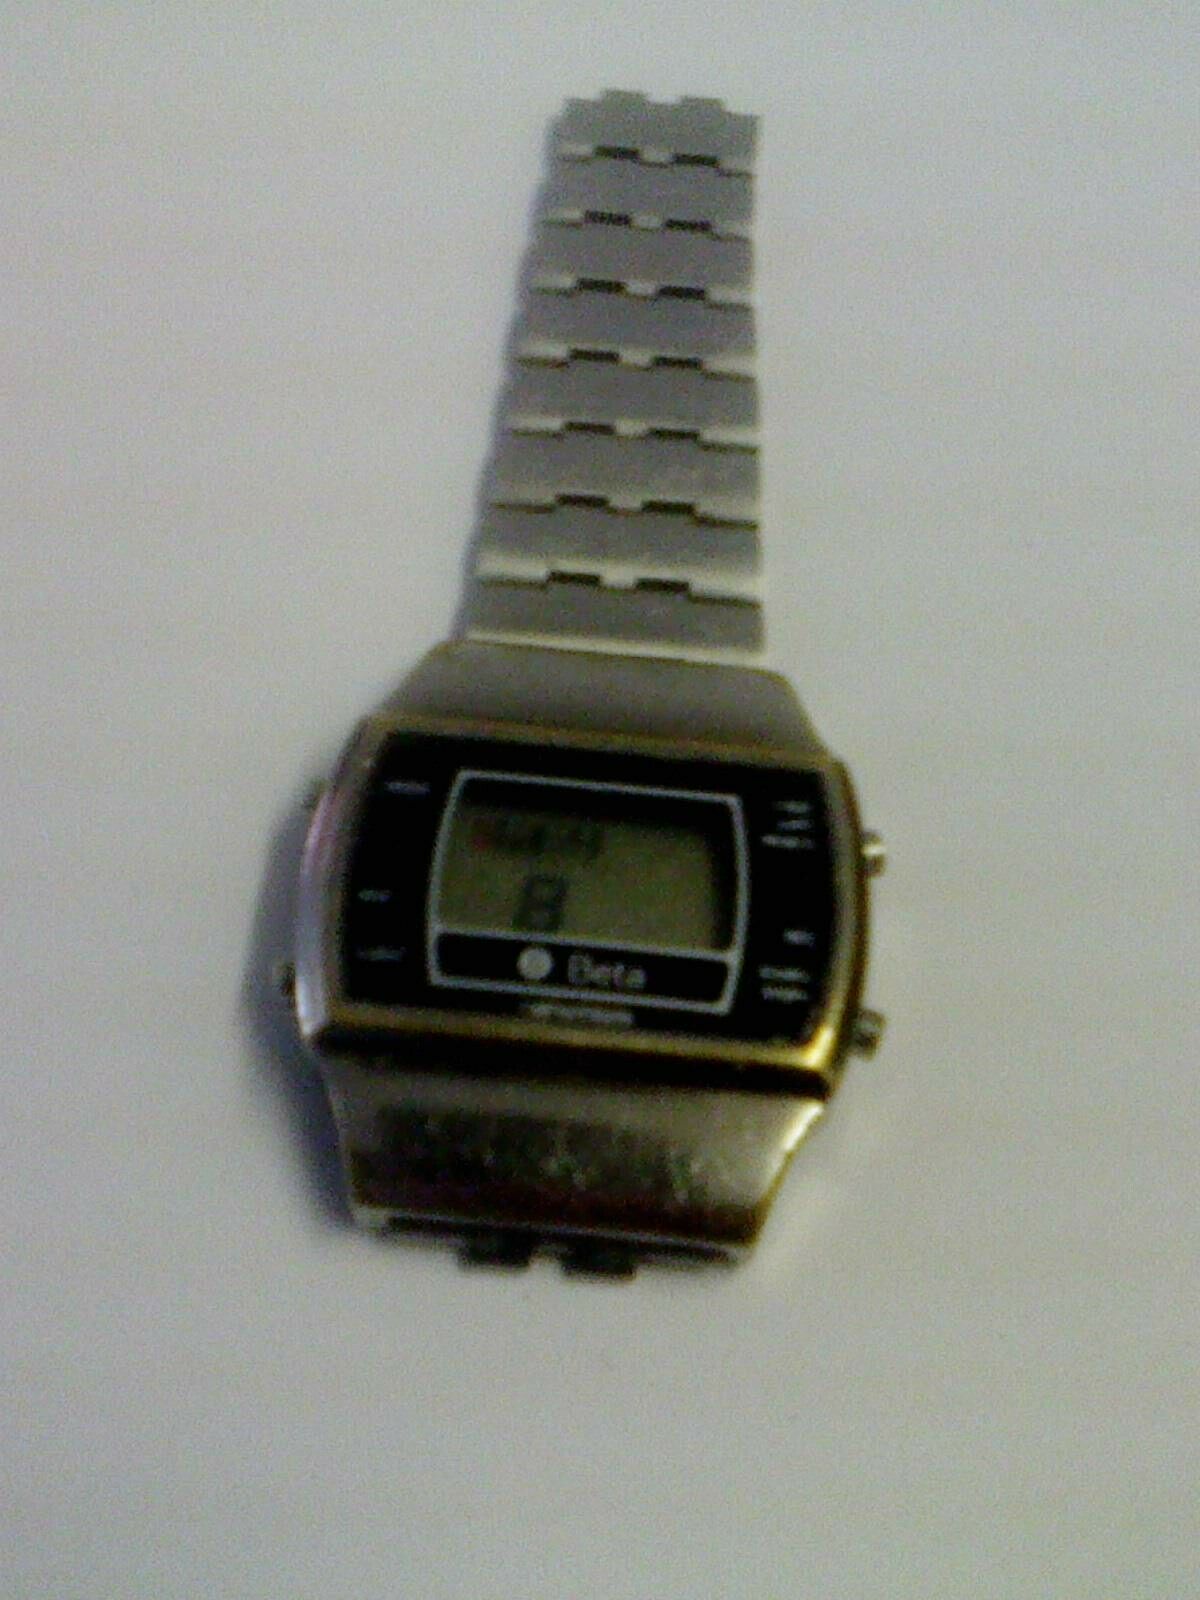
Some pictures of the Beta LCD watch that I posted in the 404 club thread. LCD modules are actually pretty easy to work with if you can use small screwdrivers, magnification and perhaps occasionally solder or conductive paint. Generally there is not much you can do with faulty LCD modules other than clean everything. They rely on a 'black blob" to do all the clever stuff, and a quartz crystal to keep the time. The blob cannot be replaced, but sometimes the crystal can. In this particular case, I did do a little light surgery to the board, which had a corner cracked off it. The two pieces were re-united with a tiny drop of cyanoacrylate glue (superglue) and the track that was damaged in the breakage was repaired with conductive silver paint (available from the usual suspects via ebay). Things to be aware of. 1) The LCD is made of glass and is therefore very easily broken. 2) The connection between the glass and the main circuit board relies on a thin strip of conductive "rubber". This strip is actually a sandwich of alternating conductive and insulating silicone rubber polymers and is often referred to as a "Zebra strip". This strip can deform and expand, due to ingress of moisture or solvents. You can, at a pinch, sometimes get away with shortening it by a couple of stripes, if it has swollen to the point where it is too long to fit in its original location. 3) The conductive layer on the glass (indium tin oxide) can be carefully cleaned with lighter fluid or isopropanol, however take care with the solvents you use as they can affect the zebra strip and cause it to puff up. Clean the zebra strip by gently rubbing it with an ink rubber. If you absolutely must use a solvent on the zebra strip, use a very small amount. Lighter fluid is usually safe on the zebra strip, but your mileage may vary. 4) The battery contacts often get covered with leaked battery juice. This is generally alkali, and you can attack this crud with a little bit of white vinegar on a cotton bud. This will neutralise the alkali but should be cleaned off with plain water and perhaps a little dish soap and allowed to dry completely before re-assembly. There is a slight chance that the crud may contain mercury or cadmium, in which case, wear gloves when dealing with it and avoid breathing in the dust. Generally though, it is likely to have zinc, manganese or silver salts, which are still not a good idea to ingest, but far less of a worry. Wash your hands afterwards. 5) You can sometimes fabricate replacement battery contacts from copper strip, fine stainless steel wire, or thin brass stock, depending on the application. Note that it is almost impossible to reliably solder to stainless wire with lead free solder. 6) There needs to be even pressure on the zebra strip to ensure that it makes good contact with the glass, but remember it is glass, so if you crank down too hard on things, the glass will simply break and your LCD module will be toast. 7) The front of the display contains a polarizing filter and the rear generally has a reflector, if you forget to fit either of these, then the display will not work. 8 ) Contact between the pushers and the module selects the various functions, so the case of the watch is often used as one of the parts of the circuit. Current flows from the battery through the case, then through the pusher to the contact on the side of the module. If any of this path is broken or dirty, then the buttons wont work, so make sure everything is shiny and clean, and that any contact spring between the watch module and the case is fitted, and makes good contact. 9) In older modules like this, the back light is a filament "grain of wheat" bulb rather than an LED, and when the battery starts to get a little weak, pressing the button for the light can sometimes crash the module, simply because the bulb draws too much current, and causes the voltage in the cell to drop, and thus the controller circuit to "brown out" and crash. Here is a before and after shot. The before is from the ebay listing. .. and here it is after a little TLC There isn't much to put you off having a crack at repairing LCD watches. They are small certainly, but they are relatively simple to deal with if you follow the basics and clean and inspect everything carefully. Furthermore, this one only cost one penny at auction, so you can pick up a few bargain basement ones to practice with very easily.


 2 points
 -
Hi All, I am new here. I am a new hobbyist and really enjoying working with watch movements and trying to get them back to life. I live in London. :) I look forward to meeting new like minded friends with an interest in watch repairs. I hope some are also local to me to share knowledge and to learn from. Many Thanks, Kind Regards, Yasser.1 point
-
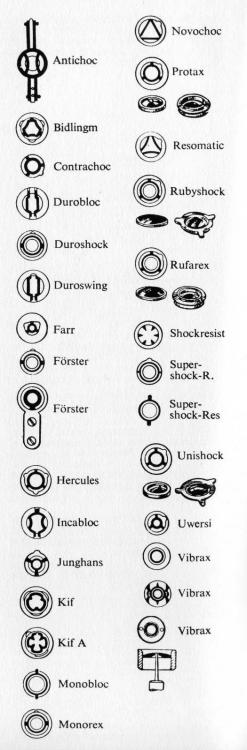
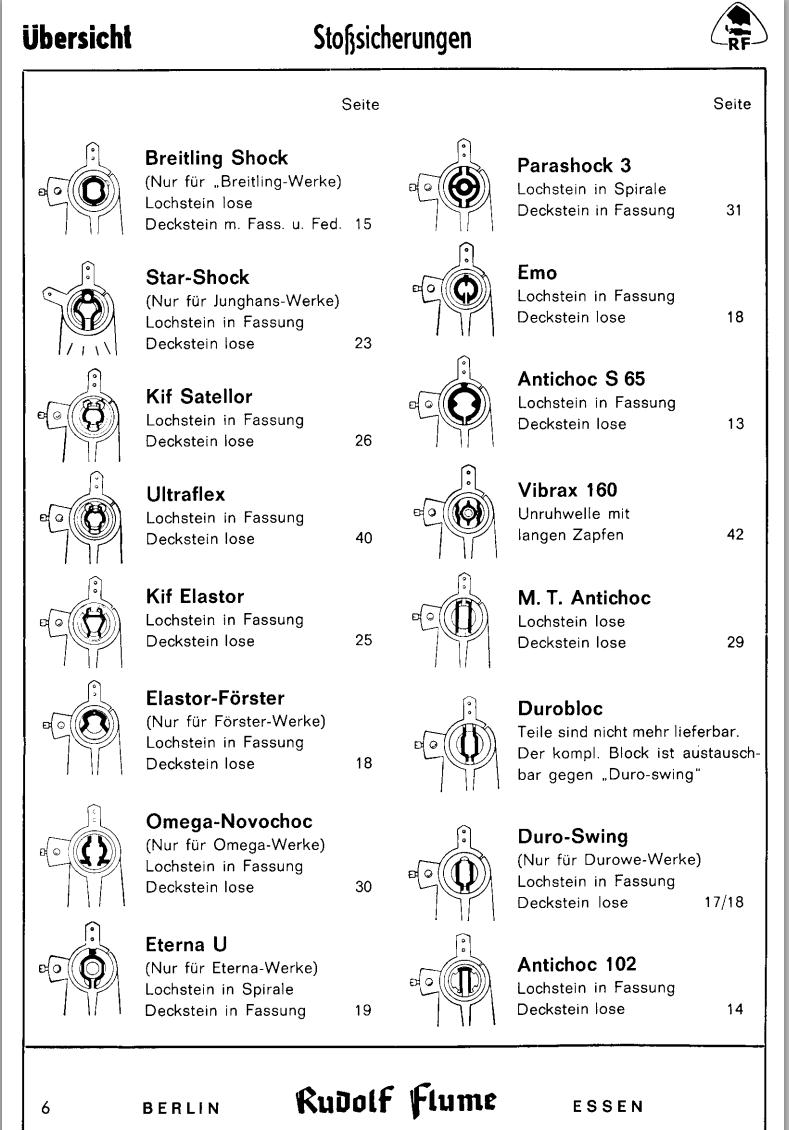
Hi Gary On e will be the ordinary type with No protection and the other will be the shock protected. I have attached sone types of shock systems salvaged from Rogart's post of 2015. The system you have is a KIF.. What is the caliber number of the movement,?

 1 point
 -
in your reference the flat you mean on the end? Balance pivots are an interesting design on the side you want to reduce friction but on the end it's needed. Okay it's sort of needed. To understand this go to the link below scroll down to the section titled Joseph School of Watch Making. Then while you're there probably download all of them but for this discussion you want to download "Unit 4 - Burnishing Balance Pivots". then carefully read the text in the beginning it tells you a lot about the pivots. Look very carefully at the drawings you'll notice that the balance hole jewel is shaped differently then most train jewels. The reason I use the word most is on high grade watches all of the jewels will look like this. The balance jewels are slightly rounded to reduce the side friction. Then as you still have too much friction to equalize at the end of the pivots needs to be slightly flat. 10 tests you should do is when the balance wheels in the watch without the pallet fork and hairspring. Given a puff of air with your blower and watch its spin it should spin effortlessly. Then while its spinning rotate the movement around slowly. Because once the balance wheel spinning effortlessly it should spin in all directions of the movement and rotating around without coming to a stop. This is where your microscopes are fine but the reality of what the balance wheel does in the watches what you want to have illegally microscope your clearances seemed fine but a real life there too tight your balance wheels not going to spin. Joseph School of Watch Making https://mybulova.com/vintage-bulova-catalogs1 point
-
Hi If the finished portion (bearing surface ) is in good condition, no cracks/chips the outer surface is irrelevant, I may have been finished in that condition or it may be that some lubrication/ cleaning agent has reacted with it but as the brearing surface is ok I would suspect the former.1 point
-
It looks like Cousins has a comprehensive stock.1 point
-
Hello One and All, just thought I'd introduce myself - I am David and living in the East of England. Looking to save some poor old watches from the scrapheap and will probably (definitely) need some advice along the way. Looking forward to some good chat with you about things horological. At present I have 3 x 4205's that I intend to take apart, clean and tinker with over the winter lockdown. Hope you all stay safe and well. David.1 point
-
Good to say hi Yasser hello1 point
-
Hello, Nor sure exactly what you're having trouble with, but these might help. I have posted a few of these on here. J


 1 point
 -
Welcome to the forums @Yasser!1 point
-
Combined effect of weak mainspring and bit of jewels issue is a possibility. Before removing more pivot material , I check both jewels under high magnifiction, you might end up moving too much before you know it plus it is nearly impossible to equally reduce both pivots, not with sand paper anyway.1 point
-
Hello and welcome to the forum Yasser enjoy1 point
-
I did a bit of pivot reduction with some 2000 grit paper held between tweezer tips. Definite improvement seen although I believe I need to go further. 10 minutes after full wind, DU/DD 267 degrees (0 SPD), vertical typically 215 degrees, -55 SPD. Rate recovery when switching back to horizontal is also much quicker.1 point
-
Hello Yasser, Welcome.1 point
-
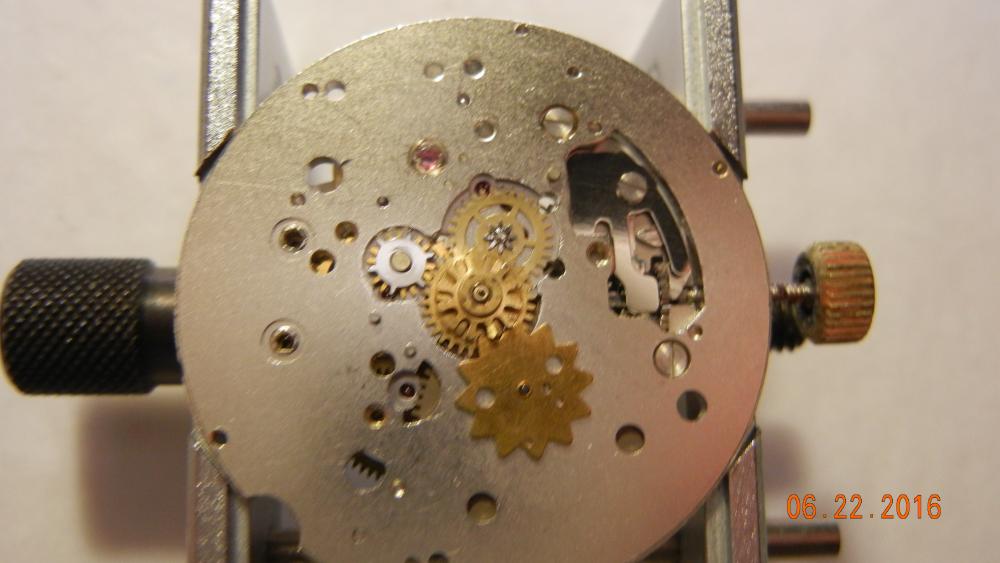
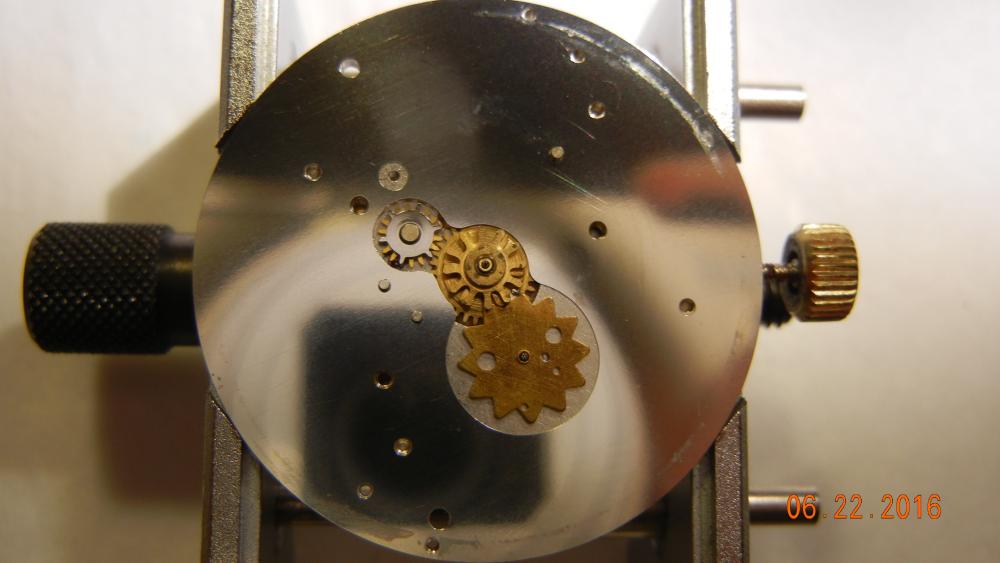
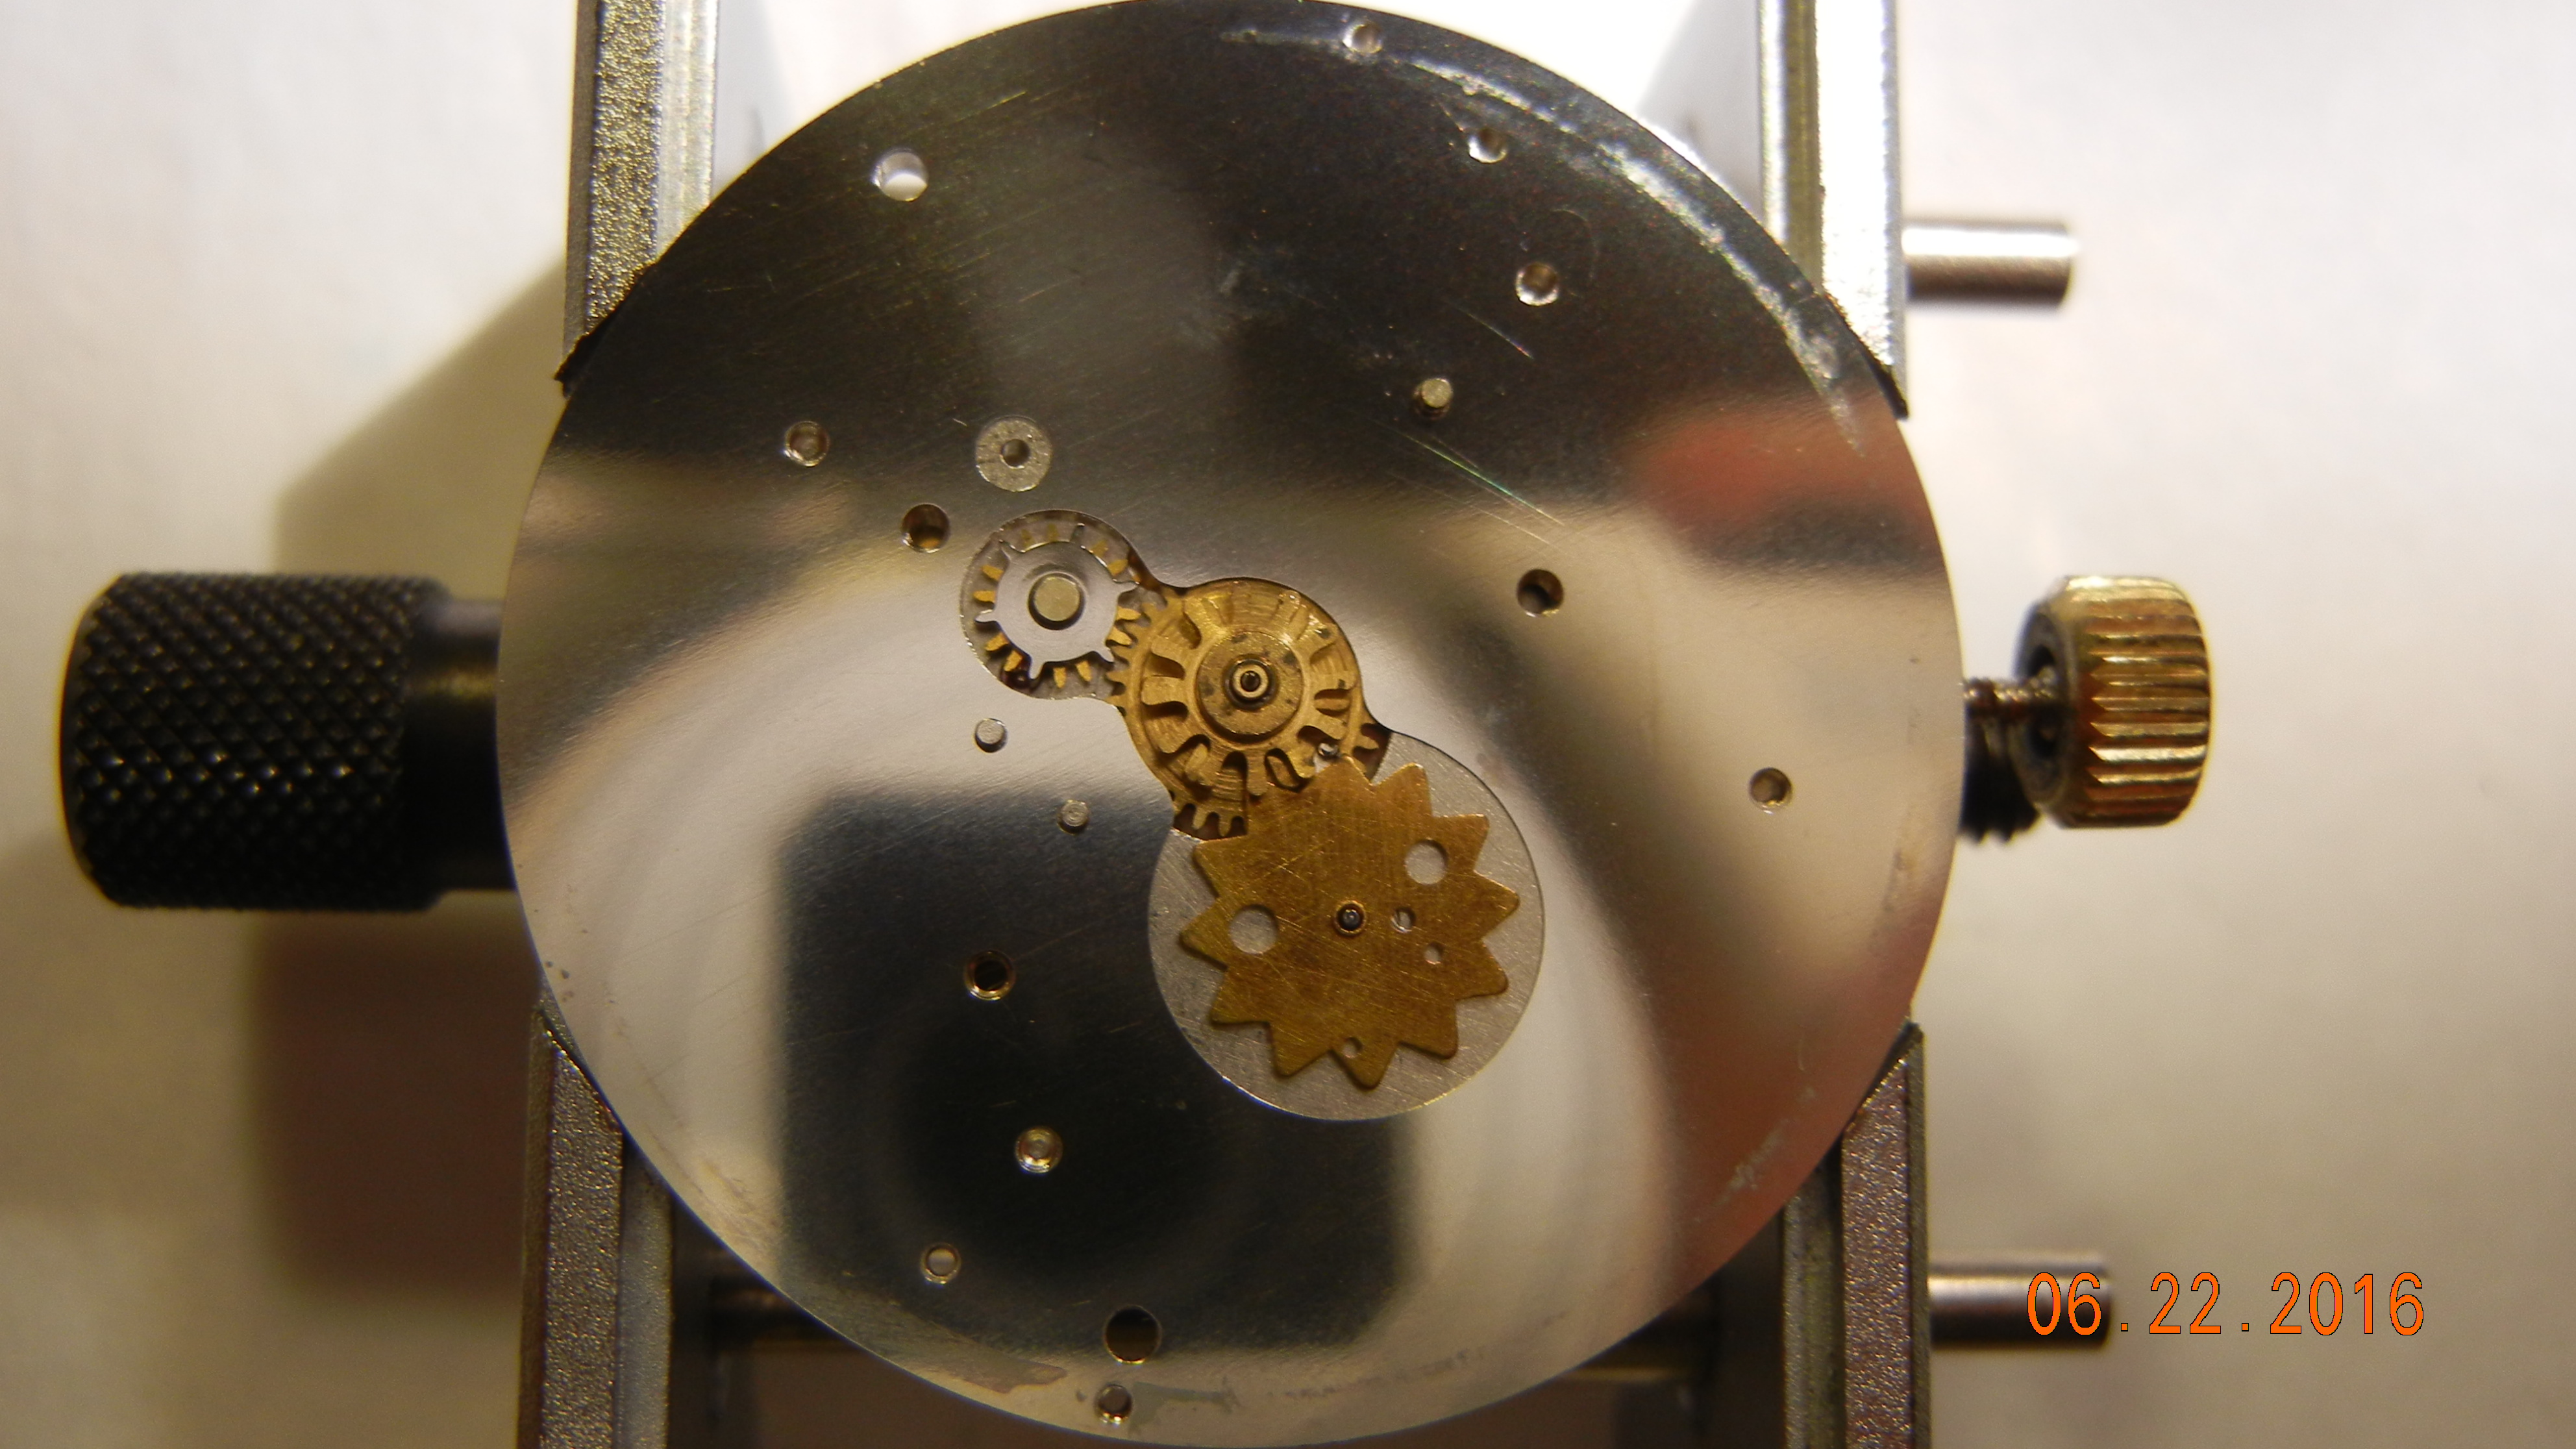
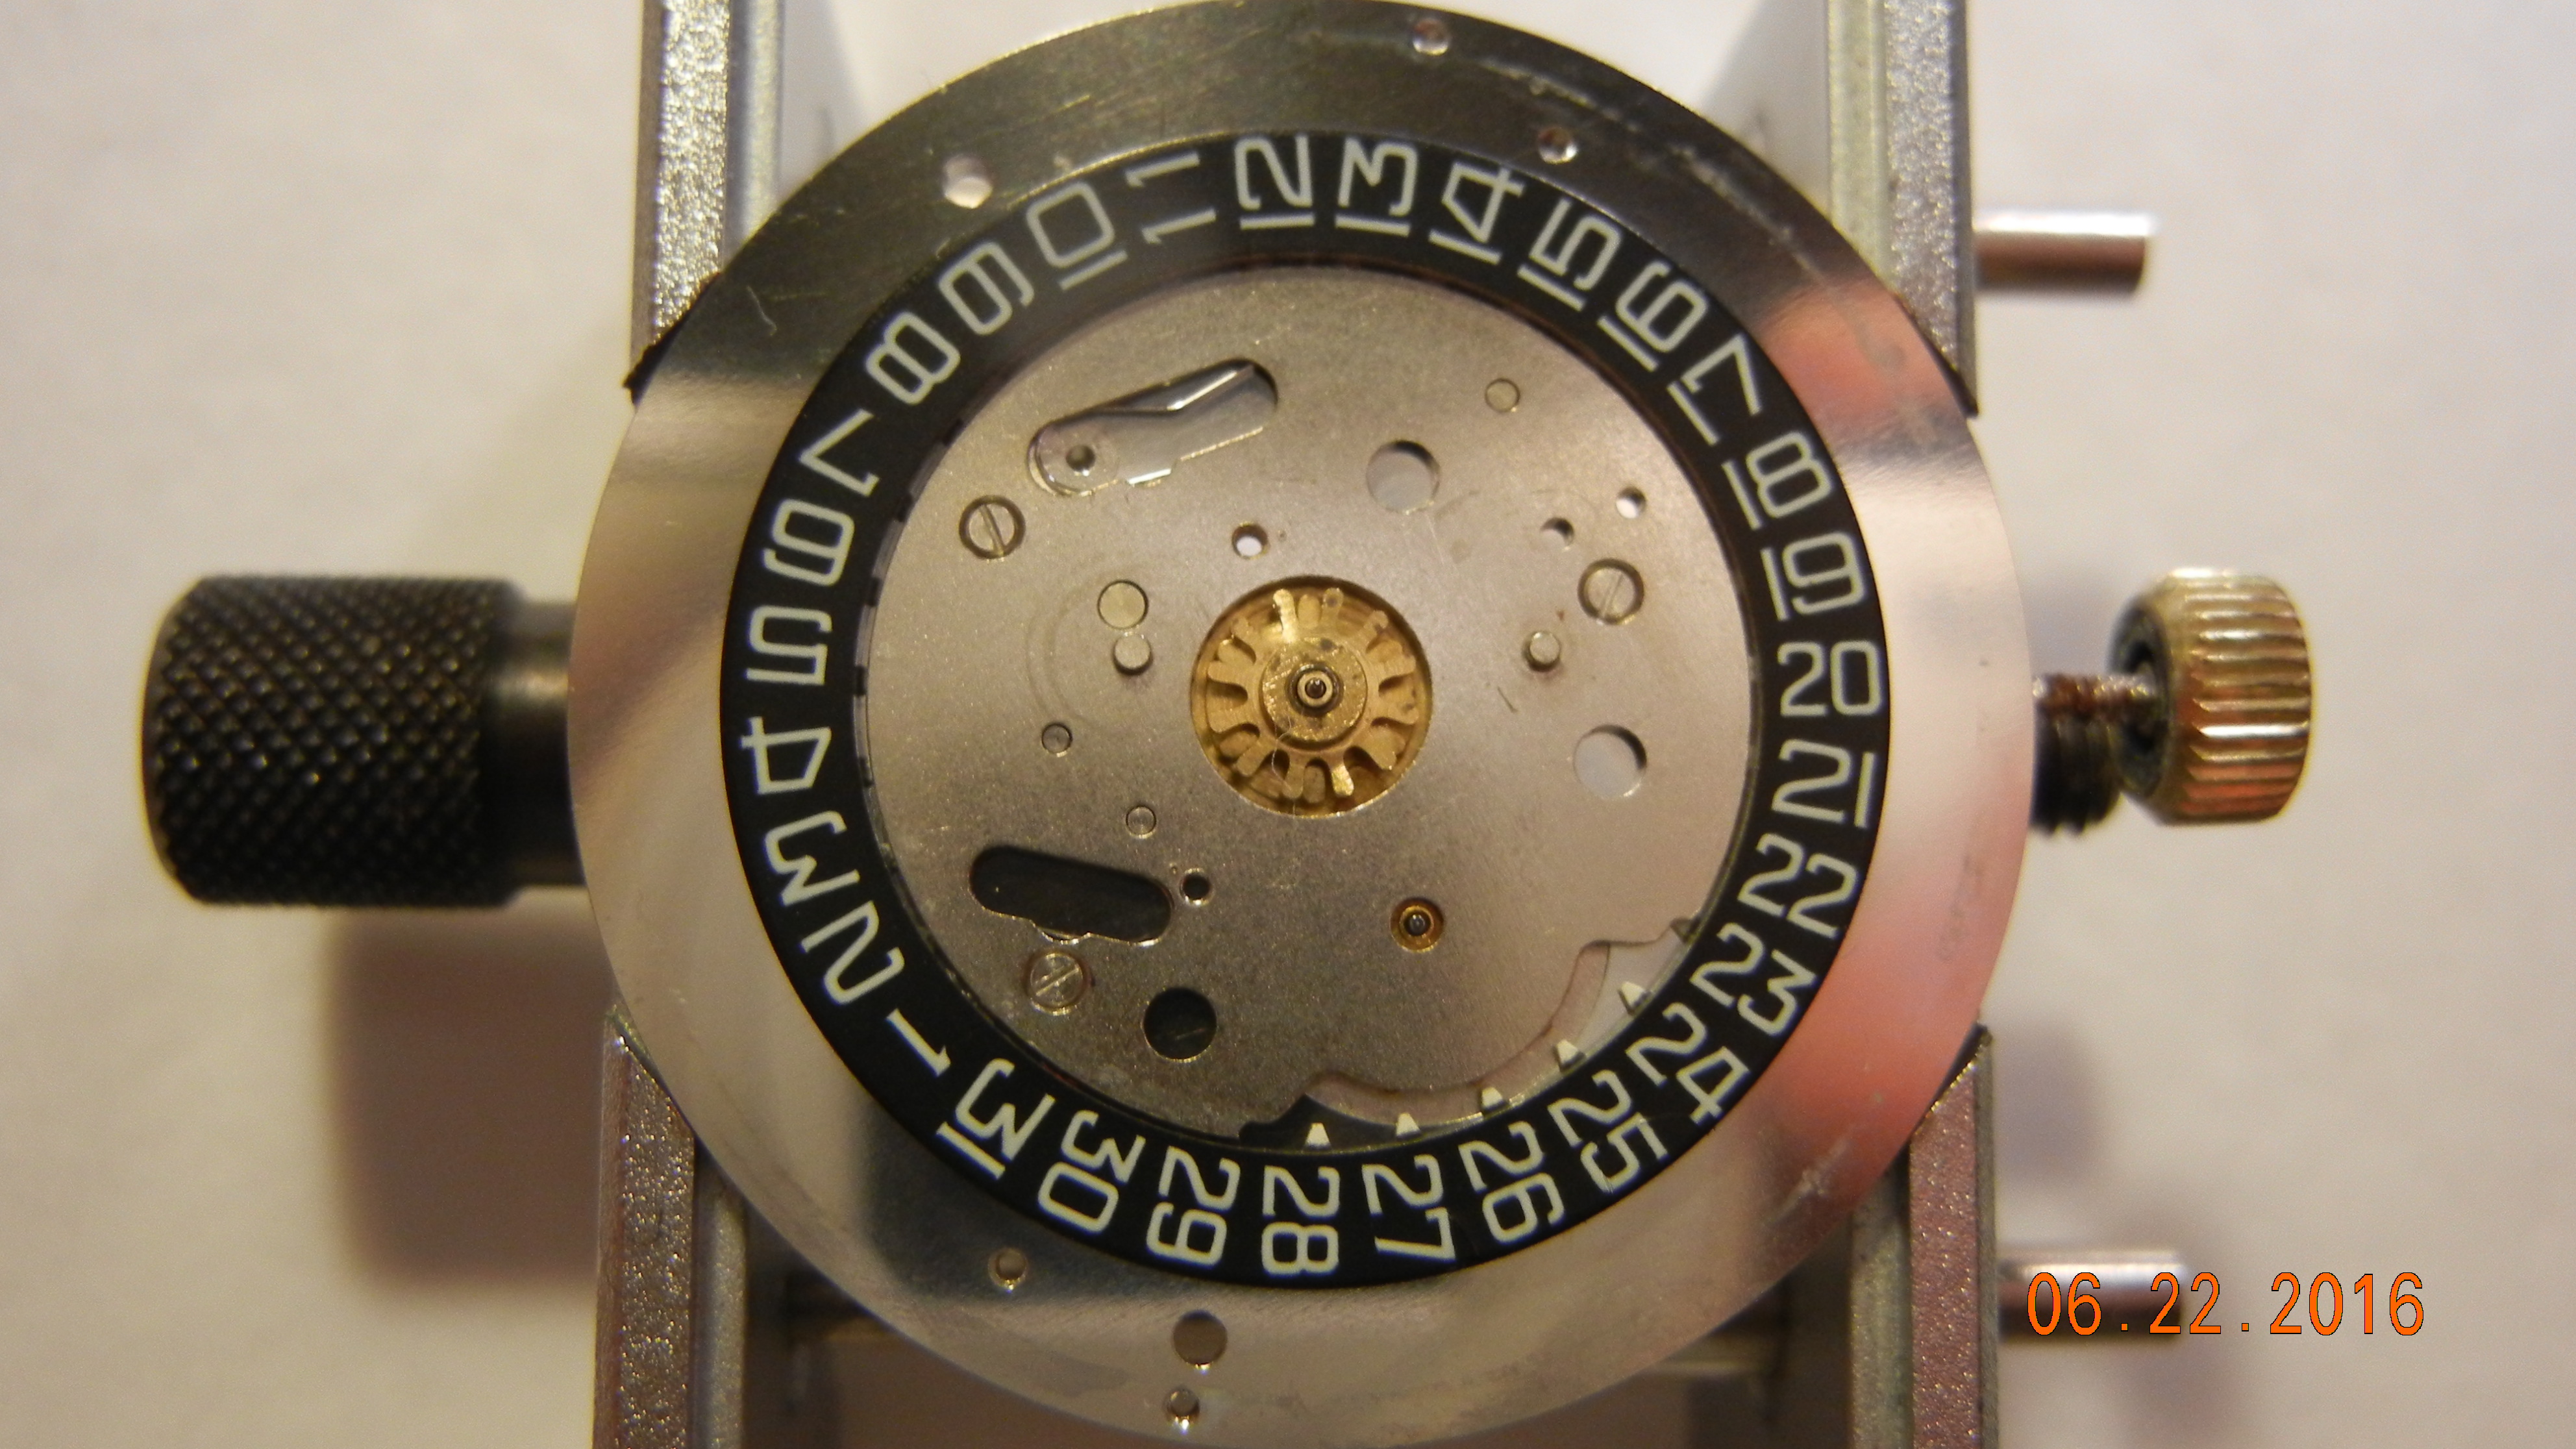
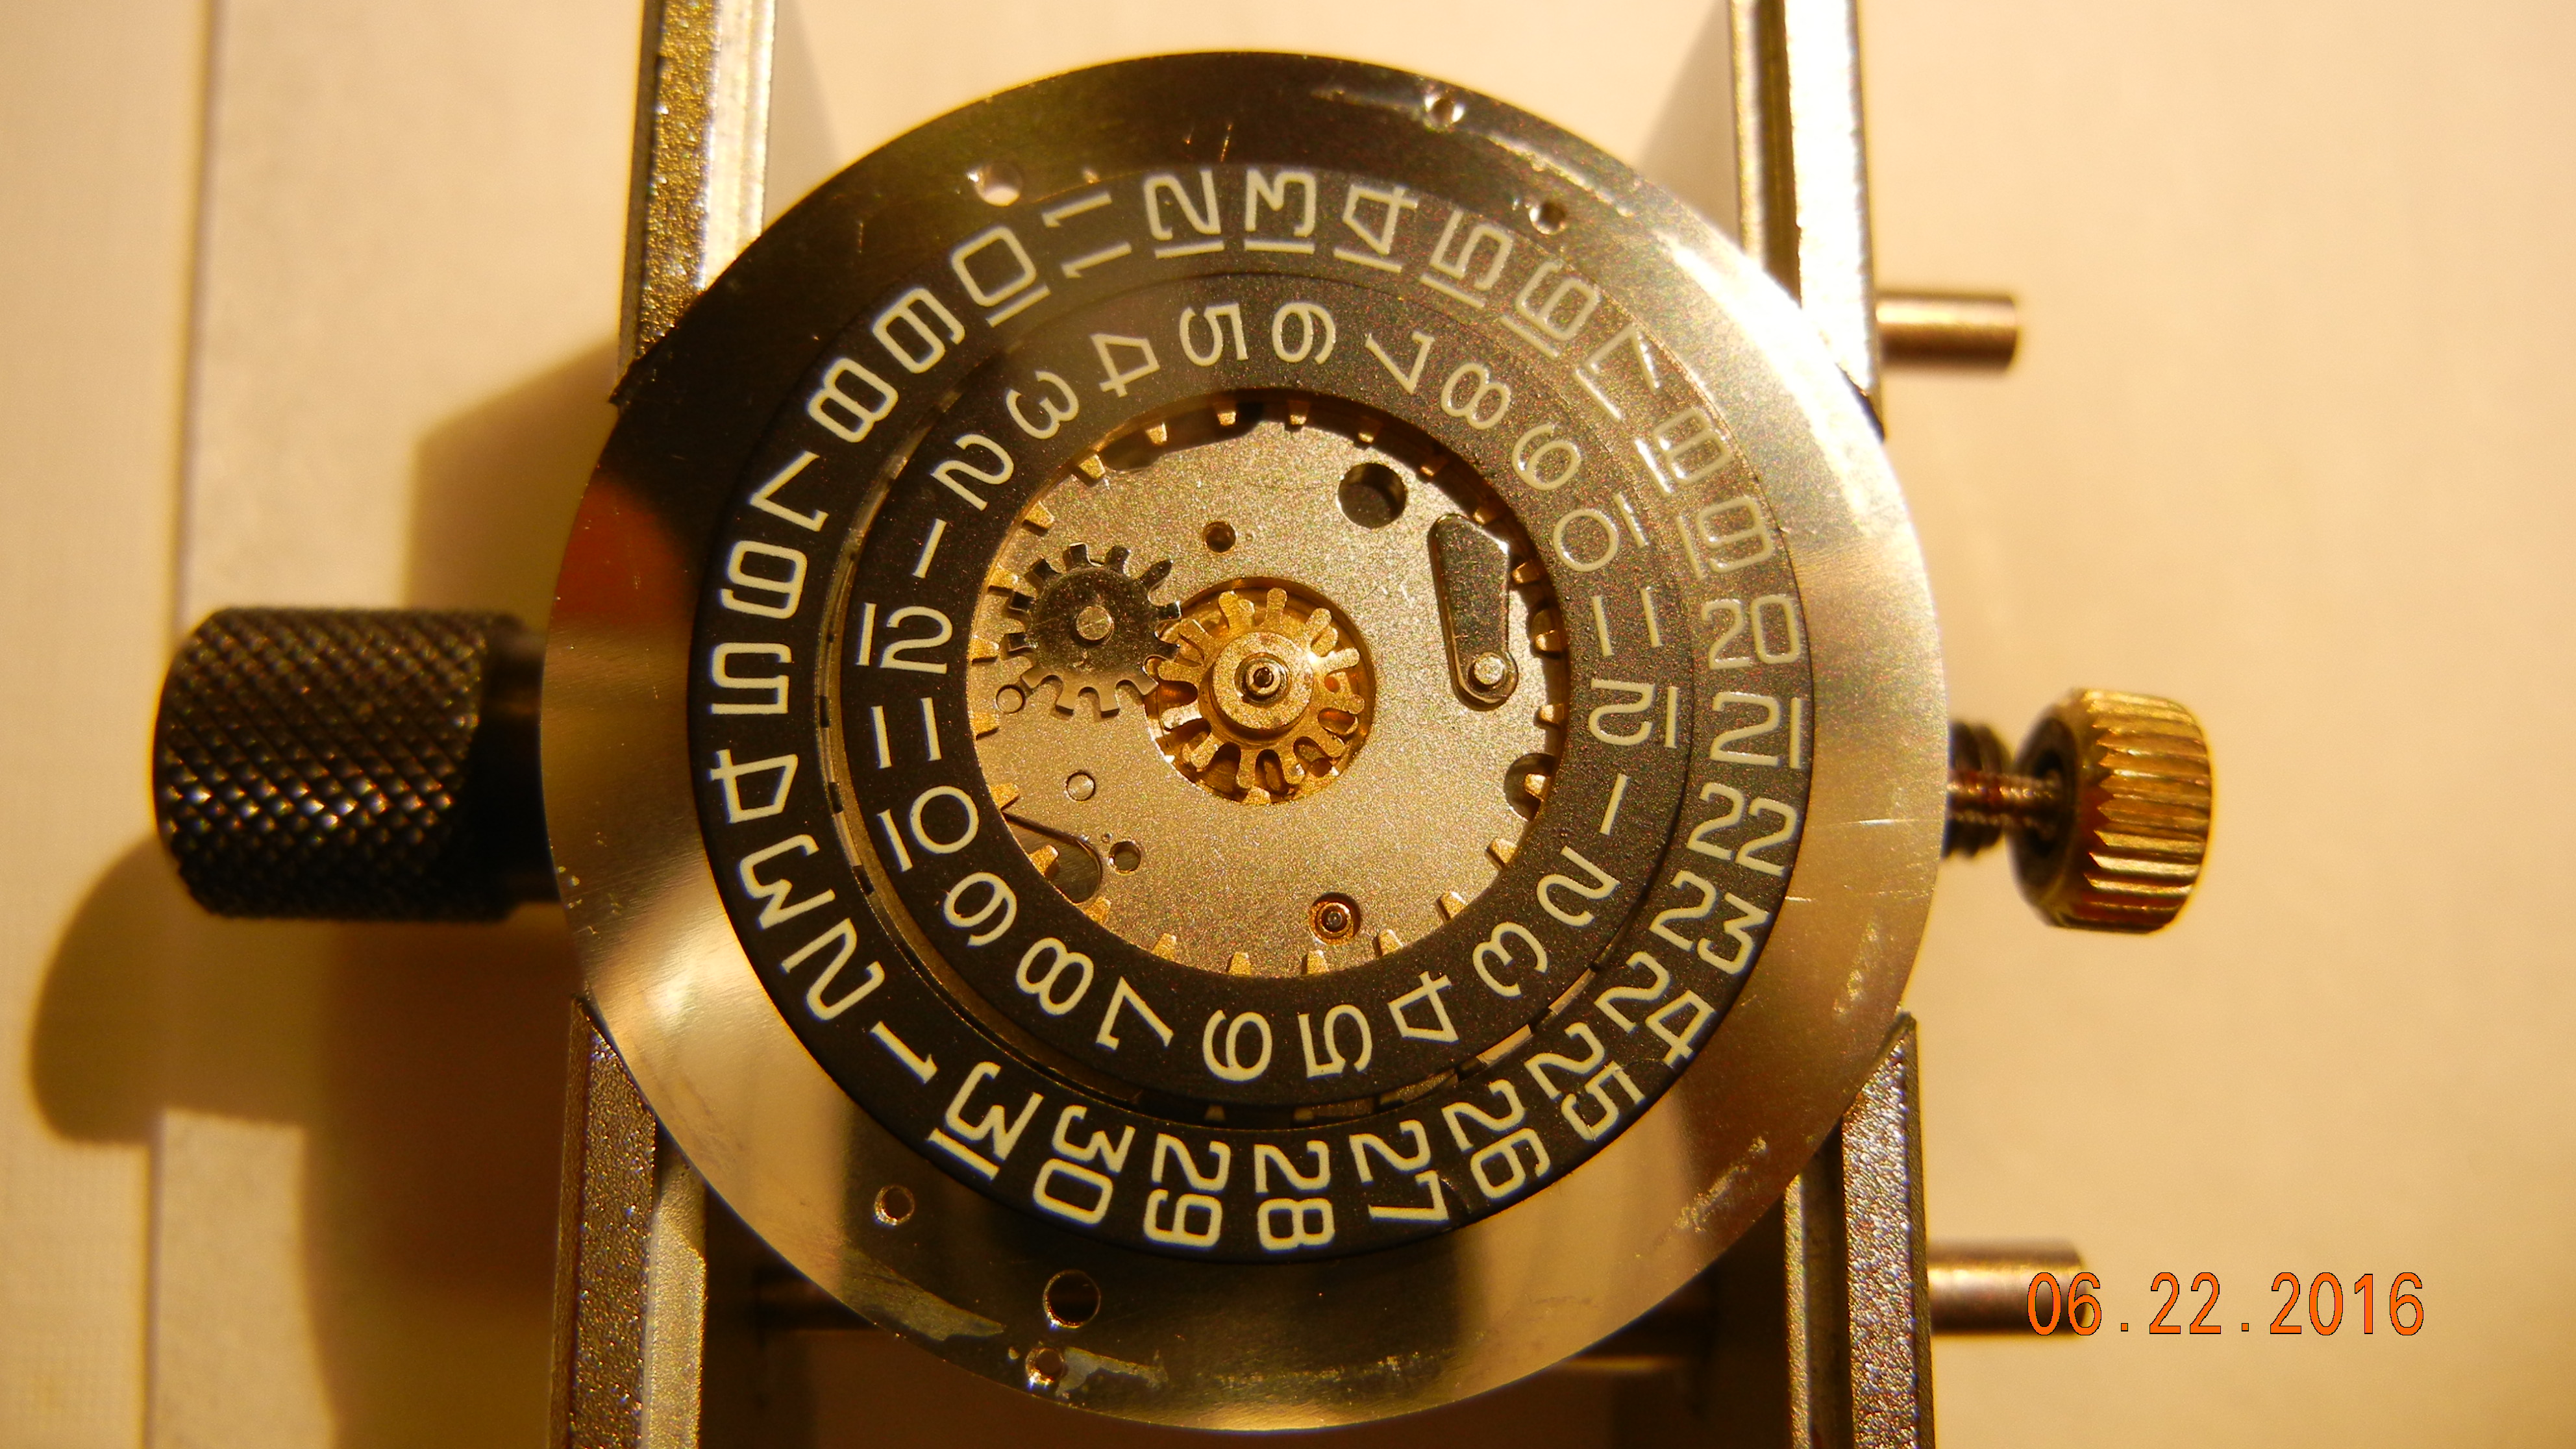
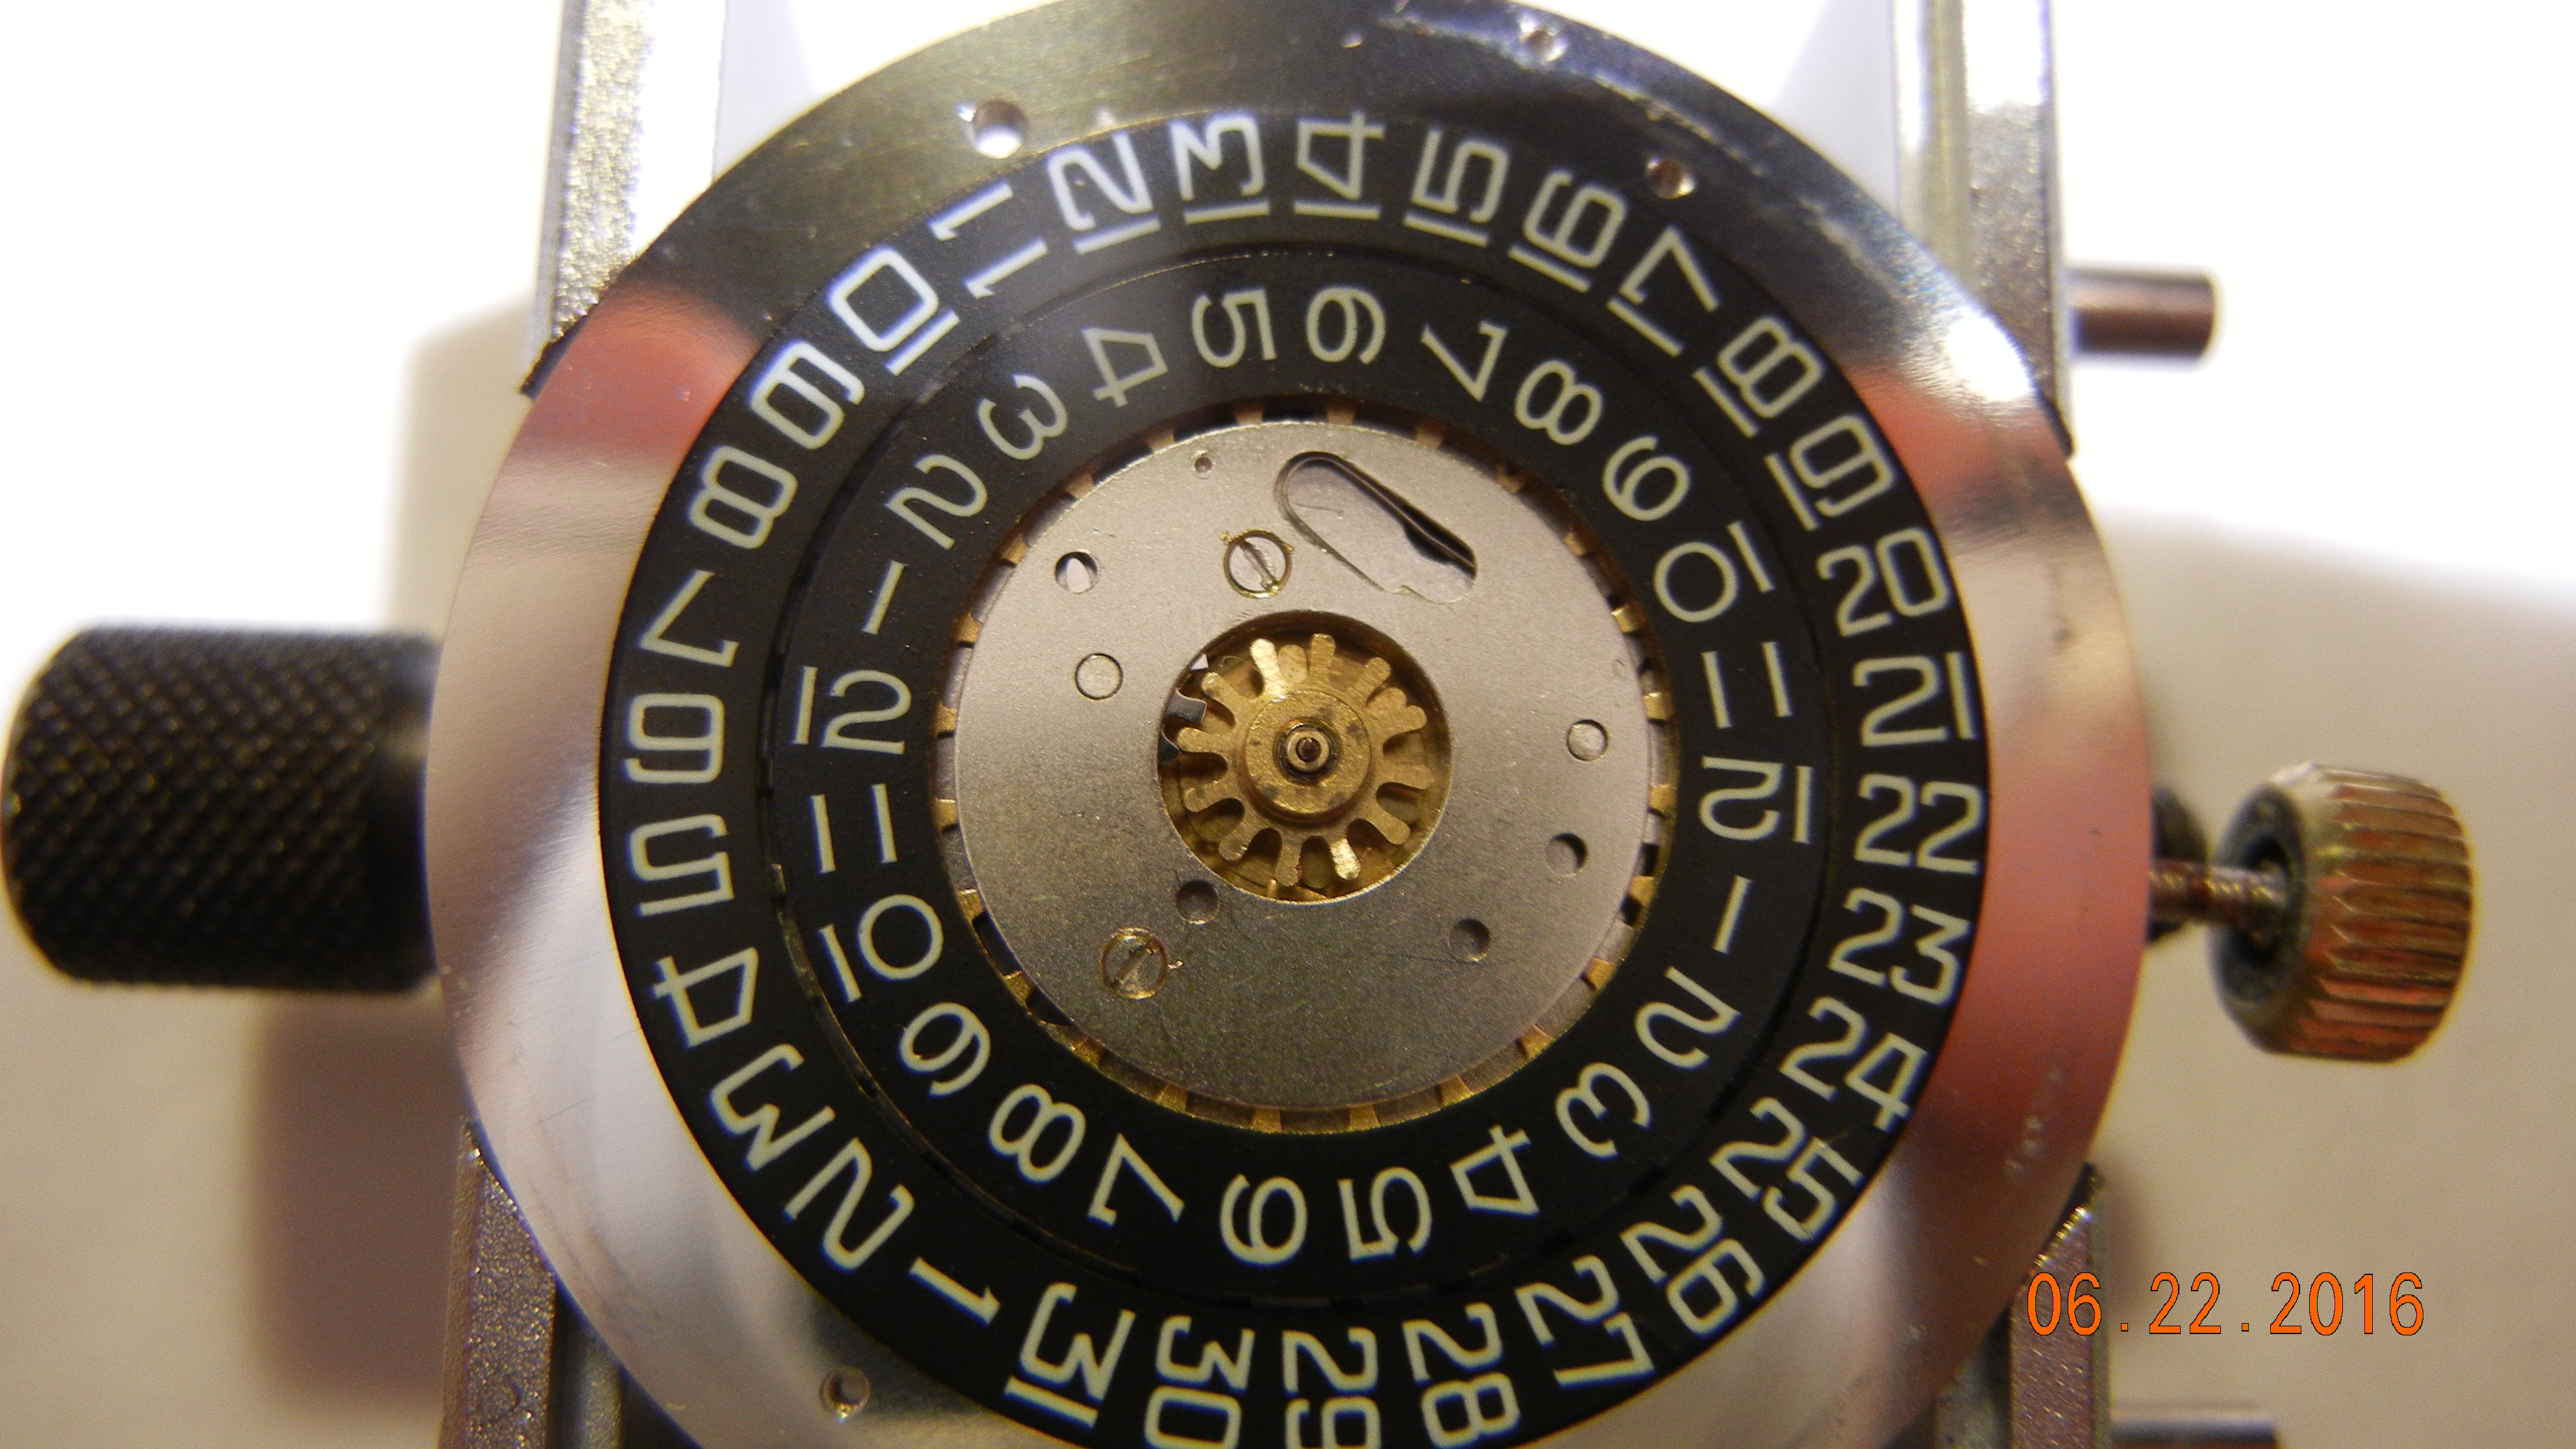
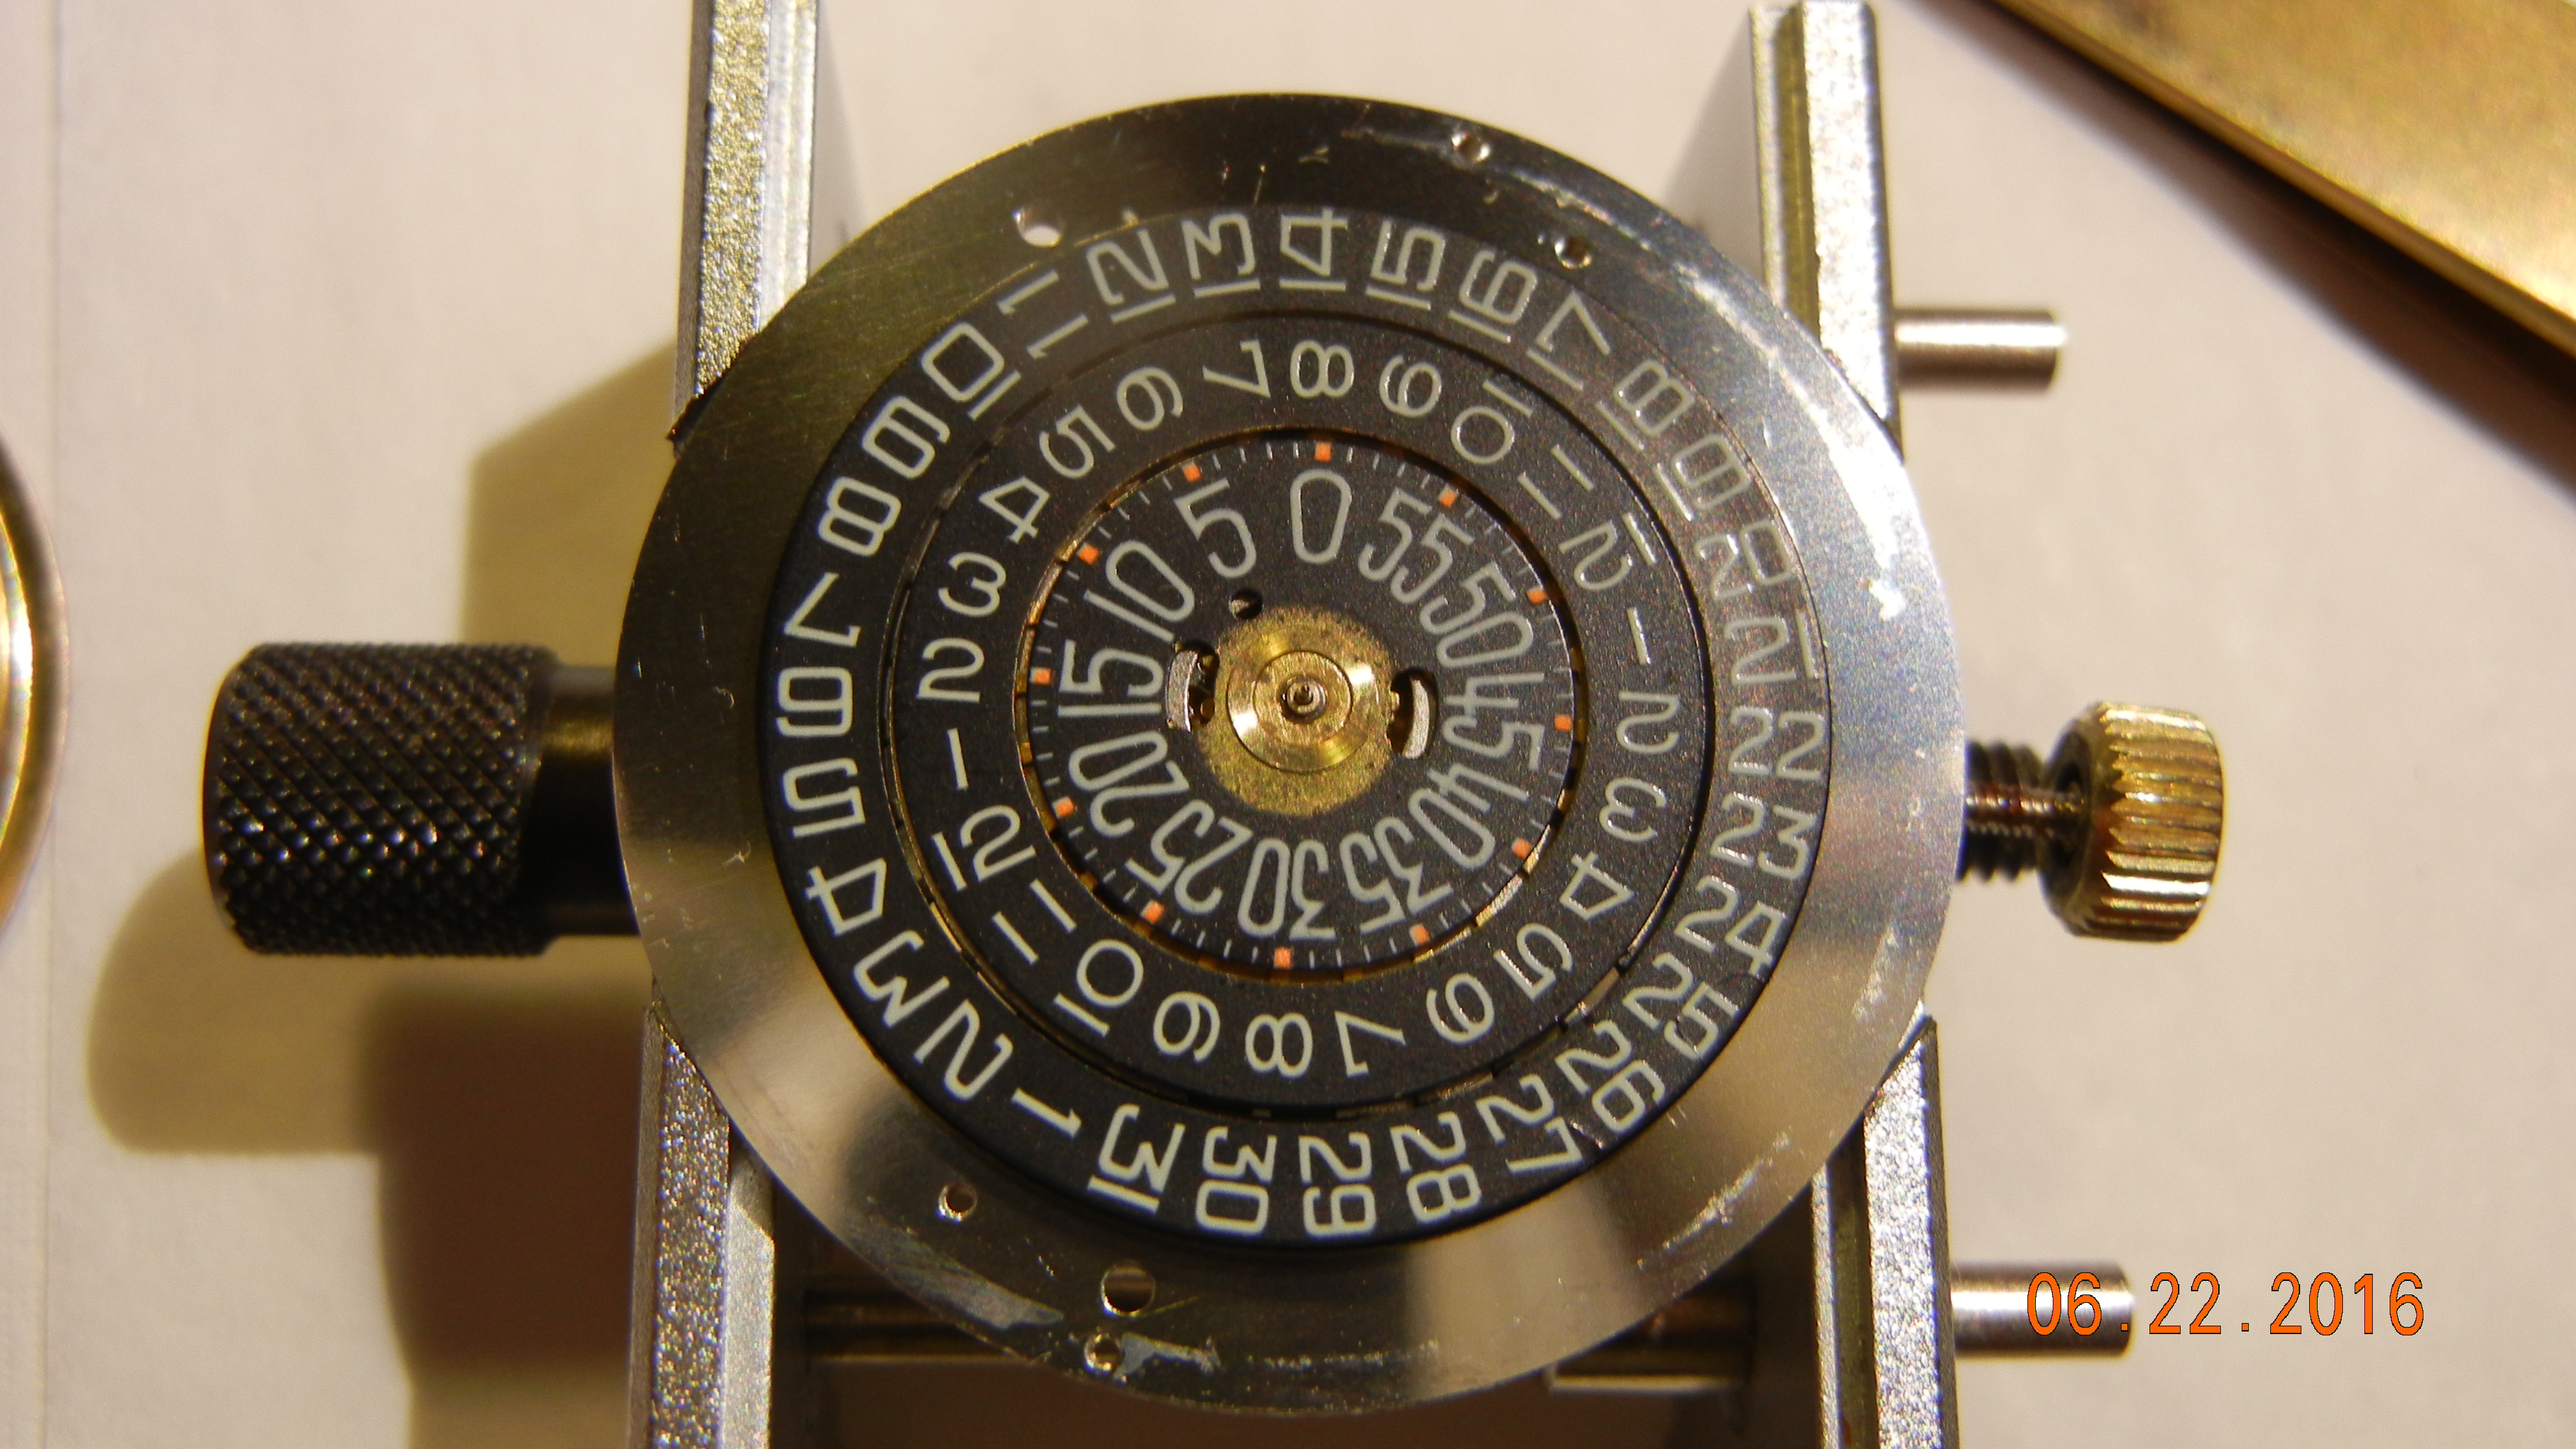
I did some more cleaning of the balance jewels, made sure that the hairspring was pretty much perfectly flat and centred. I then confirmed that nothing was rubbing anywhere. Guess what, no improvement. I then turned my attention to the old balance. I did a comparison of the pivot diameter on the old and new, old one measured 0.04mm, new one 0.06mm (measured with Vernier caliper). Also I measured amplitude of the new balance, initially 270 ish, then 10 minutes after full wind, DU/DD 240 degrees (adjusted to 0 SPD), vertical 190 degrees (-90 SPD). Then I continually slowly turned the mainspring while in vertical so that amplitude increased to 240 degrees, the rate however still showed around -50 SPD. I am suspecting that the pivots on the new balance are too wide, too much friction, maybe Renata got that wrong. Any thoughts on that? Photo attached showing the Pivots.
 1 point
 -
If you use your phone, you will need to demagnetise afterwards.1 point
-
That is is the starting bid price. It should be in a specialized sale I can only assume the seller doesn’t want to pay a high commission. I wouldn’t be surprised if it doesn’t sell or meet its reserve. £3000 - £4000 I would say is about right.1 point
-
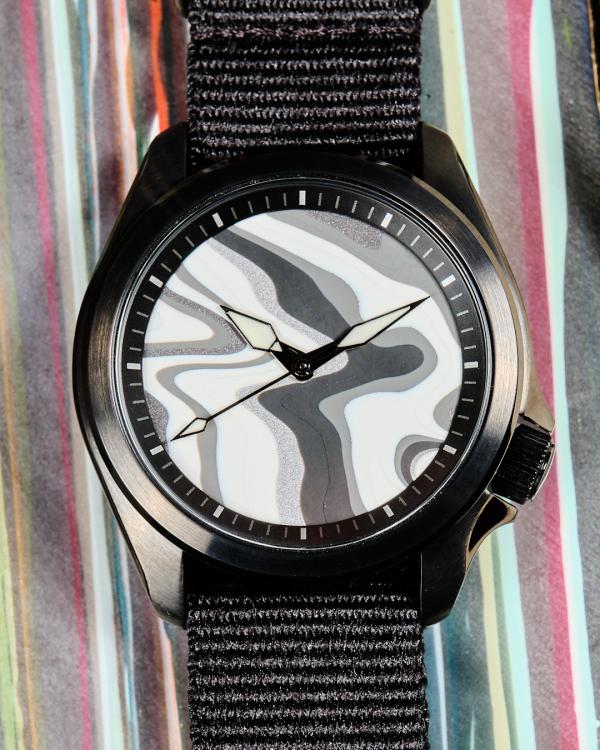
That one came out nice!1 point
-
@MechanicMike: Right now, I'm using a propane camp stove with a 6" x 6" x 1" block of aluminum to help with heat evenness. Another shot: I'm working on improving my watch photography too!
 1 point
 -
Thank you, @HSL This looks amazing and I look forward to working my way through this! I read it immediately. This is so well done, kudos! I feel like I'm starting class! (I've been thinking about trying the timezone course...) I noticed you started from the back side of the movement. But since I'm just working on the keyless works can I just skip to the front side (pg.15) of part 1 and start from there for this project? Do I need to worry about any stored power in the main spring? If so, can I just let it run down, or will I need to open up the back side of the movement as well? And once I'm in the keyless works, is the pesky part that I messed up the setting lever that I pressed too far on the detent? How do I confirm that I have actually fixed the offending piece before I reassemble everything? Thank you!1 point
-
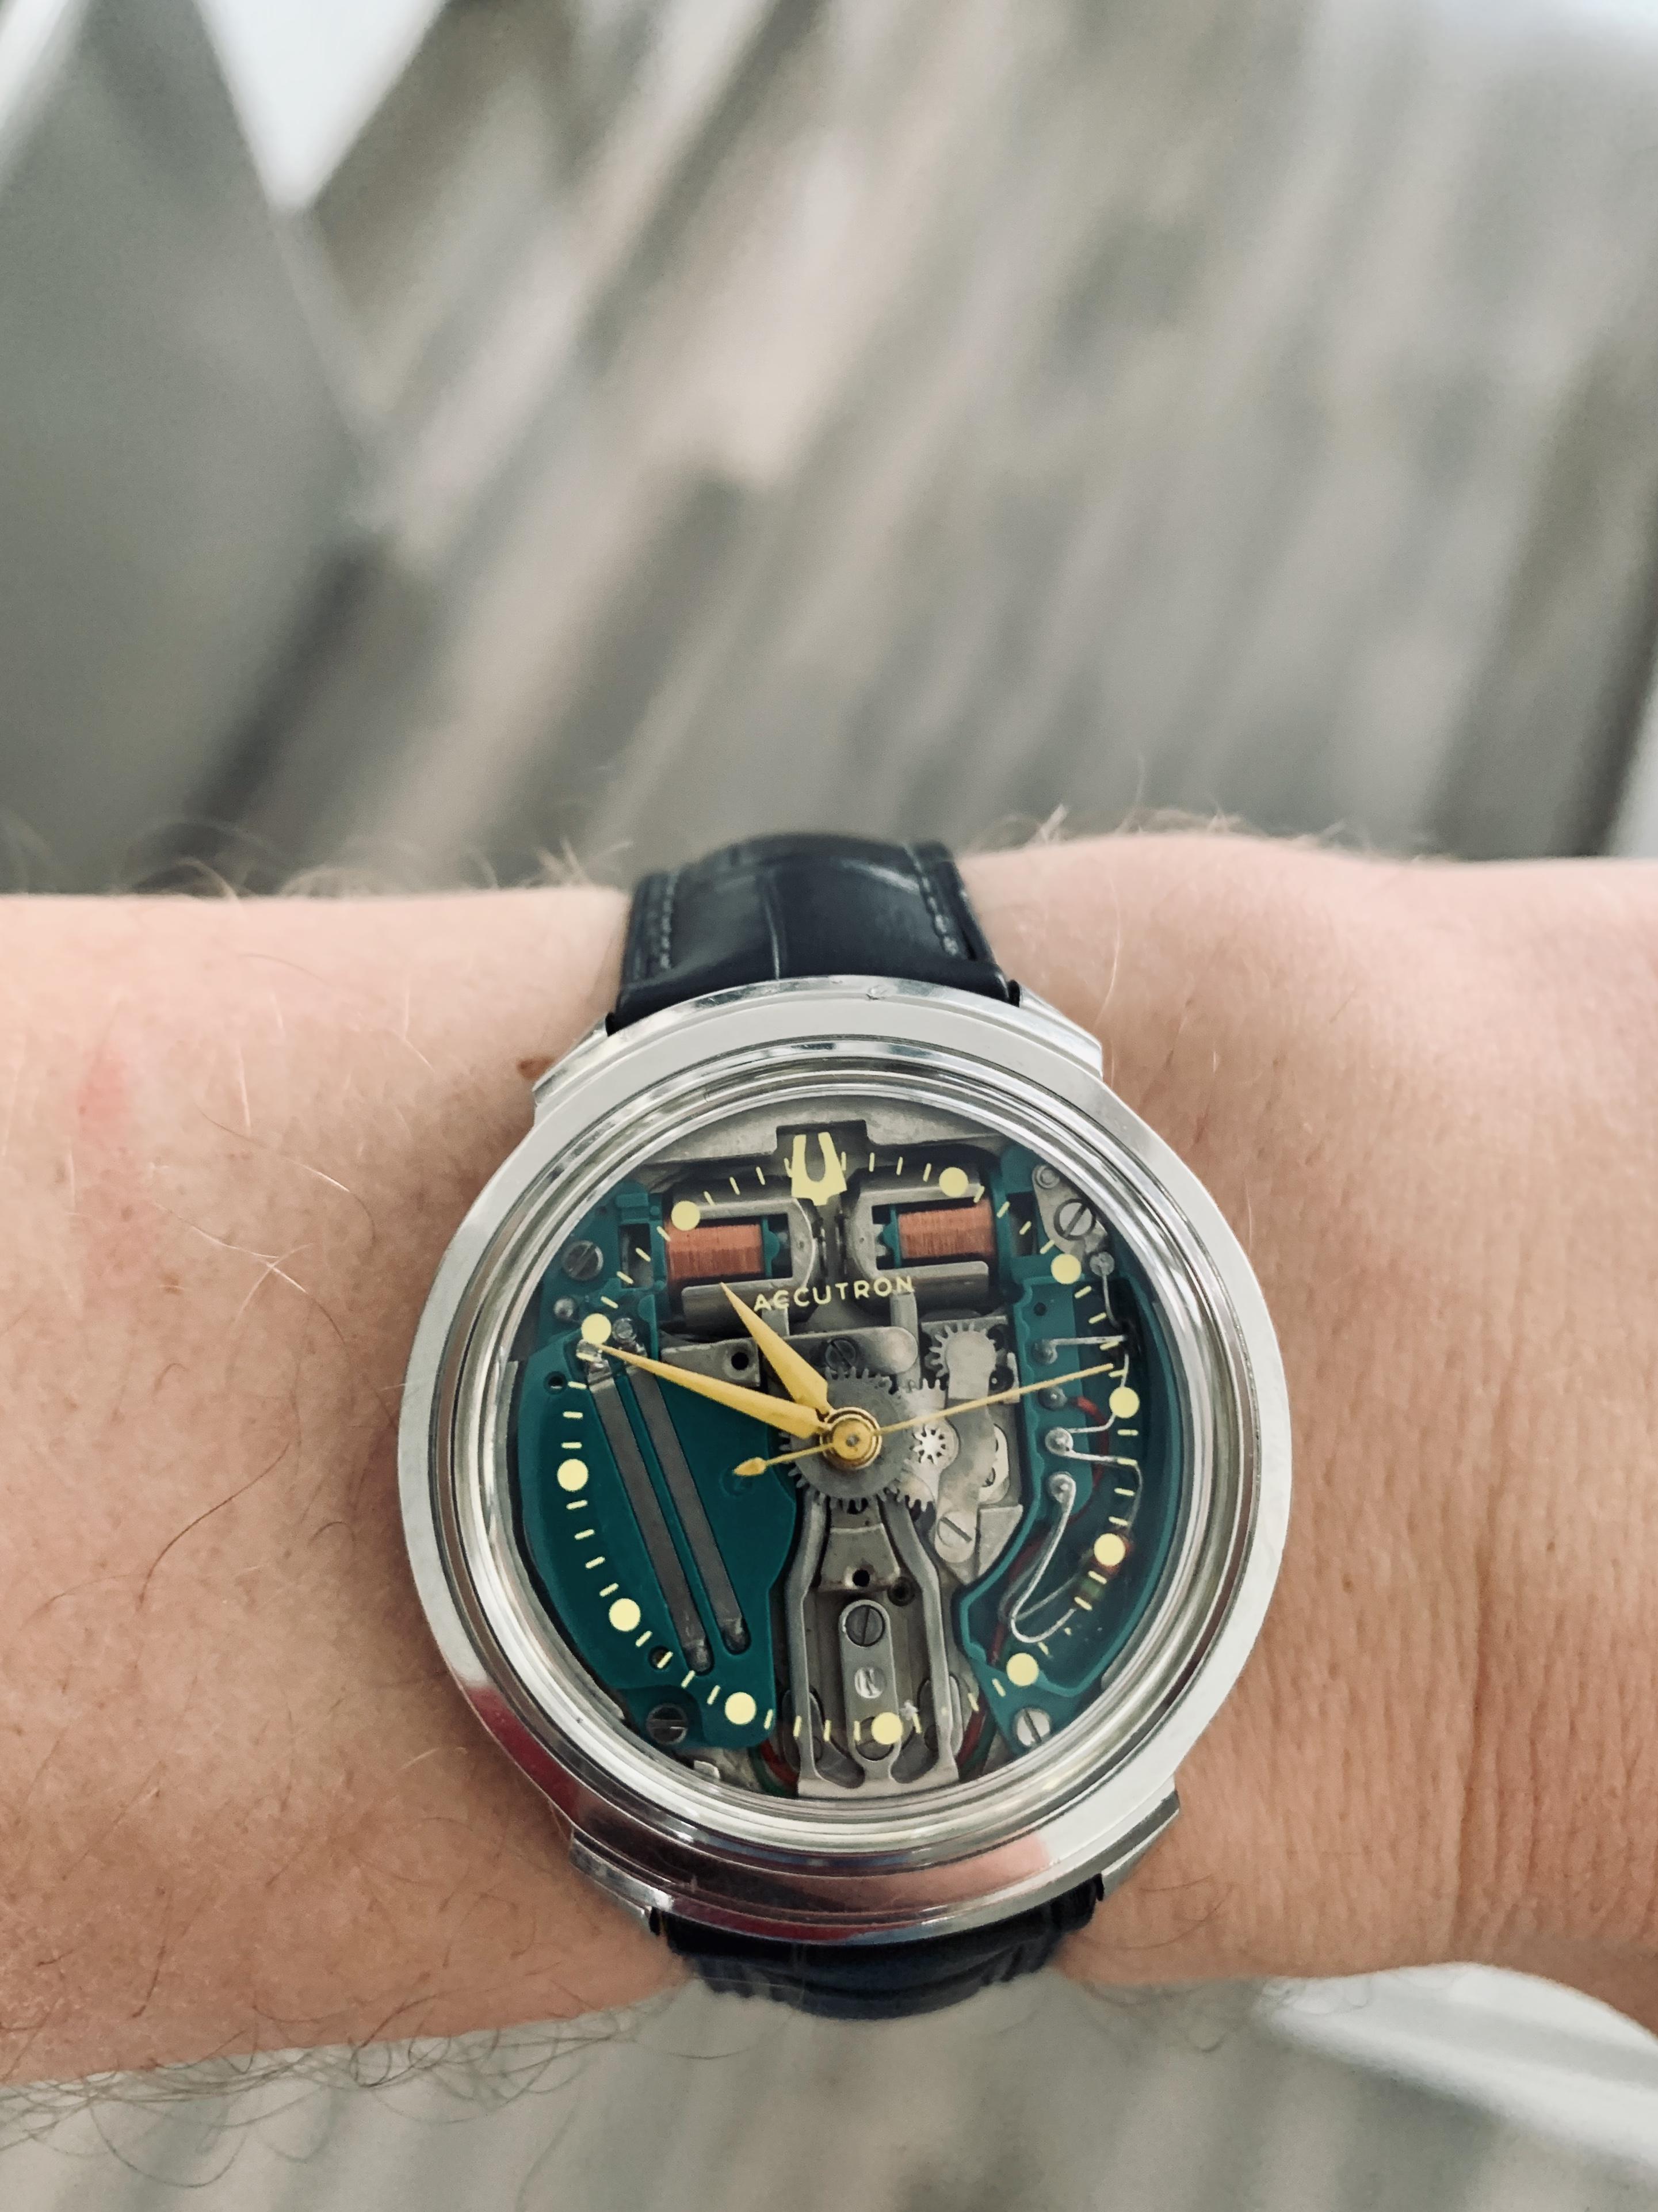
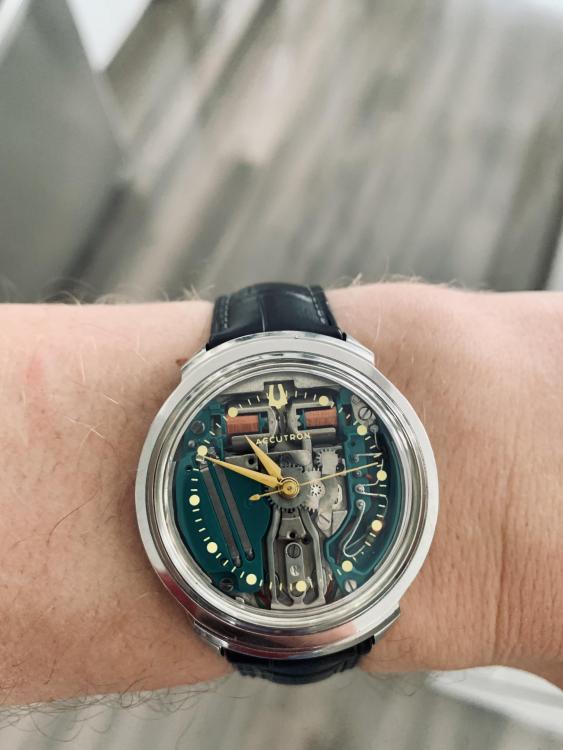
Giving my Accutron Yellow Dot a try today, first time on the wrist
 1 point


.thumb.jpg.91aeb08765b4f2b7f0fc10182999bcc2.jpg)