Leaderboard


Popular Content
Showing content with the highest reputation on 02/20/19 in all areas
-
Hi guys … I had promised that I would make a « custom decal dial tutorial » on another thread there So here we are … There are many variations of decal dials, the best IMHO being the « negative gilt » dials which gives the best results. The process I’m showing today is aabout how to make a dial with black printings on a one color background. I had a cheap quartz diver waiting in my drawers so I’ll make a Heuer diver hommage based on the 980.016 model (quartz one too). DAY 01 : It’s 4:30 AM (I’m an early bird) and I have 2 hours to kill before a business trip to Paris (I’m French) so I decide I have time enough to begin. The first part of the process is to prepare the dial plate : - stripped it, removing all the lumes bars and dots - soaked the dial for some minutes in acetone to remove the paint - filled the tiny holes where the bars and dots go with cyanolite glue - sand everything flat I sand with 800 and don’t try to get a smooth surface as I want the paint to adhere perfectly to thedial plate. Here is the result … Then I want to spray paint. I make a tube with some painter’s tape, from a « curve » with it and place it on a plastic bottle cap. I want it curved so that I can stick the dial on it without any risk of bstructing the center hole or the date window of the dial plate. So I stick the sanded dial plate on the tape tube. As you can guess from the pic below … that’s not the first time a make an orange dial. Then I place the bottle cap and dial plate on a paper sheet and spray paint in orange. I use street art spray paint as it is « water resistant ». As you can see on the next pic, I don’t try to get a smooth surface, or even to perfectly cover the dial plate at first. I will let this coat dry, sand it with 2000 grade, then spray 1 or 2 coats until I get a perfectly smooth orange dial plate, ready for receiving a decal. So I place the bottle cap and dial under a shooter glass and will let it dry for about 24 hours before sanding and spraying the second paint coat. The 24 hours drying time is really important (though it could depend on the paint you use). The paint I use looks perfectly dry after about 5 hours but if you spray the second coat without waiting enough, that coat won’t perfectly adhere to the first and you could get a granular surface like an orange peel. And here is the dial waiting under the shooter glass. On the right is a « negative gilt » dial (third and last matte varnish coat) On the background there are two Raketa 2609 movements from the 70ies, quietly (really loudly to be honest) ticking for test after I‘ve recently serviced them. Now it’s 5:45 AM so I will have a and go to the train station. I’ll sand the dial plate this evening and spray the second paint coat tomorrow morning. Then sand it in the evening and spray the third coat (if needed) the day after. DAY 02 - DAY 03 : So here's what you get after the first paint coat … doesn't look really good but no matter as there's still some work to do to get a better result. And here's what you get after 3 coats of paint, each one sanded with 2000 grade, to get a perfect finish, flat and smooth. Now the dial plate is eady to receive the decal. DAY 03 : I won’t explain anything about Photoshop and Illustrator here … I’ll only explain how I print my decals. One thing really important, from my own experience, is the definition of the design. I’ve tried several, from 1200ppp to 6000pp and the best results I’ve got on printing decal sheets were with a 4000ppp definition. So all my dial designs are done in 4000ppp. The result is really BIG files … for example an A6 template with 12 dial desings ready to print is about 800Mo. As that dial is black printing only I open it with Photoshop and let the softwre (so ont the printer) deal with the printing quality. My printer is an old Epson Picturemate with a 1200 maximum definition. As the good quality decal sheets are not cheap and as I’m a « skinflint» I often print on A7 sheets … 6 dial designs on one sheet. When printed you should let it dry for about 4 hours then spray 2 really thin coats of matte varnish, letting each coat dry for at least 12 hours (24 hours is better). DAY 04 - DAY 05 : 2 days of speed-hiking with my wife so I didn’t worked on that tuto. You can check on the net what speed-hiking is, but to summarize it’s hiking as fast as you can with really light backpacks, trying not to run (or only short runs). On a good day you can walk 5 to 6 miles/hour … when trained you can walk up to 6,5 miles/hour … and while I trained for my first 62 miles ultra I achieved to walk (no running) up to 6,85 miles/hour (11 km/heure). DAY 06 : Today is Monday 6:00 AM. It’s been 5 days since I begun that tutorial and … my legs ache and all my body is painful (see Day 04 - Day 05) The dial plate is ready and the decal sheet too. You can see that the decal sheet looks matte now. That is because I have sprayed 2 coats of matte varnish on it, to protect the inkjet ink while I’ll soak the decal in water. Of course if you print with a laser you won’t have to spray varnish as the laser inks are (almost) water resistant. First thing to do is to chose the best item on the decal sheet and cut it round. Then you are ready to go. On the next pic you can see all you need now : - dial plate … fixed on a foam board using the dial feets - decal dial … nicely cut round - tweezers - thin and smooth brush (mine’s a watercolor brush) - some « micro set » … or just vhite wine vinegar (it helps the decal to set on the dial plate) - cold water Now you put the decal in cold water and while it soaks you brush some micro-set (or white vinegar) on the dial plate. Then you put the decal on the dial plate. Here you can see why I prefer using clear decal sheets on coloured dial plates … because it’s much easier to « perfectly » positionate the decal, using the central hole and the date-window. When you’re happy with the position of your decal you use a paper tissue to absorb the excess of water. Do that carefully as you don’t want to move the decal on the plate. And here we are … everything worked fine while absorbing the water and the decal position is OK. I’ll let it dry for about 12 hours before I cut the central hole and the date window, before I proceed to the varnish finish. Still Day 06 but 7:00 PM The decal has dried for about 13 hours so now I can proceed on cutting the decal sheet That's what I do then I : - fix it back on the foam board - apply some « micro set » around the center hole, the date-window and the outer diameter - gently press with a paper tissue so that the decal is perfectly applied (no more «air bubbles) And I let dry for 3 hours more Evening … 10:00 PM Now the decal is « perfectly » applied and dried and ready for the finish Last pic for today is after spraying the first coat of glossy varnish I will let it dry for 12 hours, sand it with 2000 grade paper and apply the 2nd coat. DAY 07 : 20:00 AM … only 1 pic today just after finely sanding with 2000 grade the 2nd varnish coat I applied yesterday DAY 08 : Yesterday evening I applied the 3rd and final varnish coat after finelt sanding and cleaning And today I can show you the final result … and say I'm pretty happy That dial is so glossy it’not easy to get a good pic, even on close-up. May I say that me hpone is nit the best at shooting pics (just like me) and the actual dial is much much better that it looks on the pictures below. I hope that you liked that tutorial and that it could be helpfull to members who want to try to build their own watch dials. I’ll try to make better pics with a real camera and a better lens … next week of the week after, after luming the dial together with the hands. Then I will still have to get a case and rework it so that it could be a 980,016 lookalike. Some of you may wonder how much time did I spend to make that dial. It took 8 days to achieve the all process but I spent only 1 hour the first day then only from 15mnm to 5mn the days after. So, apart from the design work on Illustrator and Photoshop (which took me hours), I would say that the whole process is about 2 to 3 hours. I must say that it's not my first try at dial making and I've trained for 2 years now. So if you want to try you should consider spending a few more hours but it's really worth the time spent as at the end you get your unique DIY dial.2 points
-
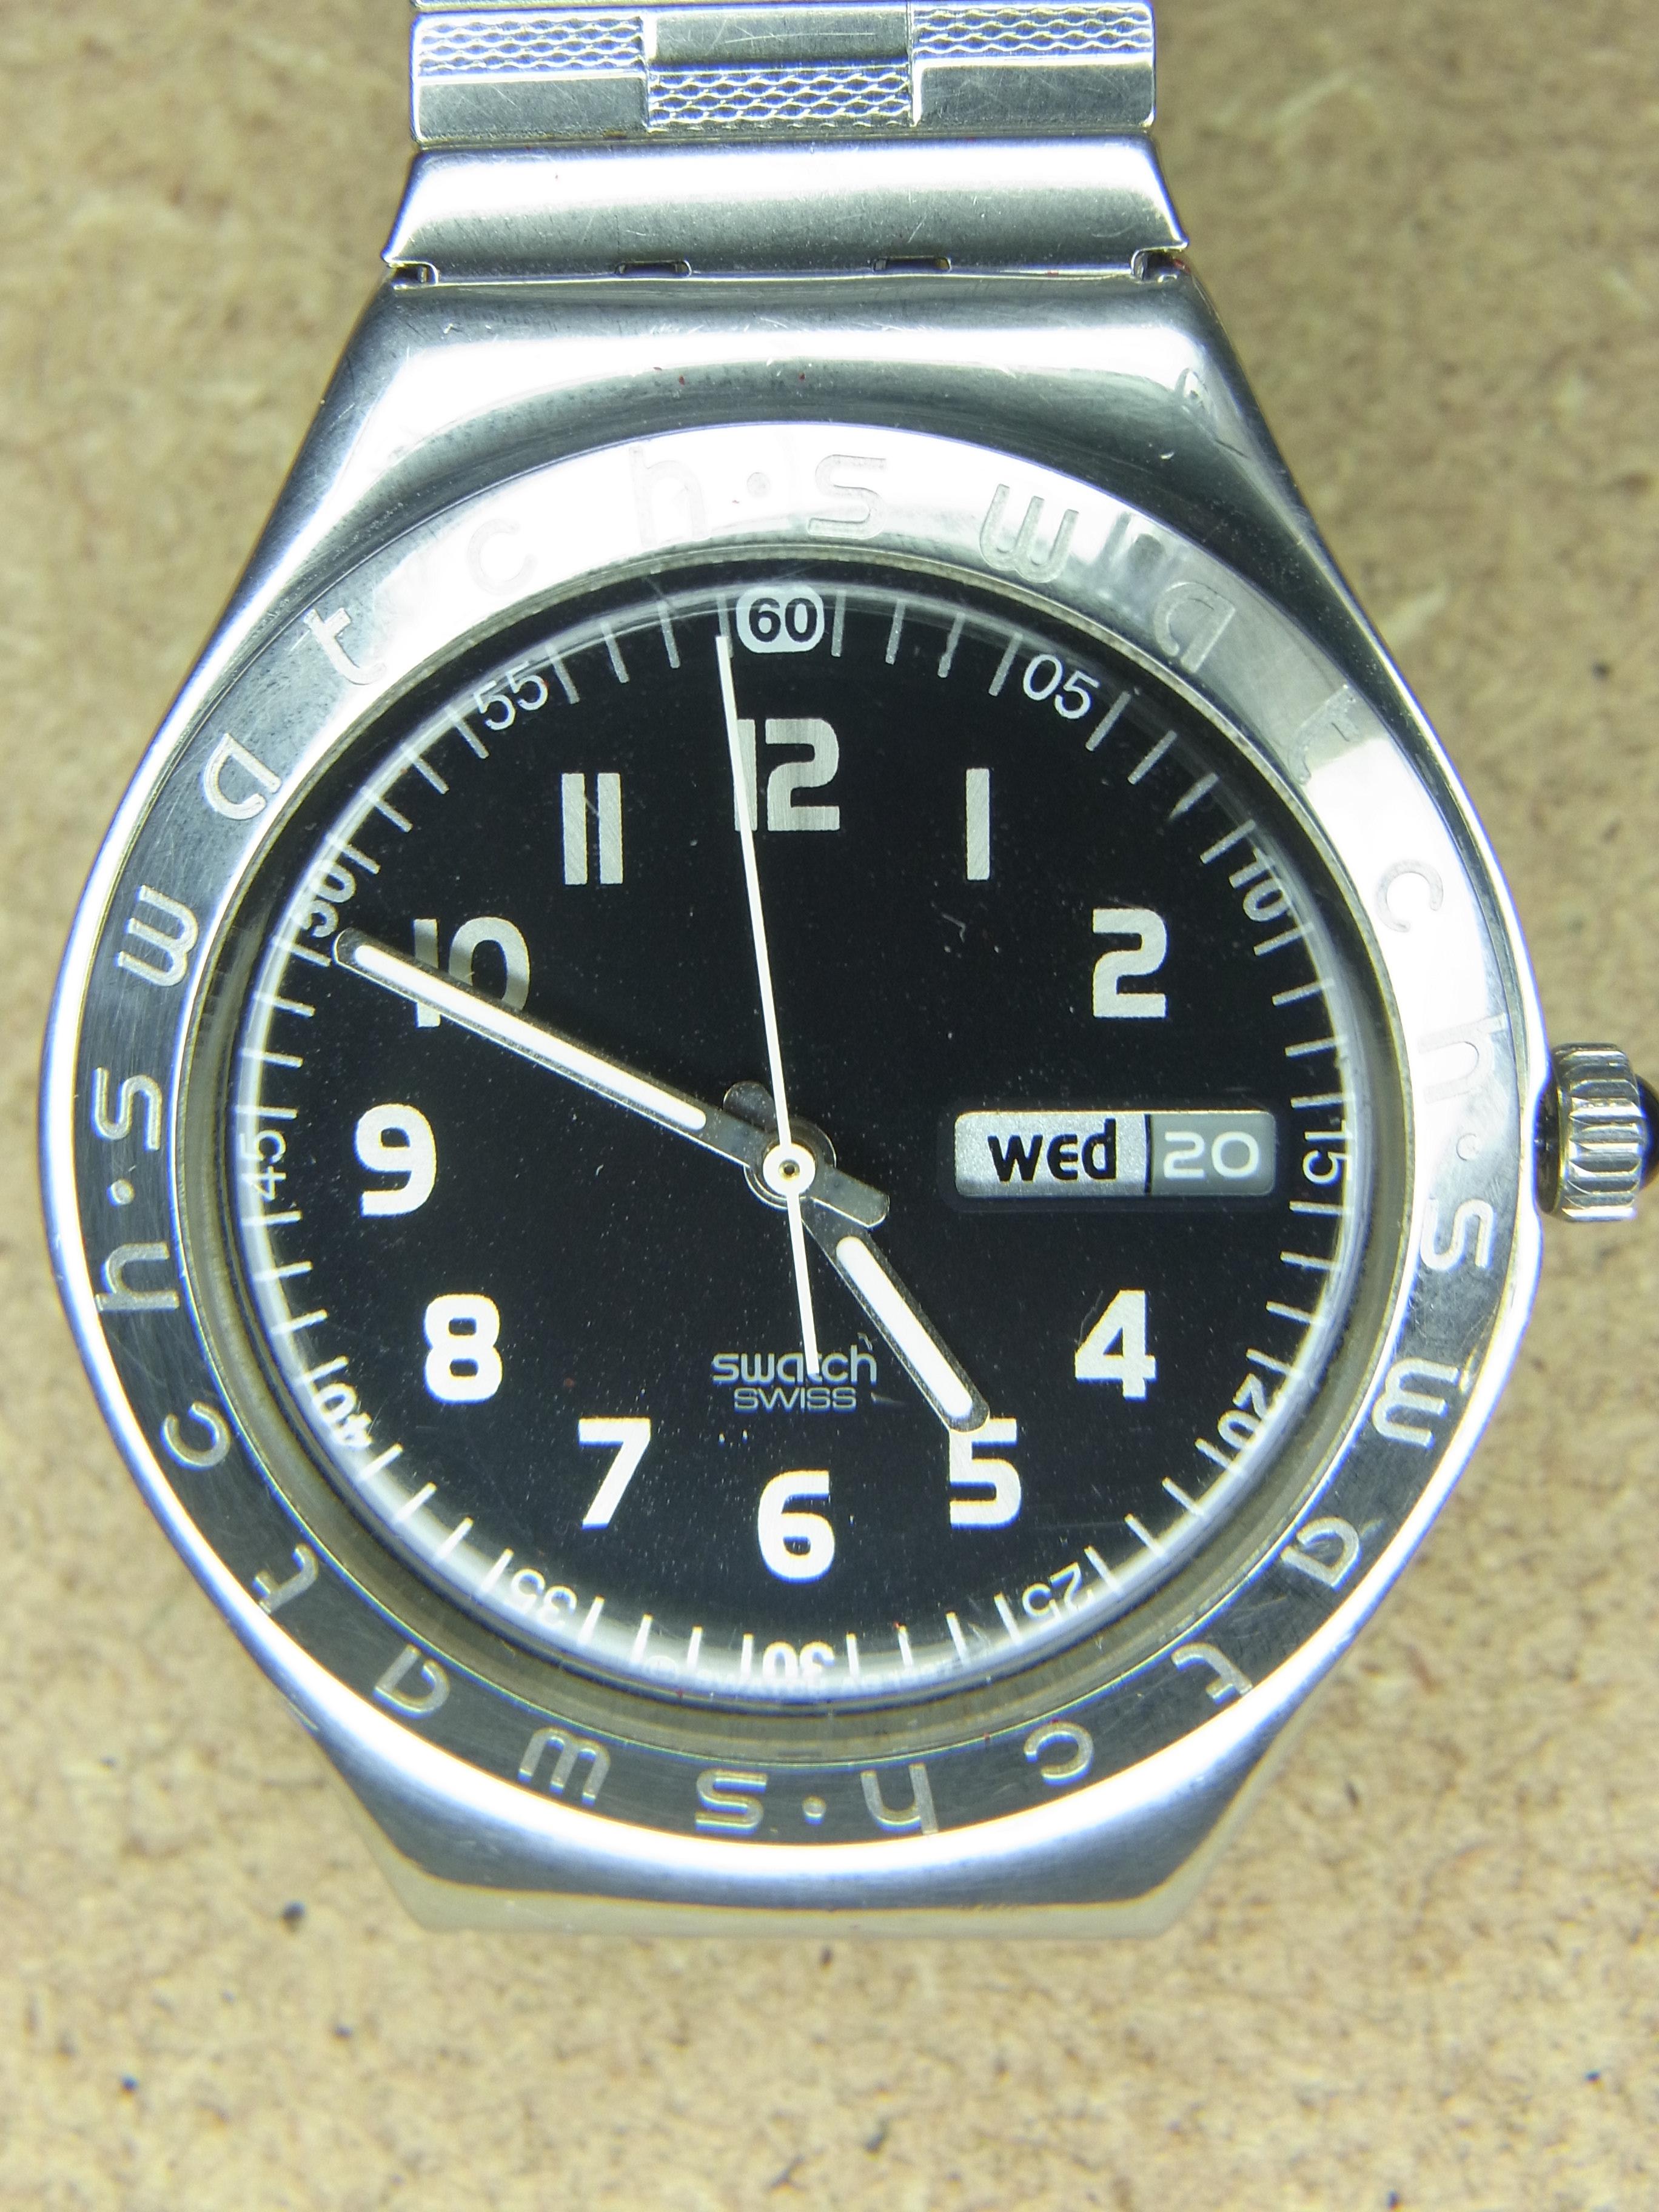
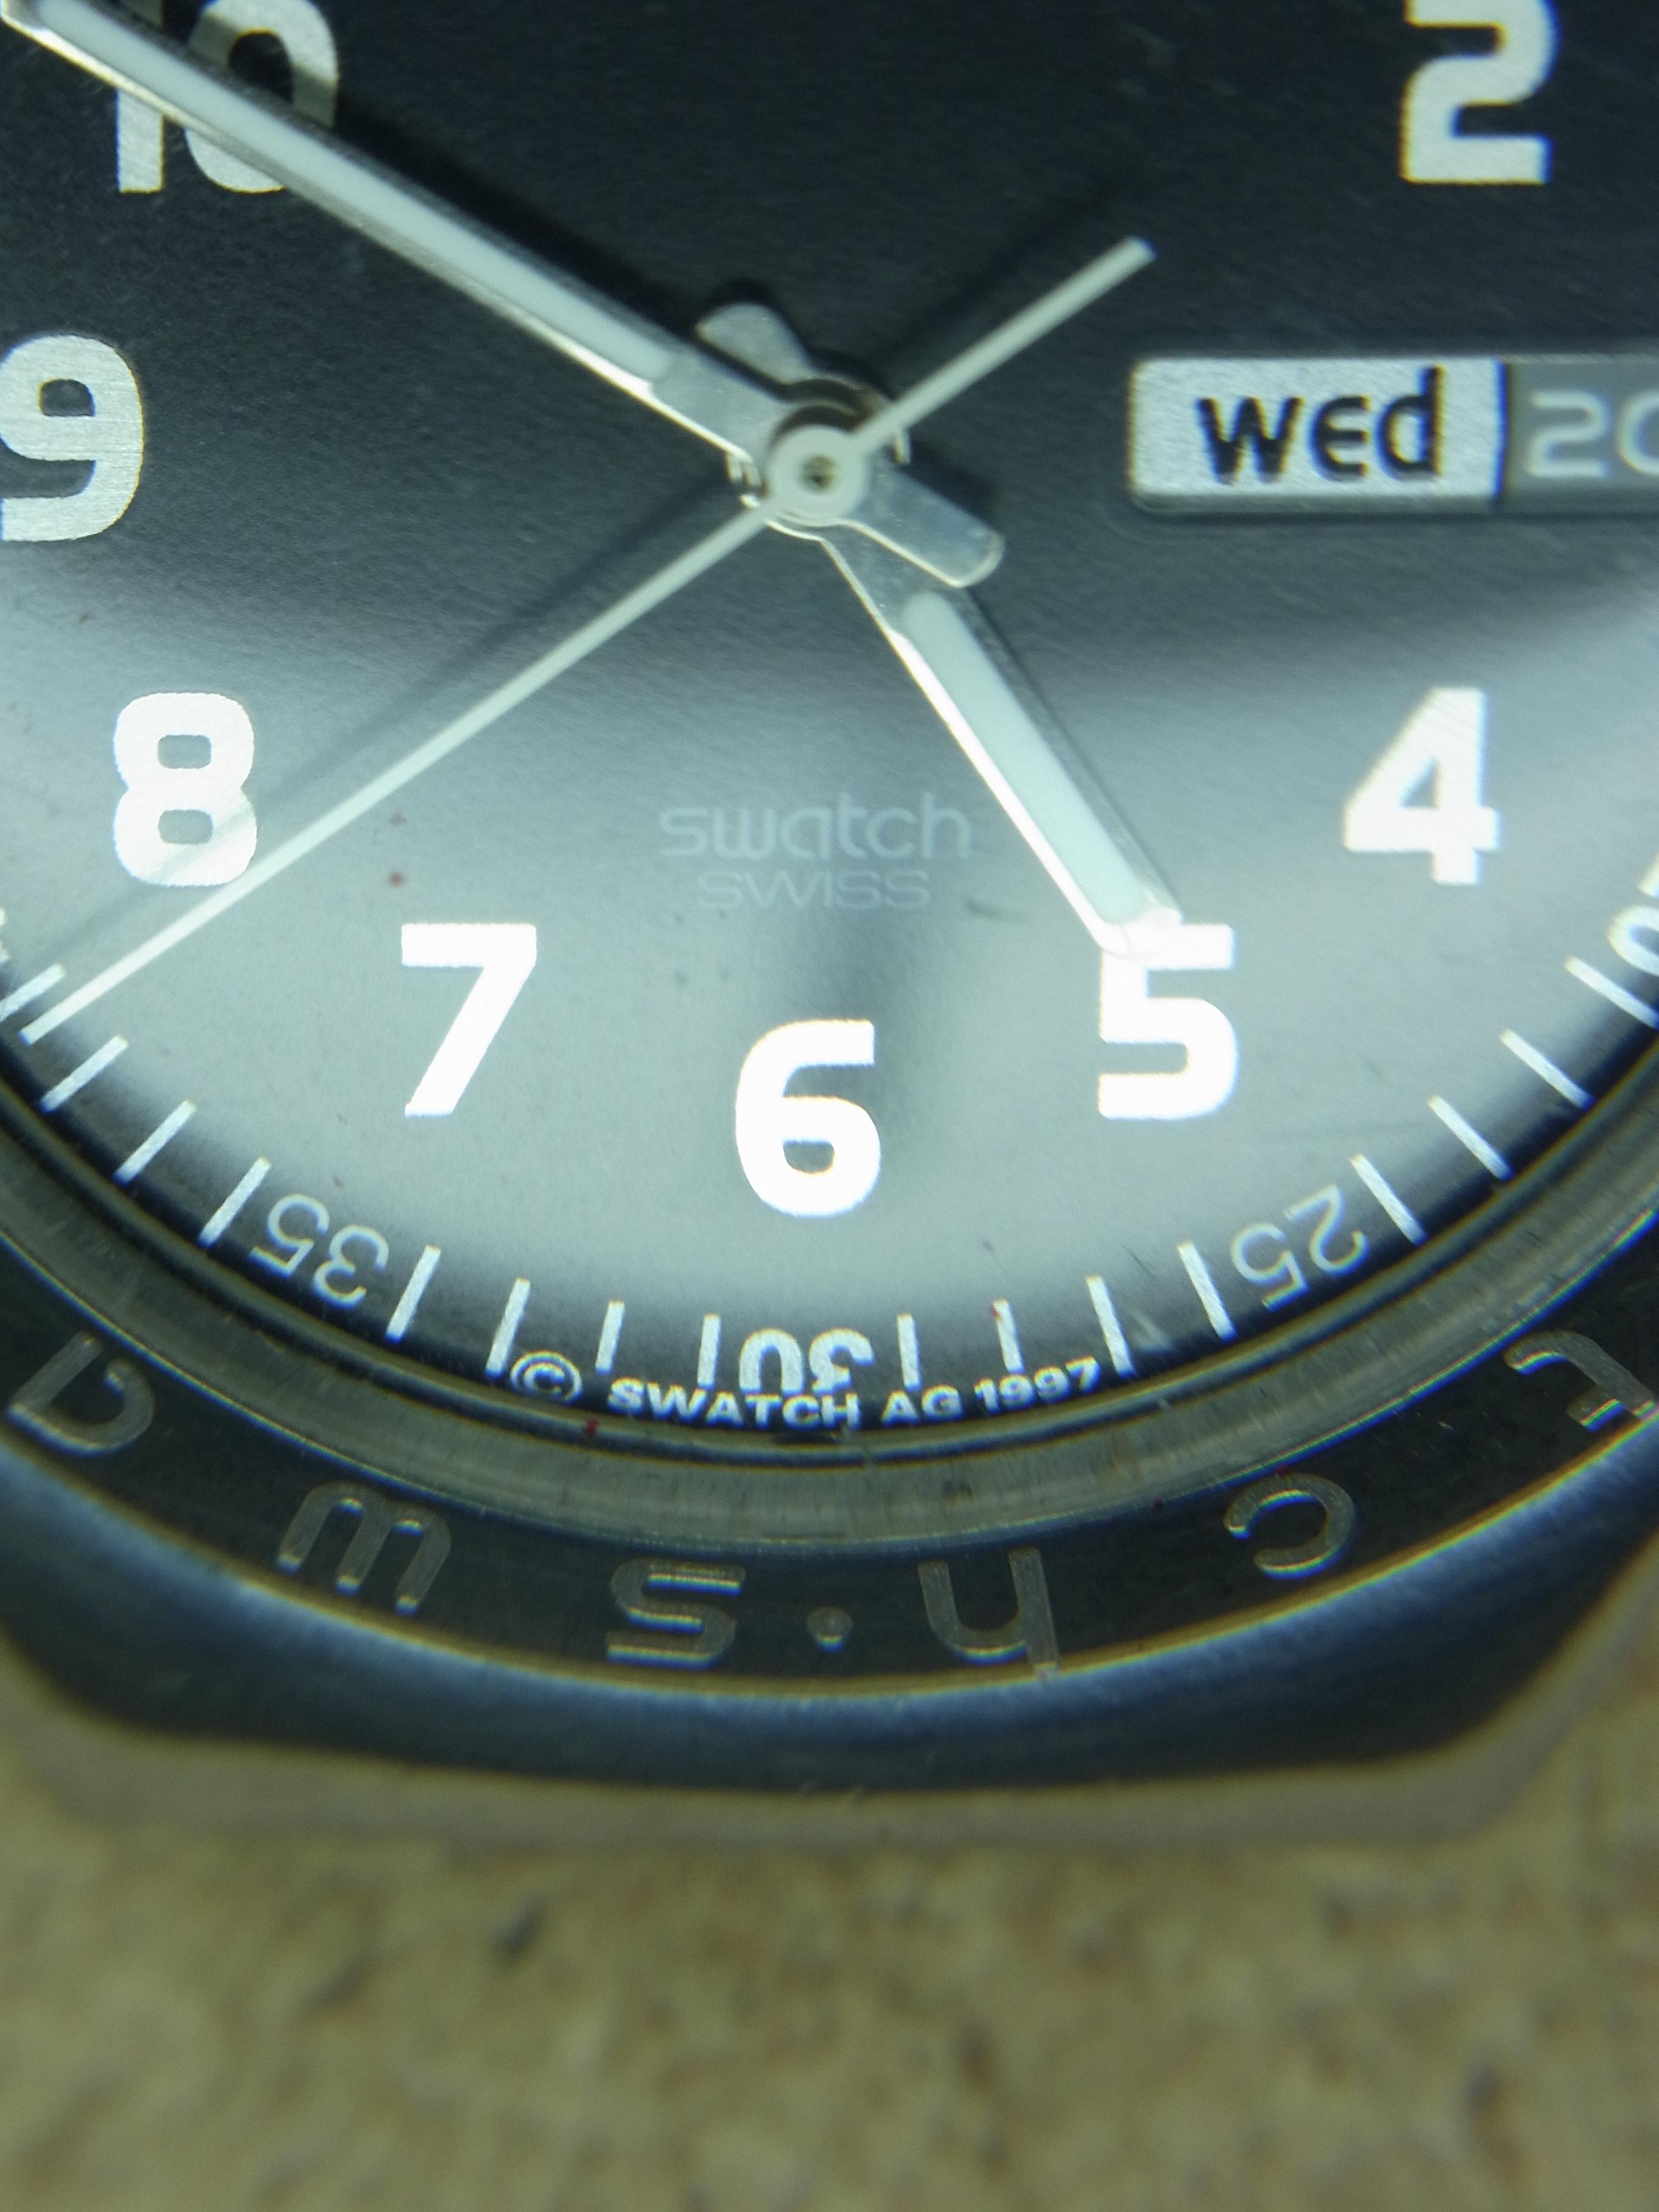
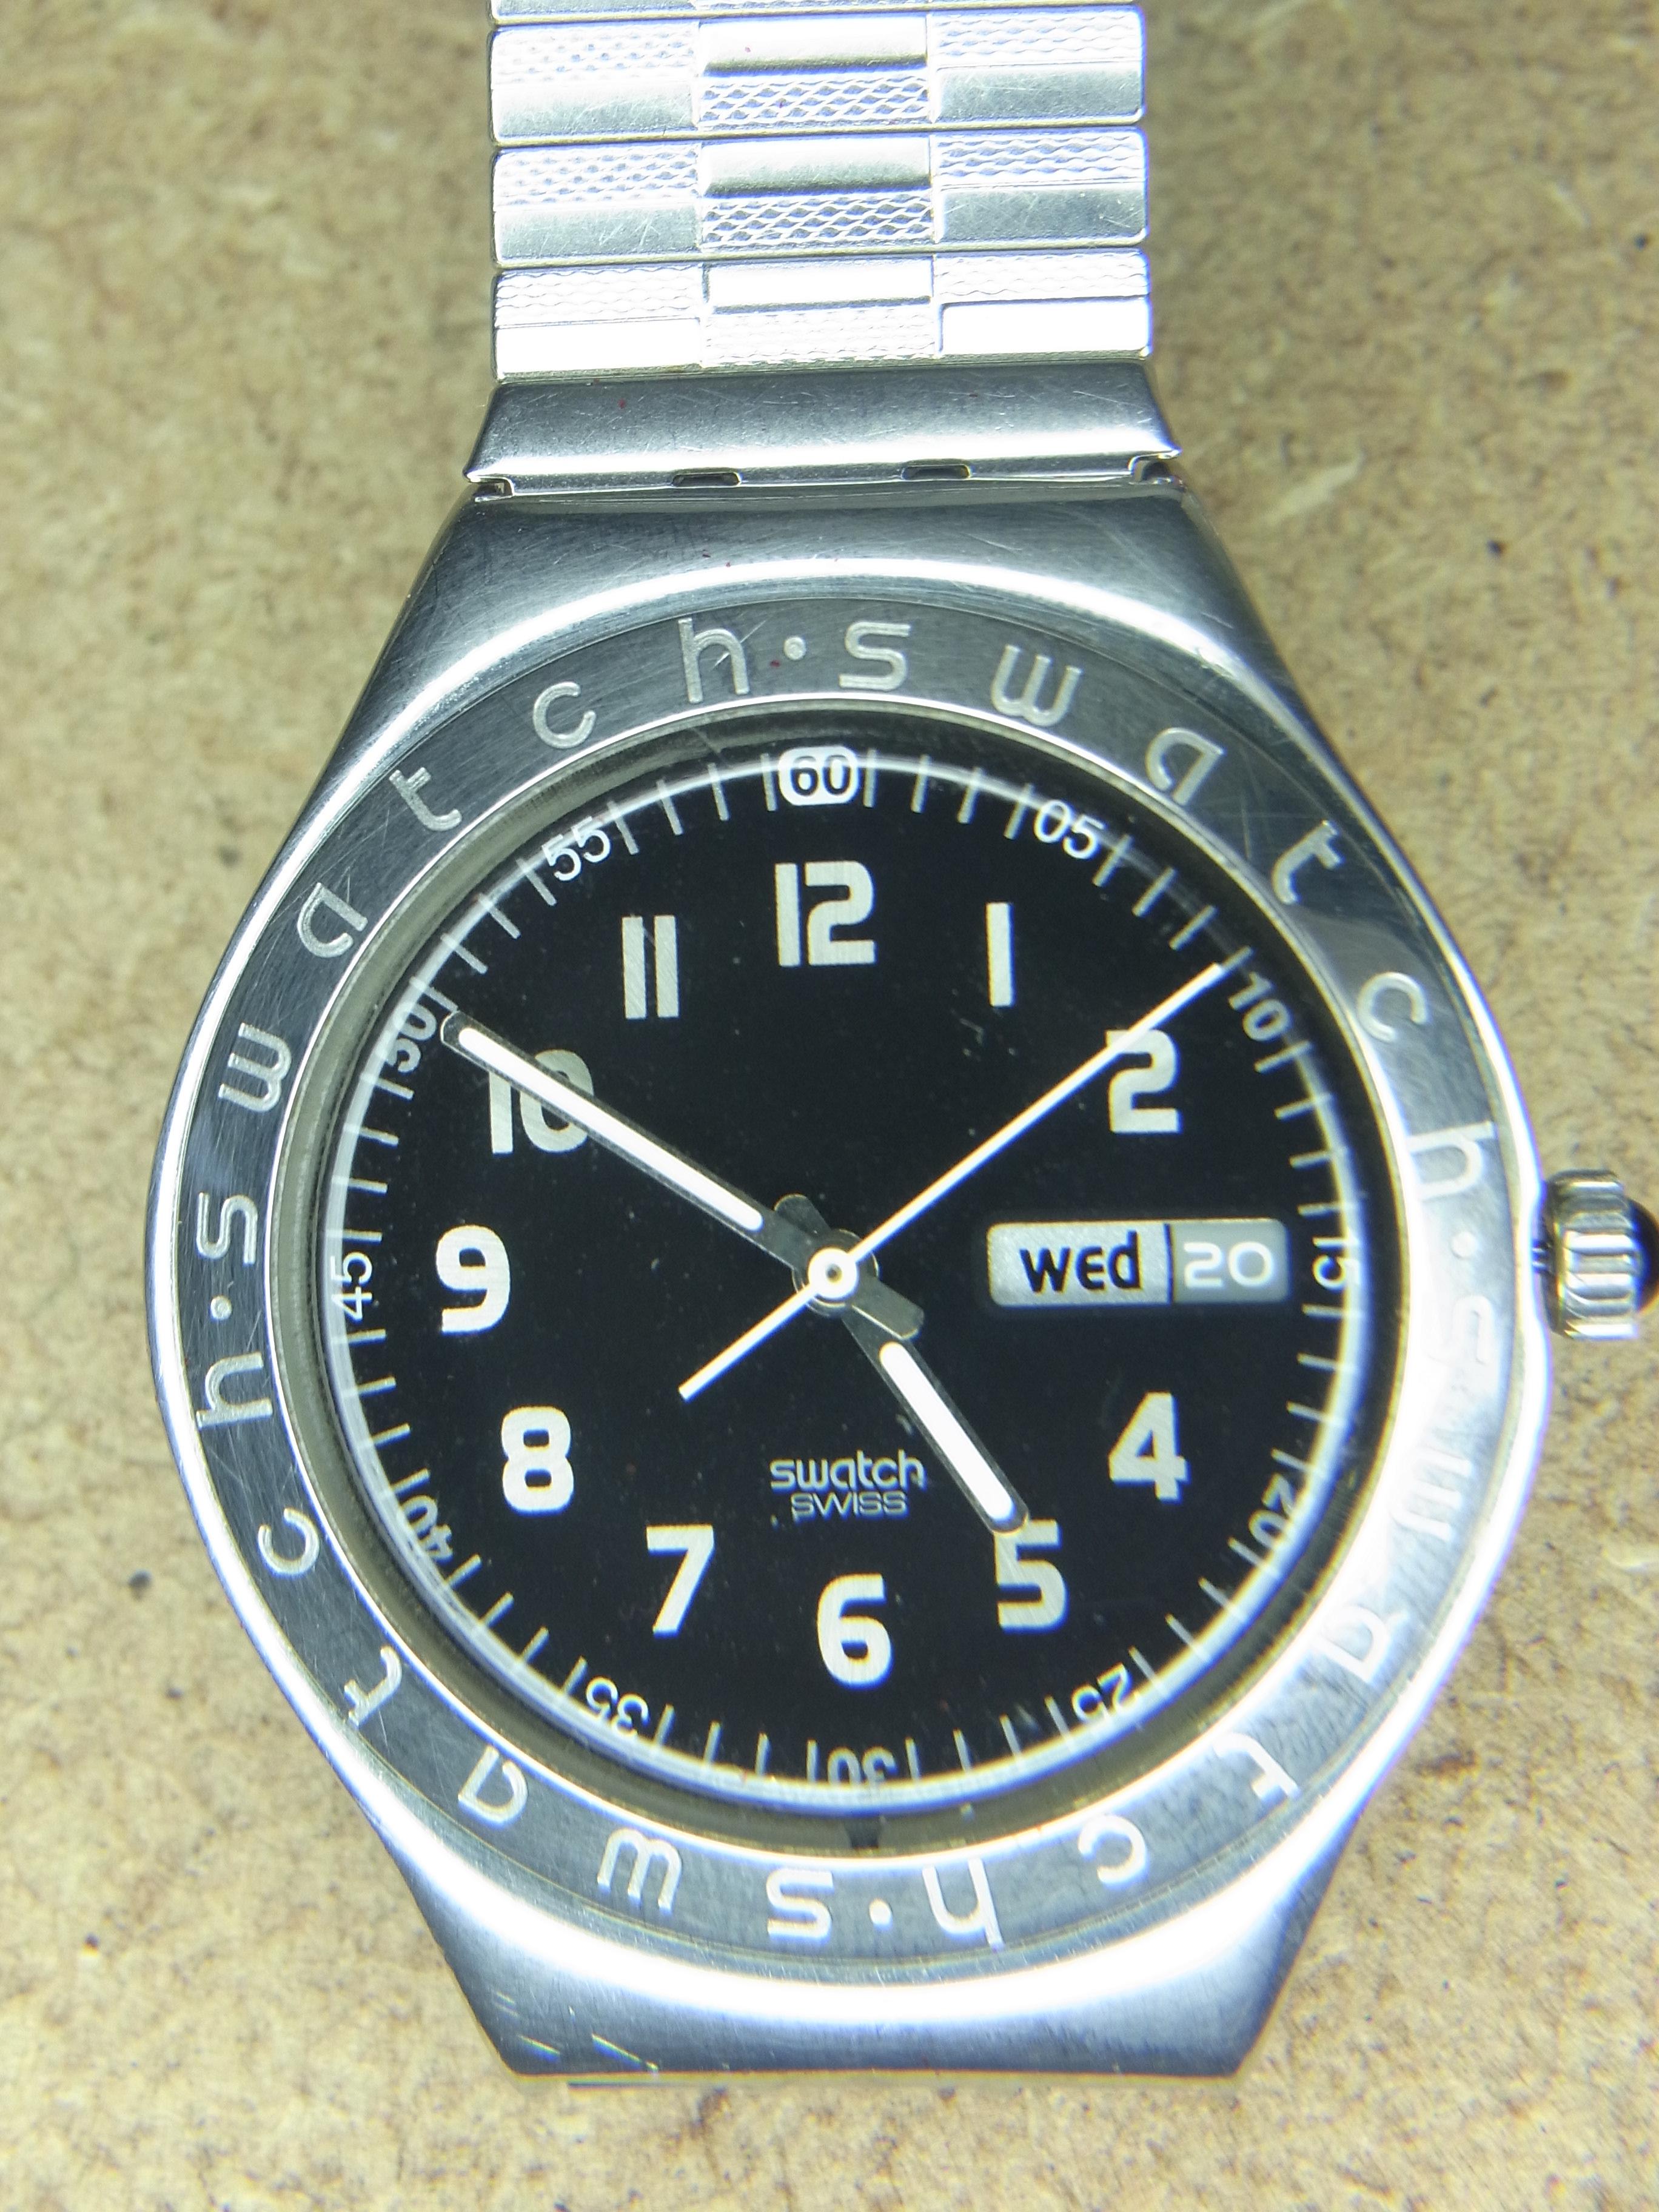
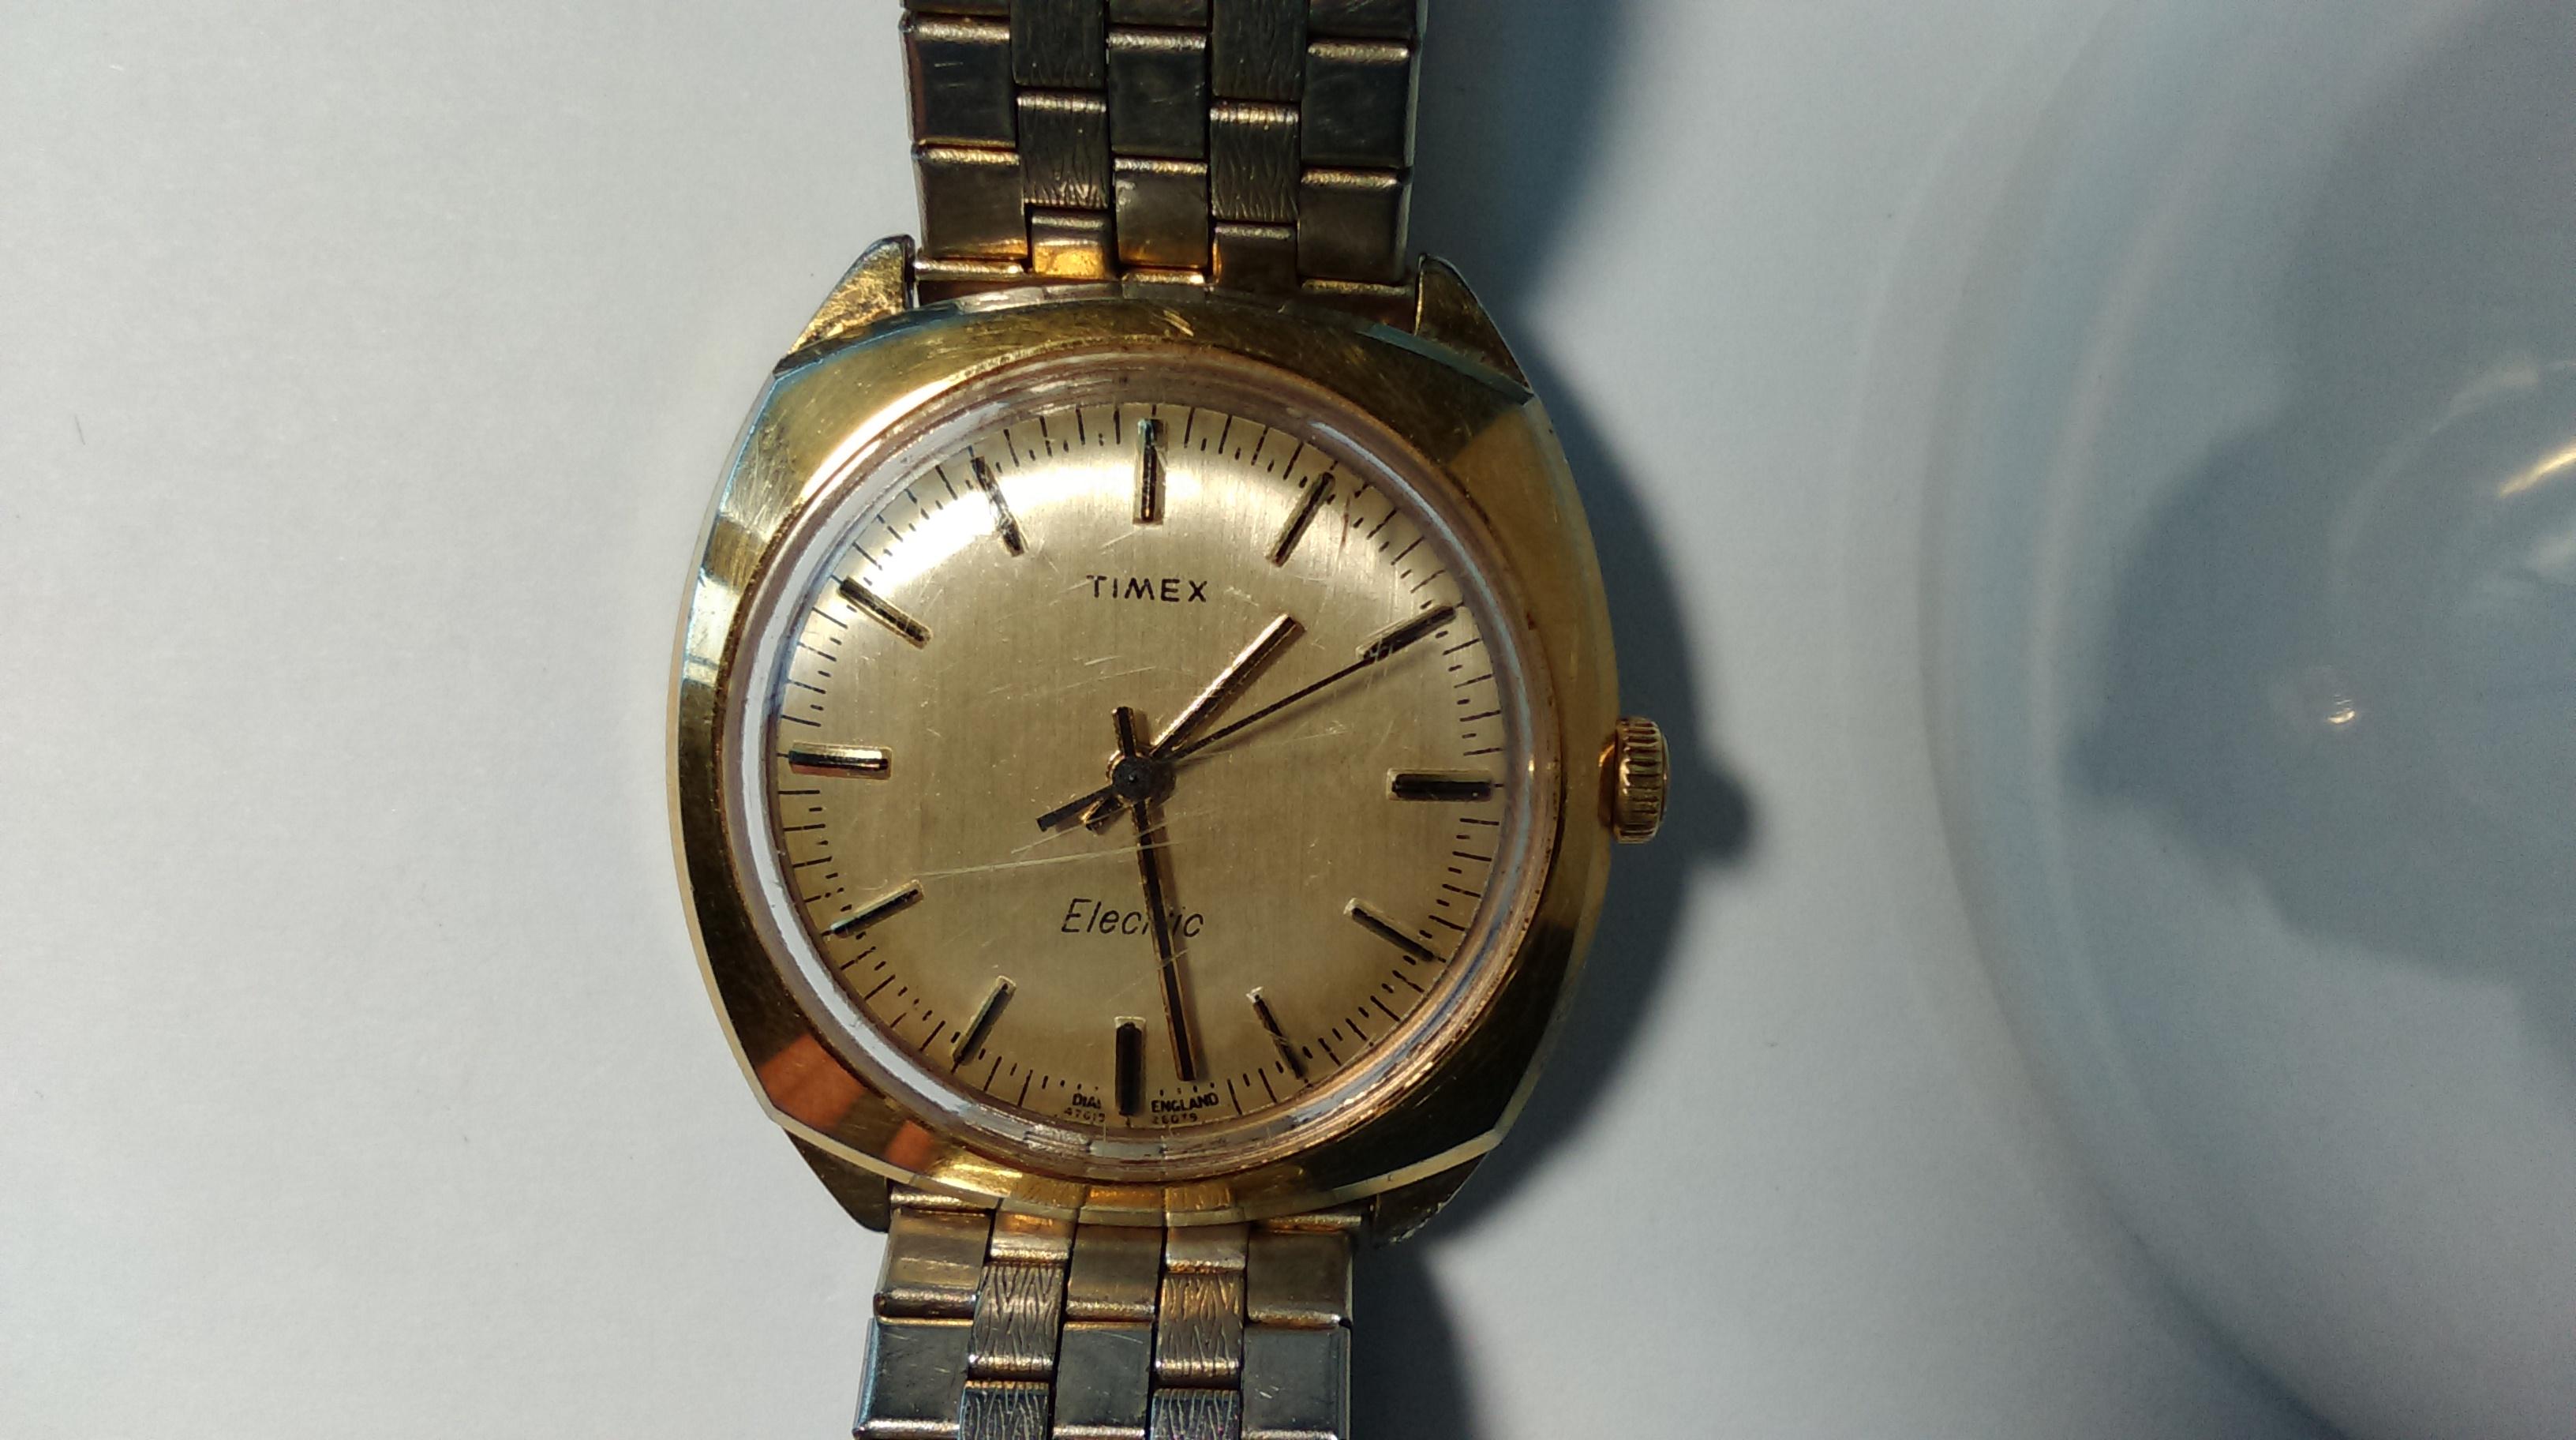
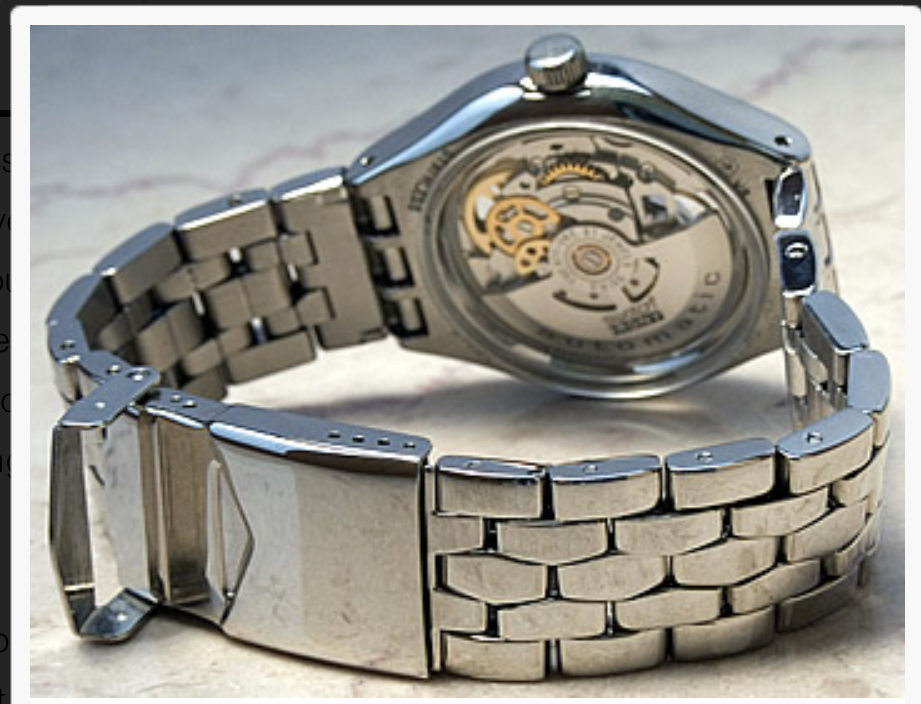
I haven't figured out exactly which model mine is yet. I did have a quick trawl on line, but it seems there are a lot of similar models, but nothing looking like an exact match so far. Here are a couple of closeups for anyone interested. As you can see there are still a couple of minor scratches here and there. It is tempting to over do the polishing, but I didn't want to change the look of the thing too much, I merely wanted it to look presentable. The lume on the hands is pretty good, when I removed it from under the light I used while taking those pictures, the lume was bright, even in a well lit room. The face is also very readable, all in all a well designed little watch. It is beginning to grow on me.

 2 points
 -
Hi AndyHull , I have a Swatch Irony Body and Soul that is an Automatic and has the original watchband .. The case front looks like your quartz unit . These pics are from the internet for display , but mine is exactly the same . I got mine for [ the good price of $25 ] , because The back crystal was cracked and the watch was not running at the time . because of the cracked crystal I was able to remove it , repair the watch, and install a new crystal . On YouTube , Mark from Long Island Watch often wears his similar Swatch Irony Body and Soul , and shows it on a wrist check .
 2 points
 -
While at it , Check for worn out center hole, how about end and side shake on center wheels arbor? Runs real freely if center hole is worn out. A close up of center hole with canon pinion removed. Now that yankee said it, subsecond arbor appears bent to me too. Good time to check for bent subsecond is before fork is installed, when you can run gears fast. Any washer under dial is better than no washer.2 points
-
You have a sub second hand..is it my imagination or does that post look bent.2 points
-
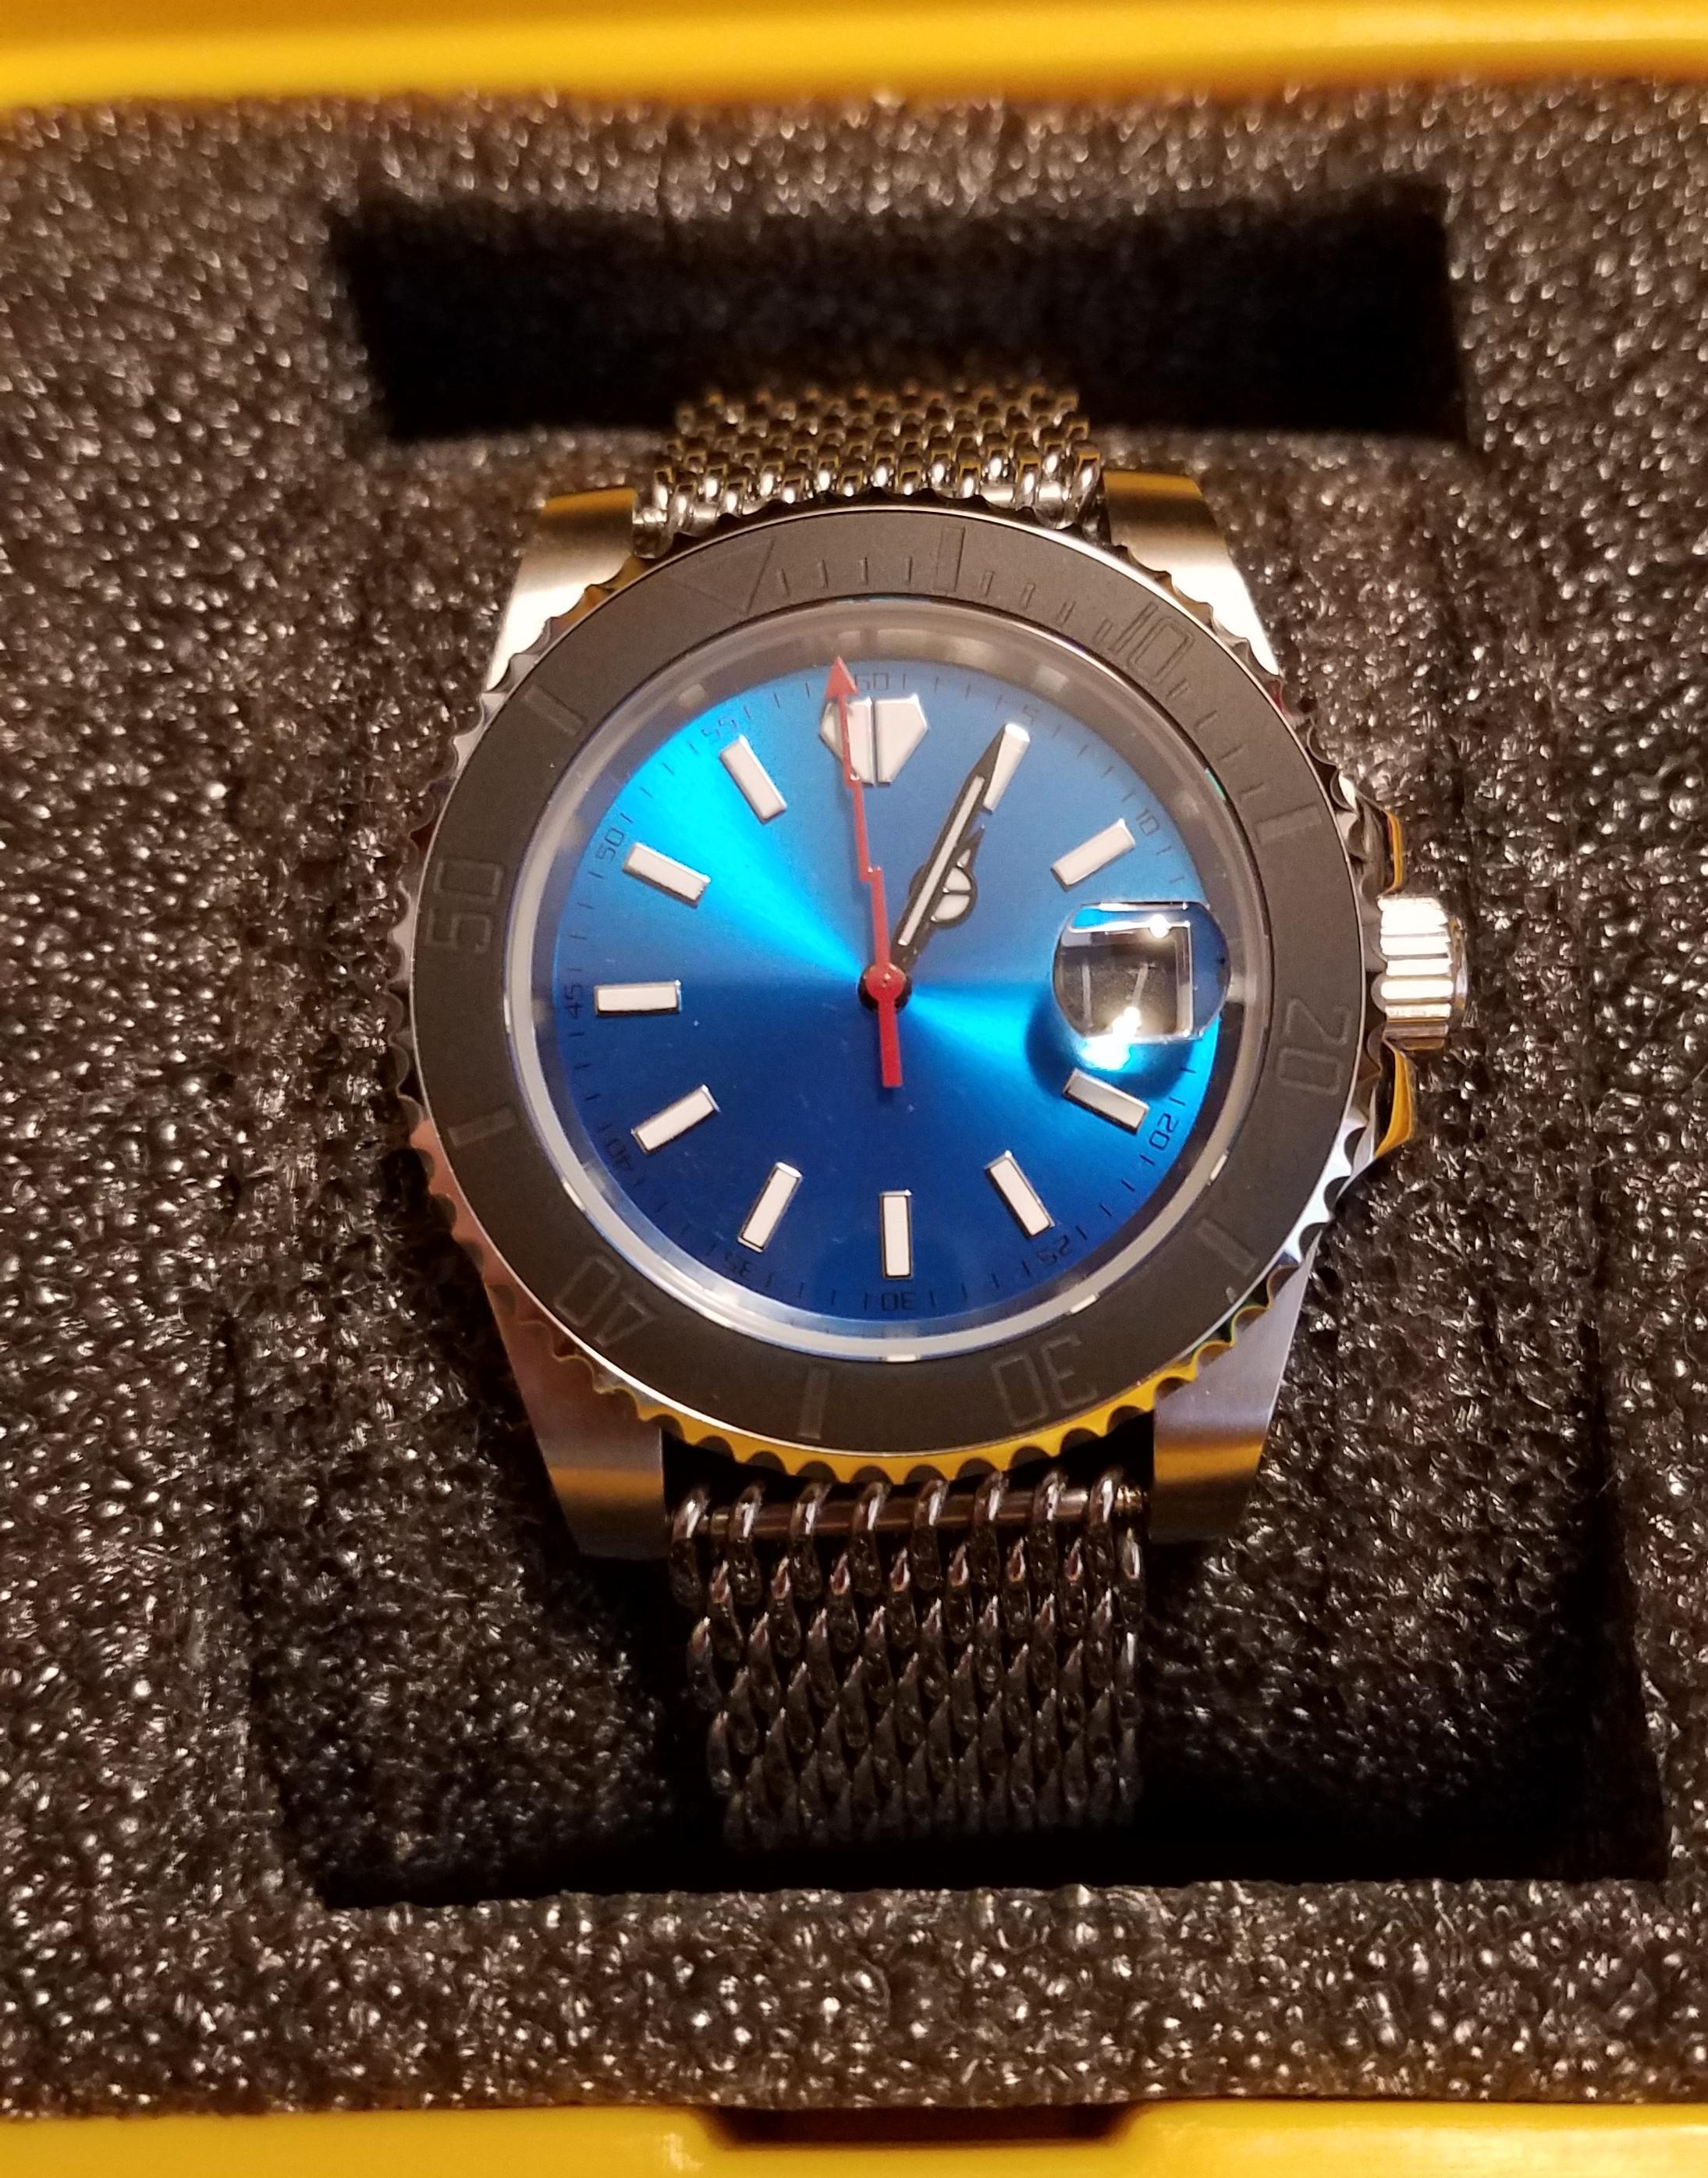
After I watched a couple of Mark Lovicks videos on making a watch with parts sourced on eBay I figured I'd give it a try. I made two. This is my favorite. It's a divers watch with an eta 2824-2 movement. I'm quite proud of it. I picked up an H link shark mesh bracelet. I'm calling it the deep blue desk diver. Lol
 1 point
 -
Picked this one up off the bay.It's really brain dead simple. A mechanical switch engaged and disengaged by the balance energizes a coil that is alternately repelled and attracted to a permanent magnet.no sophisticated electronic devices..If you have ever worked on a car with a points distributor or a vacuum tube radio ,this is the watch for you.
 1 point
 -
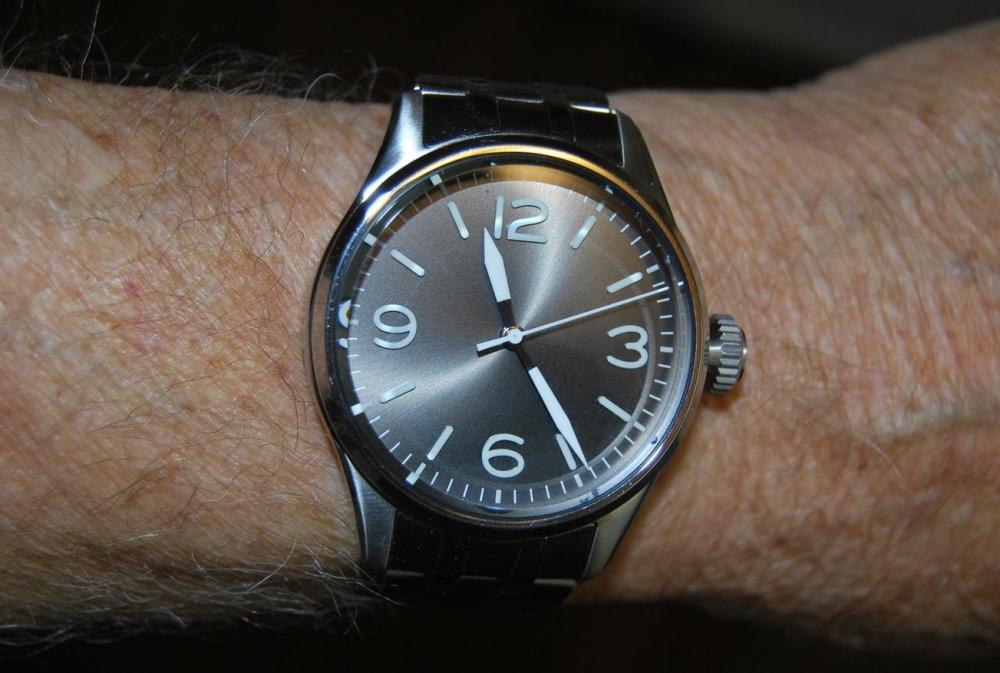
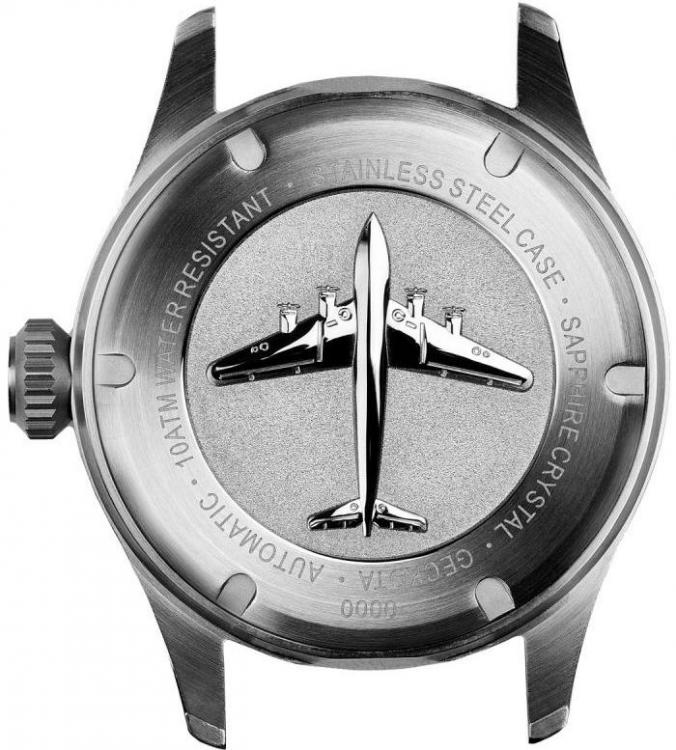
My latest: It's a Geckota K-01 Pilot featuring a fully polished 44mm case, screw down crown and embossed back cover. The movement is a Seiko NH35 with hacking and stem winding but no date. The sterile dial with large numerals and seconds can be read easily. Amazing lume! The back shot is from the mfg's web site as I didn't want to disconnect the bracelet for a proper pic. Oddly enough, I've had my eye on this one for quite some time. The mfg'r just put these on sale last week. I was browsing another watch forum when this one was posted for sale at half the current discounted new price. The seller felt it was too large for his wrist so I snapped it up. As only 100 of each of this model in brown or blue dials were made, it isn't going to be common. The watch is also offered with ETA movements with other options. Additionally, the packaging was over the top. The box is wood, highly finished and leather lined. Oy!
 1 point
 -
This is a case of pretension brought about by screws to the watch frame. Think of Pretensions as forces tending to deform, exerted to a restraint structure. It dosn,t mean you did anything wrong. Release pretensions by loosening all screws, tighten one at time, at any point you see the effect appear loosen the screw back go to another screw repeat the same. This is more like a game of finding out which screws misbehave, the watch will run when the game eliminates the faulty ones, next you may shim the faulty ones to behave. Good luck1 point
-
Hi. I did remove the balance which had crossing coils on the outer edge. I did what jguitron said and gave it a nudge. And it worked as far as i can tell. I put it on the smart phone regulator again and it was much more readable to the app and also the tick sound was much more uniform. Before, every 2nd tick (back swing i guess) was about 60% the loudness of the first one. Now It varies only about 5%. So i regulated it to 0 seconds with the phone and It's lost now 4 seconds in about 17 hours. I will get a cheap demagnetizer at some point. But it seems OK or for now. I'll have to try it on its back again for a night and see if it sticks again. But its nice, picked up a few tricks during this breakdown. Thanks for the advice. Cheers Ticky1 point
-
Straigthening in place( the movement) is not recommendable, you risk bending the pivot backward facing structural fatigue, damgaing the jewel, slip and break..etc. I remove the wheel, place the bent section of the pivot in between two hard flat srface and roll the pivot straight . No impact, no hammer nor heat, just press hard, slow, careful. While at it check the pivots axial end play, end shake, excessive end shake can unneccessarily let the bent section inside the jewel hole, in which case you may could adjust the bent section out of the jewel hole. Cool avatar there. Good luck.1 point
-
I looked at ranfft and it was showing the movement that had a sweep second wheel and pinion . That why i thought so. Maybe the hour wheel is worn so it touch the minute wheel or the barrel . Been there .1 point
-
Does it have a sweepsecond pinion? Maybe that is binding or have some wear.1 point
-
Remove one hand at a time and observe. If a fault not found there, check if canon pinion drags on the mainplate.1 point
-
you're welcome ...fun to be able to help someone with watch stuff.....usually its me asking for help1 point
-
should get it in the mail tomorrow1 point
-
Yes agree with the previous two posts it is most likely the wrong gear ratio. Also noticed one side of the escape is not good.If it was me I would check the replacement wheels and then re-clean and lubricate the balance etc.1 point
-
I think it's a gear ratio issue. A friend had a similar problem on a rolex 1570. He bought a spare part (in his case second wheel) on the internet. But the seller mixed parts of 1570 and 1530 which are very similar but have different numbers of teeth. So the wrong wheel fitted but established a wrong ratio. I would count the teeth on the wheels you replaced and compare that with the originals.1 point
-
Thanks. I bit the bullet and order a set of 4 Bergeon. Costly, but I need all the help I can get.1 point