Leaderboard


Popular Content
Showing content with the highest reputation on 12/30/17 in all areas
-
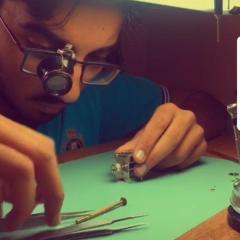
I disassembled a Hampden Pocket Watch and was removing the roller table when I noticed that the roller table has a built in lip where the balance is friction fit on. I was using the wrong technique thinking this was a conventional roller table. Now that i have it all apart, with a small twist in the balance, i need to cut the balance staff on my lathe. Here are the shots and the plan. Will update as i go along. Sent from my iPhone using Tapatalk Pro1 point
-
I'll be happy to move this thread to "repair walkthrough" as it get completed with more detailed steps and pictures.1 point
-
I have seen a vid (forget where) & the guy uses a small screw to open the fork installs the stud & just unscrews to release the fork.1 point
-
Hi, I do not have an easy answer but I have fixed a Seiko by juduciously and very carefully using a fine screwdriver to expand the fork with the cock installed after tearing my eyes out to sort the hairspring, de-gauss straighten, etc. The bead did seat OK when the fork was released a little. That is all I can offer. there are people here that will offer advice I expect but it is a "hands on" job. Regards, Mike.1 point
-
@StuartBaker104; this morning I pulled my barometers book from "Bert Bolle" out of my pile. Bert Bolle is a Dutch passionate collector of antique barometers and even though his book deals primarily with antique barometers, there is a section about aneroïdebarometers and their history. This very hard to get book is written in Dutch and I will try to translate some of what Bert highlights about aneroïdebarometers, things you perhaps may already know or perhaps you may not ....? The idea of an aneroïde barometer was born in the late 17th century by a German scientist Gottfried Wilhelm Leibnitz. A century later a France man Nicolas Conté constructed a primitive version, but due to all sorts of problems, the idea went back into the freezer. It wasn't until 1840 that the France man Lucien Vidie came along who constructed and named the first crude form of aneroïde barometer. In a patent of 1844 the "Vidi-box" was mentioned. The air was as good as possible removed, but to prevent that the box would collapse, steel spring were placed inside the box. Later improved models had the springs outside the box and the first models of aneroïde barometers were sold in the UK around the 1850's. Already around 1860 the system was so far developed and reduced in size that they were sold in pocket-size (Negretti & Zambra). These little barometers were worn, on a chain, in the other waste-coat pocket opposite the pocket-watch. They also were developed for use on sea and in mountains. The smallest made was only 2cm in diameter..... a small loupe was supplied to read the scale For homes the much bigger Banjo barometers were produced. The first mercury barograph came about in the 1680's; Robert Hooke and again Negretti & Zambra. The first aneroïdebarograph was introduced around 1867 by the Paris maker Breguet. As for the technicalities, Bert writes; The first Vidi boxes were soldered close after as much air as possible was removed out of the box. The accuracy was reasonable good, despite all the friction in the numerous links in the lever-mechanism. A little tap on the glass was required to get the needle jump to the correct spot. The aneroïde barometers were calibrated against mercury barometers. Temperature changes had an influence on the box and springs, so compensation systems had to be introduced. Bi-metals in the leverage system to compensate for the temperature fluctuating spring tension and a little air, or better Nitrogen gas (which doesn't erode the metal) in the vidi-box. An increase in temperature would expand the gas, compensating for the lost of spring power. Just like with the bi-metal, the compensation was only accurate at one spot on the scale. Reasonable modern boxes are made of "Ni Span C". This alloy allowed a vidi-box to be made which is not sensitive for temperature changes. Than there is the hysteresis in the linkage system caused by friction and the elasticity of the metals used. For the best accuracy, the aneroïde barometer has to be calibrated against a mercury barometer and a correction-factor, for that particular aneroïde barometer, has to be determined. As for barographs, the pressure of the pen on the paper, ink and paper used is of great influence. The rest of the book is meanly about all sort of antique collectible barometers, but this part may be of some interest to you? BTW; here a link to Bert Bolles museum and his world famous water barometer: https://en.wikipedia.org/wiki/Bert_Bolle_Barometer Roland.1 point
-
Pretty sexy buddy...!! thats one sweet box of collets! LOL..! (Wolf whistle)1 point
-
Hmm...I think there a couple of that model, 13.15V available for about what I paid for the 4LLV. It also looks like they are shock-protected, where most of the 4LLV's are not. If my GF was going to wear the watch often, I'd surely prefer the one with the Incabloc. There are a lot of 4LLV's out there with broken staffs, but they're mostly the the non-Inca type, FWIW. Cheers.1 point
-
Just need to dig in and start cutting. I don’t really like the design and the double roller: safety, just barely fits on the top of the staff. Sent from my iPhone using Tapatalk Pro1 point
-
I don’t know how much damage you’ve done to the HS? If it’s totally toast then by knowing that the 4LLV is the same as a Longines 13.15V, you can find a new balance assy here https://www.ebay.co.uk/itm/Longines-13-15-V-complete-balance-721-1-balancier-complet-/201861491779?hash=item2effe1ec43 If not, then Mark has some good videos on correcting hairsprings. There is usually some fiddling about in fitting a new HS so worth watching these anyway. To remove a HS from the collet you can use hand lifting levers1 point
-
I have come across regulator boots with a hole instead of a screwdriver slot on a number of movements. They are a bit fiddly, but easier to deal with than the numerous movements I’ve seen where the screwdriver slot has been chewed up. I have a couple of sewing needles in my box of ocasionally used tools which work well here. Sometimes the boot won’t turn freely. Instead of applying excessive force, apply some light oil to the rivet head and where the boot meets the regulator and wait a minute.1 point
-
It looks stuck or magnetized on one side. Take it off the balance staff and clean it in One Dip or naphtha or lighter fluid. Then demagnetize it. It should go back to shape. Then reinstall it on the balance and make sure the collet is directly over the upper balance jewel: off to any side will cause it to be less perfectly spiral. It may be fine after that. Sent from my iPhone using Tapatalk Pro1 point
-
Hi, I will comment the picture in the first post: - the extra noise in the bottom is most probably a ringing hairspring. It comes from sti:cky regulator pins and does no harm (often you can hear this ringing). - there is no extra noise in the middle, waveform is absolutely normal. The tick noise can contain three, four or more single pulses. If you wonder where they come from, study books dealing with escapements. What else you can see in the same picture: your TM does not recognize the first pulse of the noise! A common issue of certain TMs, A Weishi user has no chance to recognize this faulty measurement, your scope picture fortunately shows it. Hence the too high amplitude value, what JohnR already mentioned. Frank1 point
-
Good evening , I am servicing a favre leuba 253 . I have stripped and serviced the whole movement but now i am unable to assemble the dock click spring. I have found a pdf file on this forum but it is not opening on my system. a snap ofthe dock click (assembled) would be of a great favor. Thanks and Regards Ibraheem Merchant1 point
-
Small stuff like gears are almost impossible to make in a 3D printer. They are so small and the finish isn't good enough. Maybe there are better printers out there? But they cost much more. In the future maybe?1 point
-
These old style machines (now mainly build in India) do nothing but heat up the fluid, shake and move parts from a jar to another. Seem to me that is something easily done by hand, especially for the hobbyist making occasional use of them. If you look at the modern, expensive machines of today, all incorporate U/S.1 point
-
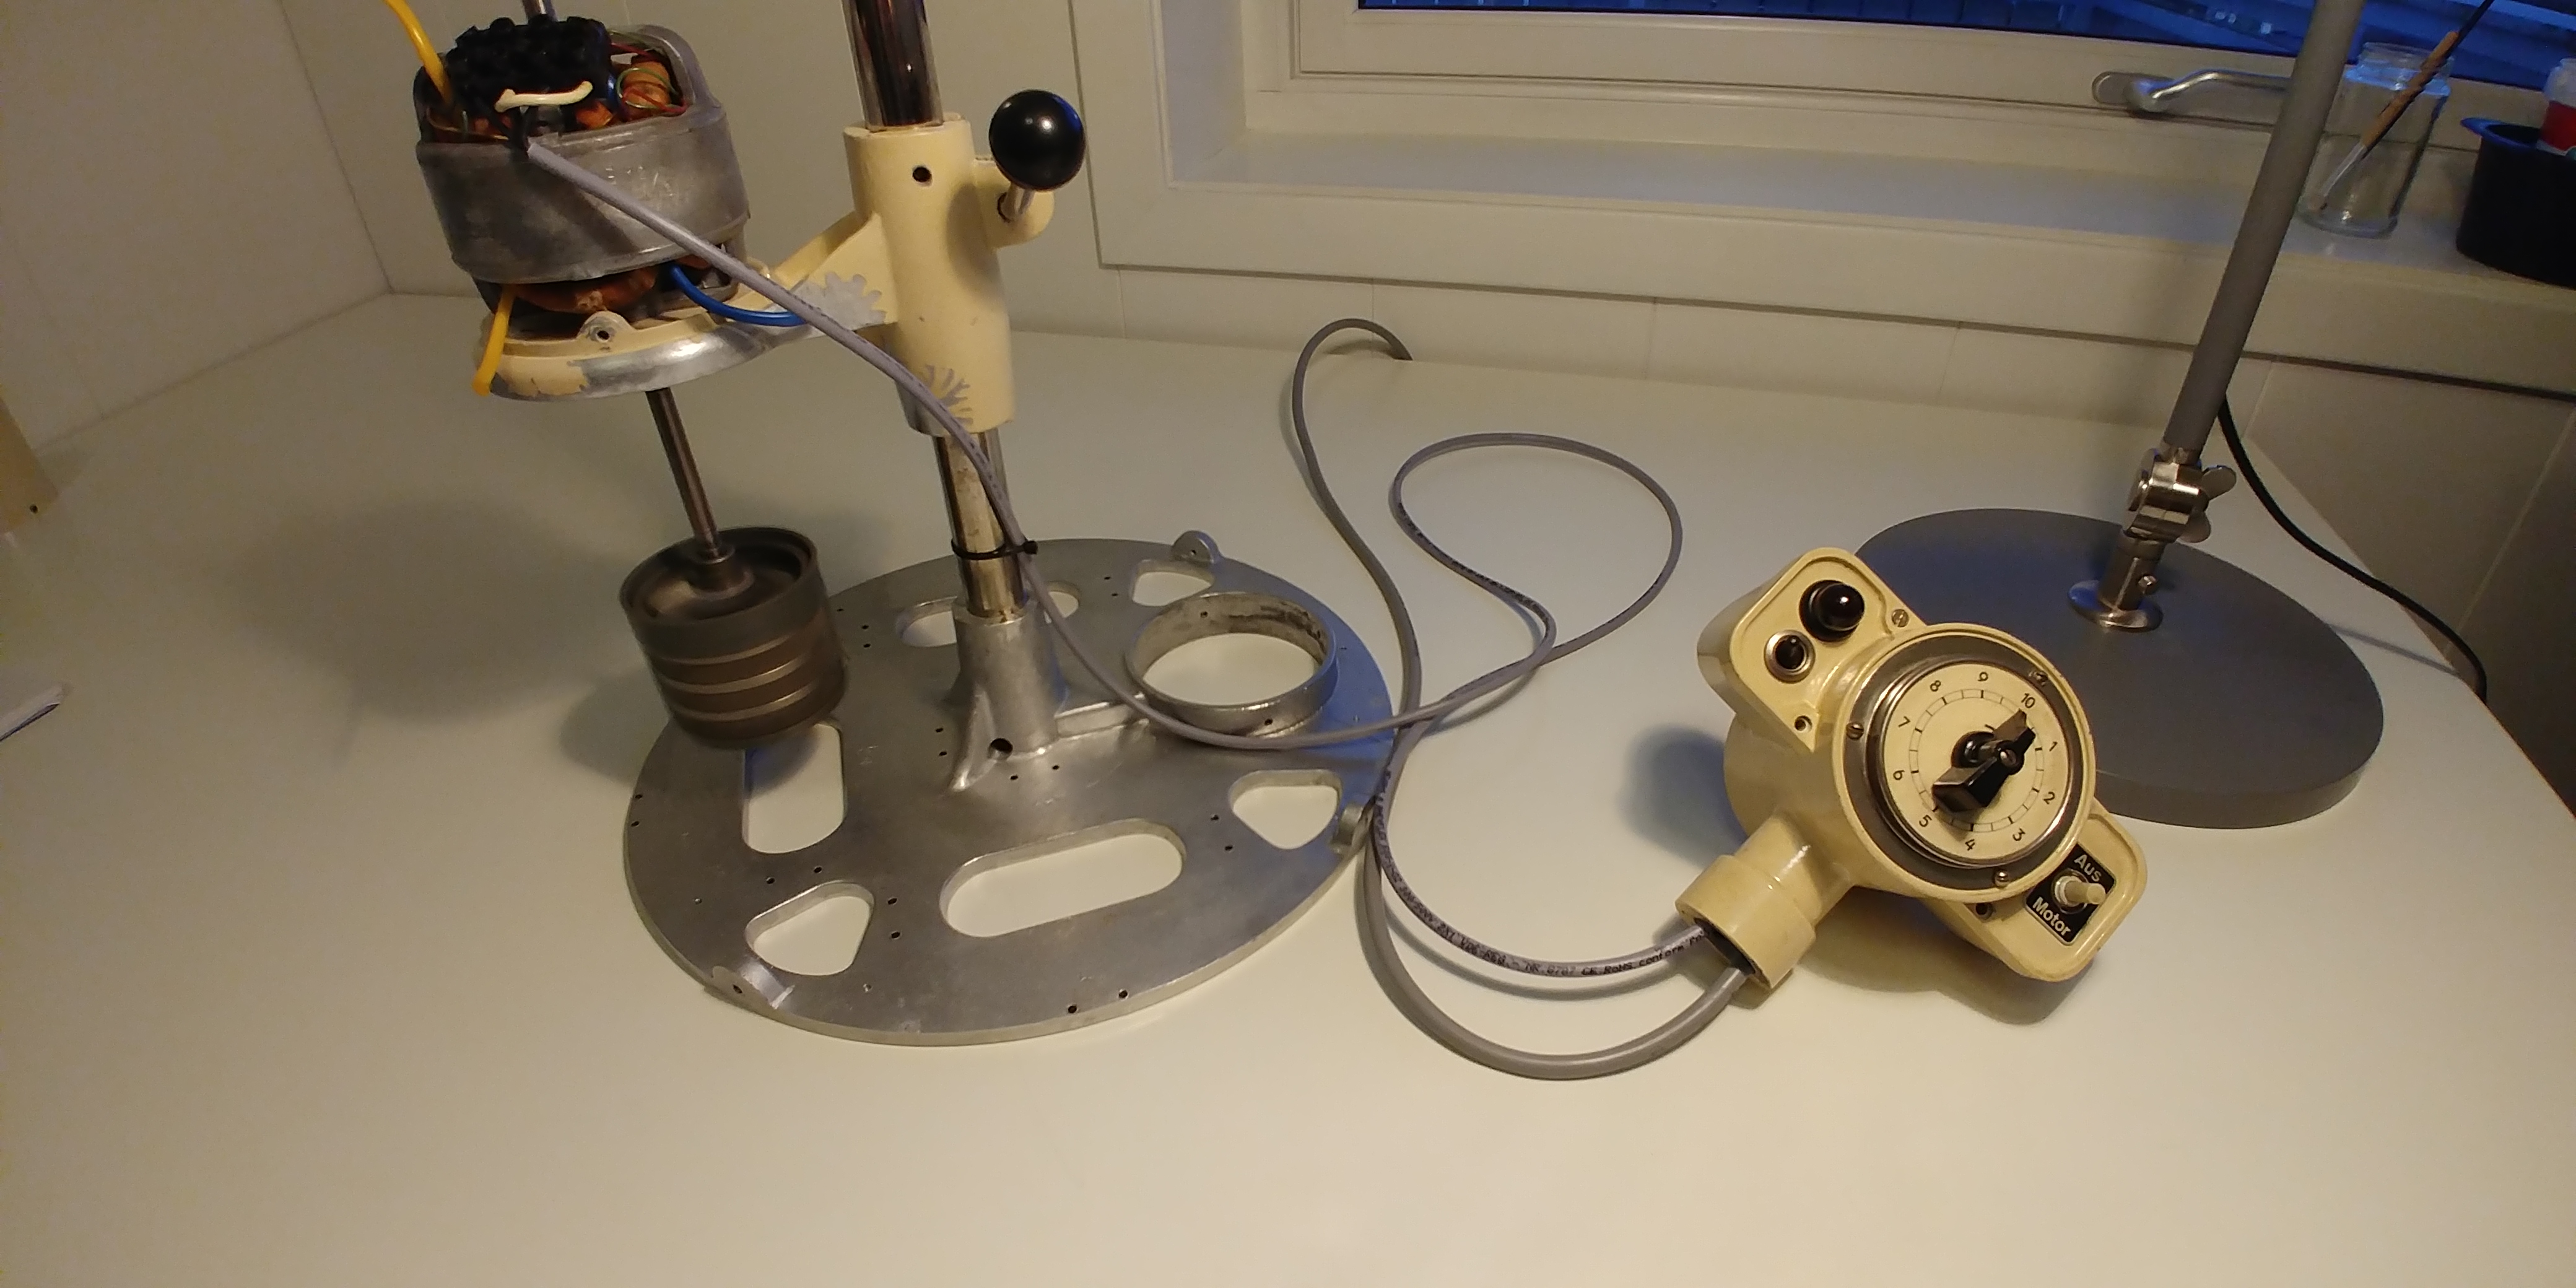
The motor is alive after cleaning ang greasing the bearings!
 1 point
 -
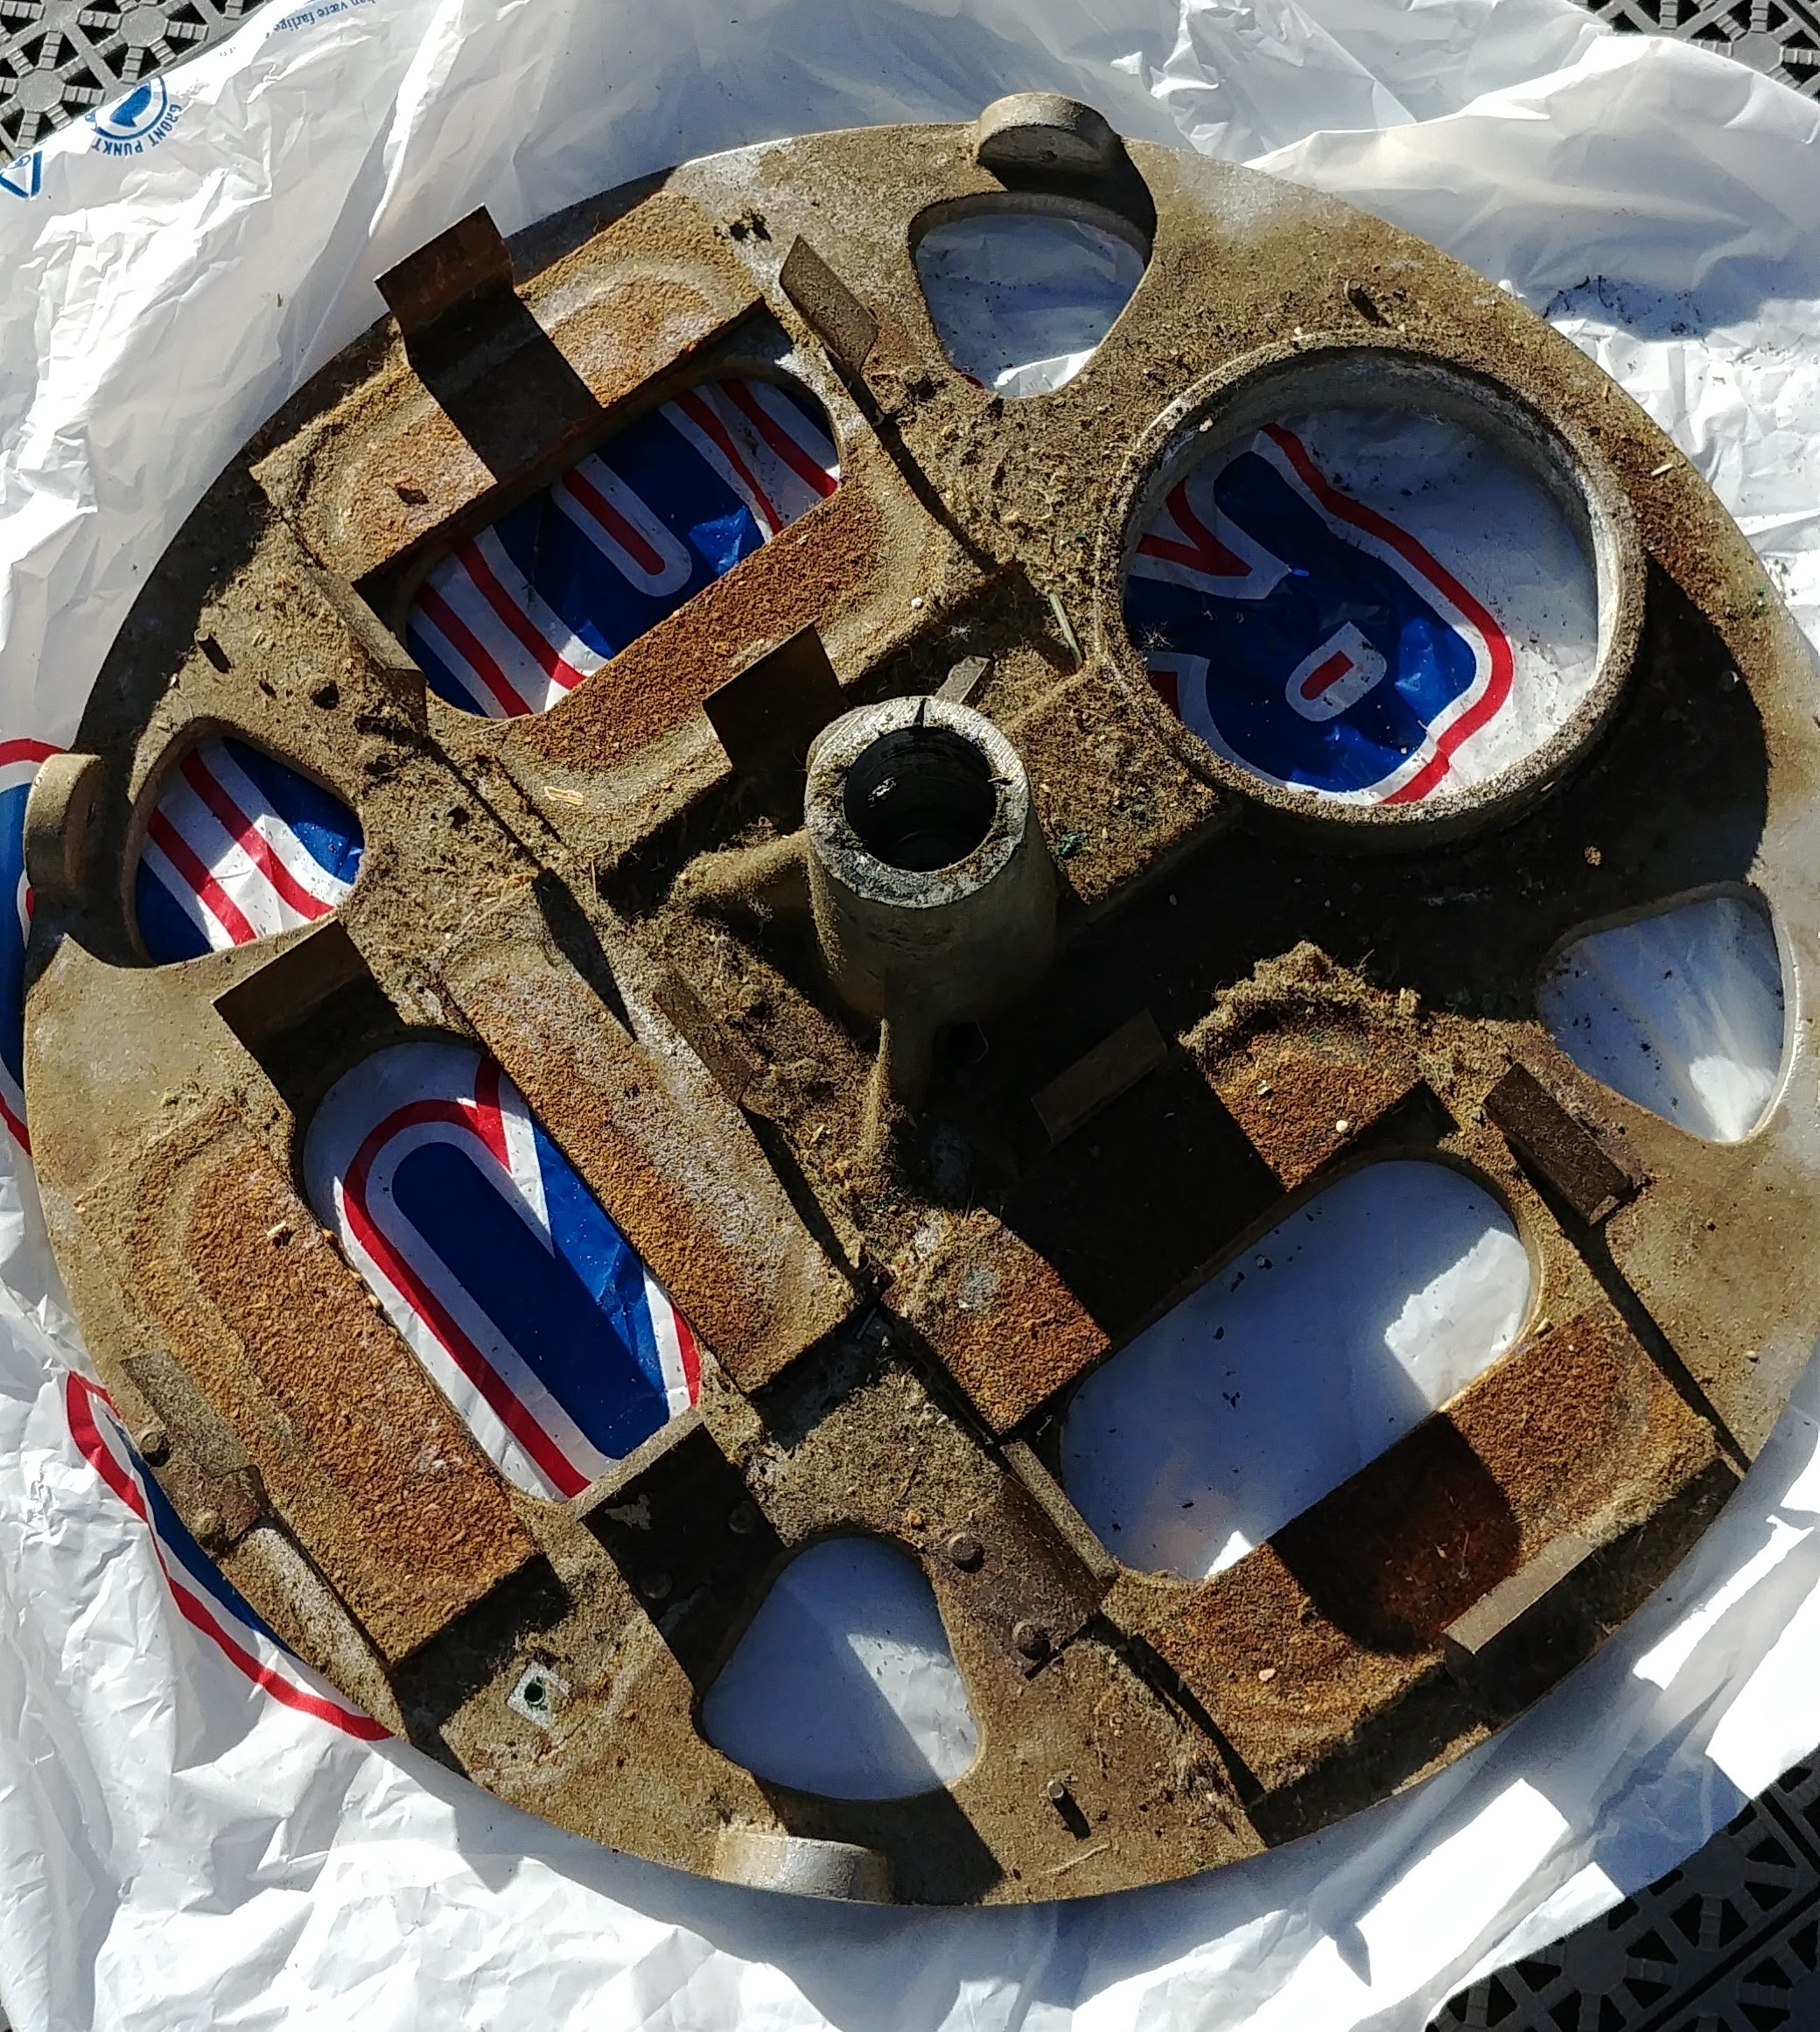
I'm working on mine at the moment. Man, it was dirty. Here is the progress on the baseplate. A big thanks to SSTEEL for the tip on removing the jar holding springs before cleaning.

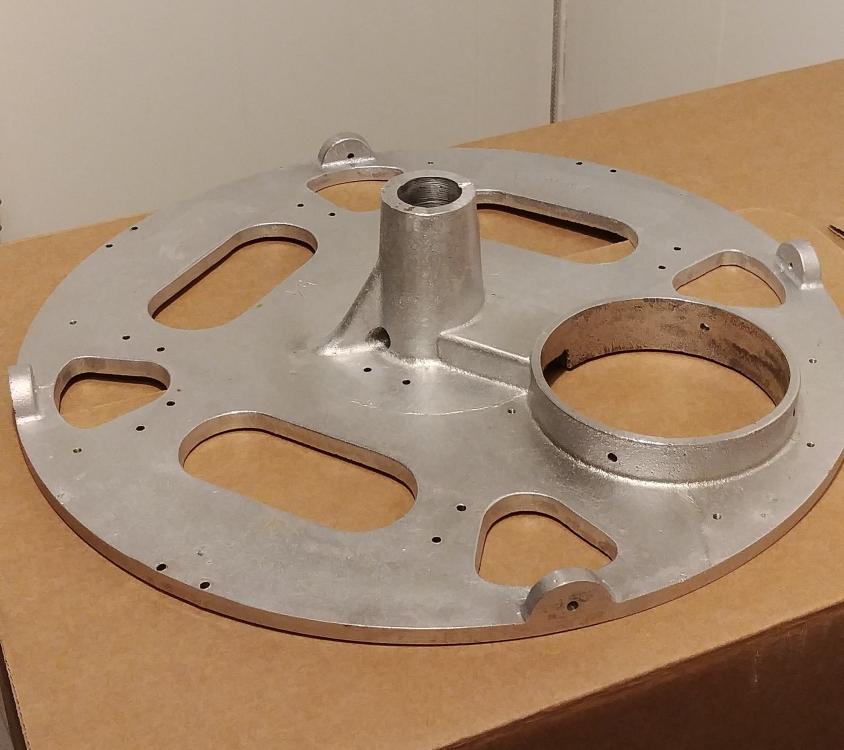 1 point
 -
Hi Lace, Welcome from Miami, Florida! Yes, don't waste your money on substandard tools! It is not like in our field -- I'm a computer tech/network admin, whatever...yes, it is gotten that way! . In any case, your handle reminds me of when I used to play classical guitar and I -- sometimes -- used LA BELLE strings! I particularly loved the logo on the package and the high standard ones sounded great with one of my guitars...then I switched to AUGUSTINE (blue), D'ADDARIO (normal and high) and finally to SAVAREZ (high tension on one of my other guitars). In the end I will mix an match brands looking for that special sound... but, well I digress...ahem! Back on track: There are online classes you can take, check the TimeZone classes (moderately paid: http://www.timezonewatchschool.com/WatchSchool/), The Seiko course (http://www.clockmaker.com.au/diy_seiko_7s26/), Tascione (mostly clocks I think) and others. I personally recommend to watch Mark's videos and maybe take the TimeZone classes and complement with the free Seiko course...I did a long time ago and it was worth it. One warning though, you will learn by what you do (experience mostly) so expect to ruin and loose many parts and some movements so work on stuff you can replace, learn to dress your tweezers and screwdrivers, and use working movements to learn with so you know, when you are done, you did well if it is still "alive"! To wrap it up, ebay is a good place to find your Guinea pig watches (I use Ramon, the watch collector, a lot) but to find good quality tools, ofrei.com, julesborel.com, cousinsUK.com (parts and documentation) and Esslinger are your best bets for starters! We have a section of suppliers on the resources section you can check out. You will need good optics (I personally favor the true Donegan Optivisor the true glass version and have it in several graduations but you should prioritize a 4X and a 10X), good tweezers (two #4 or #5 and a #2 or #3 and a battery plastic one) and good patience...mainly, in addition of good screwdriver's set (no less than nine in the set), oils (at least 2 oils and a grease), cleaners (cleaner and rinse), demagnetizer, cleaning machine (ultrasonic would do), parts baskets for the machine, parts trays, some assortment of pliers and cutters, presses, case opening tools (divers accordingly), rust brushes, polishing stuff and abrasives, vises and such, expendable supplies (lint less paper, rodico, pegwood, pithwood, etc), movement holder, case holder, blower, more patience, a good bank account if purchased all at the same time... In time you will need to build up on spares, starting with band pins and other pins, crystals, gaskets (crystal and back 's), sticky dots for dial feet and spare dial feet, crowns, stems, stem extenders, band parts, wheels, springs, etc. Recycle all you can! Check out the TZ course listings of tools and supplies, they do a good job for a starter watchmaker. Beyond that, comes a stake tool set, general upgrade of what you already have being it in numbers and/or quality, jeweling set, and other different things you will need or think you will need while progressing in your hobby. My take on this, start small and patiently, expand! Ofrei page is messy to navigate but very instructive. Read as much as you can find there too... Good books are invaluable ("Watch Repair" by De Carle can be downloaded free in pdf.) But we are trained to only read the manual if everything fails...after a re-boot. There, in a nutshell, all you need to know about watches!! Cheers, Bob1 point
-
Welcome Labelle I suppose I started tinkering seriously with watches with the purchase of my first Waltham pocket watch. As for tools think most of us have made the mistake of buying cheap tools ! You probably will never stop buying tools in this game but the best advice is to buy a basic set of Bergeon screwdrivers or similar. A decent set of tweezers but far more important, learn how to "Dress them" (Shape them) Tony Sent from my SM-G920F using Tapatalk1 point
-
Hello Lace, there are lots of experienced watch repairers on the forum that will help with any problems and a search through the forums on a particular topic will often provide answers. As for tools get better quality ones as you need them, for instance if you were to try to service a watch such as an ordinary mechanical that is still ticking bought from the bay choose a simple one, perhaps with a face that only has a second hand, hour and minute hand as a starter then take it apart but take pics at each stage and you will have a record on how to put it together after cleaning the parts with lighter fluid / is Naptha or the like. The tools you need will become apparent as you go and if you arrive at a problem you will have a pic to post to evince the help you need. Oils are a whole subject on their own but unless you have bottomless reserves when starting out get a cheaper "watch oil" that will suffice for your project, and take your time. If you have to force something there are three common possibilities something is wrong with it or with the way you are trying to do it or the tool you are using. I like tinkering with watches and have serviced a few now but I make plenty mistakes as well and the guys on the forum have helped me out and I am sure you will get help if needed. Cheers, Vic1 point
-
Hello LaBelle and a big welcome to the nicest and most knowledgeable watch repair forum there is ( well that's my opinion anyway) I would agree with clockboy full heartedly don't by cheap tools just because they look ok trust me there not if you intend to stick at this hobby it pays to spend that little bit more. And a running pocket watch movement is a great piece to work on. Just practice stripping it down take photos of every step so you can work backwards to reassemble it and see if it still works do this over and over again until you get that feeling for your drivers and tweezers and you can handle parts with confidence. Good luck and have lots of fun and don't forget everyone is here to help so don't be put off by asking what you might think is a stupid question we all had to learn and if you don't ask you don't learn. Mick P.S That's an impressive pic.1 point