Leaderboard


Popular Content
Showing content with the highest reputation on 09/12/20 in Posts
-
I have created a new Theme for the forum for people who might find it easier on the eye. The DARK MODE theme can be accessed by using the "Theme" selector at the bottom of the website.3 points
-
All fixed. Boy that was intense3 points
-
As mentioned chromium plating is a toxic process and not commonly done at home. But nickeling can, with nice results too. https://www.youtube.com/watch?v=ixoeGAZFBgk2 points
-
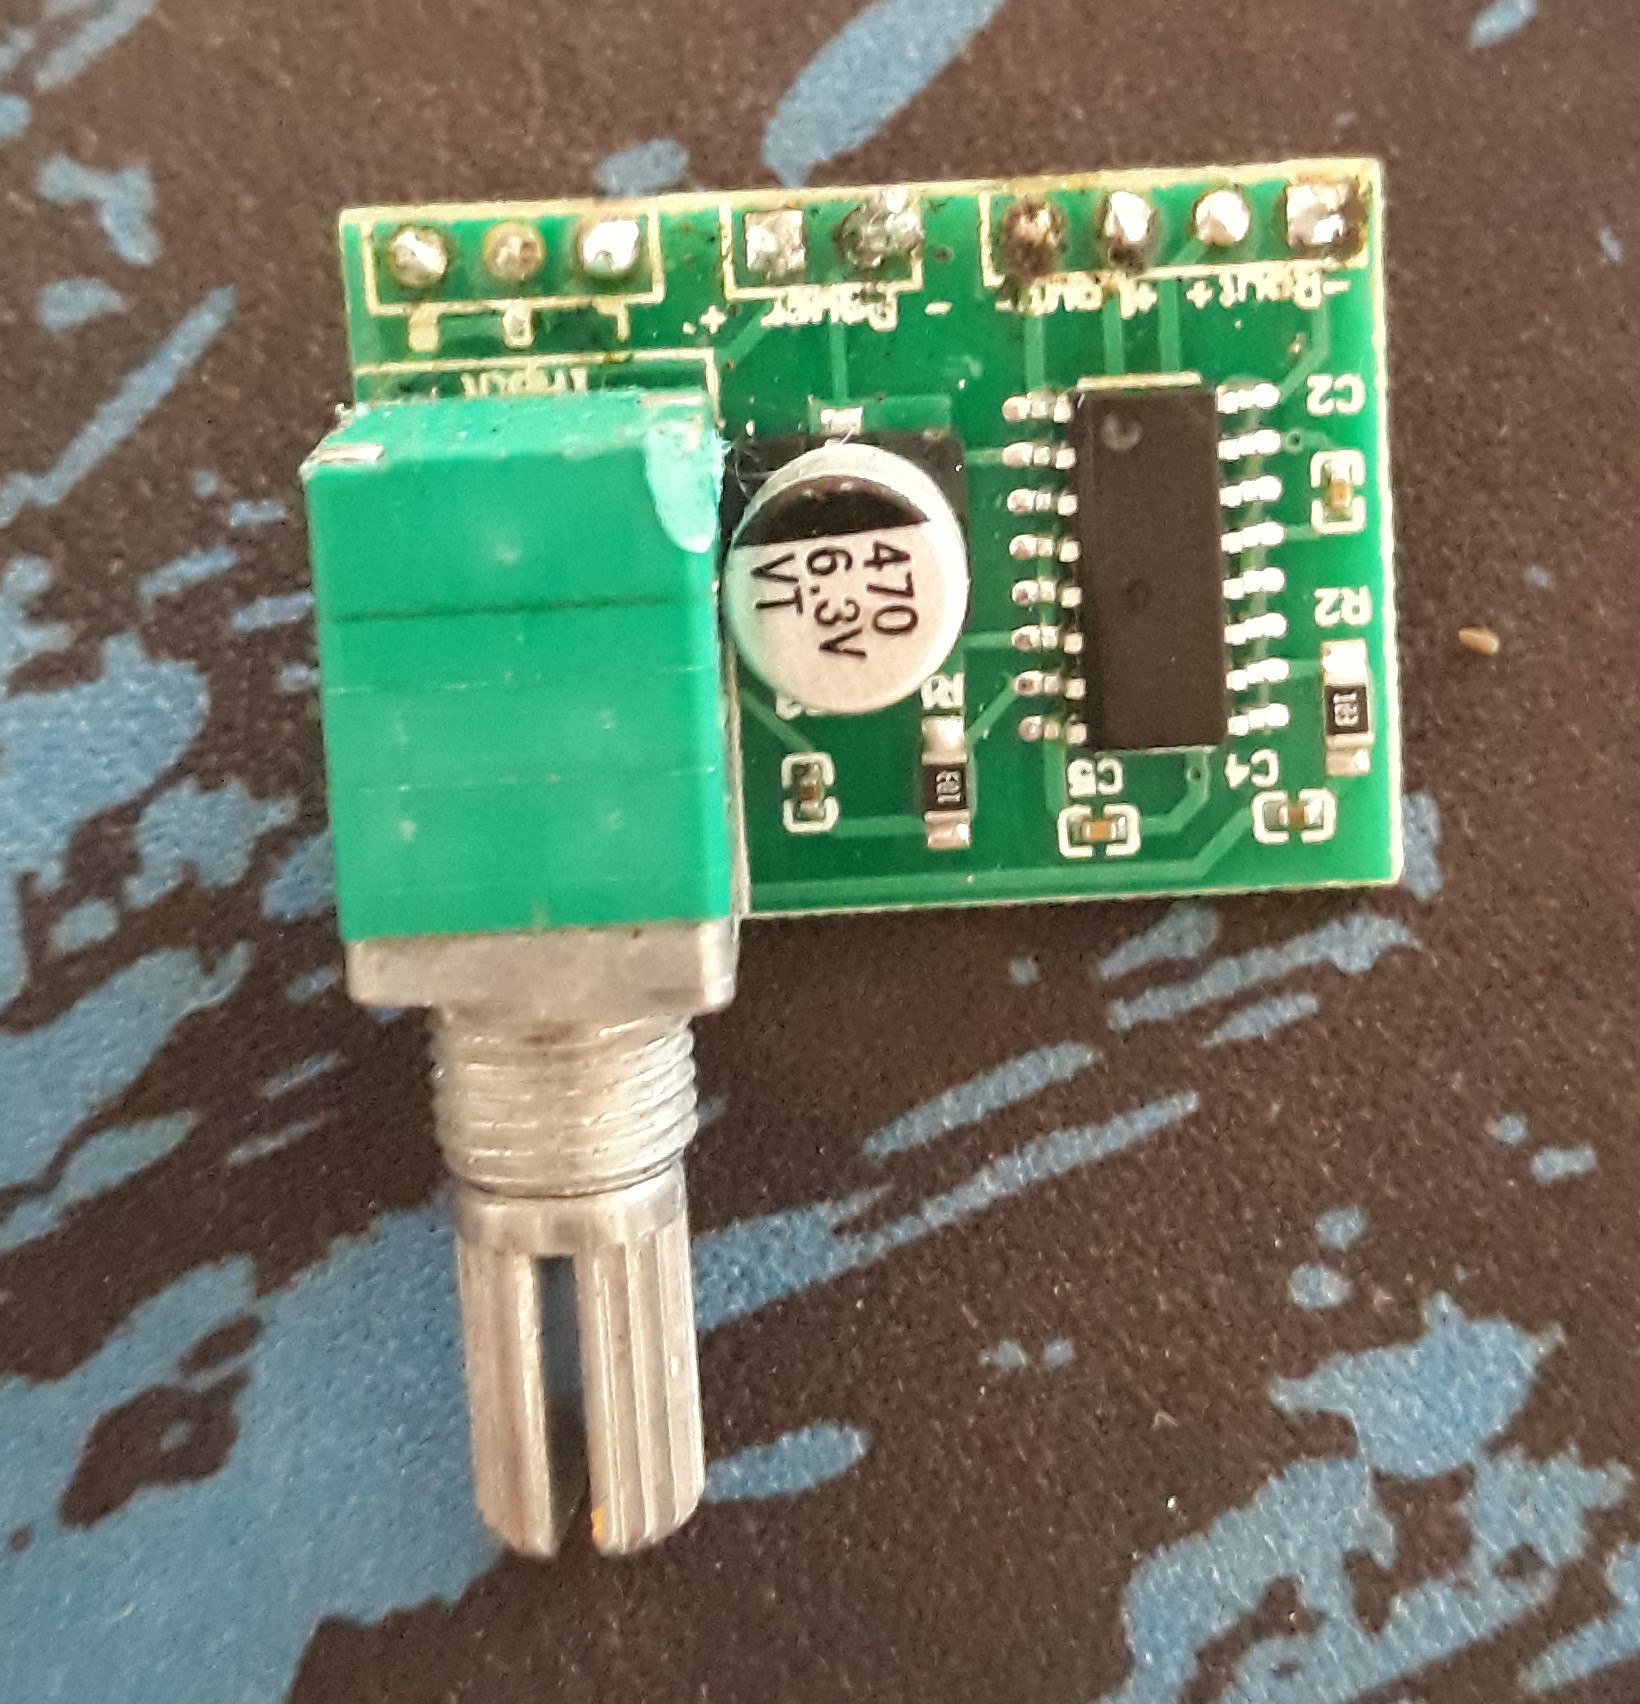
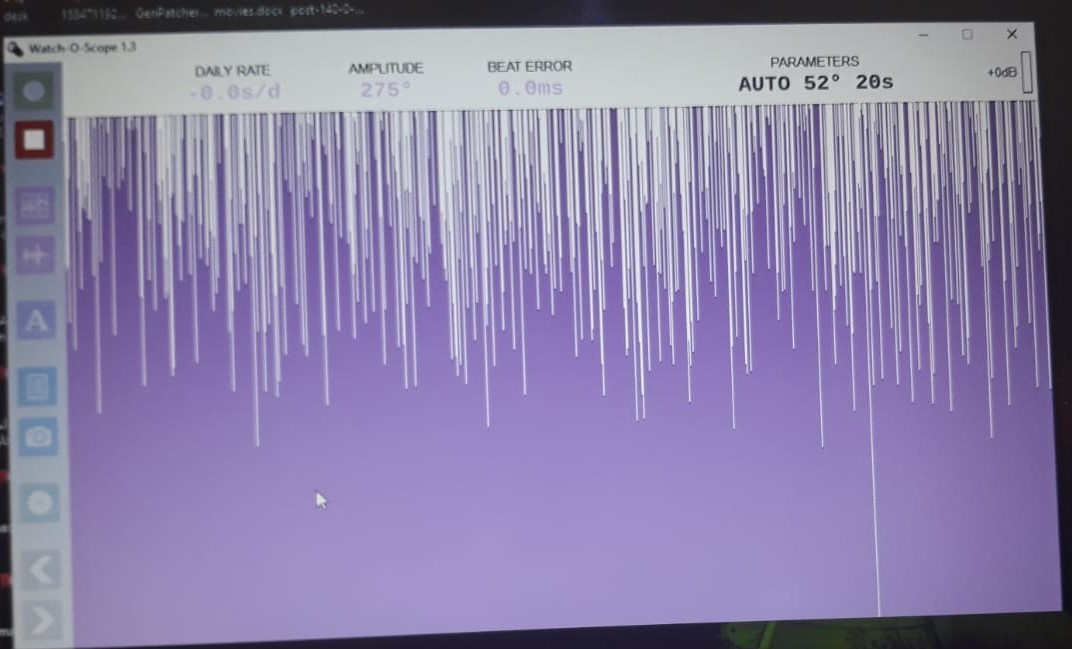
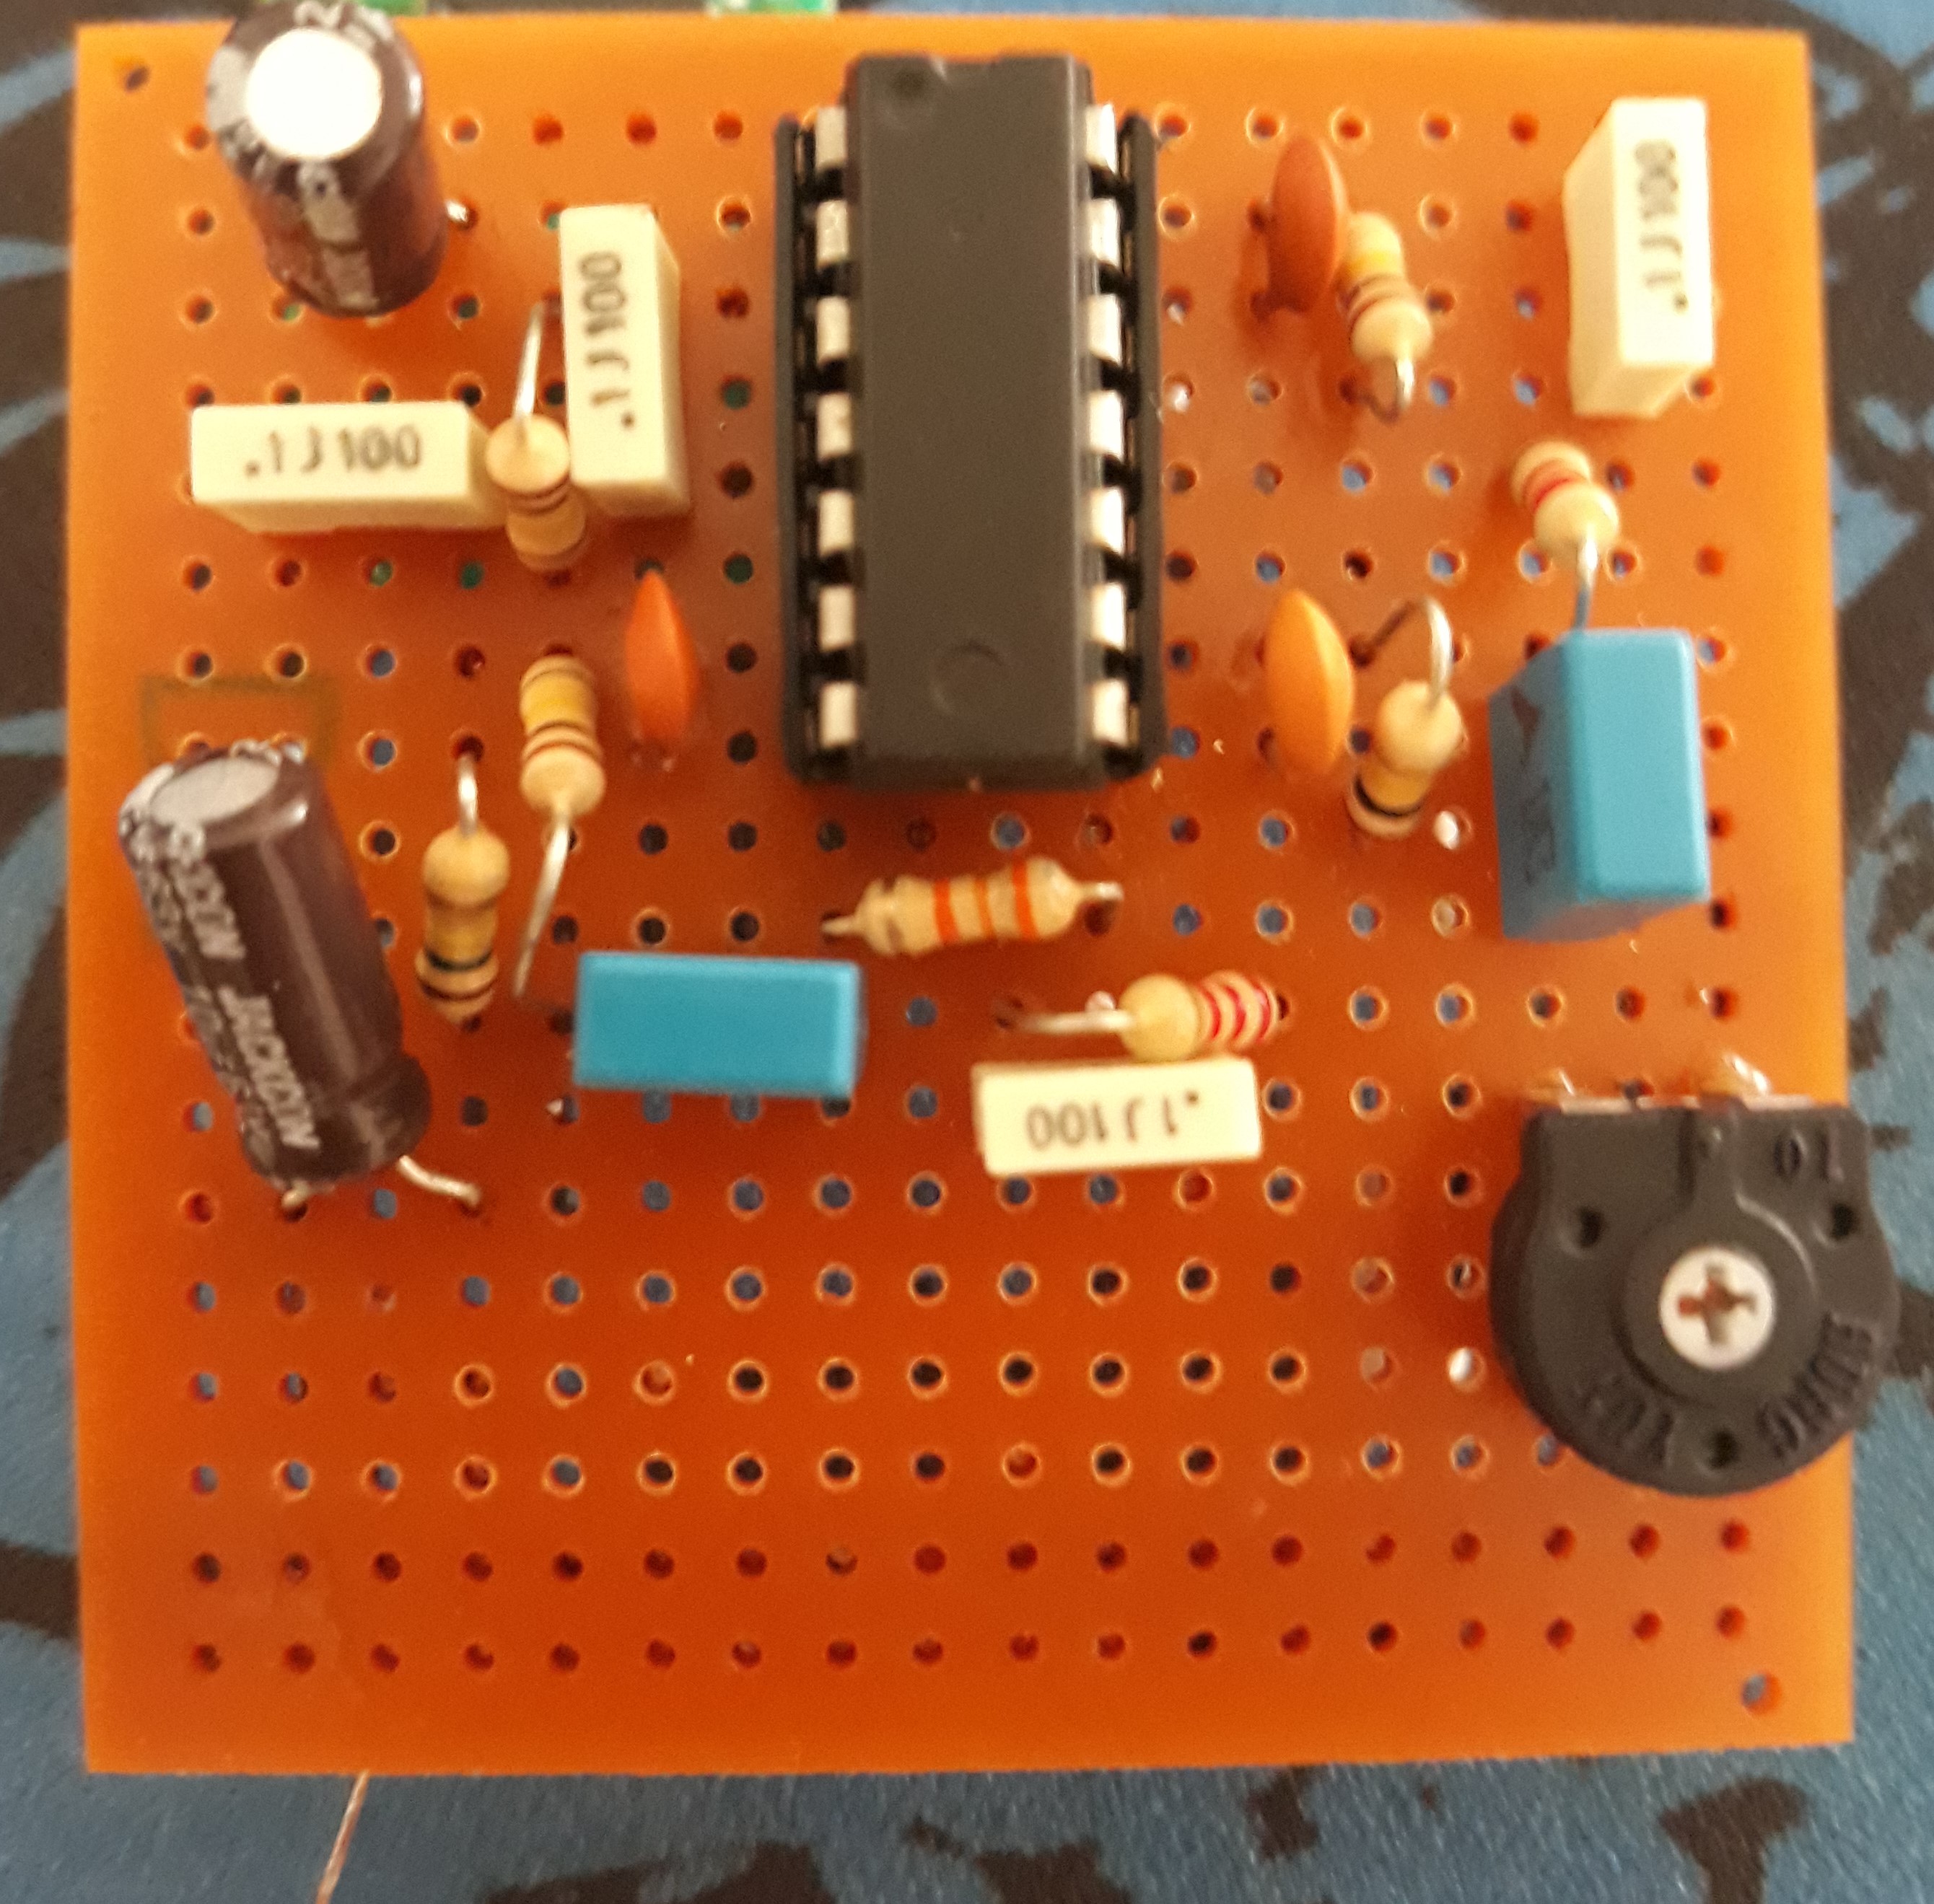
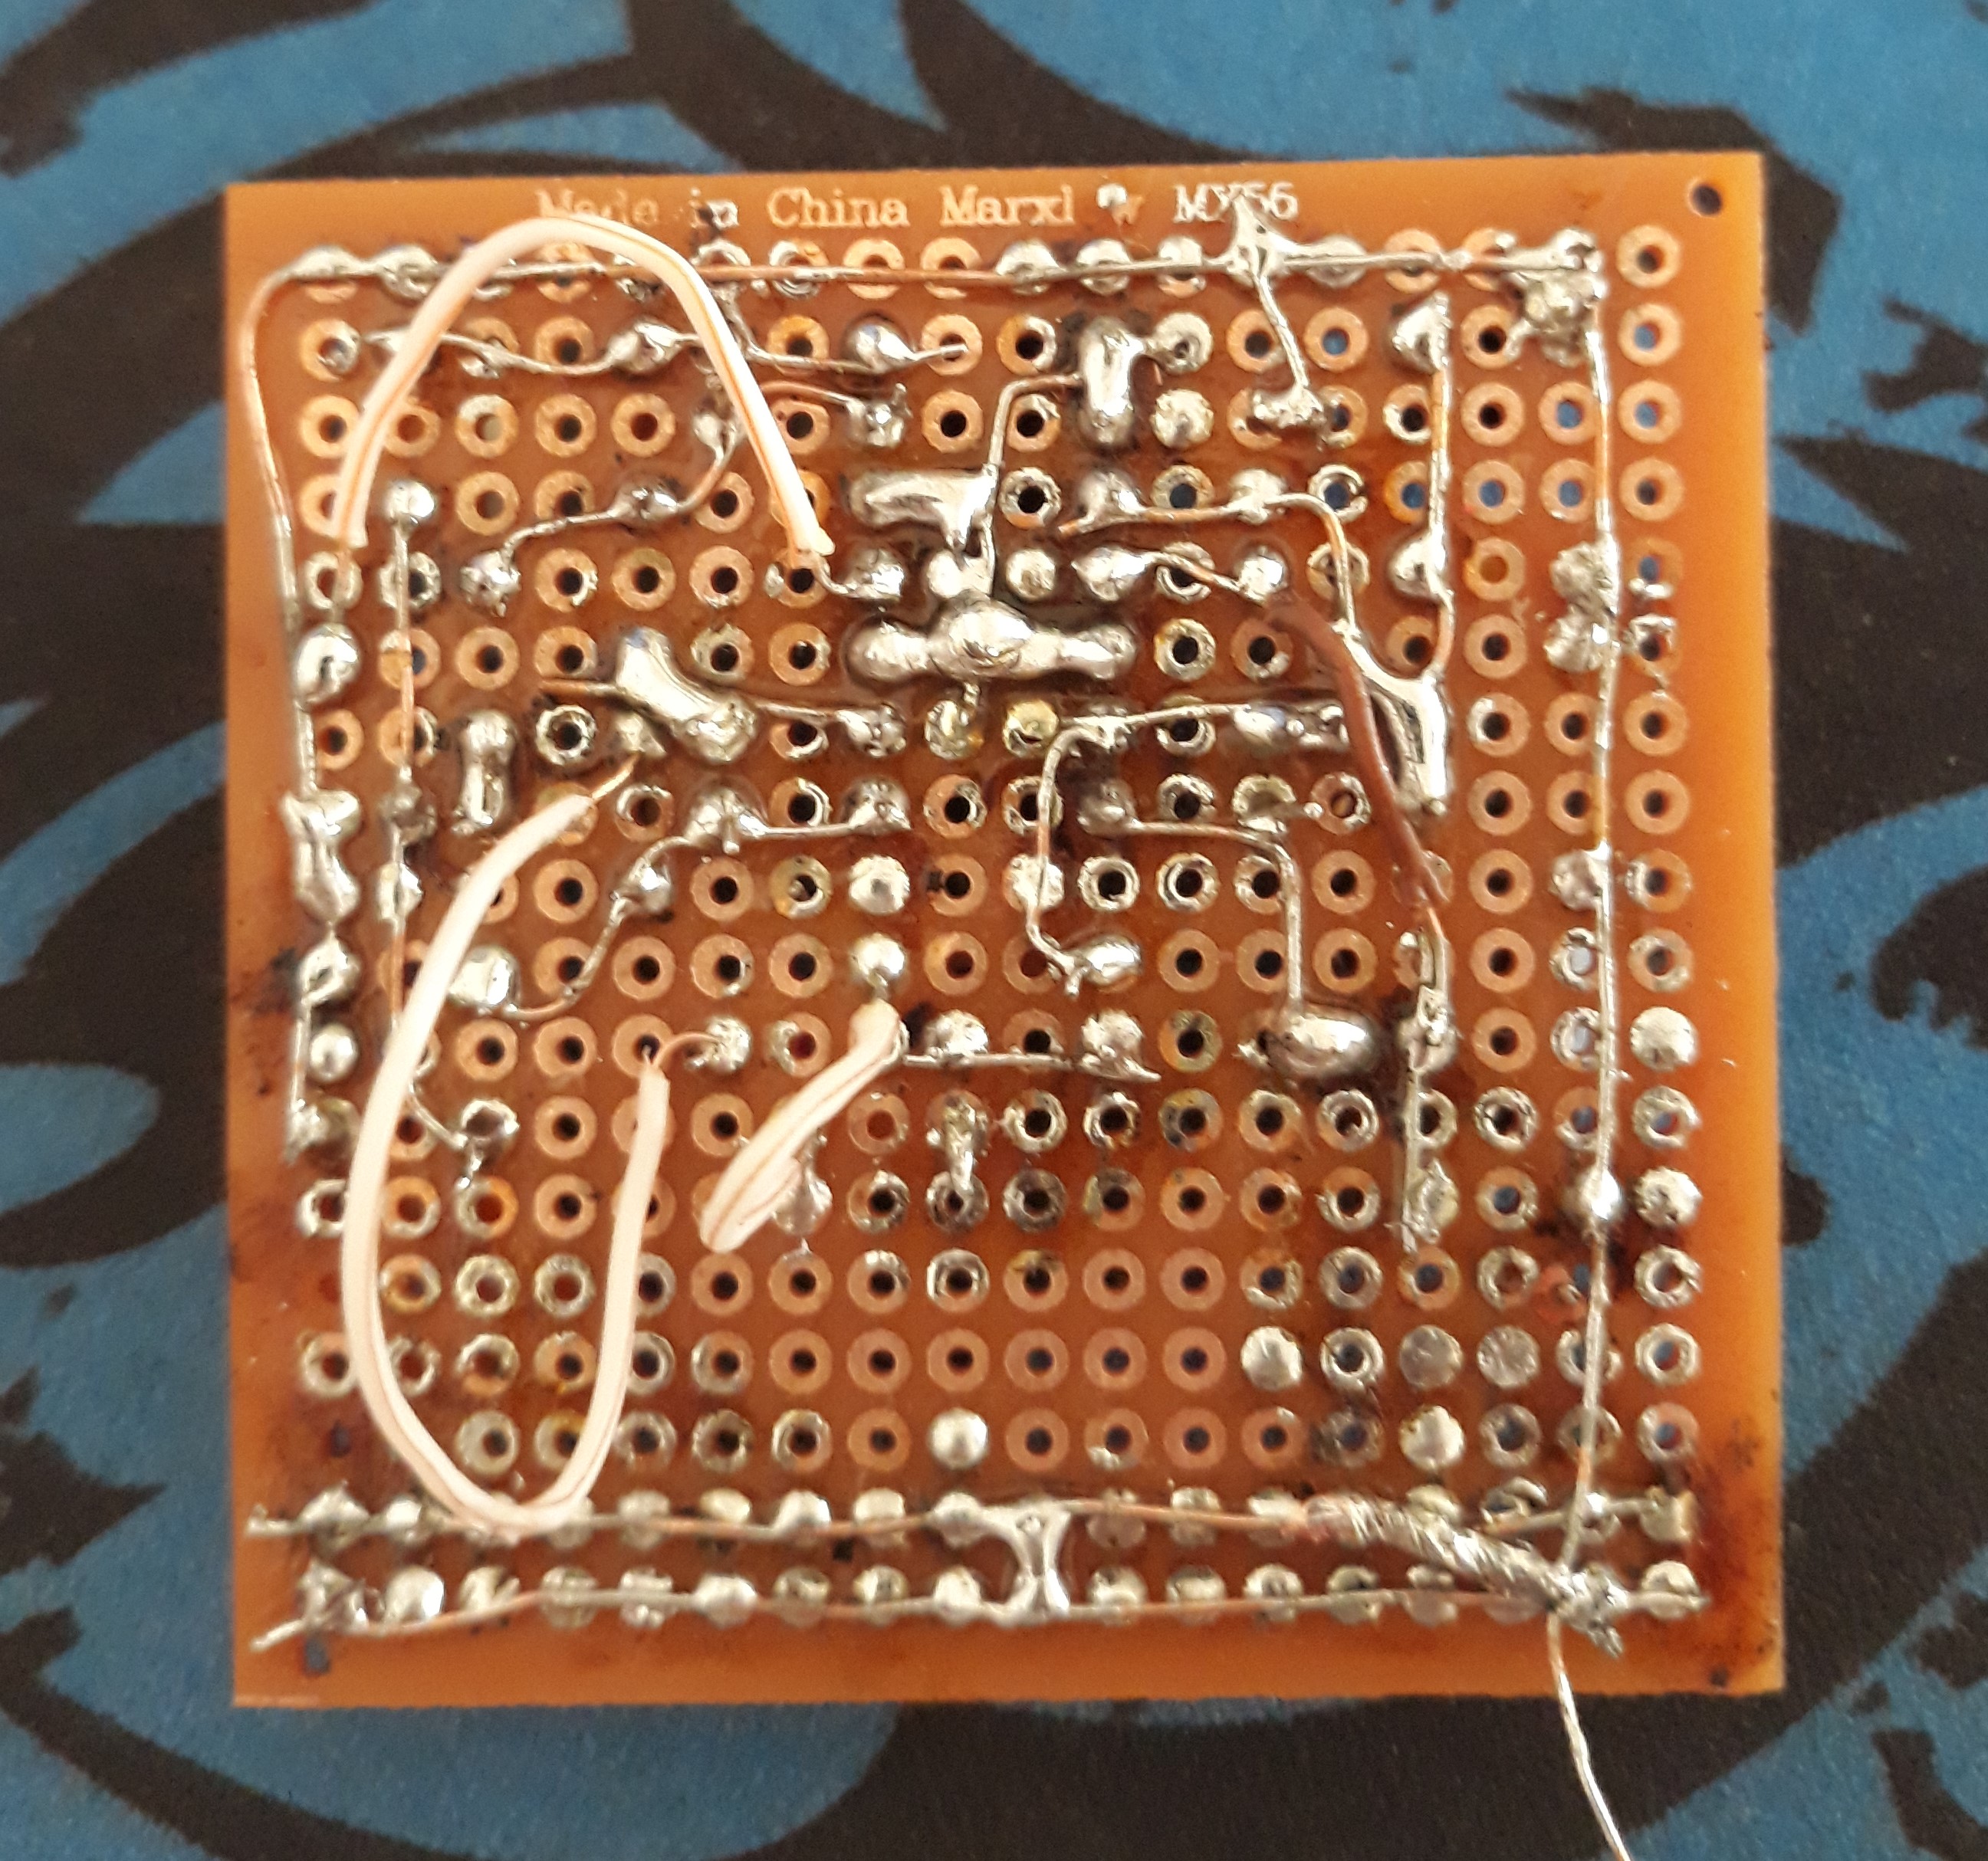
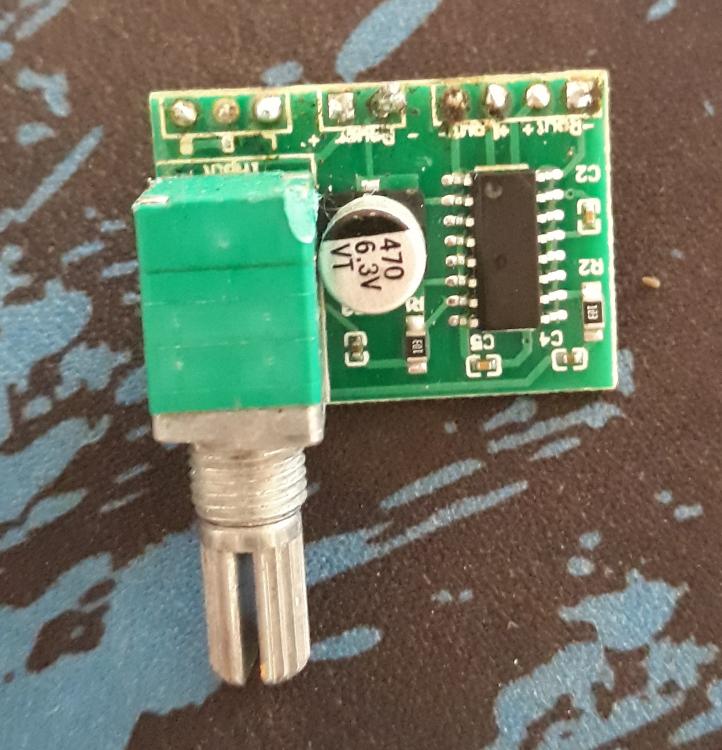
Hello everybody, I posted this topic a couple of months ago but my depression got worse and I spent alot of time just sitting around doing nothing, I satrted feeling better a couple of weeks ago so I decided to make this little "project" Please note that I'm not being stingy or I don't want to buy a proper timegrapher the thing is it's not really worth it for me to buy one because I'm barely finding a decent watch to work on every couple of months I'll most definitely but one if things get better. the other thing I want to point out is I have no idea what I'm doing I'm absolutely ignorant when it comes to electronics ad acoustics so I've been learning as I go. now I started buy buying this amp circuit thing with a bunch of piezo elements, I wired it and connected it to my laptop and it sounded decent with very low noise BUT when I tried listening to a watch the noise was lowed compared to the watch tick and I started experimenting with cables and options and nothing helped and the watch tick wasn't so loud anyway, I was using batteries and shielded cables as I have been told in the previous post. I did some googling and I found this video: I thought well this is easy I'll give a go spoiler alert it didn't work and I had the same problem watch tick to low and the noise is high compared to it. I wasn't ready to give up though so I decided to make this amplifier in Watch-O-Scope website: http://www.watchoscope.com/amplifier.html I got the components and sat down to make the circuit but the I realized I have no idea how to read schematics and make circuits so I had to watch some videos and read about it. the first version looked terrible and had a really really high noise so I thought to my self "I messed this up gotta start again" so I made another one which to be honest looked better than the first one (to me at least) and I was a little bit proud of my self but the thing is I didn't work either and had the same really loud noise I checked all the connections and everything seems to be fine I don't know what could be causing this and this is why I'm posting this long boring post. I tried pulling the laptop charger off and even tried two more laptops but it made no difference. can you guys tell me what I did wrong please?


 1 point
 -
Don't listen to the naysayers. If it's something you want to do, and it's not detracting from other critical things, it's a worthwhile project. Expect failure, learn, and do better the next time. Eventually your success will surprise you. He said the sound decreased when he touched it. Additionally, the soldering on the back of the breadboard looks like there are some tenuous joints to ground. I'd go back, clean up that solder work, and pay extra attention to your ground. I assume you're using a DC power supply brick, some of those make a fair amount of noise. You may try a different model/manufacturer to see if that clears anything up. Last item down that totem pole is EMF. In hifi tube circuitry, it's common practice to keep your power supply lines totally separate from any signal lines to avoid internal interference. You're dealing with very low voltage signals in both applications, but this one is much much much lower voltage. Regardless, a solidly designed layout never hurts. For external interference, you can put the whole thing in a makeshift faraday cage and get rid of the external badnasties.1 point
-
Hi I don't really know much about the process but I've seen on youtube. https://m.youtube.com/watch?v=LwIDhQqRmHI1 point
-
I have been told that the process is so toxic that it is not advisable to attempt it. It used to be quite easy to get stuff chromed in the past, but nowadays very few shops are willing to do it. You could probably try motor repair shops that do a lot of chrome customization.1 point
-
That sounds like mainly hum to me - this is interference caused by EMI. The only way to shield against this is to put your circuit (especially the piezo transducer and the wires attached to it) inside a metal case which is attached to the circuit’s earth connection (likely the negative connection of the battery if it is battery-powered).1 point
-
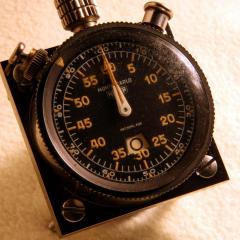
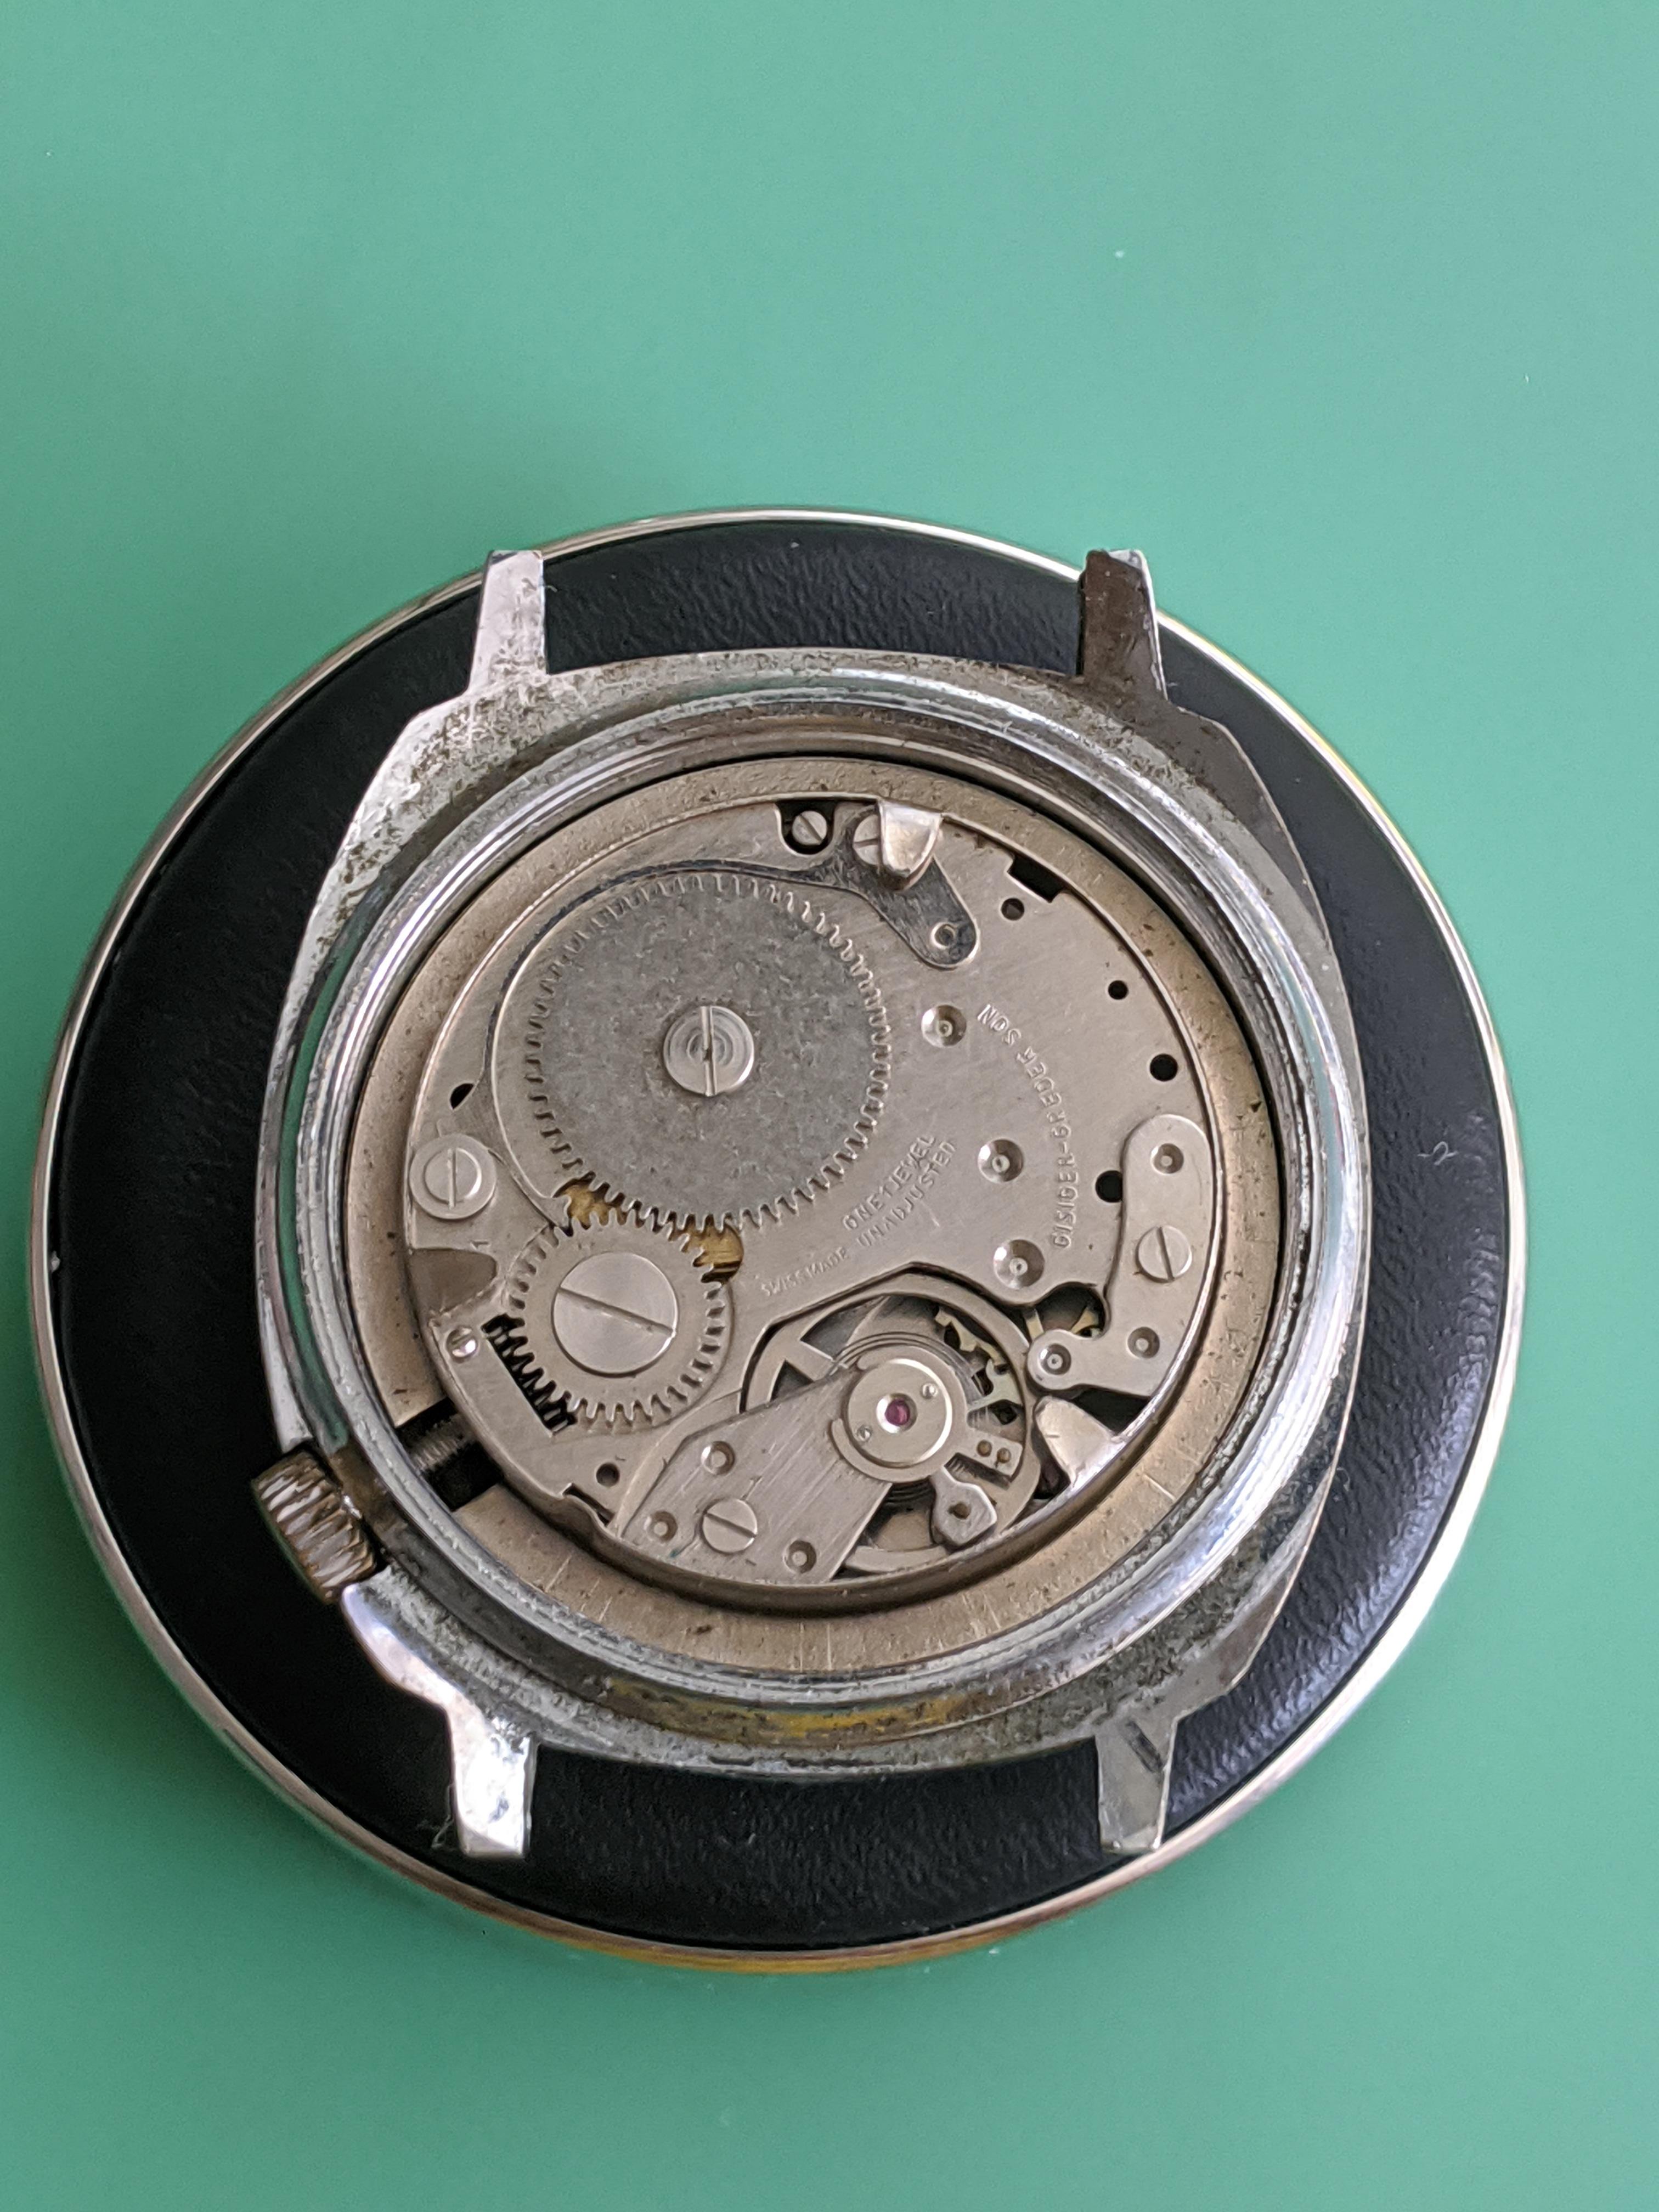
Looks to be another Baumgartner 866? All the rage!1 point
-
I agree 100% with that, at the same time I want express respect for taking a stab to something totally new and unknown, good luck to the OP, he can only learn in the process and no damage to watches can happen1 point
-
I believe you can use cloth dyes in your anodising solution to get some really interesting results.1 point
-
Hate to say it but I think these Miyota 8000 series also just have a reputation for loud rotor noise. May not be indicative of a problem, since as you say the watch is new.1 point
-
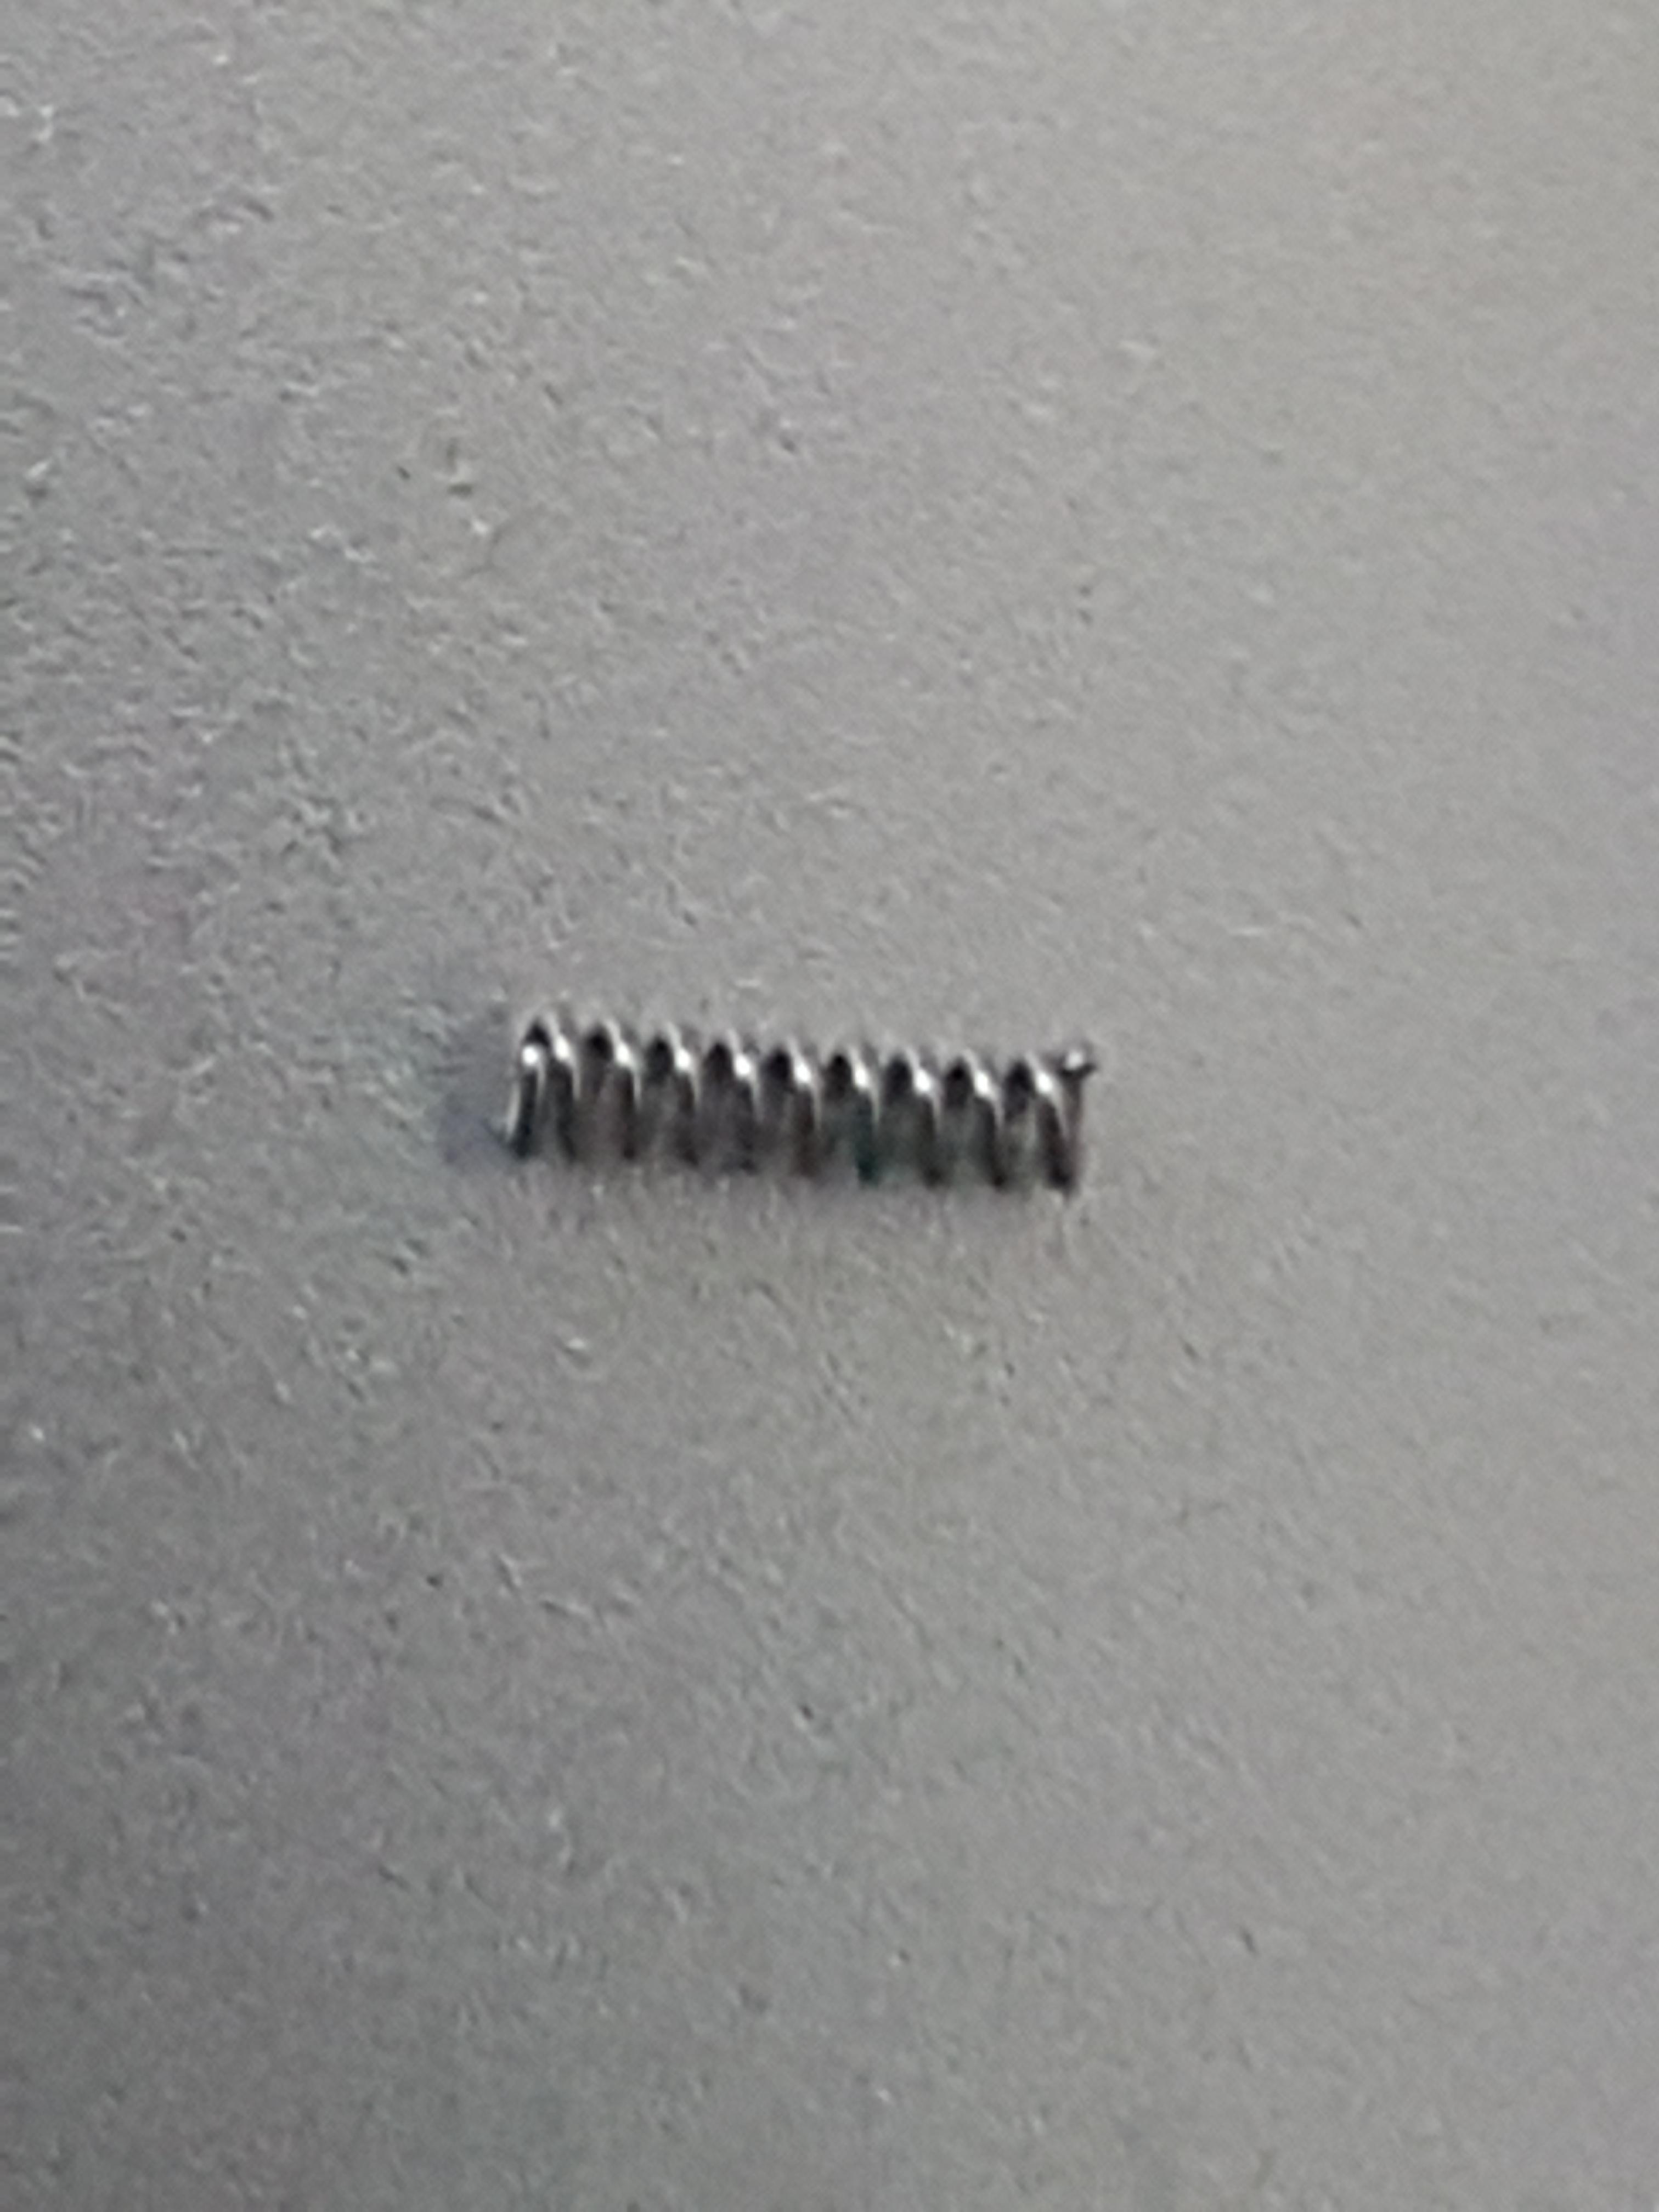
You beautiful beautiful man ! Thank you for the detailed response. I've found 2 used for 5€ which beats the NOS for 20€ since this is a watch I'm "working on" for practice and learning. I'll use one on the watch for reassembly and I'll use the other to train on hand-fitting the mainspring back in the barrel since that how I absolutely murdered my original mainspring.... Thanks again, much appreciated1 point
-
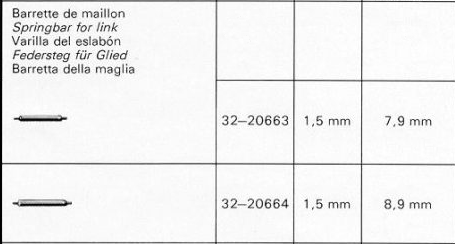
I think that is actually one springbar pin for the links in the bracelet and they are a bit smaller than the springbar pins for the cover which you see at the Cousines link. To know exactly which spring bar you need you have to look in the clasp or on a marked link which model of bracelet you have. As an example the 78351-19 have two sizes of these link spring pins. Then if you are not affiliated with Rolex you need to get it from a third part supplier like this. https://www.everestbands.com/blogs/bezel-barrel/rolex-spring-bars-1-to-1-oem-spring-bars-available-for-rolex-watches
 1 point
 -
If they had, the price would have been different1 point
-
That is the same P/N, only written differently. Only the 7S26A and B would be the same. 7S26C is different. There care but are relatively expensive and may not perform as the original.1 point
-
I knew in the back off my head I had a service sheet for this and on my old NAS I found this. JLC 815_HSL Edition.pdf Seems my memory served me well1 point
-
still working on it. least of the problems - have issues with database1 point
-
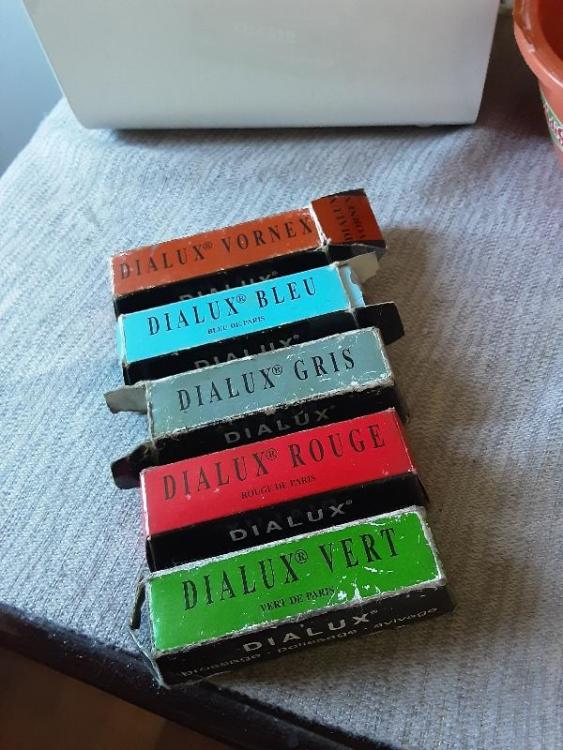
It's time for me to give back.. these are not expensive items but it takes time to picture and ship, give with the sincere hope of helping, Offer is for old and new members worldwide, I reserve the right to not send to opportunists. Unless noted I will send one item per person Small countersunk screws, polished, Ø available 40, 45, 50, 55, 60, 65. Beginner's polishing compunds assortement. Includes one slice per type. More items to come as time permits.

 1 point
 -
I have used it sparingly on badly stained brass it will remove black spots from brass that Ammonia cleaners wont but you should generally avoid its use it can react with the copper in the brass and produce patchy pink stains on the surface so its not suitable as a general brass cleaner. It is very good at removing rust when parts are soaked in a weak solution.1 point
-
Thank you Mark for all your hard work. Much appreciated1 point
-
Worked it out. I have now created a "Dark Mode" theme which you can change to using the Theme selector at the bottom of the website. I hope this helps1 point
-
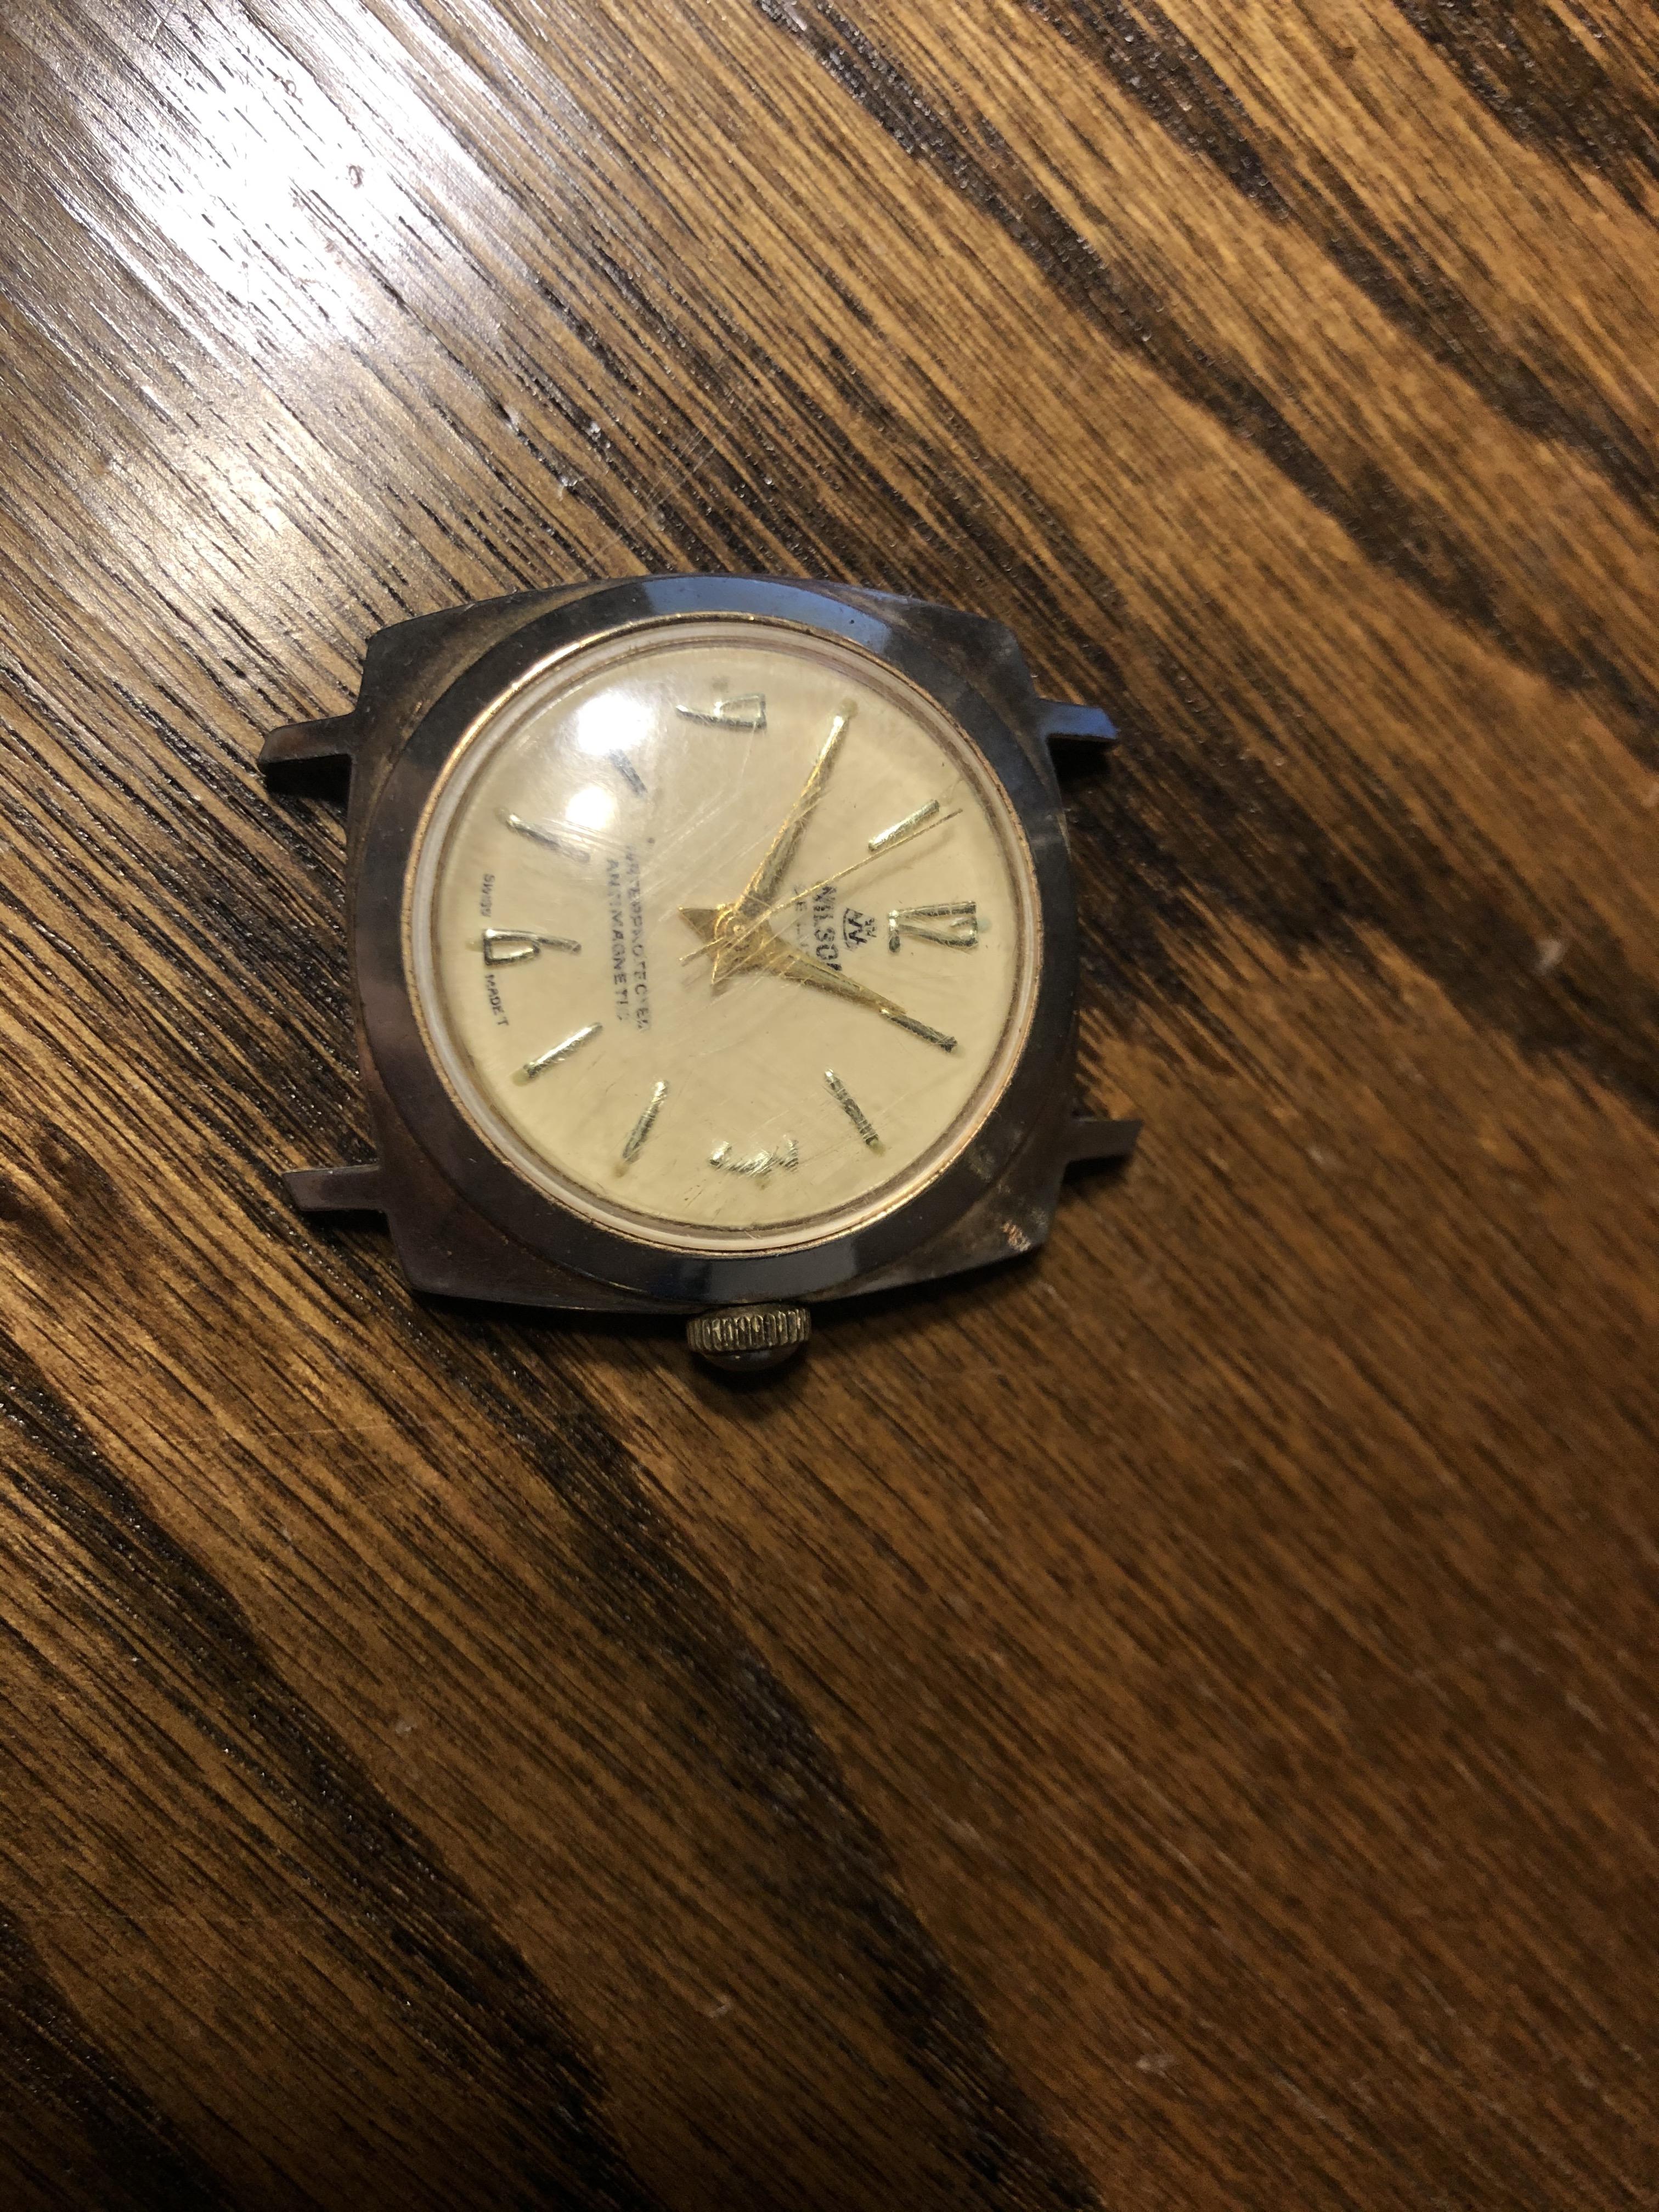
$0.99 + $4.50 shipping. Listing photos were limited, out of focus, and no movement shot. Not the worst watch in the project drawer, but I pretty much got what I paid for. Worth breaking for practice. Who knows. Maybe I finally end up with a runner? Case was once gold plated, now just polished. Feels really light, like maybe aluminum, but it's not beat to crap like aluminum cased watches tend to be... I'll check it out with the ol' Teslameter once I have the movement out of the case. If it is aluminum, might be worth trying to strip the rest of the gold off and anodizing it some wacky color... Could be interesting.

 1 point
 -
Andy, thanks for cluing me in on that forum. I was vaguely aware that folks were releasing open source hacks (in the positive sense of the term) that improved the functionality of cameras that were software-crippled. I'm researching it with interest, and will be picking up a set of Canon P&S cameras in order to sync them for stereoscopic photography. (I've just got to determine which specific Canon model will best suit my needs.) This is outstanding. The last time I remember reading about synced P&S cameras for stereo photography, they required a physical cable and some soldering on the circuit boards of the cameras themselves. It looks like things have significantly progressed since then!1 point
-
I also clicked on the site and got the message of down time. Sorry Mark I'm not keen on bright colour it hurts my eyes.1 point
-
Awesome, thank you @Mark! Much better!1 point
-
thank you for the update I was pondering why the messageboard didn't quite look the same. So now I know it's not my imagination.1 point
-
Hi Mark, I wasn't sleeping. It showed a msg saying its undergoing update or something to that effect. I like the new looks, its somehow more legible, attractive colours, looks more spacious. Thank you.1 point
-
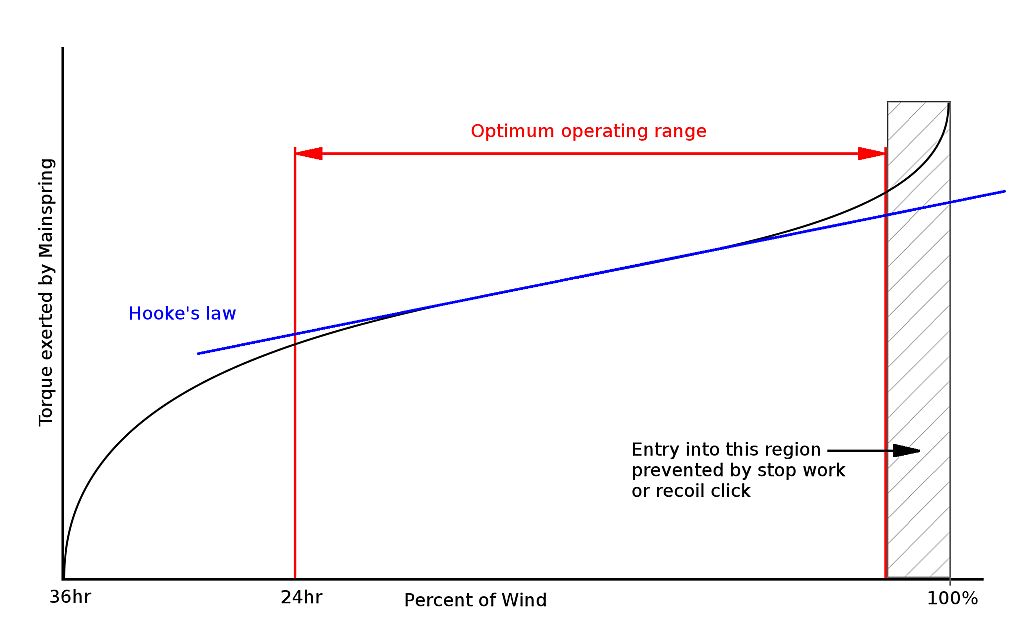
They have electronic devices to measure the power curve of the spring in the barrel, but back in the day they used manual machines. They are simple in concept but would be a lot of work to make one. The main component of the machine is a steel spring, somewhere around 1mm thick, about 35mm high and about 80cm-1m long. It is fixed at one end, and has calibration marks along its length to show the force needed to move it about 6cm. A holder for a pen can be fixed anywhere along the bar. The barrel is held by a split chuck, and the arbor in another. Through gearing, turning a crank, you can wind up the spring and then release the power; while doing that a bed moves along in front of the spring- this has paper on it. Also while winding a string wraps around a drum and is connected to the pen holder... so you make a graphic chart of both the winding power curve and unwinding curve. I can't find a pic of one but I have used them in the past, really neat machines. The graph looks like the pic- though this is just showing one of the two, there is a difference between the winding up graph and winding down.
 1 point
 -
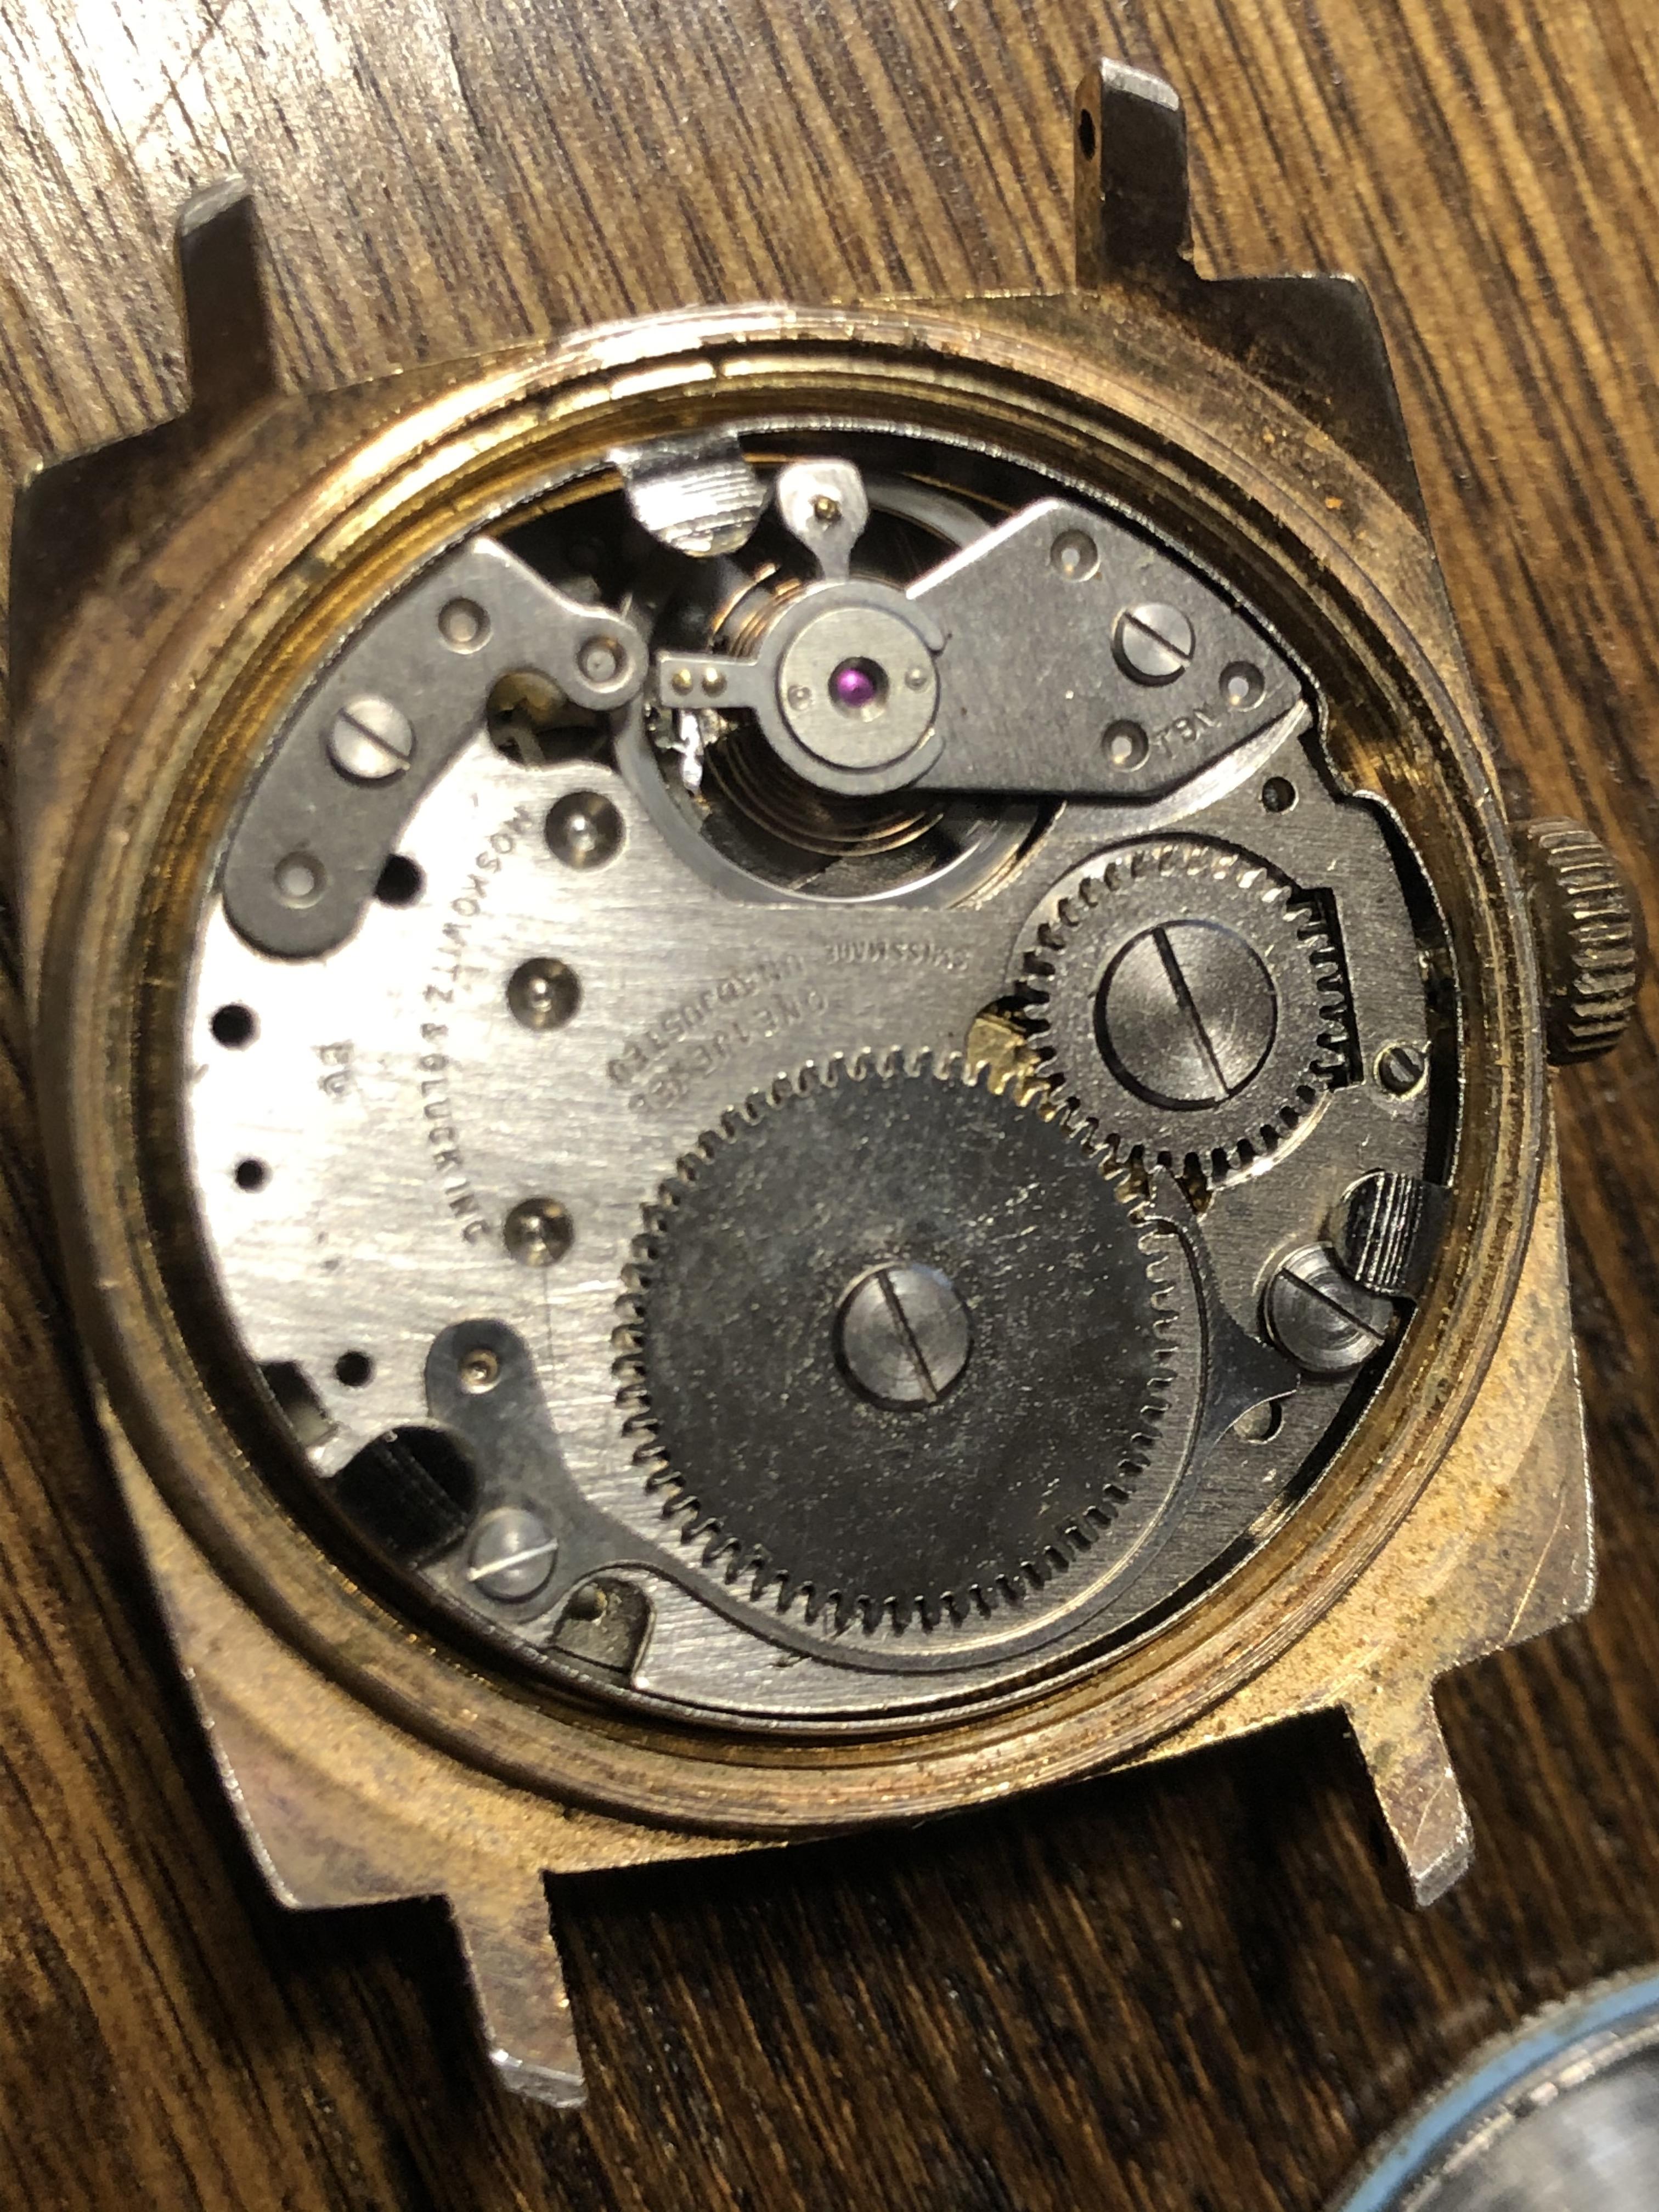
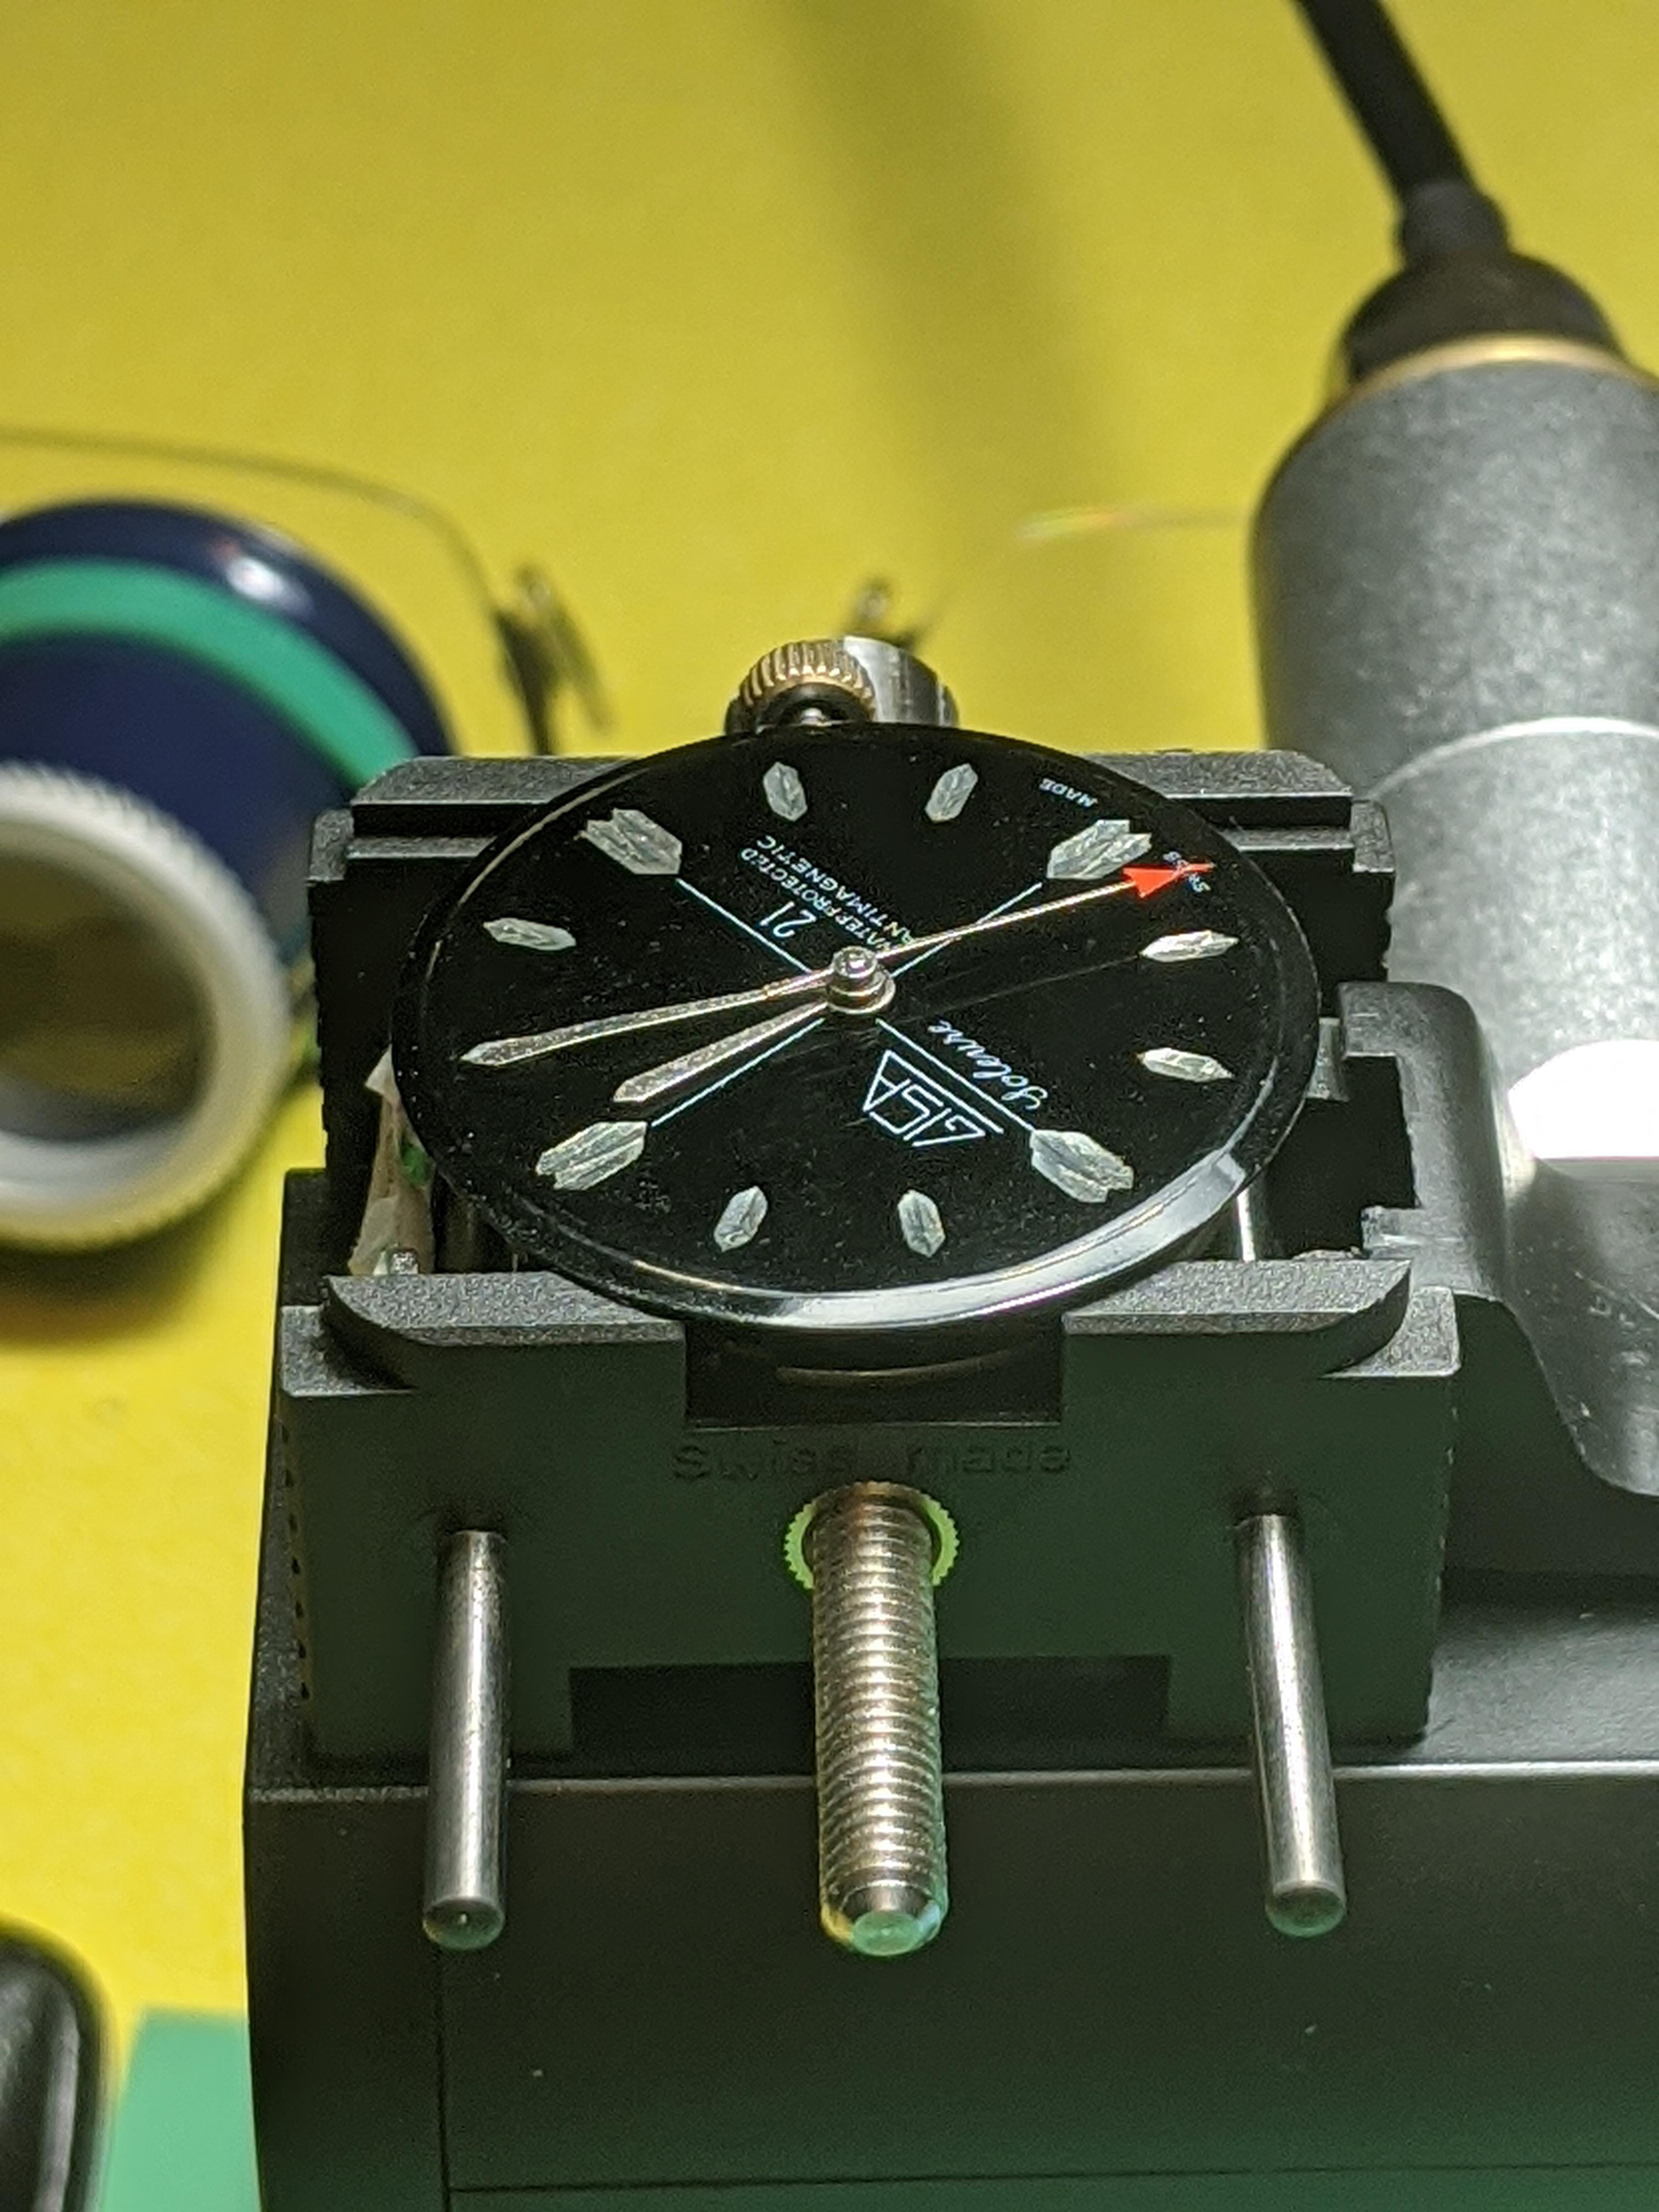
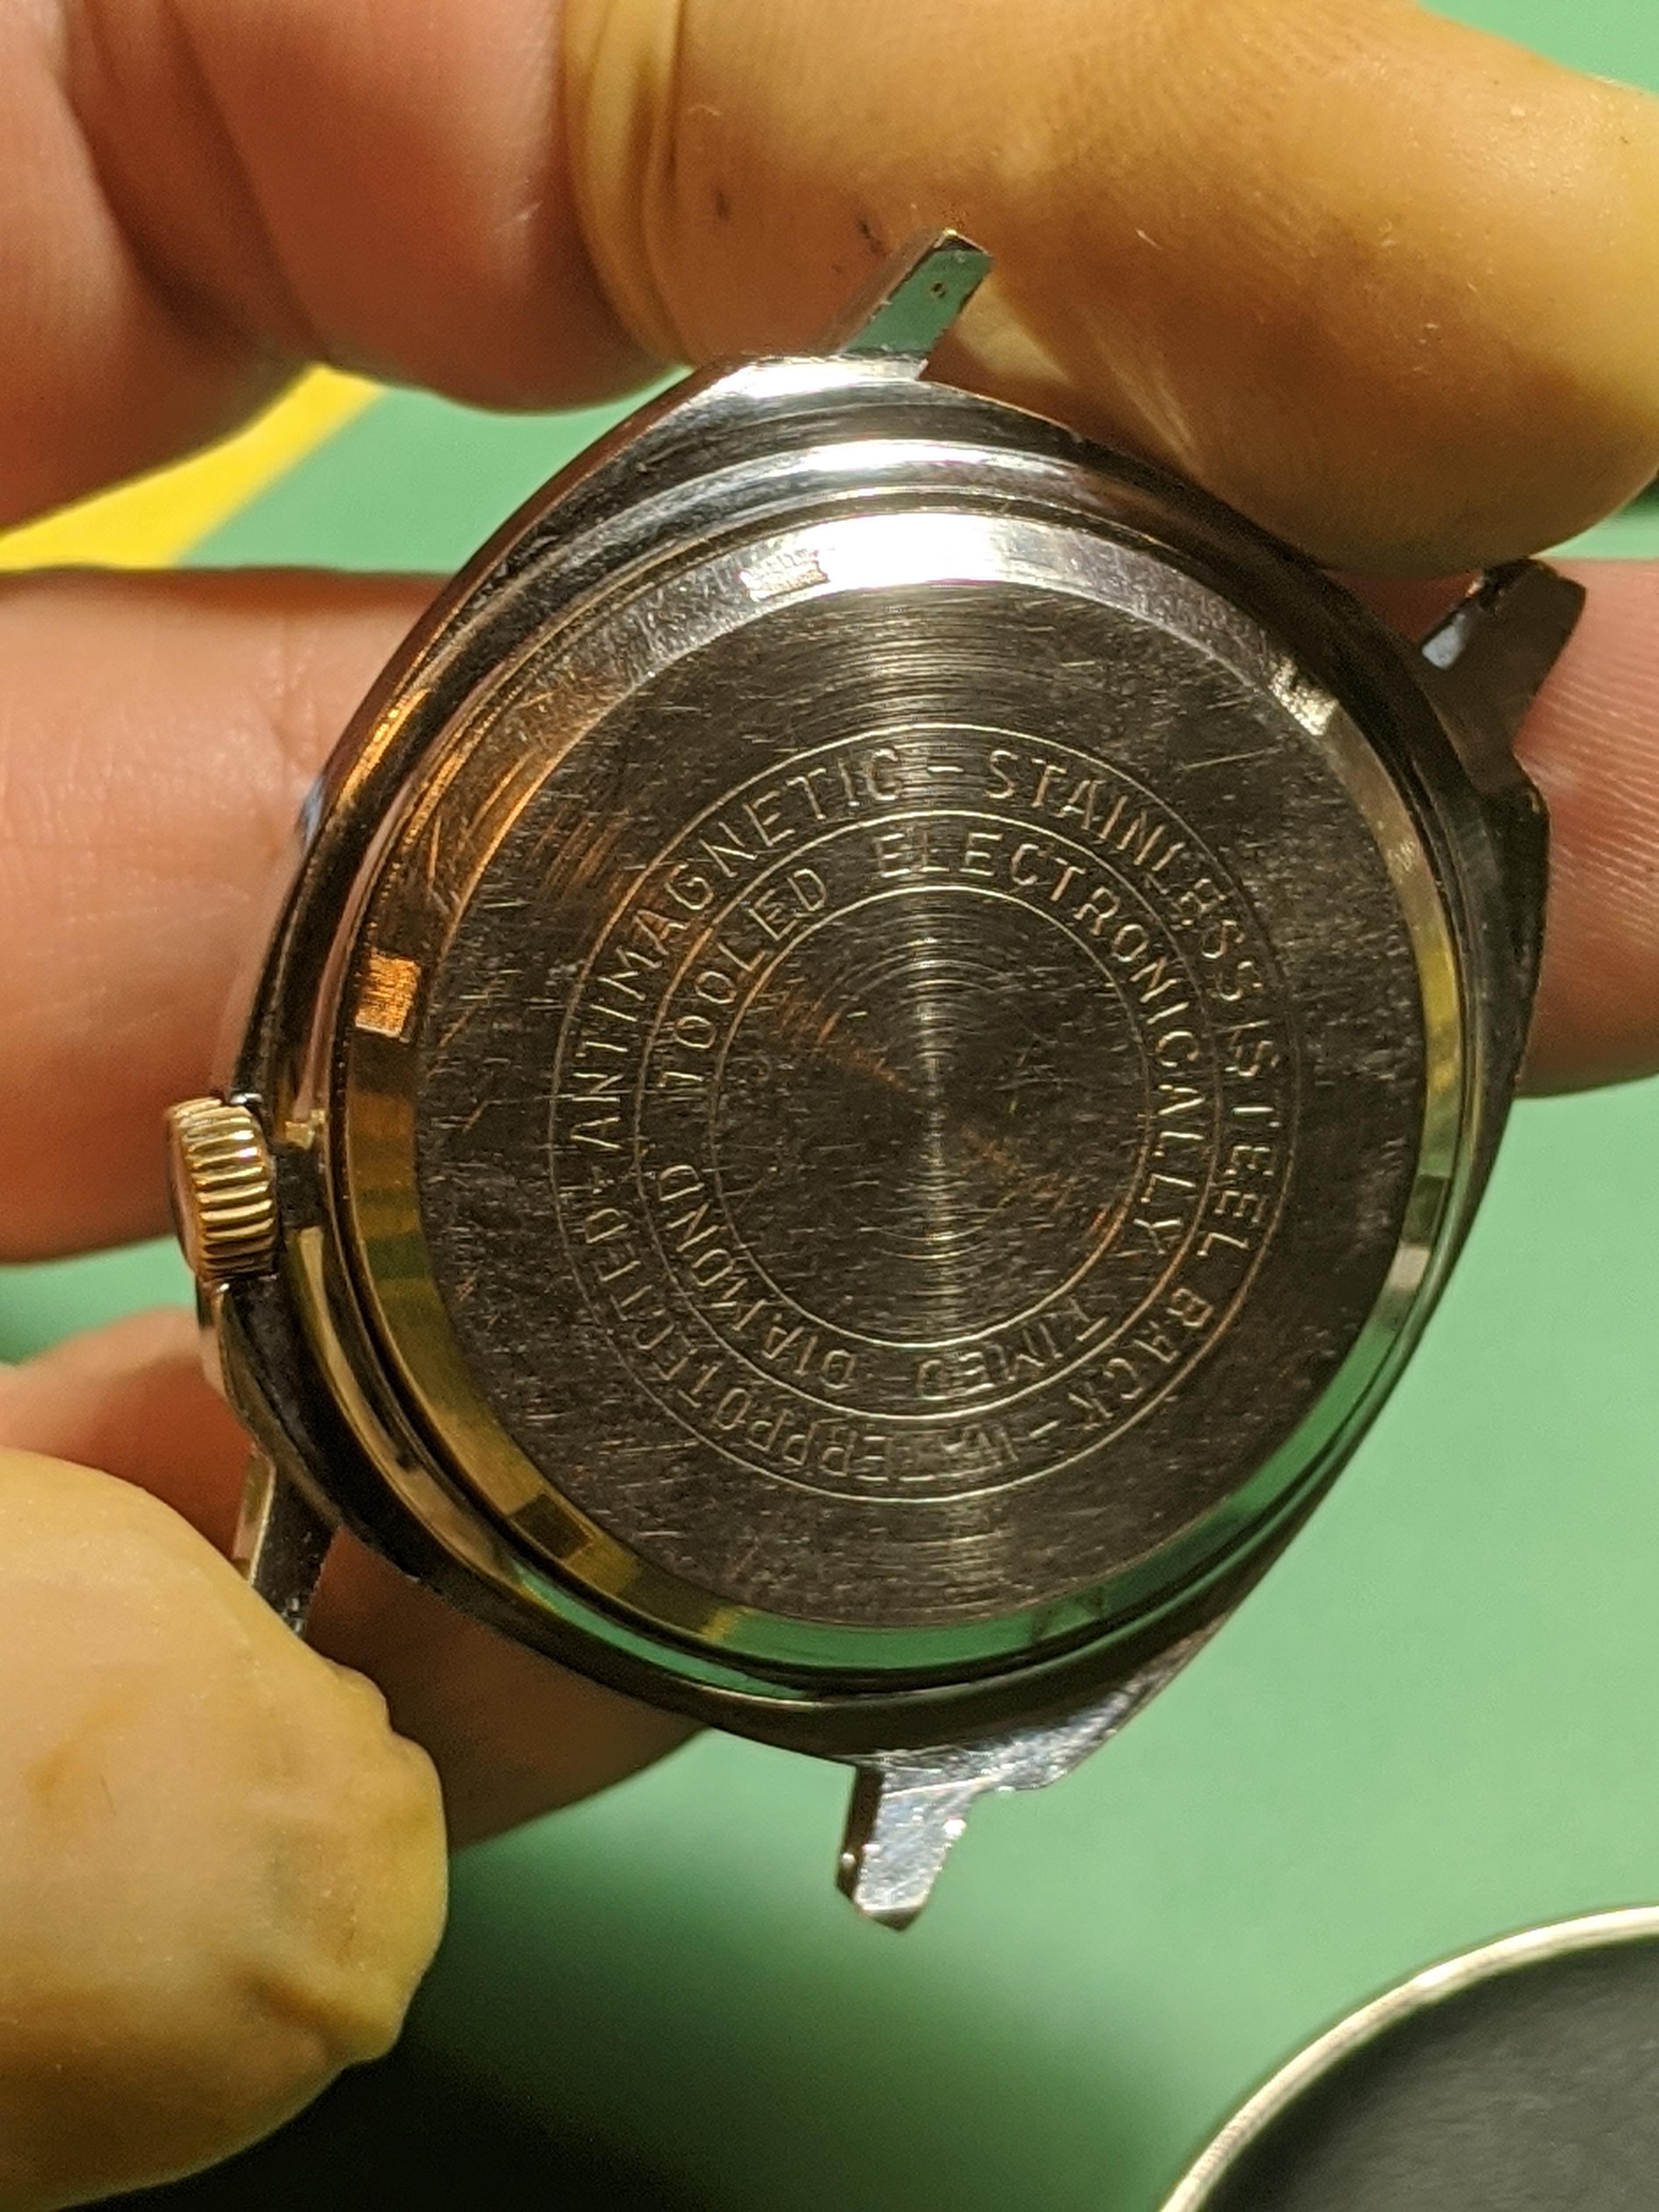
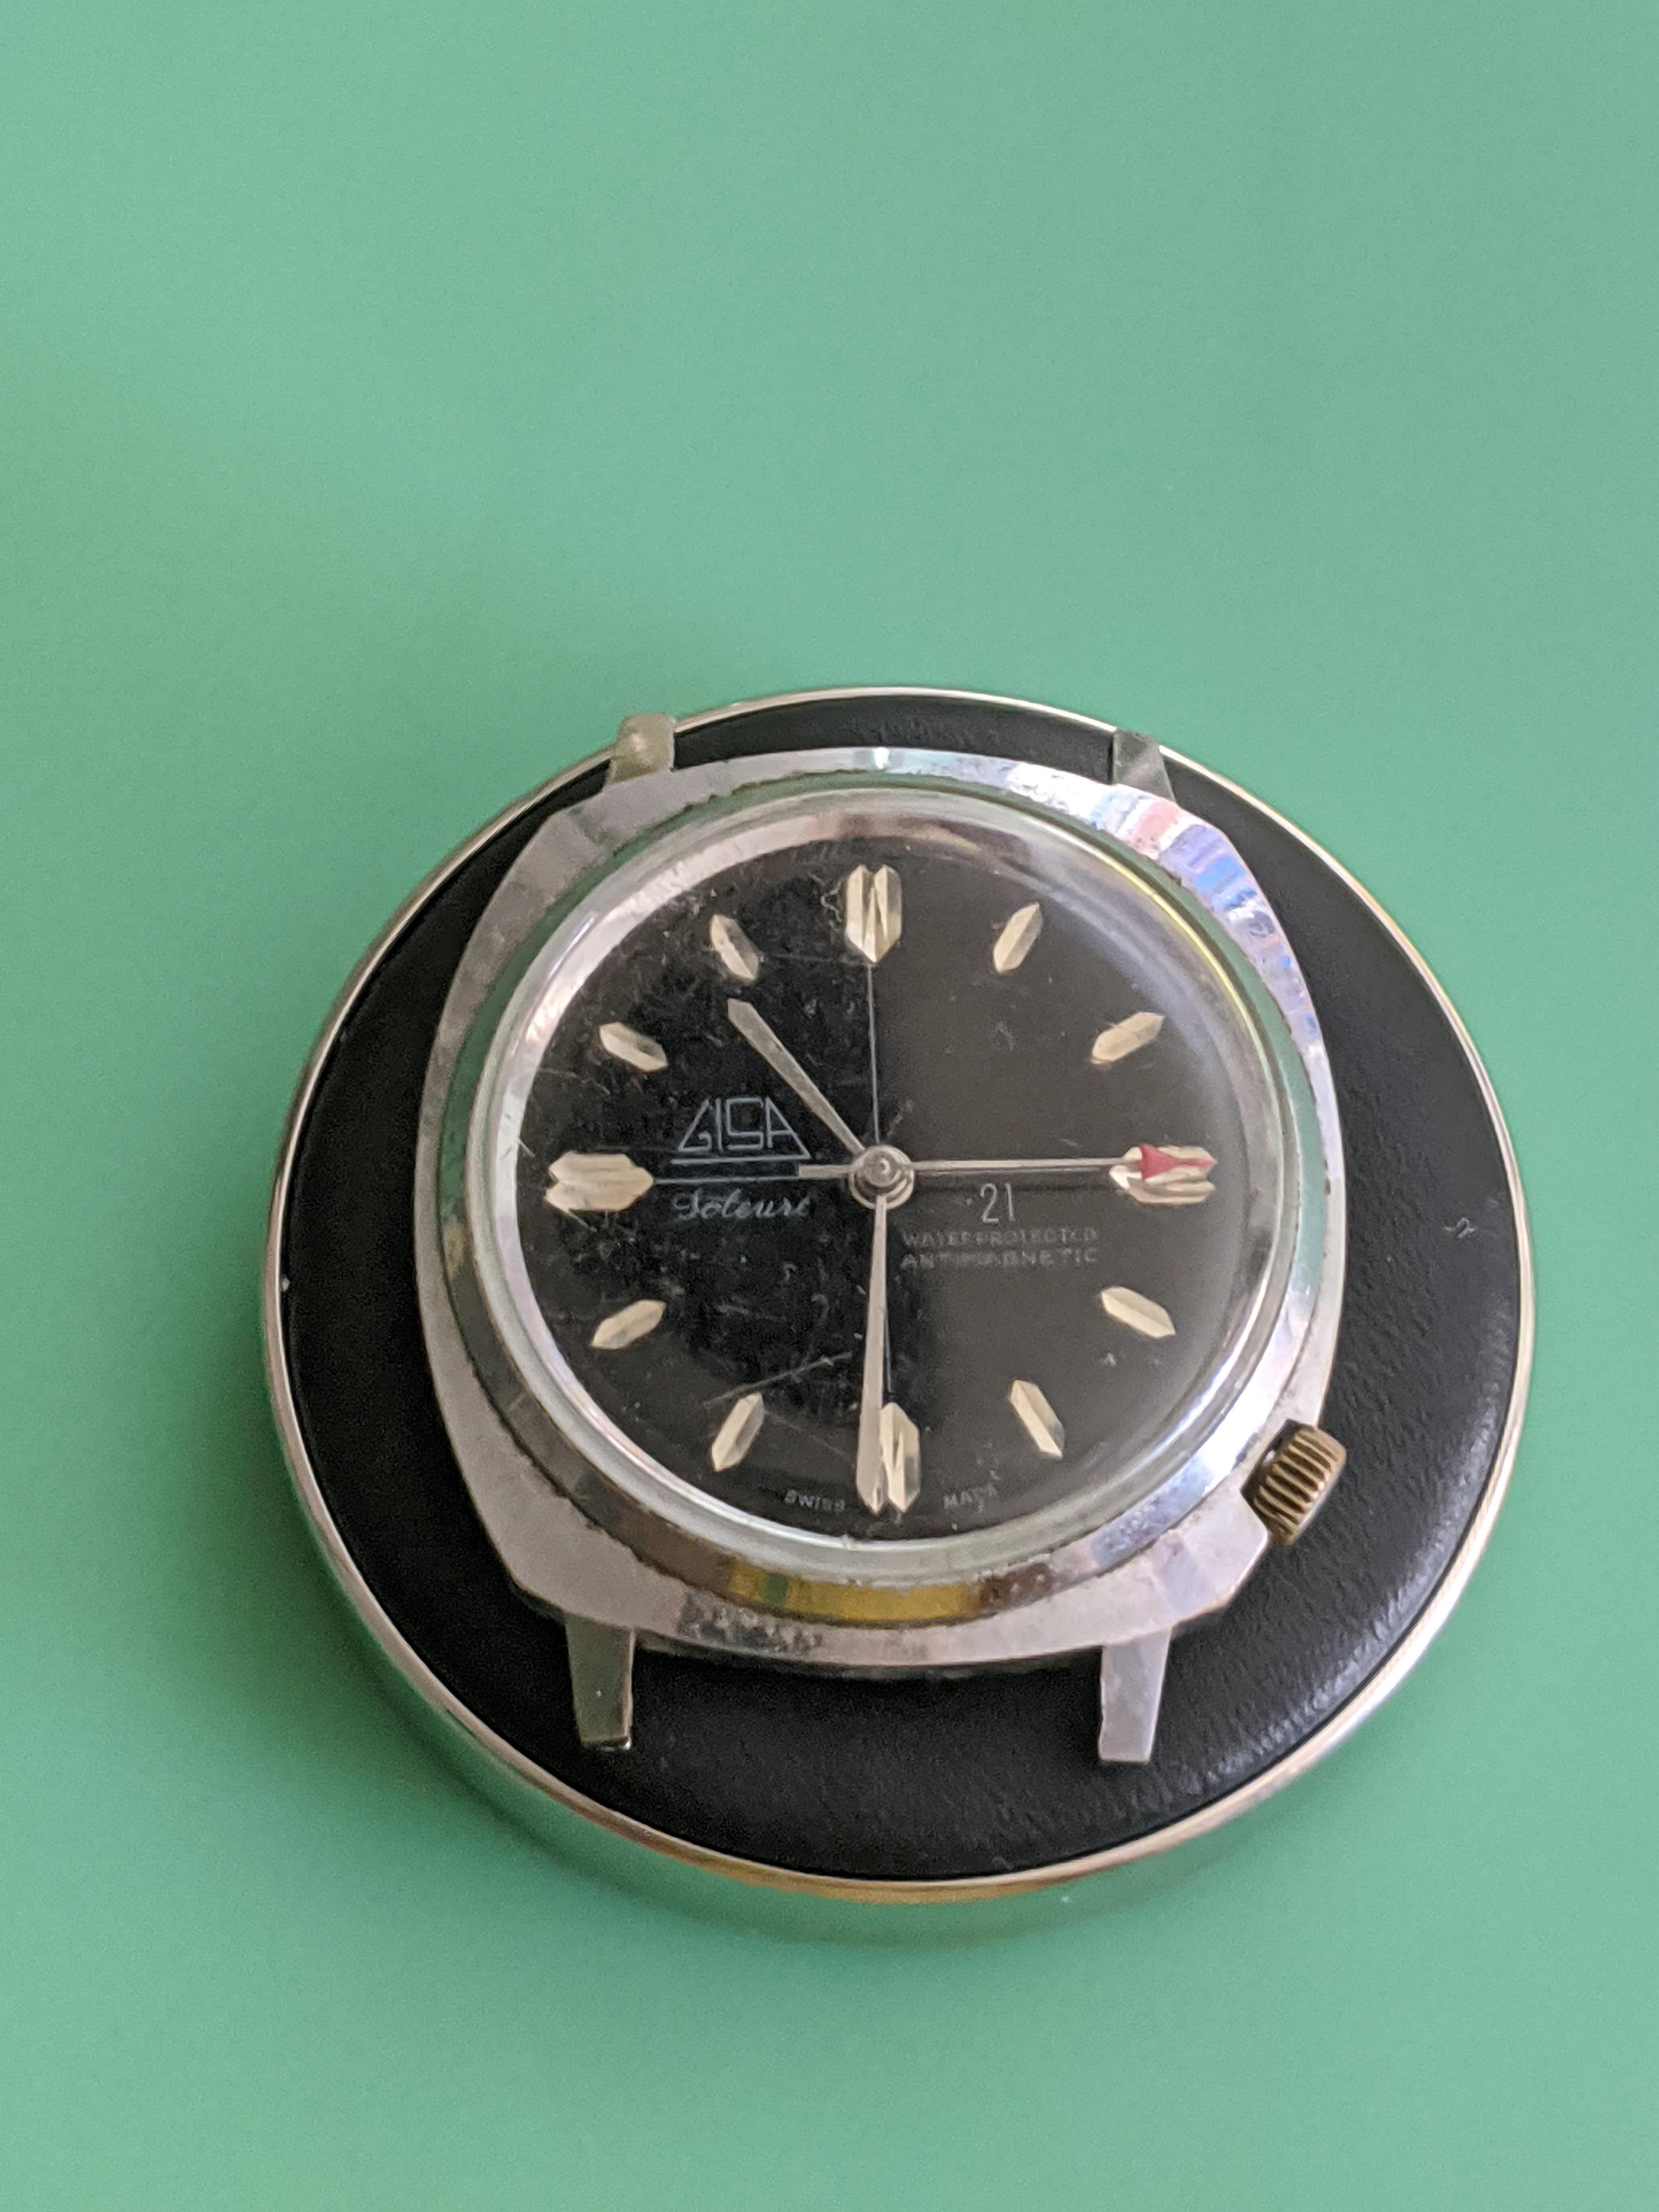
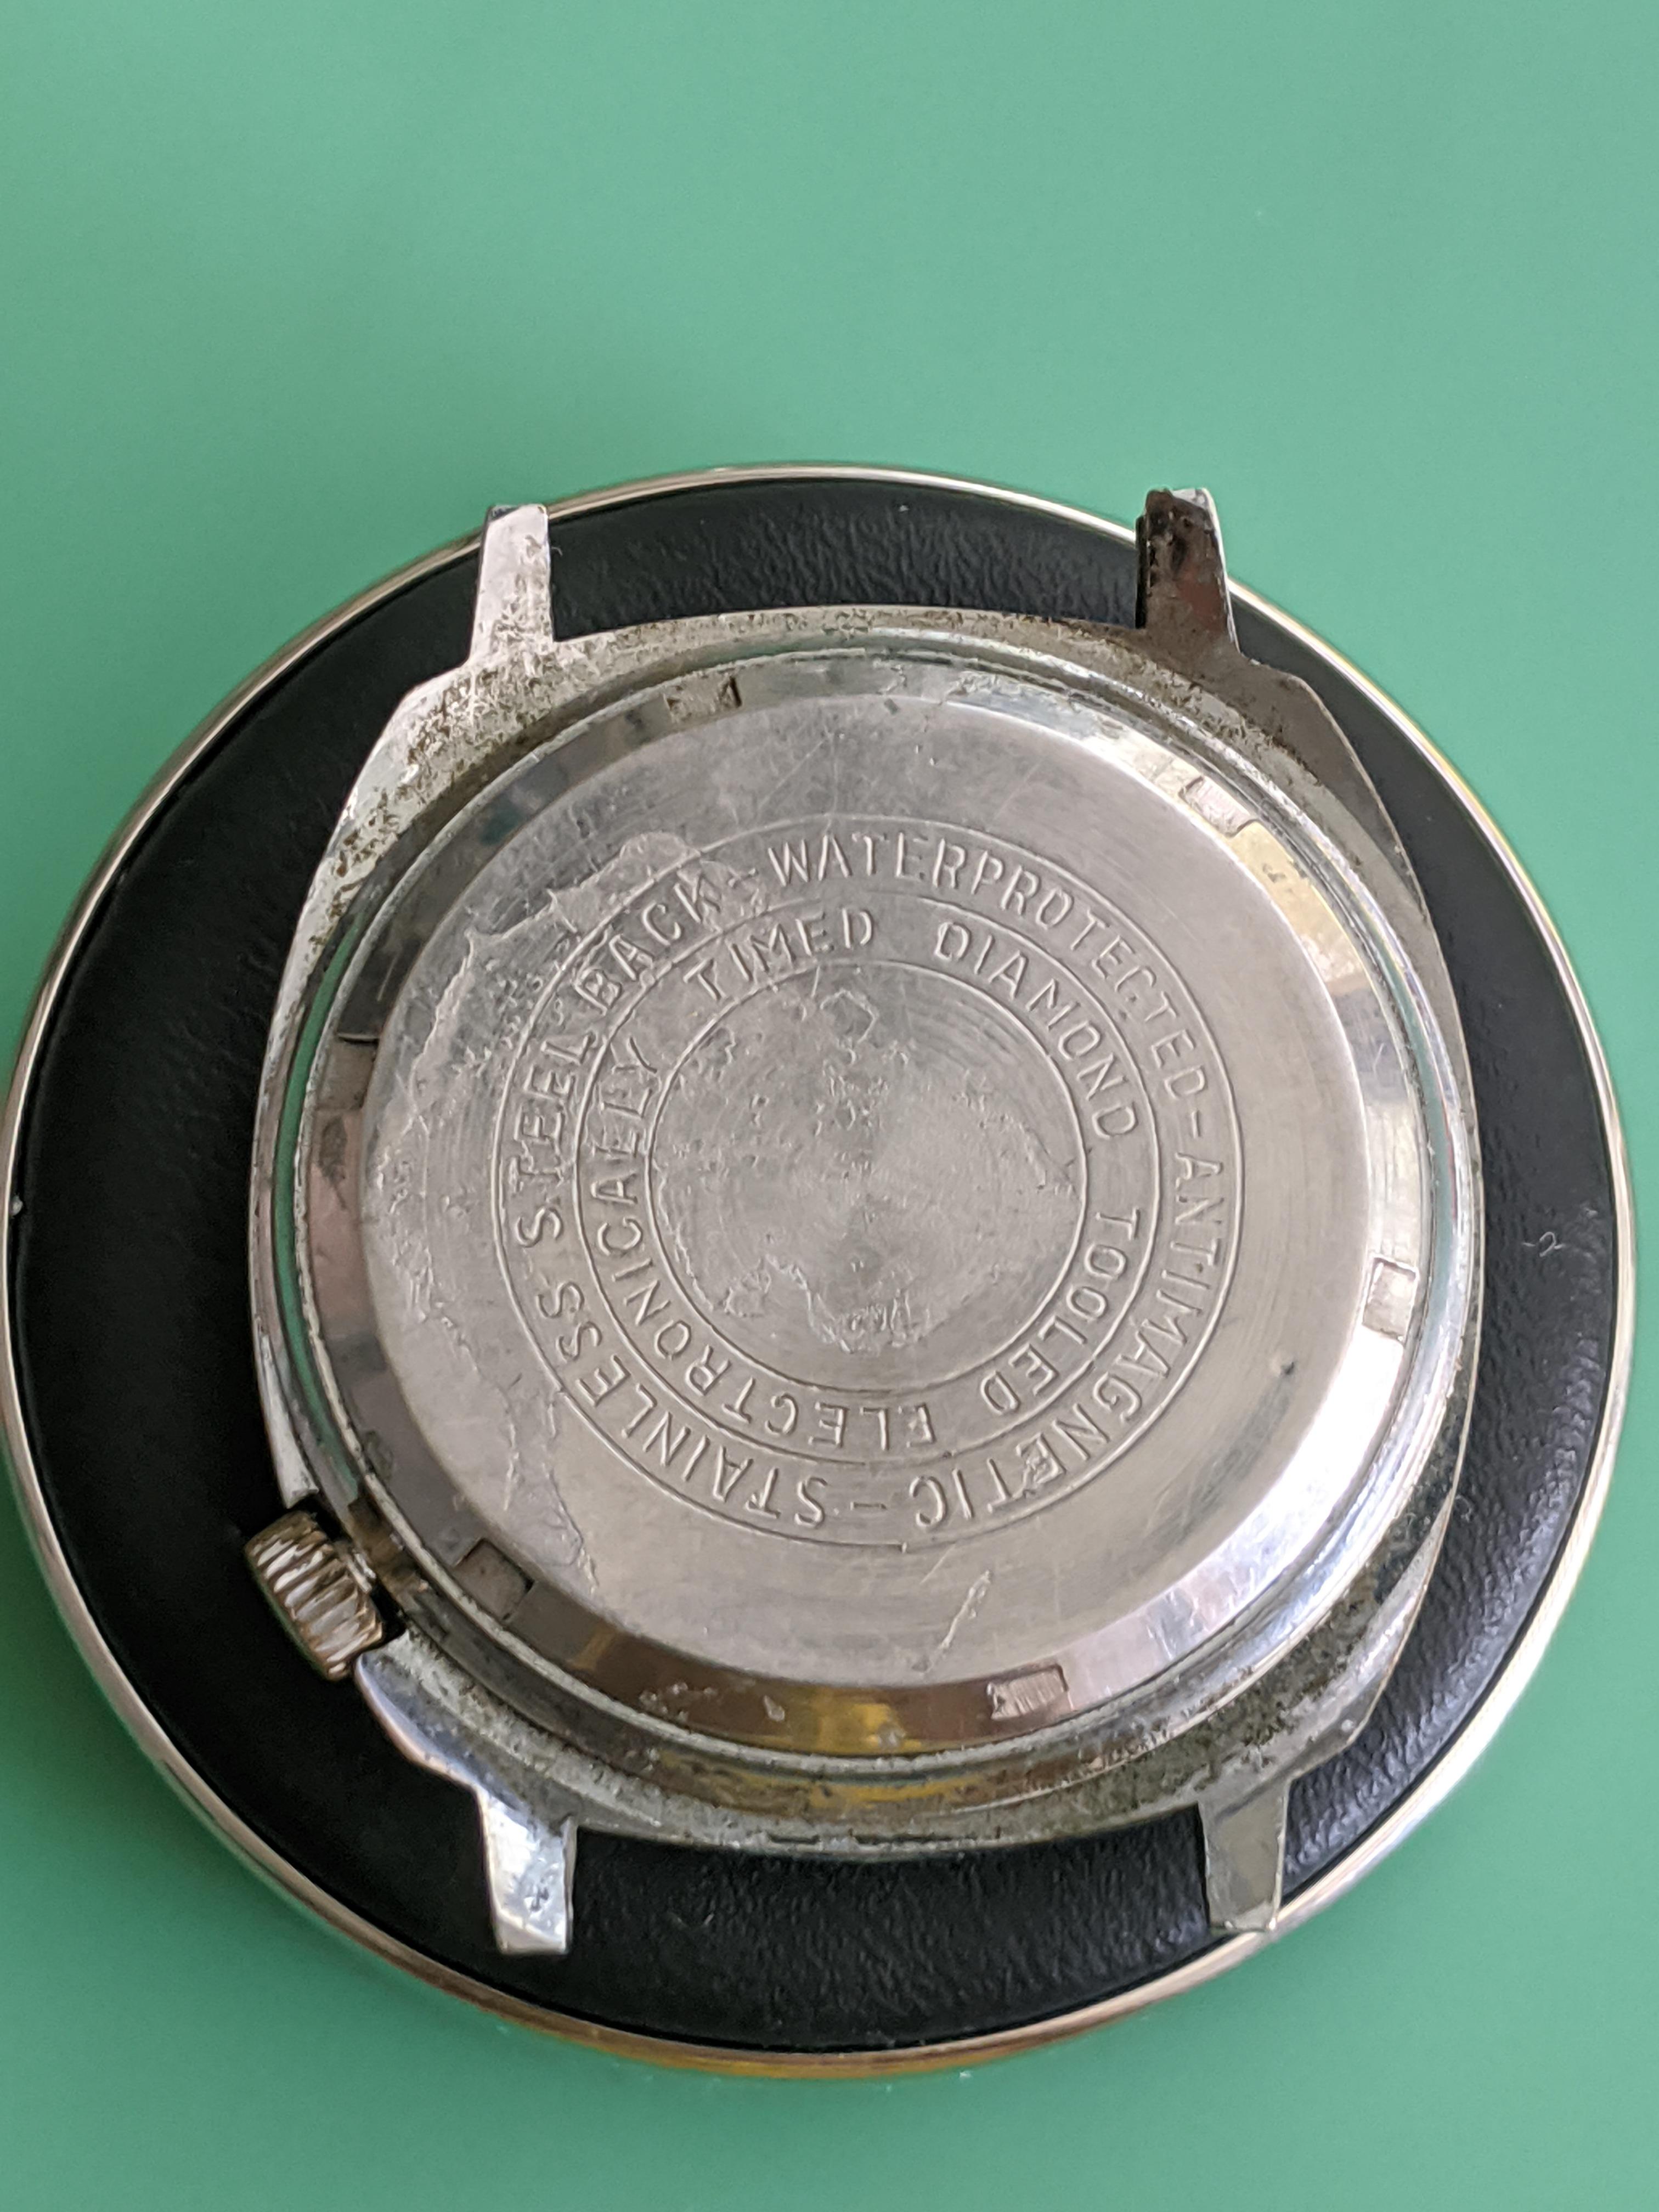
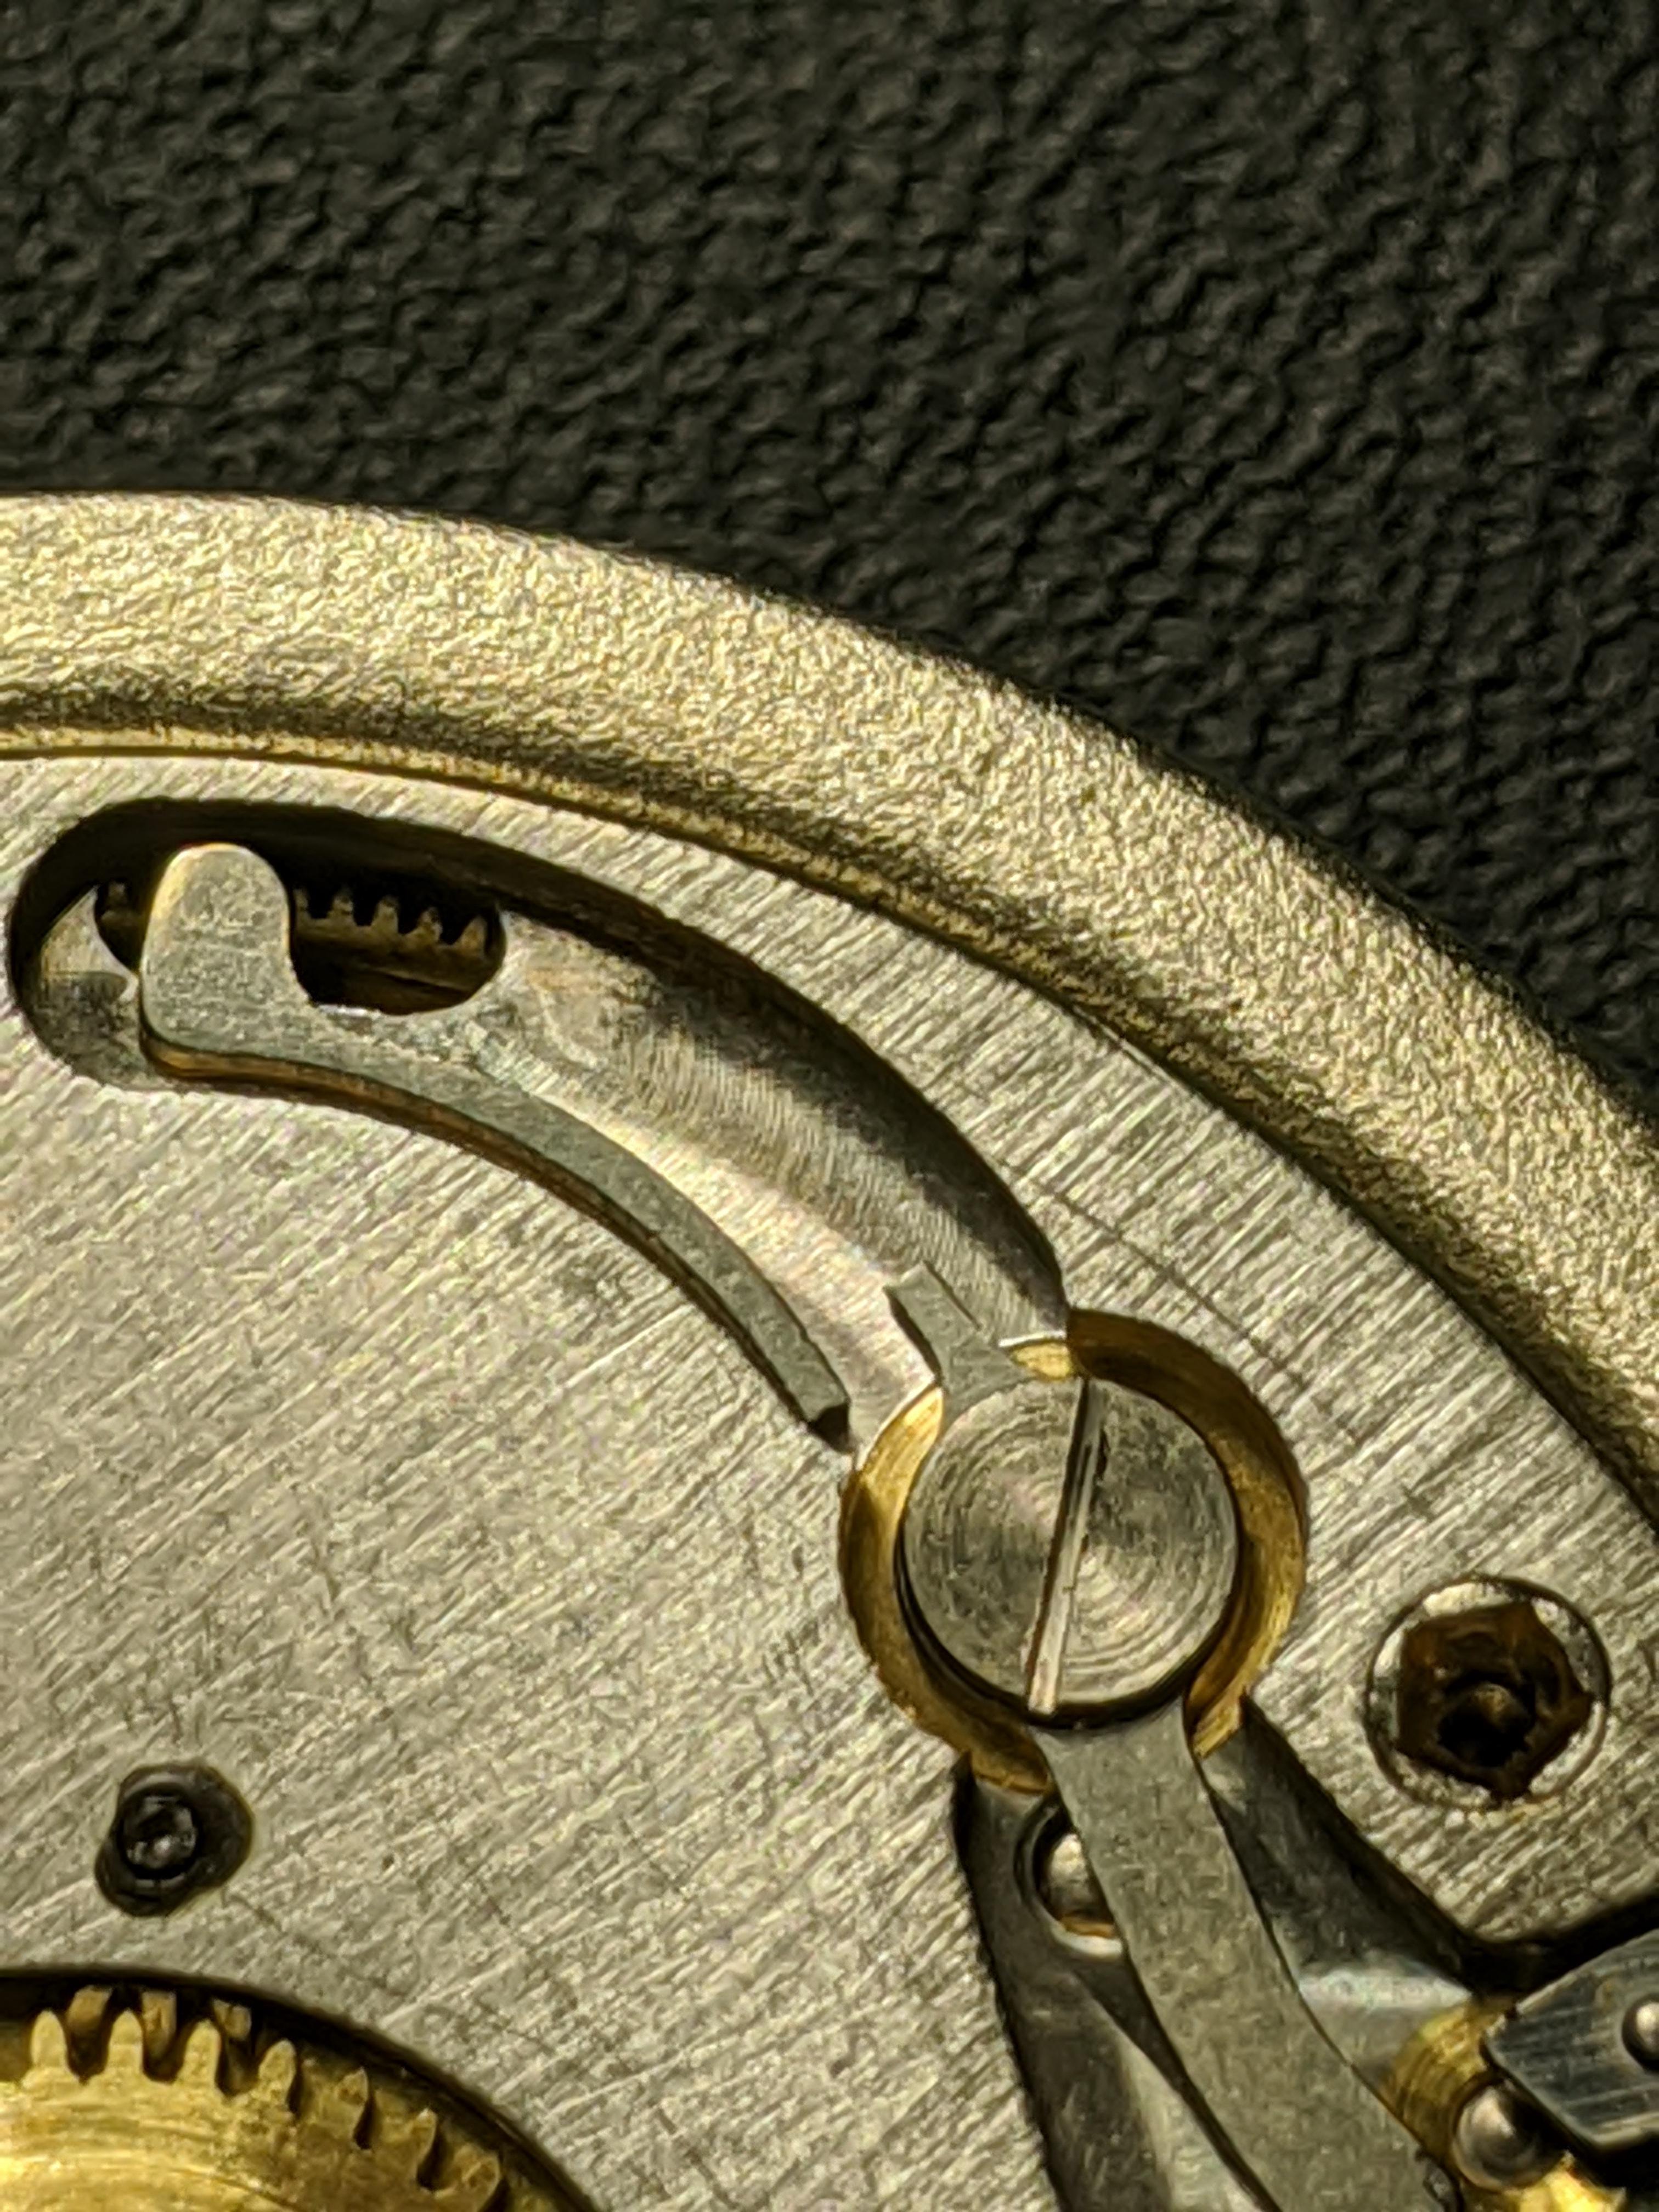
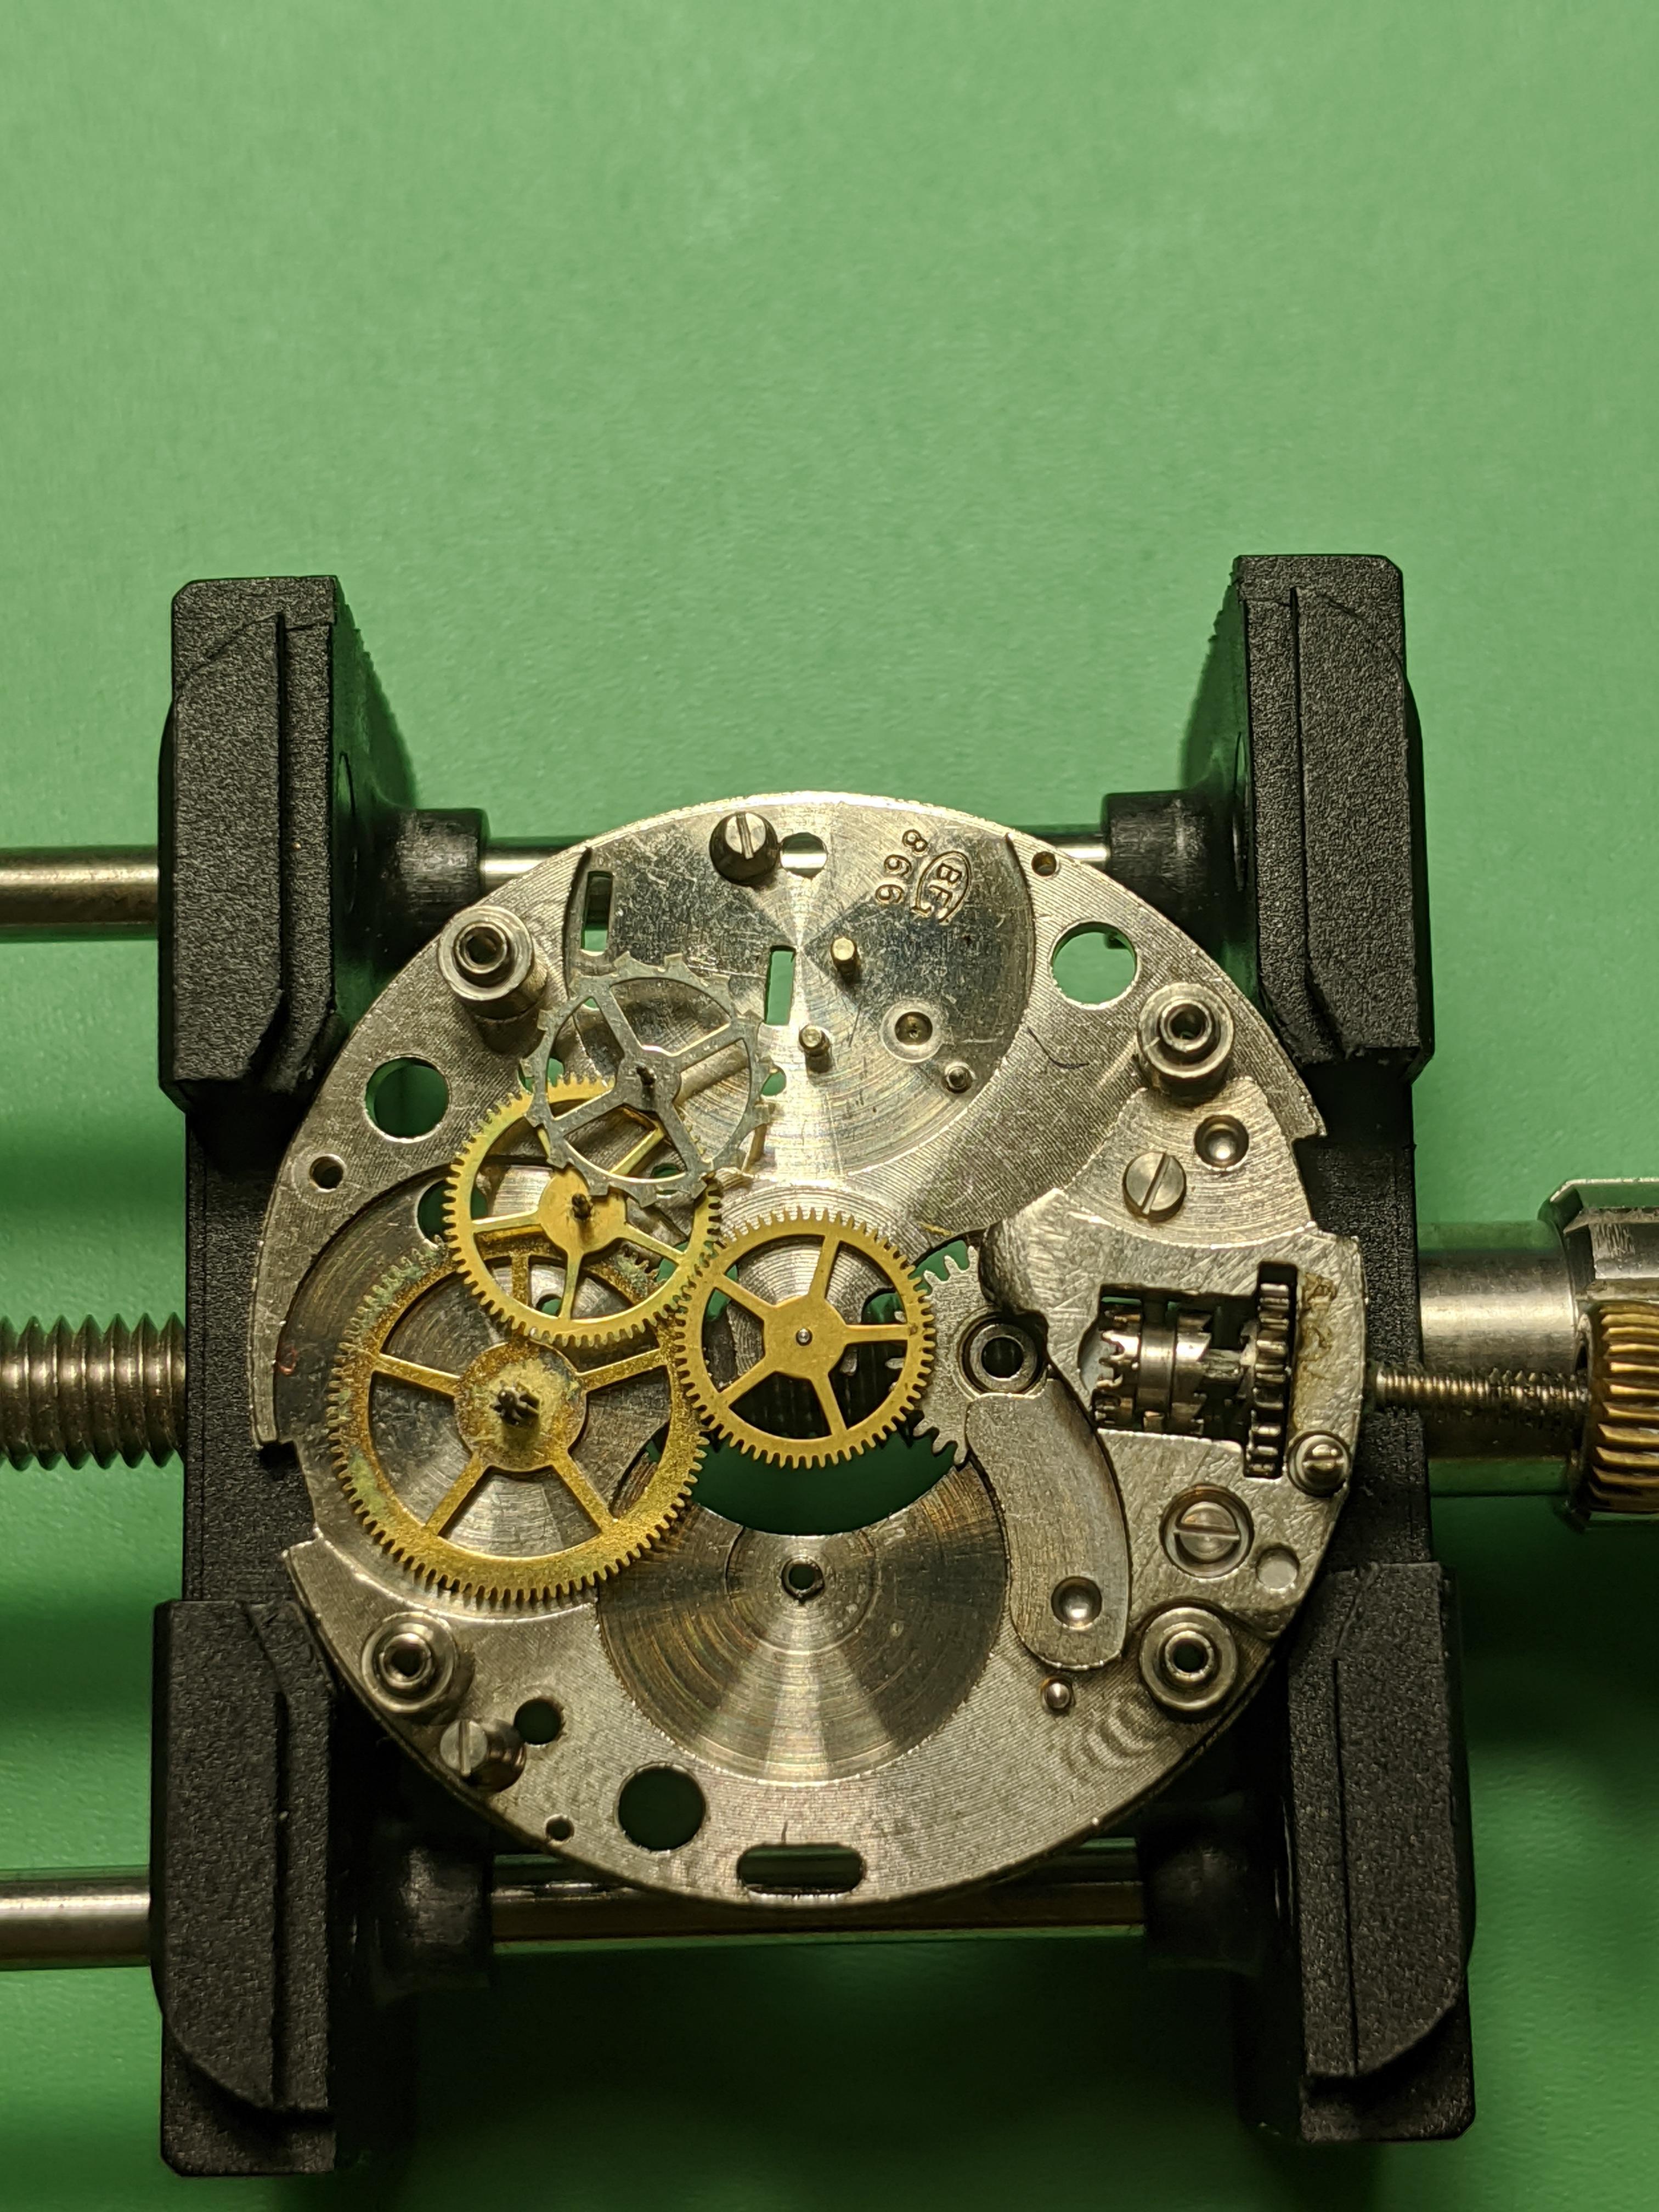
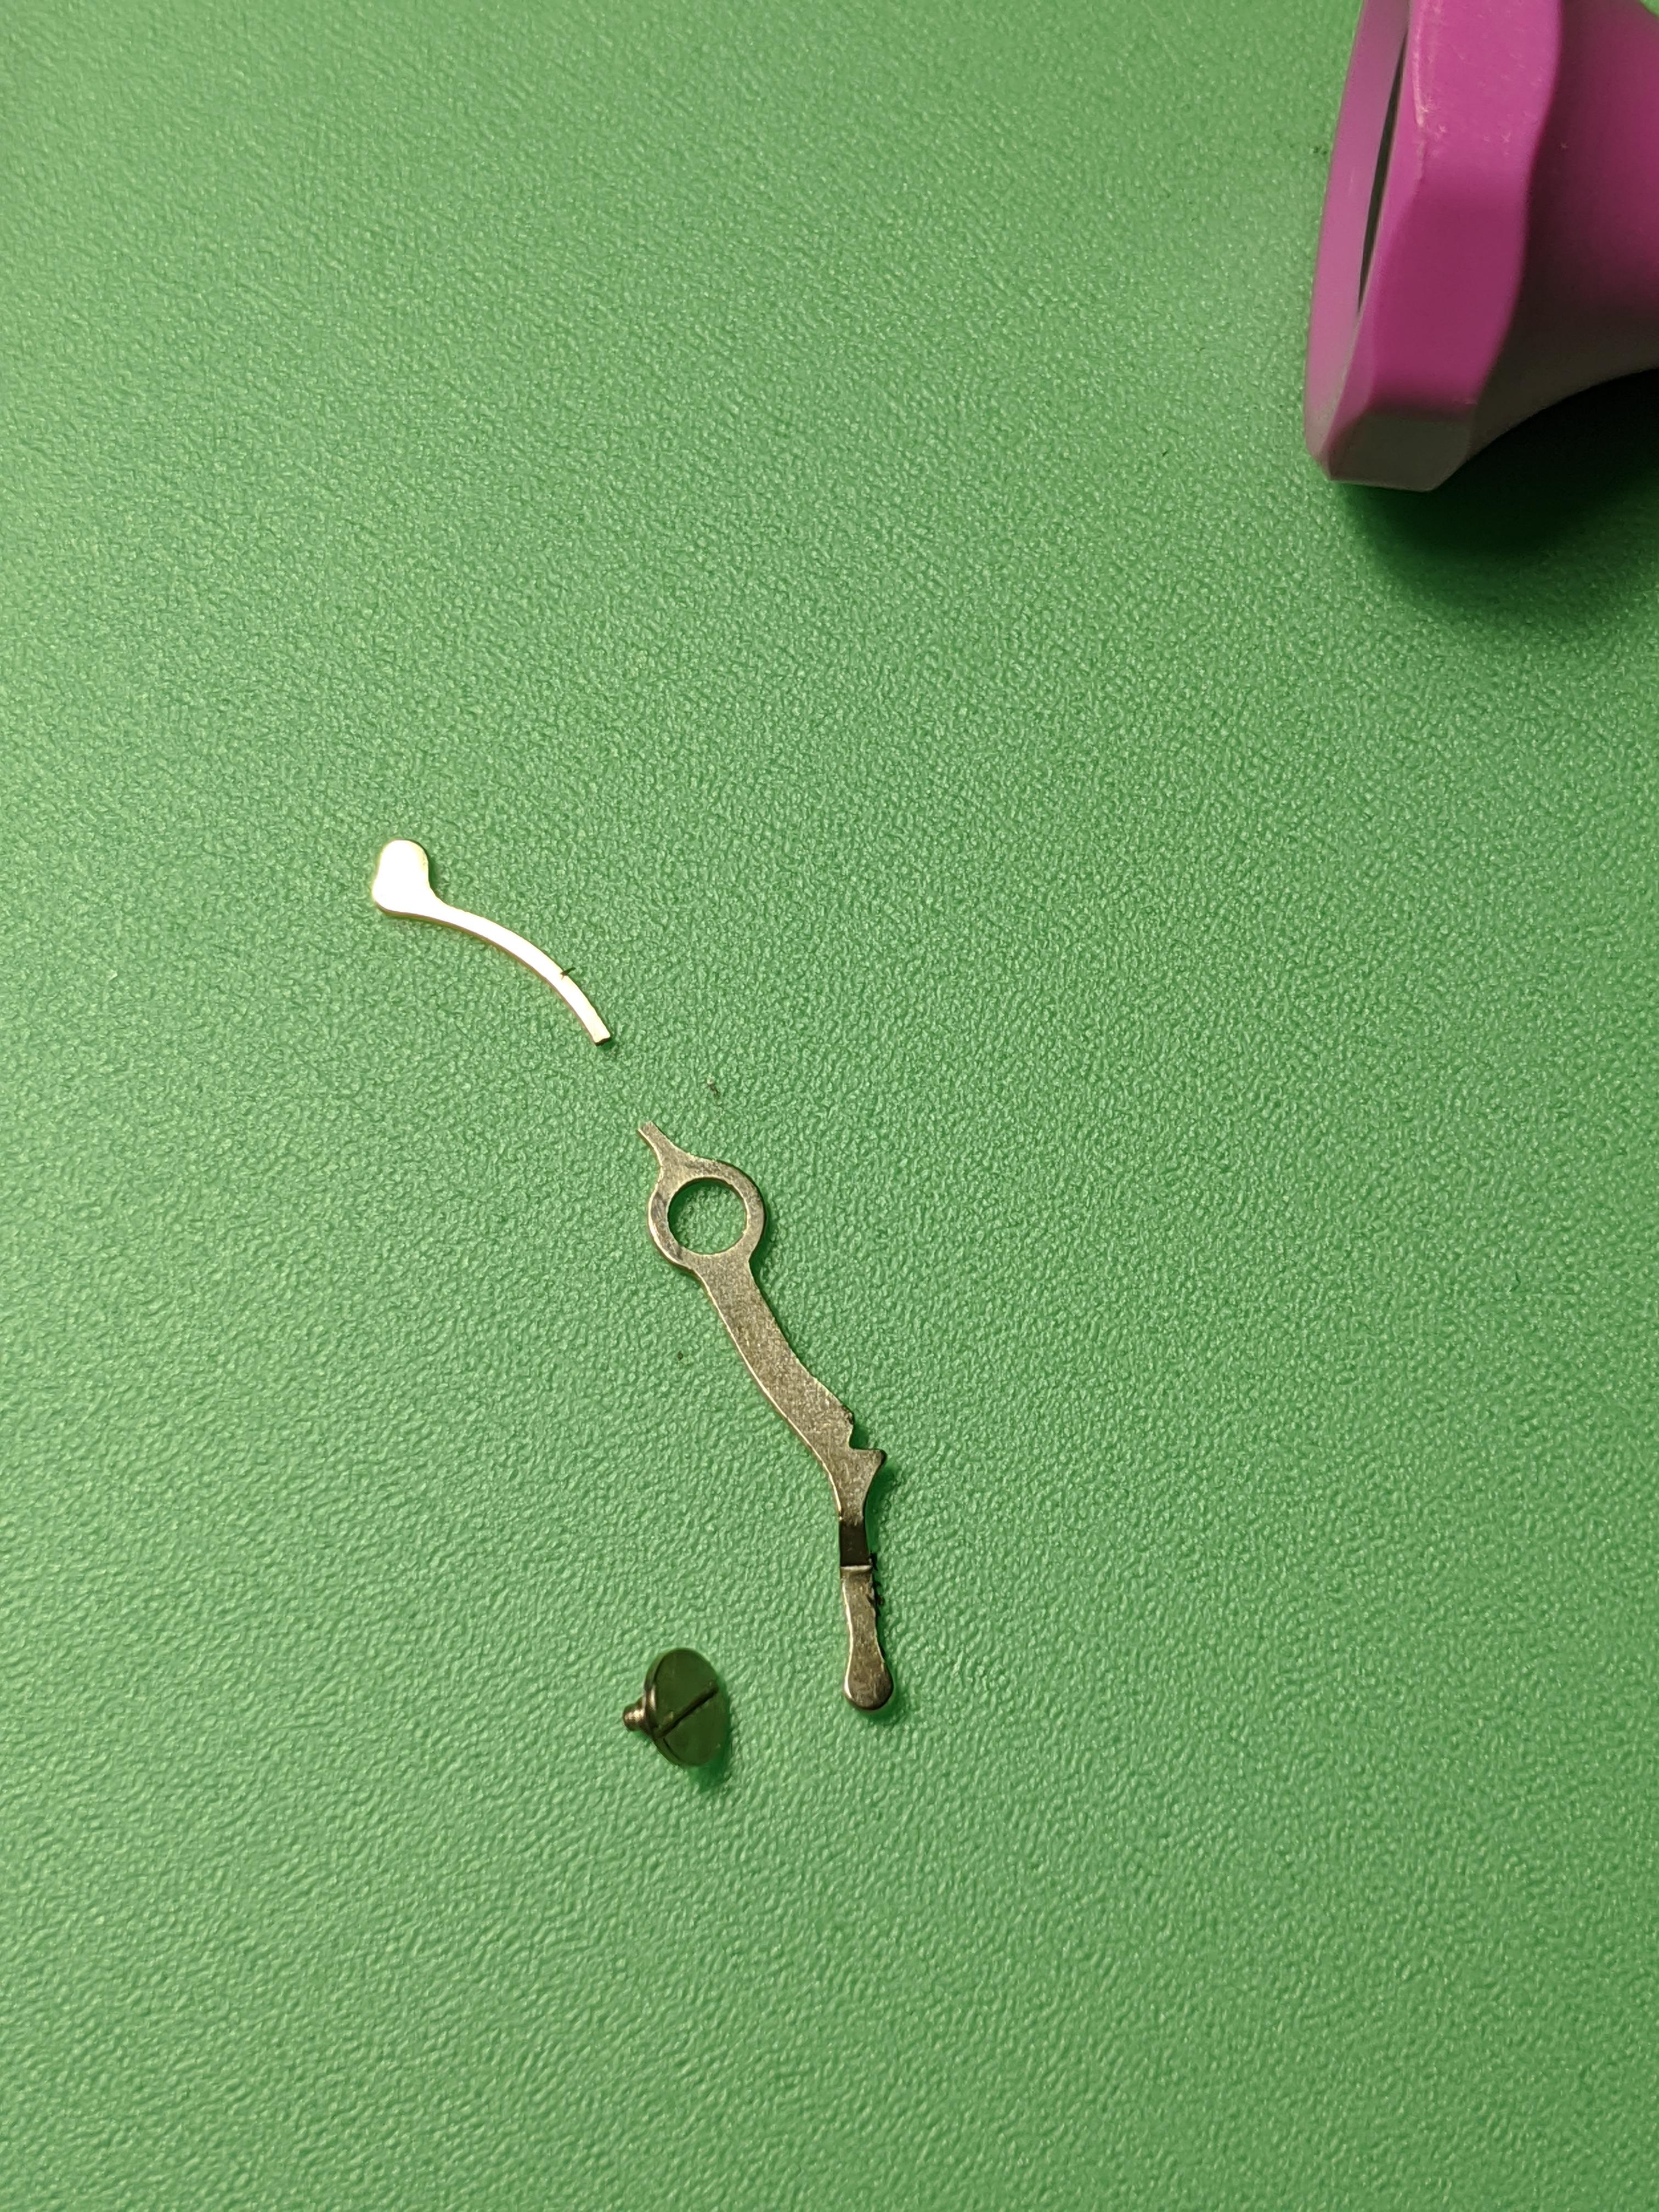
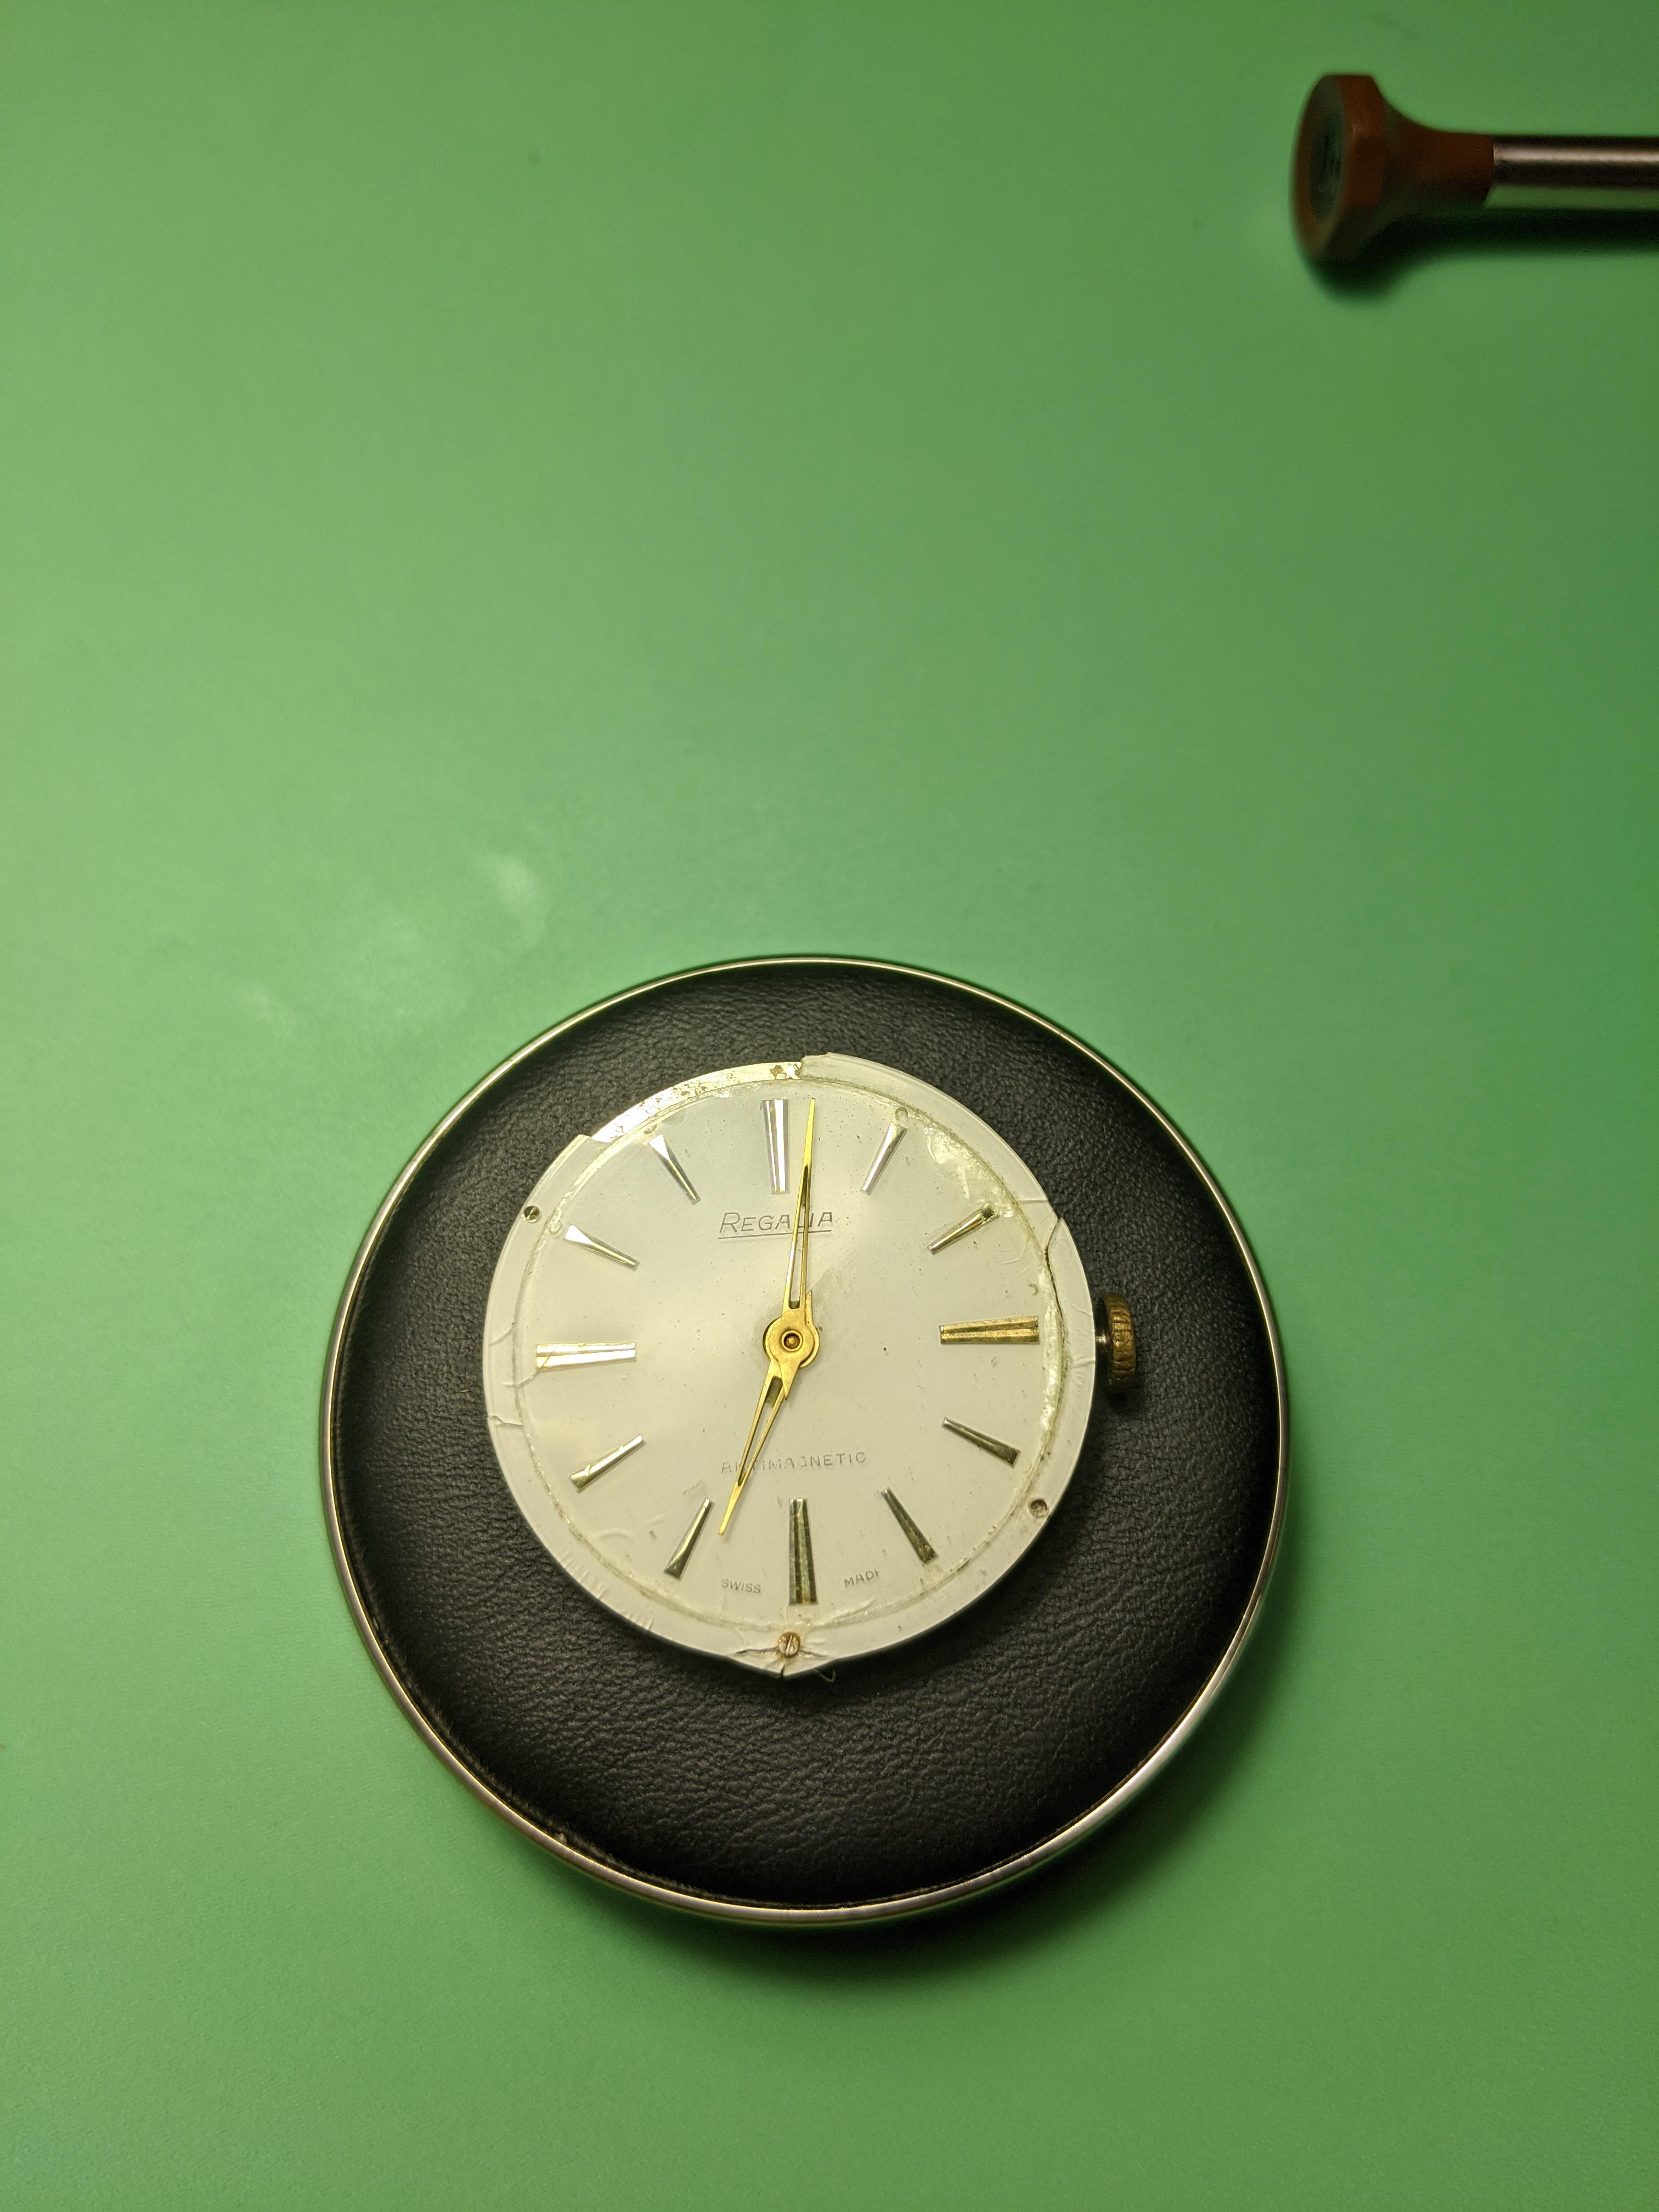
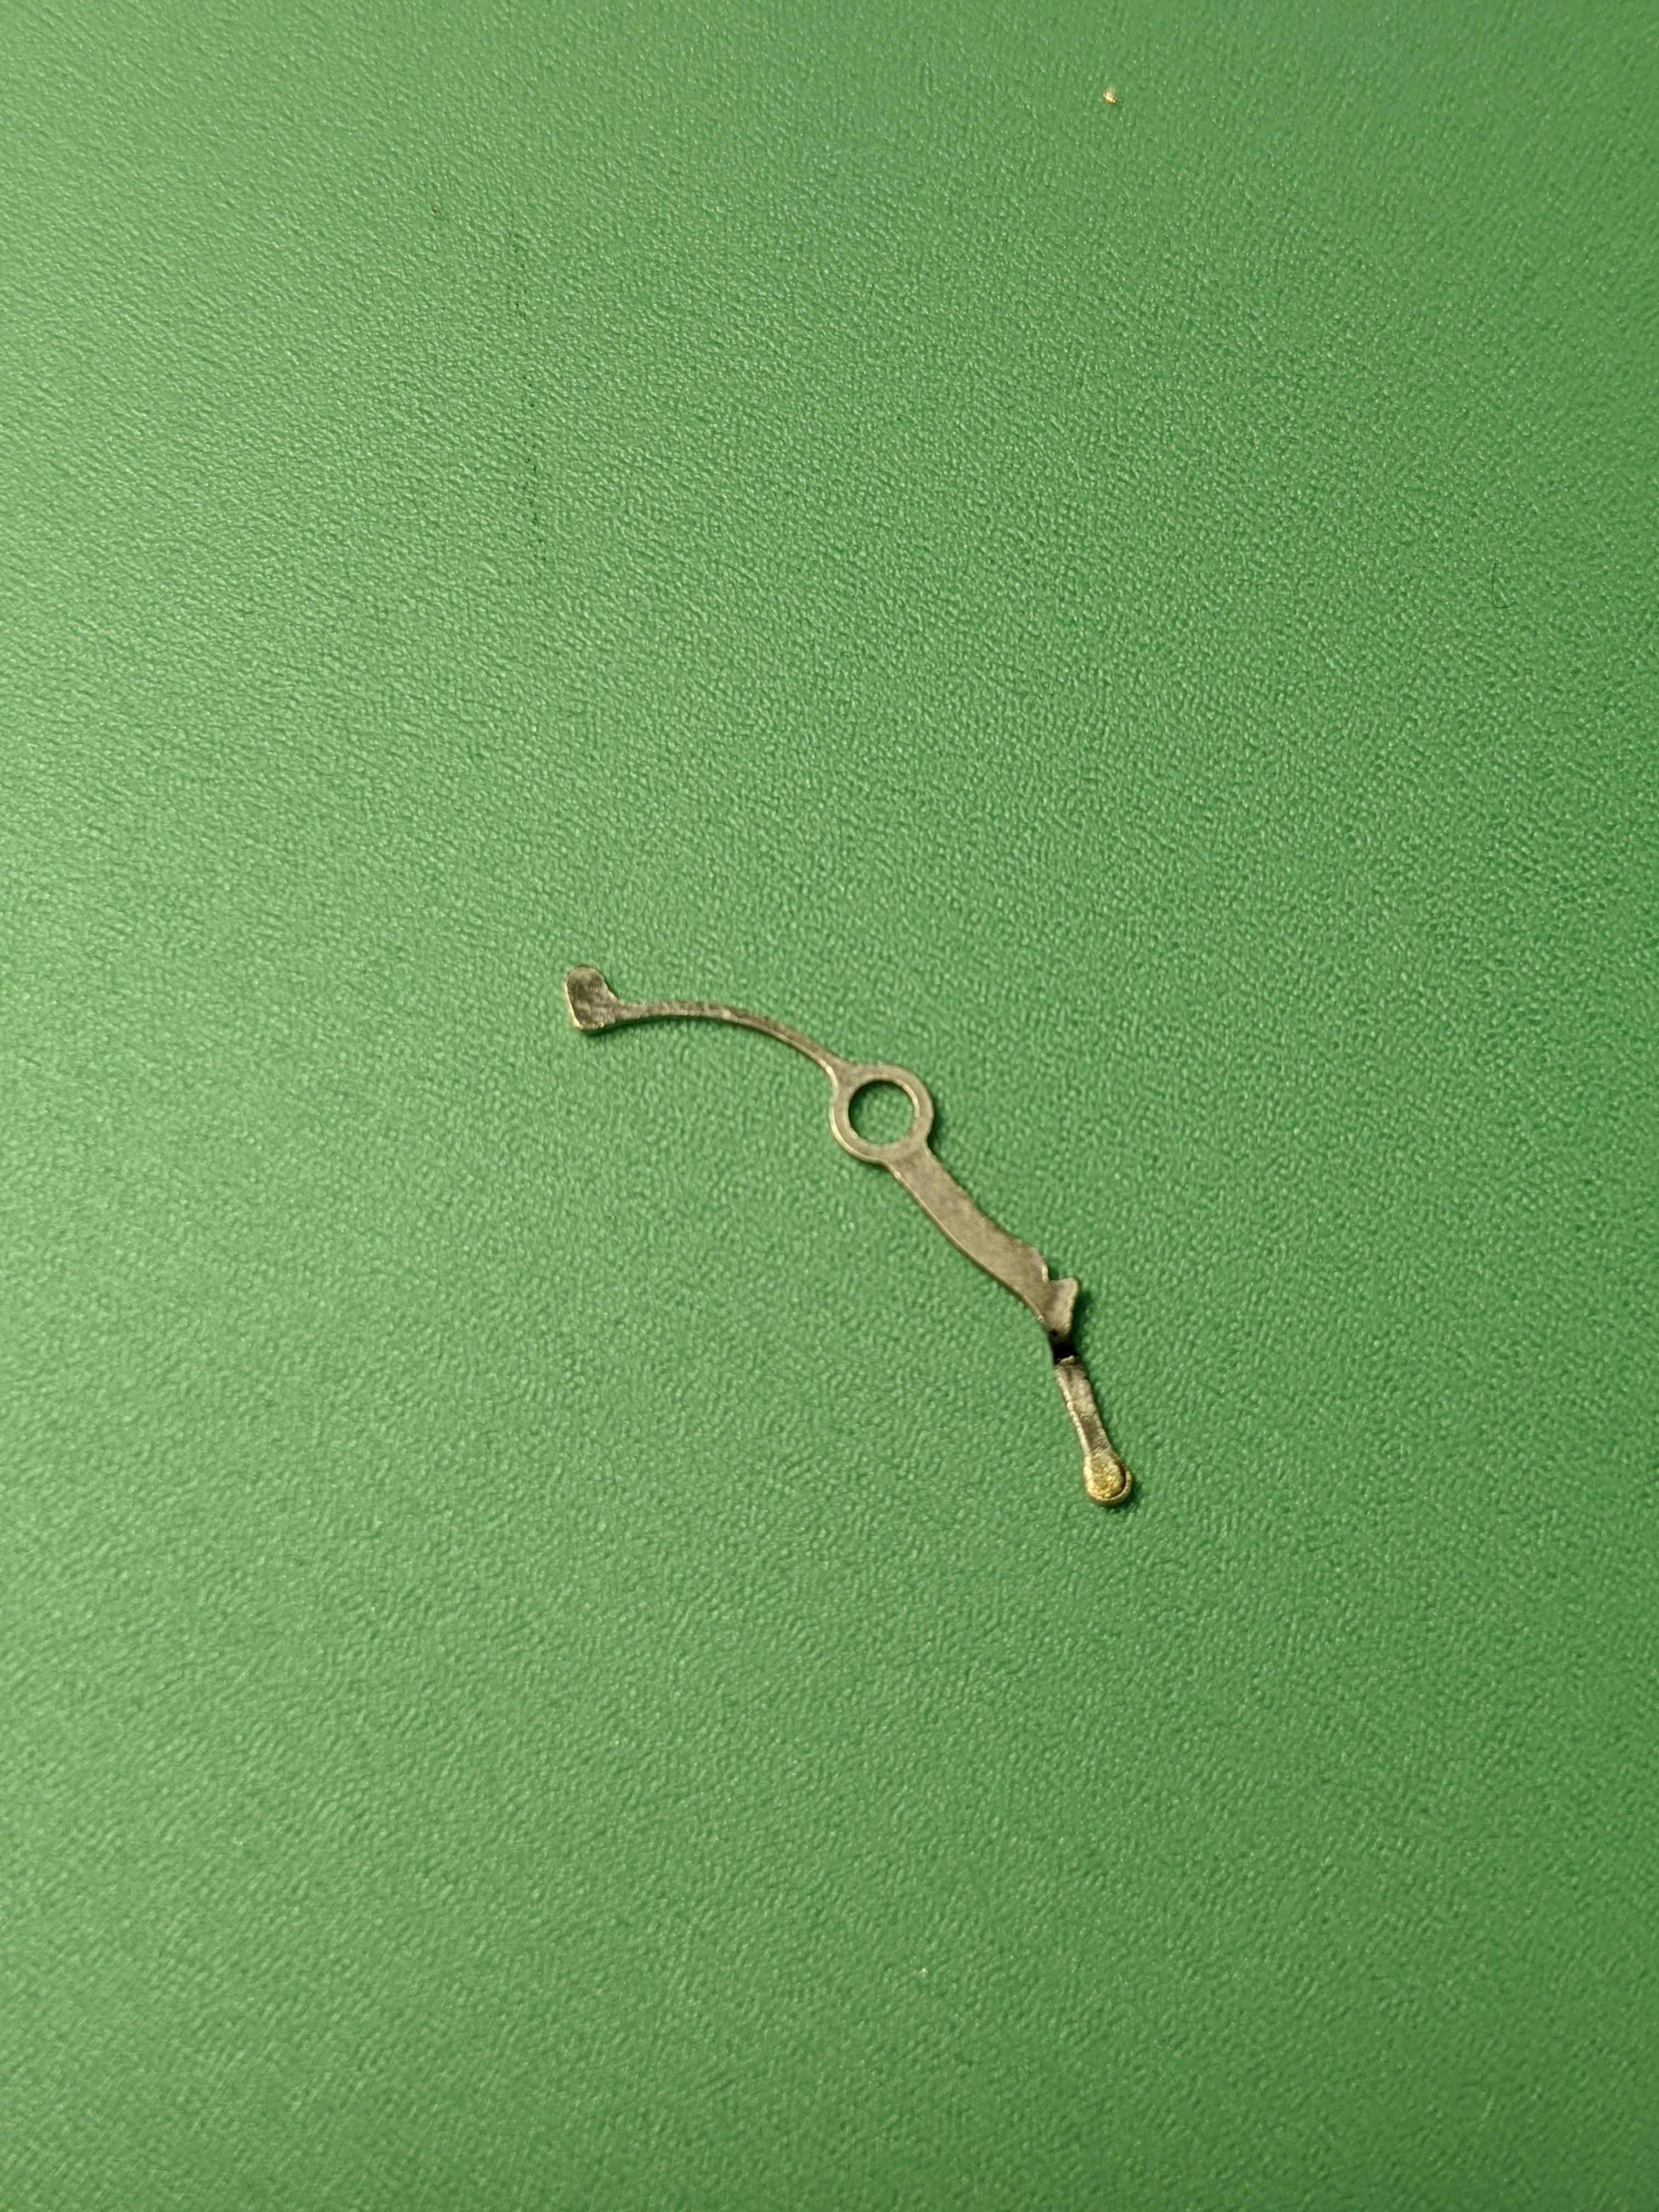
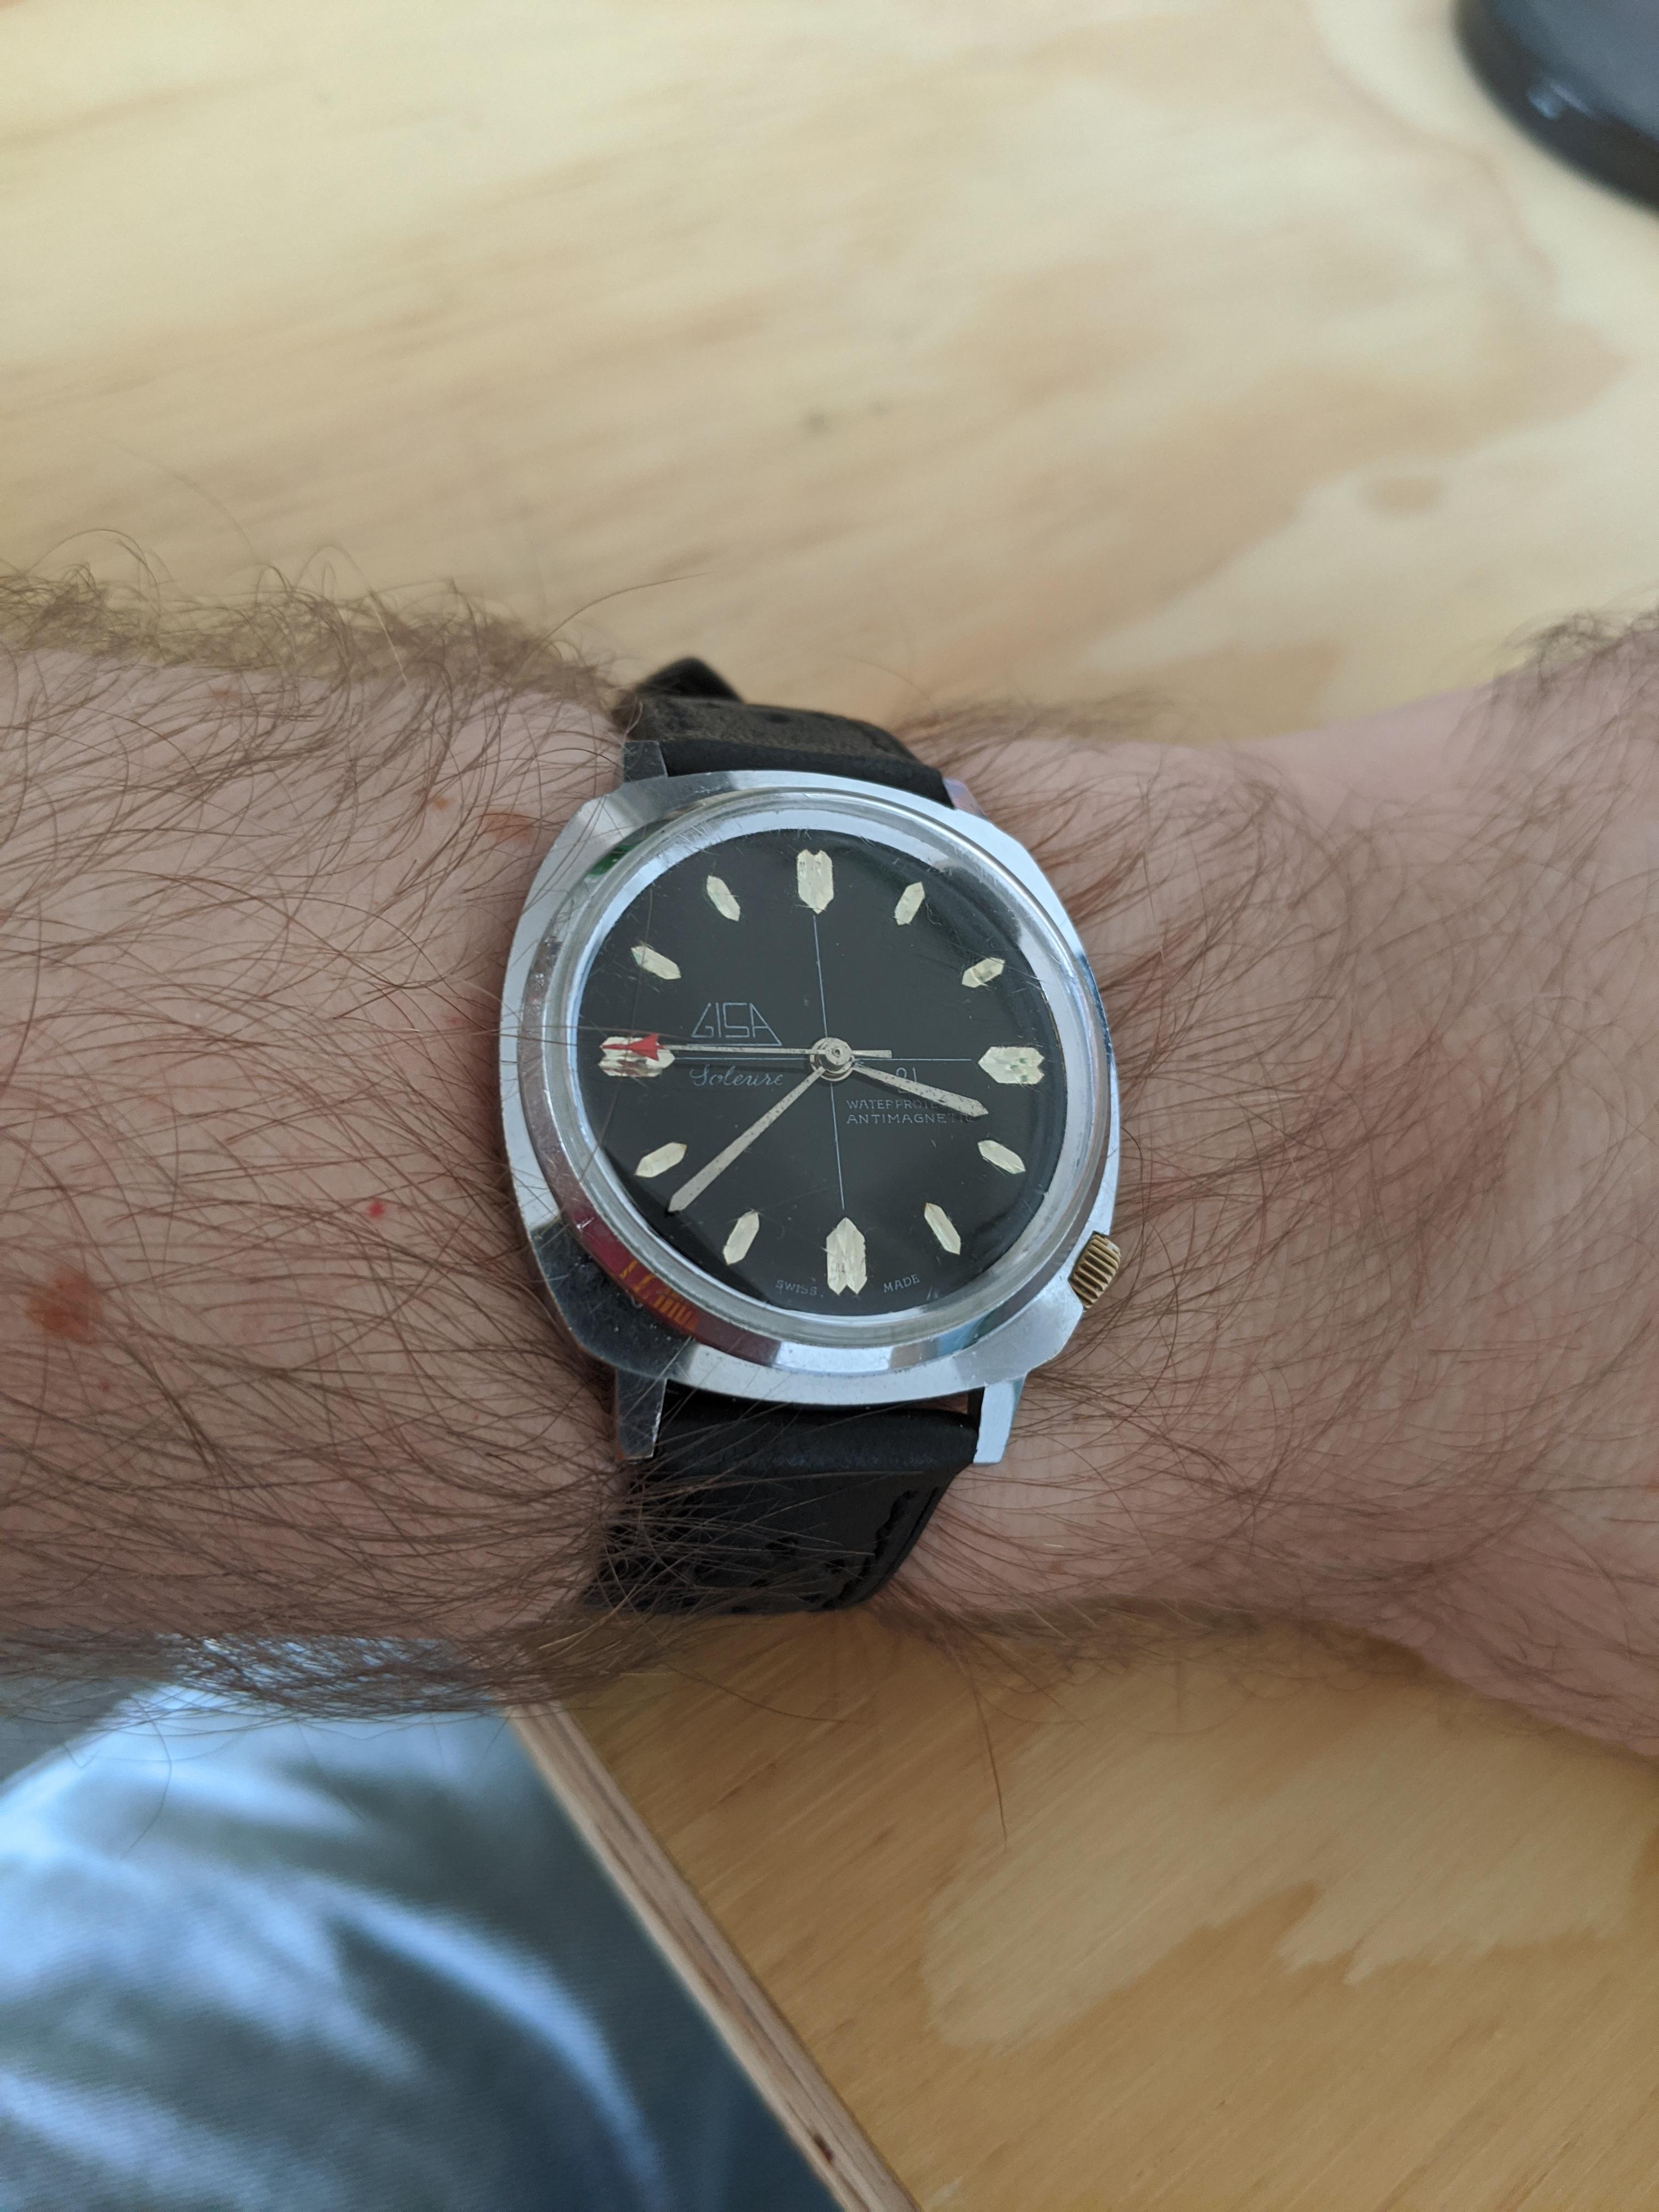
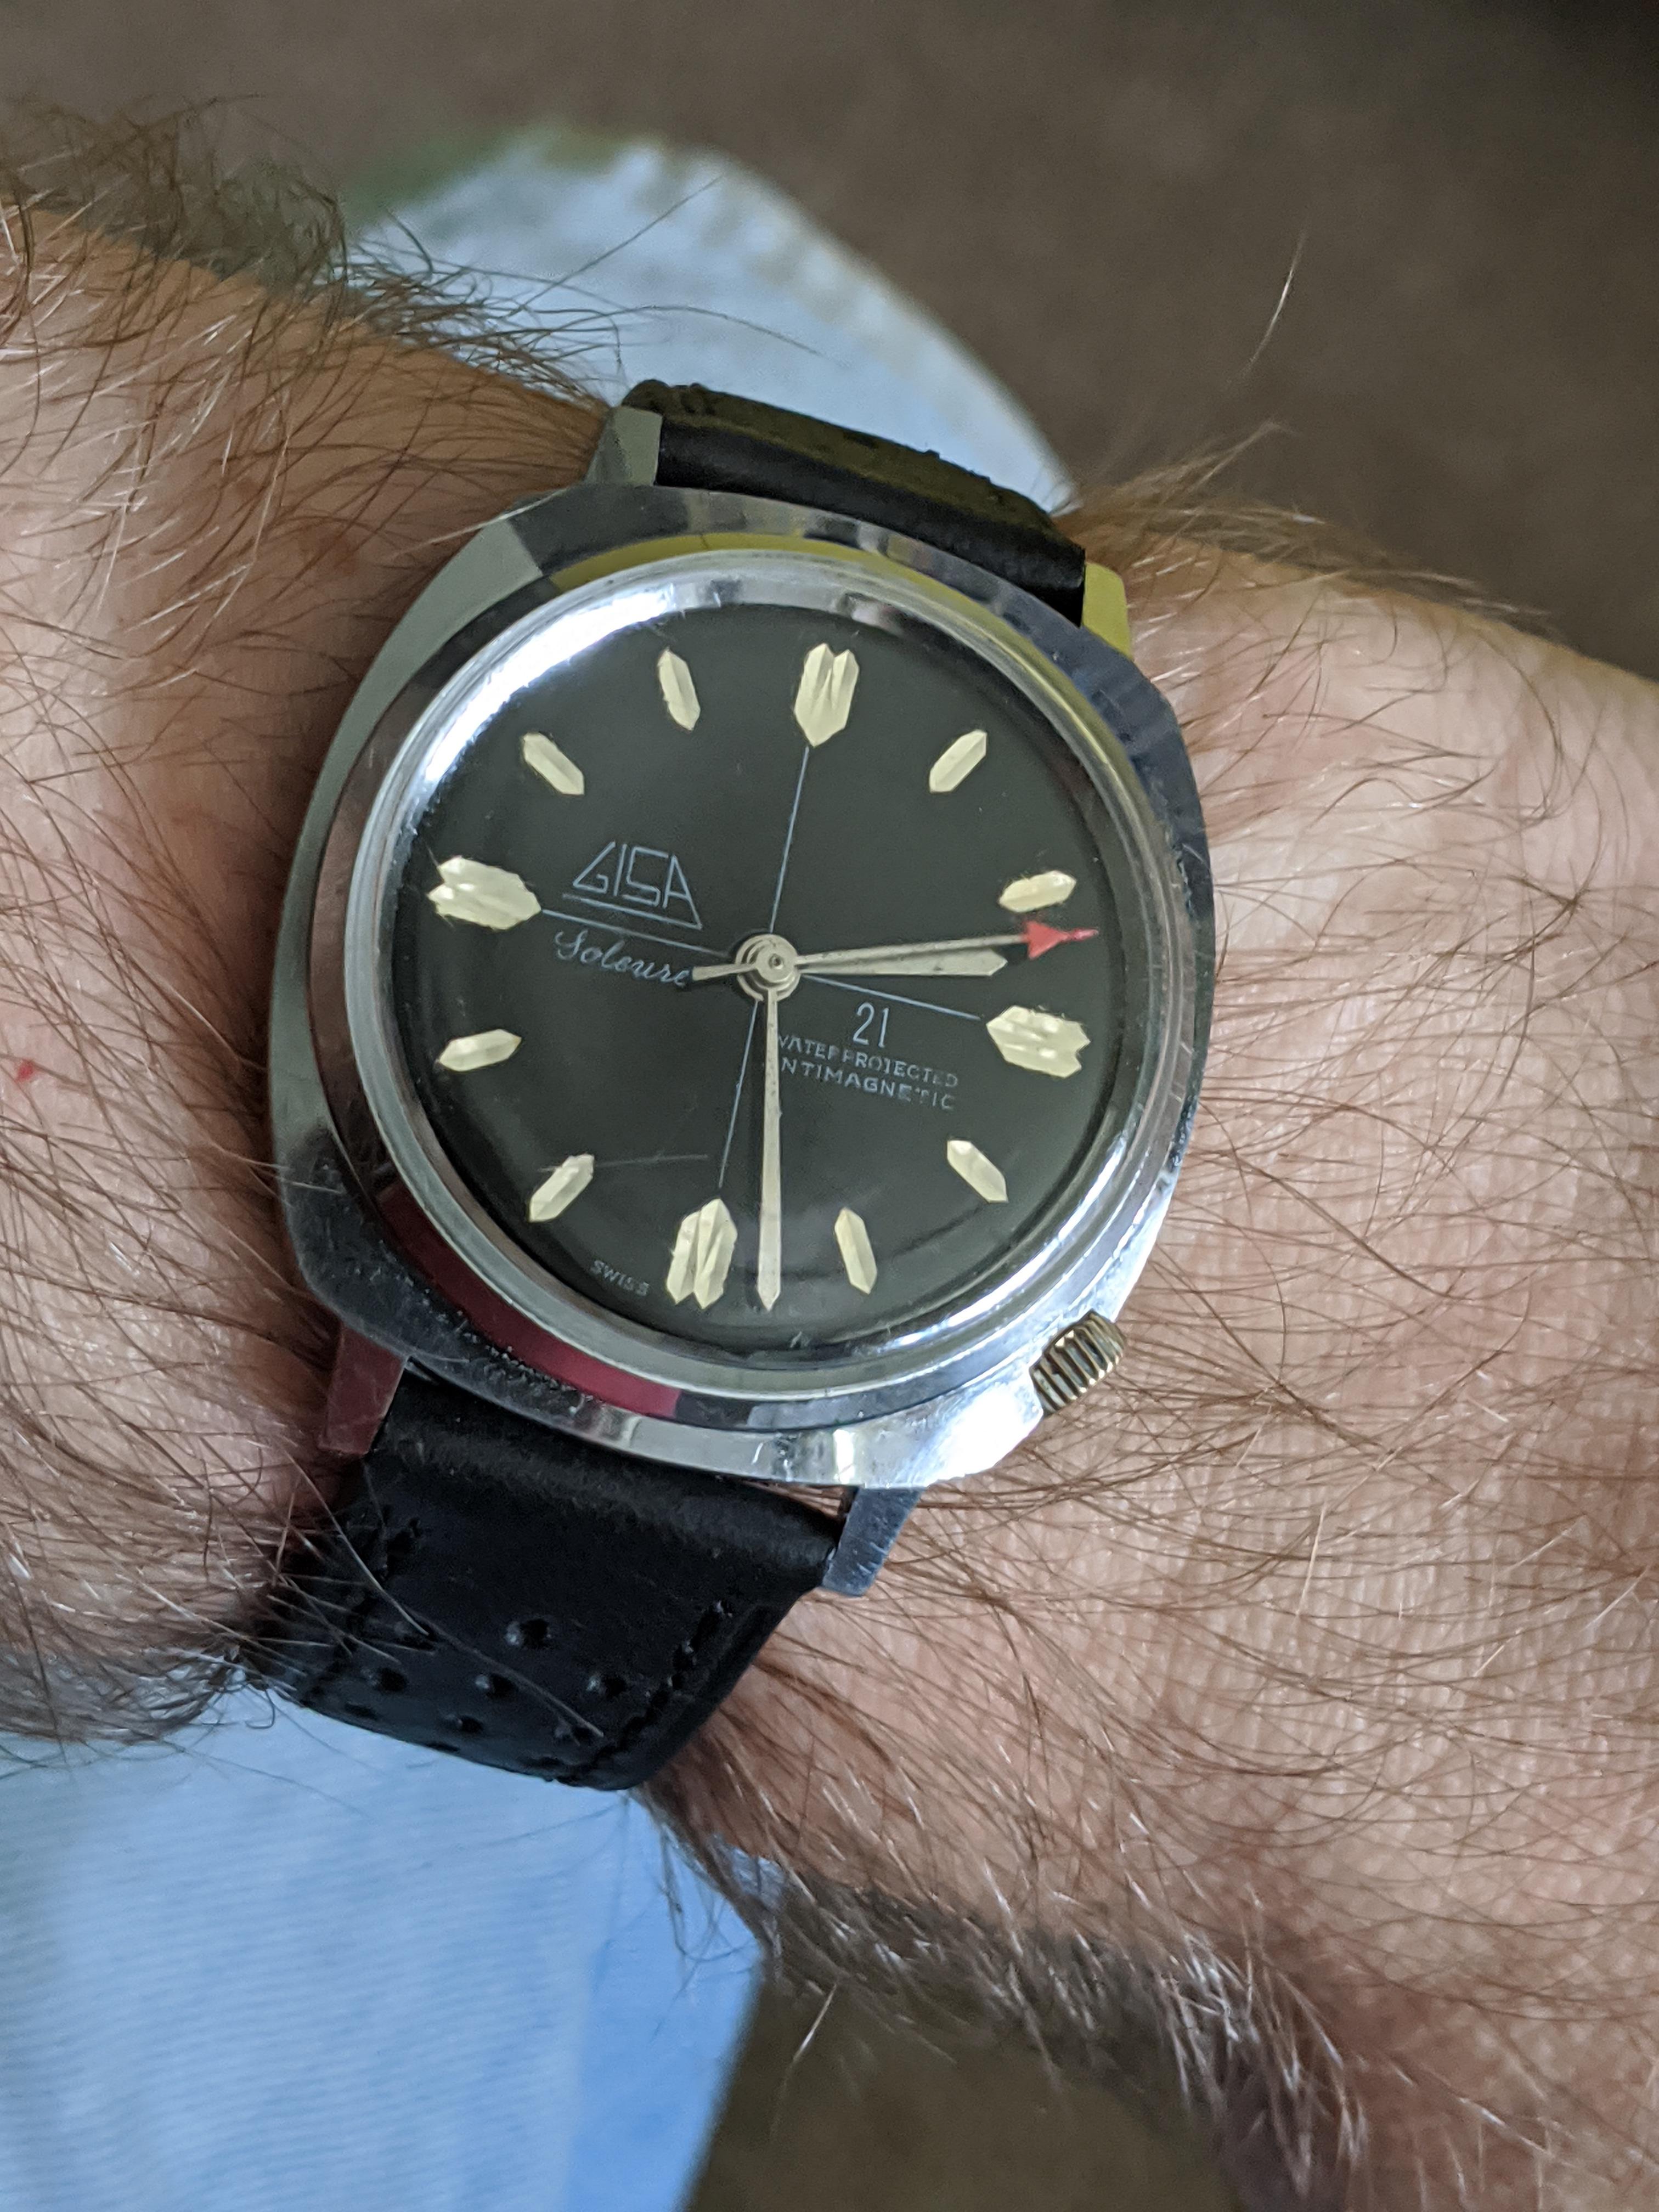
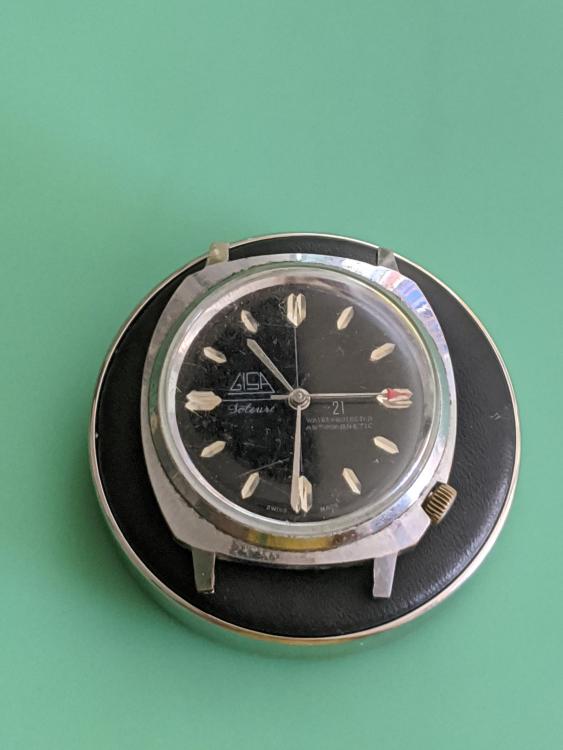
The next one from my ebay job lot, a 'Gisa Soleure', another Baumgartner 866 based watch, this time with centre seconds, the dial branding is a bit 'naughty'! I assume the 21 is meant to fool you... (note there is no mention of 21 what!, it certainly isn't jewels!) Many watches from the era seem to employ this ruse, and I've seen Ebay listings where these are stated as '21 Jewels' so it is still fooling/conning people today! This one was a little dirty and wouldn't wind, crown would just spin, on opening it up I found the setting lever spring/yoke (single part) was broken so it wouldn't stay in the winding position. With it open I held the sliding clutch and wound it a little, but there was then the telltale slipping noise after a few turns of a broken mainspring. Going through the rest of the batch, I found a Regalia also with a BFG 866, it has a badly damaged case,dial and crystal, so I raided it for its setting lever spring and going barrel. Another note on how clever this movement is in terms of cost down, the four screws securing the top plate, which serves as both train and barrel bridge, also secure the click spring, click spring hold down, balance cock and pallet cock. It does make reassembly a bit more challenging though! After a good clean, strip and reassembly/lubrication, it functions reasonably well (within a minute +/- all positions which will do so far as I am concerned). The crystal has some light marks, I have some polywatch on the way to attack it with. I didn't need to jazz up the seconds hand on this one as it had a funky one already! I quite like it, the dial is a little squint (only a fraction), but the position is fixed by crown and dial feet, and when I look at others online it looks like they all may have been like this! I could resolve it by removing the dial feet, might do at some point if it bothers me. Just fitted with a new strap today and I'm quite taken with it, but I'll probably re-sell this one at some point.


 1 point
 -
A closer look at my work. Hard to keep the glare off the clear top coat. Not an artist but I try
 1 point
 -
I would guess that depends on how long you work by the microscope. At a labaratory one mostly costum fit the microscope to fit your hight and so on. I use a standard desk but have an adjustable chair instead. Some of our yonger personel even likes to stand on a ergonomic rubber matt instead of sitting. Here is some instructions from Leica about the matter.1 point
-
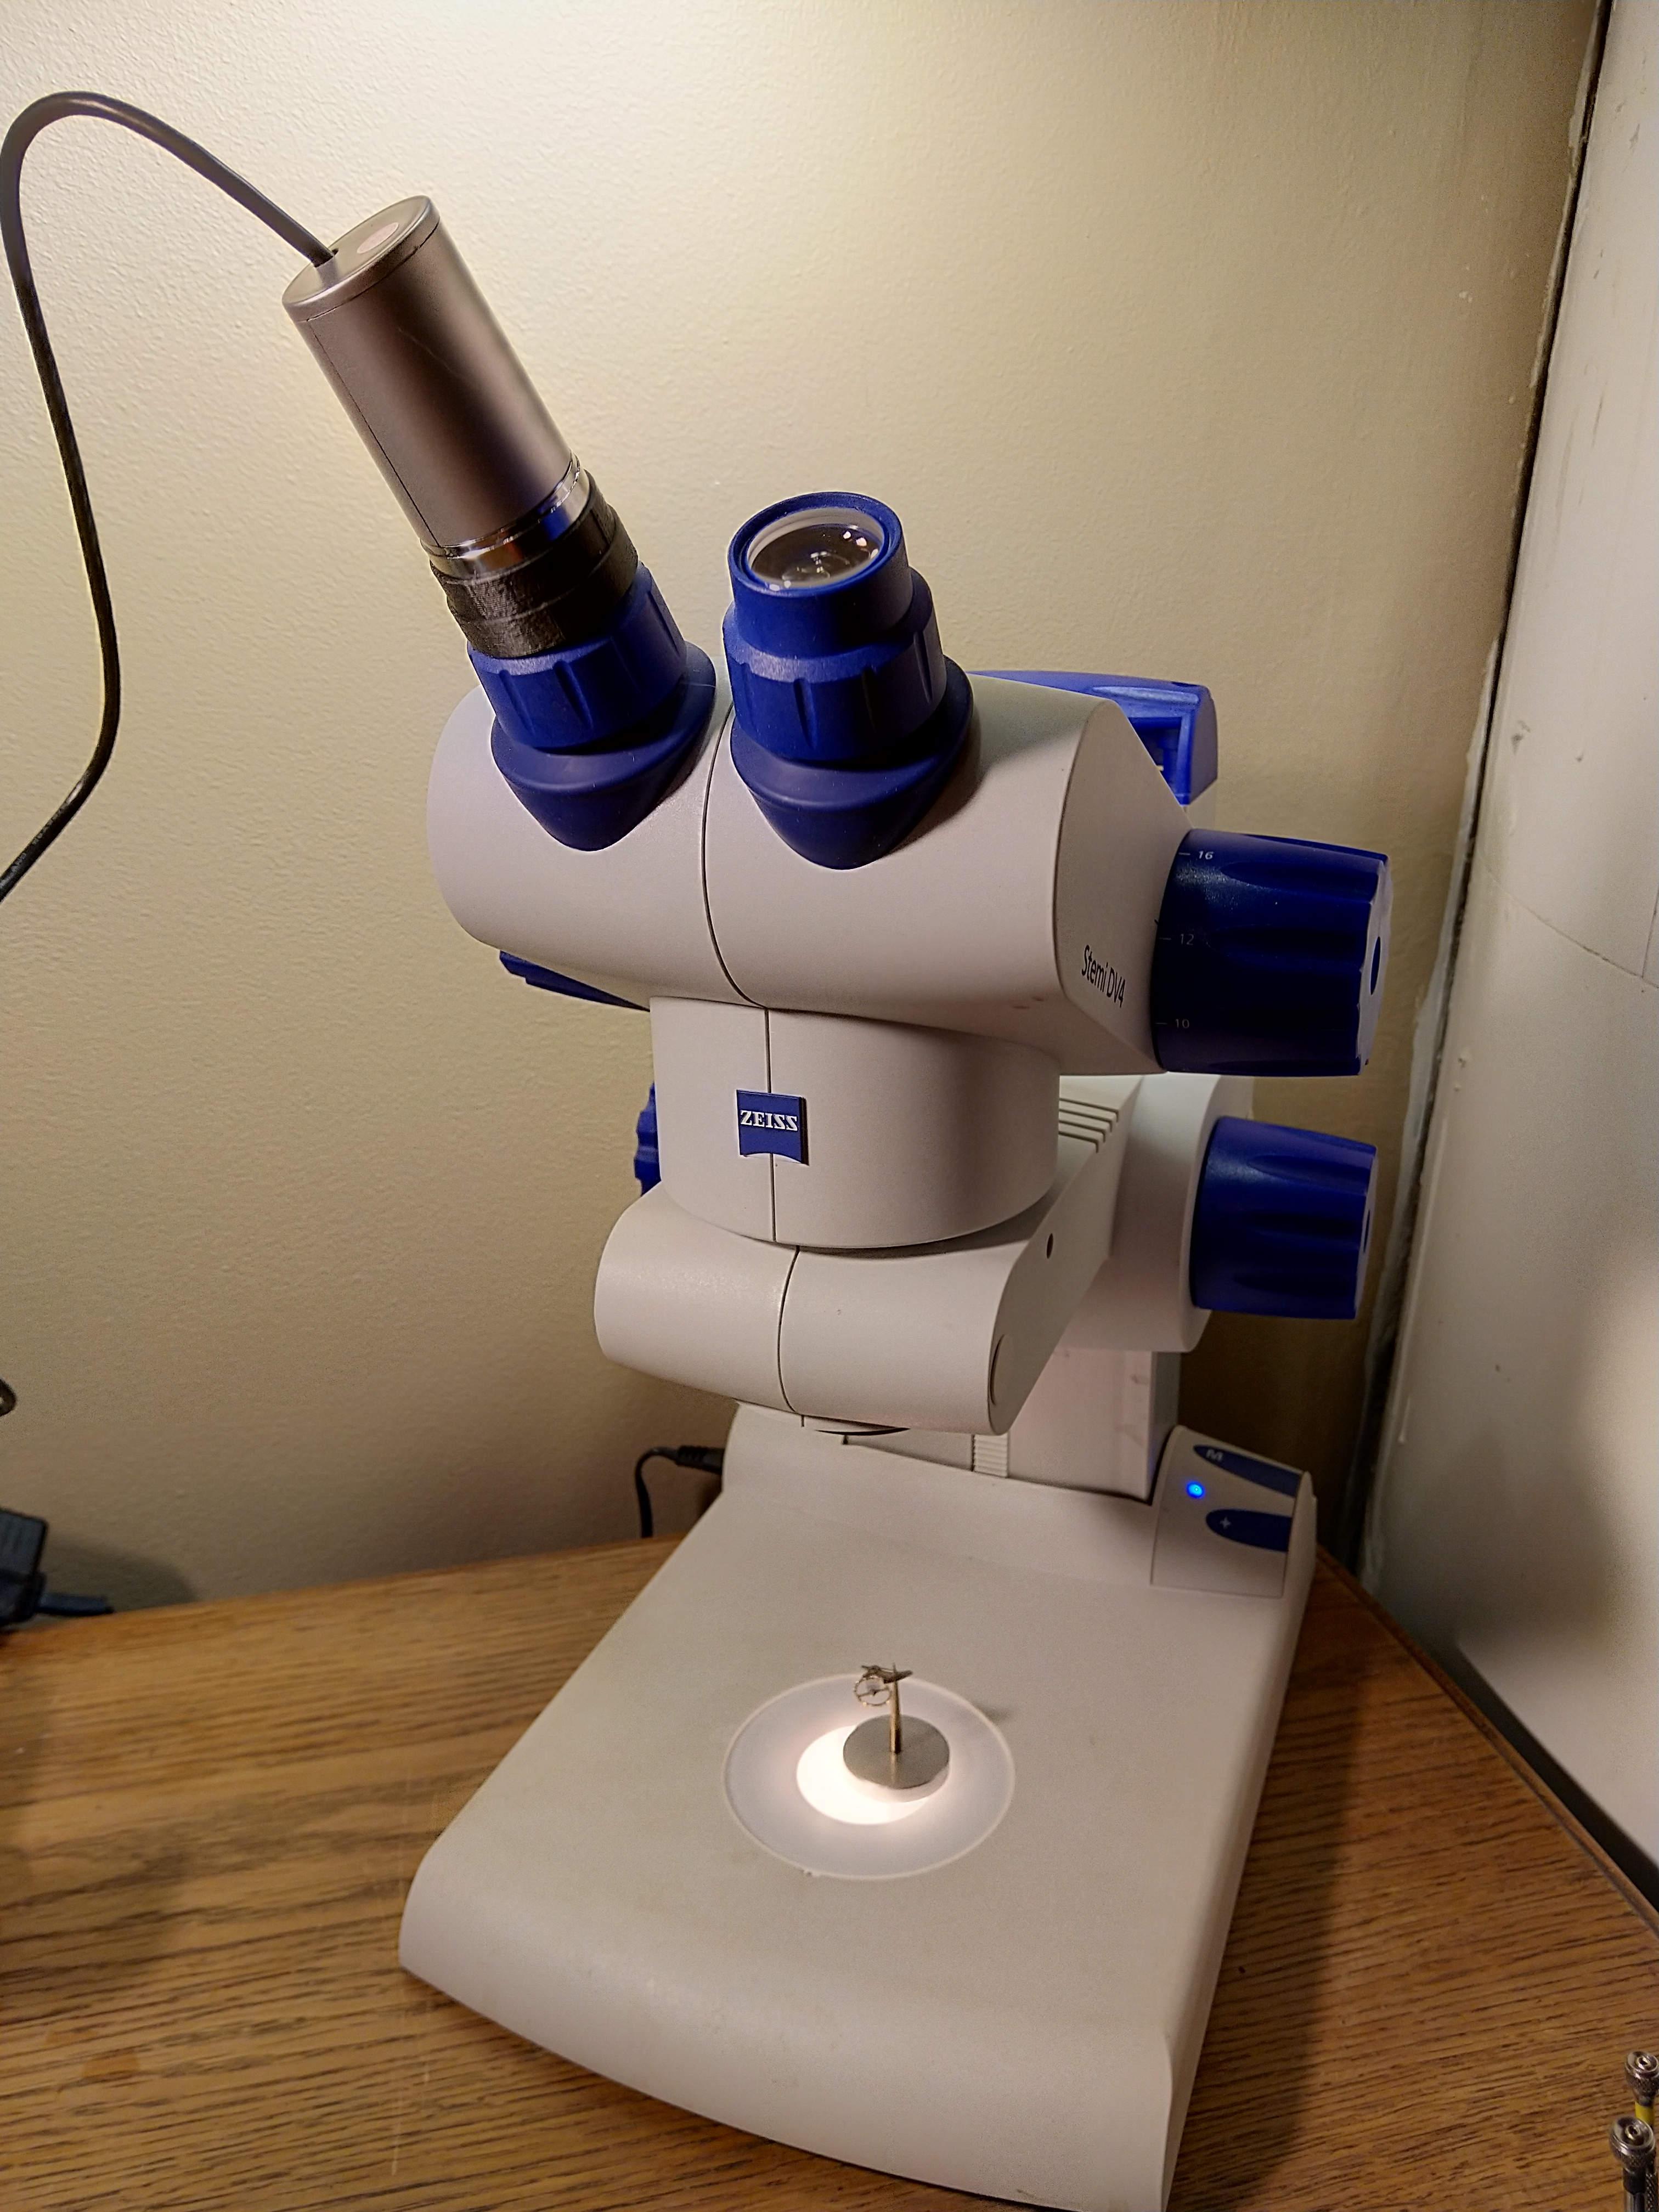
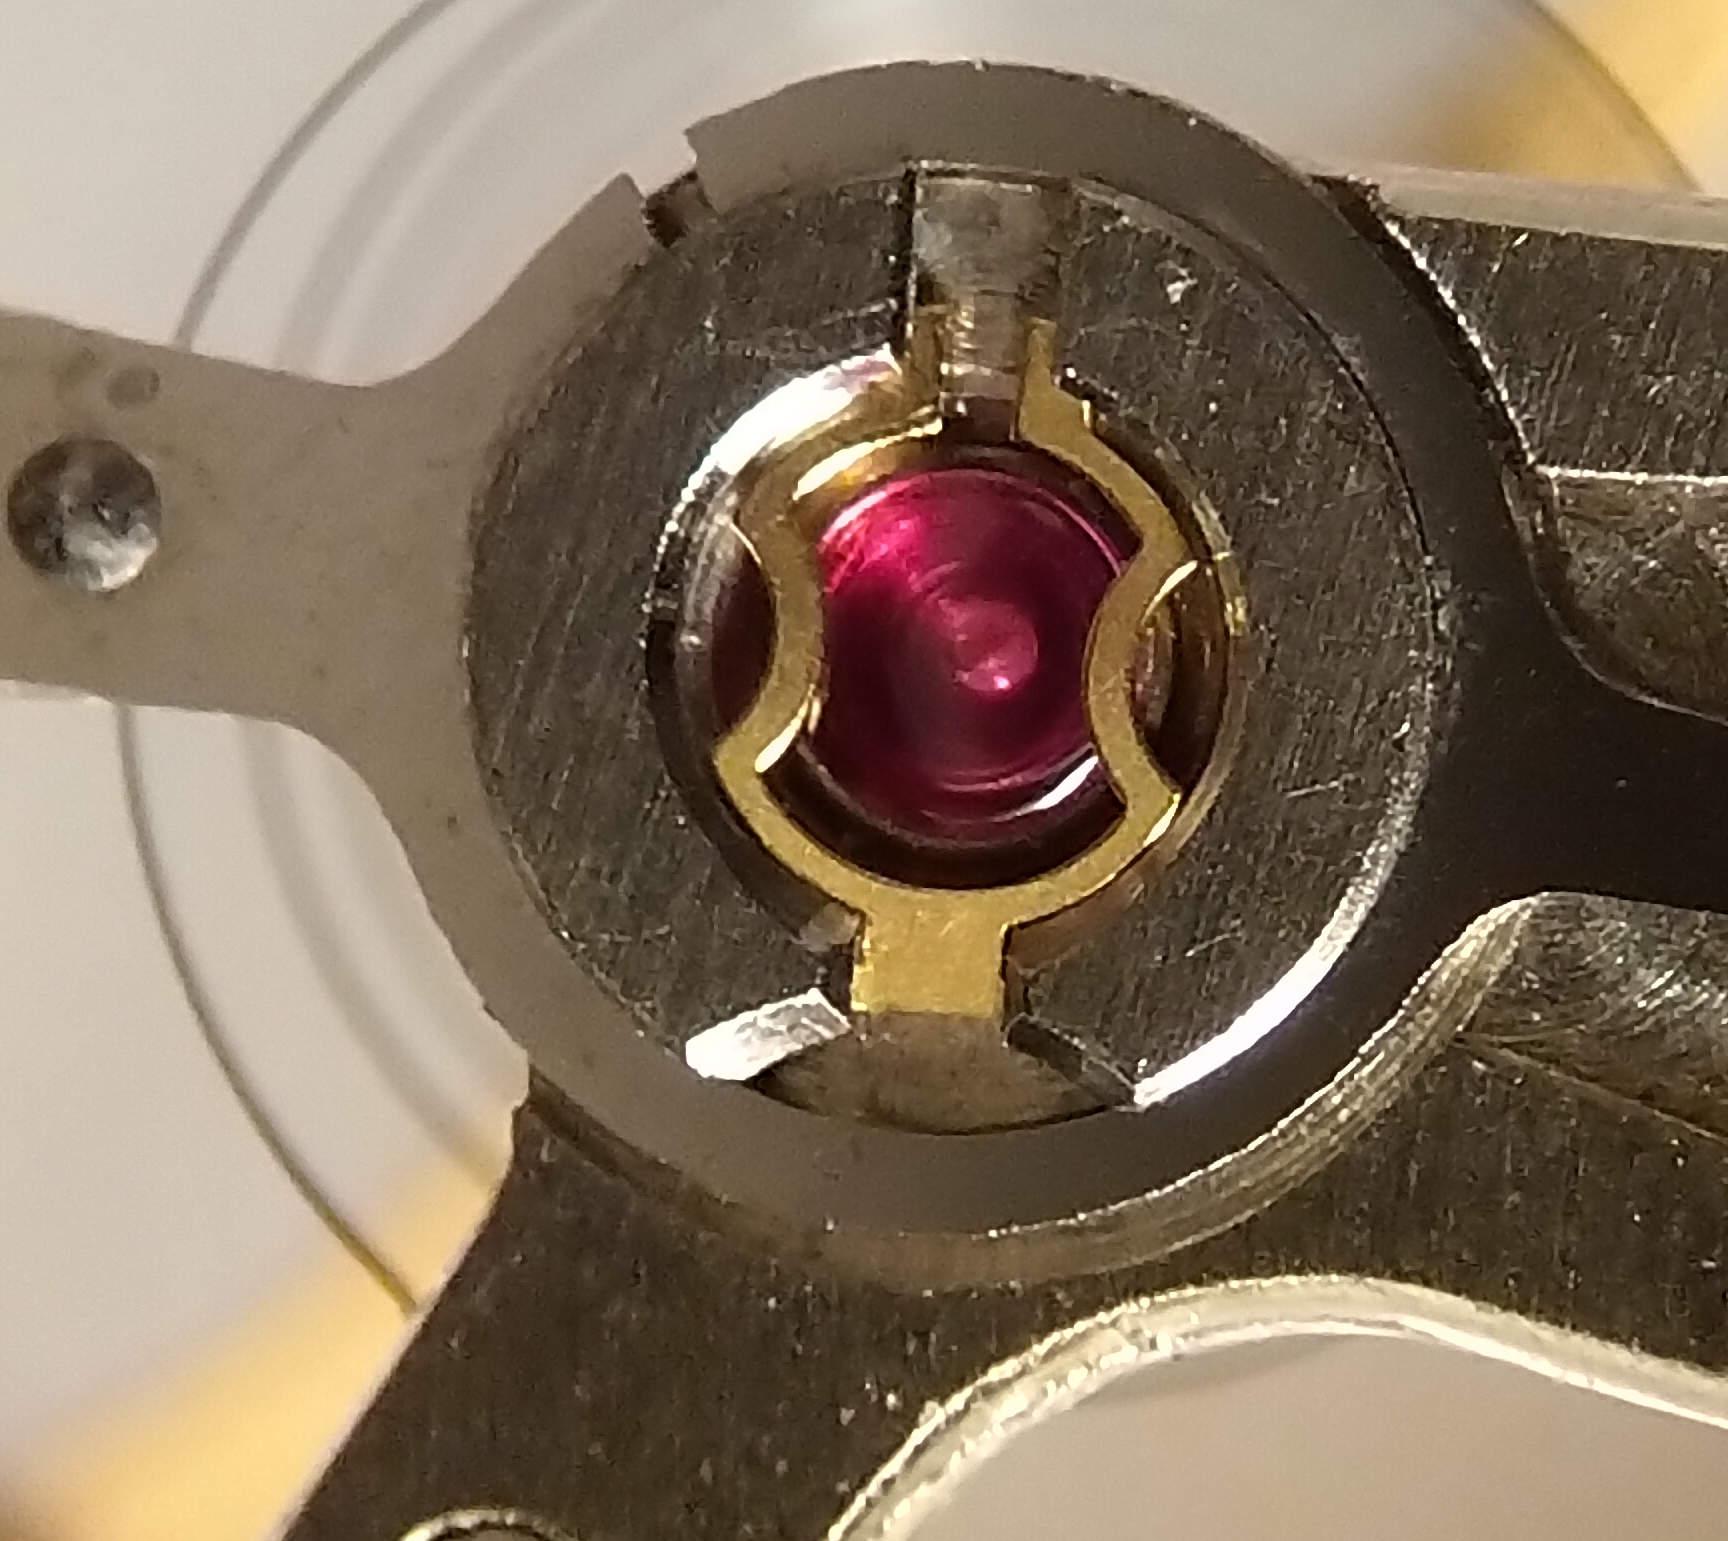
I use an Carl Zeiss Stemi DV4 Stereo Microscope to inspect the jewels with, before I used it as one is supposed to but nowadays I have become a bit lazy and put a cheap USB camera on the ocular. Took me 22 minutes to make it with a 3D printer. One can get quite a nice picture on a computer screen with a setup like that and even take one odd picture on for example a cap jewel.

 1 point
 -
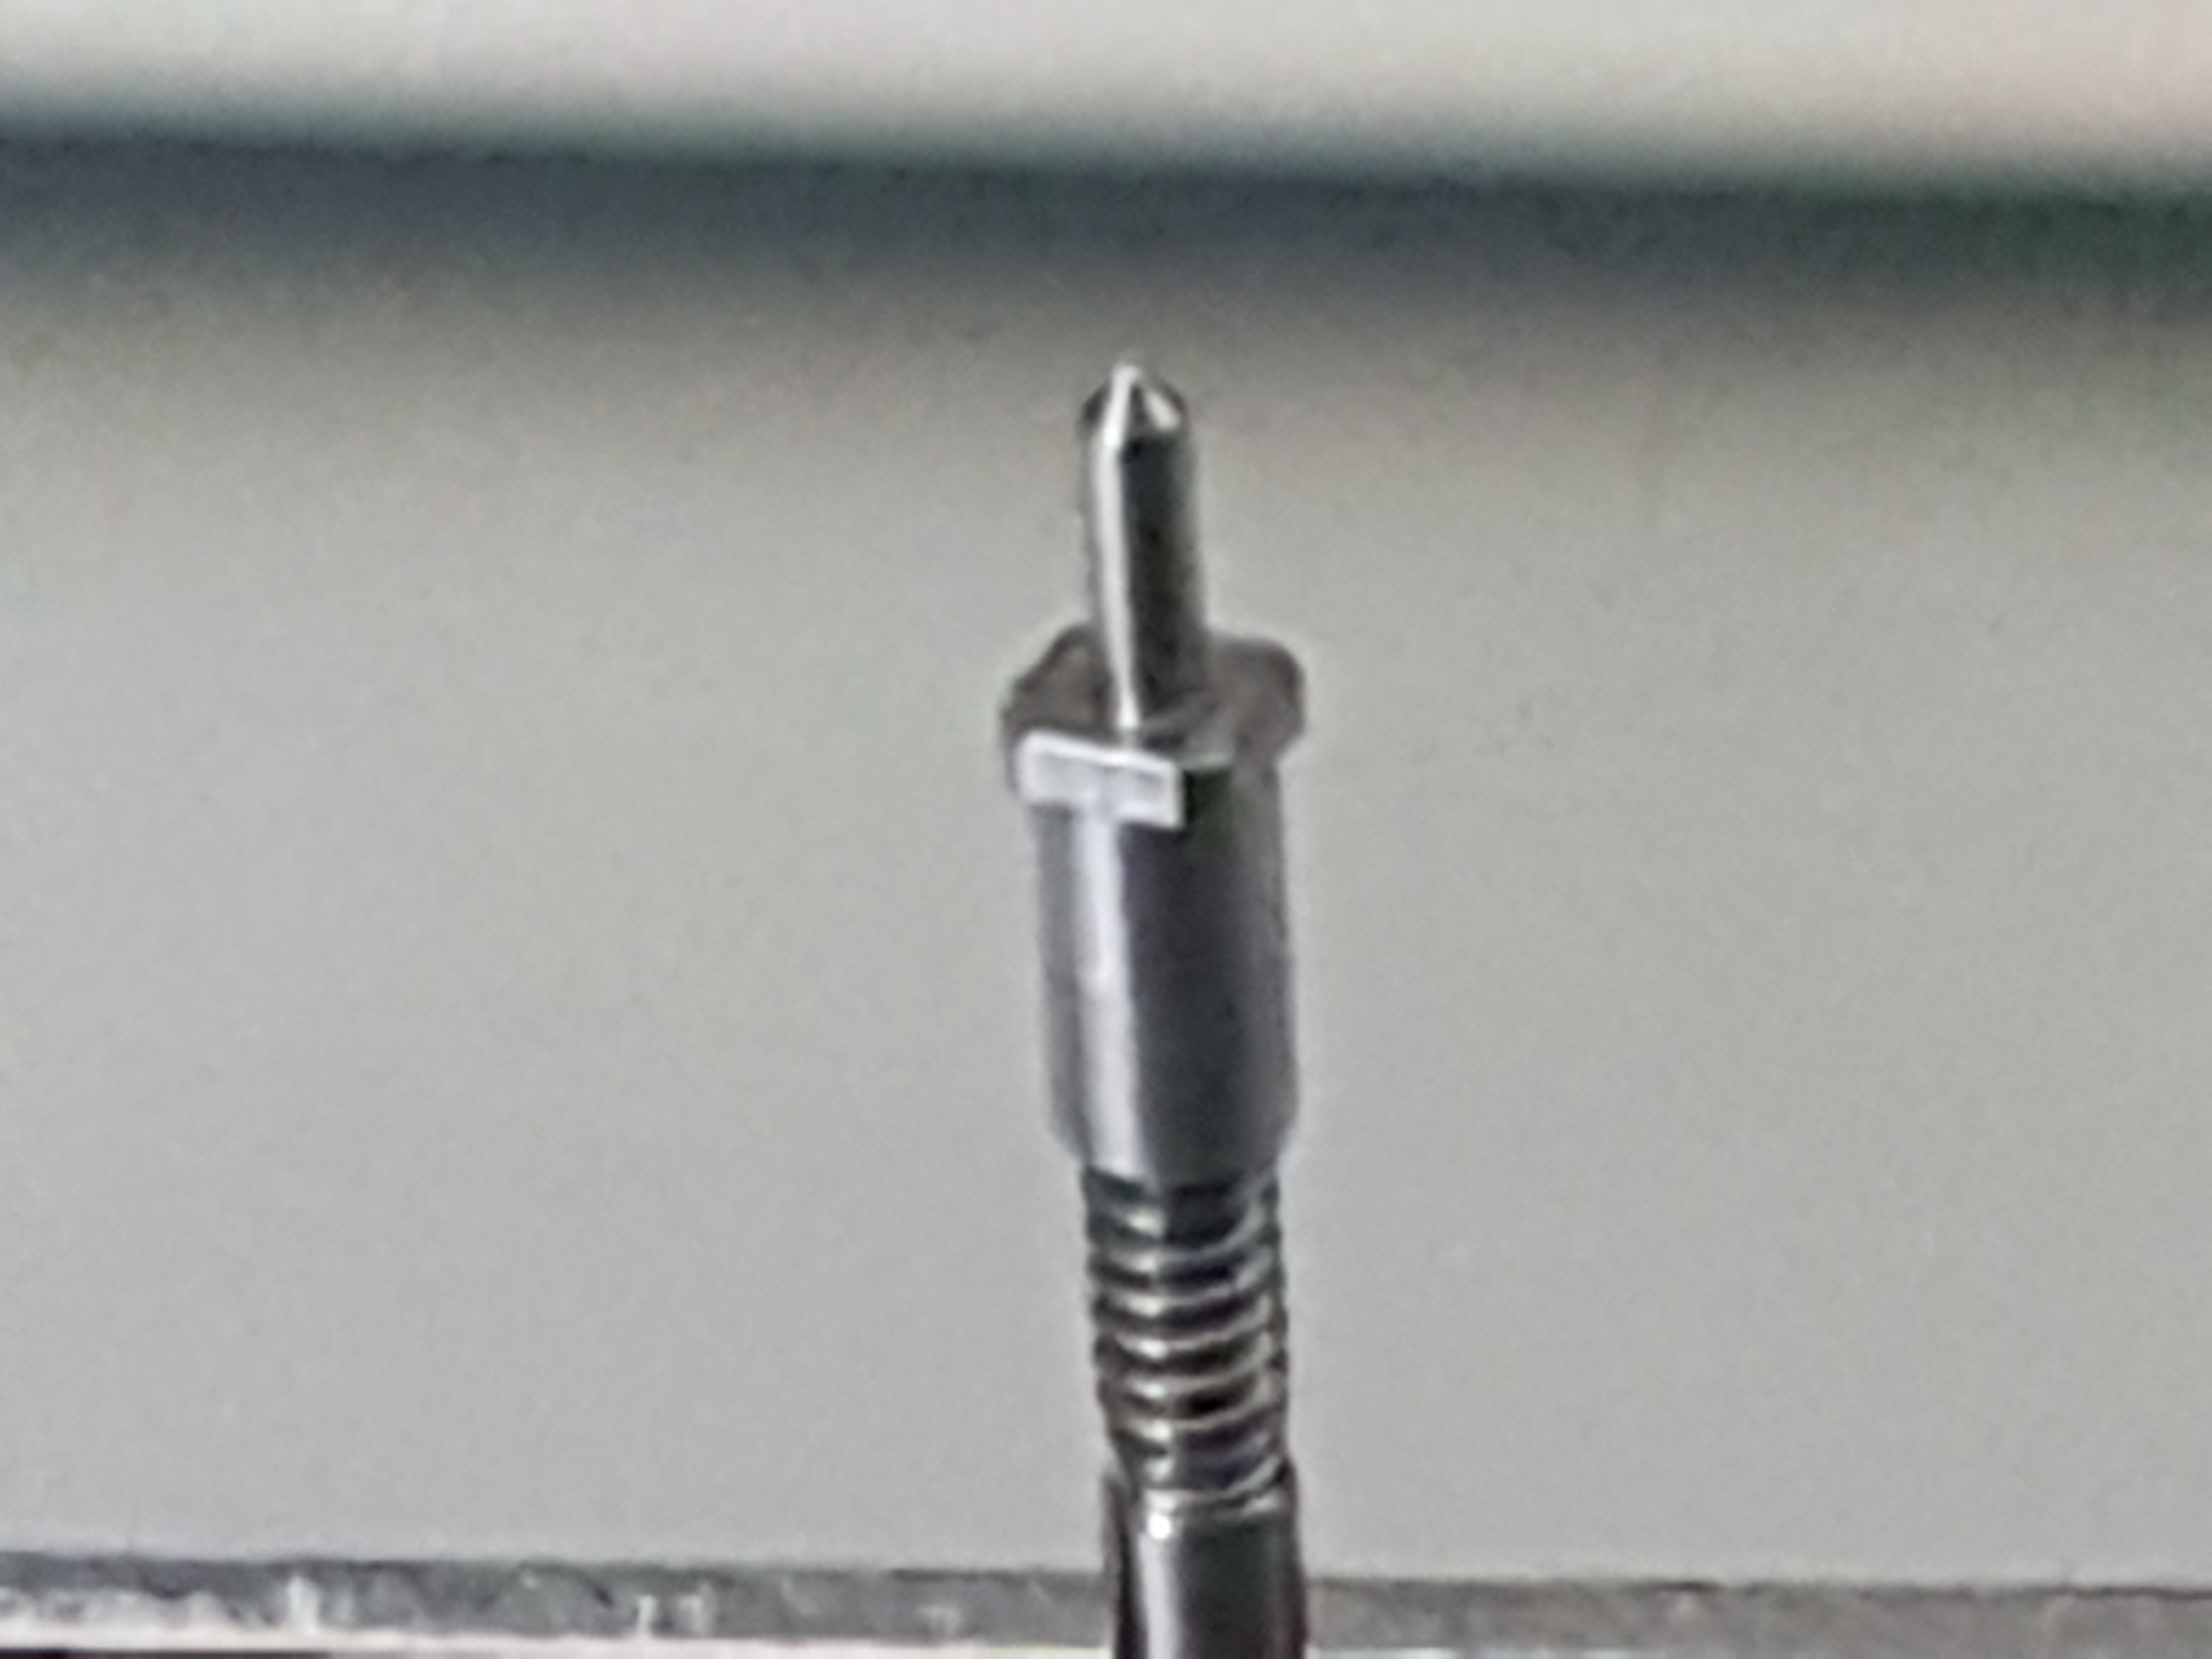
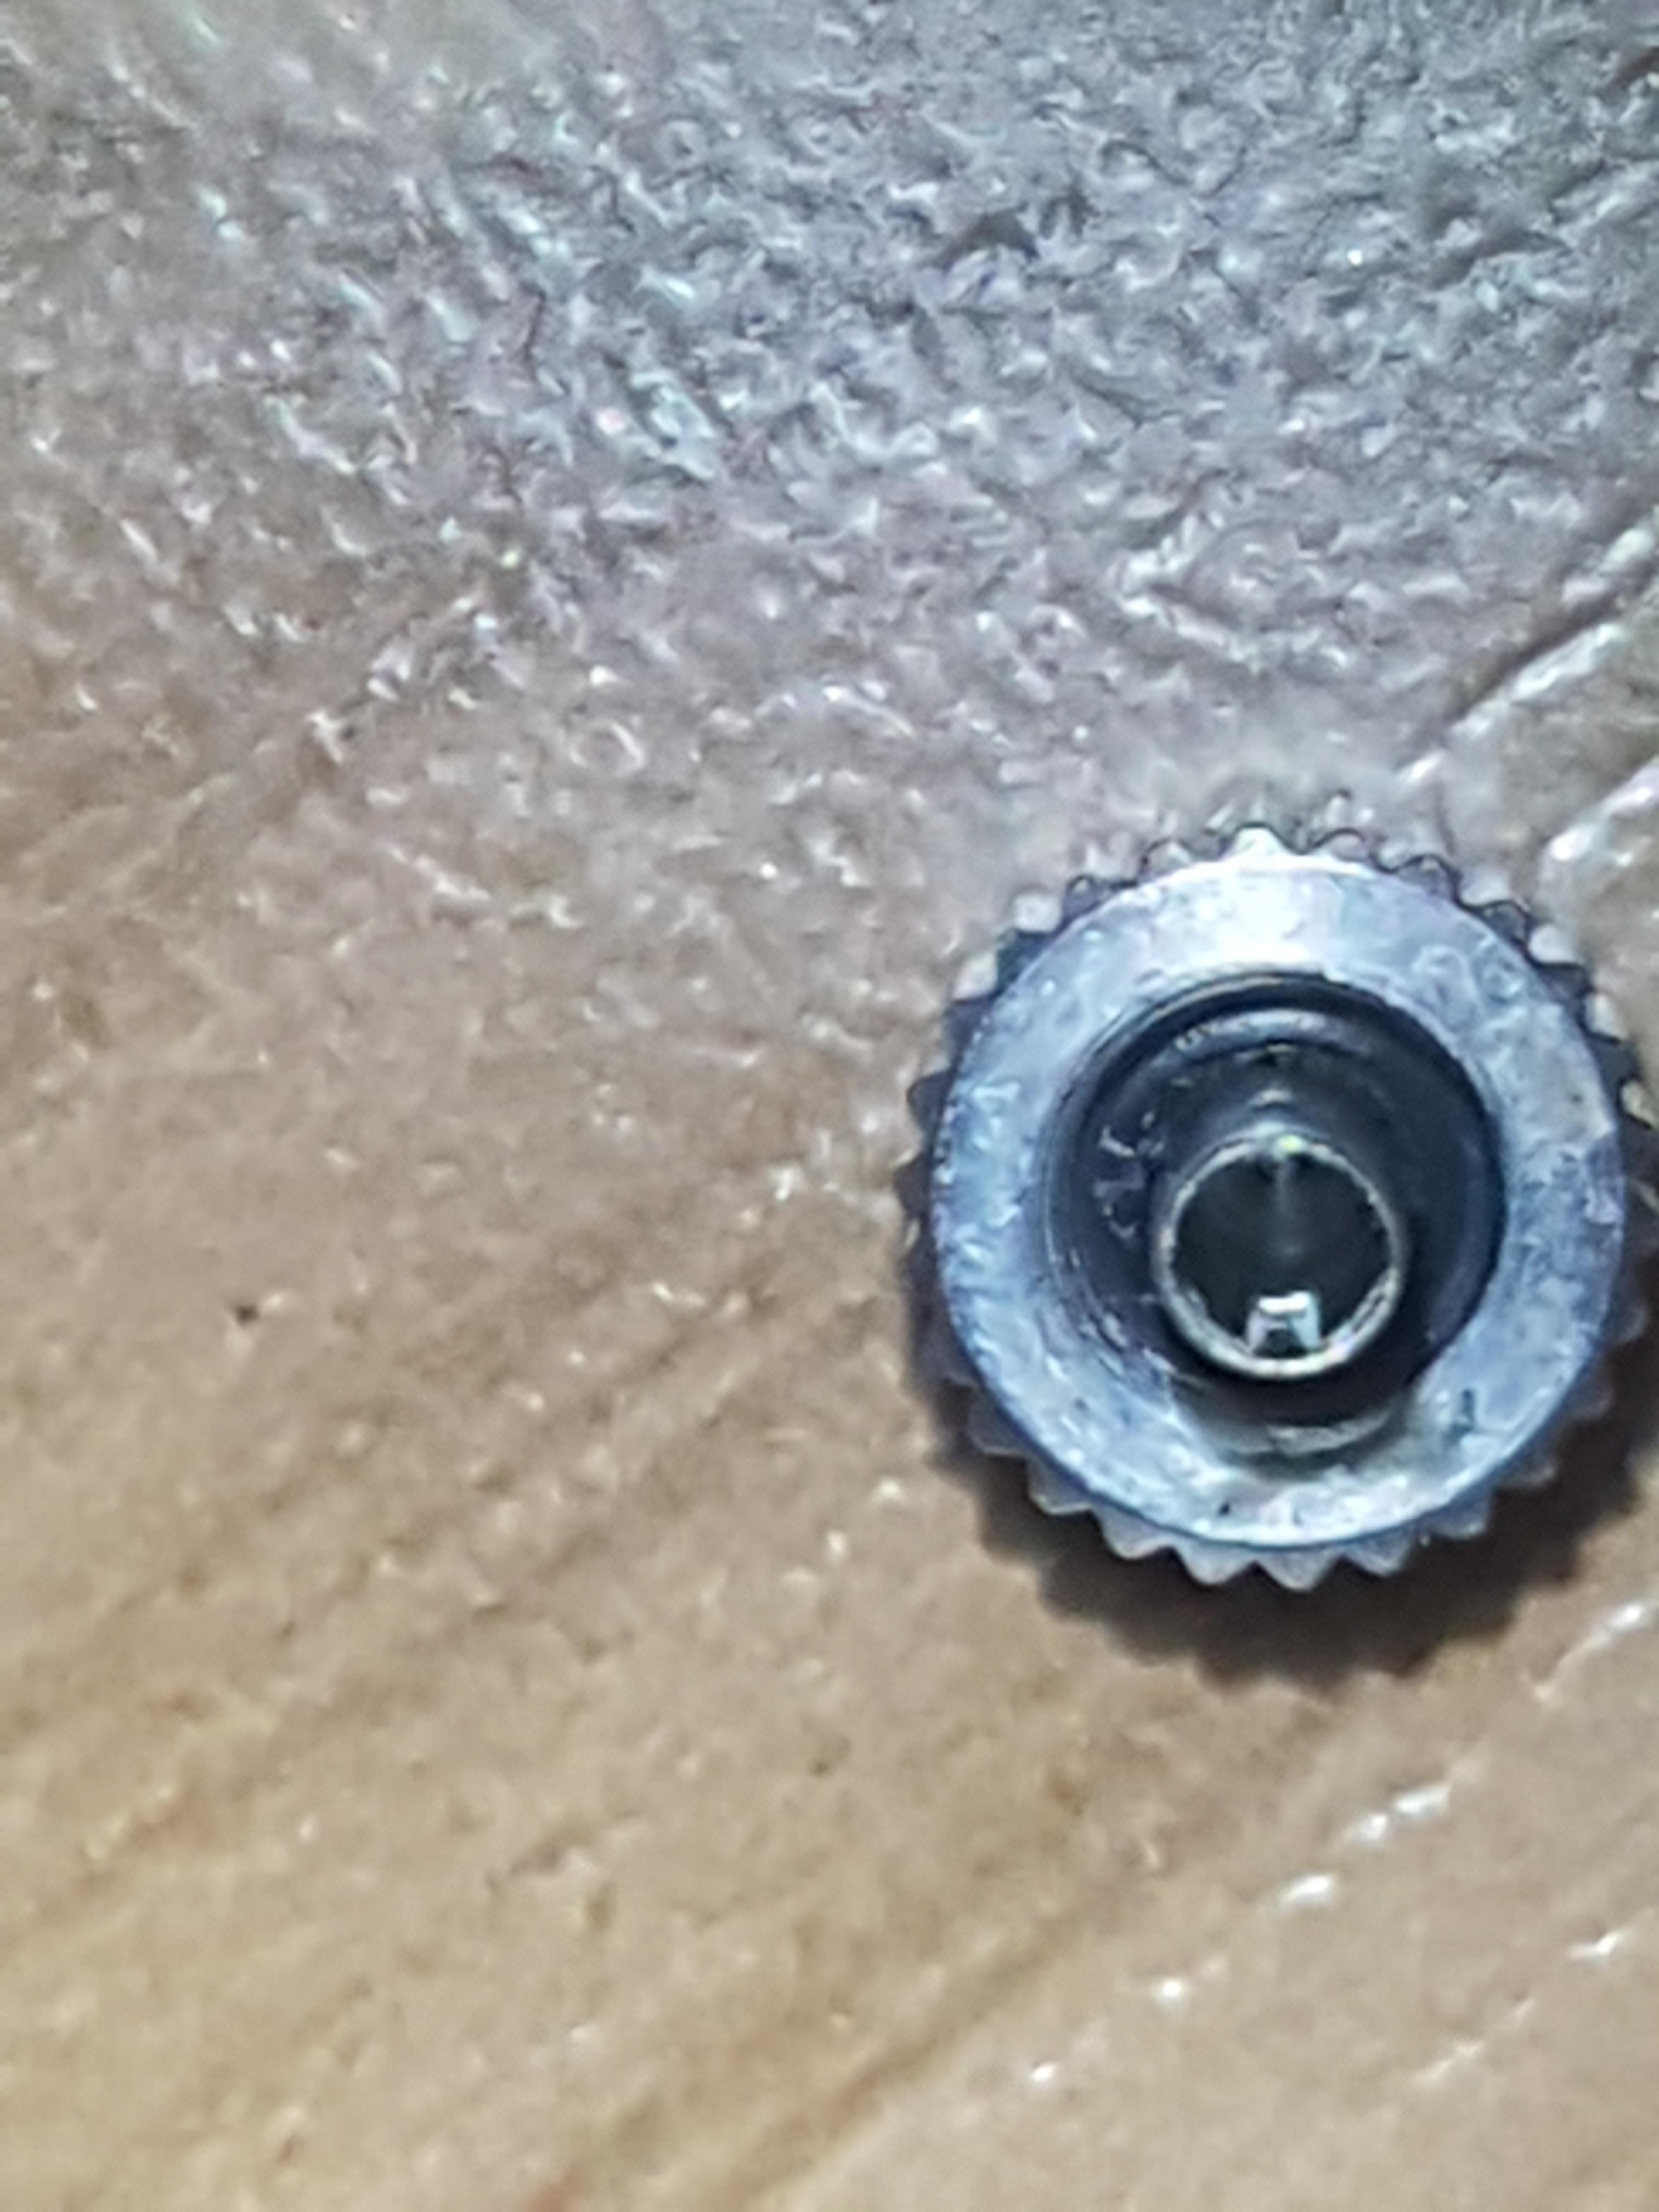
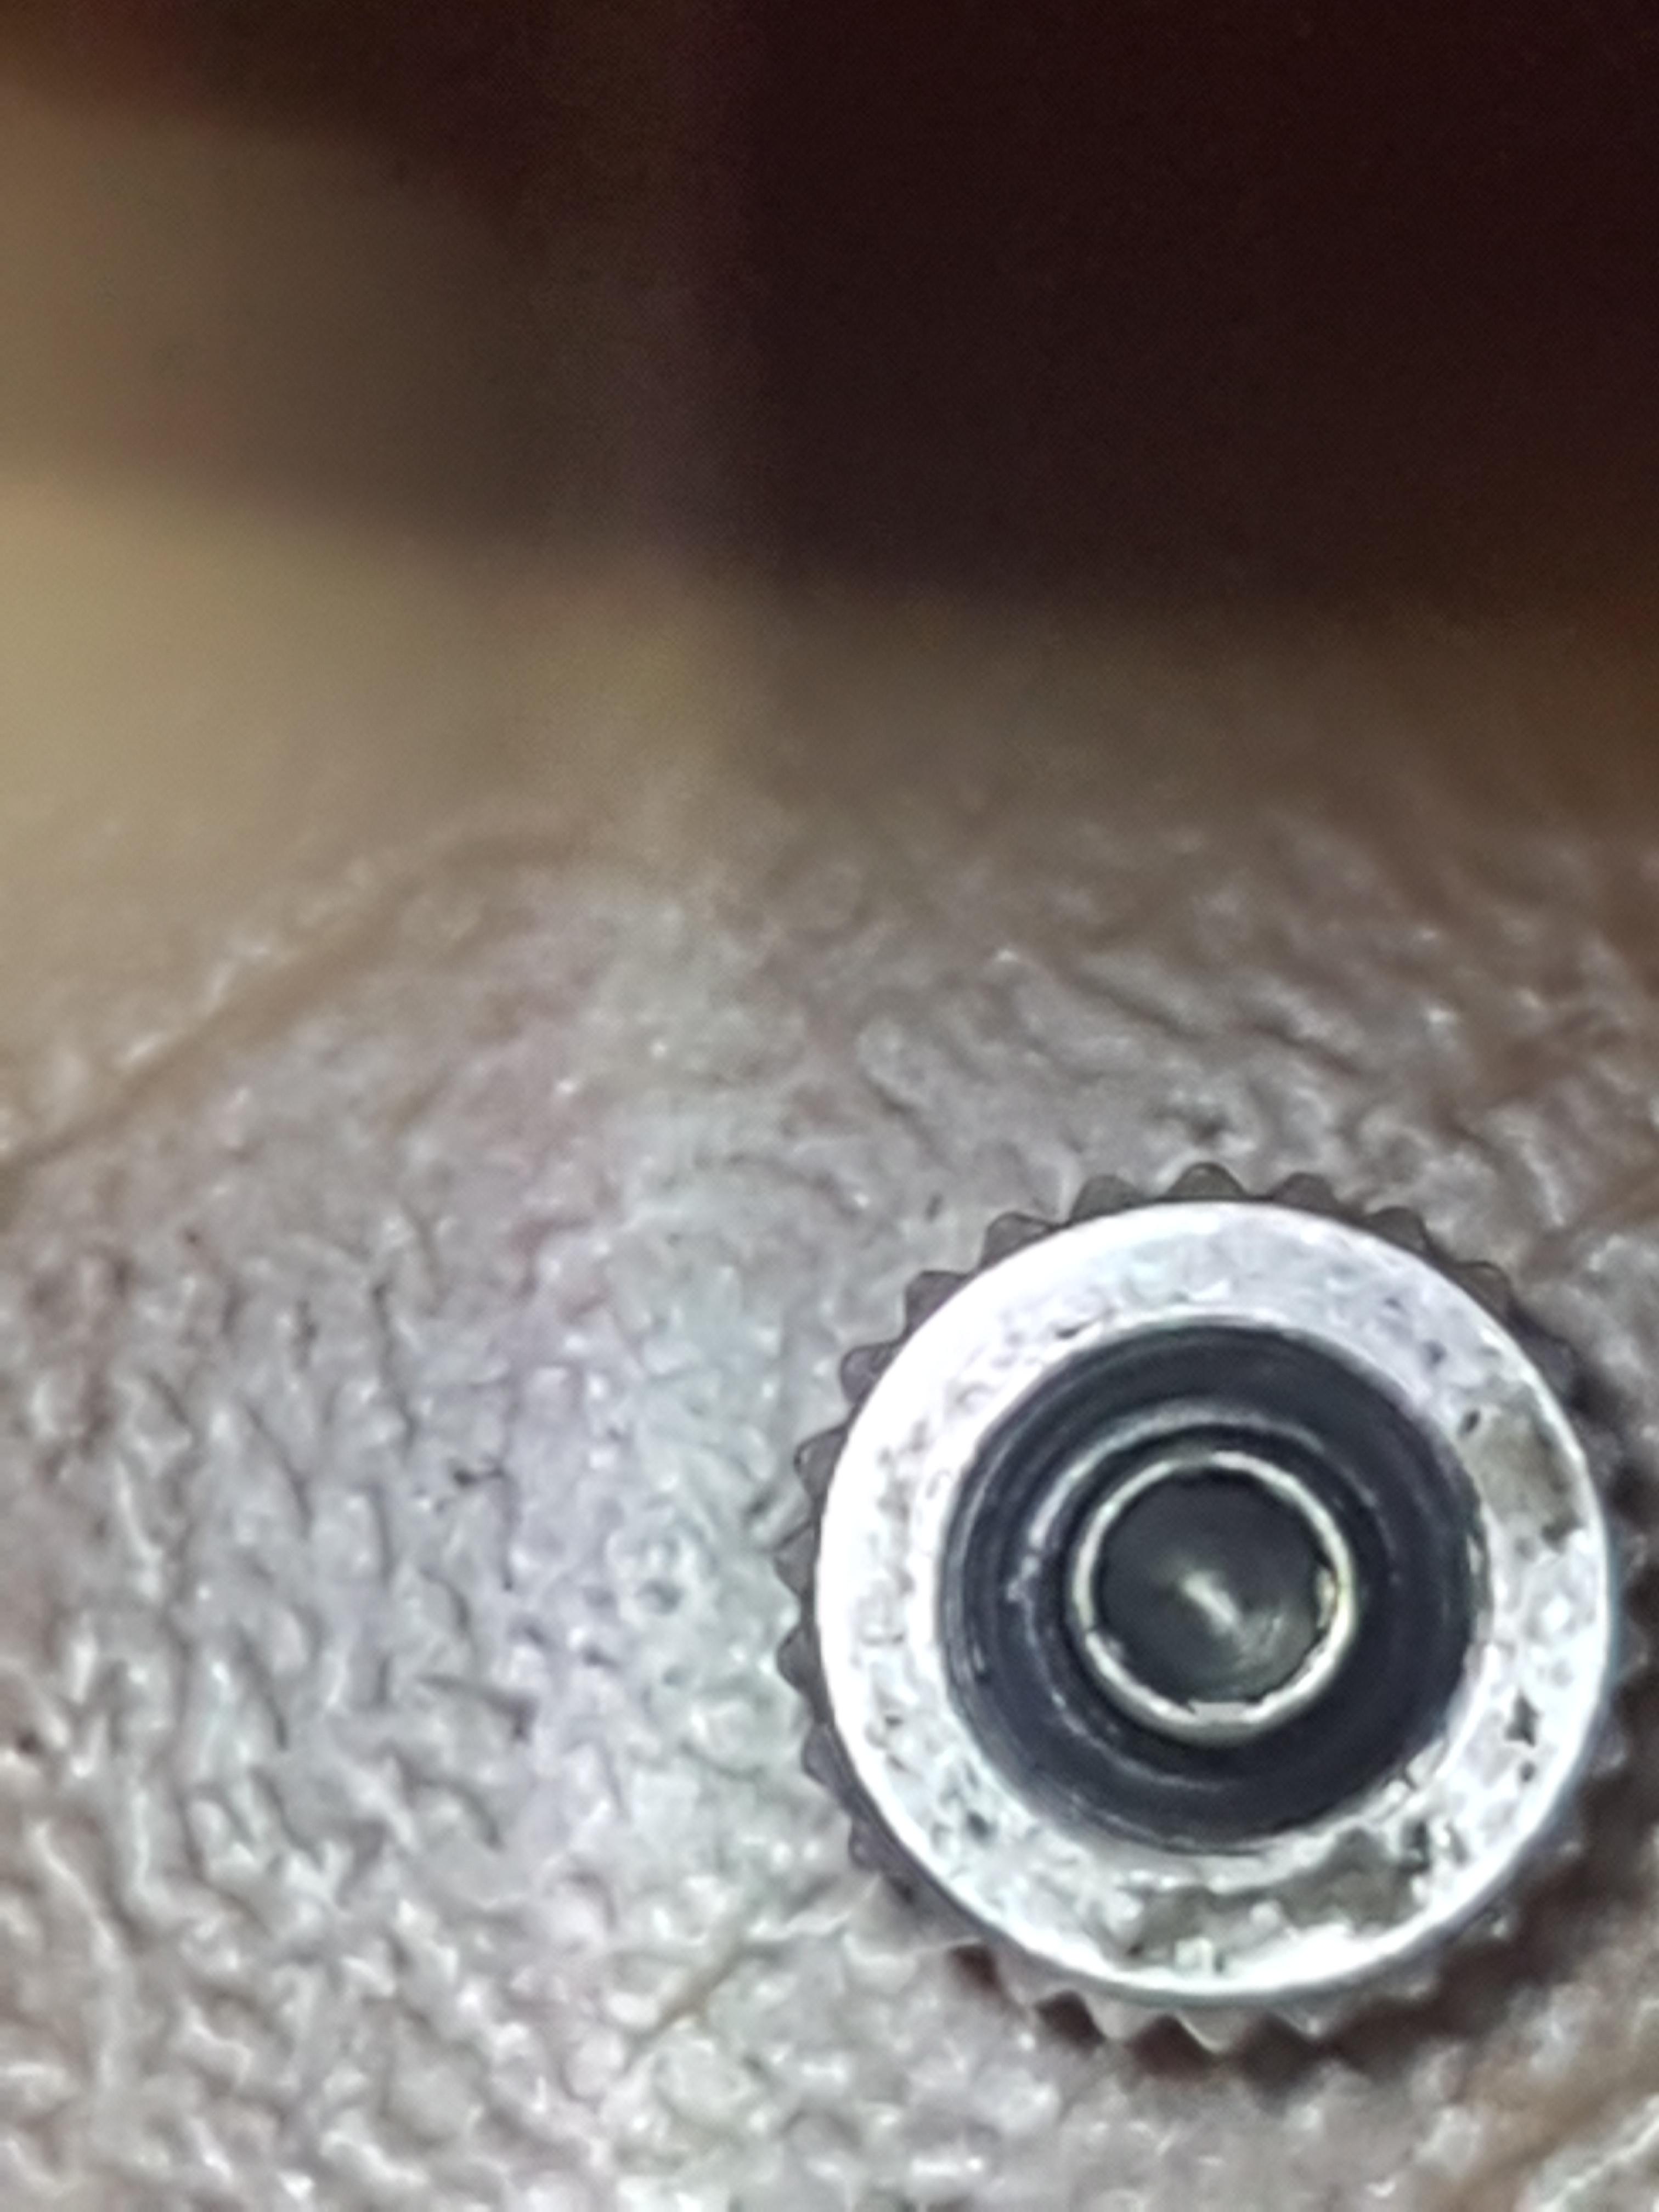
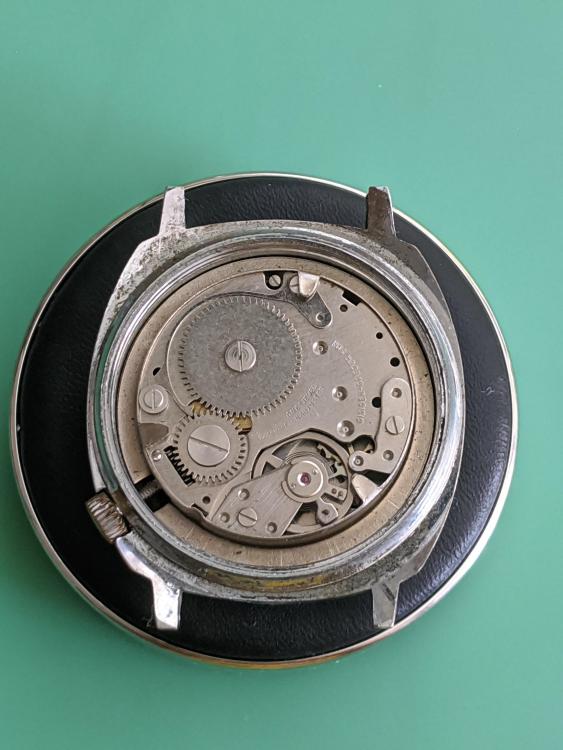
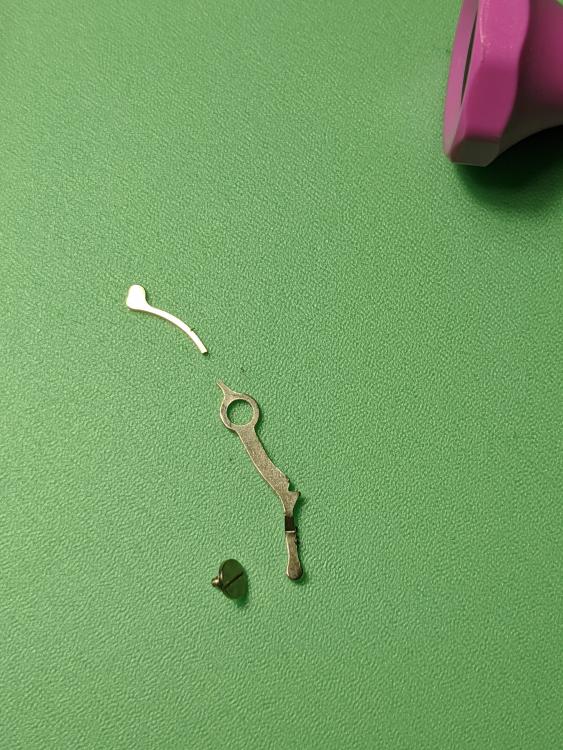
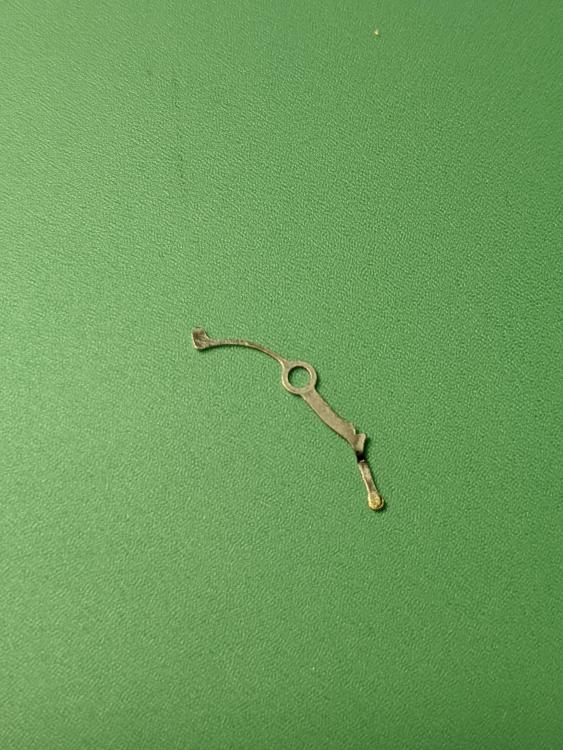
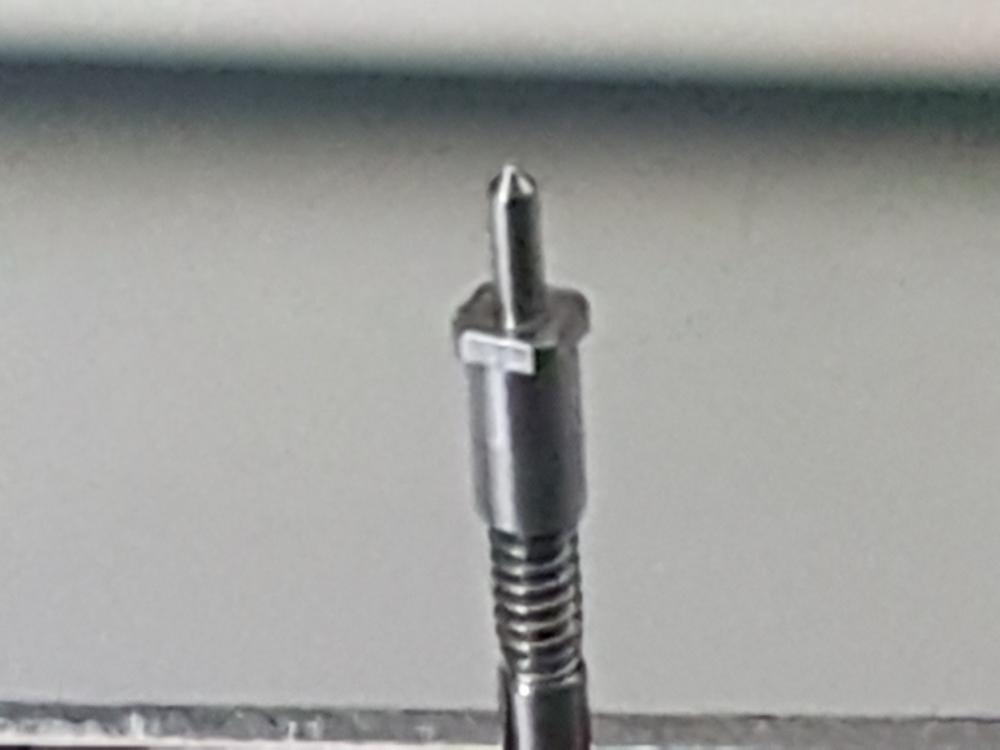
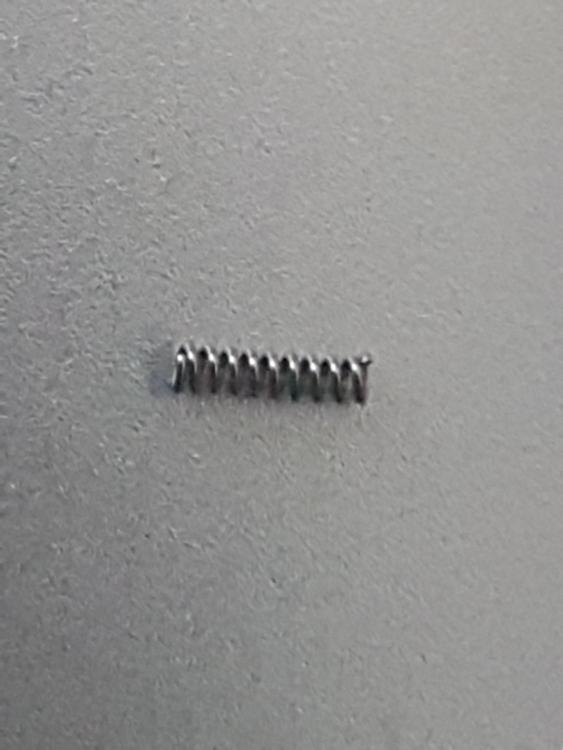
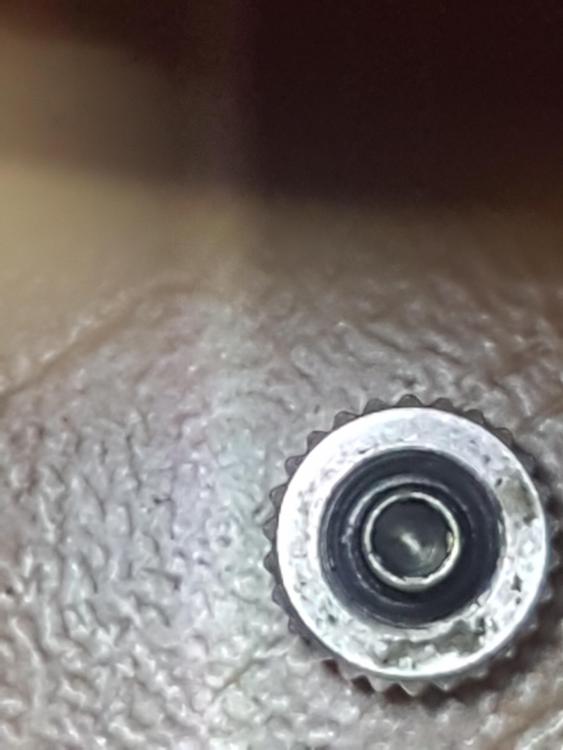
Hi I'm attempting to fix one of my watches I thought the stem was broke but at closer inspection to me it looks like a problem with the crown it's a screw down crown and I'm wondering if it can be fixed or does it need replacing.

 0 points