Leaderboard


Popular Content
Showing content with the highest reputation on 05/04/19 in Posts
-
Four Catholic men and a Catholic woman were having coffee. The first Catholic man tells his friends, "My son is a priest, when he walks into a room, everyone calls him 'Father'." The second Catholic man chirps, "My son is a Bishop. When he walks into a room people call him 'Your Grace'." The third Catholic gent says, "My son is a Cardinal. When he enters a room everyone says 'Your Eminence'." The fourth Catholic man then says, "My son is the Pope. When he walks into a room people call him 'Your Holiness'." Since the lone Catholic woman was sipping her coffee in silence, the four men give her a subtle, "Well....?" She proudly replies, "I have a daughter, slim, tall, 38D breast, 24" waist and 34" hips. When she walks into a room, people say, "Oh My God!"3 points
-
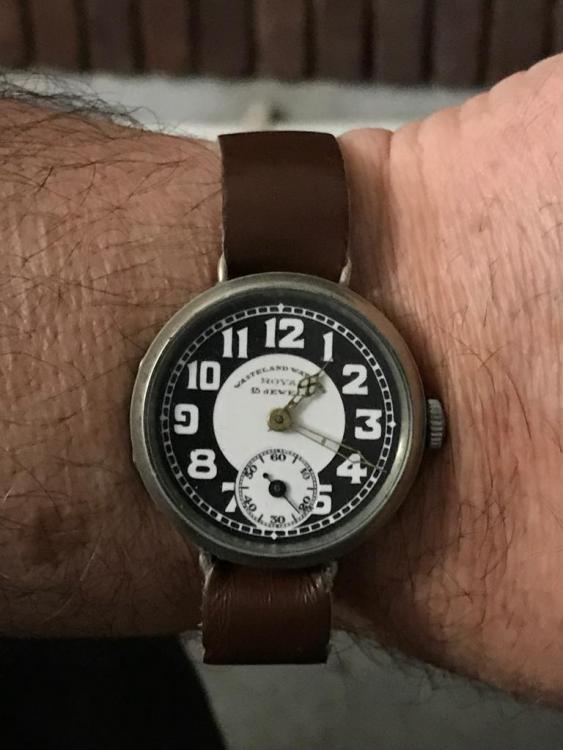
This arrived today3 points
-
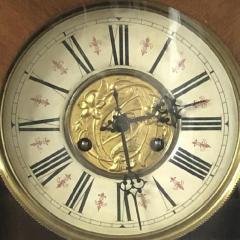
Oulm quartz dual time arrived in the post today and I am impressed with the quality. Also received a nice little bit of reading material. I may finally get around to sorting out the Westminster Smiths clock :)
 3 points
 -
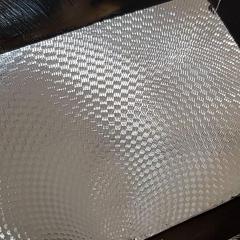
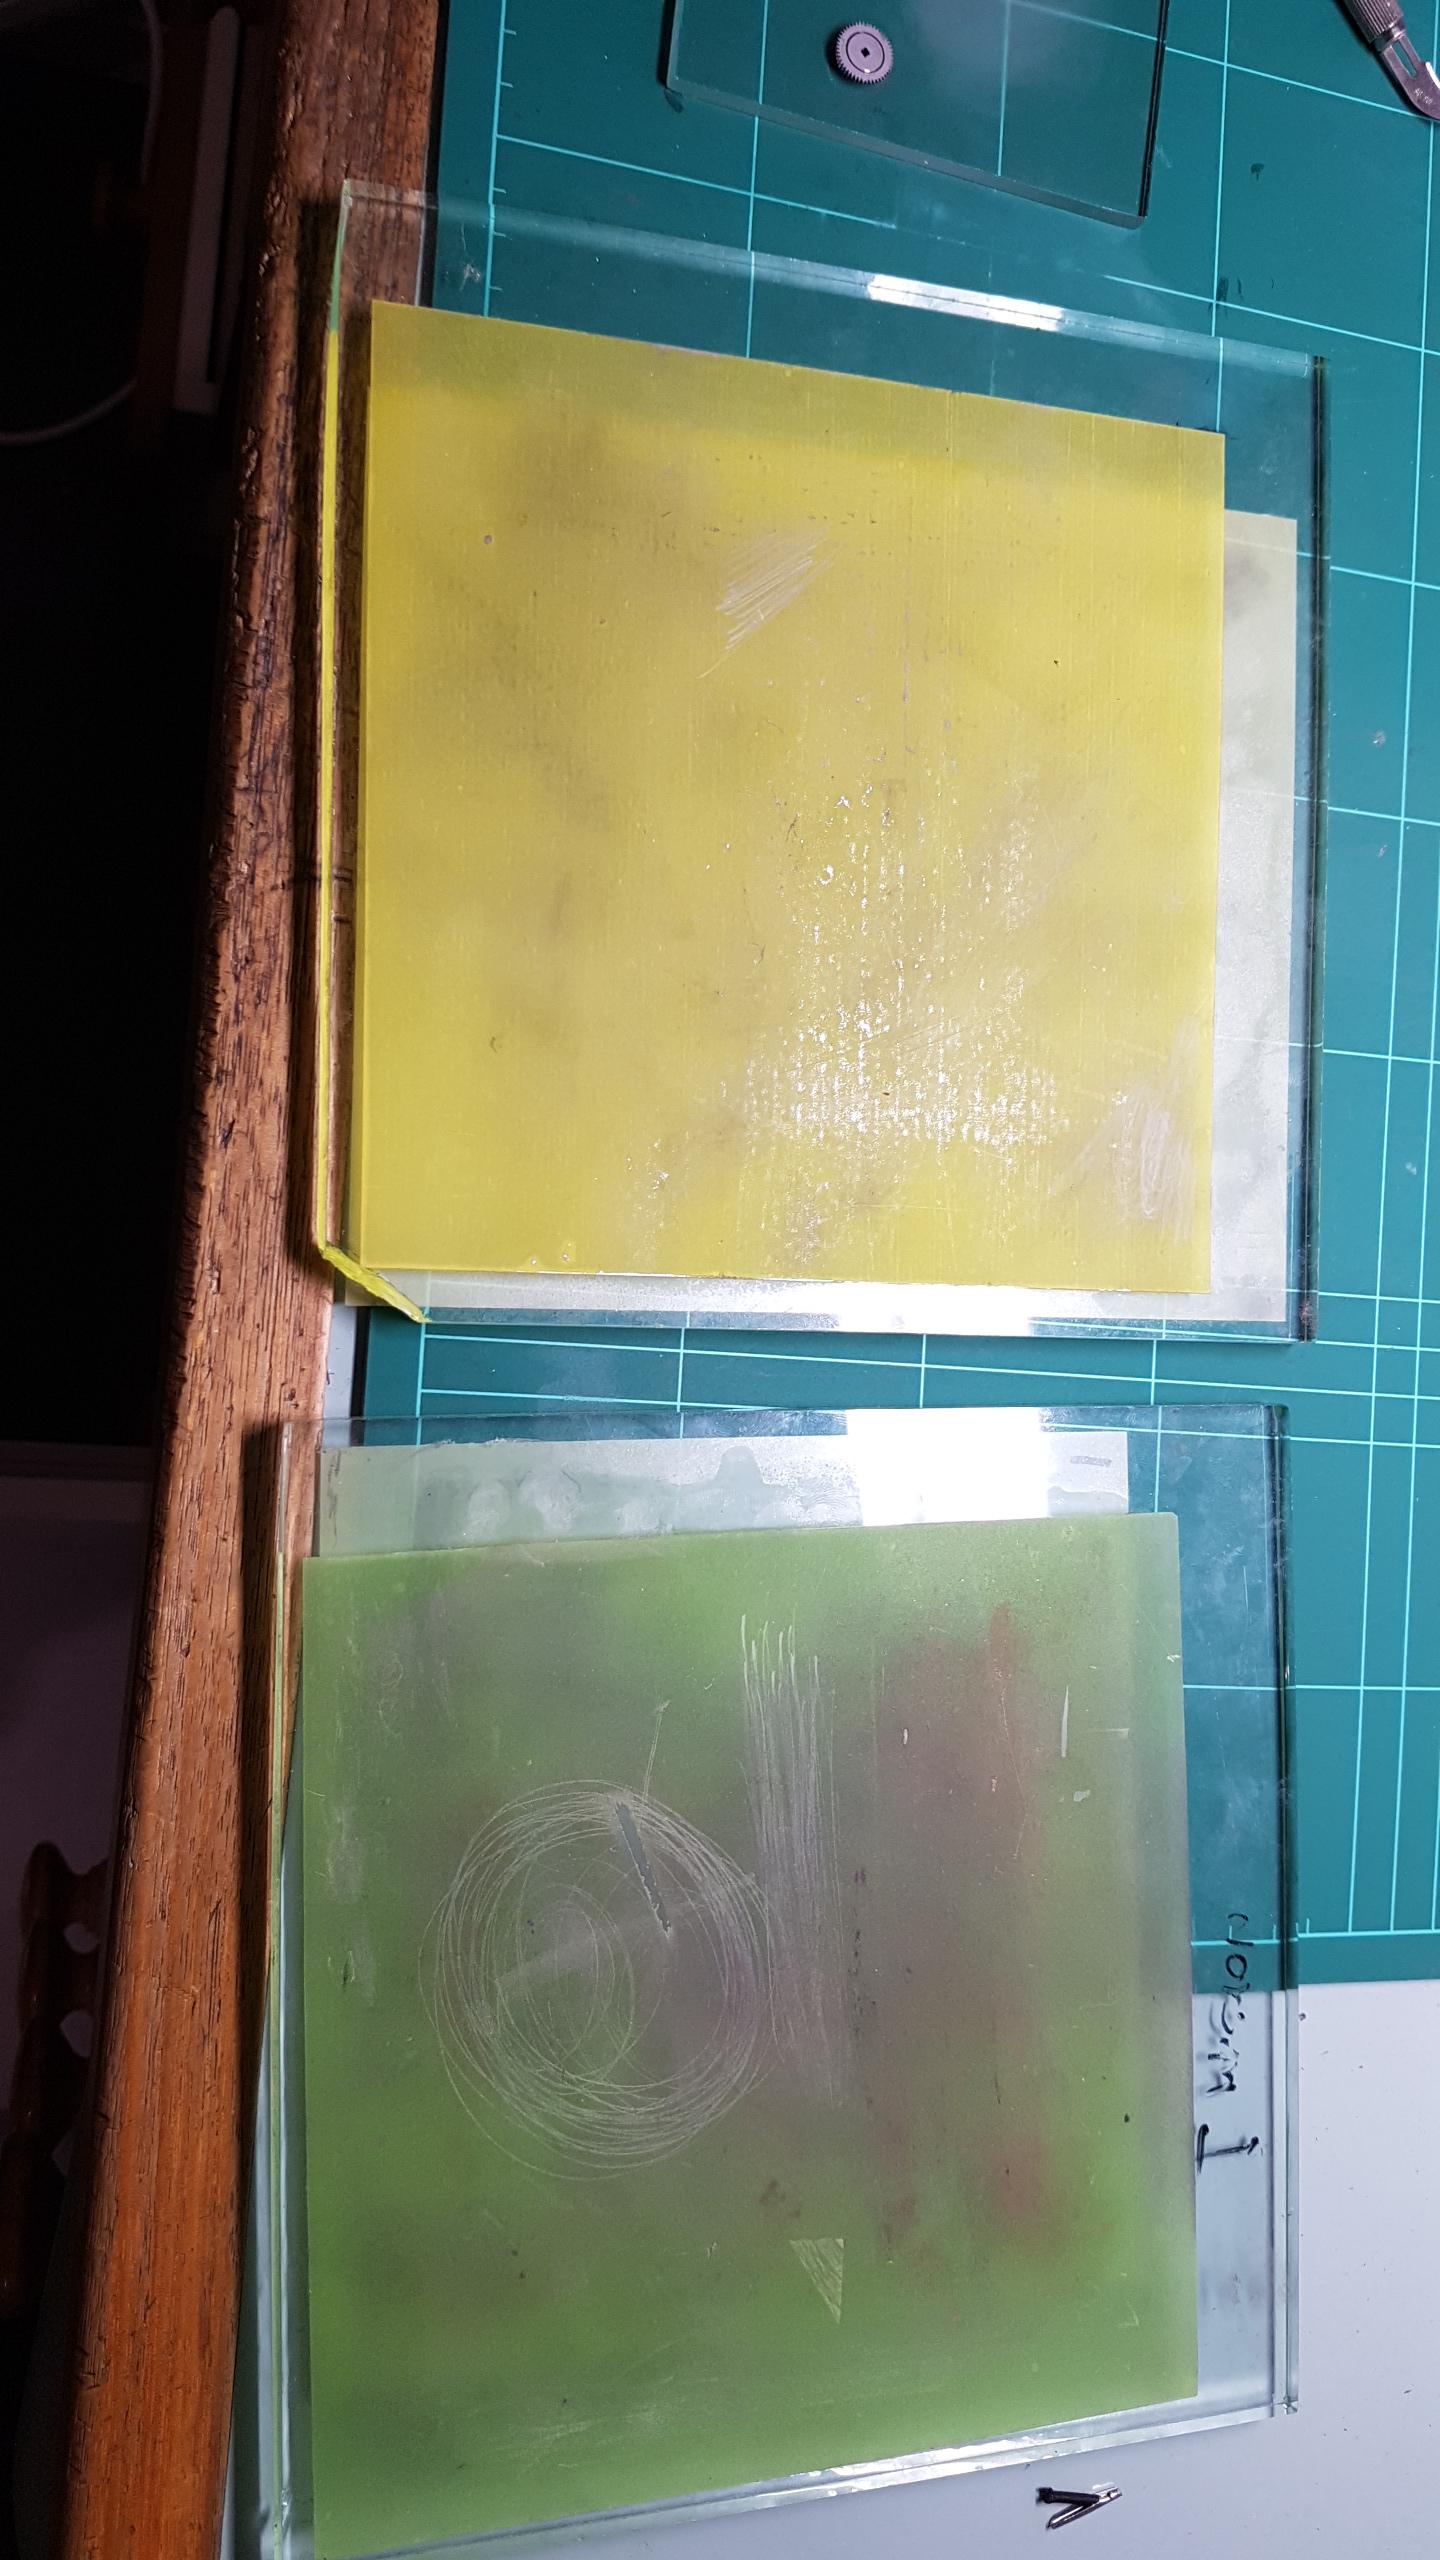
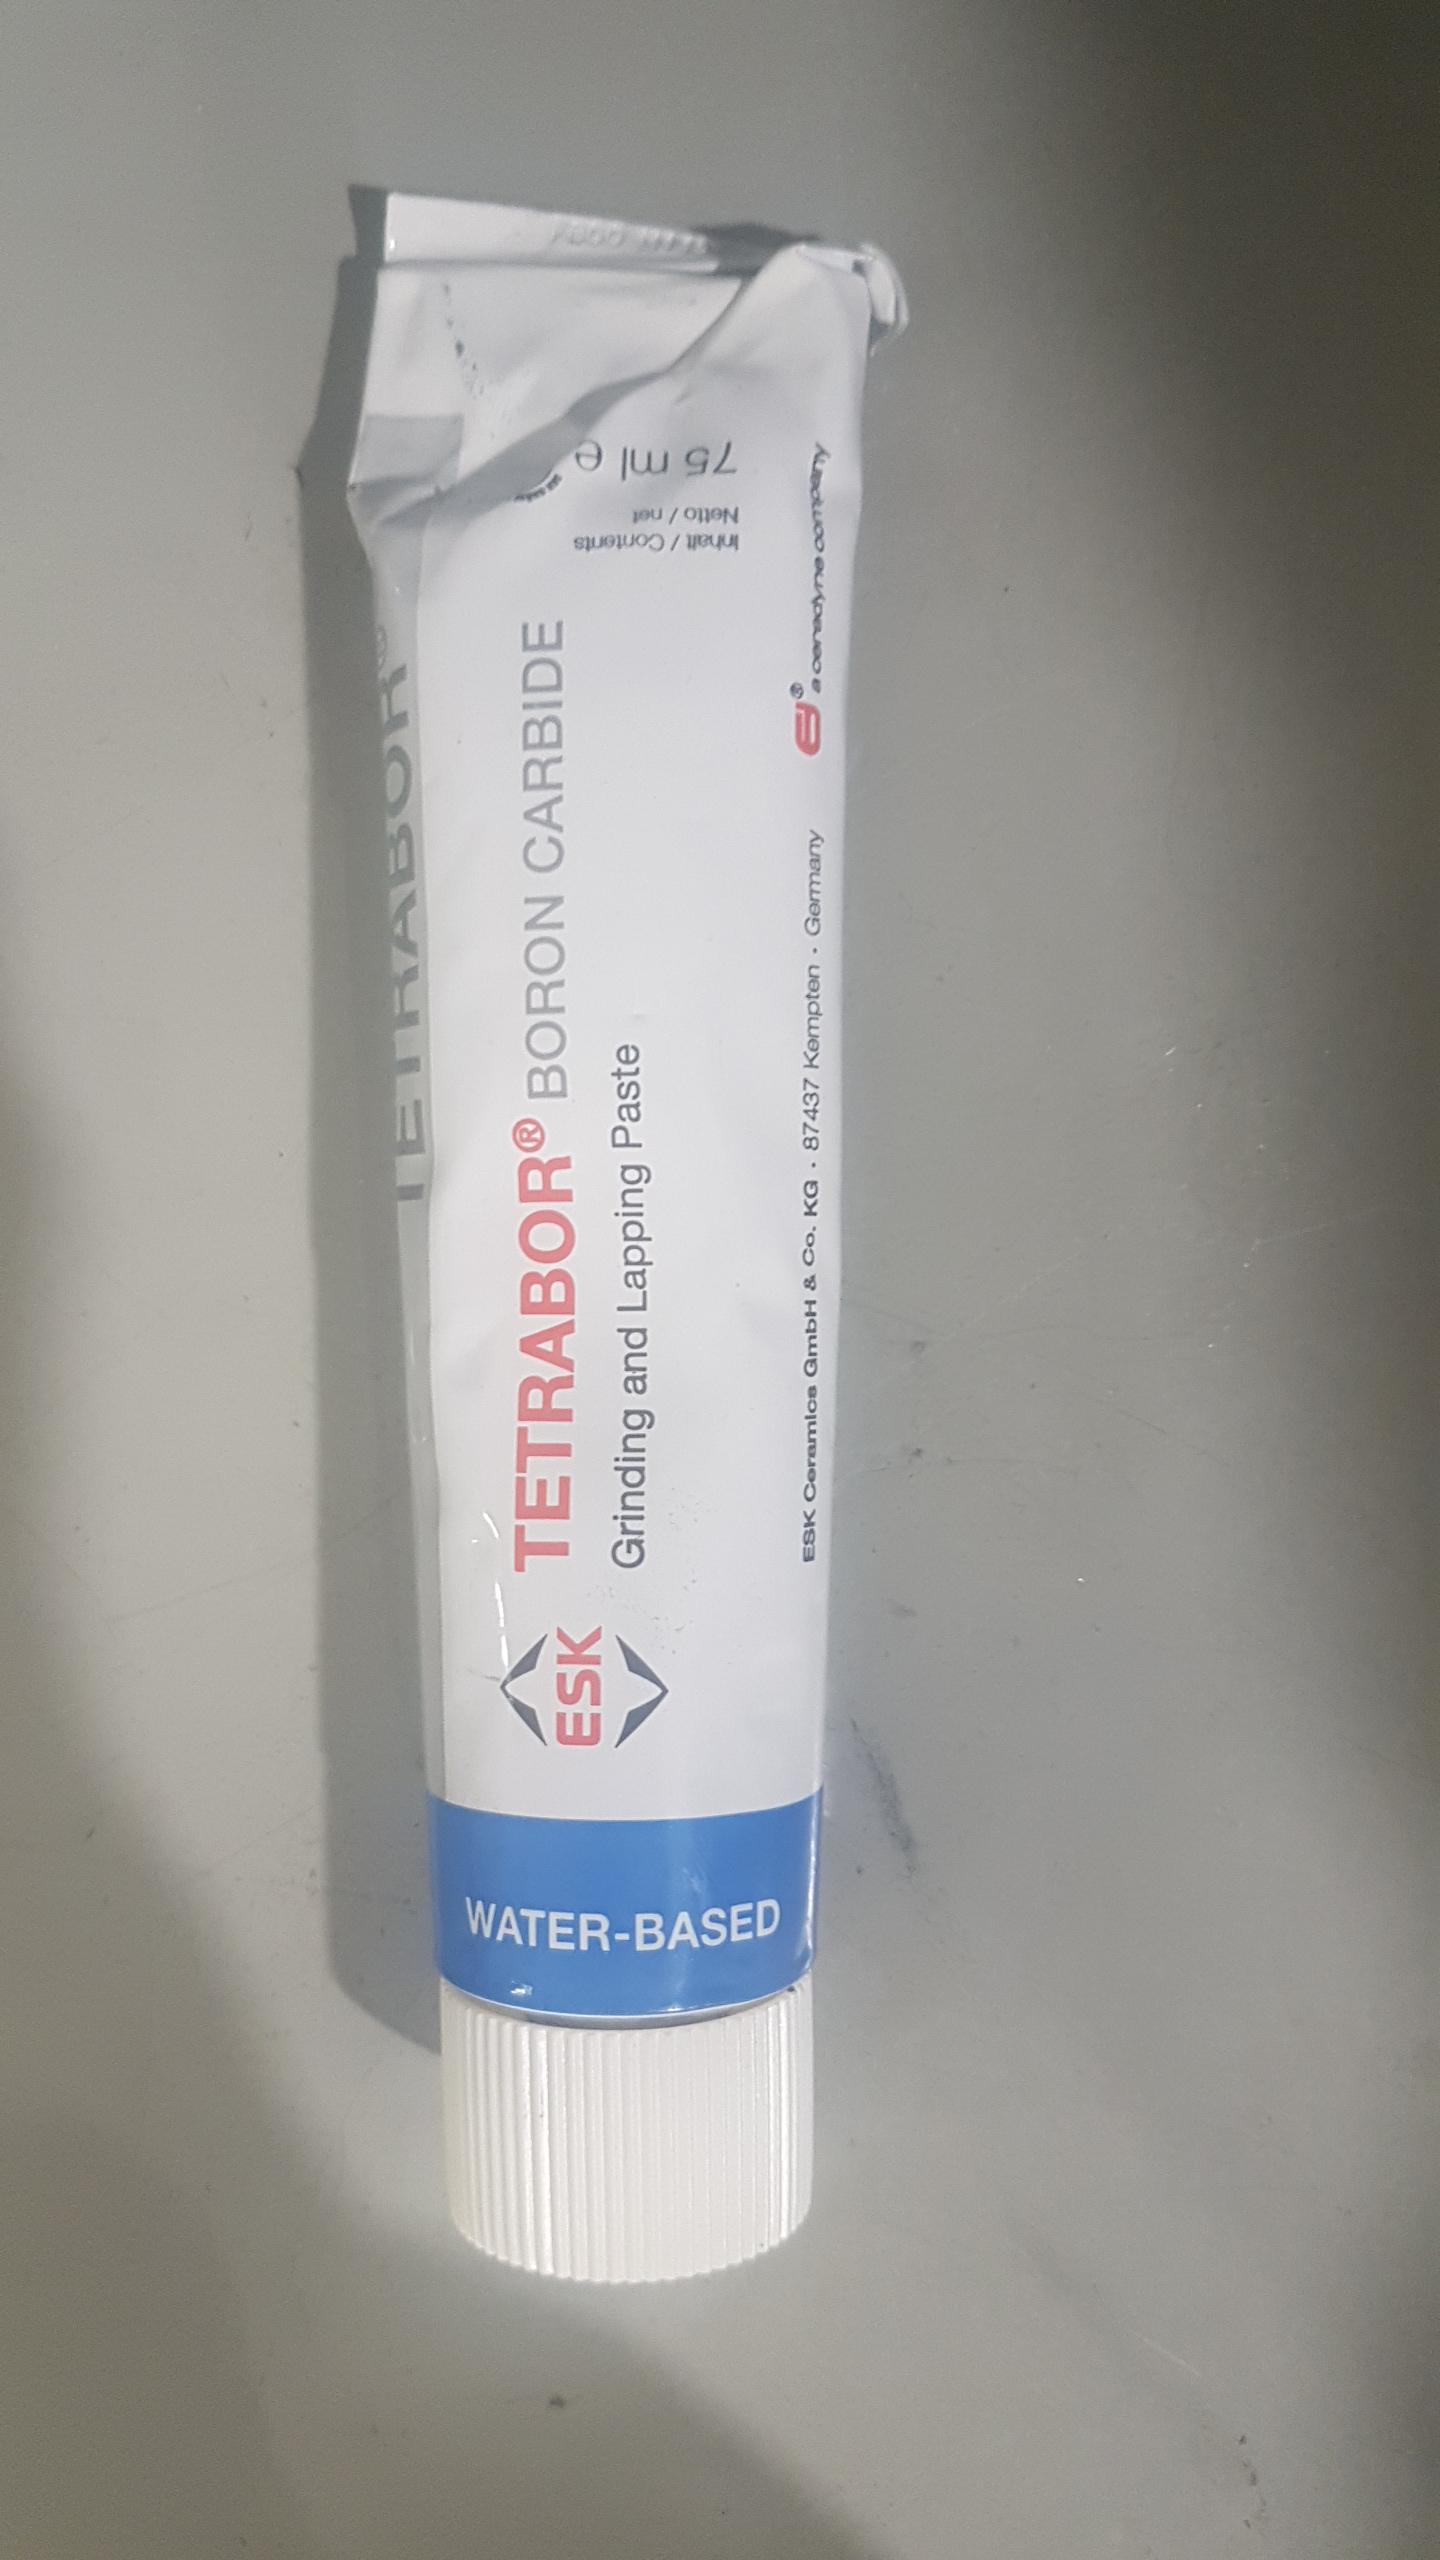
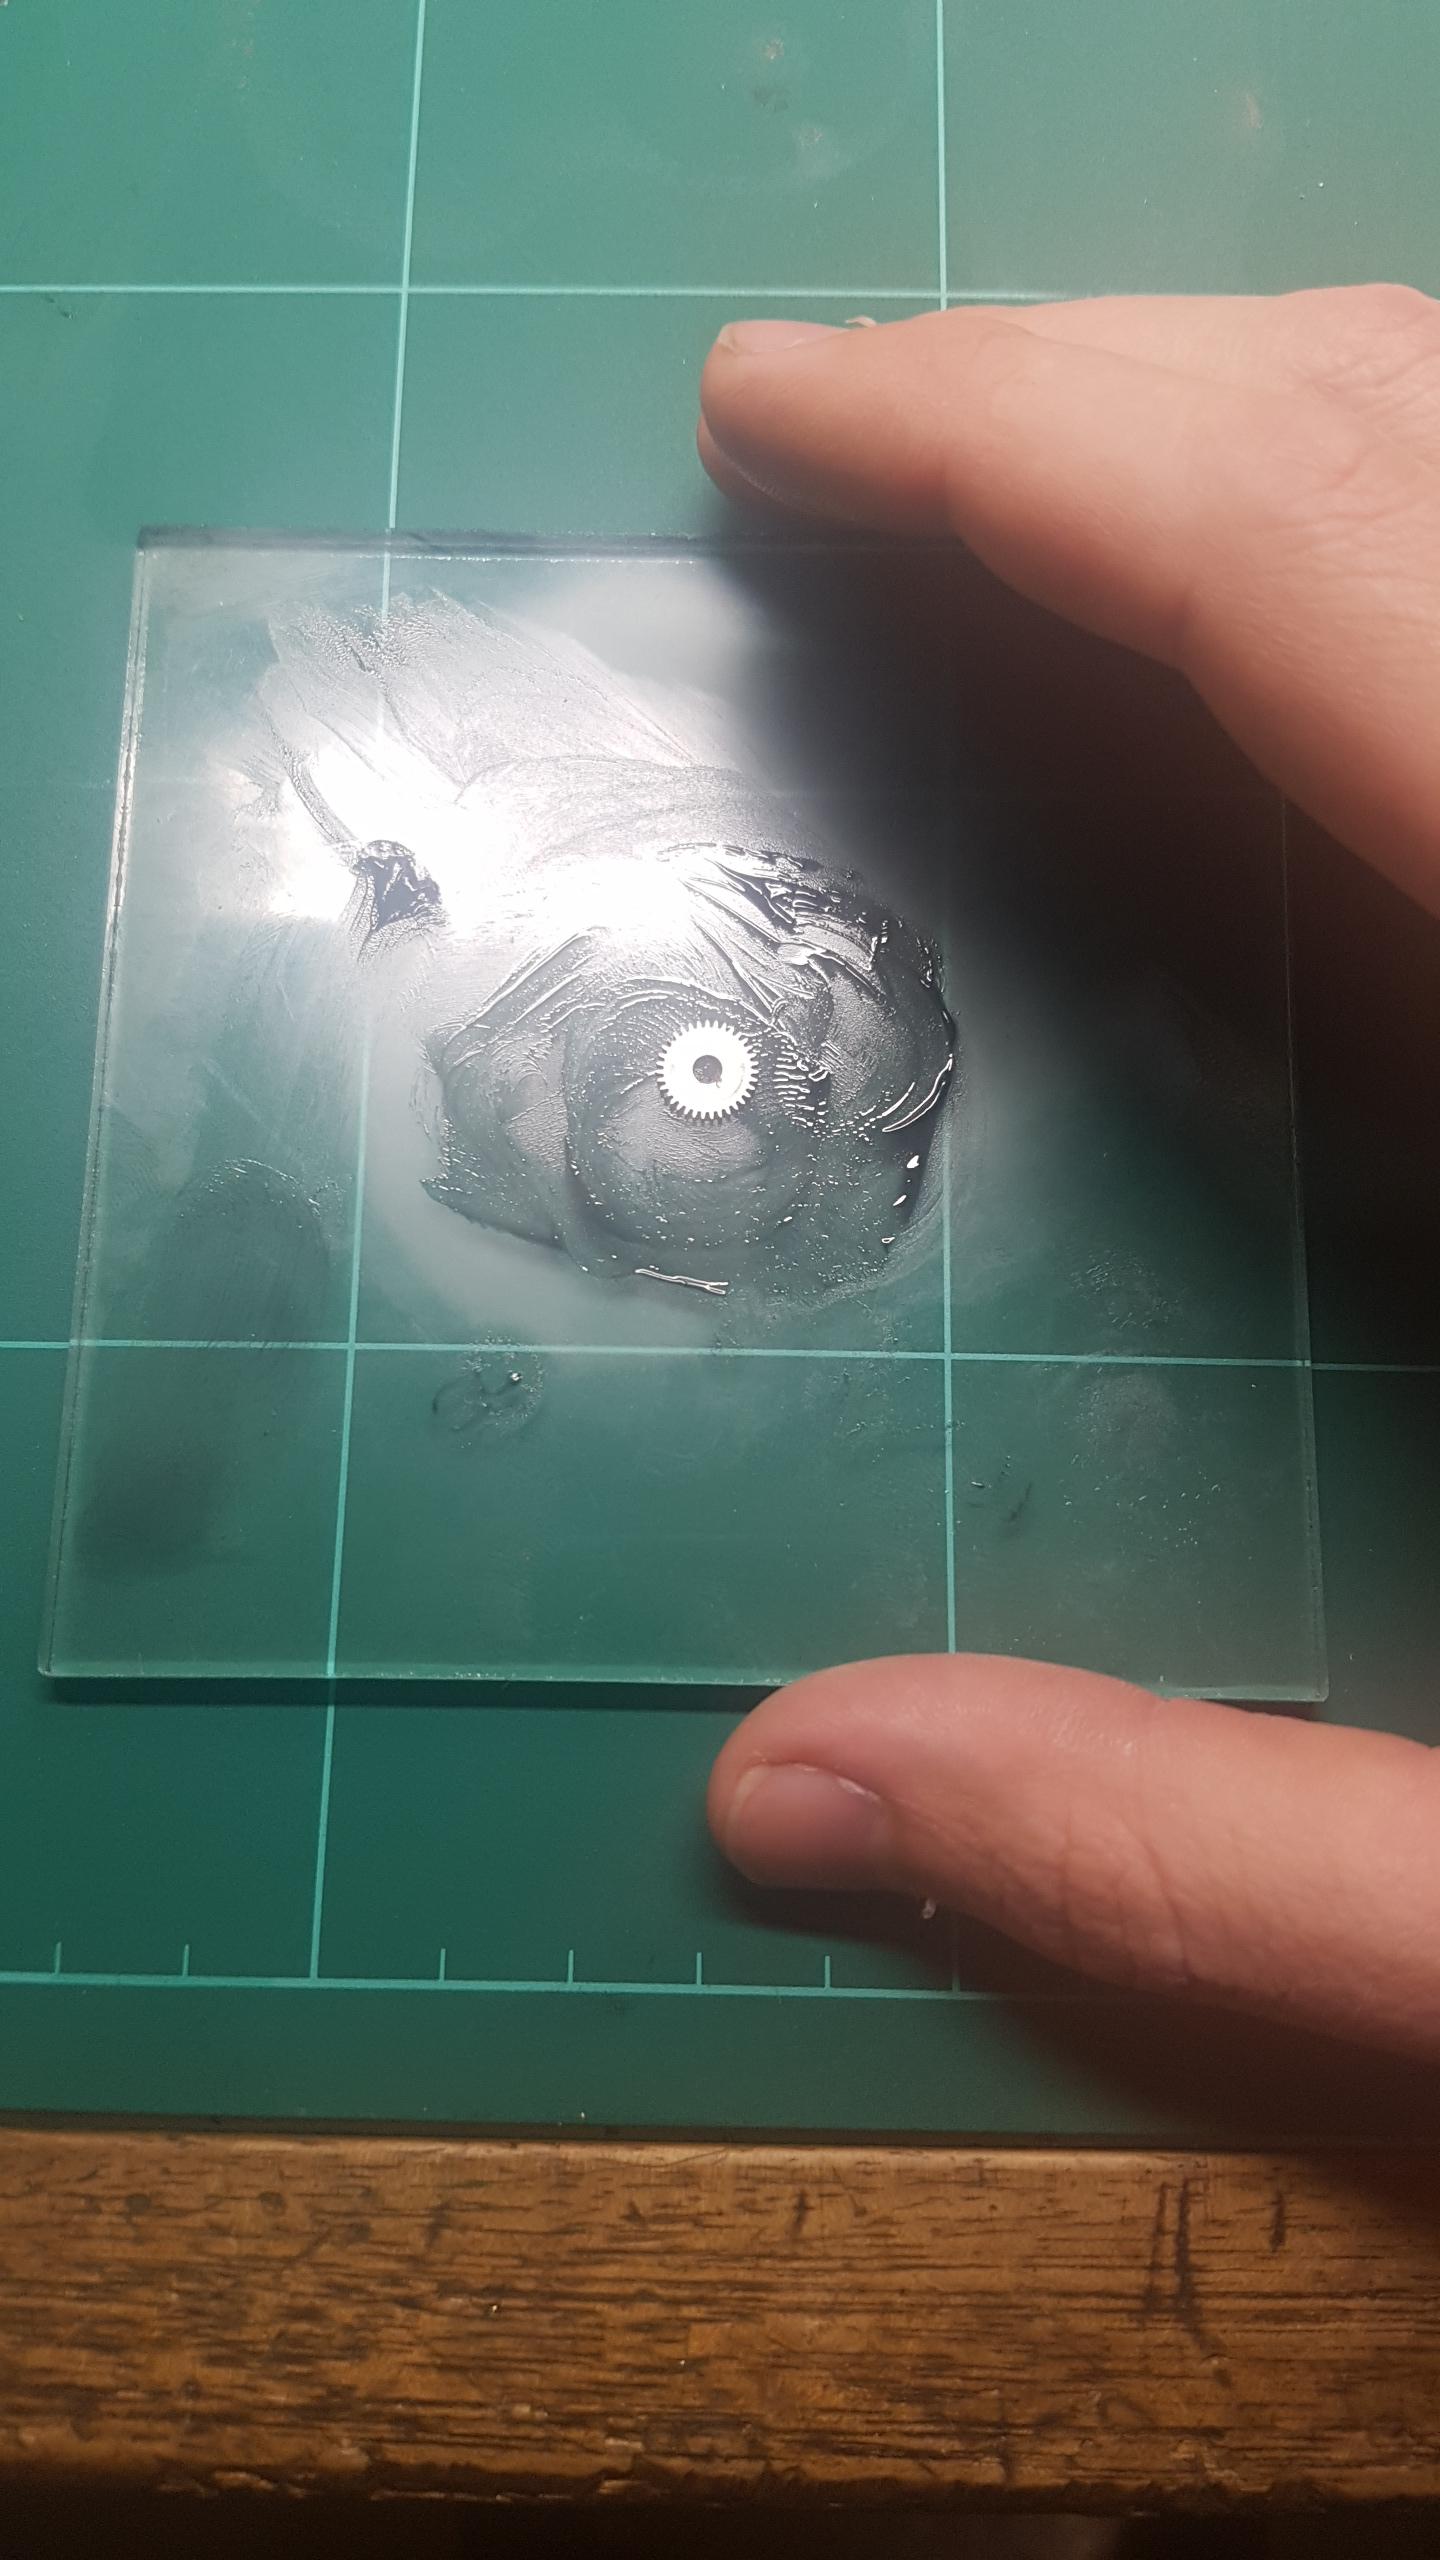
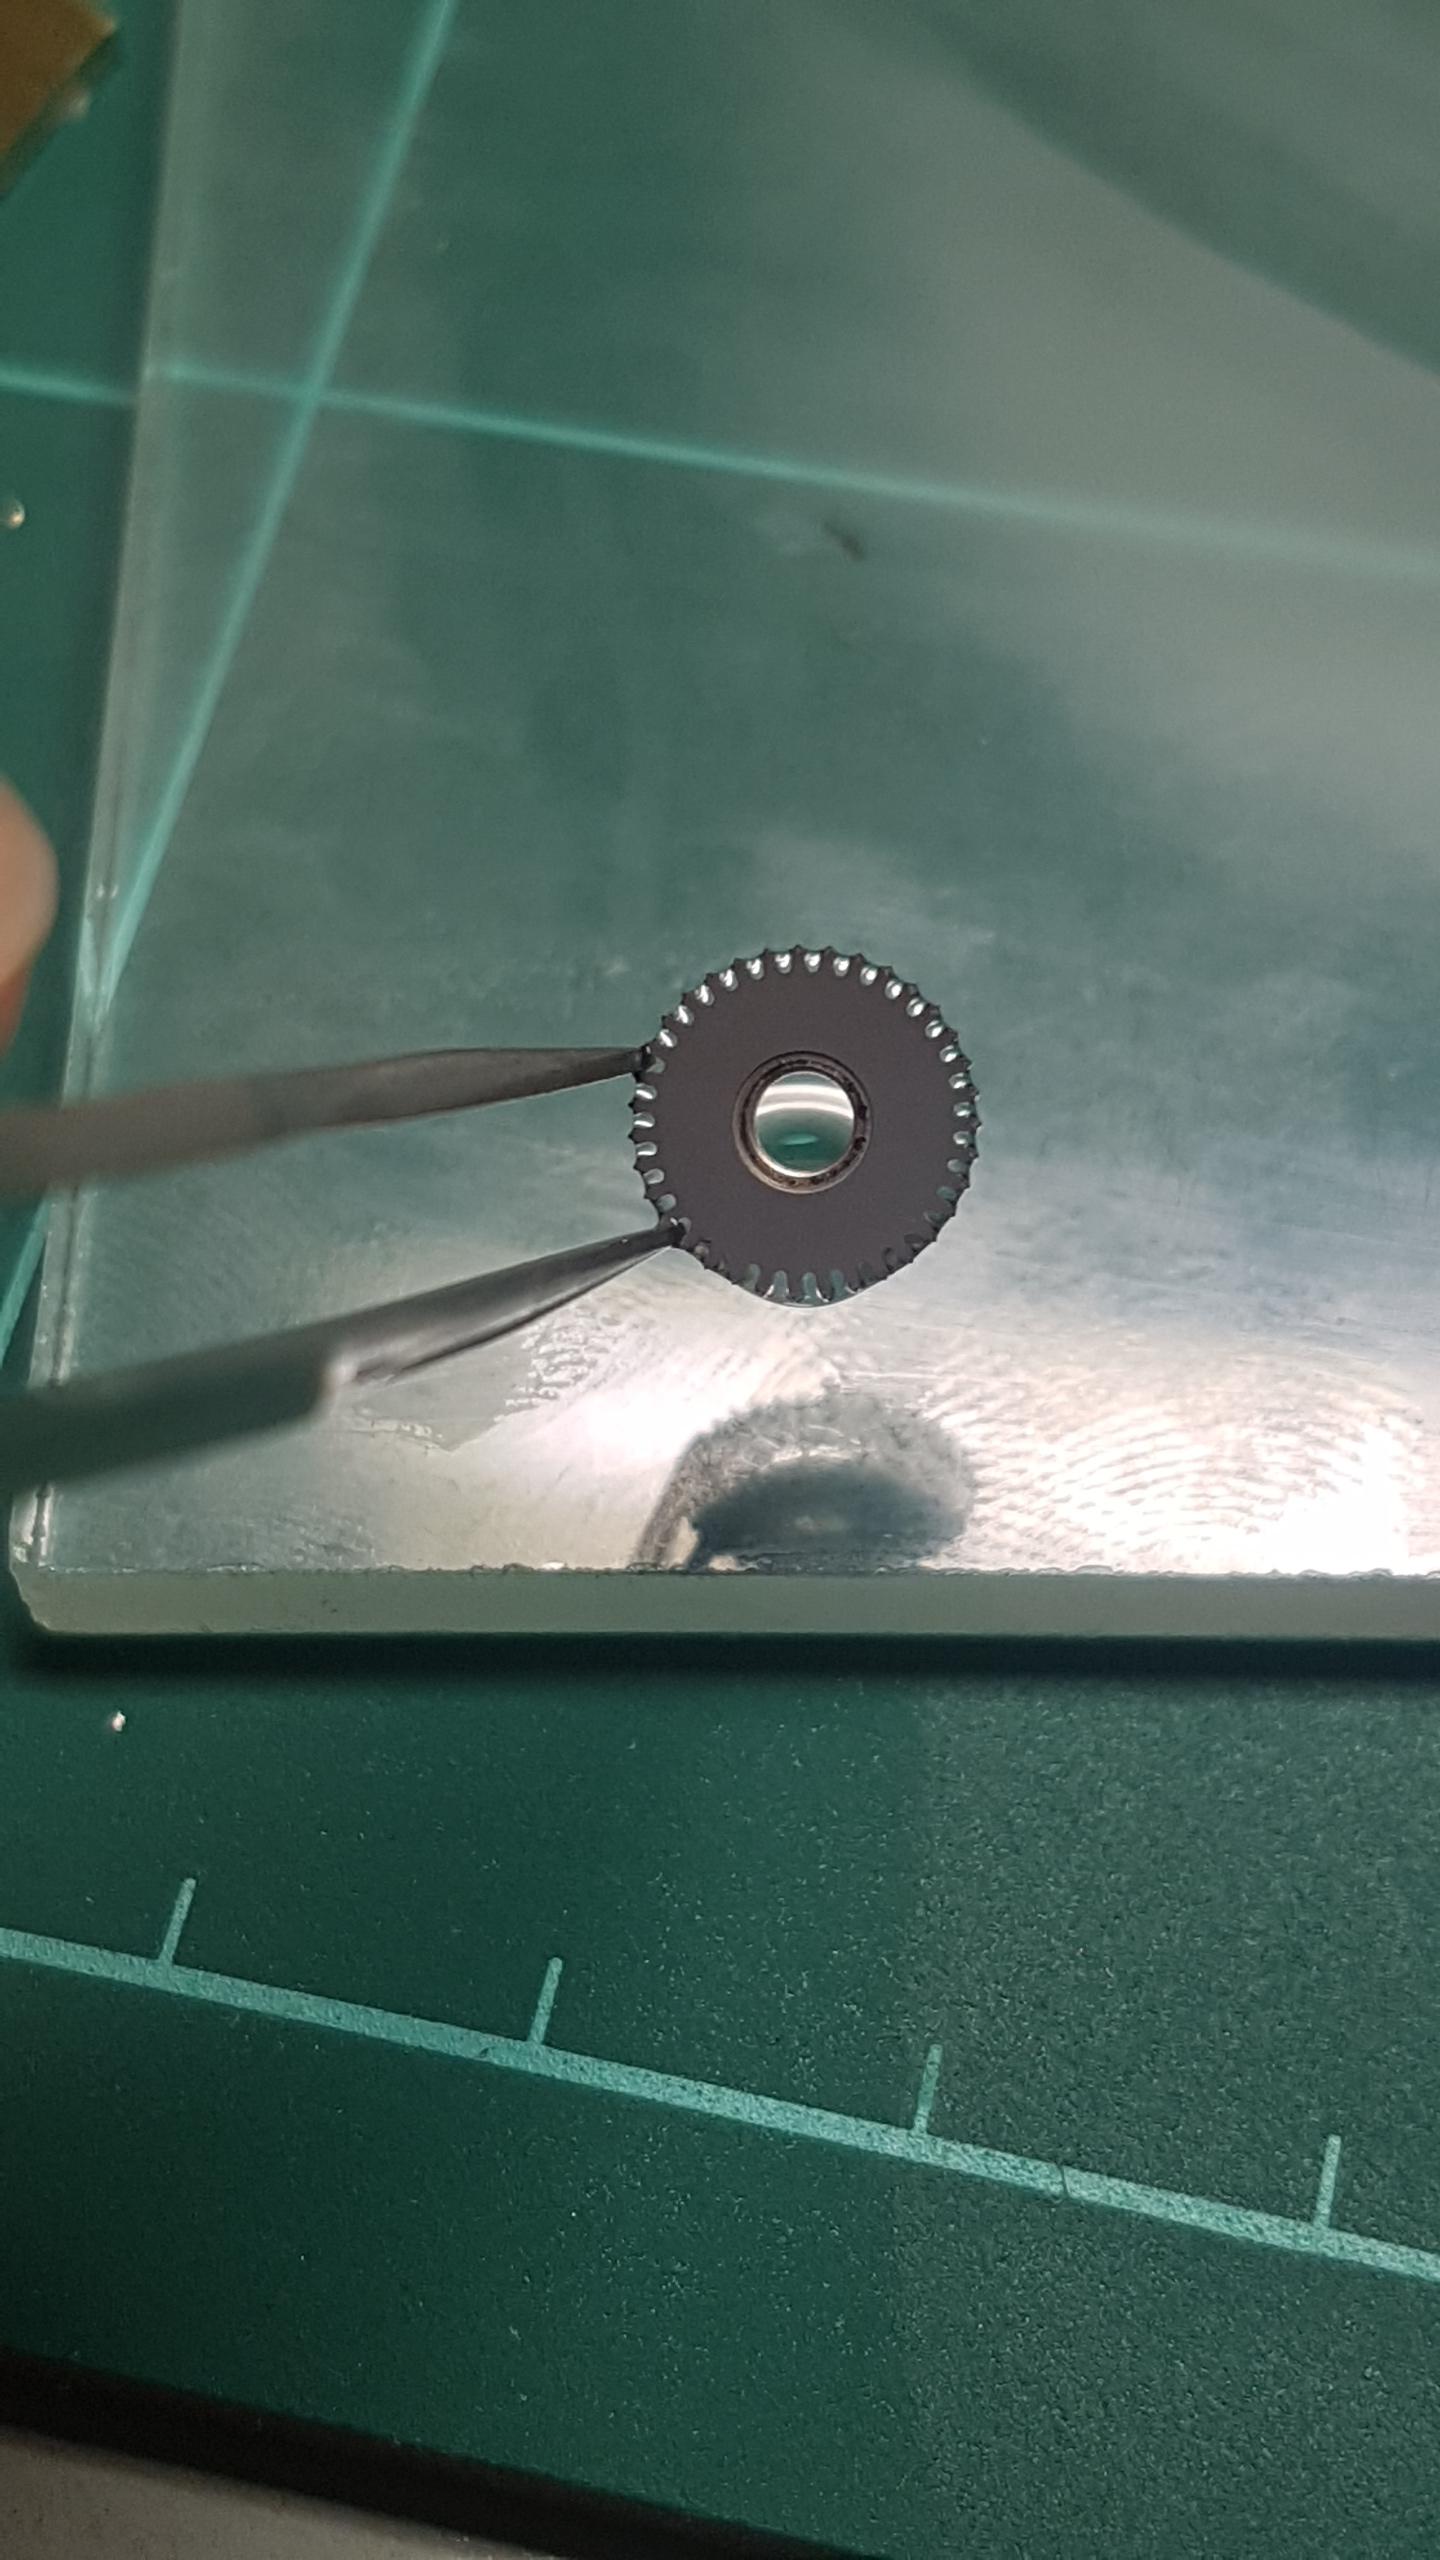
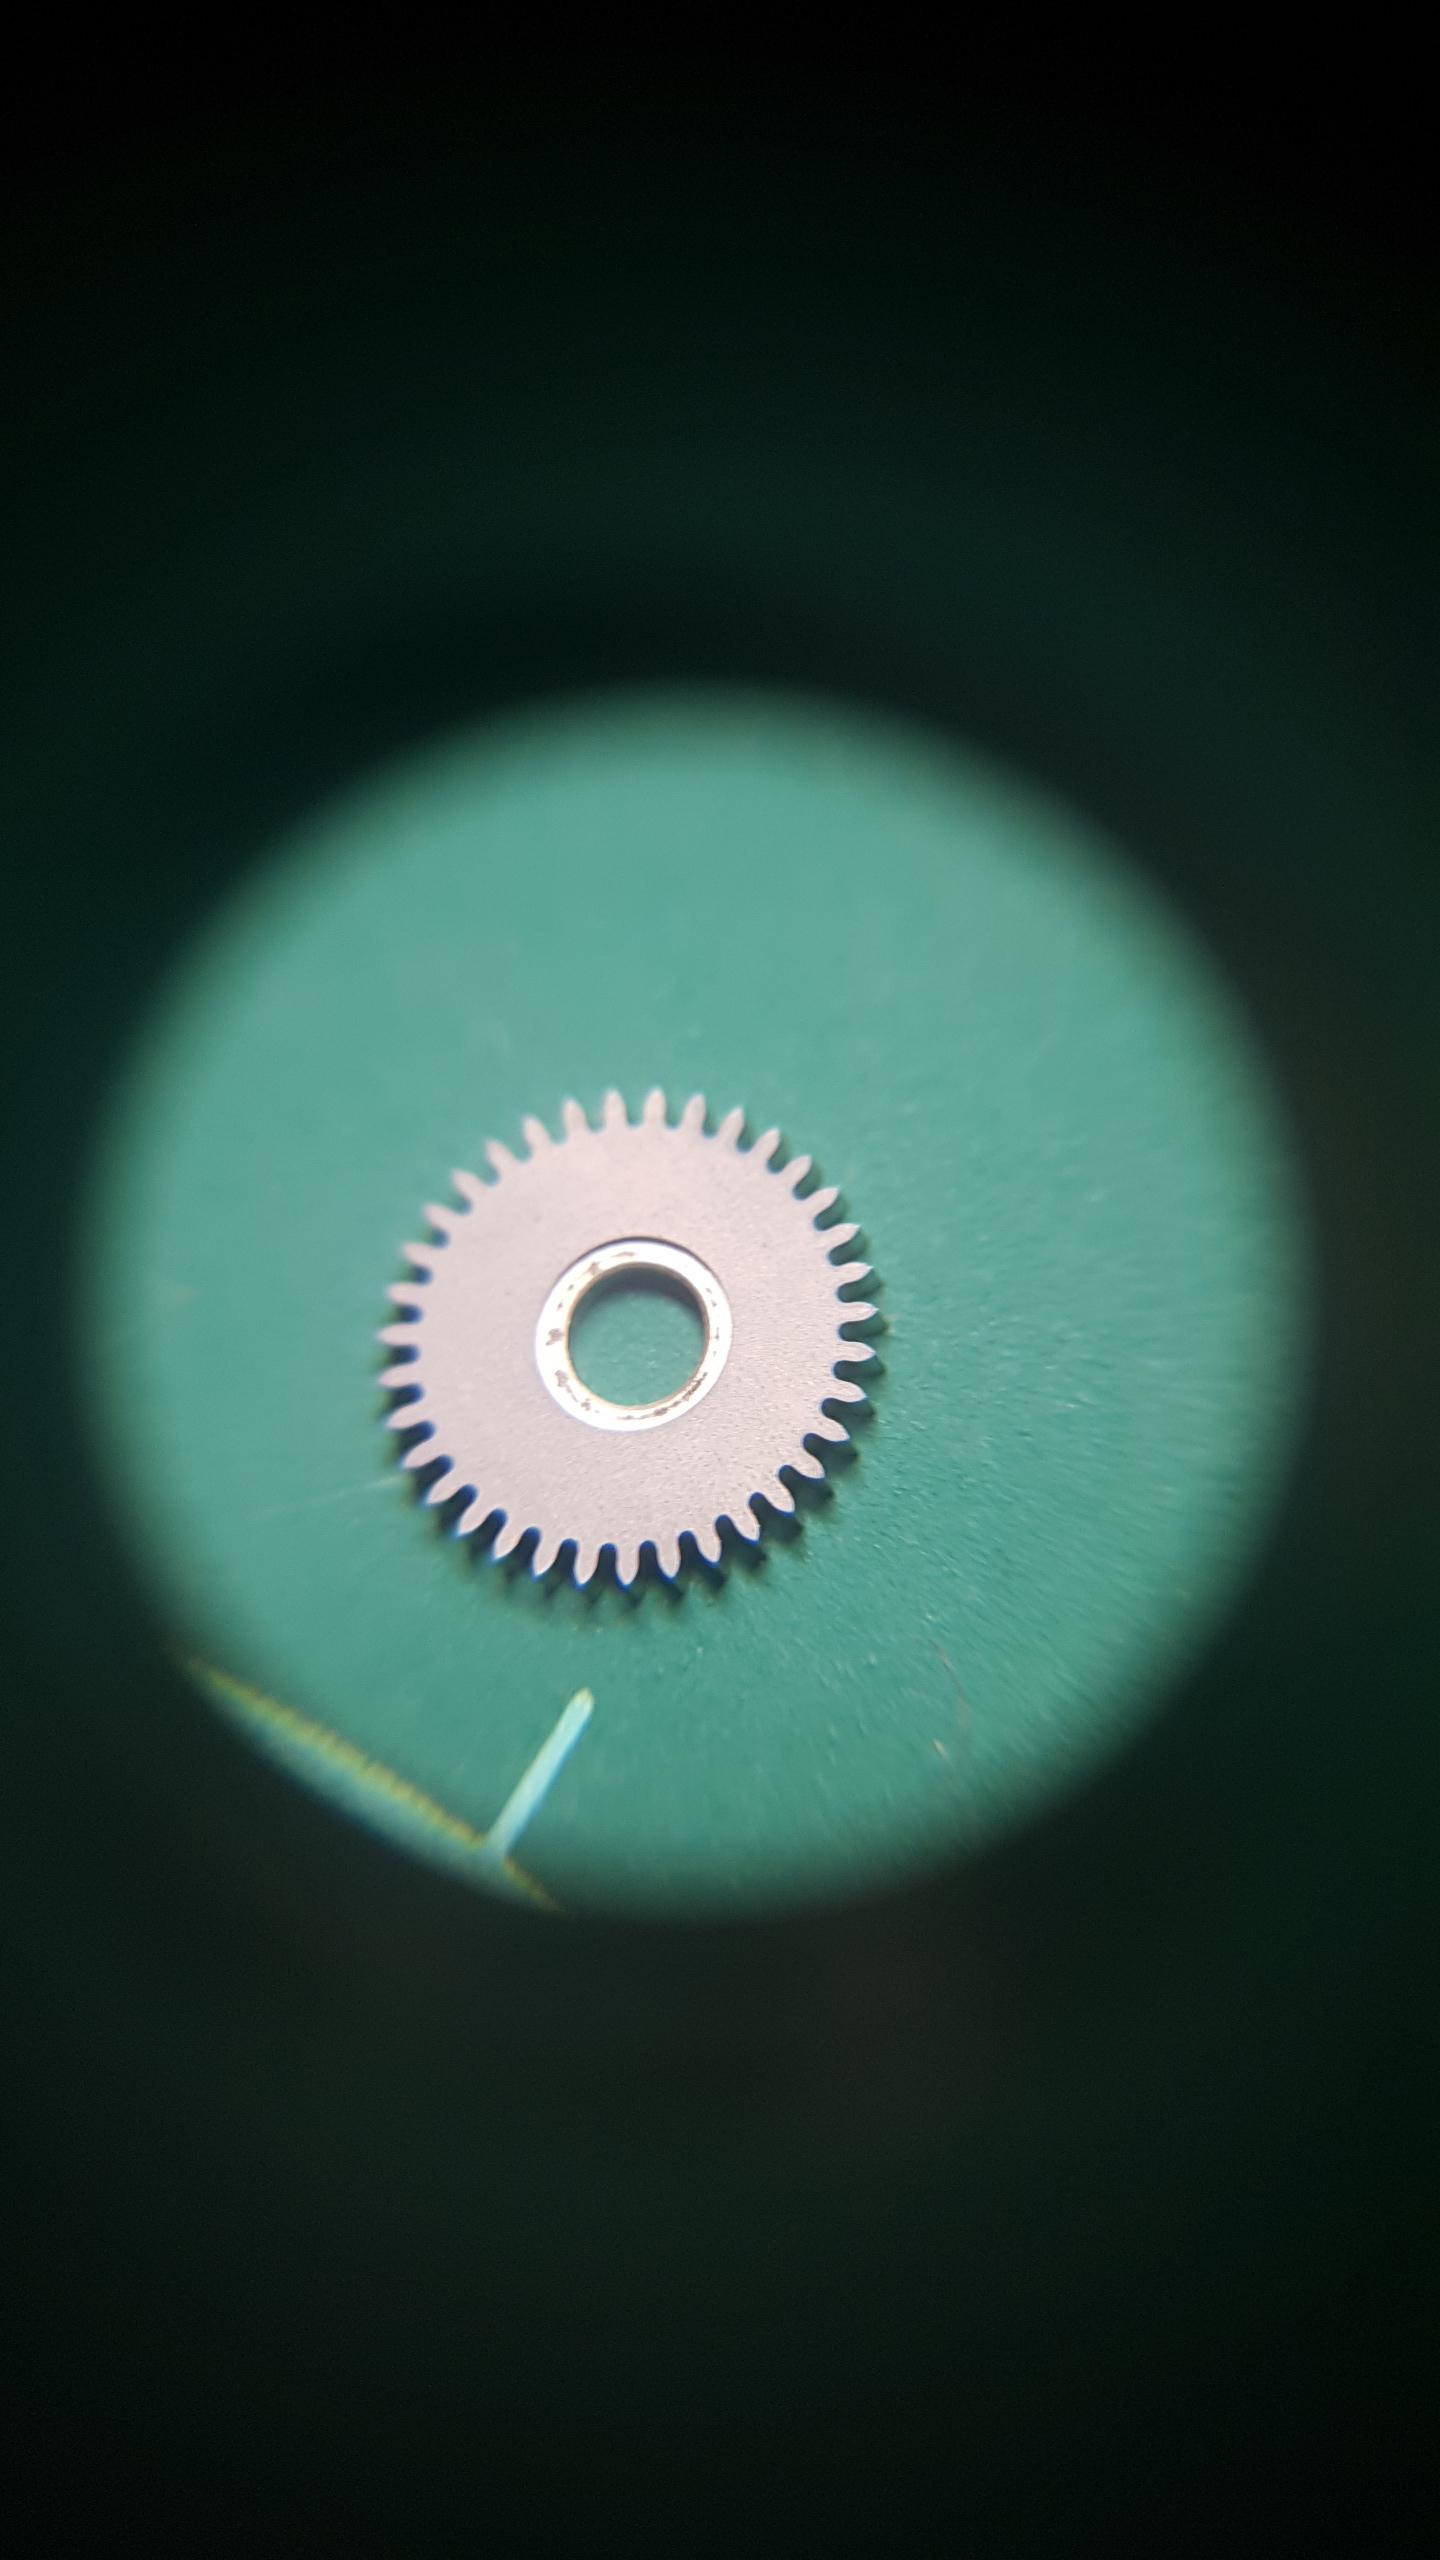
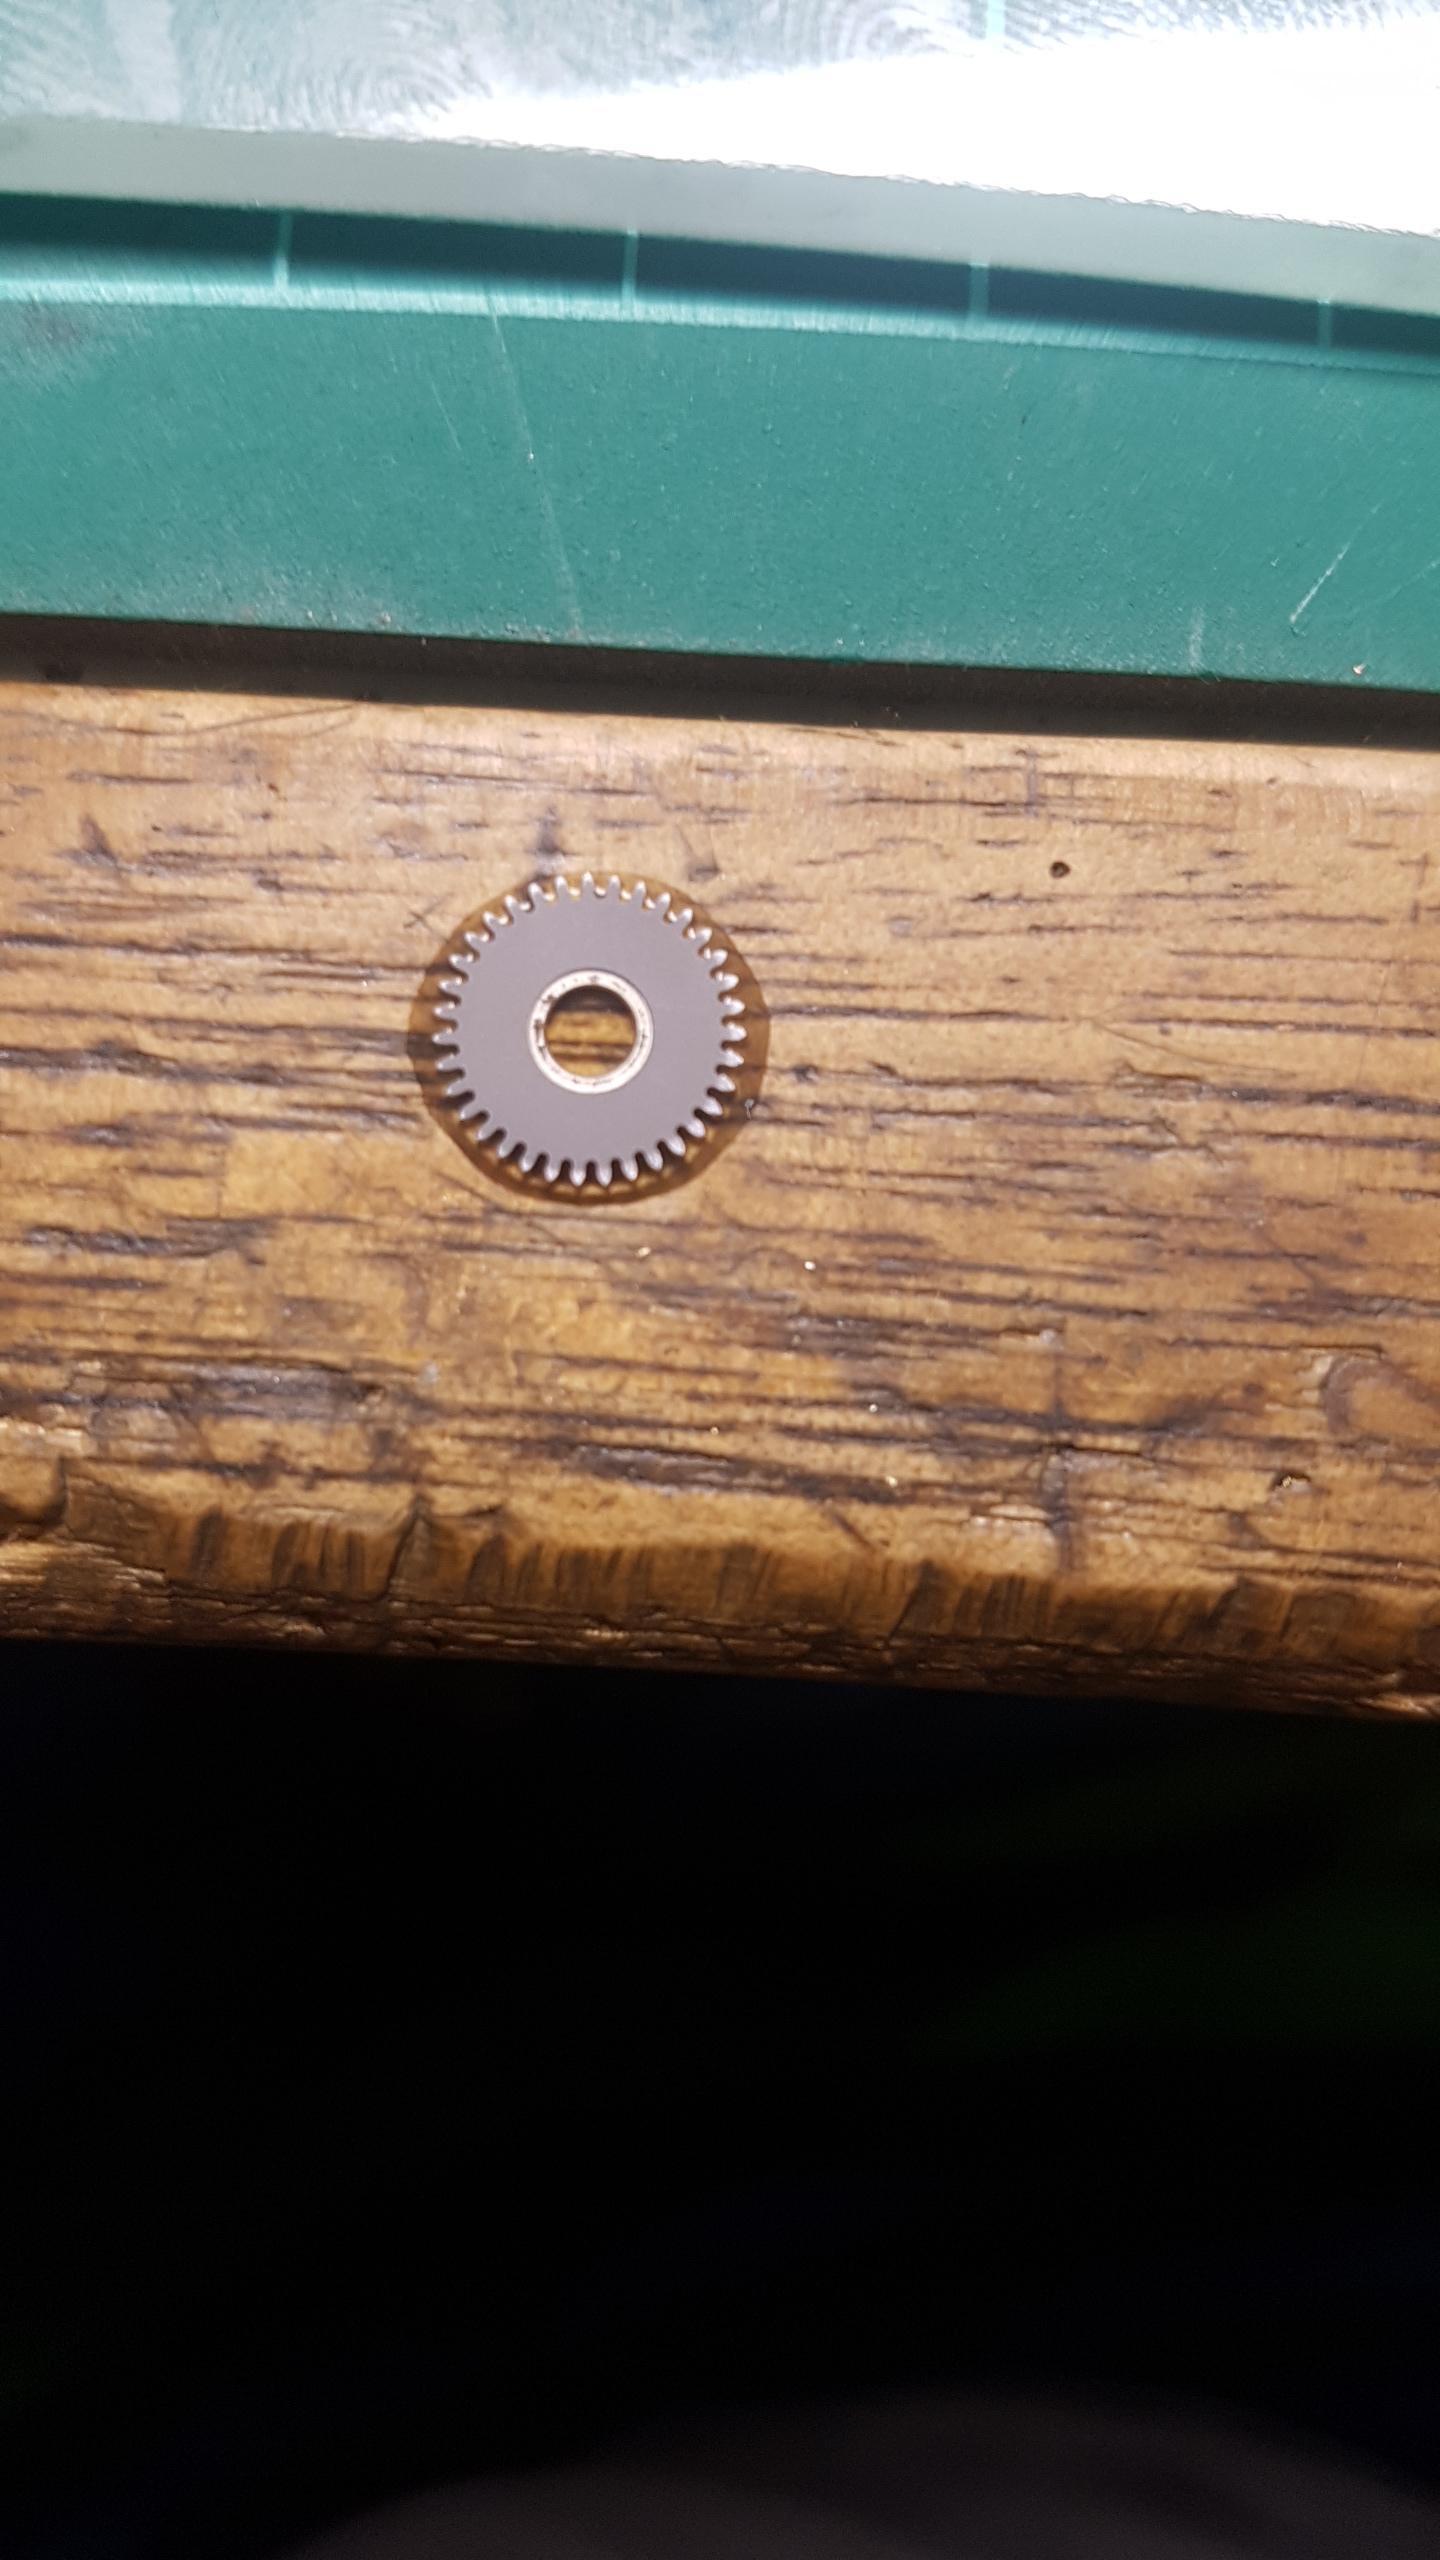
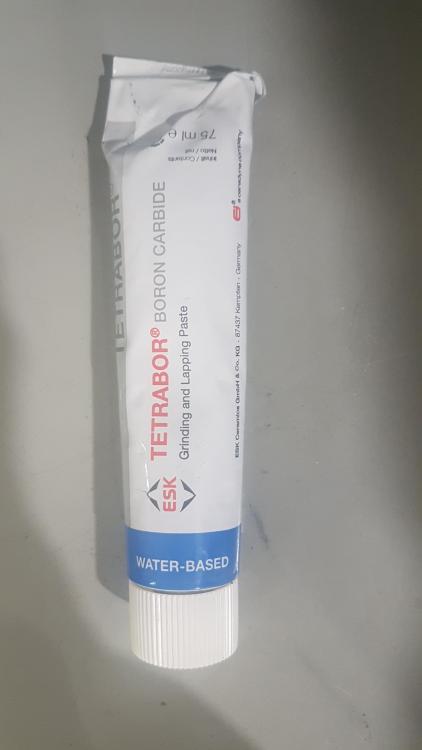
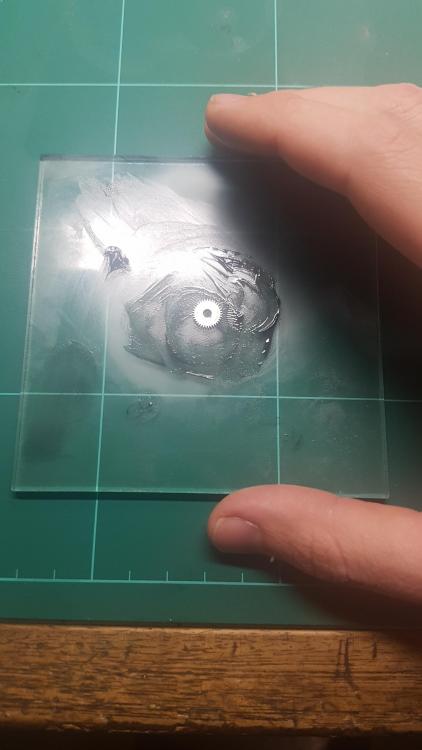
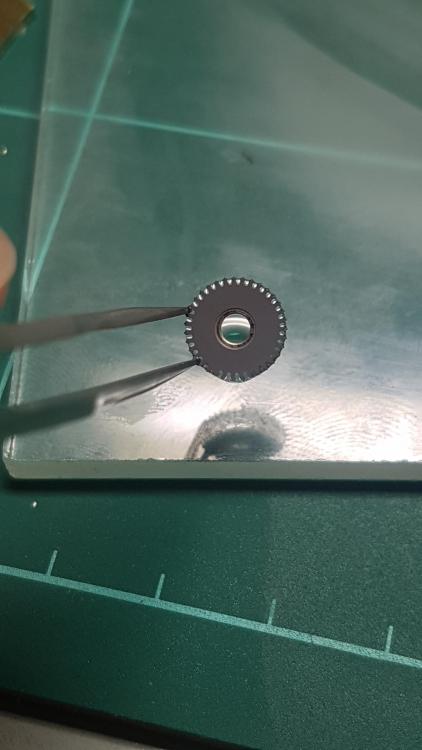
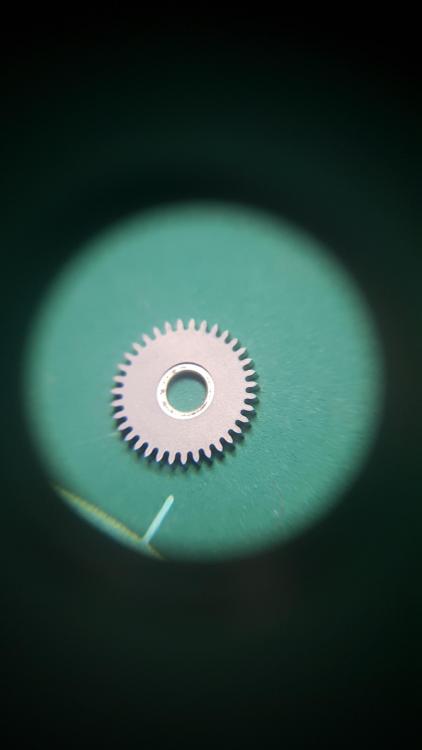
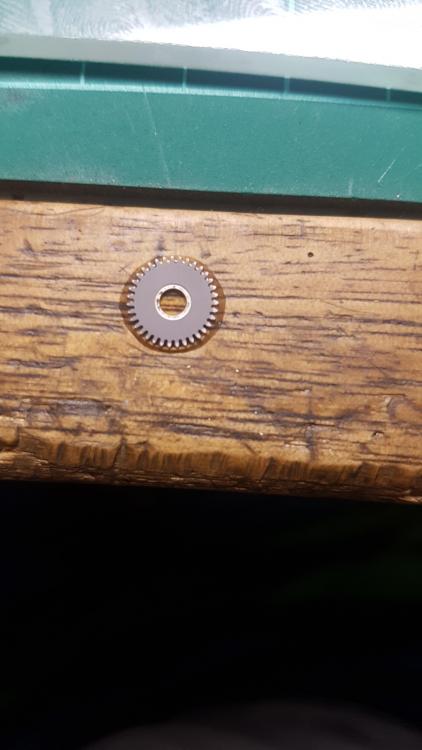
Hello All, This is my first post so I thought I would show a little finishing technique I learnt a while back. It basically turns the ratchet or crown wheel into a matte/ frosted finish. It was popular back in the day with some high end companies and still looks good in my opinion. I'll run through how it's done and try answer your questions as best as possible. What you need: 1. glass plate 2. Micron paper in various grits. 20 and 12 will do. 3. Tetrabor 800 grit/ mesh 4. Ultrasonic or cleaning machine 5. rodico First thing first, you have to flatten your ratchet wheel. To do this I use some lapping paper on glass. I start on a 20 micron and rub the ratchet wheel with my finger in a figure 8 pattern or circular or however I feel. (we arent trying to achieve black polishing flatness) If you are worried you can set up a jig to hold the ratchet wheel. but I often find using your finger will suffice. Once happy, move onto a 12 or 9 micron and do the same. At this point it is imperative to clean the wheel so that you remove all the grit from the paper that may be stuck between the teeth. So chuck it in an ultrasonic or your cleaning machine. Next place some tetrabor onto your plate, no need to add oil or water. place wheel onto plate and start rubbing it in. Generally it doesn't take to long no longer than a min or so. Doesn't hurt to check the piece to see how the finish is developing. if you want to check you can dab it with rodico, very carefully to remove the tetrabor. Do NOT wipe with a tissue or anything, this finish scratches so easy its crazy!! you can always chuck it through the ultrasonic (carefully) to see how the pattern is going. Its the checking and chasing that one last scratch which takes up the most time. The slightest bit of dust or dirt on the glass plate will scratch the wheel. You can always blue the wheel after, it comes out with an interesting tone when blued with this finish. This technique is fairly hard and does take some time to get good at, because it's just so easy to scratch and because of this scratches stand out against the matte surface. I'll try answer questions as best as possible. I try and post interesting stuff on Instagram regularly at least 3 to 4 times a week. obr_horology is my account on insta. its just time consuming to post (slow at typing) I plan on doing a youtube video in the coming weeks to better explain it. I learnt this from Henrick Korpela. Check him out if you haven't heard of him. He also writes in the AWCI and gives away a lot of info. Thanks O

 2 points
 -
Is that book written by Sven Sandström? You wouldn't have a second copy?2 points
-
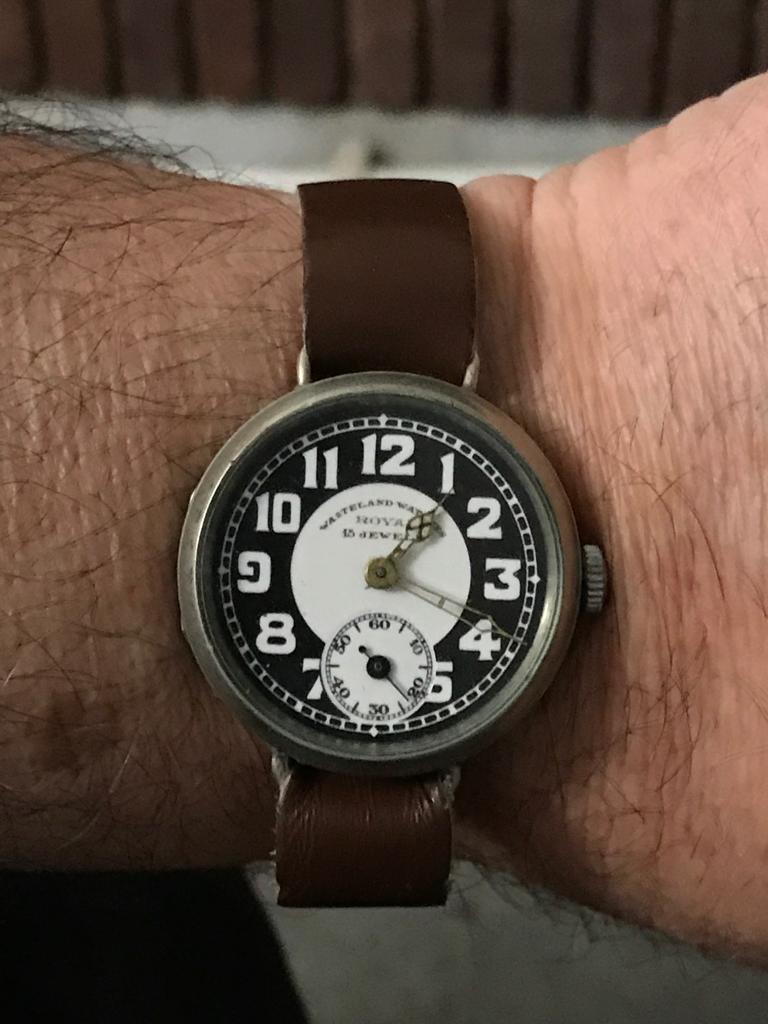
Arcadia 15 jewels.
 2 points
 -
I think this will help you to understand the movement you have and the action of winding and hand setting. It is in three parts. Here is the first. They can be found on youtube.1 point
-
You might look at using a hypodermic needle to extend a second hand to the diameter you need.1 point
-
It's a Revue GT56, a nice little movement.1 point
-
Very appropriate. May the fourth be with you!1 point
-
Apologies if you have, but have you tried putting a small stiff strip of metal (or a flat bladed screwdriver) under the setting lever (plate) as close to the cross-threaded screw as you can, and then gently applying a constant pressure to lift the plate upwards, as you turn the screw to unscrew it? I've often found that re-engages the screw and thread and allows the former to be removed.1 point
-
A little bit hard to descibe the tool but you attache a pice holder with three adjustable gripers , theese allow you to set a workpiece excentric to the backstock.. Ahh ..a video is better, around 3:35 you can see it in action..1 point
-
OK, I got myself a Sieg C0. Certainly not a watchmaker's lathe, but it has many pro for what I intend to do. After few hours cleaning and smoothing it I took my first cut on alloy using a SS BBQ skewer. I was able to easily part off a washer less than 1mm thick.I 'm very keep on learning on how to use it at its best!1 point
-
Case closed:) Sent from my iPhone using Tapatalk Pro1 point
-
Great look and technique. I'm happy to welcome you here, and give your 1st like.1 point
-
very interesting watch repair book. good thing its not in Finnish. vin1 point
-
More low cost fun. Just a little over three and a half quid each. My guess is, possible franken-dial, probably original and probably original. I spent more on two coffees and a couple of sticky buns in the supermarket cafe yesterday.1 point
-
You stck it on the broach tight enough that it doesn't spin. Getting the inner end of the hairspring in the hole is kind of like potty training a 2 year old- you just have to coax ot in. The pin is similar. I used to do this on video camera for students 20 years ago and now I got nothing unfortunately.1 point
-
The NH36 is the same basic movement as the 7S26, but with more jewels, hacking and winding. If you wish to keep the watch more functionally correct in respect to the the 7S26, why not buy a 7S36 movement? Exactly the same as the 7S26 but with two additional jewels. No hacking or winding either. Seiko 7S26C_36C.pdf1 point
-
Hey JDM Good idea sir. Is the NH36 same size as 7s26C movement? At least it would do as a temp till I can get a barrel complete for the Seiko. Oh no a Frankenwatch is to be born.1 point
-
That is in the nature of the game. Experience only comes from practice. I actually don't think it is that bad. I have certainly seen a lot worse, that have been salvageable. There is a slight art to this. Try to imagine what will happen to the whole spring, if you straighten a particular part. Now try to imagine what will happen to the whole spring if you increase the bend on that same part. You have to understand that every change affects the whole geometry. This is why it is sometimes easier to remove the spring and work on a piece of paper. I tend to work with the balance in the watch, but there are no hard and fast rules to this, other than to be patient, take your time, think carefully before you make a change, and use good magnification and good light. Some people use a couple of pins, others use tweezers, I've heard of people using sewing needles with the end of the eye ground away to turn them in to a two pronged fork. Whatever you use though, gently does it, and don't panic if you make a wrong move, just figure out what you did wrong and carefully undo it. What have you got to loose other than a bit of your spare time? After all the thing is already broken.1 point
-
An old favorite, the Roxedo EB 8800 pin lever is back on my wrist today. I like the simple uncluttered elegance of the design of this piece. It make a very readable, robust and comfortable daily wearer.
 1 point
 -
I guess it depends on how you look at it. Great job security for those of us who follow the trade. That's how I view it anyway.1 point