Leaderboard


Popular Content
Showing content with the highest reputation on 03/29/16 in all areas
-
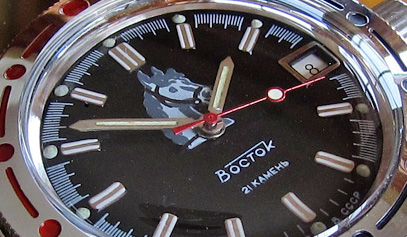
I recently transplanted a dial and hands from an old case and movement (Vostok Komandirskie with 2414a hand-wind movement) to a new case and movement (Vostok Amphibia with 2416 auto movement). The hands looked similar to yours, and I was able to polish them using 5 micron lapping film (a bit finer than P2500 sandpaper), followed by 12000 grit MicroMesh (about 2 micron grit size). They ended up looking much better than before.
 2 points
 -
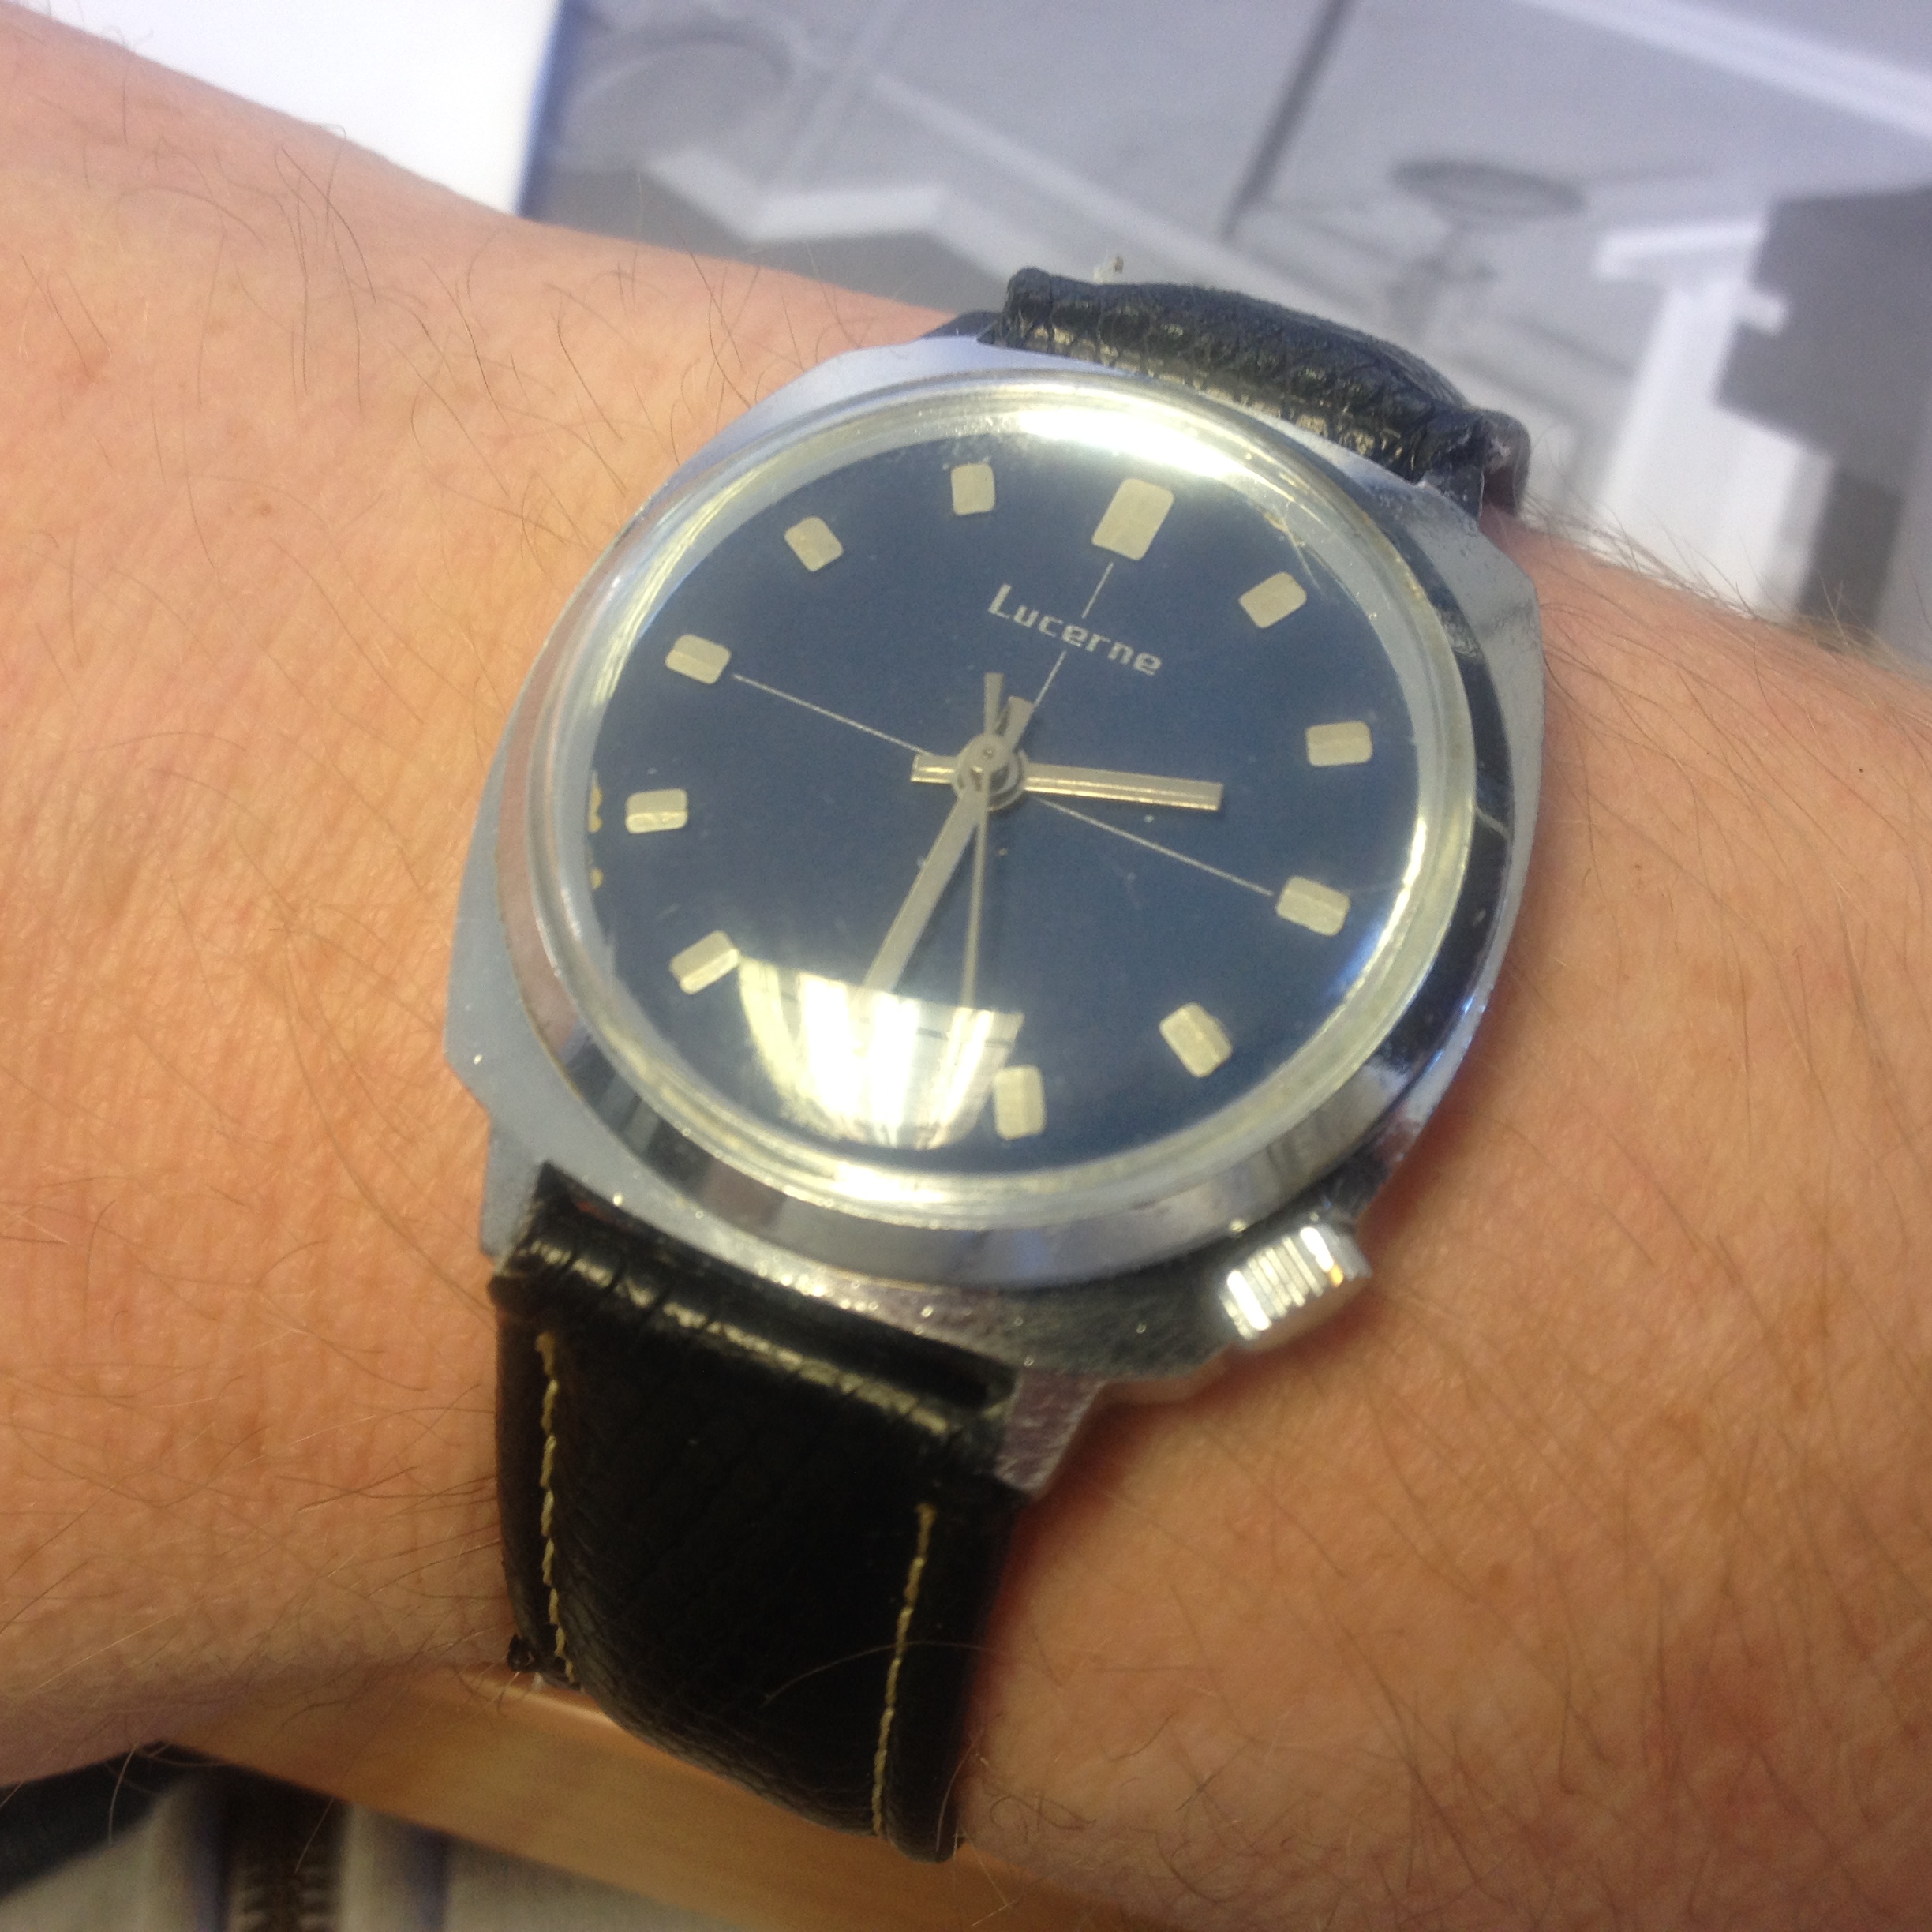
Here's the 10 bob LUCERNE Stroppy. Gave it a service and stuck a strap on it. Its so 70's
 2 points
 -
I cant tell you how many things I have launched never to be seen again . But keep a calm head and dress your tweezers (probably the greatest piece of knowledge ever bestowed upon me by my granddad all those years ago apart from never put your finger in a hole its not supposed to go in or is too small to get back out ) and the modern phone ipad or any tablet is a wonderful thing for remembering where those little bits go. Mick2 points
-
haha... so big box with a little case,I have received a gift packed with many boxes , you have to get the gift through opening the boxes one by one.the boxes are smaller and smaller2 points
-
Possibly I should of been more clear. The height measurements is the base of the hour wheel to the top. My hands are not steady so I tend to leave on movement to take measurement to be more accurate. Also if the watch has any value an original or updated version of the movement is the only way to go. Most vintage quartz watches have no value. Personally I love them. Sent from my SM-G900F using Tapatalk1 point
-
BBC4 tonight - great programme on automata - on as I write!1 point
-
Here in Sweden we use Häxan That witch in English
.jpg.afb7a8bb9a3f36910eb6a096d1549bf4.jpg) 1 point
1 point -
I've converted a few quartz. With the 18.3 You can easily get away with a smaller diameter movement with a suitable dial spacer. Thickness is more an issue so find one to match. If it has date calendar then you will need the same diameter or very close. Head height measure the thickness of movement to the base of the hour wheel. Then thickness of movement to the top of the hour wheel and that will give you the head height. If the dial feet don't fit the new movement, cut them off, smooth with a fine file and fit dial to movement with dial stickers. If the substitute movement has a taller head height to fit the hour hand on, you may still get away with it, using a high dome crystal. Tony Sent from my SM-G900F using Tapatalk1 point
-
Oops, spoke too soon. Whenever someone responds to something I asked to be notified about, I now get two notification e-mails within seconds of each other.1 point
-
That's what I said. My post is only if you really want to get the stem out. I also said that you would need a special tool.1 point
-
I'm not saying its not correct, it is fiddly. The pocket watch has a two piece stem. The person wants to remove the movement from its case which I have explained in one of my previous posts. You would only need to go through the fiddly task if say the sleeve of the adjuster had broken or the part stem in the case had broken. If all is well there is no need to remove it.1 point
-
Welcome from me too Arkobug! Good advise given here and one more from me: Dress the tweezers you are using and keeping them in good working conditions all the time. For watches, those are your hands and fingers! Also, a word for your Seiko: It is running. Most likely it needs service before you do any regulation to it. Before servicing, demagnetize. While servicing, you need to pay attention to the hairspring: it is easy to deform it and screw it up big time while manipulating both the hairspring and/or the movement with the hairspring on. In addition, inspect every part for wear and replace as needed (usually out of a donor movement if not available). Lube properly and let run for a couple of days...then, if not satisfied, regulate. Before attempting the above procedures, buy an old movement (2 or 3 better, at least one working). Try the above with the "guinea pig" movements first and then move on to the real thing. This will give you, apart from the experience and knowledge of the movement you will be working on, a feel for the parts, the tweezers and a how to approach. Visit our tutorial section too, research and enjoy! Cheers, Bob PS. One more tip: Too much oil is worst than too little! PS2. Same recommendation applies with the other watch...you only need some "spare" movements to practice first. The whole point is you don't want to "mess up" more what you already have...if you like to keep them.1 point
-
Looks nice! First software update of a forum I've ever been witness to that didn't seem to break anything.1 point
-
Am I right in thinking that the balance staff is a cylinder it a cut out in it which allows the escape wheel to enter and thus turn then exit and so forth?1 point
-
@buzz12 I made the same mistake many of times and have lost countless parts...I usually step on them weeks later too, which is quite painful depending on the part! Controlling flying parts takes practice and even then, they WILL fly into oblivion at times anyway. (some seem to control it better than others) Glad you are sticking with it my friend!!! If it makes you feel better, I failed over the weekend too....project was put aside for another time!1 point
-
Thanks for the welcome guys and the tips. I think the taking pictures could be the way to go! Sadly, project 1 didn't go quite to plan. I got it all to bits and cleaned and I still had the right number of bits, but the re-assemble didn't go well. I thought I'd got everything in order - but NOPE! I remember putting the train cap (or is that bridge?) on three times because I'd missed something. On the fourth attempt... well... I just lost the will to live - I could not get it to settle - and then PING! Anyone have a good source for Pingless screws? Mark must have plenty - There must be such a thing - I've never seen any of his screws take off into orbit! Plan of action: find more patience, take pictures, learn more about why things go where they do. I think the last point is the key!! Anyway, gone reading... in the hope that project 2 will fair a little better!1 point
-
Hello and welcome. Mick1 point
-
Hello Buzz and Welcome from me as well, Might be worth having a check on the other recently joined members and the advice/tips already given to them. My best advice is take a pic before and after you remove anything from a movement and pick out old less valuable bog standard working movements to strip clean and put back together first to get an understanding of the relationship between the many parts. You will get help here anyway. Cheers, Vic1 point
-
Hello presto and welcome, You certainly picked on tasty movements to work on for your first efforts but perhaps you may not know that these little bits of history cost a bit to get spares for. For instance if you have a problem with the balance and knack it or get into problems with the date change parts flying off into the black hole of watch parts never to be seen again. Geo gave you good advice and you will get help here anyway, but like he says get an old working watch that has no date change or "chronograph" style parts ie bog standard for a tenner on the bay strip it down taking pics at every before and after stage, clean the parts in lighter fluid dry them off and put it back together using some cheap oil and mainspring grease. You could work on your good stuff with Moebius oils etc. when you are proudly looking at your first serviced watch. My first one was a Chinese movement in a replica watch that was for my brother in law who stated that it did not matter if I "knacked it - just chuck it" but amazingly he got it back fully functional and keeping good time (much to my amazement). That success got me addicted and this forum and its members have been instrumental in helping me whenever I was really stuck and I am sure you will get the same help. Good luck, Vic1 point
-
Found this some days ago? He polish the hands with some kind of plastic polish? Check under hand installing tool? http://www.thewatchmaker.com.cy/watch-repairs-video-tips.php1 point
-
Not really must watch makers had their own code when it came to marking. This way I said only the repairer would know. This is a practice I never ever did. I kept a book with every repair carried out, with the antique clocks I would right up all the work carried out including parts made and hand the list and old parts to the owner.1 point
-
Being a laboratory manager for the past 16 years and surrounded by students (undergrad, grad, post-doc and professors) I find I need to fix about a dozen forceps each year and use an Arkansas stone. This is not mine but thought others might enjoy this good tutorial I found on Youtube-1 point
-
Just give me an address to send you mine!1 point
-
As clock boy stated the height is most important. After about 30 years sitting at the wrong workbench height for me I developed Spondylitis and it put an end to my watch/ clockmaking, I don't want anyone to end up like me. Make sure it is going to be big enough for what you want, you can never have a work bench that is to big because you will begin to use up the space. I would think hard and take a look on this forum some have taken photos of their place of work and posted them. If I were in your shoes I would have a bench made for me, if you are a handy man you could make your own. Light is also very important, what type of lighting are you thinking of. As you said draw space is another, what do you intend to keep in them and will they be big enough for all you want to fit in them. Shelves are good to have I had them all around, what didn't go in draws went on the shelves. If you have a lathe and cleaning machine where are they going to go you need separate space for both. Make sure when you sit you have plenty of leg space, you don't want to be sitting with your knees rubbing the work bench.1 point
-
I learn,t this recently. The angle you use to load lubricant on to your oiler alters the amount & shape of oil on the oiler tip. An upright 90 deg. entry gives it a tiny about of oil on the tip which is what you want for the pallet jewel. Also what helps is really good magnification.1 point
-
Well spotted on the typo, 941 is correct for low beat and is still available to buy. Rogart, if it's taking "a couple of days" for the pallet noise to settle, your putting far too much oil on, it should not take this long for the oil to spread over the contact areas. It takes a real steady hand to apply oil to pallet jewels and extremely good vision. As my vision is not as it was, I do mine under a scope now, only takes a minute and I can see exactly what I'm doing. I was taught to clean them off and reapply oil if I got any oil on top of the pallets, a pain I know but it seems to have paid off over the years. oiling is a skill in itself and should be practiced and perfected, as we all know it can make a big difference in a movements performance.1 point
-
Crikey! That's me to a tee! Off to see a shrink ASAP!!!1 point
-
Sent from my SM-G920F using Tapatalk1 point