Leaderboard


Popular Content
Showing content with the highest reputation on 12/03/23 in all areas
-
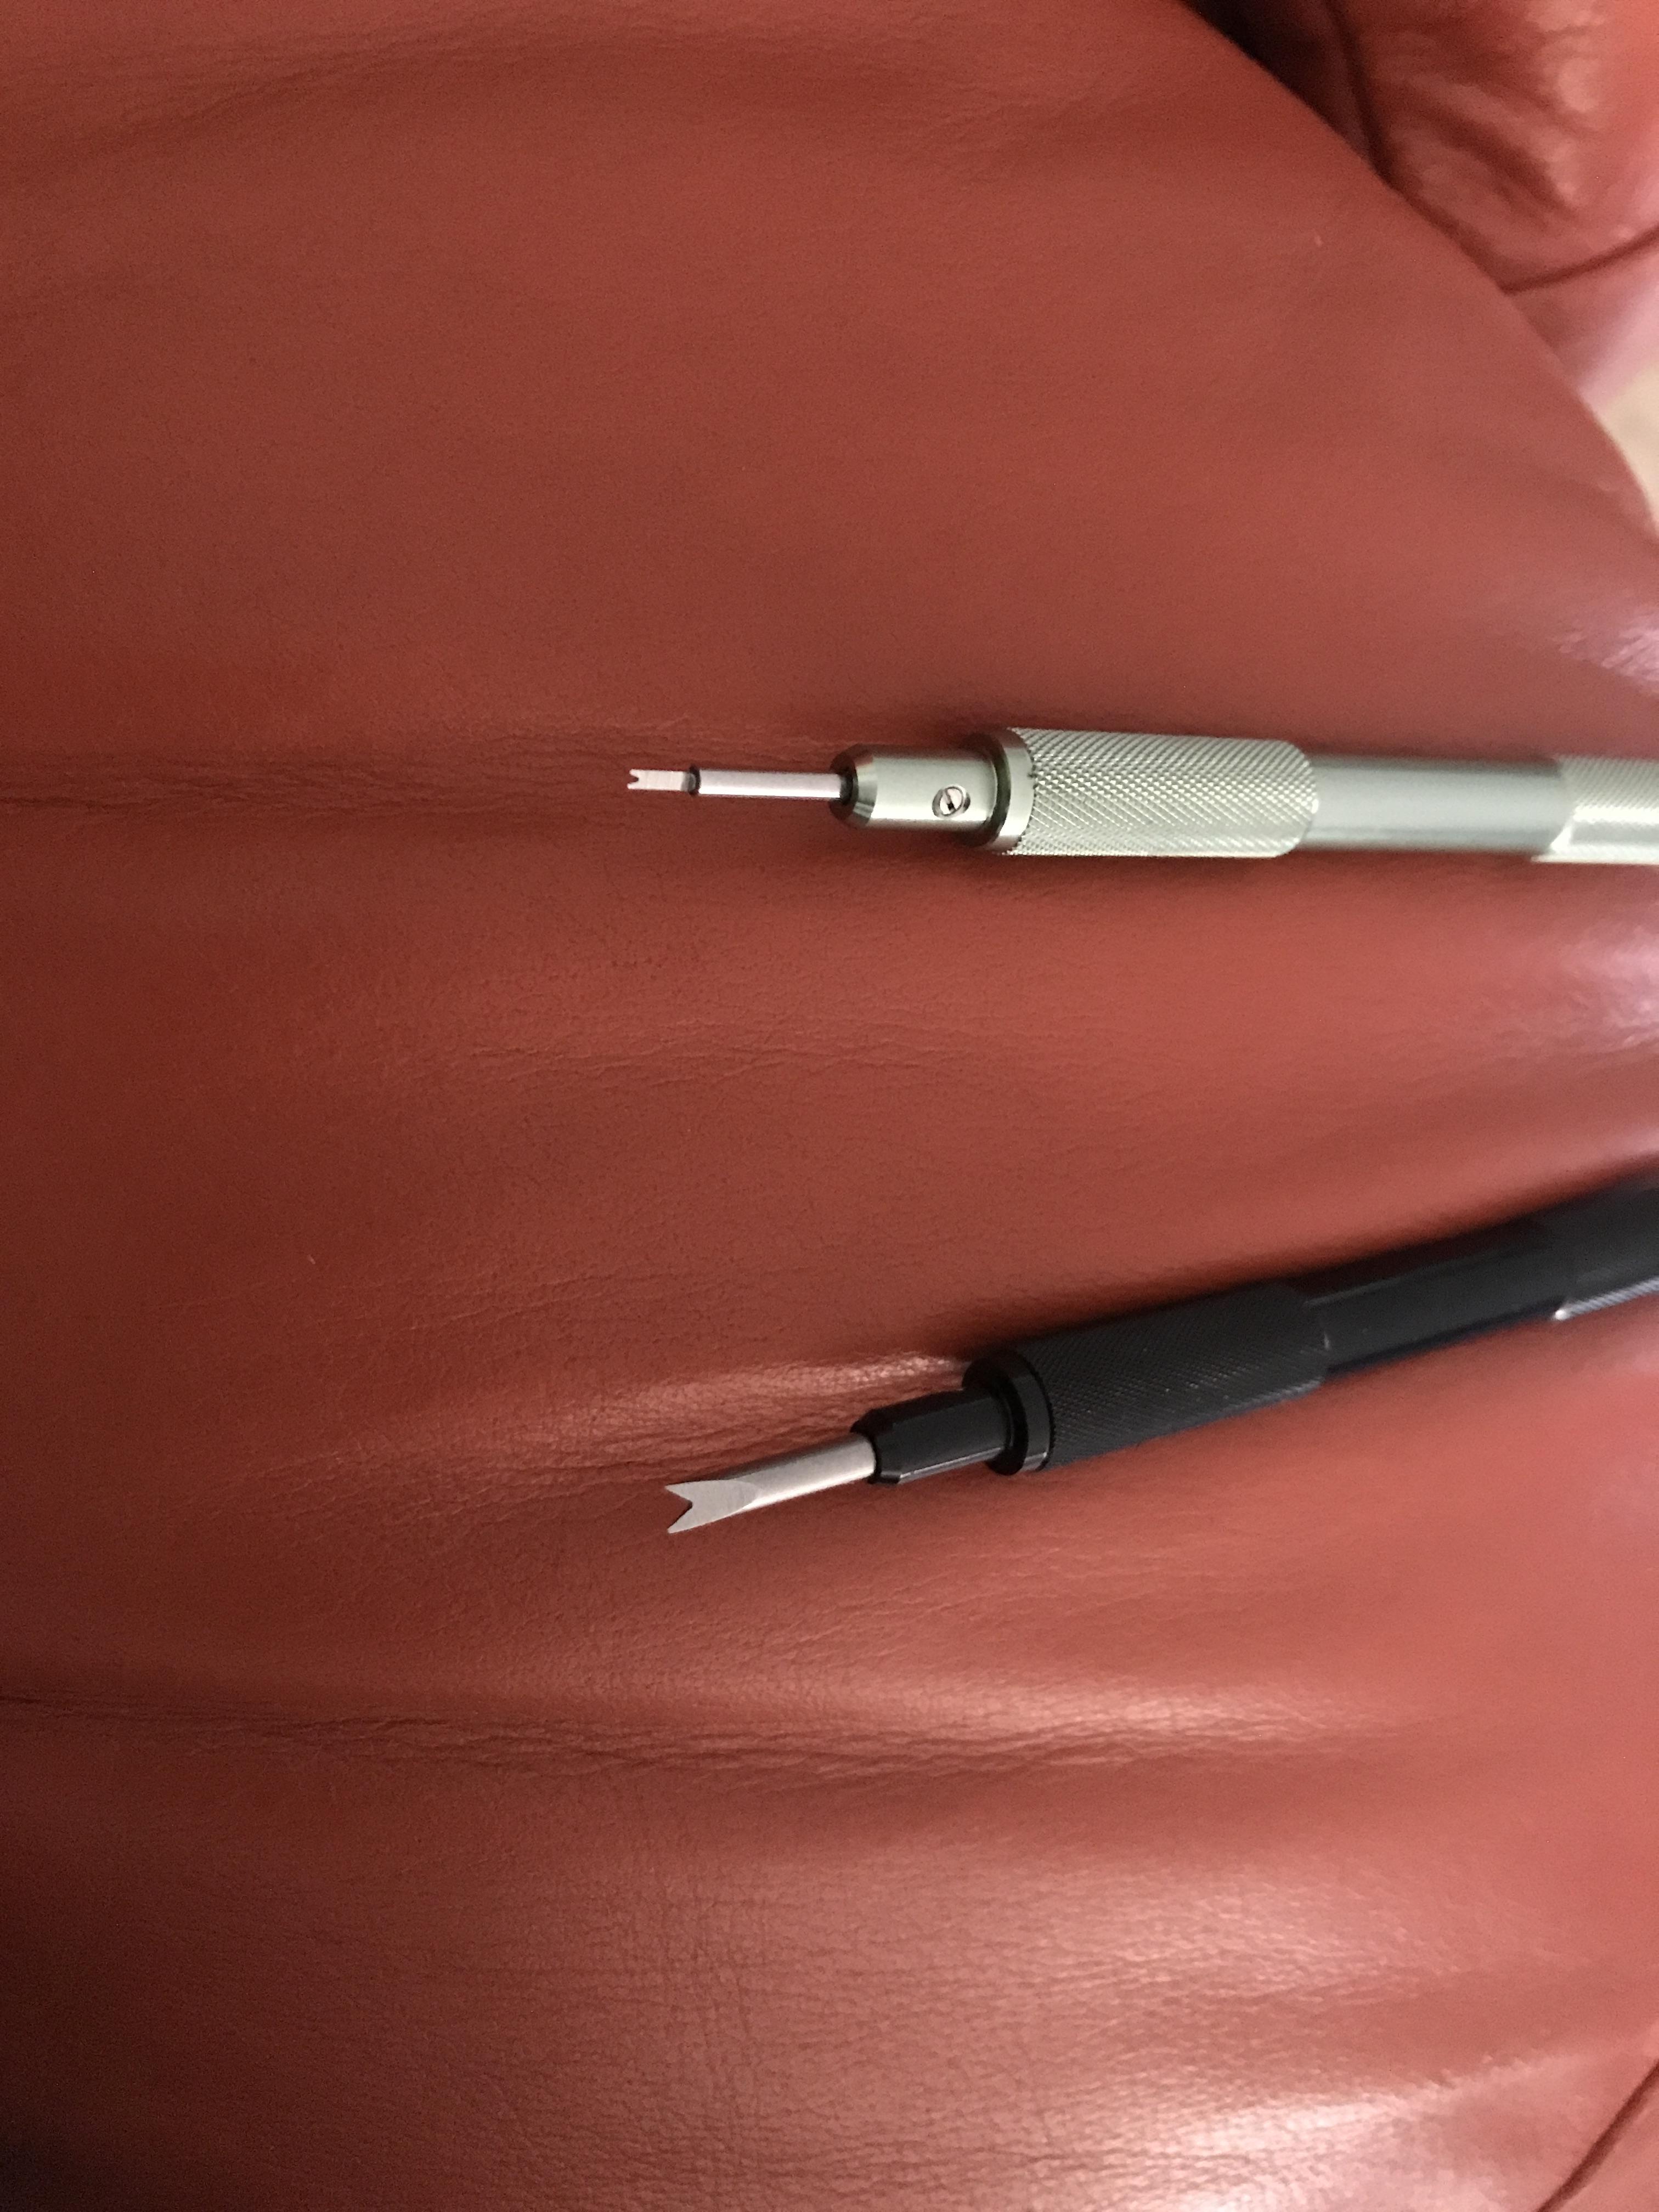
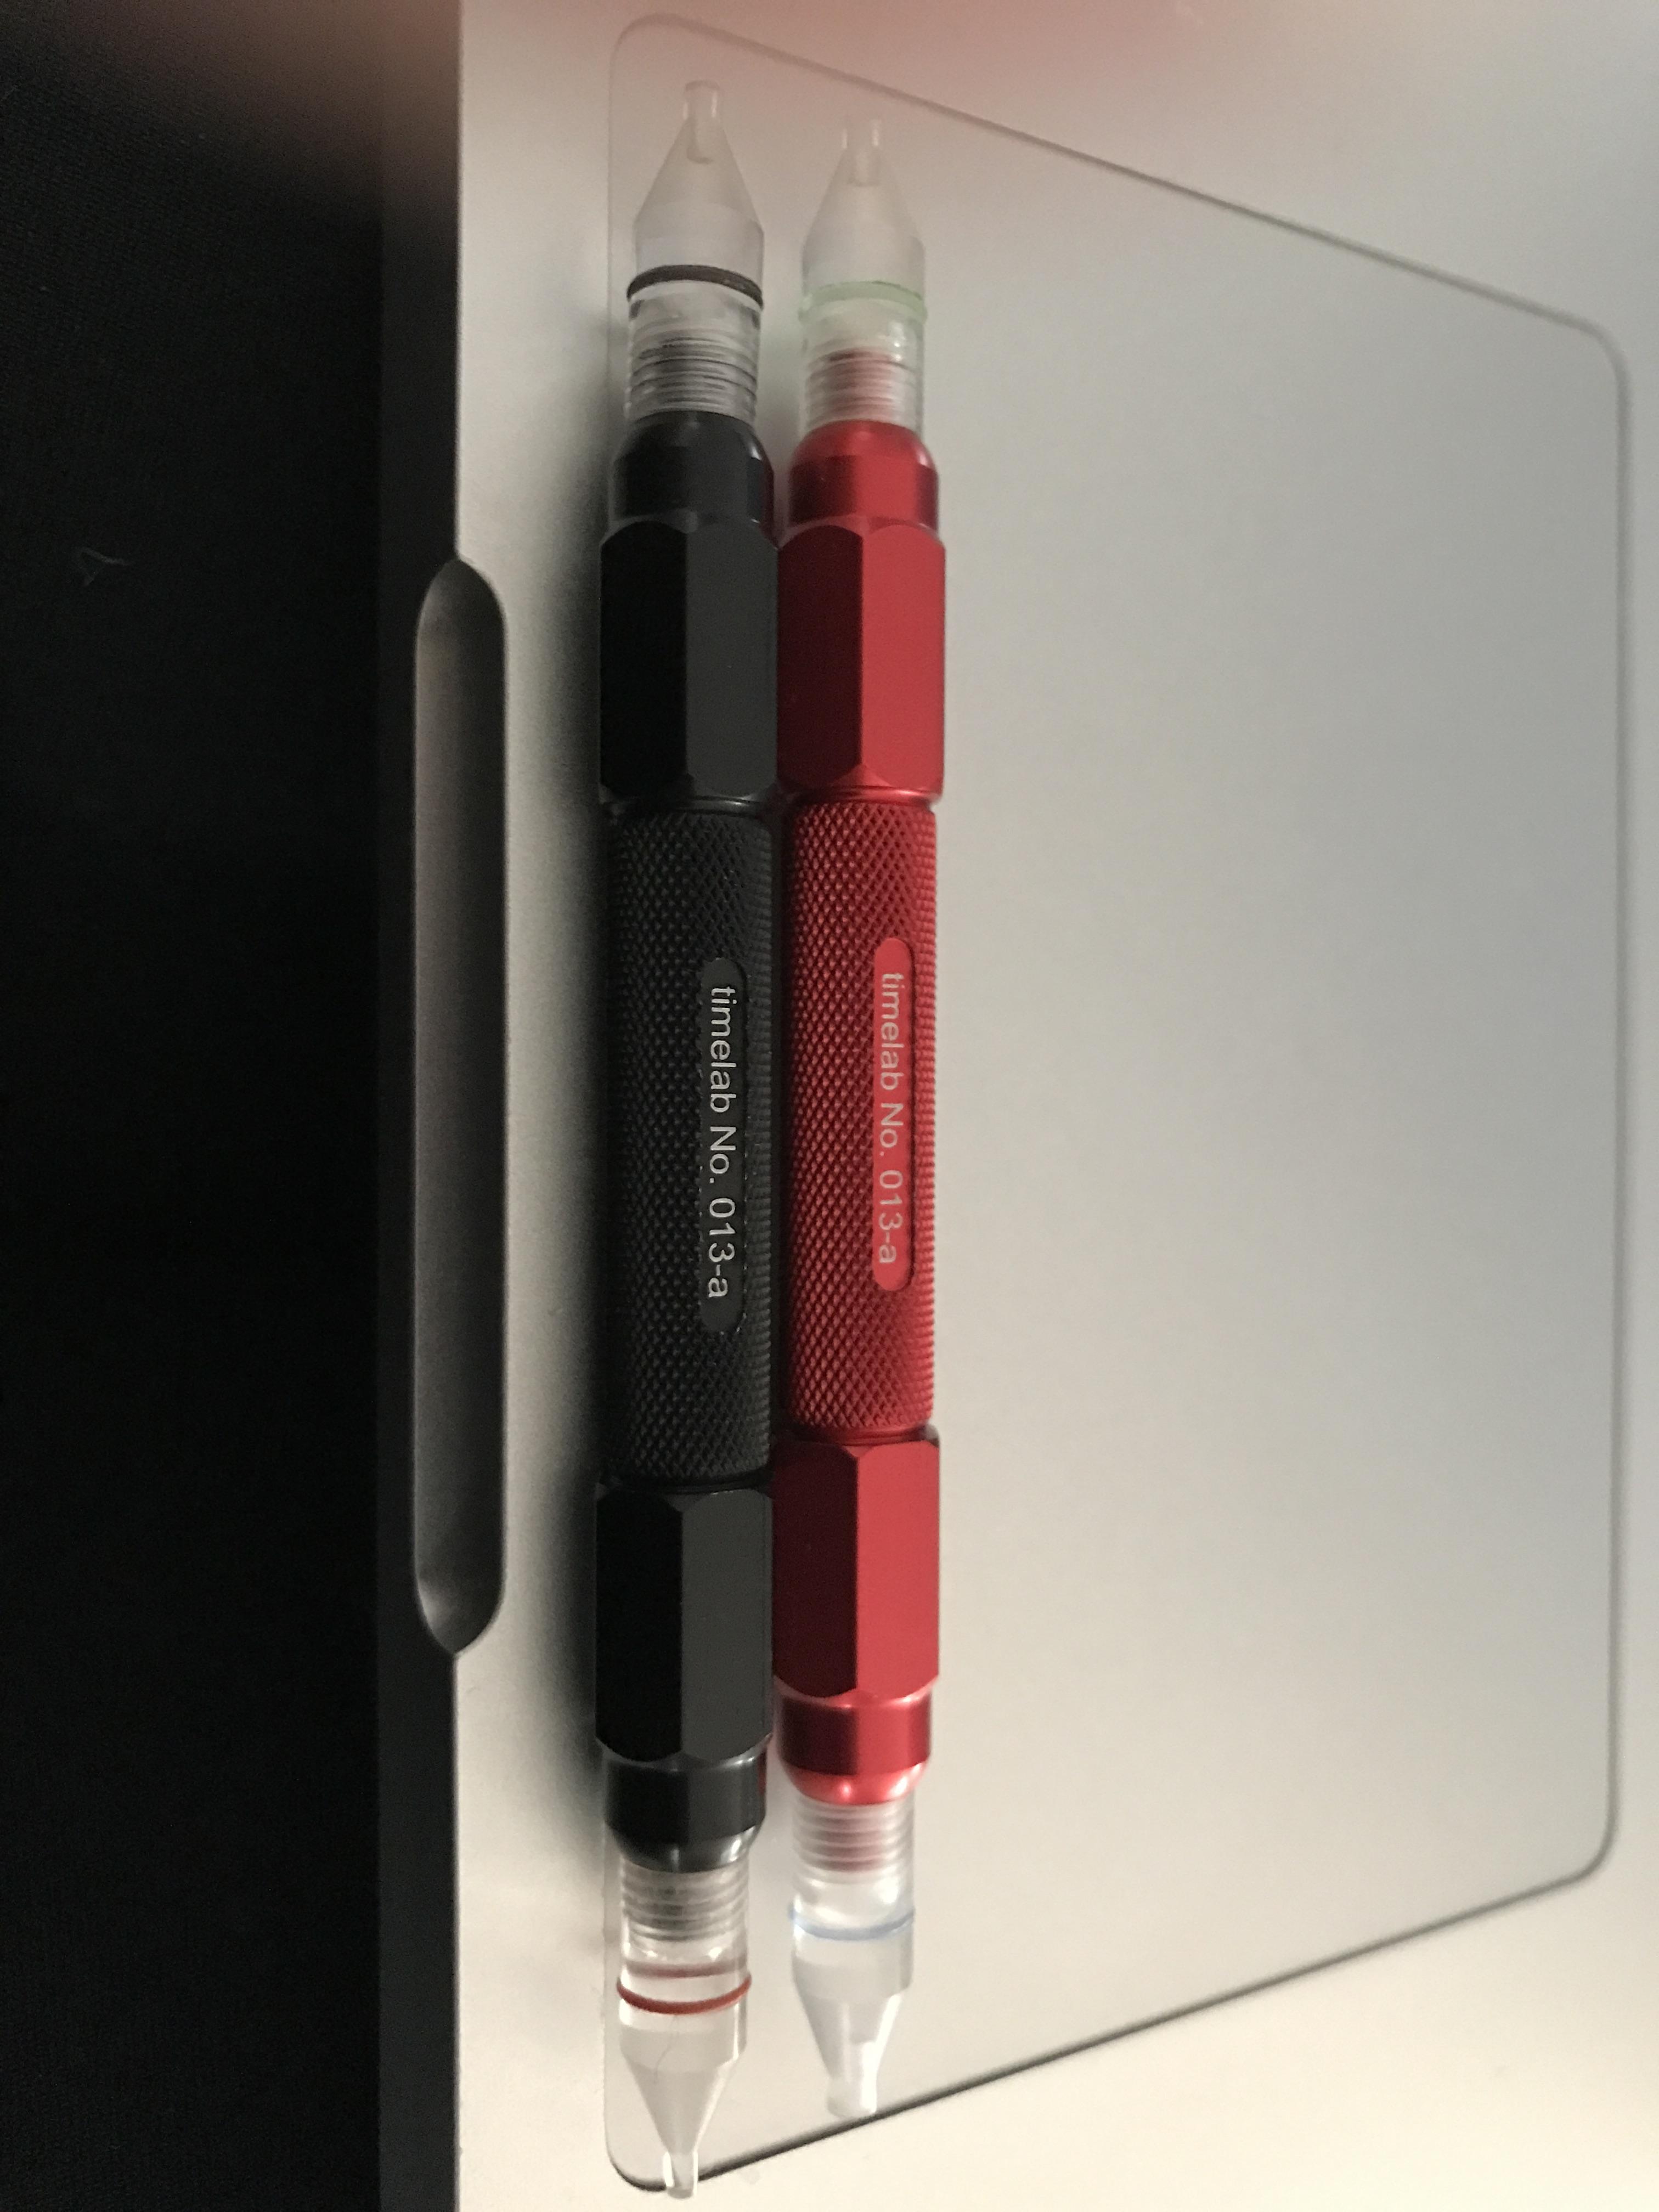
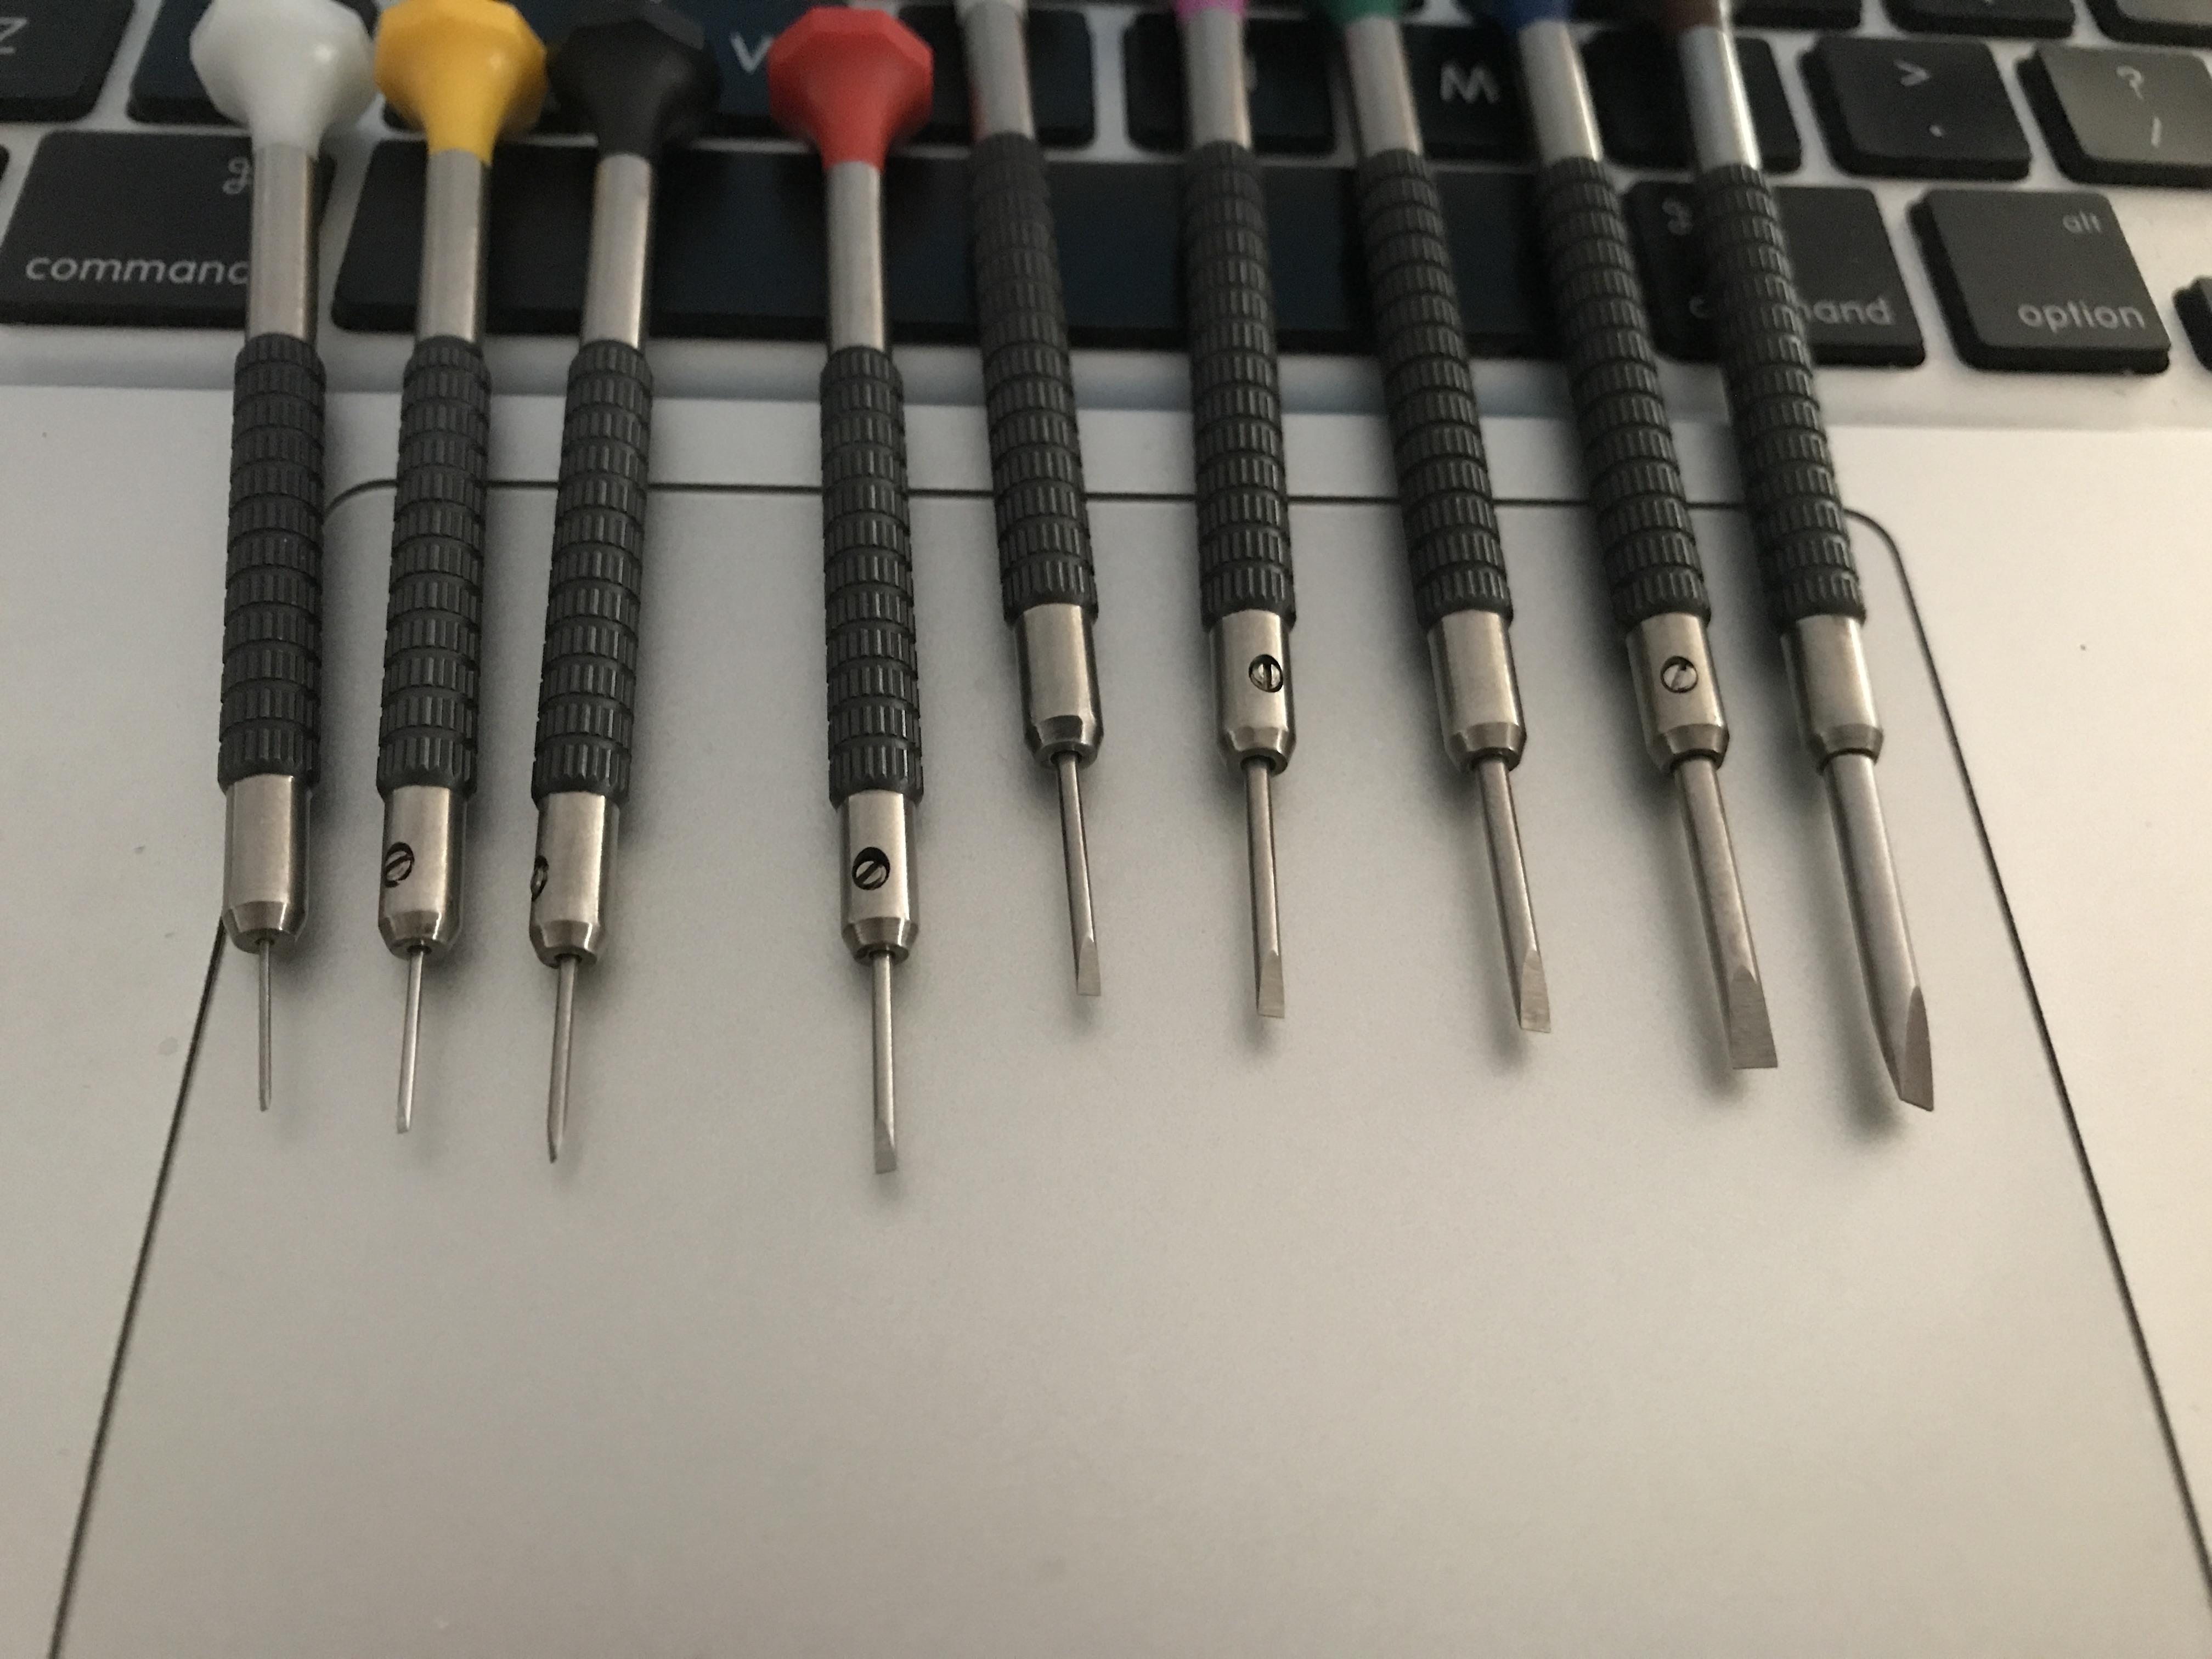
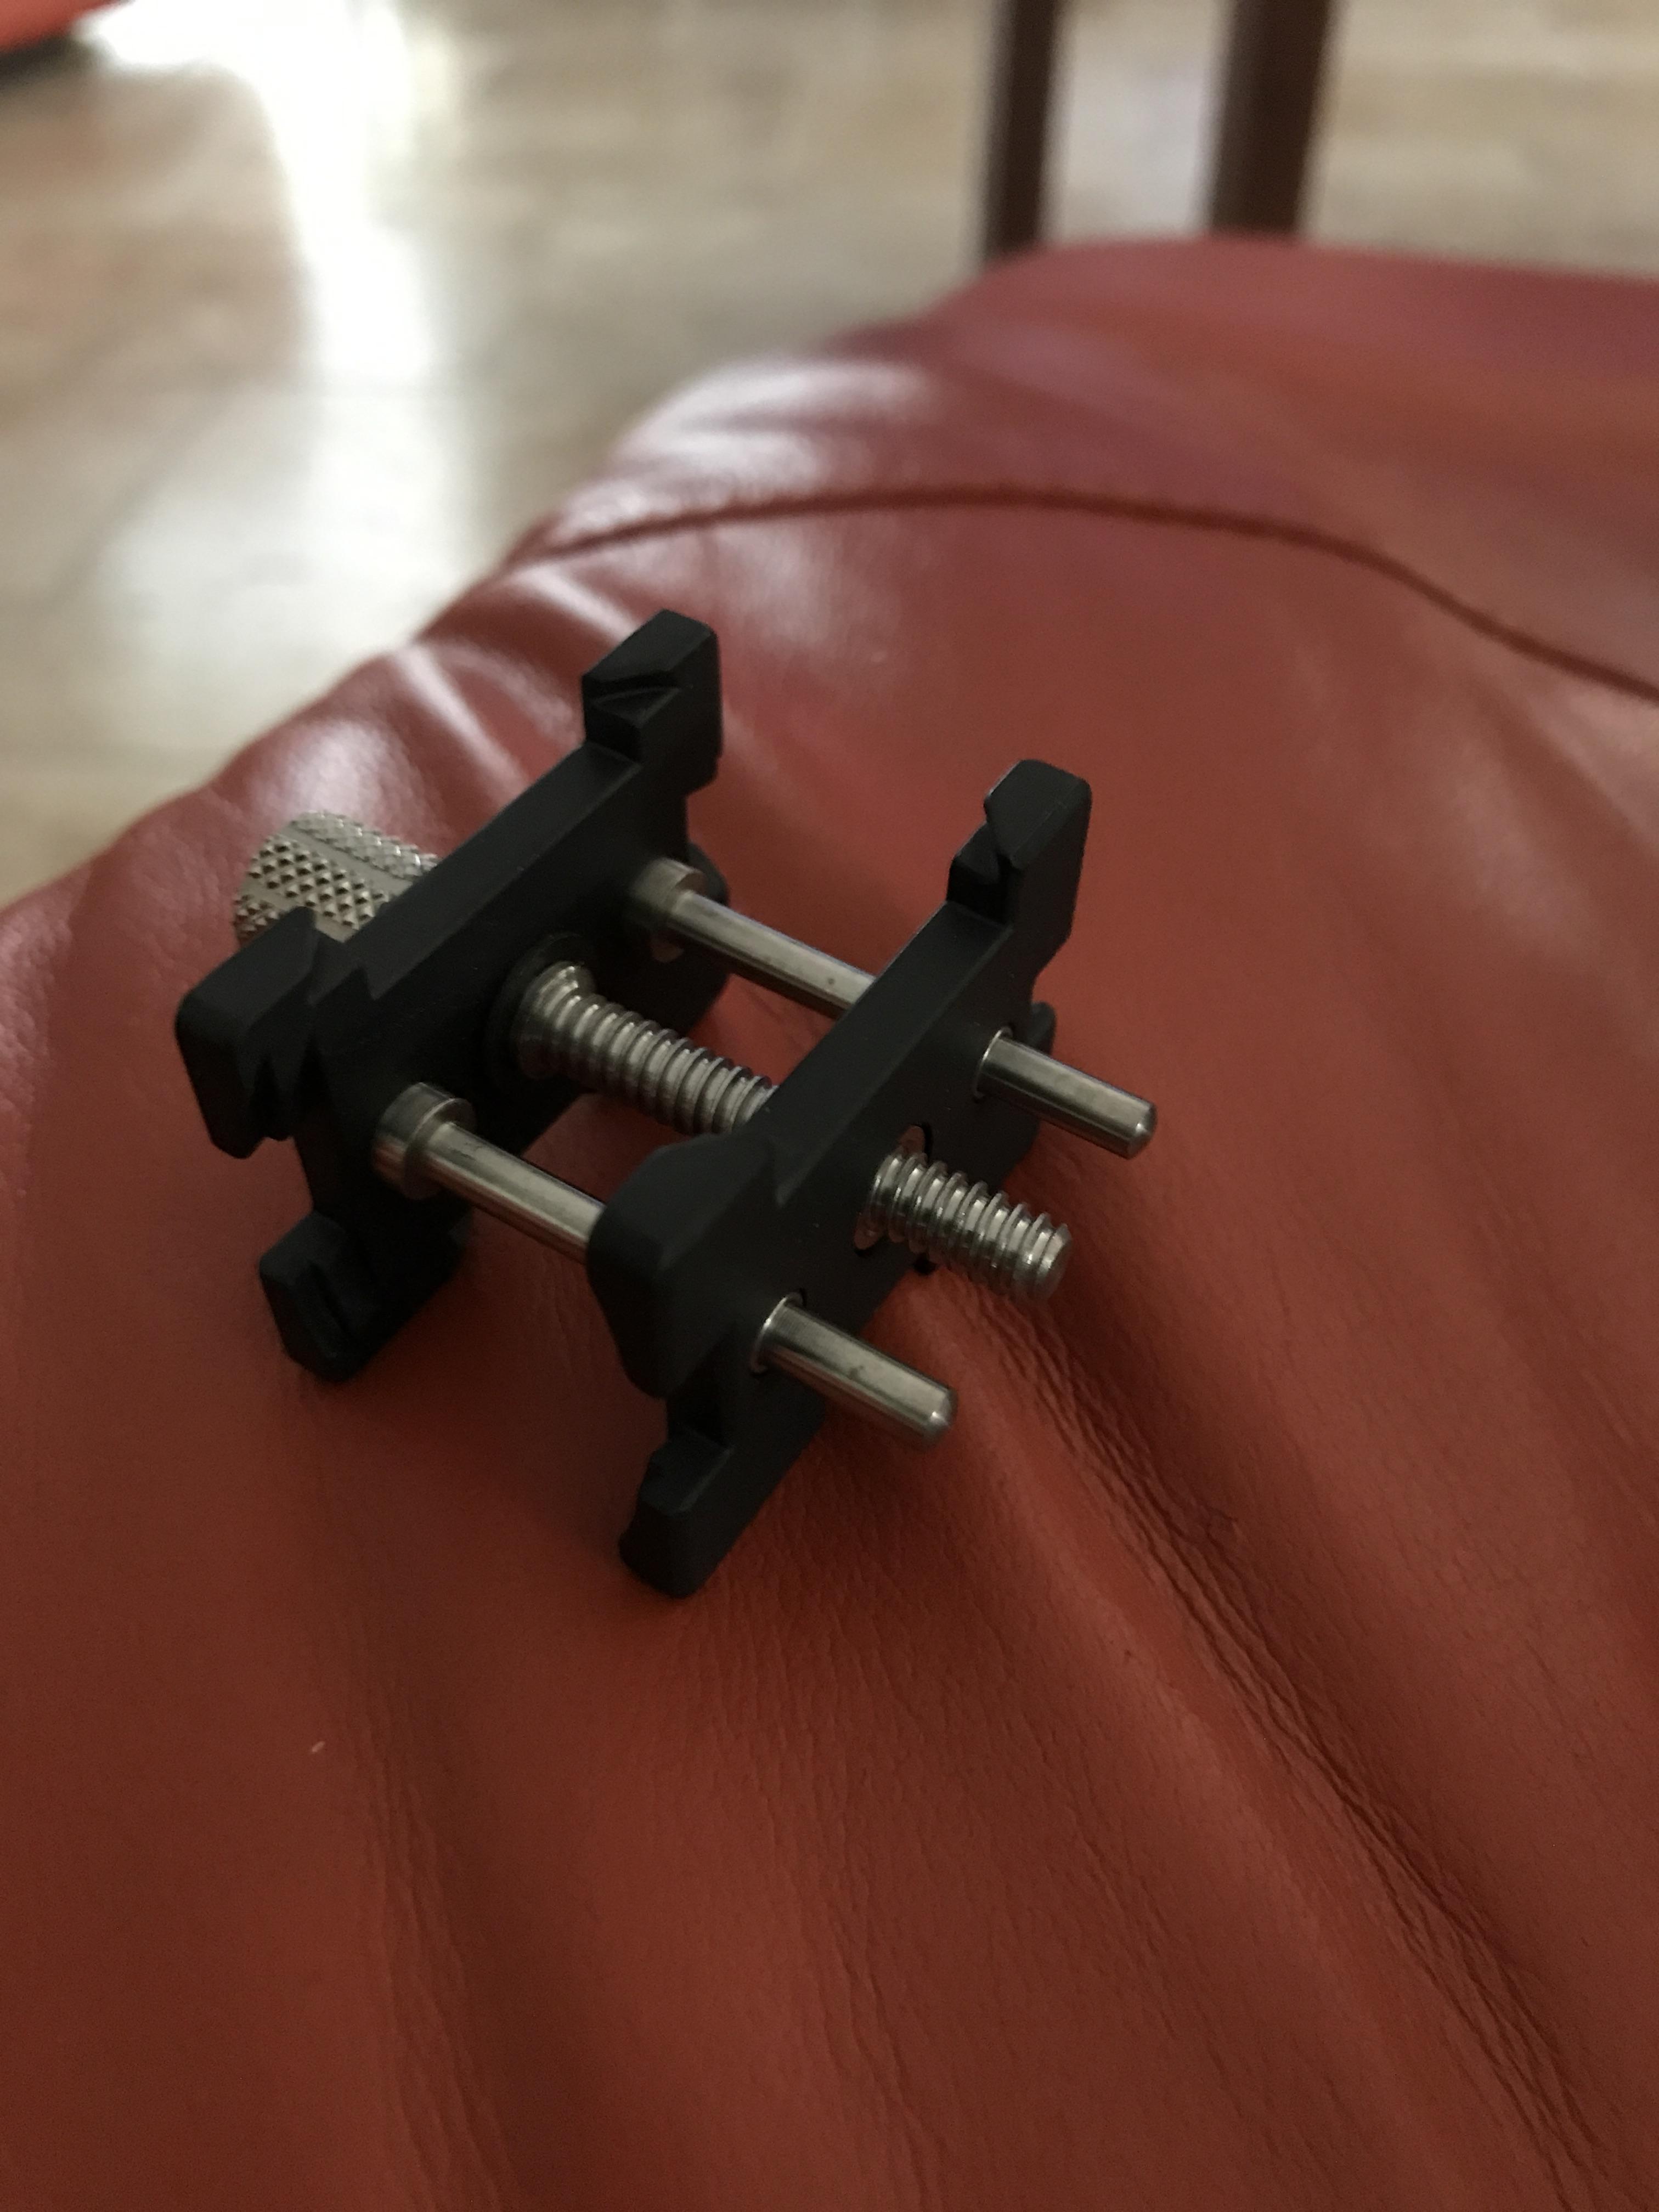
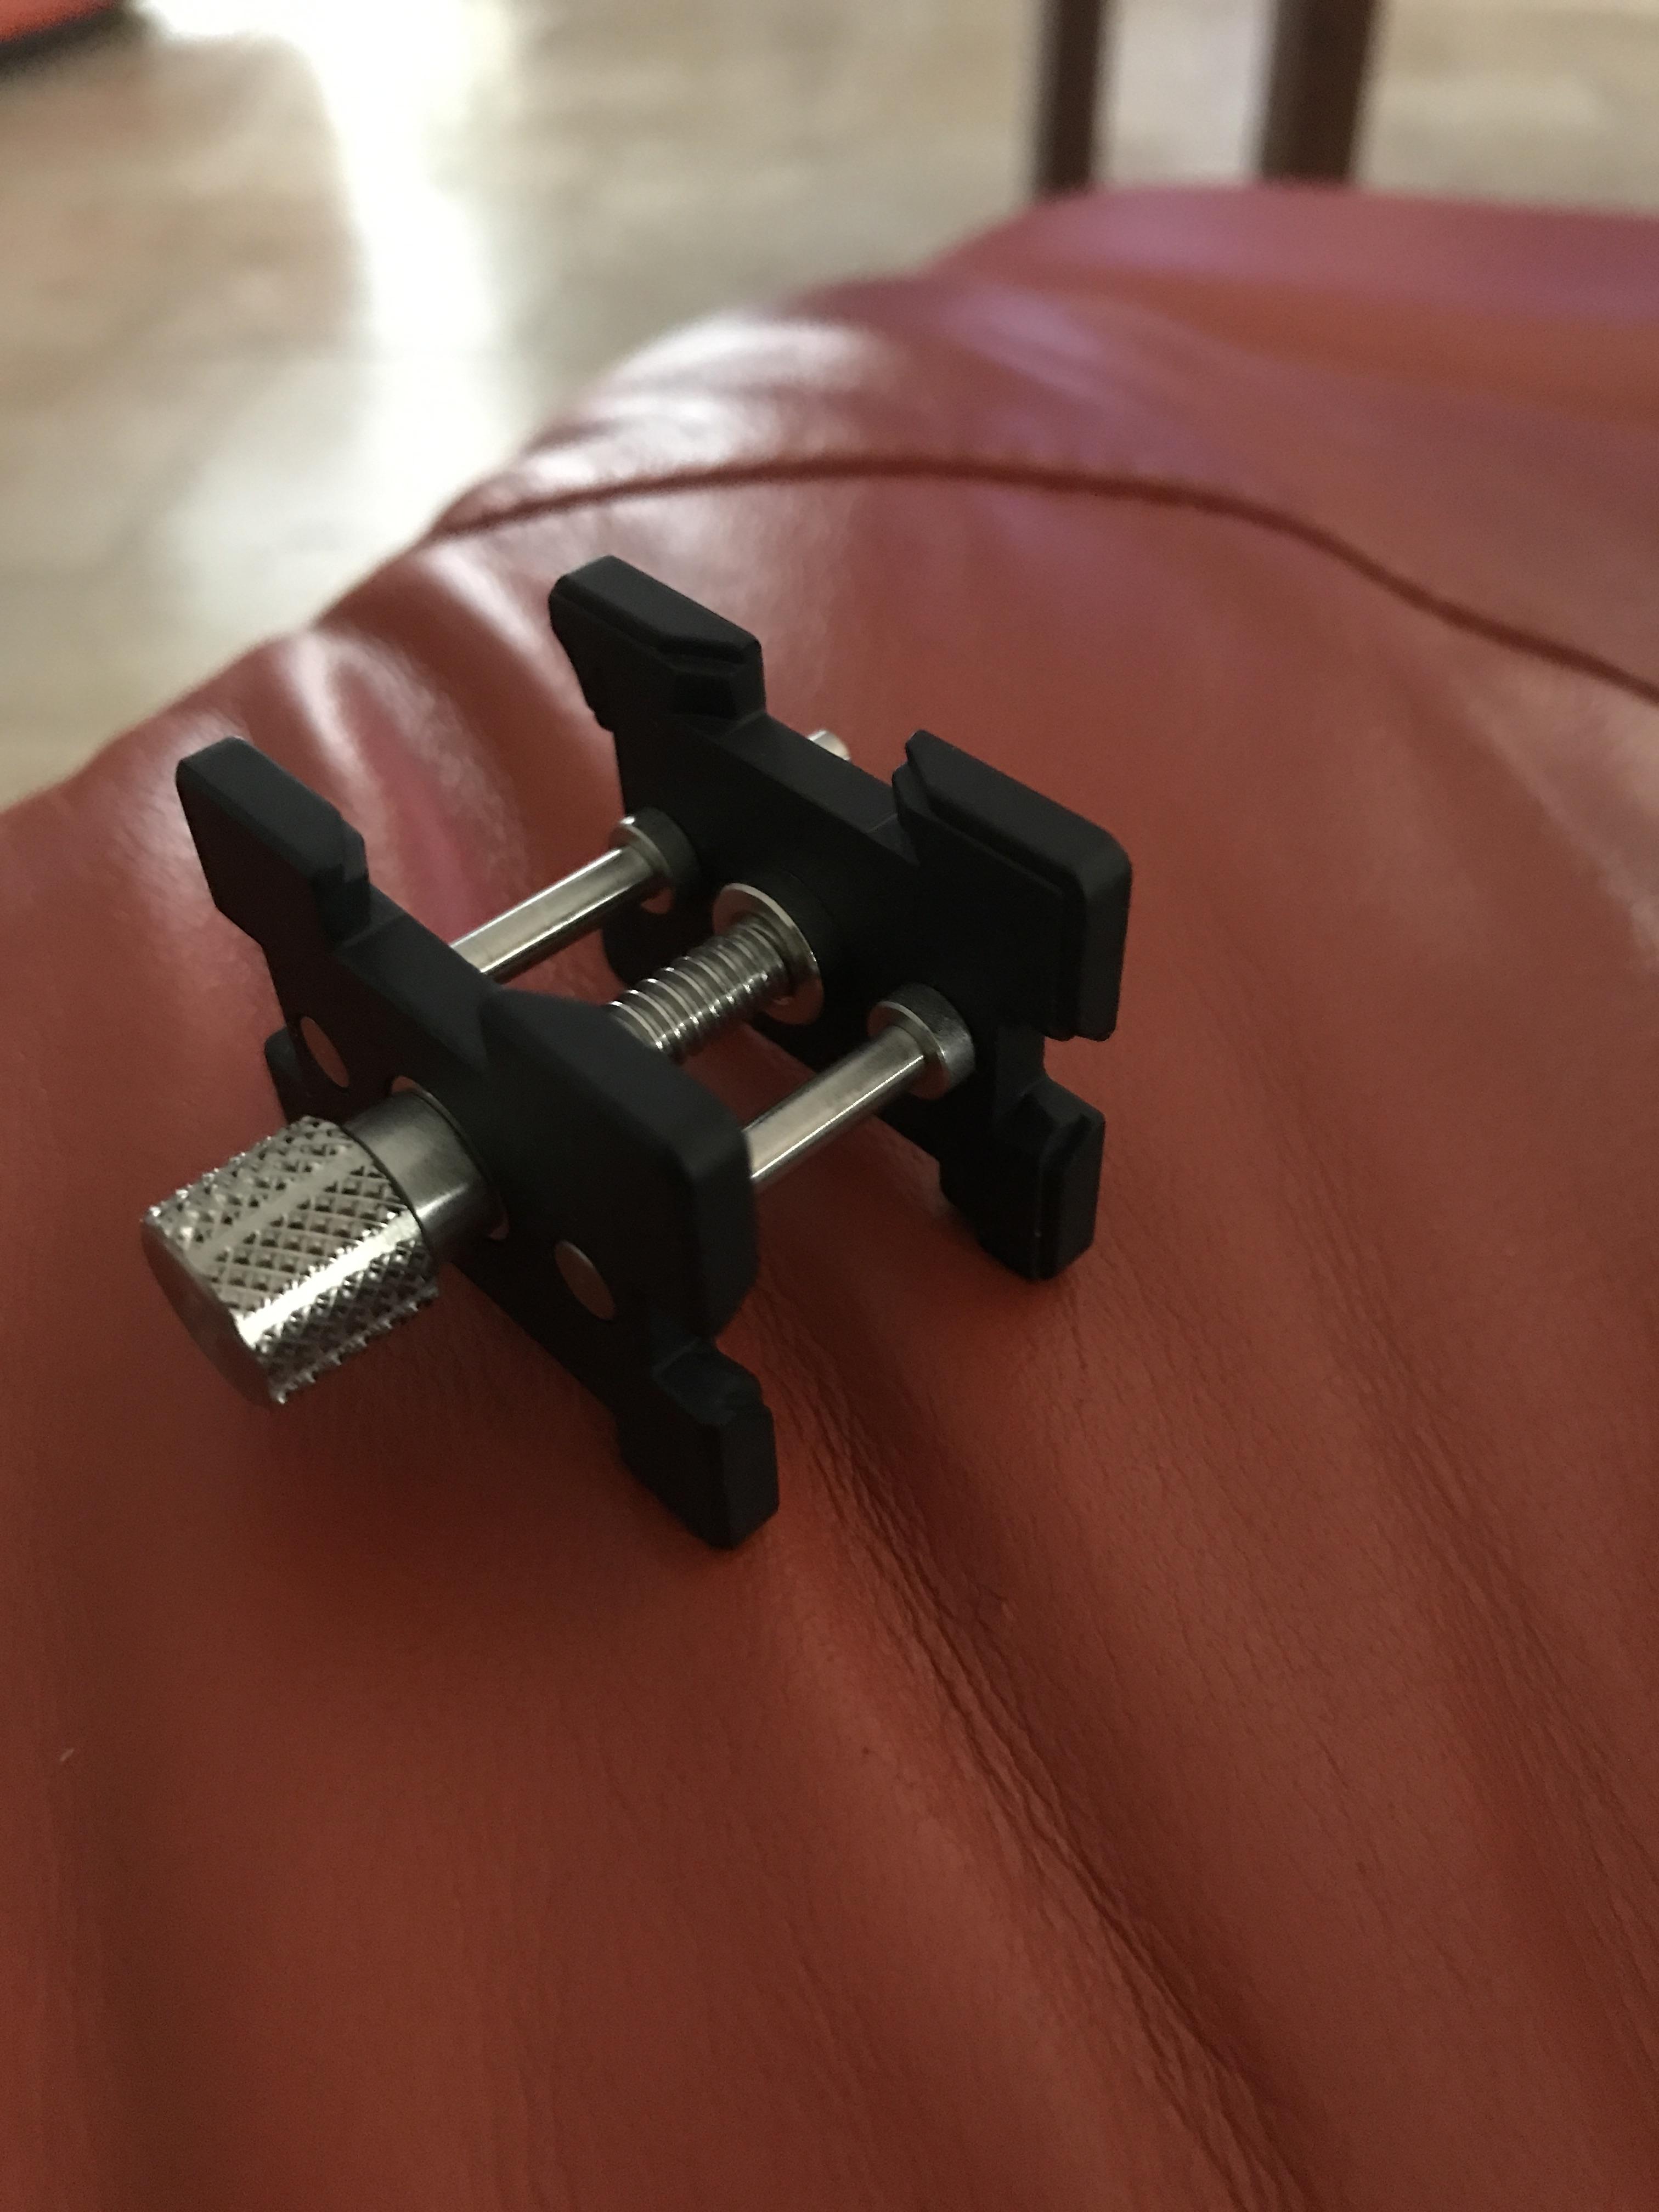
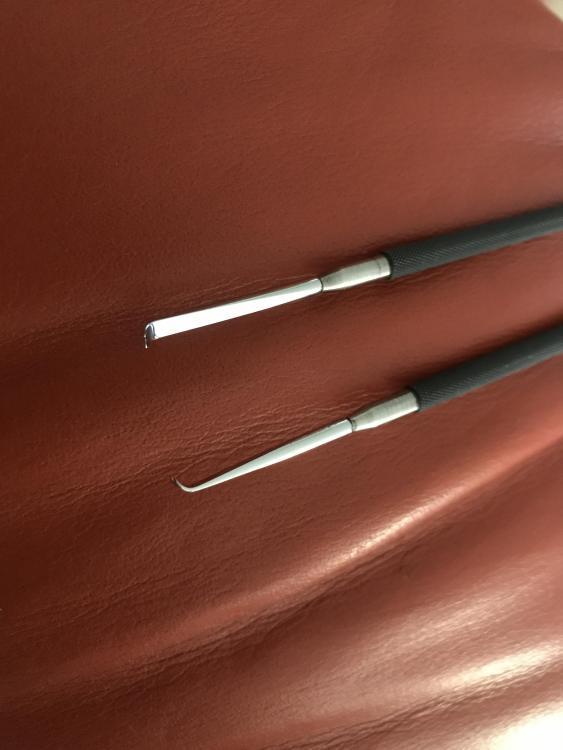
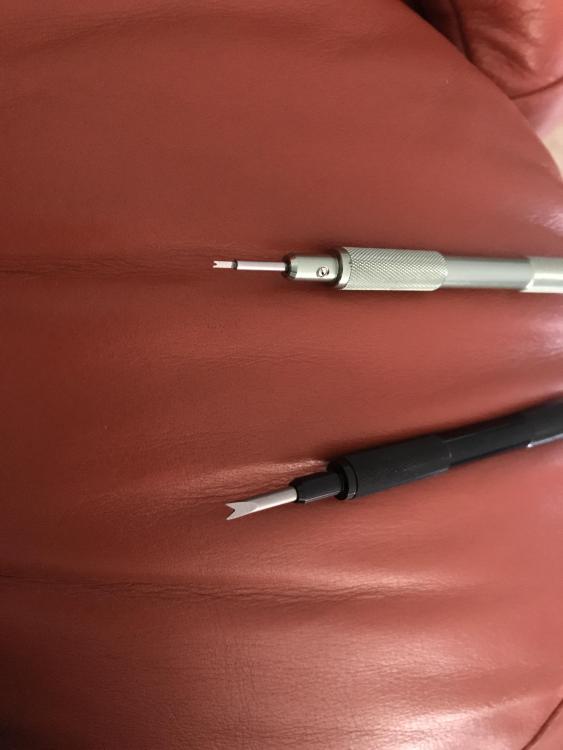
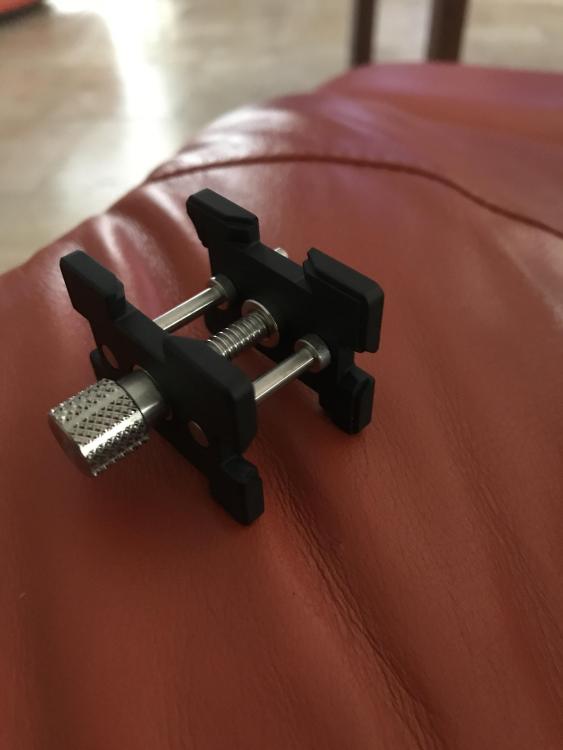
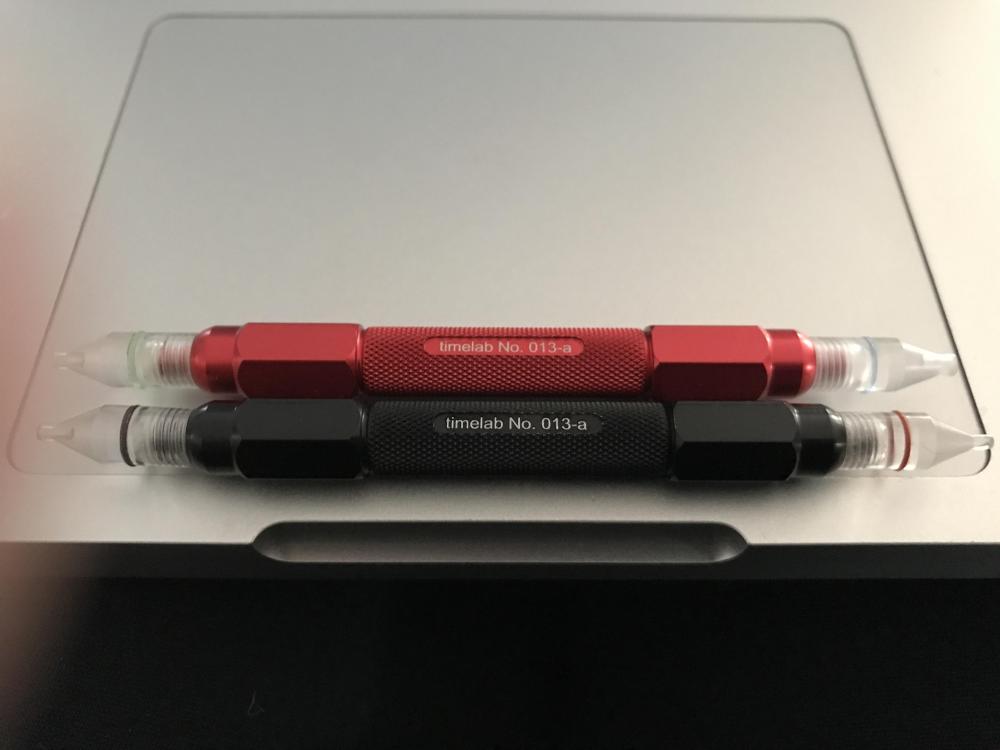
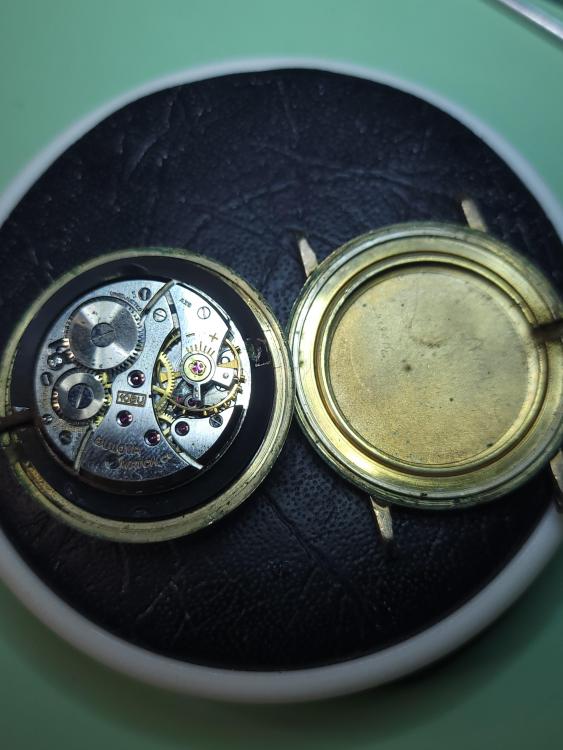
Here you go. Hope you are able to blow them up enough if you want to see the quality of the business ends of everything.


 3 points
 -
The bottom line is, you can only drill hardened steel with a harder steel. If it's too hard for my file to cut, then what is your drill made out of that will cut it? And even if it can, it's no good as I cannot shape it with jewellers saw and files. I need to anneal it anyway to shape it.2 points
-
A lot of useful tutorials2 points
-
I have drawer envy.2 points
-
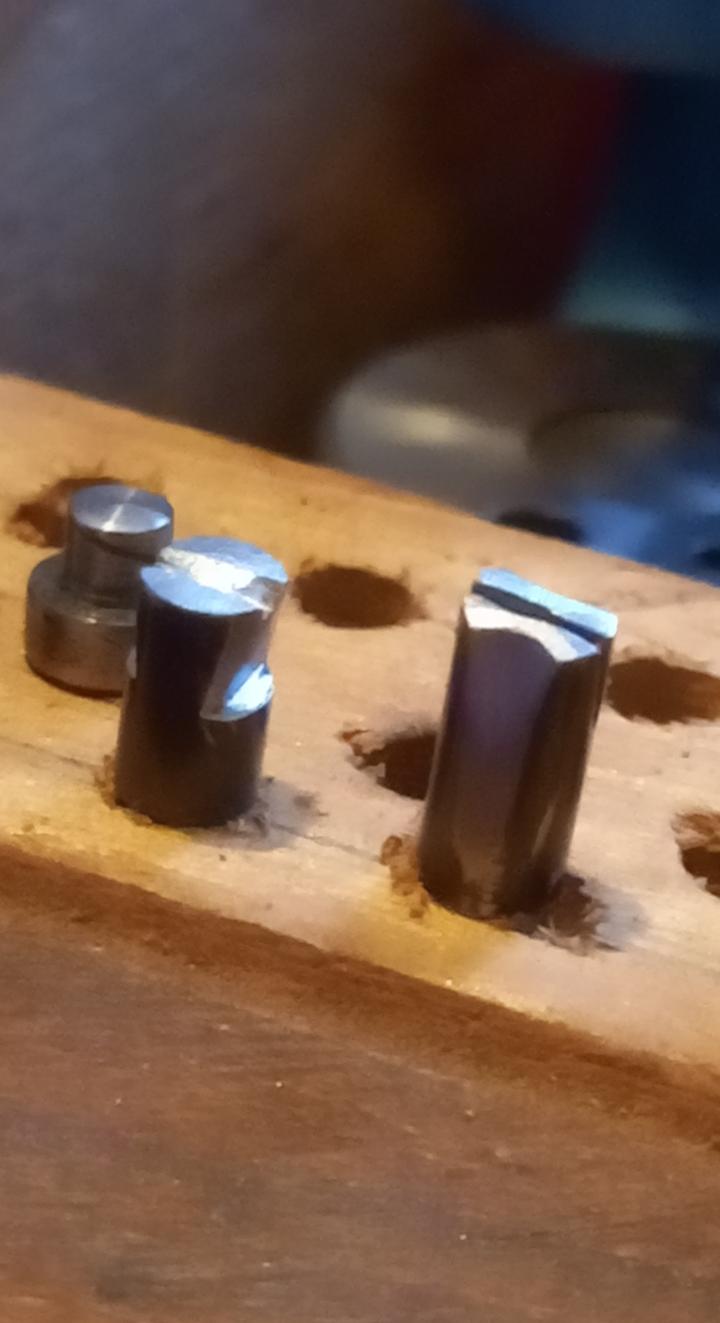
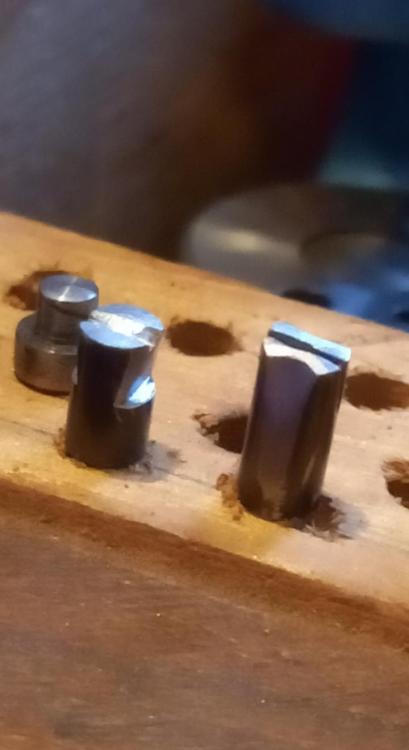
The things I have to do to make the stumps. I have made 2 stumps. One for for the pallet fork (16) and one for the Canon pinion tightening (11) in the above .pdf (about 6 posts above) The bars arrived and I have begun to file. Having no lathe, this is the only method I have. Found a better way then filing all. Hacksaw Ridge

 2 points
 -
Hello everybody, I'm starting to learn to service 60's/70's Seiko, thanks to all WRT members I've found a lot of valuable information here.1 point
-
Hello, I’m Randy from Canada. Really enjoy everything watches including the beauty of mechanical movements. Although I do have quartz movements most of my collection are manual and automatic mechanical.1 point
-
Hello everyone from Novara (near Milan) I have several original and replica watches and i am searching info about doing a little mainteinance or small repair/ customizations by myself1 point
-
I removed a tension ring crystal with a crystal lift while servicing a front loader. Starting around 4 minutes. Narrated in Finnish so not much help for anyone1 point
-
I've had a few like that, never been an issue.1 point
-
I also use pinvice, one that has cap like screwdriver. OK, I will make a video and will make holes on not anealed watch spring, filler gauge... When making holes on the lathe, I prefer to hold the drill bit and press it to the work with fingers, and no big speed is needed. I use special tool that leads the bit to the work center. I have shown this repivoting techic here, the same kind of drill bit 0.25mm used in the video.1 point
-
Seen recently this interesting video about the cleaning and the shellac on the pallet fork.1 point
-
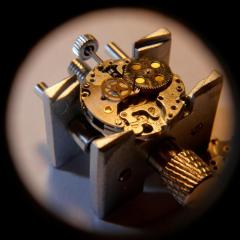
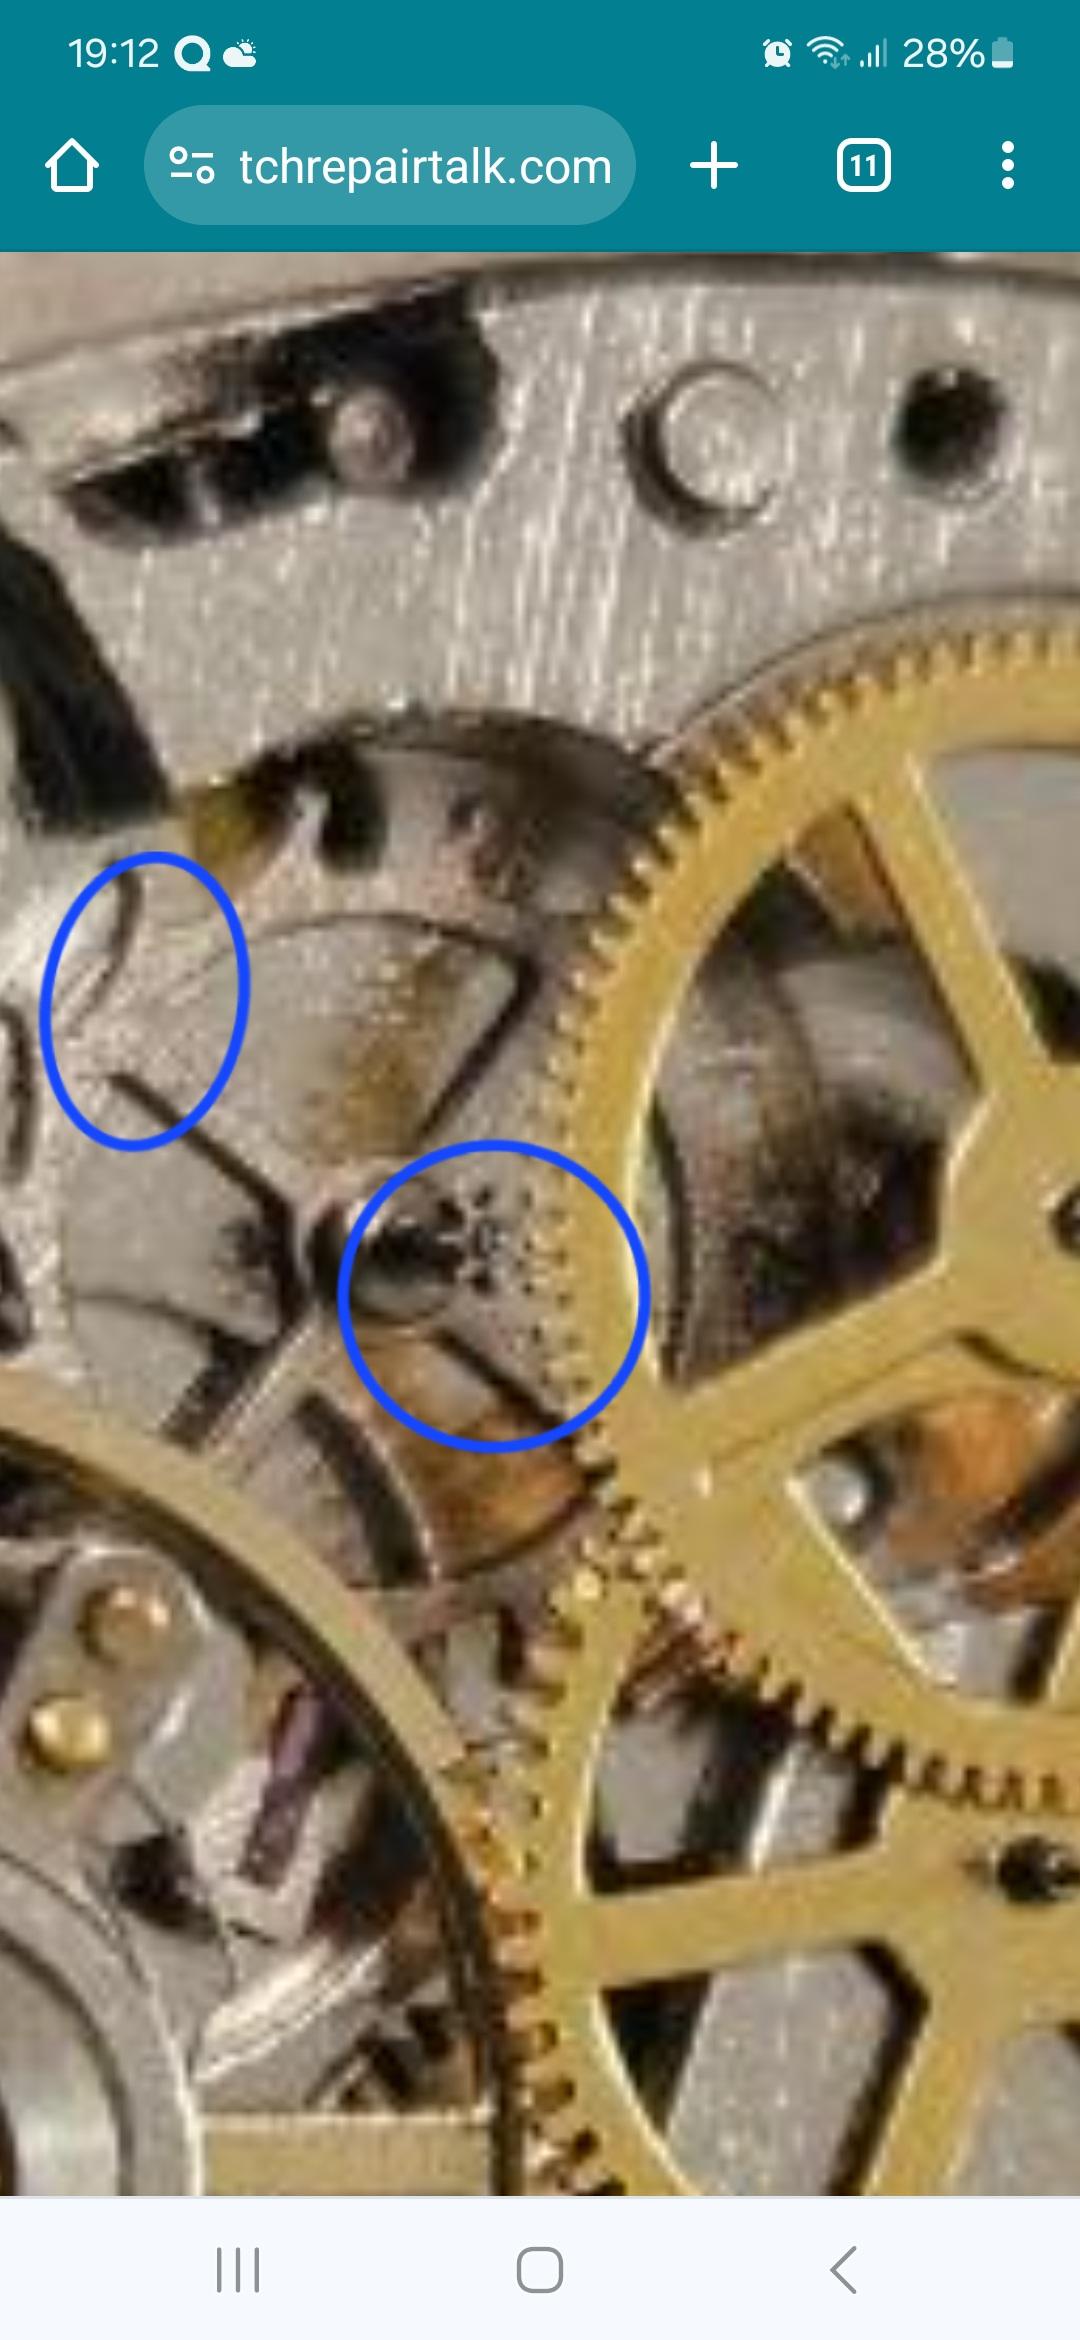
A close up of this area, also the escape wheel seems to of scuffed the mainplate.
 1 point
 -
Looks like the escape wheel upper pivot is broken. At least it is what I see on the picture. One of the leafs of the esc. wheel pinion is not seen, but not sure if it is so or just light effect. Also, the reverse wheel upper pinion is under question, but not seen good enough on the picture. See, assembling watch movement is with no force, and no screws tightening before absolutelly sure that all pivots are in the holes. Otherwice this happens...1 point
-
Thank you for your introduction and welcome to this friendly forum. We all look forward to your contributions and continued involvement.1 point
-
IPA and lighter fluid are generally readily available for most people and not too expensive. With lighter fluid, you can do some test parts and check for an oily sheen under magnification. The flat side of jewels are good for that, as you can get the light to reflect off the surface to see any residue. Check before and after under magnification. You can do an IPA rinse afterwards if you see a bit of residue. I clean the pallet forks and balance wheels separate from the rest of the parts. In my case I use Hexane. You can do an IPA rinse on these, if you keep it brief (like 30 seconds or so) so as not to dissolve the shellac.1 point
-
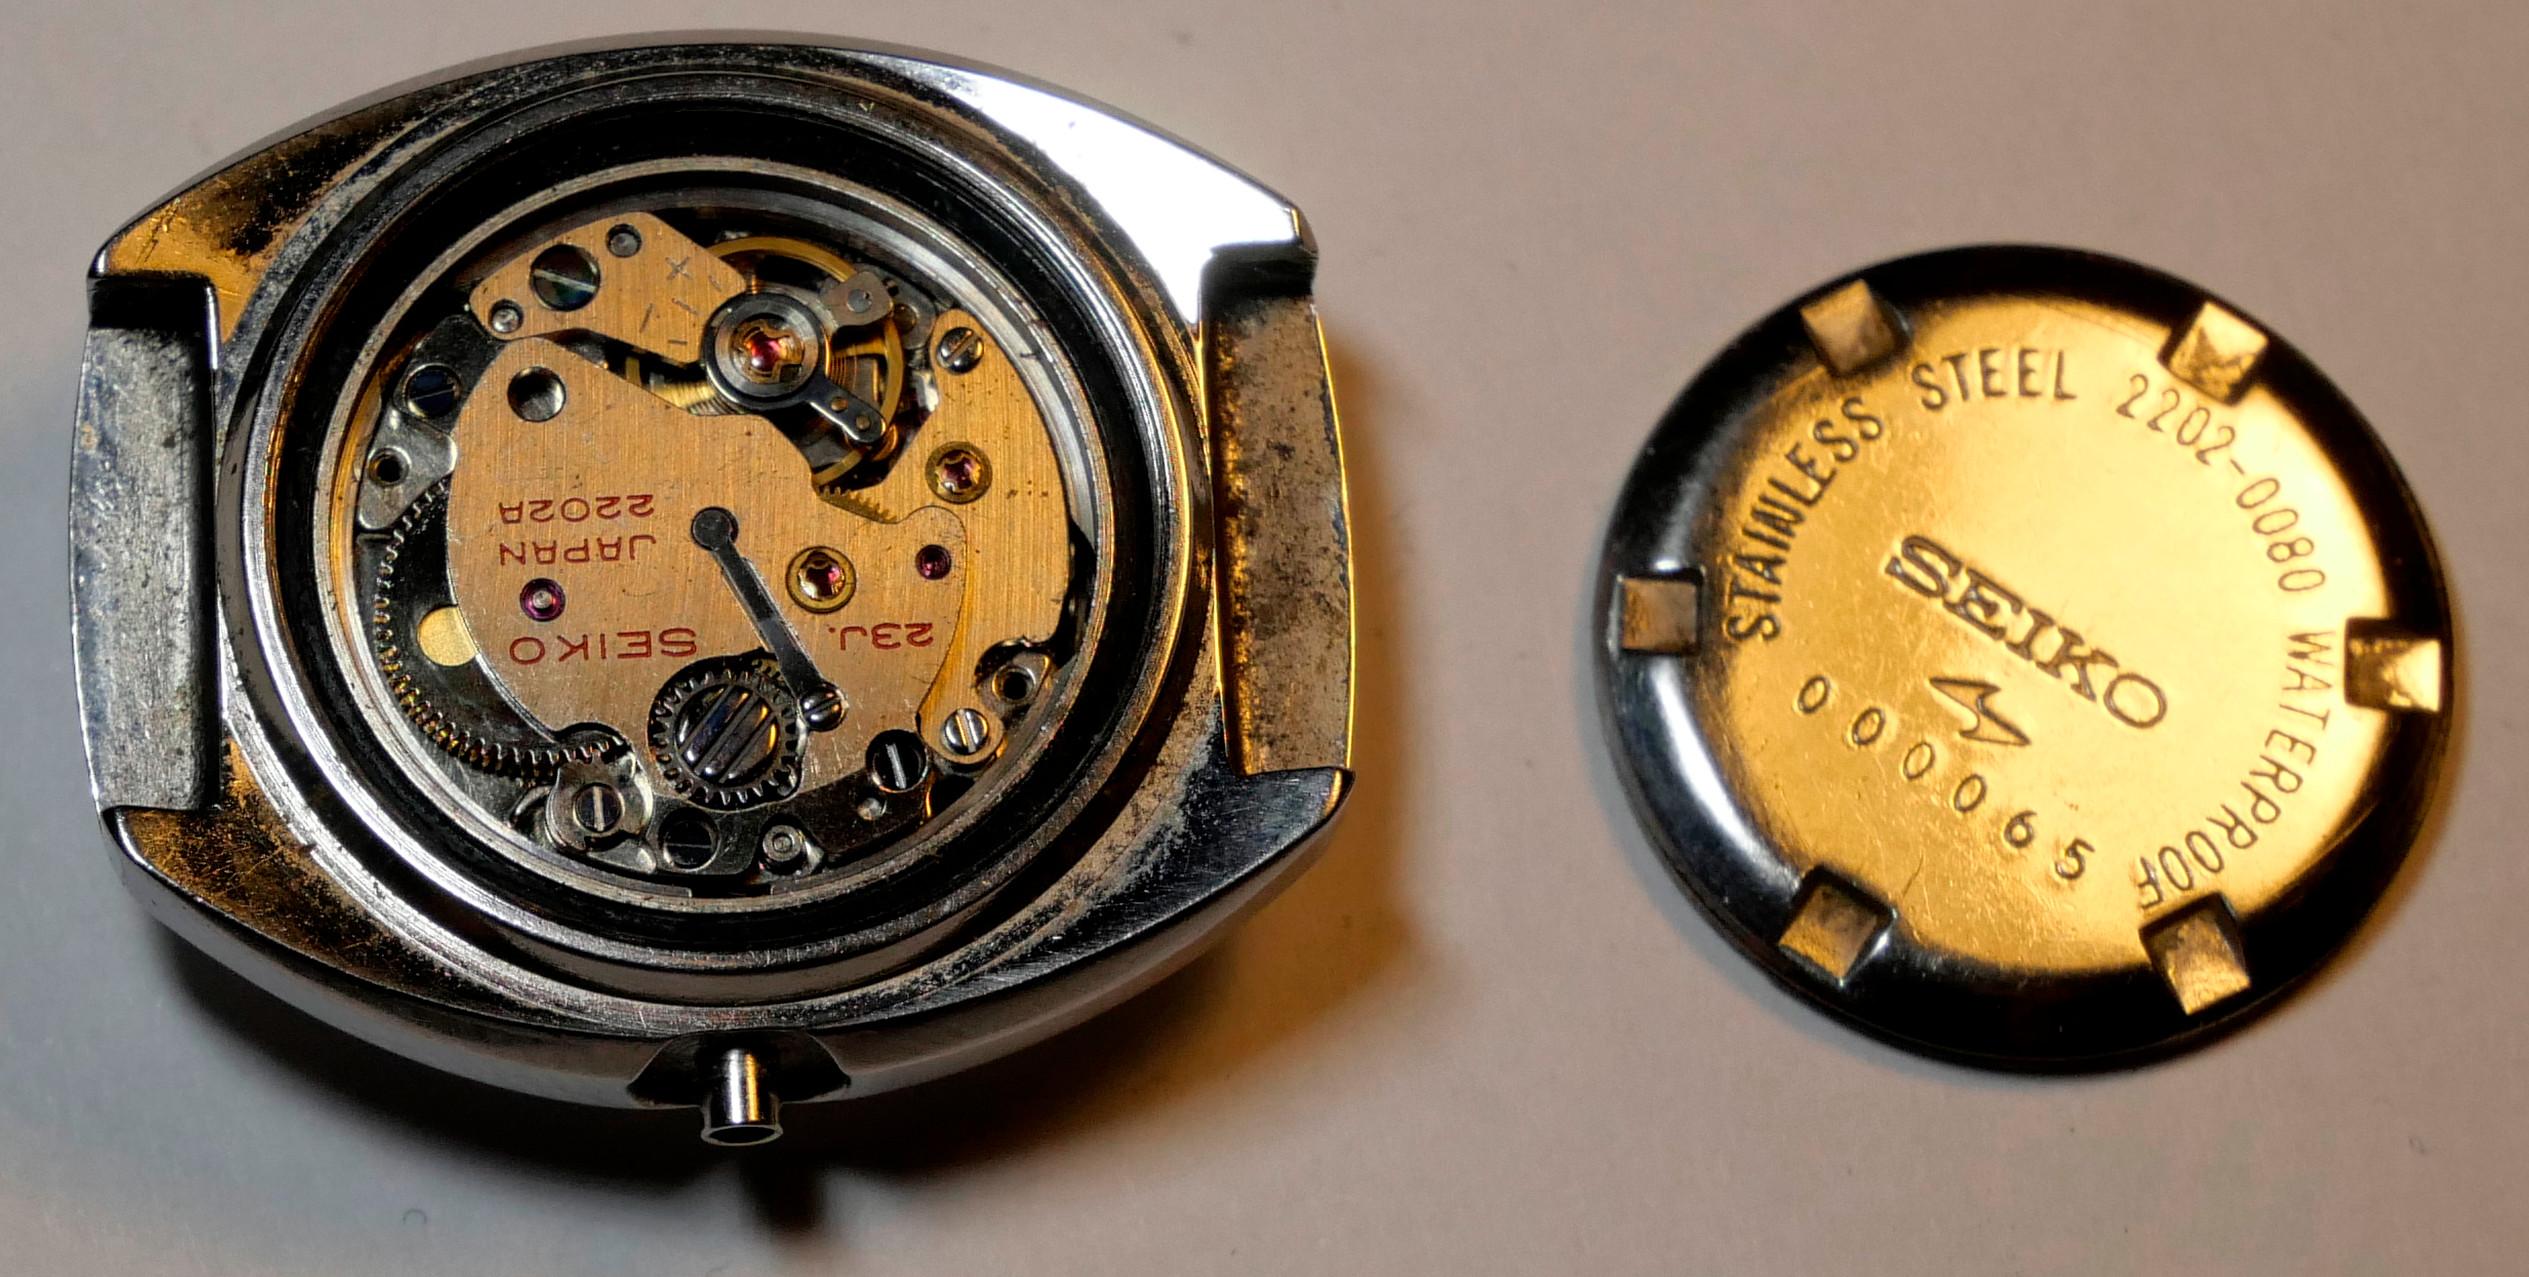
For now I'm working on a 2202, taking a lot of pictures and annotating them, step by step, day by day, getting tools when needed... Learning and practicing in other ways while waiting to be ready to continue on this one...


 1 point
 -
Just ran across this and it's pretty cool. It's already helped me (rookie...) to understand a couple things and I believe would benefit anybody wanting to understand how it all works. I don't know if it's already been presented on this forum.1 point
-
Really? I'm missing something. Please show us how. Unless you have something like a diamond coated drills, the material is as hard as the drill? All the drills I've tried won't touch the steel unless annealed, and my files just skate over it.1 point
-
Welcome to the WRT forum.1 point
-
Well, the hand spins, so the 3th wheel and second pinion are in place. May be the 4th wheel or escape wheel missing or put upside down(if possible?). Also the lever may be missing or the pallets bent/not in place. But the main mistake here i thinking that You can assemble something without understanding how it works and what is the correct way to assemble it. Well, sometimes this works, but in most of the cases You get assembled somethin like 7.62 AK47 as a final result...1 point
-
We need photos but the train wheels aren't engaging with the escapement. Probably a fault with the pallet.1 point
-
Guys, this is stange that You search for the hardest way to do the job. The drills mentioned abowe drrill hardened steel with no need of anealing, like piece of cake. I will make video to show how. I see one mistake here of making the lever: The first thing to do is to plase the broken lever on the material and drill the holes thru it as a conductor. Then - to put tapered pins in the holes that will hold the old lever on the material, to drow the contures with sharp tool, and only then - to start cutting1 point
-
Someone might chime in with something different, but when I had a similar issue with a similar spring in a similar movement a while back, the answer was donor movement. Either one for the watch in question, or the watch in question becomes one.1 point
-
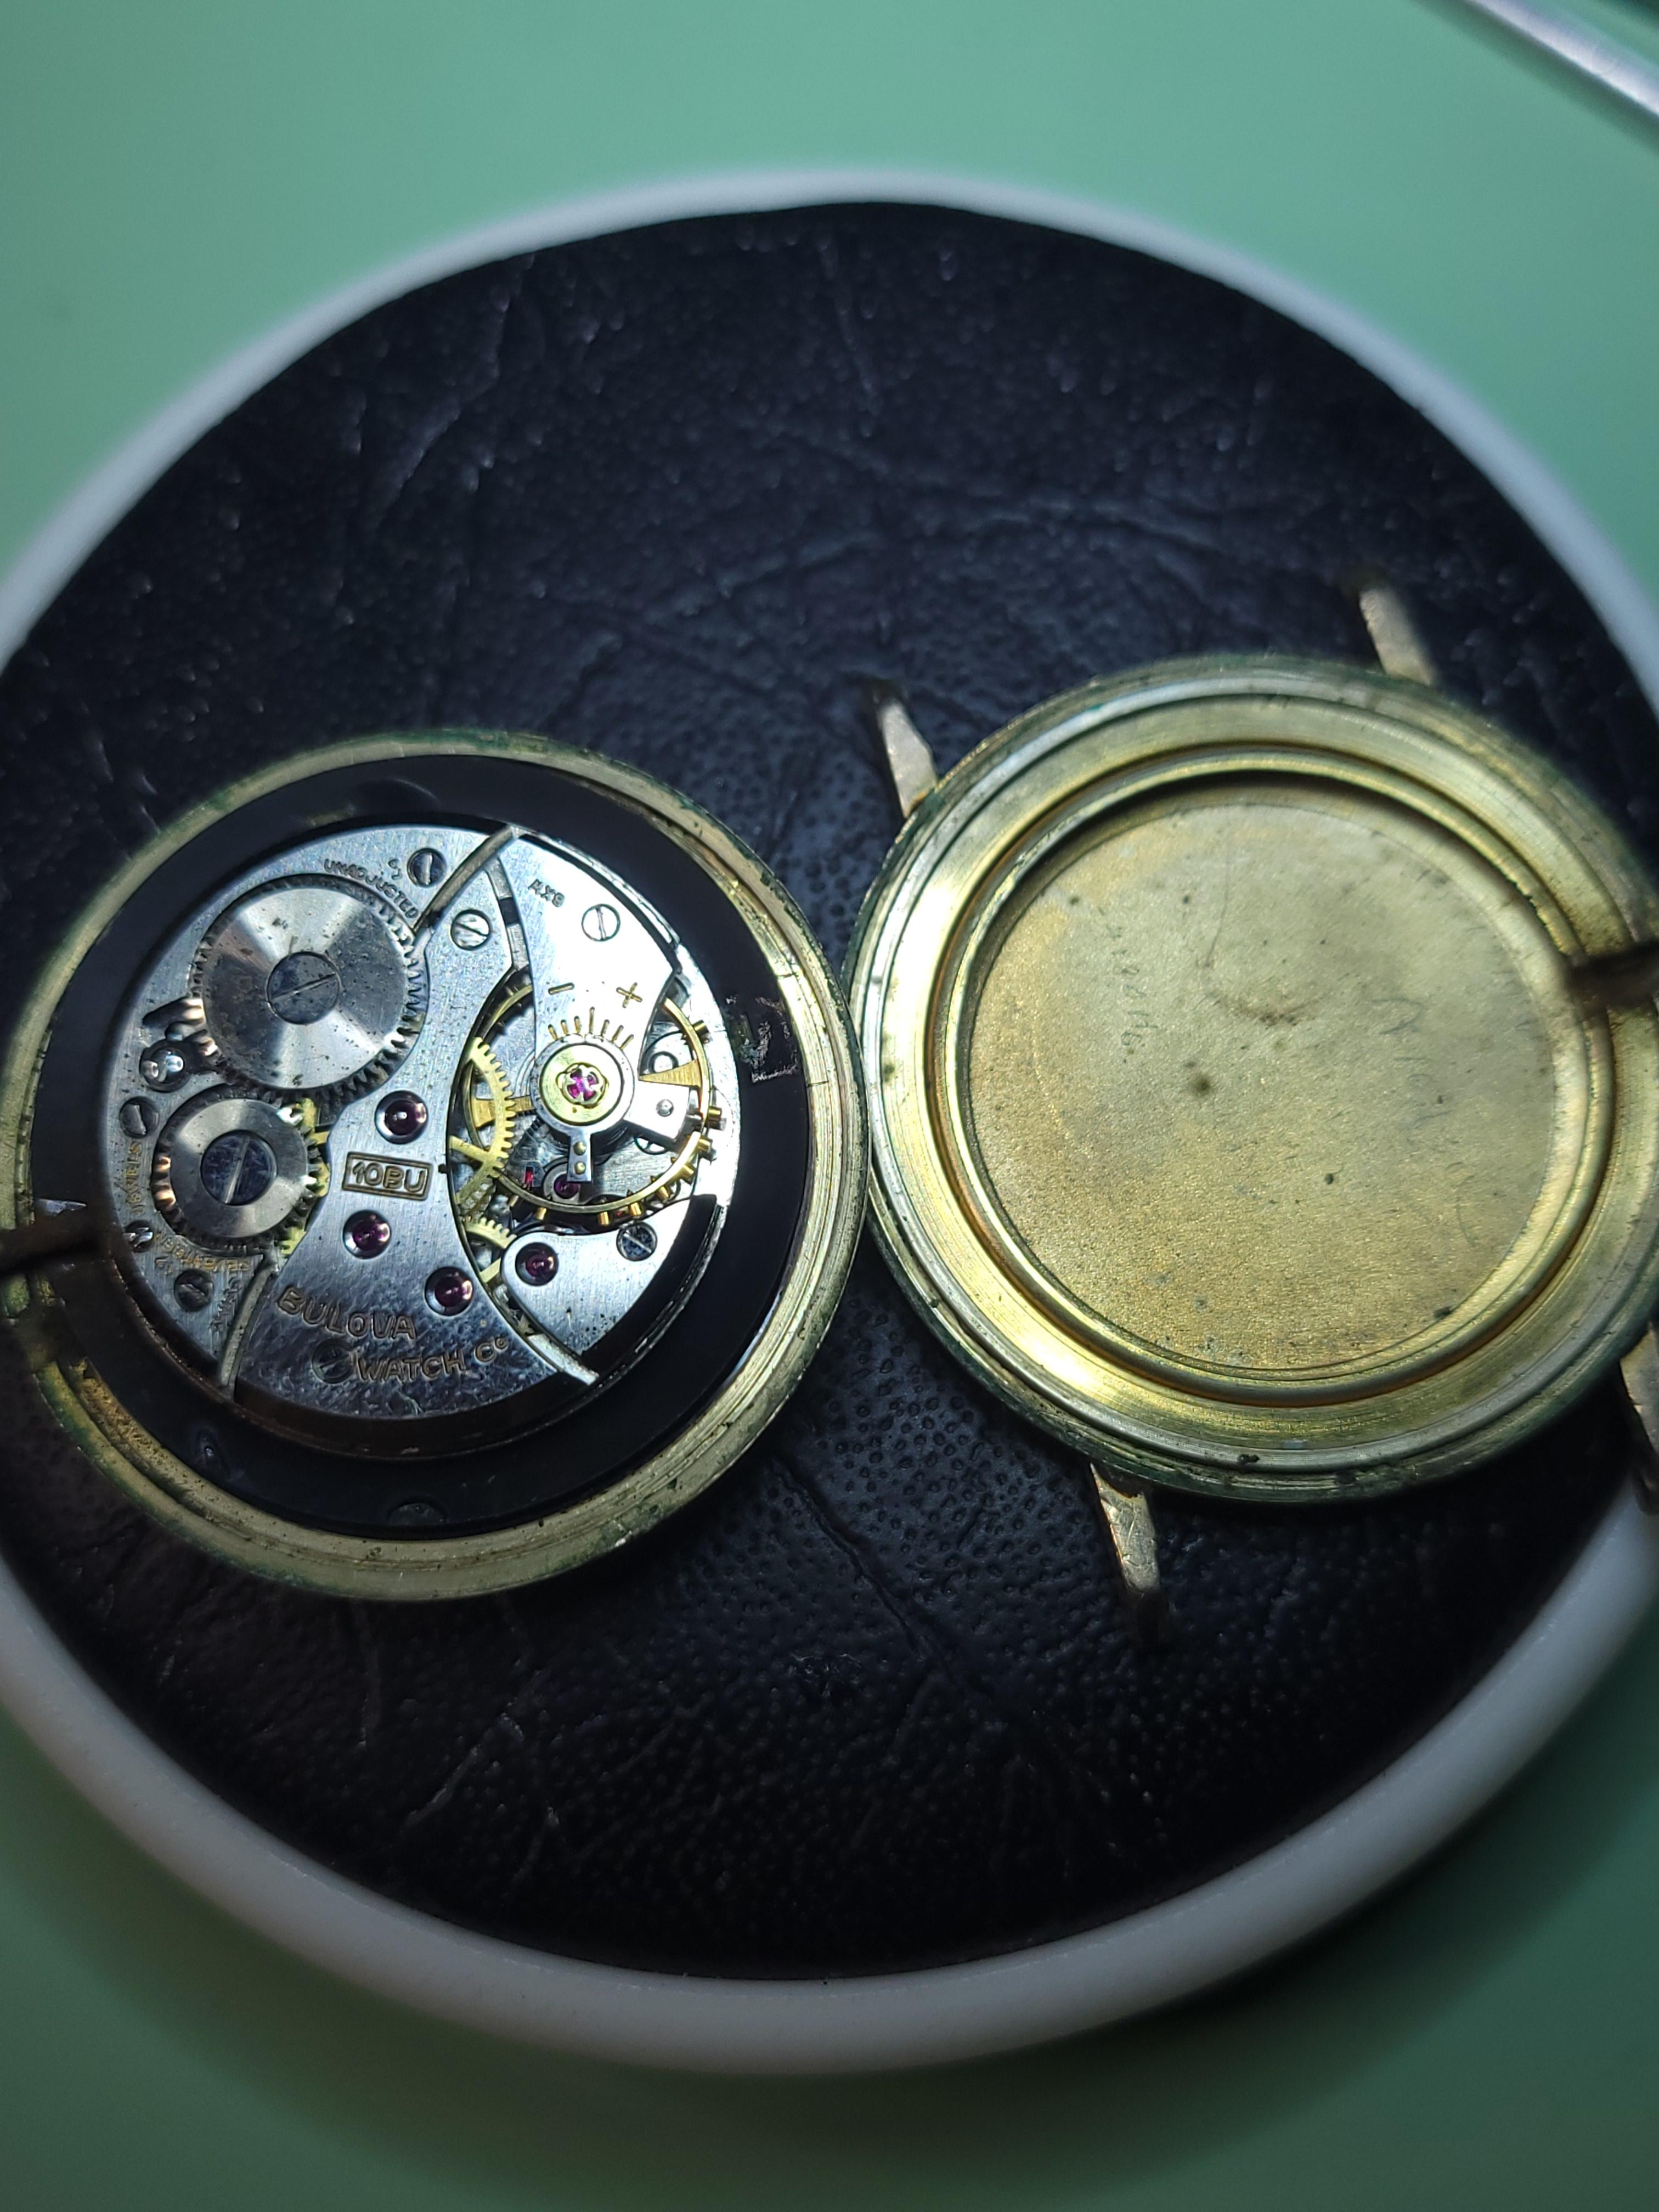
Sorry, @rehajm! I totally spaced out on replying to you. Yes, the case is very thin and splits along the winder line. Both of the cases I have are very chewed up on the side opposite the winder because the metal is so thin there. Here's a shot from the thread I posted on my other Bulova President ("P" model).
 1 point
 -
I have a small block of pine wood. Hard enough to work on, but allows the tweezer tips to push in. I think it was Frank who suggested the technique to me. I had to play around shaping the tweezer tips until I could get a good enough grip on the hairspring, as it's right at the tips. Once you've tried it, it's not a difficult technique, and quite controllable - I found just a gentle push was enough. I've used it on outer coils which were bent near the stud. I don't see how you could use it on the actual overcoil though?1 point
-
Purely a matter of personal preference here, but if it were mine I think I would leave the lume well alone. Fresh lume in an otherwise nicely aged and patinated watch would look out of place to me. It's a nice looking watch though.1 point
-
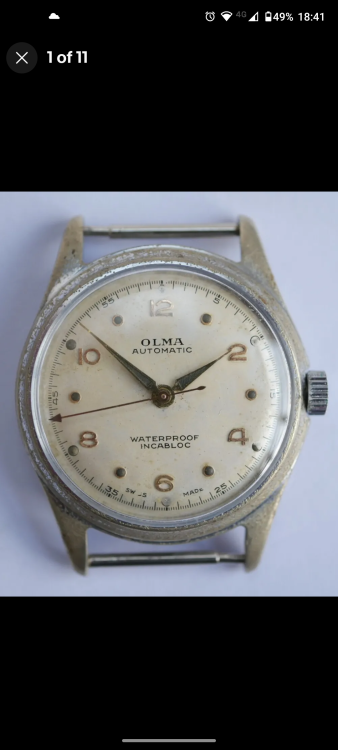
Olma watch due soon. Looking forward to reluming the hands and dial dots. ETA 1256 movement.
 1 point
 -
Does the motor have a starting capacitor? If it has one, check if the capacitance is within specs. A weak capacitor is unable to spin up the motor. Also, check that the rotor is centred properly. If the rotor is off-centered, or if the housing is not securely tightened, the imbalance in the magnetic field can pull the rotor against the stator and cause it to seize and hum.1 point
-
According to the instructions for the S-14 the bezel should be removed. I believe this is a bezel.
 1 point
 -
Shellac has been used forever and is still used in modern watches. Whatever you use you can still do a final fast rinse in IPA, short exposure won't do anything to shellac. Especially if you use lighter fluid that leaves oily residue you should consider something like IPA.1 point
-
Hello and welcome. All I can tell you is it's a Chinese movement but I don't know which one.1 point
-
one of the unfortunate or amusing problems with watch repair is it's apparently not an exact science. In other words everyone has a different thought on cleaning machines or lubrication is a very popular one to bicker over. In the case of watch cleaning it depends upon where you live some places getting cleaning fluids is basically impossible. Depends upon your ventilation system monetized people object to the ammonia-based cleaners as therein tiny apartments. Or if you purchase a gallon of cleaning fluid including you can purchase it off of Amazon with free shipping at least the last time I looked that's what it look like but they objected to having a gallon that might take them quarter of a century to use up. But typically the cleaning fluids don't go bad for a very long time but they will go bad after a long time they just won't clean as well. But were talking about quite a number of years which is what happens if you don't use it fast enough and then a course you have to dispose of used products not really something you should be pouring down the drain for instance.1 point
-
Correct. ideally the mainspring should fit over the arbor with a loose fit. The winders are designed to be printed as 1.5, 2.0, 2.5 or 3mm arbors (Metal inserts) depending on your needs.1 point
-
unfortunately that means you'll need a replacement here's some place that has replacements https://www.ofrei.com/page441.html1 point
-
You will never be able to do a touchup paint job that isn't glaringly obvious. Either leave it alone or paint a circle of an entirely different color for contrast. Maybe a textured paint even. Or you could stick on a colored sticker.1 point
-
Thanks Andy. More bedtime reading1 point
-
When properly cut, the staple does not extend over the hole of the winder. The hole is for the arbor to insert into. The mainspring usually bulges out quite a ways past the arbor with plenty of room for the arbor hook to gram on.1 point
-
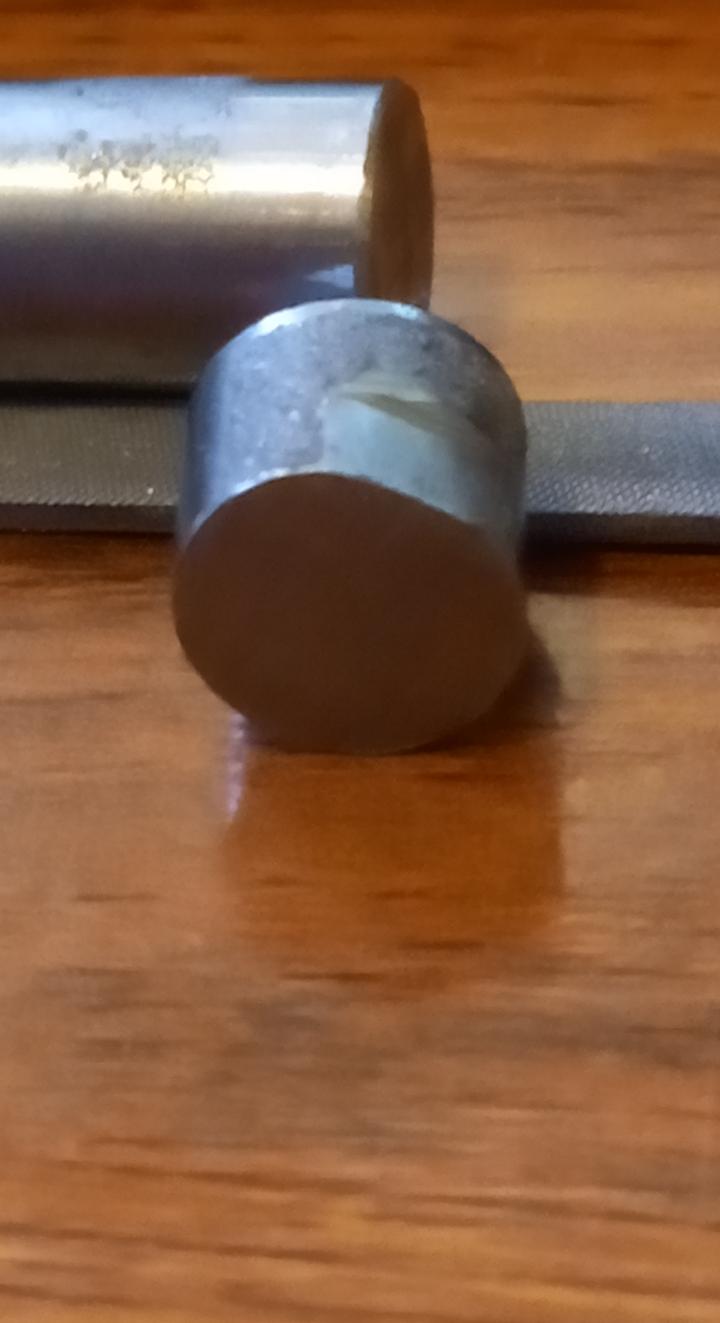
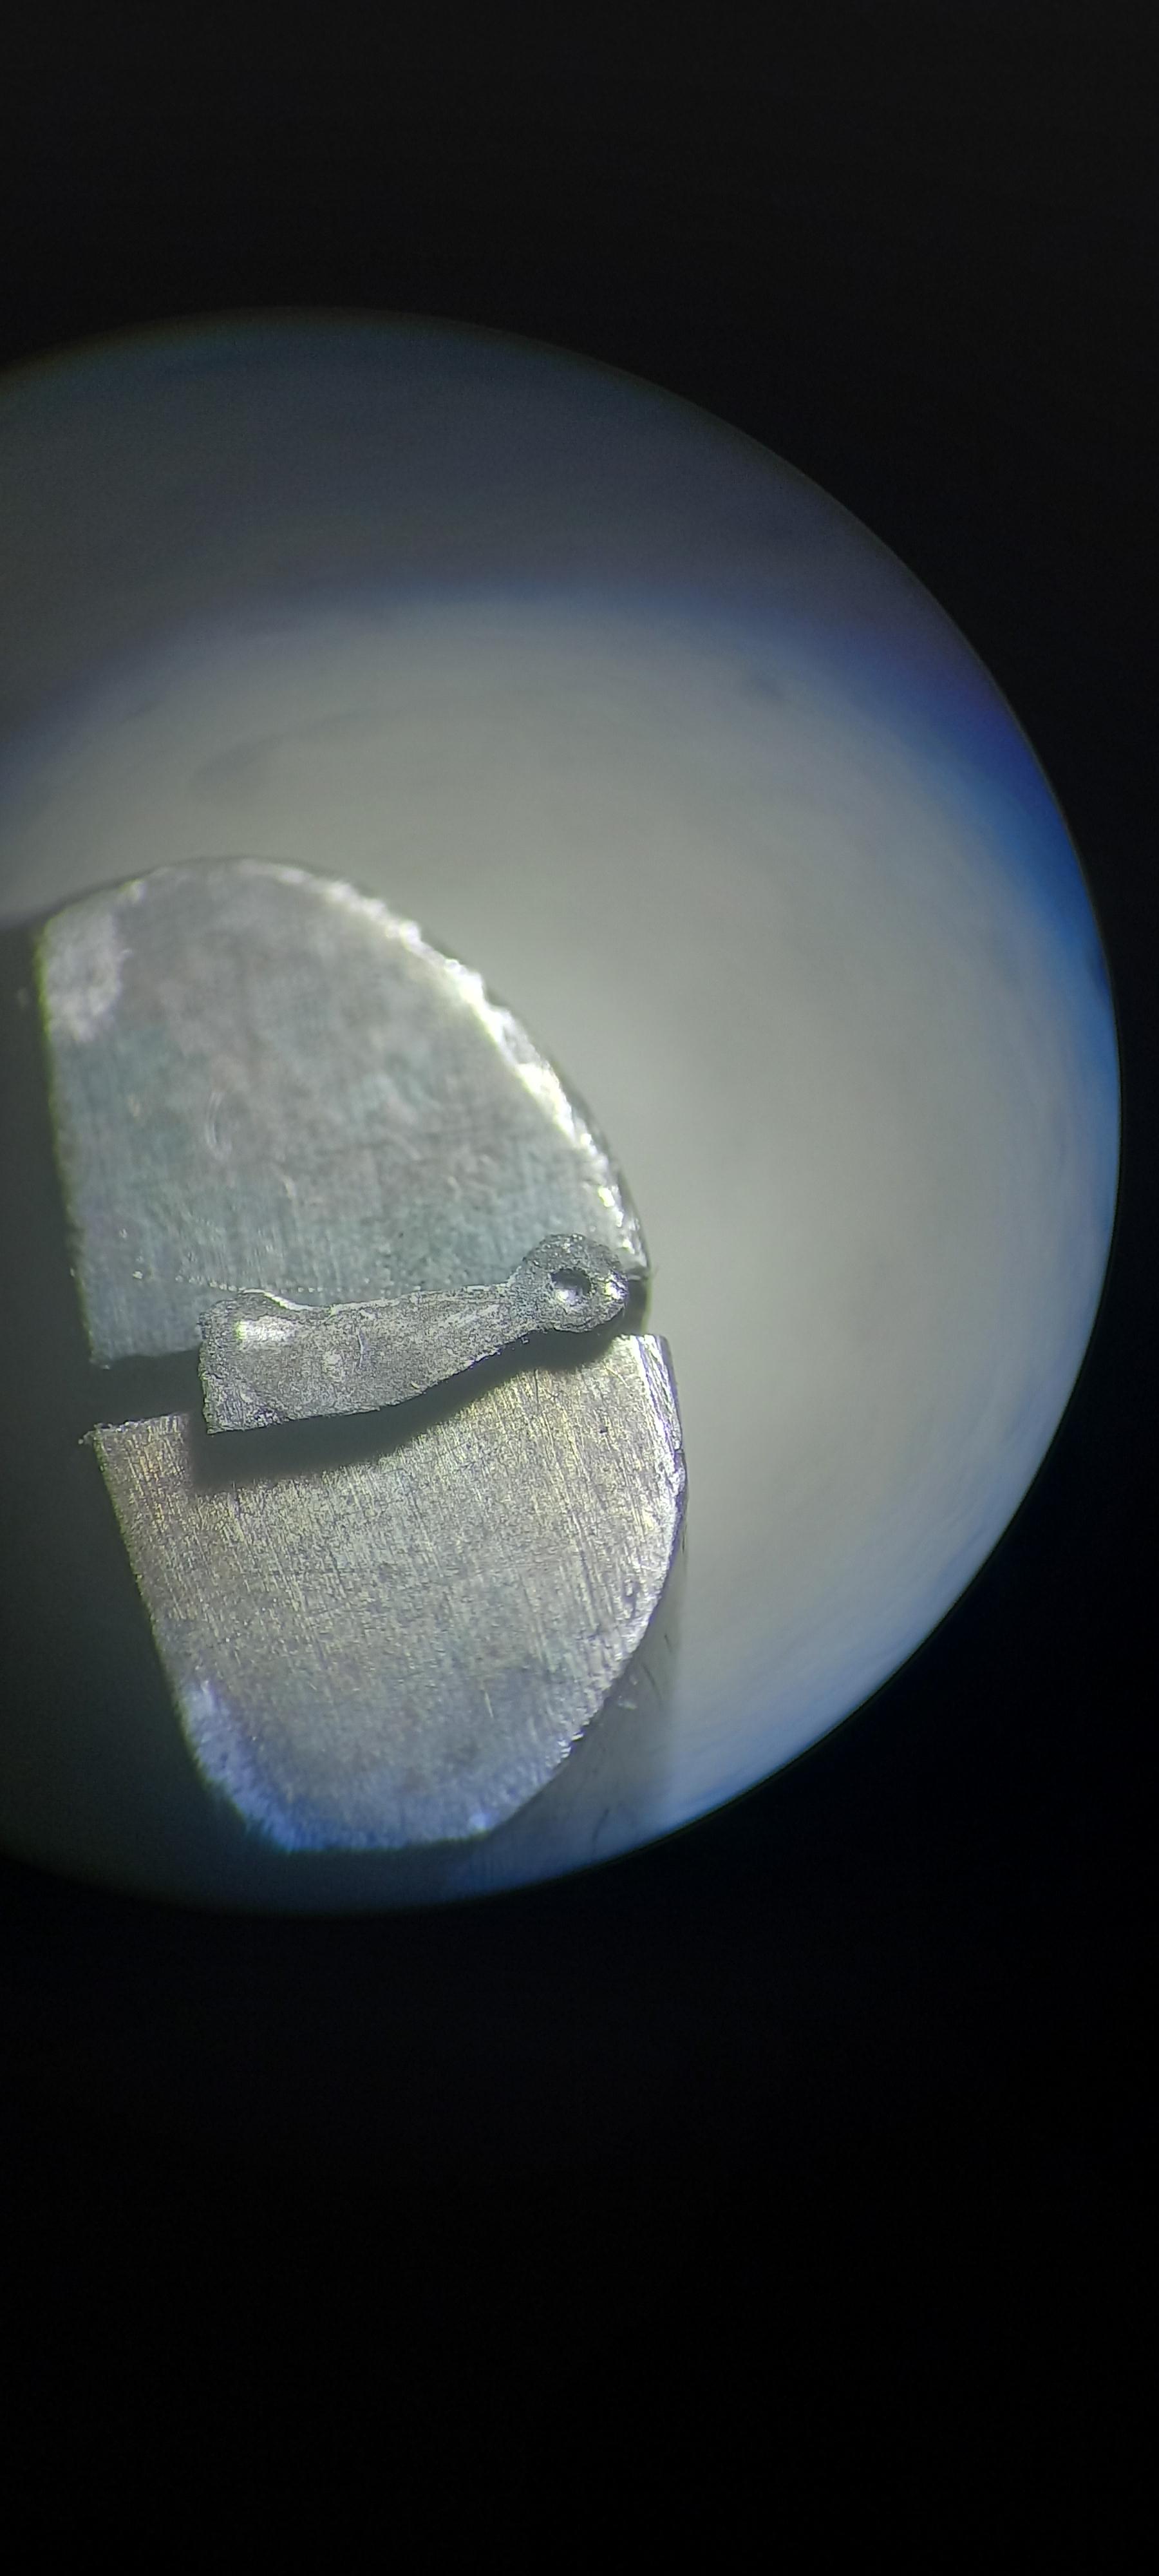
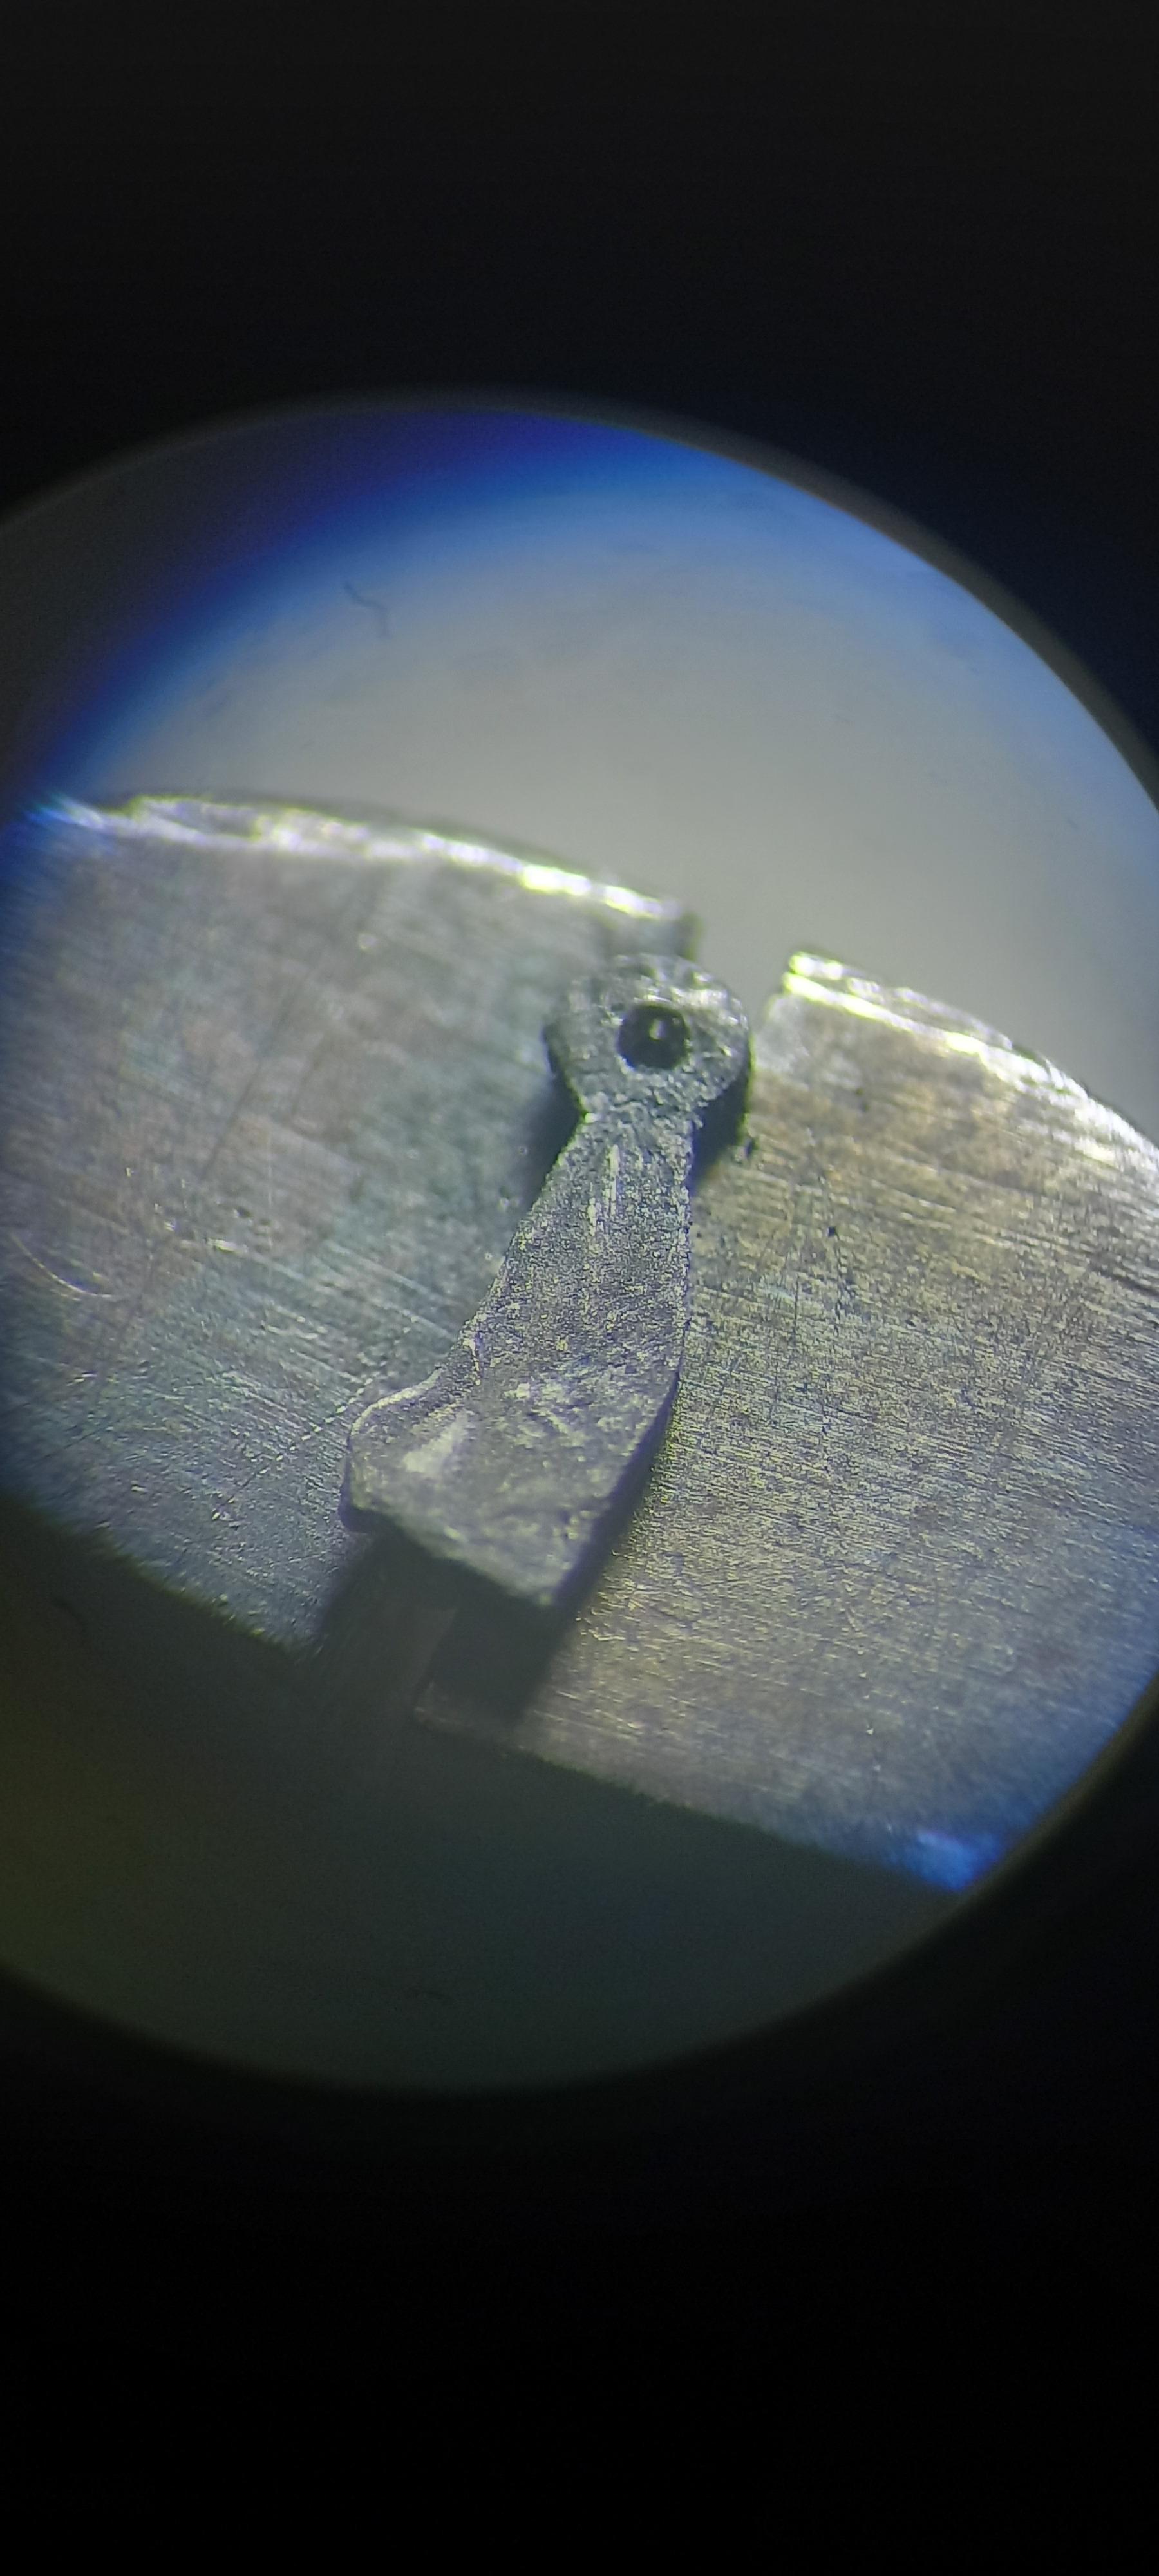
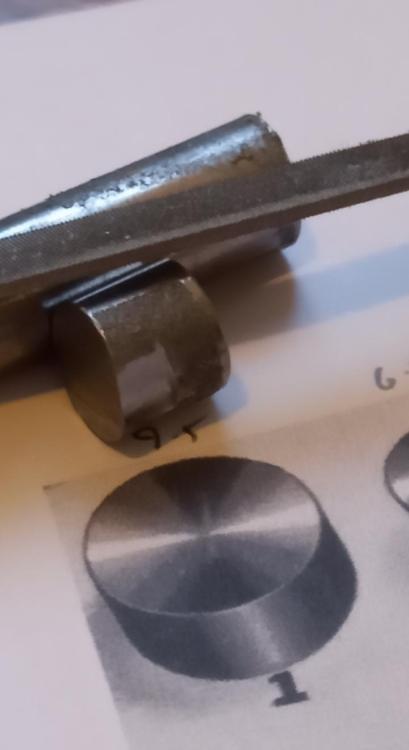
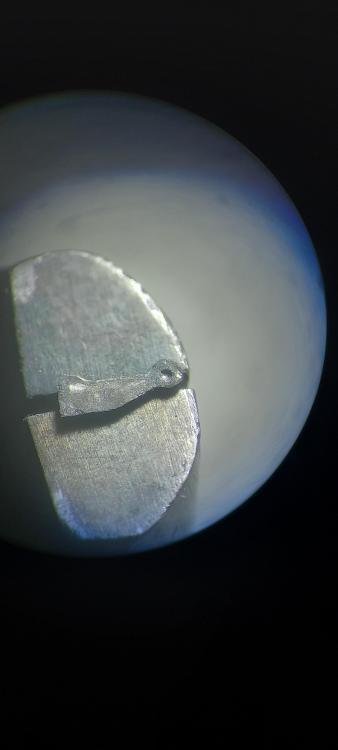
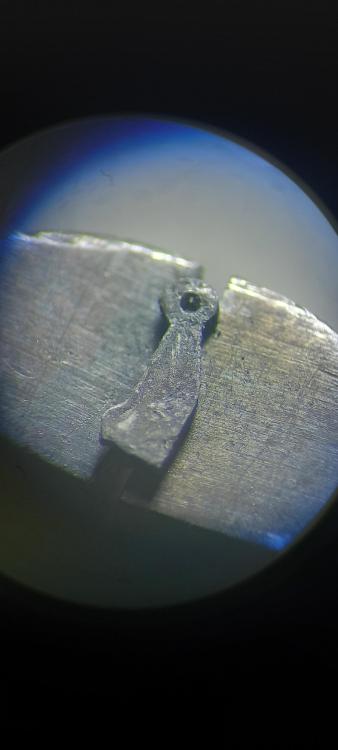
The cylinder and its contents were cool within the hour. The difference in drilling is night and day. The first photo was probably around an hour trying different drills, cheap carbide ( absolutely rubbish and chip when you give them an angry look )and resharpening a 0.4 pivot drill 4 times, i barely managed to make a start, just a very shallow shiny dent. The second photo the hole is through the piece up to the pin on the other side i just need to widen the hole so i can pull out the pin. This took just 5 mins hand drilling with a pin vice and just one initial sharpening of the drill, not easy to sharpen a .4 pivot drill, the angle is awkward to get as the clearance on one side affects the cutting edge of the opposite side more than it does with a dormer hss bit, the angle has to just so.
 1 point
 -
I very rarely use my overcoil tweezers in spite of having a full set. I might use the ones that simply curve the raised coil sometimes, but even there not really. If needing to adjust the actual height where it raises up I do as Mike and Frank mentioned, stout tweezers and wood. But it's rare for that to be truly faulty- I can see on your spring I would probably use two pairs of tweezers* to lift/lower the opposing part of the coil in several places to bring things flat again. To get the last part of the curve right leading to the stud, I set the spring on the upturned cock (spring right-side-up), collet centered over the jewel, and count the coils to the regulator. Then make it so the terminal curve follows that coil of spring. It gets it 90+% there, final tweeks in the watch. *The most dangerous thing you can do is use two pairs of tweezers on a hairspring, but sometimes it's necessary. Careful careful careful.1 point
-
So good luck! There are overcoils that climb without those 2 bends, but really rare and made by masters. Yours is not at all a master's work. Easiest way to correct bends in the height is a very rigid tweezers with sharpened tips, pushed with the hairspring blade into wood (just mentioned above) - no #7 at all! Even better than pushing is driving with slight hammmer blows. Try first with scrap hairsprings! Frank1 point
-
Mine starts off like that, gets progressively more chaotic until I have no choice but to tidy again. Rinse and repeat.1 point
-
I could never work at a tidy bench, mine was a complete mess, stuff all over the place. No question is stupid so feel free to ask anything. We are all here to help. Photos can help a lot as some on here like you are beginners and do not have the experience as others but like to join in.1 point
-
Brilliant. Impressive. Well done. No question on this forum is treated as stupid. It's only stupid if you don't ask. Glad you are with us.1 point
-
Indeed, ask anything you want. We are here to help.1 point
-
Neat, as for asking questions, start with stupid ones. Good luck Pal.1 point
-
Here is how I installed one of mine. I actually found that I needed to have the jewel in the chaton or else the spring wouldn't stay level and I couldn't get it in. I use the plastic to position it and then an oiler with the force applied the long axis to snap it into place. You can see that when I first tried to apply force with the oiler perpendicular to the direction the spring needed to move, the oiler would flex. Once I came at the spring along the direction of force it snapped right in.1 point
-
Haha initially i was playing around with different bits of steel wondering what to use, seeing what files i had would cut which bits of steel. No files would touch any of the steel without stripping the file's teeth. So then i set up a little grinding station and it all started to turn into a bit of an experiment. Stuck the broken part onto the end of a feeler gauge, rough cut the part with a grinding stone and diamond wheel which was extremely easy, didn't have a way to anneal the steel correctly, so i just went with making a diamond file which cut into the steel really well and just carried on from there. Short story is ' i got impatient and just wanted to f around ' . Tbh i could have made life really easy for myself and bought the part from Cousins for fiver, but thats just not me, what is me is wanting to learn something which i did. Next time i will do it very differently, the first thing i will do is anneal a piece of steel That is the best way for more than that reason. Next time i will anneal some steel, remove any pins on the broken part and drill through where the pins were located. Stick the part to the steel and drill off all the holes directly through the old part. Fit the pins in the steel then slide the old part over the pins and stick it down, cut out the shape using the old part as a fixed template.1 point
-
The store owner was great about it. Combined the things I wanted into one listing and then I only got charged freight once and not six times like before. SO some tools for watchmaking are now winging their way to me.1 point
-
Thought this would be of interest to us all. Great setup I reckon!1 point