Leaderboard


Popular Content
Showing content with the highest reputation on 12/21/18 in all areas
-
What Tmuir said. You must always disassemble the balance jewel assembly as you can’t rely on your cleaning machine to remove dried oil. Sometimes it is like varnish and must be scraped off with peg wood.1 point
-
Be very careful when it comes to buying from ebay. I see that BHI oil comes from China. Most Chinese watch tools are very poor. Myself I would leave it alone. Lubrication is very important for watches, you must use the correct one’s if not you will end up with a movement giving poor performance. Buy a recommended brand from a watch material supplier.1 point
-
Hi bjd, welcome to the asylum, this forum is "the bizz," loads of really knowledgeable people who are happy to help you. They have helped me over the line many times and I have never been made to feel stupid, even if some of my questions have been! here there are many people of all abilities, but United in our shared love of watches.1 point
-
Thank you for your introduction and welcome to this friendly forum.1 point
-
you need 2 maybe 3 types of lathes; jewelers lathe ( used with gravers), "mini lathe (what ever that is good for". and a compound lathe (gear driven cutting). Oh heck, get a mill also. vin1 point
-
I only clean the end stone, not the jewel hole on the balance jewels mechanically. You need to remove the the jewels, separate them and clean the end stone. If they are really dirty you will need to soak them in some acetone for a while before the end stone will separate for the lower jewel housing.1 point
-
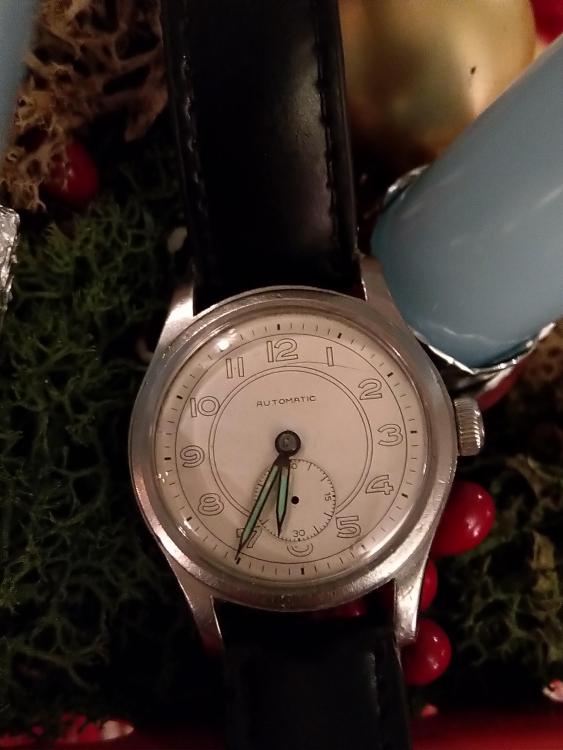
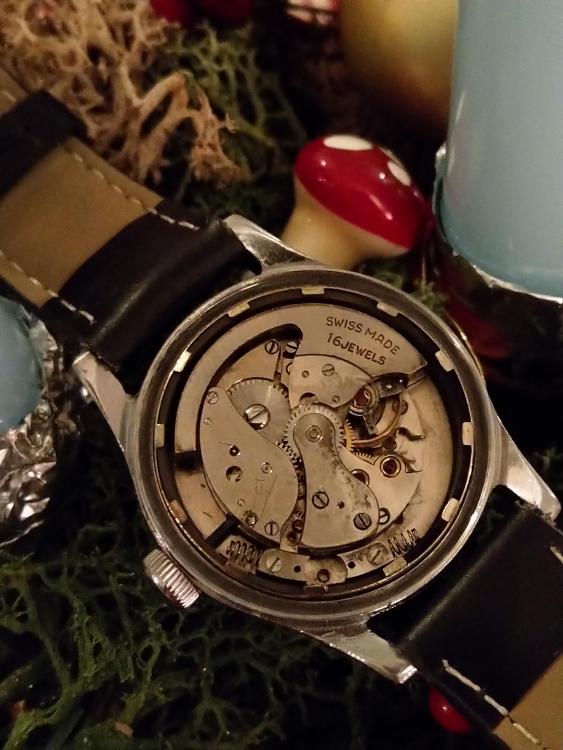
From raggs to riches and a lifelong abuse with torches and WD40 this little one is the latest gem into my eclectic collection. After a pain stacking slow process making a new groove into the broken set lever screw it finally was removed and this old chap got it long sought after bath in various cleaning liquids.Oiled, greased and with a new mainspring it is powered by an what I think an AS 1171 bumper automatic with 16! jewels . A new sweep second is on the way but I feel the little hero deserves a day in the air before it arrives.
 1 point
 -
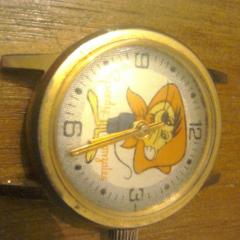
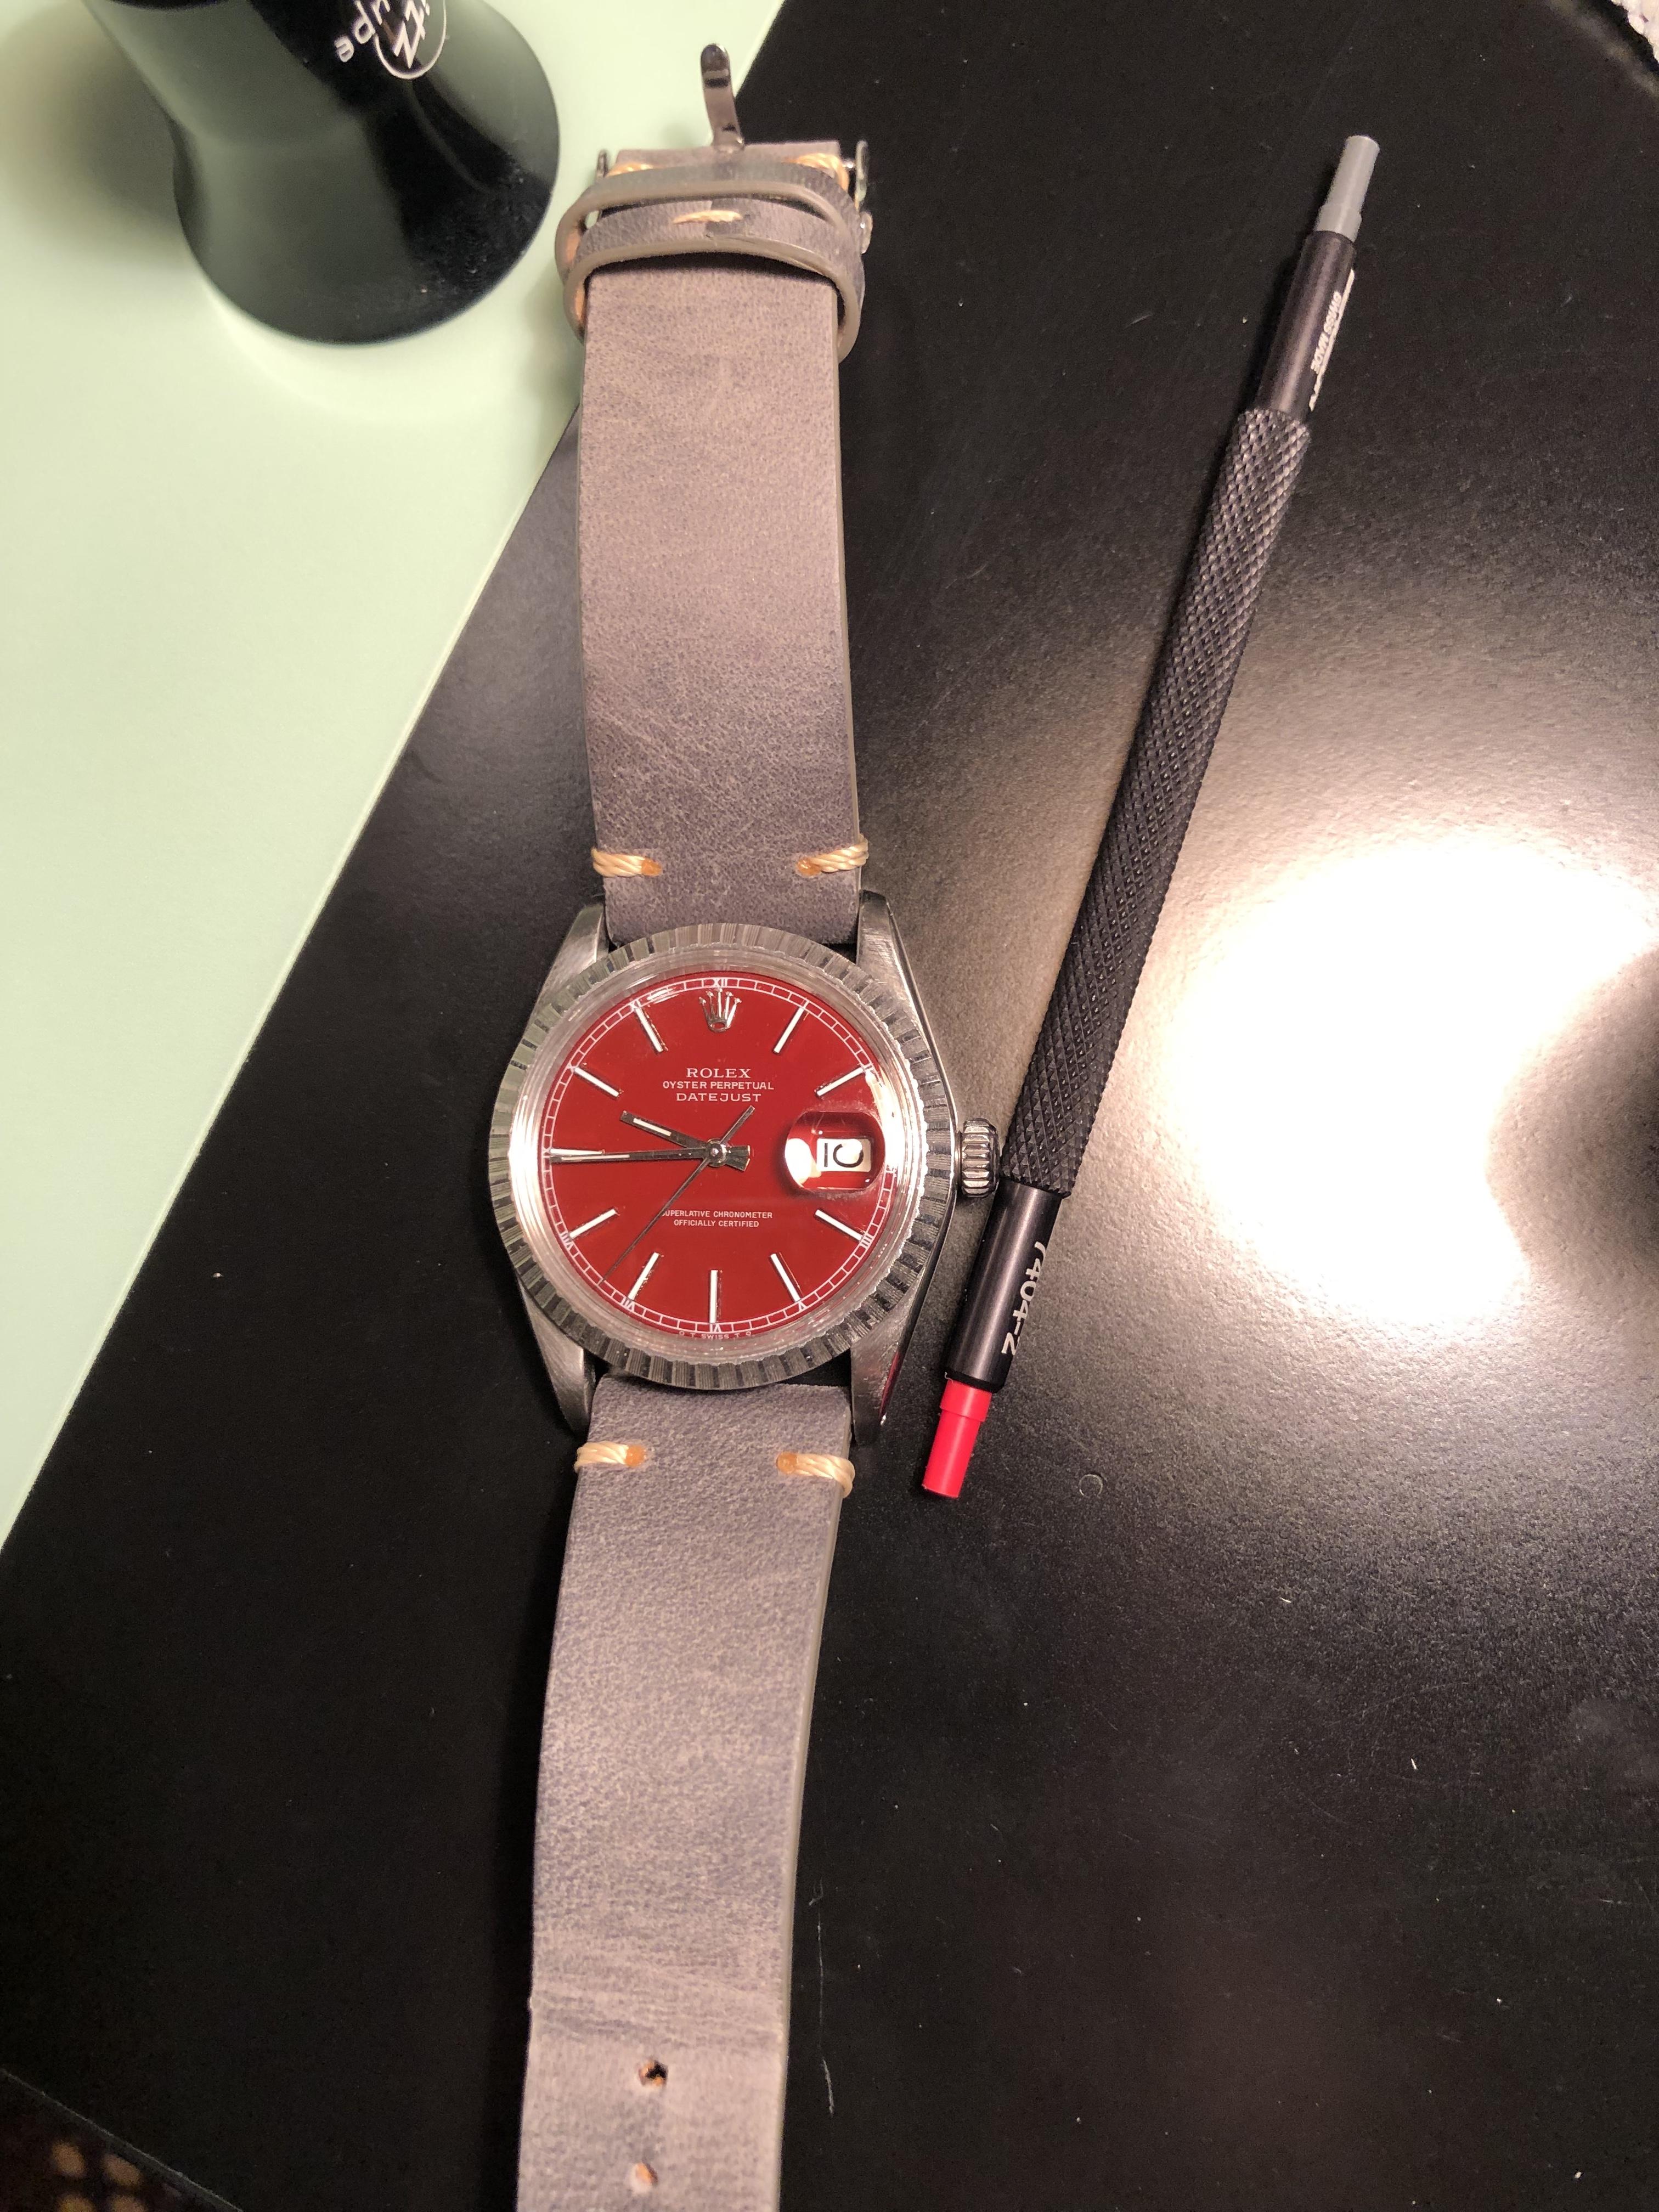
Manodero and anilv, Thanks so much for looking at my intro and commenting on my watch! I apologize for taking so long to respond here! I won’t let that happen again! I’m full blown committed to watchmaking these days and am actually going to switch careers and jump into watchmaking full time at the beginning of 2019. I’m so excited as I am so bored with being a software consultant for a large fortune 500 company, although it has repaid me with a comfortable life which I am truly greatful for. To answer your questions about how I made that dial I’ll list out the steps I took, but how you paint on the “Rolex oyster perpetual Datejust... superlative chronometer officially certified” is something that you will have to choose how to do on your own. You can have a dye made of the dial with the writing and use it as a trace, you can use an engraver and punch the letters a bit more into the dial so that when you paint your first layer you can still see the outline which is what I did. I’m sure there are several more ways. Step 1) if you are working with a Rolex dial and I suggest you do so so you can form this template, take a sheet of paper and trace the dial, at exactly each hour and each marked minute, draw a line from it on the paper so that at the end your paper looks like a sun with a bunch of rays but make sure you make the lines longer where the hour tacs are. Now take a compass tool and put the pin in the center of the dial and stretch the compass to the inner ring of the minutes tics. That is your distance that you need on your dial so make that ring on your template sheet. Do the same for the outer ring. 2) I took an engraving tool and went over the letters on the dial with it so that they were deeper set into the dial. I also went over carefully and this takes a long time.. the inner and outer rings of the minutes area and engraved each minute tic. 3) clear the dial by picking off the tacks and the Rolex crown insignia with a tweezers. Clear the paint by using solvent or by using a professional jeweling hand held polisher or sander if the dial is metal. Take a brass brush and lightly remove the metal. Make sure you do not go too deep. Try to make it as even as possible. 4) place a toothpick in the center of the dial, suspend the toothpick (I did it with a clamp that usually holds wires that need to be soldered), make sure no dust in on the dial, and spray acrylic spray paint onto the dial making sure to hit the dial from directly above and spray from 6-10 inches away. Make about two quick sprays and let it dry. Take a look and make sure no dust particulates are stuck in the paint. Also because you engraved the letter make sure you can still see them as the paint will be dented at the lettered spots. 5) use acrylic paint and micro brushes and paint the letters in. Do not paint in straight lines. Instead make small dots.. this takes practice to get right. Because the dial is a bit dented in those spots the letters will not look raised from the rest of the paint.. you wouldn’t think it mattered since you have to clear coat it at the end but it does make a bit of a difference to me. The small dots will Give you a better idea of how straight your line will be. Connect the dots when you’re confident of your line. You need to do this with a 15-20x loupe or a microscope. If you make a mistake you have to soak your dial in solvent and start again or decide to live with it. Let the letters dry overnight. 6) reaffix your dial with a toothpick in the center and suspend it. This time use a clear coat that a) dries fast b) is heat resistant c) will not yellow in the sun d) will not crack for many years. I use spraymax 2x glossy clear coat. Spray just once and let dry. 7) You can buy Rolex crown stickers and you can also use the original Rolex crown that was in the dial but if you do you need to put two pieces of peg wood into the holes of the spot where the crown is and work with them in the holes each time you spray. You can also purchase diamond sticker tacs for watch dials. I use these because it’s way easier than putting peg wood into each tack hole in the dial. Put the dial in your template and stick each diamond stick exactly where the hour markers are. It’s coming together now right! 8) I usually spray one more spray of clear coat onto the dial when I’m done setting the diamond stickers. This ensures me that the hour marker diamonds hand on tighter. This last spray must be thin however because you can get bubble type weird bunches of clear coat at the edge of the diamonds. Here is a picture of a dial I did with ticks but this took a really long time and I made a mistake when I was writing in the letters but I lived with it. Btw I’ve seen dials just like mine online actually for sale by an Asian company. They are not too expensive but the process of purchasing them is a pain. It’s a western union type of thing.. Personally I’m Leary of the whole western union deal but can see why it’s needed. (The dial is kind of oily sorry) I’ll write out instruction for printing dials tomorrow! Hope this helps. Again there are many ways to copy the letters and get them into the dial! You just have to research!
 1 point
 -
Perhaps you are being a bit pedantic. The ultrasonic machine I was referring too was the Elma "P' Line (Industrial use) Multi-Frequency & digital. Starting price £775.1 point
-
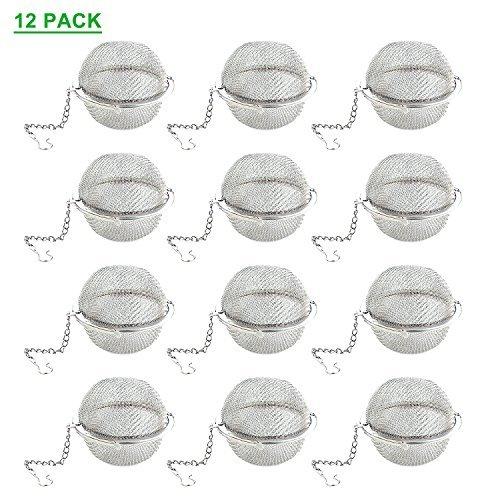
I hate to be pedantic, but if it says 37Hz it 'aint ultrasonic. You need to be careful. There are some really cheap "dental ultrasonic" cleaners on ebay that are not remotely ultrasonic, since they use a small vibrating 3V motor. They are at best agitators. They may well vibrate at 37Hz for all I know. The point is ultrasonic is high frequency sound, and it's frequency is measured in killo hertz so they would be say 37kHz or 40kHz or whatever. Anything typically between 20kHz and 250kHz would be accurately described as ultrasonic. The other thing you need to be aware of is the output power. As has previously been stated, the better units put out more ultrasonic energy, and in some cases this means they have more than one transducer (the transducer is in effect a loudspeaker that operates in the kHz range, and pumps out the ultrasound. There is a good description here -> http://tmasc.com/qa process.htm If a small ultrasound cleaning unit states an output power of 500 Watts or more, this is probably the power of the heater, rather than the ultrasoinc transducer. Typical small ultrasoinc sounders are under 100 Watts If you want to see someone tearing down a slightly larger workshop cleaner (clock sized rather than watch sized, and way bigger than the one I have, mine only has two transducers), take a look at this -> The other thing to be aware of is that often these units include a heater. High sound output power and the ability to heat the cleaning medium to near boiling point may not be necessary in a small unit, and in fact may be undesirable when cleaning very delicate parts. If you are looking for a relatively cheap "basket" to keep the parts in, you could try using some of the small mesh ball loose leaf infusers . This sort of thing... A quick search of ebay or amazon will bring up lots of them, and they are relatively cheap. I've not pressed my little ultrasonic cleaner in to service on watch parts yet, but I have cleaned a few items like inkjet print heads, switches, electronic components, small circuit boards and so forth. Its not been used in a while ,so I will need to locate it in the attic first. Other more knowledgeable individuals will need to chime in with suitable cleaning agents for watch parts, I would not know what is suitable. Some watch parts however may rely on shellac, which is soluble in some alcohols, so take care with what you use.
 1 point
 -
If the train is not fully jewelled you need to look for wear on the pivots and pivot holes.1 point