
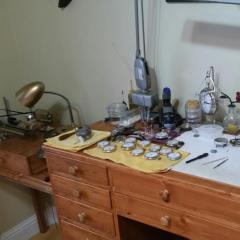
Home made watch cleaner L&R clone

-
Recently Browsing
- No registered users viewing this page.
-
Topics
-
-
Posts
-

By Neverenoughwatches · Posted
You often see the term used on old watch part boxes. Staffs for bracelet watches, timing washers for bracelet wstches etc. -

-
 Not having all the fancy equipment, this is a way I came up with. I never said it was the best, the most ideal or the safest way. Working on balances is always a delicate task whereby full concentration & common sense should prevail. I was well aware of the "dangers" / short comings involved, hence my "warnings", as quoted above. The balance wheel of the Omega was nice true, flat and one could clearly see how much gap there was left before the grinding wheel would touch the balance wheel. I stopped when the generously applied diamond paste started to touch the rim of the balance wheel, which turned out to be with a seat thickness left of 0.1mm. Tapping the remainder of the staff out went easy and flawless. My idea of penning this article was to show/share a way which, in my case, perfectly succeeded. If deemed to risky, or if the balance wheel is not true or has a wobble, other methods have to be followed.
 -
By Neverenoughwatches · Posted
I loved his explanation of a teardown 😅 Ex military Richard Perrett, pretty knowledgeable guy. -
 I also see a bit of danger for the wheel, at least you have to keep away from it and may get a too thick rest ring. My rest rings are about 0.05 mm. Better way would be a grinding wheel touching the staff with its circumference. Frank
-


Recommended Posts
Join the conversation
You can post now and register later. If you have an account, sign in now to post with your account.
Note: Your post will require moderator approval before it will be visible.