Leaderboard


Popular Content
Showing content with the highest reputation on 06/20/22 in all areas
-
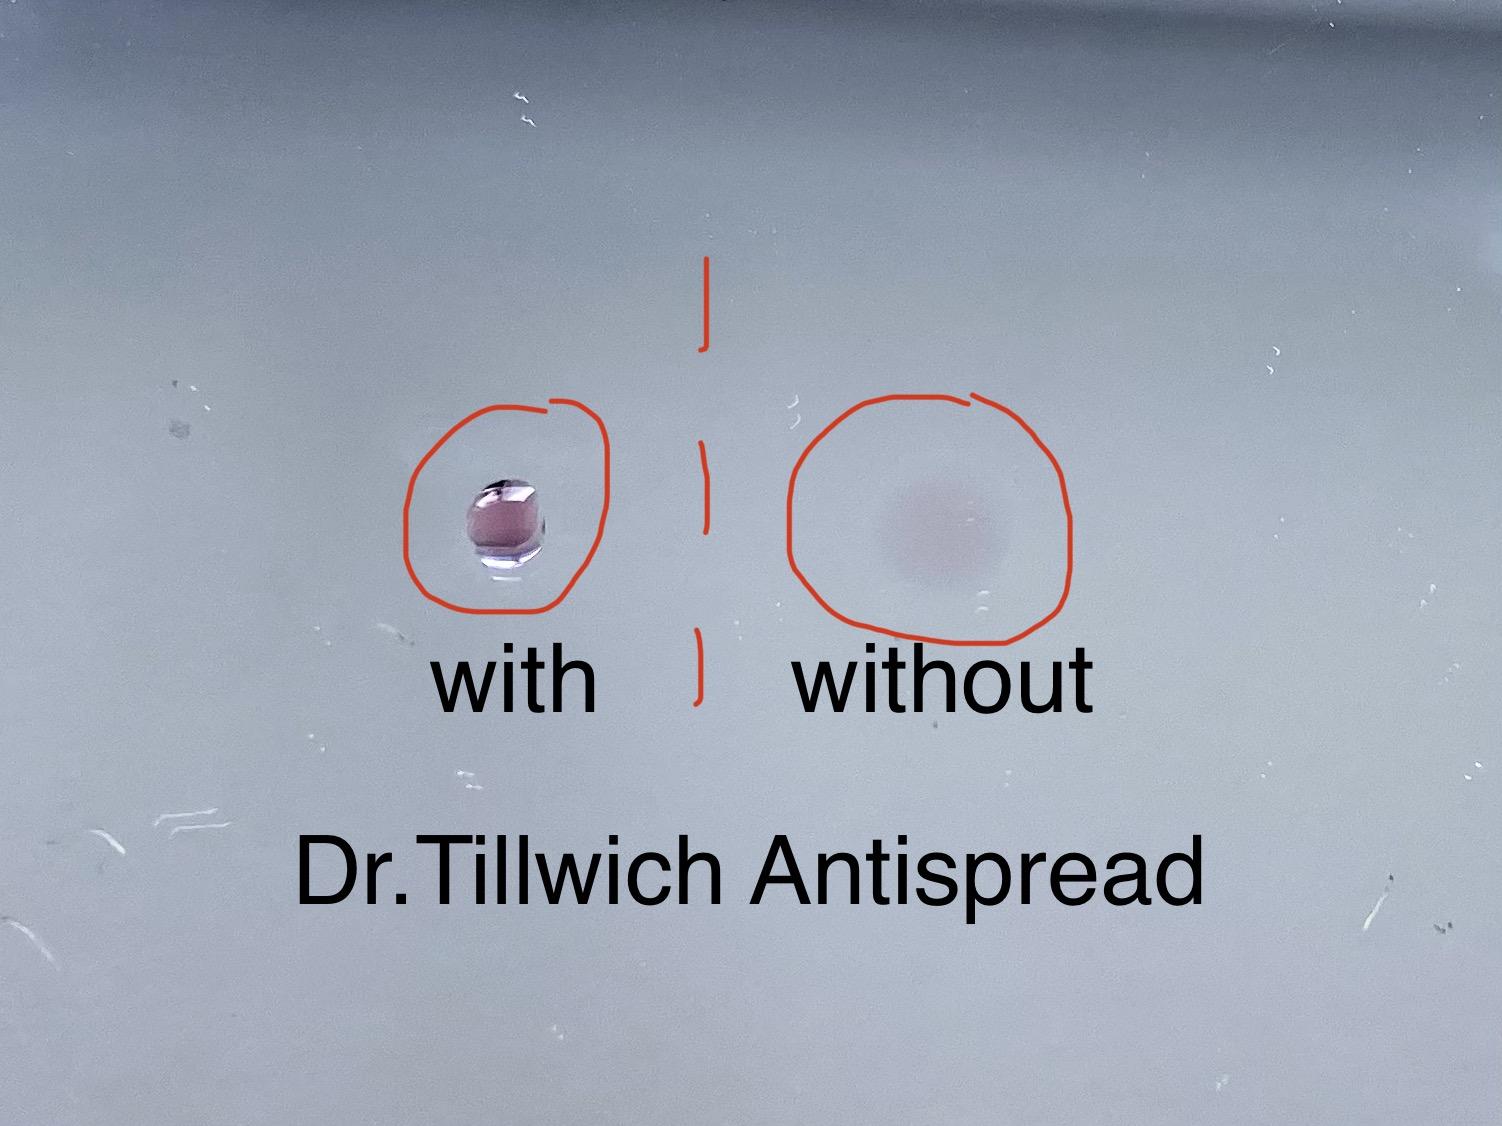
I just tested „Dr.Tillwich Antispread“ by partially treating a hand mirror with it. The picture of two oil drops shows impressively where the Antispread has been applied.
 6 points
 -
This is a very tricky repair; typically the issue is wear on the outer diameter, are you dealing with that or stripped threads from the screw? Since this is over the hole for the stem pivot, there is very little material around it. Once approach would be to bore it out, and press in a new threaded piece the correct outer diameter. It would require re-drilling the hole for the stem pivot, and careful fitting so that it doesn't budge when screwing in the screw. A solution is making a stepped tube, and an appropriate recess for the step on the movement side of the plate (just a little step, 0.1mm is enough). It's fiddly work. My preferred method if there is wear on the outside, and if there is enough material between the inner and outer diameters of the post, is: in a faceplate, turn the outer diameter of the post down, leaving enough material that it can take a sleeve. Make sleeve from steel, harden, temper, install with Loctite 648. Often this is a solid post, no hole or thread, so it's less of a challenge.2 points
-
The jewel in the photo is rubbed in. Replacing it with another rubbed in jewel is usually a very frustrating exercise, even if you have a large stock of the proper jewels. Replacing with a friction jewel, trying to get it to seat and stay in the original setting, is very hard, as the friction jewel doesn't have a large enough bevel (usually) without modification, and the diameter is often rather oddball. Reaming it out to a standard friction jewel size would be OK, but even though this was promoted as a great thing back when friction jewels and Seitz tools became available, it can get sort of ugly looking. If you are lucky and careful, you can ream it open just to where the walls of where the old jewel sat, and get enough friction; otherwise you have to ream out the whole entire setting, checking that a new friction jewel large enough is available first! For sideshake, generally about 0.01mm is correct. If a tiny watch with 0.07mm pivots, you'd want less, like 0.005mm, for larger pivots like a center wheel it can be a bit more. If checking pivots with a micrometer, be very, very careful to use the lightest touch possible, as the mechanical advantage of the fine pitch thread and the hard (often carbide) faces of the mic anvil and spindle can put tiny flats on the pivot. If checking very small pivots there's really no replacement for a jewel gage.2 points
-
Don't worry too much about finding the exact match in the book. I checked the 10th edition and I can't find an exact match. I fixed my first anniversary clock before I got the book. I think the images of the specific suspension wires have become a little blurry after so many revisions and reprints of the book. You can measure the old spring with a micrometer to determine the thickness. The length can be determined by attaching the pendulum and checking that it is able to rotate freely without rubbing against anything. Then getting the correct position of the crutch might be a little tricky. It will take a bit of trial and error to get it right. But even if you follow the pictures in the book, some tweaking of the position of the crutch is necessary to get good amplitude. I know @oldhippy will be probably be frowning when he reads this.2 points
-
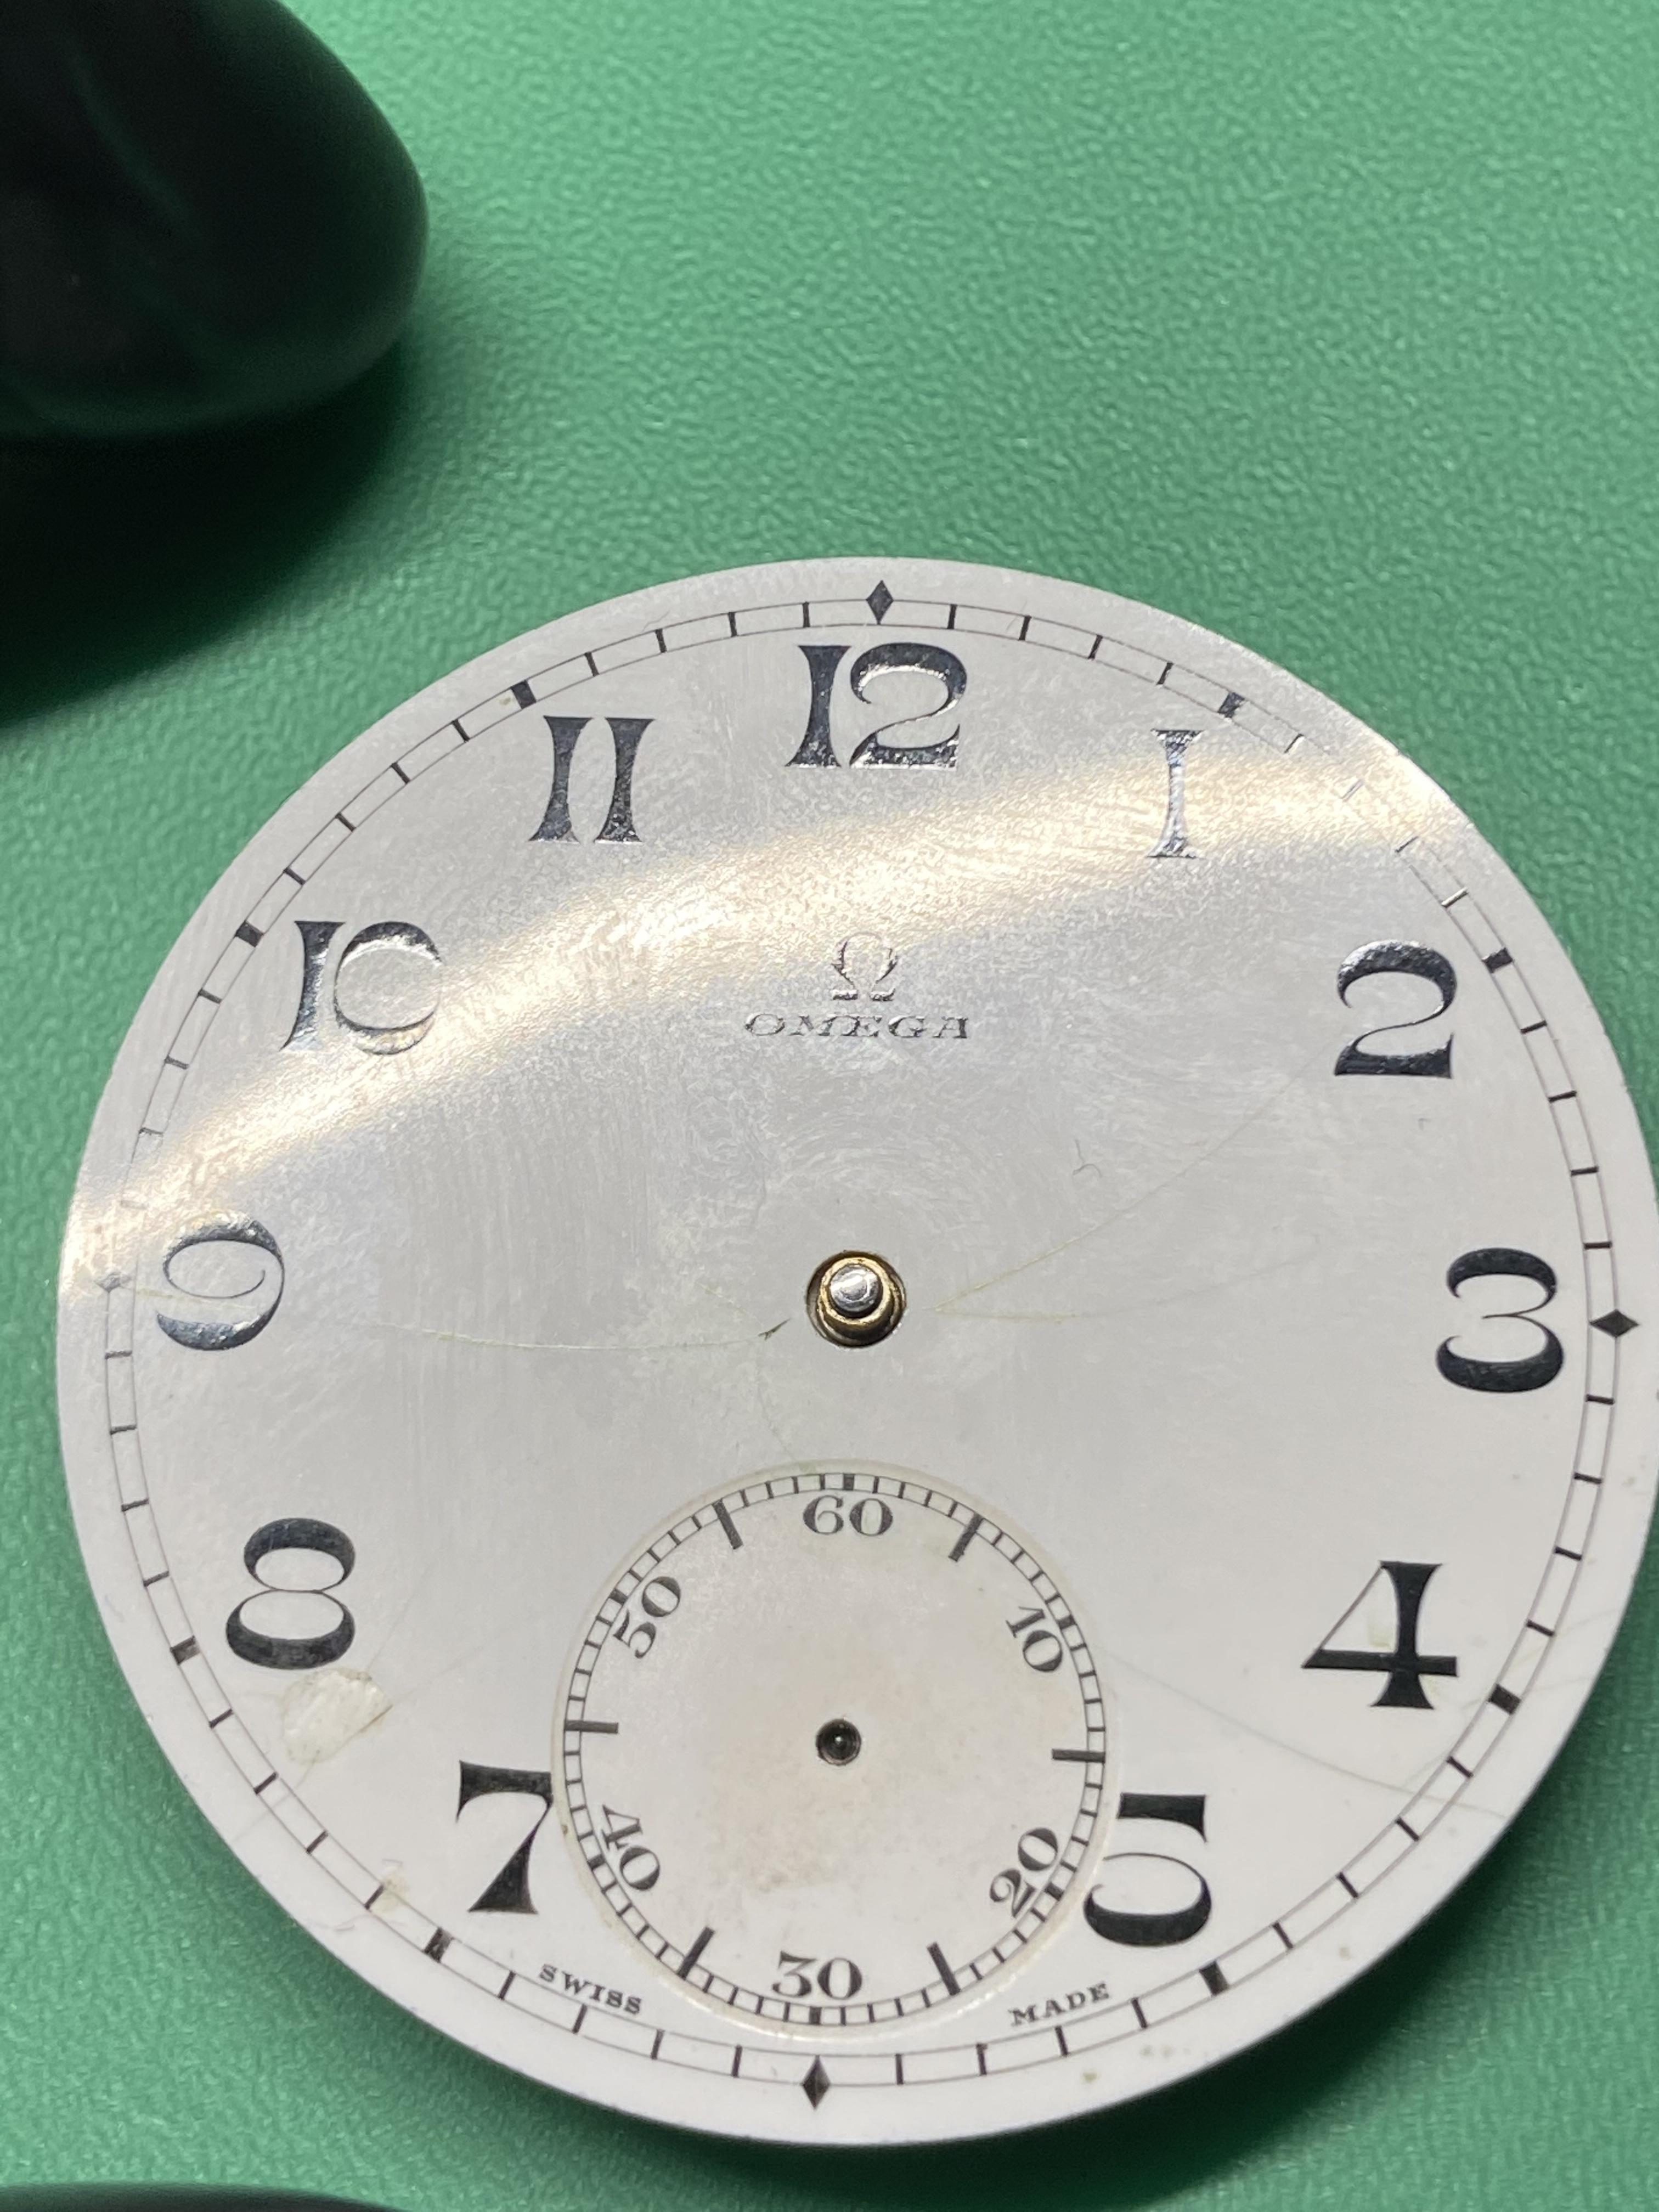
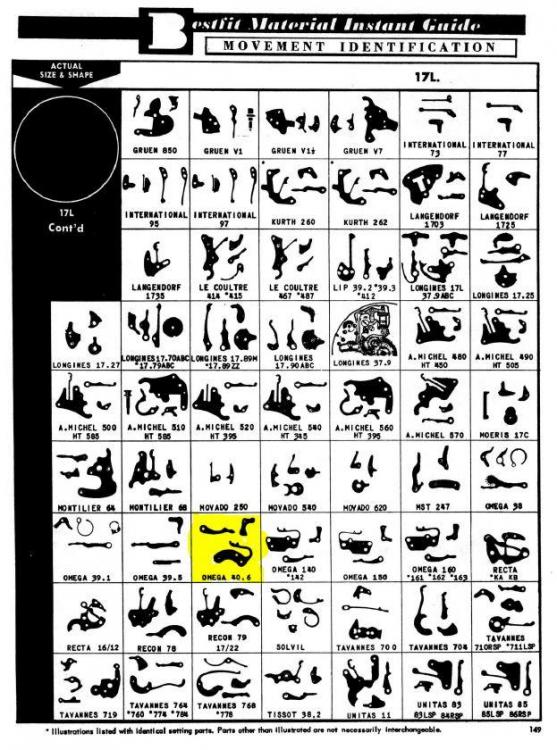
for future reference I have a PDF see you can convert it to other measurements used to figure out watches. like for instance if you're going to the bestfit book you need to have a starting place as I started at 17 and there aren't a lot of Omega pocket watches in the bestfit book that match what you have I can only find one. So I'm attaching the image then in the normal database there are to watches with a slight difference in the letters no idea why http://www.ranfft.de/cgi-bin/bidfun-db.cgi?10&ranfft&0&2uswk&Omega_40_6L_T1 http://www.ranfft.de/cgi-bin/bidfun-db.cgi?10&ranfft&0&2uswk&Omega_40_6L_T2 in any case this would get you're reasonably close. Omega tended to have lots of variations of pocket watches sometimes it's makes it a little hard to figure out exactly which one you have watch-ligne-size-chart.pdf
 2 points
 -
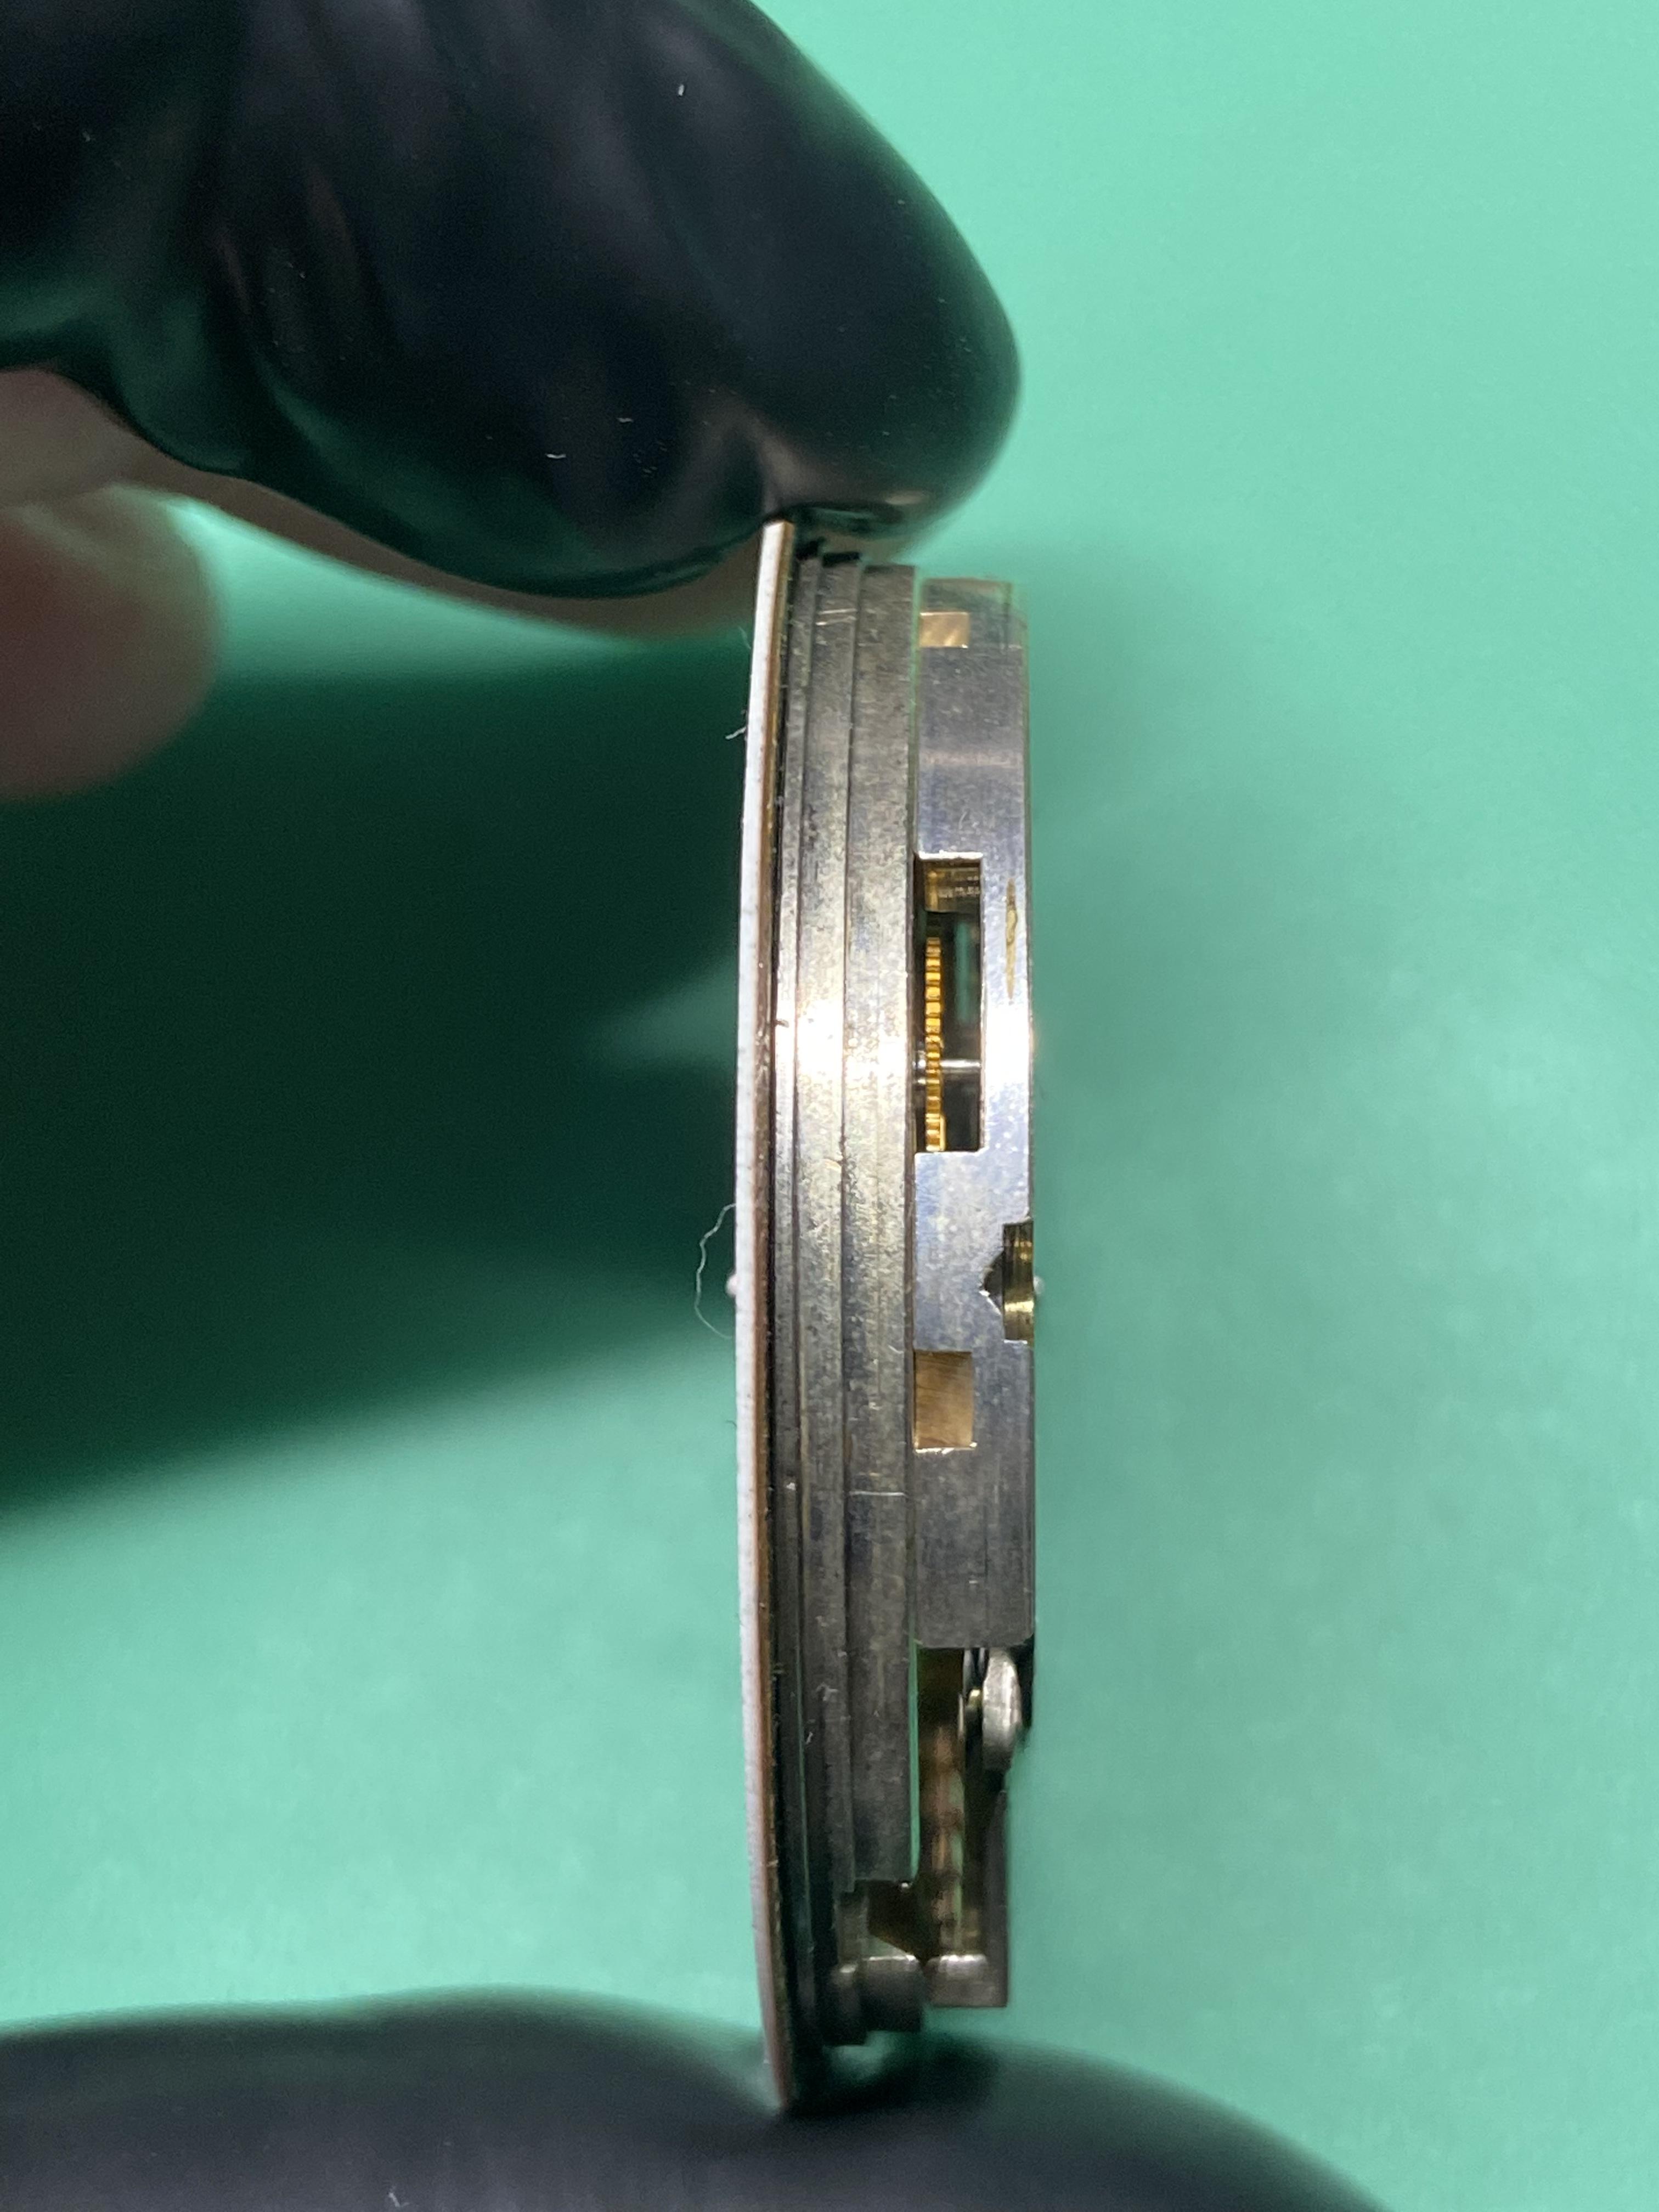
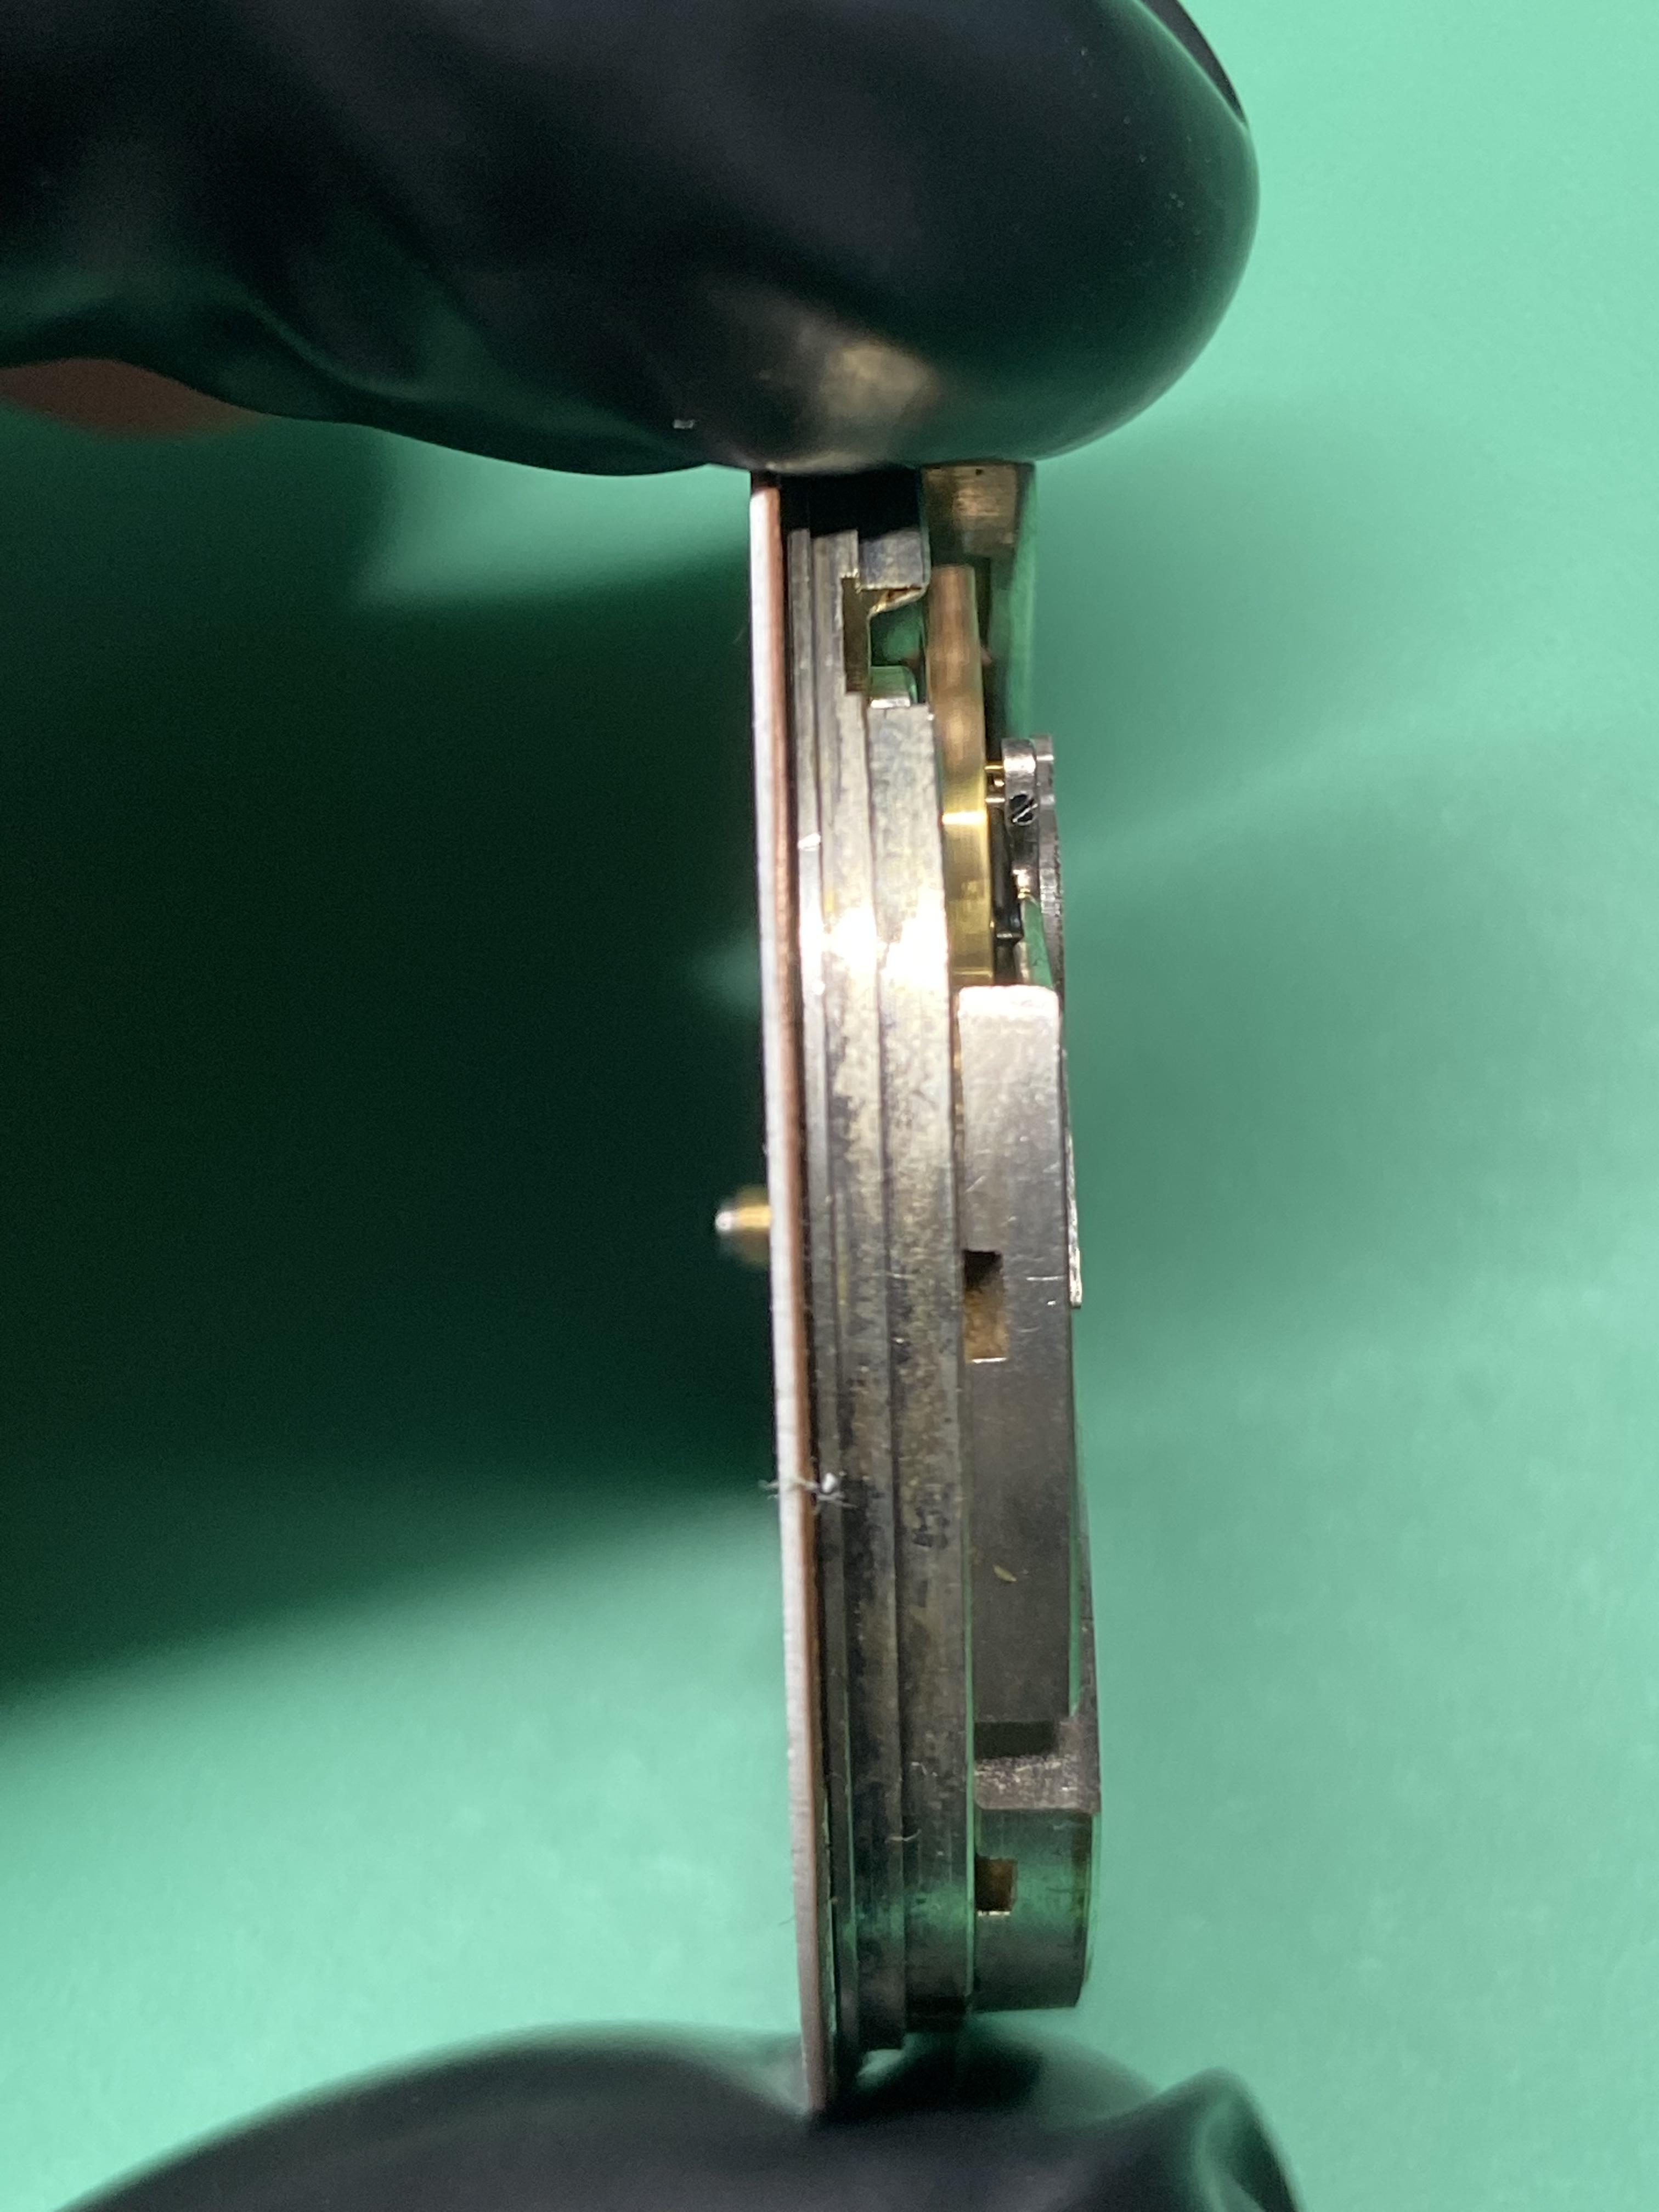
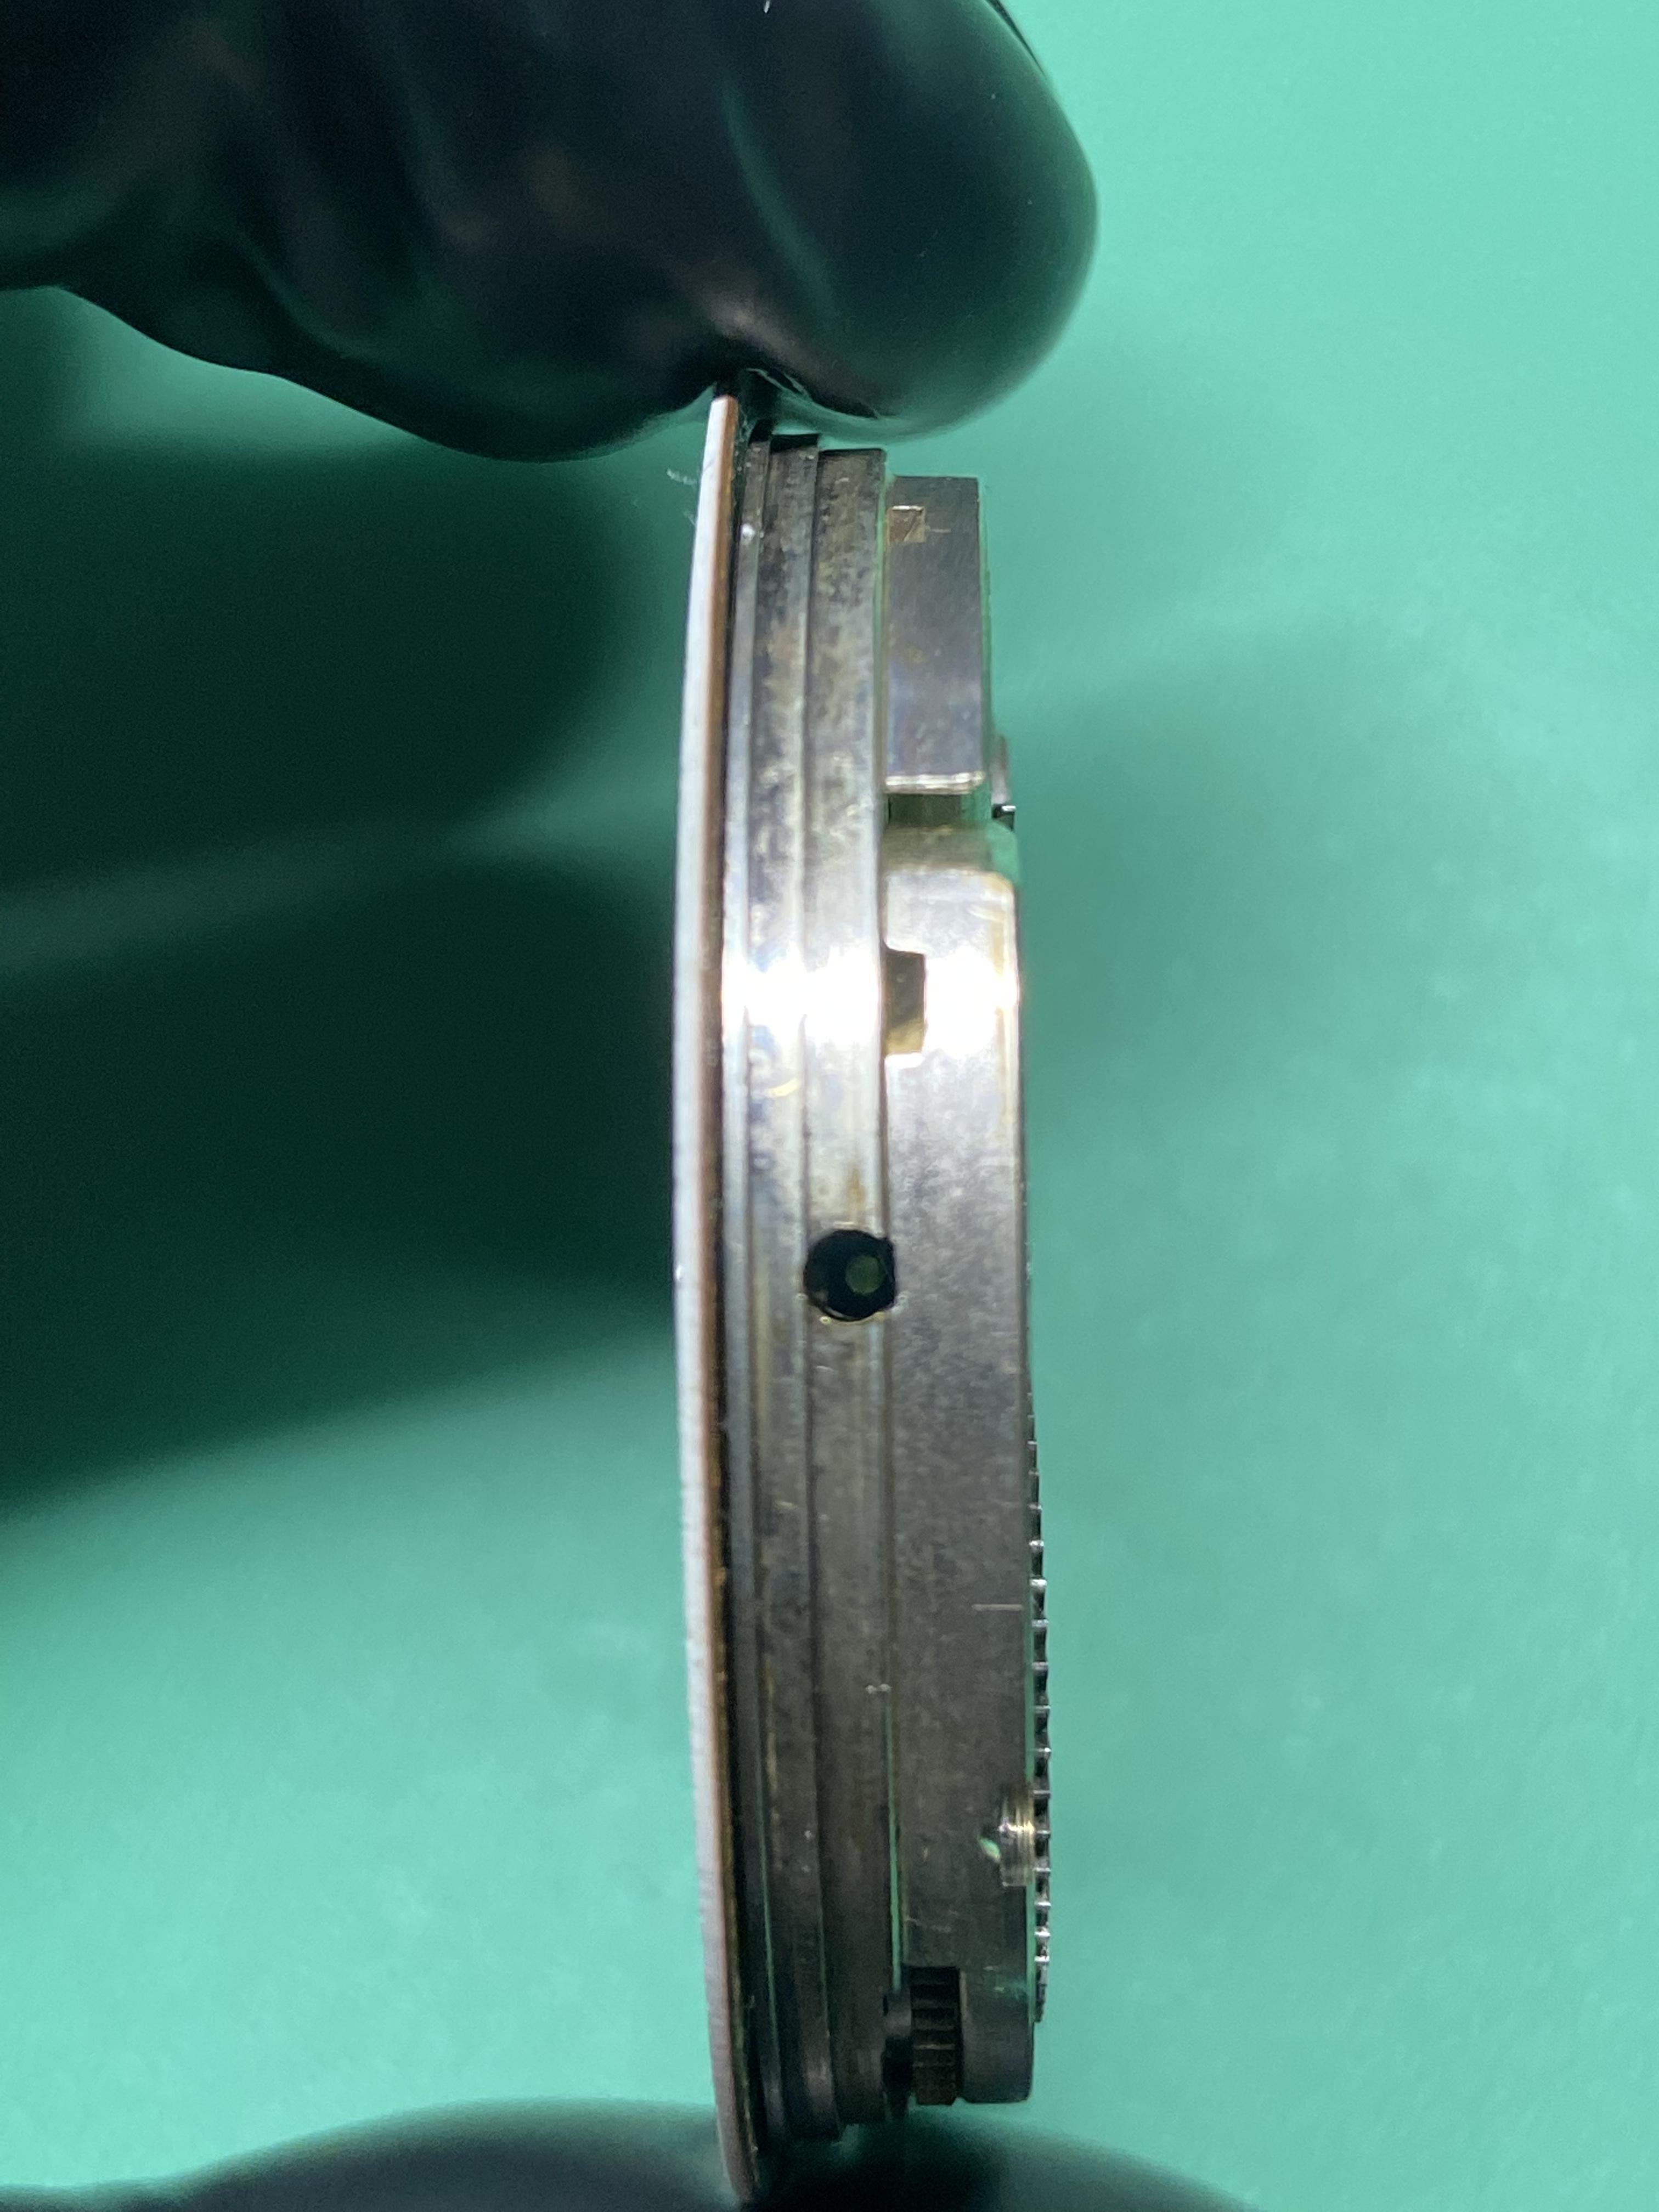
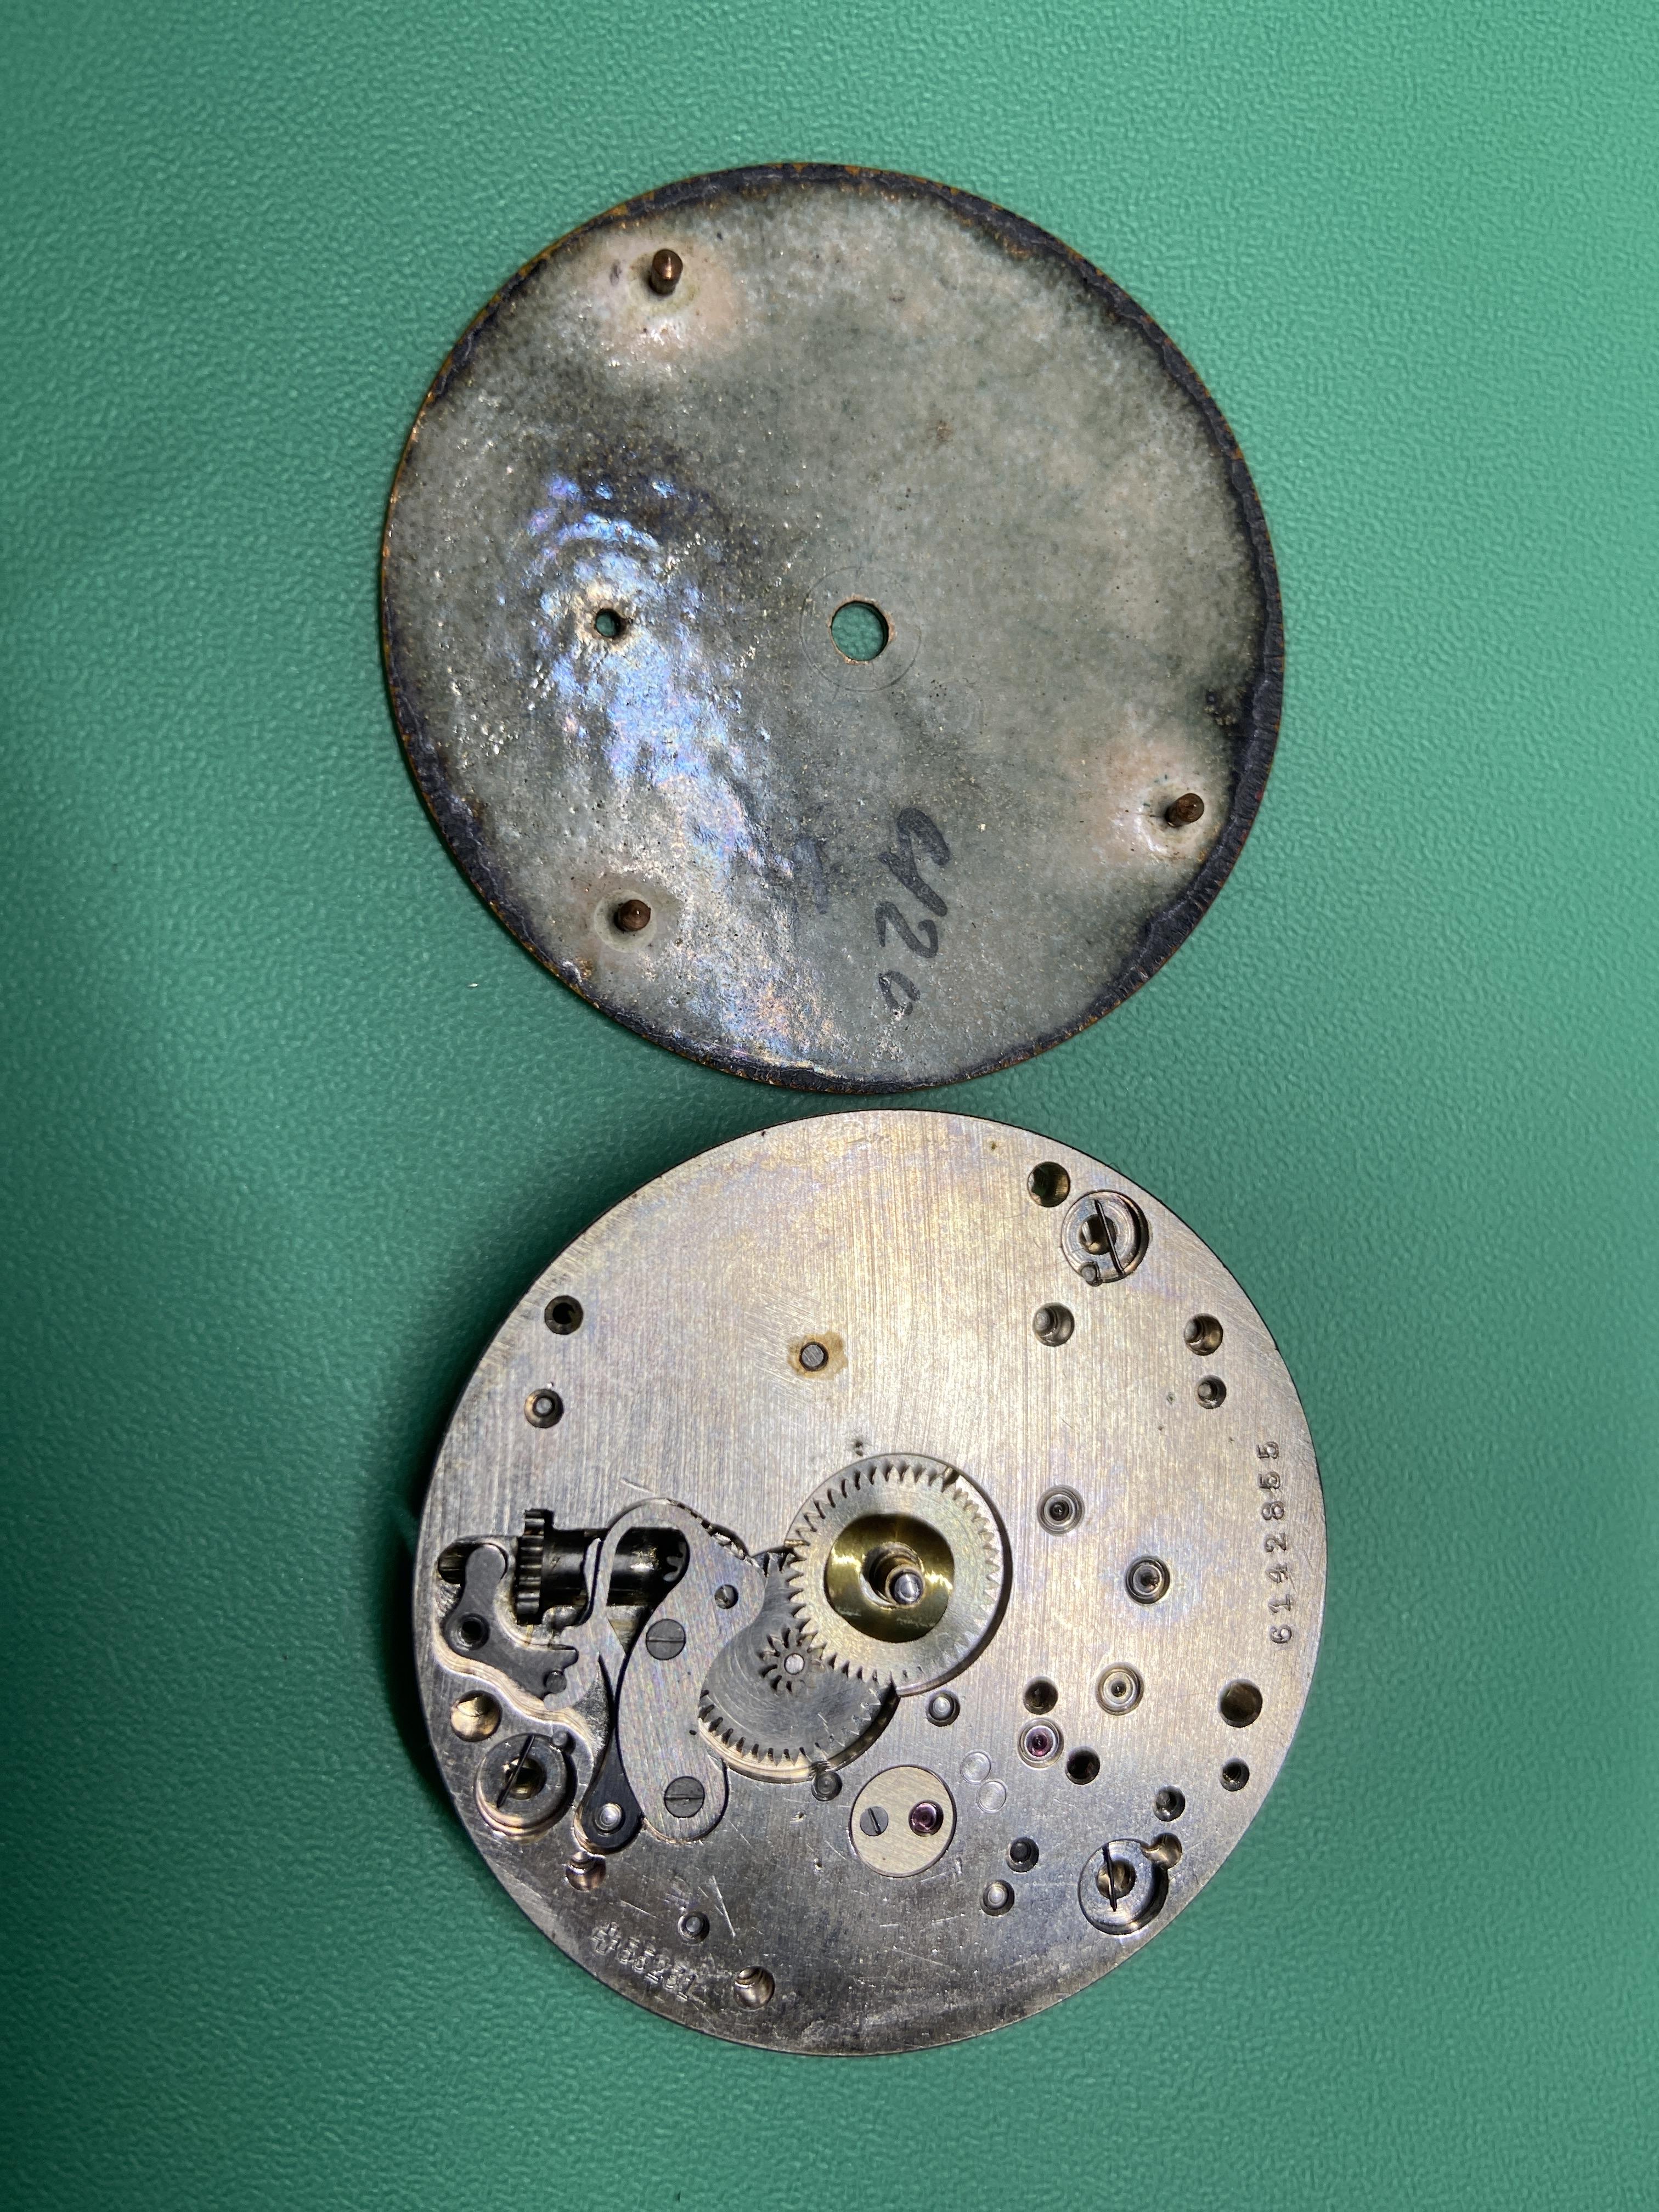
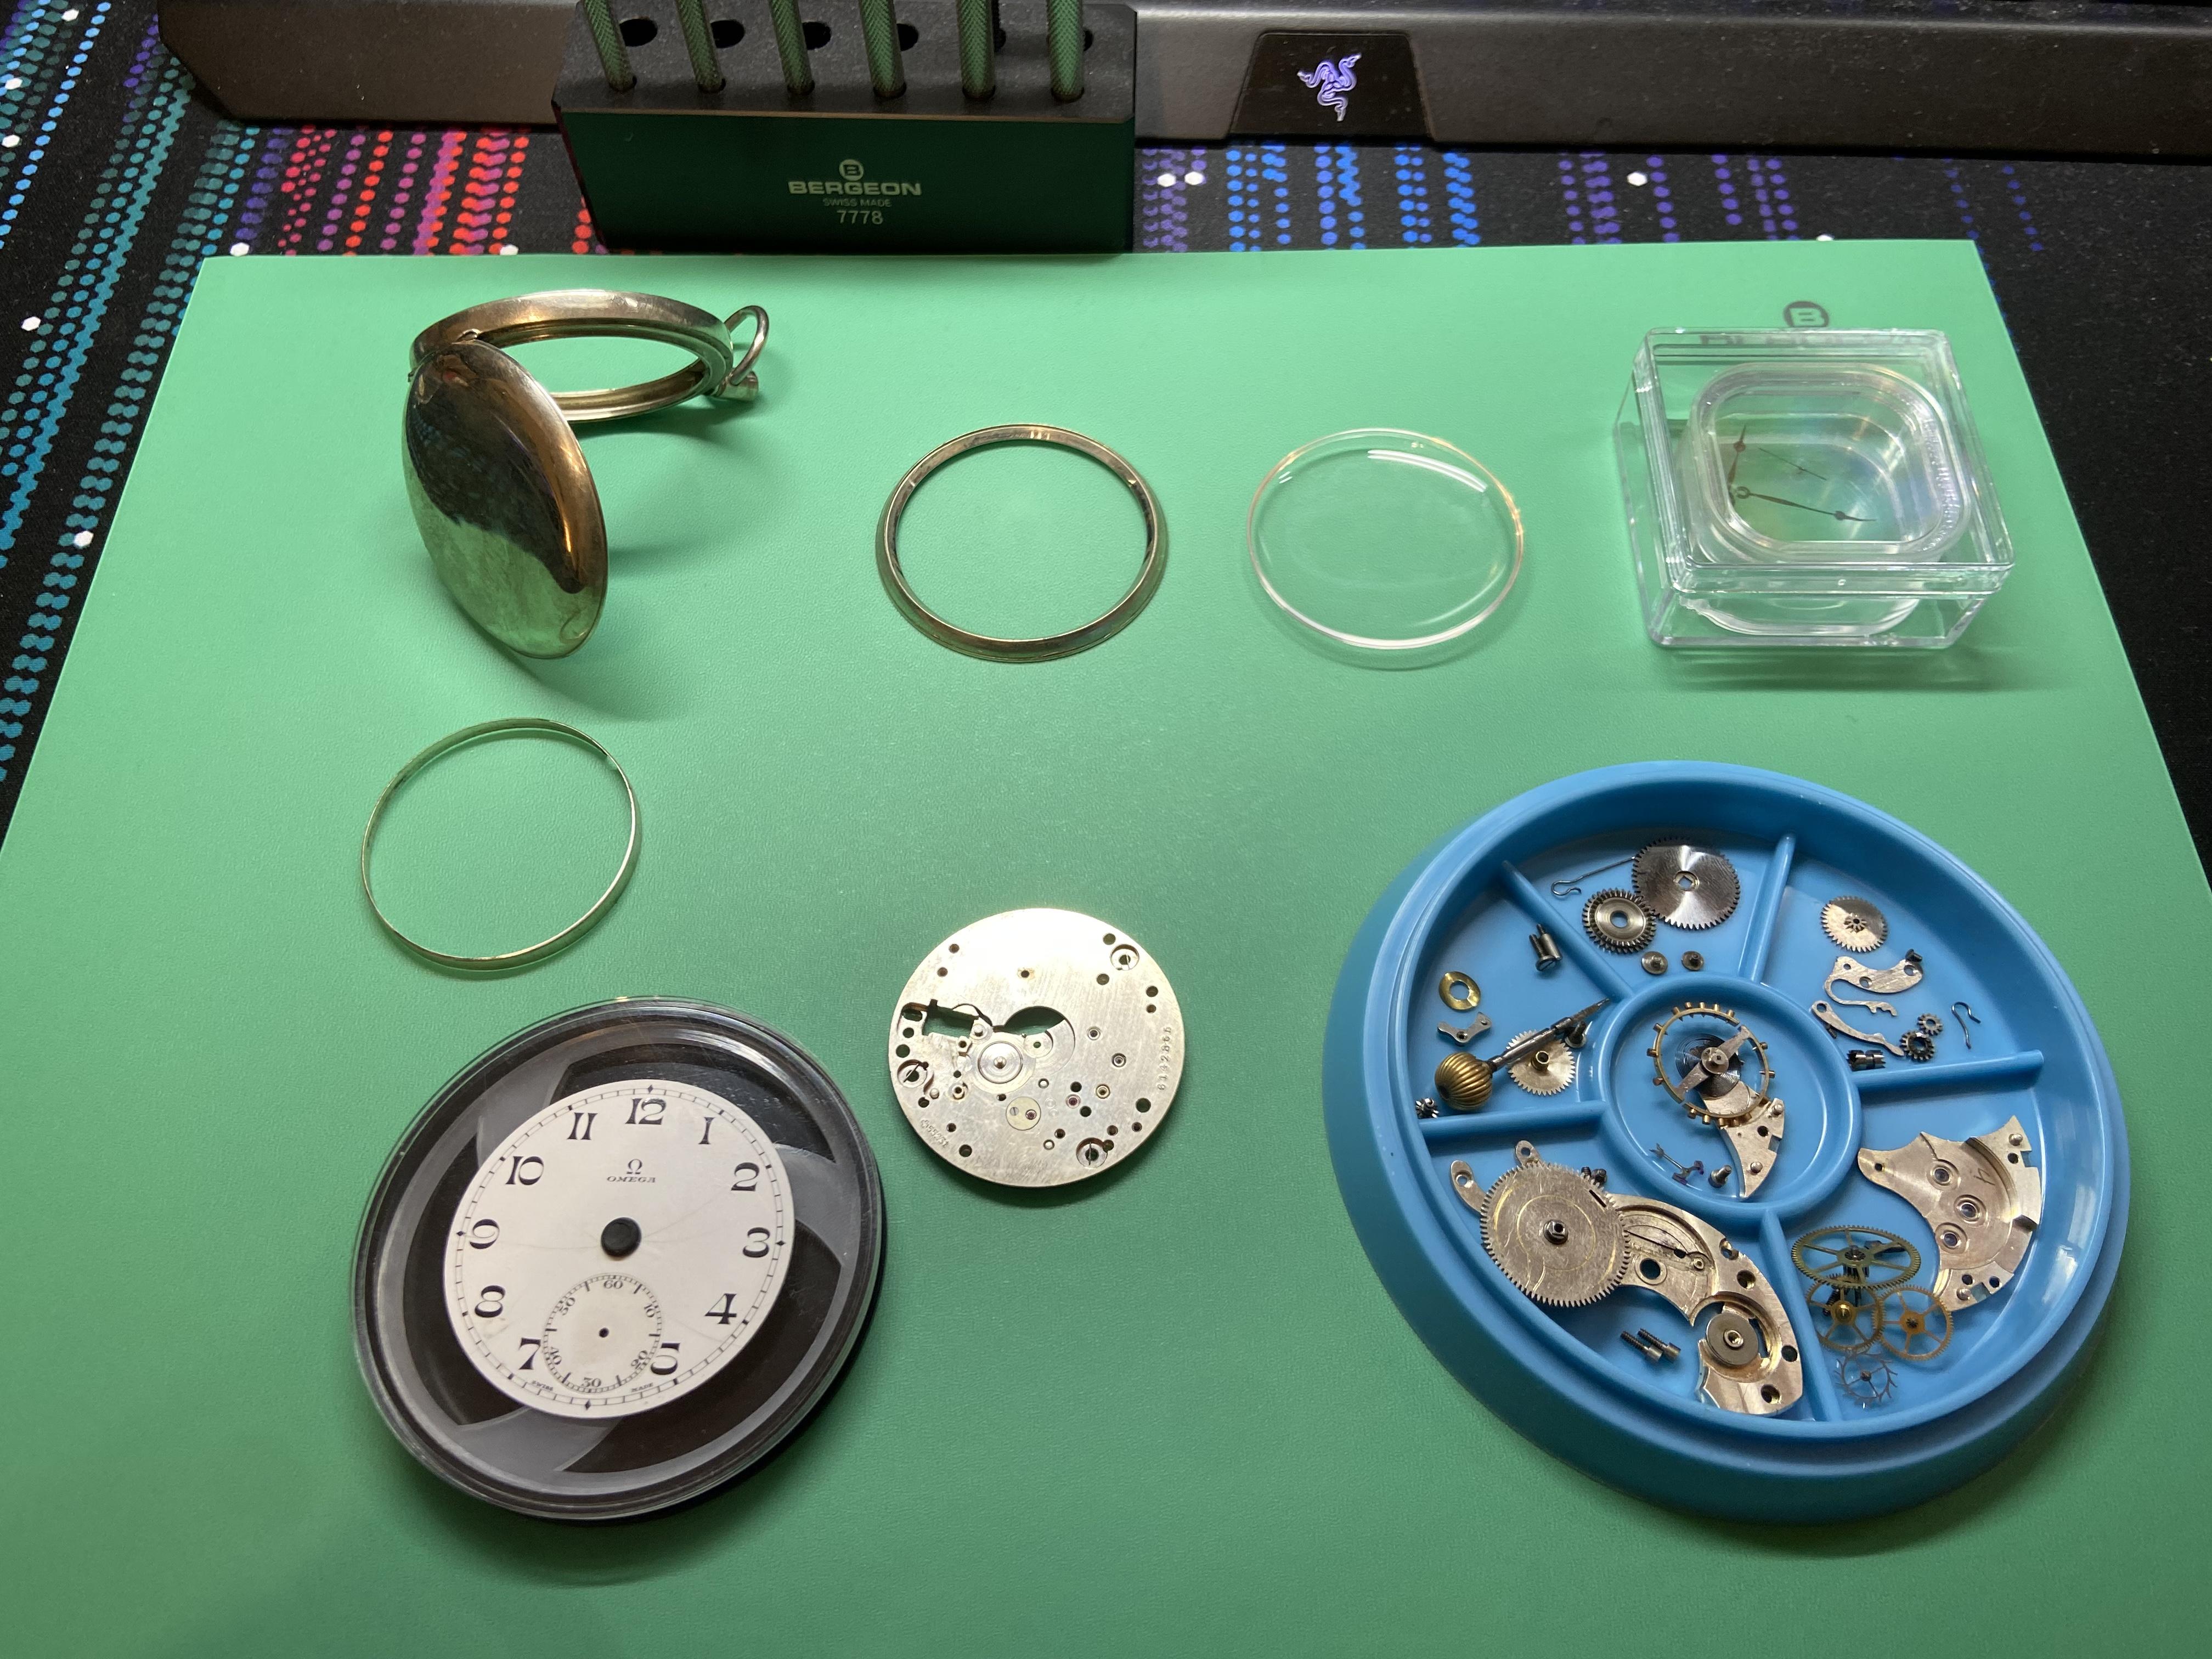
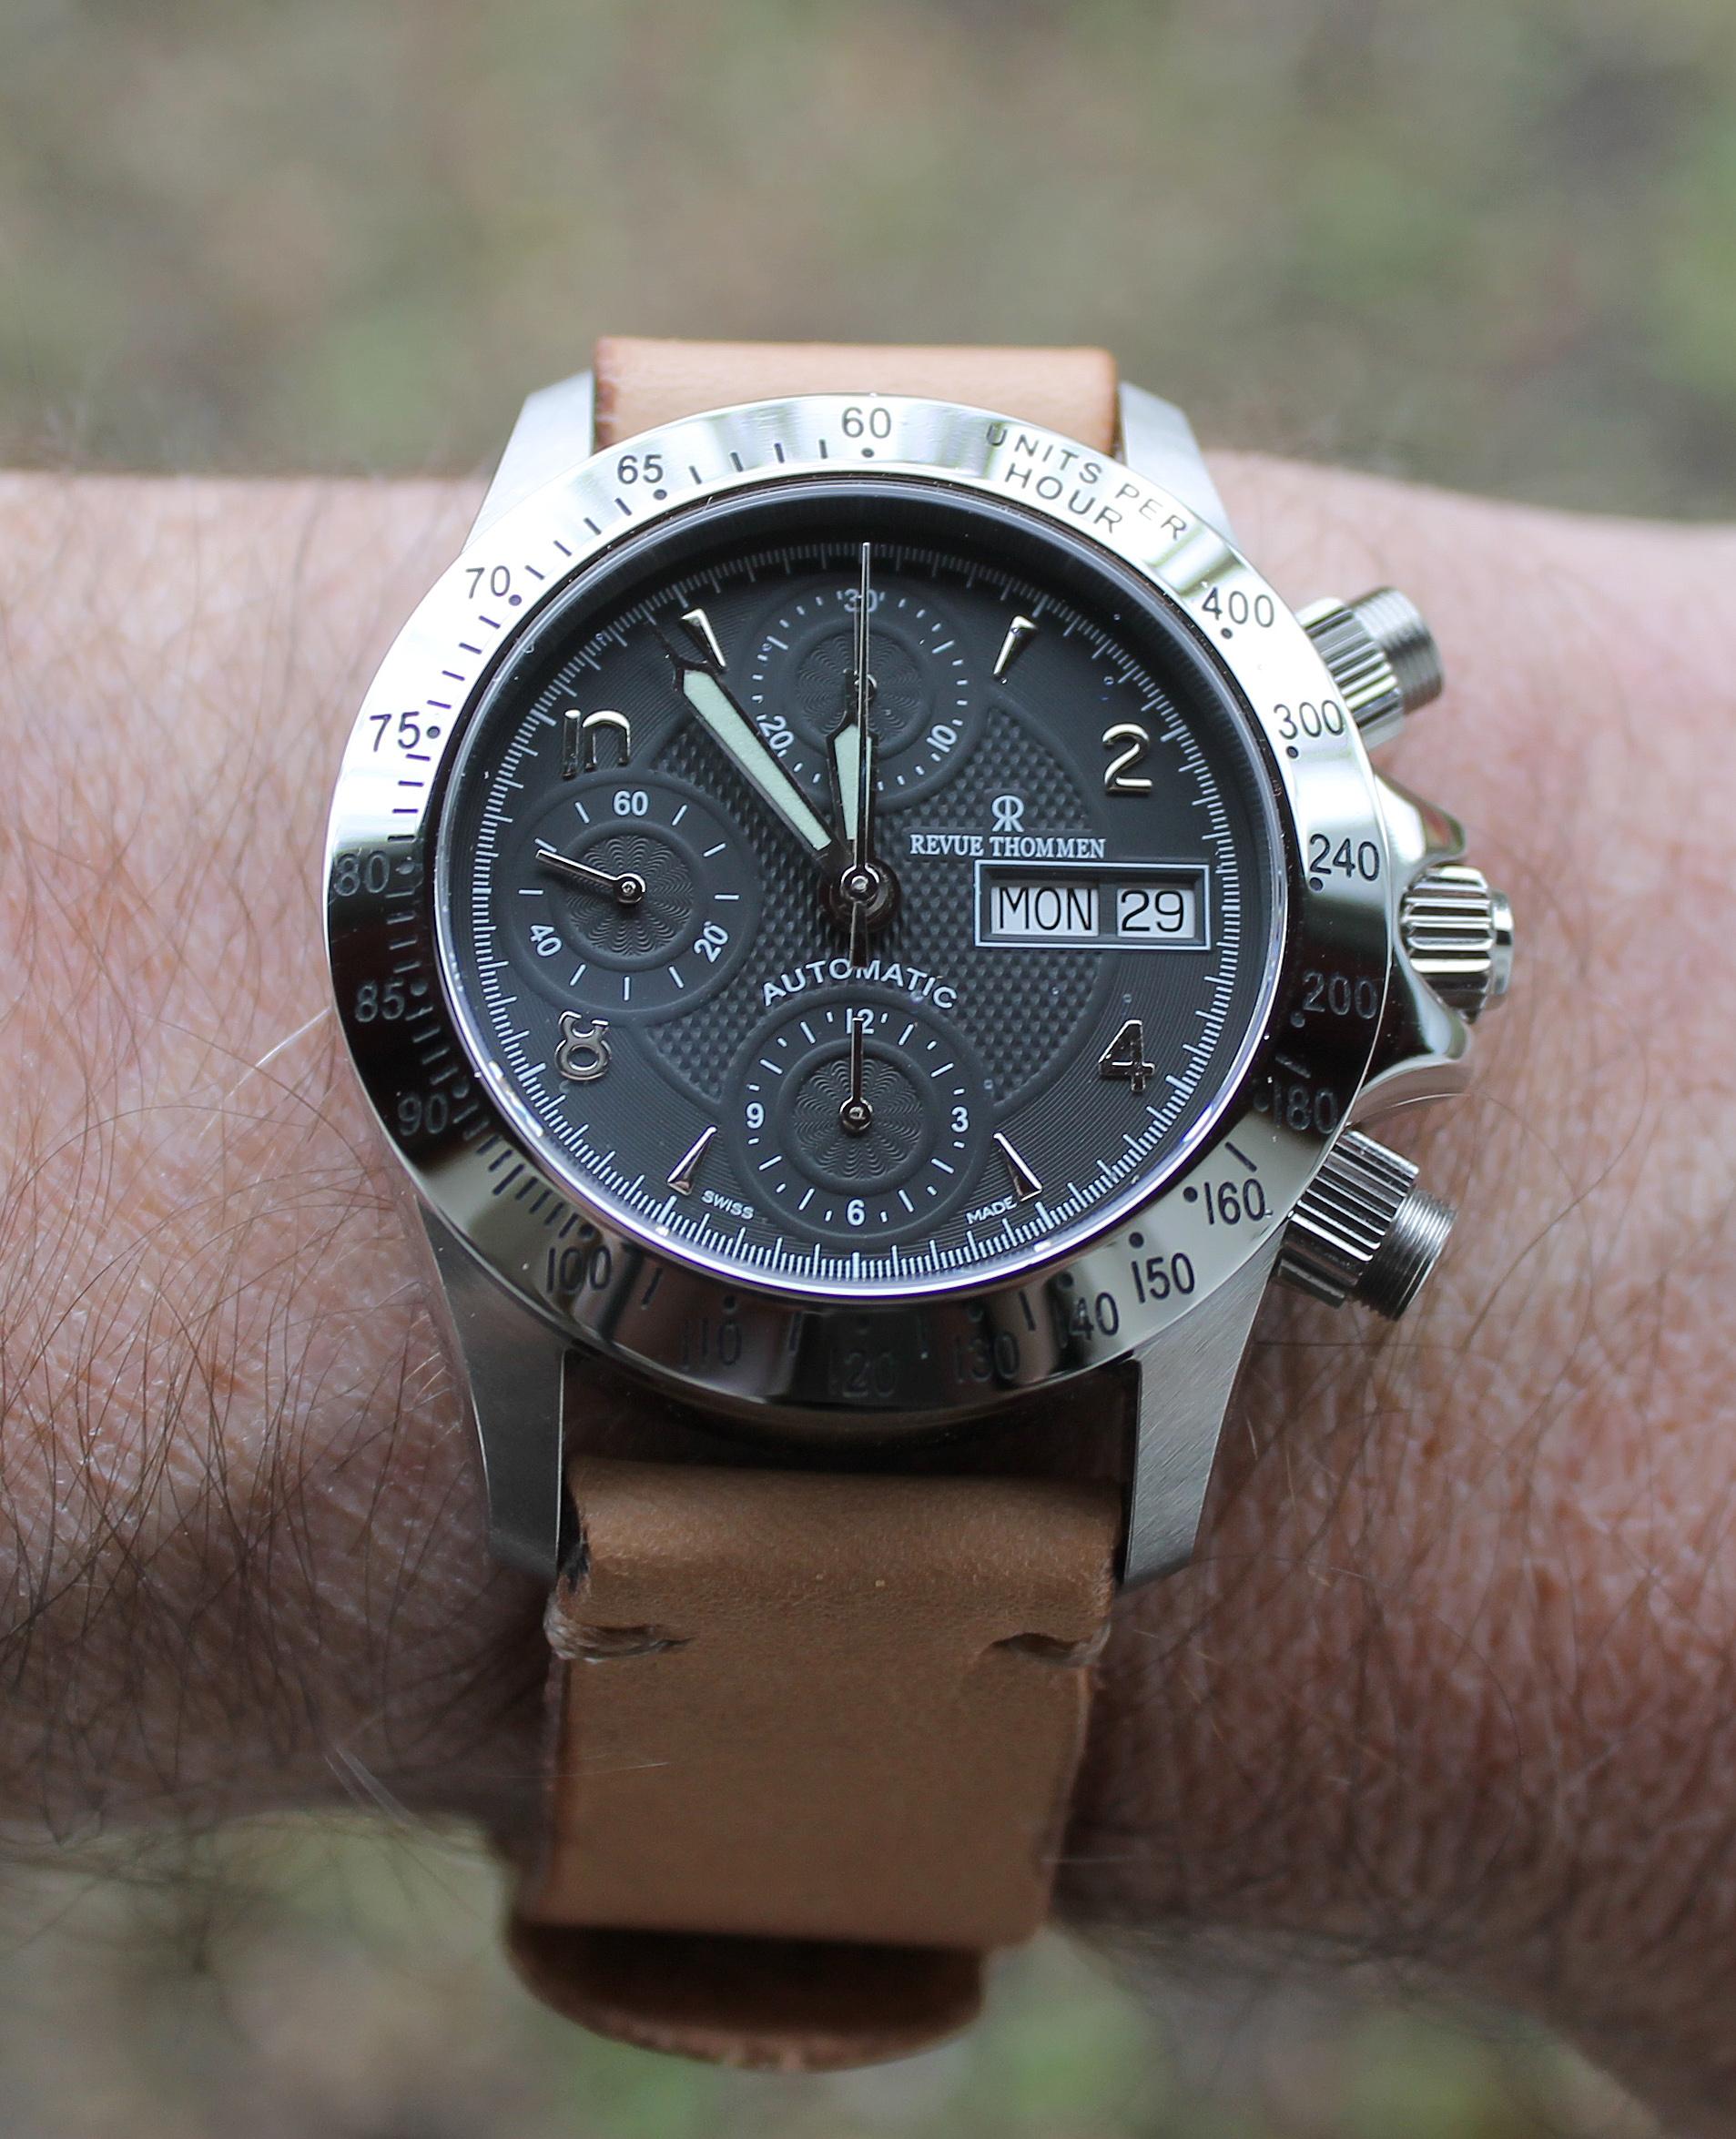
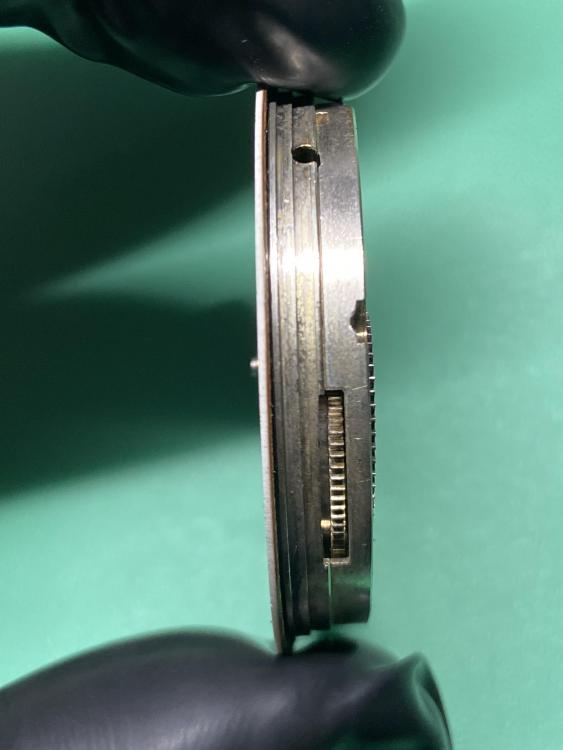
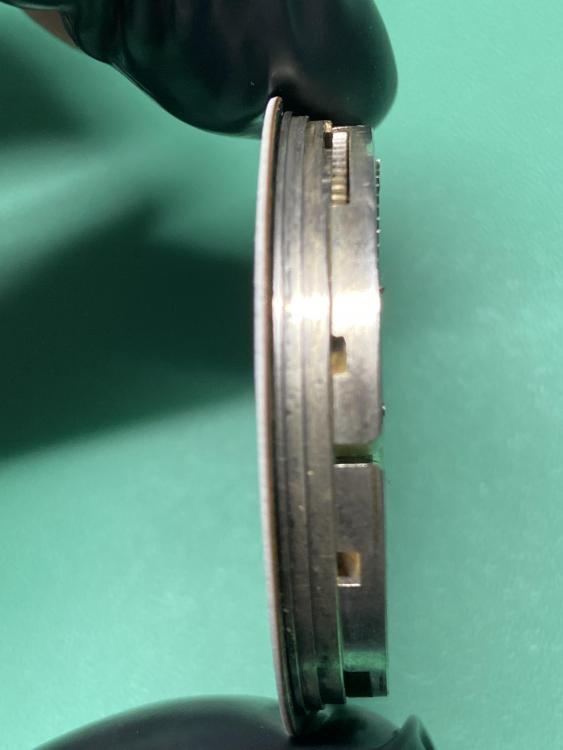
Good evening all, This is my first question on here since my introduction, and this is also my first vintage pocket watch that I’m attempting to service, so appreciate any assistance you can offer. I’m looking for some help in identifying which movement this is and how to remove the dial. I have gotten the movement out of the case, but I’m struggling to see any way of removing the dial. I was expecting to see dial feet screws but don’t see any around the circumference of the movement. Can anyone point out what I’m missing and help me identify what movement this is? Thanks in advance, from a complete newbie. Okay never mind. Dial is off now. Turns out it was held on via friction and it came off with a small amount of leverage with my screwdriver. I’d still appreciate any further advice regarding this movement anyone can give me. Movement completely disassembled. Now to clean all the parts and reassemble later this week.


 1 point
 -
That makes a lot of sense! Epilame is needed on the pallets only. By the way: This guy has some very decent watch repair tutorials. I like him. https://youtube.com/channel/UCXV8h3I9pnfZuDpg6xEM_8w1 point
-
Just had another thought, you can get a diamond tester for under a tenner on Amazon. Bonus, you can use it to confirm a crystal is actually sapphire. Bonus number 2, you get to add another tool to the collection. Tom1 point
-
See if the jewels scratch glass. Also look at them through a loupe, there should be imperfections.1 point
-
Hello and welcome from "old" England.1 point
-
I haven't used epilame (yet) due to its price. Anyway, last week I saw this video and noticed that the watchmaker used the bottle to treat the escape wheel, but a syringe to put a drop of epilame on the pallet stones, so it doesn't reach the pivots. I don't know if this is a good practice or not, but I thought I'd share it here. What do you think about it?1 point
-
Just replacing a rubbed in jewel. Vid by Mark.1 point
-
Some good info including a video from member szbalogh in this thread: Replacing a balance jewel1 point
-
At least you have a microscope to see your third hand. Hehe.1 point
-
yes even though there is a relatively easy way which we've discussed before on this message board. You still see the continuous asking on message boards for a list or what's the lift angle of my watch. there seems to be an assumption that because the timing machine exists it needs a lift angle that the lift angles have been listed since the beginning of time. The failure to grasp that the modern timing machine inexpensive readily available is relatively new and the lift angle list for the last hundred years does not exist. there are now more videos on YouTube becoming more common. The one at the link below is my favorite. It's been discussed before on the message board where I had suggestions. Like for instance I use a liquid ink that fluoresces beautifully under UV light. It really makes it easy to see the balance wheel much easier than just a mark on the balance wheel. https://youtu.be/-Xgcck692js but is still at minor little question I have this isn't a lever escapement. Well is a lever but it's a pin lever how does that differ by the sounds compared to a jeweled lever. then if it does sound different will let have any affect. Plus a watch of this quality isn't super precise will that interfere with the timing machine? In other words what were seeing may be perfectly normal for watch of this type or it may not be perfectly normal we need to find another example of the watch of this type to put on timing machine the see how it looks.1 point
-
Not really. Some Swiss makers published commonality information fot mov.t parts, but even these are rare. Bestfit catalogs also have this kind of information, again it's for mov.ts not casing parts.1 point
-
Yeah, I only twigged on after my post that you were thinking the Bergeon tool. $1200 is stupid, even though it looks fantastic. It would be a nice to have though, even if only for the convenience of not changing the tips. The Horotec I have is similar to the 2nd pic you’ve shown. I actually quite like mine - I don’t have the issue with the spare tips falling out as they sit in their spare holes nice and snug. I would not say the tips are pliable (like the pliable filament I’ve seen available), they just not hard. I initially felt that they felt cheap but after thinking it through during discussions in this thread, I did grasp why they were made the way the were. I will take pics a little later. The idea of transparent tips is something very worthwhile though. Like you said, it’s hard to see if your tip is properly aligned over the hand when pressing it down, I’d be keen on something like that! Im loving this thread hey! I don’t have the patience to learn how to drive a new piece of CAD software (my brain is still clogged up too much by all the EDA software I had to learn in a past life), but I certainly enjoy the process of 3D printing something useful. I can put my brain in neutral and watch a piece of plastic come to life in front of my very eyes1 point
-
Just trying to be funny here, but #3 looks like the end of an old wooden crutch that was cut down and threaded at the top =D Good examples of overengineered and under-engineered. Love seeing cool tools and figuring out what they are used for. Thanks for sharing, Mark!1 point
-
Hi Joe, I did find that thread when I was initially looking for some info, and unfortunately, yes the tool prices are still outrageous. Though instead of buying a $250+ gauge, I was thinking of buying some wires of varying gauge. For example, wire gauges between 33 and 44 are: 0.18mm diameter, 0.16mm, 0.143mm, 0.127, 0.113, 0.101, 0.090, 0.080, 0.071, 0.063, 0.056, and 0.050mm. Especially towards the end of that list, I have greater than 0.01mm resolution. I might be able to have a makeshift jewel gauge by seeing what wires I can thread through the hole.1 point
-
I see that JDM beat me to most of my answer. the unfortunate reality is every single watch does not have a detailed service manual. If you can find anything at all usually you'll find just the parts list. That's because the watch companies perceived that whoever was working on a watch new how to work on a watch they did not need a detailed service sheet. The day when we start getting specialty lubricants we are seeing more and more individual service sheets but they just didn't always exist. Then even today sometimes I have consolidated sheets with a take a grouping of watches and only have the things unique will be covered. Then they maybe have separate instructions for lubrication or cleaning or whatever and will probably never see those anyway because the watch companies today don't like to share. then the 980 is an interesting movement in that it is a mechanical. The quartz are usually a 980 with a decimal point and some other additional numbers to differentiate them sometimes. http://cgi.julesborel.com/cgi-bin/matcgi2?ref=ETA_980 http://www.ranfft.de/cgi-bin/bidfun-db.cgi?10&ranfft&0&2uswk&ETA_9801 point
-
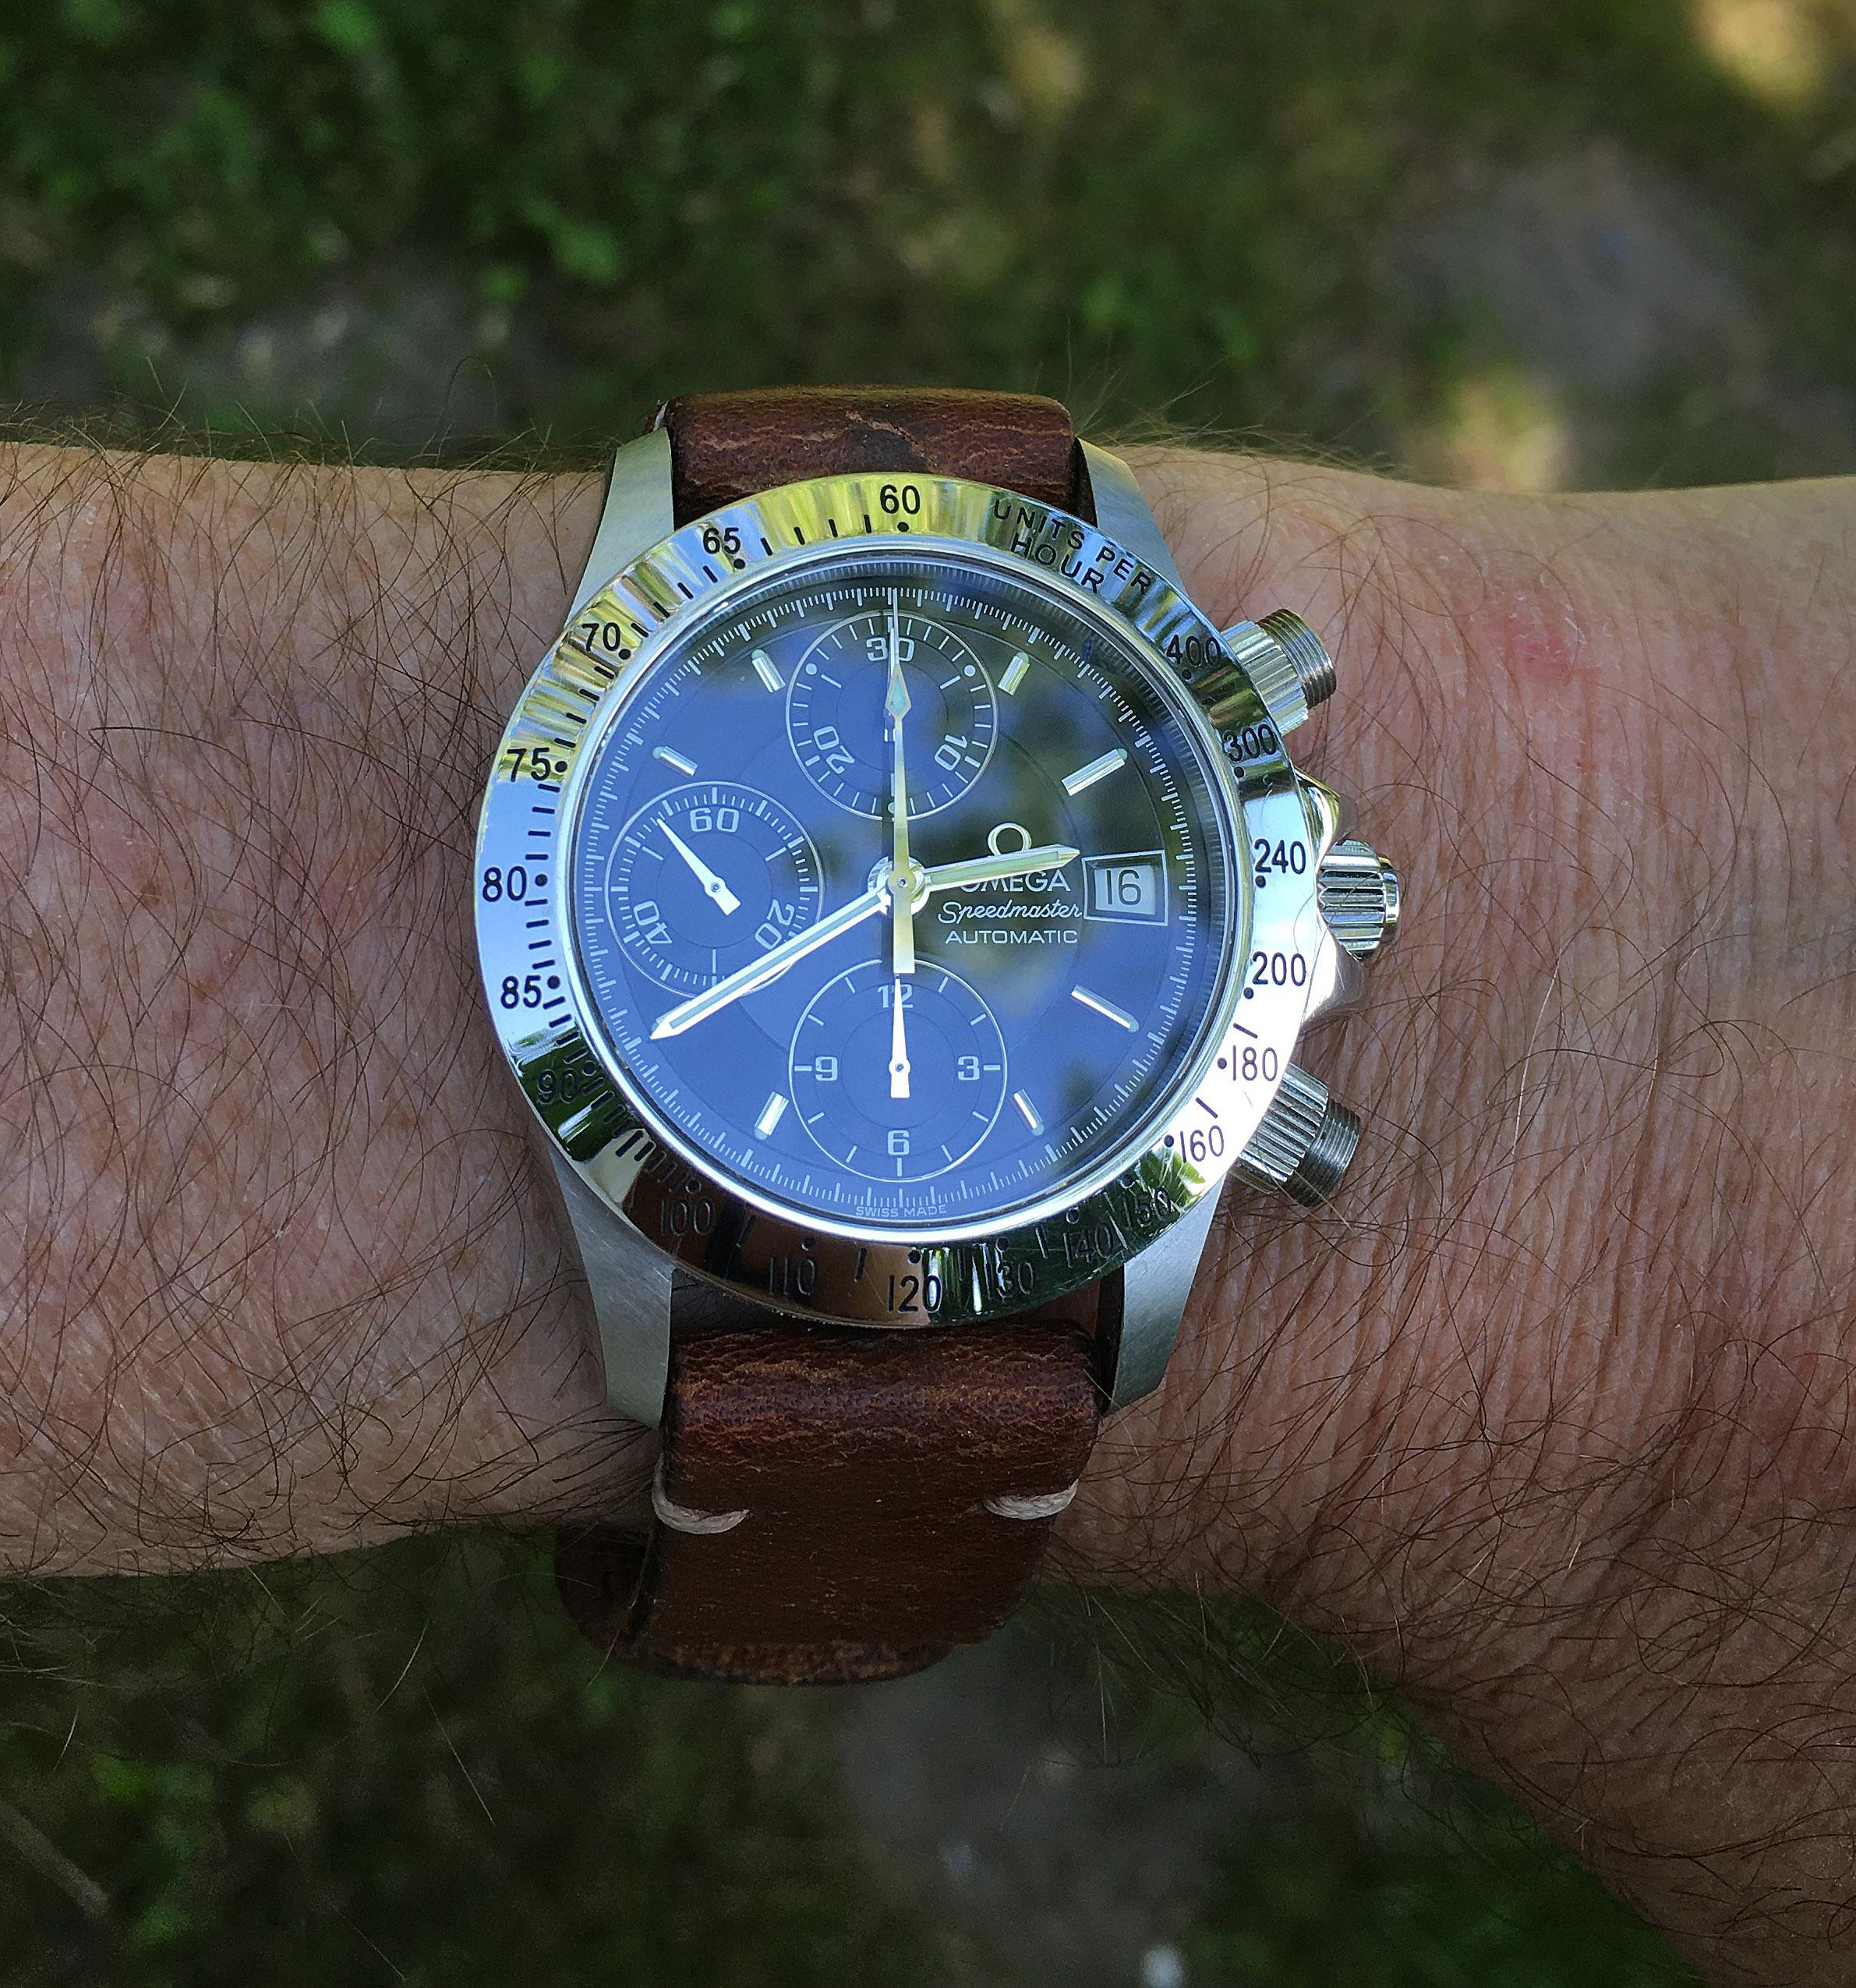
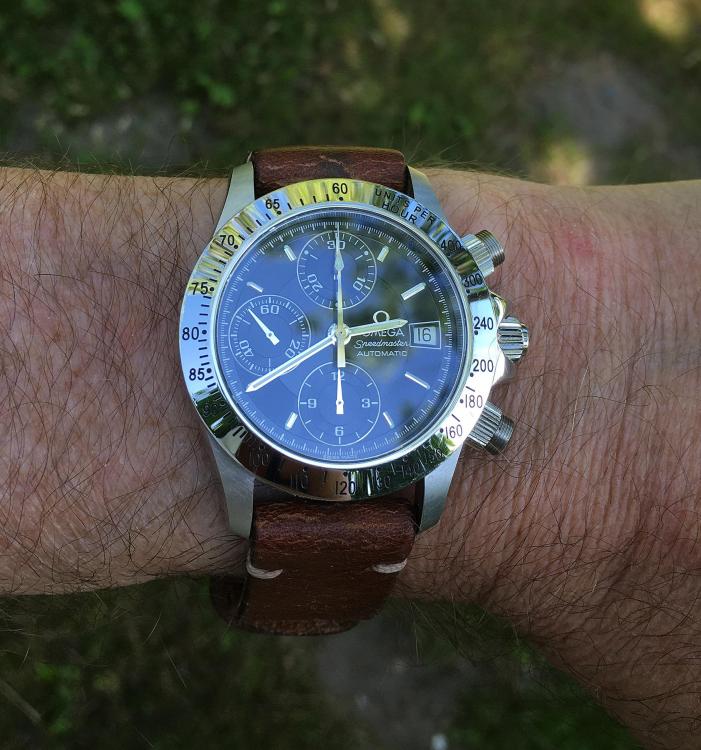
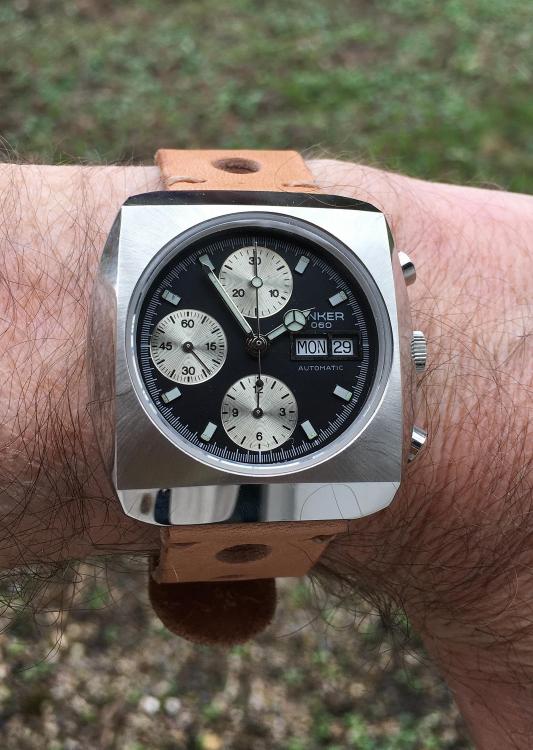
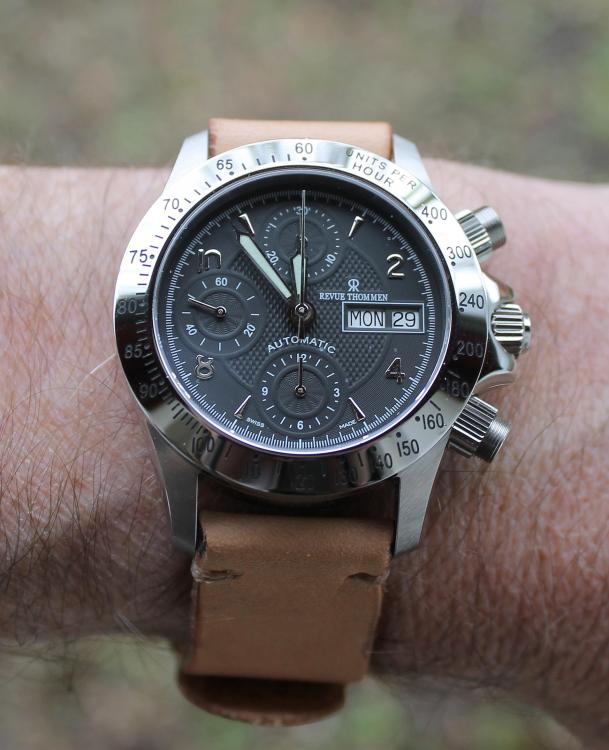
BTW, congratulations with your first chrono Now that you got the drift of how many chronographs are put together, a recommended next could be an ETA 7750 (28,800bph). They are plenty around, indeed more expensive, but it's a nice movement to work on and you will wear it with joy. Try to get a 25 jewels with an Etachron regulator, these are very nice to adjust and can run very accurately. Just be patient and check eBay, or other sources, regularly. You may stumble over the right watch for the right price. Alternatively, like what I've done, source just the 7750 movement and later a case / dial and hands of your choice. These are all self-builds; A 1980's case / dial & hands (changed to sapphire crystal) with a 17-jewels ETA 7750; Next a "Festina" 25-jewels 7750 (with Etachron regulator) with a modern dial & hands in a very high quality Swiss diving case; Next; a NOS Omega 1164 (chronometer) with a separately sourced new original Omega Speedmaster dial & original Omega Speedmaster hands. Again in the same high-end Swiss diving case as the Swiss case shown above. Needless to say that this nearly authentic "Omega" came a whole lot cheaper than the original Omega Speedmaster date, which btw has a "normal"-grade Omega 1152 caliber. Both, the Omega 1152 and the 1164 calibers are based on the ETA 7750; Anyway, once you know the 7750 you can create many "middle & high-end" watches yourself. Your own imagination is the limit This one goes another step further, but below all the bells & whistles sits a normal 7750. Since the internet is "stuffed" with 7750 walkthroughs, there may be some tips in this write-up ? Suc6 with your endeavors !!
 1 point
 -
We are just waiting for global warming to arrive so we can go swimming in the sea without needing a woolly hat and scarf1 point
-
I don't know how you could be sure if the epilame has been removed. In the past when I've gotten it on a pivot by accident* I take a piece of pegwood, flat end, and press it down on the pivot while turning it. Again, not sure if it really removed it, but- years ago I did some watches for a small manufacture that had a reputation of the balance pivots eating in to the cap jewels. The watchmakers there told me to do the above with pegwood; it seems there was some invisible abrasive embedded in the pivots of these staffs, and the pegwood trick did work in sparing the cap jewels. It used to be that the manufacturers and Moebius said treat the whole fork. Somewhere along the line they changed that and say just treat the jewels. I know some watchmakers who still treat the whole fork, and they don't seem to have issues. I've also seen examples of forks with wear in the fork horns, apparently from having epilame there. So I err on the side of caution: I grab the fork in one set of tweezers, then dip some closed #5s in the Fixodrop, then dip the stones in the Fixodrop that's been sucked between the tweezer tips by capillarity. A friend of mine uses a tiny artist brush to apply it to the stones.1 point
-
Here you are https://www.youtube.com/watch?v=j3gxp96WjCI1 point