Leaderboard


Popular Content
Showing content with the highest reputation on 08/04/19 in all areas
-
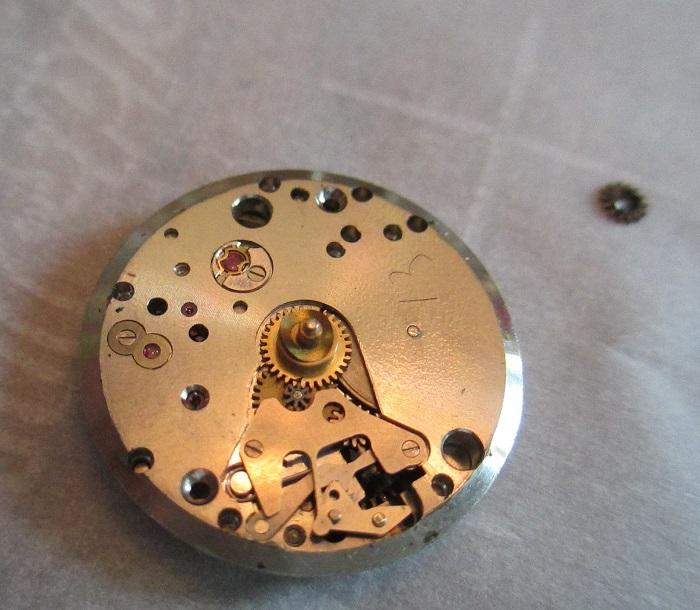
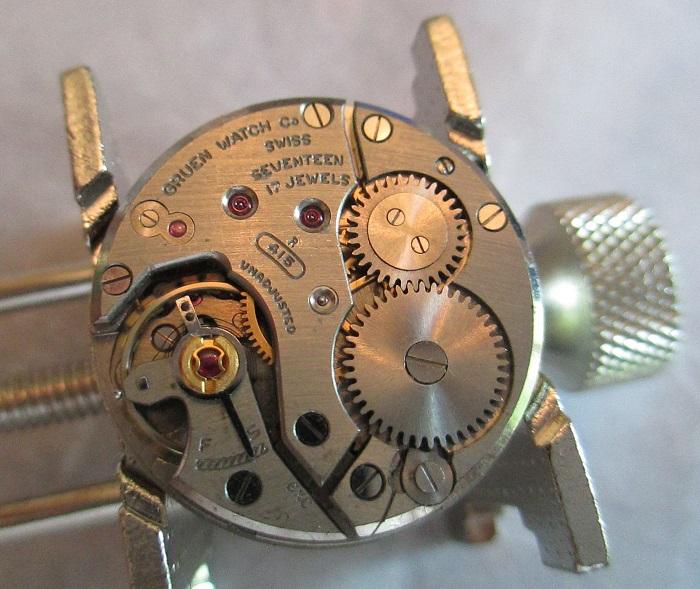
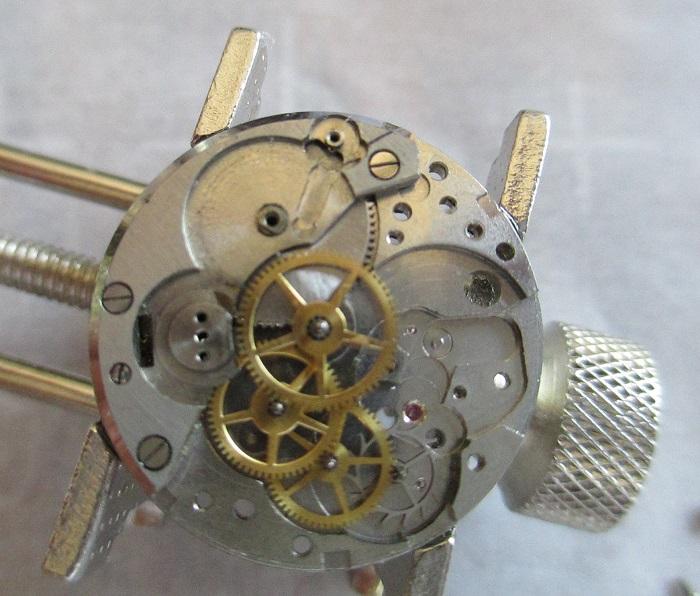
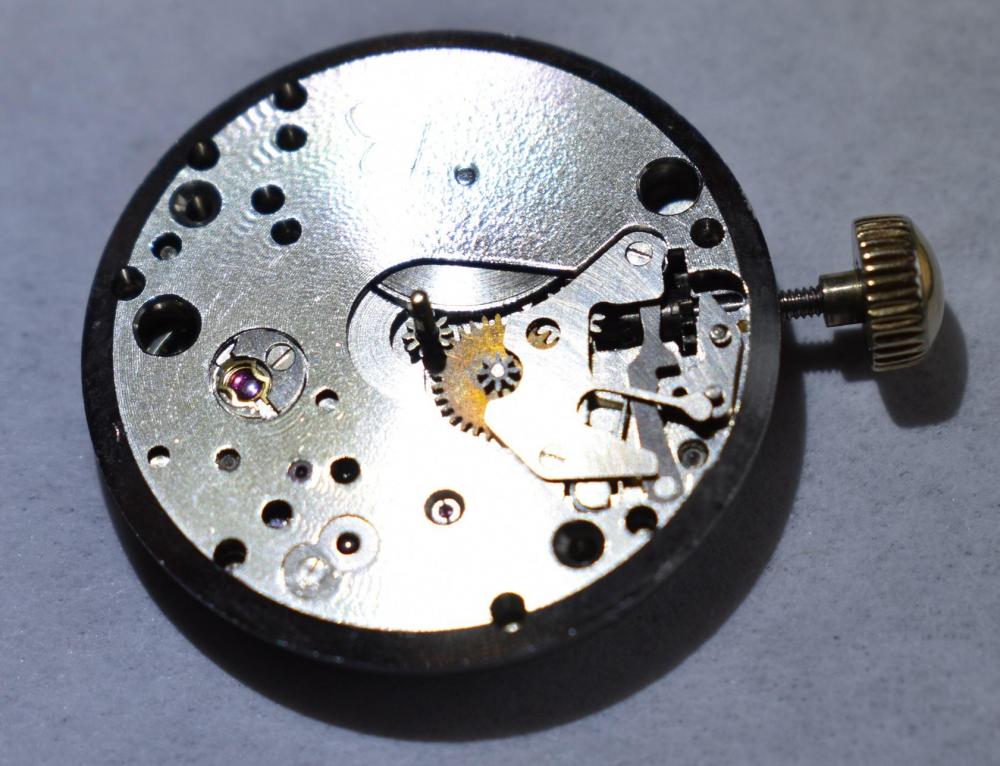
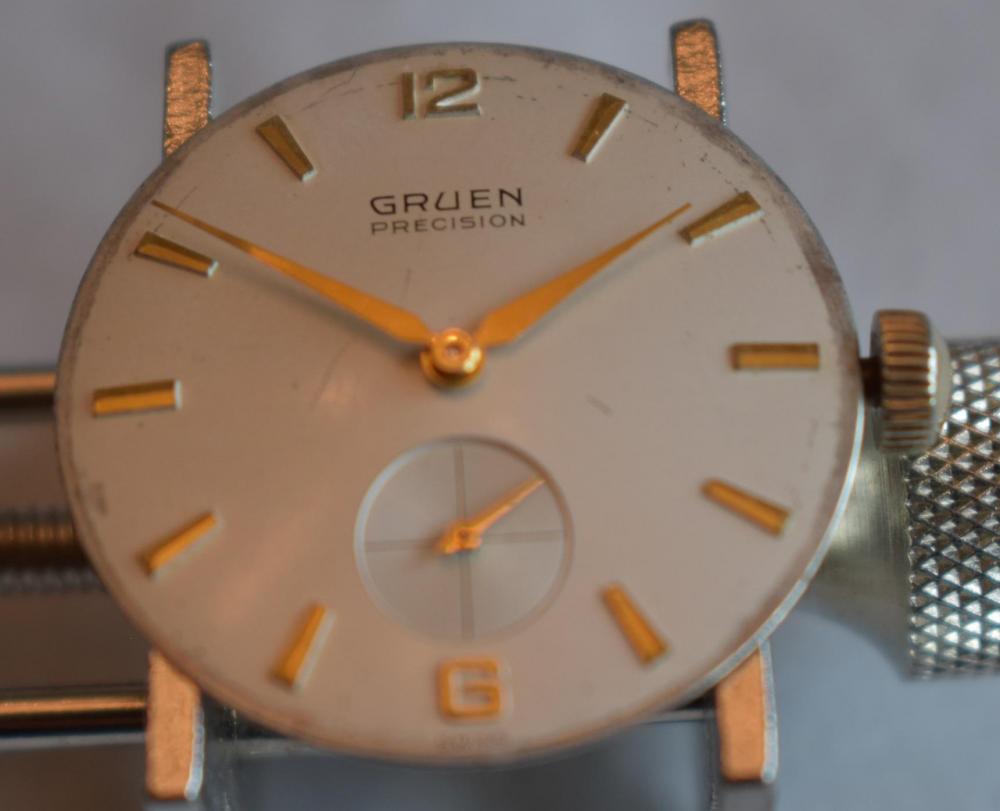
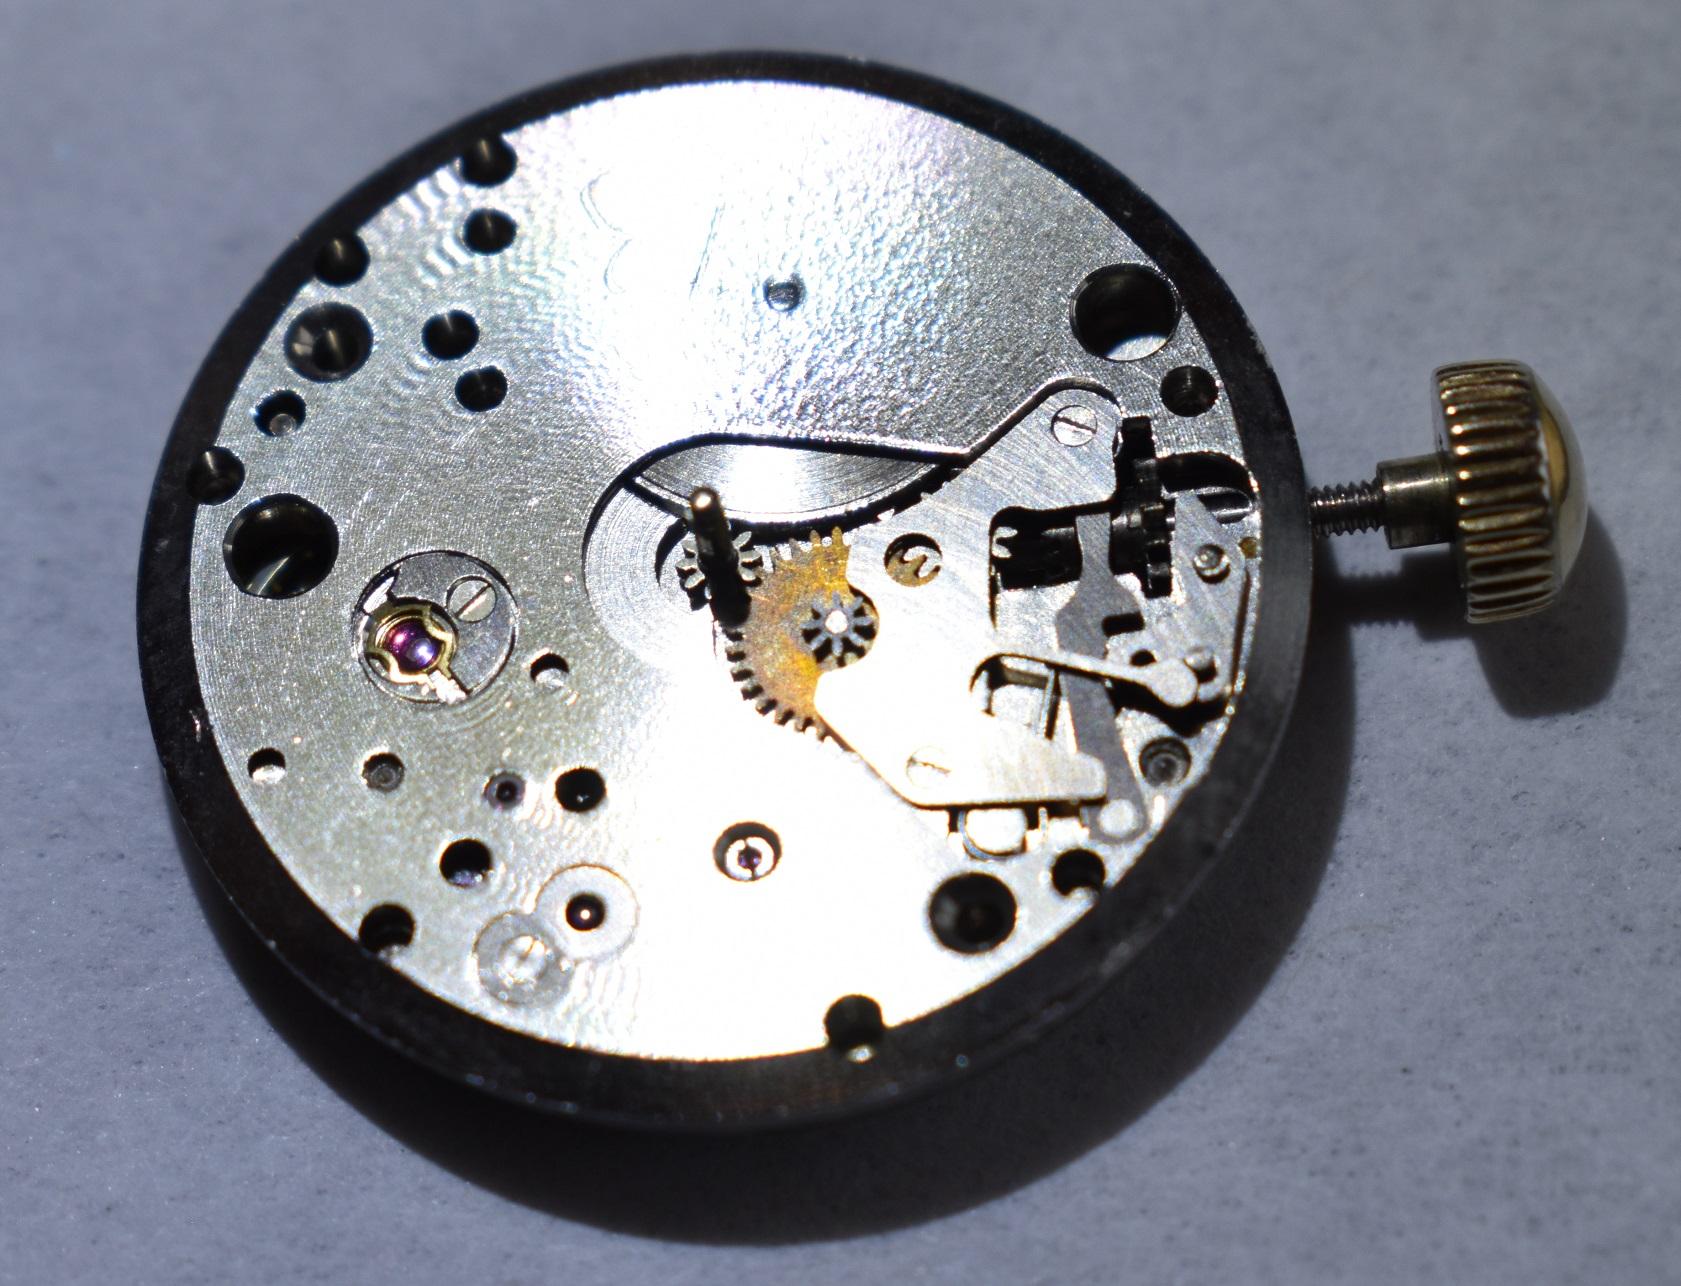
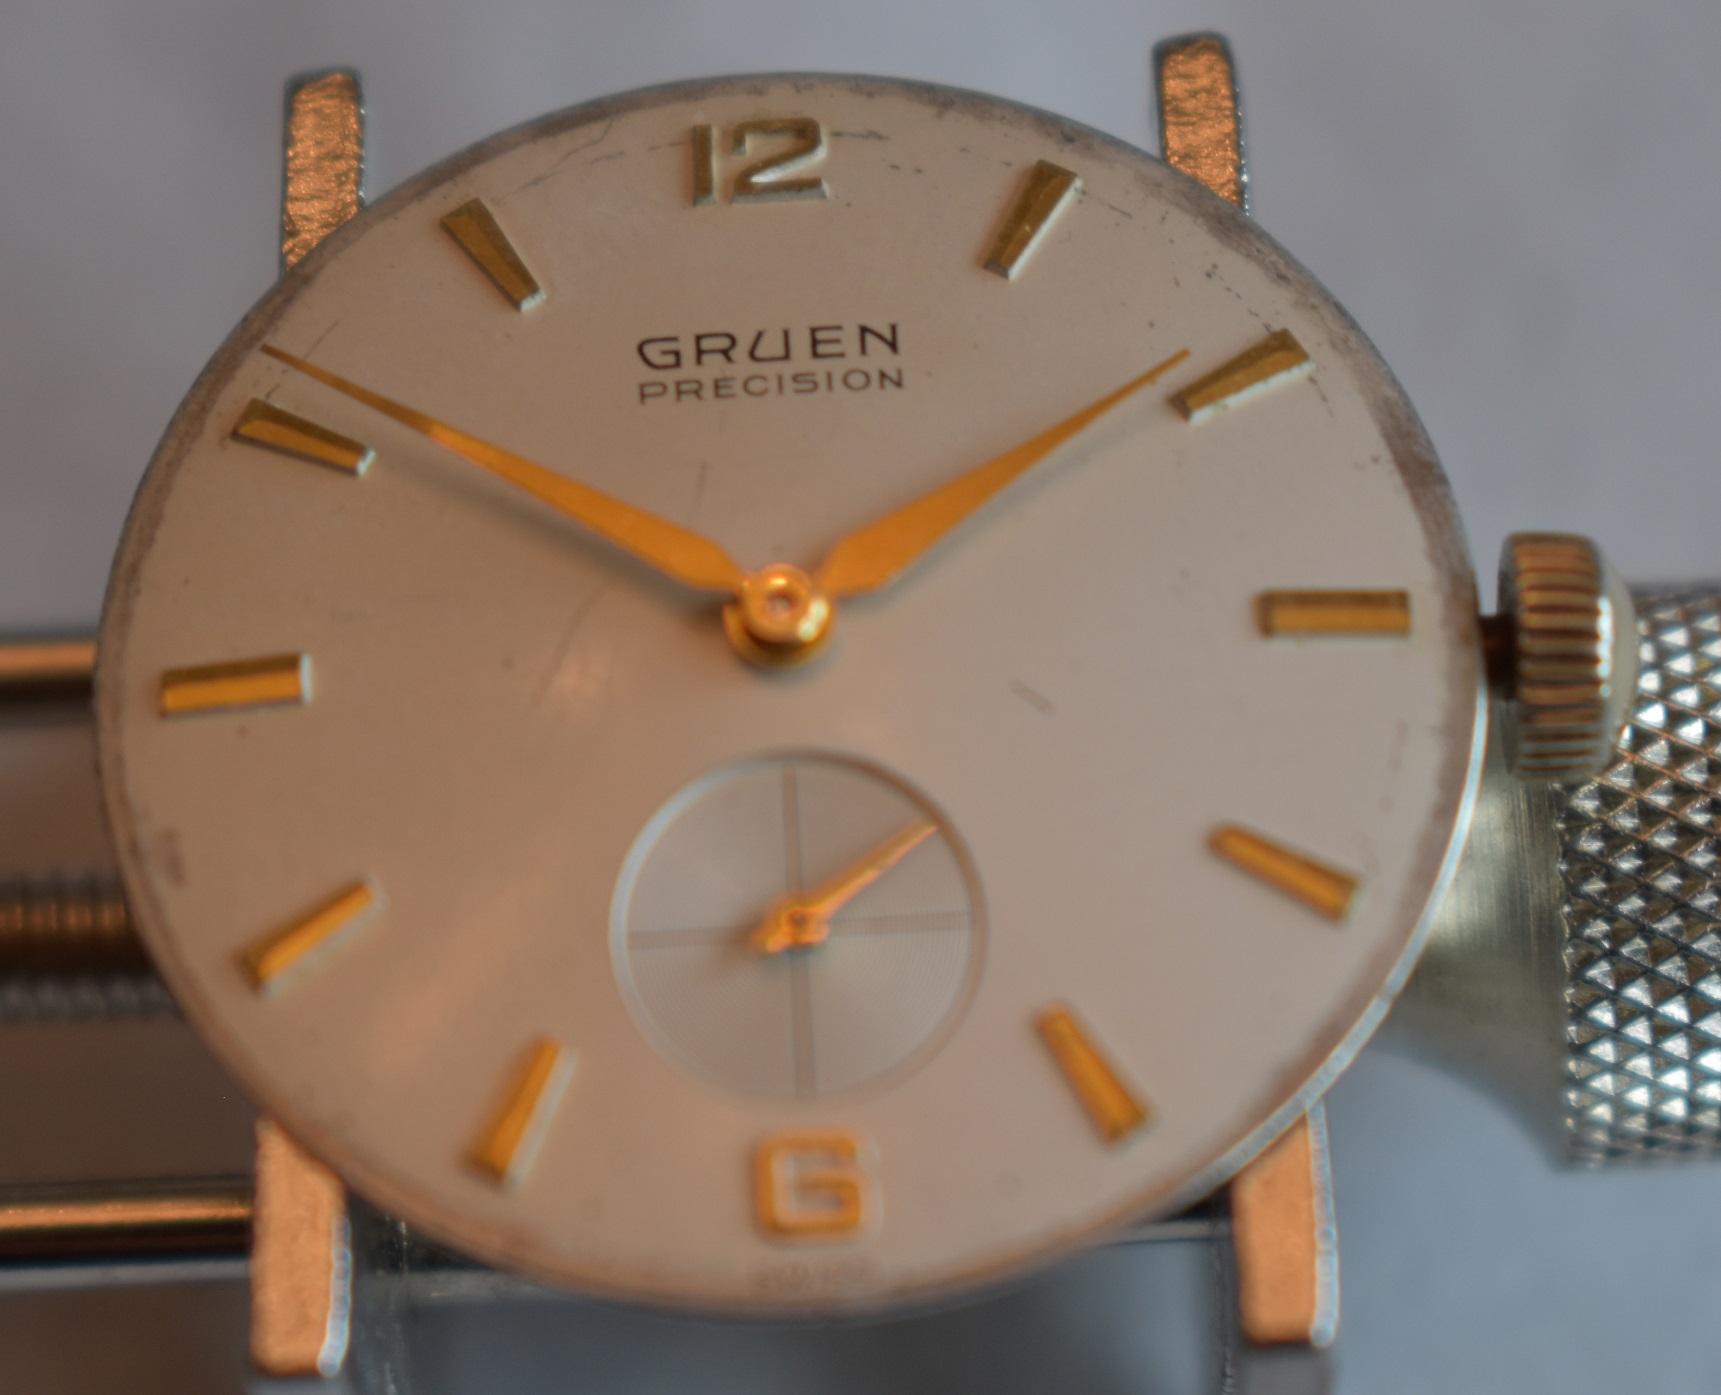
I've been following Mark's courses and finally had the courage to attempt servicing a watch movement myself. I collected a few old movements off of ebay. I decided to start with a Gruen Precision as it was the only one without a date complication so I figured it would be easier. I'm very much a beginner and made a few mistakes but as I didn't break or loose any parts -- or bend the hairspring -- I call that a success. Probably the biggest mistake is that I didn't take enough pictures when disassembling. I knew better, but wasn't patient enough. To some degree I was worried about springs popping off and concentrated on those instead of grabbing the camera. This caused pointless frustration when re-assembling and I also don't have as many photos to share. The other mistake is that I didn't purchase enough sizes of screwdrivers. I started with a 0.60, 1.0 and 2.0 (mm) figuring that would cover the range. A good number of screws required something in between 1.0 and 2.0 so I had to use a 1.0. This caused some small notches in the screw heads. I have since bought 3 more screwdrivers so I should be better in the future. Here is the Gruen before servicing. While I was trying to be careful to not unscrew the setting leaver screw too much, you can see that the crown wheel fell out. I don't know if that is normal with the movement or it was just loose. The #13 etched into the top plate was not done by me. I have no idea what that means. Year serviced? It isn't the caliber number as that is on the back. I was very careful to keep the screws next to the associated plates and parts as well as take pictures of them. I had no problem finding the right screw on re-assembly. For cleaning I used Naptha in an ultrasonic machine. I also did hand cleaning on pivots as well as cleaning off corrosion. The movement had corrosion near the barrow, the keyless works and the minute wheel. I was able to clean the corrosion off of the plates but didn't attempt it on the minute wheel. I was concerned I would end up damaging the teeth. For lubrication I used the Mobius synthetics. Instead of D5 I used Moebius 9104 Synthetic Oil Synt-HP 1300 as I saw that in ETA service guides and is pushed as a successor to D5. But otherwise I used the oils from Mark's course. It took a while to learn how the different size oilers pick up the different viscosity oils. I had plenty of cases where I had to clean up extra oil with rodico. But I am getting a better feel for it now. The mainspring was an old blackened steel spring. While I wanted to finish the project quickly, I decided I wanted to do this right and order a new alloy mainspring. I also don't have a mainspring winder to get it back in anyway. I ended up messing up when pushing the new mainspring into the barrow. The outer side didn't fully slide in. While trying to correct that, the whole thing popped out. Figuring it was all a loss now, I tried to do the manual wind technique to see how it goes and managed to bend the spring horribly. I ordered a new mainspring and was able to slide it into the barrow ok this time. The movement design was a little different than the Unitas the Mark shows in his course. The click mechanism is different. Also the winding reverse-threaded screw is instead two screws which is pretty nice. Probably the tricky part was the plate design. I followed Mark's videos as I re-assembled but I had to remove plates after I installed them to get all the wheels in place. The barrow had to go in earlier. One annoying problem is the cannon pinion; it wasn't sliding properly. I suspect corrosion but maybe it was just tight. It was so tight, the balance would freeze when trying to move the hands and the hands didn't move much. It was this way both before and after I cleaned and greased it. I used a tiny drill-bit to try to scrape the sides of the inside hole of the pinion hoping to get any corrosion out. After that I used baking soda hoping that would also help clean and polish a bit. After that a rinse in Naptha. Not sure how great of a technique that is, but for sure it helped. I can now set the time without problems. All put back together Very shiny except for the minute wheel. And with the dial and hands re-installed. The hands were originally bent but I was able to carefully straighten them. I am quite proud of doing this for the first time. I've done other work with watches before this but this is the first time I've worked on a movement.
 3 points
 -
Now you are getting a bit disrespectful. I have around 30 years experience as a watch/ clock maker, not just a repairer. In my days I could make watch parts and clock parts. Watching someone working is a good way of learning. It is not the same as doing it yourself. That is why learning on a practice piece is safe and as I have said it doesn't matter if mistakes are made.2 points
-
Another reason could be that fix-o-drop / epilame agent could have remnants on one of the stones that appears to be a smaller diameter drop.2 points
-
Hi Ricky, Welcome to WRT forum.1 point
-
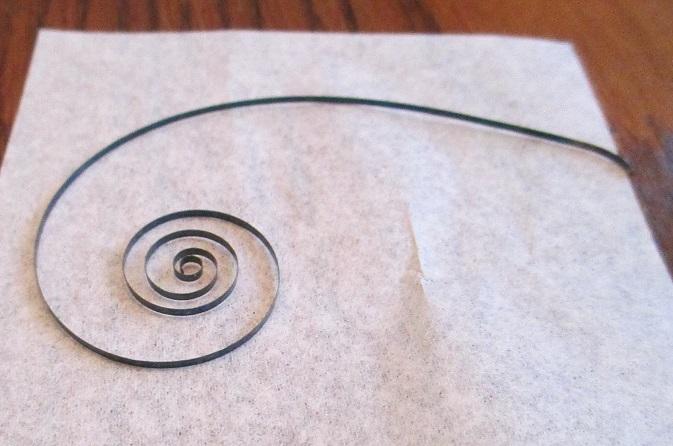
Thank you all for your input. I think George is right. I’m not sure whether they would go to the extra expense in China to apply epilame to the parts for clones but who knows. Certainly the surface tension is different on the two stones. The diameter of the drops is different but so is the height (larger diameter – lower height, smaller diameter – higher height) hence I assume the amount of the oil is the same on both endstones. I tried to capture it, you might be able to pick up on it. It’s very visible when you look at it with a loupe in the right light. I also tested another incabloc and it’s absolutely spot on. I was doubting the efficiency of the auto oiler because it takes some time to set it up to get the drop the right size, it certainly would have been much quicker to do it with a standard oiler but the size of the endstones is very much the same regardless of the size of the movements, at least the two I have. Below is a picture of the Unitas 6497 next to the other movement I used for testing, the endstones are almost identical in size. The smaller one is is smaller, but only a fraction.
.thumb.jpg.0d0ff37406646f2583b97550bcf43895.jpg)
.thumb.jpg.f573878bd74de2681e22e18c7a26944d.jpg)
.thumb.jpg.f42b7be4e586846b535cbe9b96e25e36.jpg)
.thumb.jpg.ea9e909c00cb3ff8812246a2c2d5ab76.jpg) 1 point
1 point -
This is a friendly forum. Please keep that sort of comment to yourself.1 point
-
A beginner should start with the basic movement and work up the ladder. Any thing other then basic should be practiced on with an old movement, so if it goes belly up it doesn't matter. Its common sense.1 point
-
The tool needed to remove the nut is described in that second PDF, around page 32 in my PDF reader. You should be able to make something similar relatively easily from a piece of round stock, perhaps an old screwdriver blade with sufficient meat on it, by cutting a suitable slot in the flattened end. Note the direction that it tells you to turn the tool. That sounds like a standard thread rather than a reverse one. Normally it is lefty, loosey, righty, tighty. i.e. Anticlockwise to undo and clockwise to tighten. I would take the time to make the tool, as otherwise you risk marring the end of the "nut" on the weight.
 1 point
 -
One wonders about the (fashion or not) watch owners that find this forum looking for a quick solution, now let aside the good manners of introducing oneself, but posting a picture is that too much work?1 point
-
Hi Can you supply a photo of said watch and band, that way we know what we are looking for1 point
-
That watch is so beautiful.1 point
-
What should happen is that when you push the stem into a movement, and tighten down the setting lever screw, you're basically moving the setting lever into position such that, as @Nucejoe says, the 'pin' on the setting lever locks into position in the groove in the stem. You say everything is fine when the movement is out of the case; this only happens when you try and re-case. This therefore sounds like the stem is too short ... or that there is some obstruction (e.g. dirt in the crown) that is stopping it pushing in fully. If the stem is not far enough into the movement then when you screw the setting lever into position the pin will not engage with the stem and it will subsequently pull straight out when you try and use it as you're finding! Is this the original stem/crown that came with the movement and case or is this one of the replacements you mention? If it is the original then first check there is nothing in the crown that might be causing a slight obstruction. Now with the movement out of the case engage the stem and check the setting works as expected. Pull the stem into the setting position before unscrewing the setting lever screw just enough to remove the stem. Recase the movement and push the stem/crown in and ensure it is properly engaged before tightening down the setting lever screw. [Conversely if it is not the original stem then it sounds like it could be fractionally short and not going into the movement enough ... come back if this is the case for more advice!].1 point
-
So finished reassembling and lubricating my grandfather's ETA 1080 today and took a couple of pictures of it before putting it back into its case. For anyone interested I assembled the movement in the order shown by these pictures (000A.jpg, 000B.jpg, 001.jpg to 073.jpg). The pictures were taken during disassembly so the parts in the pictures are somewhat dirty. The pictures were intended for my personal use, so some of the text and coloured arrows might seem somewhat cryptical. And finally, a slow-motion video of the balance in motion can be seen here. This watch was last used some 40 years ago or so, so just wonderful to see it tick again! This was my first ETA movement and compared the Vostoks and Poljots I've been working on before I must say the fit and finish is indeed a notch or two better. I really enjoyed doing my first Swiss watch (except for the Unitas 6498 in Mark's watch repair lessons).1 point

.jpg.d4ad65178872fa40b88d674e403aa653.jpg)
.jpg.0b848bd22213187ab3690835184727ef.jpg)
.jpg.94ab91ae9cc68b94397a1ec0493991fc.jpg)
.jpg.d82c02ceebbded3ffe54bf732ff59ed3.jpg)