Leaderboard


Popular Content
Showing content with the highest reputation on 11/28/21 in all areas
-
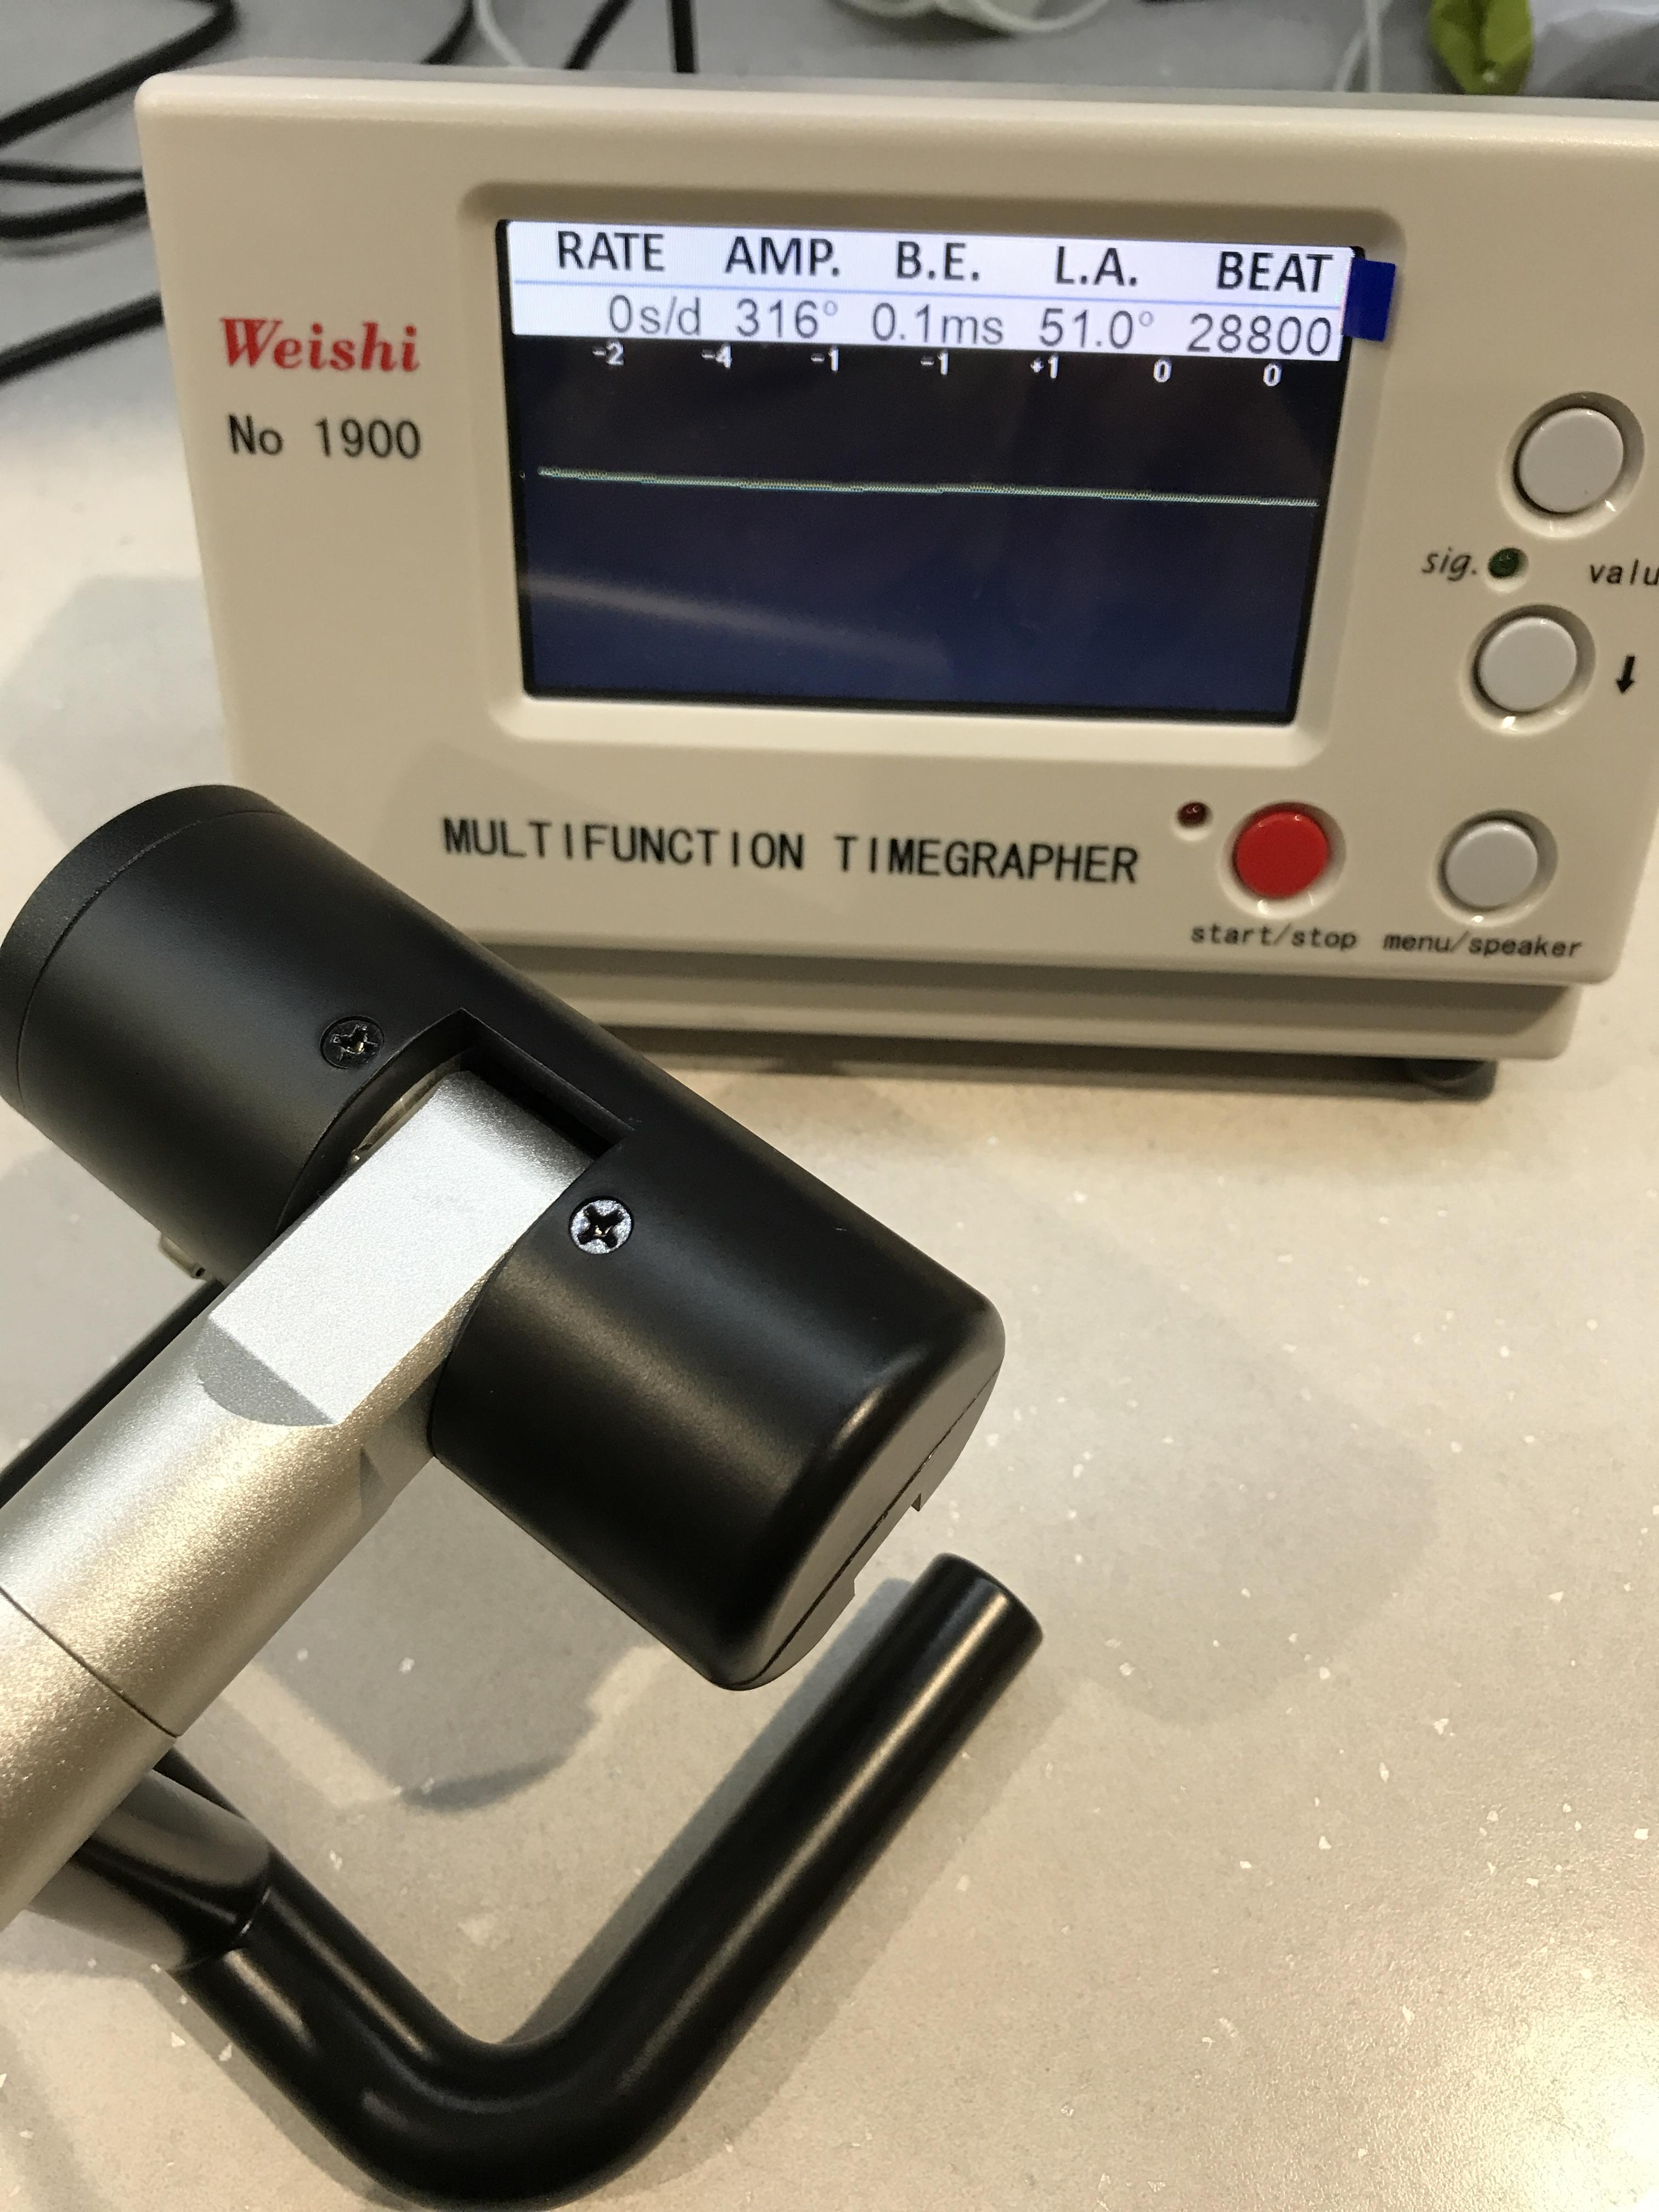
Success! It turned out to be the hairspring not correctly centred and the coils would touch at high amplitude, causing a rate rise. I adjusted the hairspring to make it more concentric (as much as a coil can be) and retested the watch. The rate was stable, even when making adjustments, whereas before, an adjustment to the rate or beat would upset the balance and make it unstable. The fault was hidden from my initial reading before strip down because the watch couldn't attain a high enough amplitude, the clue was the high beat error. When I initially lowered the beat error, unknown to me, I was overcompensating for the HS problem and when this was corrected the beat error came back at the same amount, but in the opposite direction. I've added a final timegrapher trace and a pic of the finished watch. It is stable in amplitude and rate to within a couple of seconds in all positions. Thank you all for your help and assistance, I have now learned a few more things.

 3 points
 -
That's a sad point of view somebody went to a lot of trouble to write up a technical bulletin and you don't want us to disassemble that watch that only cost practically nothing? I found the technical bulletins on the site below amusing movements that cost not nothing but very close to nothing and there is a technical bulletin on how to service it. https://www.ronda.ch/en/ You forgot to include something? It's like somewhere else in the group someone's asking for technical knowledge of servicing of quartz watch they want a book. Then next will come up to test equipment because unfortunately quartz watches have electronic circuit So you can't look at them with your loop and see if they're good and bad. A variety of miscellaneous test equipment is required. That I course quartz watches have interesting challenges. A lot of times the super cheap watches really weren't meant to be serviced that presents interesting challenges. They were assembled by automated machine read not humans by hand. If you go up to a little nicer movement that was meant to be serviced it still can be quite a challenge to get the gears in. Or even keep the rotor where it's supposed to be it seems to want to keep sticking the things. So they can definitely looks simple but simple doesn't always mean challenge free.2 points
-
I serviced this the other day. The really cool thing I discovered is that I found my Dad's mark from servicing it in 1981. I got the watch from my sister-in-law. Her Dad and mine were friends, so it is not too surprising to find that he serviced it. The crystal arrived yesterday: GS DT 305. I think it needs a 306 because it went in too easily. The picture shown of the movement is with the oscillator weight removed. Here is the info on this movement.
 1 point
 -
Nice work!1 point
-
Somebody else I think already mentioned this but what about getting rid of the resistor altogether and using some form of solid-state speed control? It doesn't even have to be that complicated I've seen people using light dimmers to control their lathe motors. The same lathe motors that look really similar to the motor on the cleaning machine.1 point
-
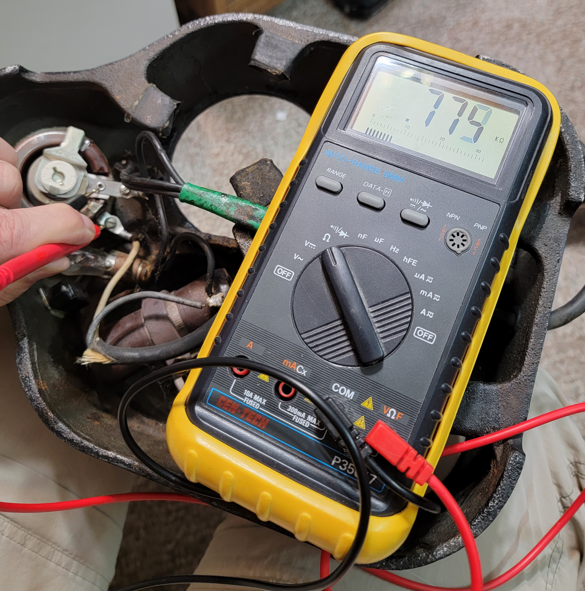
Sorry, I didn't mean to offend. I felt I was being critised too, the 60ohms was measured by @SonnyBurnett and 50 ohms was on that diagram I found on the nawcc website. I underestimated the power of the motor - I'm assuming I've found the correct one.1 point
-
Controlling the speed of a motor with a rheostat, is crude, but is simple and effective in this application. The speed of the motor will be determined by at least three three things: 1) the series resistance, 2) AC mains voltage, and 3) the load on the motor (the viscosity of the fluid where the basket is spinning, and the mass of the basket). For this application, nobody cares about the precision of the speed, but you certainly care that the speed is not too fast at the lowest setting...and you care that you can get the motor running fast enough at least by full travel of the knob (rheostat)...thus my reasoning that 60 ohms was probably too small. Is 800 ohms too large? A simple application of ohms law is not going to be much help for at least the reason that the load on the motor will have a significant impact on the speed. What I have observed is this: I get what I think is optimal motor speed (with basket immersed in the cleaning solution) when my knob is turned to about half scale. That would give about 400 ohms in series with the motor at the speed I am comfortable with. For this reason--my experimental results--I posit that 60 ohms is probably too small. There is a fourth aspect that determines the speed of the motor (beyond the three listed above). That is the motor itself!! It appears (scanning the internet) that these cleaning machines have various motors on them. Perhaps L&R changed the motor over the years, or some of these machines have been repaired using different motors. The motor on my machine does not appear to be an original "stock" motor. Thus a new variable to consider. Now to the schematics (where my skills where questioned). The L&R schematic appears to properly wire the heater in series with the heater switch although the heater switch is drawn as a "push-button" style which it is not. But I am not gonna get my panties in a wad over that because, hey, it was 1960. The IEEE probably had not established the standard symbols for schematics by then. The L&R schematic properly shows a SPDT switch used to control the direction of the motor. The L&R schematic is fine, but there are no values listed for components. The hand drawn schematic is problematic. The heater is an 84 ohm resistor in parallel with the pilot light. The L&R schematic shows the correct way to wire the heater--the hand-drawn schematic does not. The resistor in my machine is 236 ohms as measured. In addition, I have a spare resistor that my Dad had purchased for future repairs. It is labeled 220 ohms and is identical in shape, size, color to the one in my machine. In the hand-drawn schematic, there is no switch to control the direction, and the notation indicates that the motor used comes from a "milkshake" machine. Will the hand-drawn schematic work. Yup...probably so. My guess is that the "designer" took the rheostat and motor from a milkshake machine...thus the low value of resistance. But, we cannot really know. At the end of the day, I stick with my view that 60 ohms is too small and that, depending on the motor, a better value is closer to 800. This is trivial to verify by @SonnyBurnettwith the expense of a few components.1 point
-
Pics about the post, might help somebody.

 1 point
 -
Absolutely not. But I like the what Canthus explained before, getting to the result in the shortest time. Sometime I am given broken watches with a Miyota 0S10, I can have the customer getting it fixed for EUR 10 instead of 50. I do value my time, and everybody's money. Absolutely true. That's why I would discourage a beginner to get early into that stuff, to prevent frustration. There below the thread about on which mov.ts one should build dexterity and skills first.1 point
-
Very good, congrats! I'm also happy to have, for once, got it right on my 1st post here.1 point
-
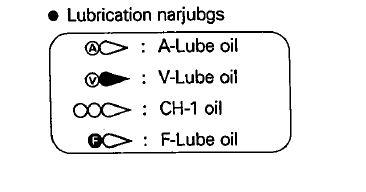
Good news for cleaning is it shouldn't have organic oils like pocket watches vintage watches have that require aggressive cleaning. The bad news as it has a lot of plastic components that don't always take kindly to cleaning fluids used for metal components. Then strangely enough we have a service sheets and I don't think but I didn't read all the fine print the usually don't tell you what to use to clean the plastic components. Plus you want to be careful in your drying the whole thing that you don't melted or damage the parts from excessive heat. Then the lubrication casually looks confusing unless you know how to translate them? Like for instance at the website below we have something called Synt-A-Lube Which is really 9010 and if you look at the image I attached basically what citizen did was dropped the first several letters. Then going down the list the next one is Synta-Visco-Lube Which is 9020. Skipping over the next one we get the last one which I'm pretty sure is Synta-Frigo-Lube . Just basically a really light oils used on some quartz watches they also make an oil for quartz watches that you could use instead except for some reason I noticed they no longer are recommending the quartz oil on most quartz watches the recommending this even though the quartz oil exists? Then in the CH01 would be a mystery oil except I Google that found the link which explains exactly what I already explained anyway. But I'm just not seeing it anywhere in use on the diagram? Looks like basically is just a grease https://vintagecitizenwatches.com/2016/03/13/citizen-watch-oil-kit/
 1 point
 -
1 point
-
I've had a stereo microscope over my lathe since I was 25, and used them for checking work (and working) since before that. I'm approaching 50 now, and would quit the trade if I was forbidden microscopes. Huge, huge, asset.1 point
-
I use silicone jewel picker-upper for this job (on cigarette paper), but I like this idea and I will try it in comparison.1 point
-
I like it. What I have done is to just hold the cap jewel with my finger. This is not so elegant...peg wood is better. I also like taping down the watchmaker paper. A few times I have nudged the paper and my jewel went flying. Taping is good.1 point
-
Not being perfectly happy with my shellac sticks, I bought cousinsUK's shellac flakes and just tried them out on a Unitas 6380 having too much lock. Color-wise the flakes are somewhere in between my clear stick and my dark brown stick of shellac. The flakes seem just as hard as the clear stick shellac but slightly less brittle. So, I'll be using the flakes from now on and would recommend them. It doesn't show much but here's a picture of the Unitas 6380 pallets attached with my new shellac flakes.
 1 point
 -
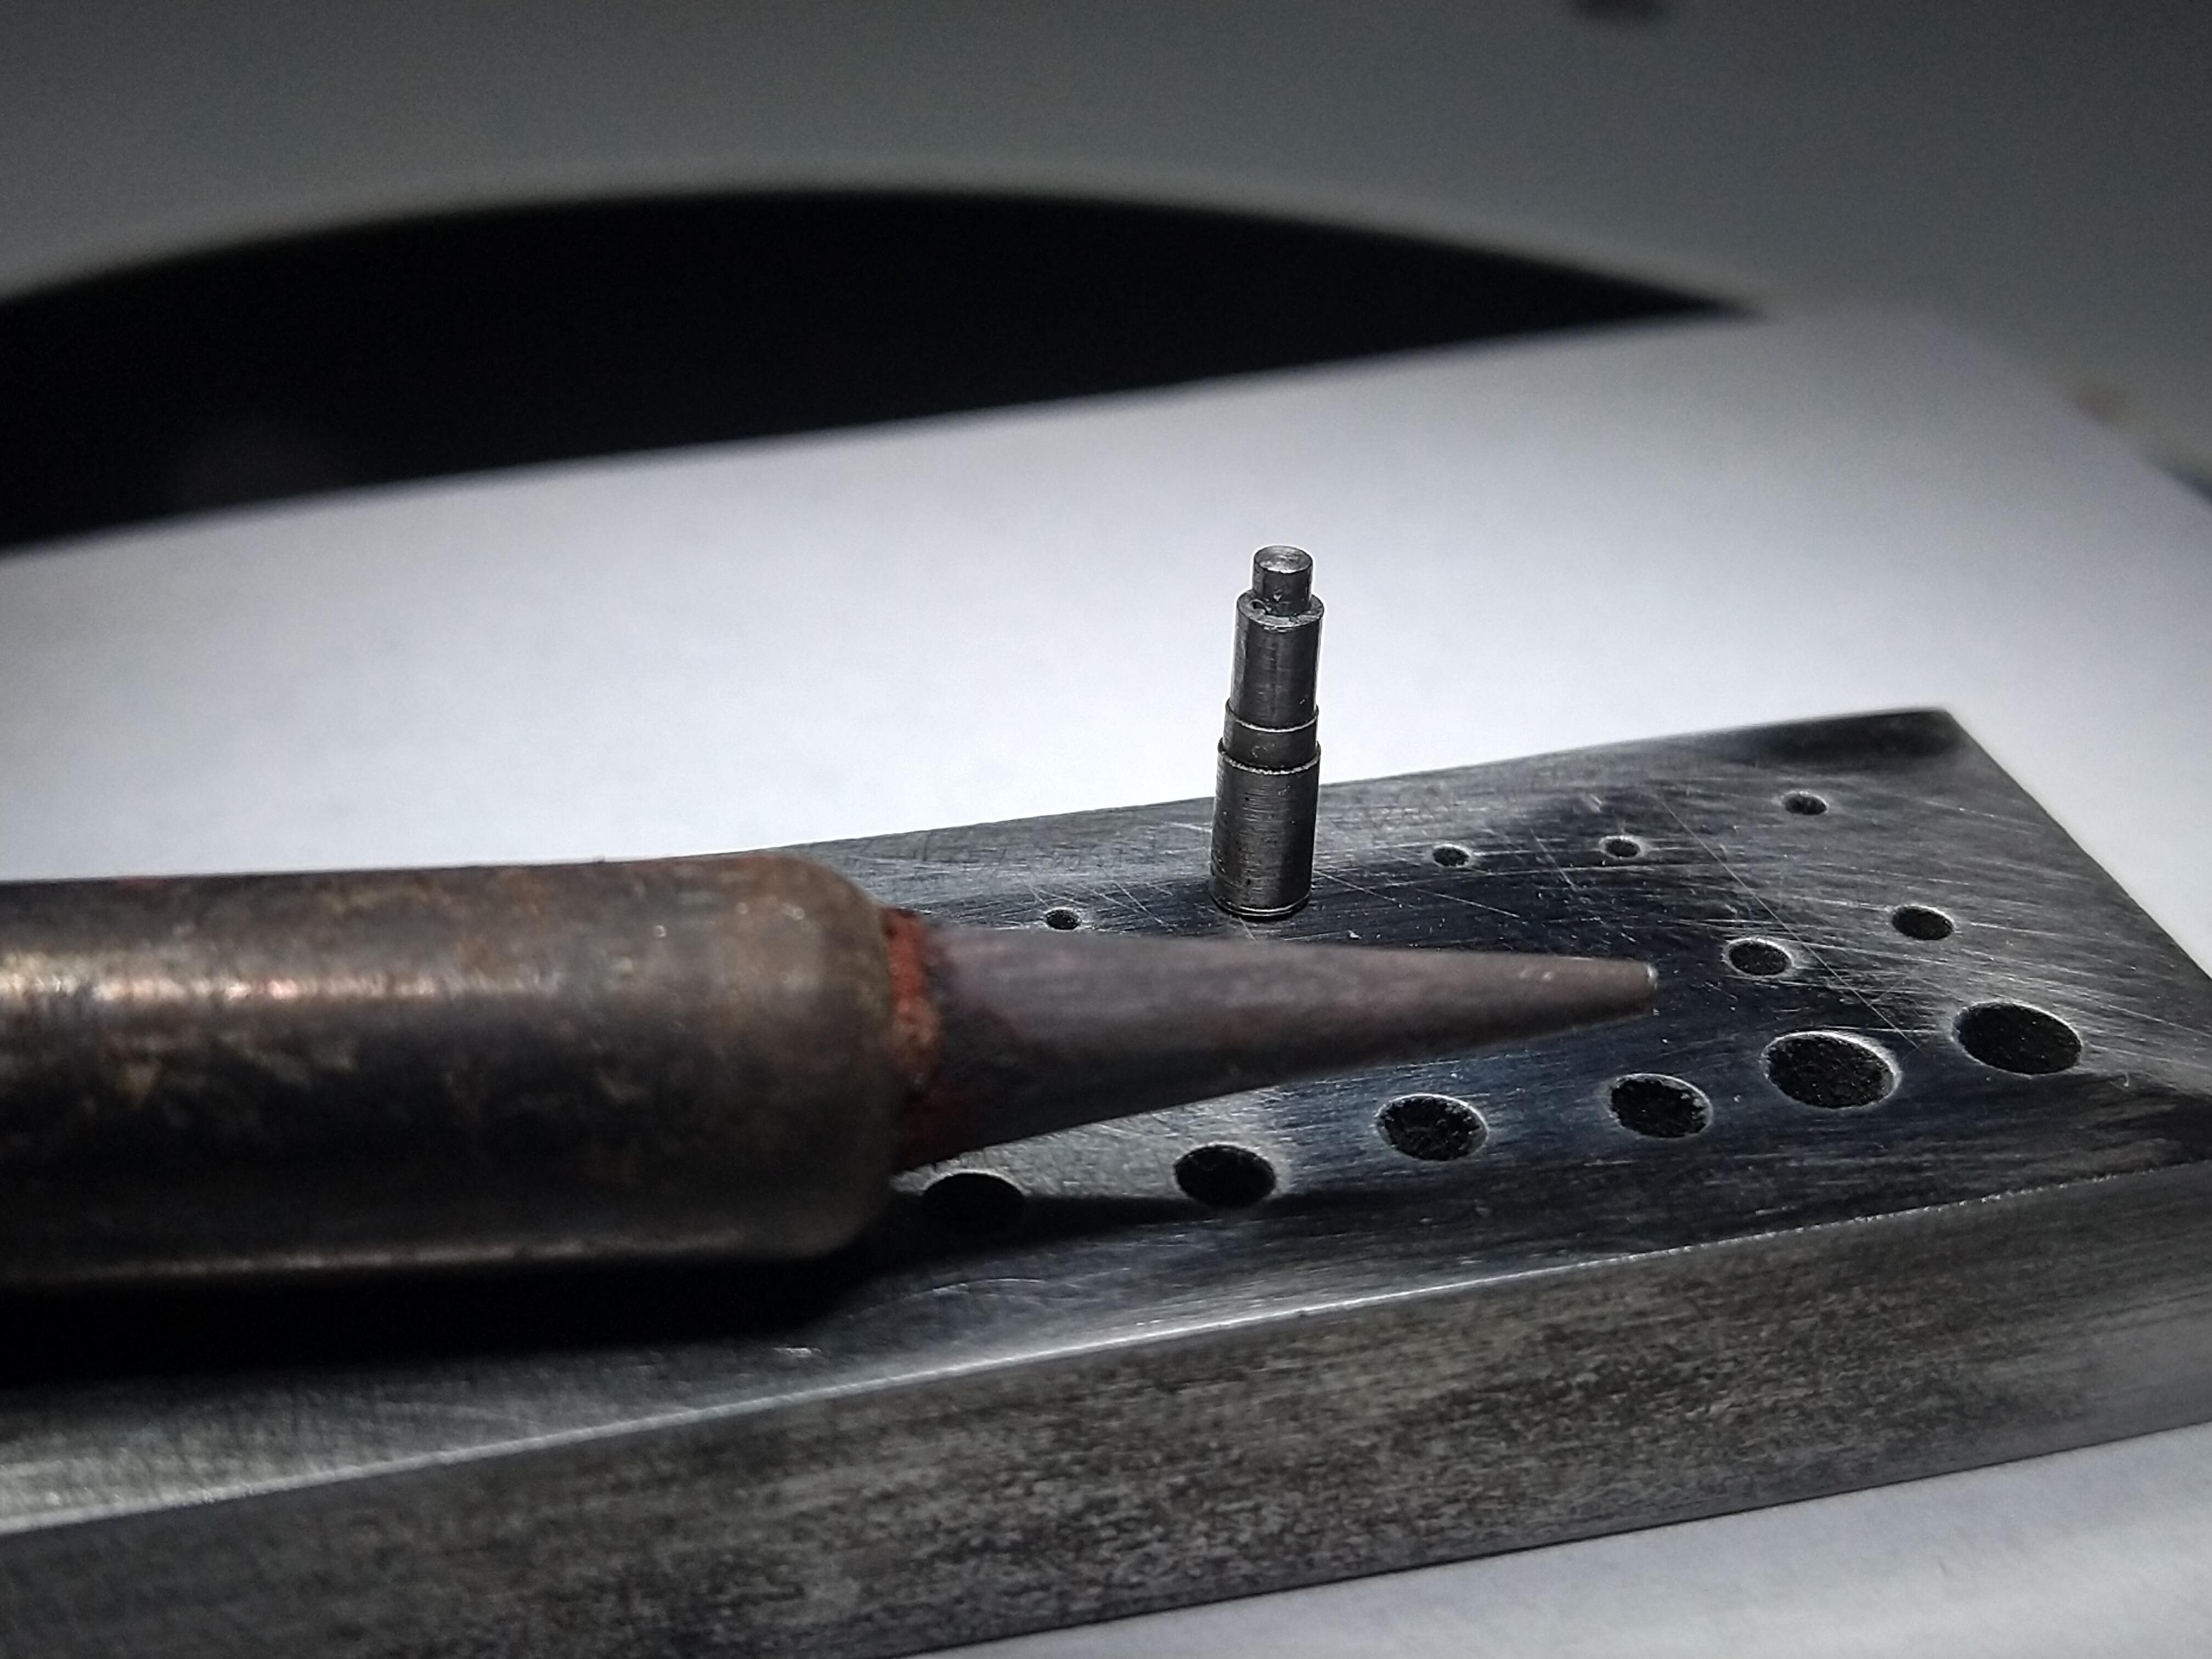
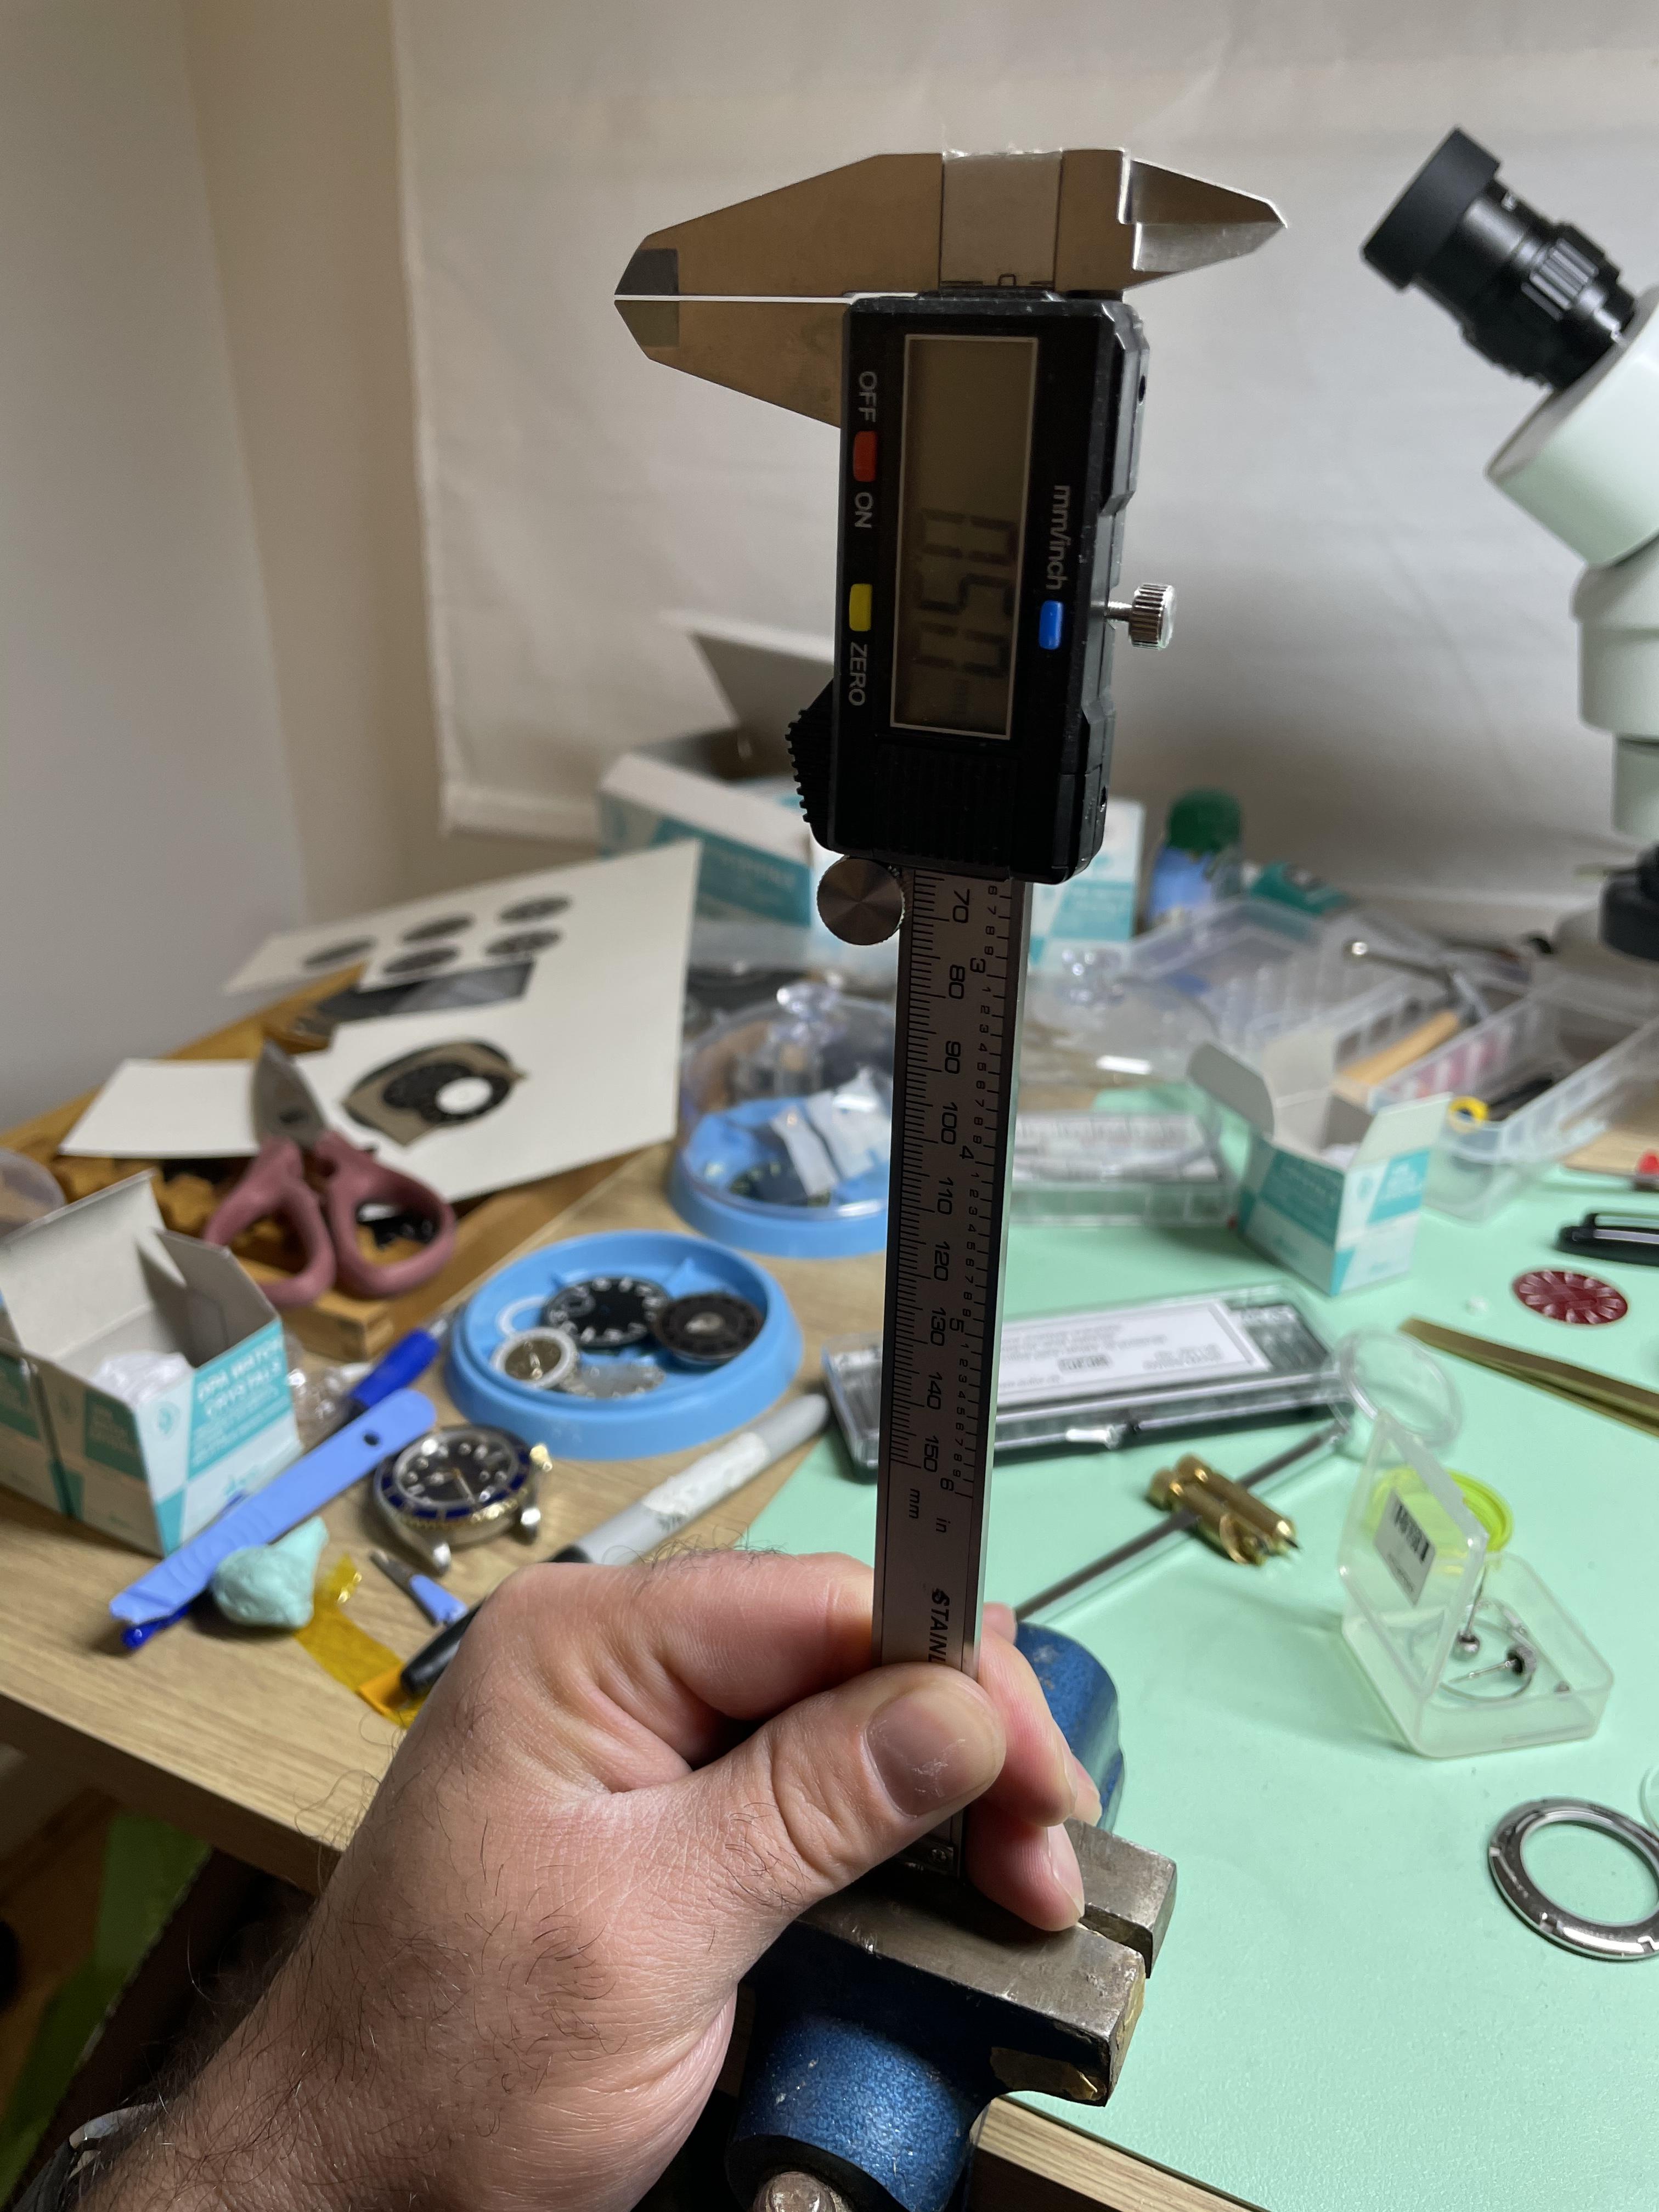
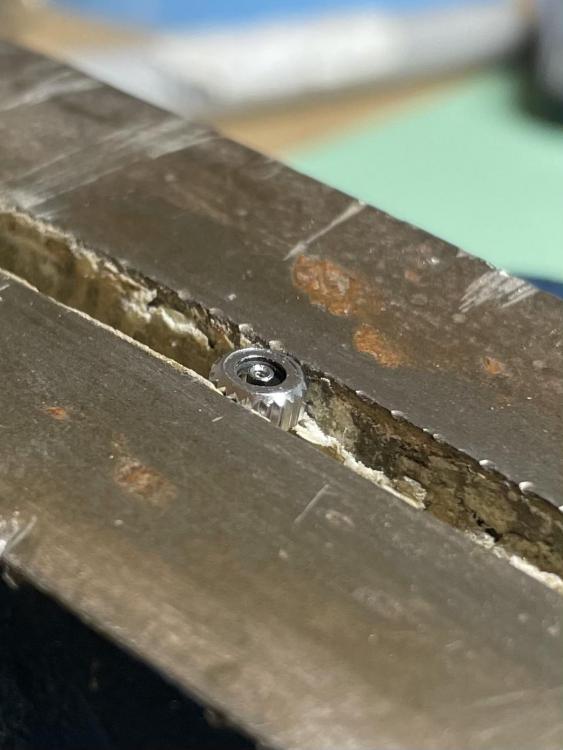
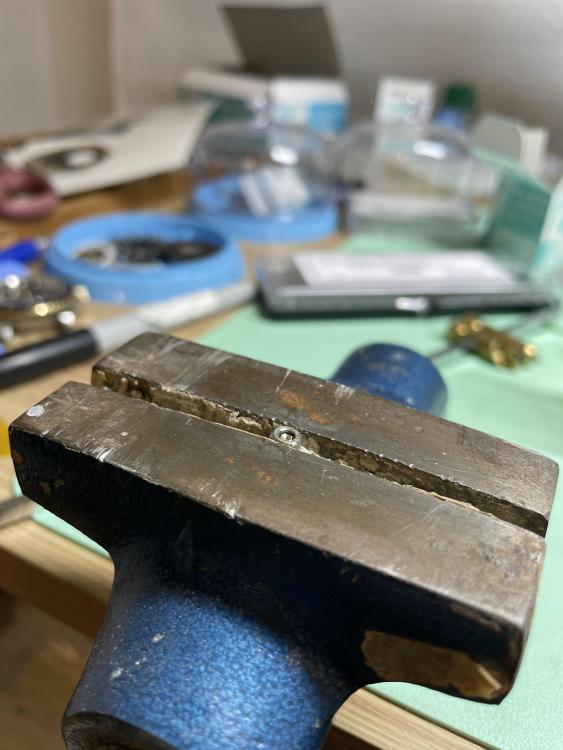
So there’s good news and there’s bad news. Realising it was going to be hard to reduce the shoulder of the female adapter, I wondered if I could reduce the length of the crown tube instead. The crown tube was flush with the crown and I couldn’t get any sort of cutters in there. The ‘dremel’ with a grinding bit was used instead. I ground off 0.5mm and re tapped the hole (smallest tap I had was 1.0mm so I just used it to ‘start’ the thread). Put back together and.... it’s flush!


 1 point
 -
Thanksgiving is an American holiday and this is an international forum. Nevertheless, I would like to express my thankfulness to this Forum and all its members. Today, I became a patron to express my thanks in real terms. In addition I would like to specifically call out names of members who have been particularly helpful @Mark @JohnR725 @nickelsilver @HectorLooi @Nucejoe @jdm @watchweasol and many others!1 point
-
Turkeys who survive thanksgiving day are happiest and most thankful to all.1 point
-
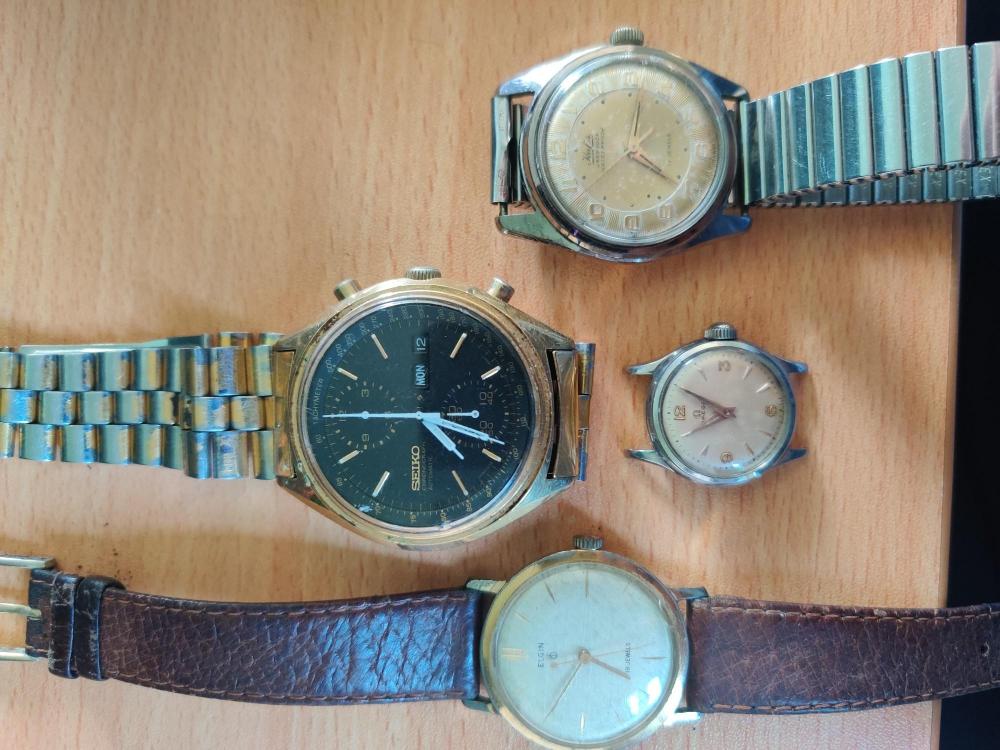
Picked these up from Facebook marketplace in a lot advertised as "costume jewelry". Thought I spotted a familiar logo so took a chance and paid $31 NZD for the lot or £4 each. Also got a bunch of costume jewelry that's not pictured. I think I've used my buying luck for a while, all are working, all clean inside, just some cosmetic things to tidy up (hopefully nothing will show during servicing). Omega and Elgin will be flipped after they've been cleaned. Hafis will be kept as I collect them and Seiko will be kept till I get to the level of servicing chronographs.
 1 point
 -
Yeah... My daily forum crawl occurs simultaneously with my daily caffeination ritual (and is, coincidentally, the first stop). Not a great combination. The tiny hand thing was intended as a joke, but I guess my funny bone also needs stimulation before it can do its job in the morning. I need to figure out how to open up some time later in the day when my brain is firing on at least half its cylinders.1 point
-
Usually for people using the timing machine they're not typically looking at a oscilloscope. Then depending upon where you acquired your timing machine from you might get a book that explains the graphical display. Kinda like the PDF attached which came with a much older timing machine. So basically you can see if you're running the way you're supposed to or clues of why you're not doing what you're supposed to and clues of where you might find the problem. Then if you see total garbage on the screen you know you have a serious problem. The oscilloscope is a nice interesting feature but most people are looking for the graphical display and how to interpret it. But I do admit because the nice witschi machine at work has the oscilloscope I do look at it. But to a certain degree it's kind of like a crystal ball that subject to some interpretation and may or may not be an exact science. I suspect if you're in a factory looking at watches go by that all be identical it would be much better than randomly look at watches that are all little different and it may all be perfect or not. Then if you like tool catalogs here's a link to one even downloaded in a variety of formats. Even though it's a little on the old side you will notice that a lot of the watch repair tools are identical to what they are today they haven't changed in the last hundred years. Unfortunately the price has https://archive.org/details/20thcenturycatal00purd Then while you're here you can try to do various horological searches and see what other wonderful things are lurking. Timing-Machine-Charts.PDF1 point
-
What was stopping from sharing this information with @SonnyBurnett when he first asked? Is it more important to try and prove someone wrong rather than to help another out?0 points