Leaderboard


Popular Content
Showing content with the highest reputation on 05/12/16 in all areas
-
Look was waiting for me when I got home from work
 2 points
 -
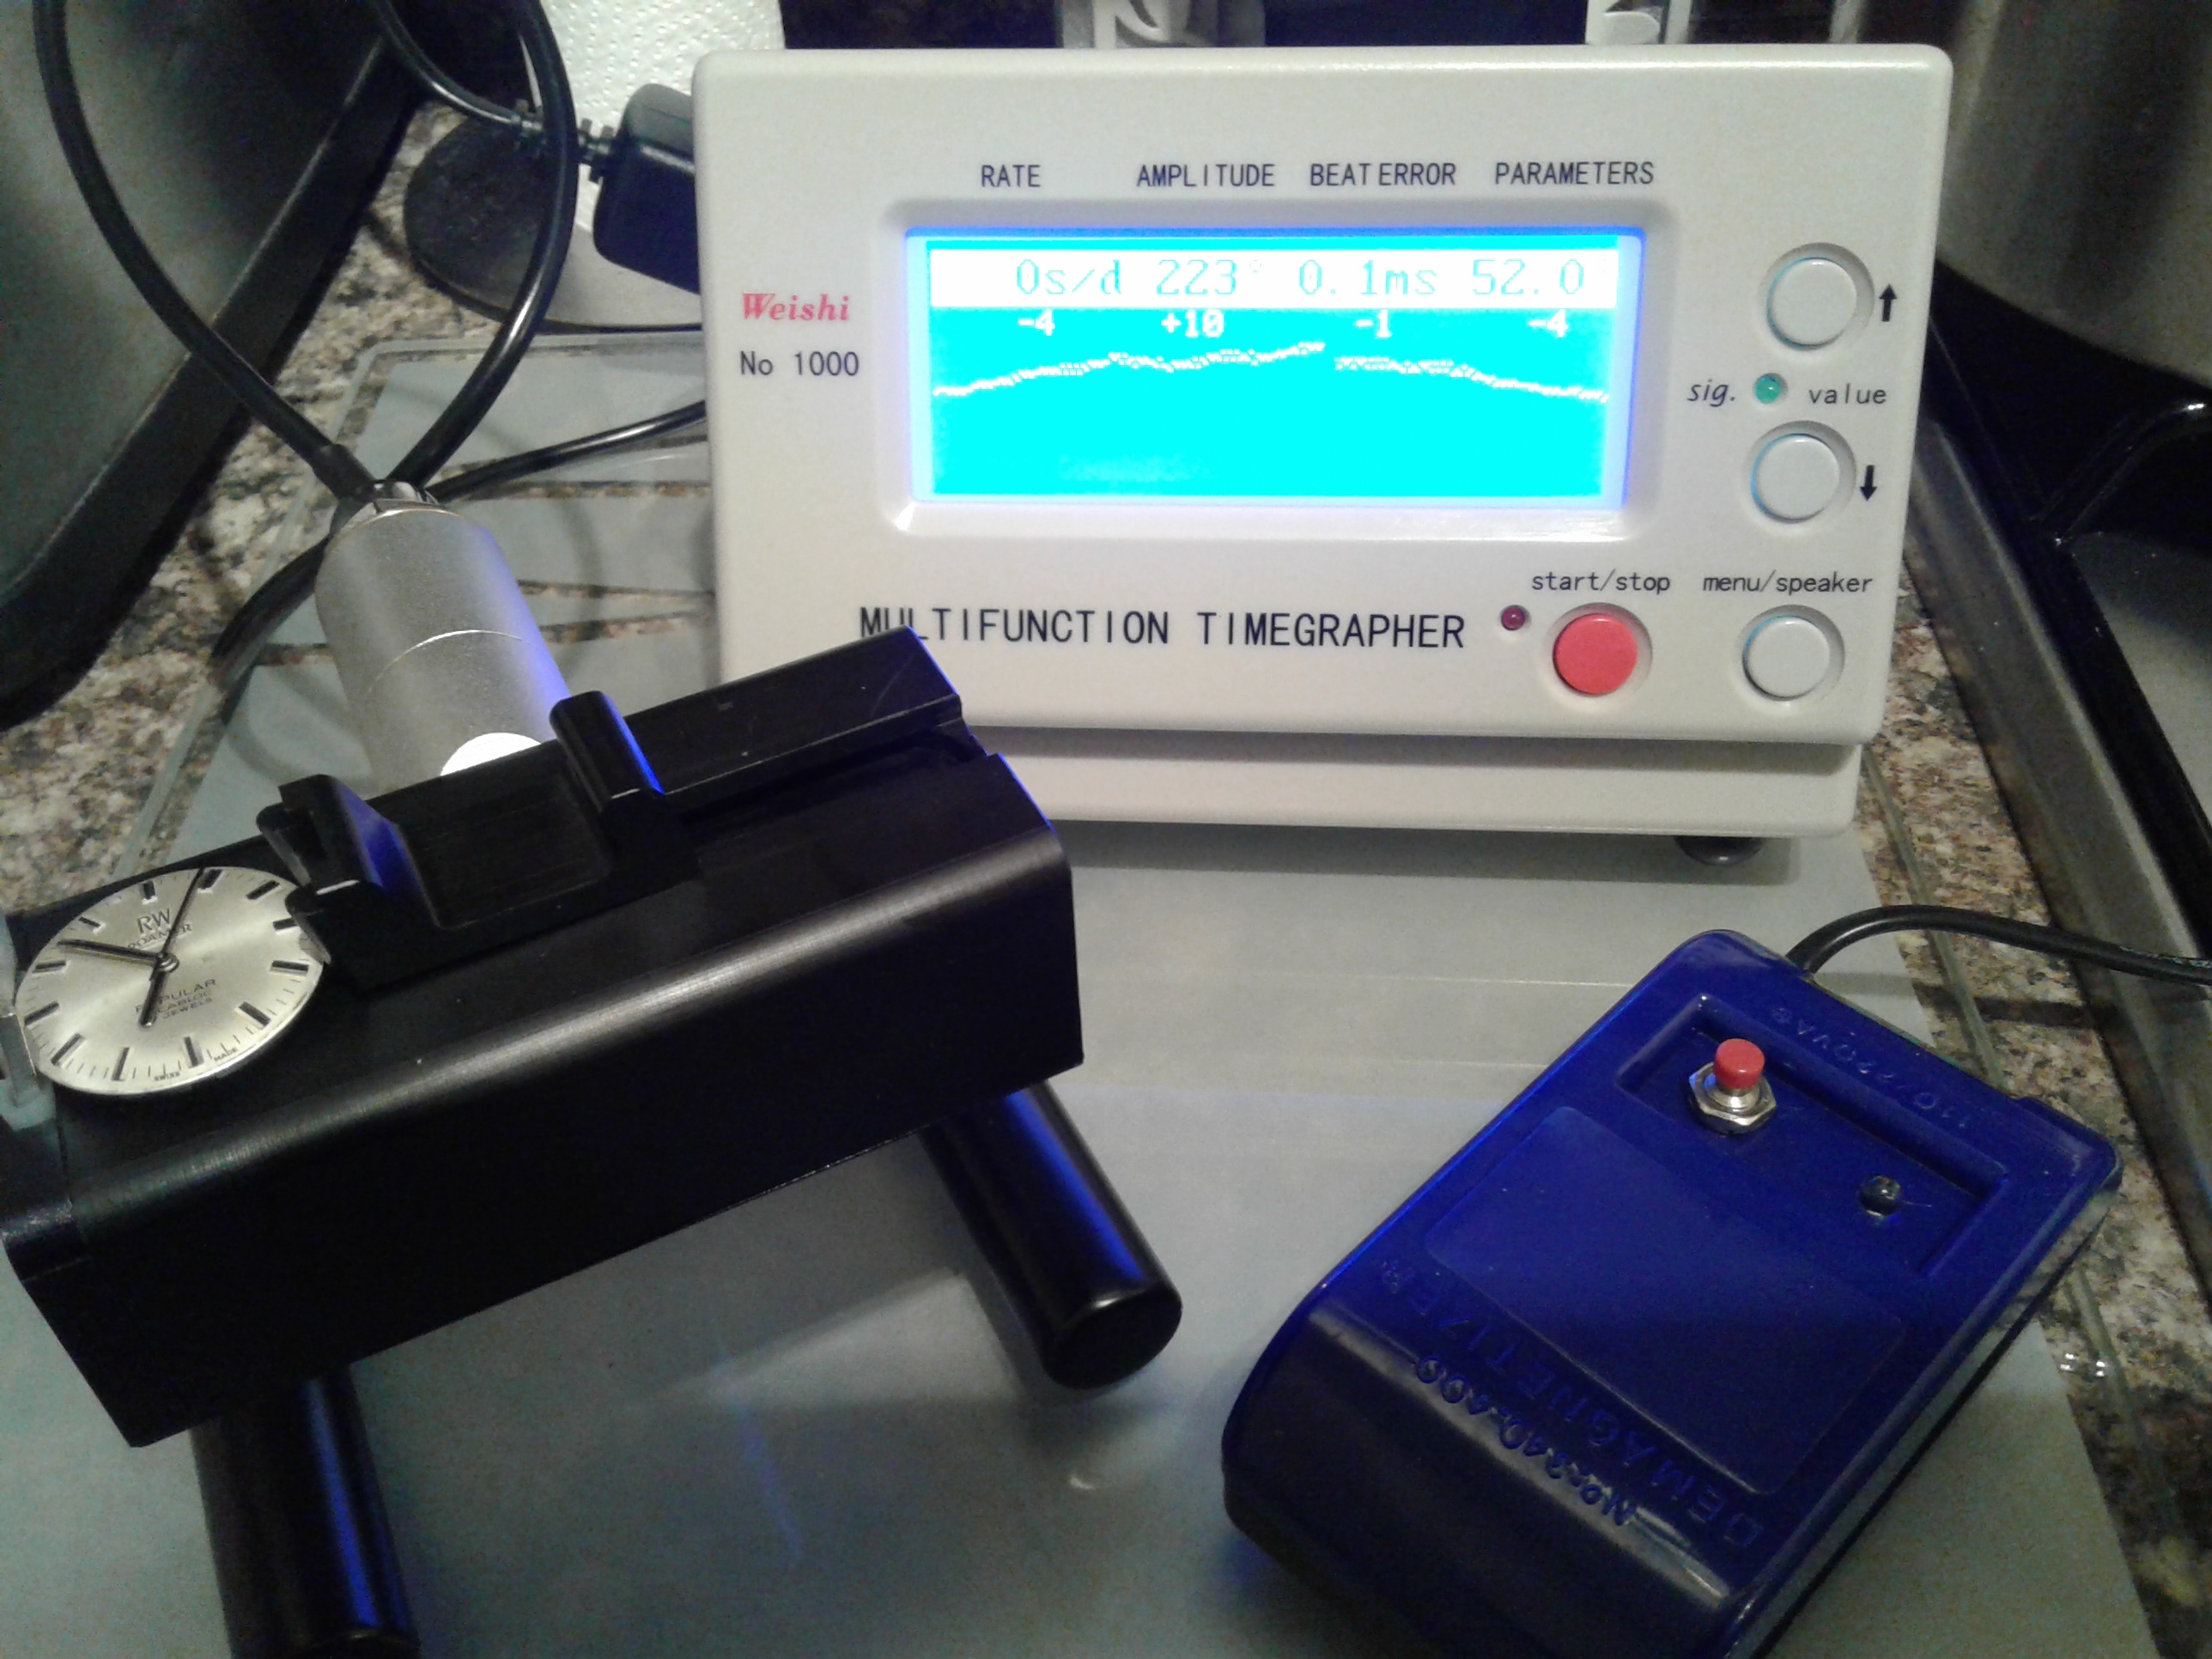
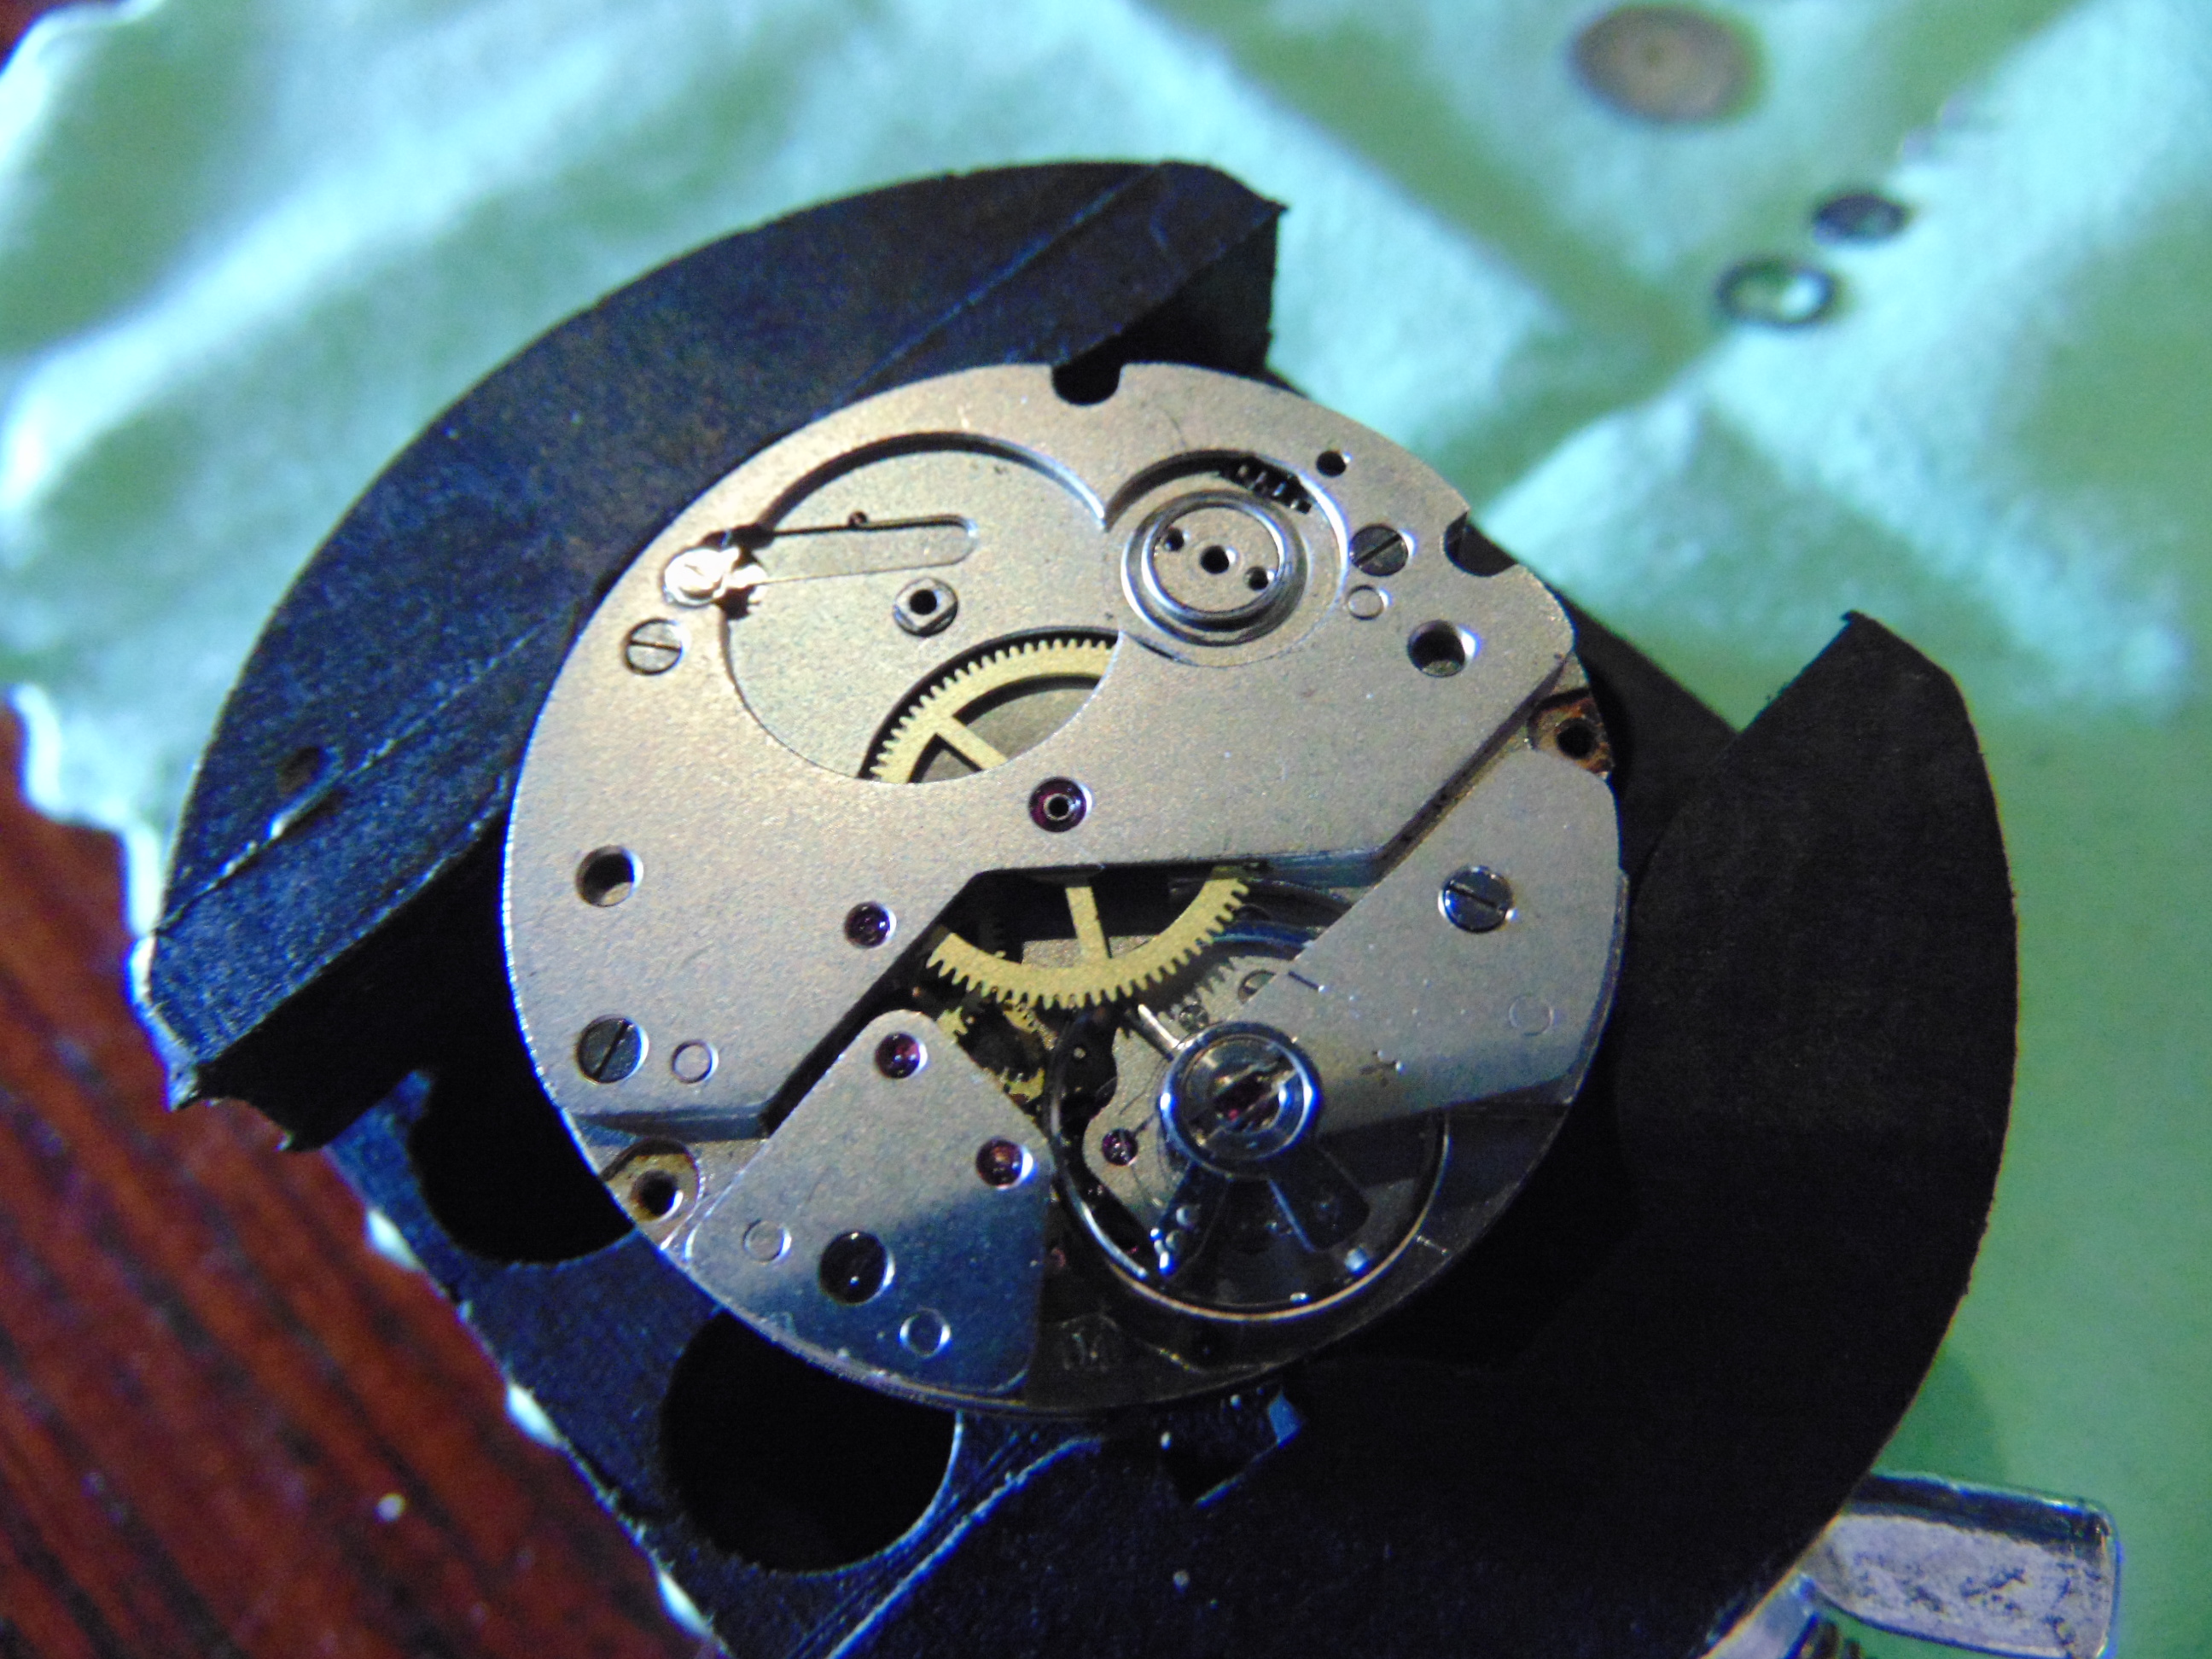
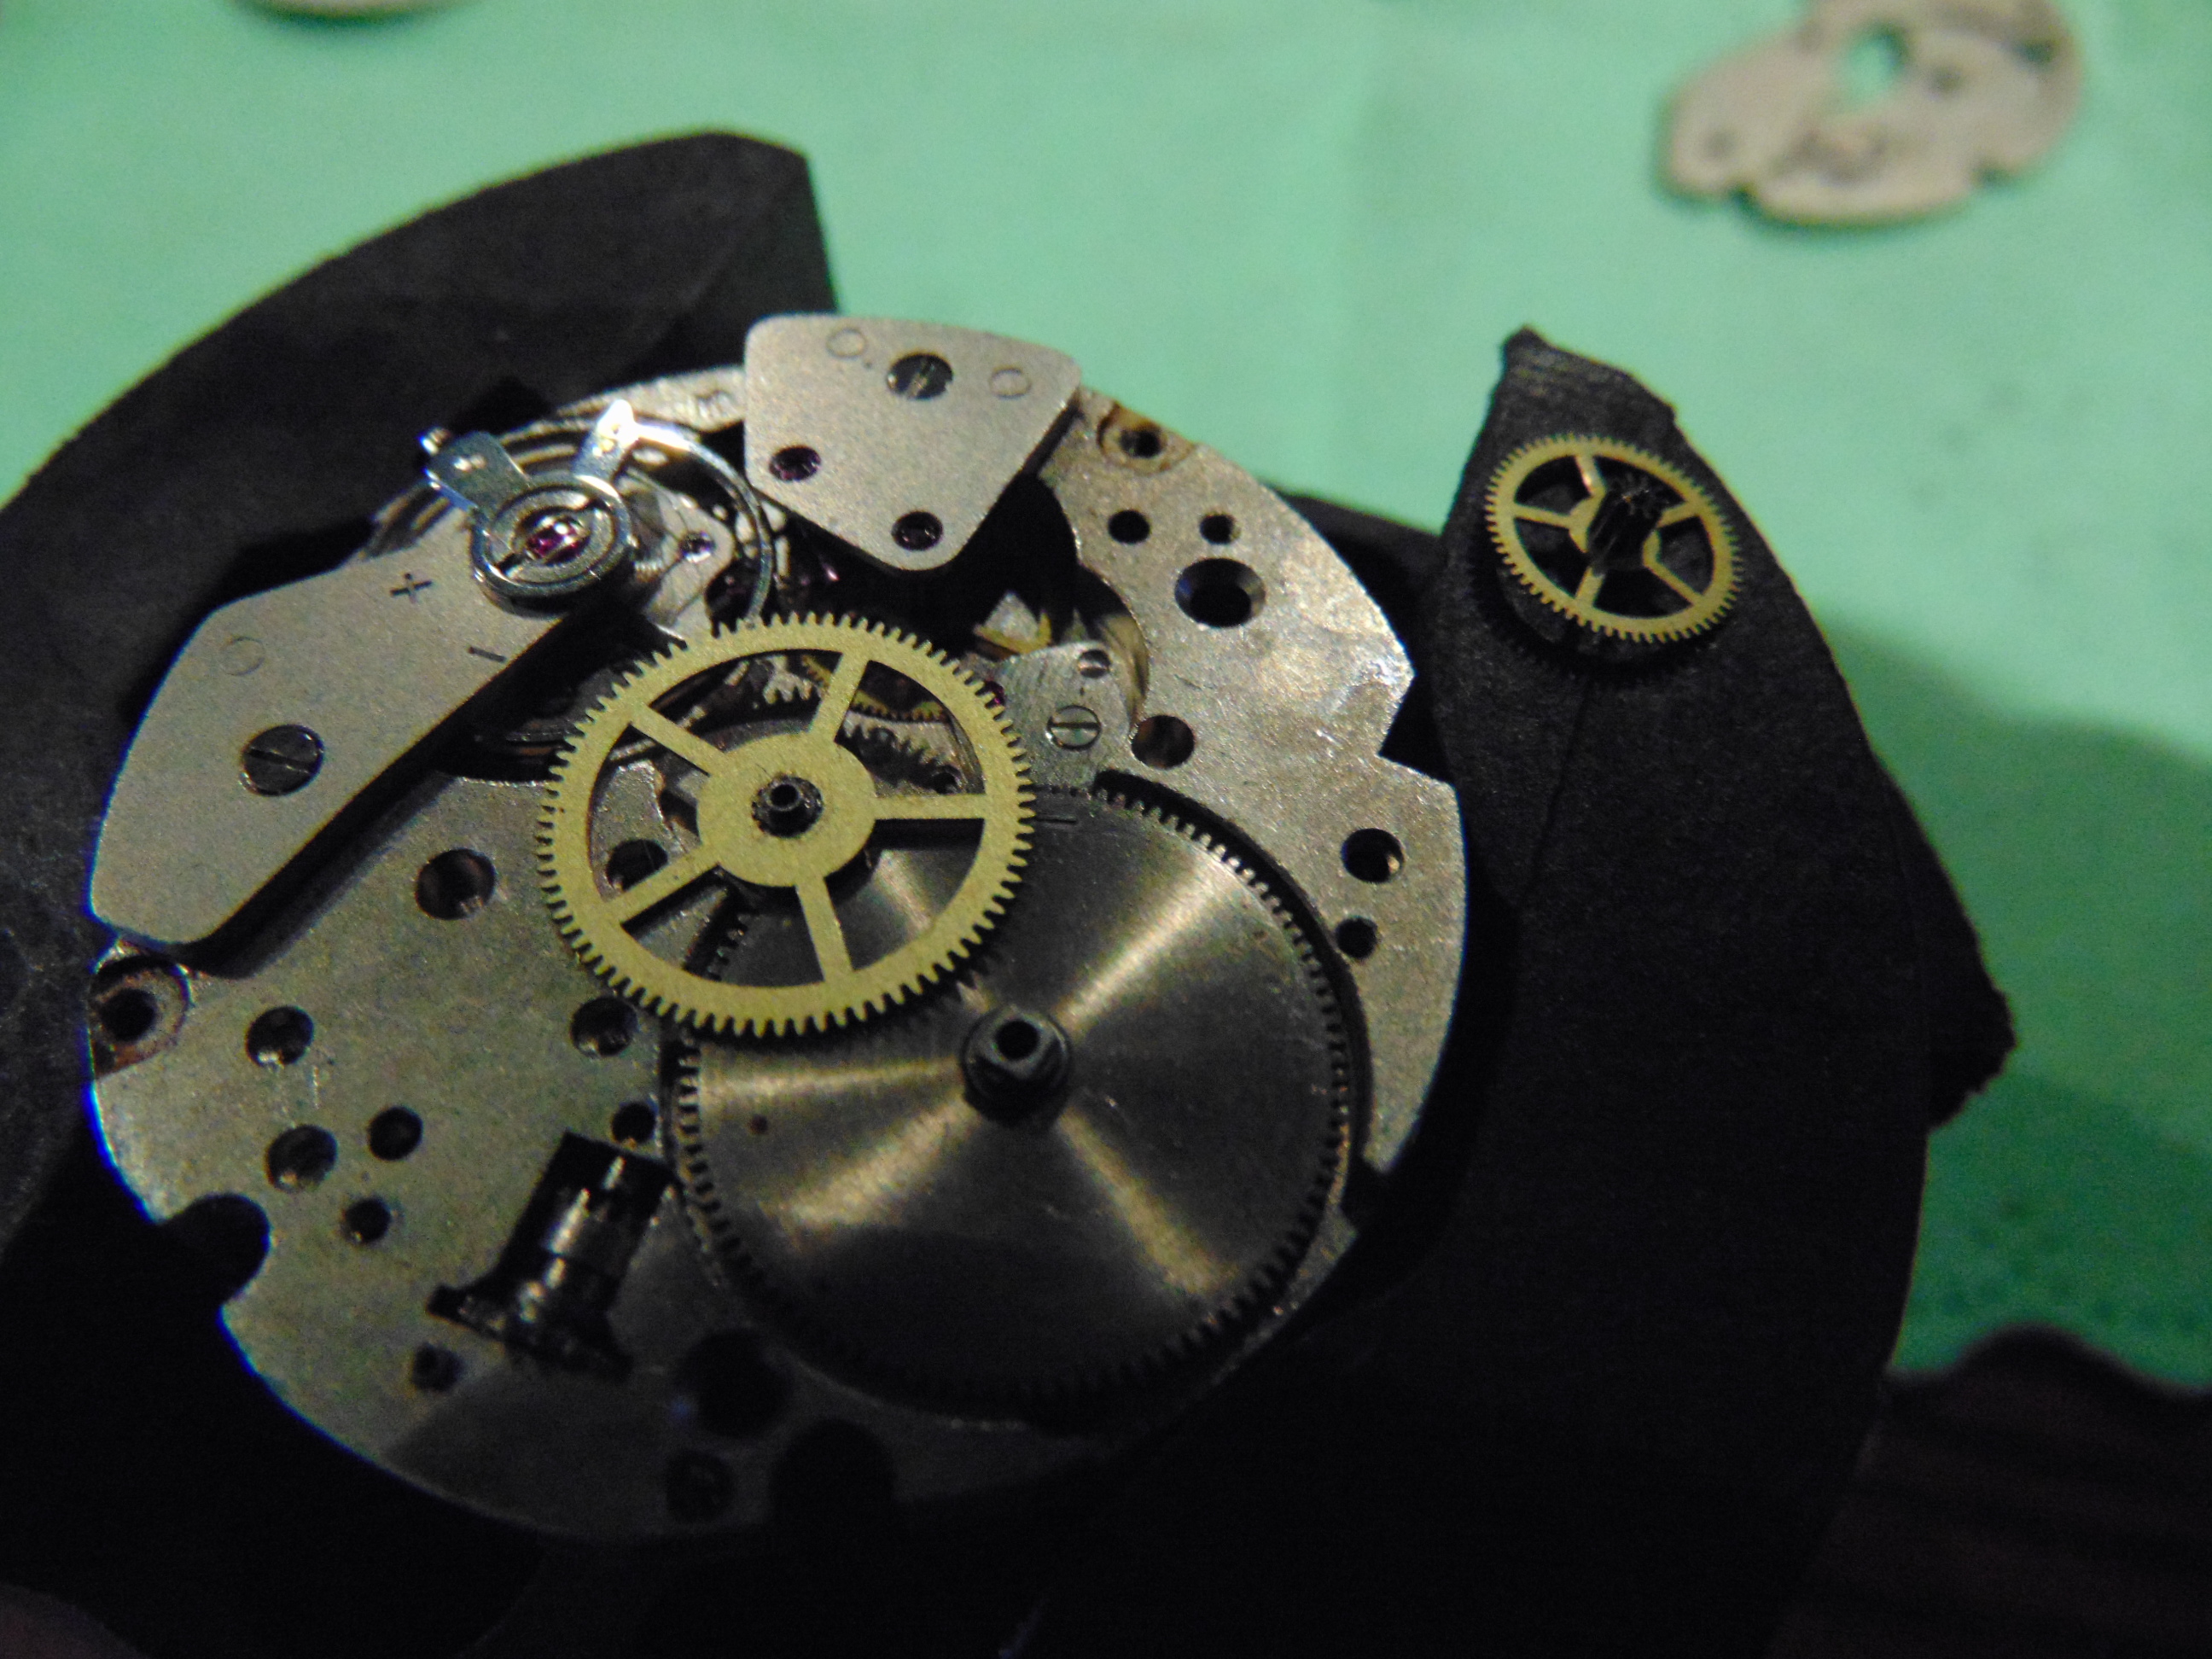
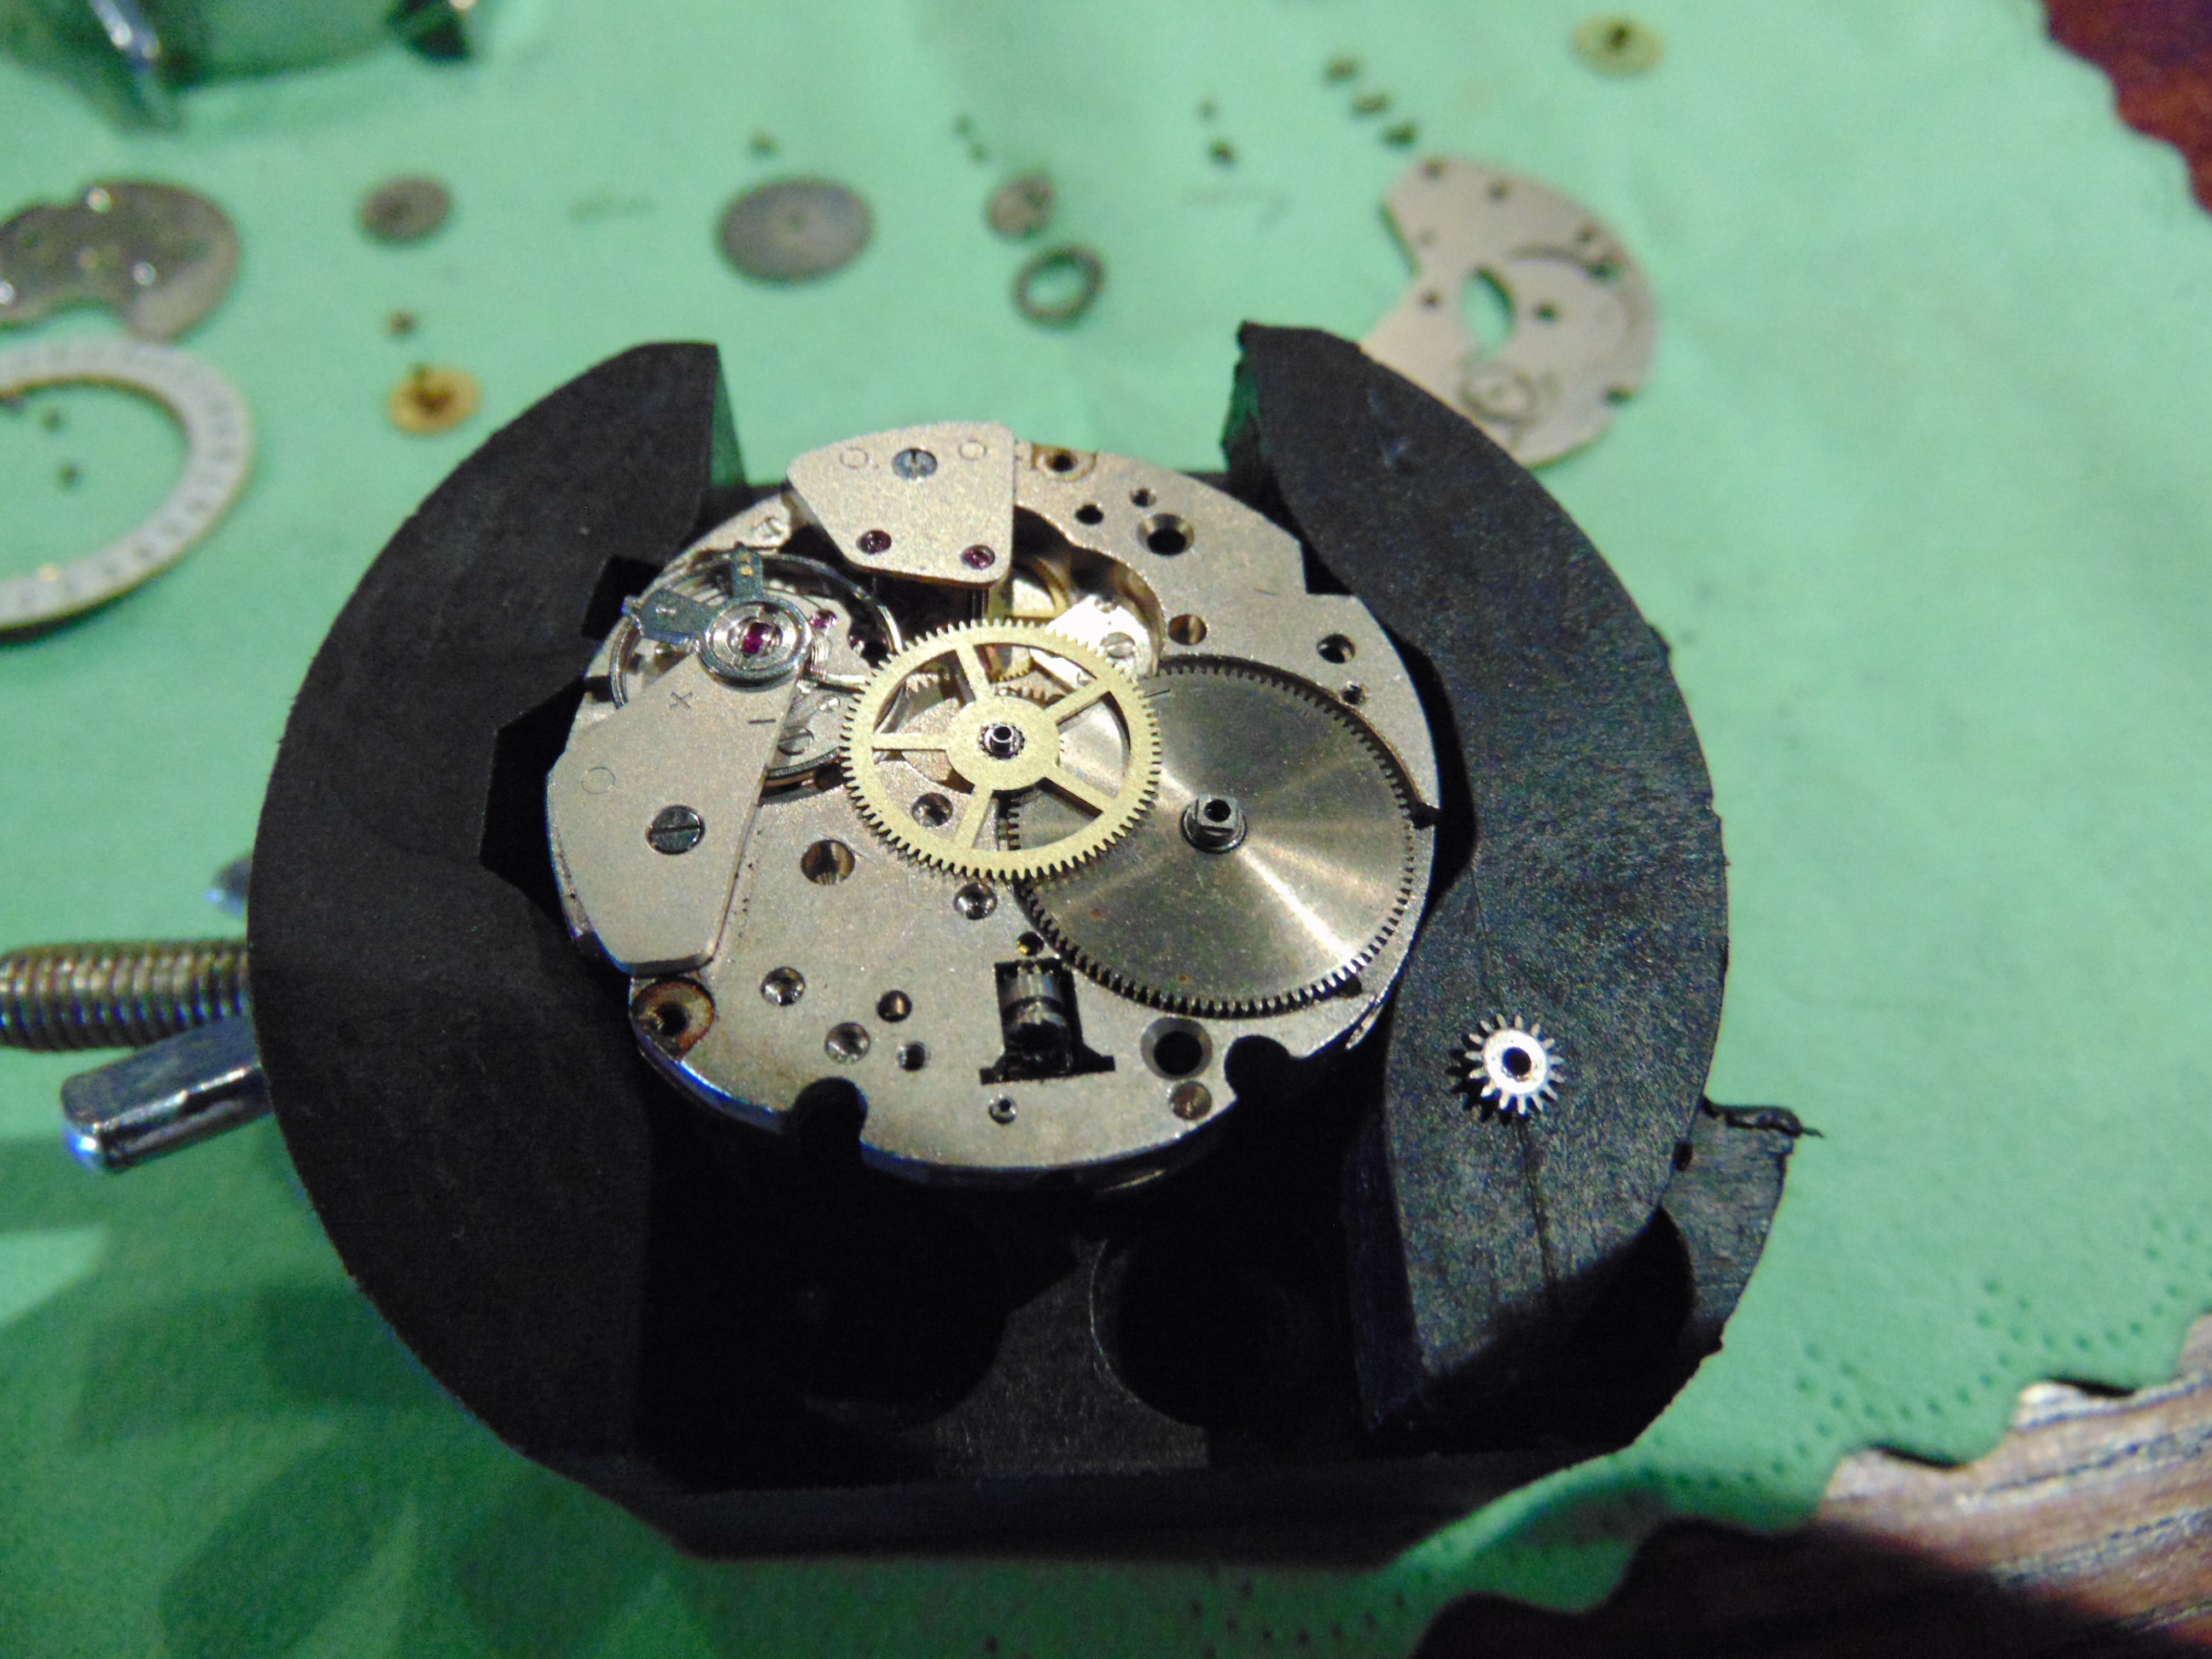
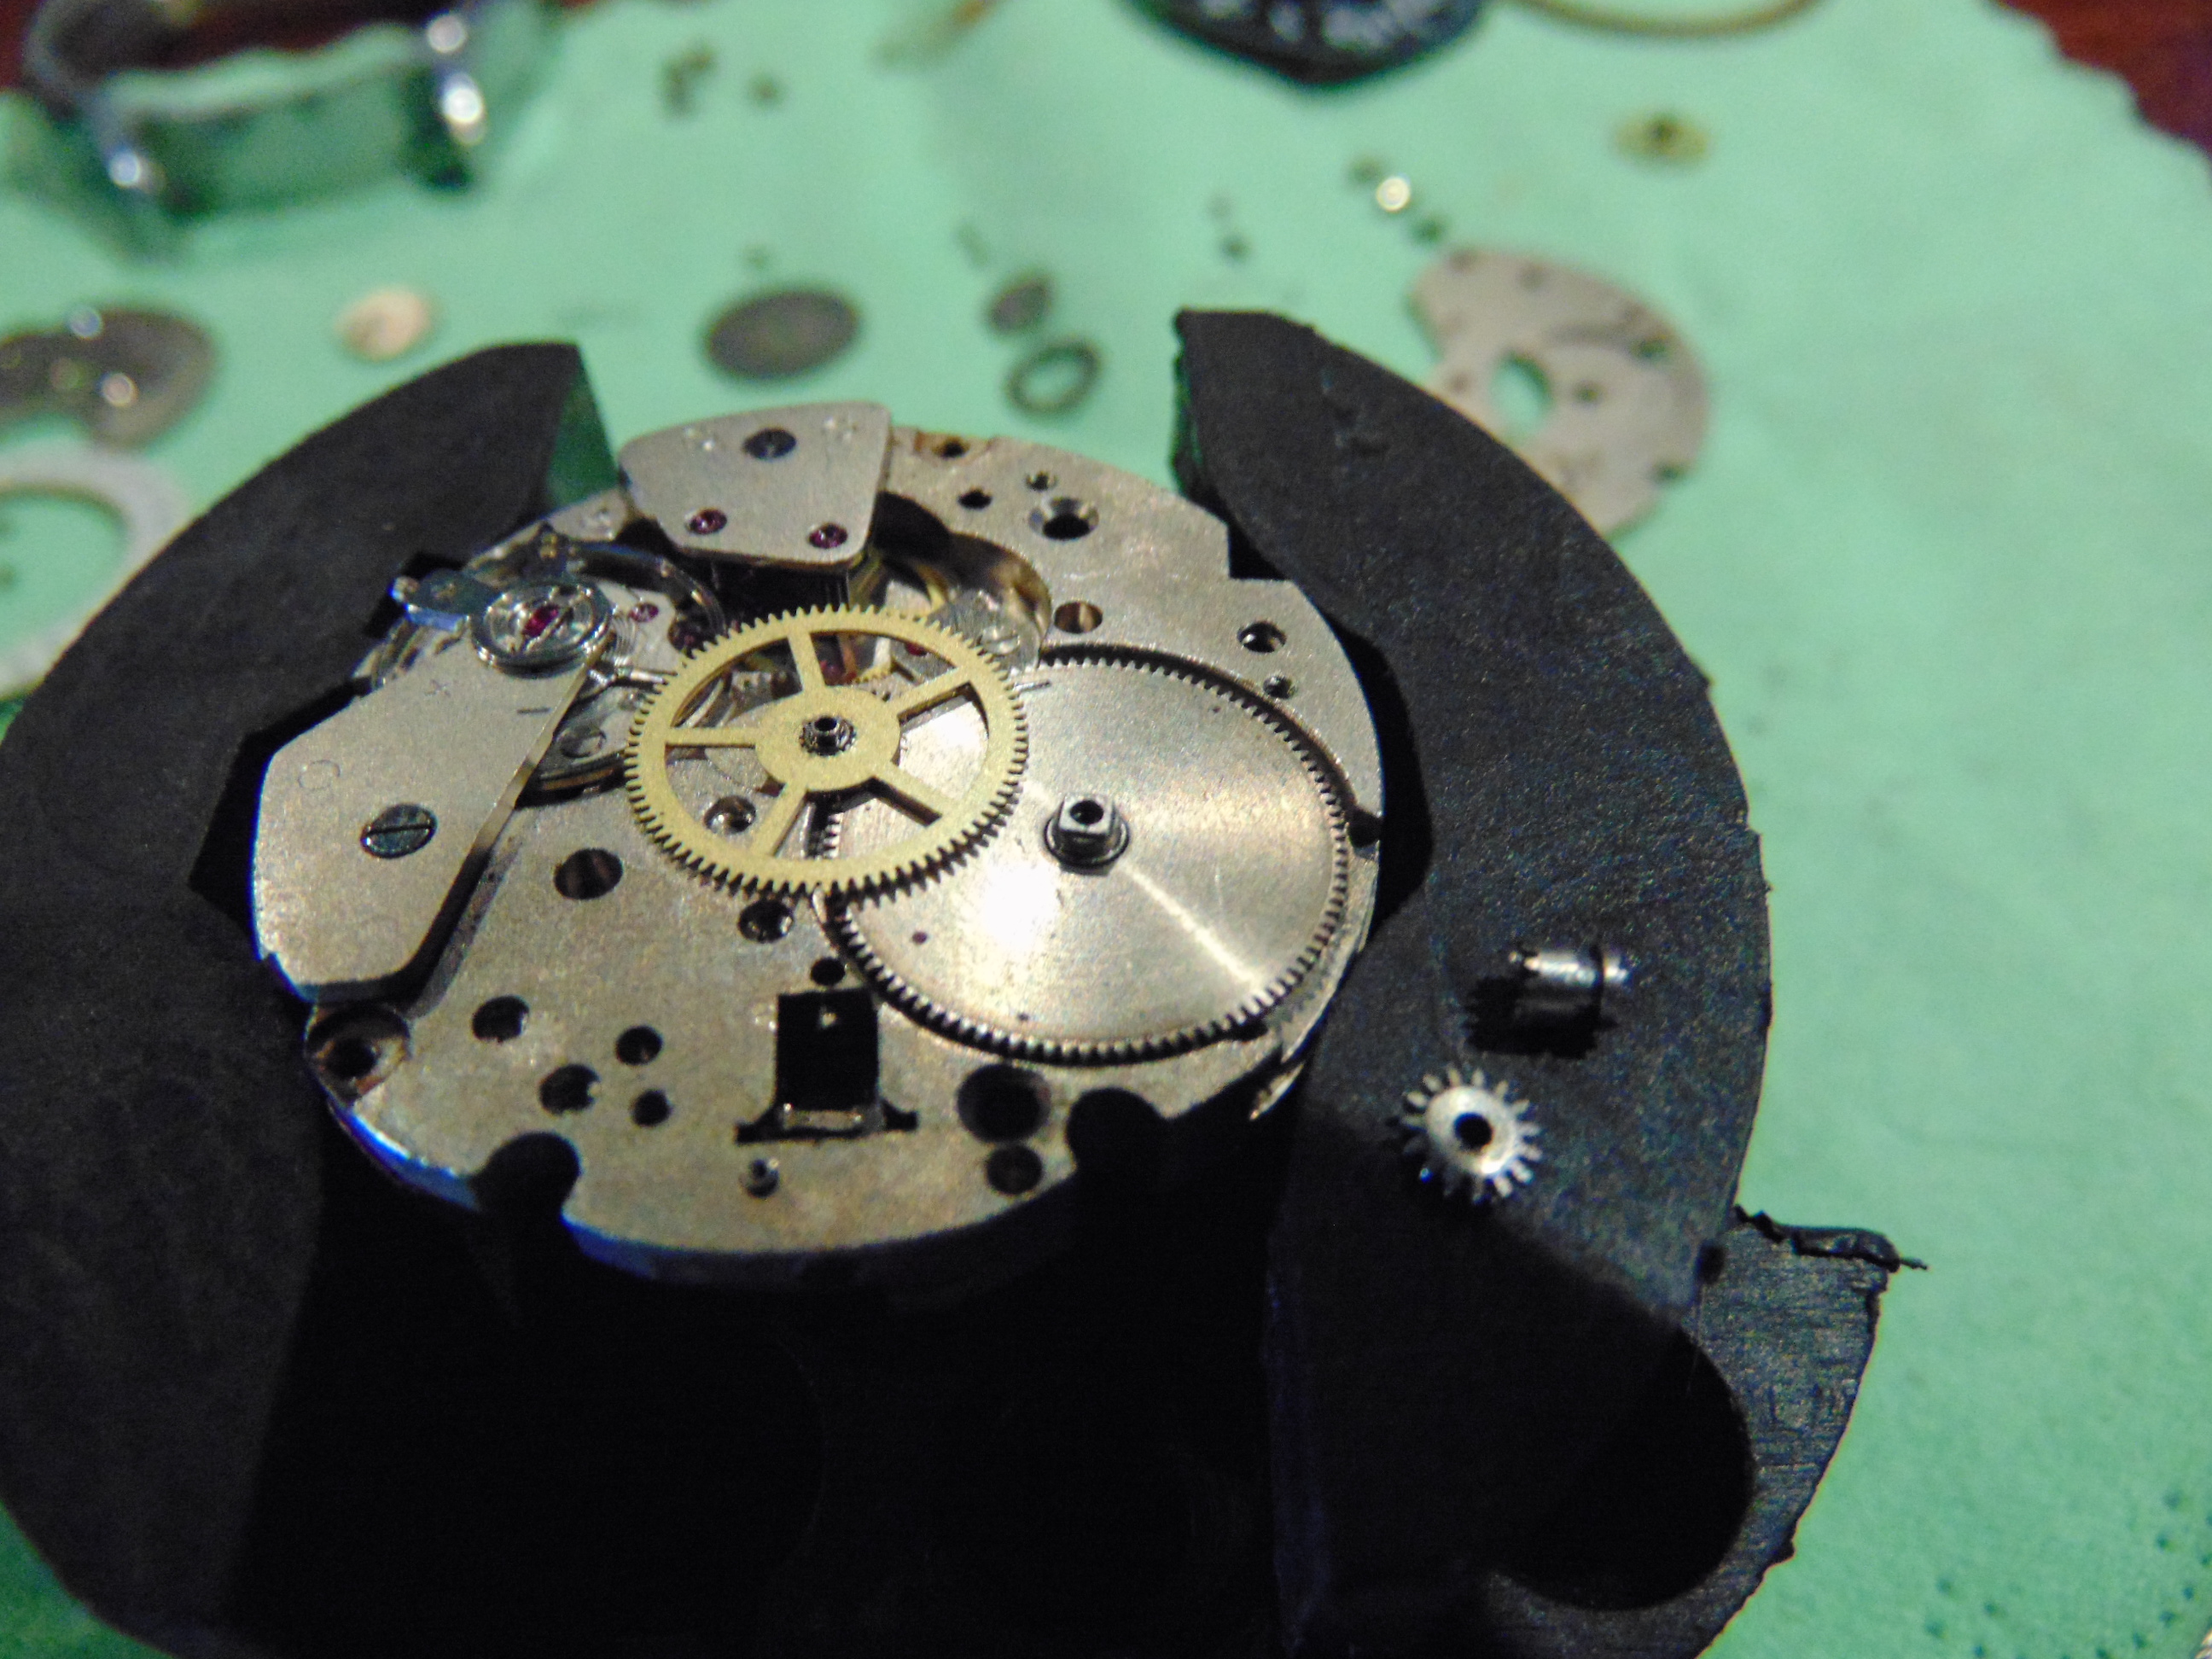
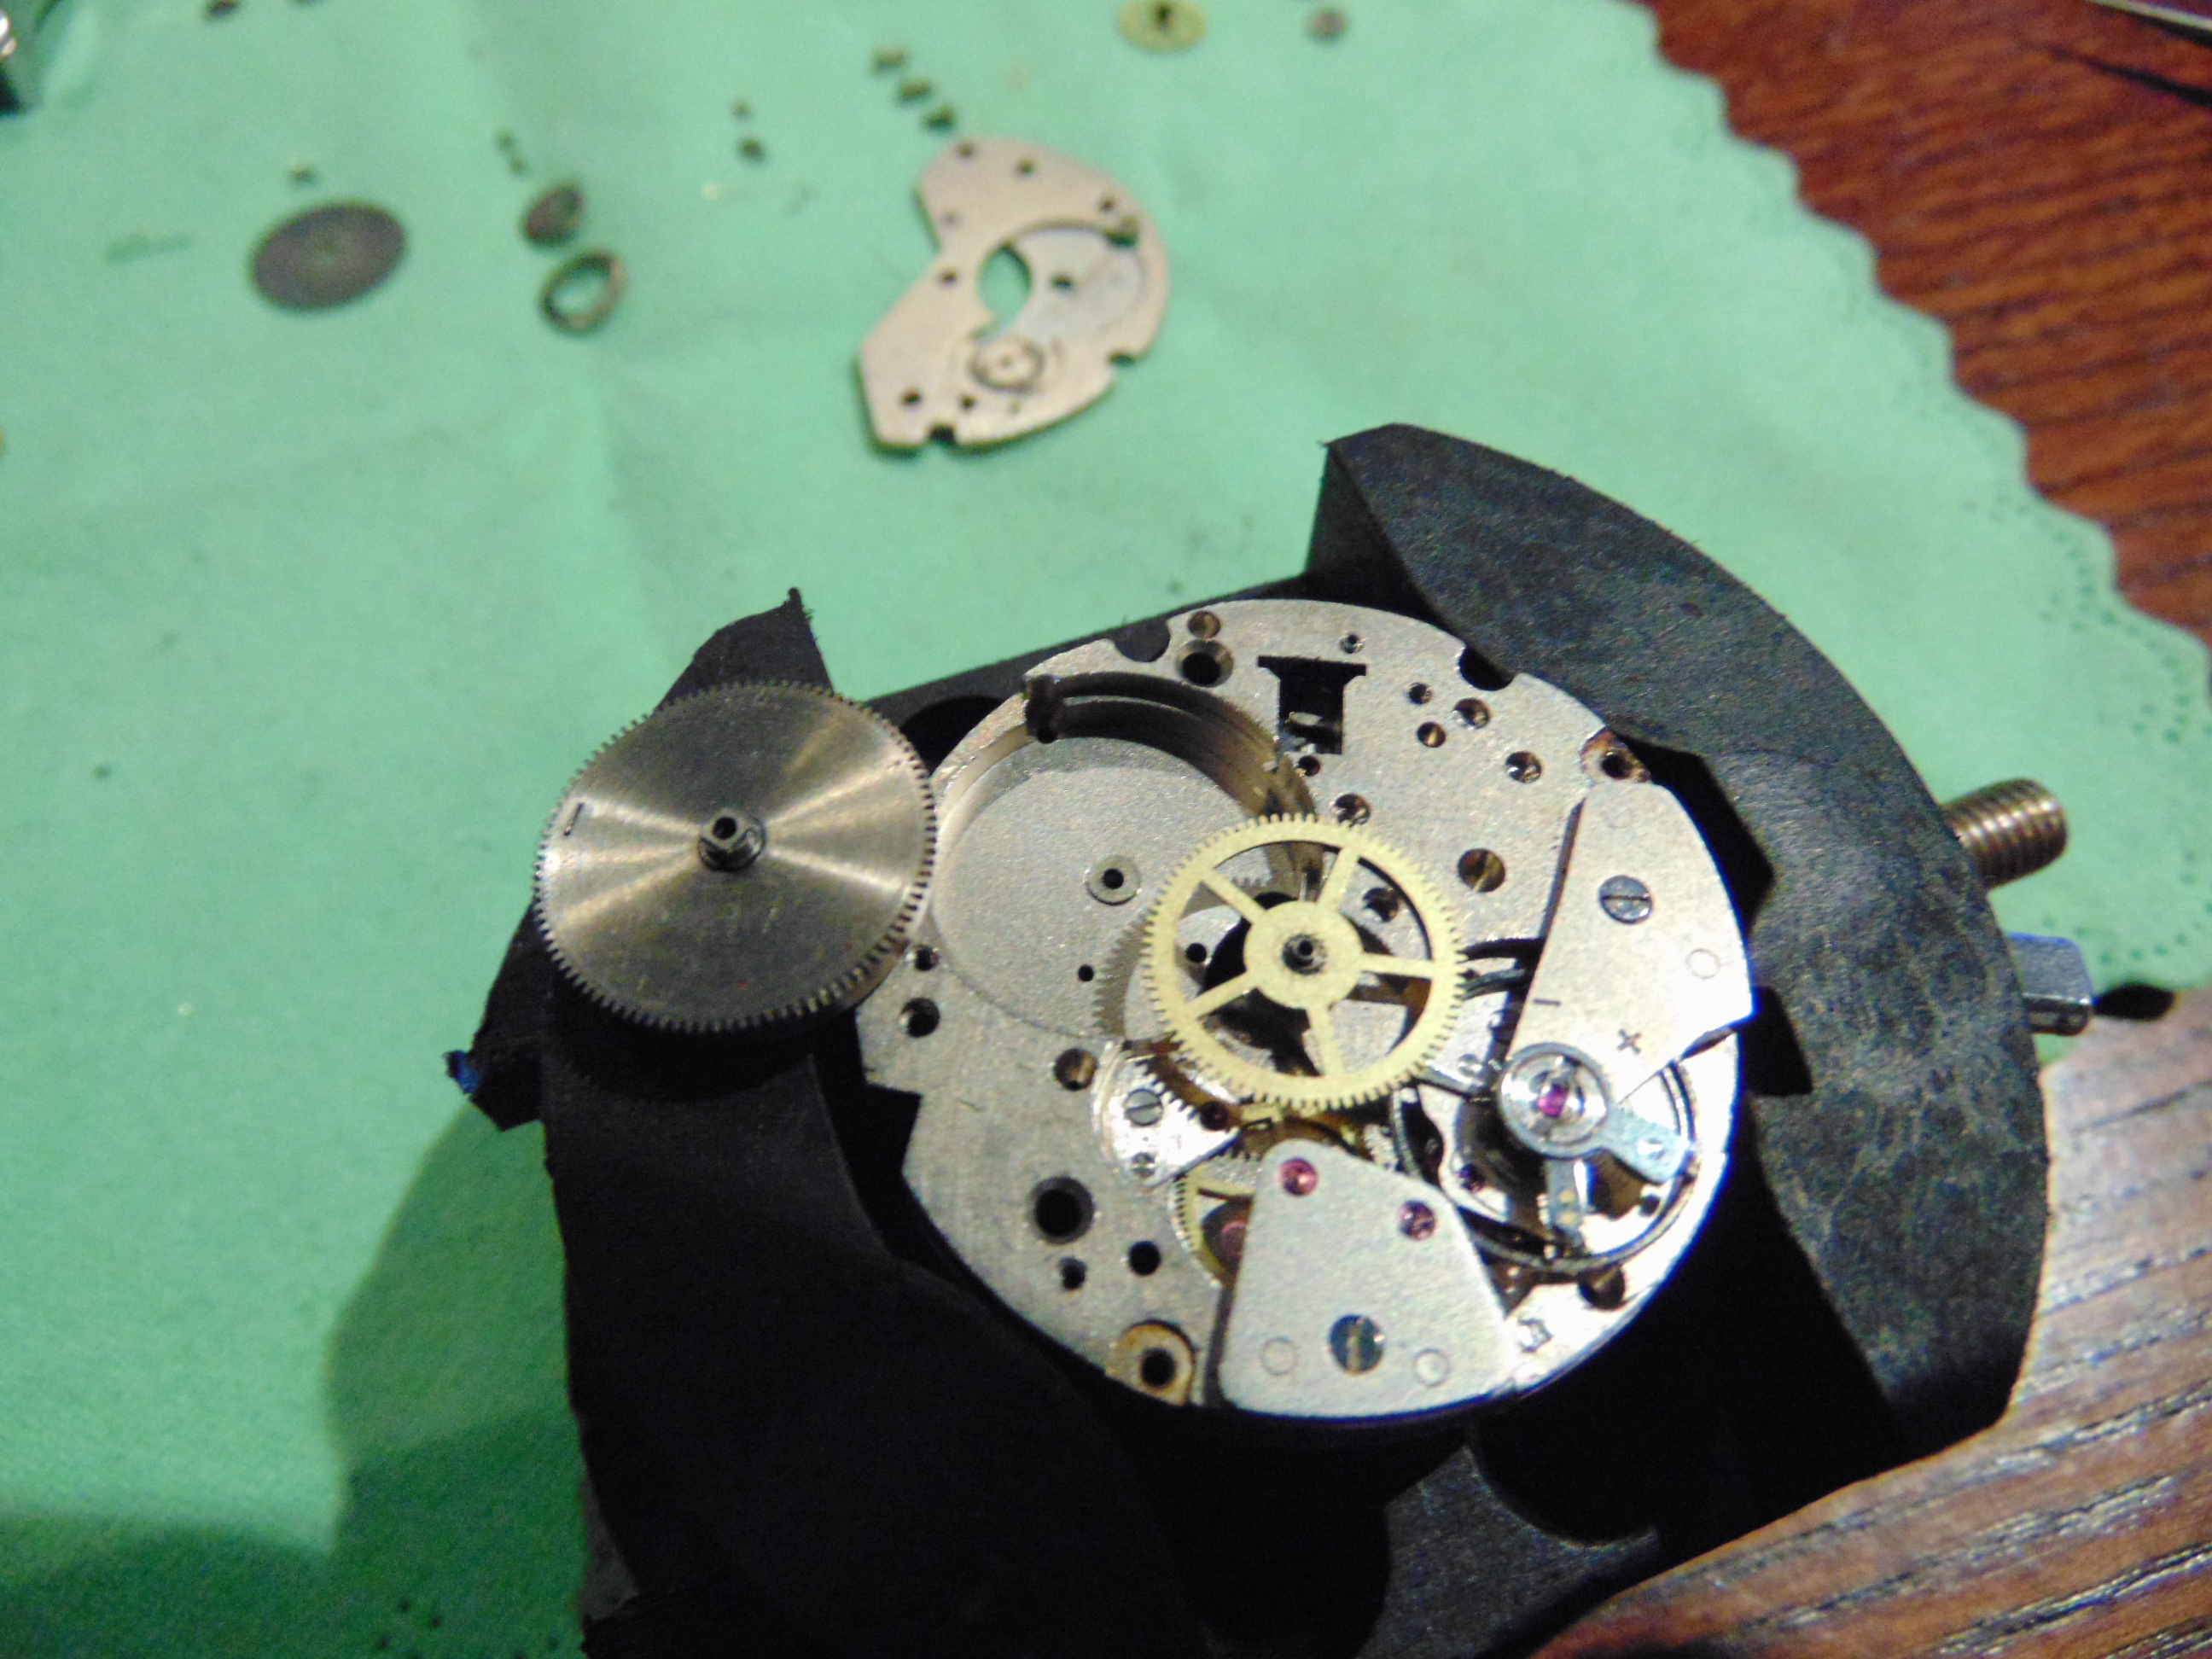
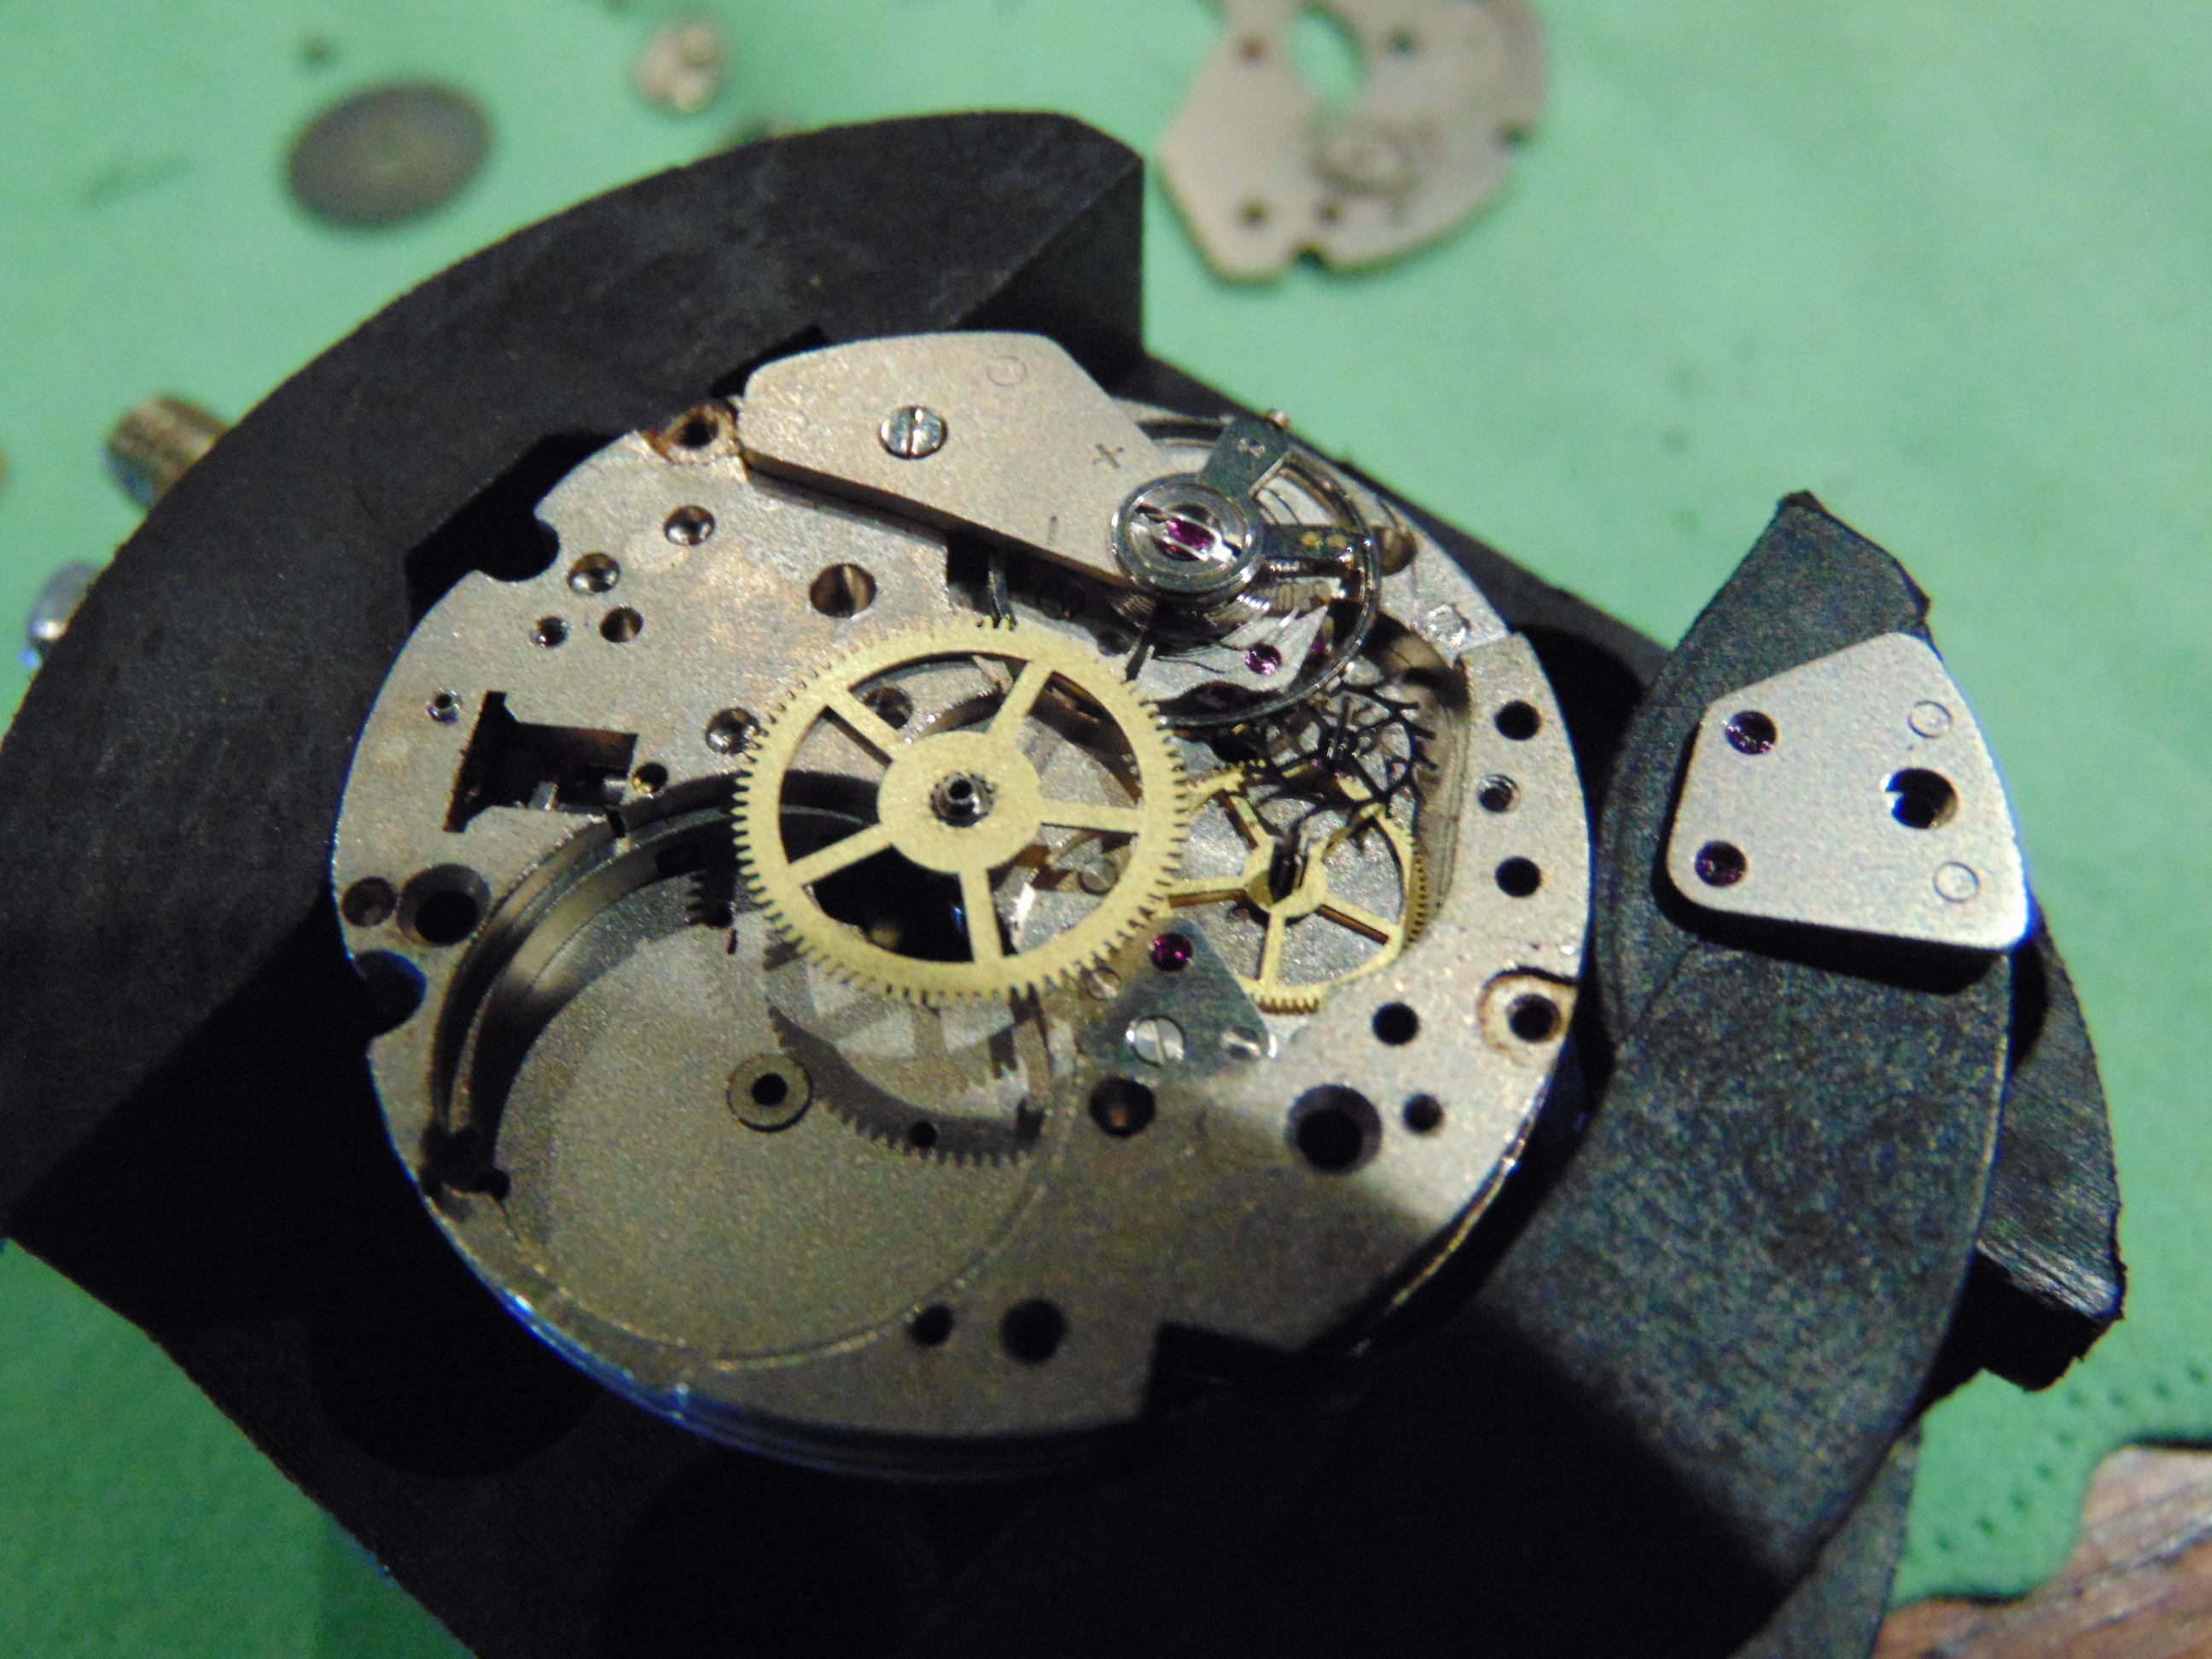
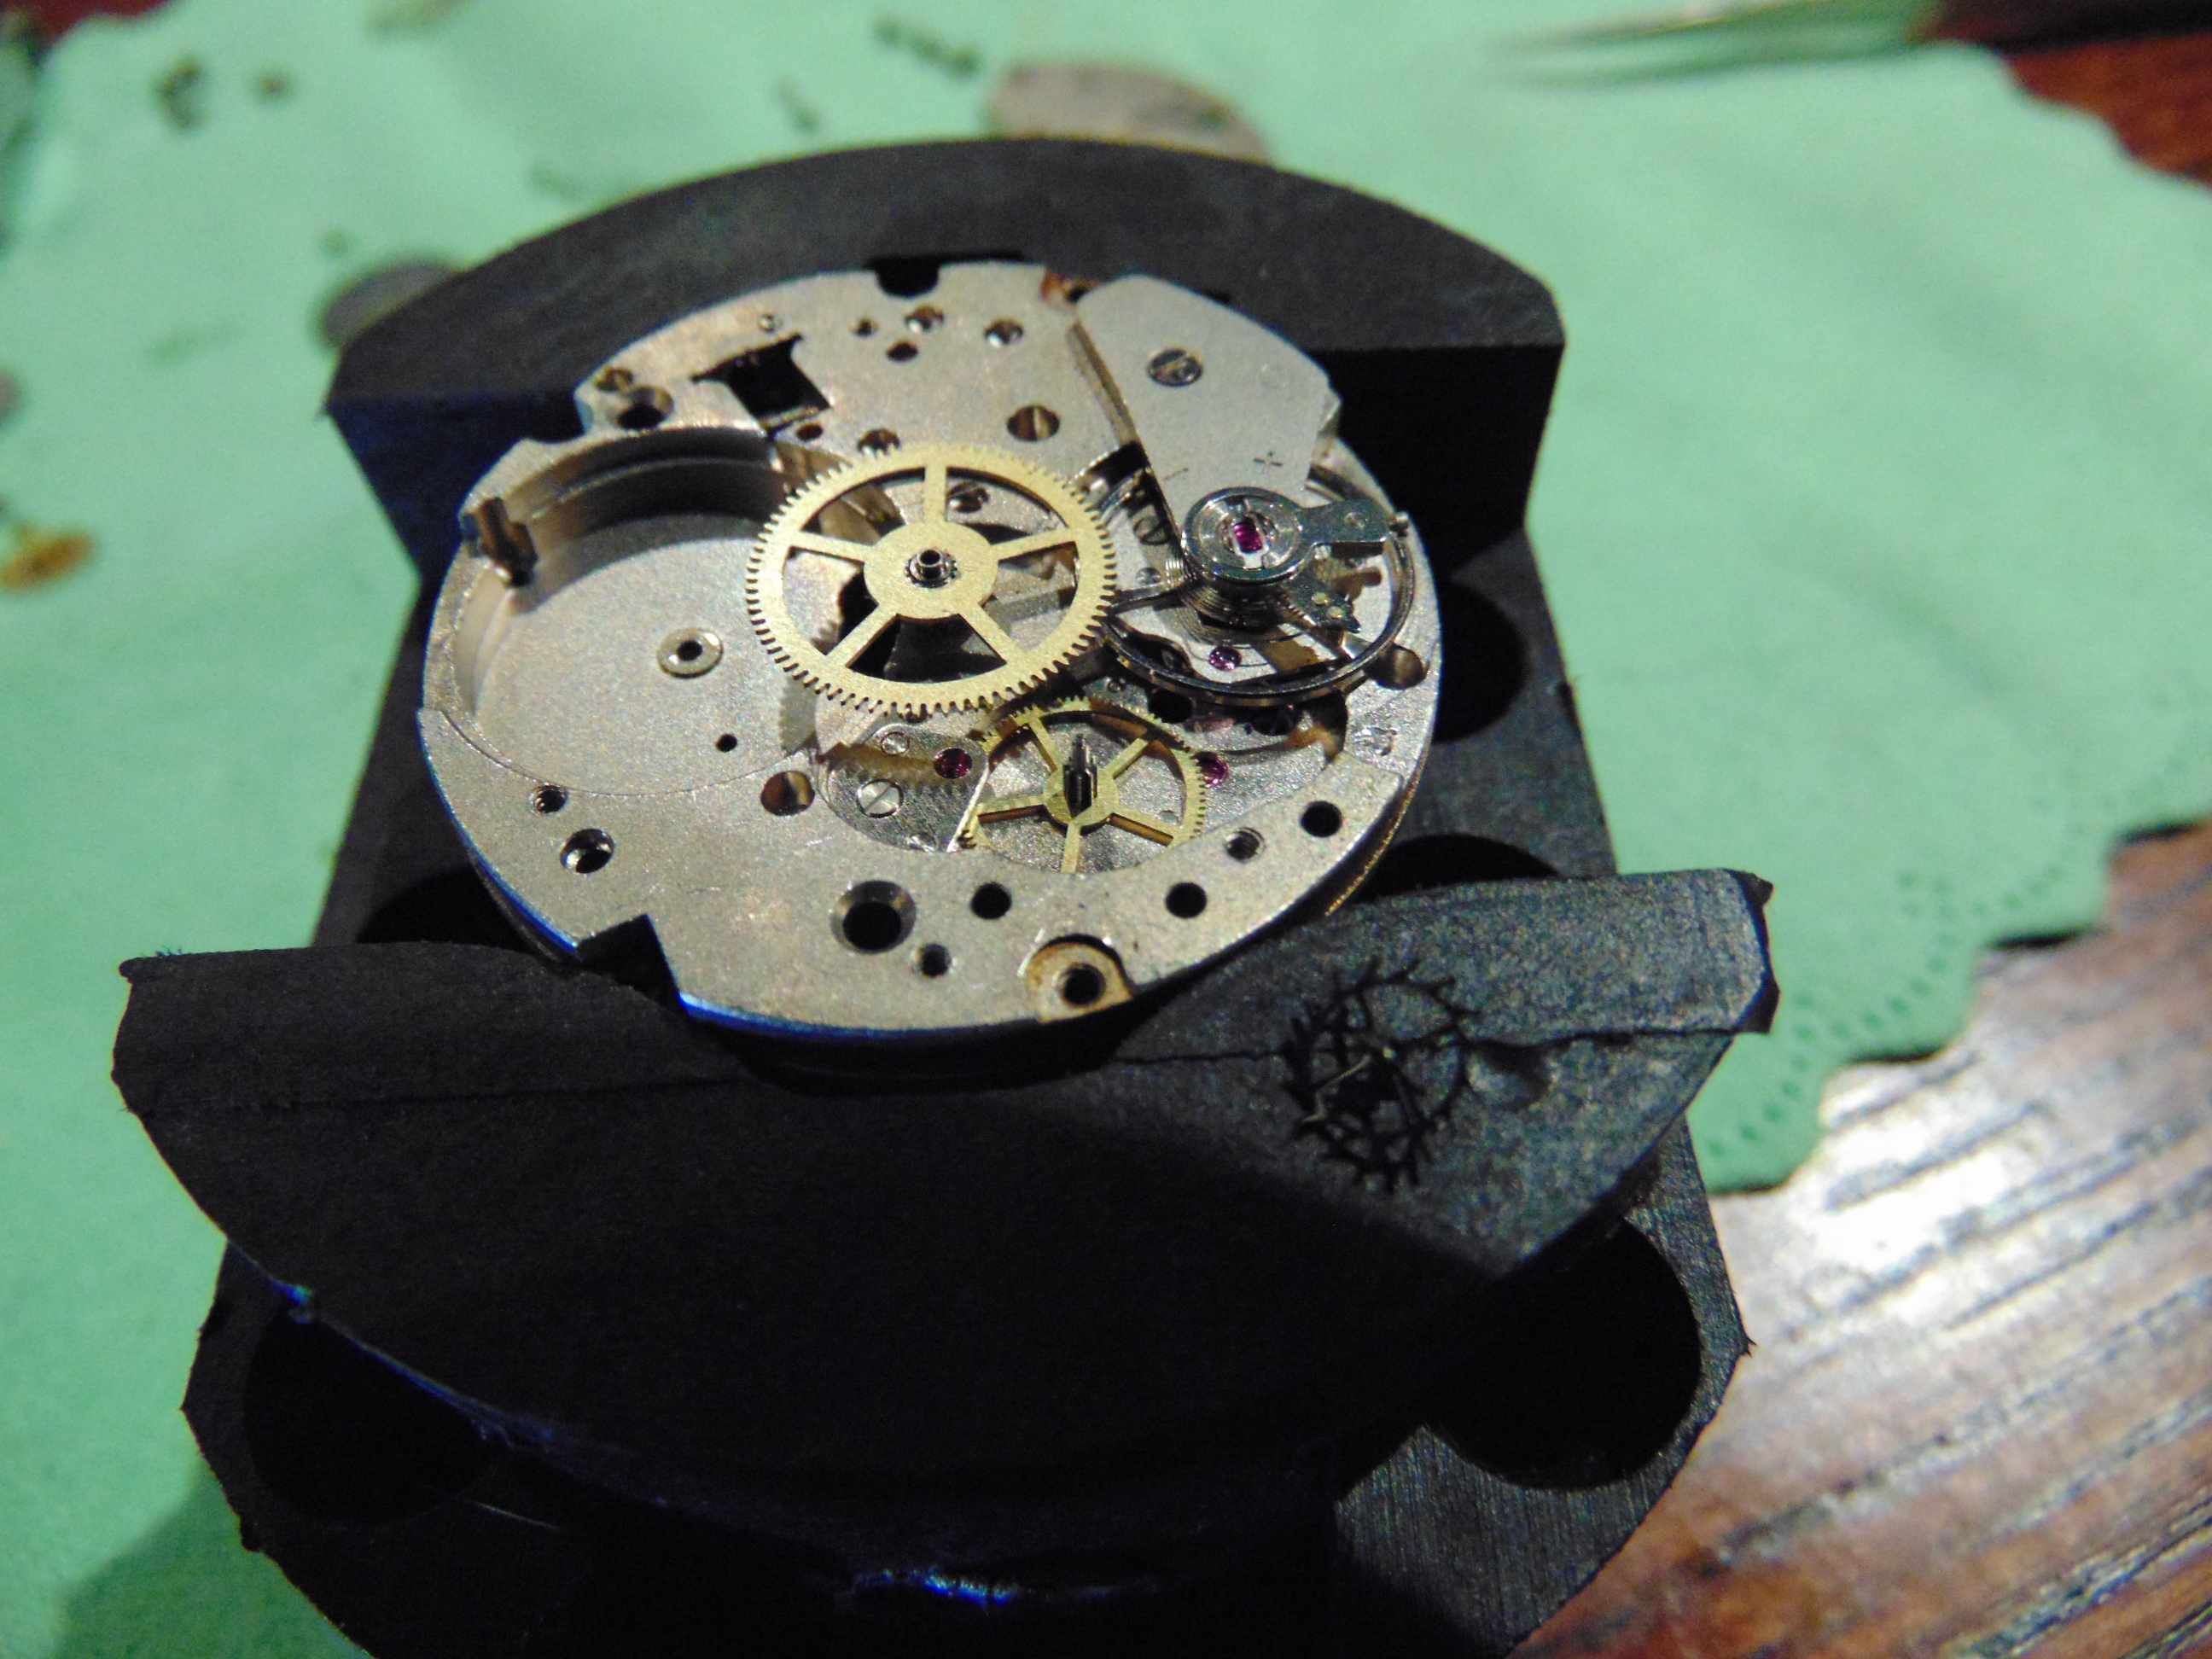
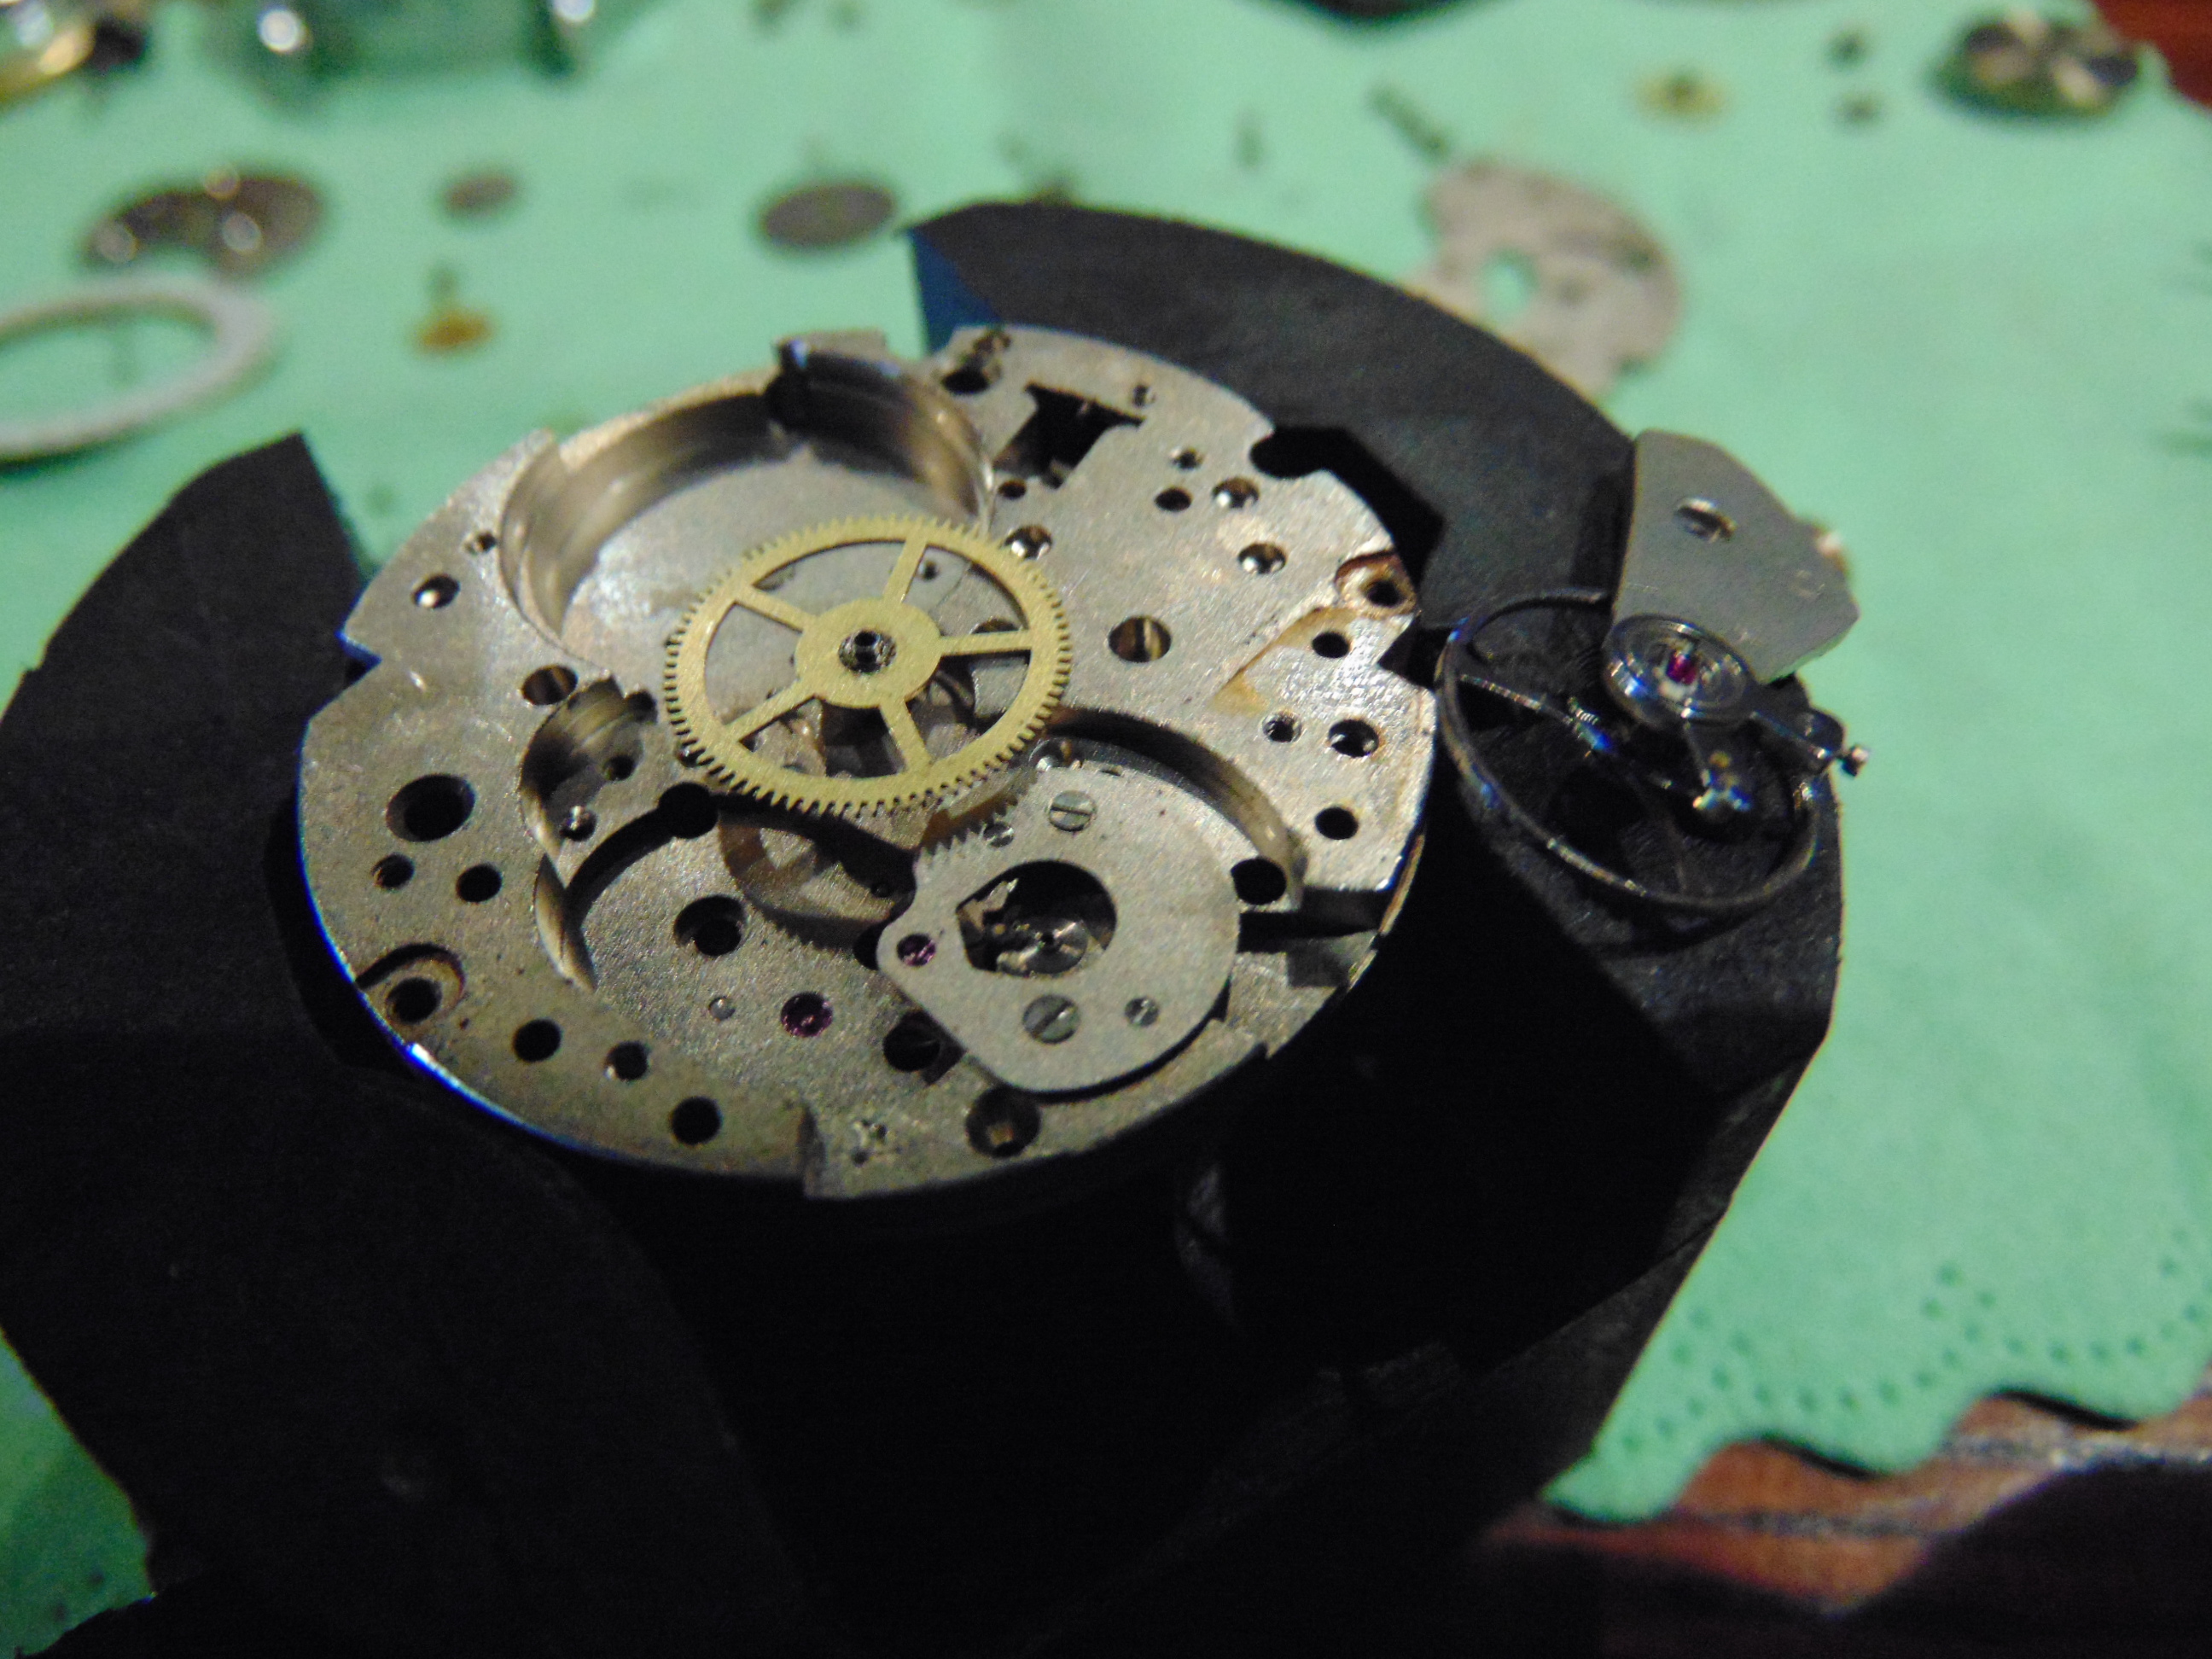
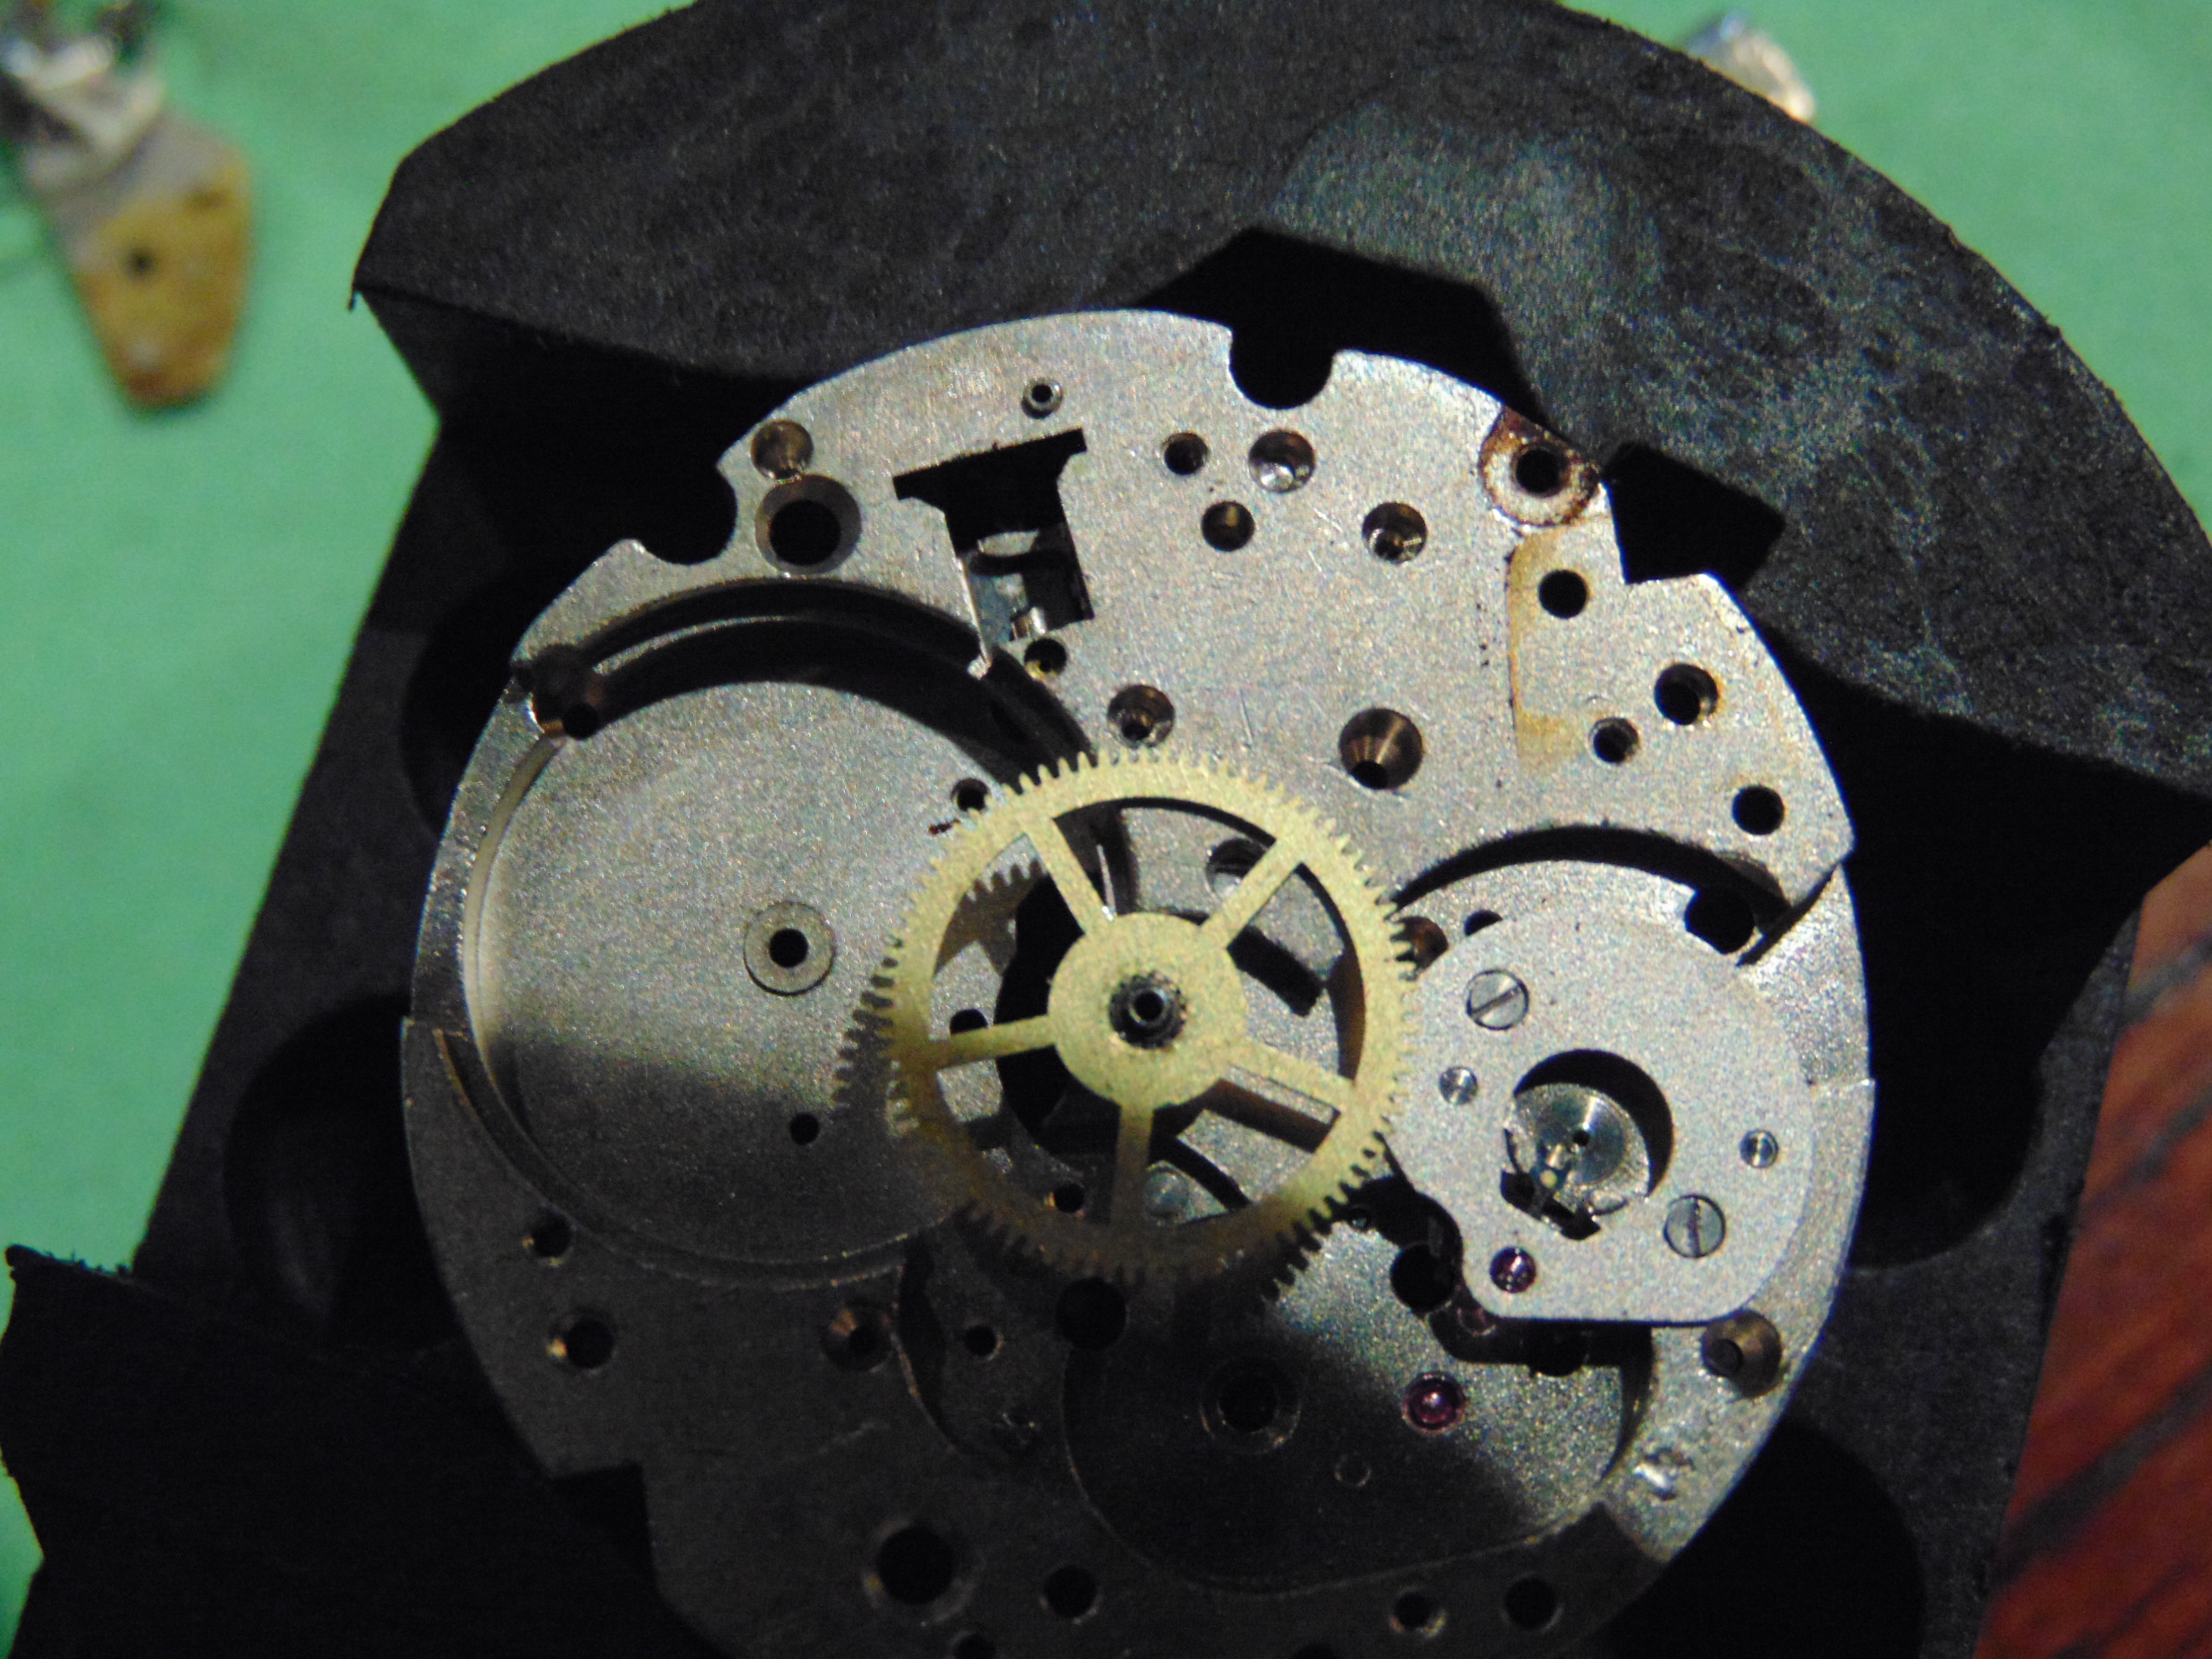
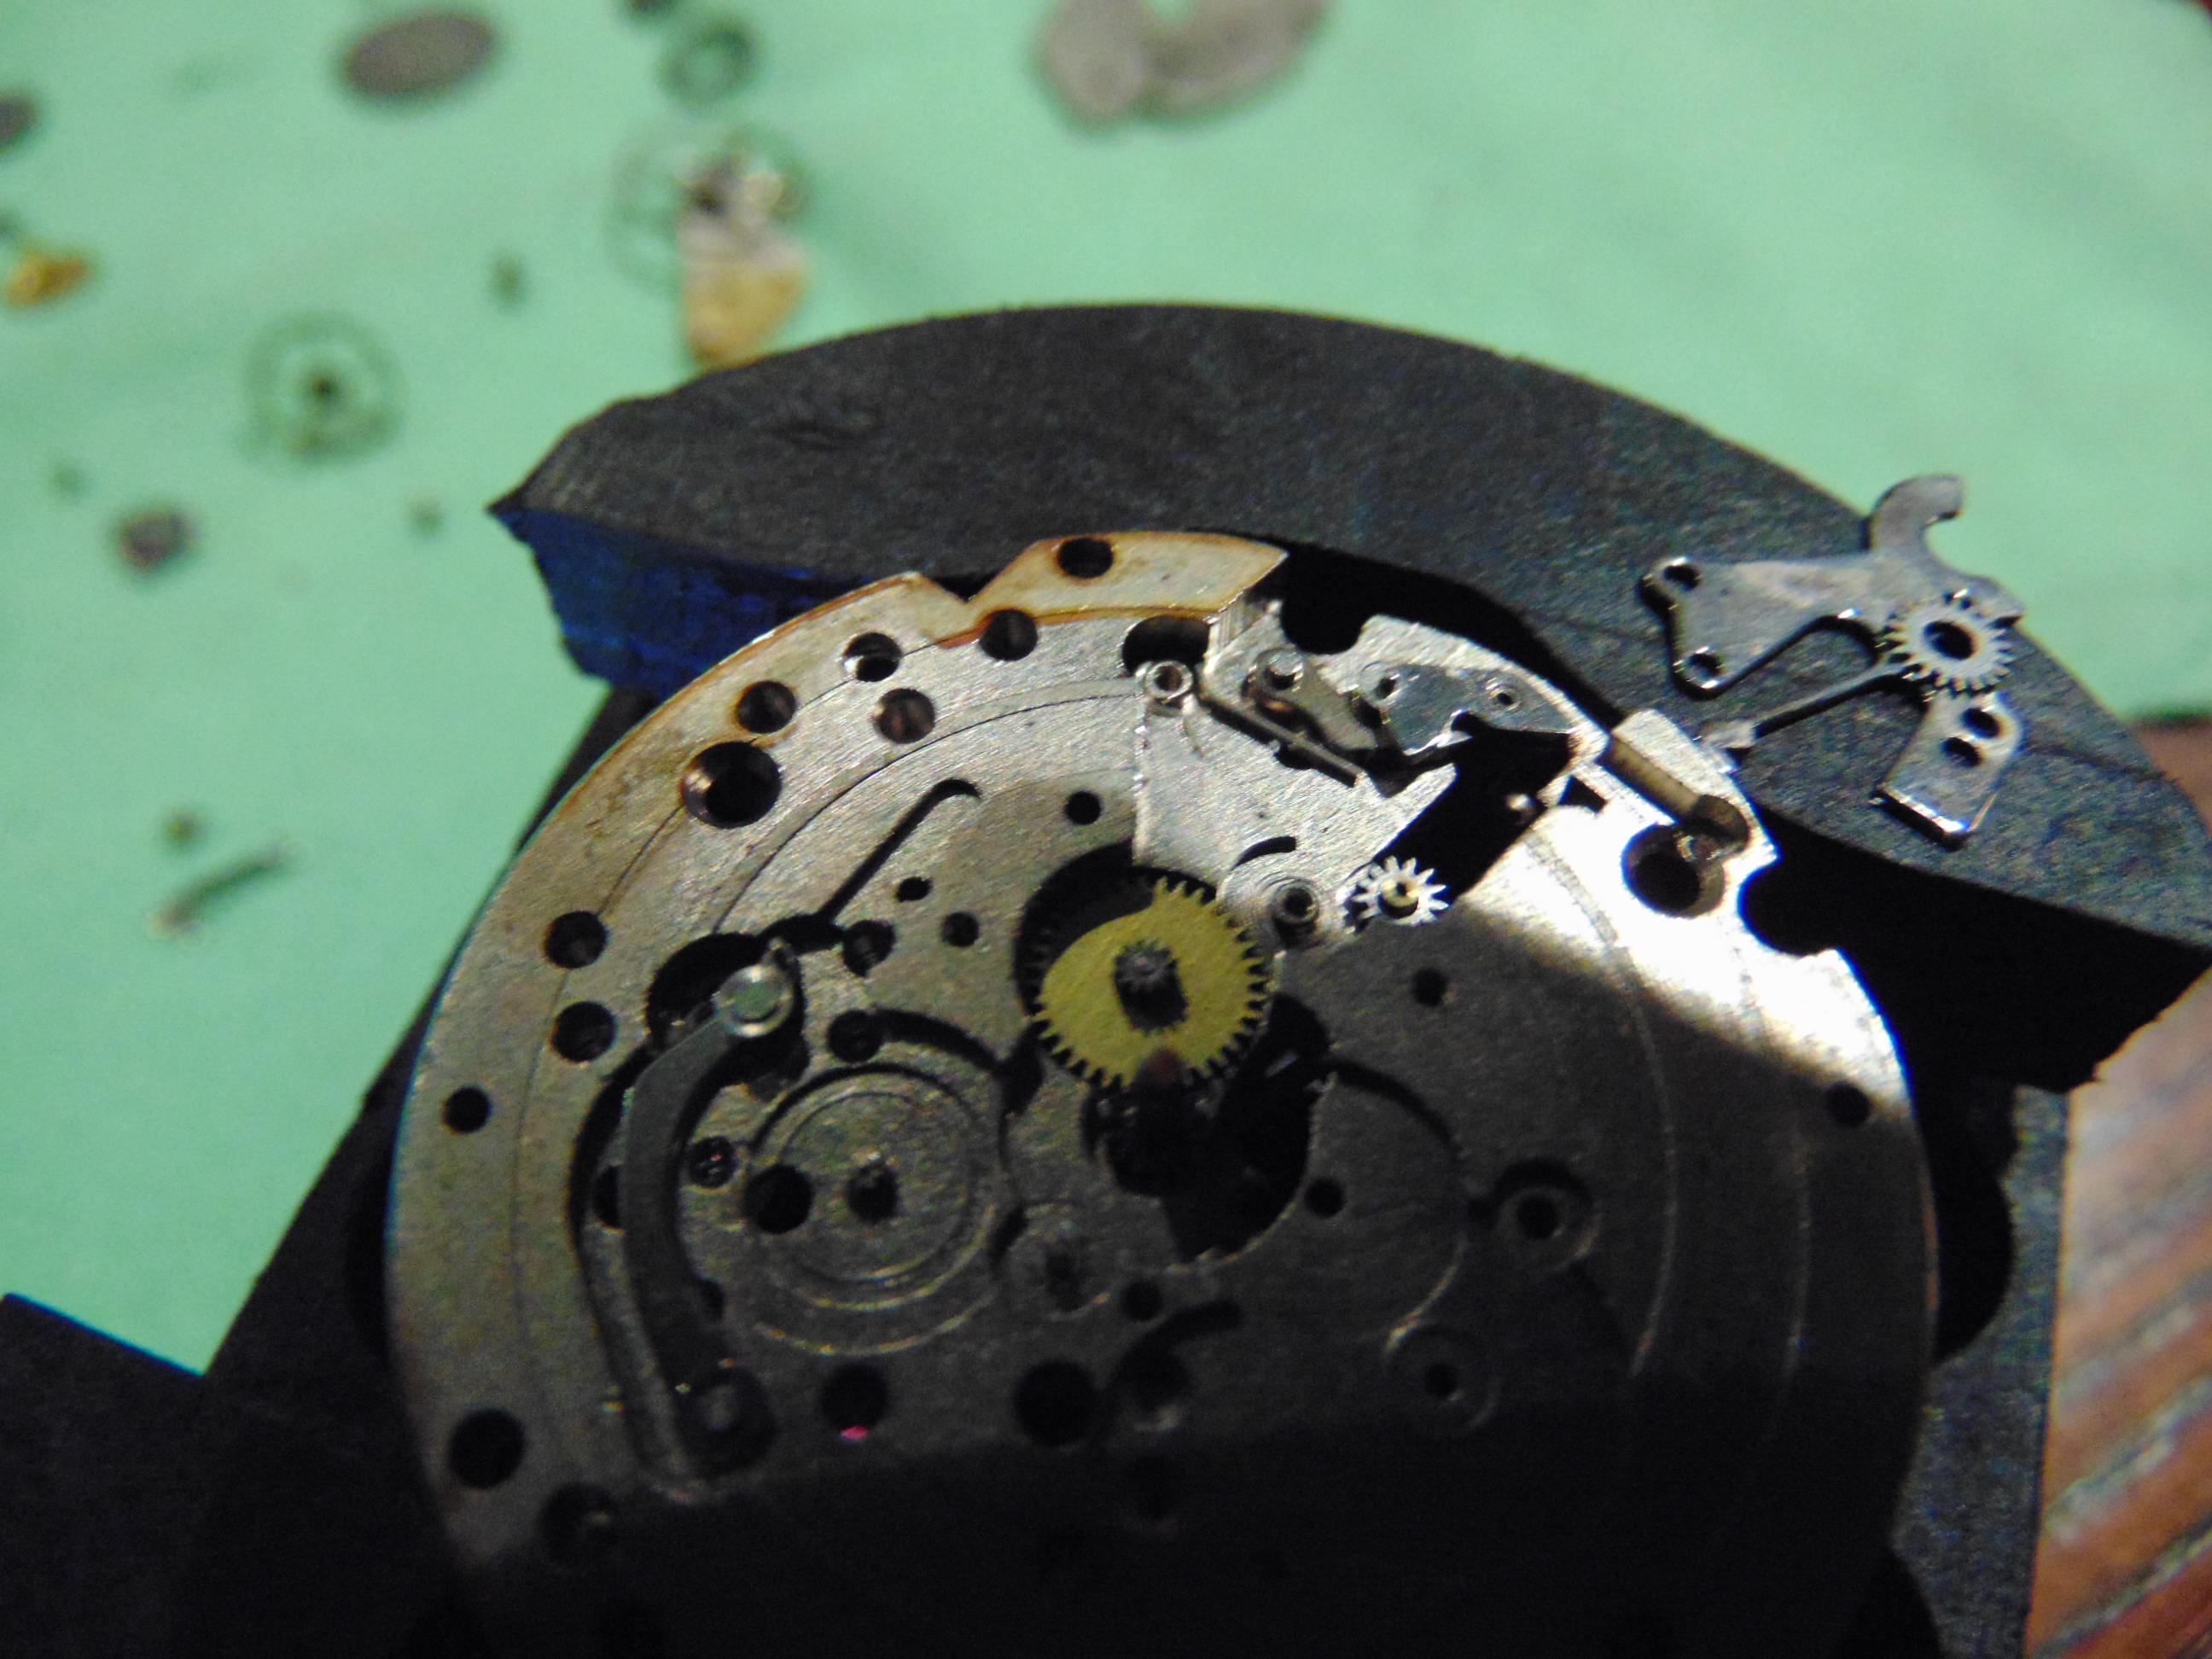
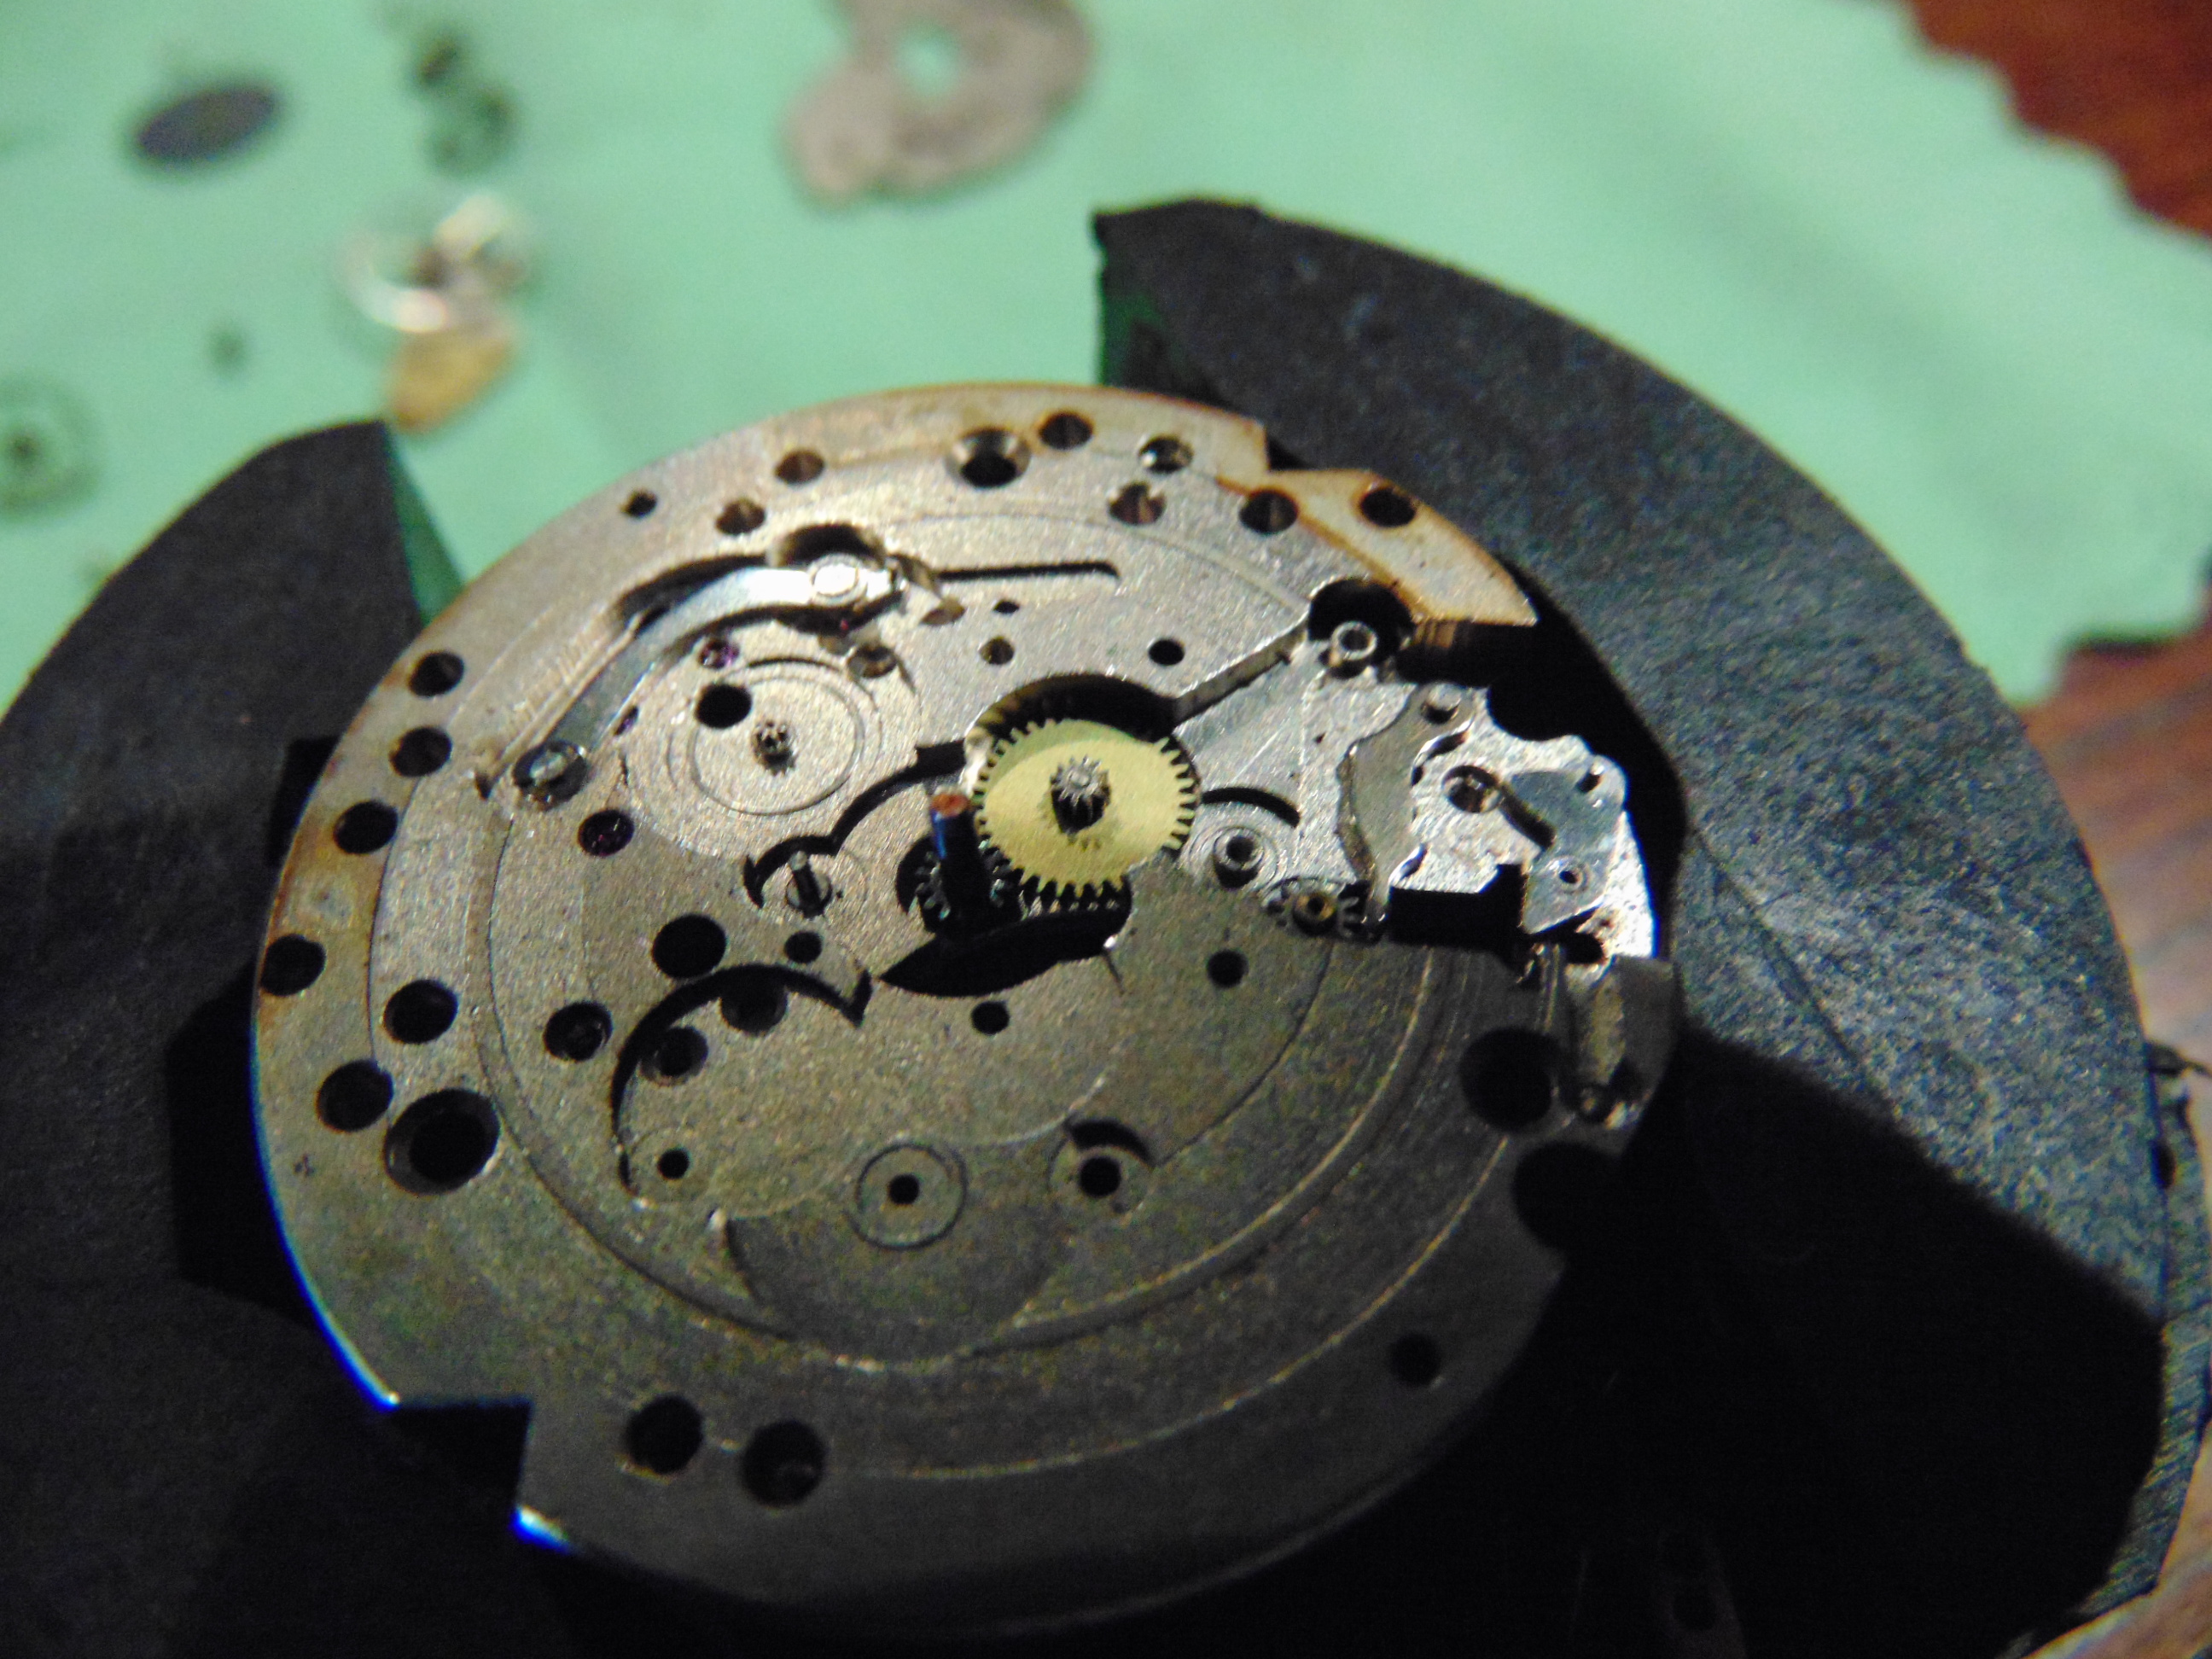
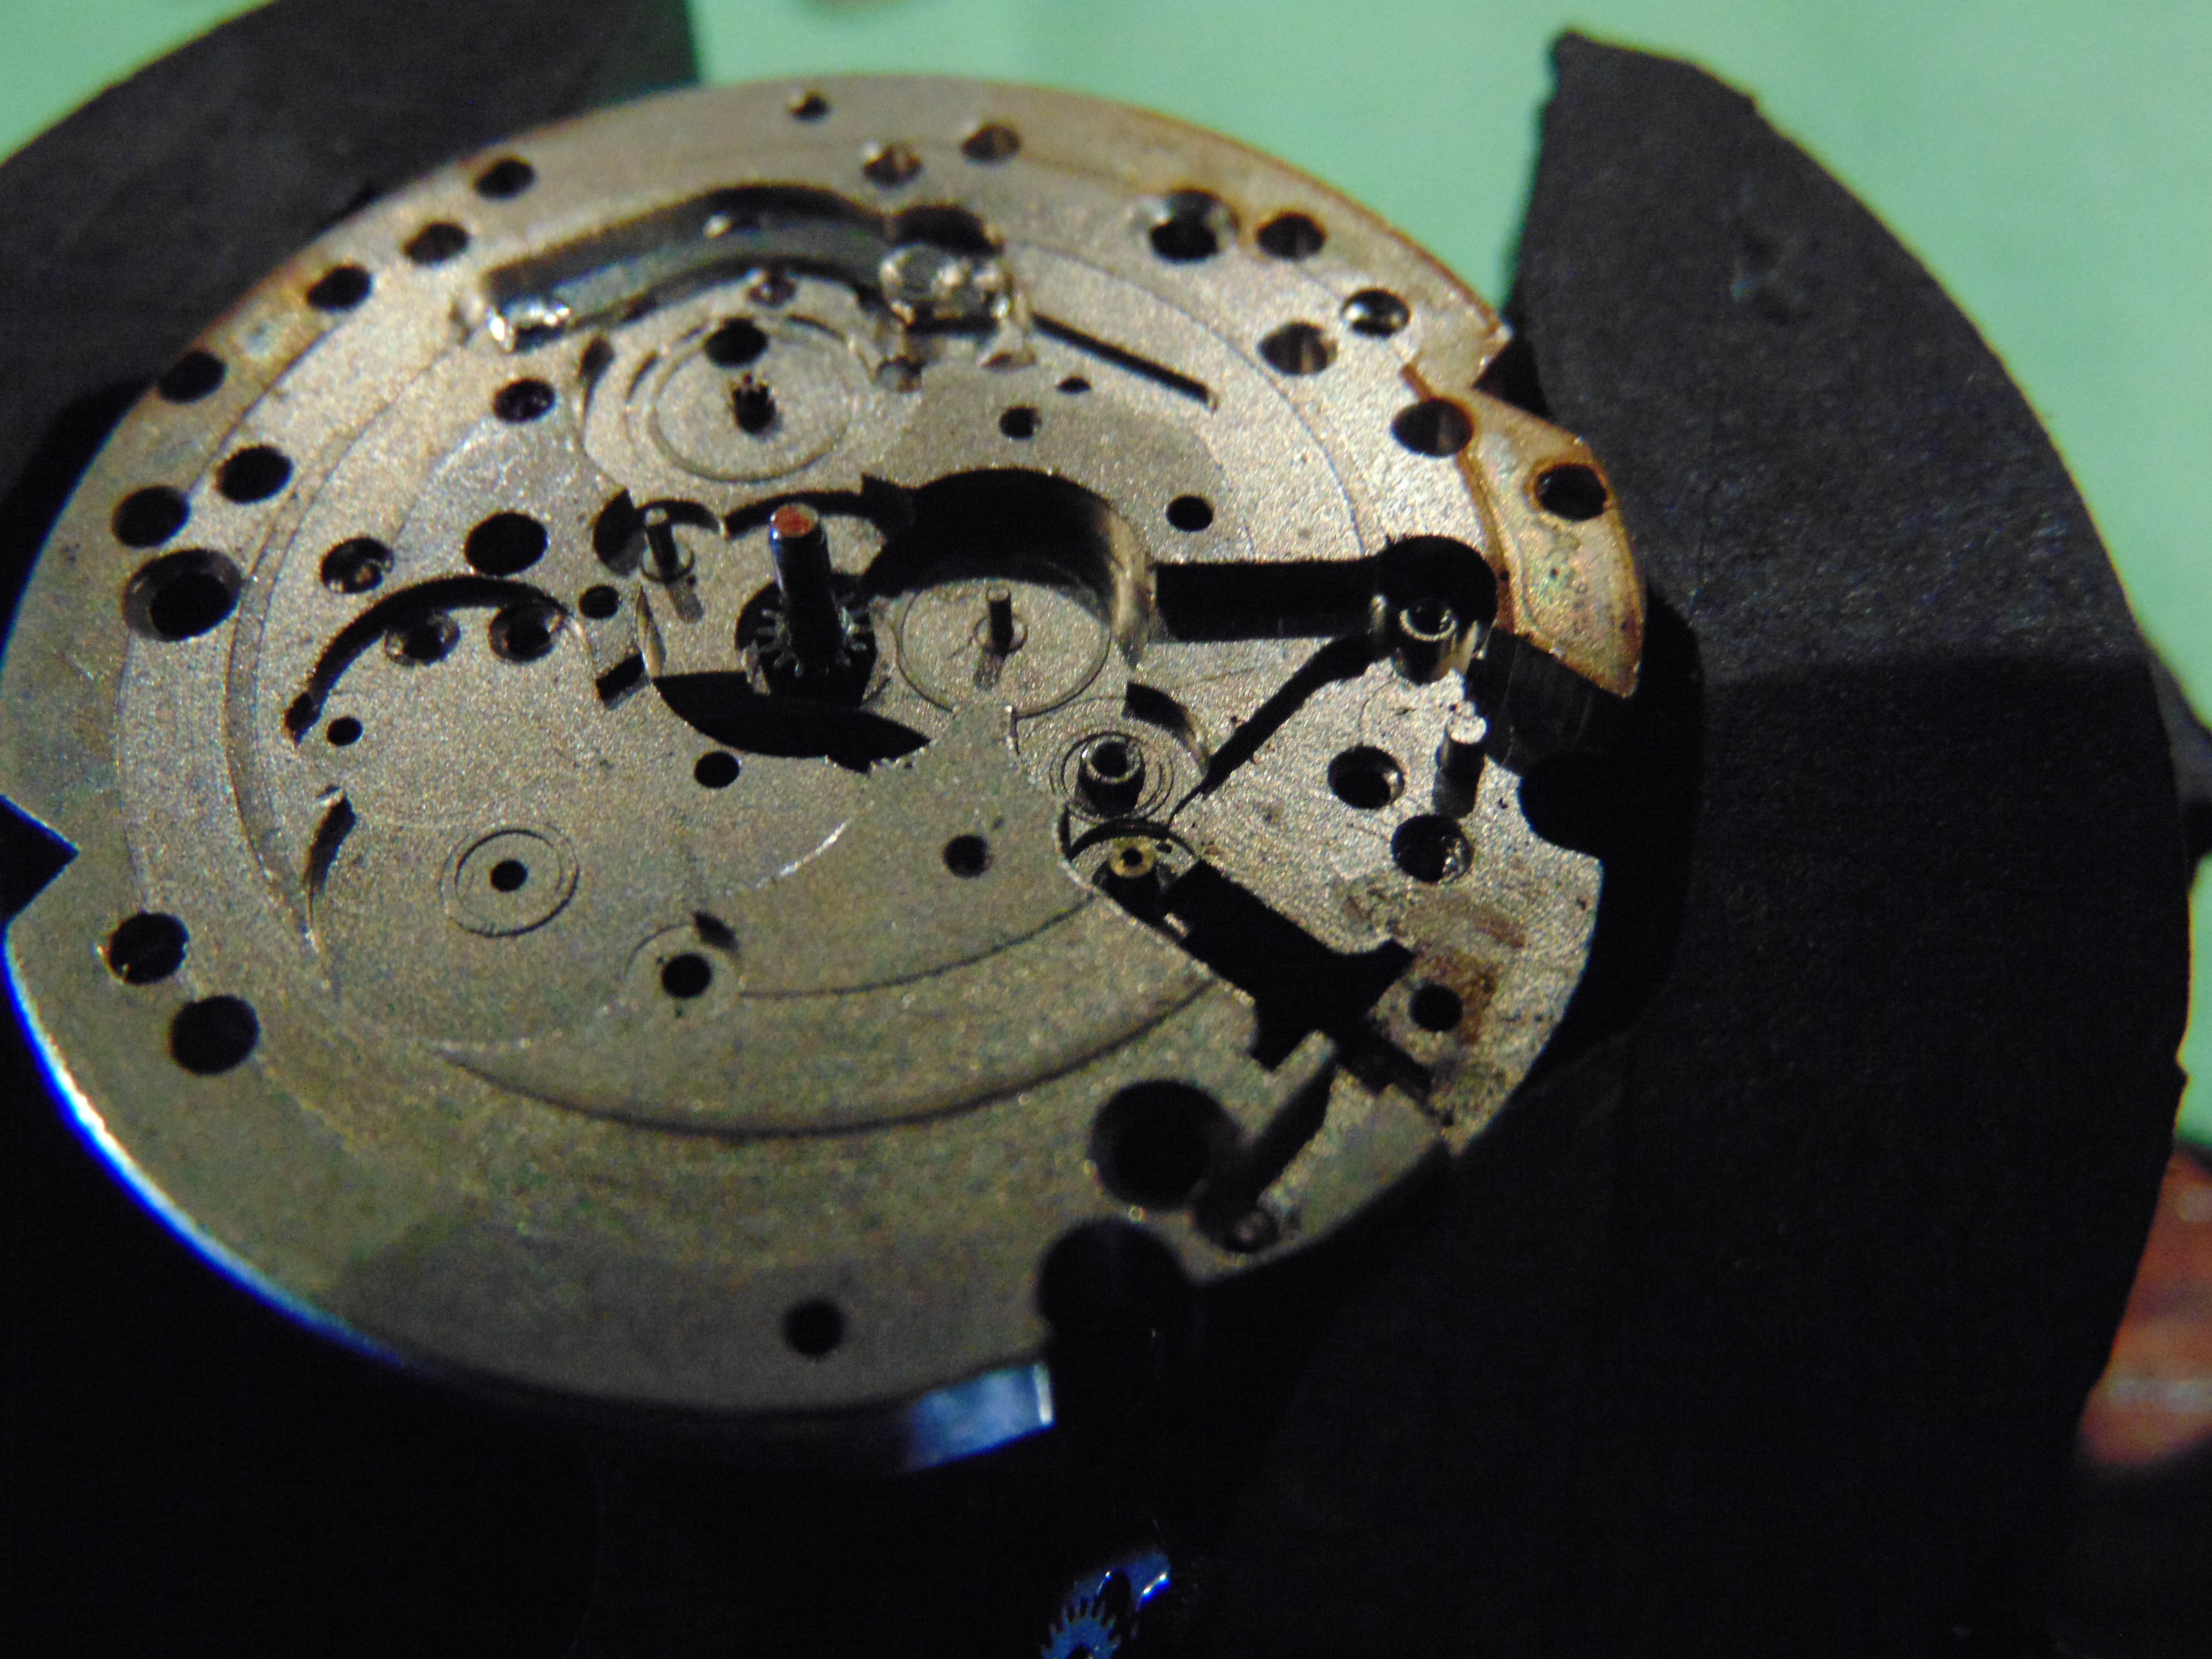
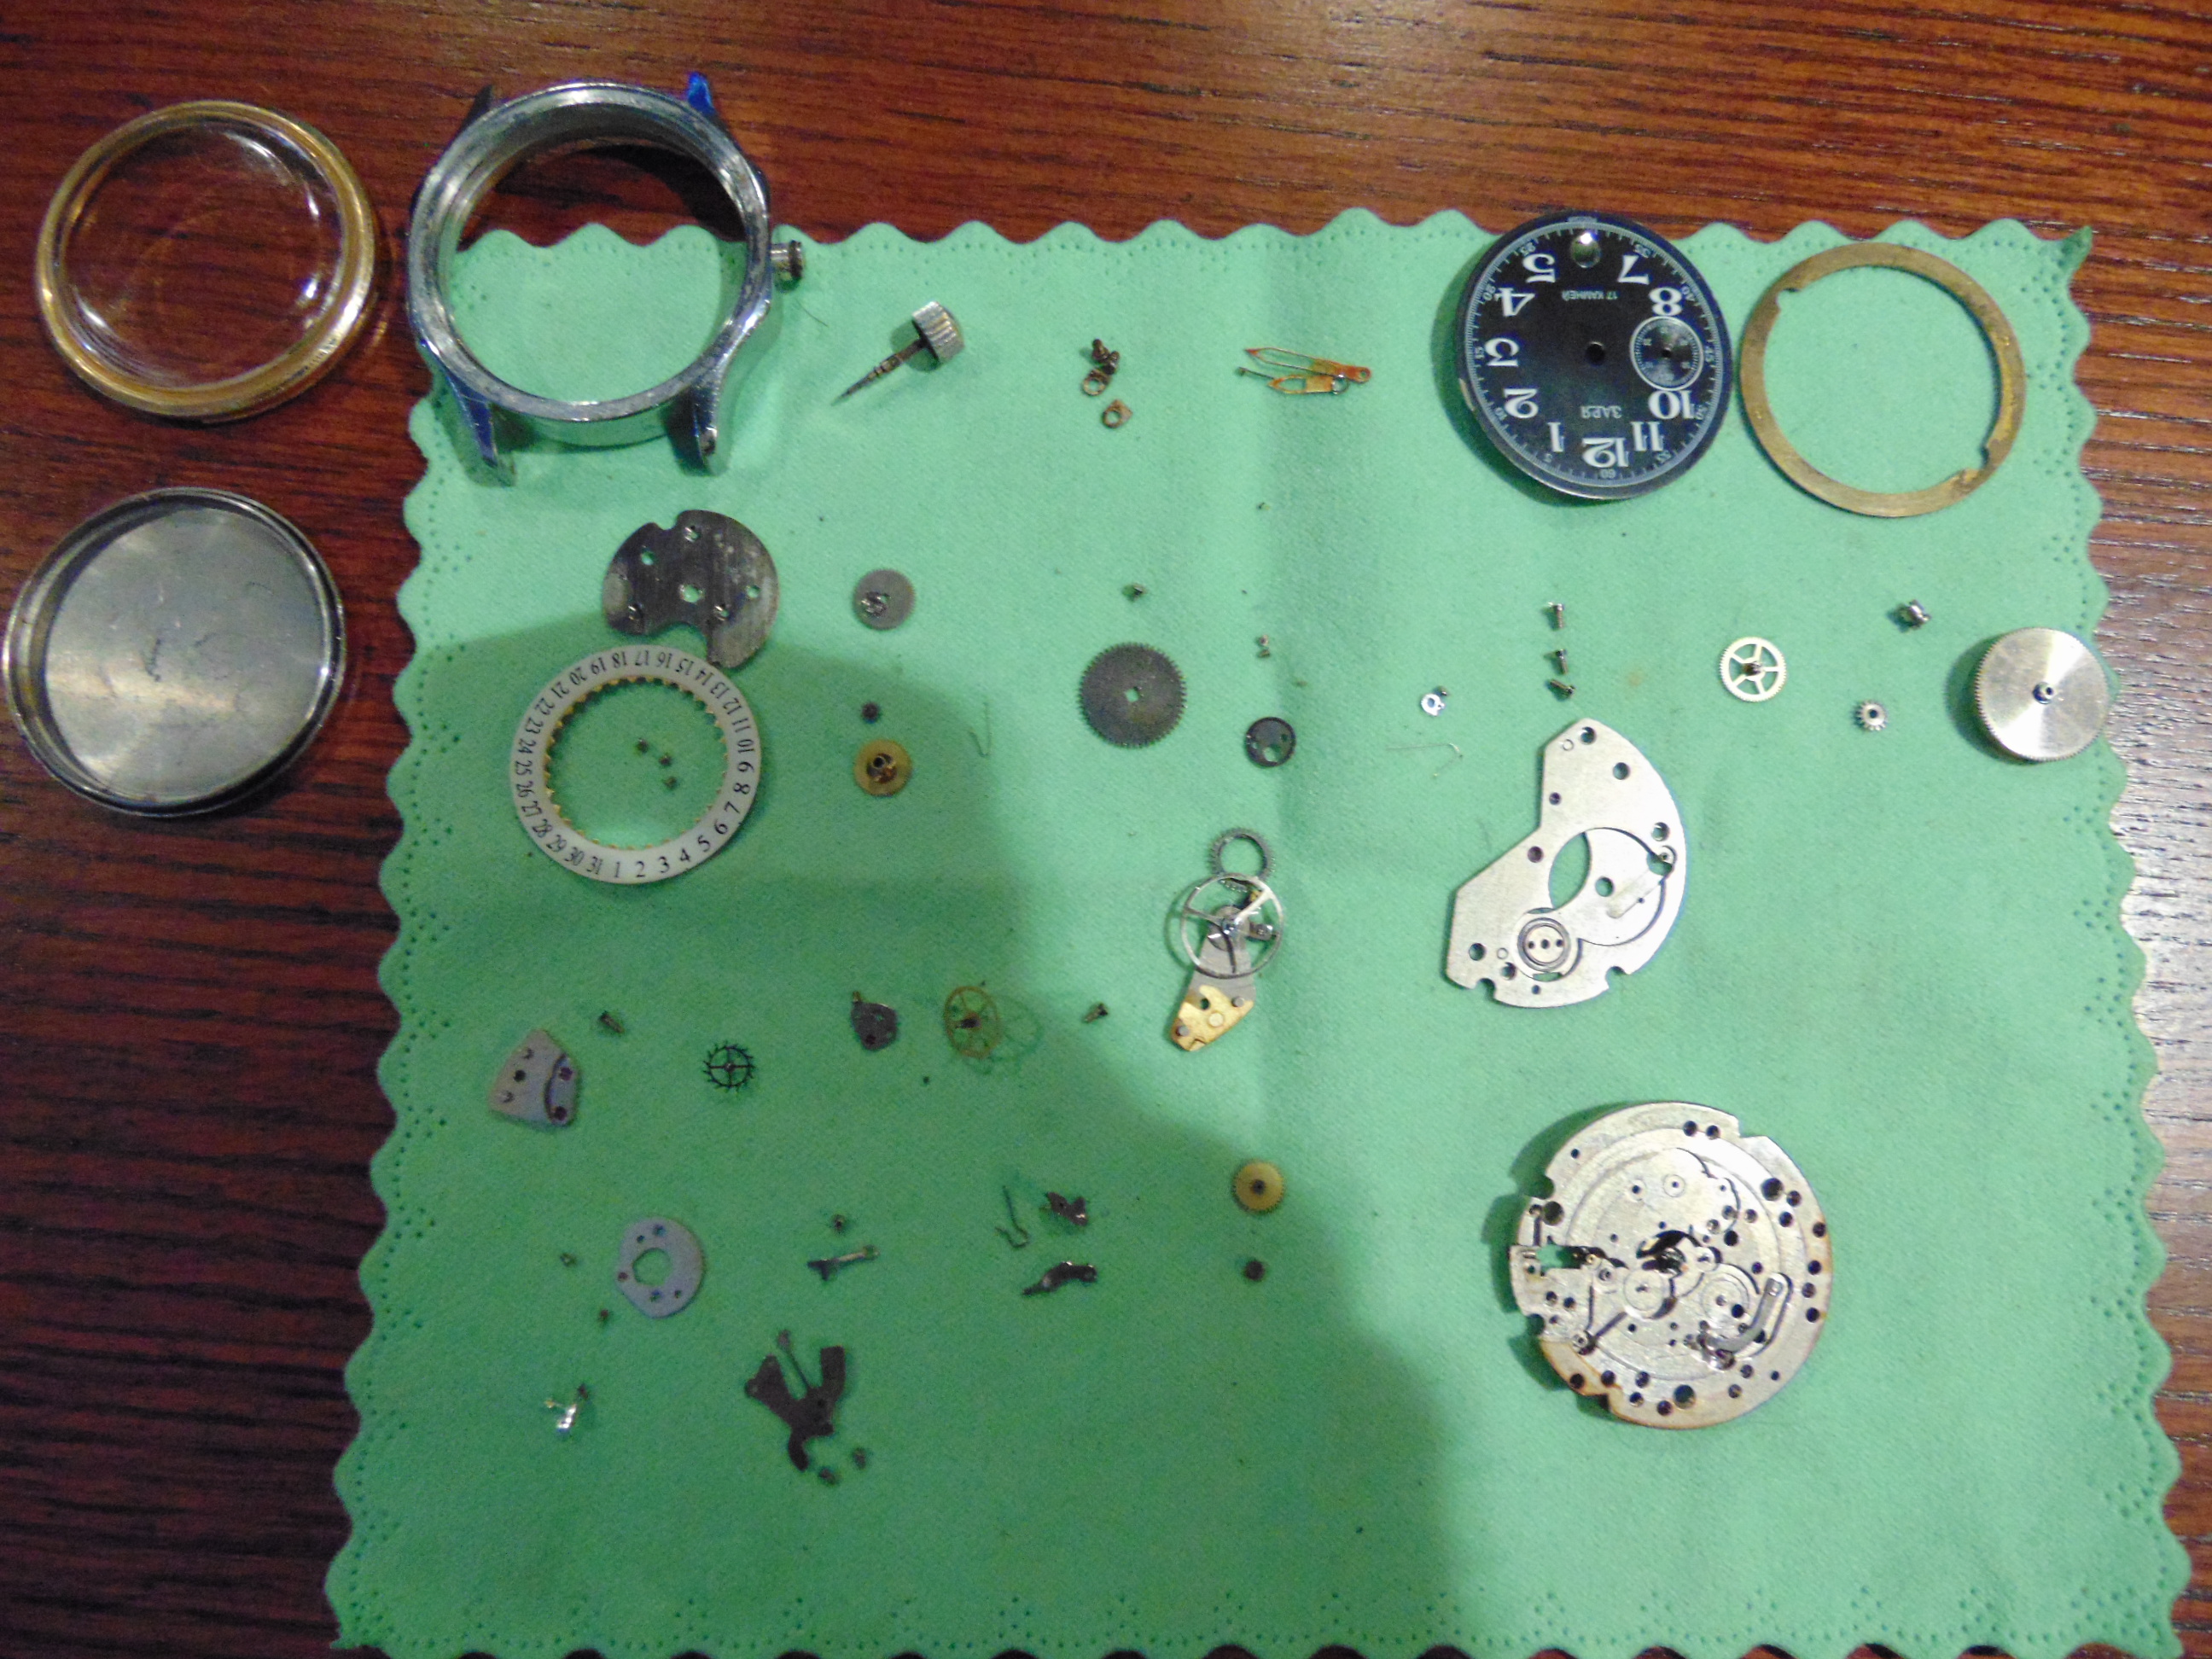
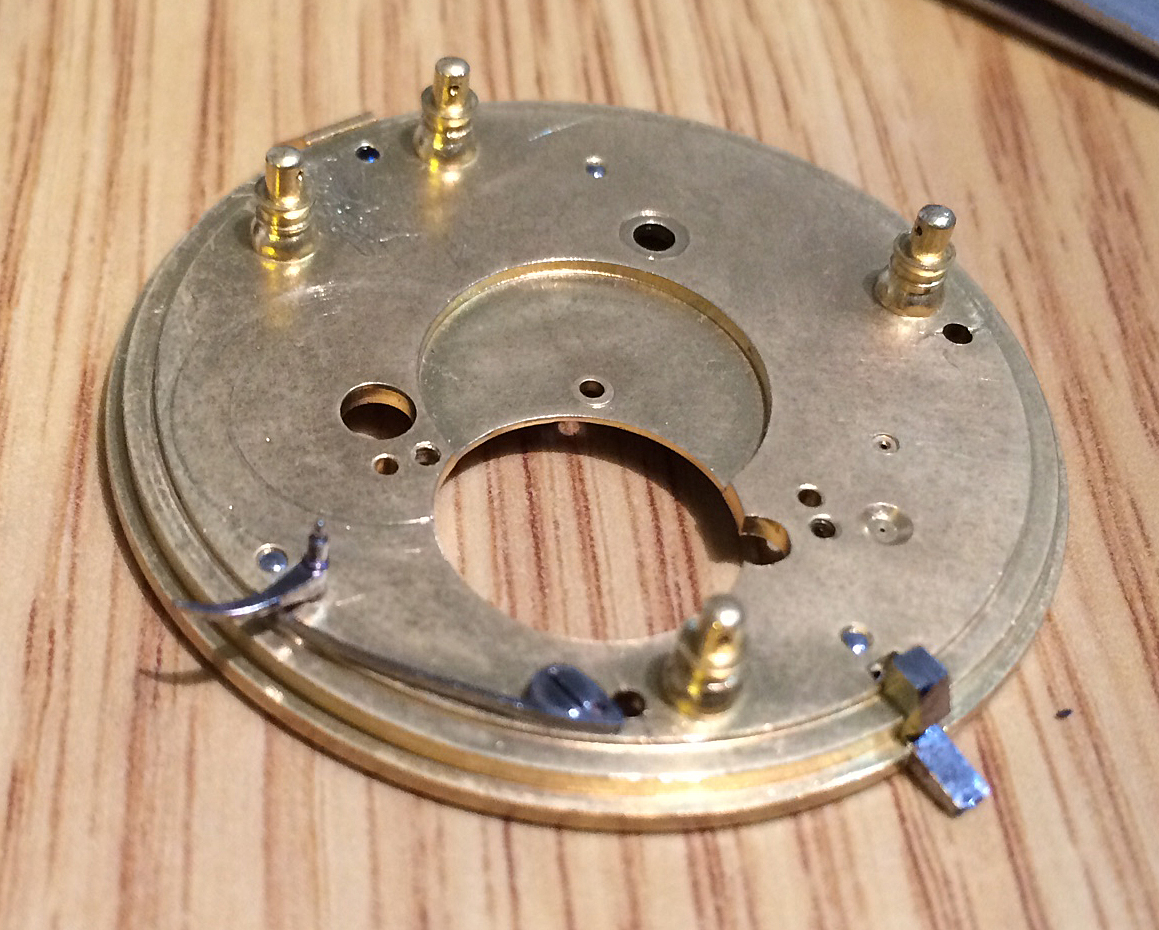
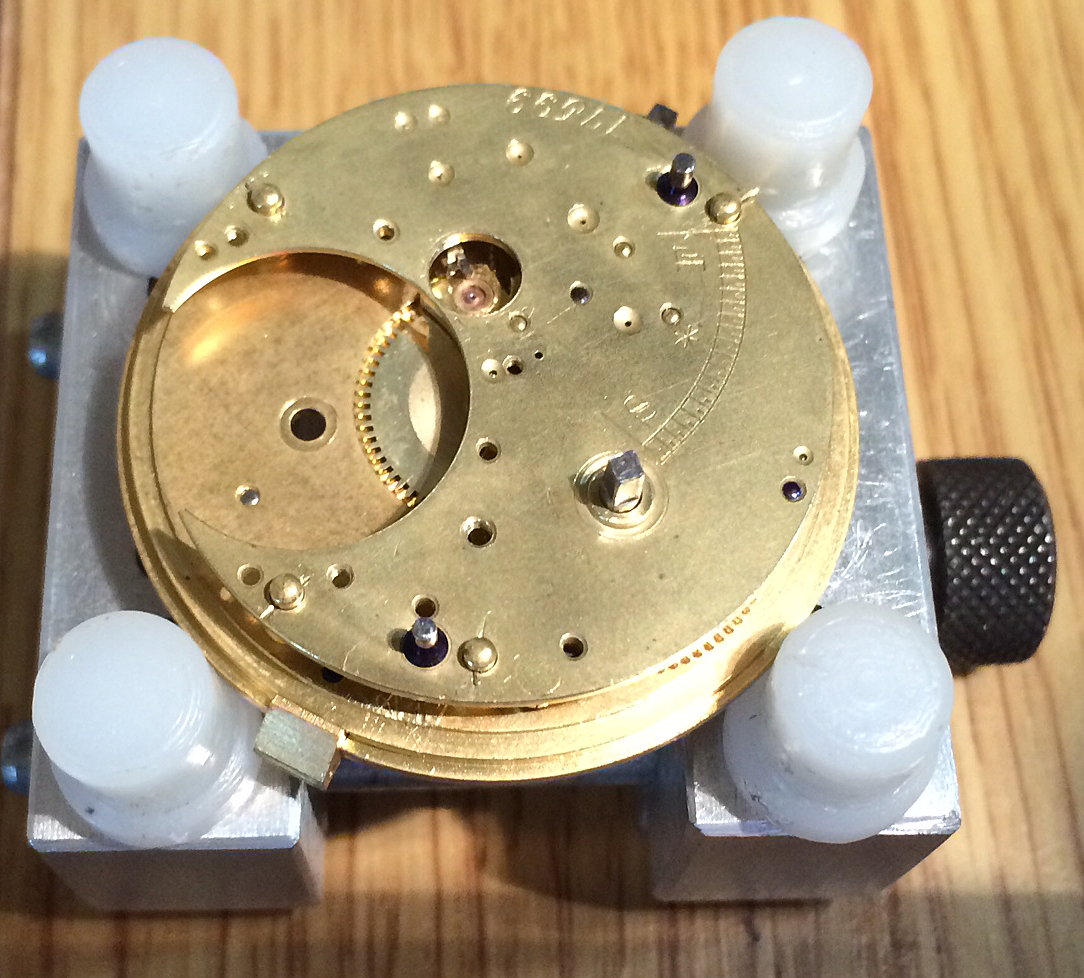
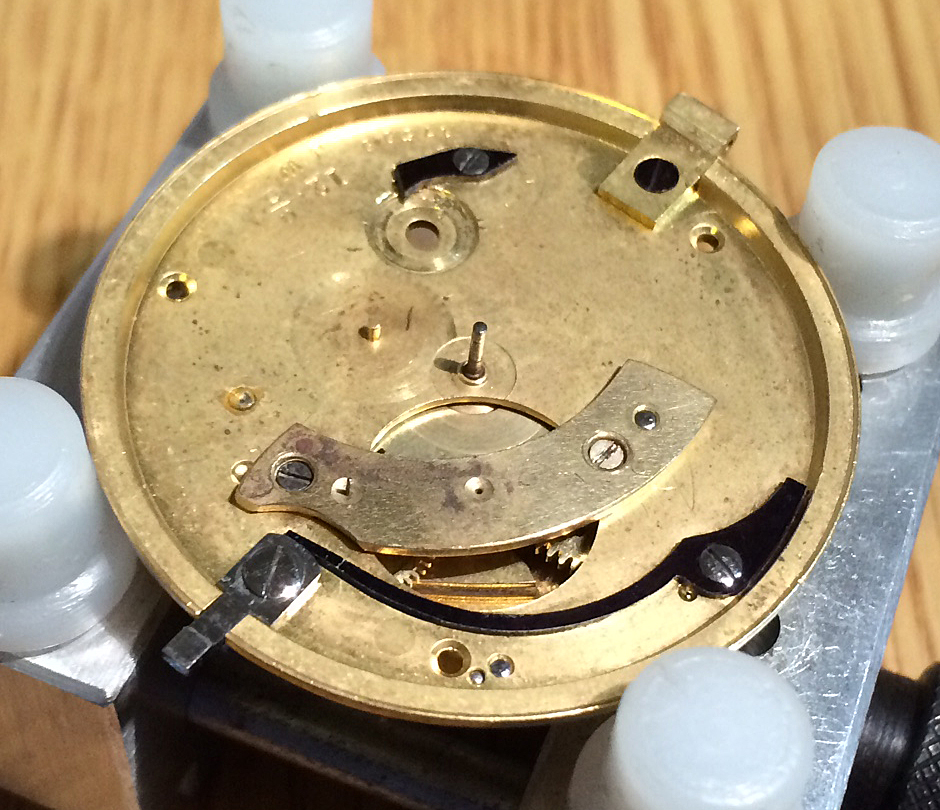
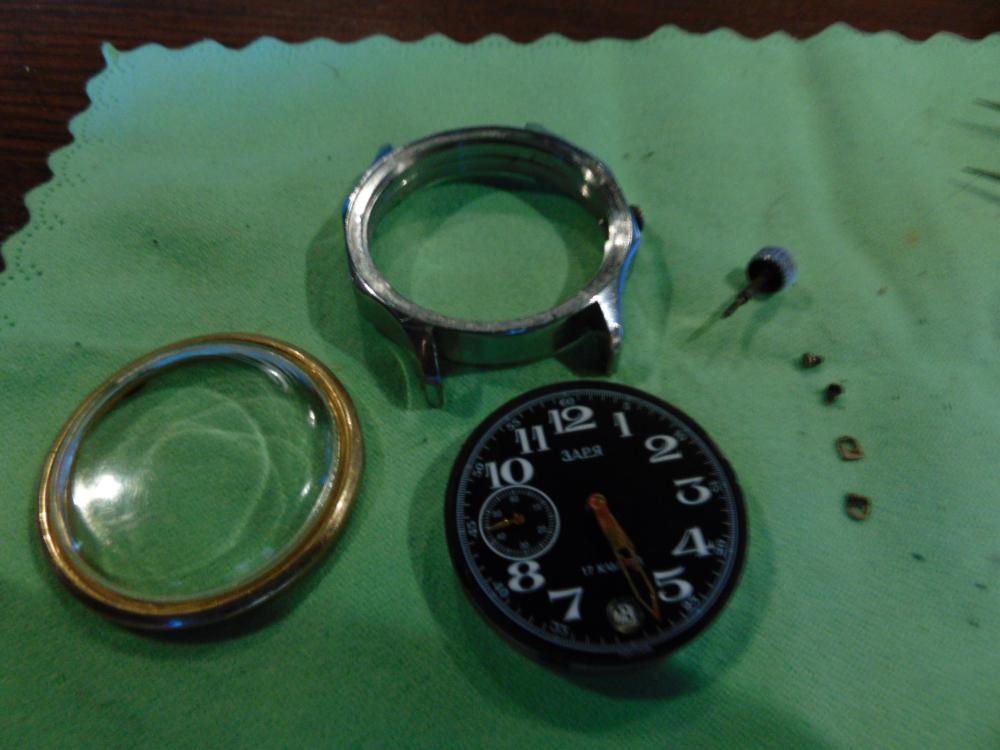
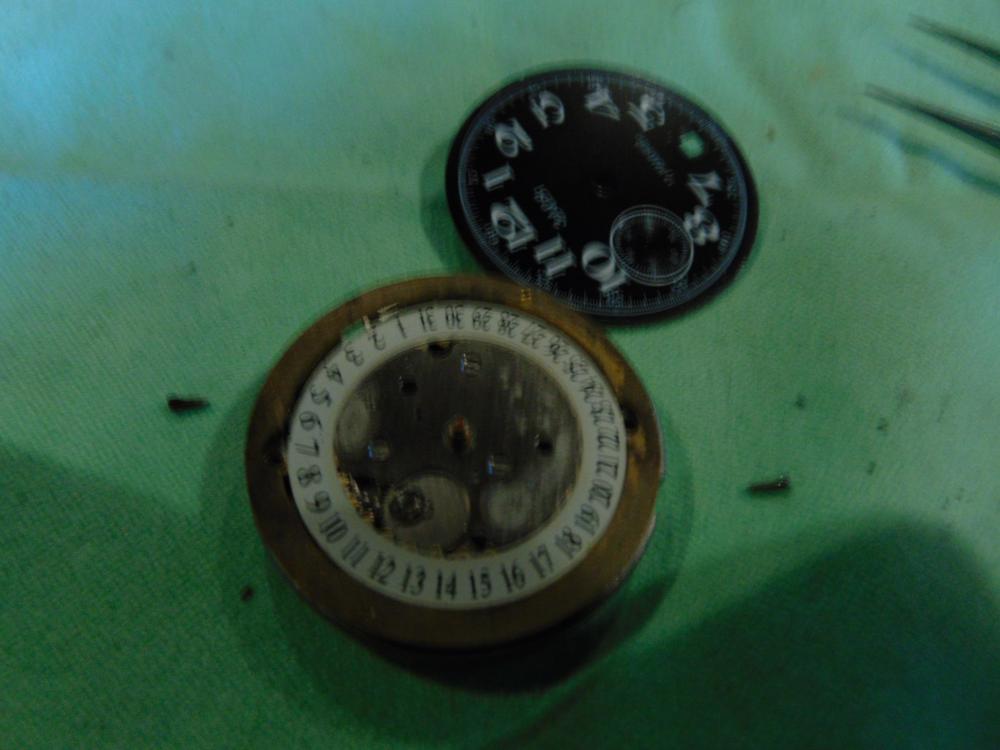
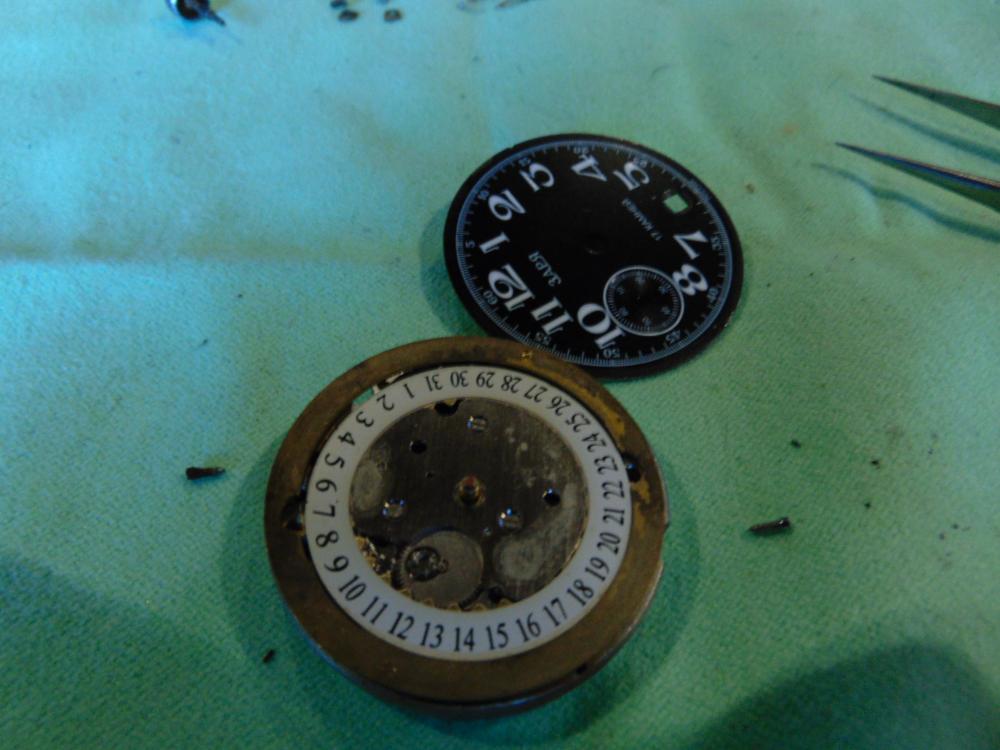
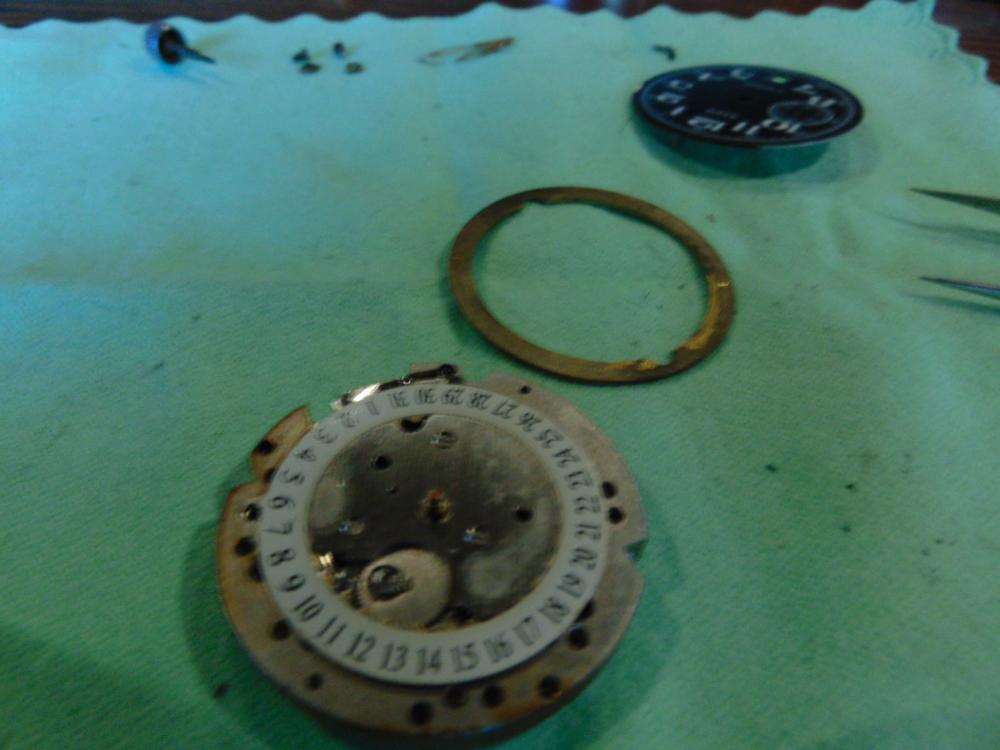
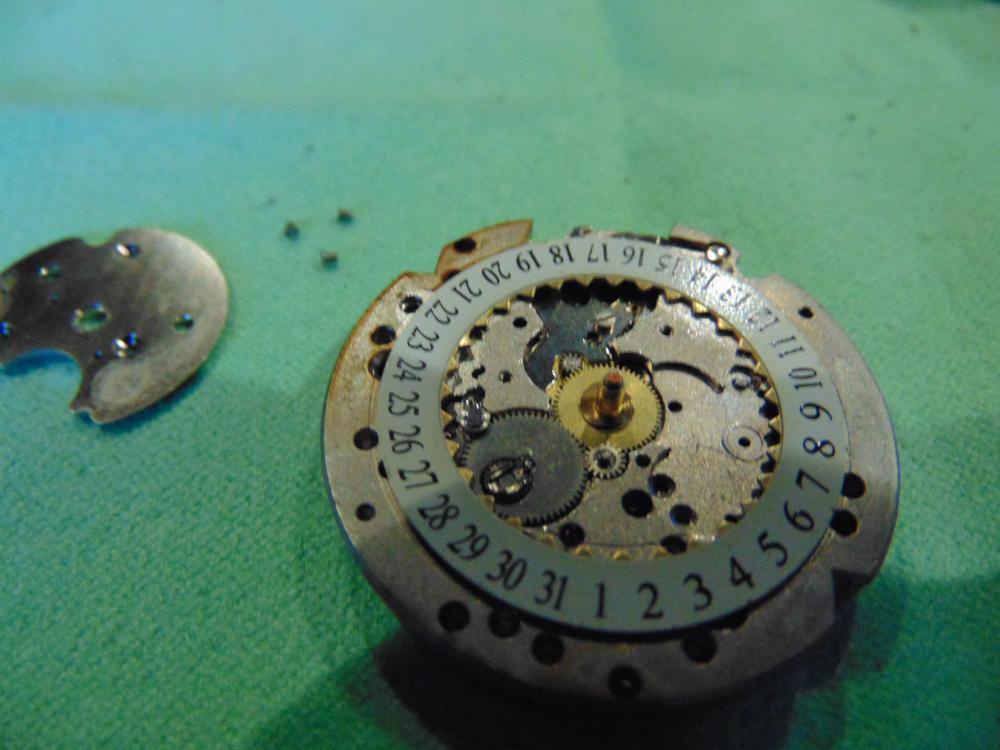
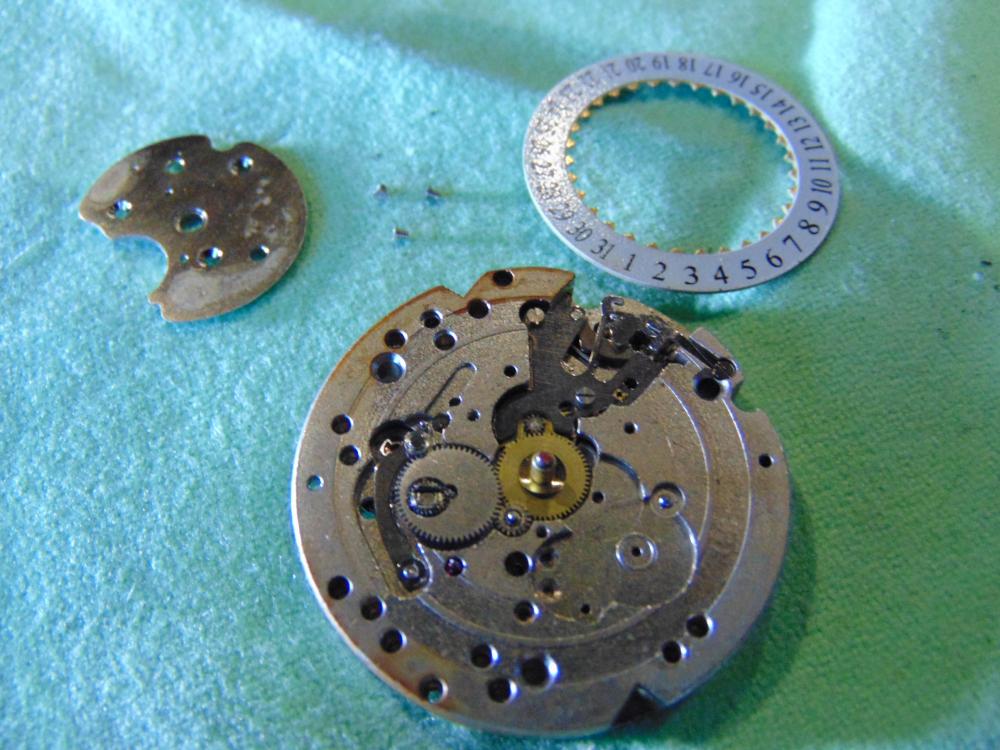
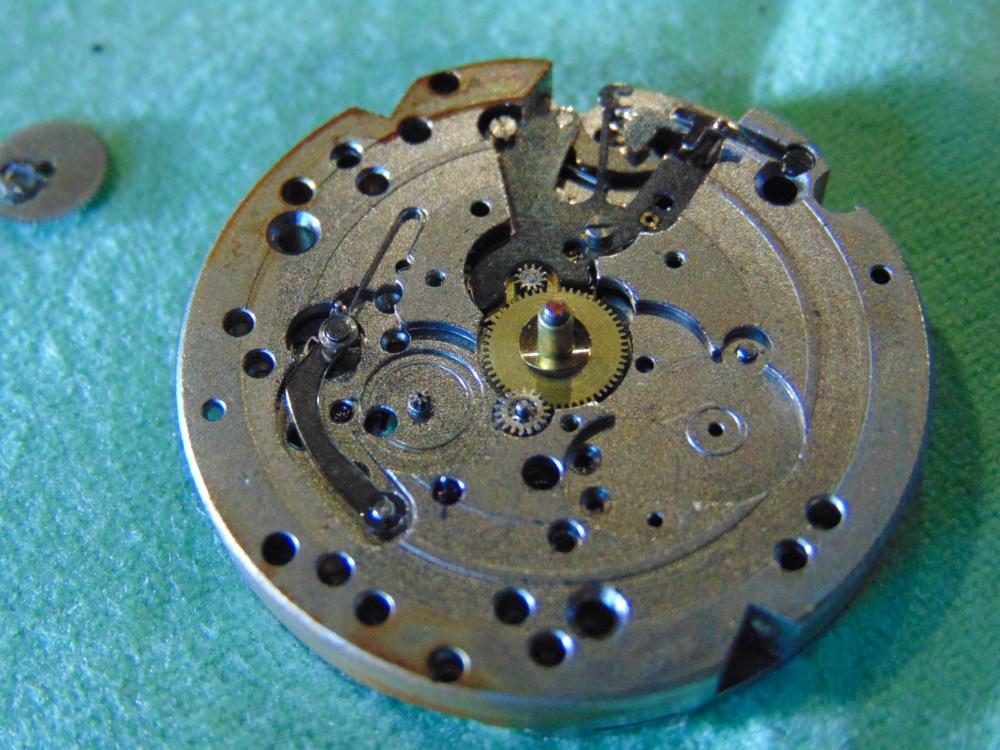
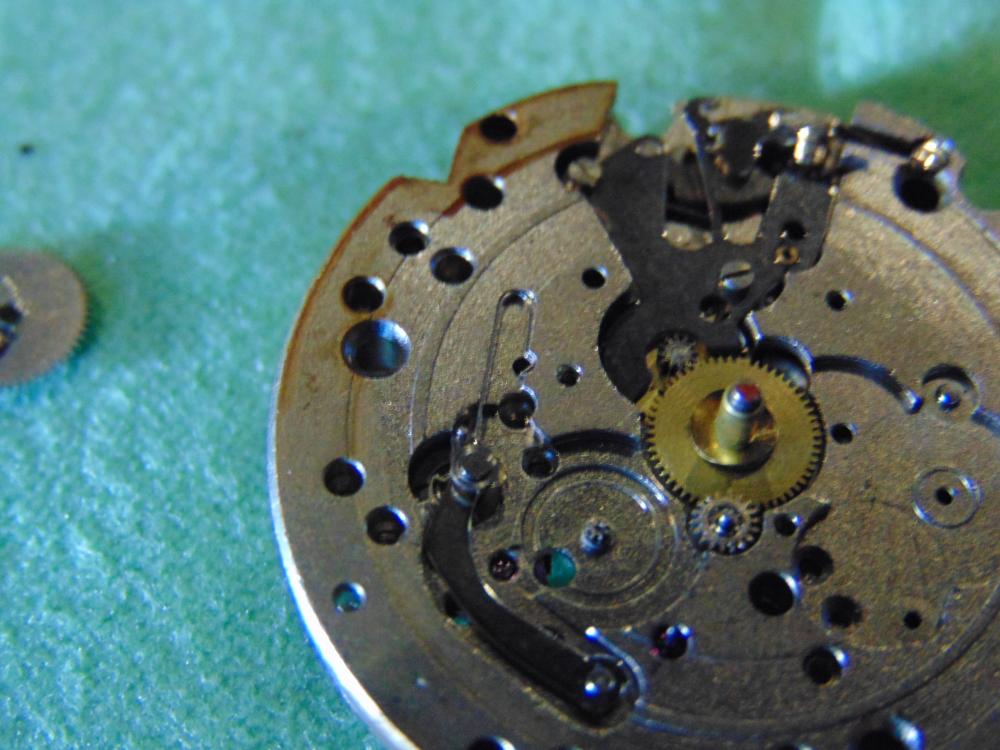
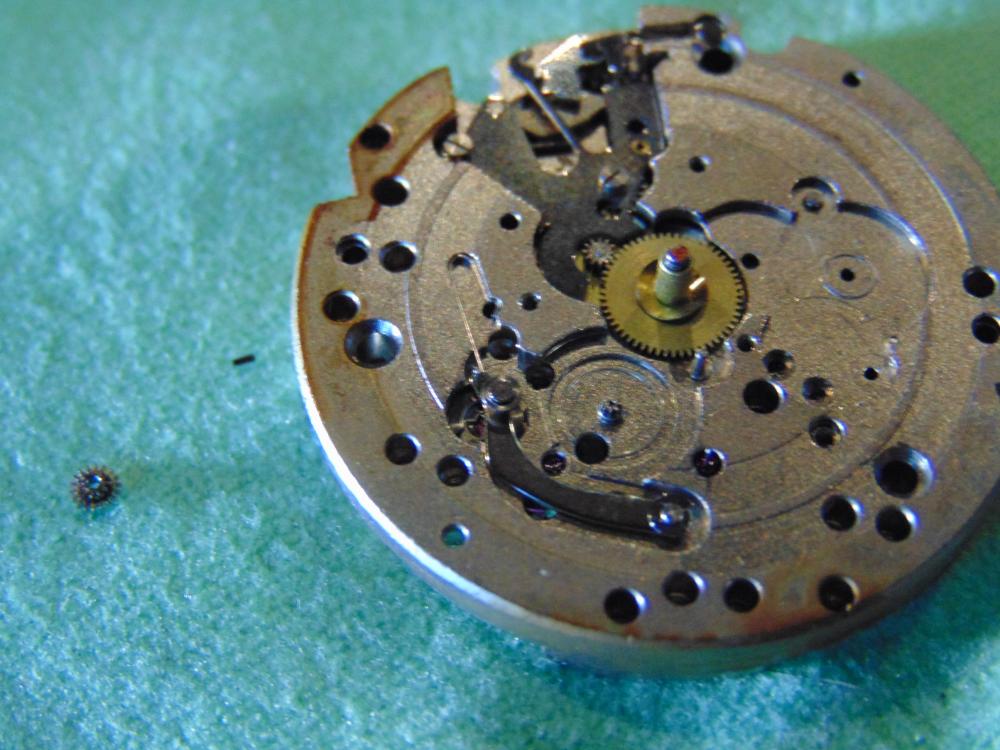
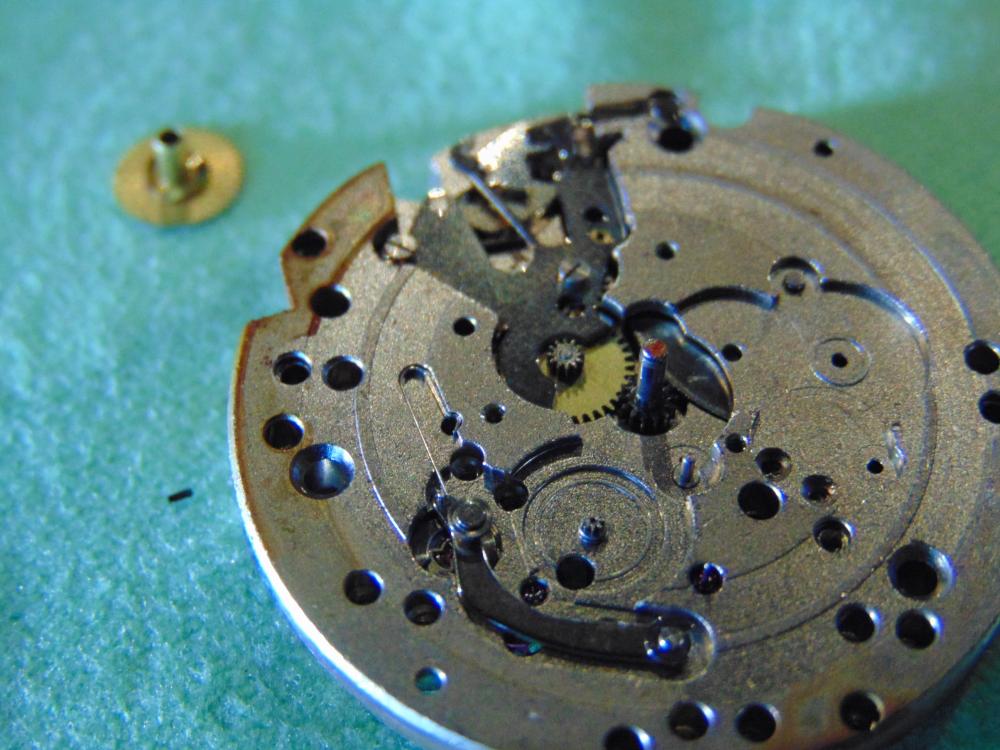
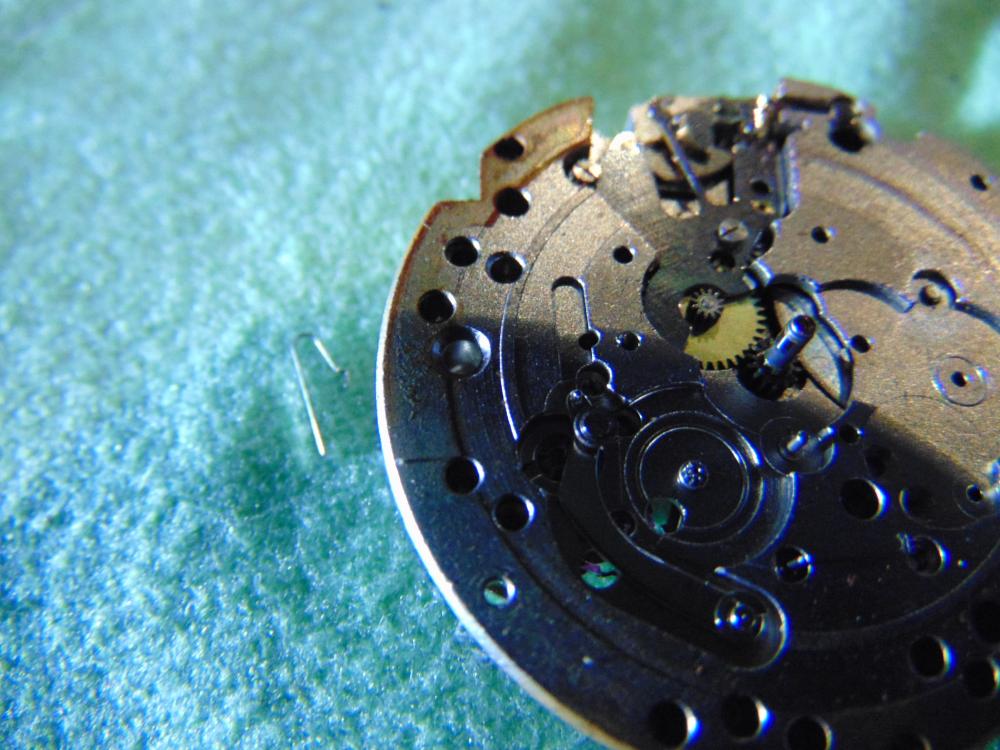
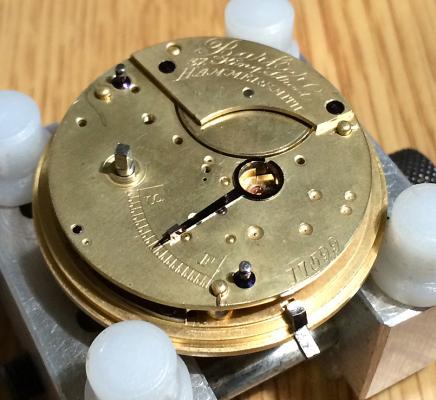
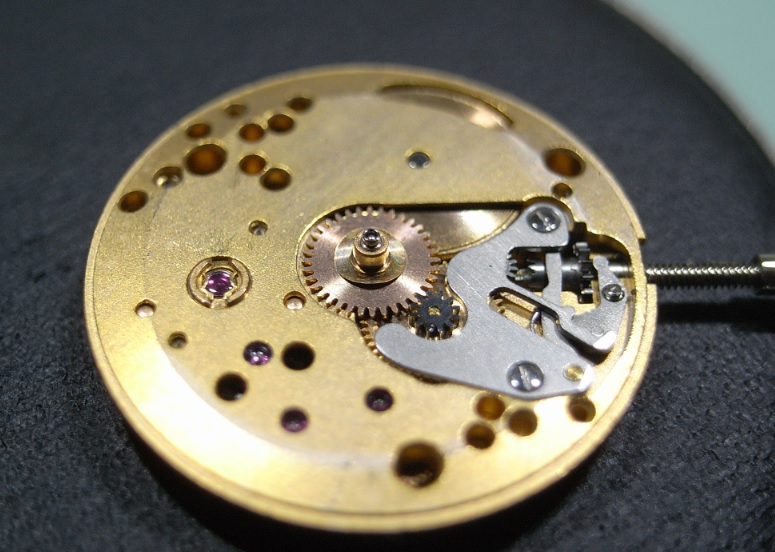
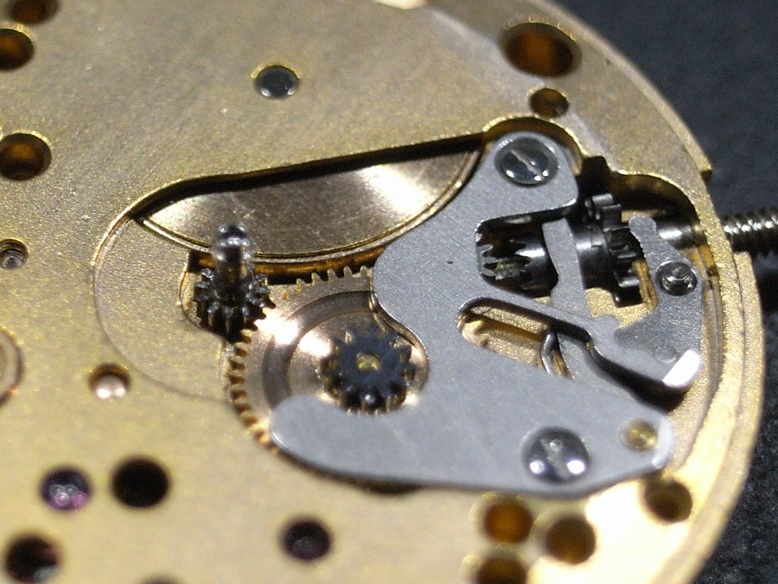
Well I sat down this evening with the sole purpose of simply cleaning and painting the hands. Once I had the movement out, I noticed some rust on a couple of screws and around the outside of the movement. Seeing that I decided to go through and clean the whole thing. Considering last week was my first (M9 Bulova 11BLC) and this is only my second disassembly, I can promise I am no expert nor will this be a descriptive walk through. I did take lots of pics though that I thought I'd share. I will say this one is much more complicated than the 11BLC. The thing is built like a tank!


 1 point
 -
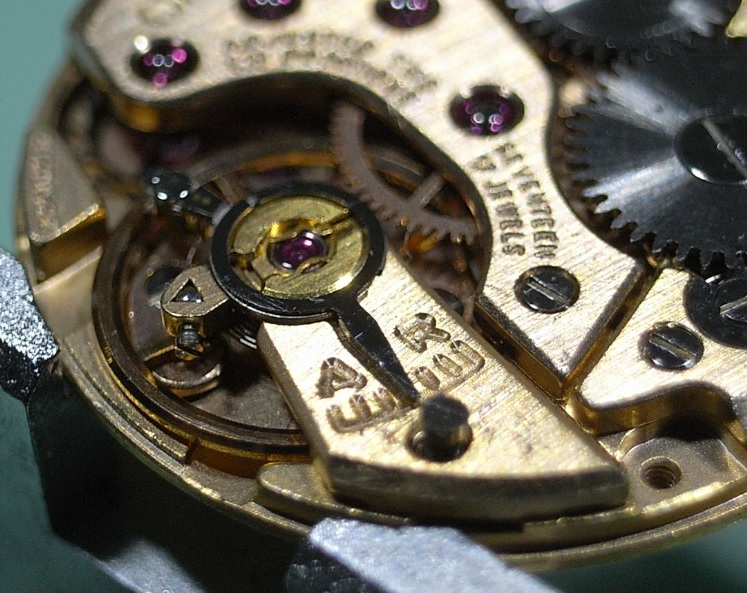
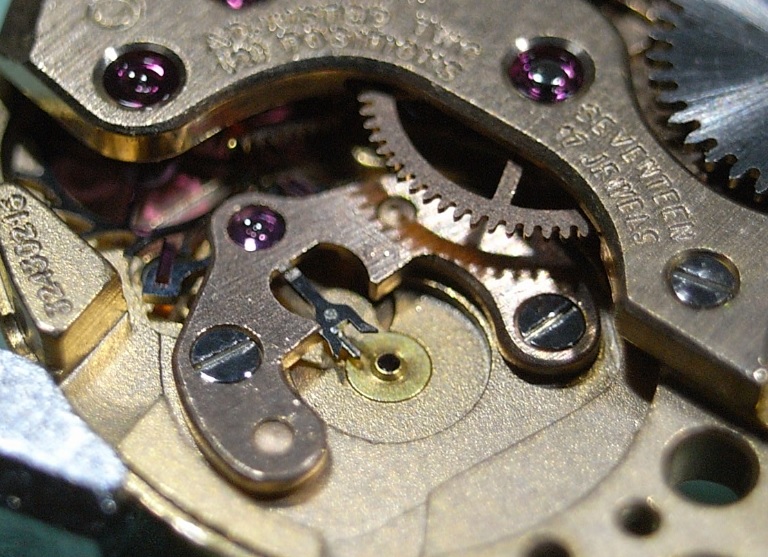
At that time many watchmaker companies bought the movements and made some modifications to it. Like mine Stowa above. They have different shaped bridges, keyless works or finish, but the critical parts are the same. Try find the movement from the other end! Measure the broken staff exactly, find similar ones in the database and finally check the movements associated with the possible staffs.1 point
-
42.864mm is a 19 Ligne. That's about right.1 point
-
[emoji1] I have been known to favour heavier watches. Can't stand folded steel bracelets.1 point
-
Those two red dial watches are hideous. They look cheap.1 point
-
Welcome Mike. Lots her for everyone and plenty of advise if needed. Enjoy1 point
-
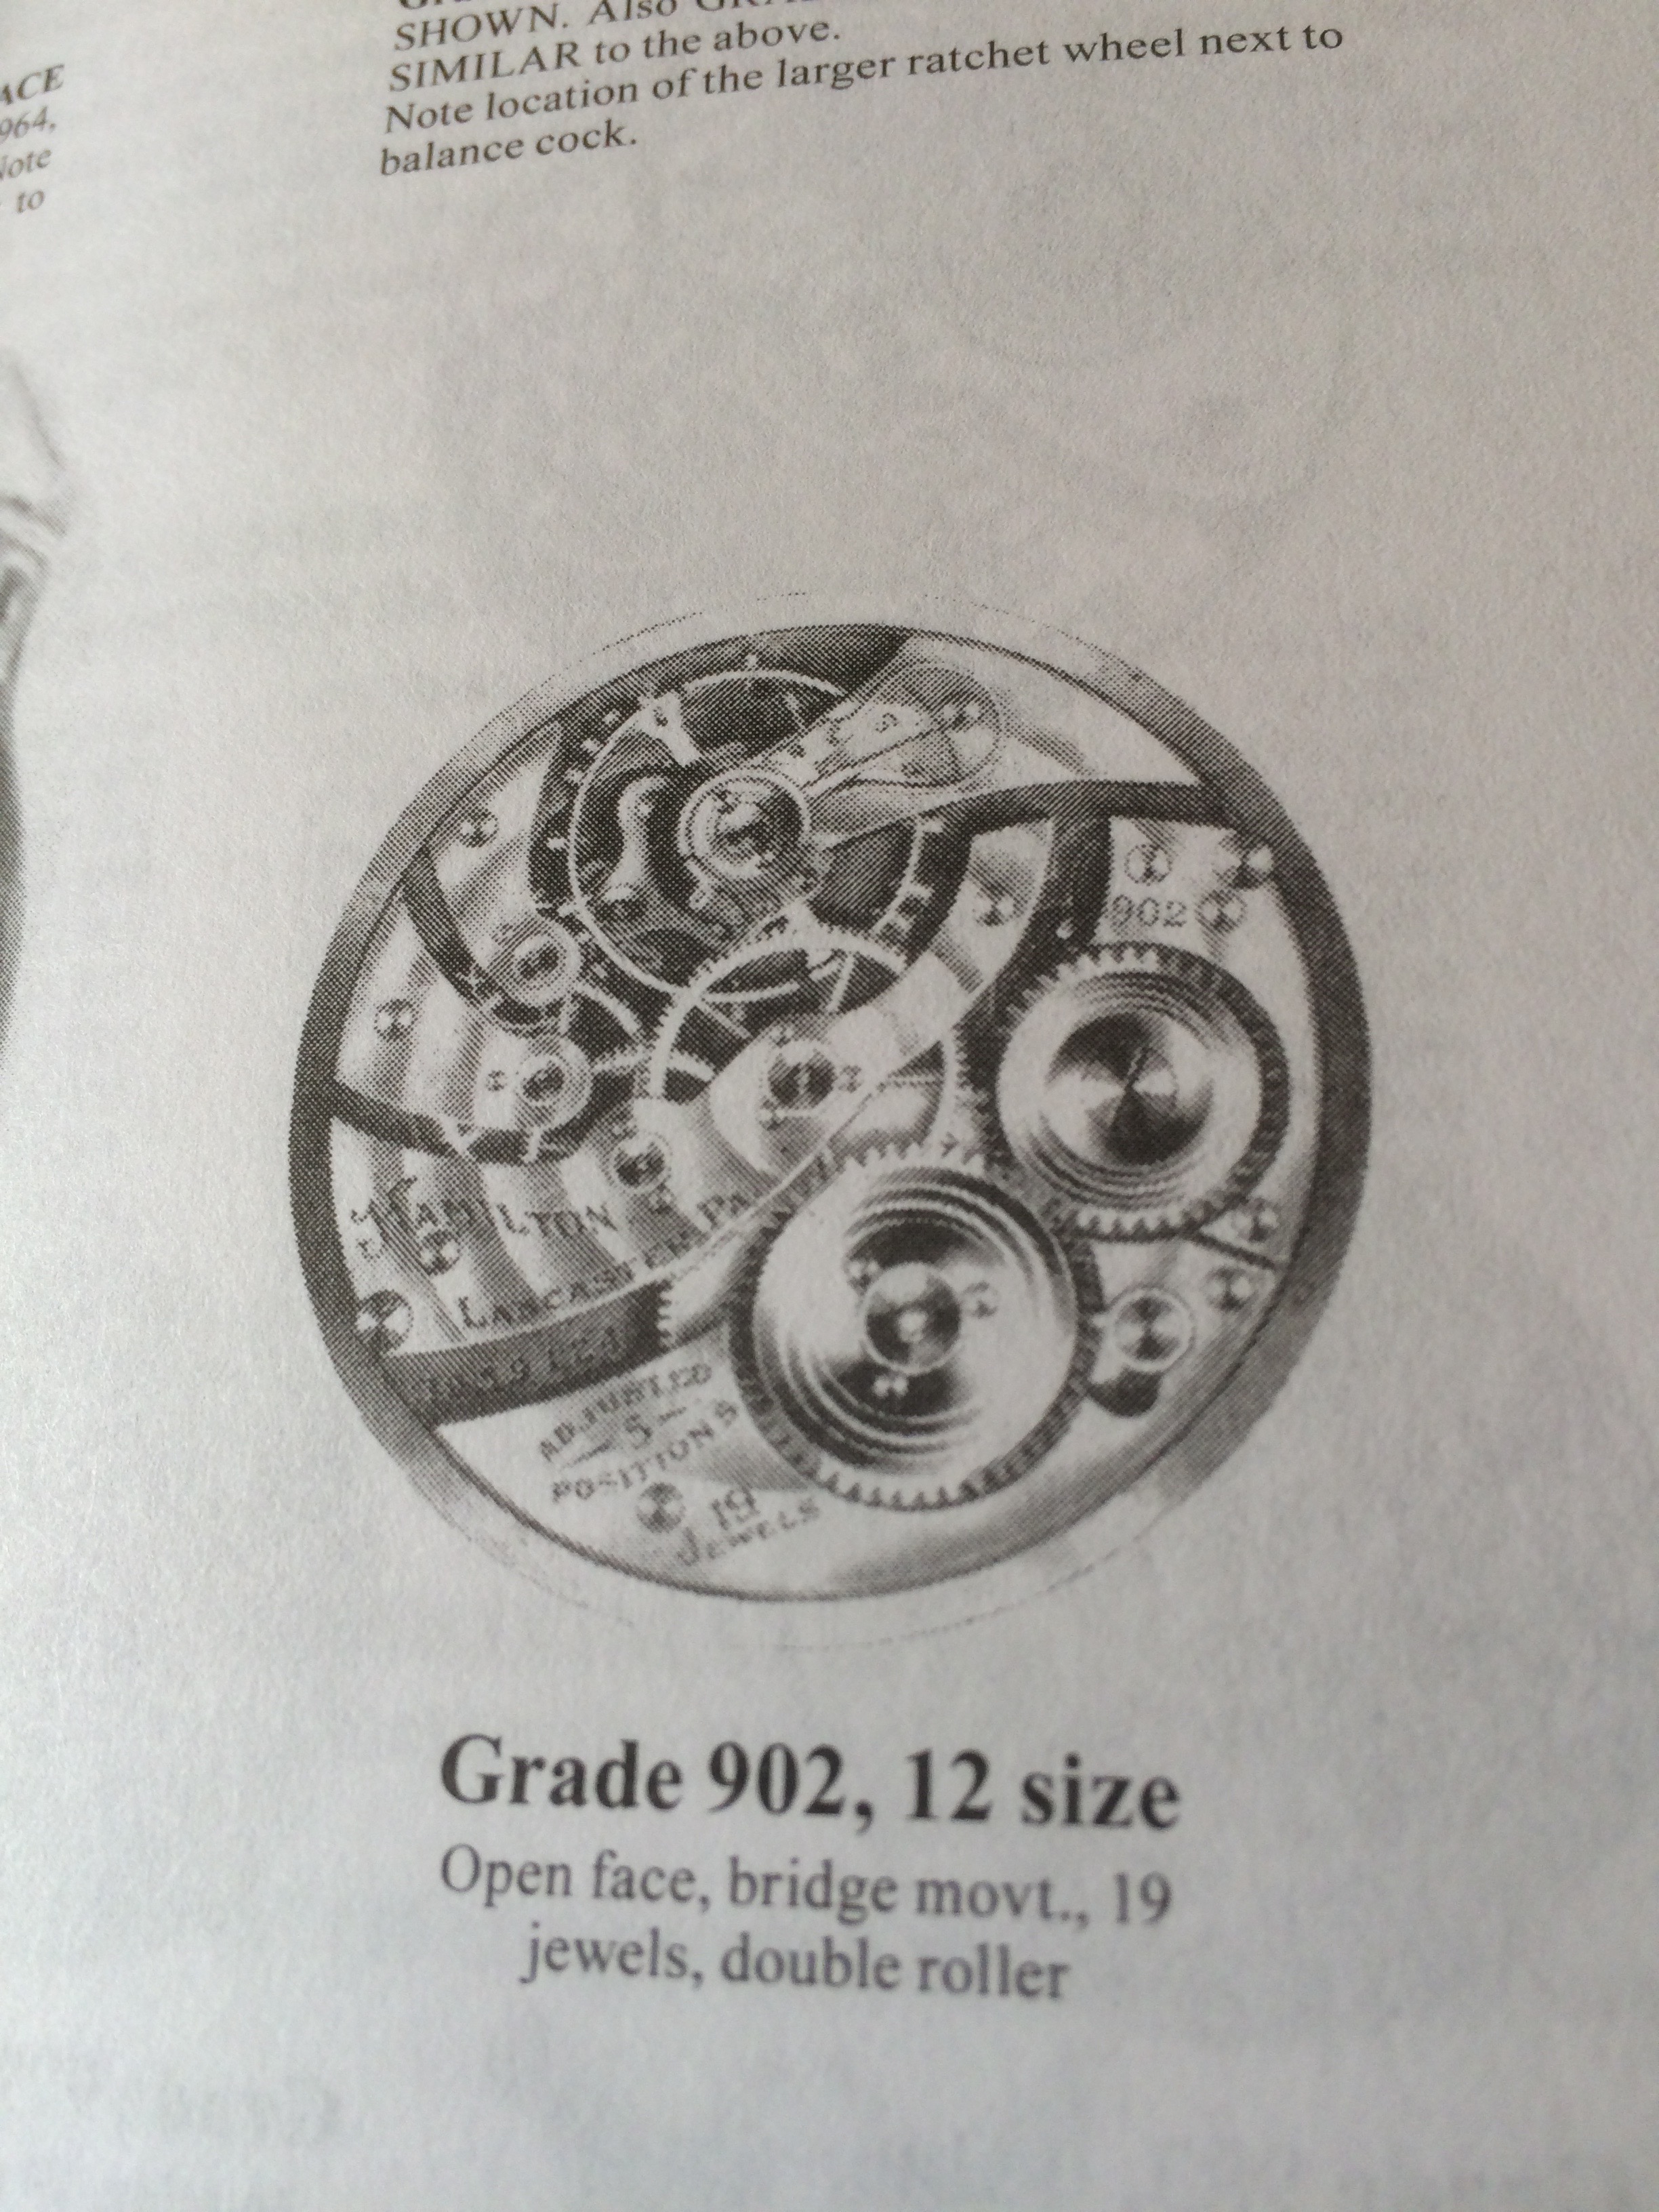
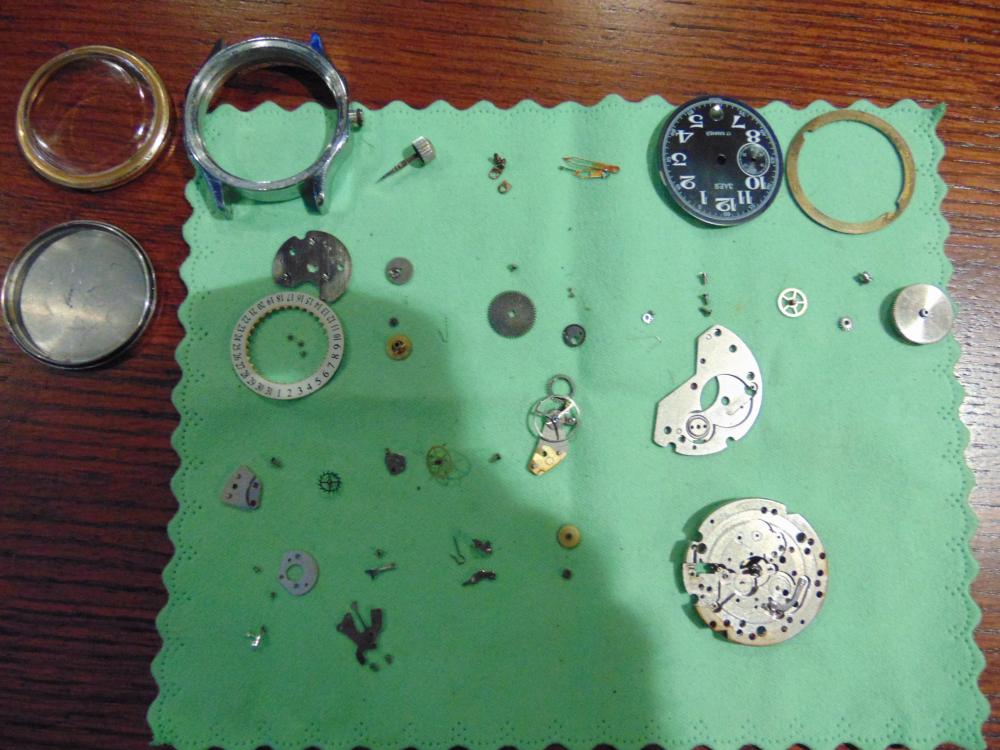
Found this looks like it could be a Waltham see pic.grades, 902 (19j) ,922 (23j) & 983 (17j) all are in the same style.
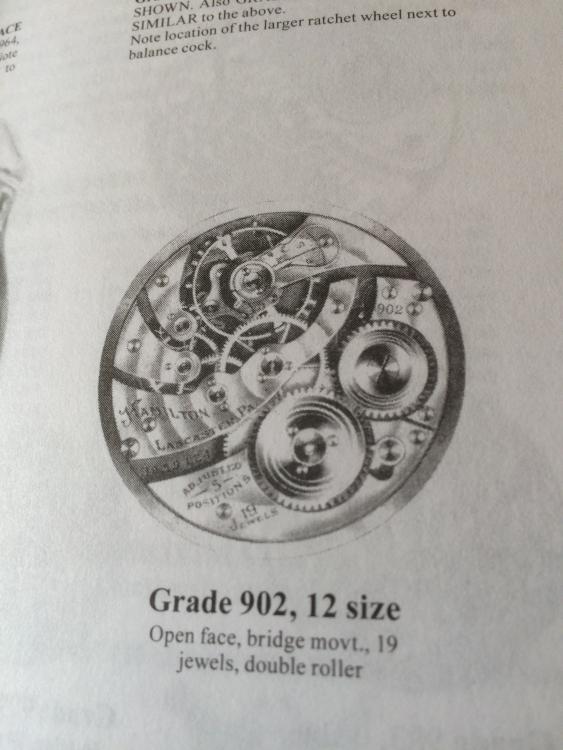 1 point
 -
Excellent job Alexander! I haven't been around too much and "missed" part of the fun but I'm back! Very well done! Cheers, Bob1 point
-
Welcome from me plenty here for everyone. Some good info on tools in this forum so have a good look round.1 point
-
Not sure of the answer regarding swapping parts between movements but I can chime in by saying that it will require a jeweling tool in order to remove one of the plate jewels (those that are pressed in and held by friction). I applaud your tenacity. I've found myself deep in a hole a few times from inexperience- generally the best way out was to gain more experience, and there's only one way to do that.1 point
-
Another book I have found real handy for identifying pocket watches & it is still being published is "Complete price guide to Watches" by Richard Gilbert,Tome Engle,Cooksey Shugart.
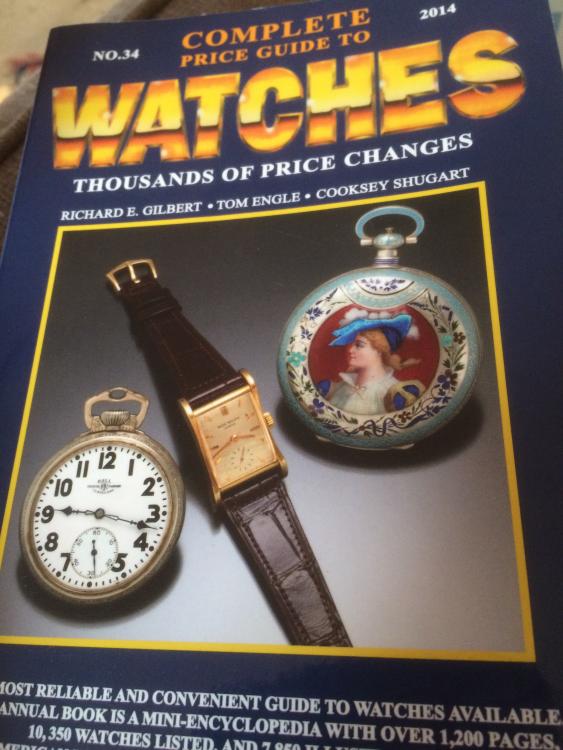 1 point
 -
Mike, hope you found that wallet 'cause you're gonna need it.....welcome to the forum. JC1 point
-
OK. It's an interesting movement. Quite large, actually. Dave1 point
-
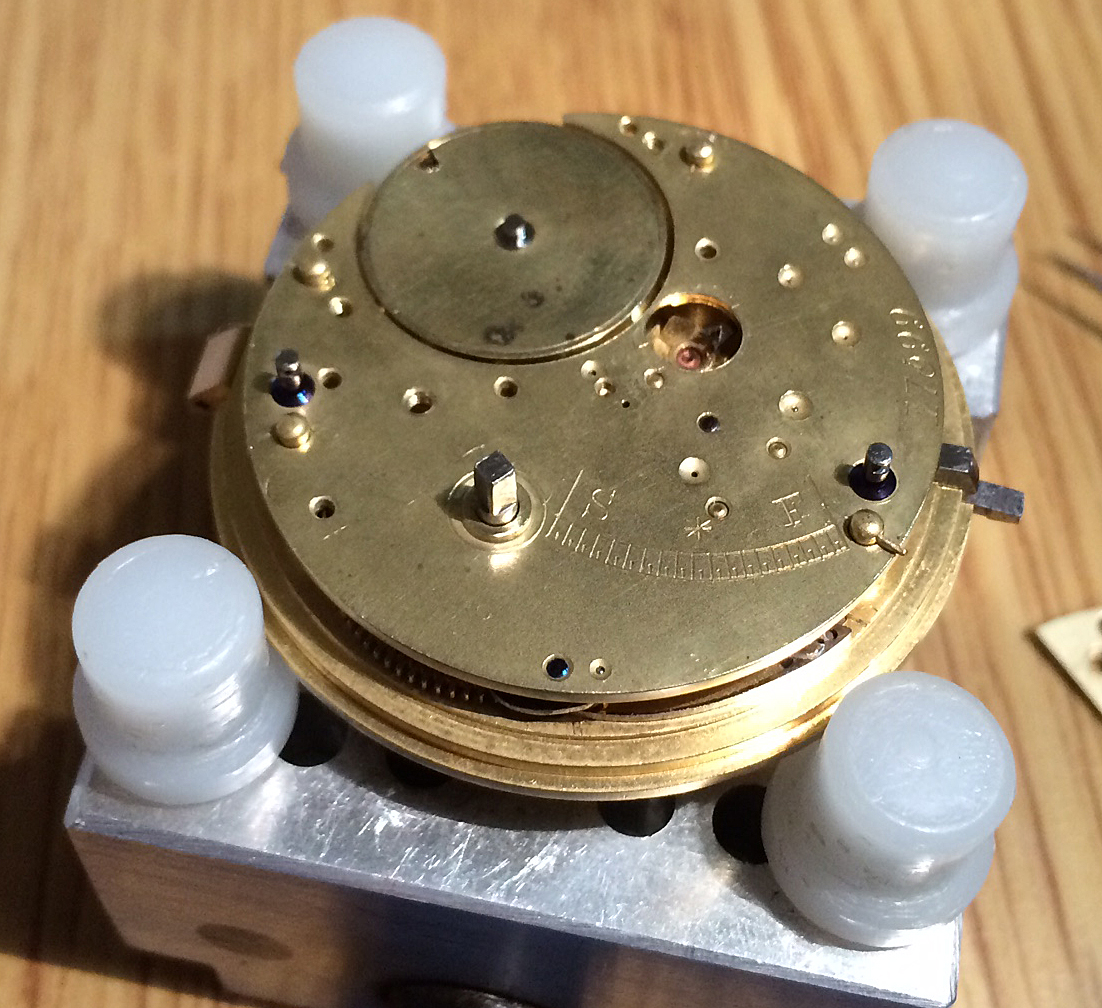
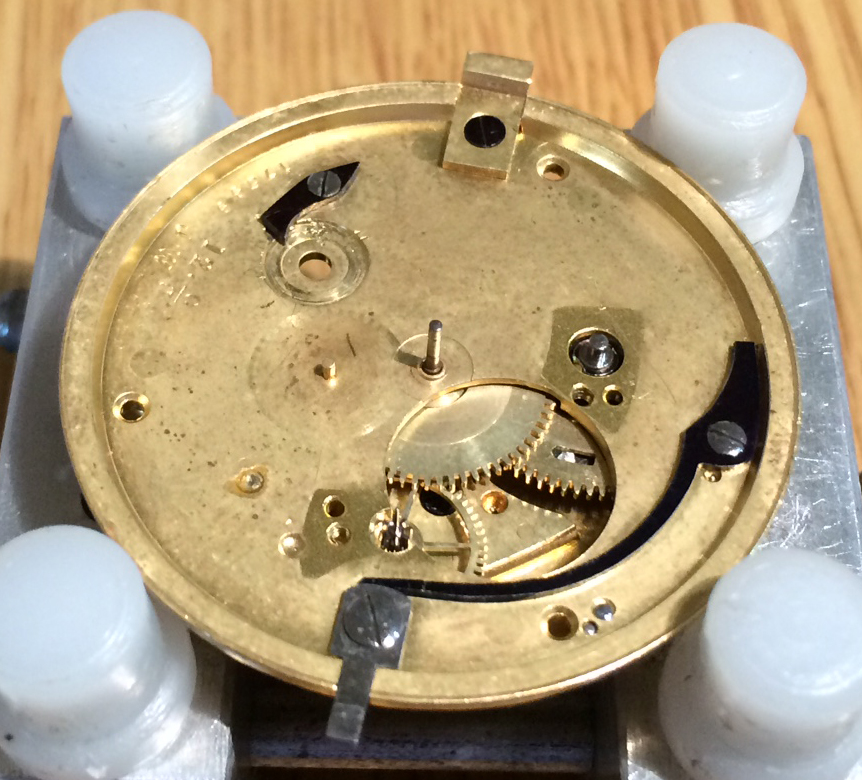
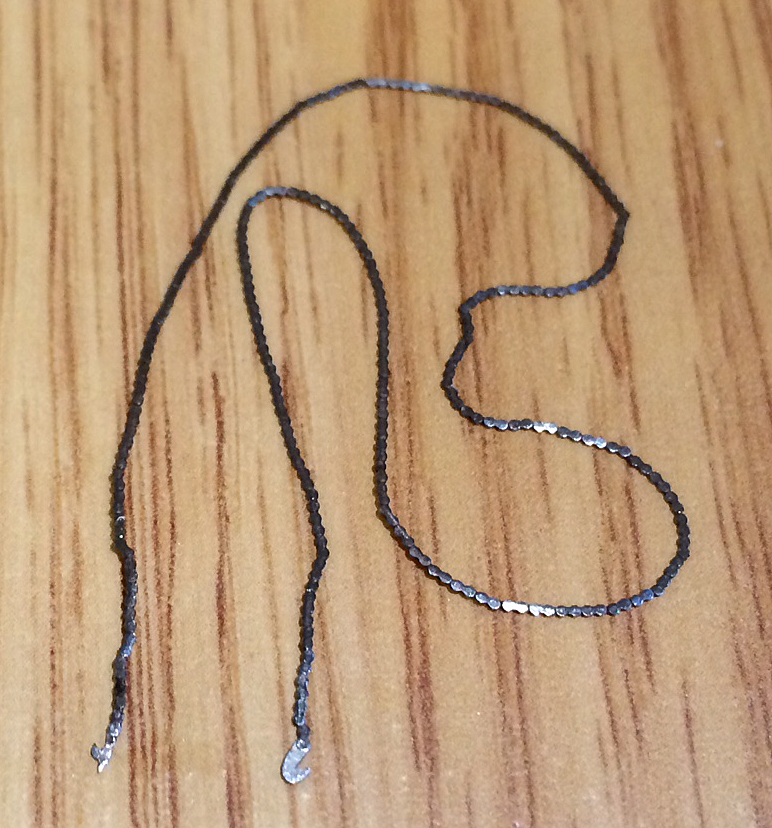
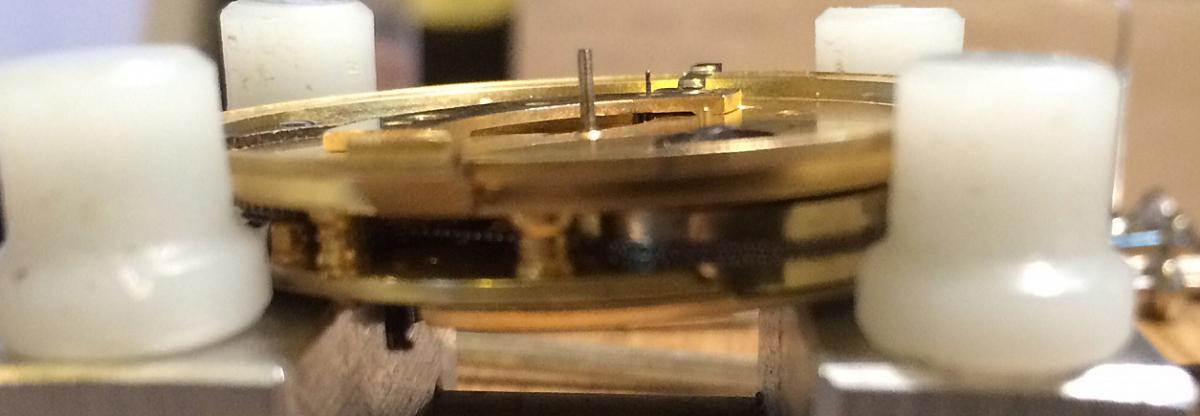
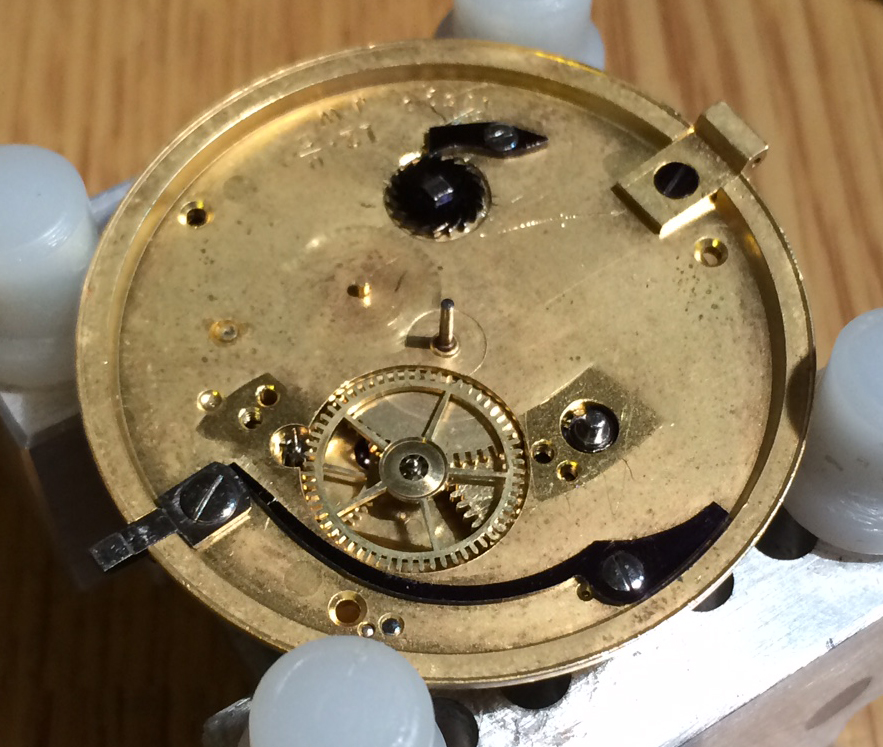
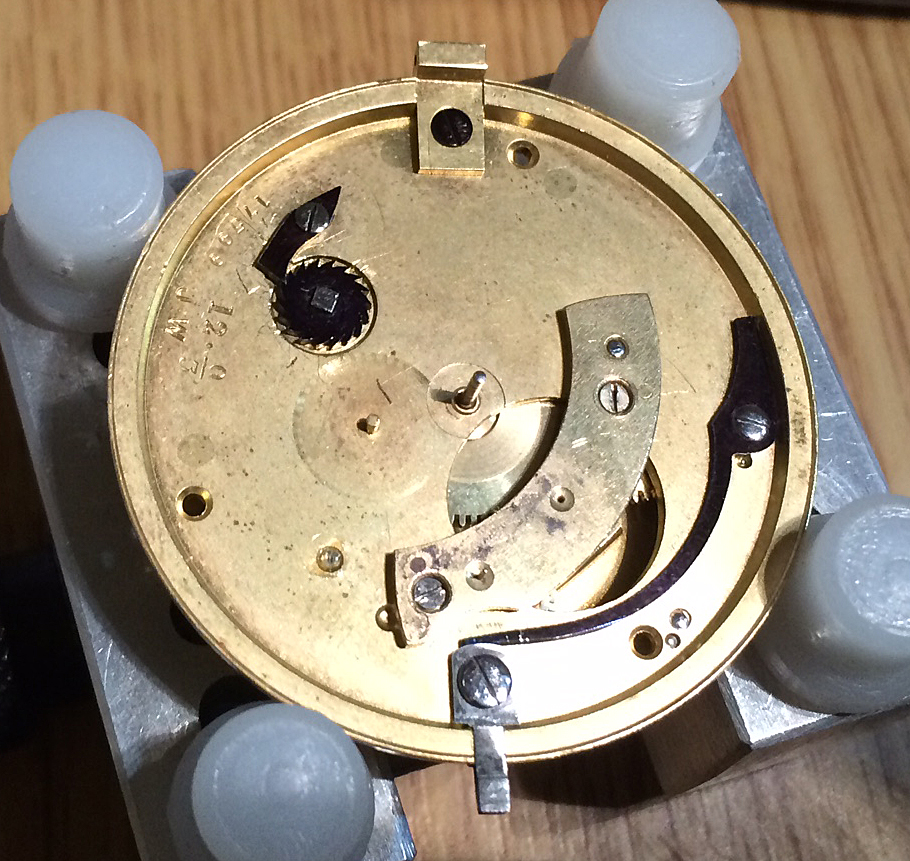
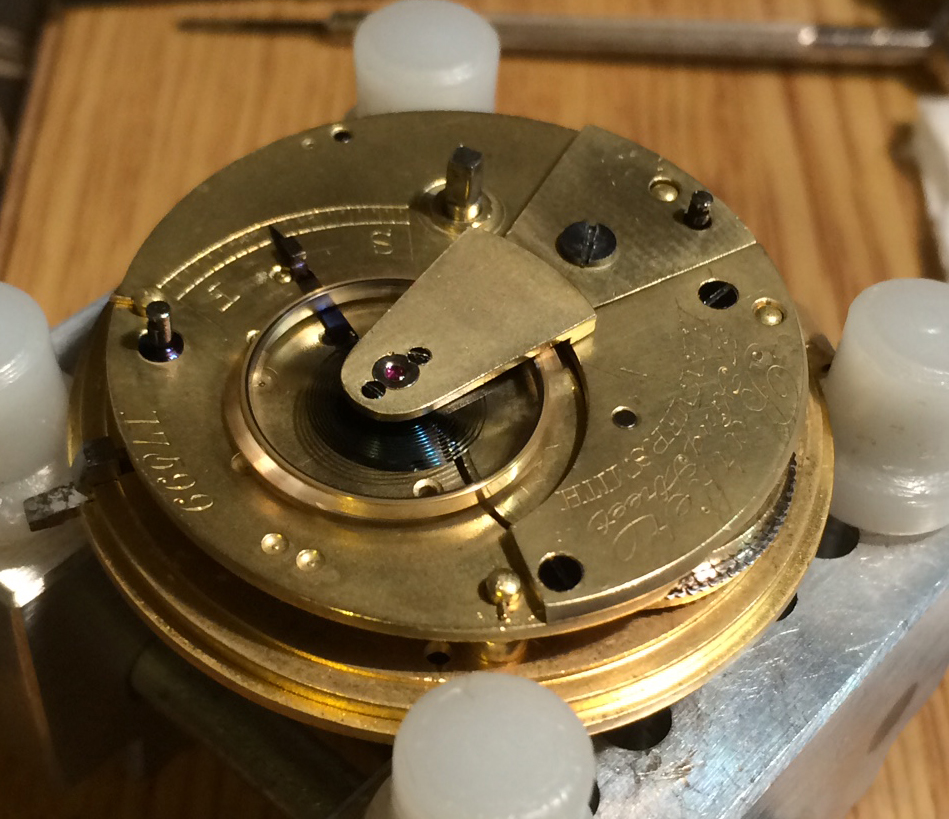
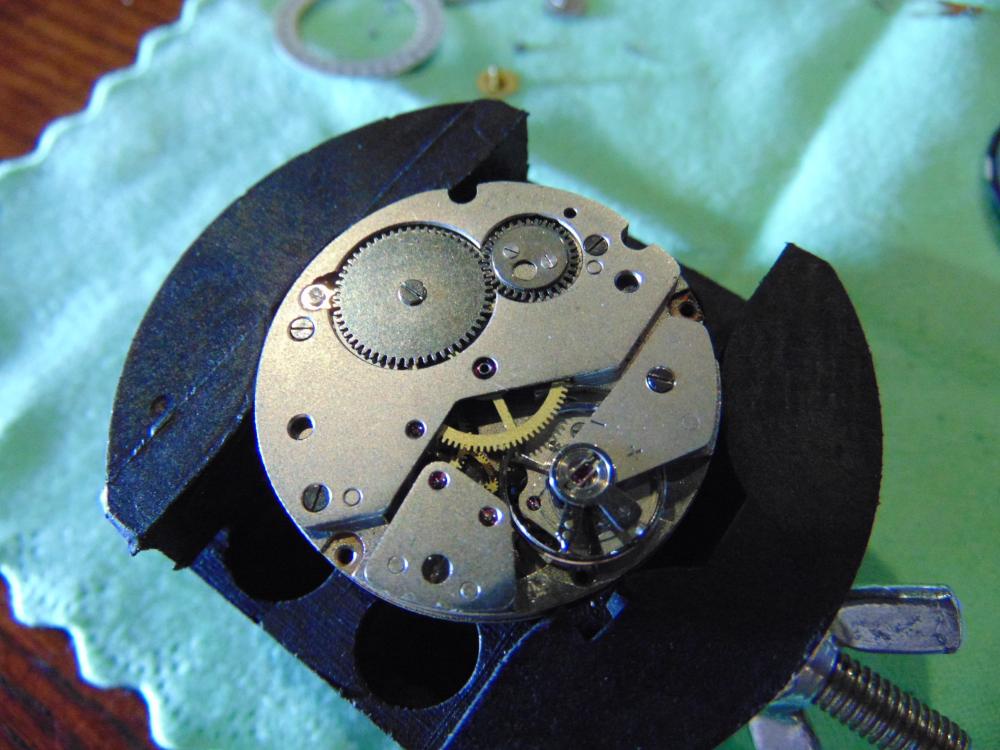
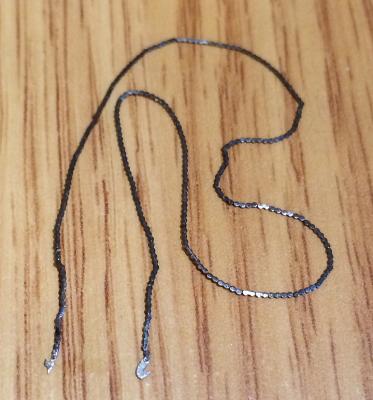
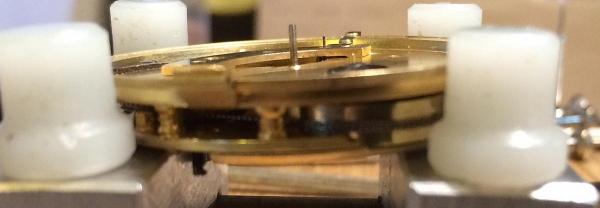
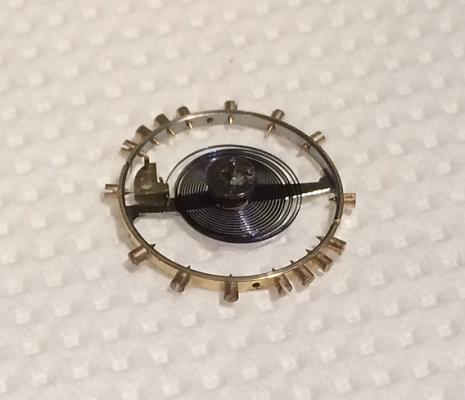
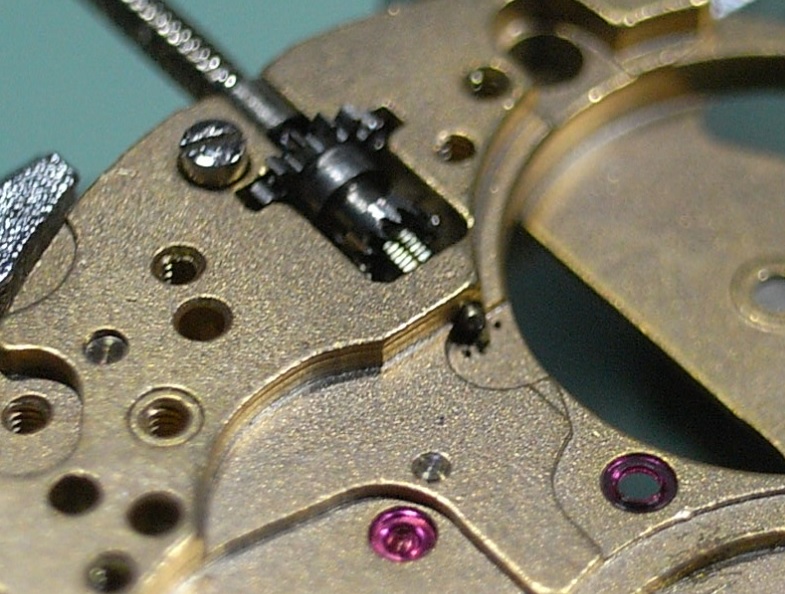
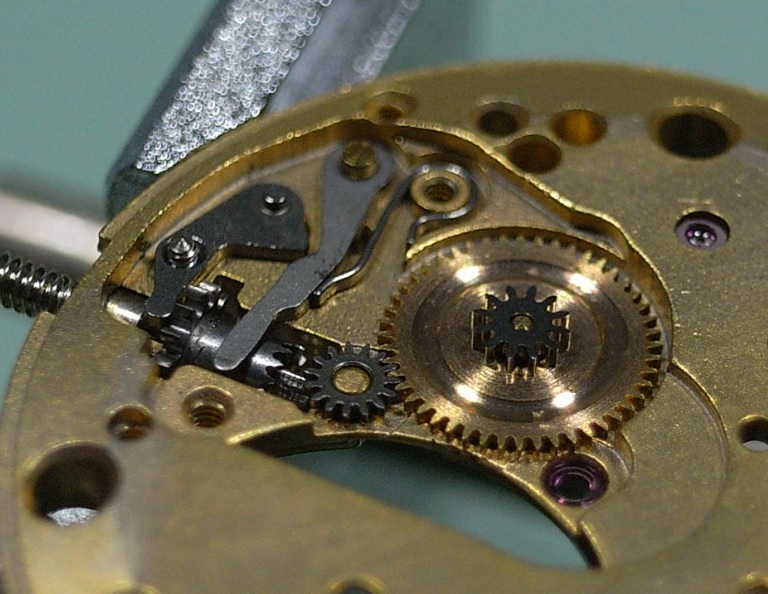
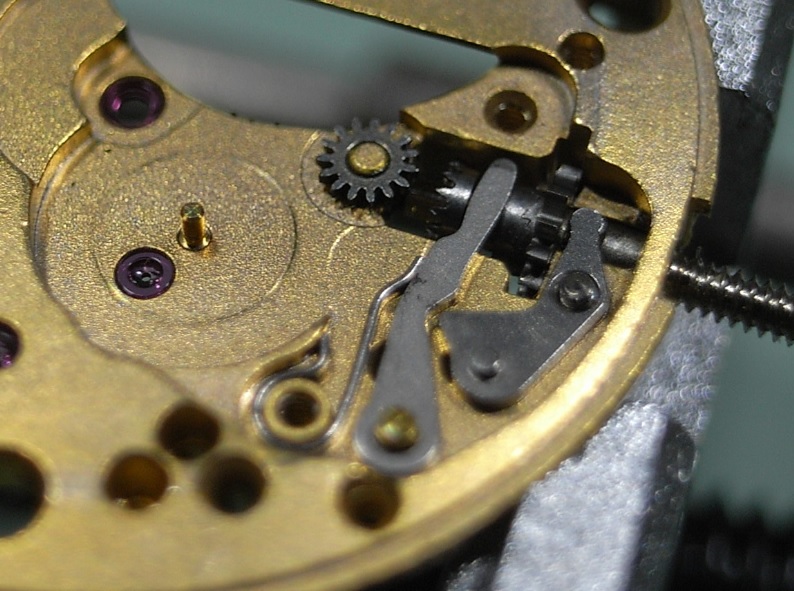
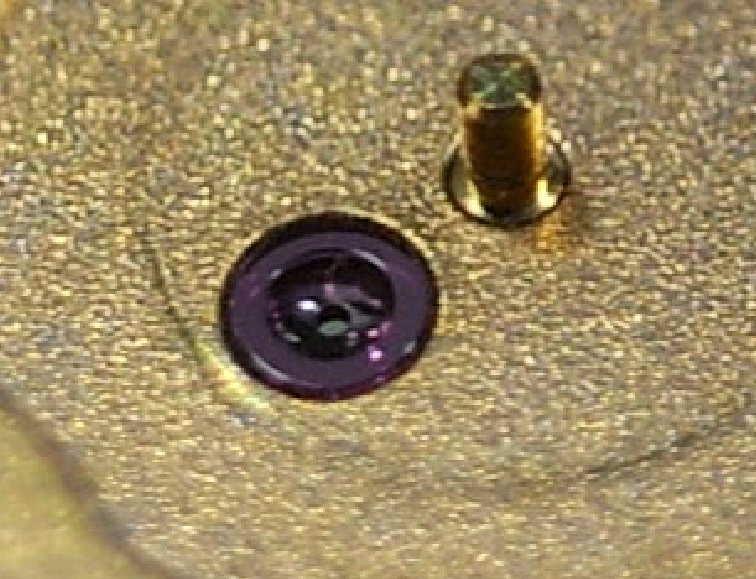
As promised, here's the reassembly of the watch who's fusee I posted photos of: First, here's the bottom plate with the fusee, centre wheel, lever, escape wheel & 4th wheel in position: and the fusee ratchet paw on the top plate: The plates are joined & pivots located in their holes & pins replaced. (This watch was a non-runner when I got it & the lever had a rather badly bent pivot which I straightened & I'm hoping this was the only problem stopping it running): At this stage it's best to fit the 3rd wheel bridge, solely to protect the 4th wheel pivot which also has it's hole in the bridge: Next fit the barrel: and the barrel bridge: Next the fusee chain needs fitting - the hook end goes in the fusee & the pointy barb end in the notch on the barrel Apologies but it's not possible to photograph the actual chain fitting, but after fitting fit the blued steel barrel ratchet, add some tension (say half a turn of the ratchet) then screw in the ratchet click to hold it in place: Now fit the 3rd wheel & replace the bridge: At this point it's worth winding some chain onto the fusee & check that the lever snaps to & fro with a little movement of it with a cocktail stick...this shows that power is getting through the train. Then the balance wheel can be fitted - the staff has a safety roller & jewel peg like a Swiss lever escapement: Here the balance cock has been fitted & it's ticking nicely Part two will come later when I'm satisfied all is well which will take a few days of windings...I'm not 100% happy with it at the moment as after running for a minute or so it kept losing power to the lever & stopping...having said that, after some fiddling it's running now...it could be that the fusee is not giving maintaining power...if it continues to play up I'll have to strip it down again & investigate....anyway, hope that was interesting!

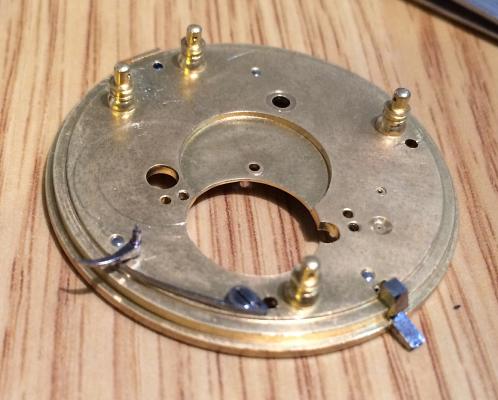


 1 point
 -
Mike; welcome to the forum.1 point
-
A nice step by step with good pictures. The pivots on these watches are very important in order for them to run well they need to be burnished. Don't expect the balance to rotate the way a modern watch would these old pocket watches are quite slow in rotation. I always cleaned the chain in the watch cleaner and I would oil it by running it through an oiled piece of old clean cloth.1 point
-
Great job. I stripped my friends down completely to do the repair as there was green decay in the movement Sent from my iPhone using Tapatalk1 point
-
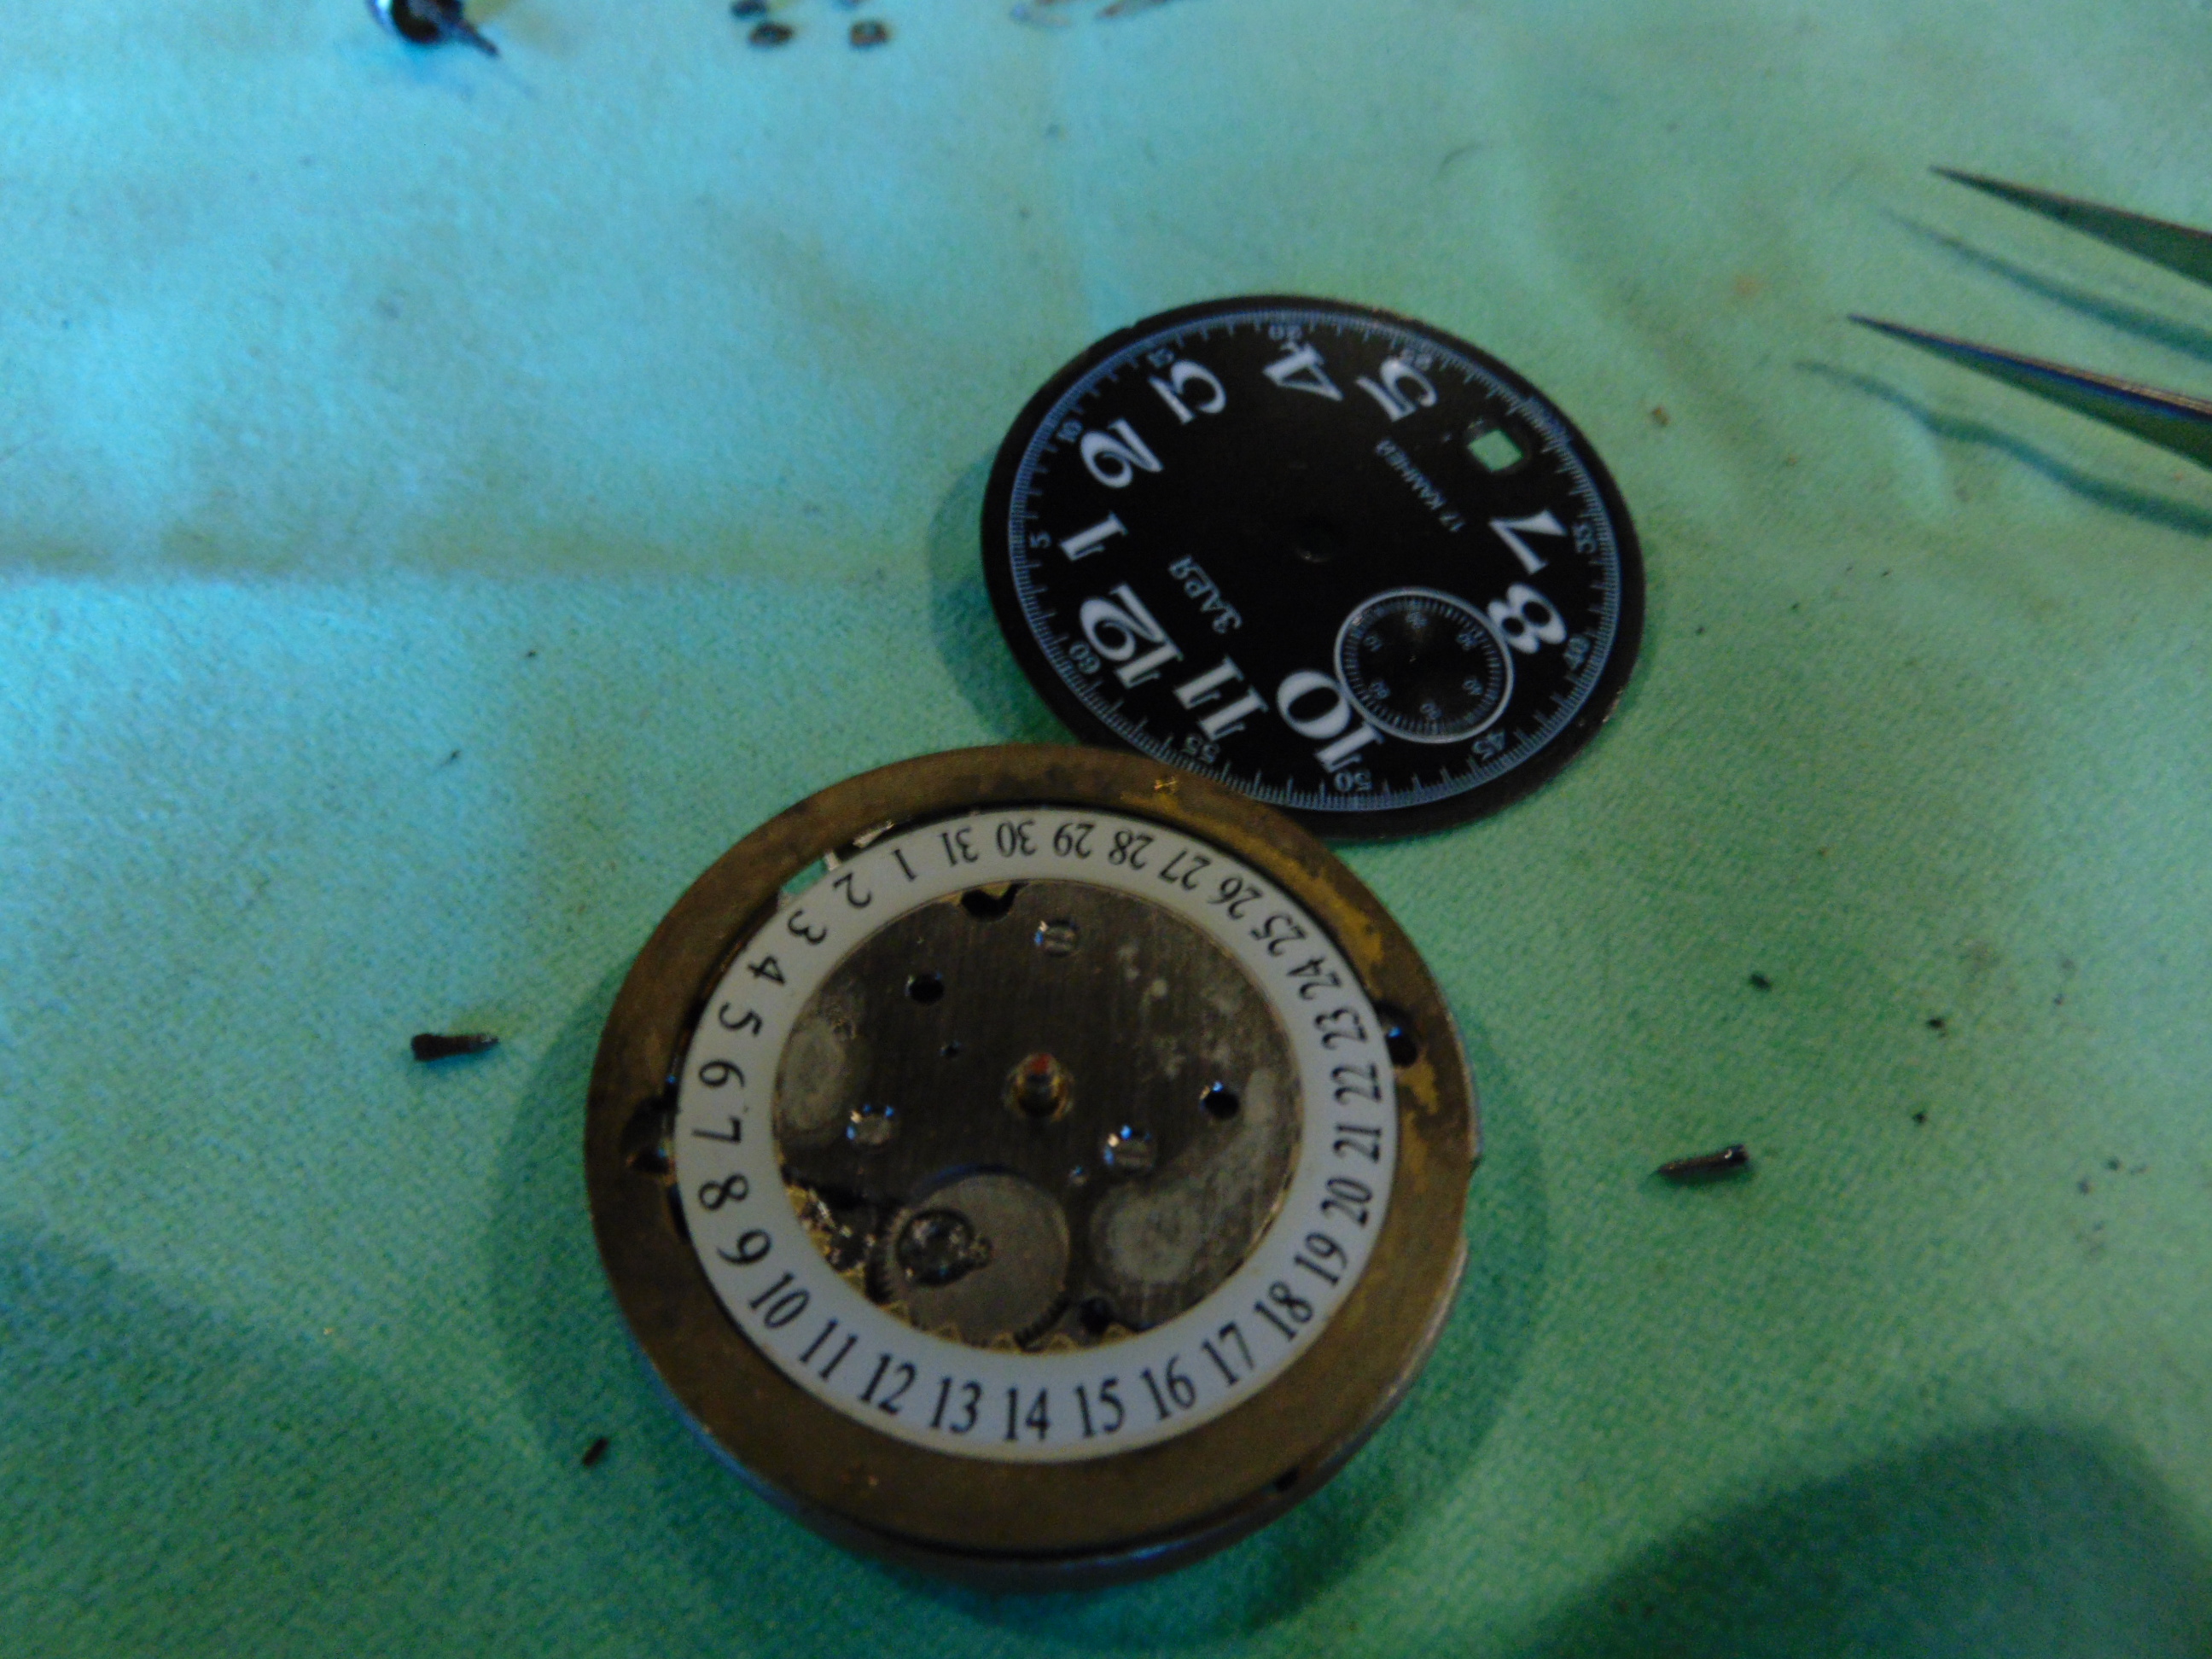
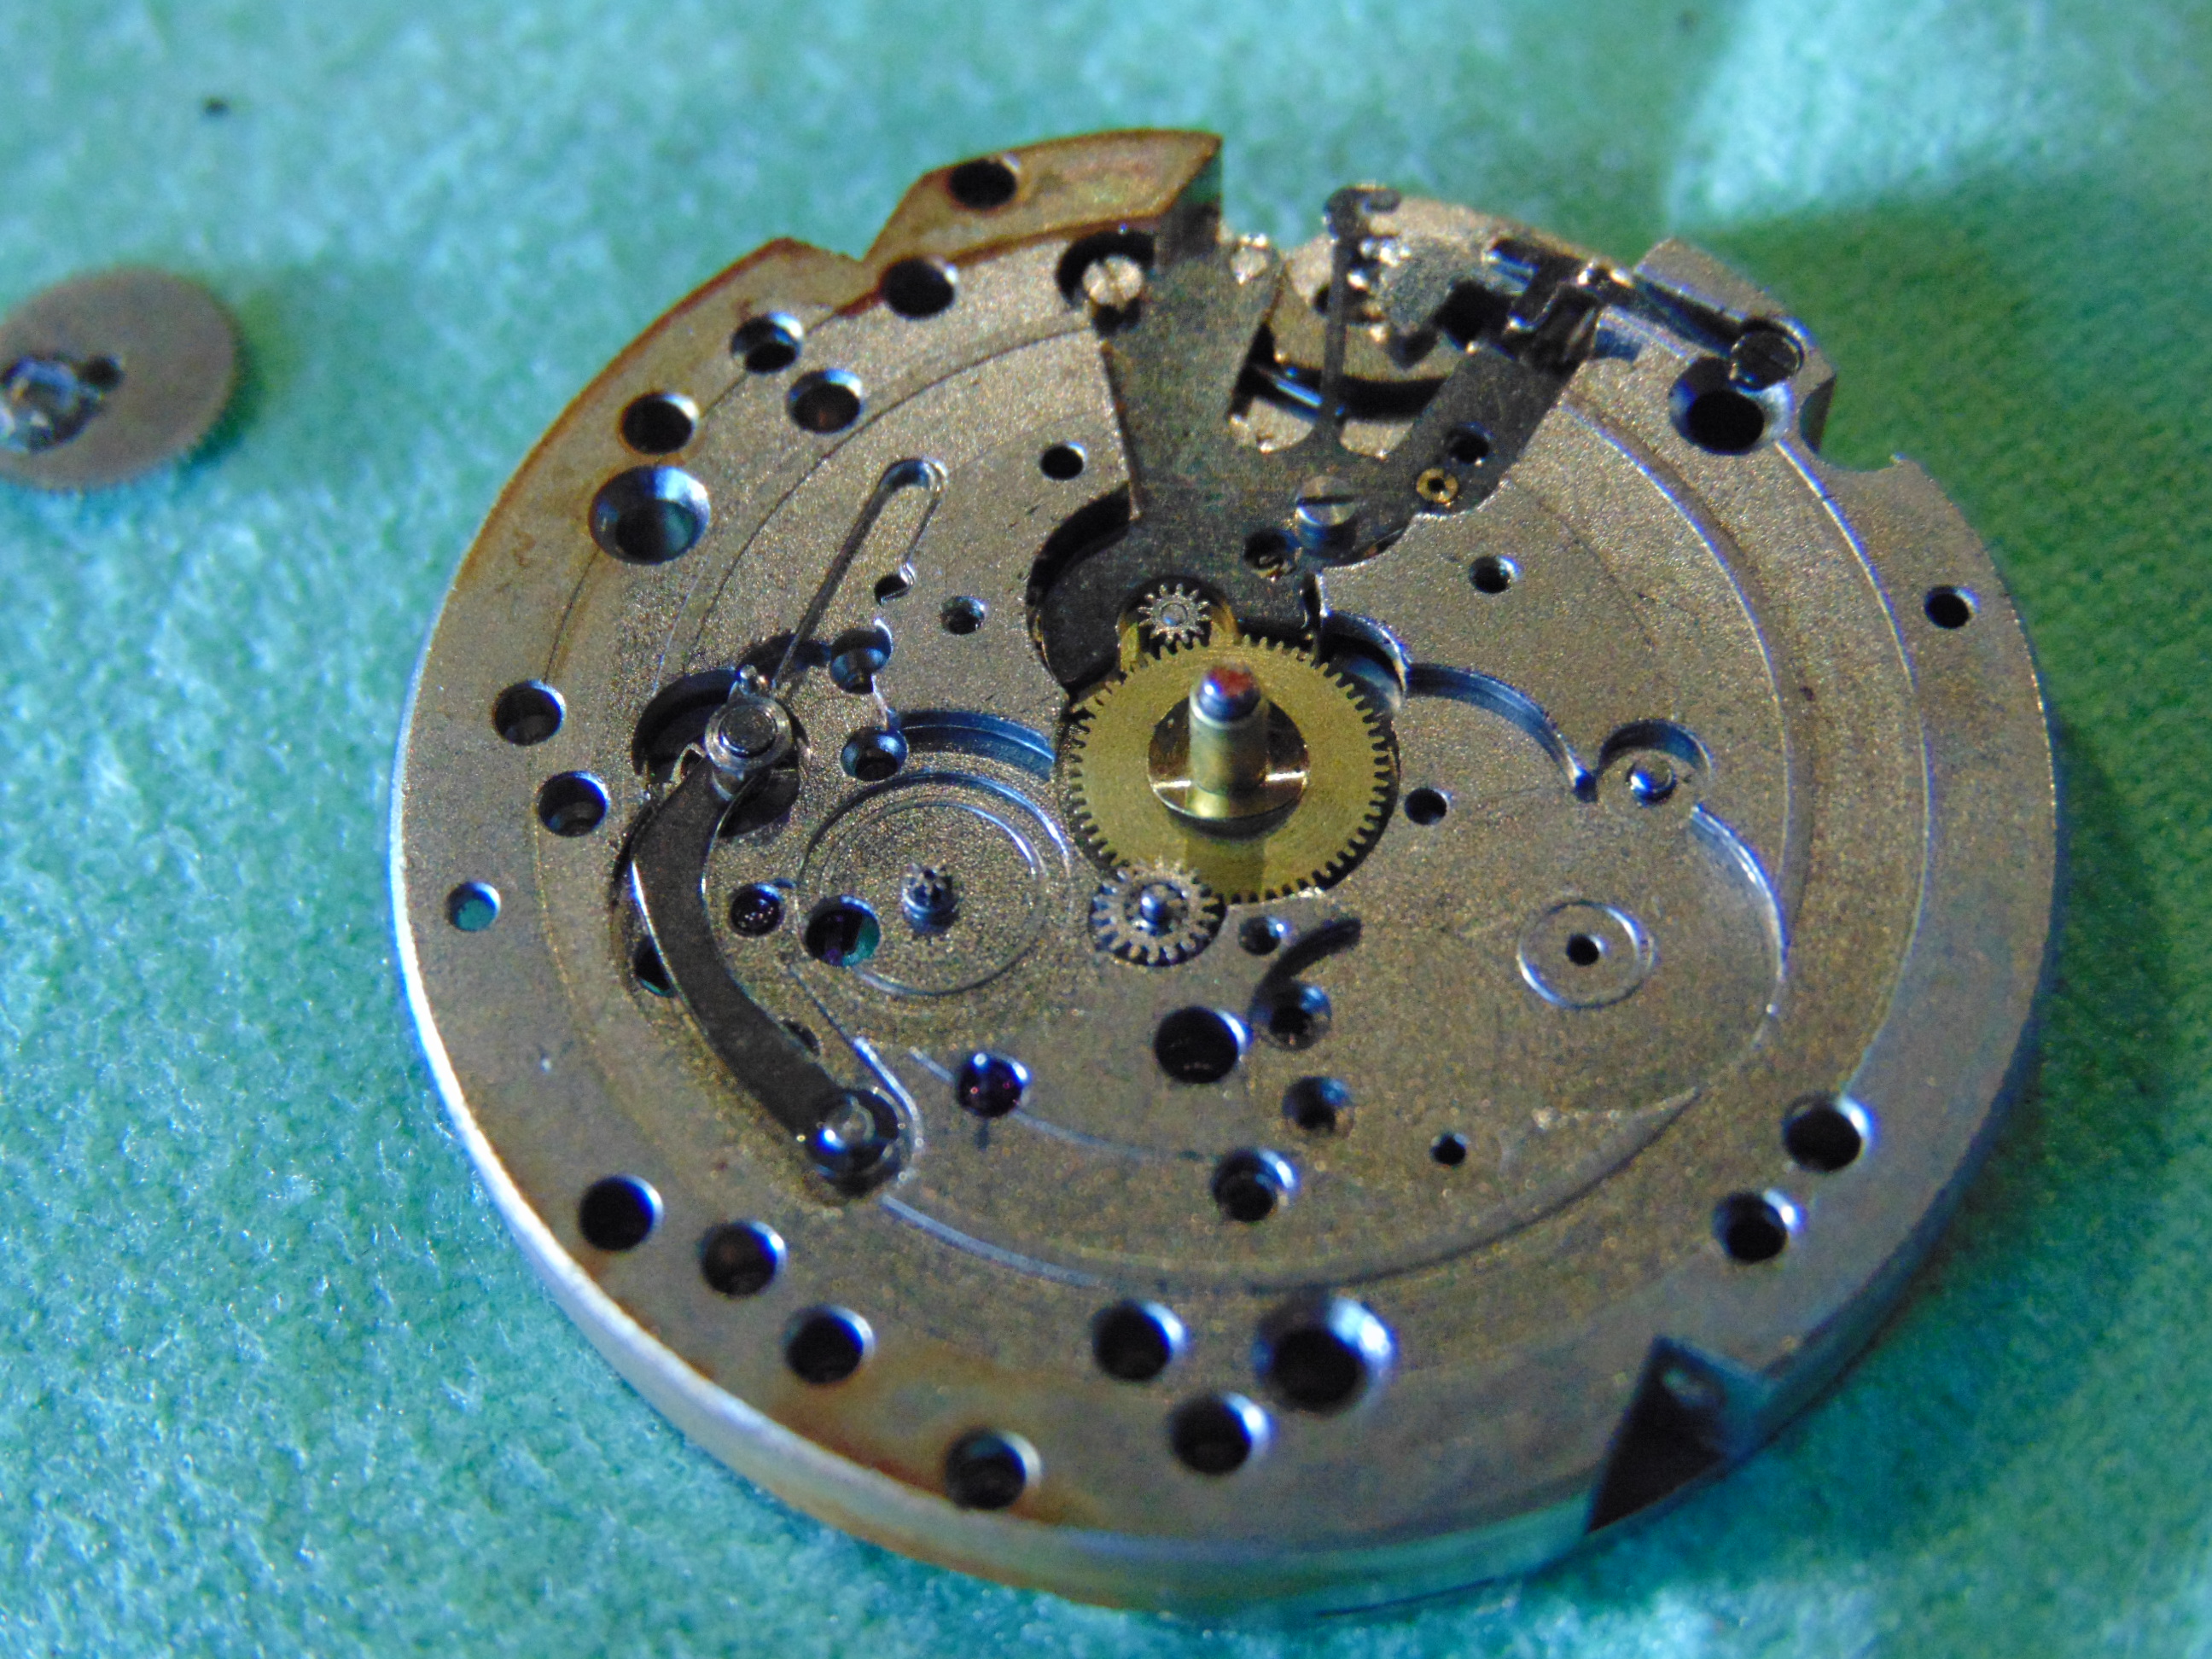
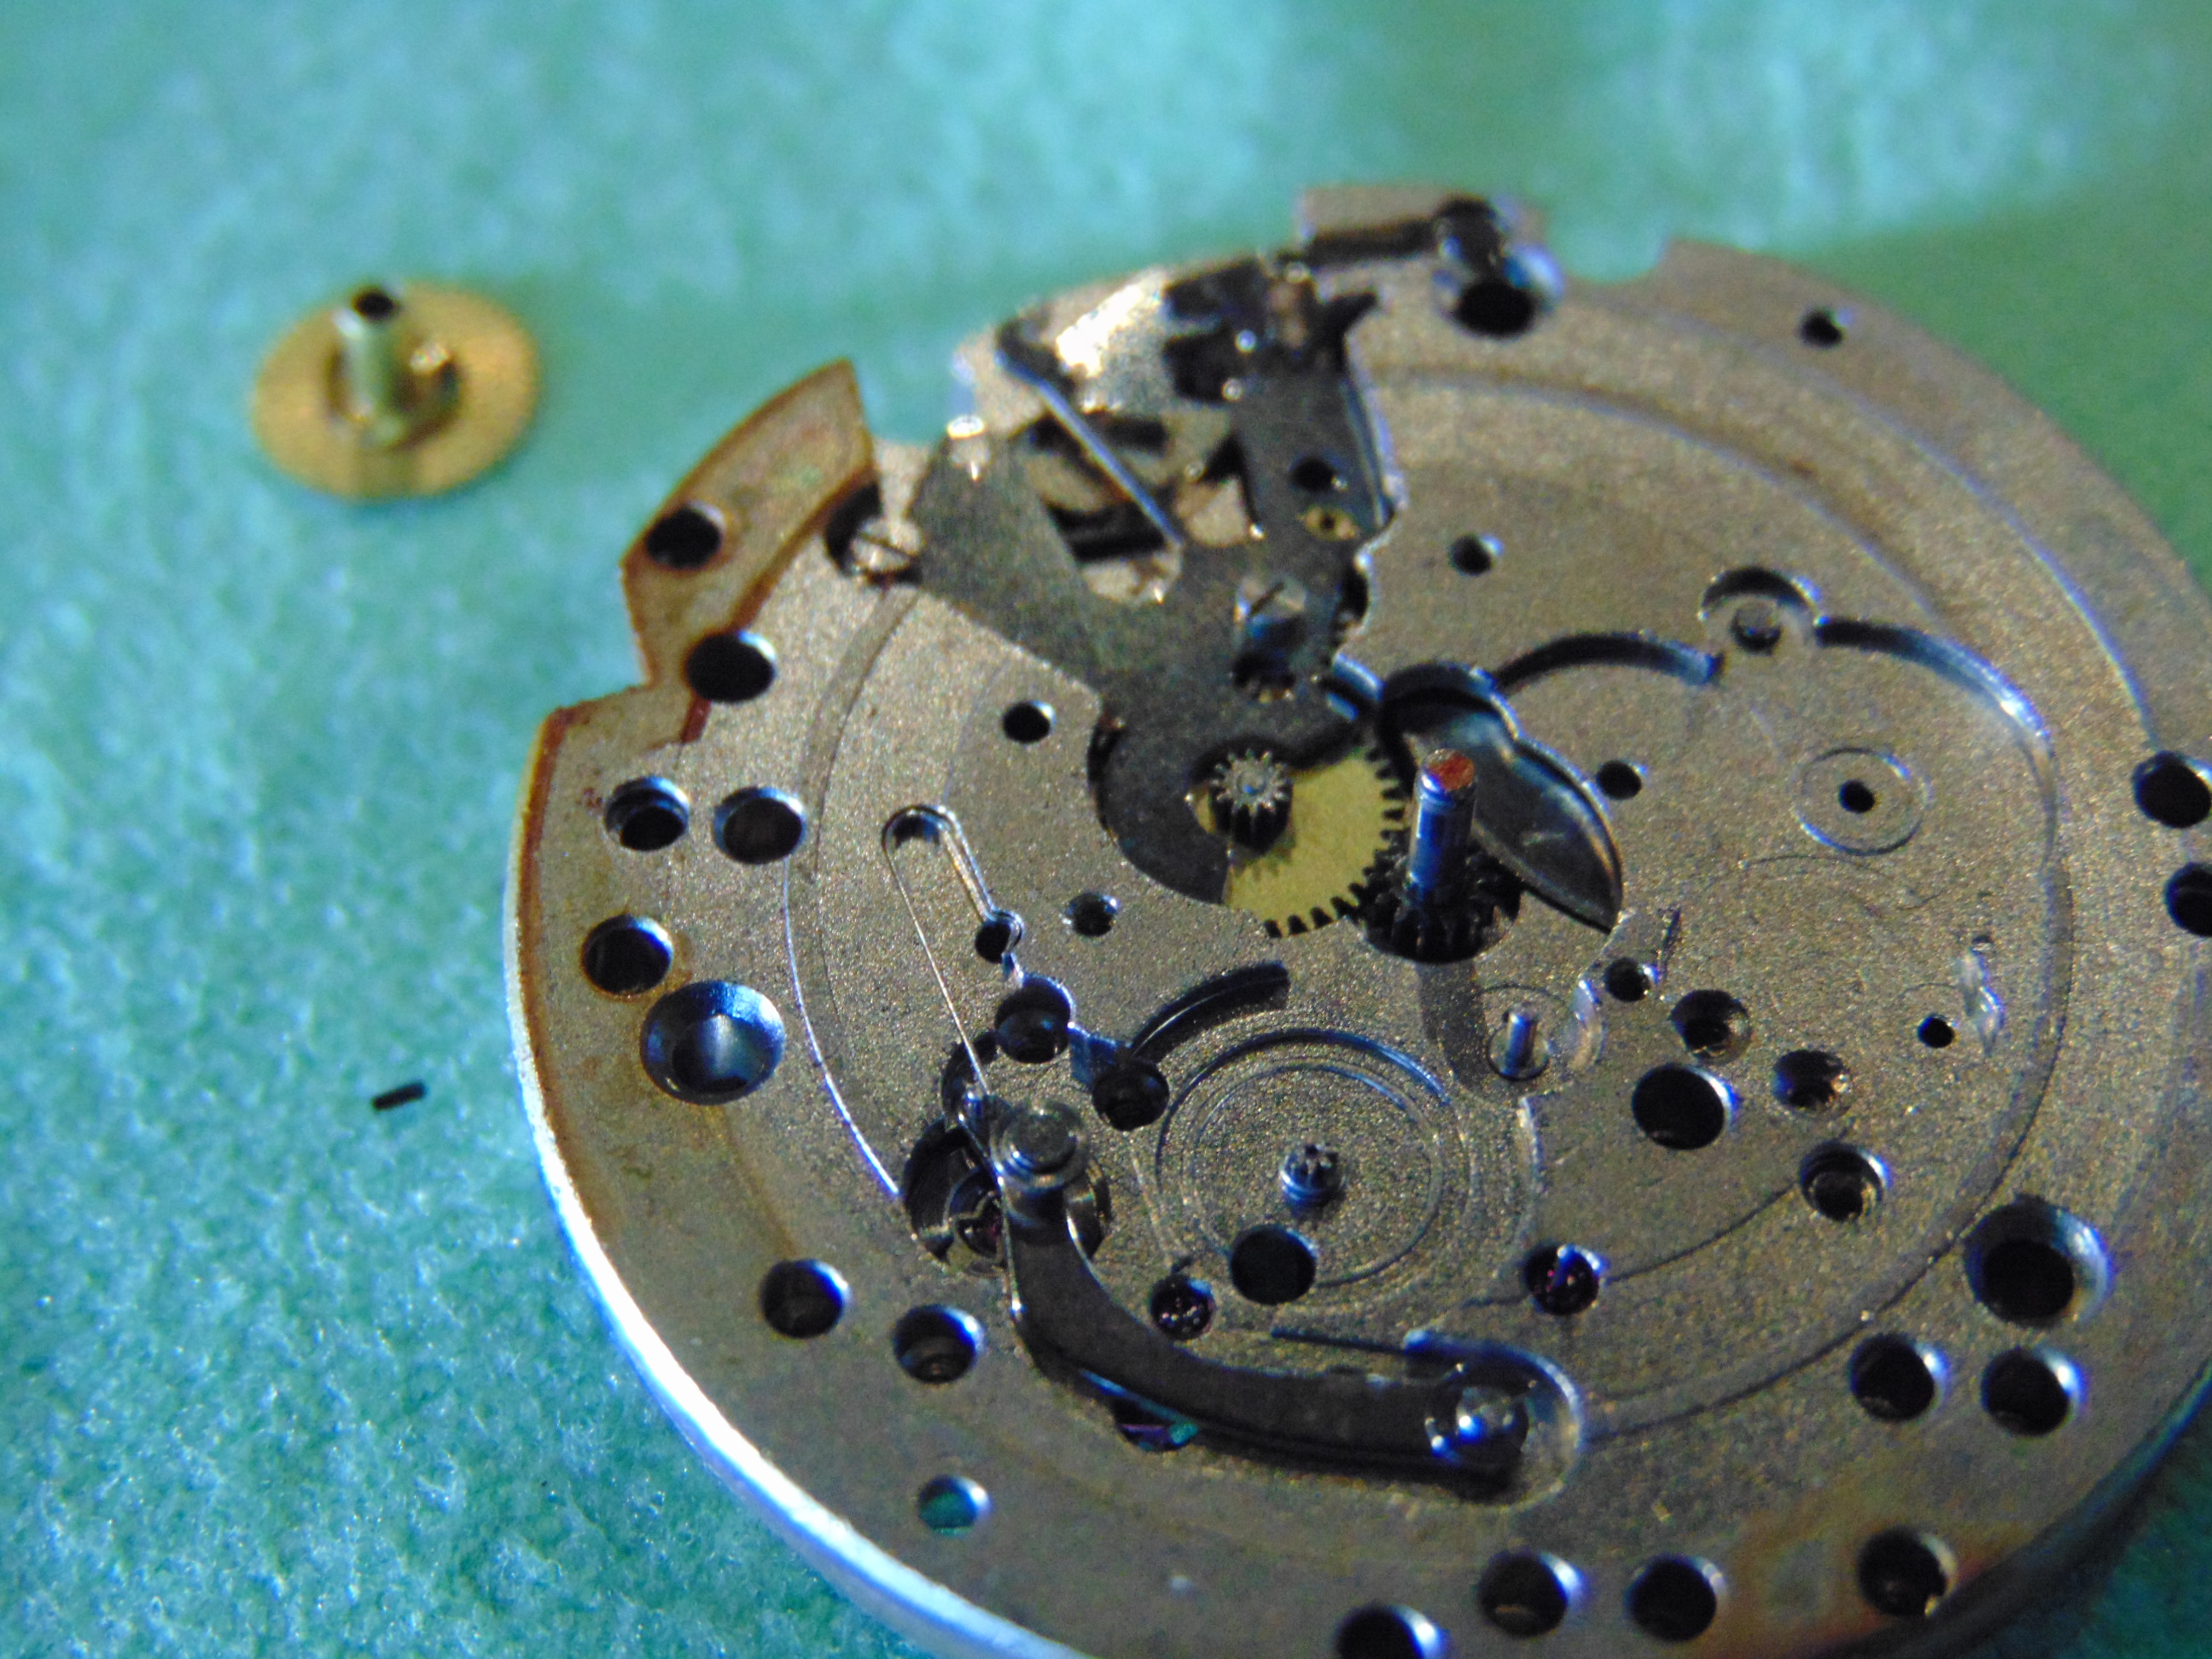
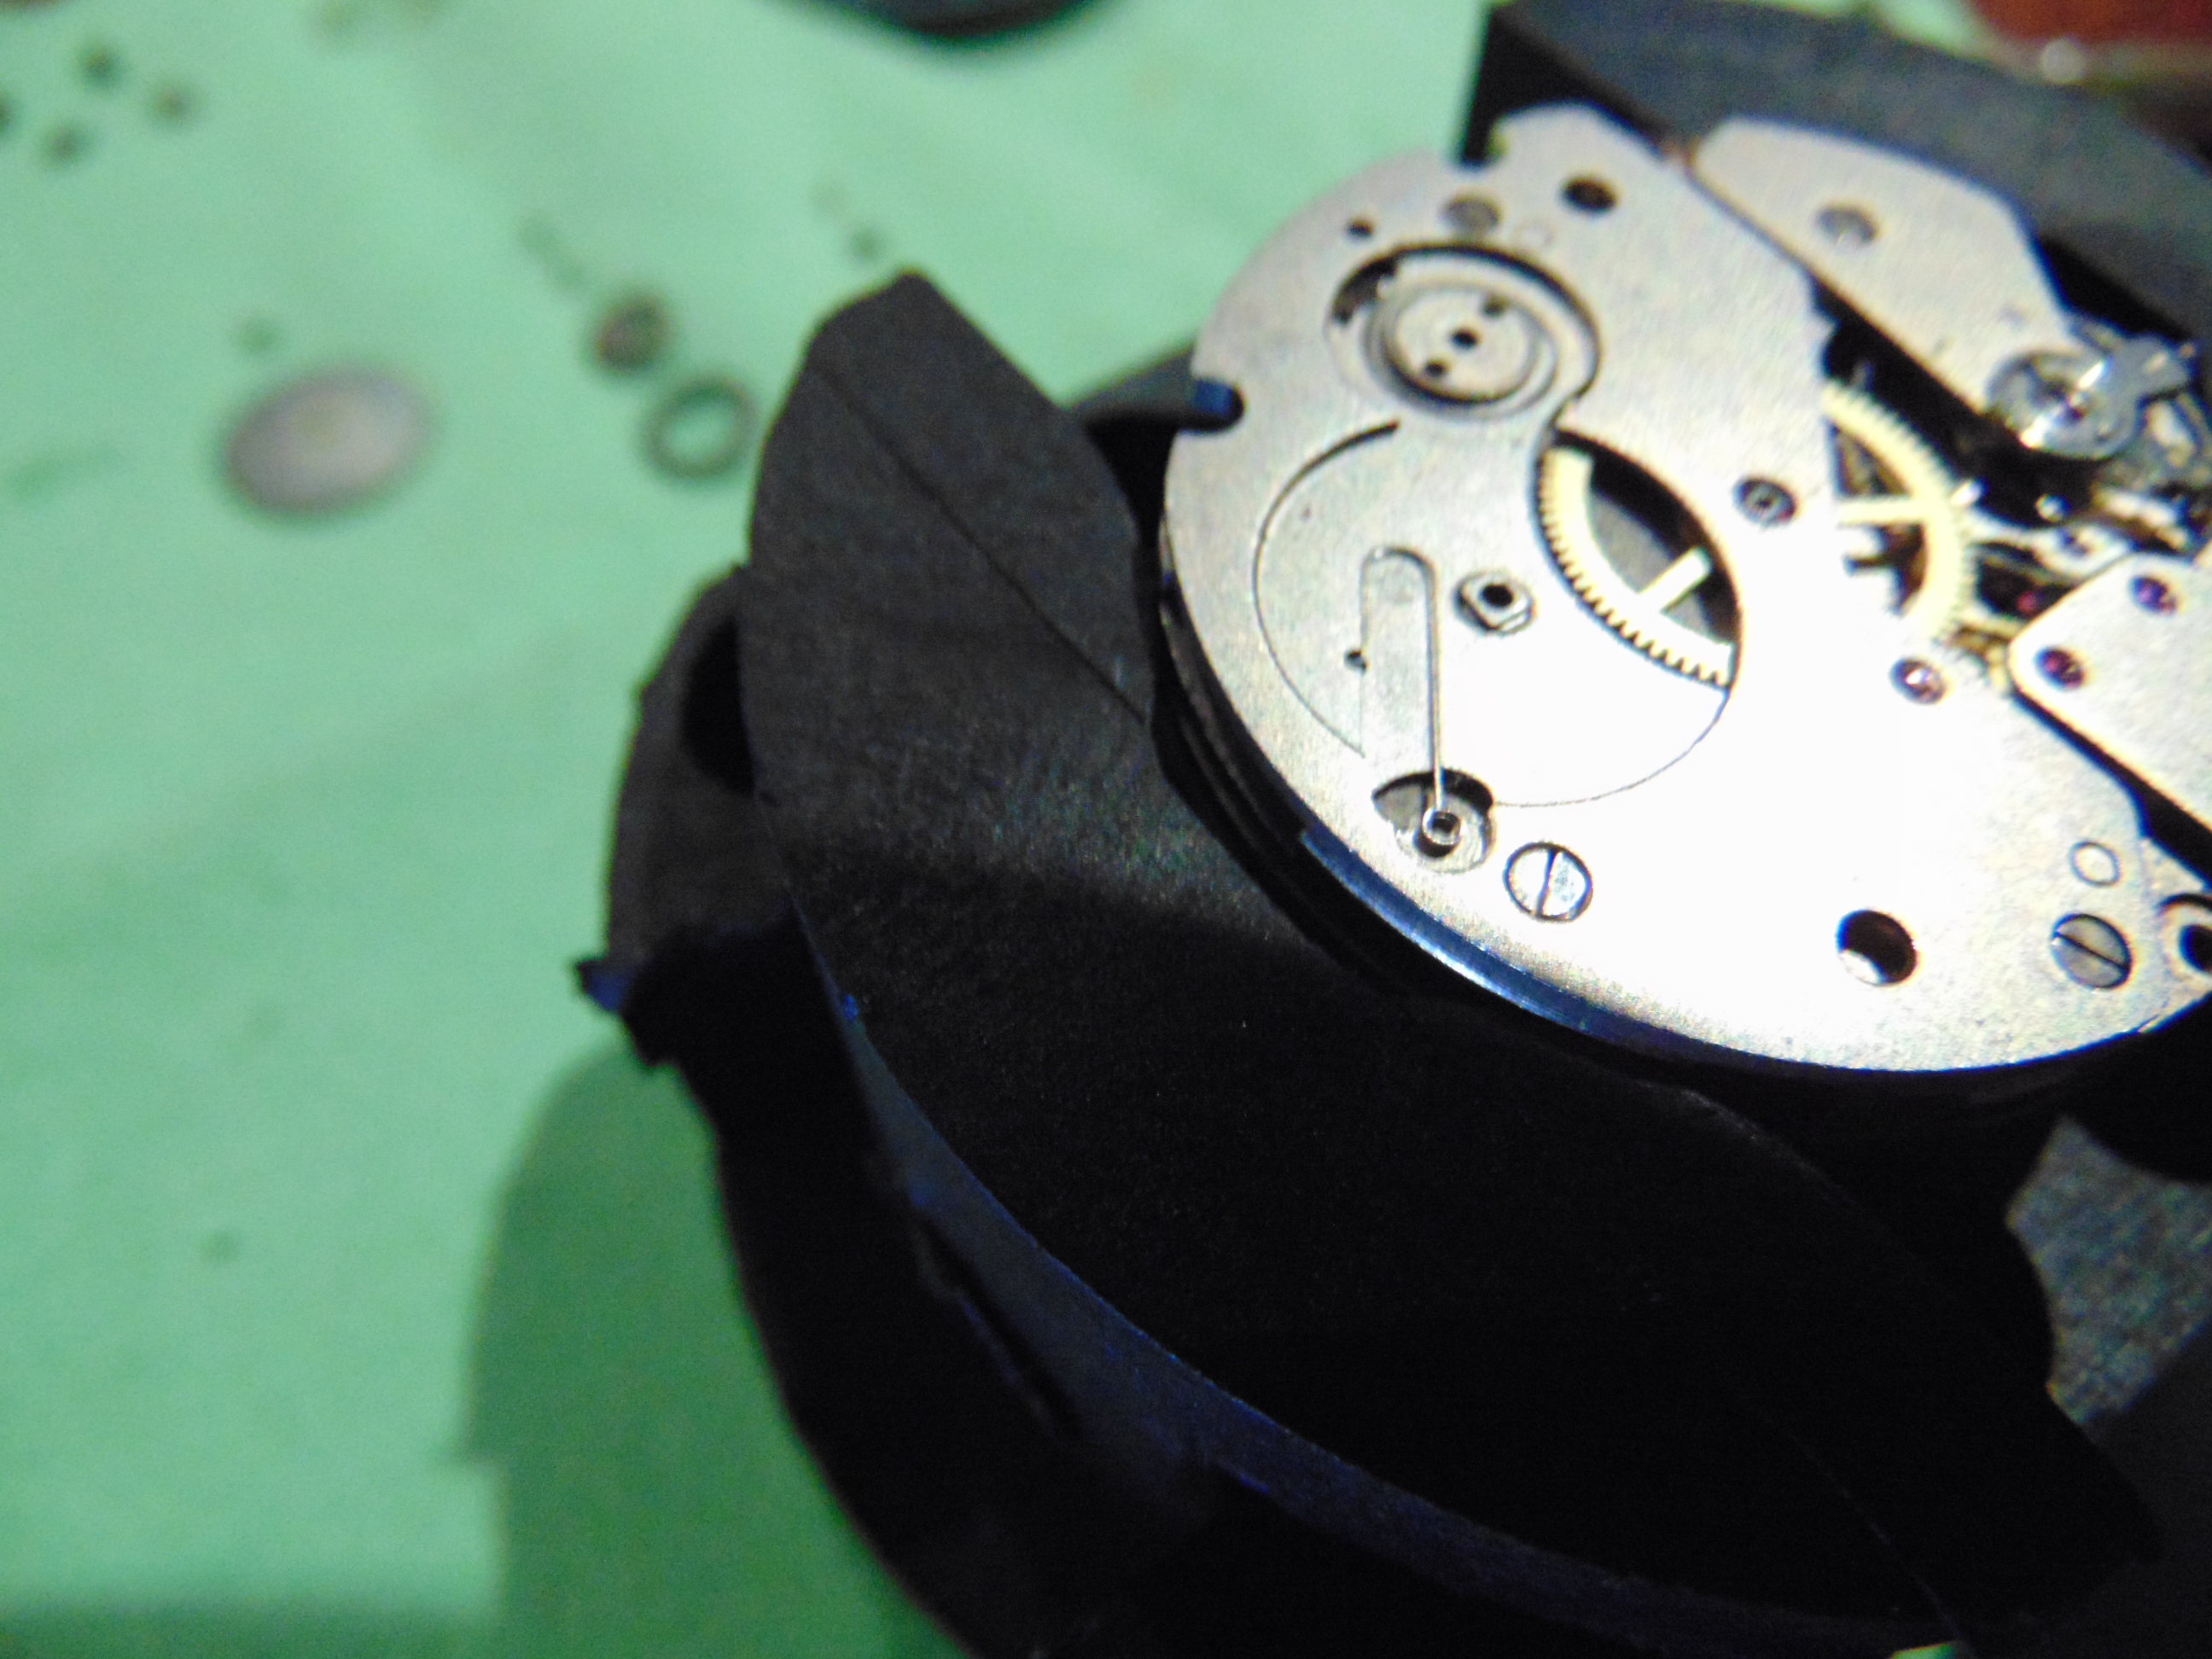
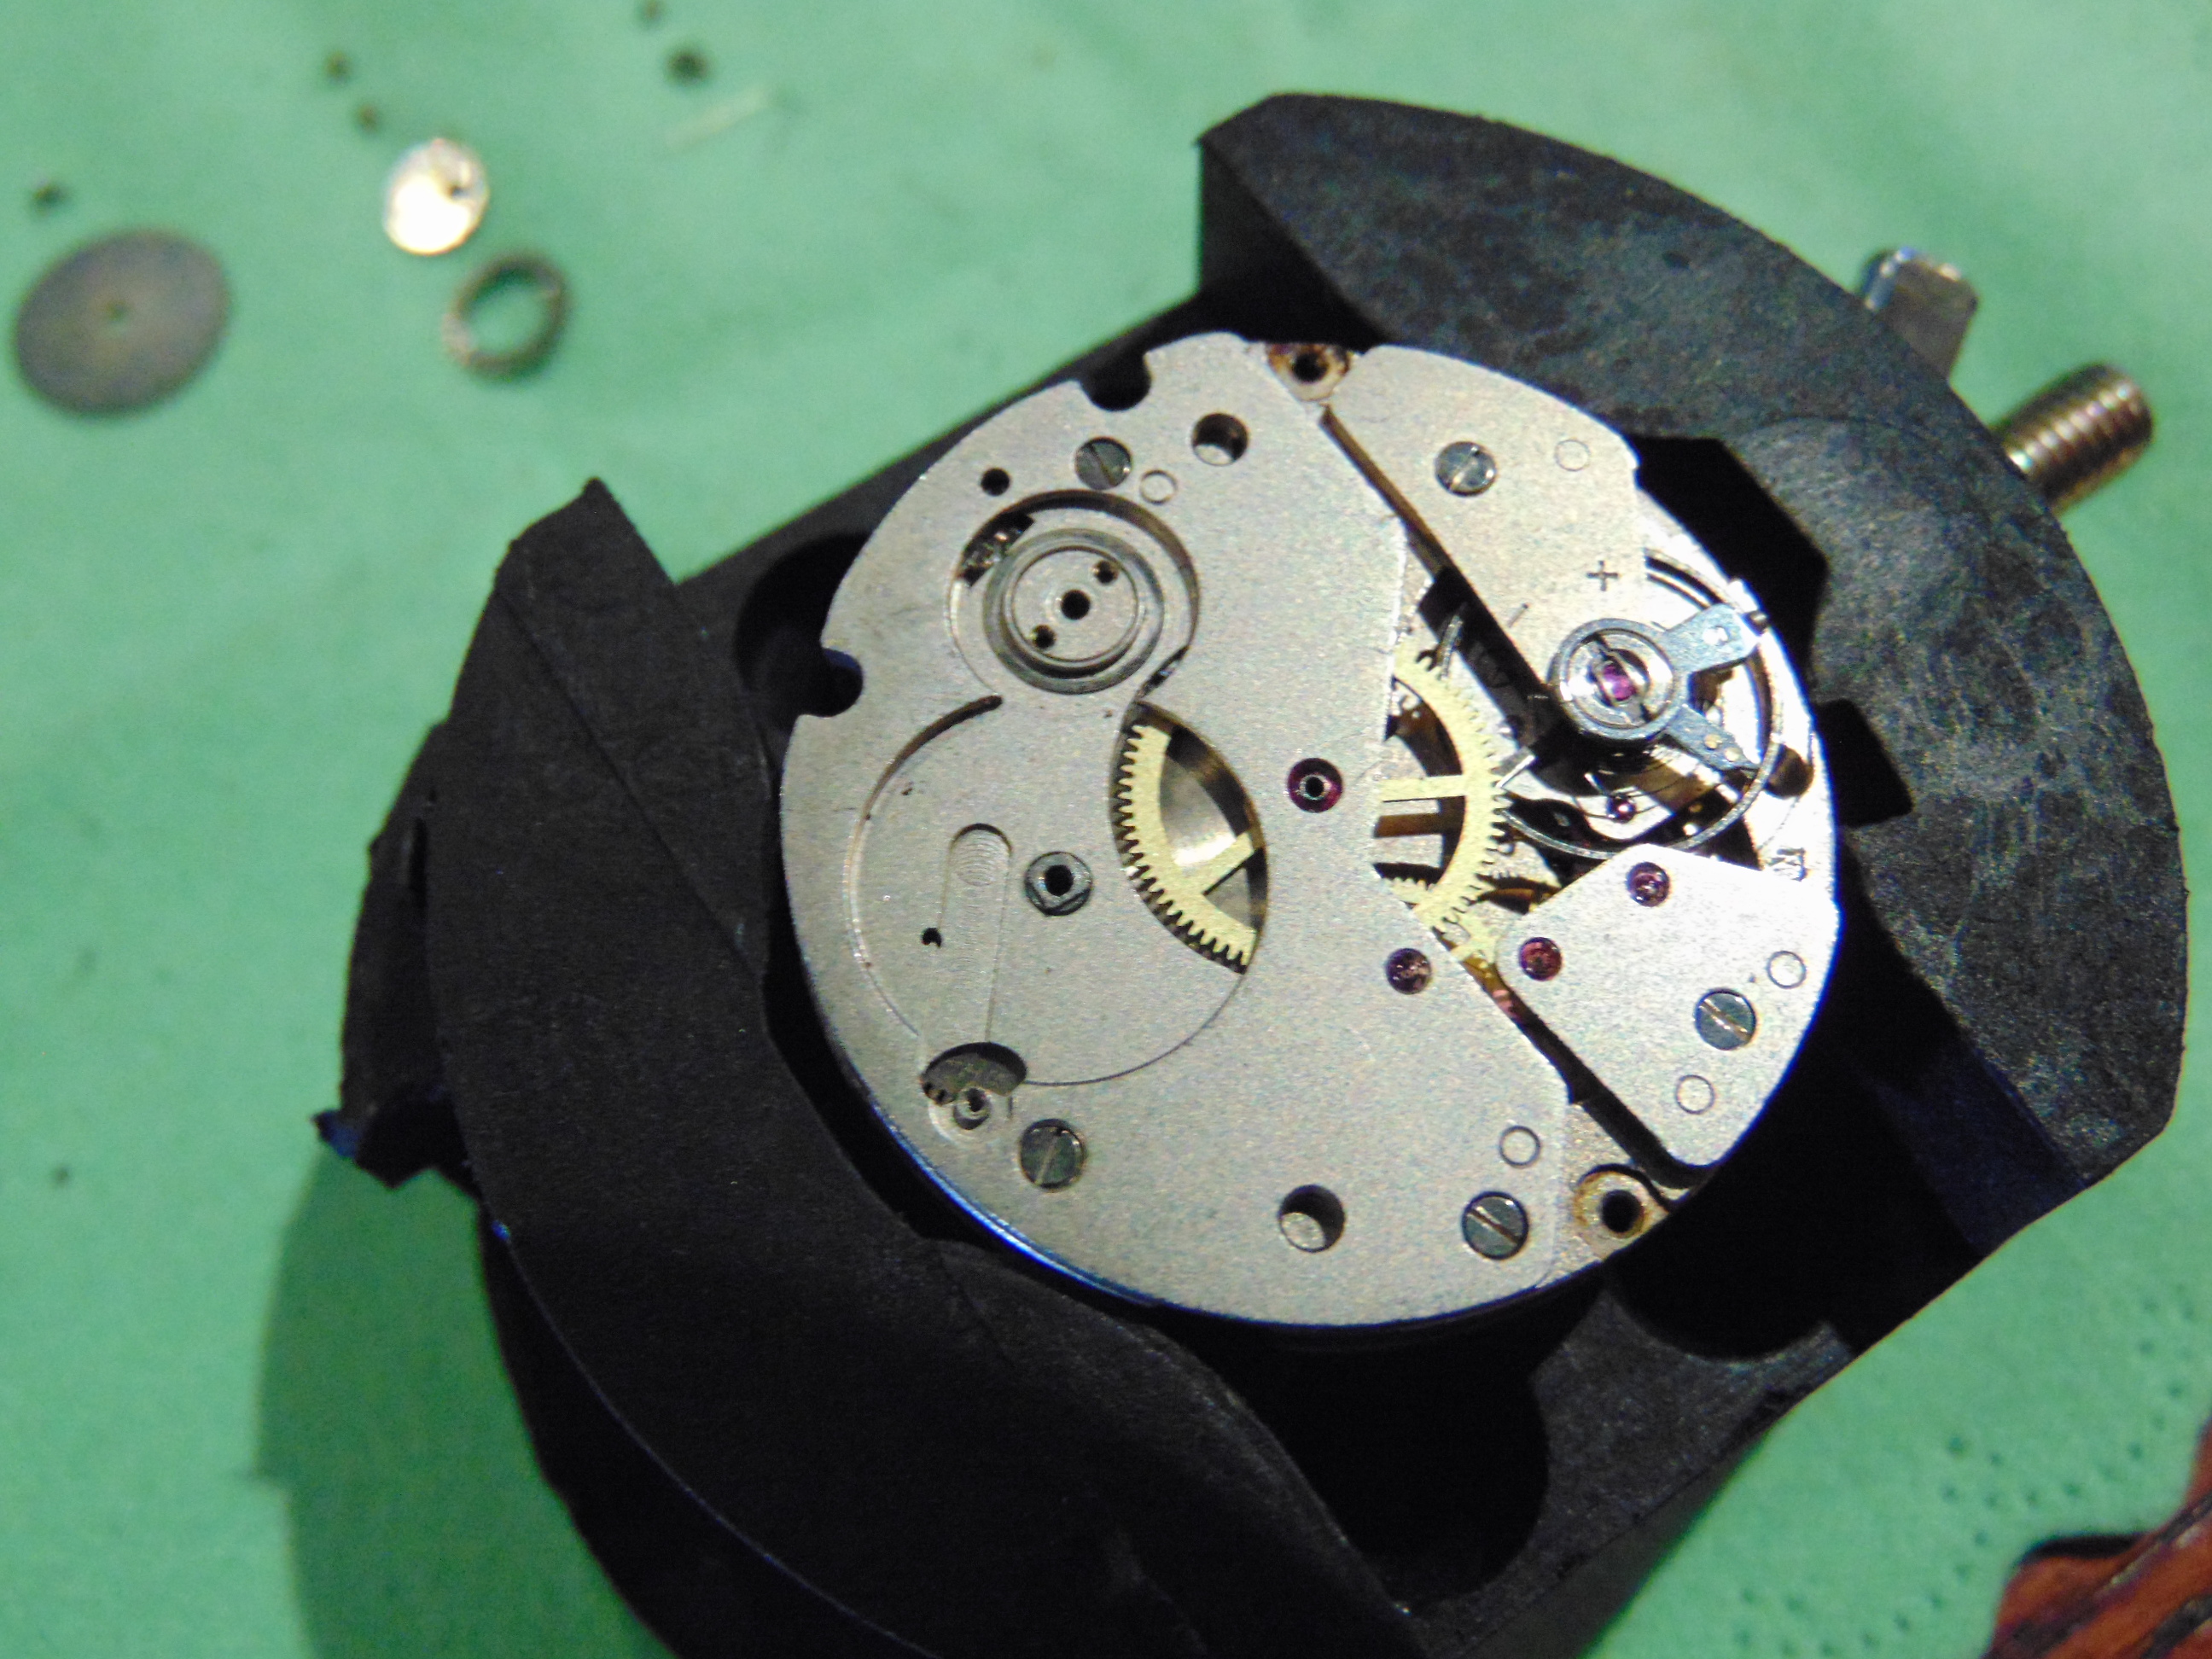
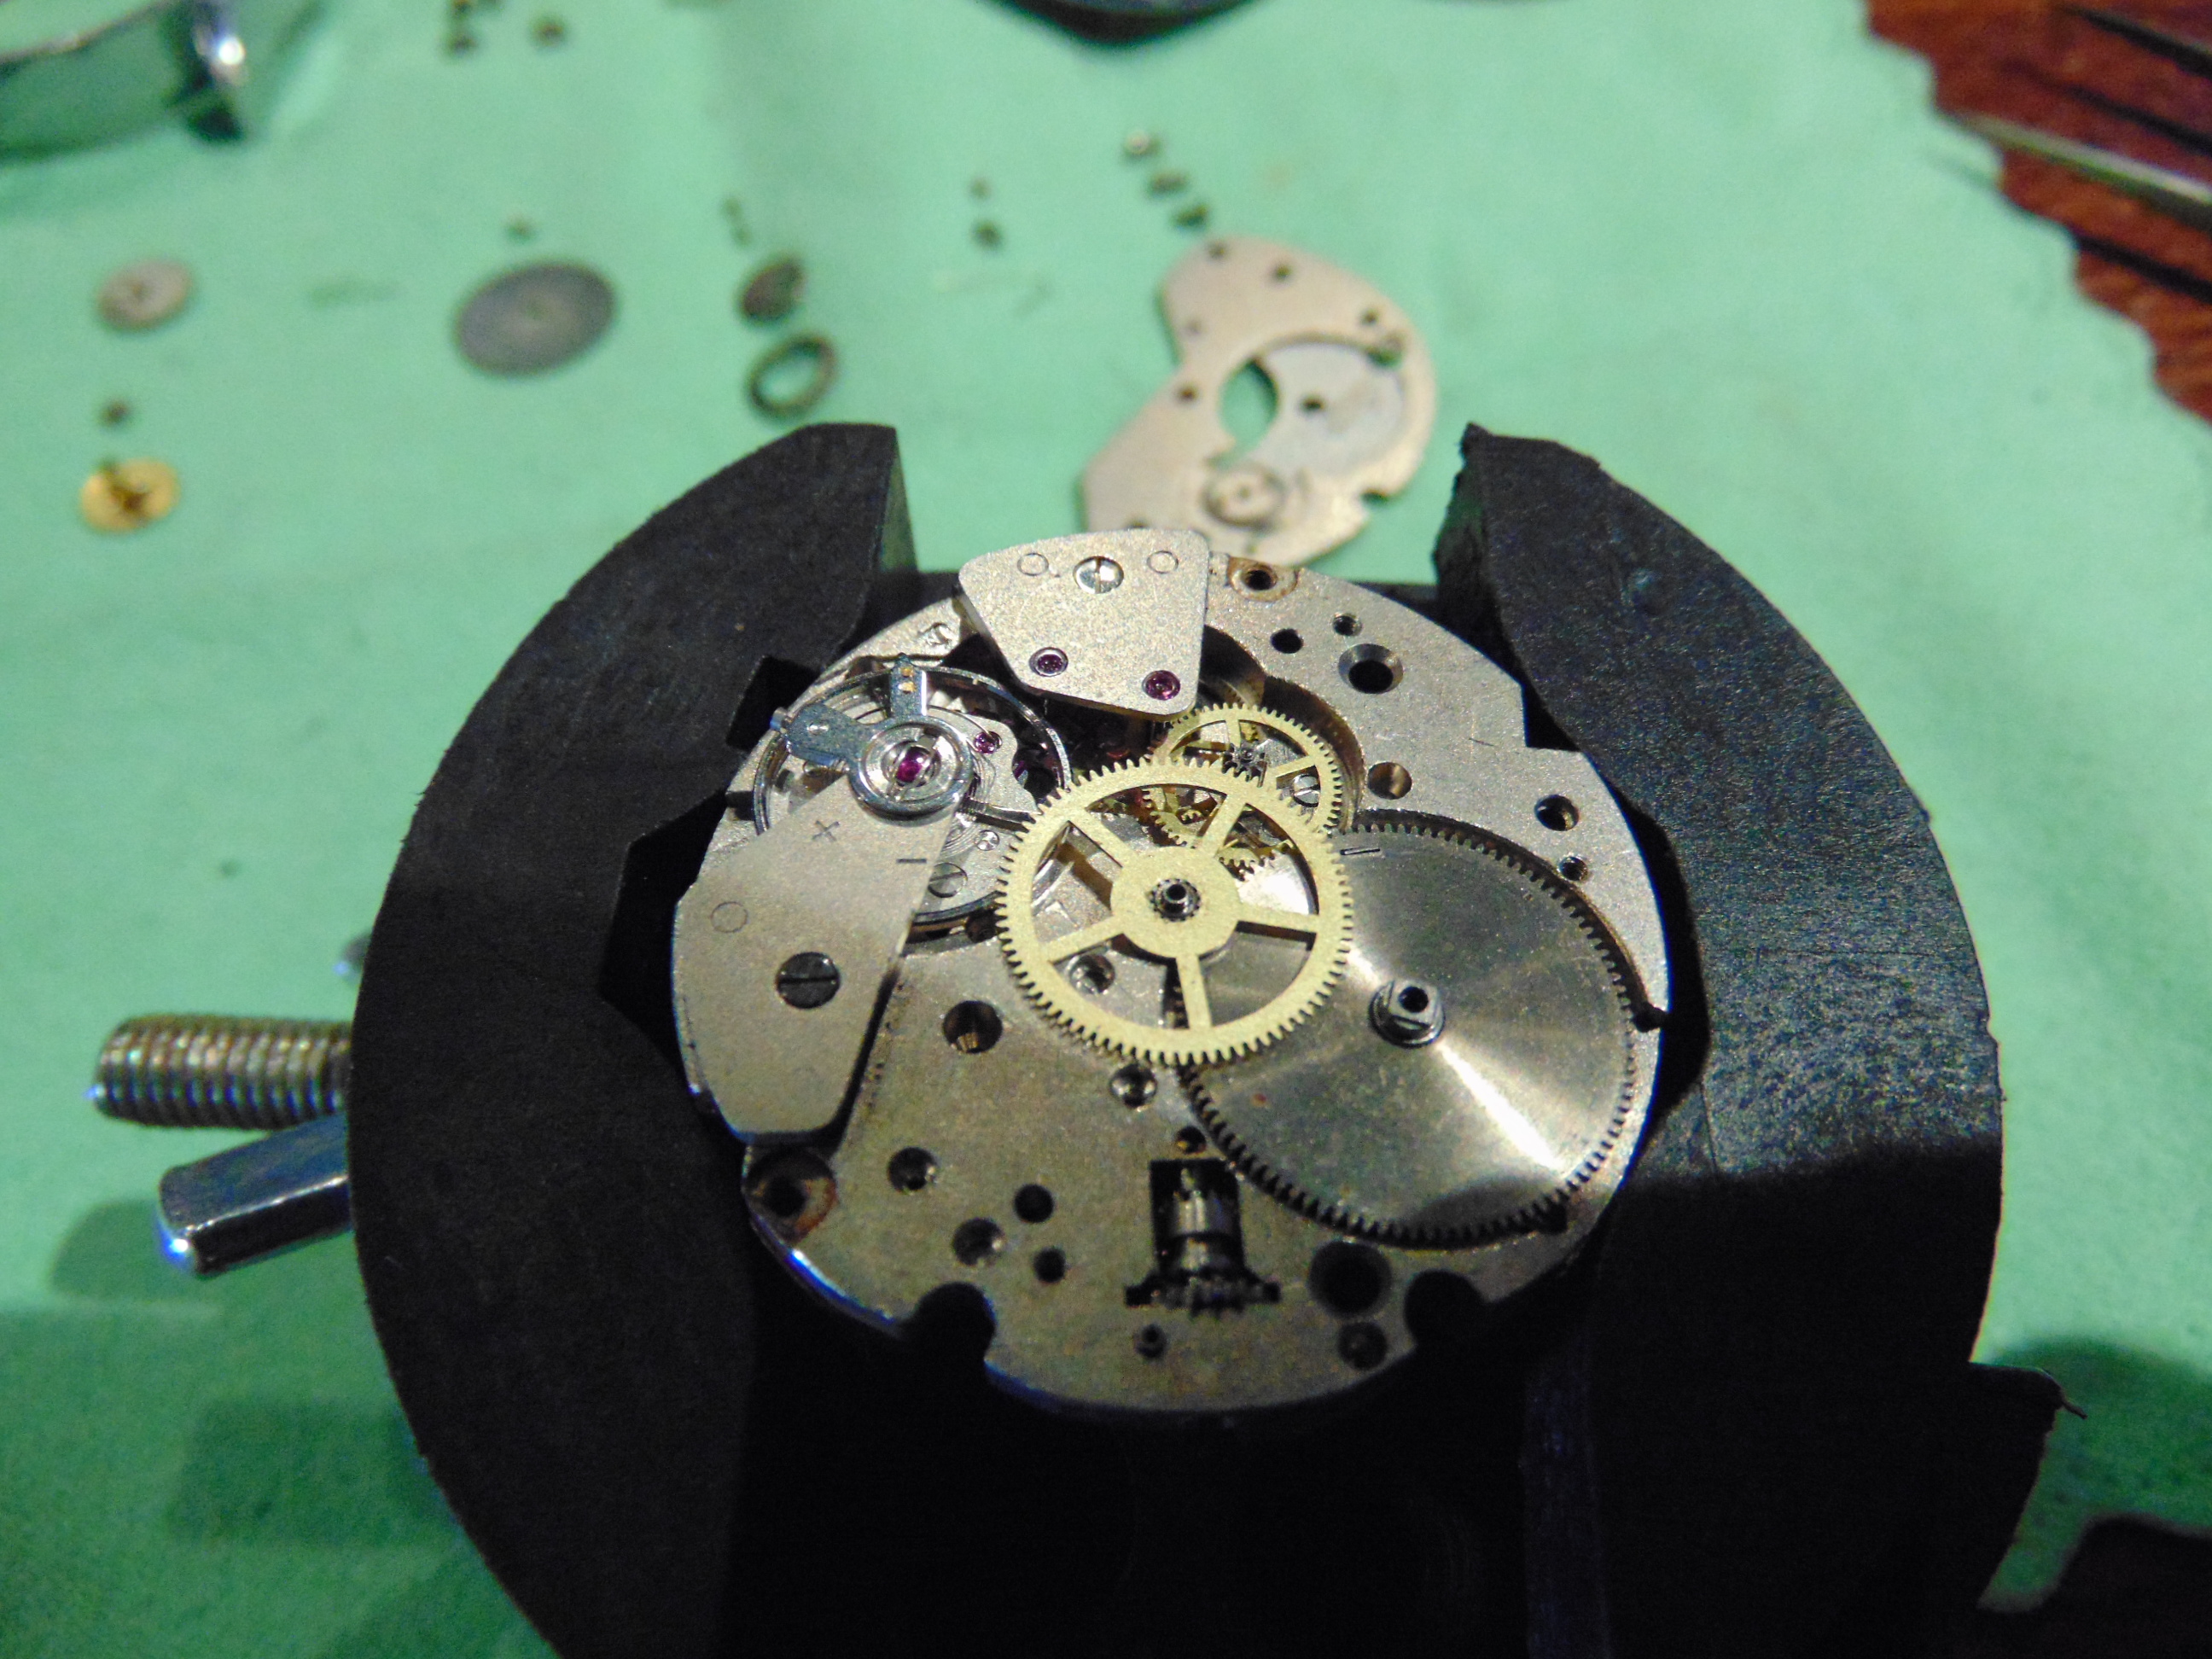
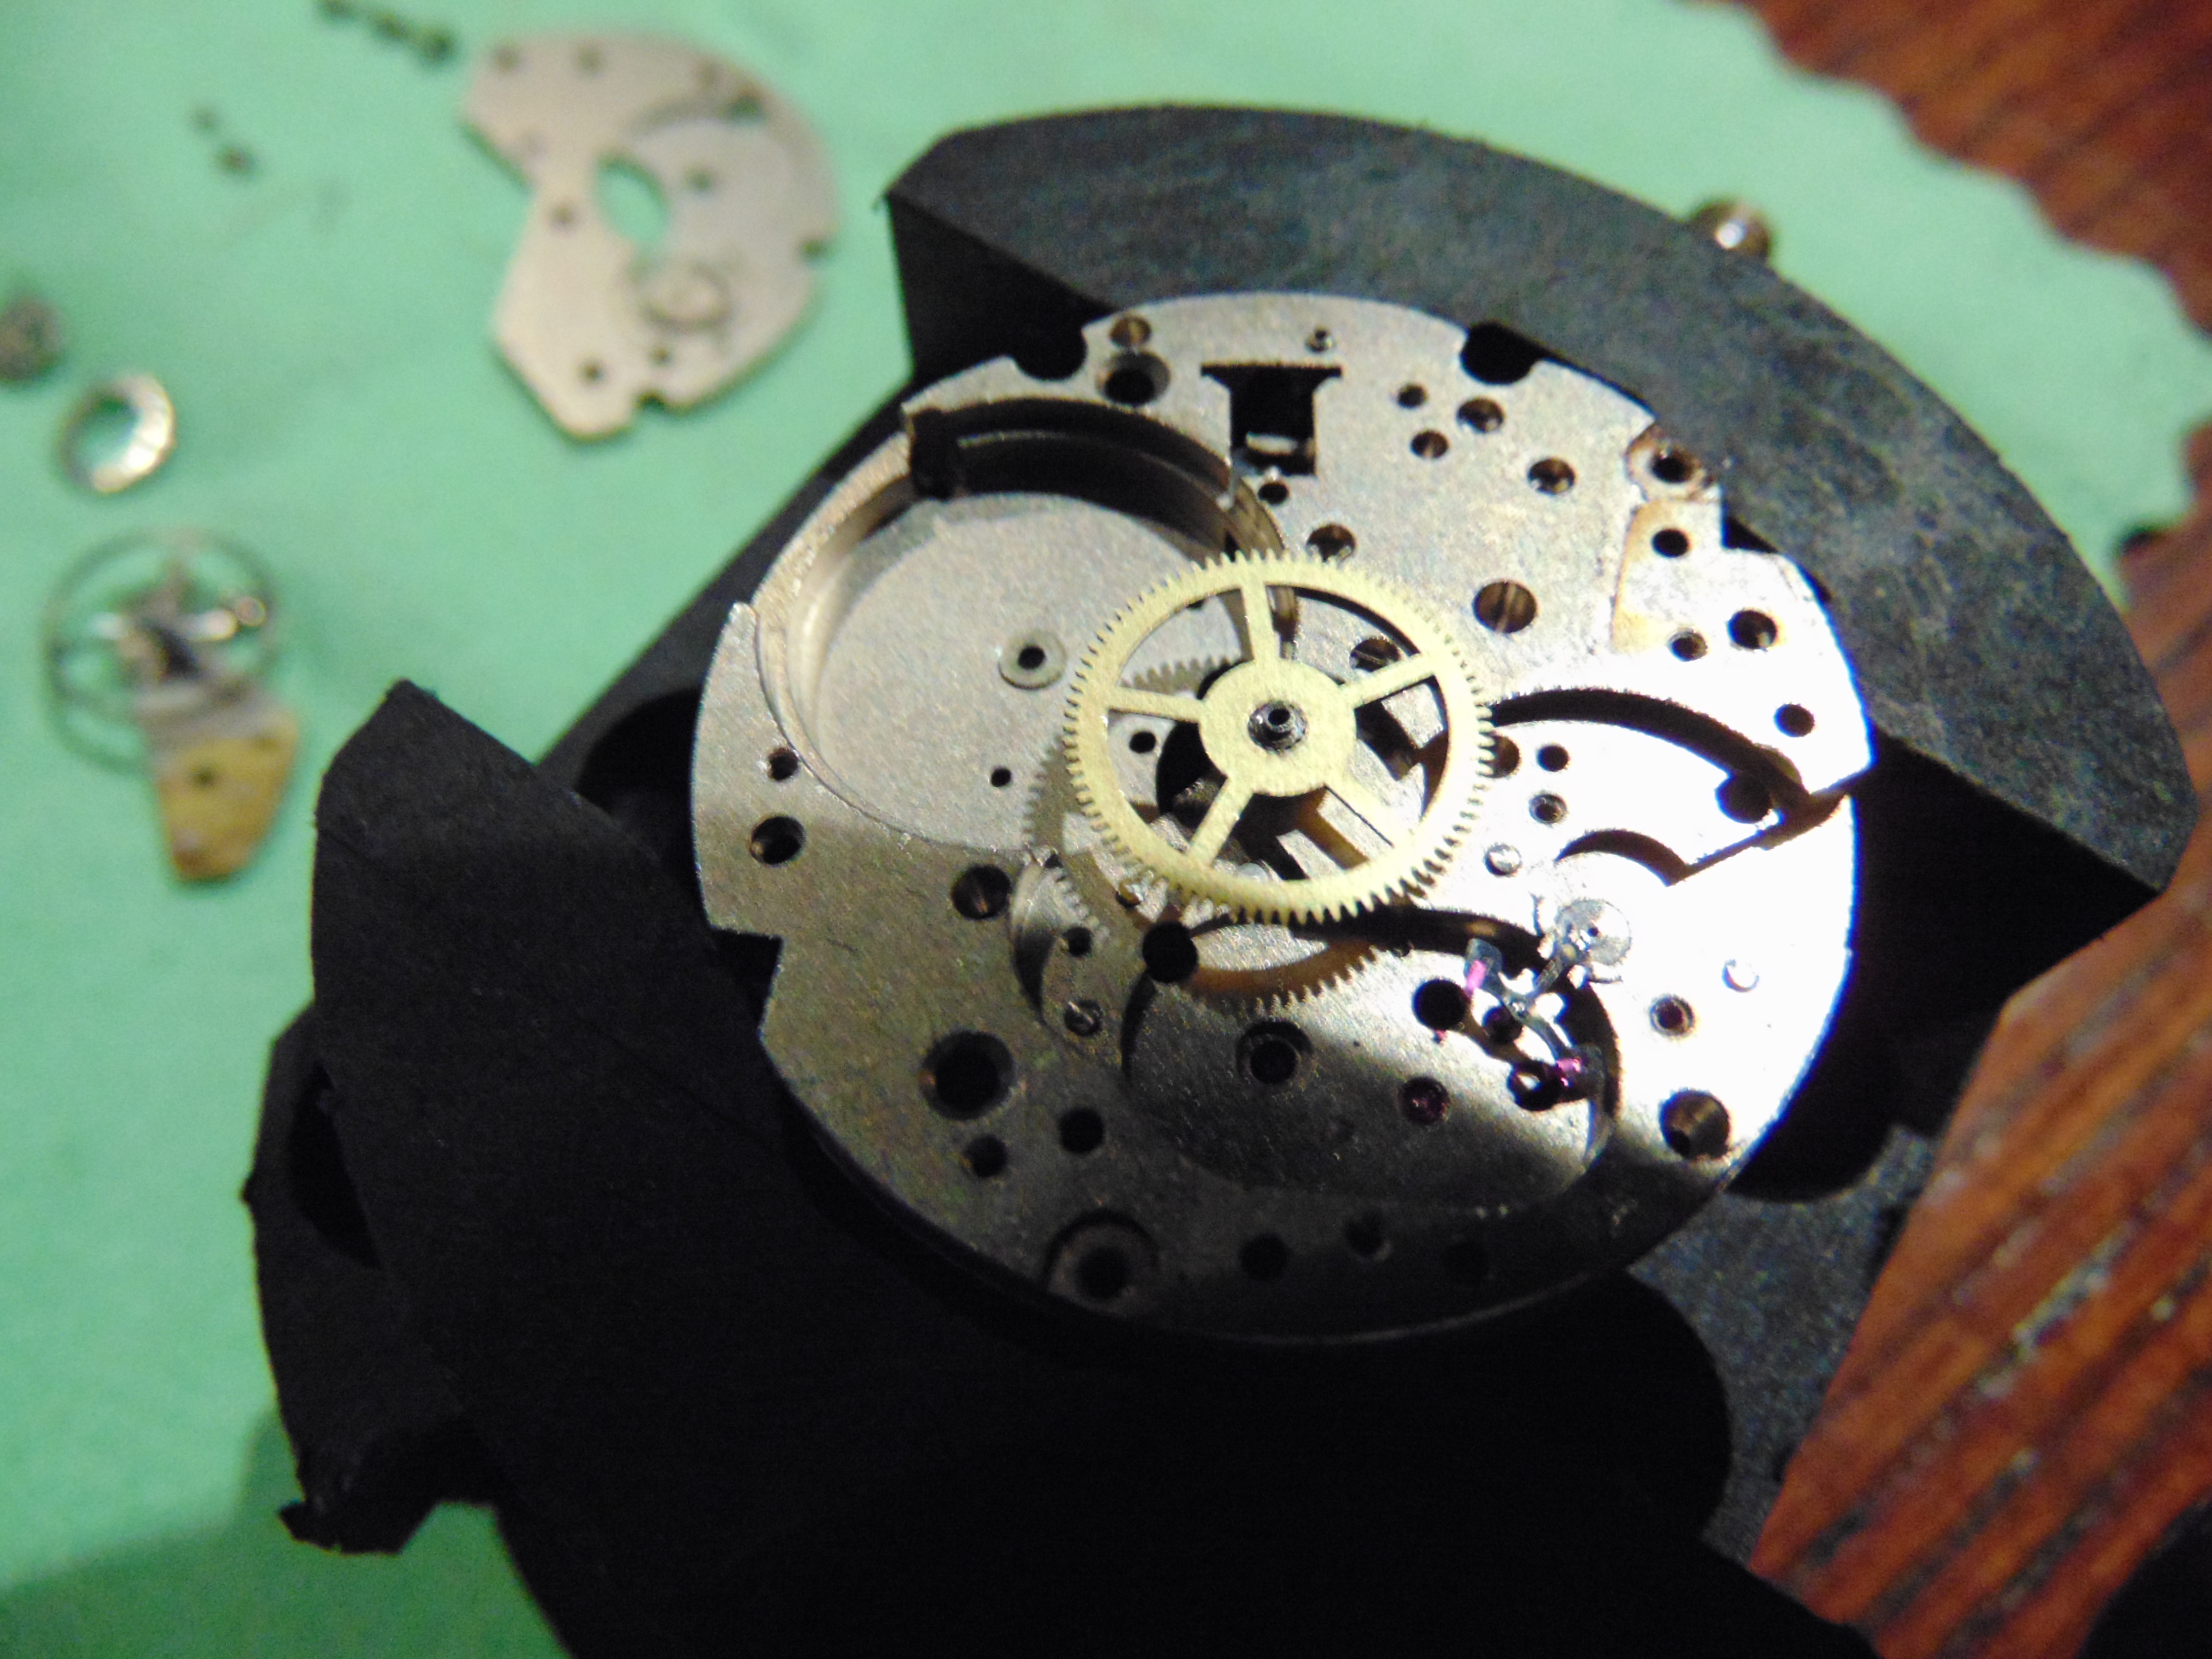
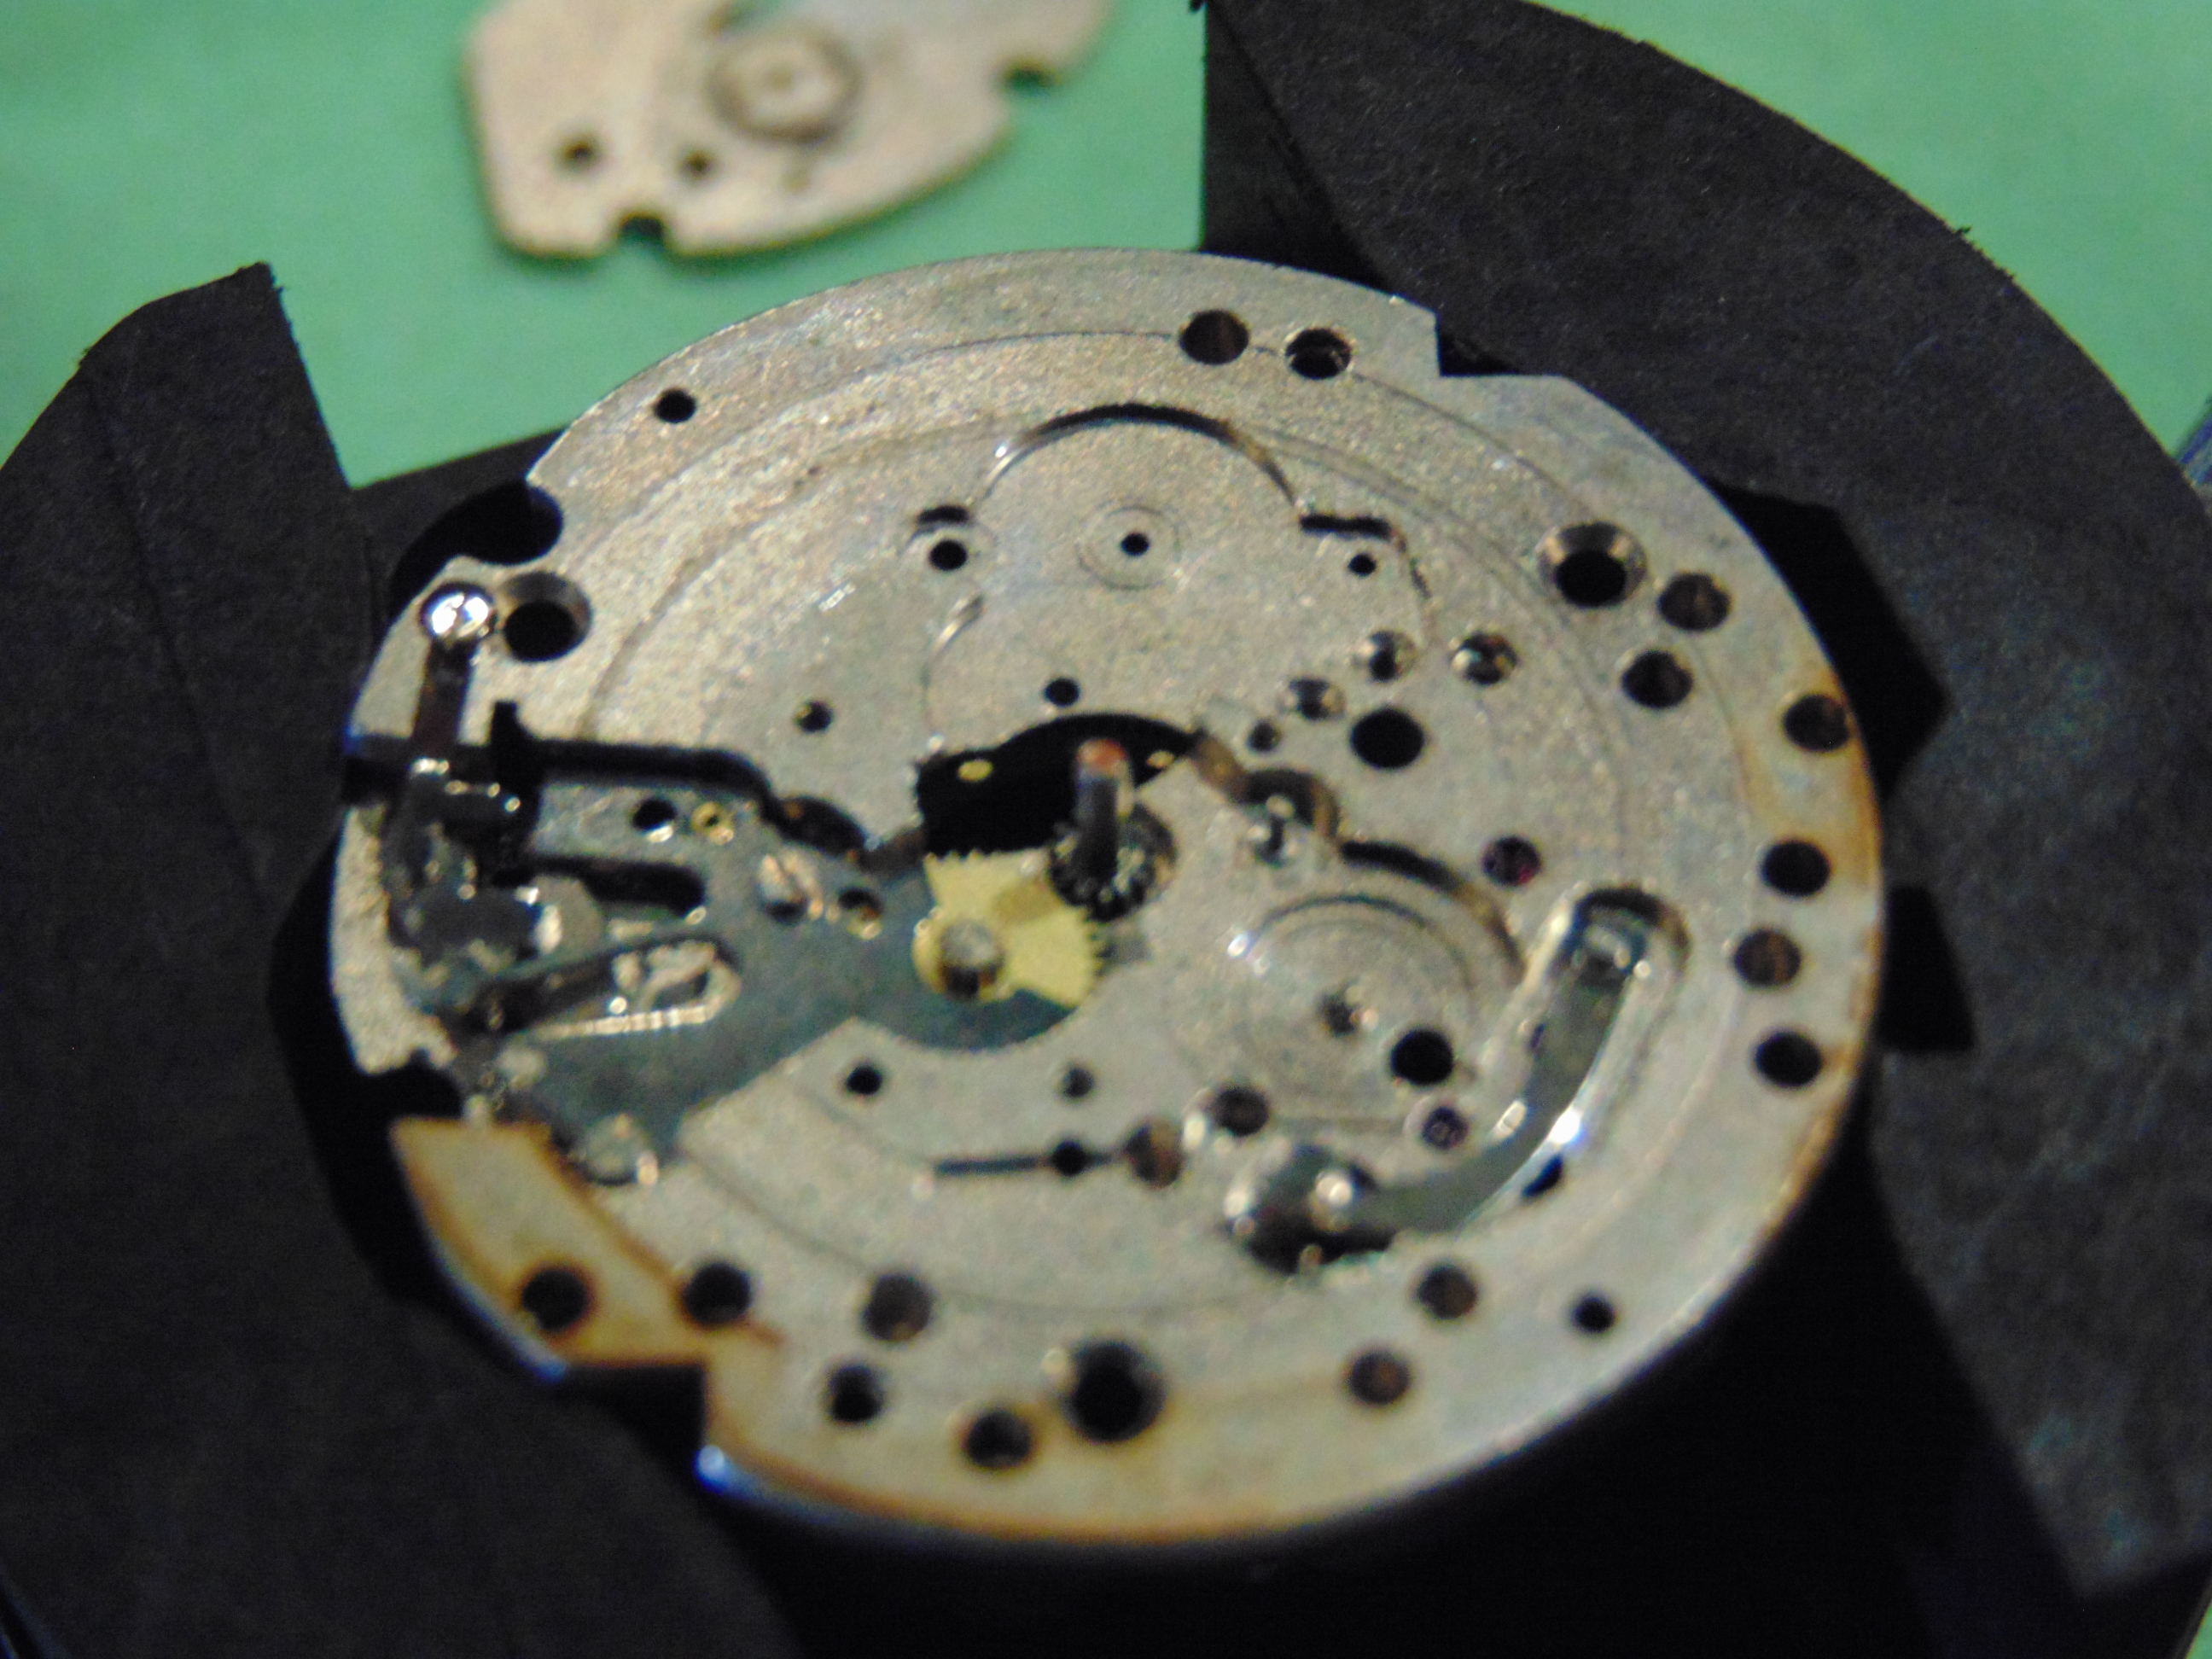
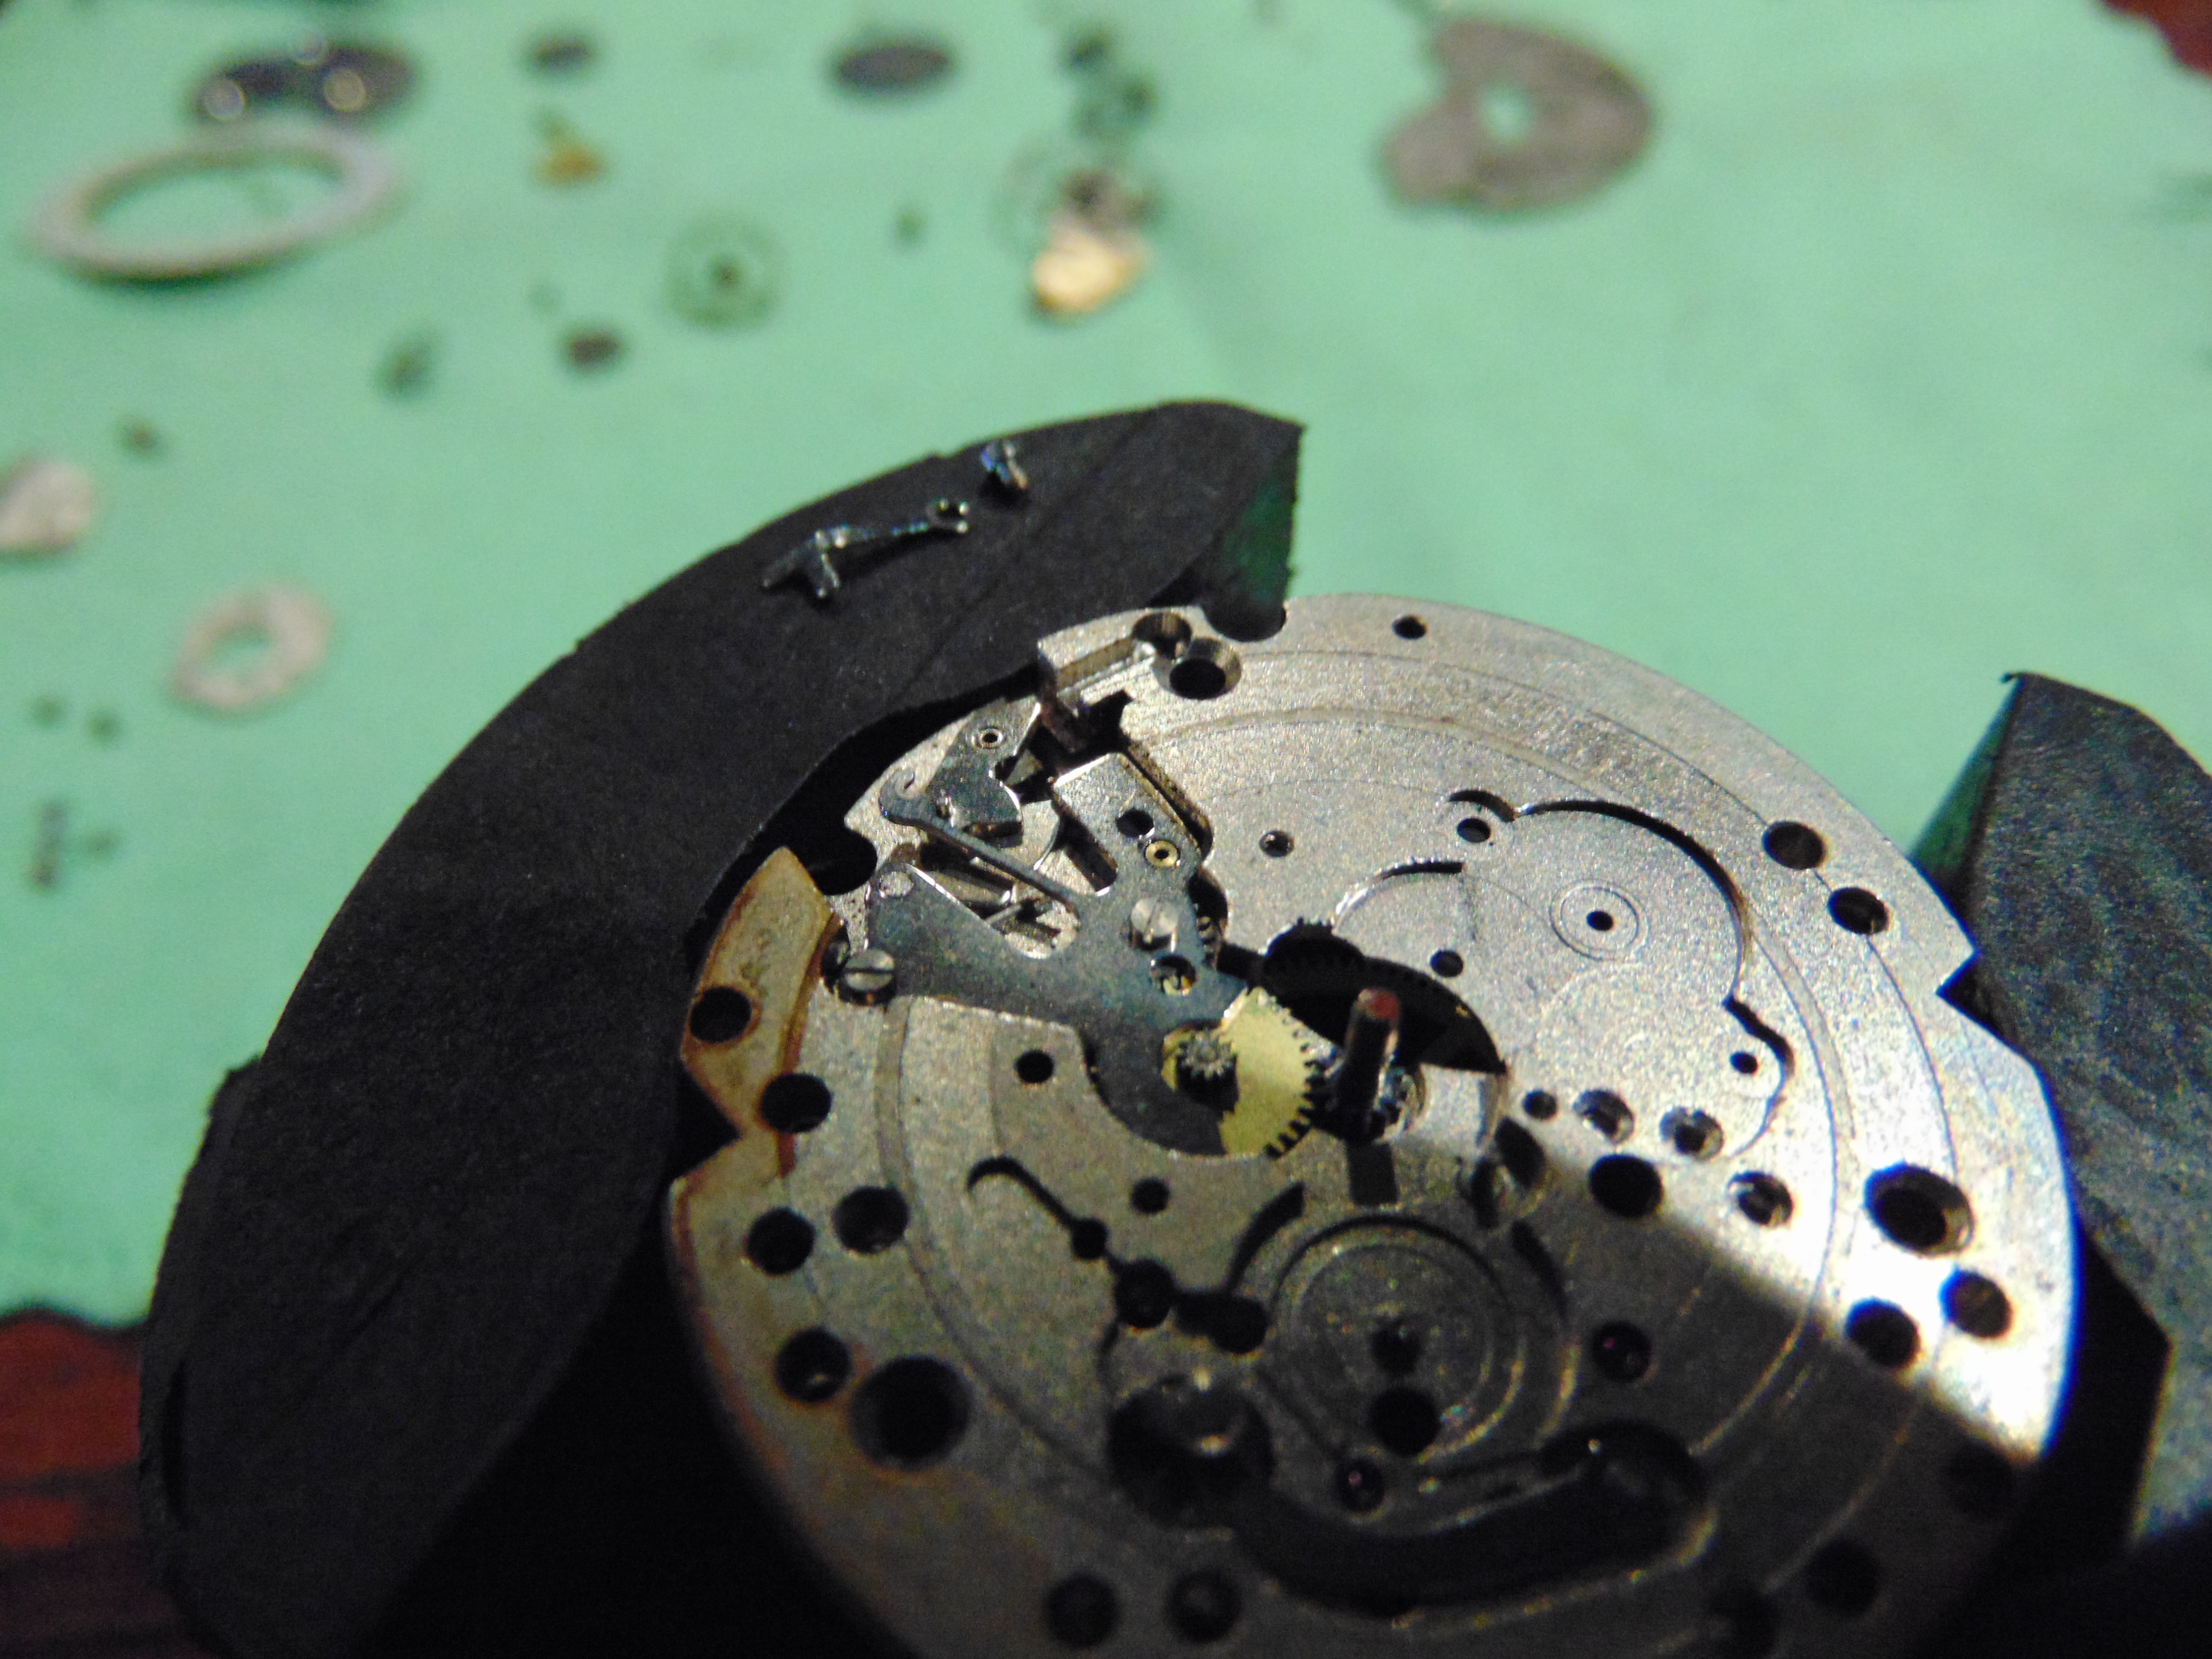
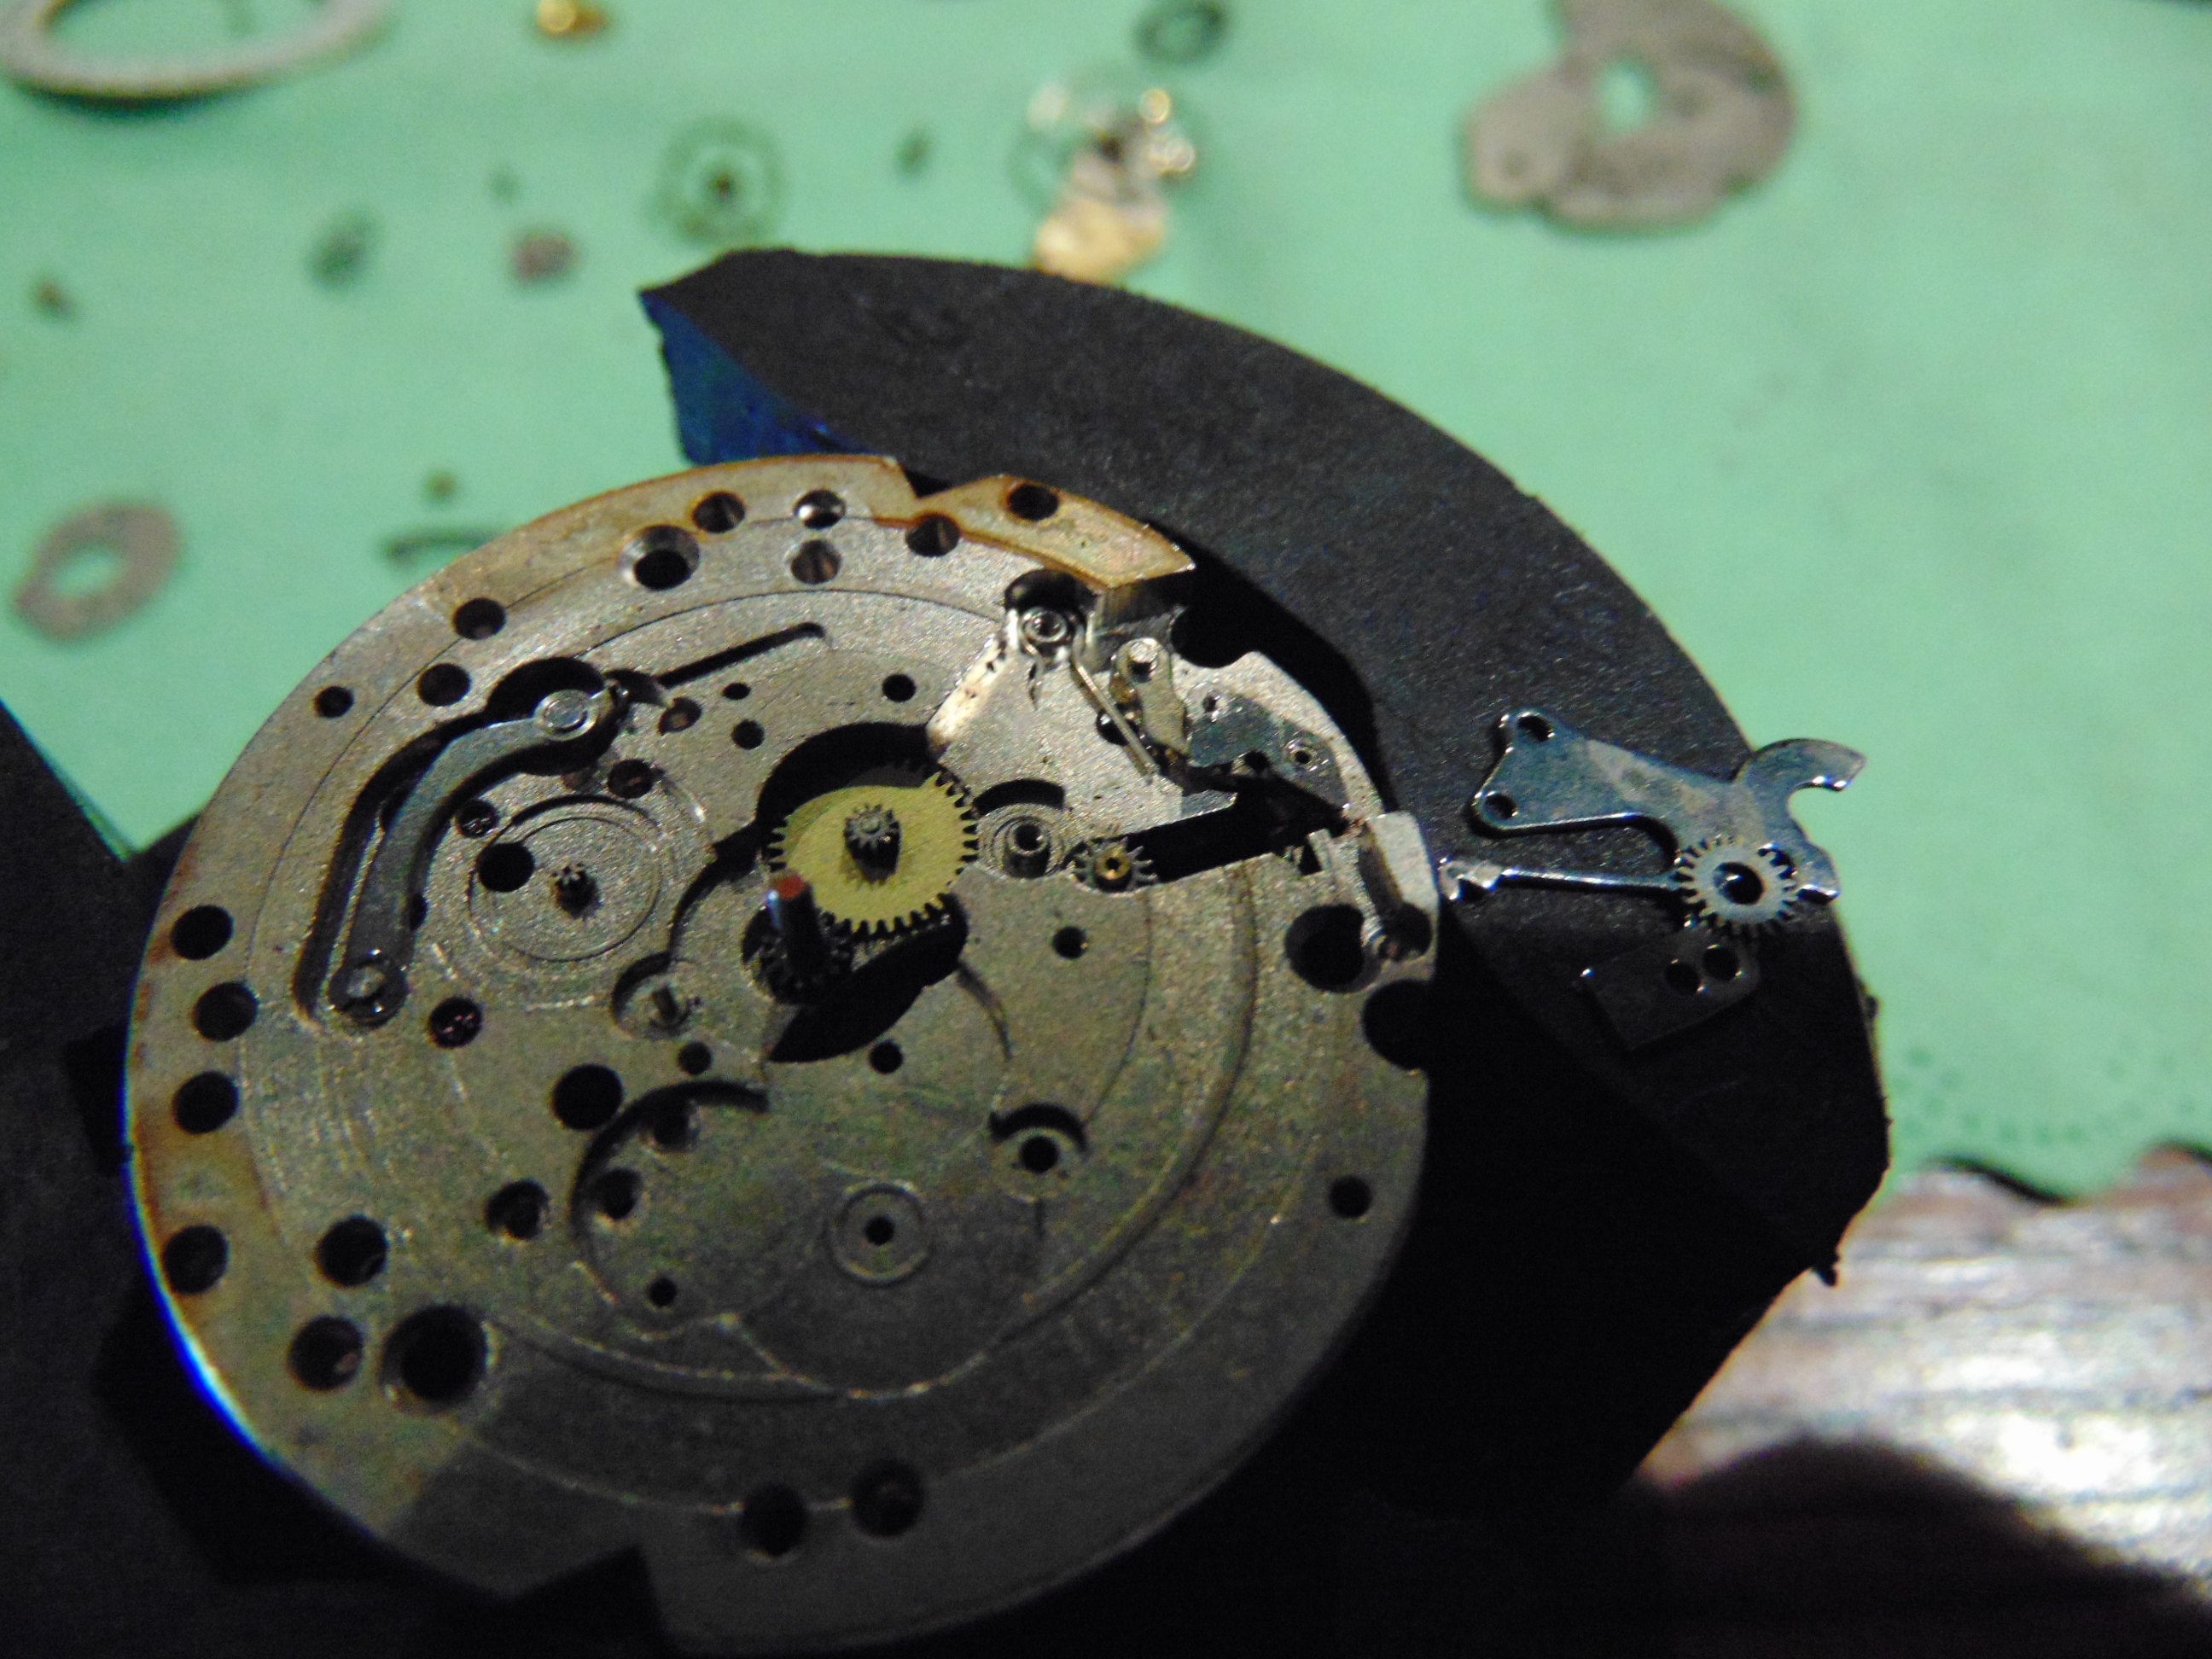
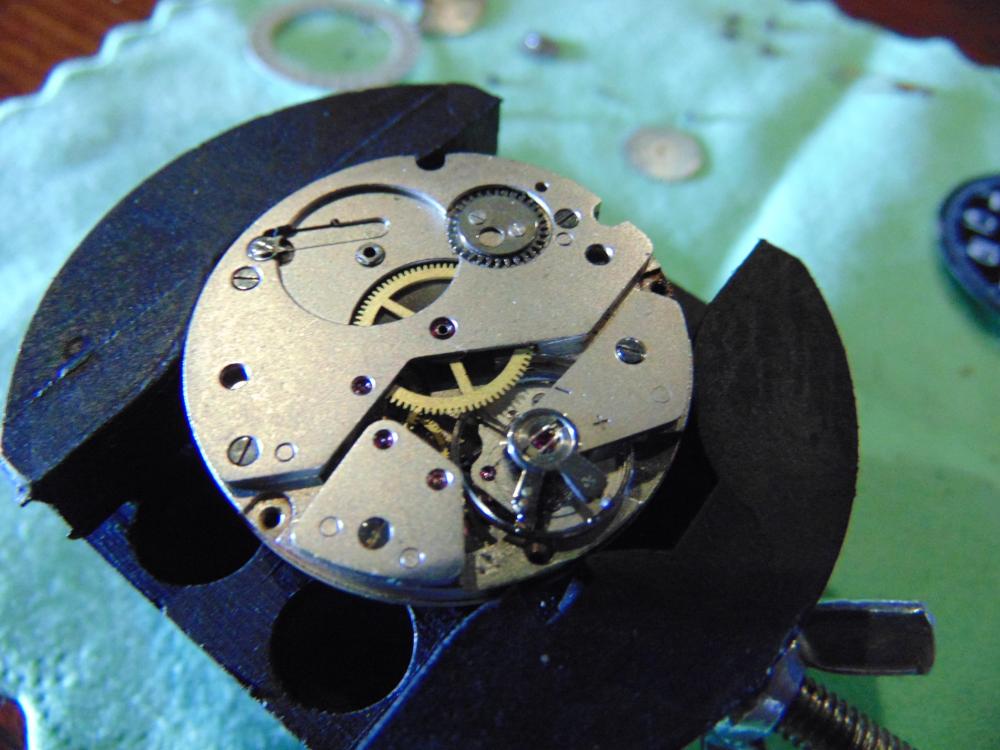
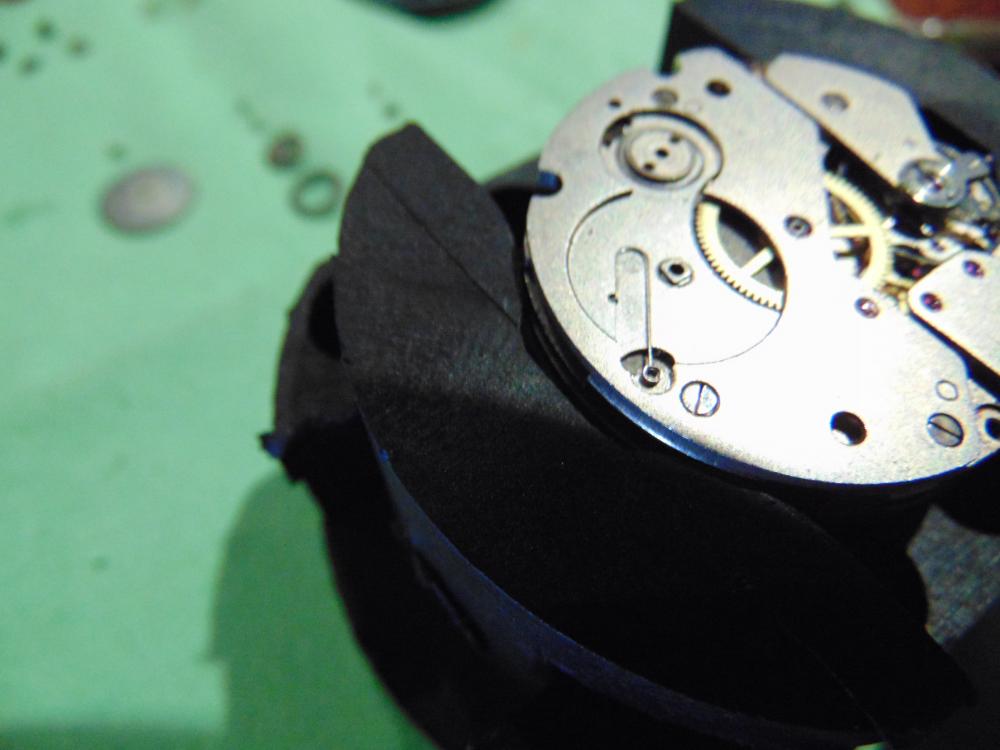
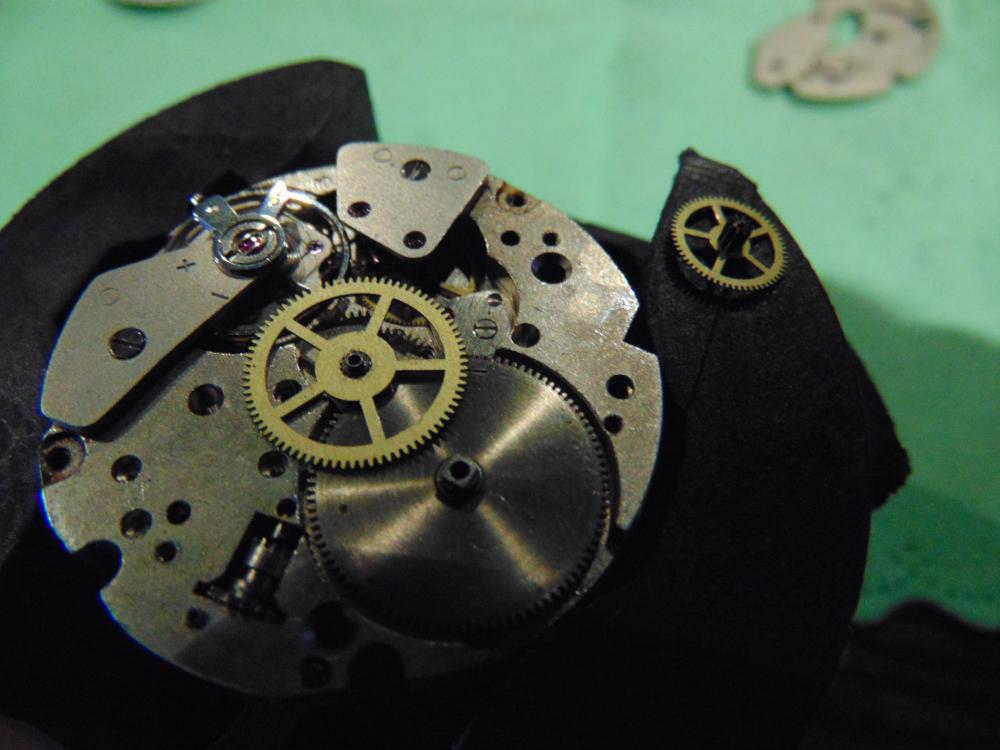
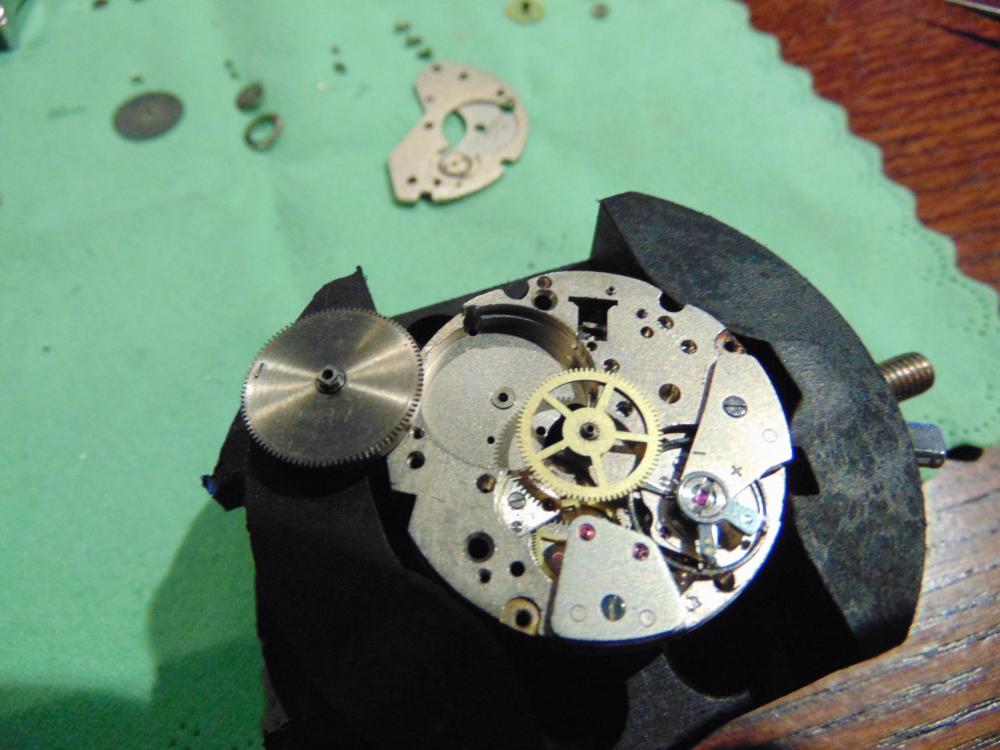
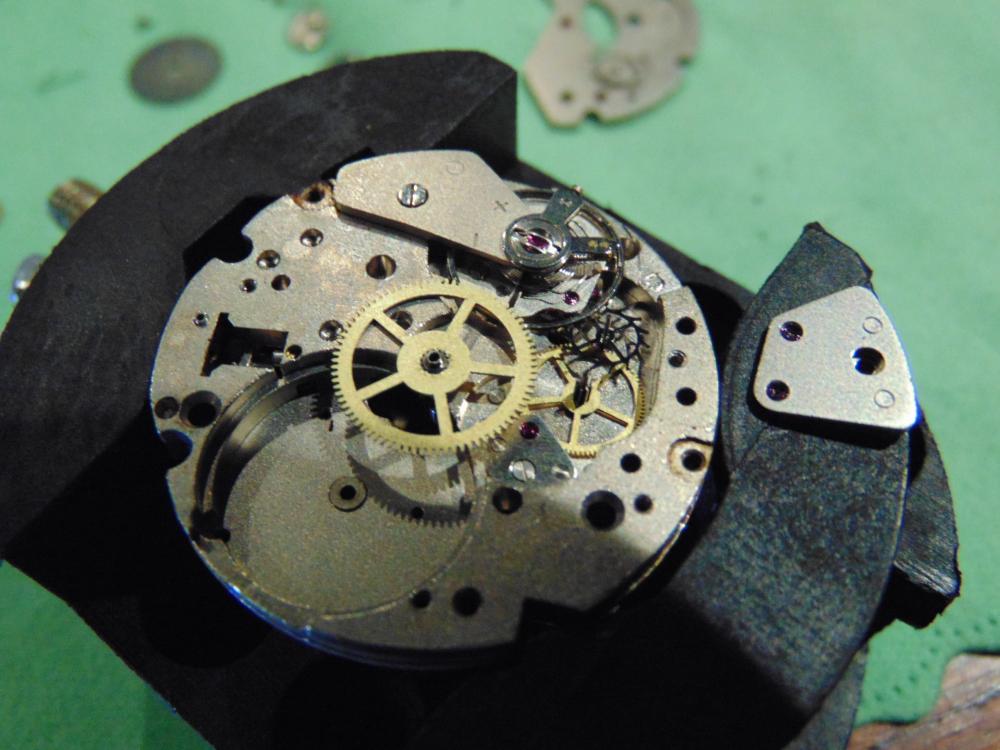
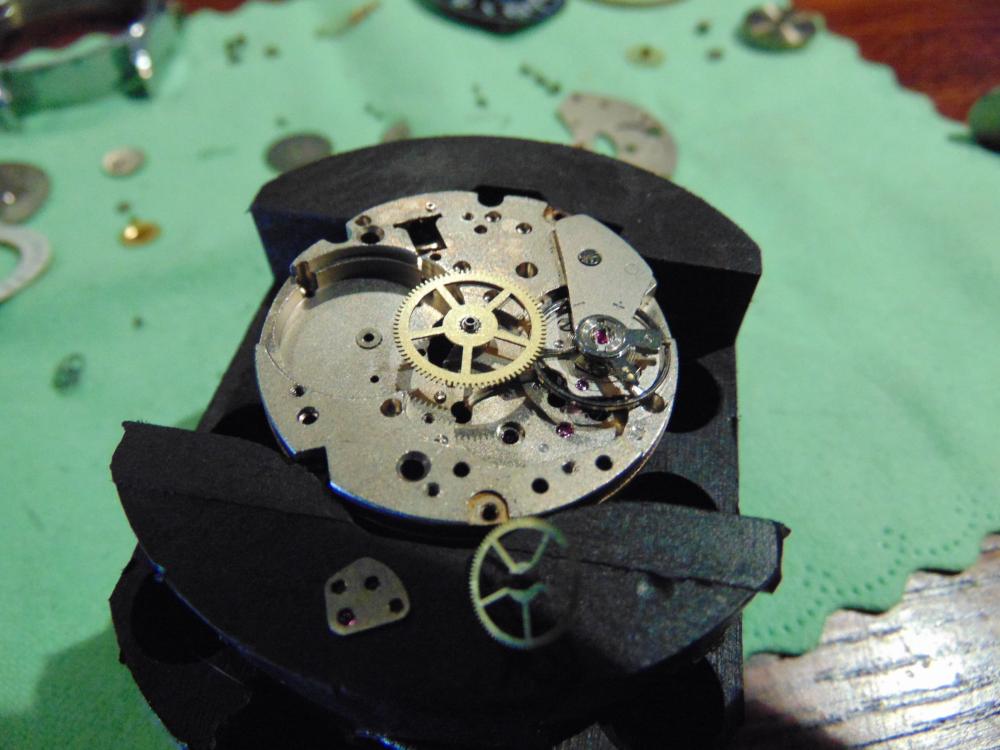
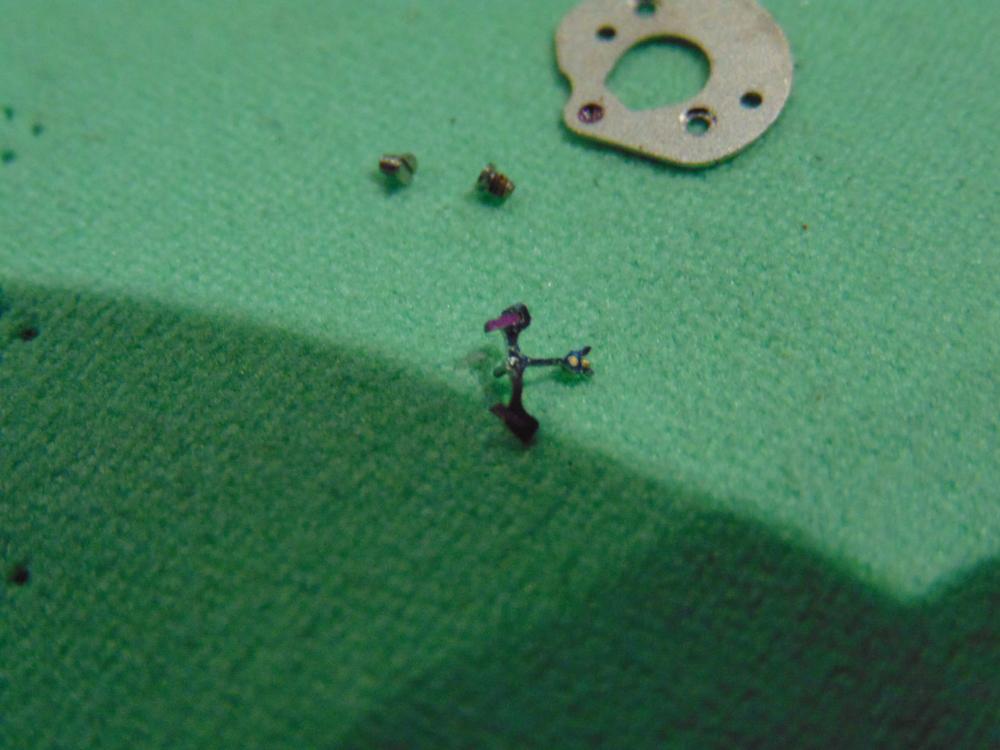
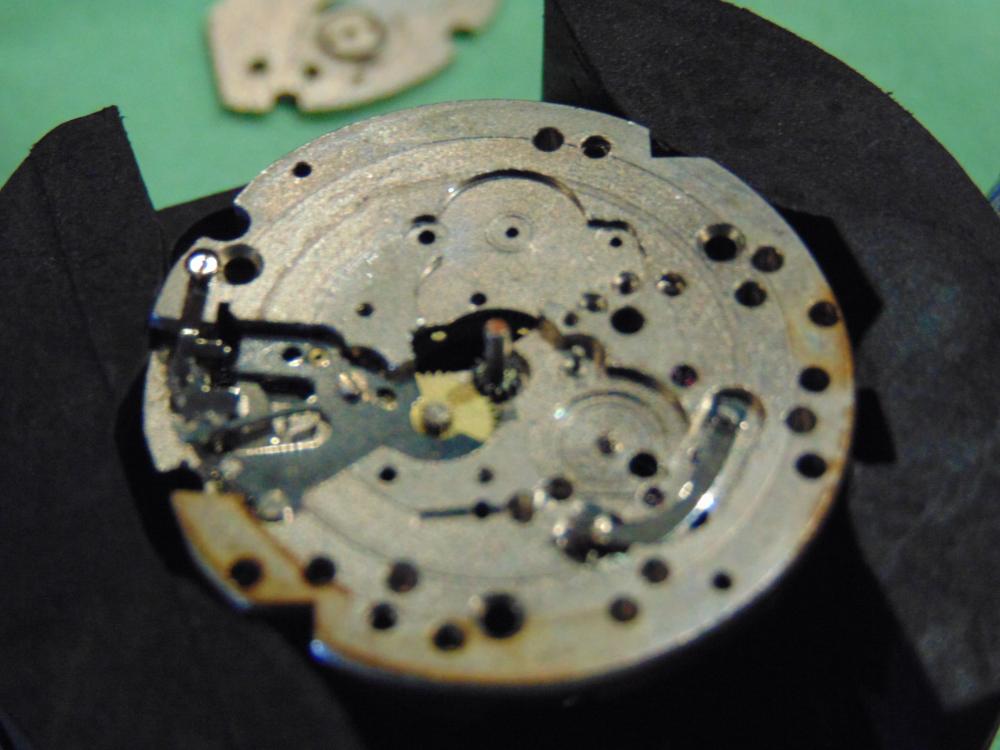
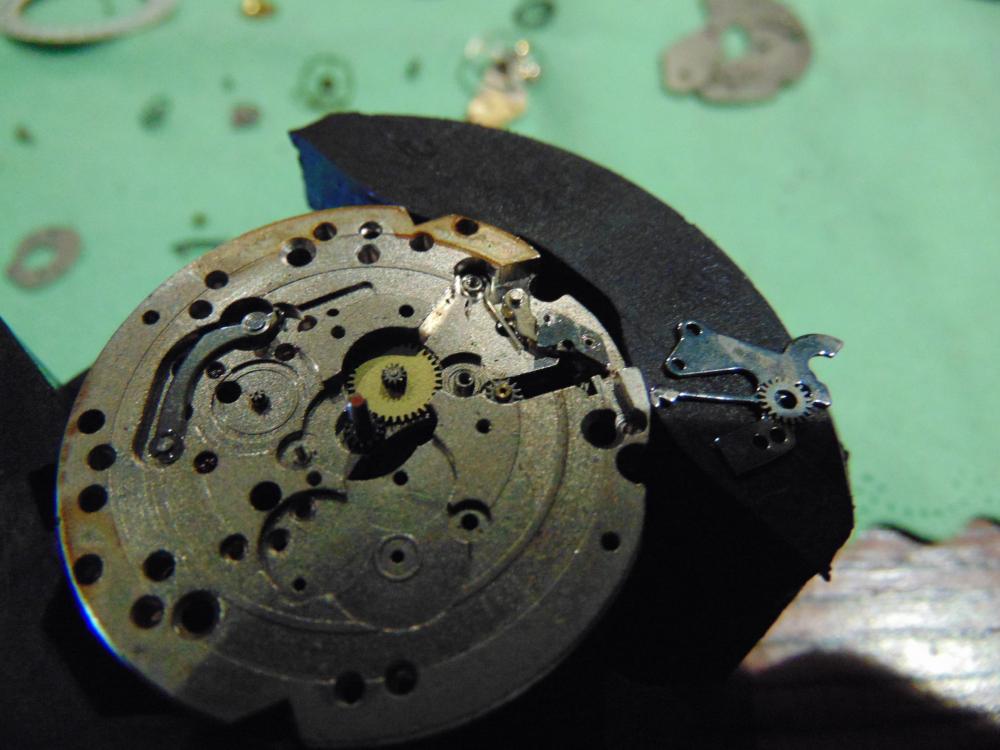
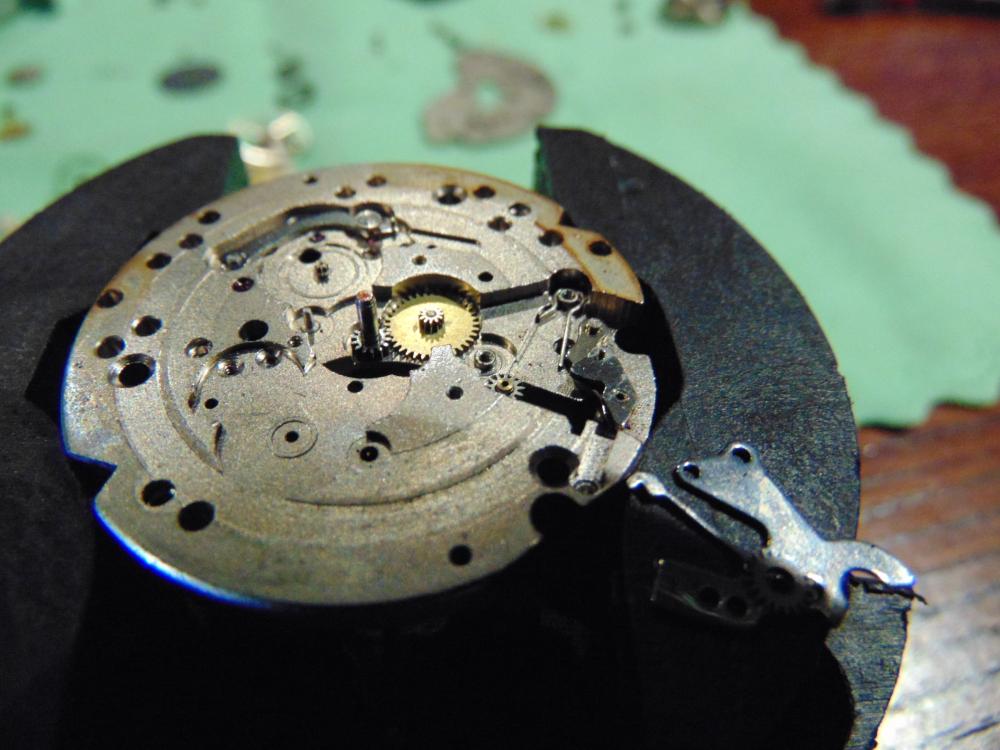
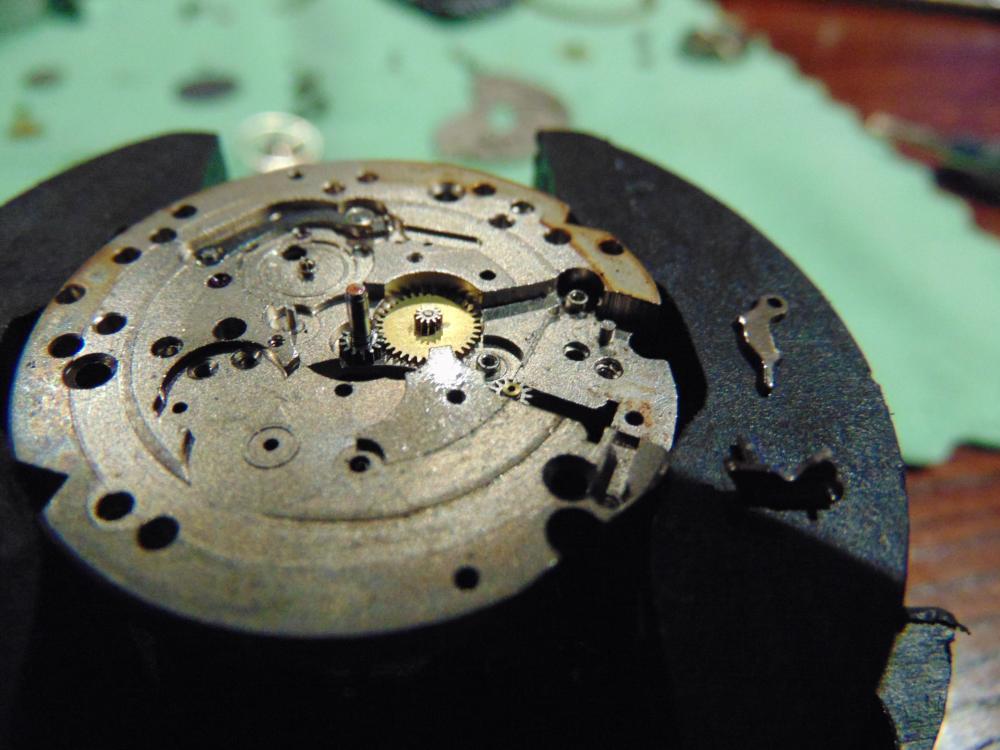
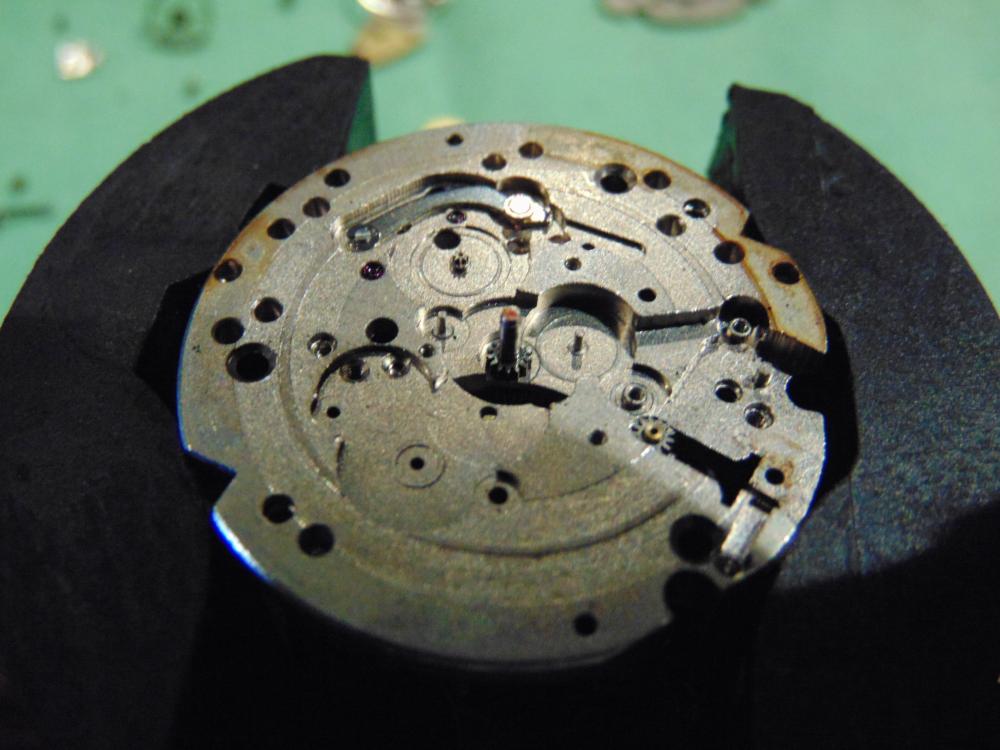
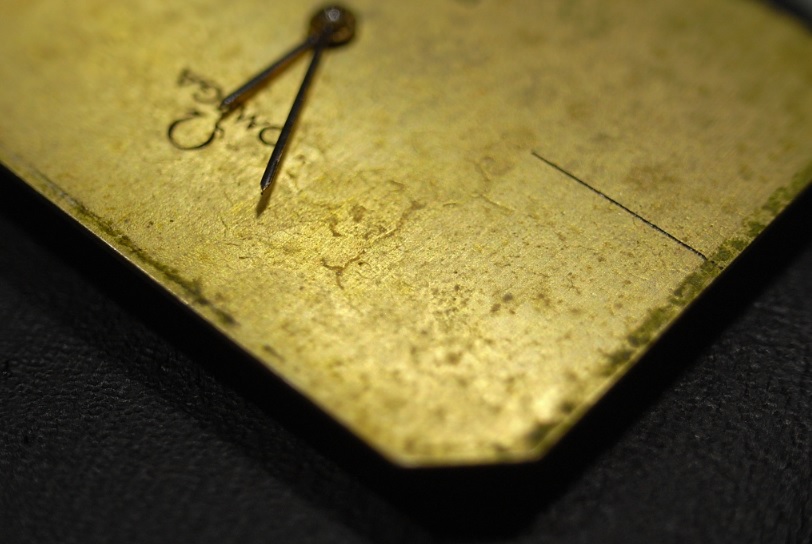
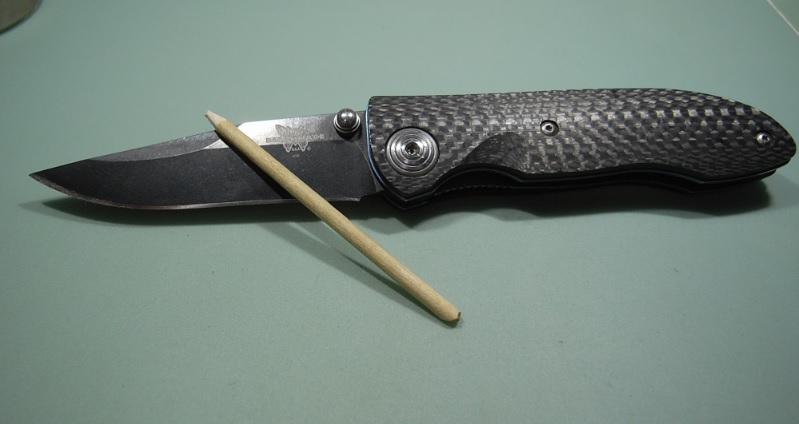
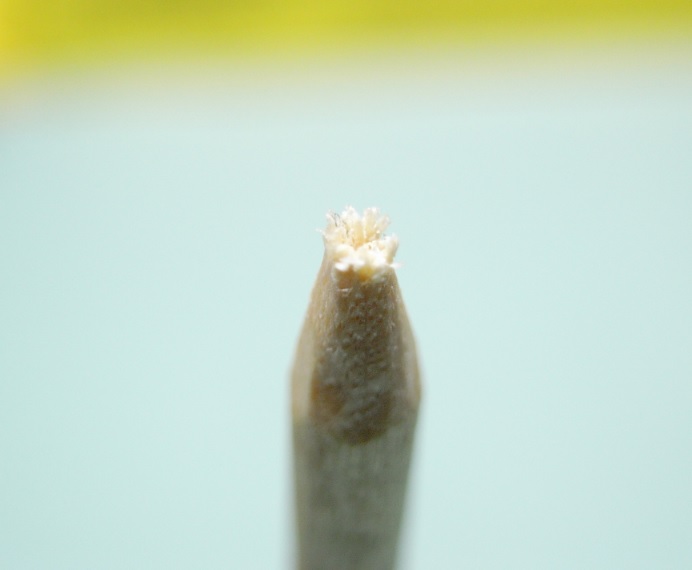
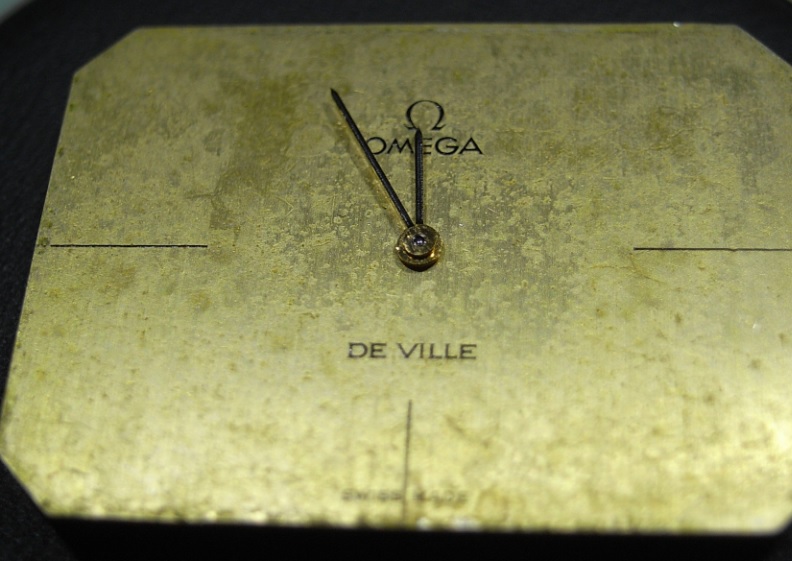
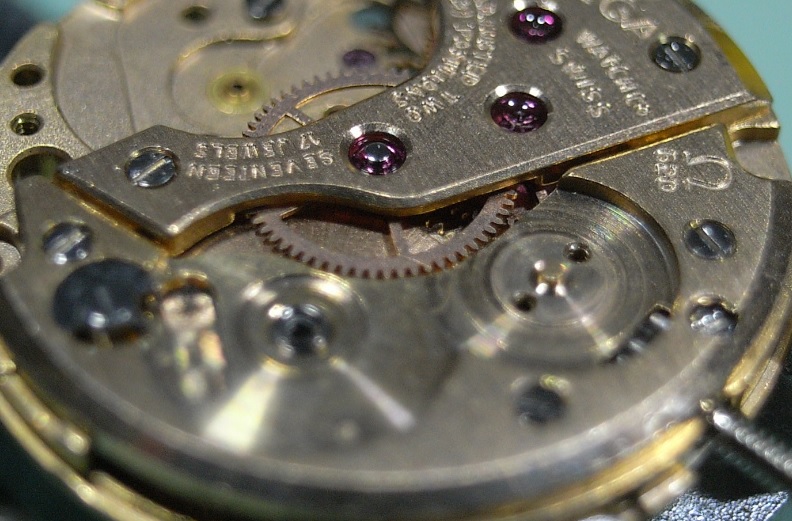
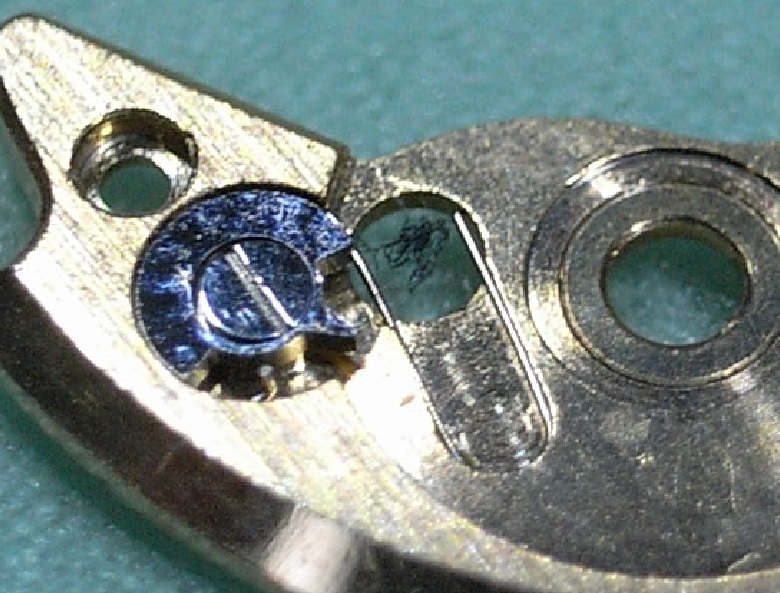
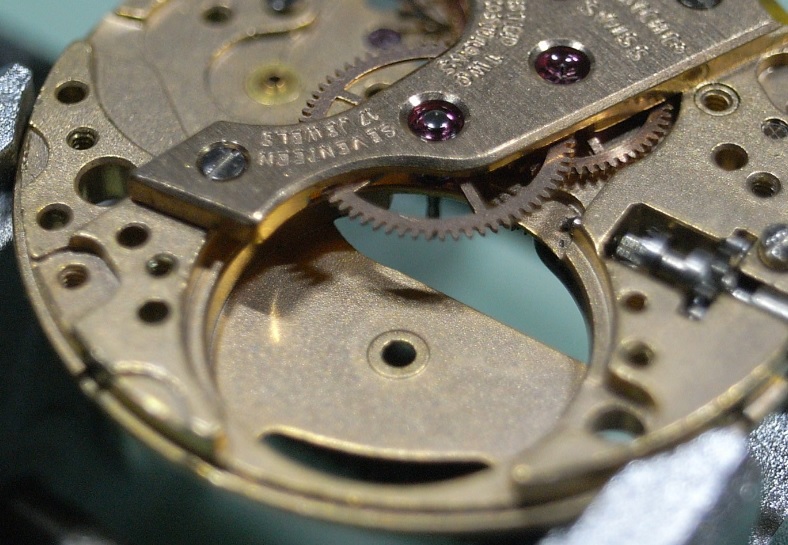
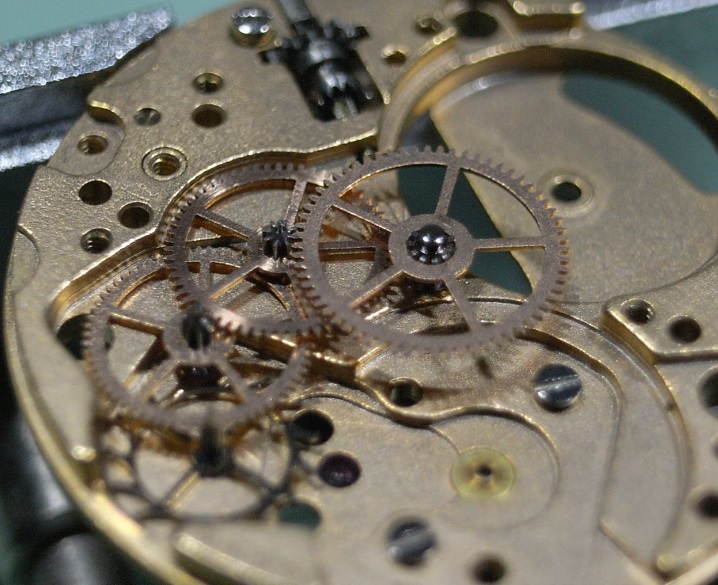
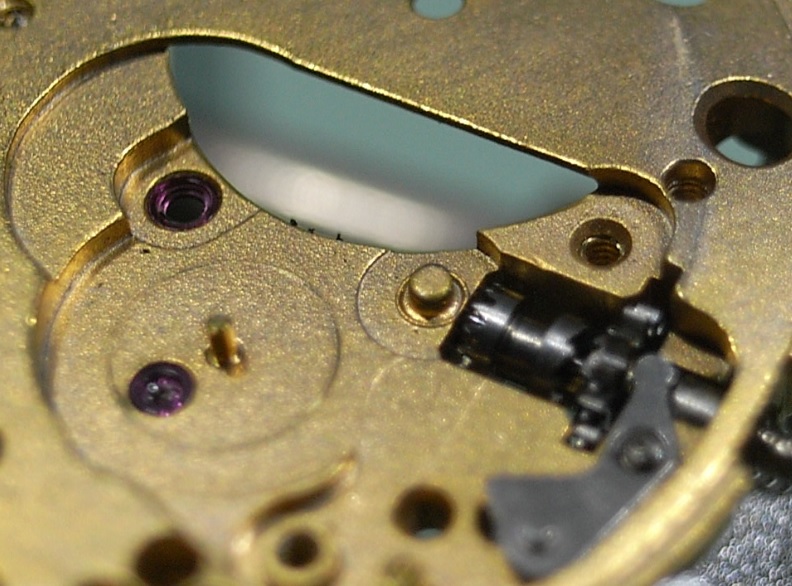
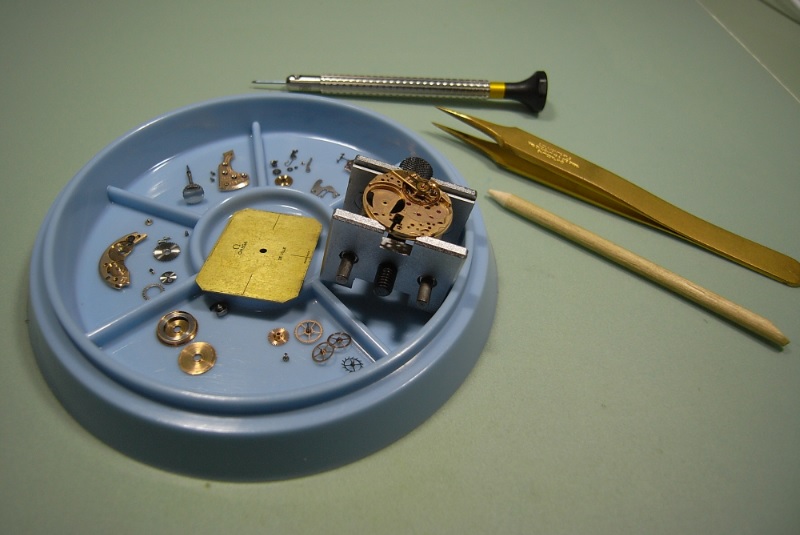
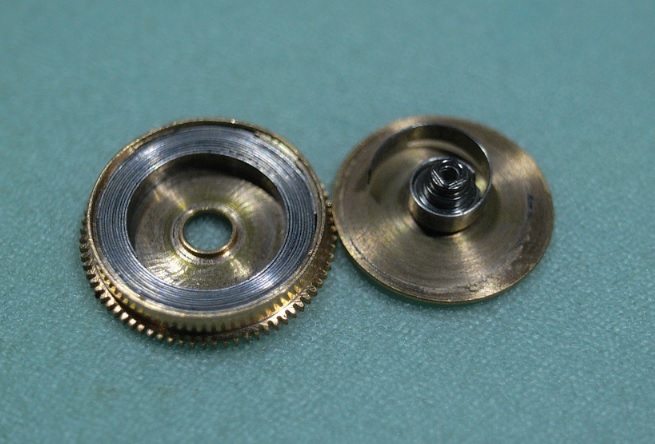
Before we remove the hands and dial from the movement, I wanted to clean the dirt that had built up around the edge of the dial. This has to be done with great caution and a gentle hand. Firstly get a piece of pegwood and a very sharp knife. With the knife, feather the end of the pegwood to create a fine bristled brush, and use that along with some Rodico to remove the dirt. Remember! Always err on the side of caution ... it's better to stop early, use the Rodico to clean away the loosened dirt, and check your progress; then to continue on for too long and damage the finish on the dial. Also, avoid the temptation to use cleaning fluids on a dial with a finish this old, as it will quickly remove the old varnish and destroy the patina. Slow, gentle, dry cleaning is the way to go. As you can see below I didn't remove all the dirt stains, and ceased when I was convinced continuing would only risk marking the dial. But the end result is still a much improved dial face with the patina in tacked. Disassembly 378_Omega 620 New.pdf Firstly lift the hands, and then remove the Dial. The Dial is held on with two screws around the side of the Main Plate. I was pleasantly surprised to find no corrosion whatsoever behind the Dial or on the face of the movement. I then removed the Hour Wheel. Once the Hour Wheel is removed, place the movement in a 4039 holder and removed the Balance. Check there is no power held in the Mainspring, and then remove the Pallets. I like doing this first before removing the Canon Pinion to avoid any possibility of damaging the Pallets. Now, turn the movement over and pull the Canon Pinion. With the Canon Pinion now removed, turn it back over to begin striping the train. Start by removing the Crown and Ratchet Wheels. Remove the Barrel Bridge. Unscrew the Click and remove the Click Spring. Note the fibres in-between the spring. As there is a suspected broken Mainspring in this movement I removed the Barrel it this stage, which can be done without any risk to the train. It also helps to access the wheels to check end-shake before removing the Train Bridge. Just as suspected the Mainspring is broken and will need to be replaced. Next remove the Train Bridge. Then remove the Wheels. As seen pictured at the end of the Stem, there was a serious lack of lubrication. Even the grease had completed dried out. Turn the movement over and remove the Setting Lever Spring. Followed by the Minute Wheel. Again the evidence of died out lubrication is seen in the jewel under the Minute Wheel. Next remove the Setting Wheel, Yoke and Yoke Spring. Unscrew the Setting Lever and pull the Crown, Stem, Winding Pinion and Clutch out. The Omega 620 Movement is now complete disassembled and ready to be cleaned. I hope you enjoyed this walkthrough, and it can serve to help.


 1 point
 -
Great job and ...same size Ronsonol I use! Better too much than too little, never liked the small bottles anyway! Let us know about your results and please, post the assembly part too! Cheers, Bob1 point
-
Hi! I tend to pick up old movements off eBay to harvest parts from, it's the only real way. There's a website oldwatchparts that sometimes has parts. I've made the odd simple part from filing an old bit of steel but wheels, staffs I wouldn't know where to start with! The chain I soak in petrol for 24hrs then oil with clock oil...I wouldn't know if that's "correct" as such but it seems to work. A really stiff chain needs longer soak & slow gentle working in of oil afterwards. Be careful & work the oil in with the edge uppermost otherwise the chain can become concave. Hope that helps!1 point