
Regulation, Watch Performance and Timing Machine (Timegrapher) Readings/Results
Discuss general regulation techniques, watch performance issues and your timing machine readings (traces).
Balance Wheel Adjustment, Hairspring Adjustment, Regulating Watches, Setting Watches in Beat, Lift Angle
203 topics in this forum
-
- 17 replies
- 4.8k views
-
- 3 replies
- 2k views
-
Trying to gauge the quality of my services because i'm being offered my first paid gigs. How's this reading look for a 7s26 movement? 1 2 3 4 5
- 111 replies
- 10.7k views
-
- 0 replies
- 2.4k views
-
- 7 replies
- 1.4k views
-
- 1 reply
- 1.3k views
-
- 27 replies
- 4k views
-
- 3 replies
- 1.7k views
-
- 1 reply
- 1.3k views
-
- 32 replies
- 5.2k views
-
- 6 replies
- 1.6k views
-
- 1 reply
- 968 views
-
- 3 replies
- 1.1k views
-
- 28 replies
- 3.9k views
-
- 50 replies
- 5.1k views
-
- 22 replies
- 2.1k views
-
- 10 replies
- 1.8k views
-
- 3 replies
- 3.2k views
-
- 2 replies
- 990 views
-
- 2 replies
- 1.7k views
-
- 4 replies
- 1.5k views
-
- 5 replies
- 1.5k views
-
- 3 replies
- 1.3k views
-
- 9 replies
- 3.6k views
-
- 7 replies
- 1.4k views


-
Topics
-
-
Posts
-
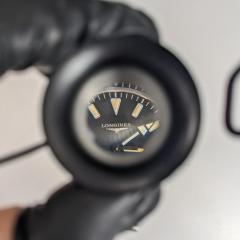
 Hi,what is the model number for that case? Is possible I have one for service with me,if so then I can measure for you the factory size of the bezel
 -

By RichardHarris123 · Posted
My hair went in my early twenties, shaved it off and never looked back. -
 It can be a good idea to replace the gasket as well, especially if has any kind of damage. If it's a very tight fit between the gasket and the crystal, a thin layer of silicon grease on the gasket can help a lot. Keep us updated!
 -
 Double checked, definitely a fake bezel. It has a thin plastic gasket that creates the seal for the crystal. I went ahead and gave the case a good cleaning, and light polish. Now Im just hoping I can install the new crystal with out screwing up! I will likely be putting it in tomorrow night.
 -
 Try the gel we used during covid. Works really great for removing gasket-turned-to-tar residue.
-


