Leaderboard


Popular Content
Showing content with the highest reputation on 03/07/16 in all areas
-
I've tried a few different ways over the years for cleaning balance assemblies. Using the method I have been discussing above with JD is very safe as the assembly is well supported and less likely to inadvertent damage, it is also very thorough because of the ultrasonics. Some people use this method, but remove the jewels first. I don't see the point in this as the pivots produce a sort of micro pistoning effect that ensures the jewels and pivots are clean. I am not saying I'm right, but it is my take on it and has certainly given great results with little effort. There are many ways to skin a cat Jeff, and whatever works and you are happy with, run with it.3 points
-
Lol. Happens to the best of us. Those pusher circlips are best removed after you have stuffed some rodico (or blutack) under. And then push the clip down into the rodico. They won't ping off then :) Sent from my iPhone using Tapatalk3 points
-
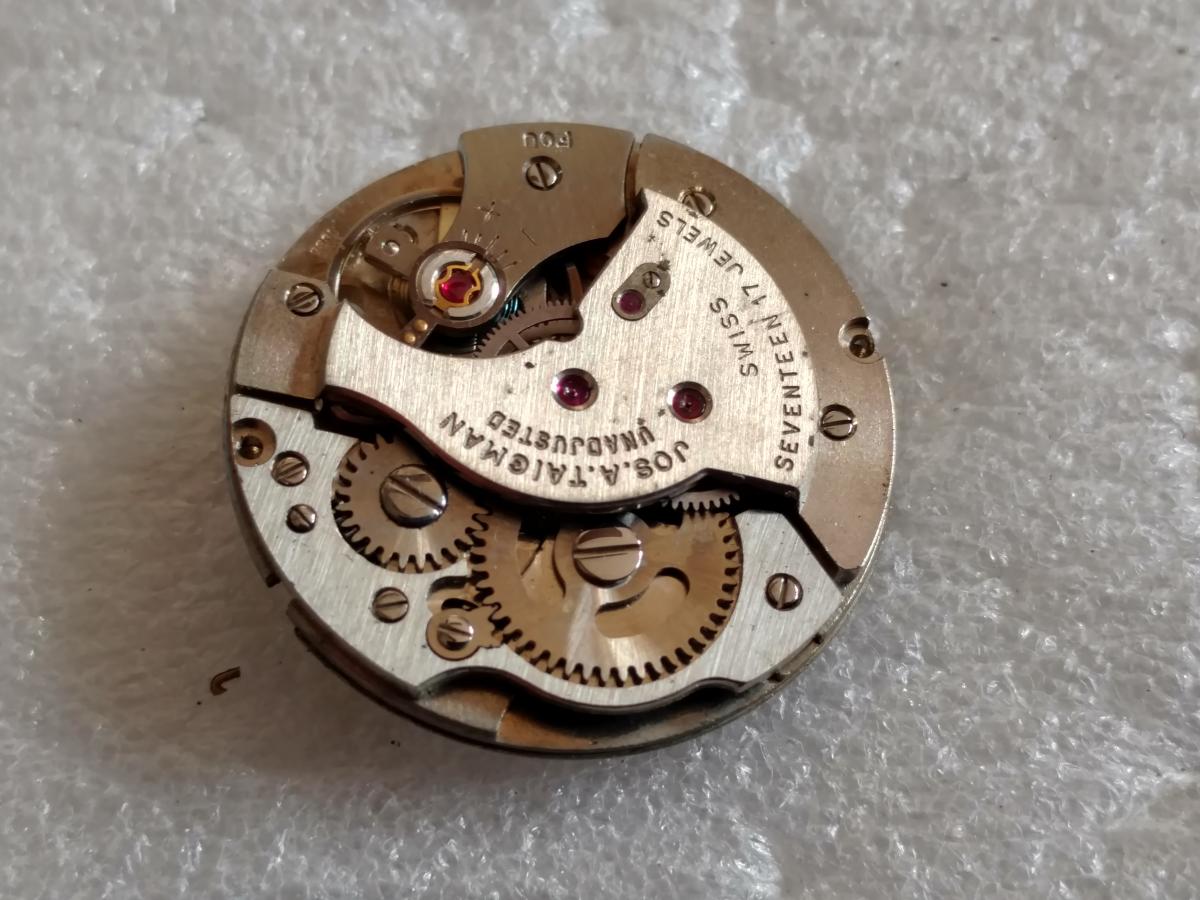
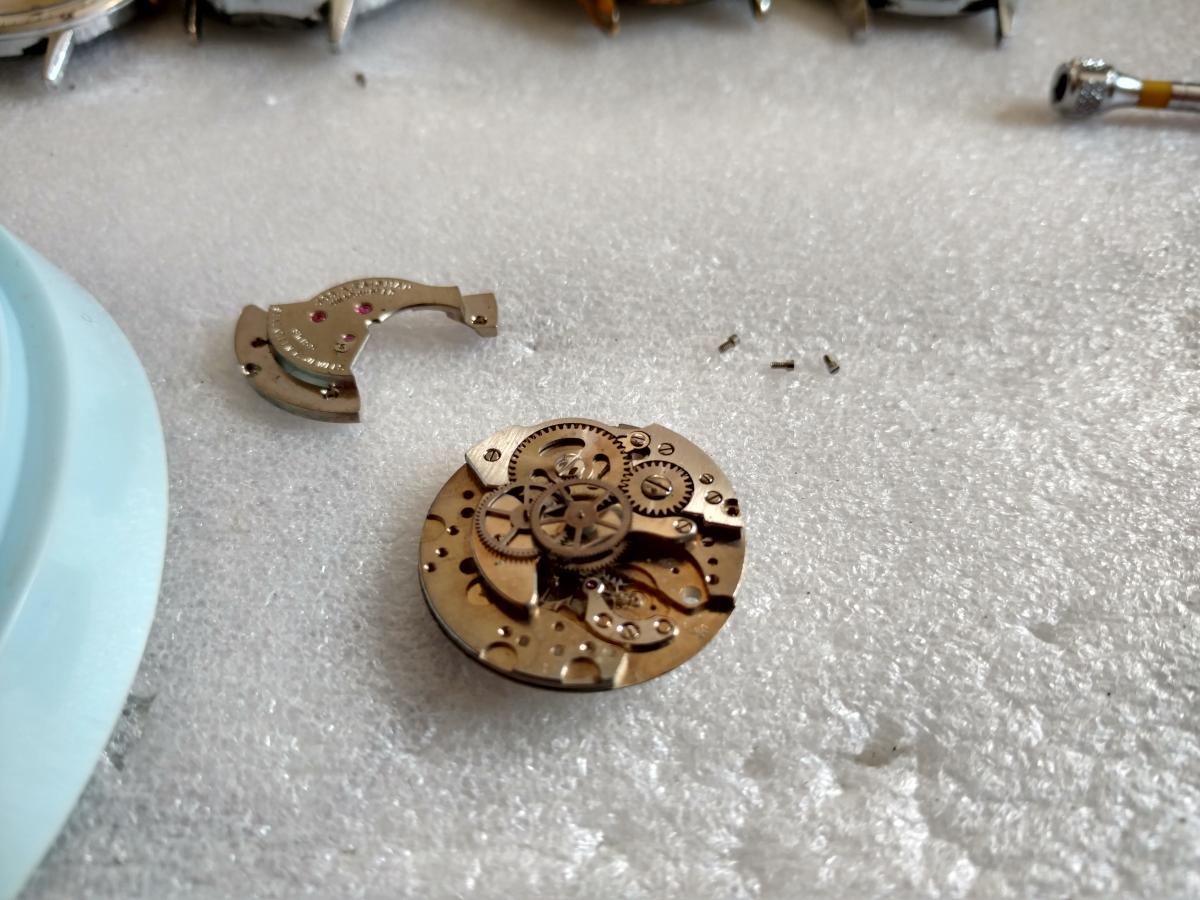
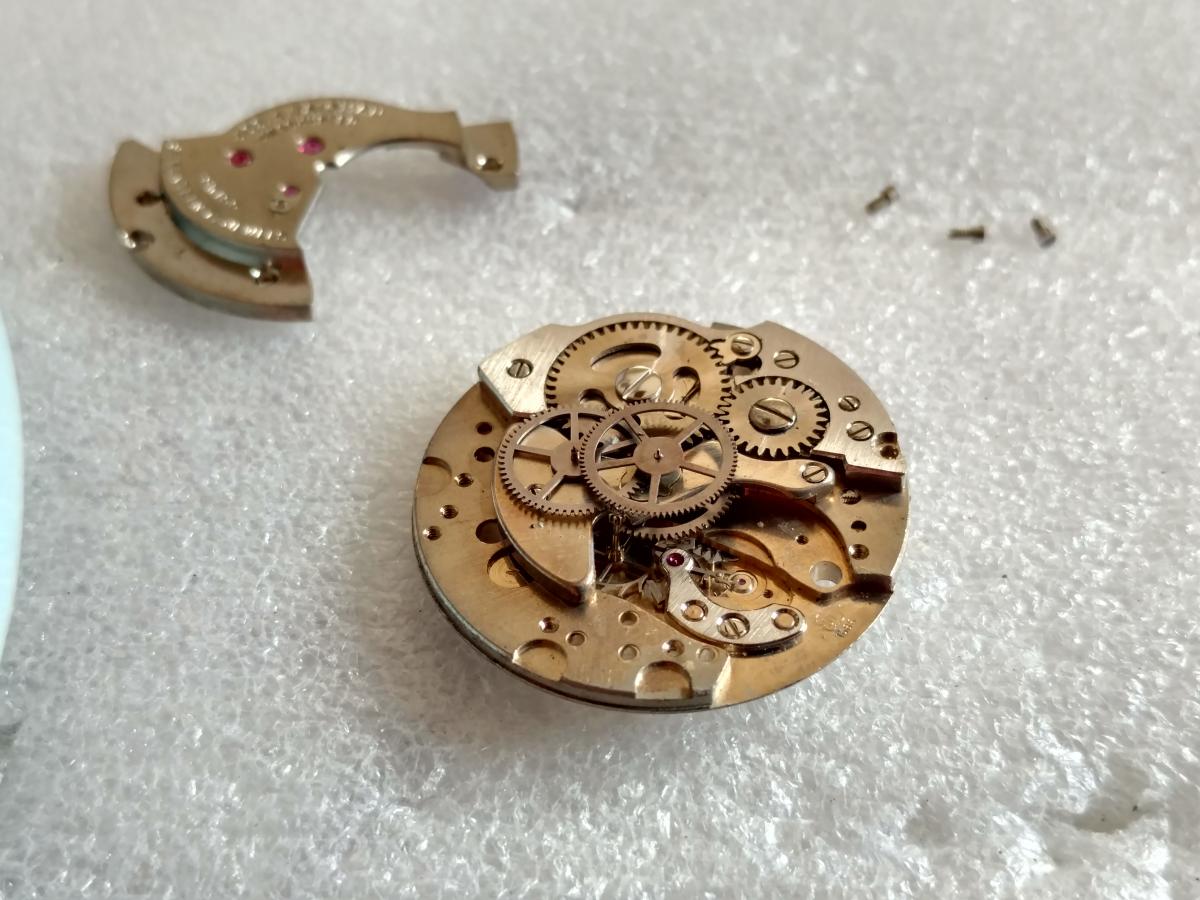
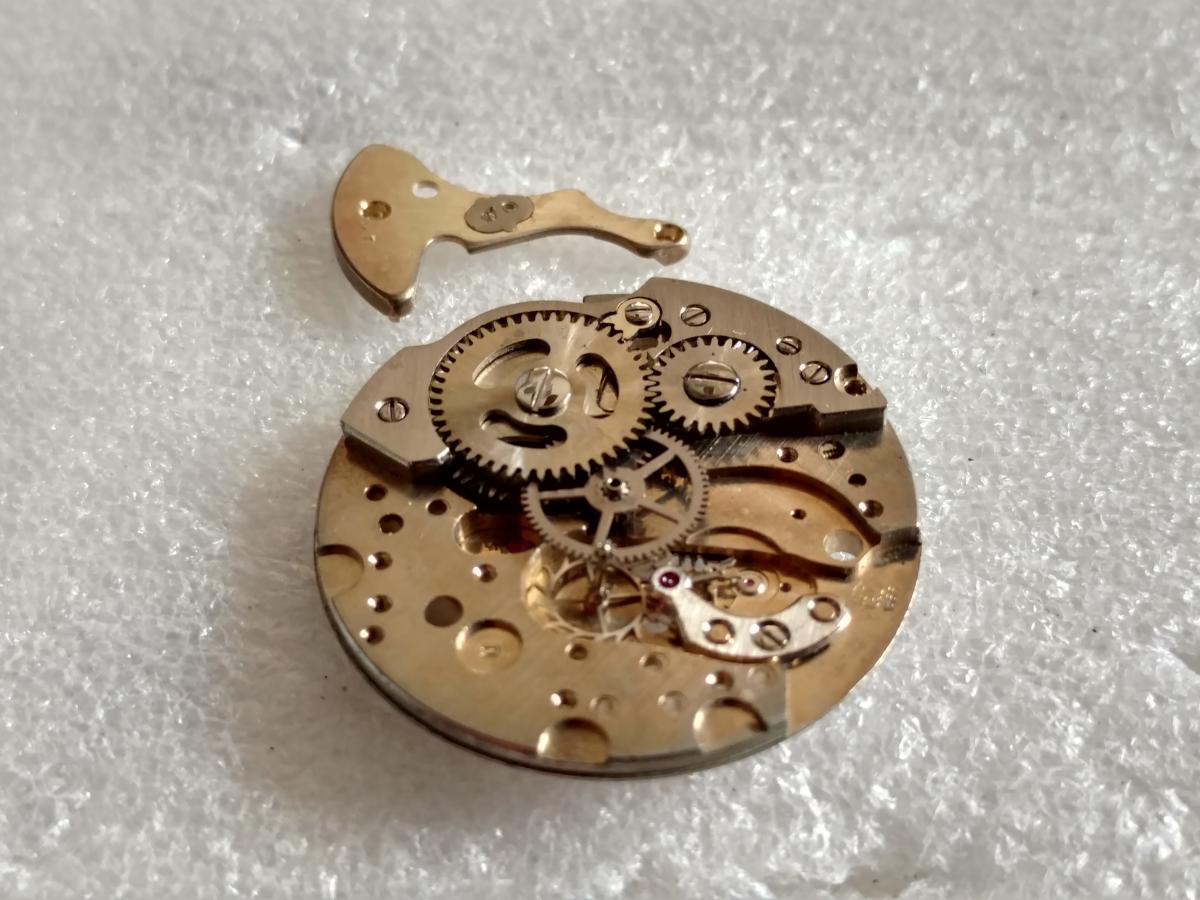
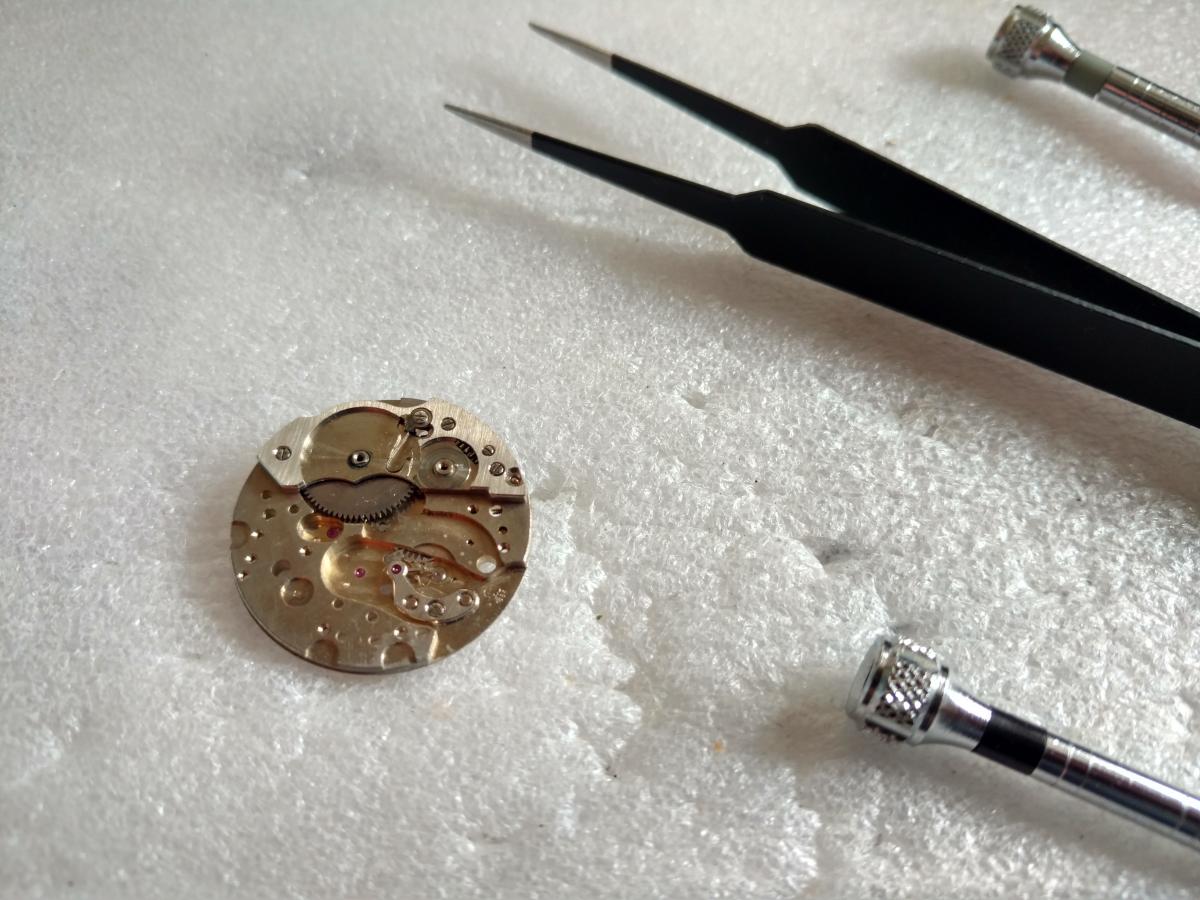
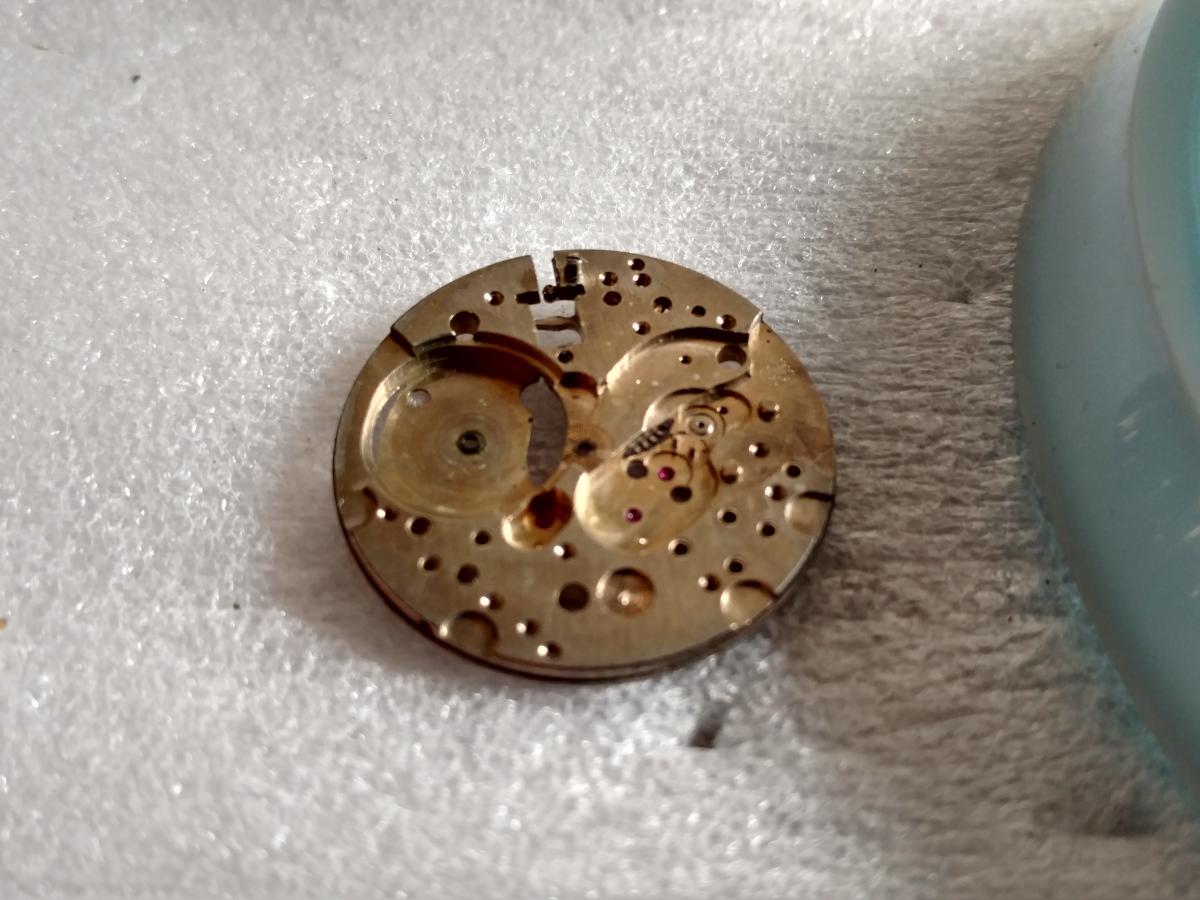
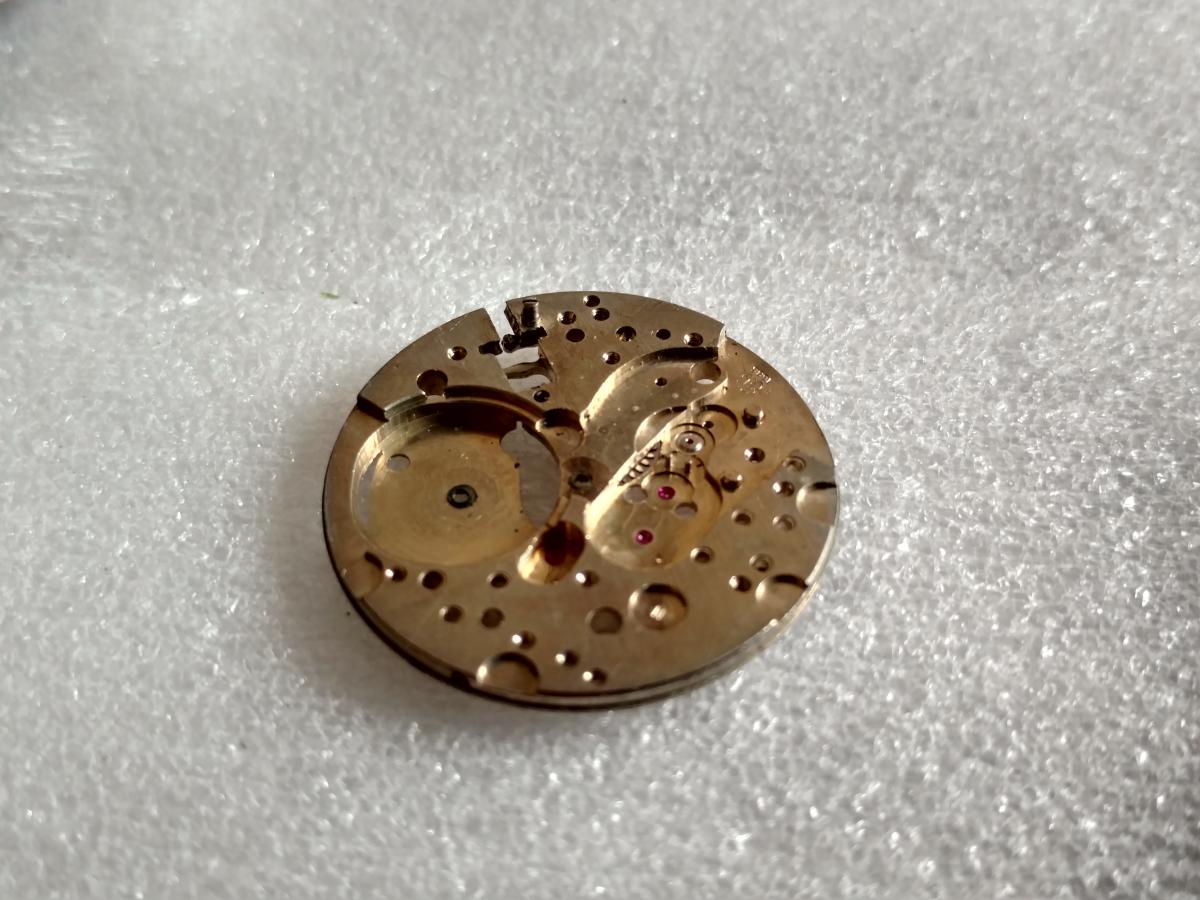
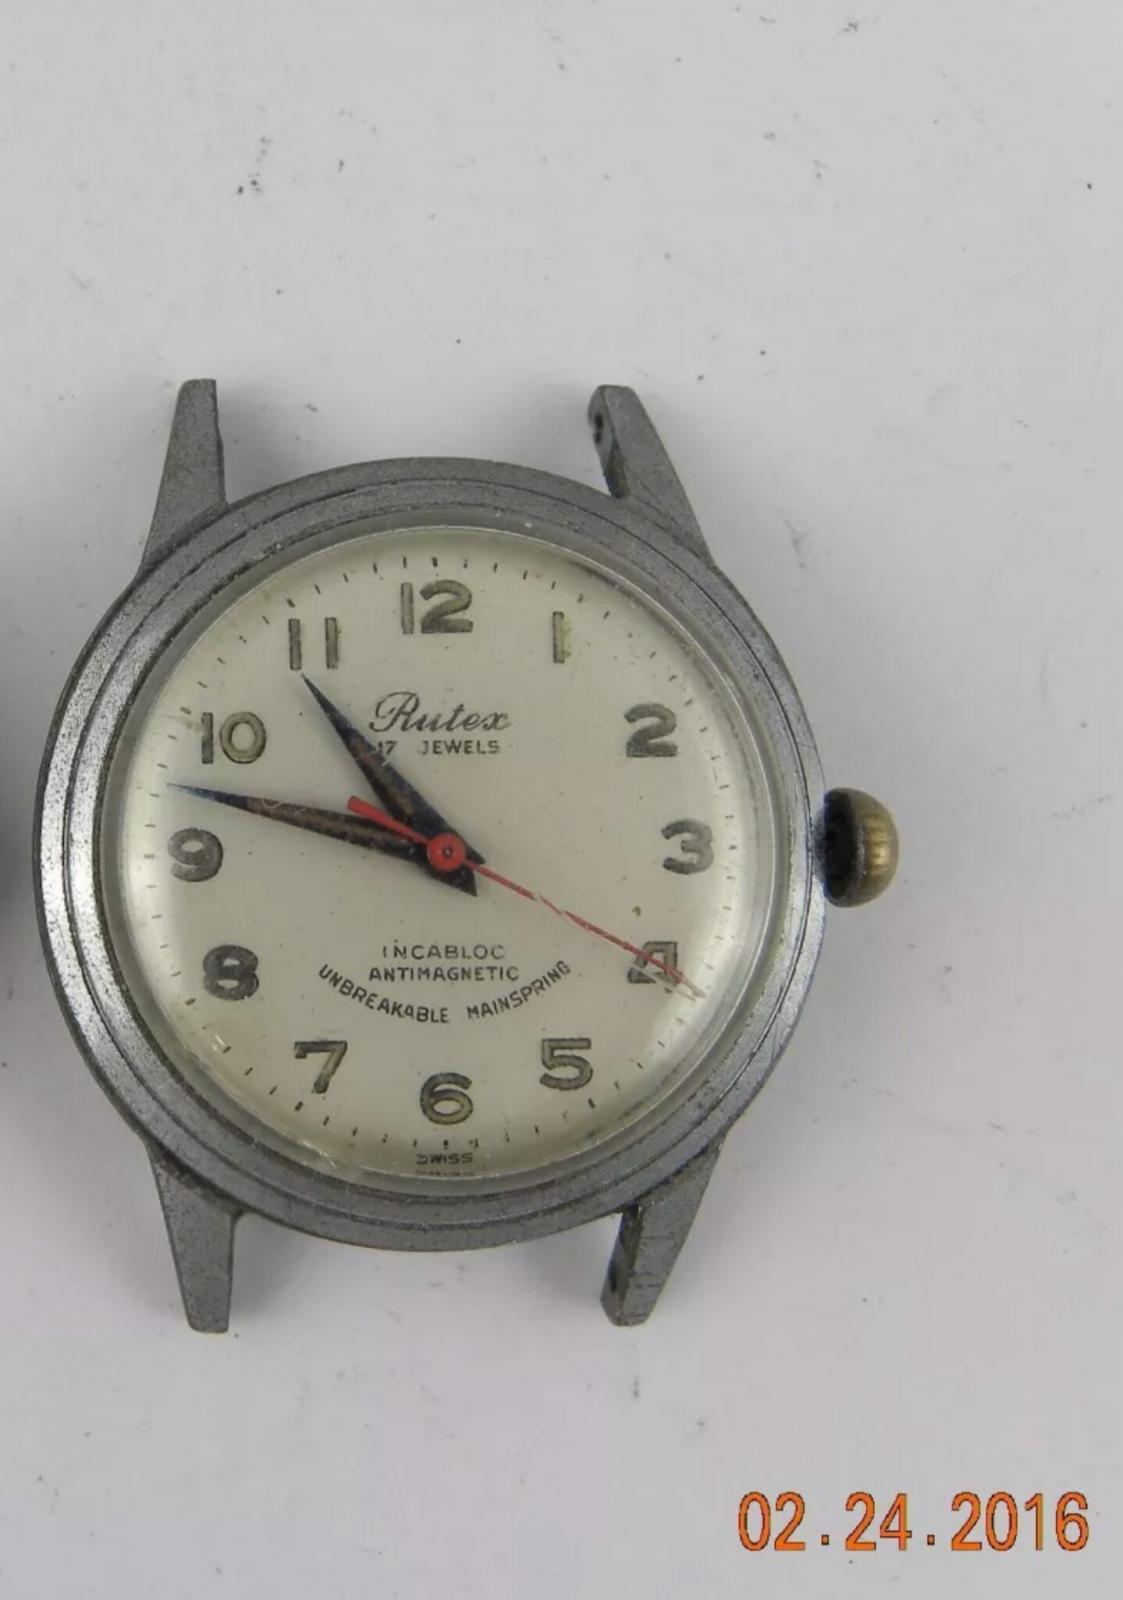
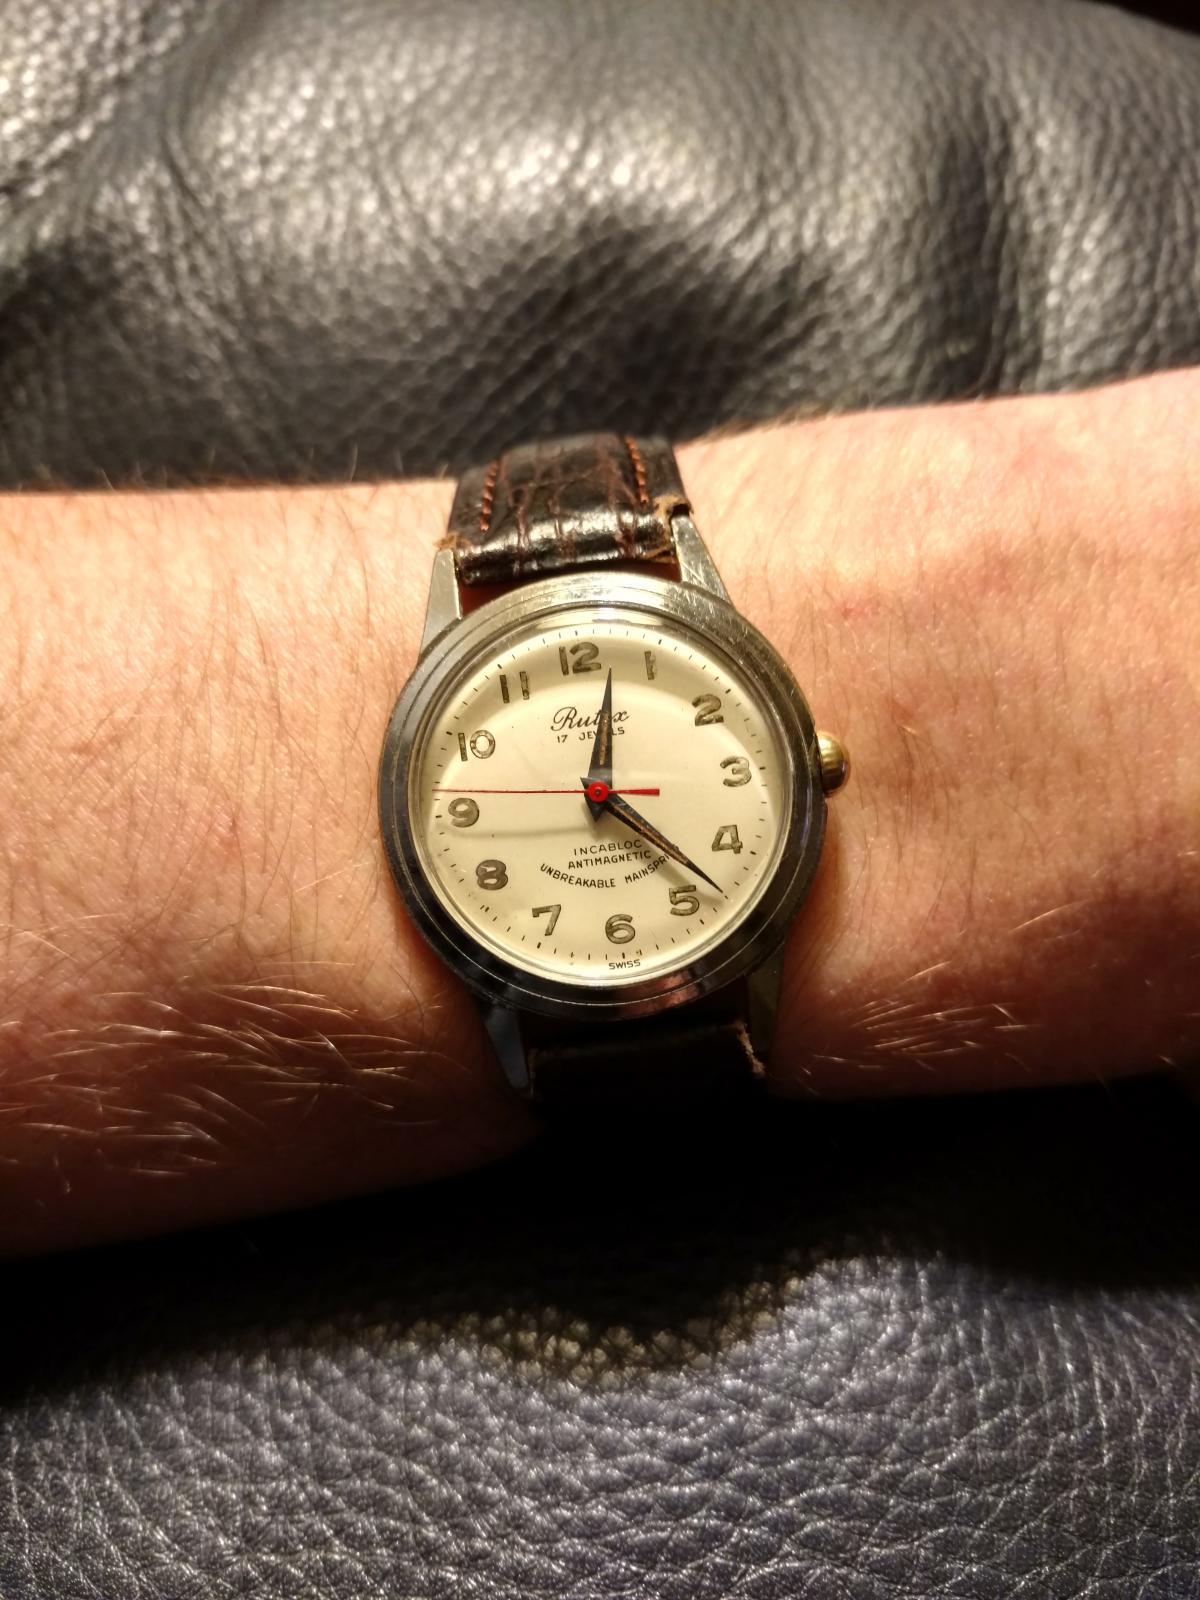
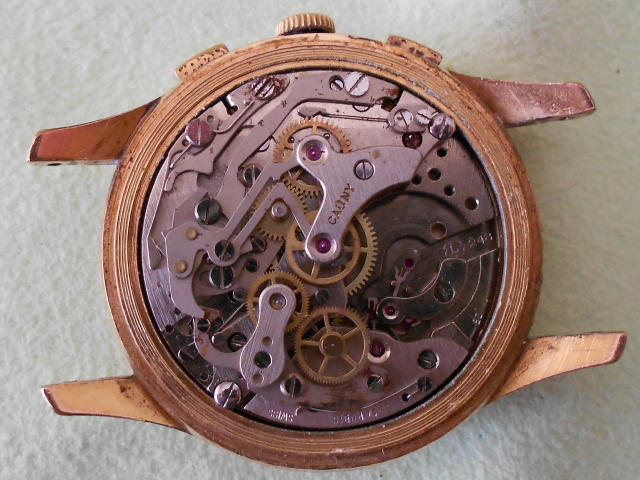
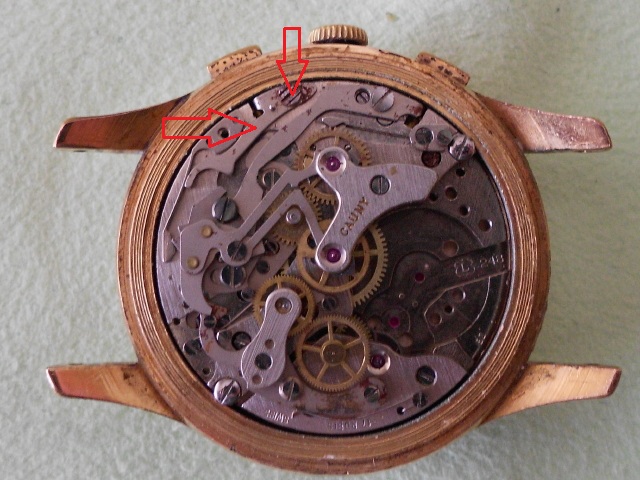
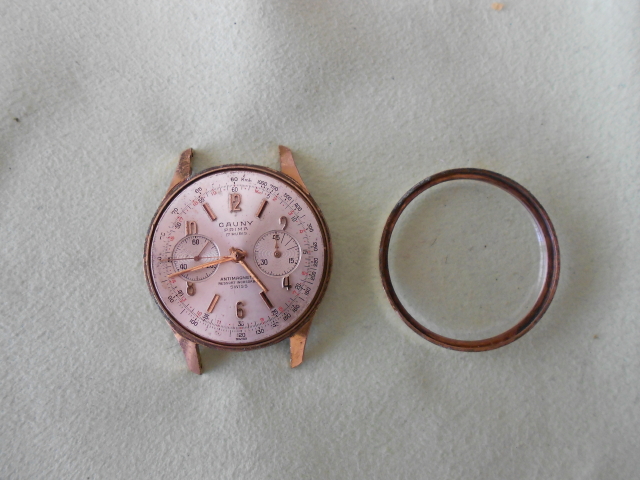
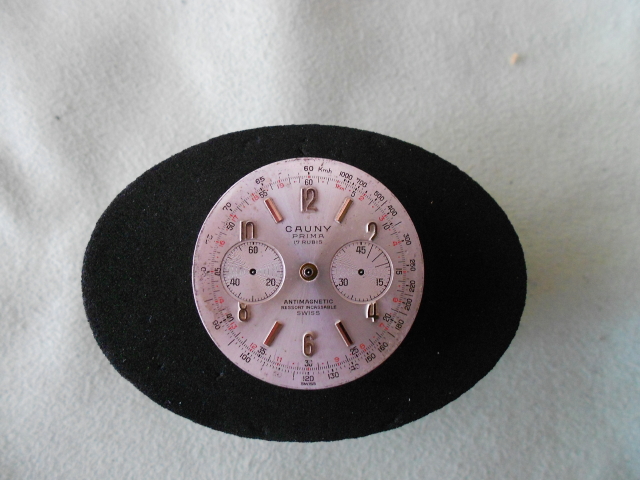
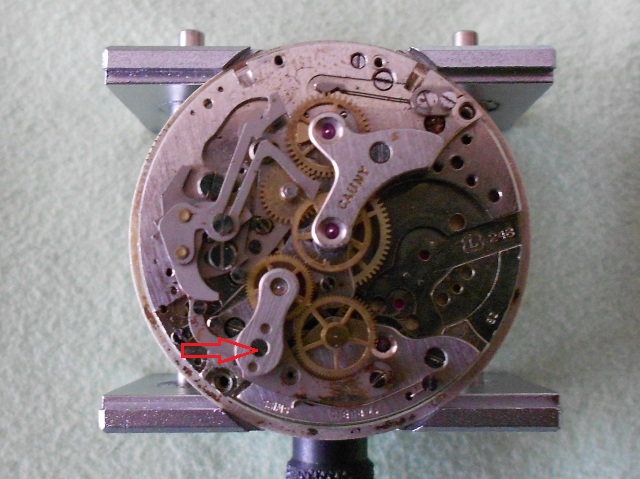
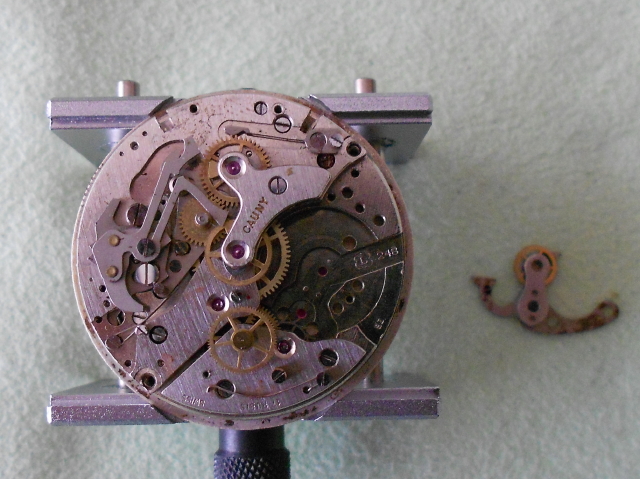
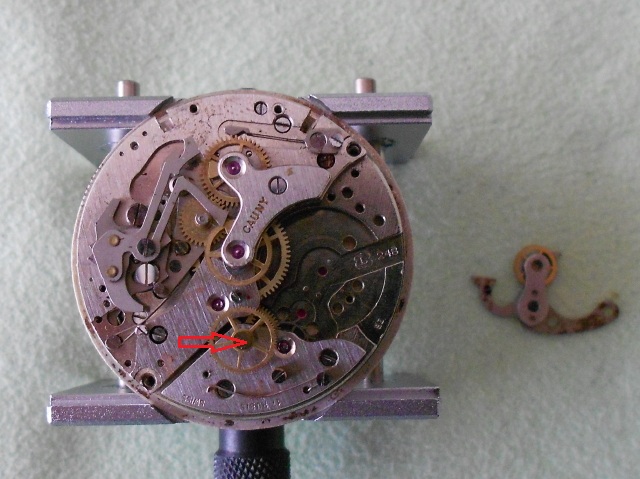
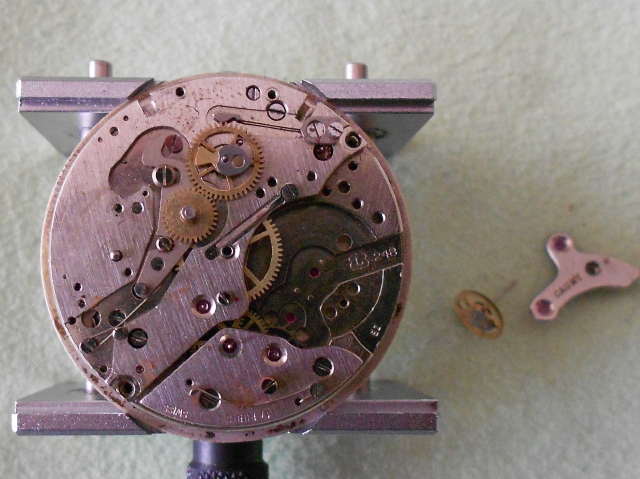
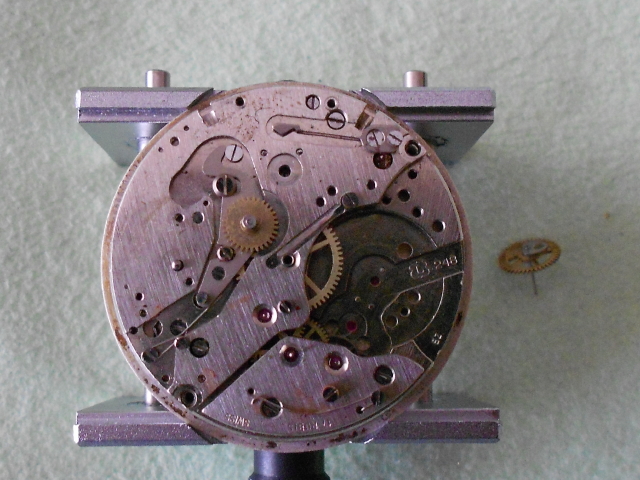
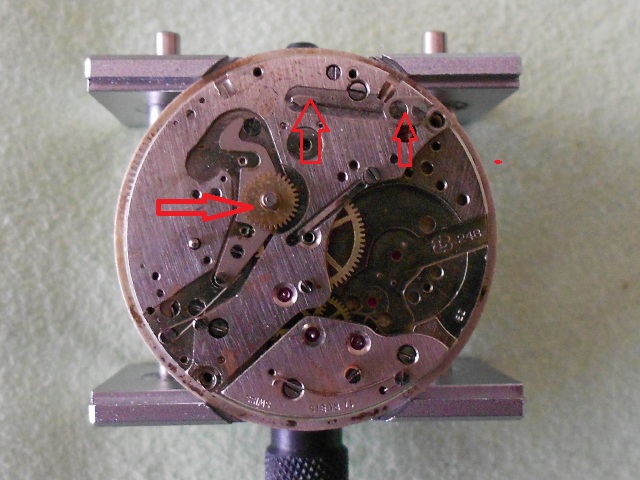
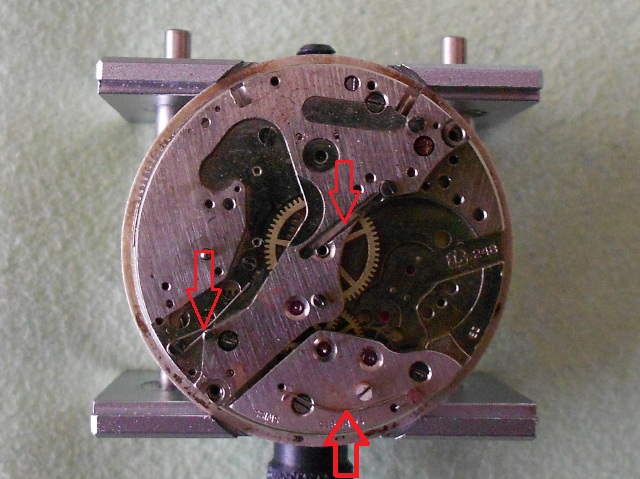
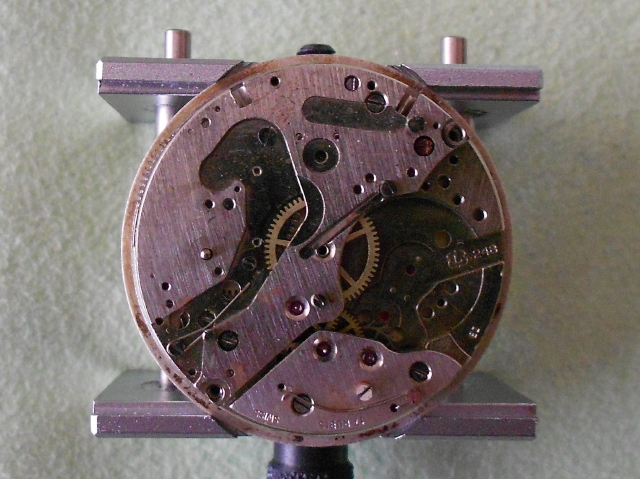
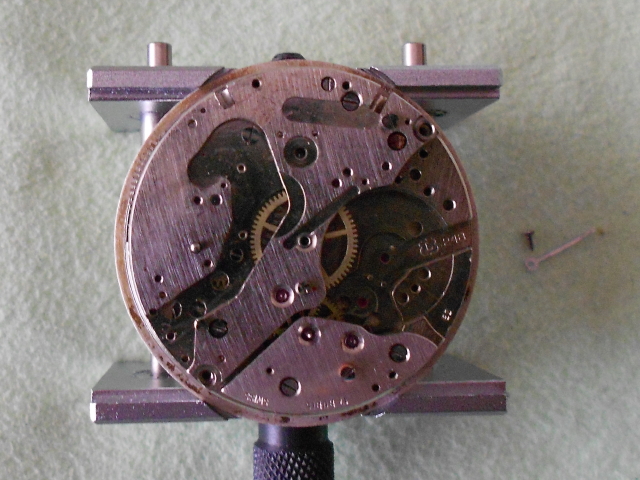
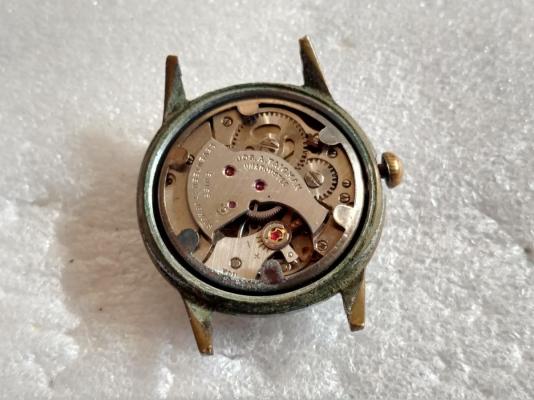
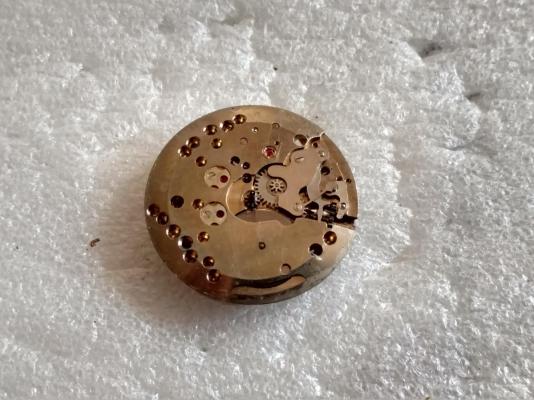
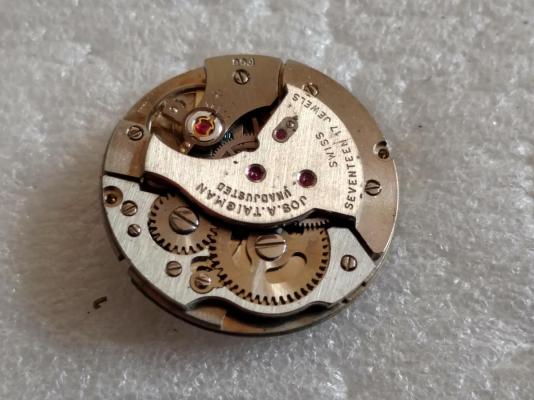
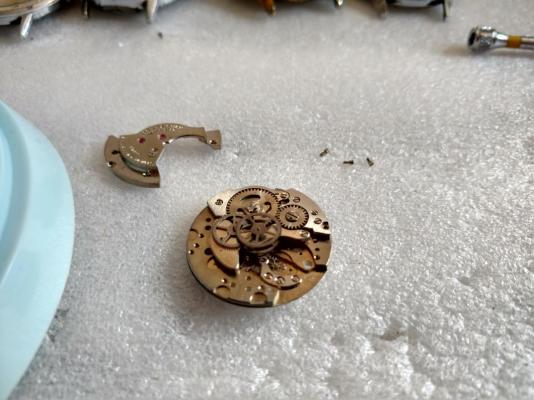
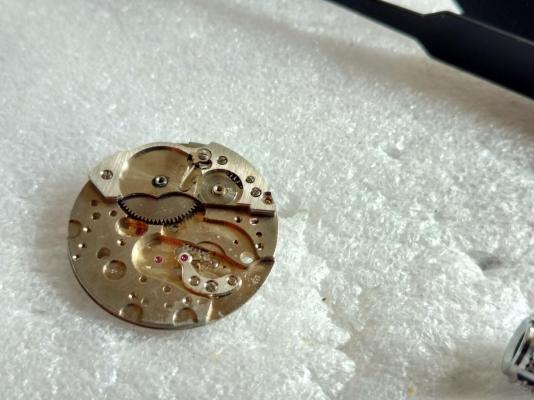
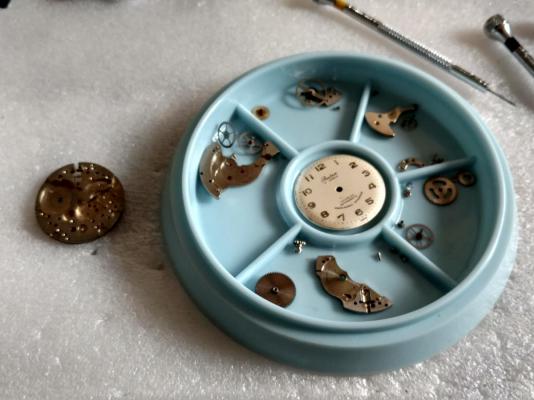
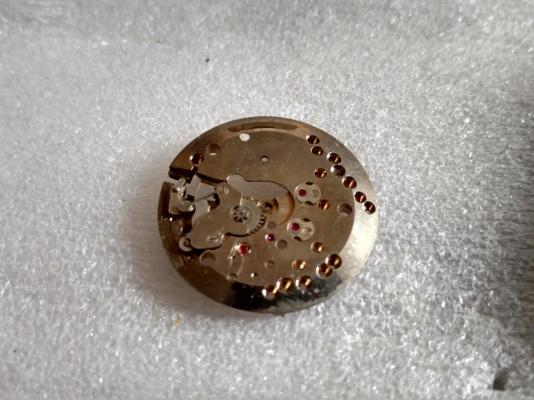
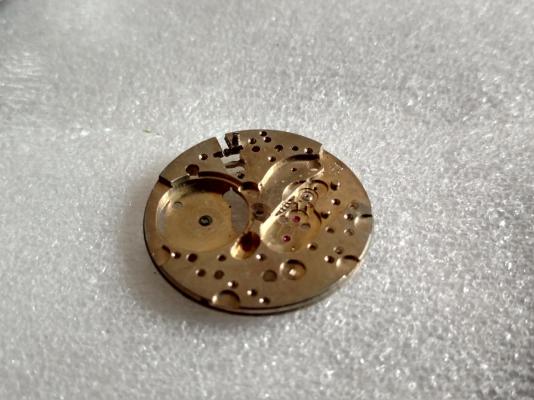
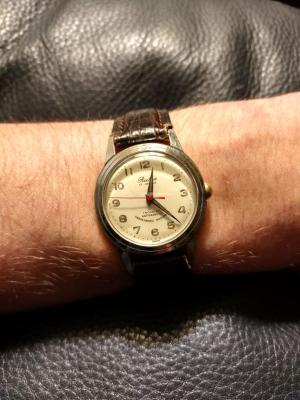
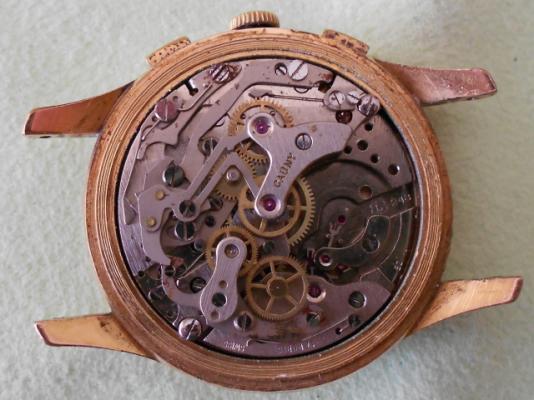
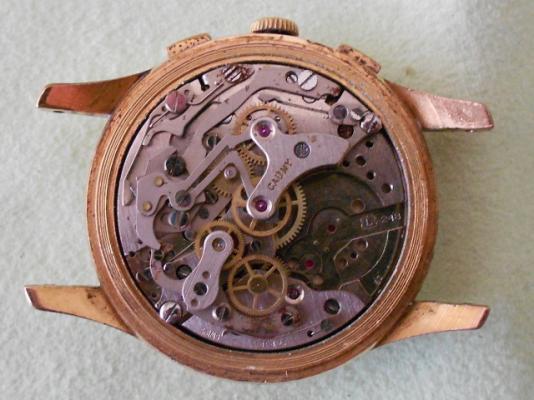
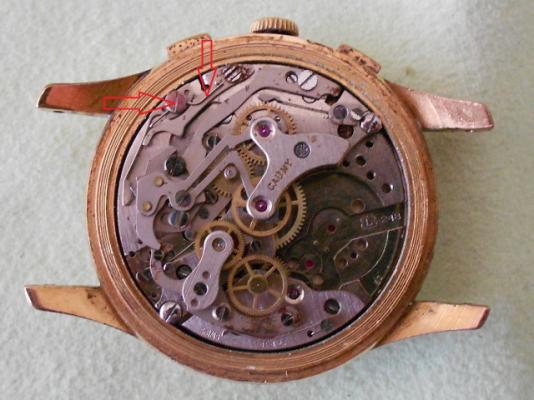
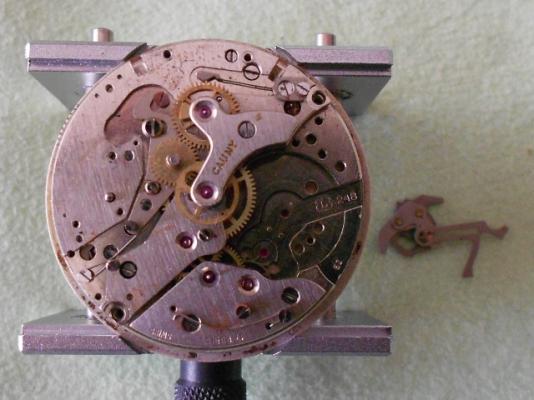
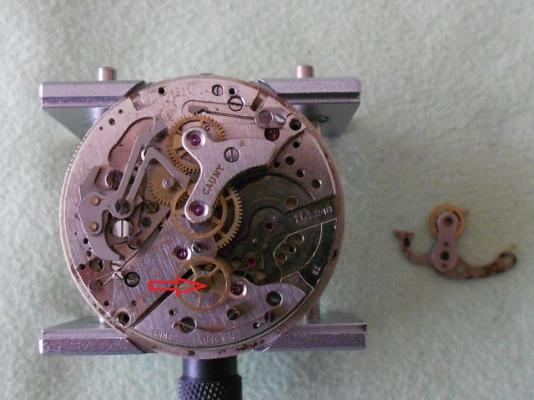
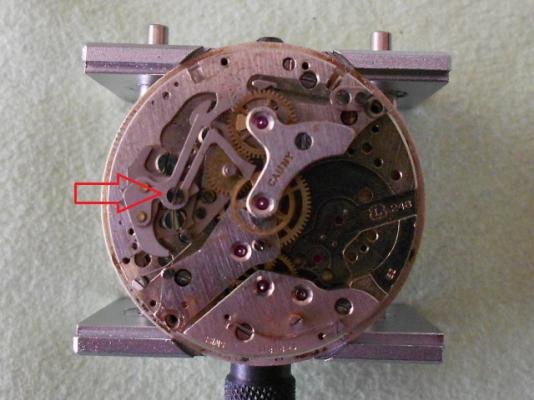
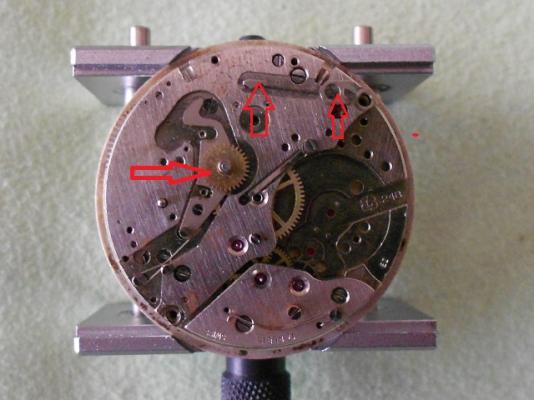
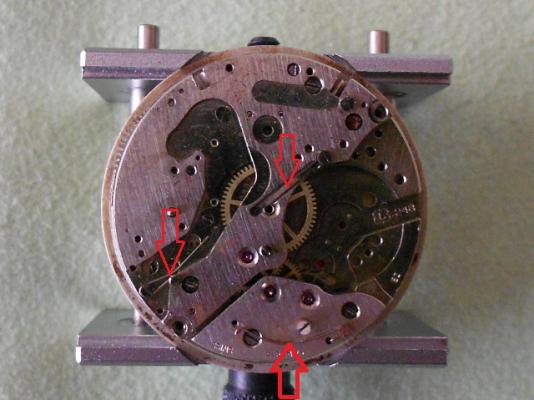
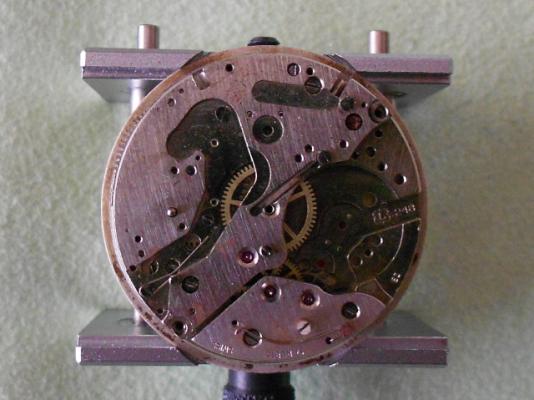
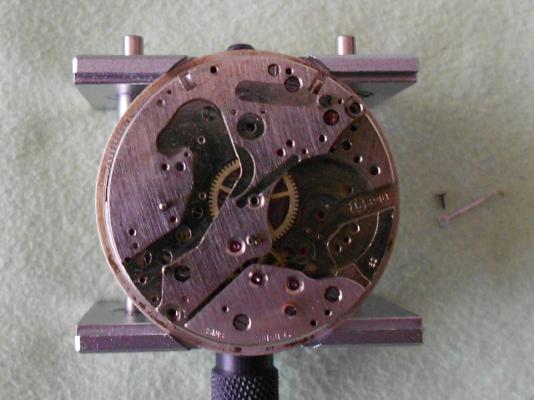
PROJECT GREMLIN ATTACK ON RUTEX 17 JEWEL MANUAL WIND;) This one was a lousy watch to work on, haha. Sometimes, you just have to walk away and rethink these things over when problems occur. On Saturday morning, I felt like servicing another military watch. This particular one was seized meaning none of the hands moved when shaken or by using the crown. I disassembled, cleaned, oiled and reassembled. Wouldn't ya know the damn thing would stop after 10-30 seconds. I spent lots of time troubleshooting and mis-diagnosed the problem at first. (I thought it was the hairspring/balance pivot) After "walking away" without throwing it, I thought things over. I went back last night, disassembled it again and carefully looked at each part AGAIN. Curses to the man that couldn't secure the barrel cover to the mainspring barrel. (me) So, I have a mainspring barrel installation tool on order that will close it PROPERLY from now on;) In the meantime, I will start re-checking every friggin' part BEFORE I put everything back together, haha. This project turned into a 13 hour ordeal and I'm glad it is not only behind me, but the problem has been solved;) Pictures are below, feel free to ask questions....I love questions, LOL;)


 2 points
 -
....except for Timex, those you take everything apart even if it doesn't...I have a special hammer for that! :D Just to be in the latest Timex spirit though! Cheers, Bob2 points
-
I have found to my cost there are no shortcuts to watch repair/servicing. When stripping remove all parts & check as you go thoroughly, it saves lots of time & frustration.2 points
-
Nice job JD.1 point
-
It's my preferred method for removing rust from the inside of old motorcycle petrol tanks.1 point
-
Thank you very much jdm. I did it going from a 240 grit drumel to get rid of the big scratches, down to red polish and over to 1200 grit by hand and finally 2000 grit by hand. Sent from my iPhone using Tapatalk1 point
-
If it comes apart you take it apart to clean it. That's what I was told by my master. It applies to watches and to clocks.1 point
-
complete strip down of all the parts, The keyless is always the one where the previous repairer is a bit too heavy on the grease.. if you dont strip down a complete watch you may miss a part that is not functioning or is damaged. part of the service is to inspect every part for damage. Keep up the good work !1 point
-
Still a novice myself, but I don't see the need to take any shortcuts. I have zero confidence that I can tell by eye if something is "clean" or not, to many things like films of finger oil/grease/dust that are too hard to see. Easier to tear it all down and clean it, then re-assemble with gloves/cots to keep everything pristine. Well, except with the Timex movements, I'm still Duncan Swish with those. Thanks!1 point
-
I'm with Frenchie on this one. Strip the movement completely to make sure everything is clean and in good condition before assembly.1 point
-
I always take apart: it is often a very dirty part of the movement (old grease and very close to the outside of the watch, where dust, water... can get in). If you take it apart, you can see any potential rust or unusual wear. I don't think it can cause harm, but you can miss something. Just my inexperienced opinion.1 point
-
How did you deal with the rust, why not fit a nice new button it would make it far easier to wind. I can remember that cal would suffer with bad wear in the barrel bridge. Try and remember with every repair to look things over very carefully when you take it apart and putting it back, it's not just dirt that can stop a watch, you will save yourself time and you won't have many sleepless nights. Nice clear photos and well done.1 point
-
Thank you very much Geo & Dadistic......I'm flattered! Of course it wasn't my aim to do some "special" achievement. Change in financials and I didn't want to be "chained" by Rolex, were two very strong promoters. Either I learned myself the capabilities to do a service, or the Rolex goes........ if you read "Self servicing Rolex Submariner 3135" you may get my drift. Thanks to the forum and Mark's excellent video's, it was possible for me to even consider such a challenge; so a "BIG thank you" to all contributors and for the great help I received !! The Rolex survived and seems healthier then before the operation.........good for the Rolex and for me ;) Next service......... we'll see how strong my heart & nerves will be when that time comes....... For sure, I had my "heart stopping" moments :D1 point
-
I don't see a problem as long as you are not advertising for work. I'm sure the boss will keep you right! Please bear in mind this It's a watch repair forum and folk like to see work being done by others. I personally would like to see all your projects presented on the forum. It's stiff like your projects that is the life blood of this place.1 point
-
Get a small jar about half full of lighter fluid and put the main plate complete with balance assembly into it. Now put plain water in your ultrasonic cleaner and place the jar with the parts in it into the water. The ultrasonic vibration penetrate the glass jar and will clean the parts in the lighter fluid. It's a good idea to have a basket in your cleaner to keep the jar off the bottom of the tank.1 point
-
One more thing I like to add, as "Another lesson learned"; The Microstella tool I received from CousinsUK wasn't of the highest quality. The pointer is a bit "sticky" and there is some play between the screw and the wrench. For bigger adjustments, like the first one I did of -5s/d, this isn't such a problem, but for fine tuning it is or becomes. Because of the "play" between the screw and the wrench, that when turning the wrench slightly, you can't see, and don't know whether the screw turns with the same amount. This "error" will accumulate if more adjustments are made. So the Microstella tool from CousinsUK I received will do the job, but it's not for regular adjustment, on the same watch. My watch runs +1.5 s/d consistently, so I'm done :)1 point
-
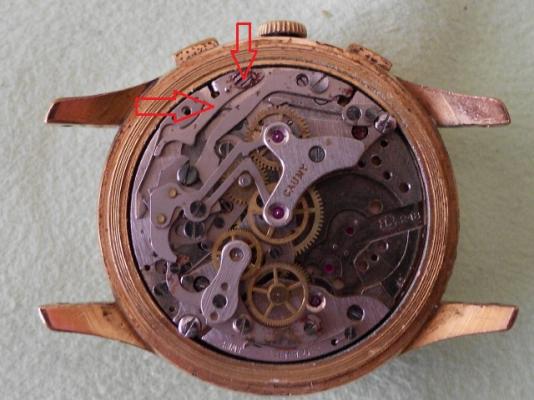
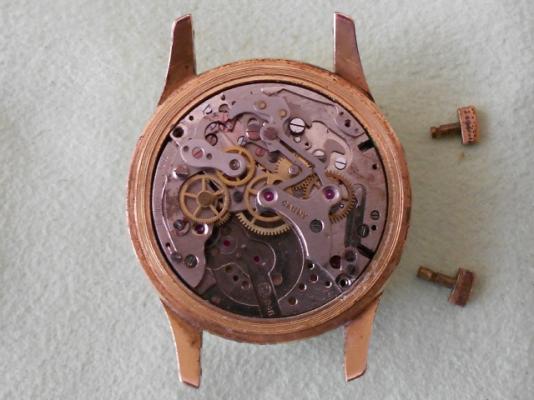
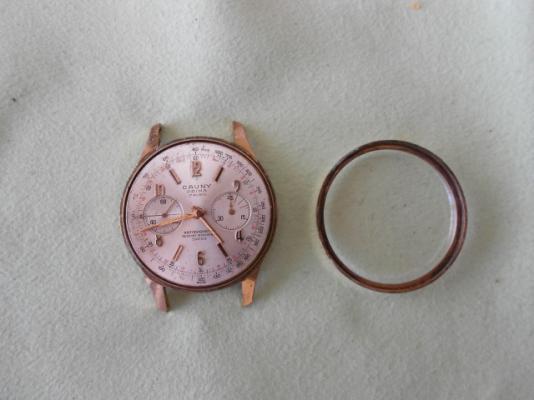
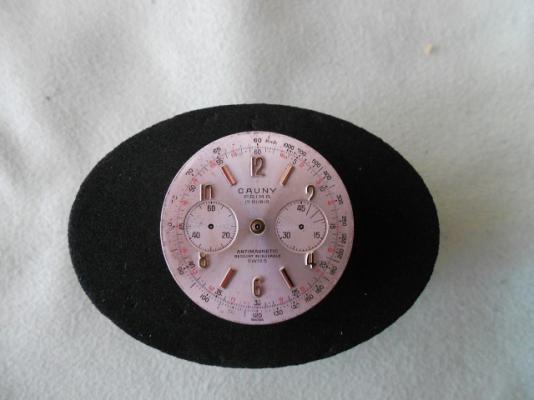
Here are the photos I took during the disassembling procedure: First going out ( after releasing mainspting load) was the balance wheel d pallet fork: the fly-back lever spring: the fly-back lever: (attention, it's a left-hand screw) operating lever: winding stem and pushers: after this, the movement can be removed (from the glass side) from the case: after the hands removed: now beginning the disassembling of the chronograph parts beginning with the coupling clutch: and driving wheel: then the hammer cam jumper and hammer: (the hammer cam jumper is already out in the next photo) the chronograph bridge and chronograph runner: the minute-recording runner: the sliding gear and minute-recording jumper: the coupling clutch spring, sliding gear spring and friction spring of chronograph runner: ... and so the chronograph parts are all disassembled. (to be continued...)


 1 point
 -
How about a curtain made from these!
 1 point
 -
Just picked this up Sent from my SAMSUNG-SM-G925A using Tapatalk1 point
-
I like the nice solid bed of the lathe. I would contact http://pennyfarthingtools.co.uk He normally has lots of collets in stock. The guys name is Macomb. He does not keep his web site up to date so contact is the best way.1 point
-
Maybe the staff replacement was turned or stocked incorrectly, or made for a different revision of the same movement.1 point
-
They make me think of lab rats...after they are used up in the lab they are disposed of...only being movements they are sold on ebay! :) I buy some of those once in a while and feed them and care for them properly...they are sometimes good for spares or to make one full movement out of the bunch...just sometimes! :) Yeah, that last sentence was about the watches not the rats! :D1 point
-
Is that the guy that has a seemingly bottomless pile of crudded-up Seiko's that ship out of the Philippines? At least those are from a tropical environment, which Russia very much does not have. Thanks for the feedback, all...thanks, Mark....I had little doubt that you would not sign off on cutting a corner like that...I knew it would not be the right way to do it, so that, I won't do... Again, thanks. -Tom1 point
-
Use fine wire wool with some WD40 on it. Bearing in mind they are precision gauges and will be made to very high tolerances, I would keep away from abrasives as it would be easy to reduce the size of the pivots slightly.1 point