Leaderboard


Popular Content
Showing content with the highest reputation on 11/28/20 in Posts
-
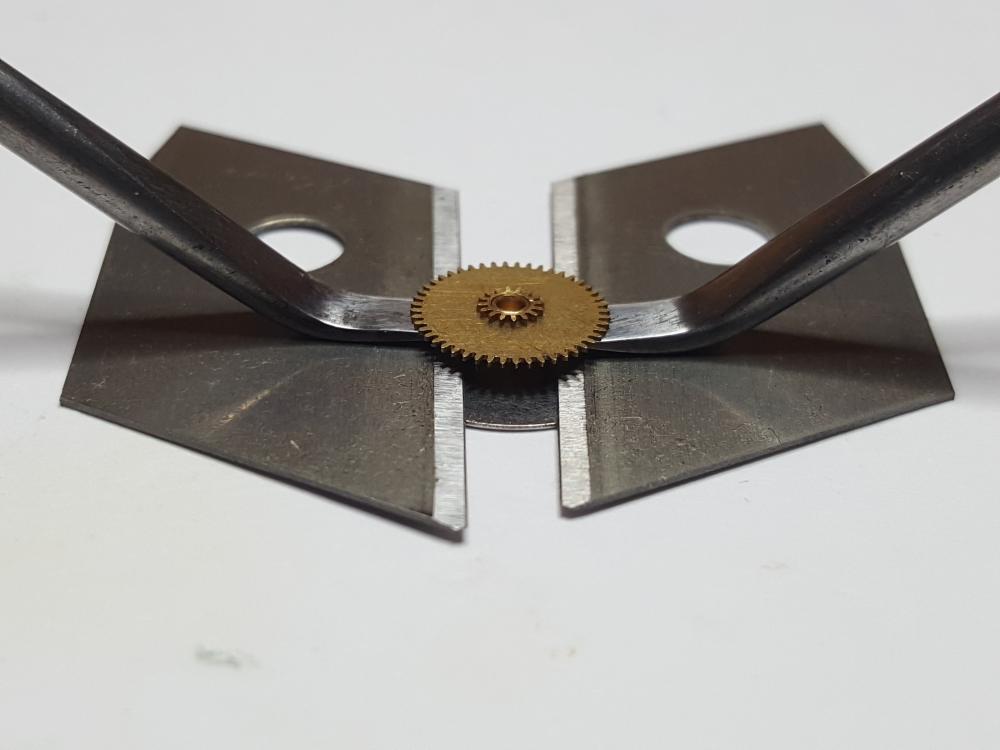
It's a similar principle I use to distribute the levering pressure when removing something friction fitted, such as a friction fitted minute wheel on the top of a barrel on a Baumgartner 866
 2 points
 -
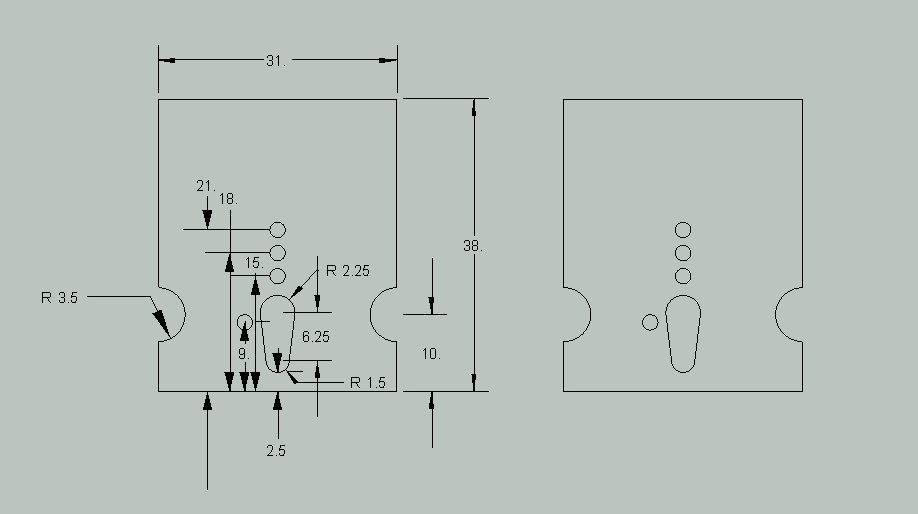
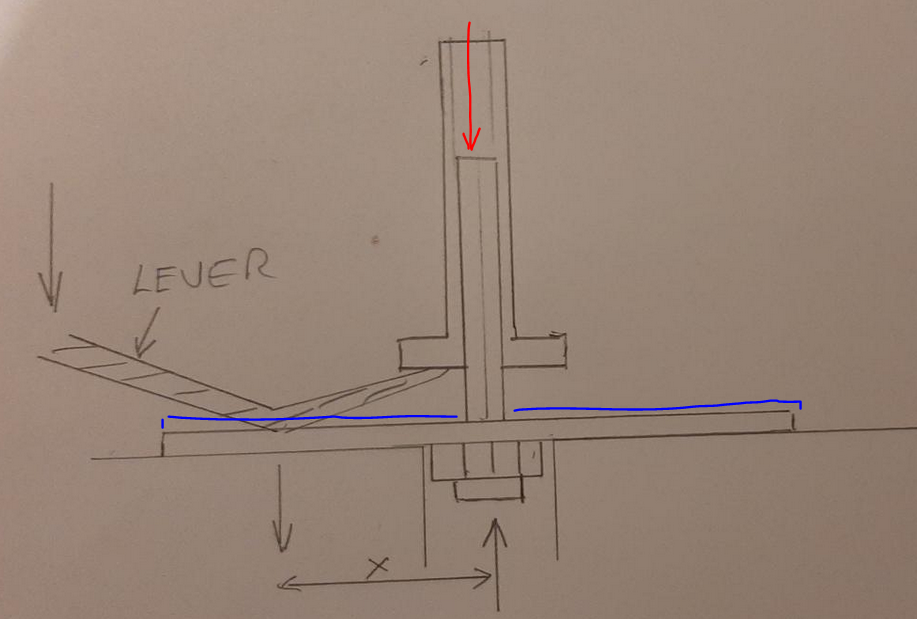
Ok I didn't make a 3D model or anything, but laid out the most important part, the plate. The back piece is 40mm x40mm, the arm can be anything hinged any way just so that it comes down over the balance rim. The support piece for the inside of the rim can also be anything, on the old tools they were V shaped and pressed into a hole, on my friends it's a simple pin that has a notch filed in it. The notch/V permits whatever bit of screw that is sticking out inside the rim to be unharmed when working on it. The threaded holes for the pins are a 2mm thread, but anything near that would be fine. You can see in the pics that there were different ways to hinge the arm, either with a hole drilled all the way through the 40mm back plate and the arm recessed in, or with pressed in hinges, both would have been a test of the student's patience, not becuase they are necessary. A simple hinge from a hobby store for dollhouse work or whatever is fine. I don't know what the pin sticking out the front of the tool is for. They all have it, but?
.thumb.jpg.c3bad07d9c07214b3feed6be57856513.jpg)
.thumb.jpg.512a98d2f31fb0e62815775a2dcfef58.jpg)
.thumb.jpg.c3c10347c22a8805d05894f6831ed4c4.jpg)
.thumb.jpg.64f89d53ec799cc12d889de0a1d95d60.jpg)
.thumb.jpg.0fa62ae5732188fdc470006e0d5eb56b.jpg)
.thumb.jpg.bb3d329de86f763d62b575af8b8fec9e.jpg)
.thumb.jpg.c9d0adac64760de6f05ee2ce12653f0f.jpg)
 2 points
 -
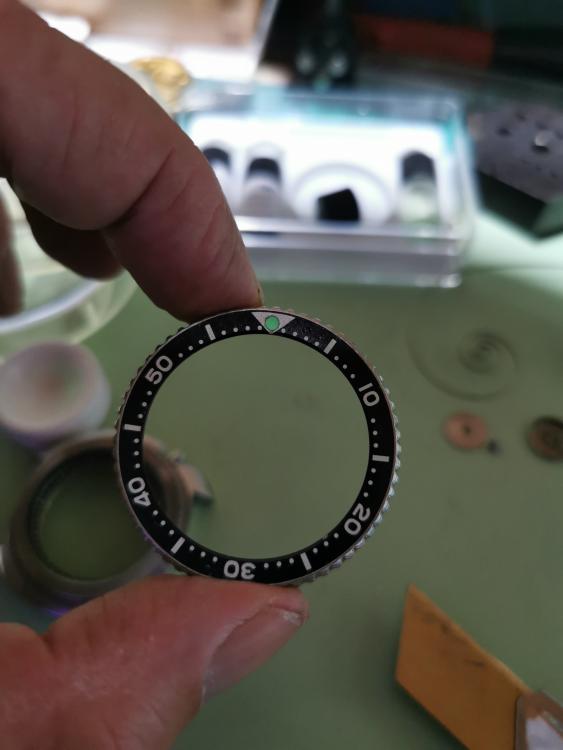
The lume binder holds the new pip in place.
 2 points
 -
I made a habit of putting just balance cock assembly on mainplate( nothing else) to examine and make adjustments before the clean, namely to check how balance spins in several positions and level the coil, check its concentercity, make sure nothing rubs and pivot shoulder stand proud of jewels and the jewel housing, next you want to add the fork on and check fork&roller table and guard pin, so would be the end shake most observable When there is no other part on mainplate but balance cock assembly, you have most access to the balance complete nearly from all angles around it, better sight form each view and damaging gears in case driver slips. I strongly recommend practicing removal and re installation of cock&balance assemby on a cheap scrap till you master the task. As for mainspring power, gently encourage the power, push to turn the barrel that is supply additional torque to it and observe. All the best. joe2 points
-
We made a balance tack in school, but aside from that time I haven't really used it. A much handier tool is this one which was a standard tool made in watchmaking schools here. The "tack" is a threaded pin which can be placed in one of several holes (usually 2 or 3 sizes of tapers on several pins). Choosing an appropriate pin and hole location, the balance isn't hanging as it sits on the table, so no risk to the hairspring. The overarm presses down on the rim, which is supported from the inside by the little "V" so that work can easily be done on screws (it's a non-screw balance in the pic but you can see how it works). Access is also easy and safe for moving hairspring collets to adjust beat. Bergeon made a similar tool at one time but it hasn't been available for some time. If mine ever disappeared I would stop work until I had made a new one, it's that handy.
.thumb.jpg.796f86233d594b9944f4949506b5e439.jpg)
.thumb.jpg.9940a1cd9b1ec9e8f4a09d3a4445ddac.jpg) 2 points
2 points -
Since you have already done checked all listed above and if balance spins freely without the fork, there remains guard pin and fork horn engagement with the roller table/impulse jewel.2 points
-
Assembling and troubleshooting a vintage Roles 910 movement.1 point
-
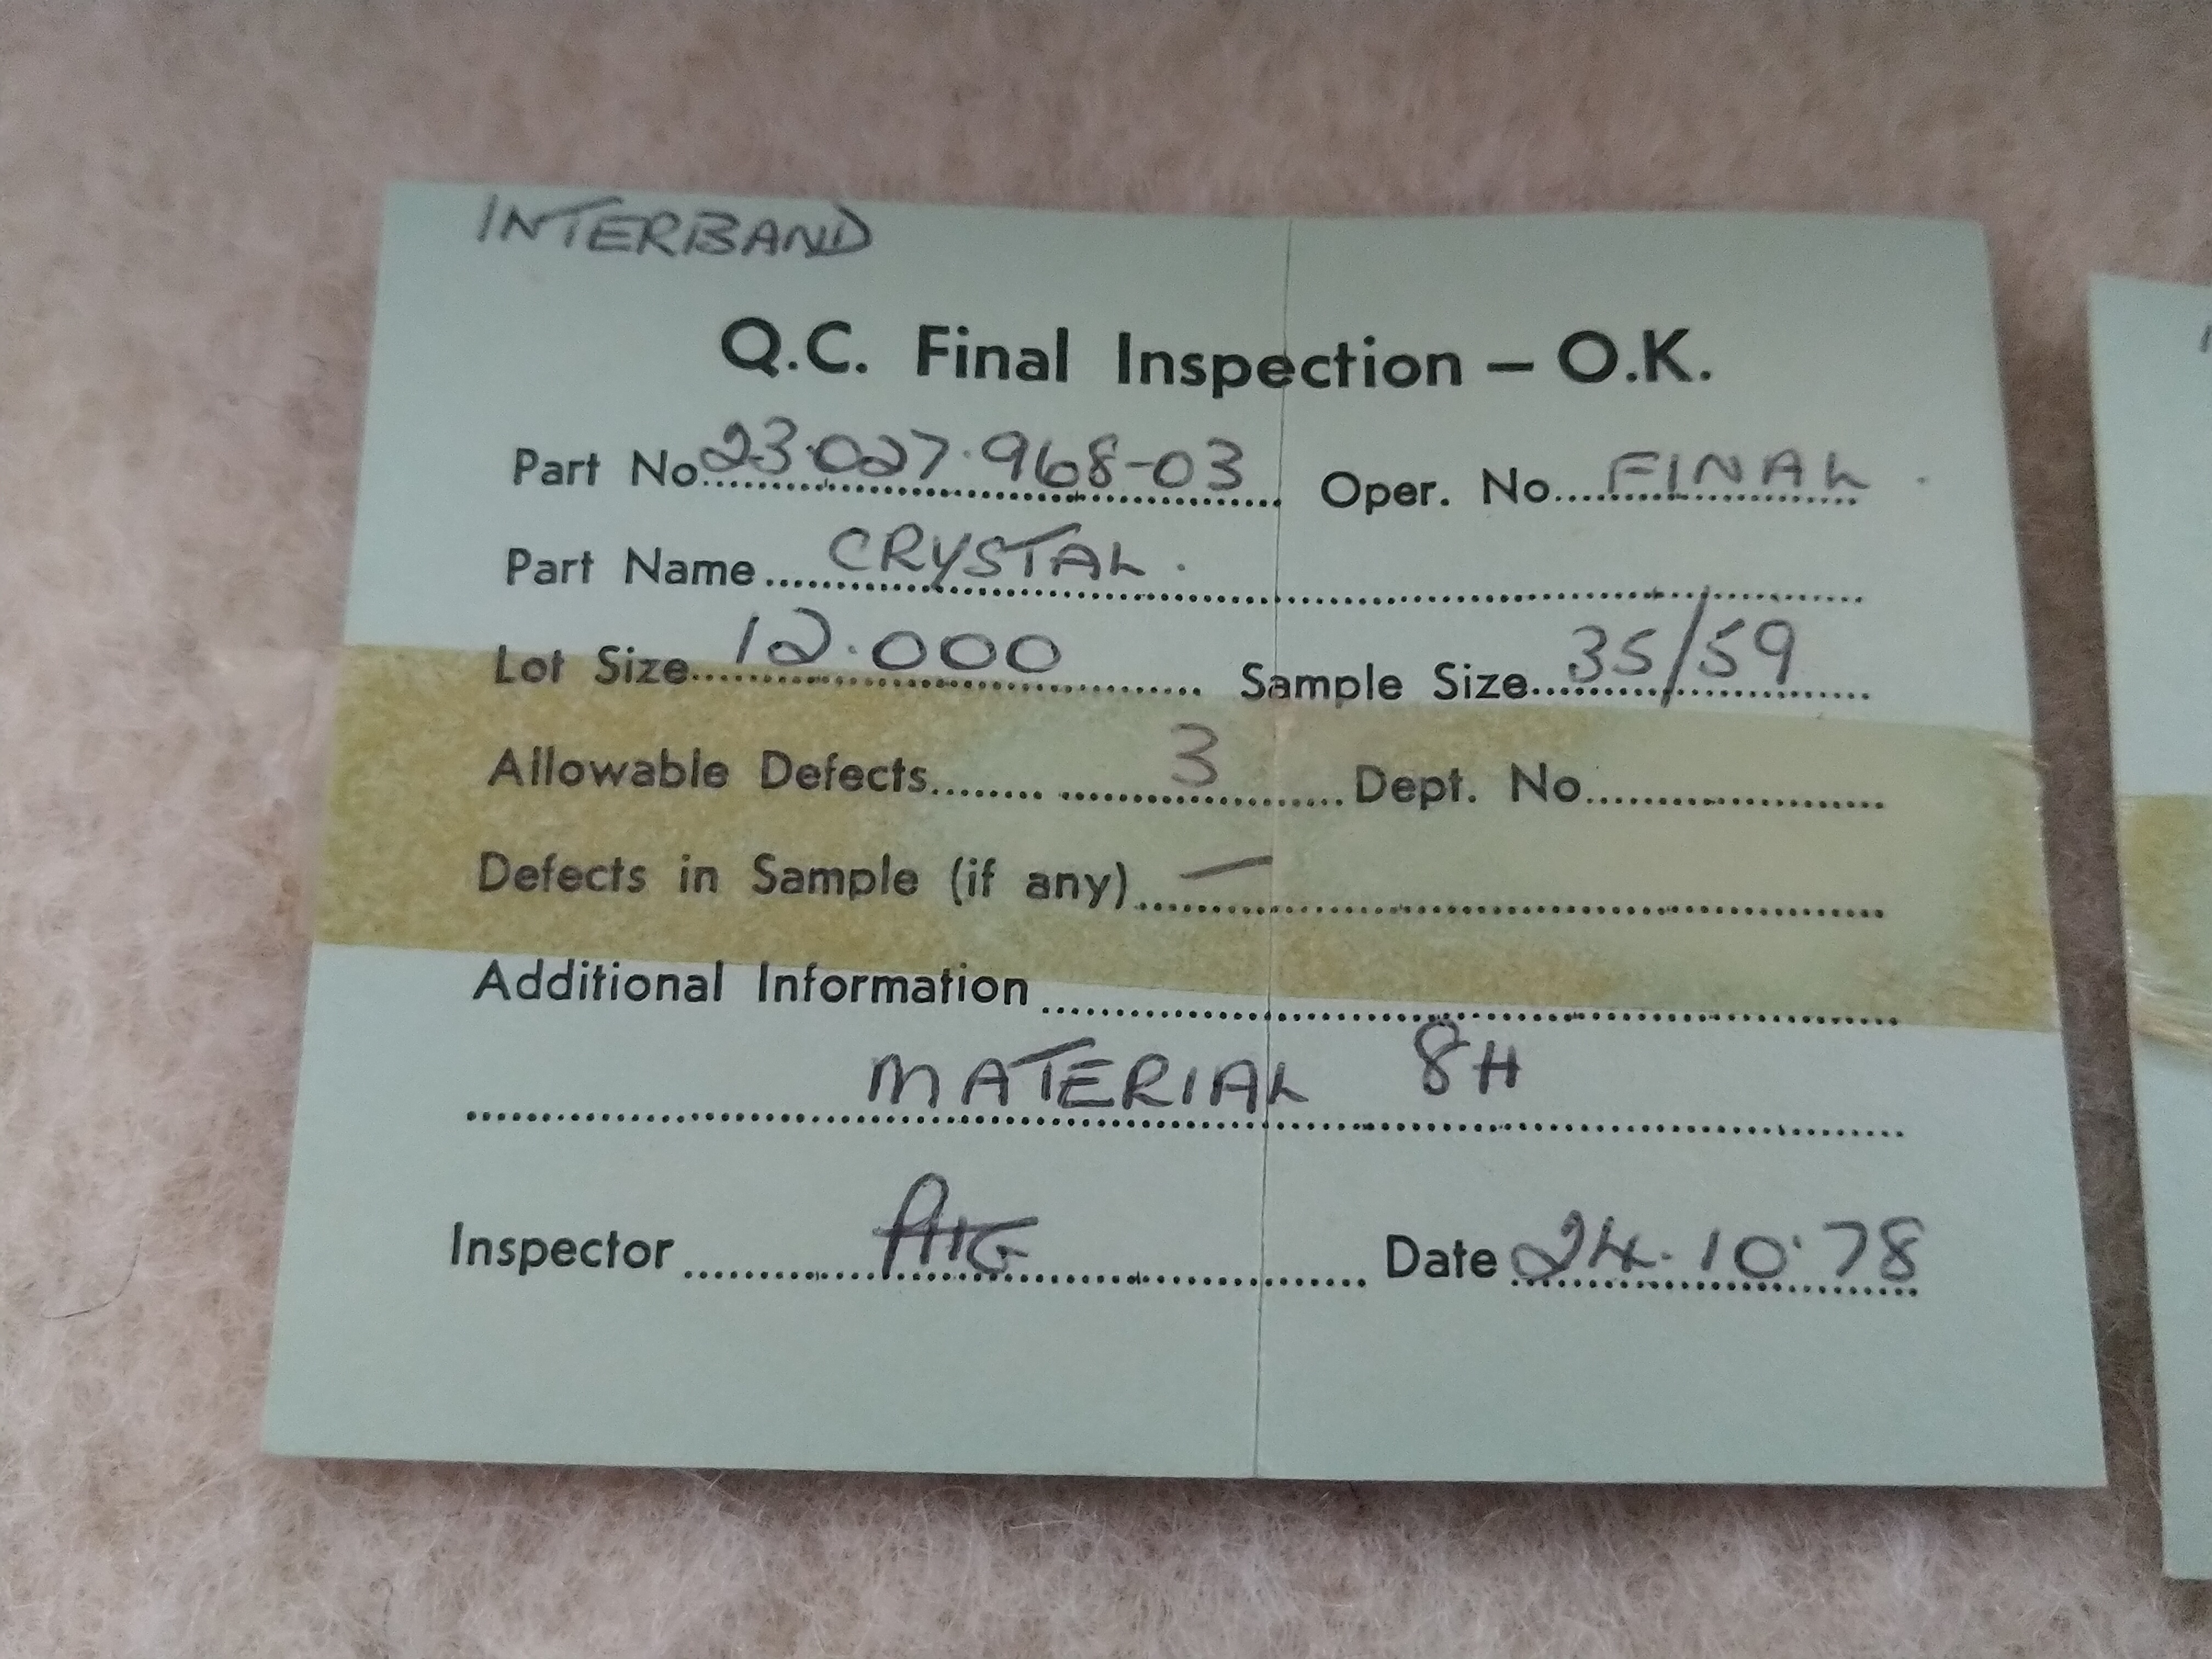
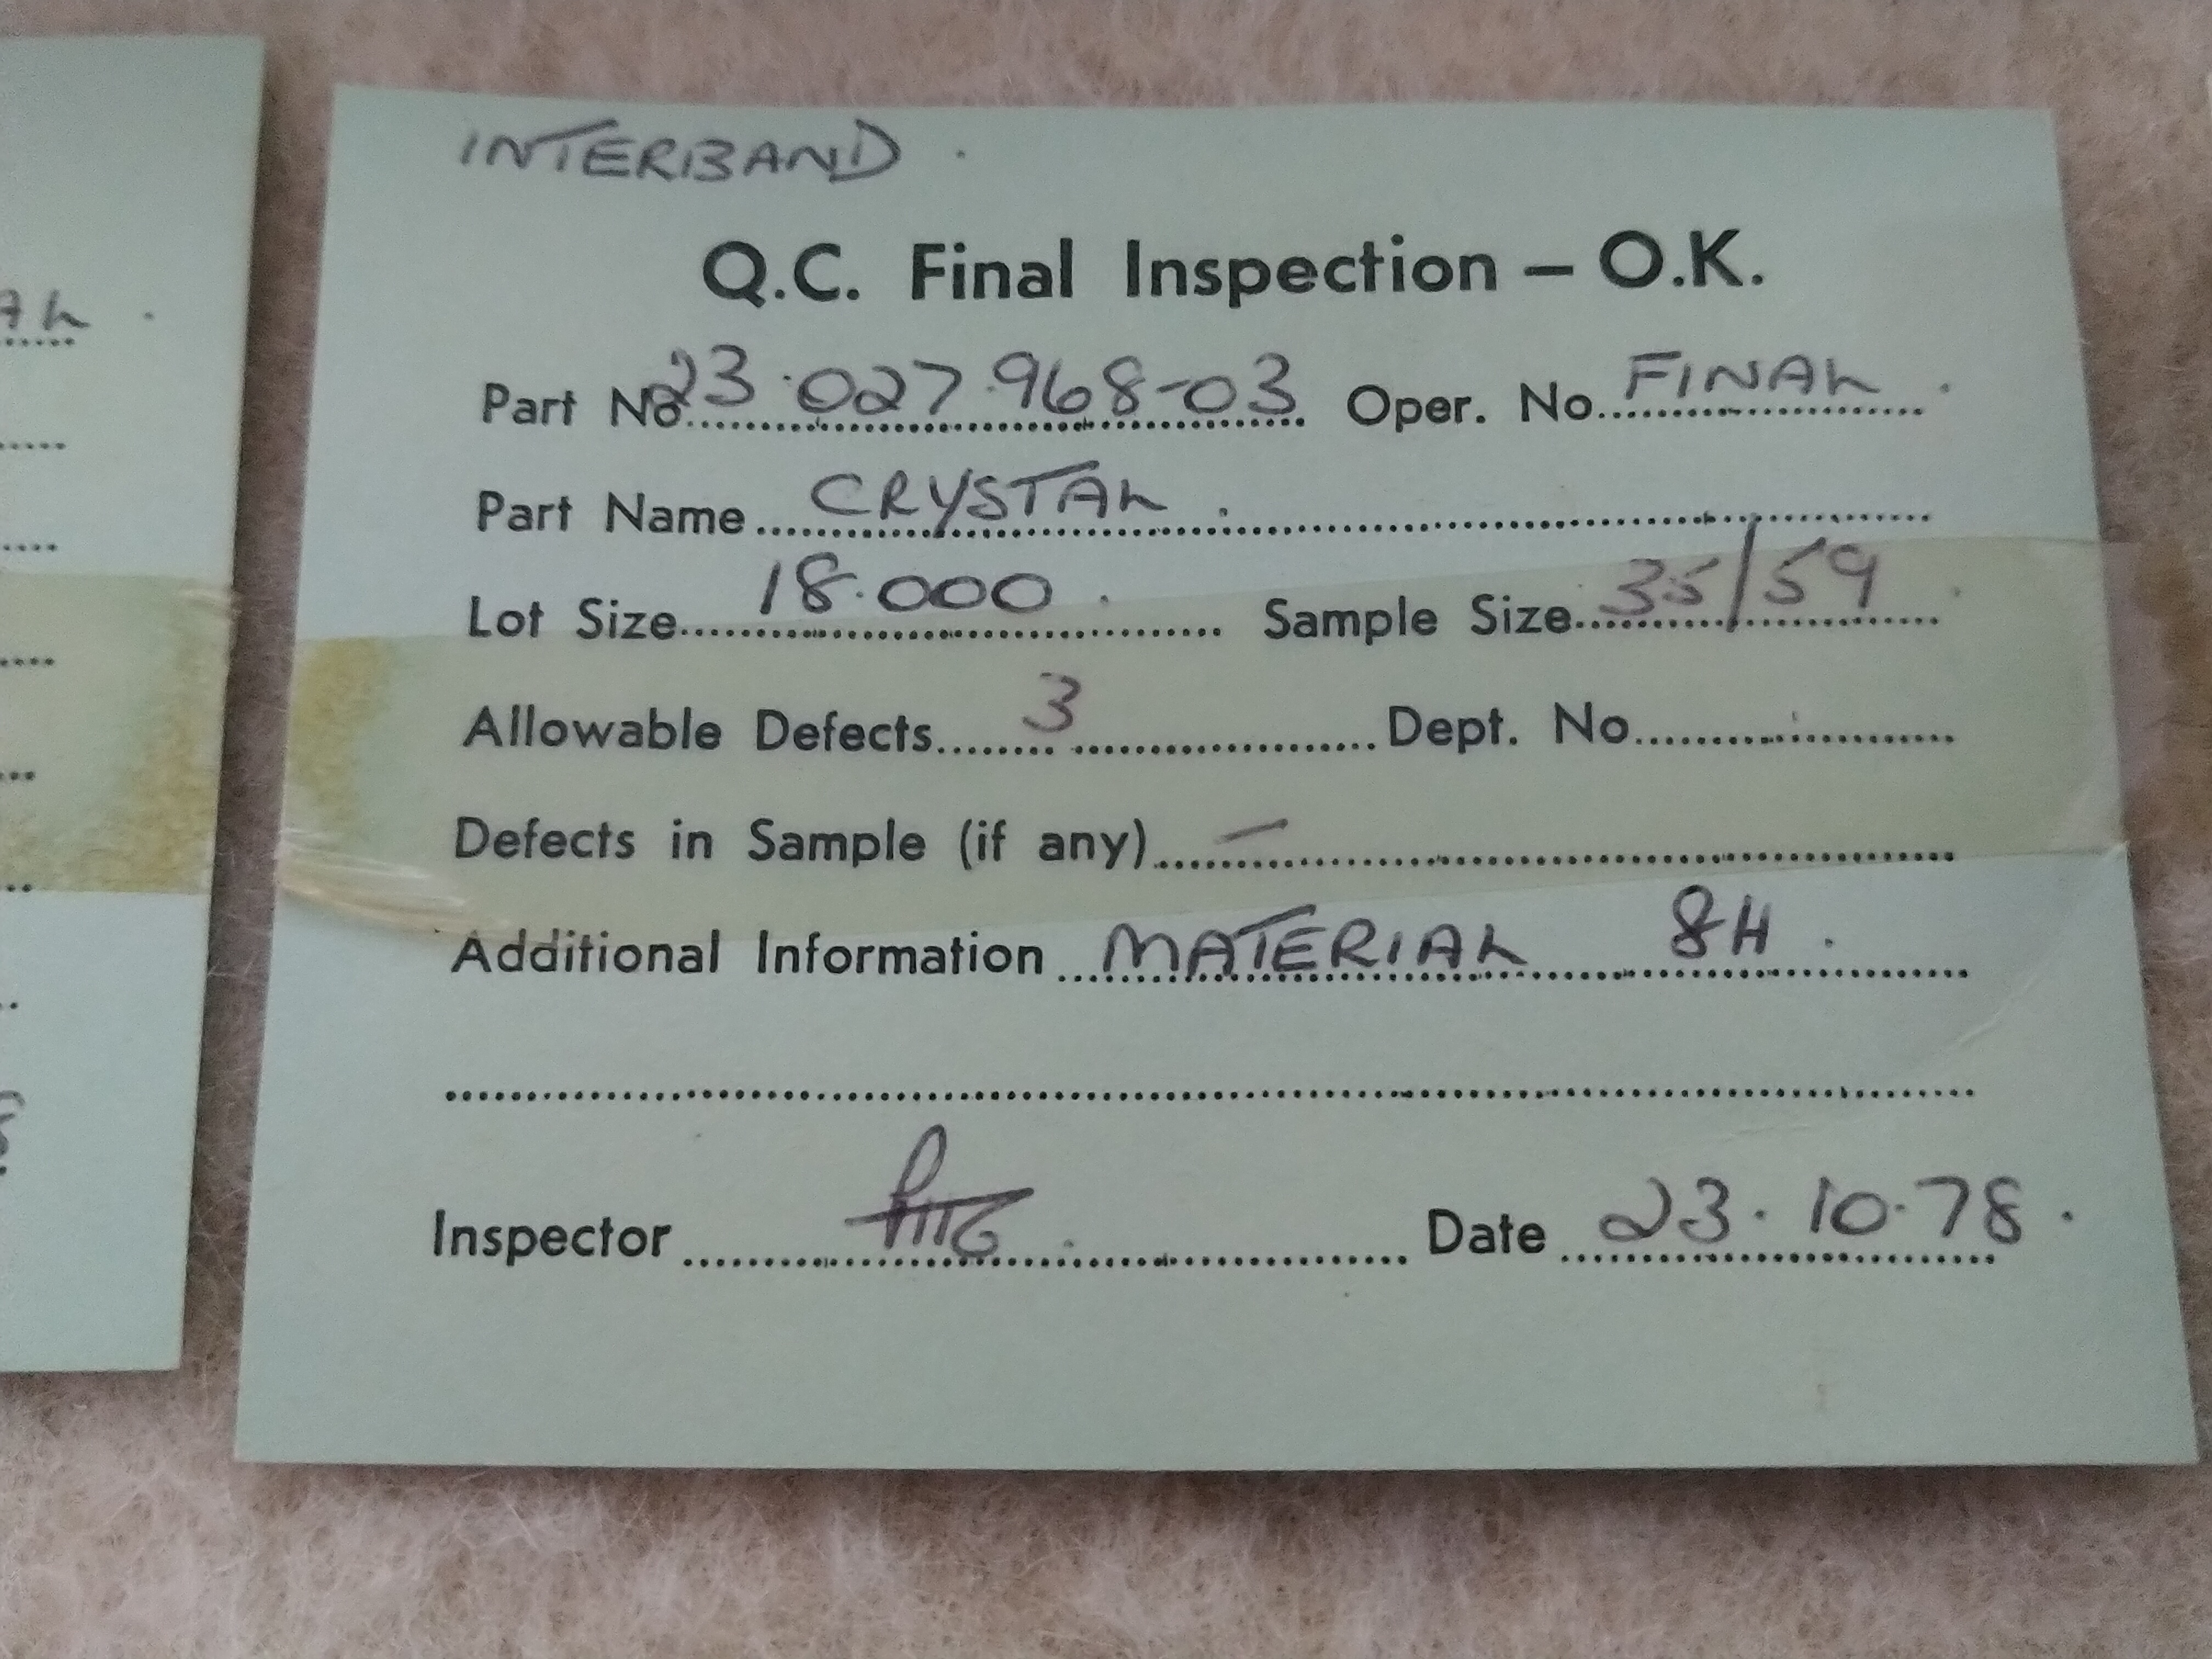
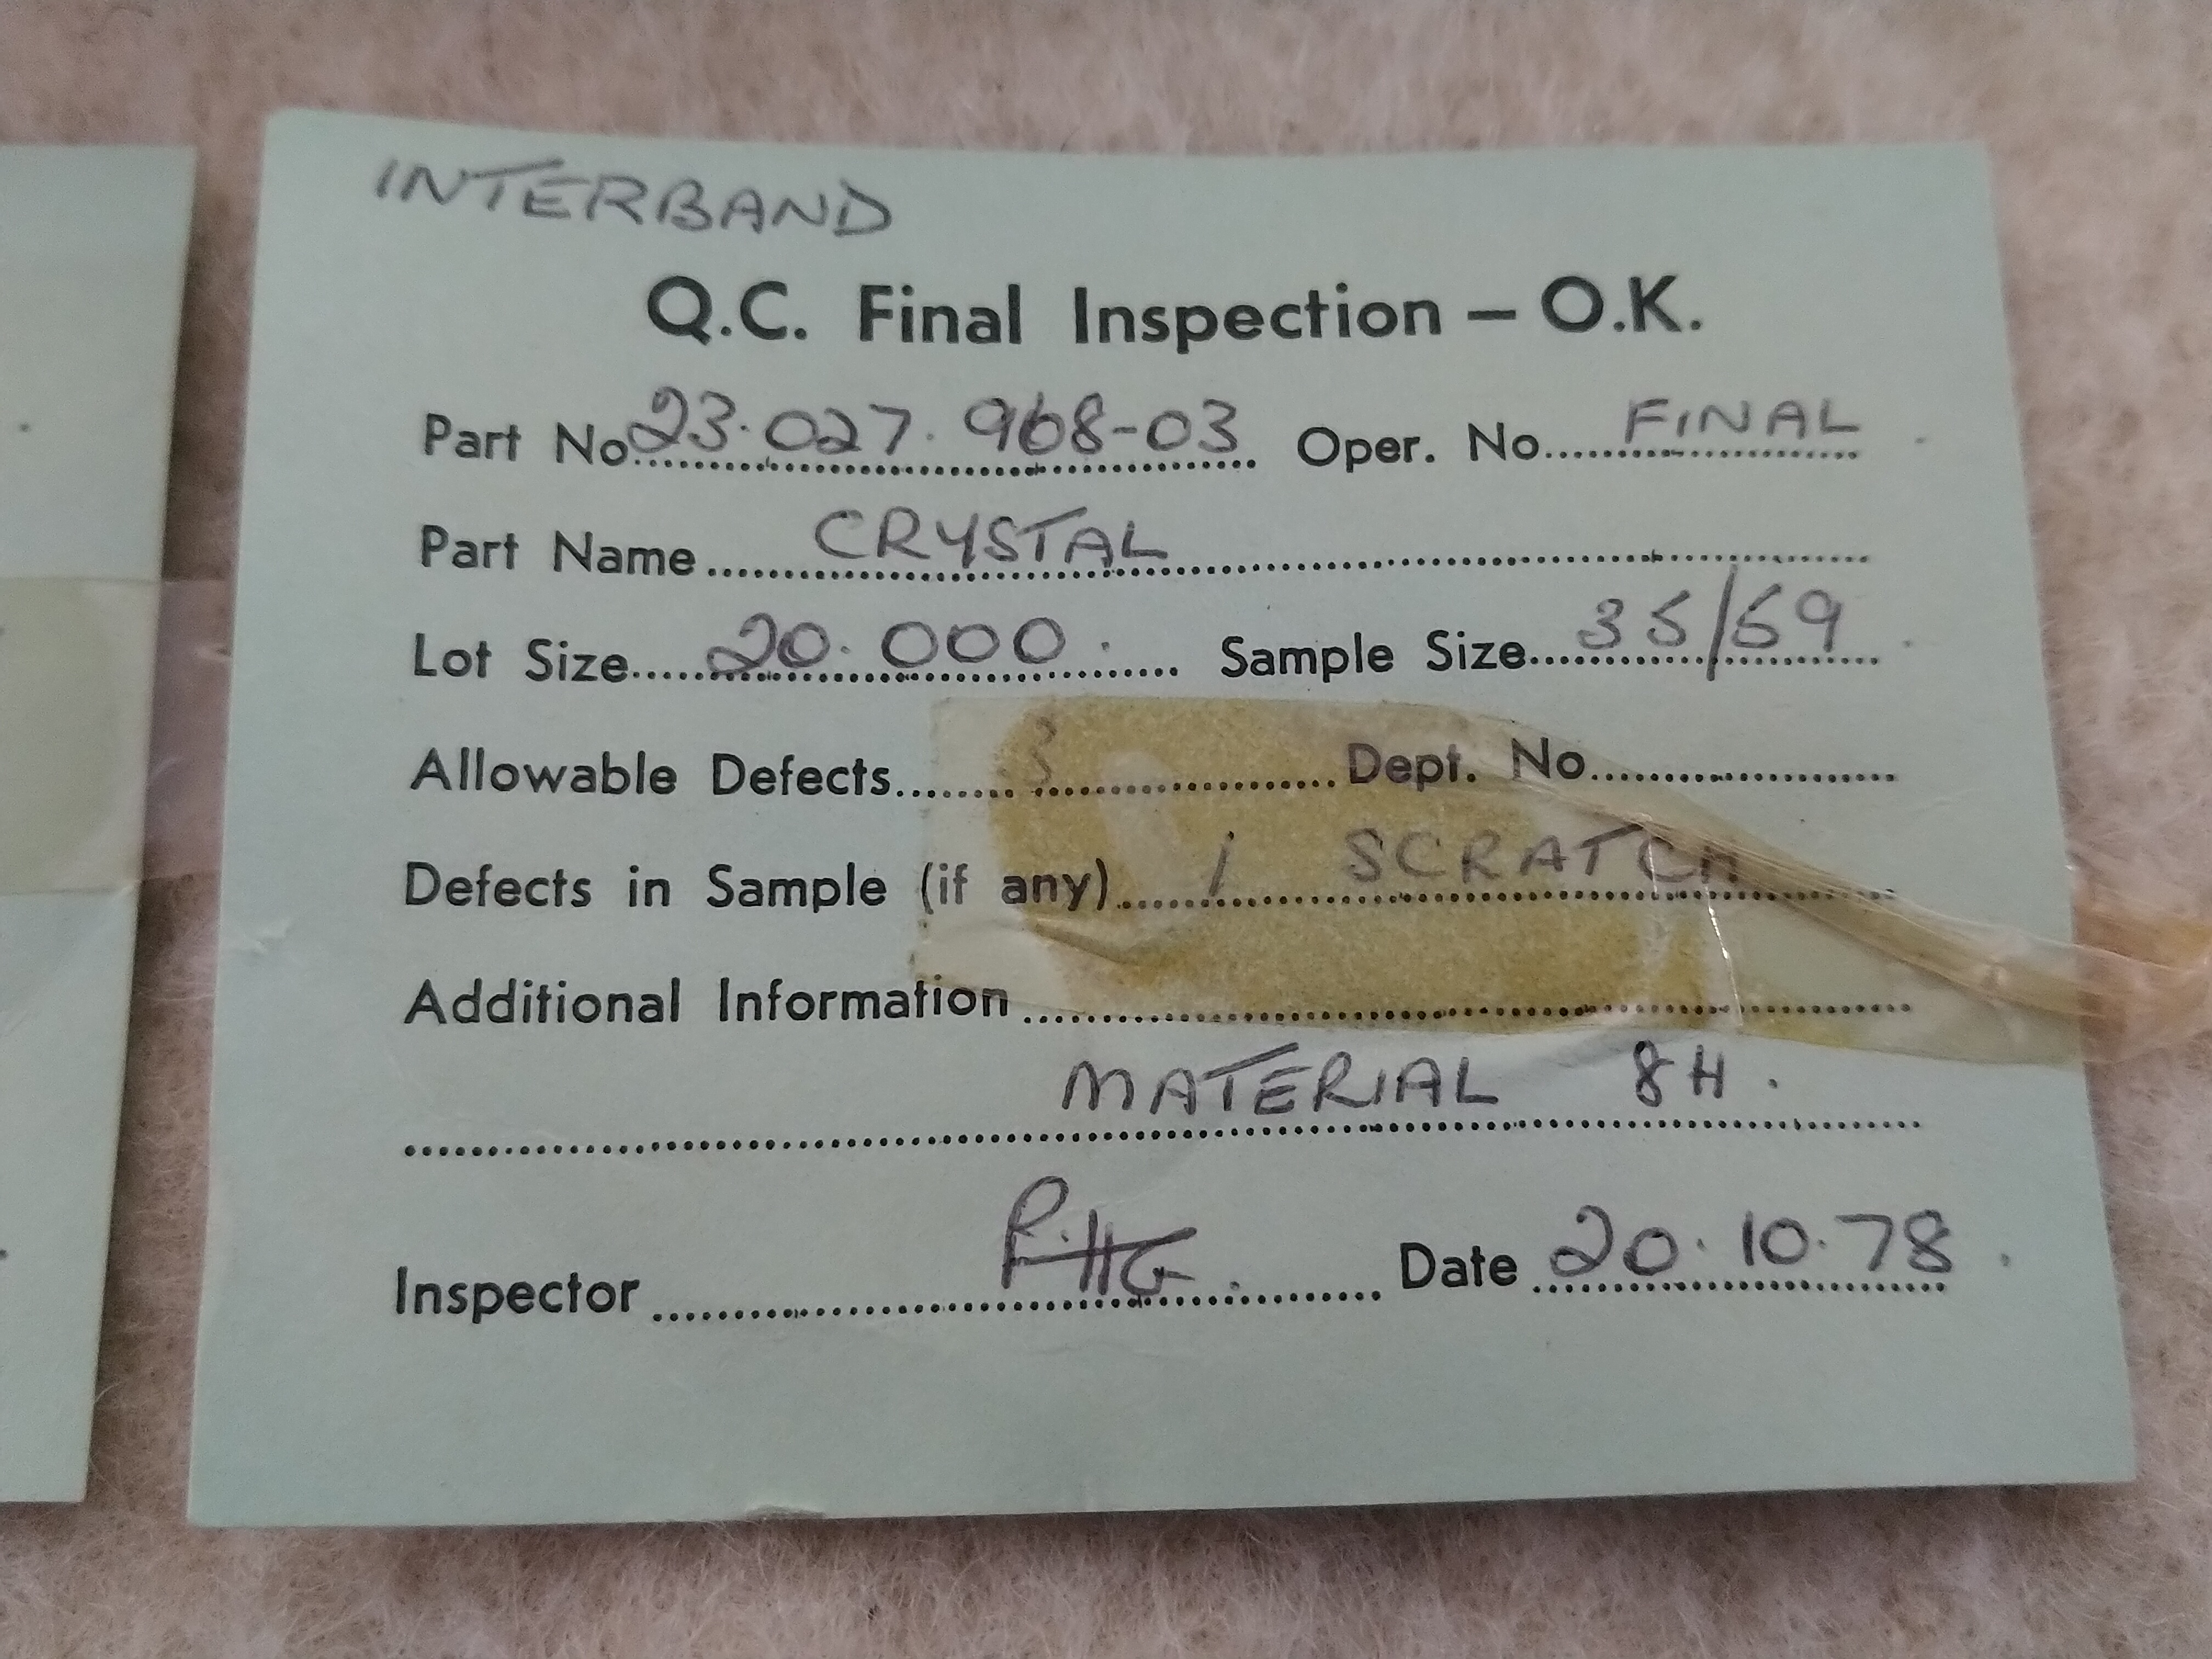
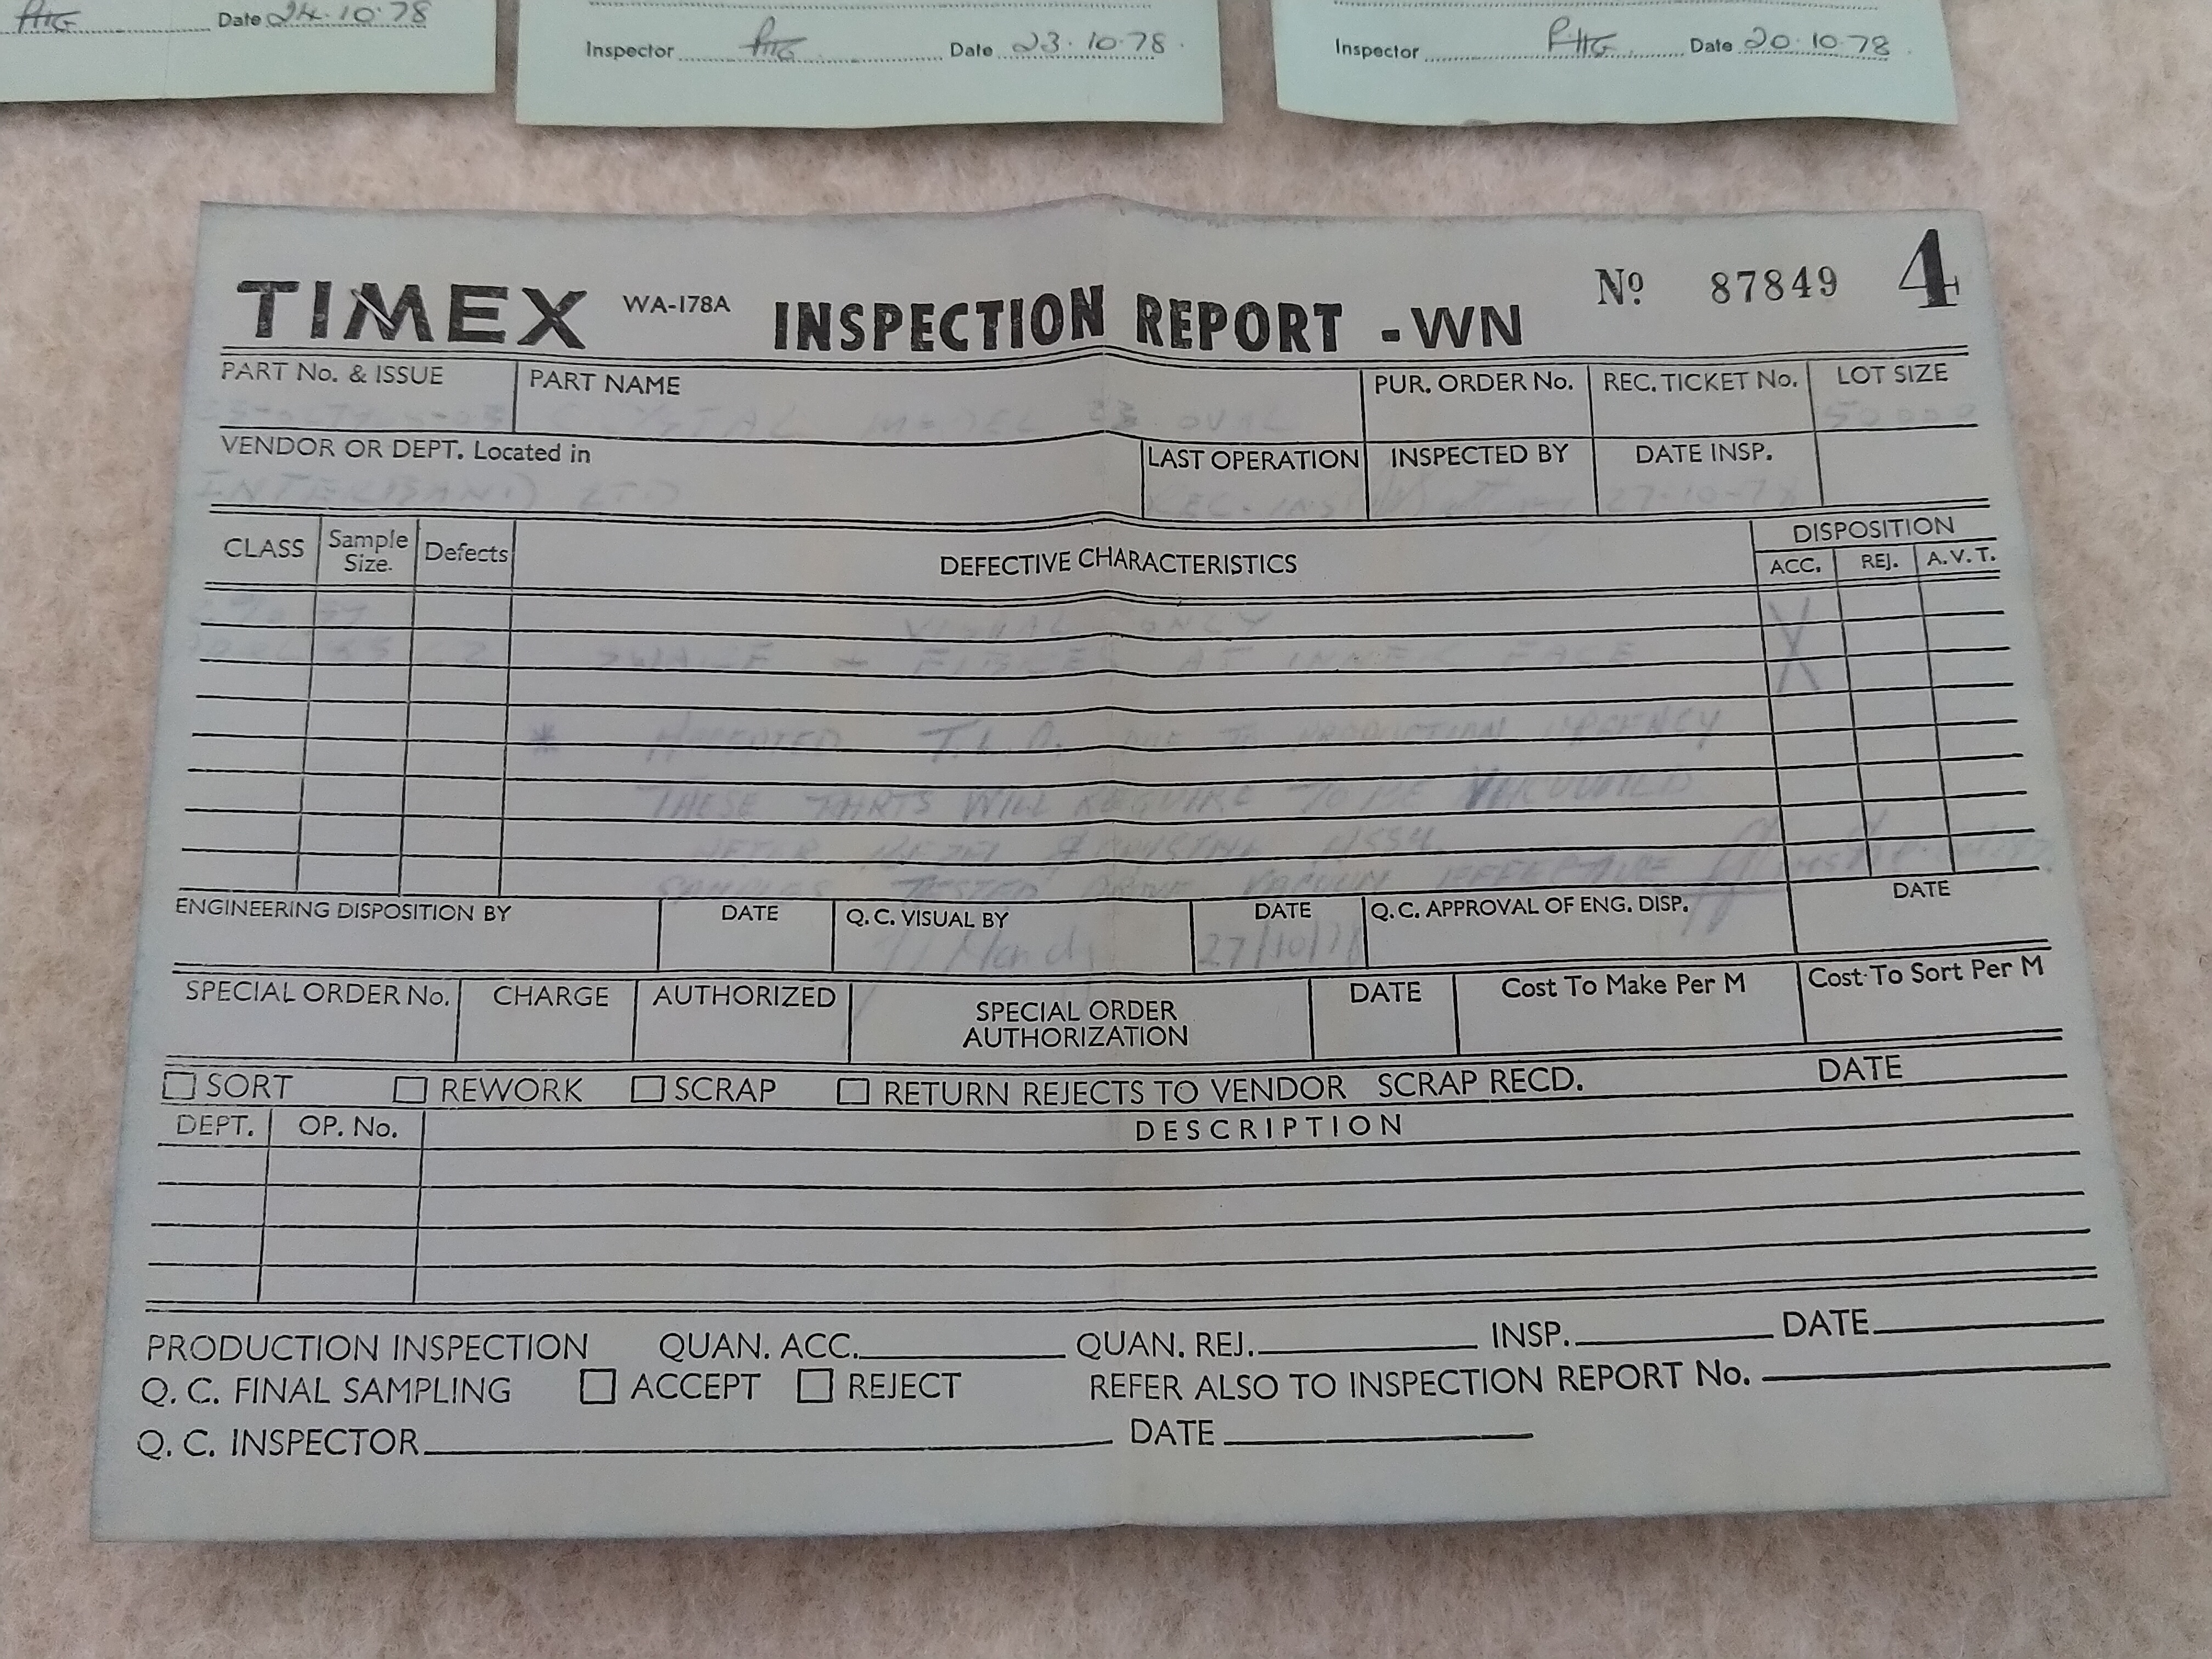
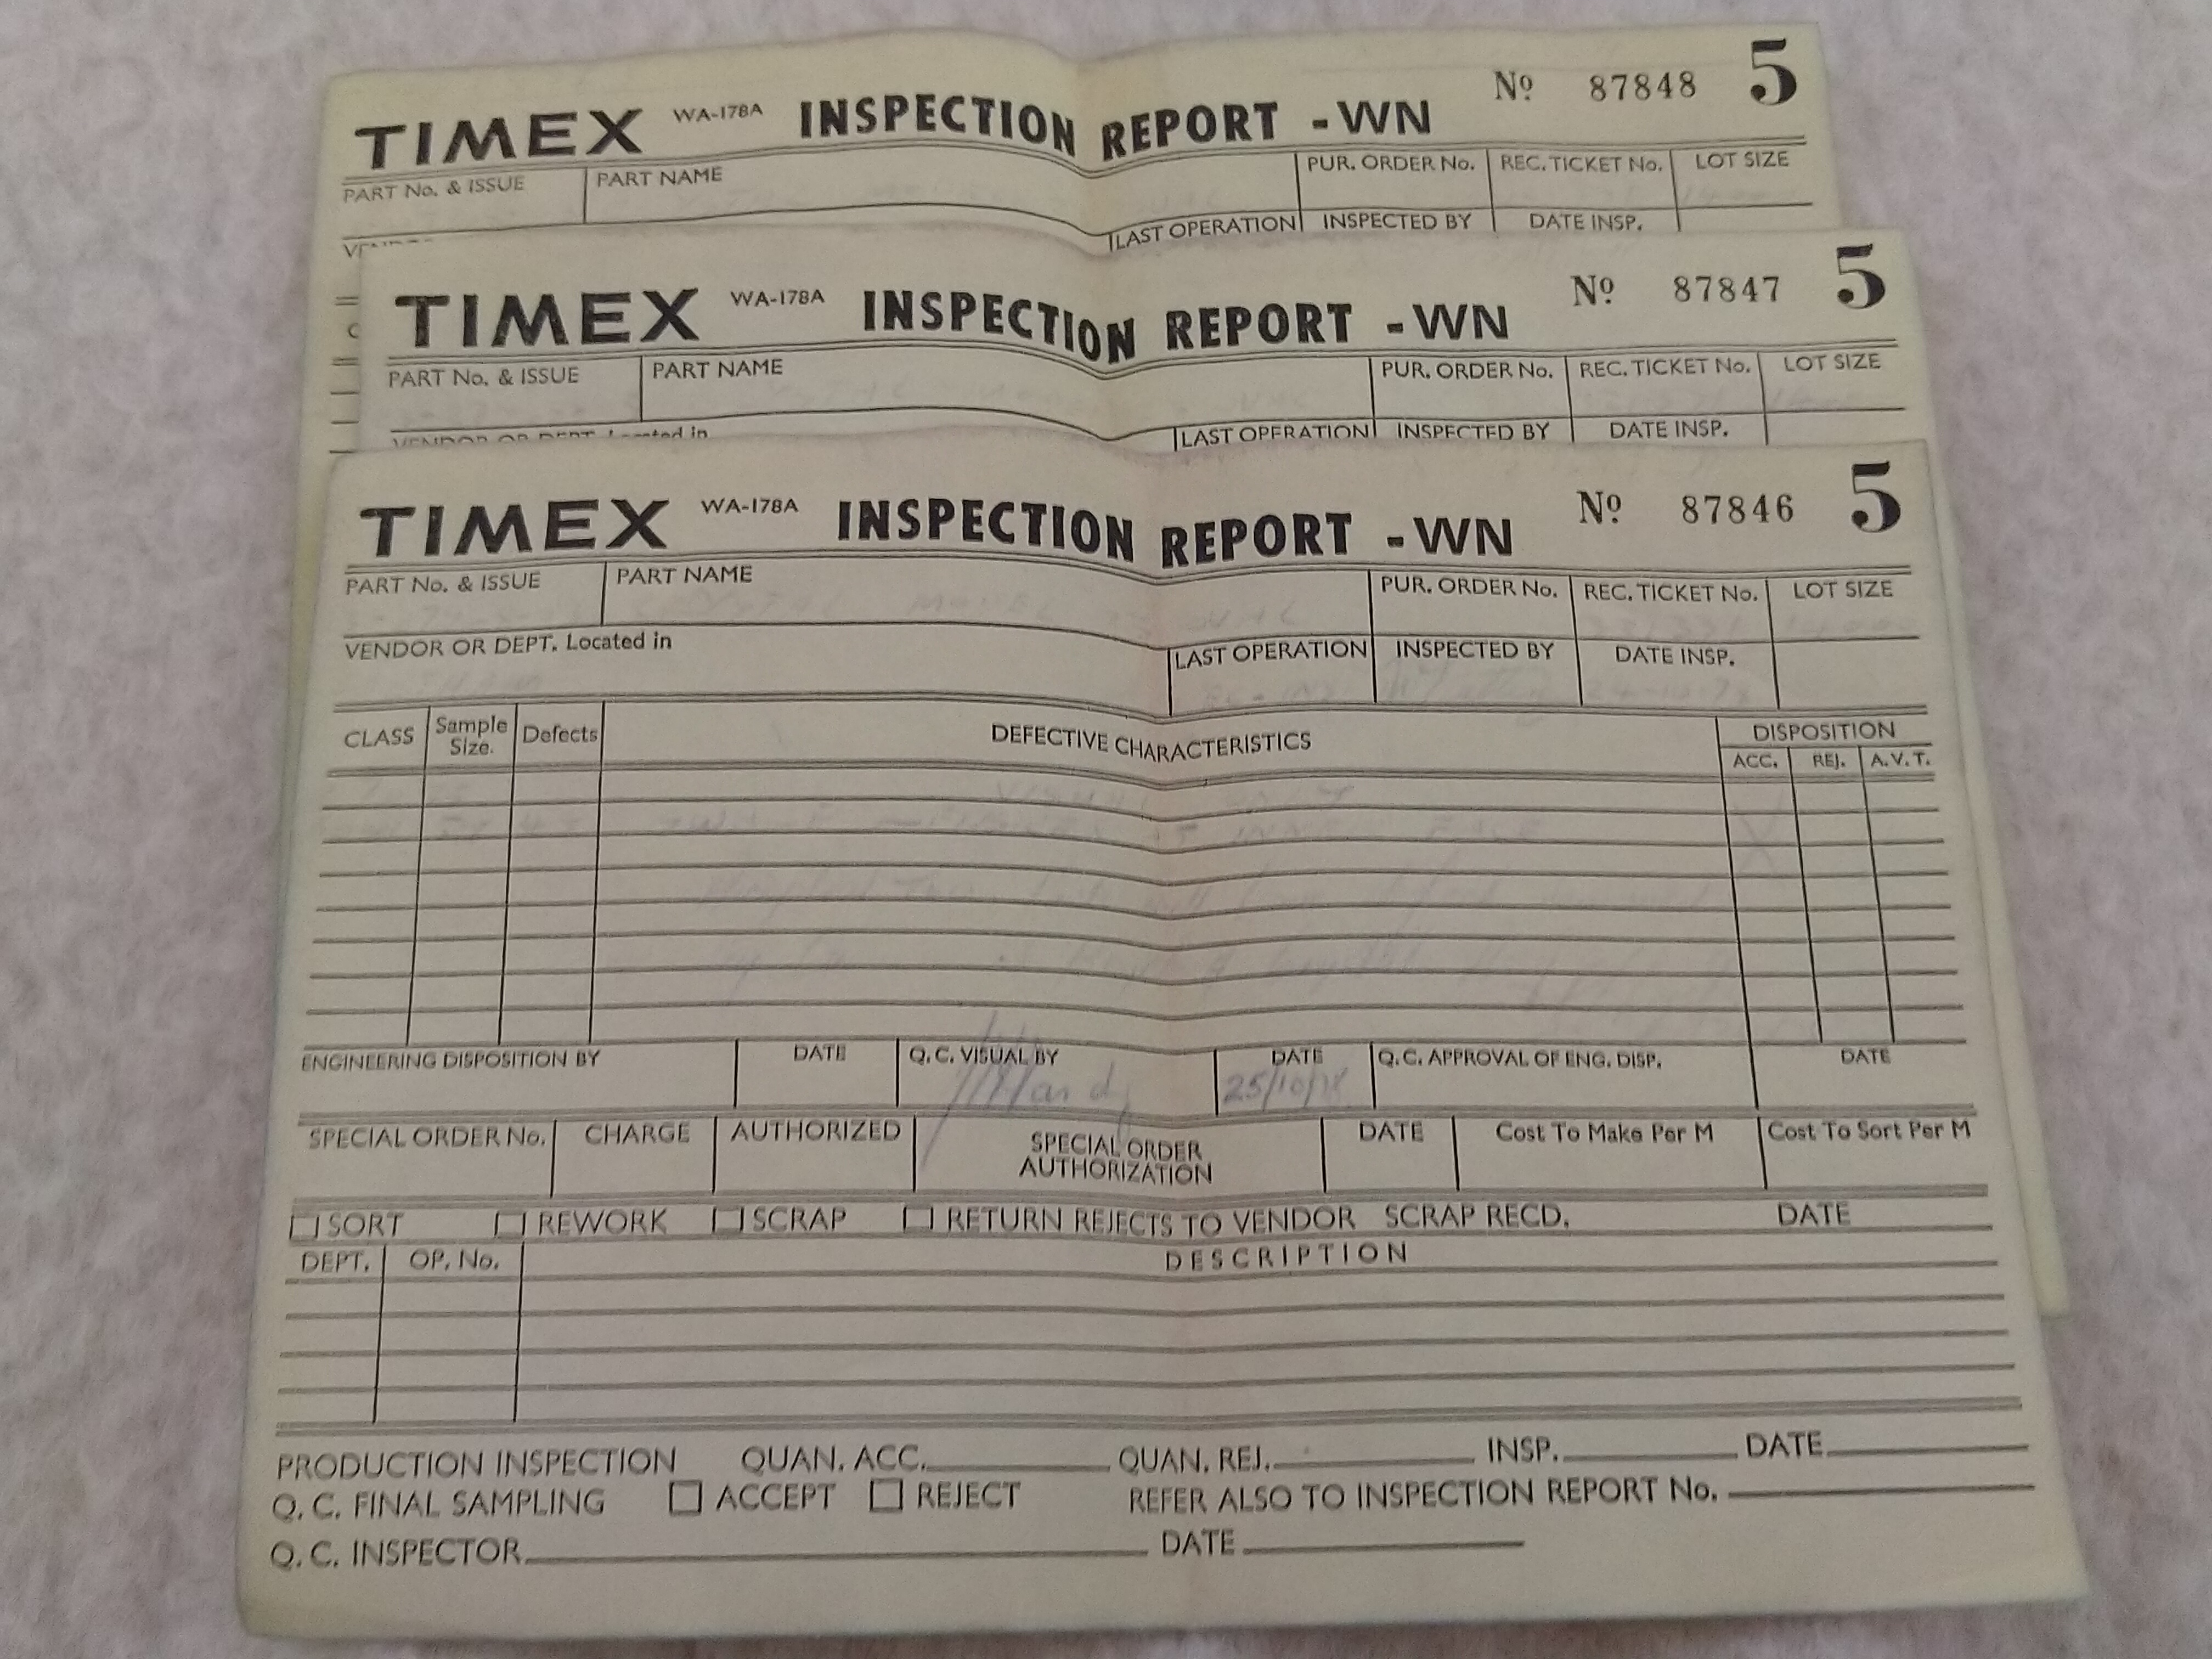
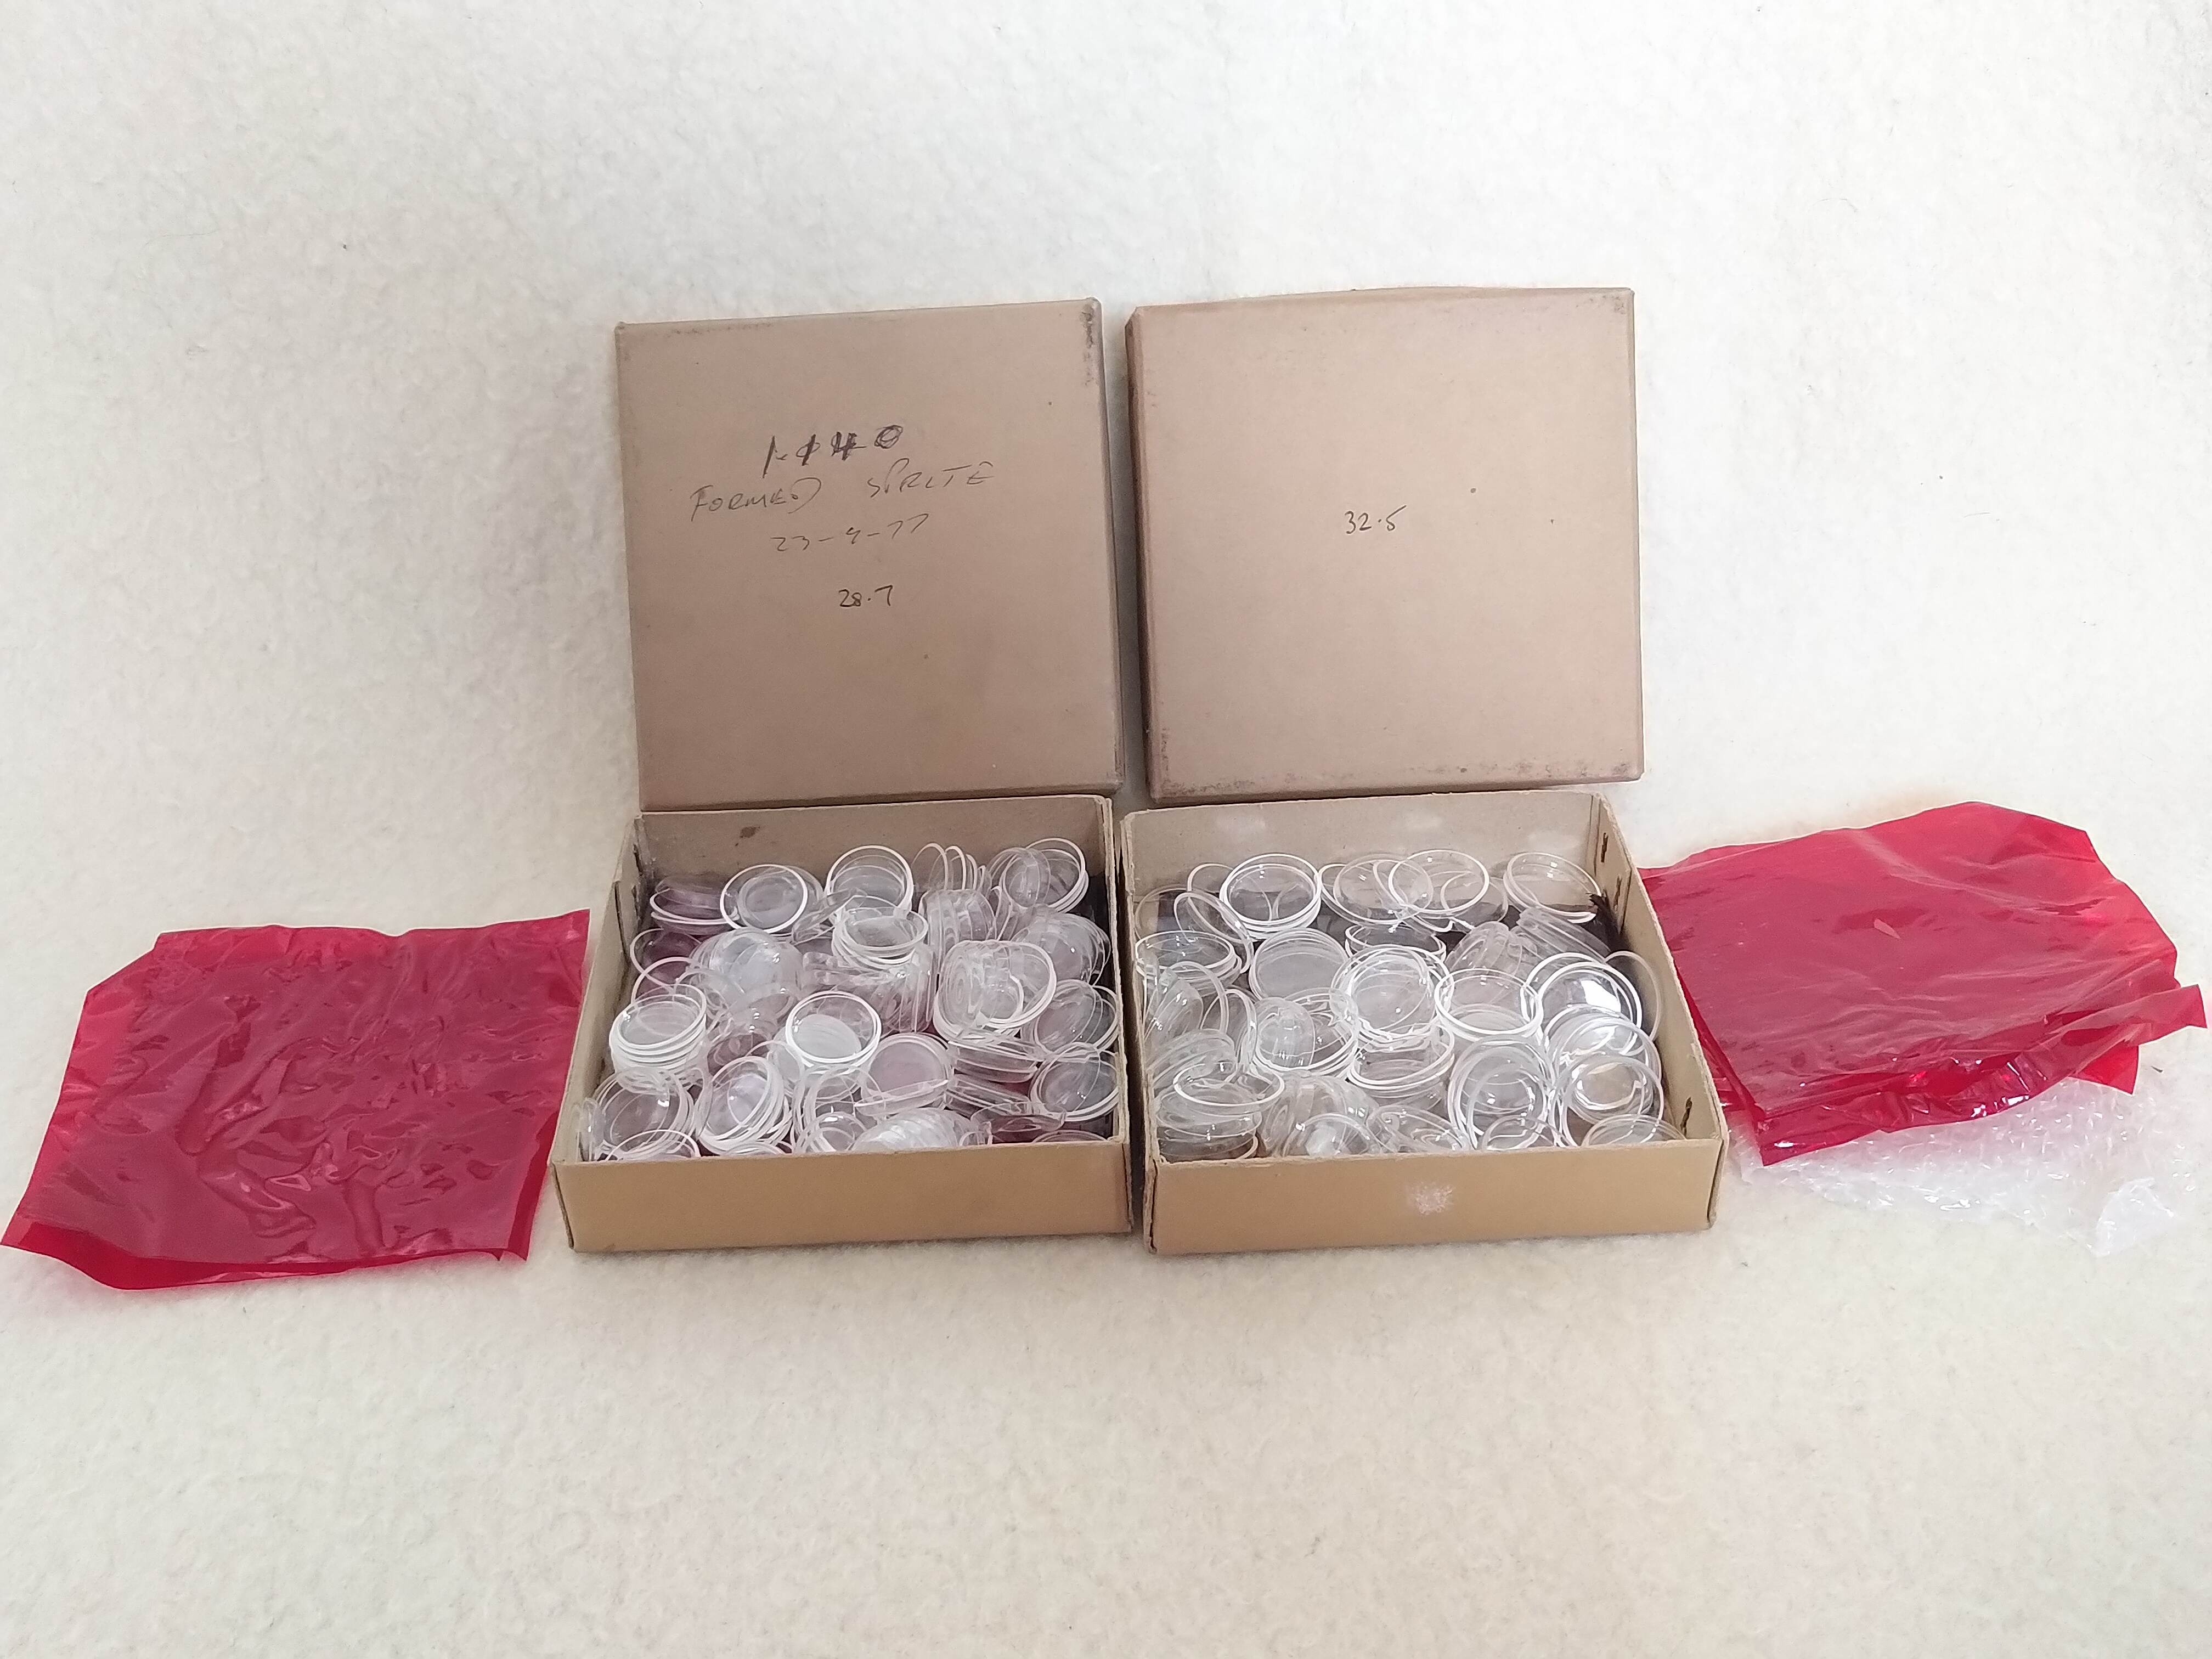
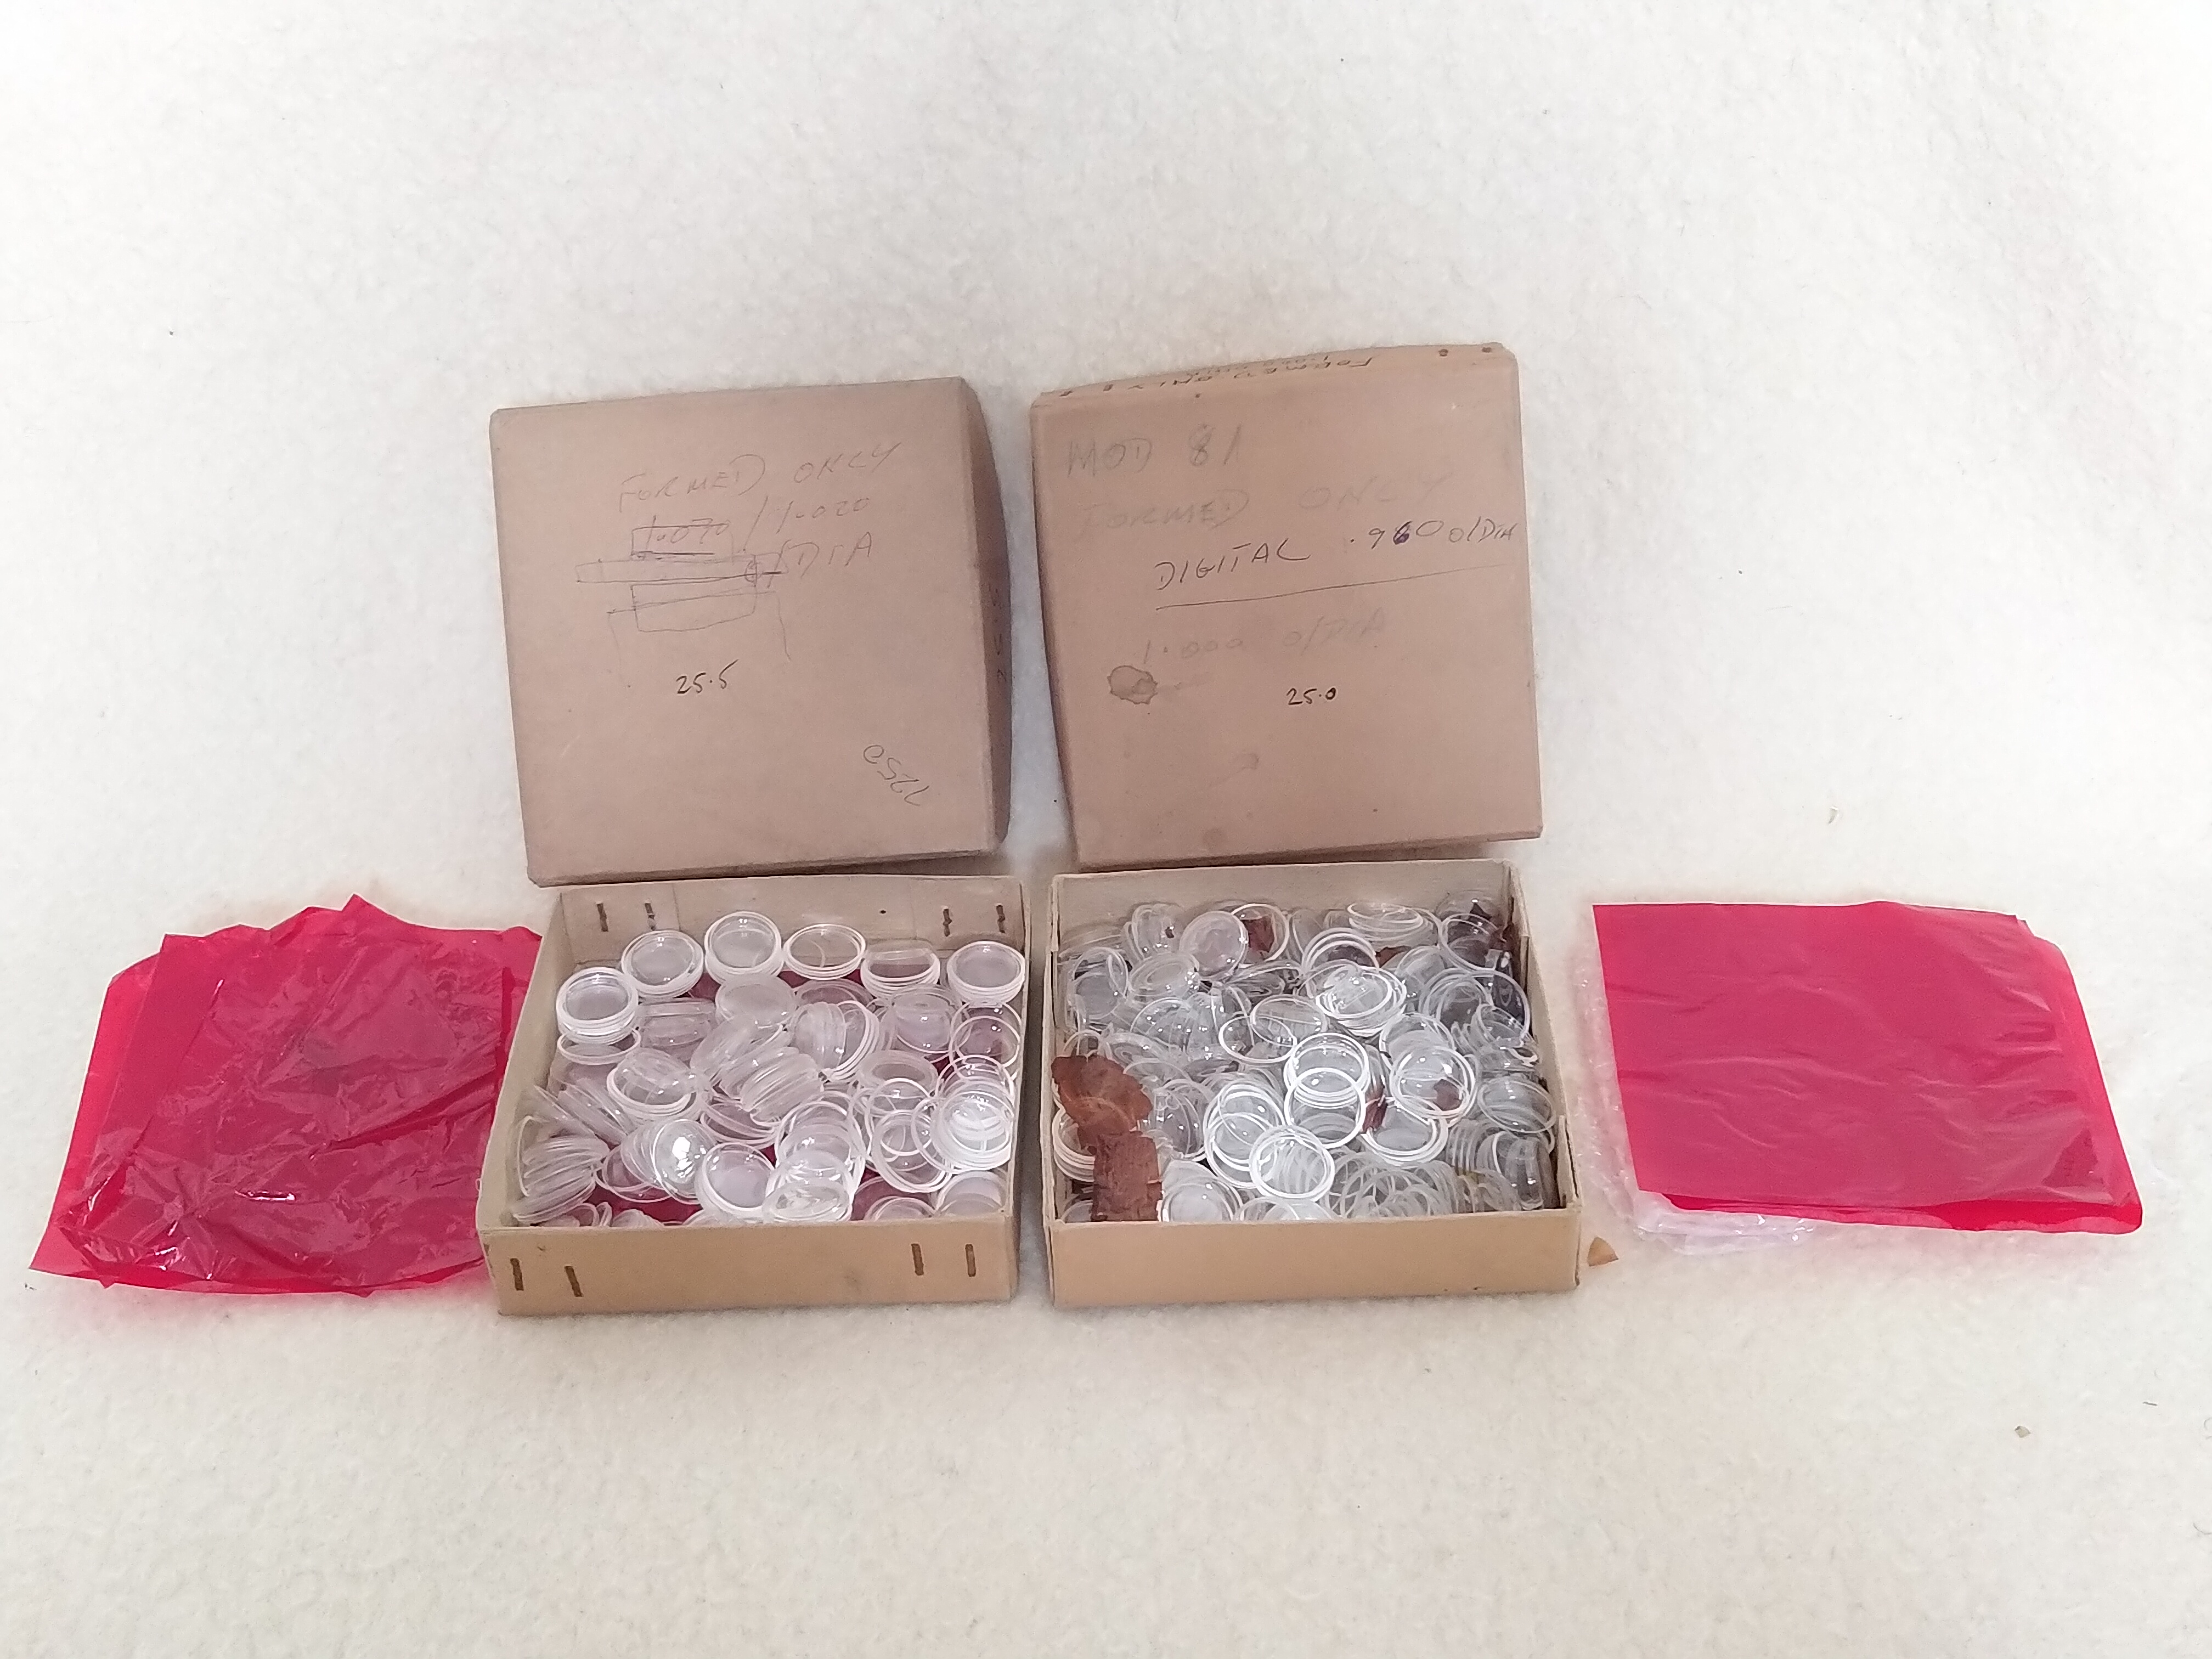
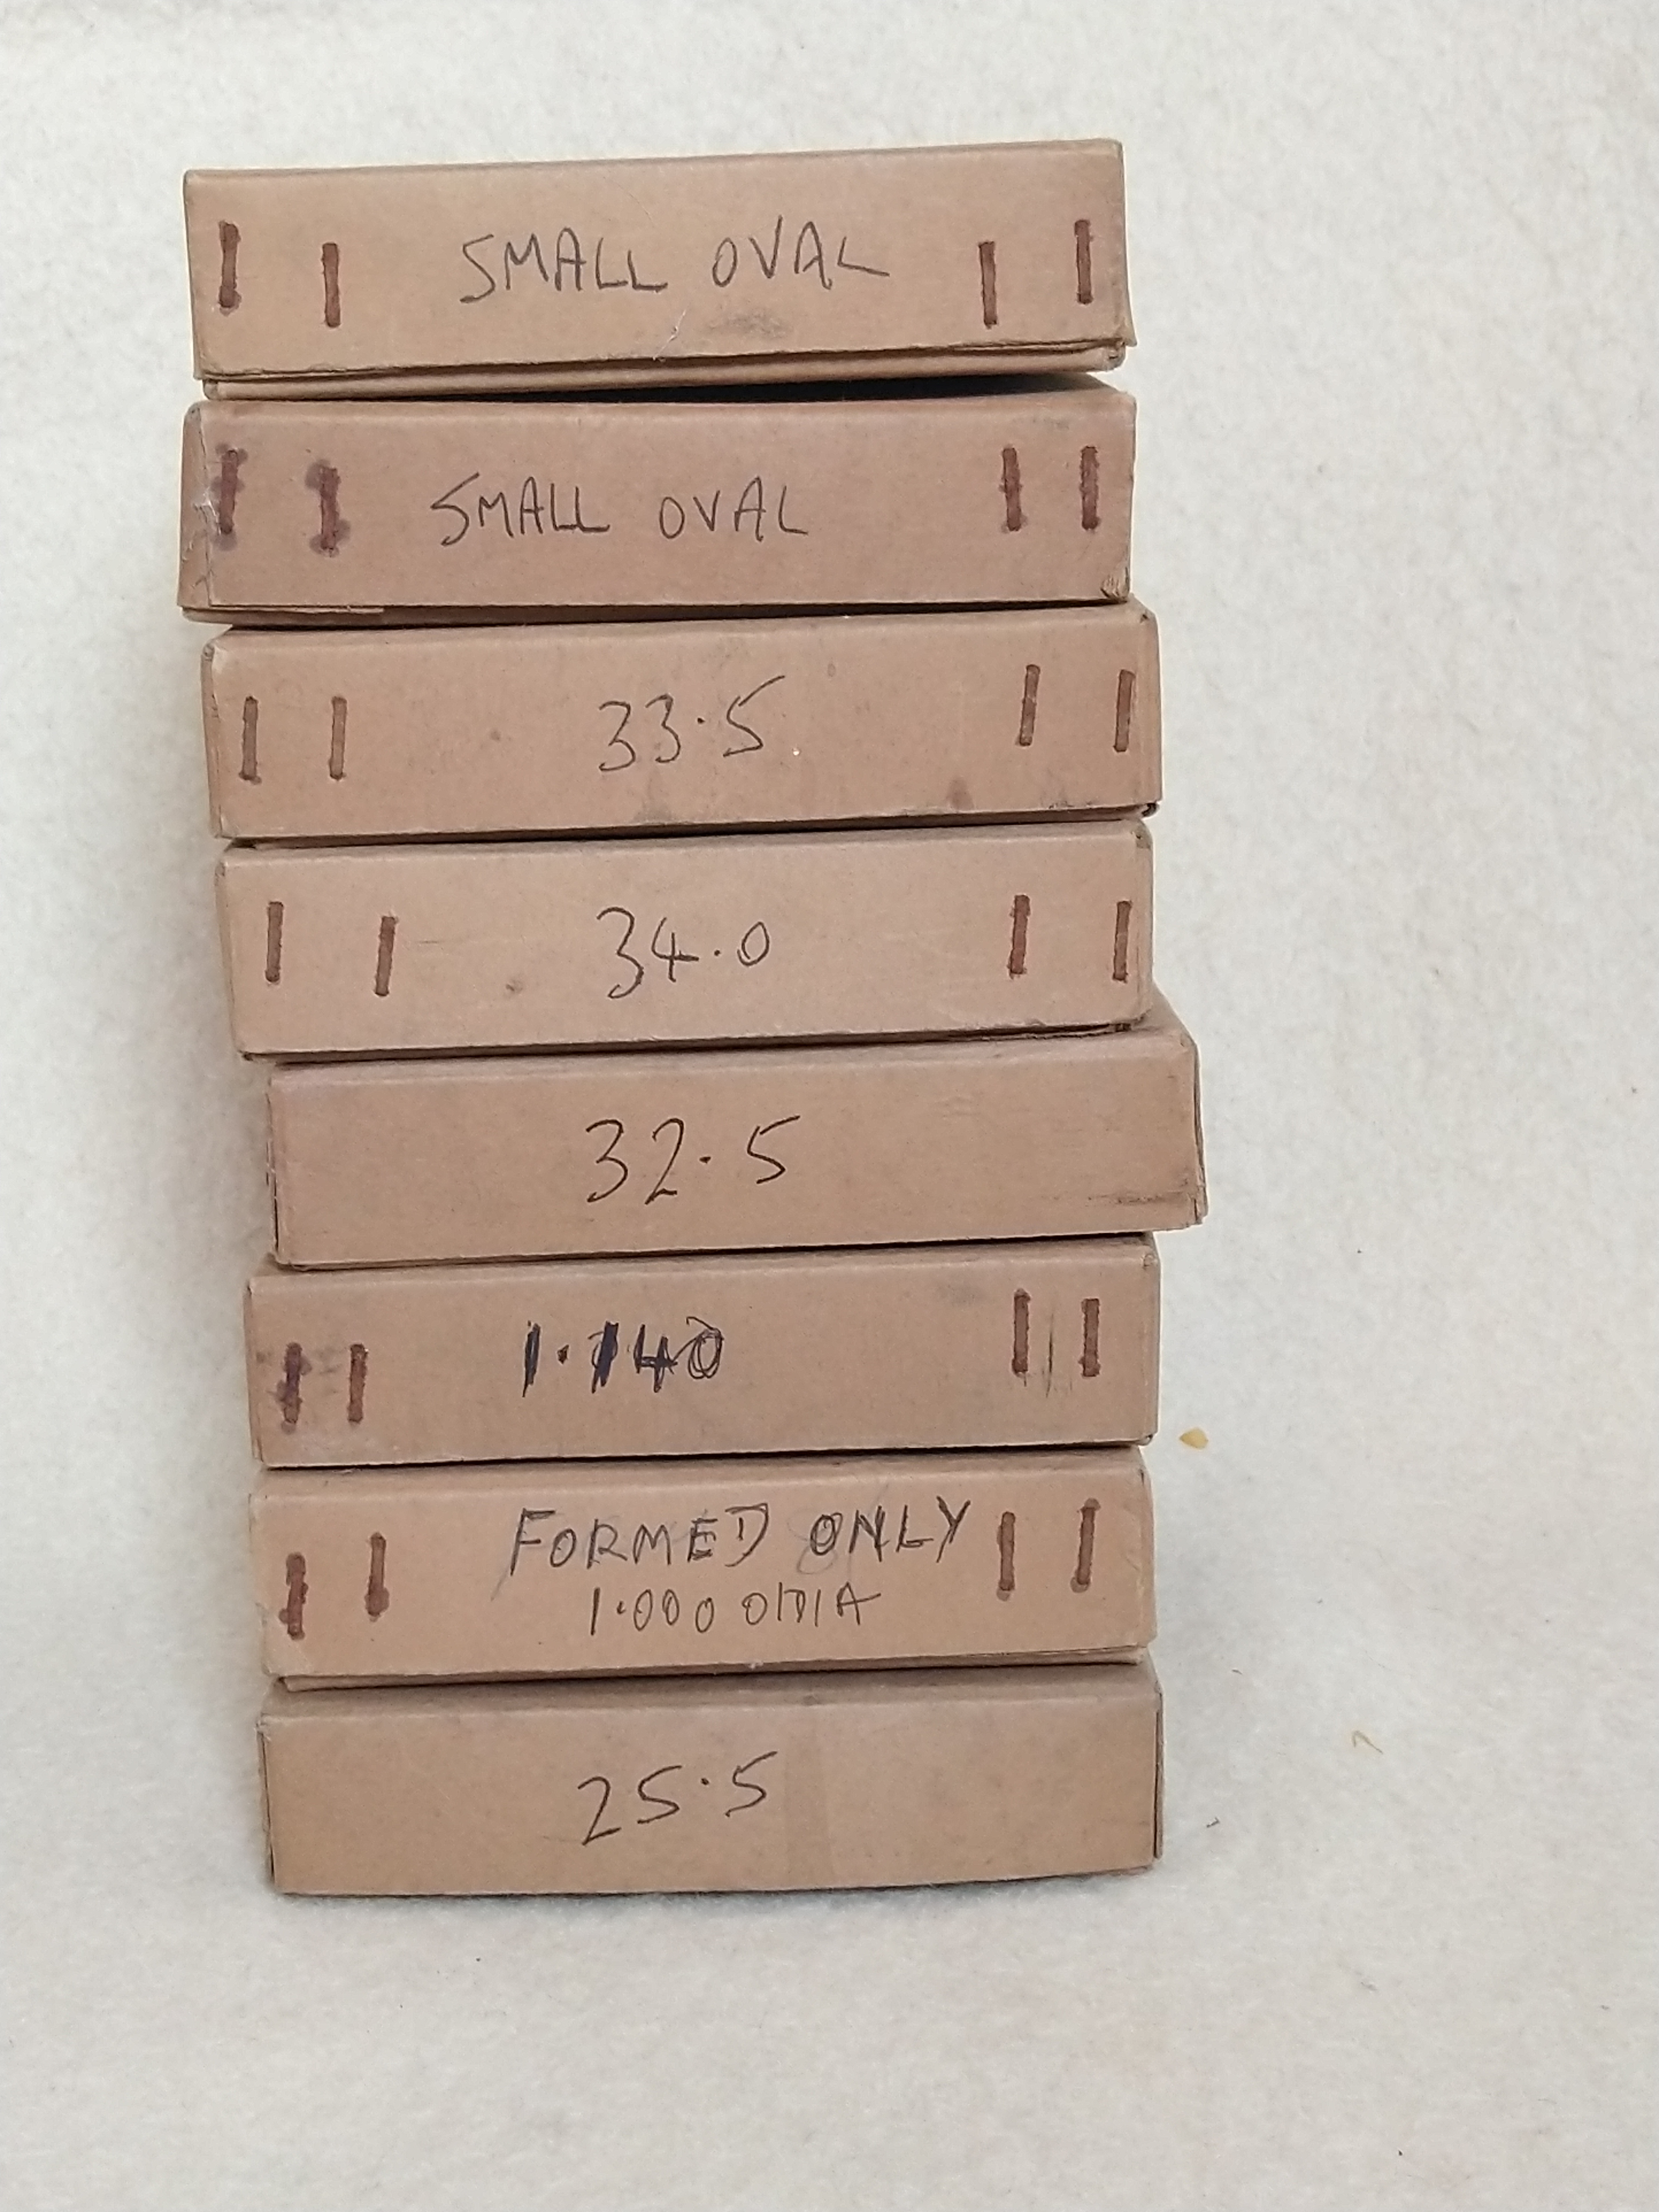
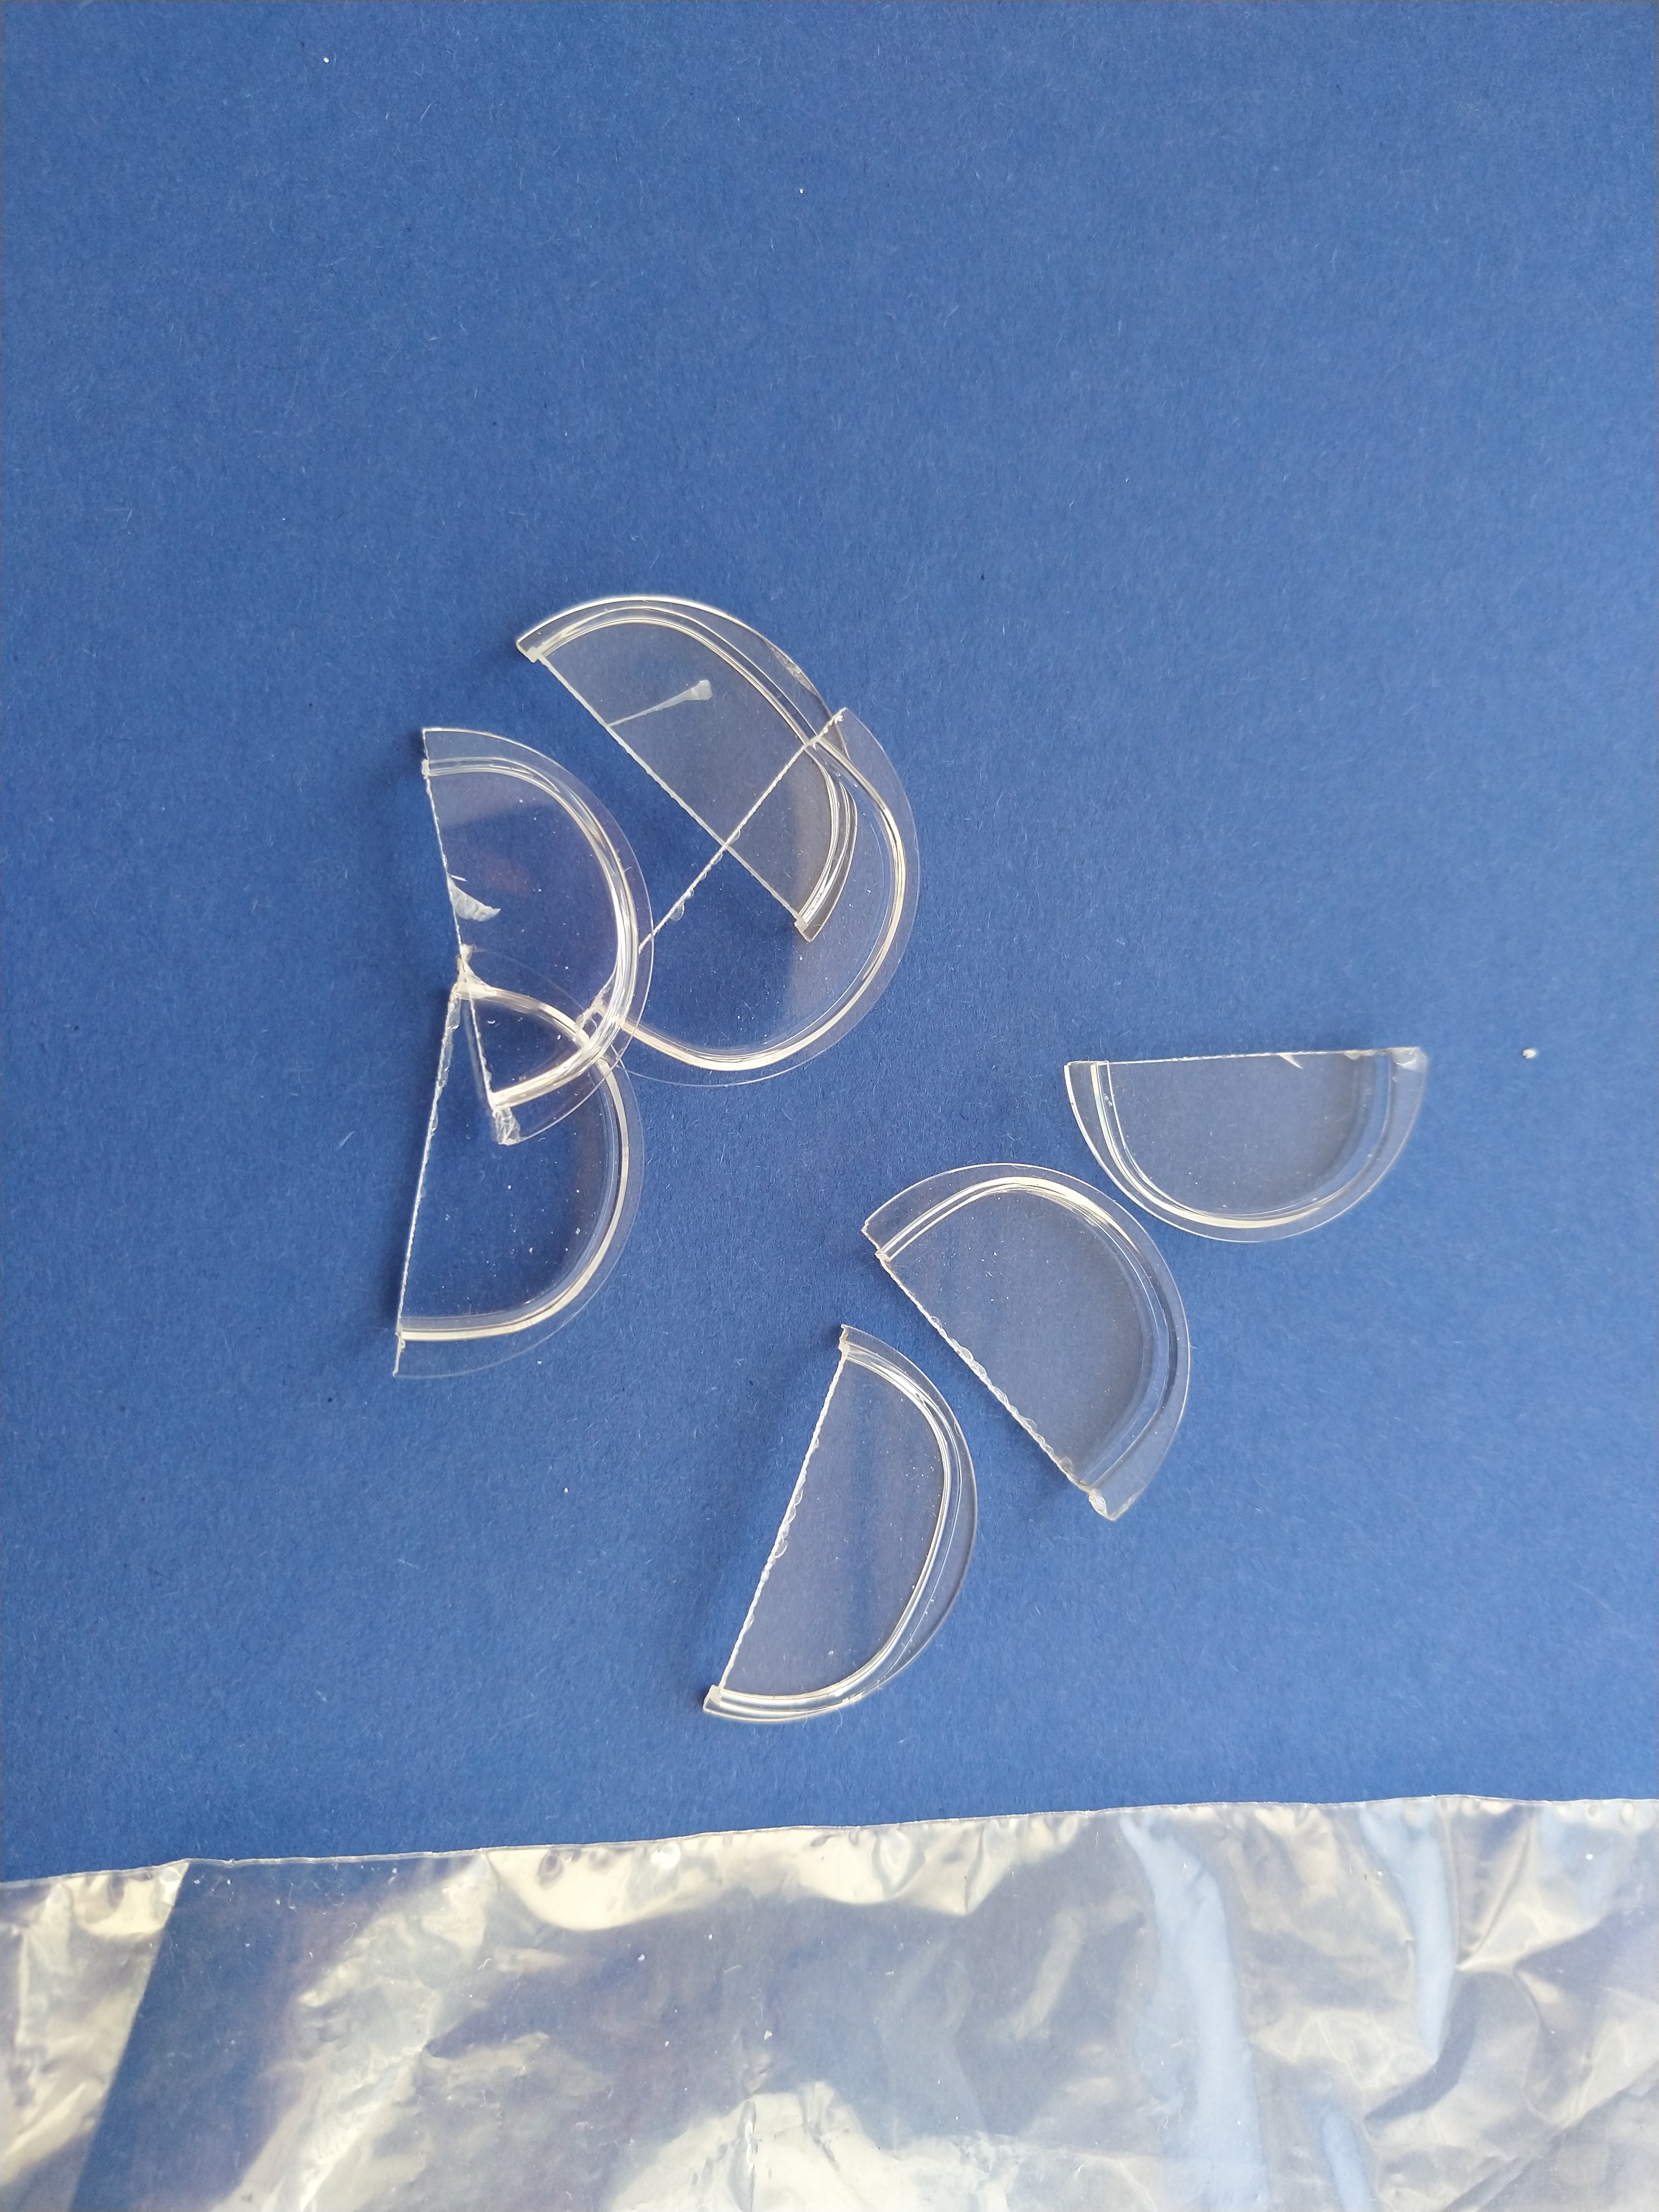
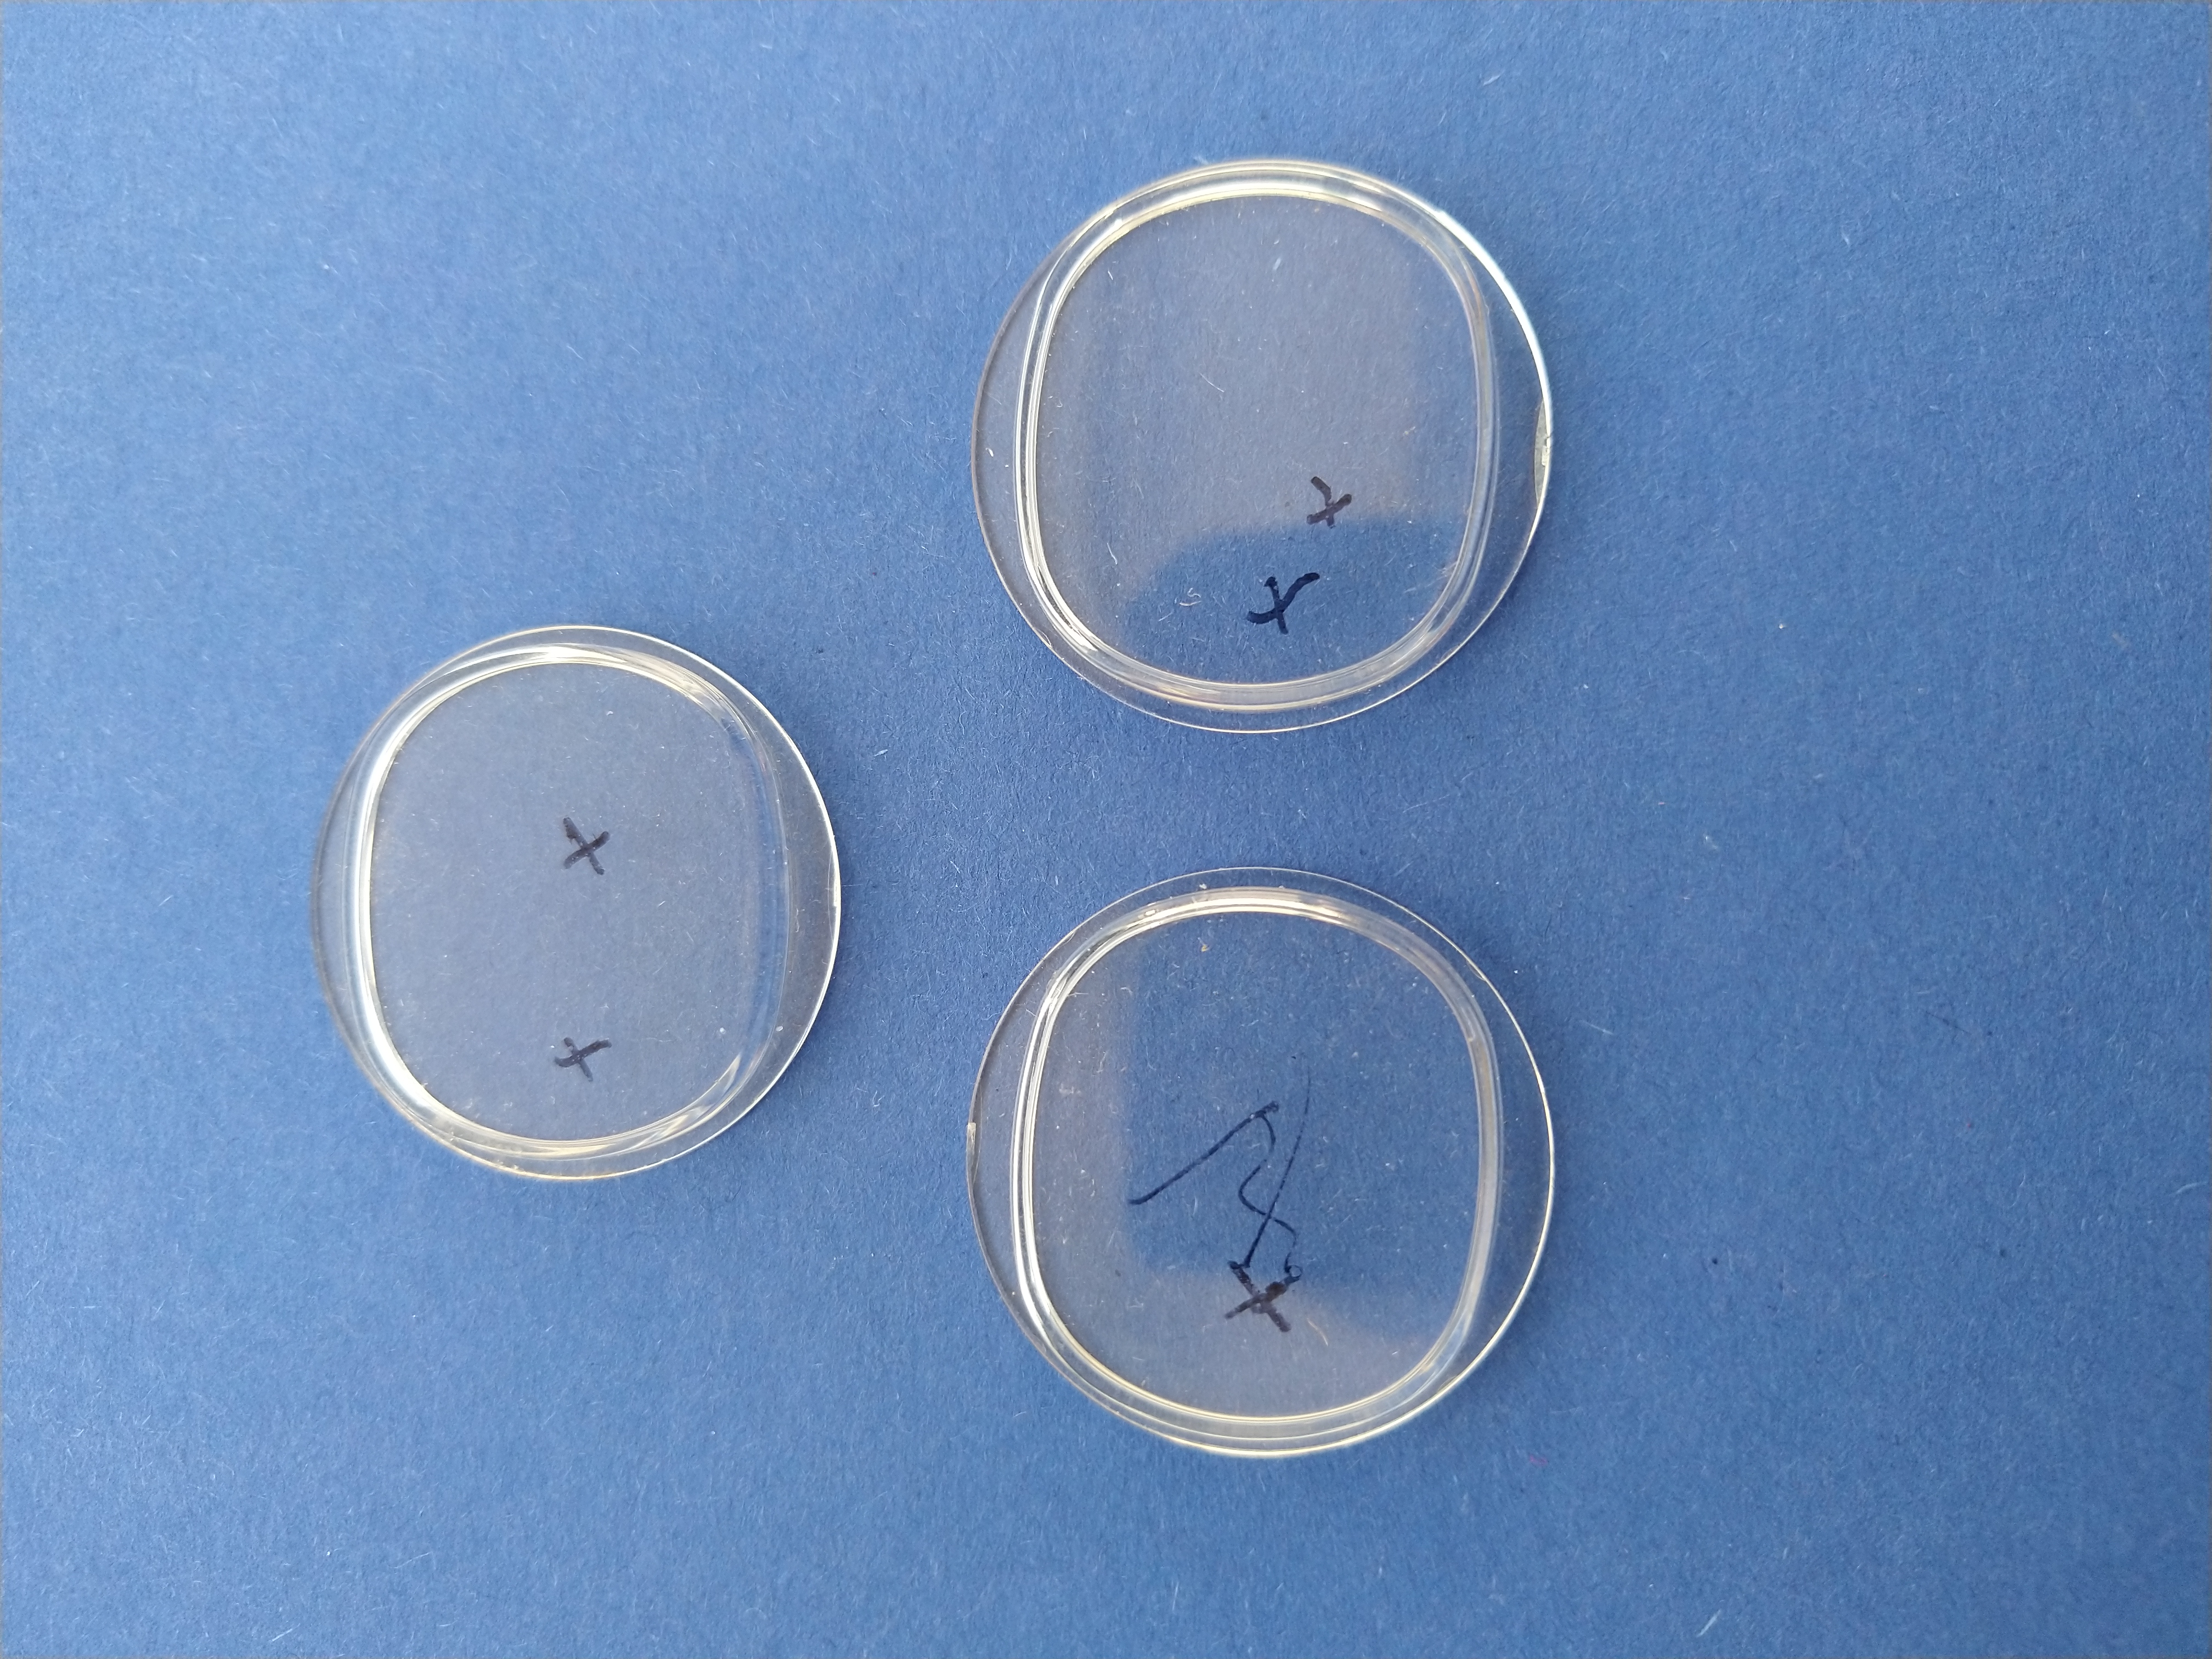
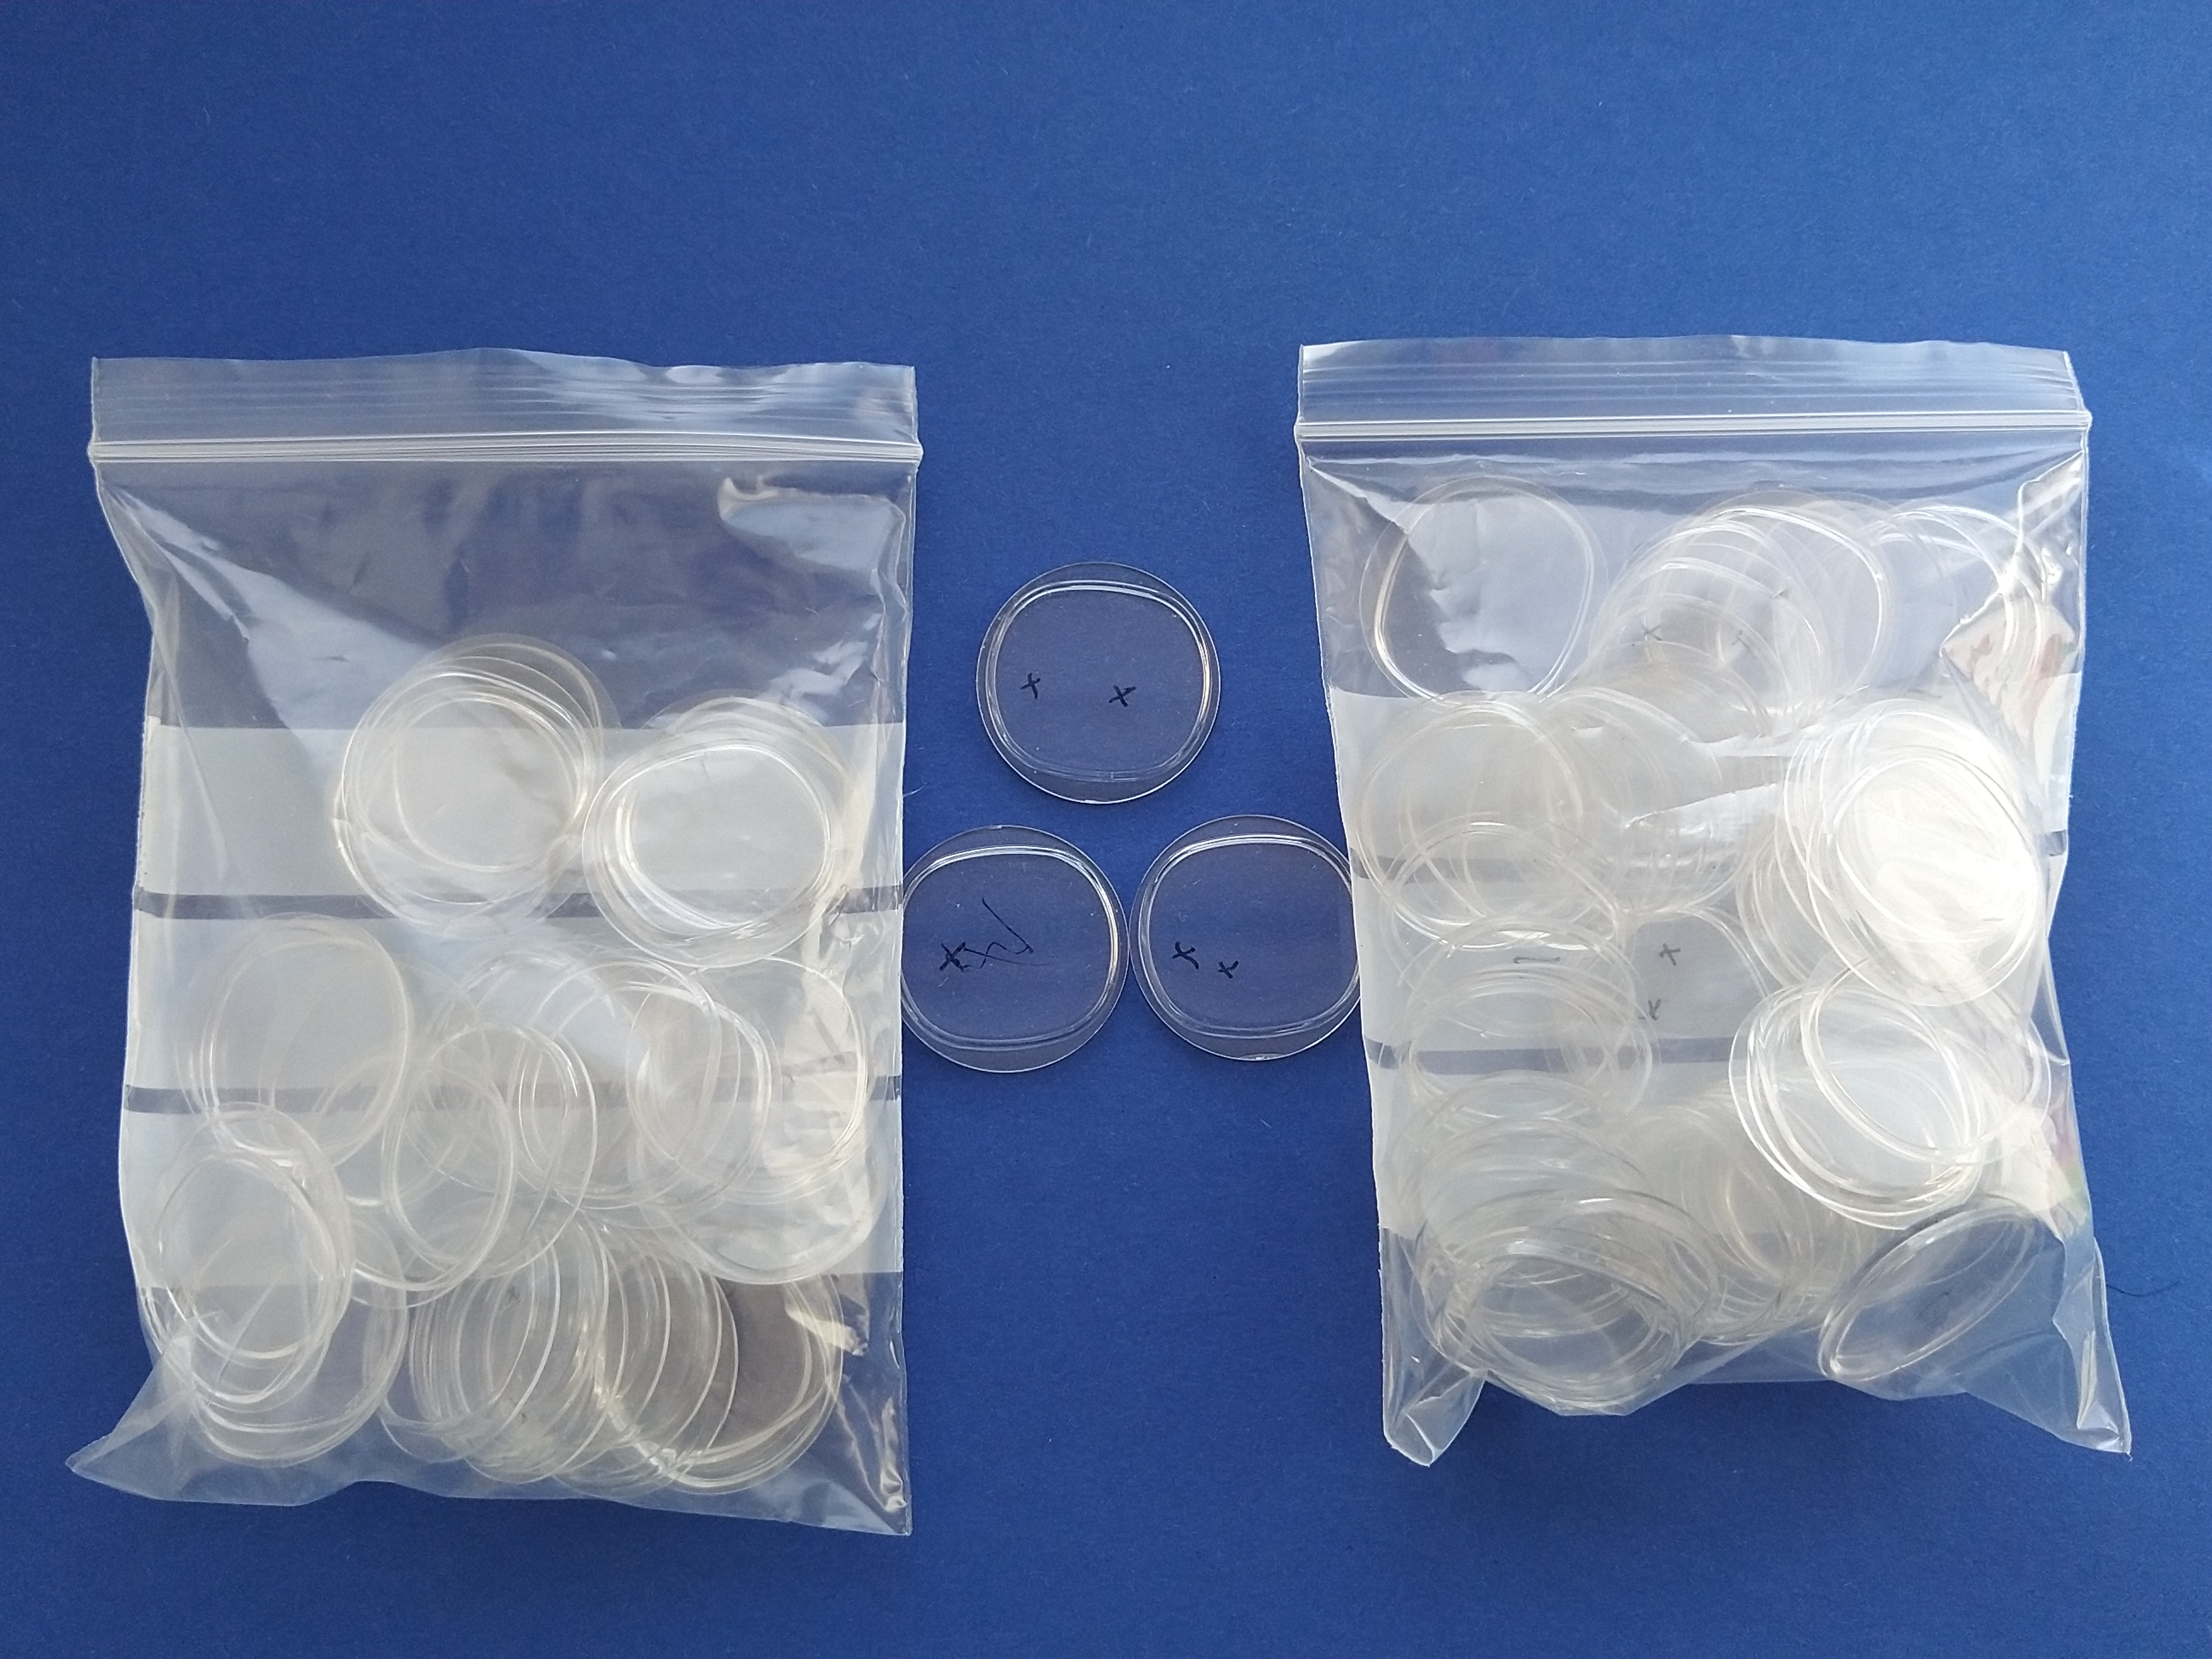
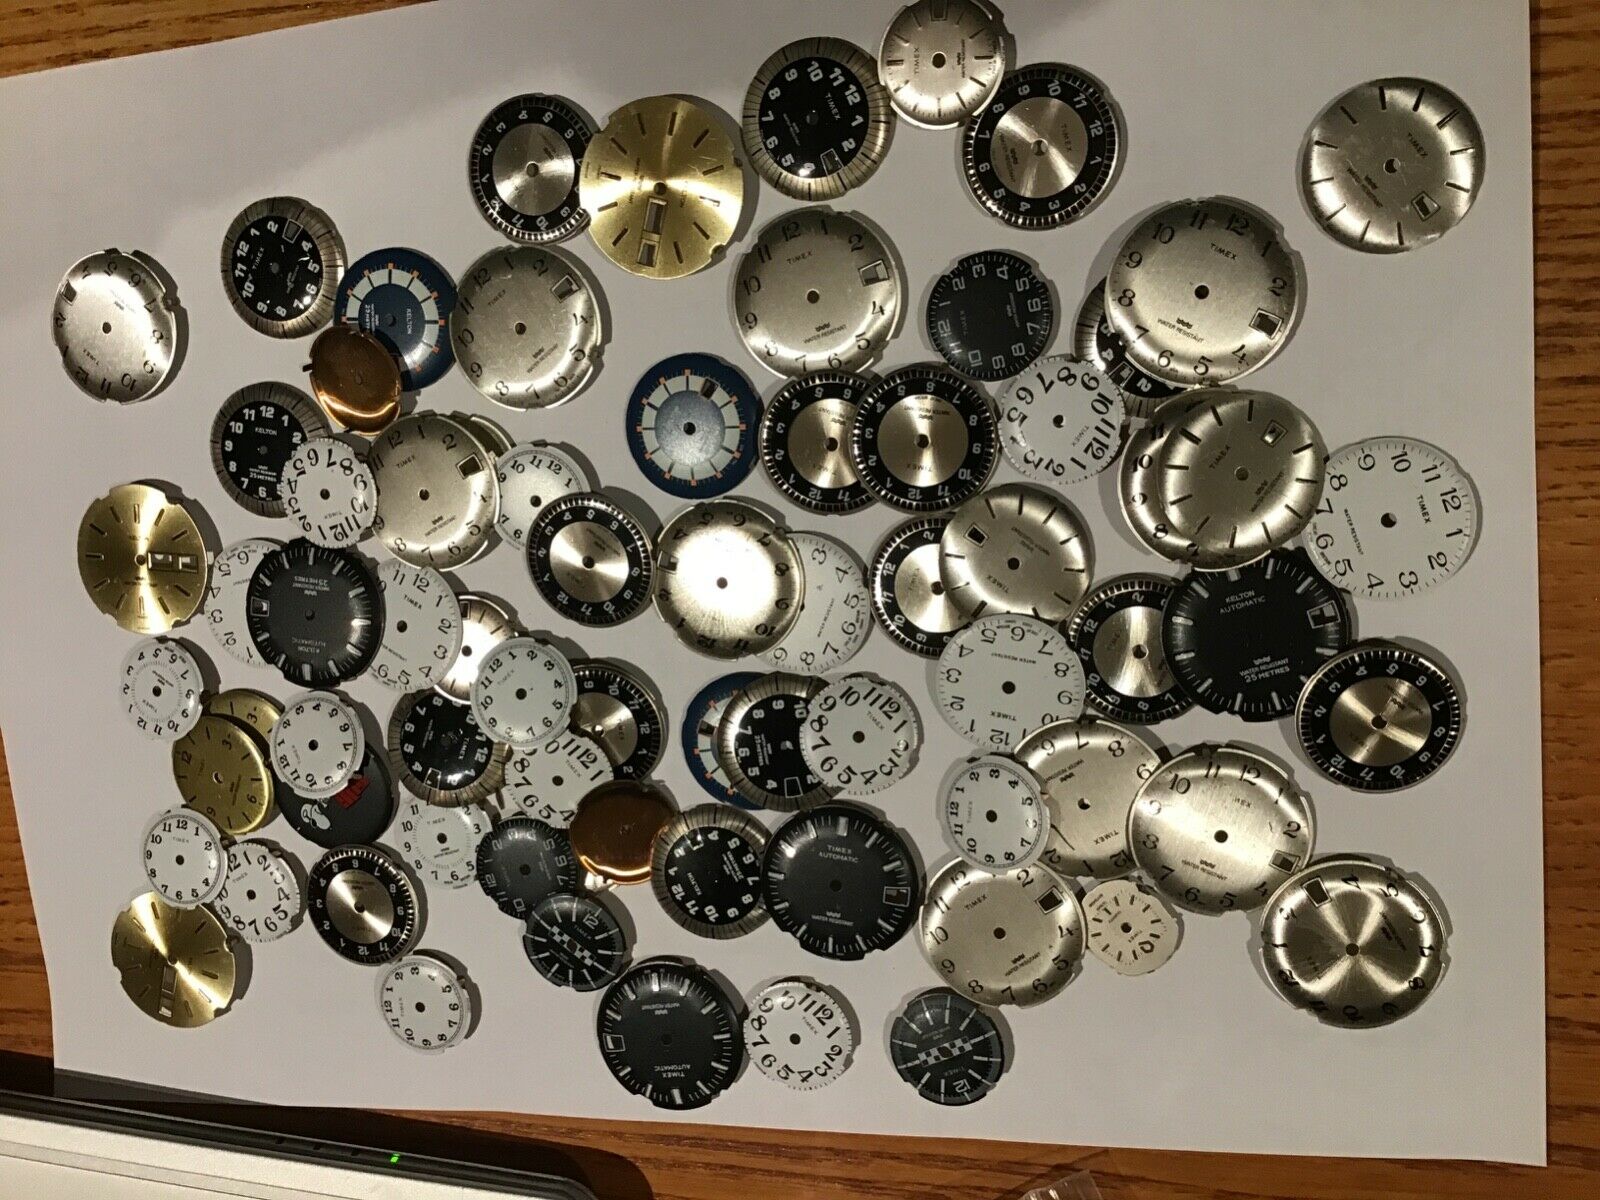
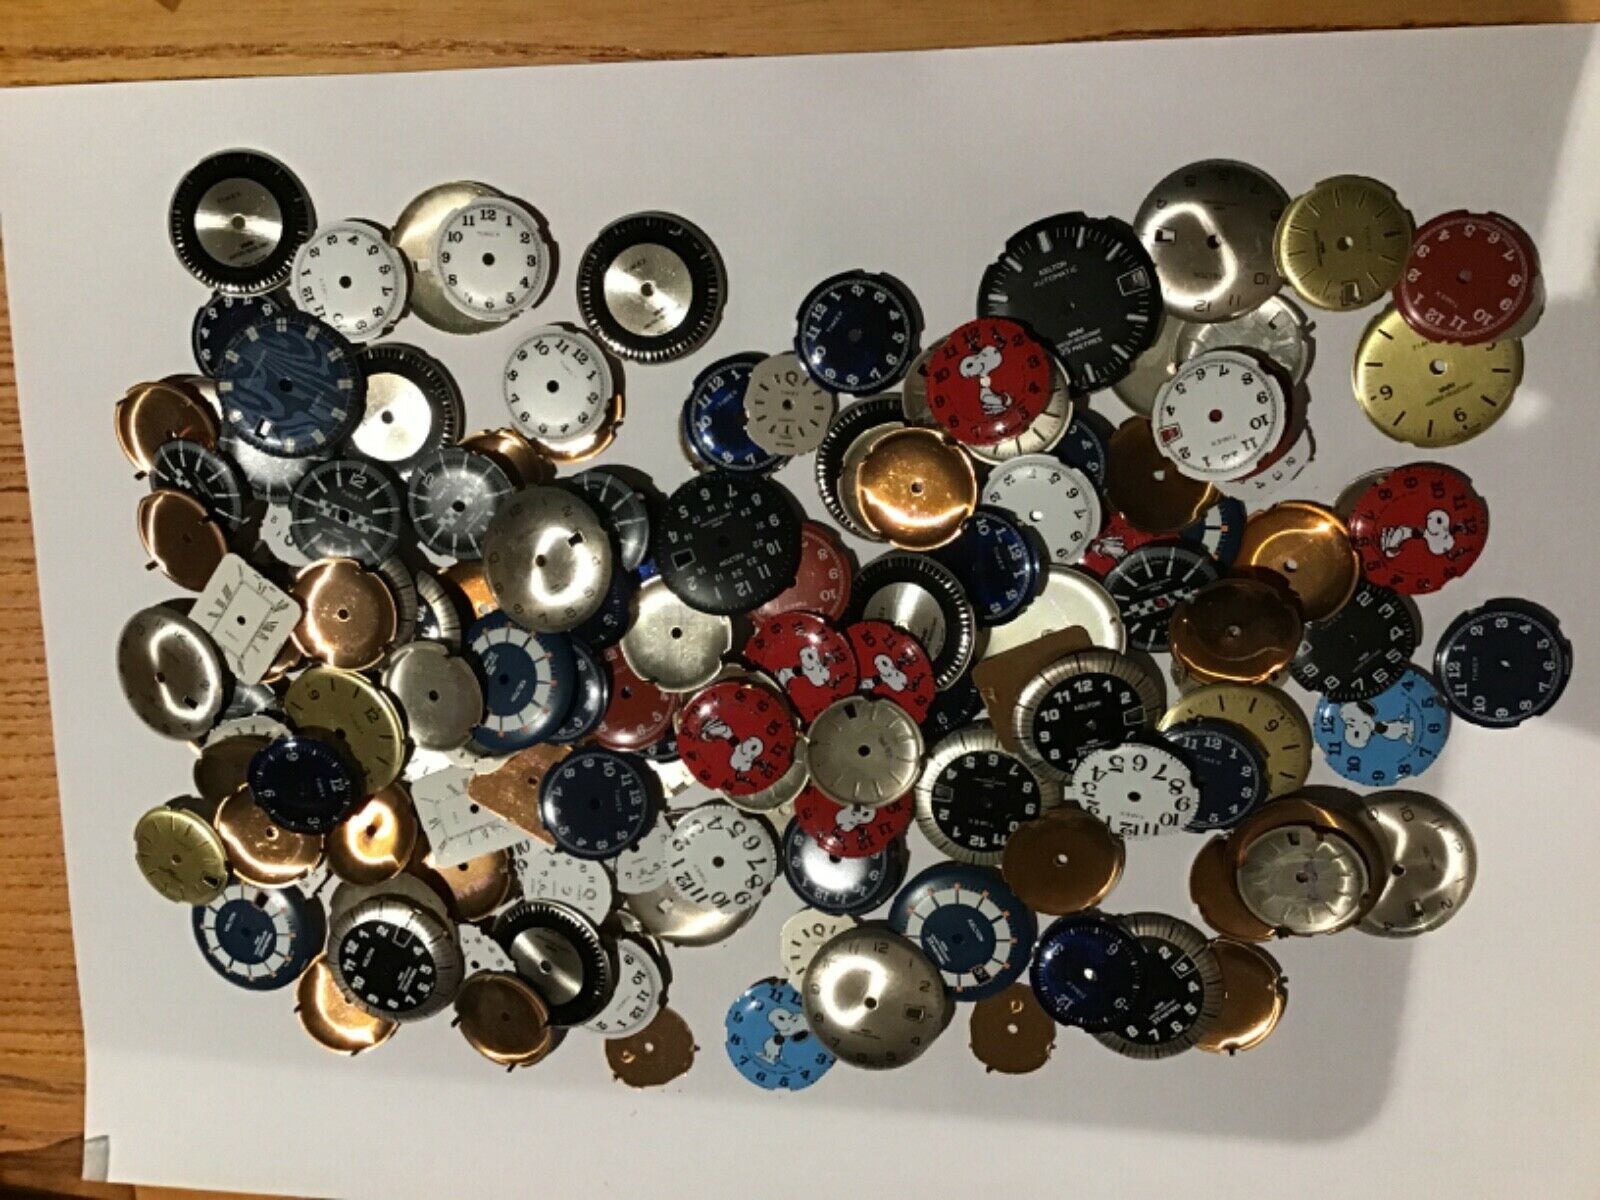
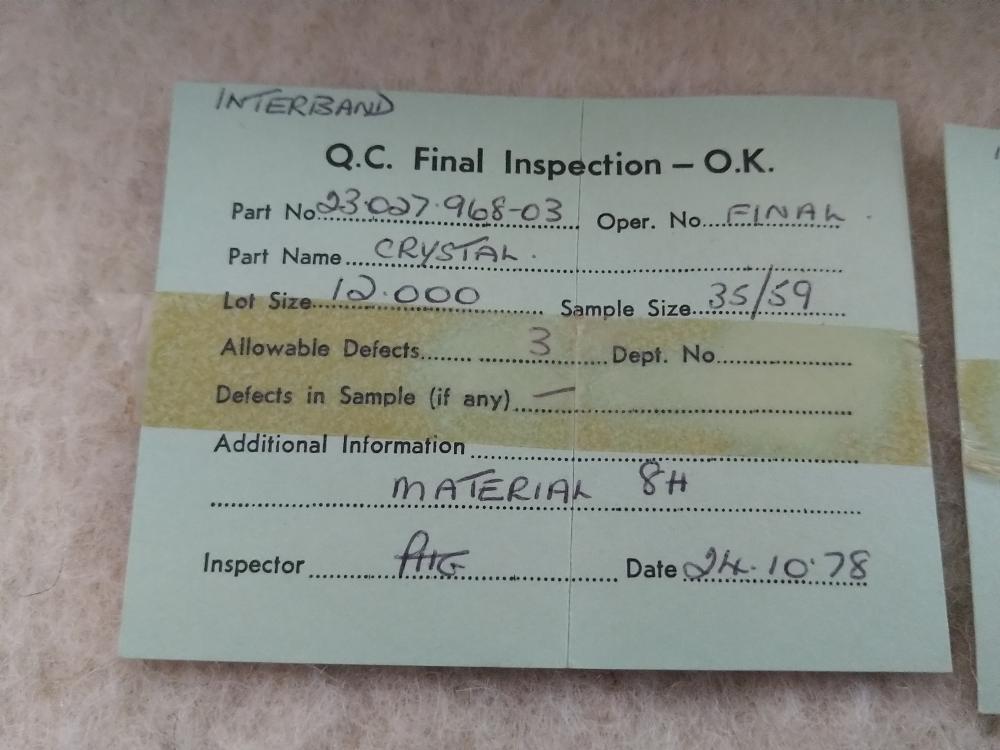
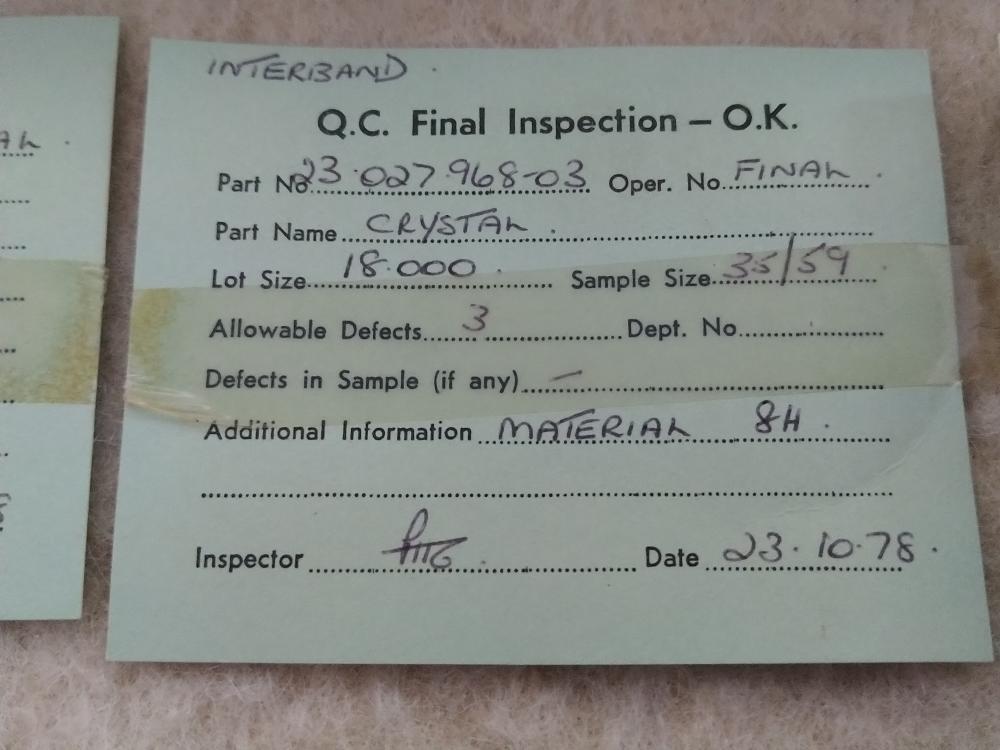
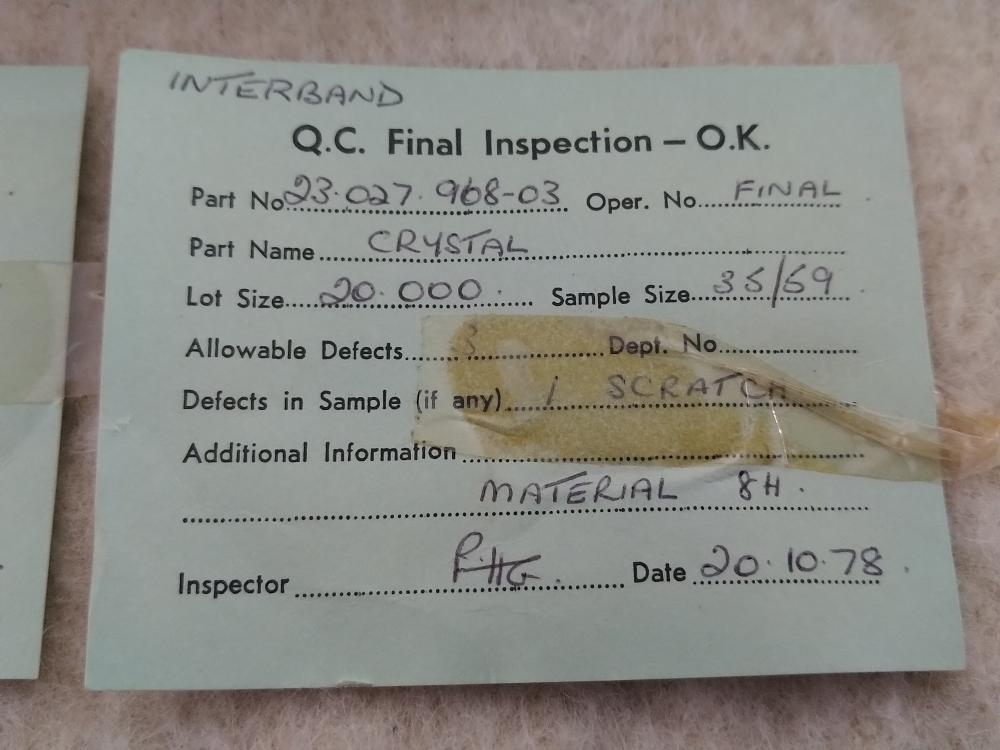
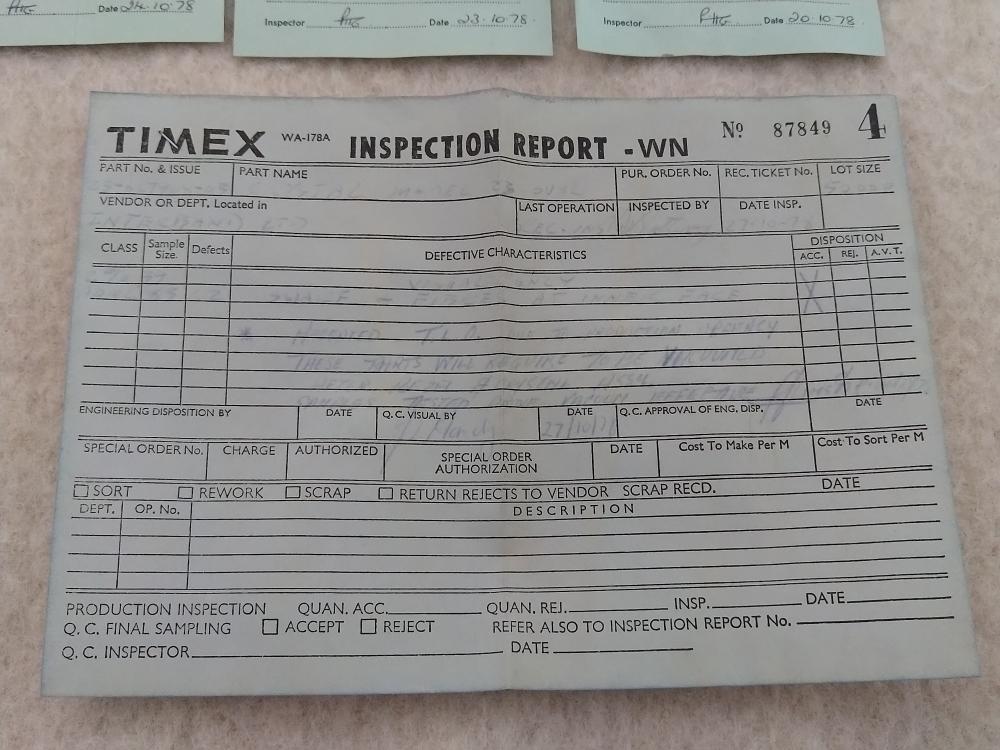
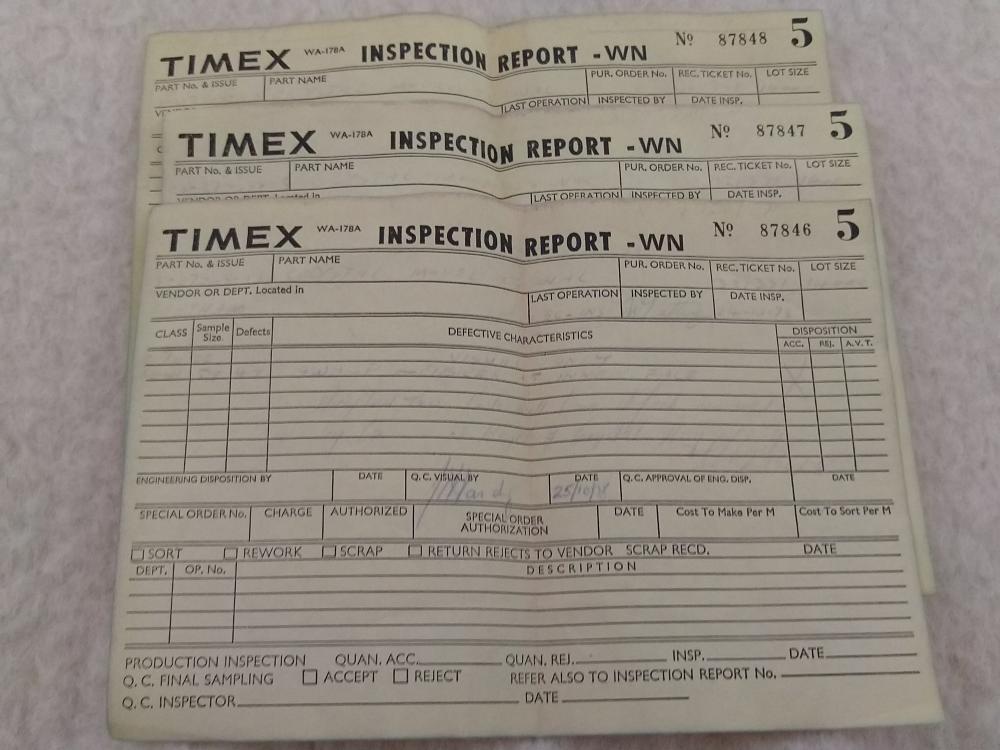
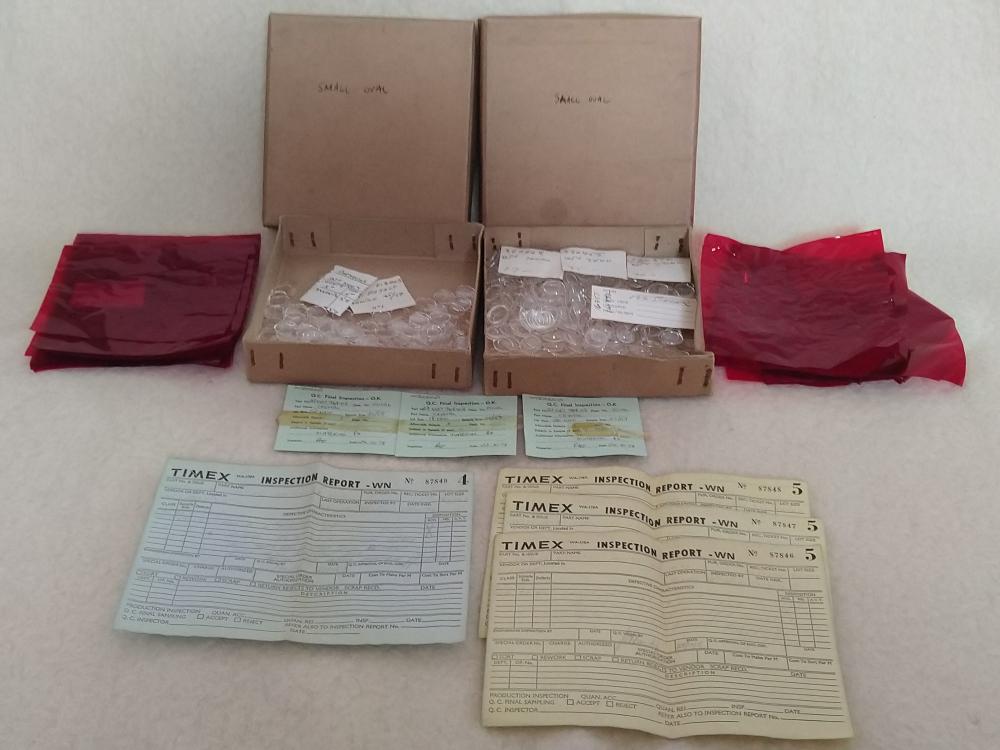
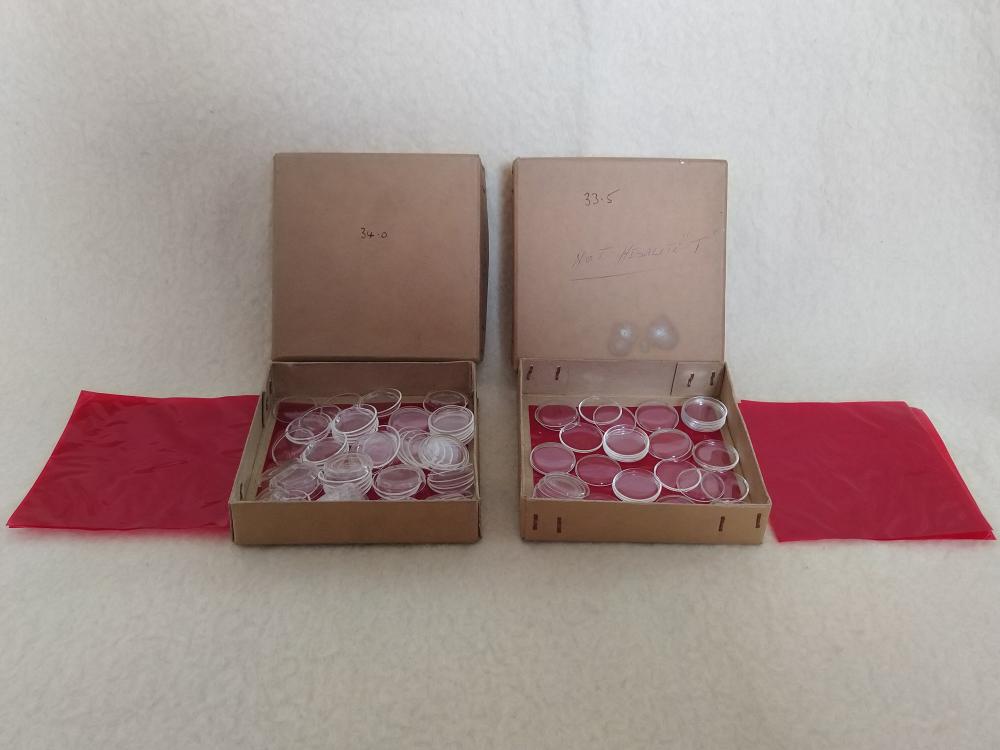
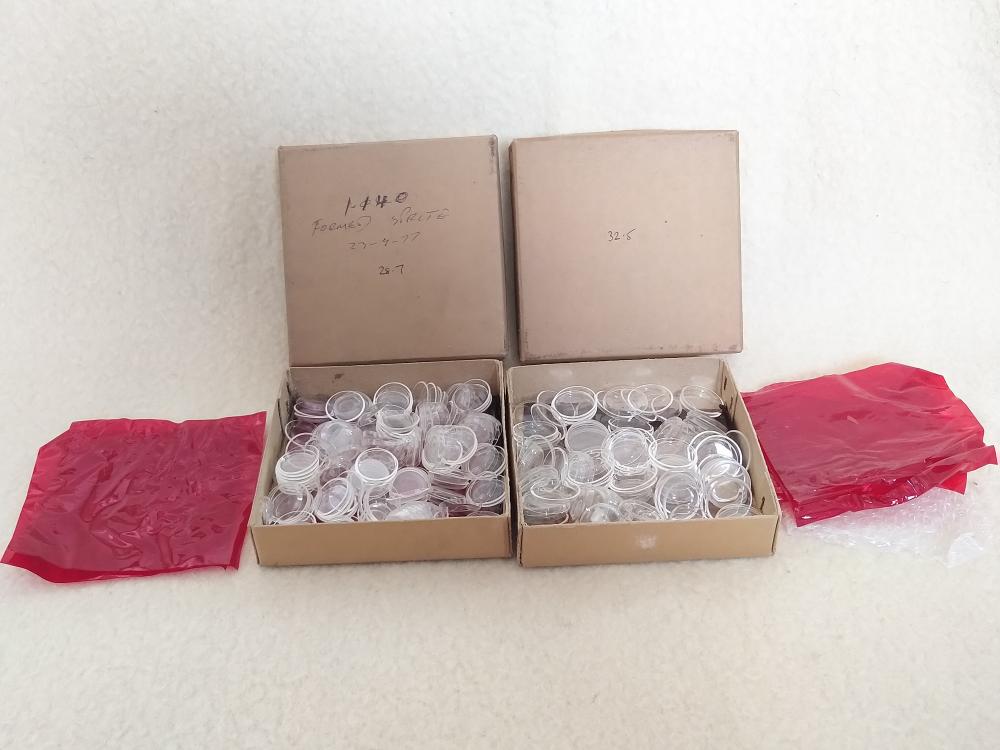
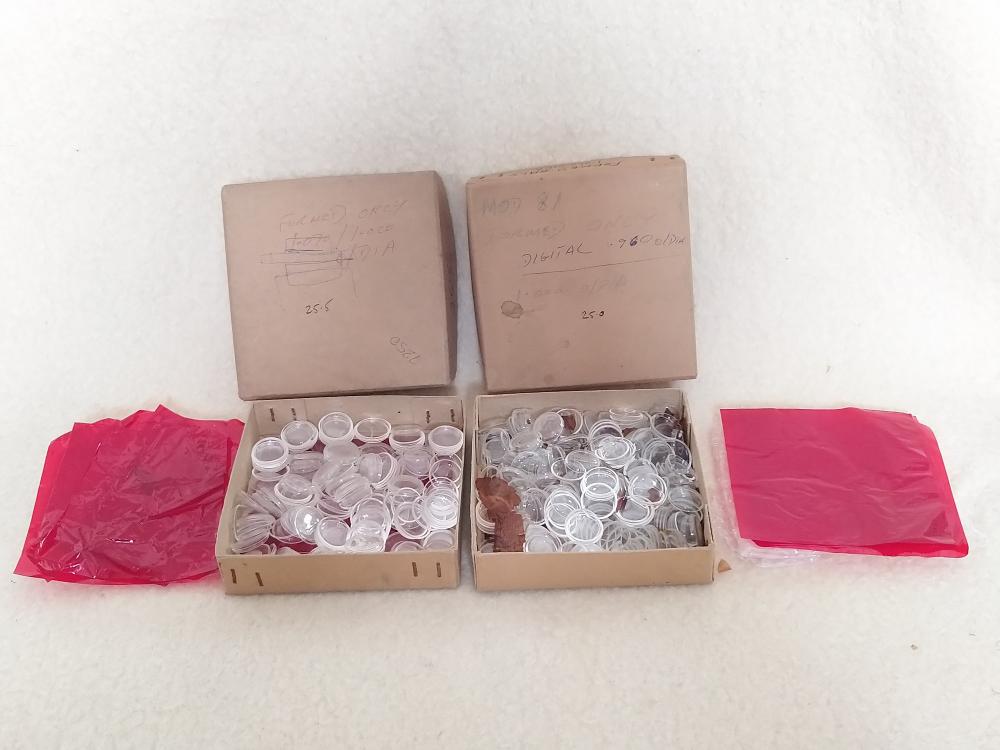
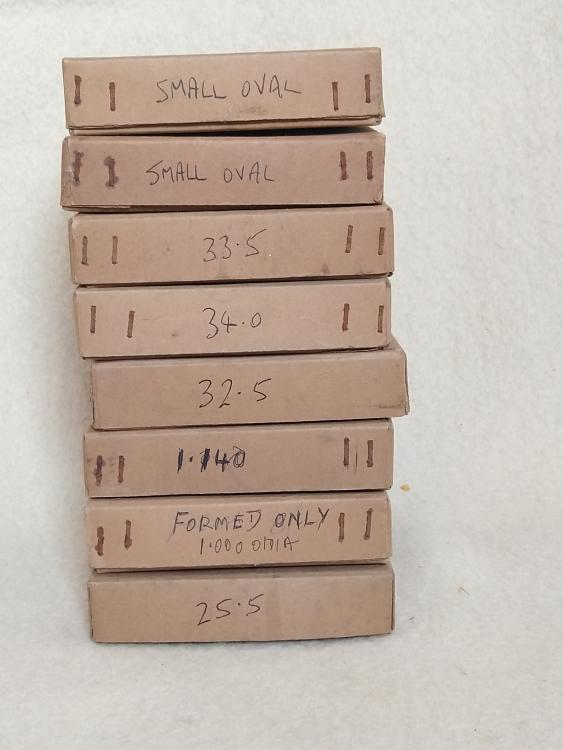
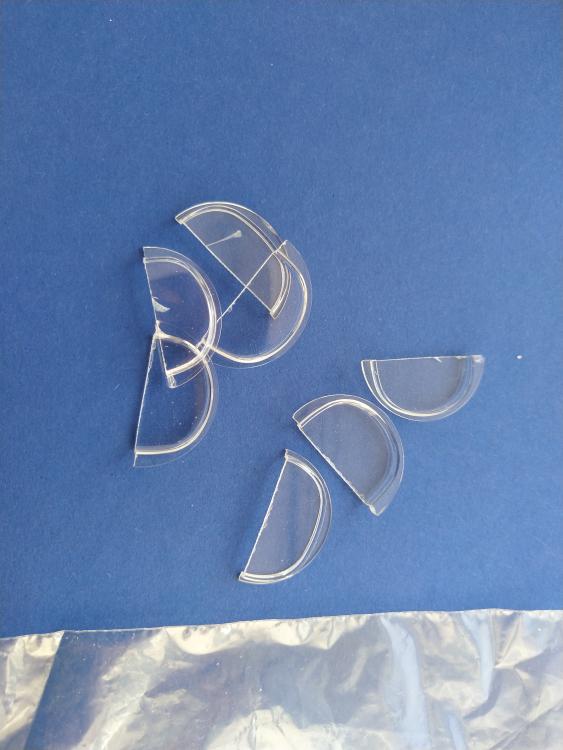
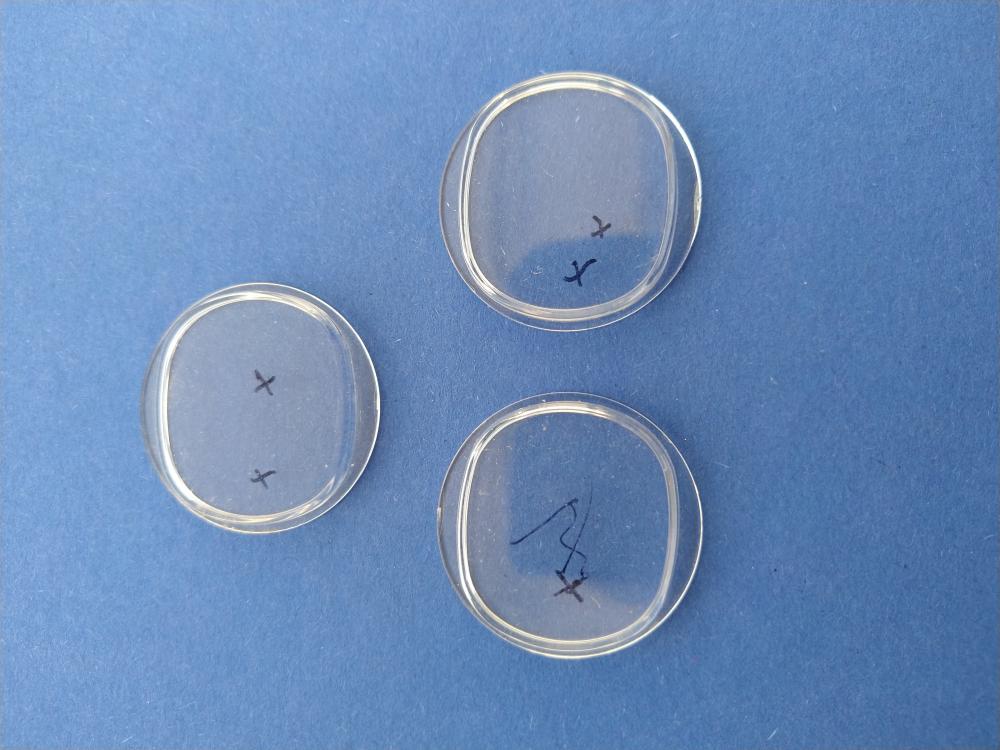
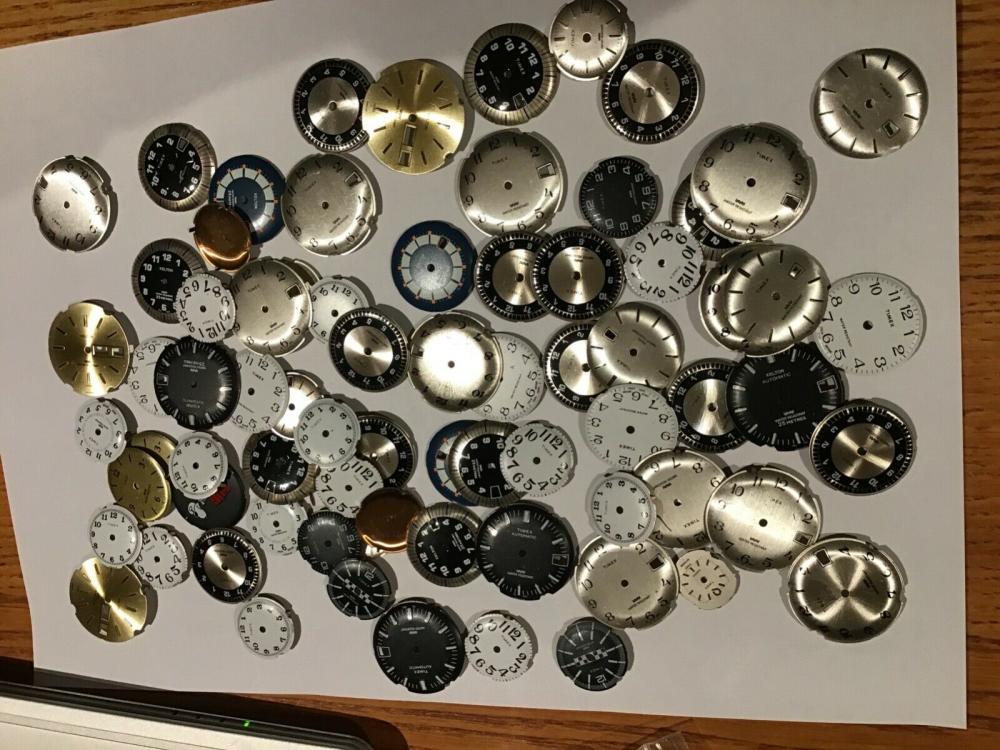
I managed to buy a few boxes of Timex watch crystals, they once belonged to someone who worked for Timex for all his life and sadly is not with us anymore. They came from Aberdeen and the gentleman worked for the Dundee Timex factory in the sixties. They have different sizes and shapes and it seems they were actually samples for quality control. I cannot take out the writing on the "TIMEX inspection report"s as it is faded away but the smaller sized "Final Inspection: is dated as 1978 and I can read/take out the same year on the TIMEX inspection reports too as far as I can see it. I found it very interesting so I thought I would share with you. I know there are Timex fans out there. An interesting BBC documentary: The Rise And Fall Of Timex Dundee - Full BBC Broadcast - October 2019 There is some glitch with the voice at the end, unfortunately you cannot watch it on the BBC at the moment.
 1 point
 -
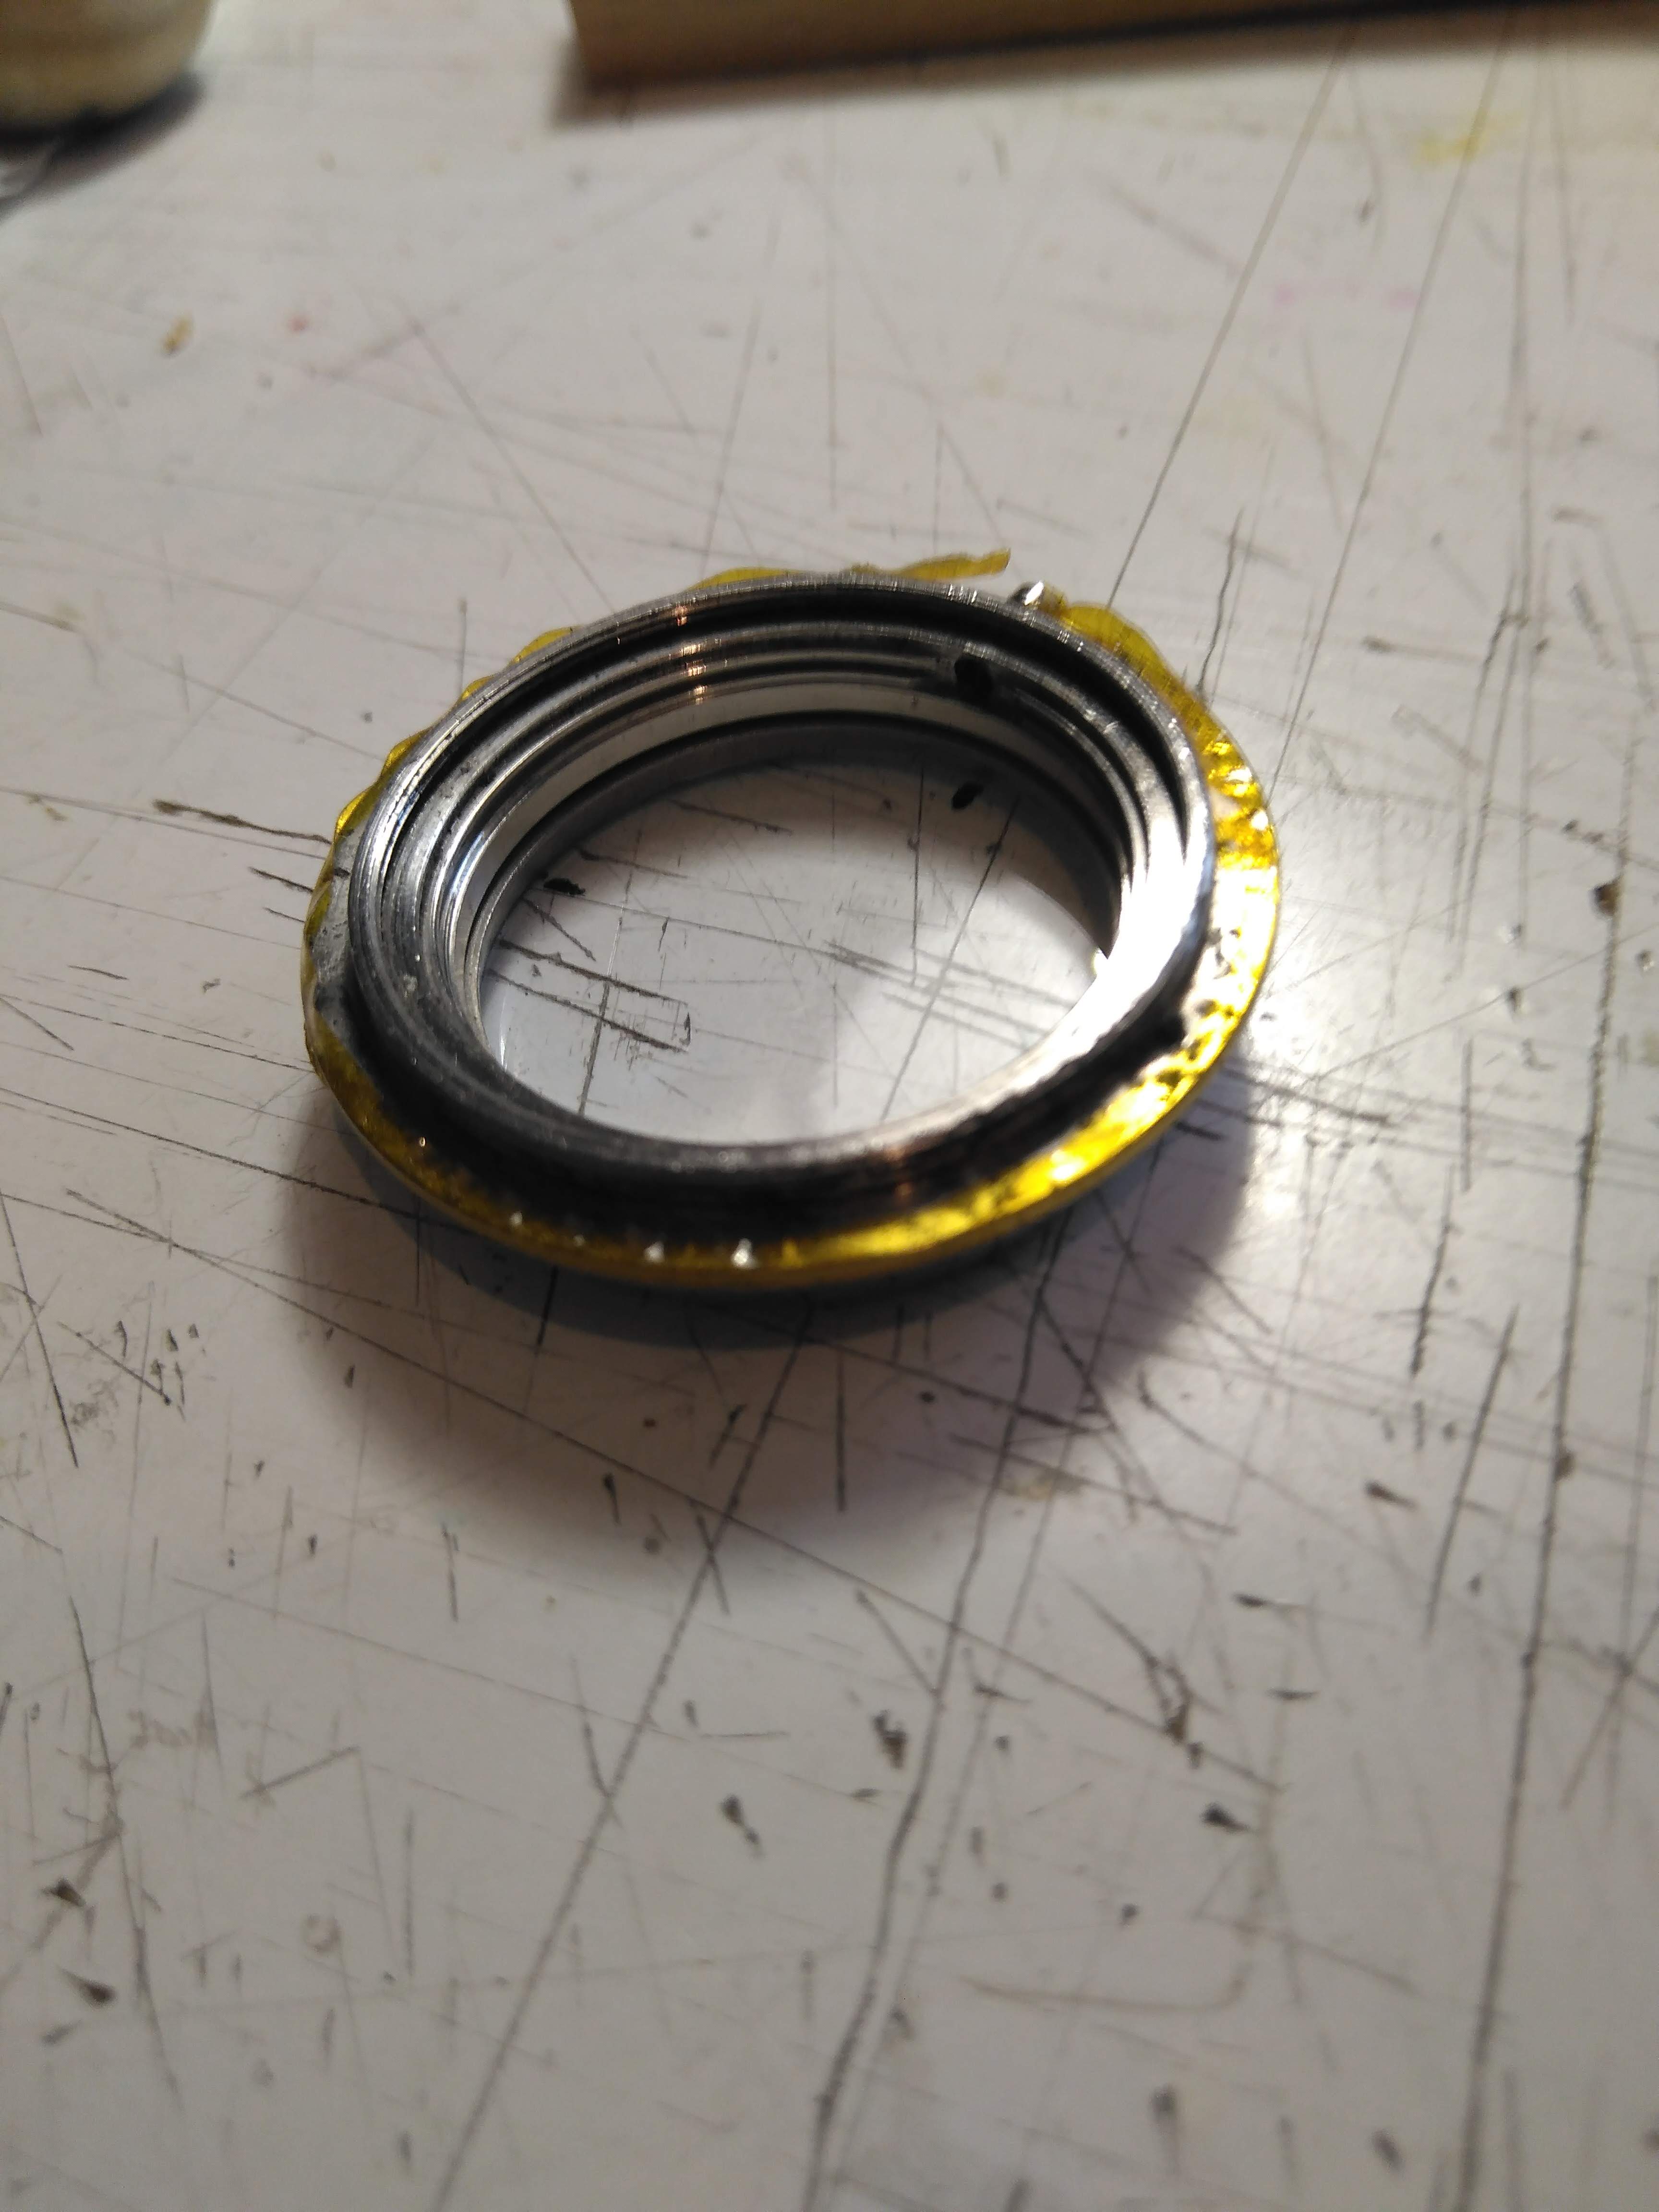
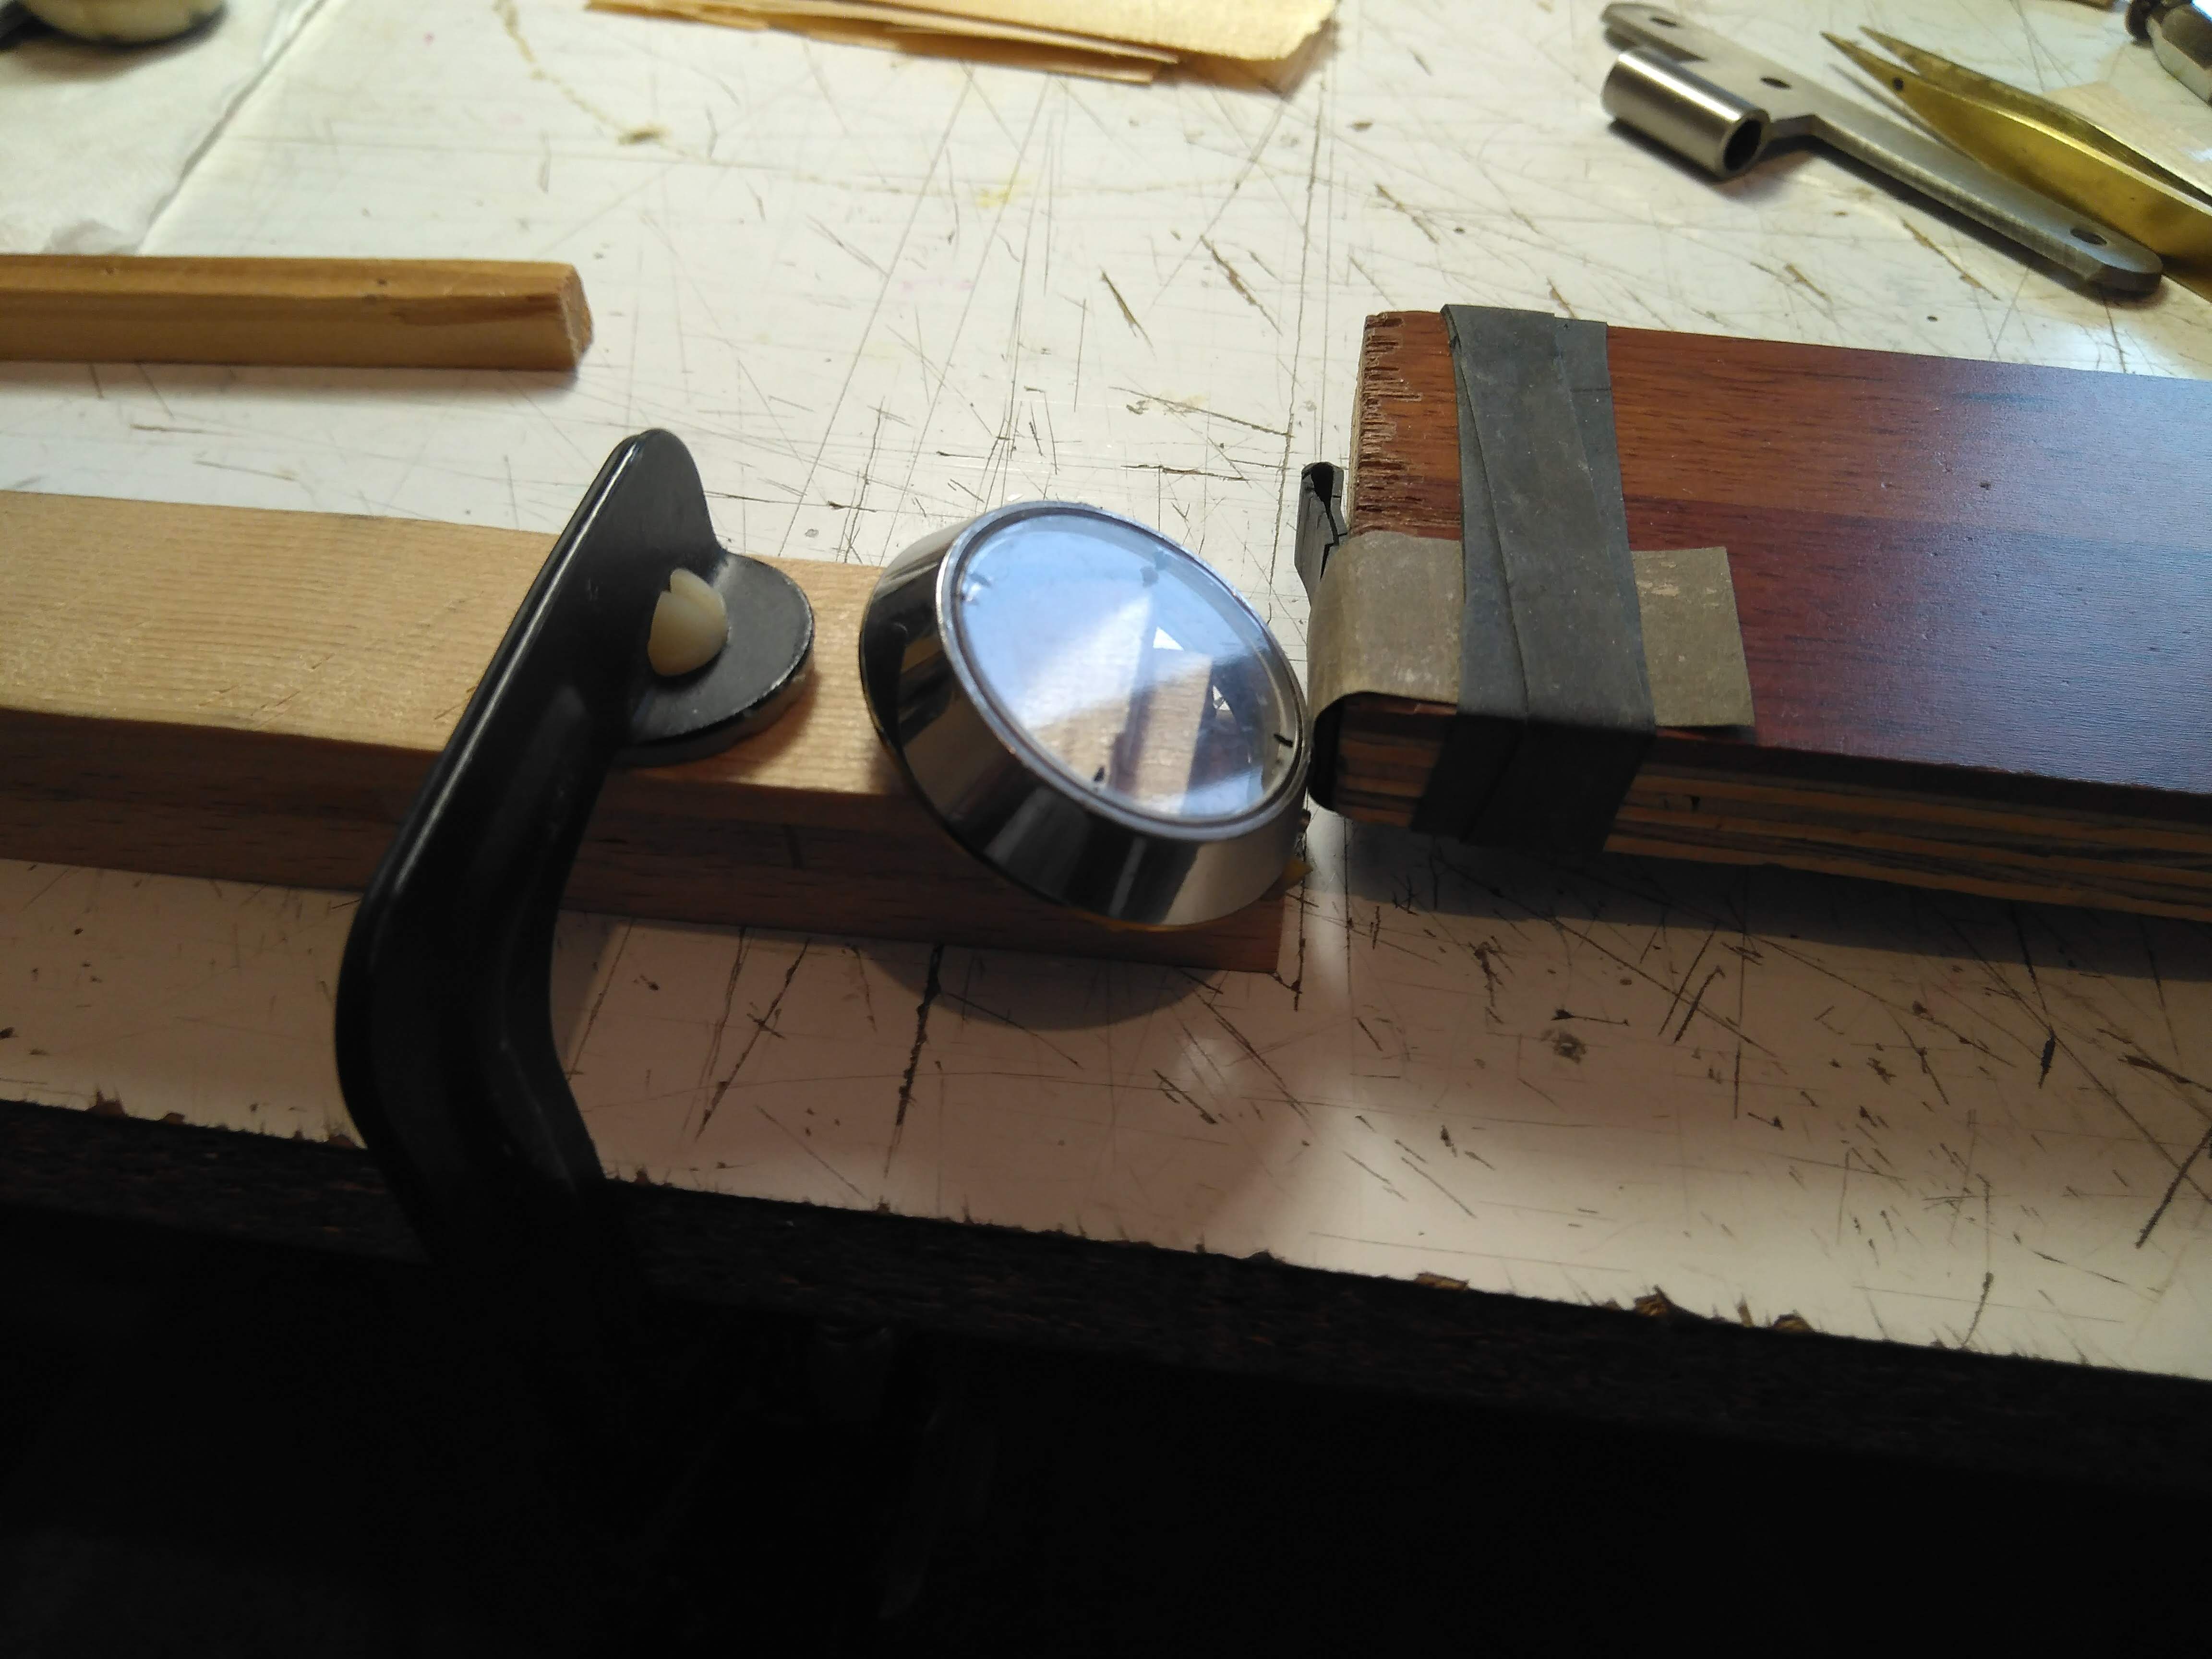
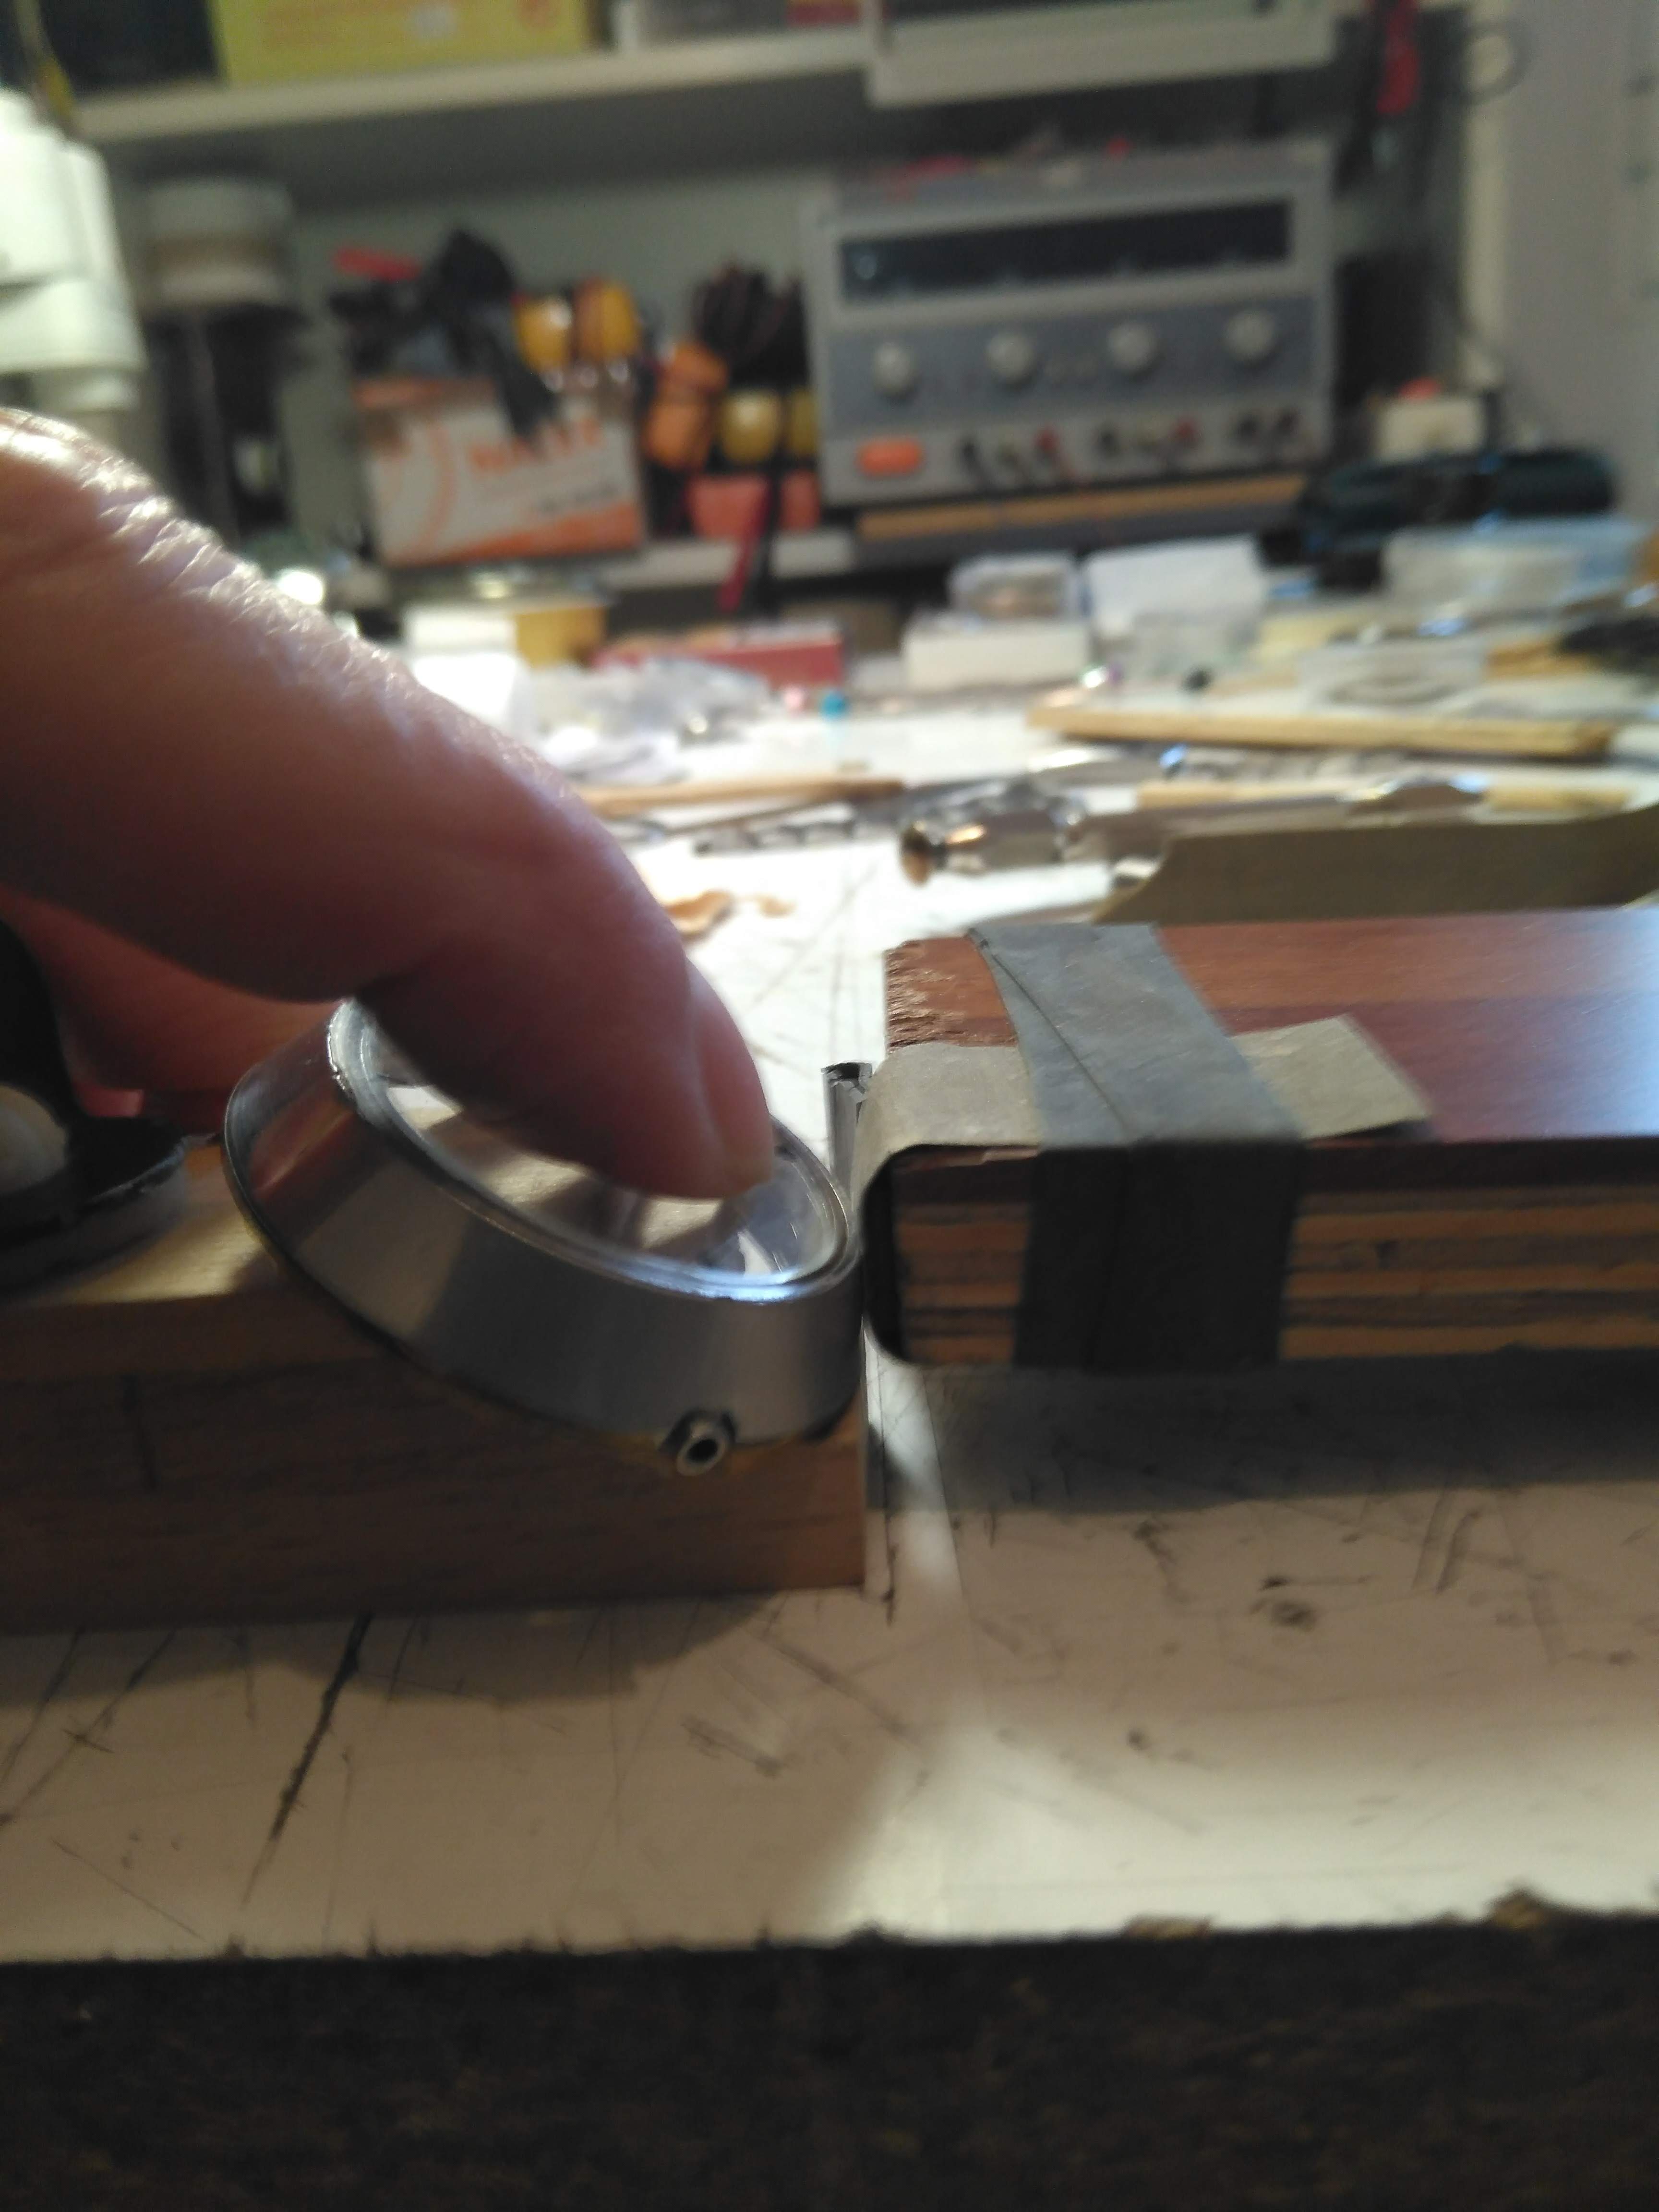
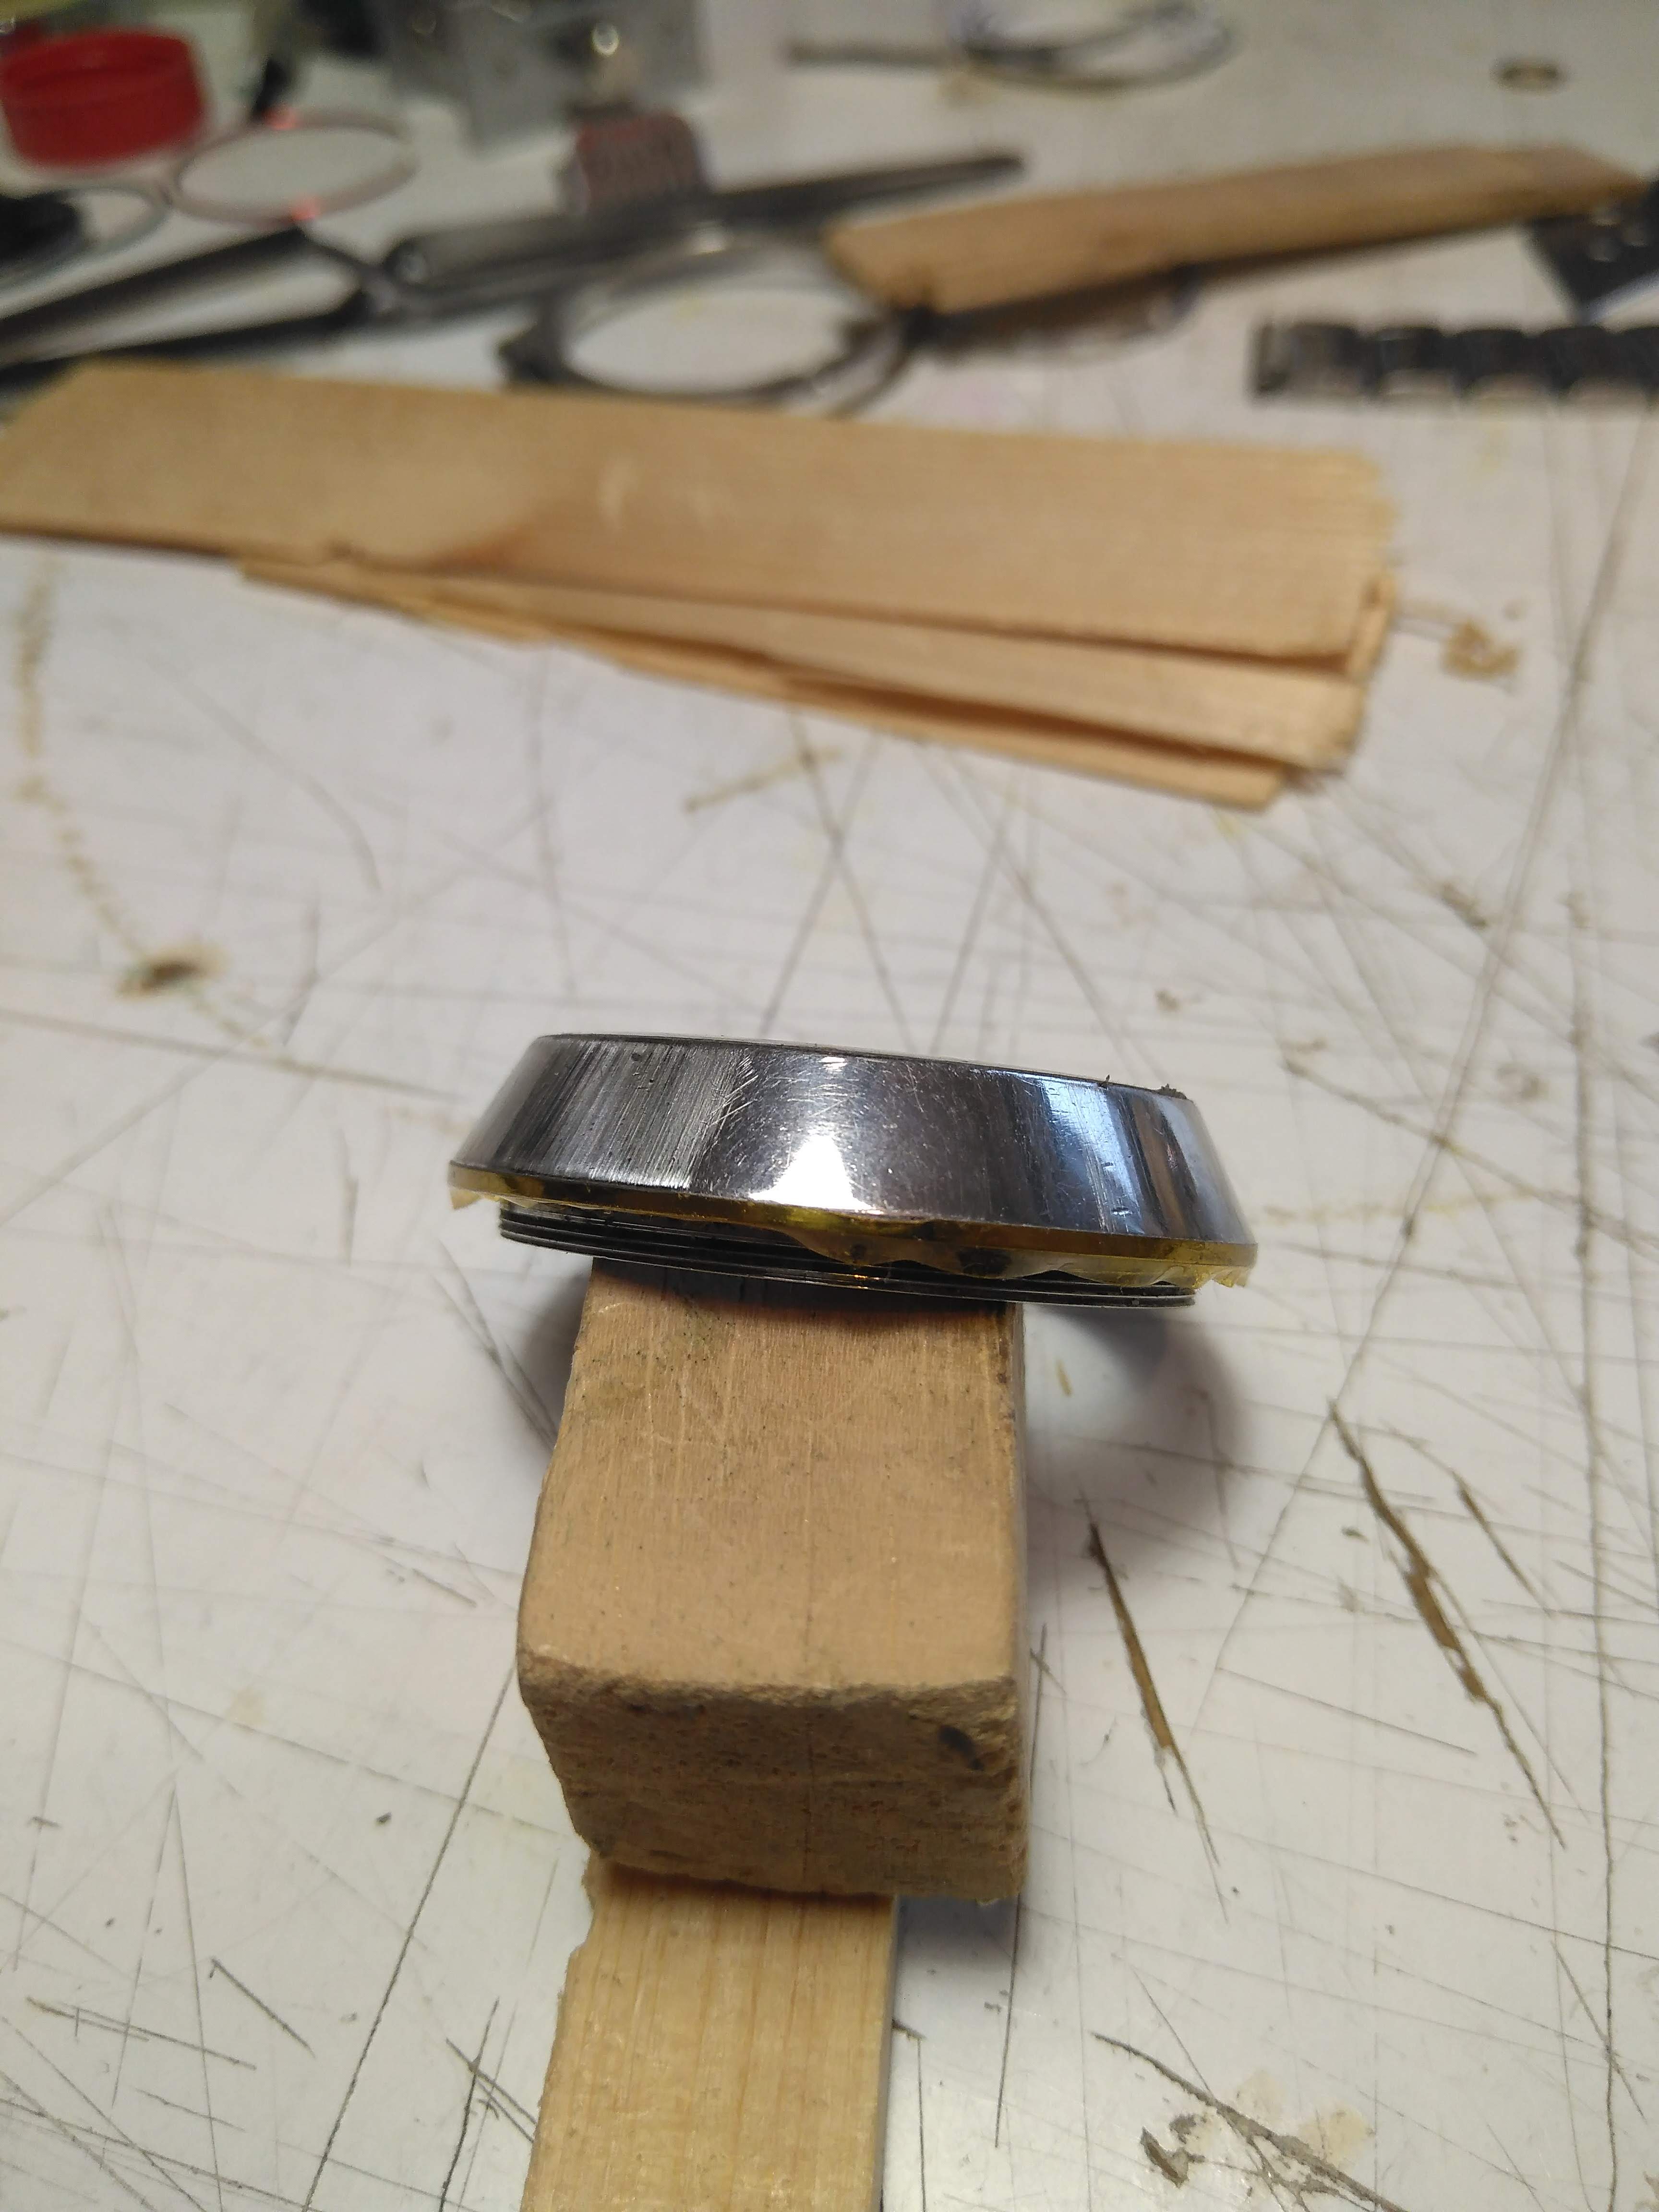
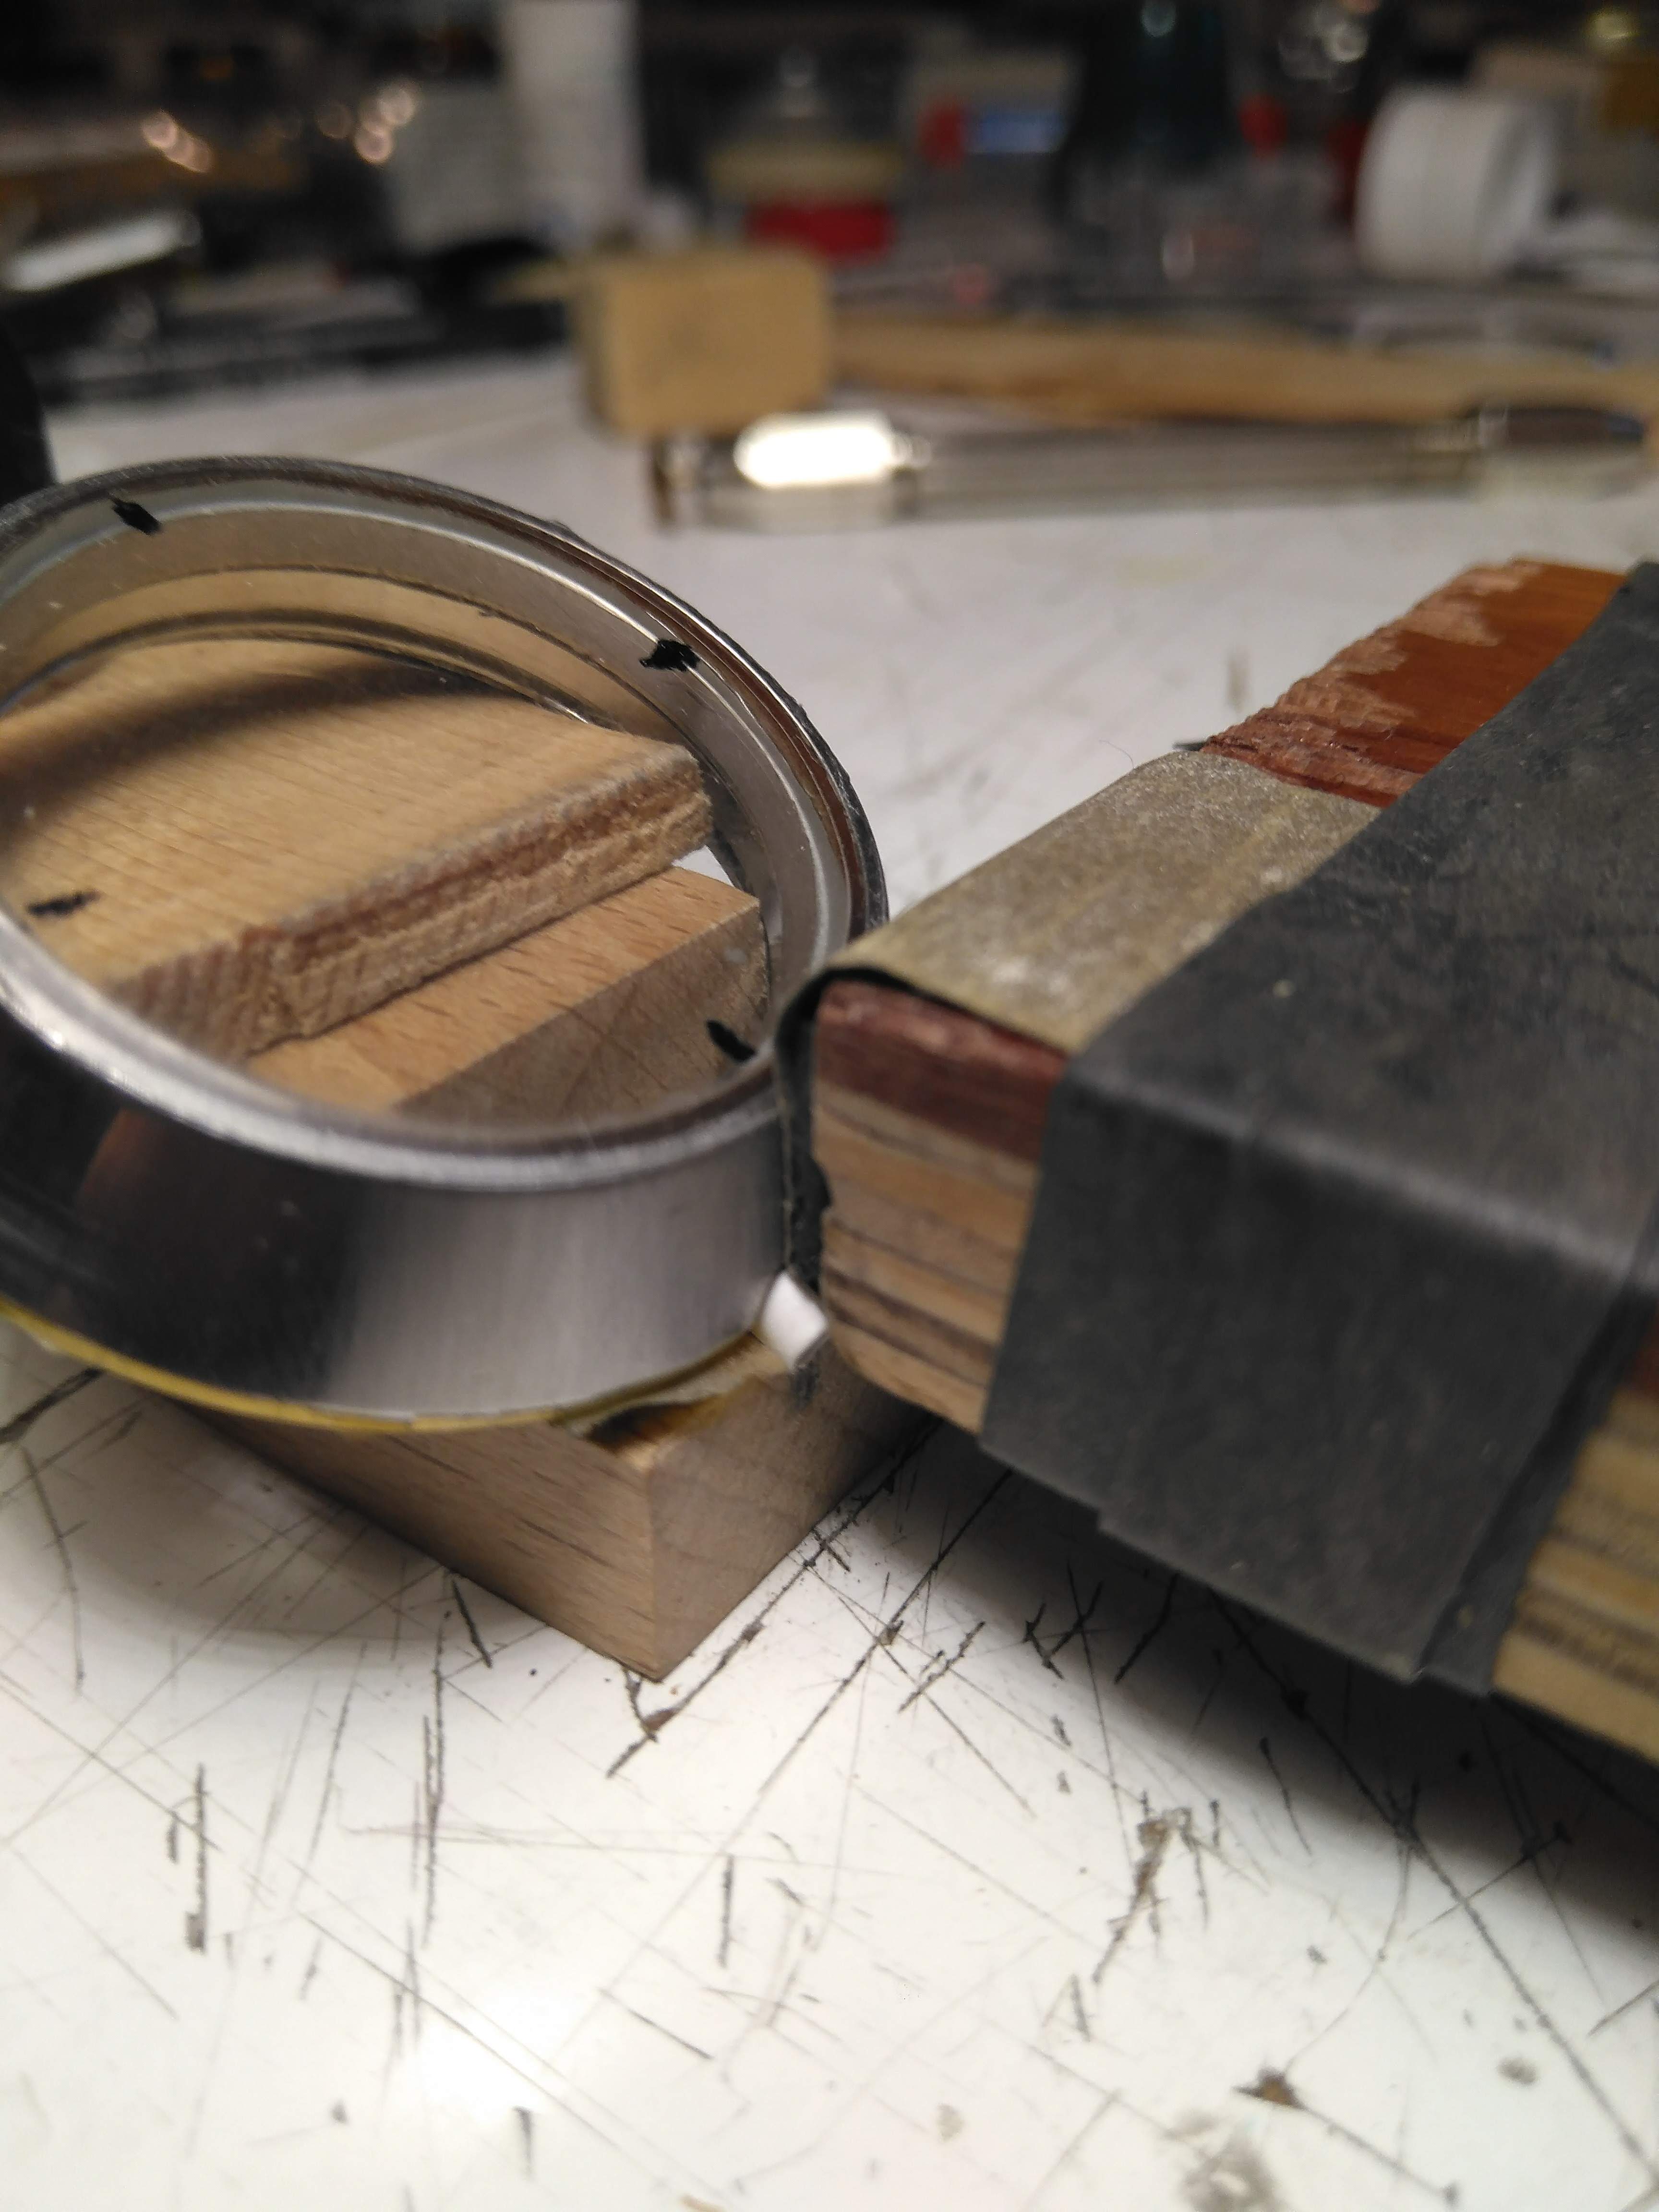
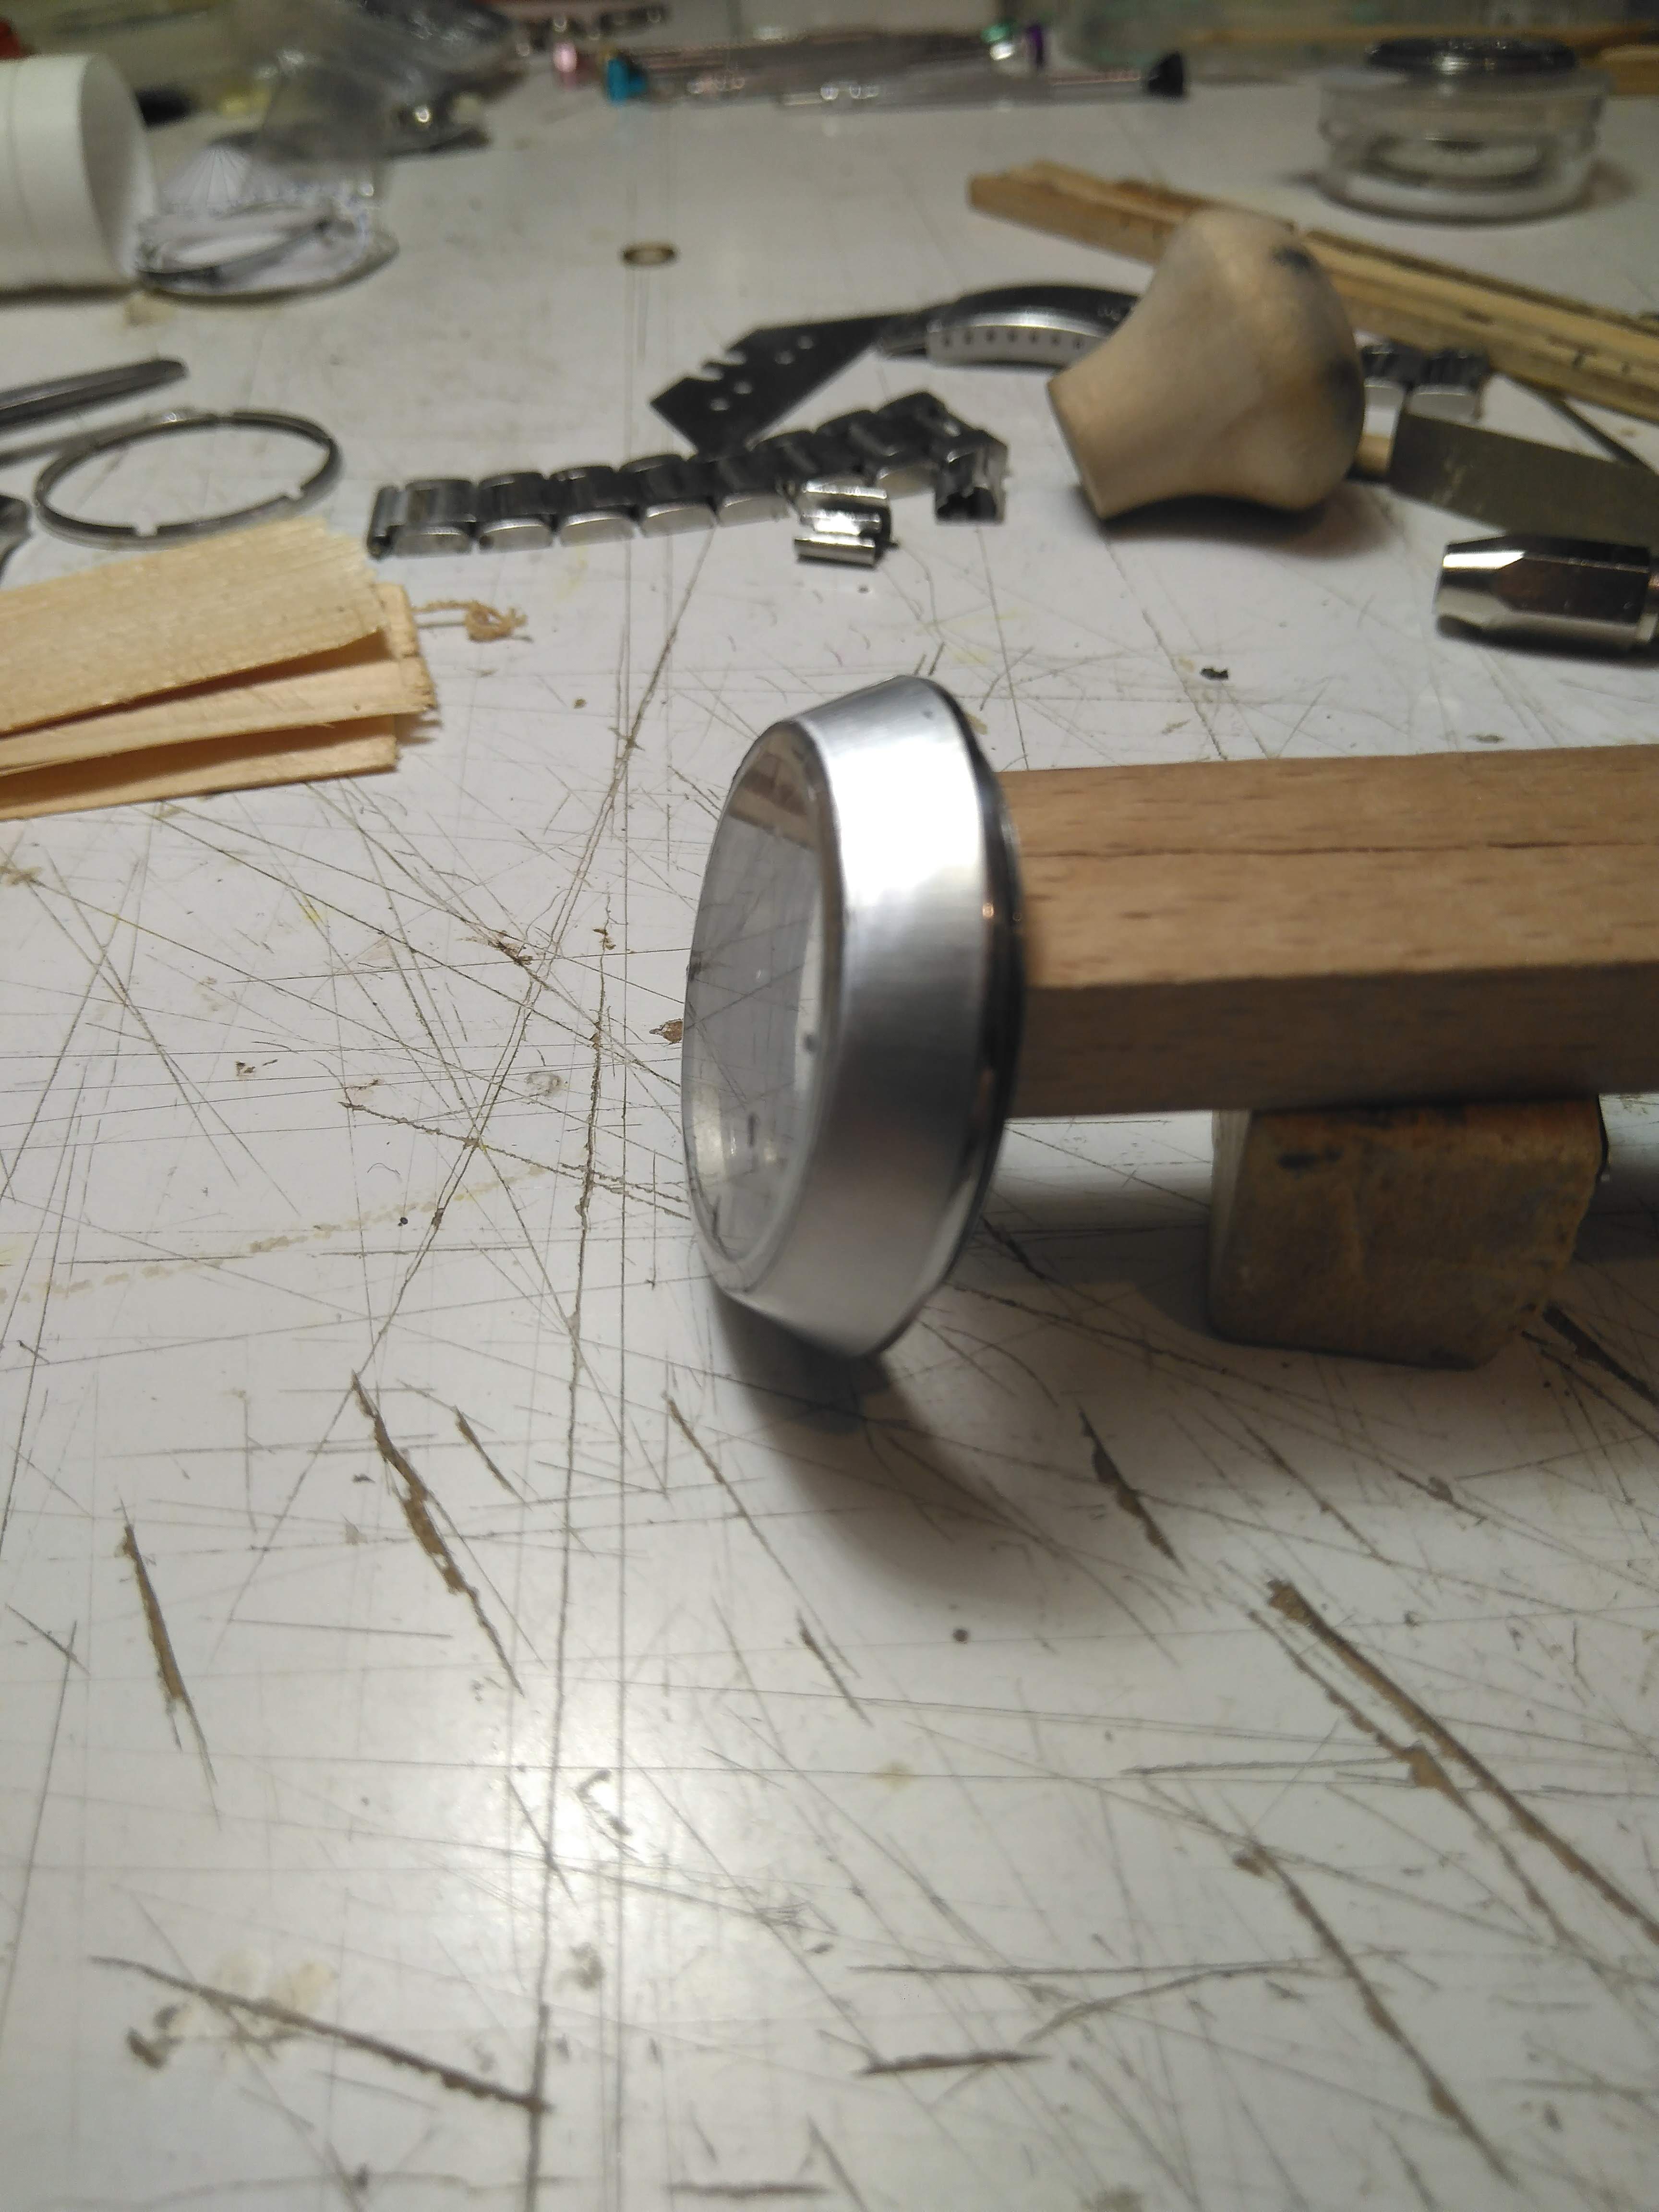
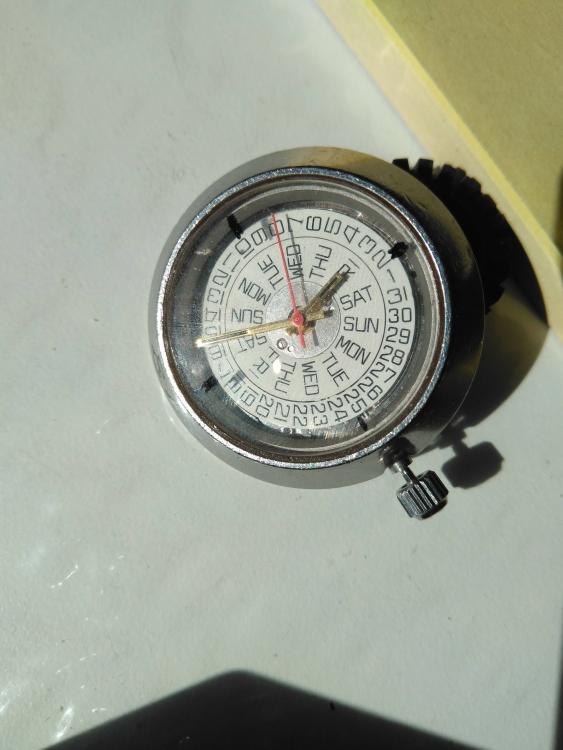
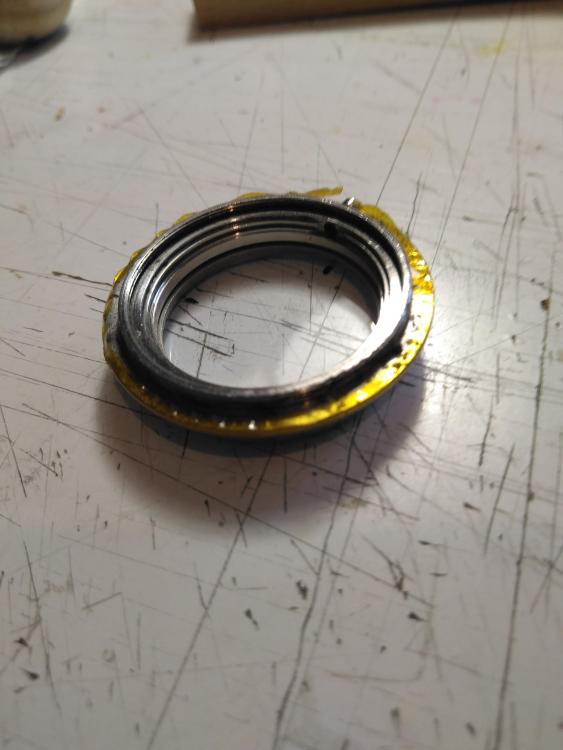
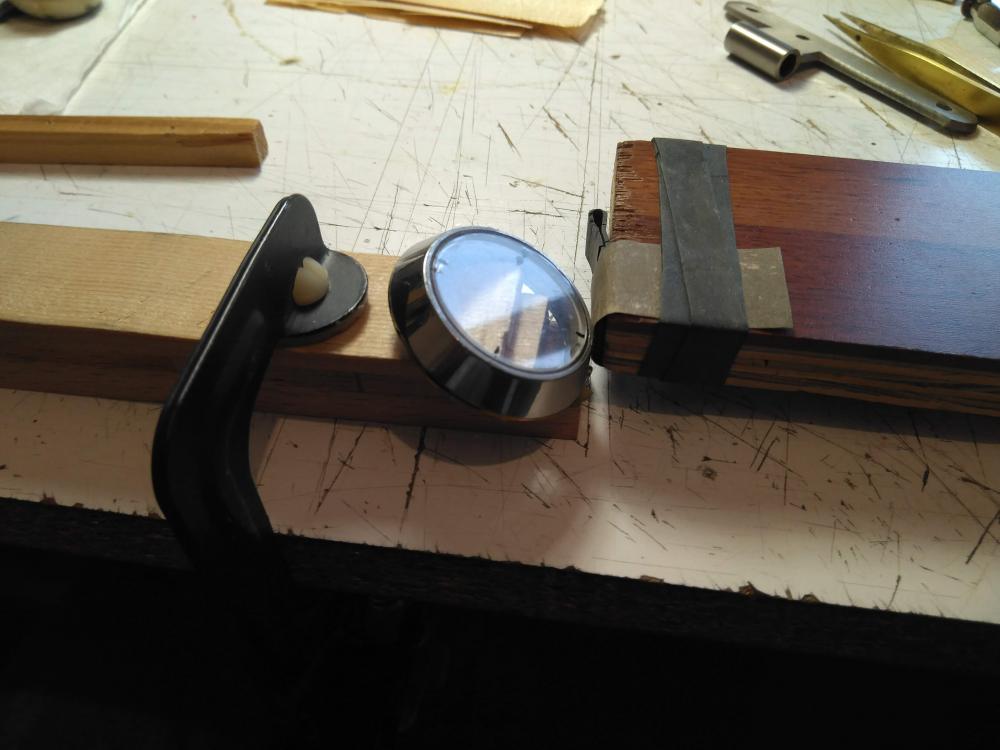
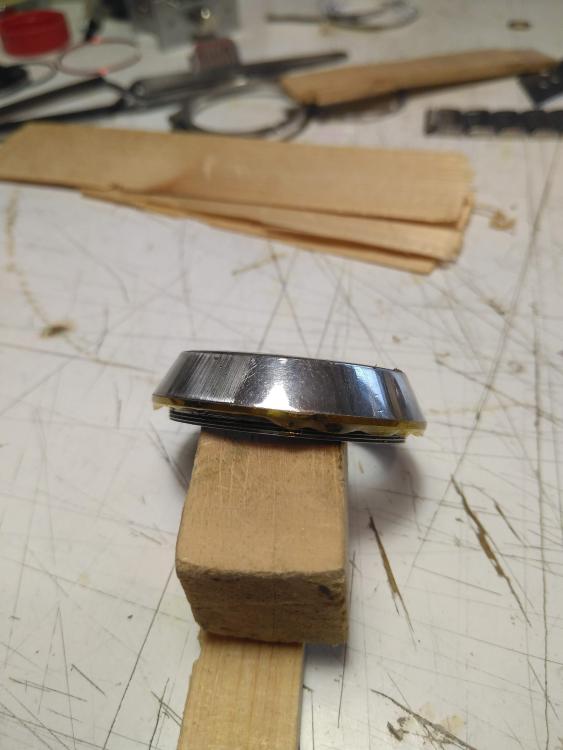
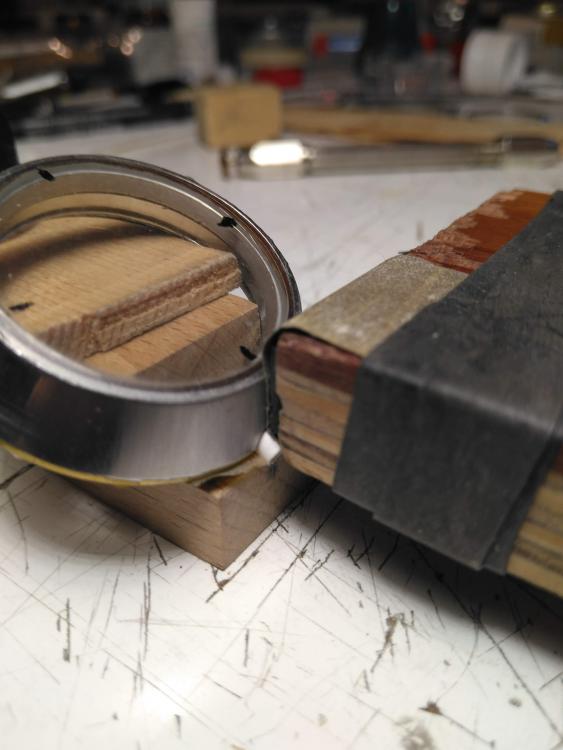
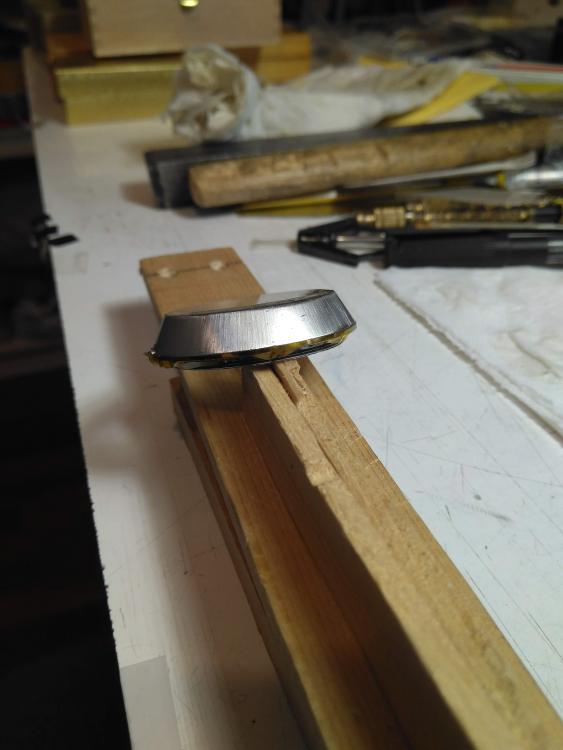
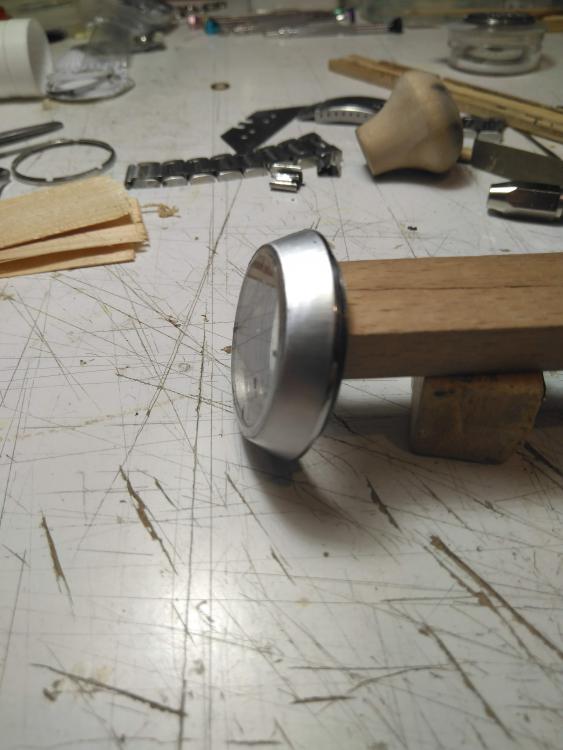
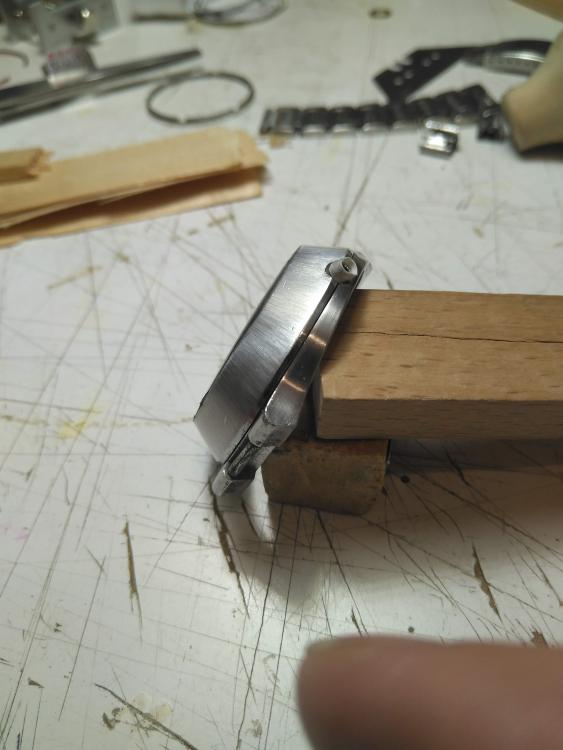
Hi, I hope you all are fine Those days I found an old omega f300 cone case sleeping on the drawer polished as a mirror when I bough it, many years ago cheap as scrap. I decided to give it a try and among other tasks, rescue it's finish, and discovered that it's impossible to do it by hand, each run marks his scratches in a different direction giving even worse impression than mirror polish, so decided to take the challenge of scratching it in a radial and homogeneous pattern. I read somewhere a post about redoing an Omega cone surface, and found it really difficult, doing supports, regulators and so on, and requiring even a grinding machine, impossible and not to inspiring for me. Saw even someone using a dremel that took the hell out of me. Below it's the simple contraption that allowed to do it, maybe you can find it useful for your projects, it's cheap, easy to build and makes the redo a piece of cake. All the secret is to guarantee that sanding paper (or whatever you use) attacks the surface always in the same "radial" direction, this is impossible if you grab the case or sand paper by hand, any minor deviation will shine as a photo flash ruining the look. So to do it you may elaborate a complex rotating support, or take a simpler approach. As the watch is round, almost any "support" that "fills" the case will allow to rotate it around that position keeping the angle and relative position of the case. So with just a few sticks laying around I've been able to "build" a really simple "fill" to firmly support the case in a fixed position, allowing it to rotate freely but preventing any displacement up down, right or left, so keeping the case in the same relative angle no matter how much you rotate it. The second challenge was to make a sanding "device" to scratch the cone wall without any lateral displacement, so, just up and down motion along the cone wall, with any lateral distraction. Again an old lumber piece and a single carpenter clamp did the trick. Below are a few photos of the job, cheap, easy and efficient, I hope you find it useful. It was fun to repair a watch case with lumber, sand paper and carpenter tools, still thinking what use give to the hammer. My apologies, but don't know how to lay the photos in their place Ask if any doubt. Cheers and take care Ricardo

 1 point
 -
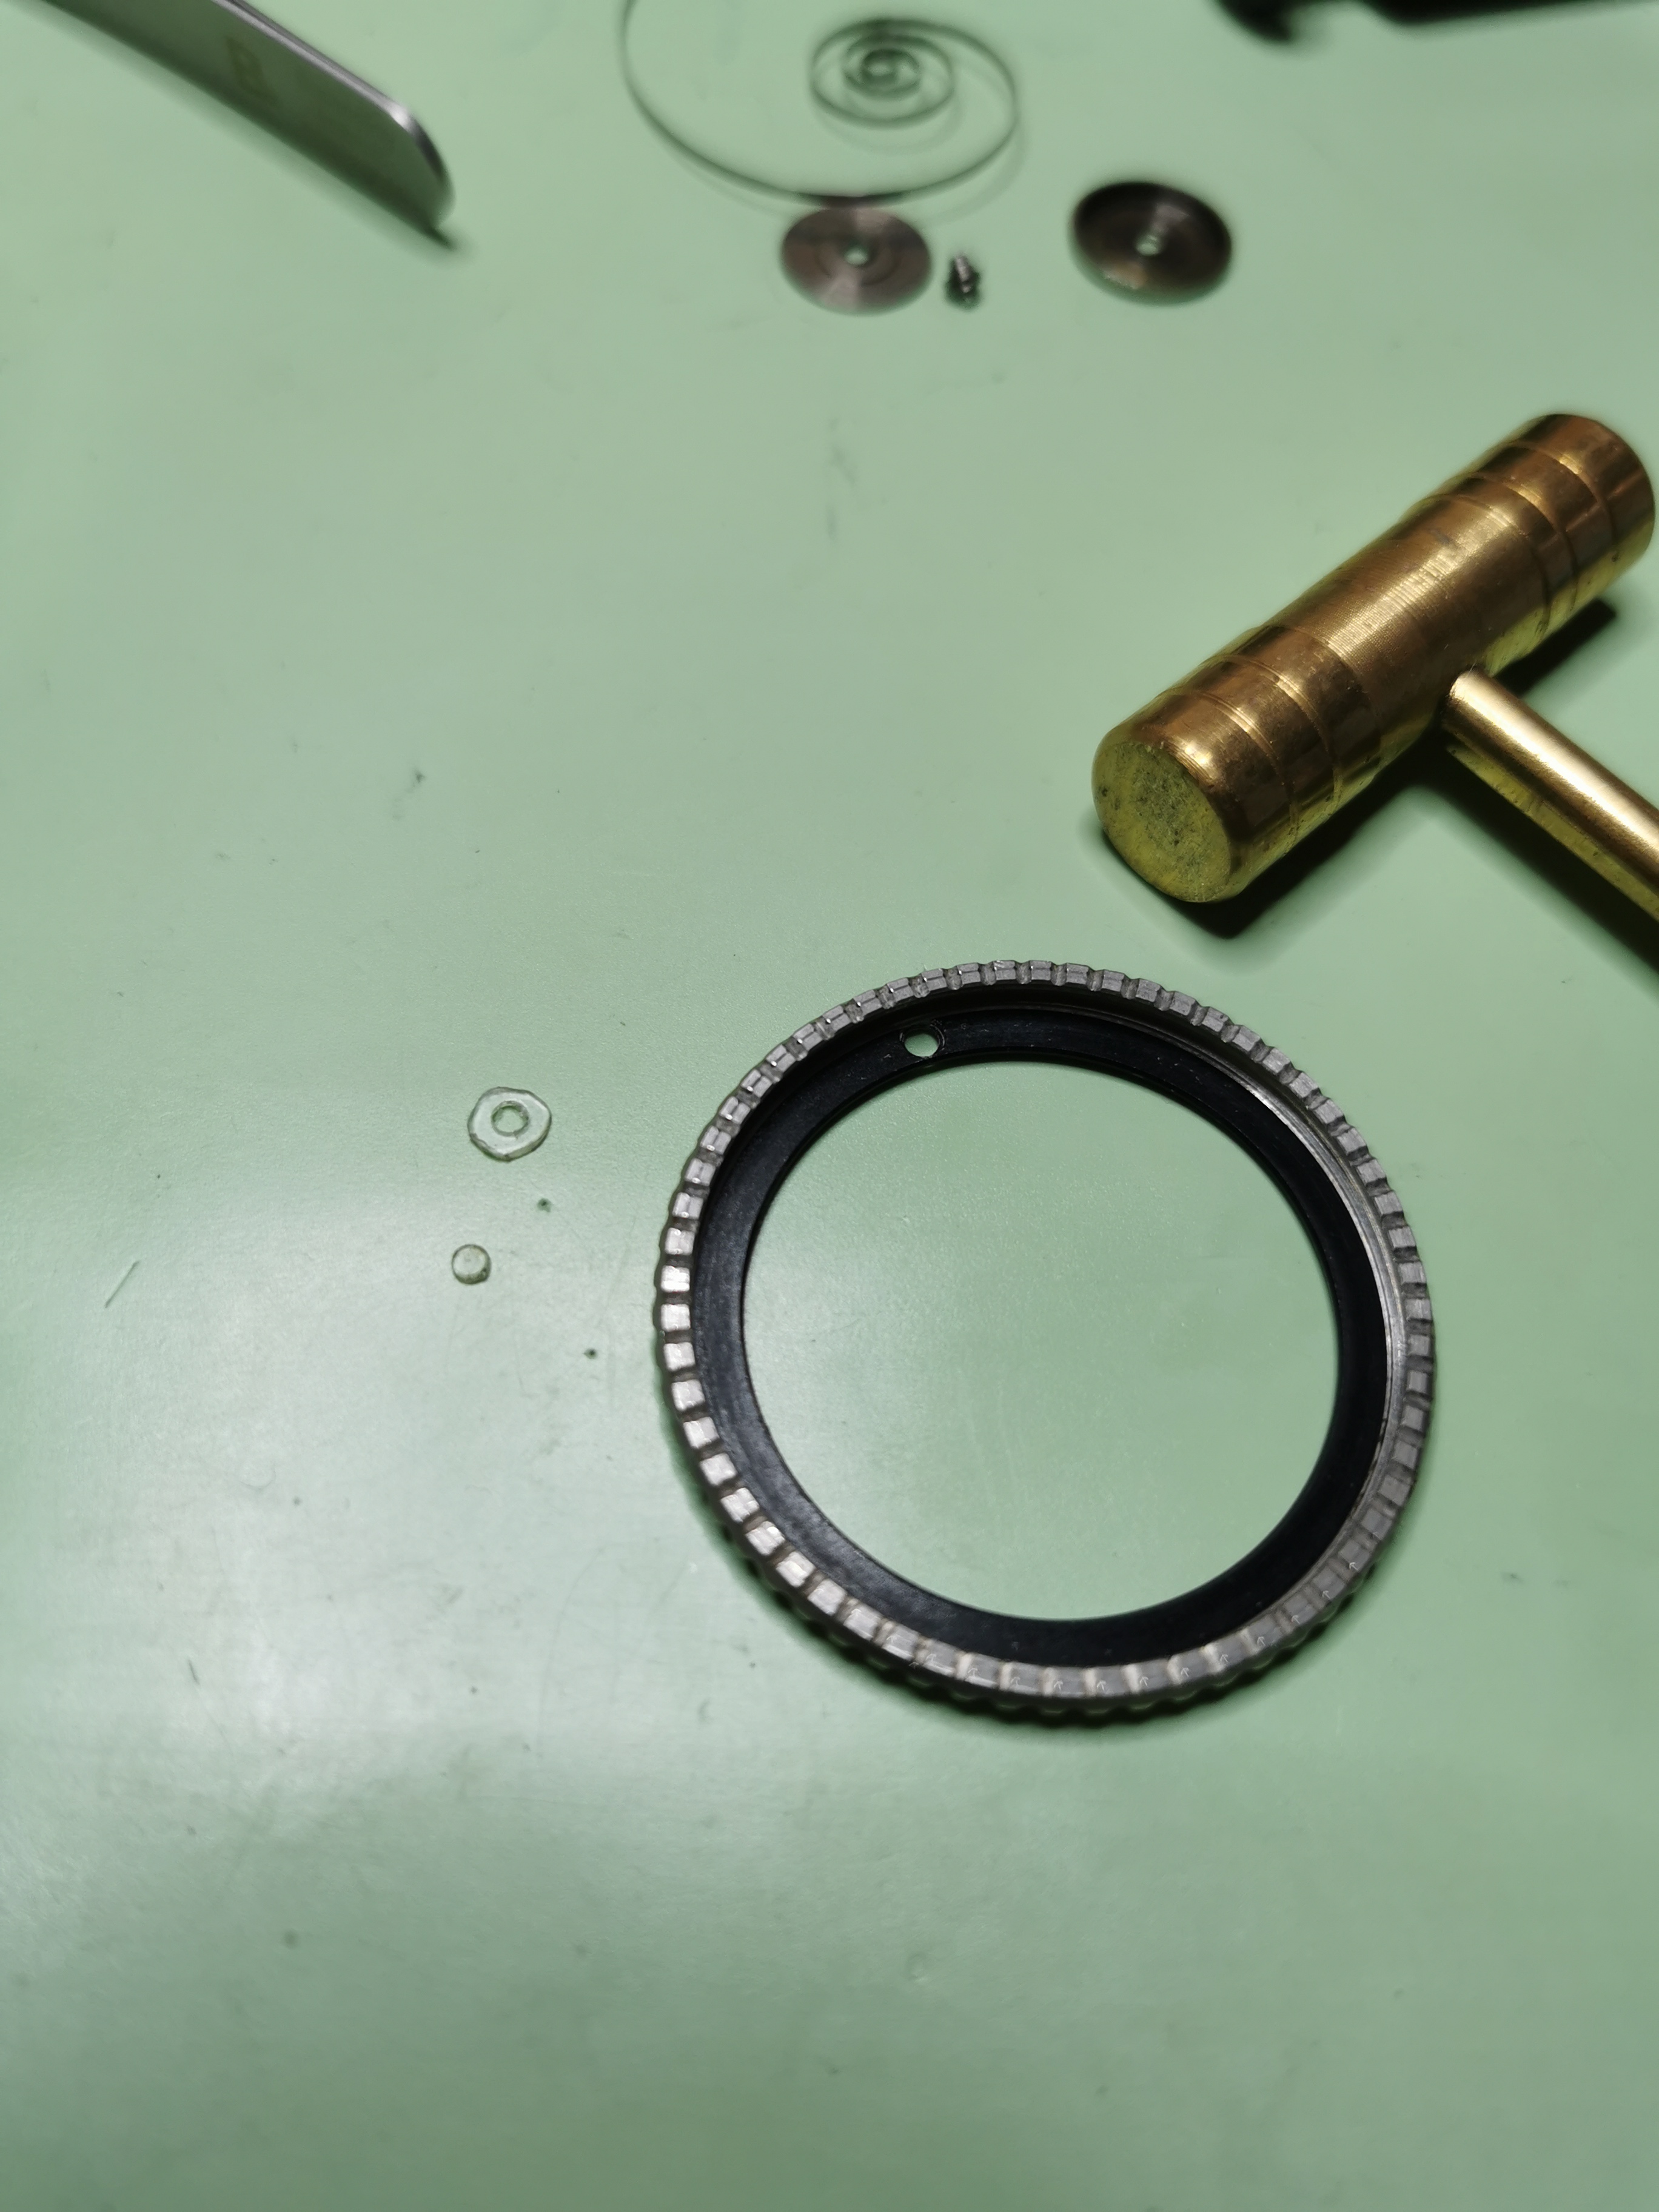
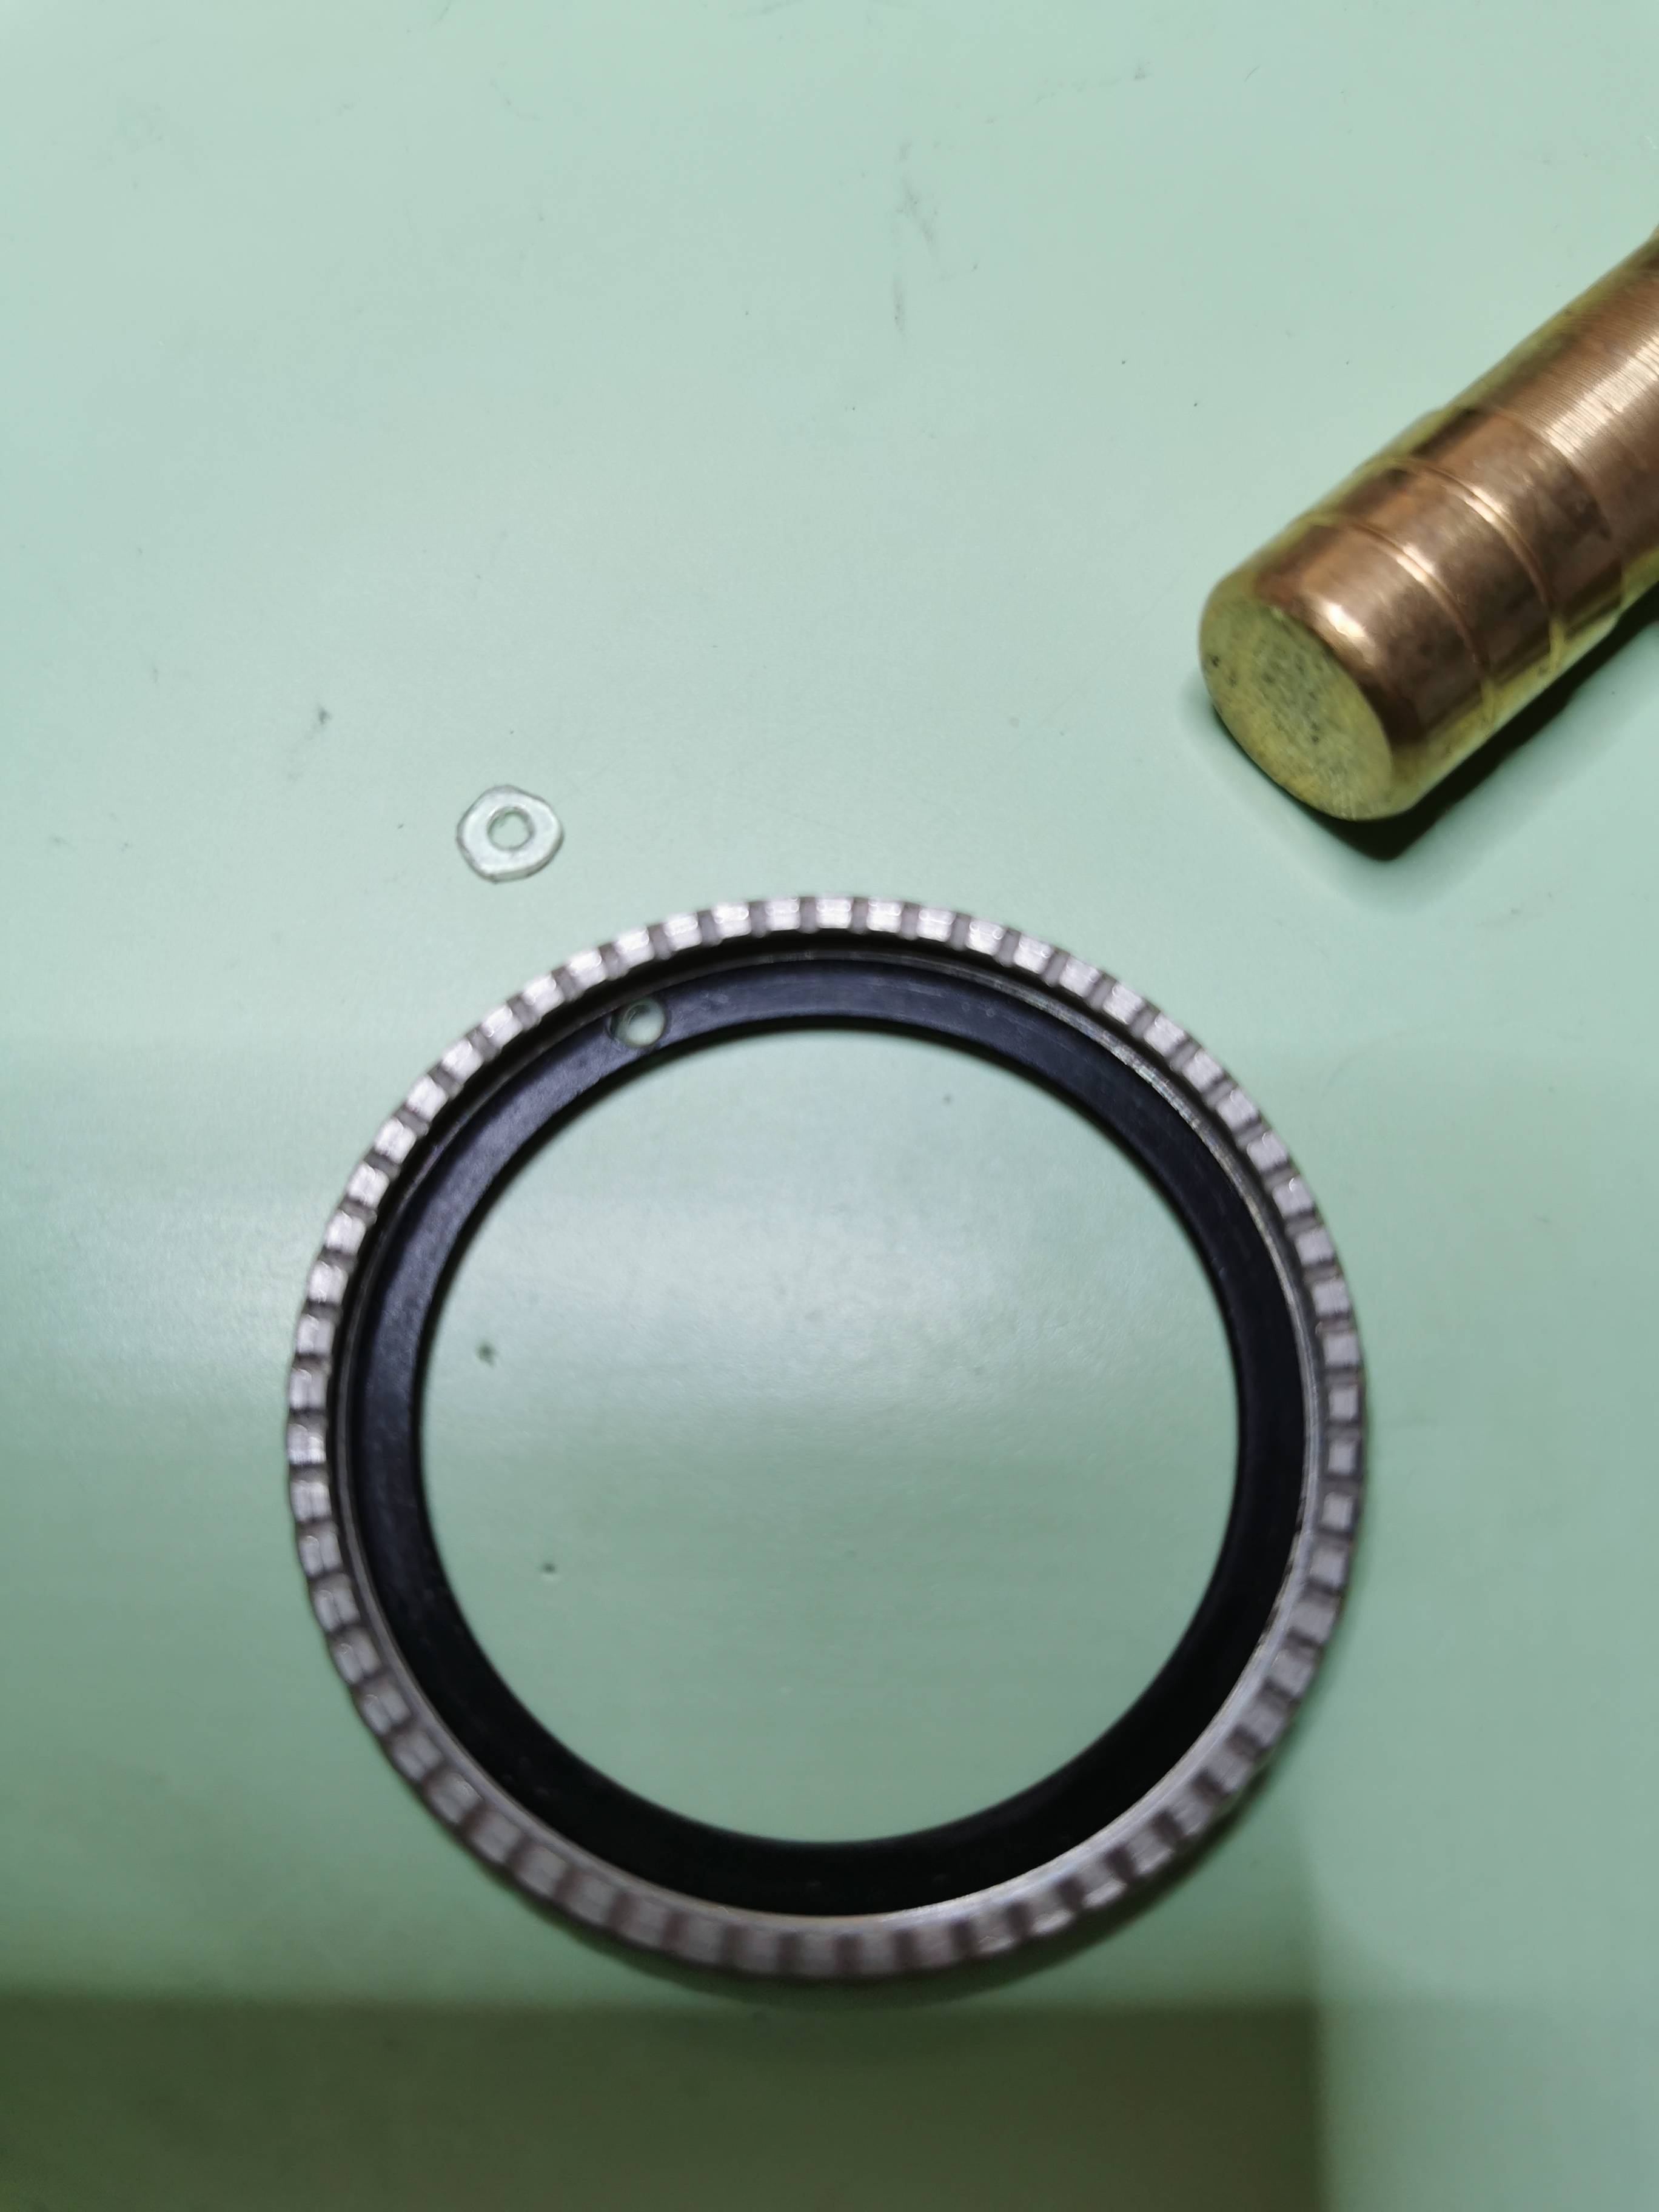
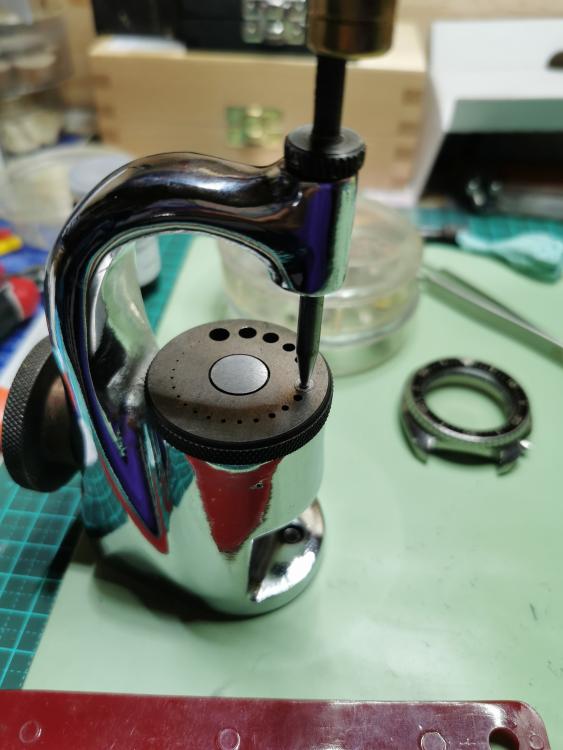
Manufacturing Seiko lume pip for 6309 7040. Using a staking set and peice of plastic from bergeon packaging which is the right thickness, once in the bezel I will relume with c3 and post more photos


 1 point
 -
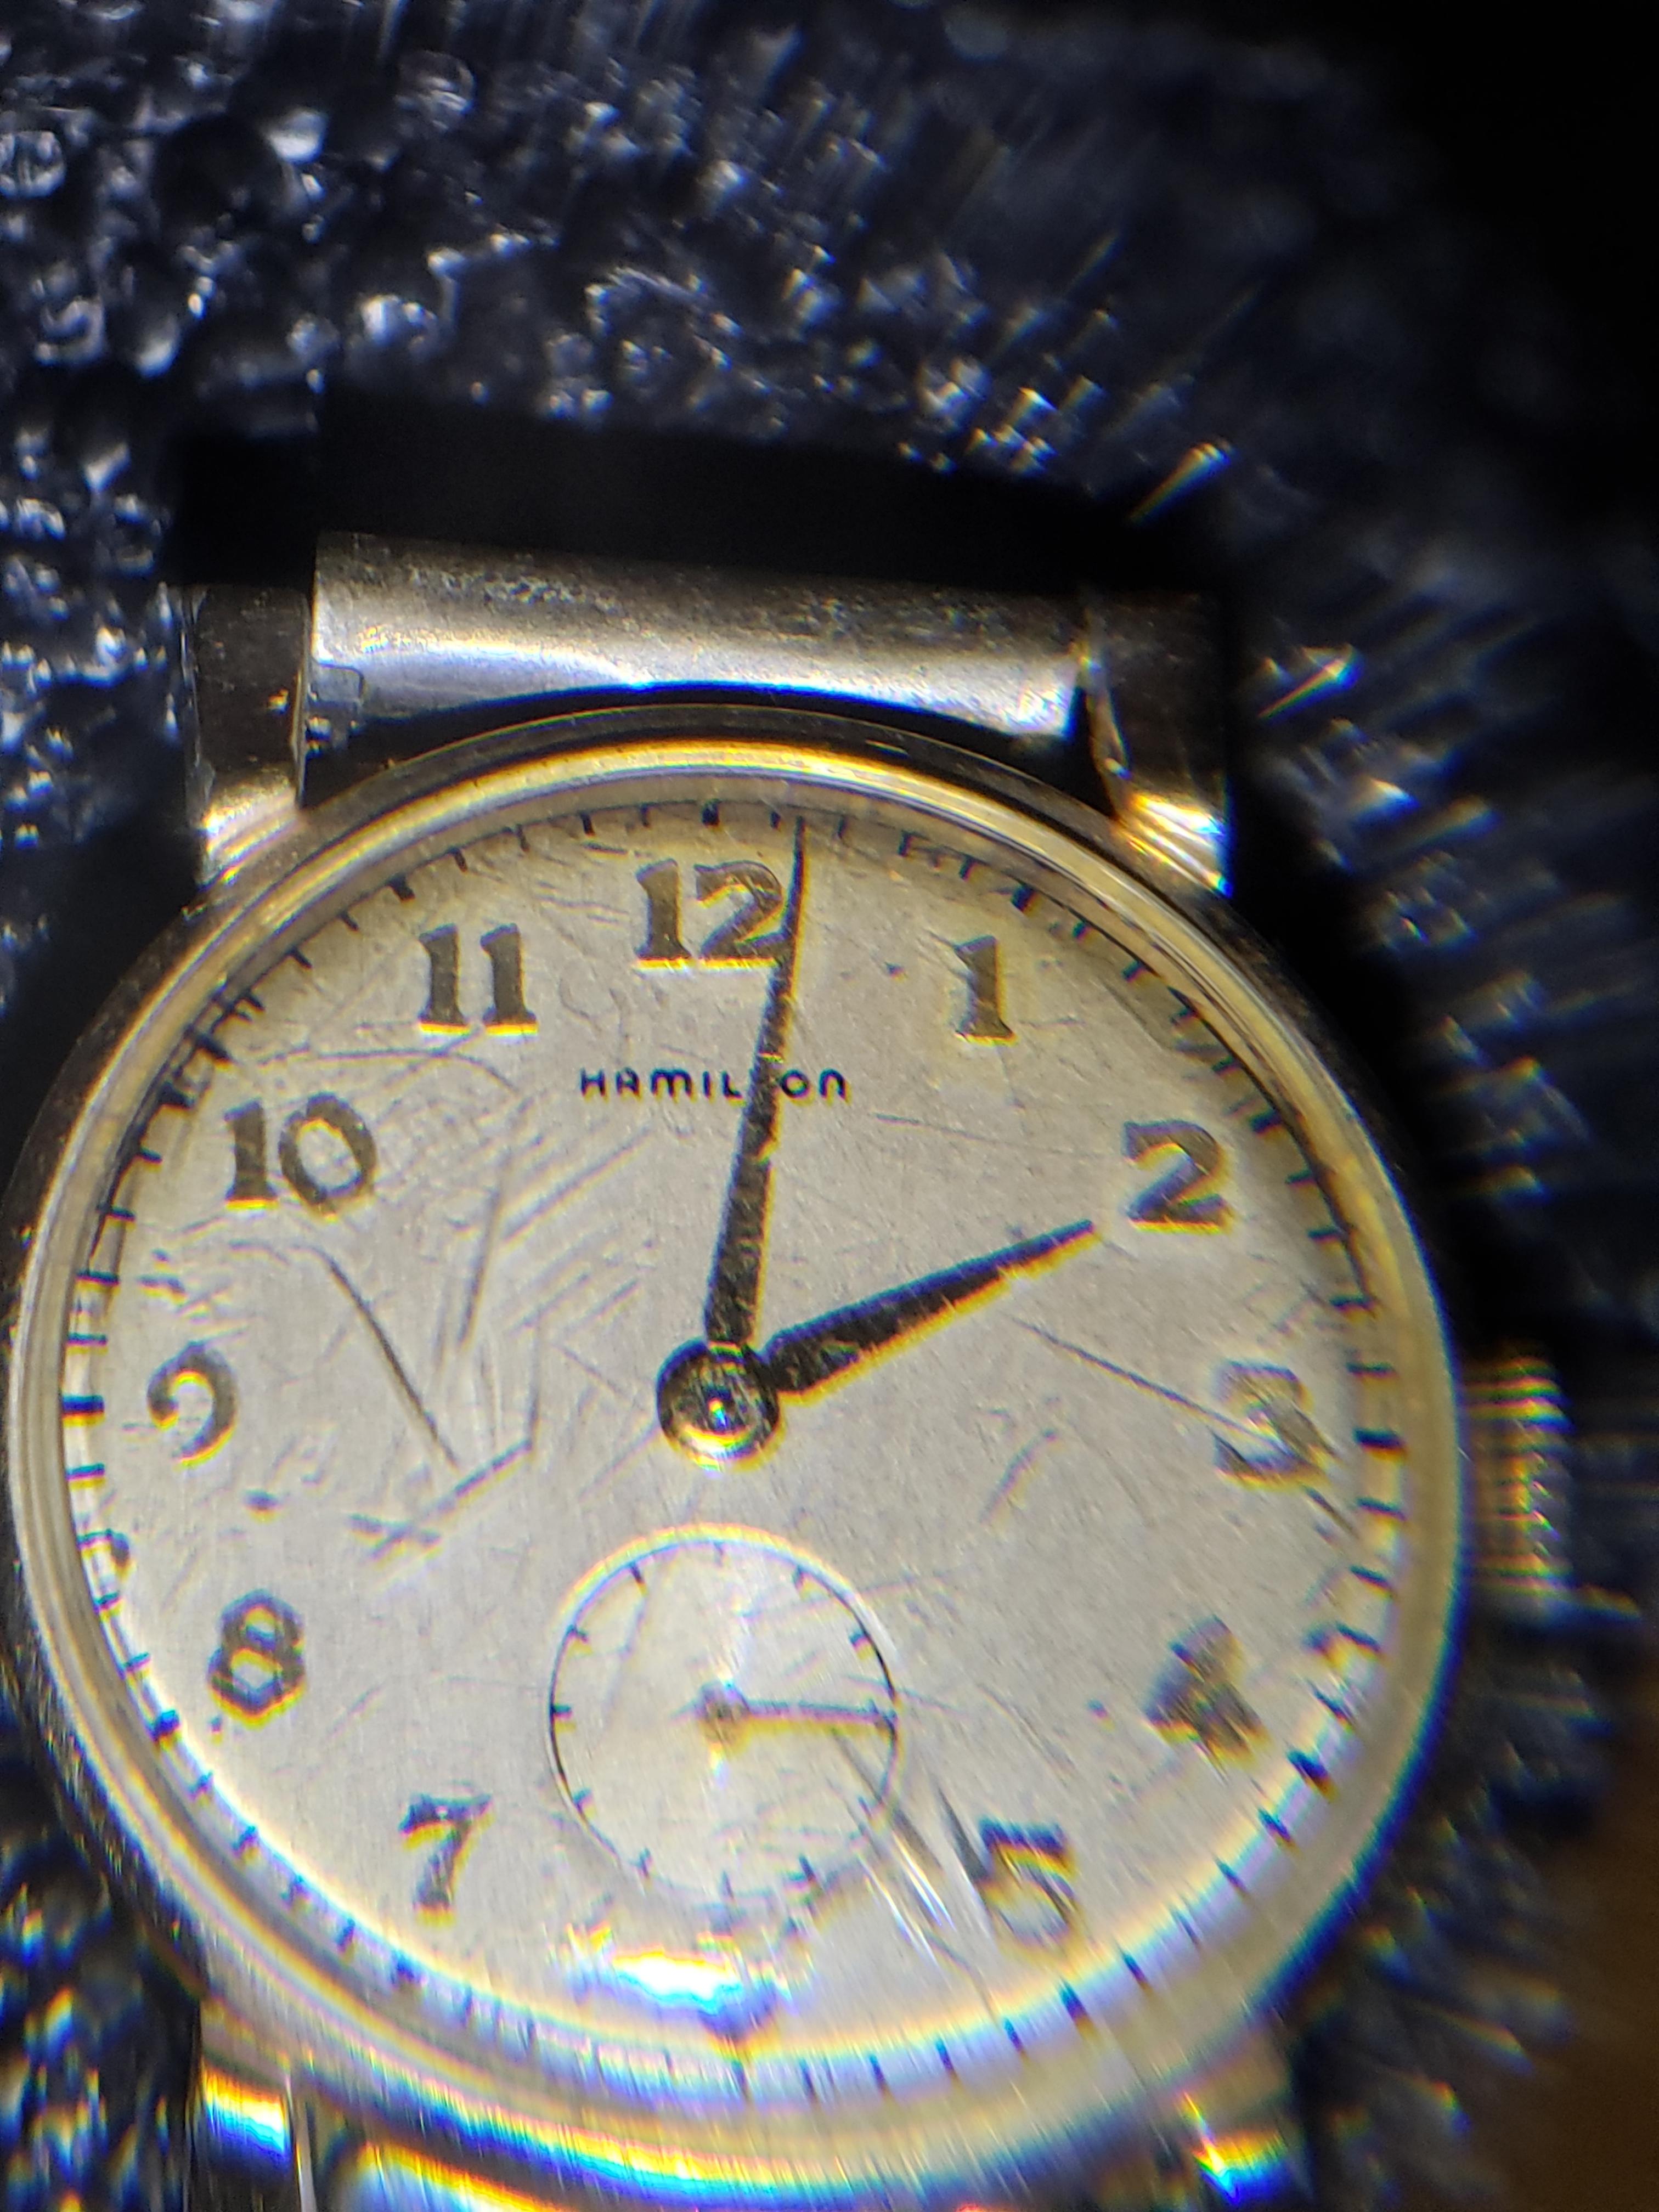
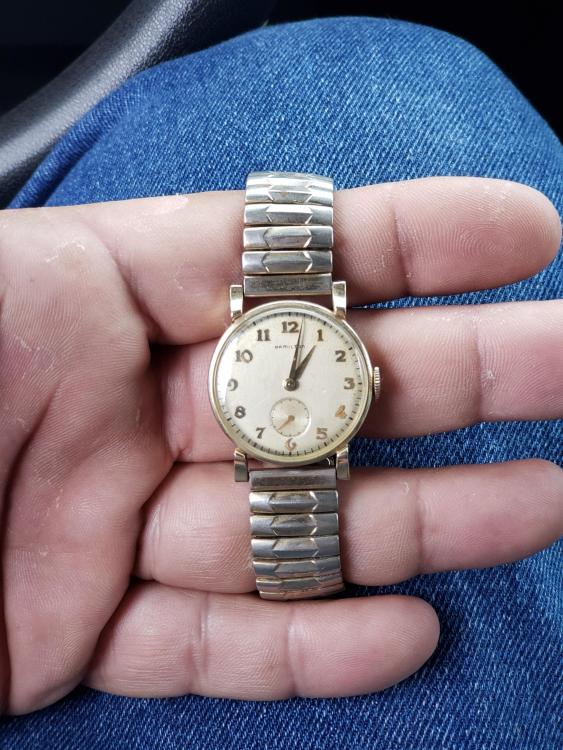
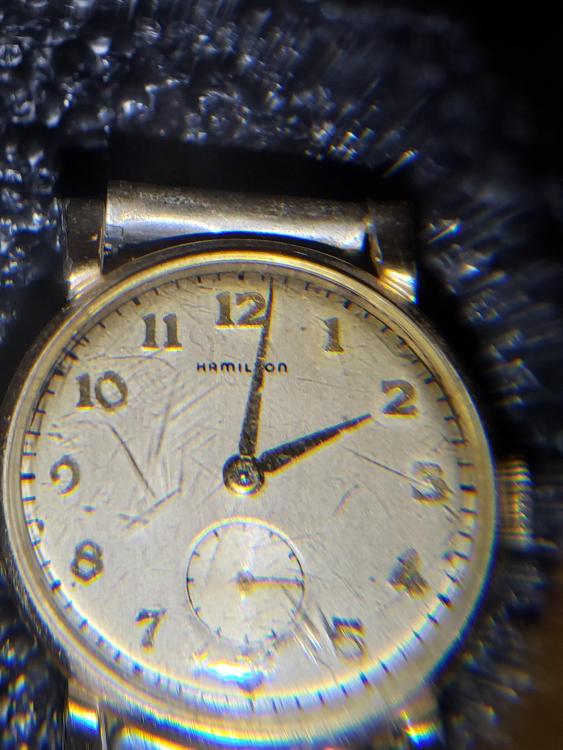
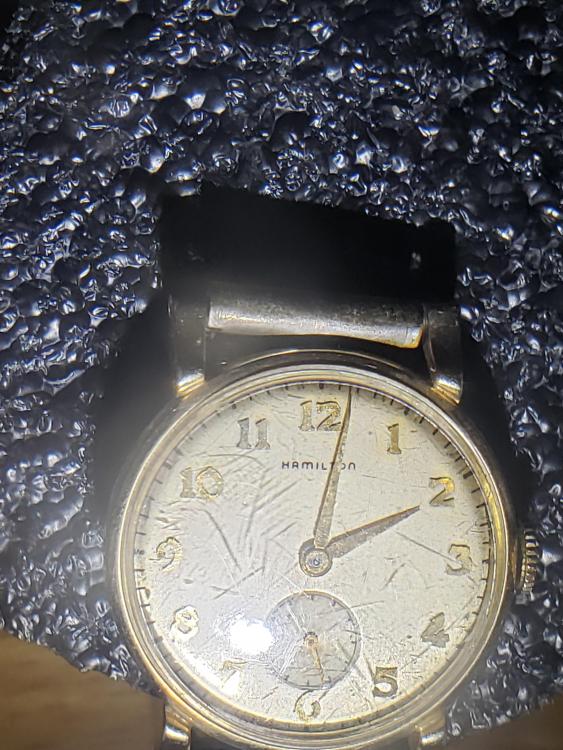
Hello everyone, this is my new find today! It is working, actually keeps good time so for! I actually think its gold. But heck for 30 dollars, if it isn't, its still still nice looking. Has a 30mm and Is a Hamilton 747 movement. What are your thoughts? Thx!!!
 1 point
 -
I like your creativity! We simply can't have a separate tool for each task! I bought a pair of levers from Cousins not realizing how huge and thick they were. Never used them.. need to file them thin and hopefully use in future. A couple of Hand Removal tools and trusted Inverto 18 Staking Tool so far helped to do the job.1 point
-
Two comments: - it appears that you missed my comment above about using a thin plate between these surfaces. I made several such plates resembling to Dial Protectors, but using thicker plastic (guitar pick) and metal. The idea is to prevent dents and to hold down the entire surface of the wheel (similar to K&D staff removal tool / attachment which pushes the balance wheel down while staff is being knocked) - my preferred method requires some good eye-arm & don't breathe ? coordination just for a few seconds while delivering one punch using a fine punch shown in my previous posts. No staking tool die, just two hands. You will be surprised how effective that method is. But the most important thing is that you were keeping everything under control and STOPPED as soon as you noticed something was about to go wrong. Congrats!
 1 point
 -
Thats my plans, clean her up, oil, and leather straps! I do think it is gold plated. Thanks alot, I'm a beginner, and appreciate the help and encouragement.1 point
-
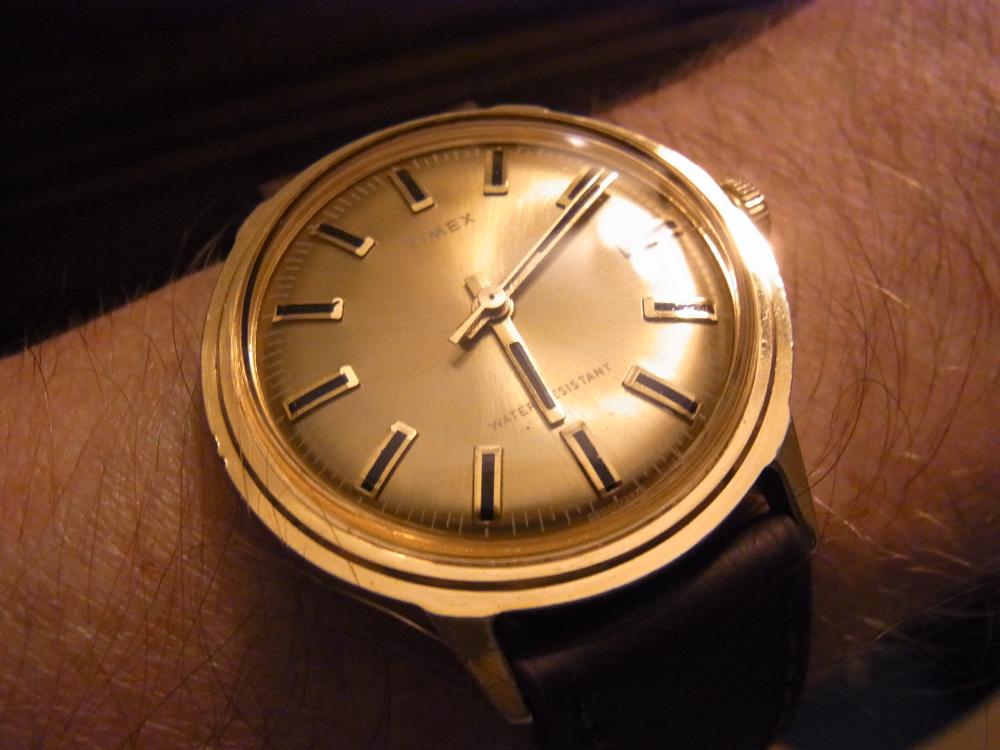
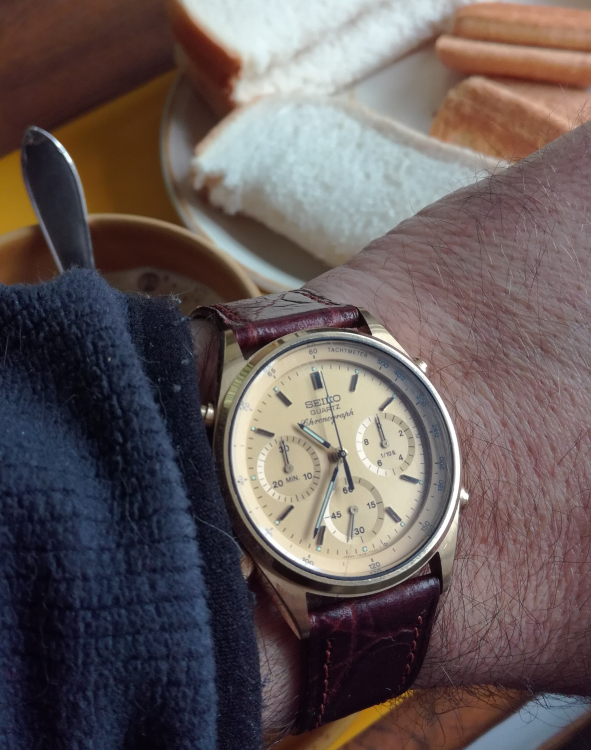
All this Timex talk inspired me to wear this 1976 Marlin today.
 1 point
 -
If your movement is indeed Peseux 320, then you've got several options and will have to take some accurate measurement before ordering your part(-s): https://www.cousinsuk.com/category/filter/peseux-movement-parts Does this movement below look similar to yours? https://www.catawiki.com/l/24286723-accurist-swiss-made-peseux-320-21-jewels-33-mm-gold-plated-g10-men-1960-19691 point
-
I am expecting dials from the same source now.
 1 point
 -
If you have a decent pinvice, get ahold of the center pinion, then grab the canon pinion by the leaves with brass/nickel tweezers or tweezers lined with tape (choke up in the tweezers, not the tips), hold the CP as you twist the center wheel pulling it out. It ought to come.1 point
-
First of all the inner part of the bearing will be particularly hard steel, so drilling with anything other than carbide will be quite difficult. Then, is this a new bearing? Or new rotor? Did the nut not fit before? Easiest thing would be to modify the nut, but will need a lathe for that. If you really want to drill it, and have tools that will cut it, then fill the race with super glue. Drill. Soak in acetone to remove super glue (do one to remove, and then a clean soak to get any remaining residue).1 point
-
Get into a habit of using Rodico or two sets of tweezers, or a pair of tweezers and a peg-wood stick to hold the part in place while removing or installing it. Sometimes you can use a small piece of plastic wrap on top of the movement during disassembly of certain components. It's clear plastic - you can see things and the parts are not going to fly across the room.1 point
-
Some are like a micarta type thing, others a rigid plastic. The first time I saw one of these was when Antoine Simonin came to give a precision timing course at my school (back in the 1900s, USA) and he had one but that piece had broken. I got to make him a new one- pretty sure I used Delrin.1 point
-
Well Poljot has about covered everything as far as the preliminary checks go so follow that advice and remember to check the endshake of the balance. With the balance installed without the fork tip the watch dial down and dial up and observe the balance it should drop freely a tiny amount thats the endshake and proves the balance its self is free, also check the rotation with the balance on its own.1 point
-
Continuing with the Timex them, this time its a Timex 392 ana-digi from the late eighties or early nineties.
 1 point
 -
You did not tell what was that "extra" screw for. I would do the following: - release the mainspring - remove balance bridge - remove pallet fork - rotate train wheels manually to confirm they move freely. If they don't - find out why. Once that is resolved or confirmed, next stem - replace the pallet fork, wind the main spring just few rotations, push the pallet fork gently to see if mainspring energy is being transferred and wheels are moving - just take a closer look at both pivots of the balance staff. Again, gently and without pulling too hard - check both pivot, top and bottom. You may have bent one while removing the balance bridge several times (i hope you did not). - with the mainspring wound, replace the balance bridge. Often balance would self-adjust (impulse jewel / fork) and start moving. Gently replace the balance bridge screw. Good luck!1 point
-
Nice. I'm not sure why image linking seems to be broken at the moment, but I pasted the image here 'cos its too good to miss.
 1 point
 -
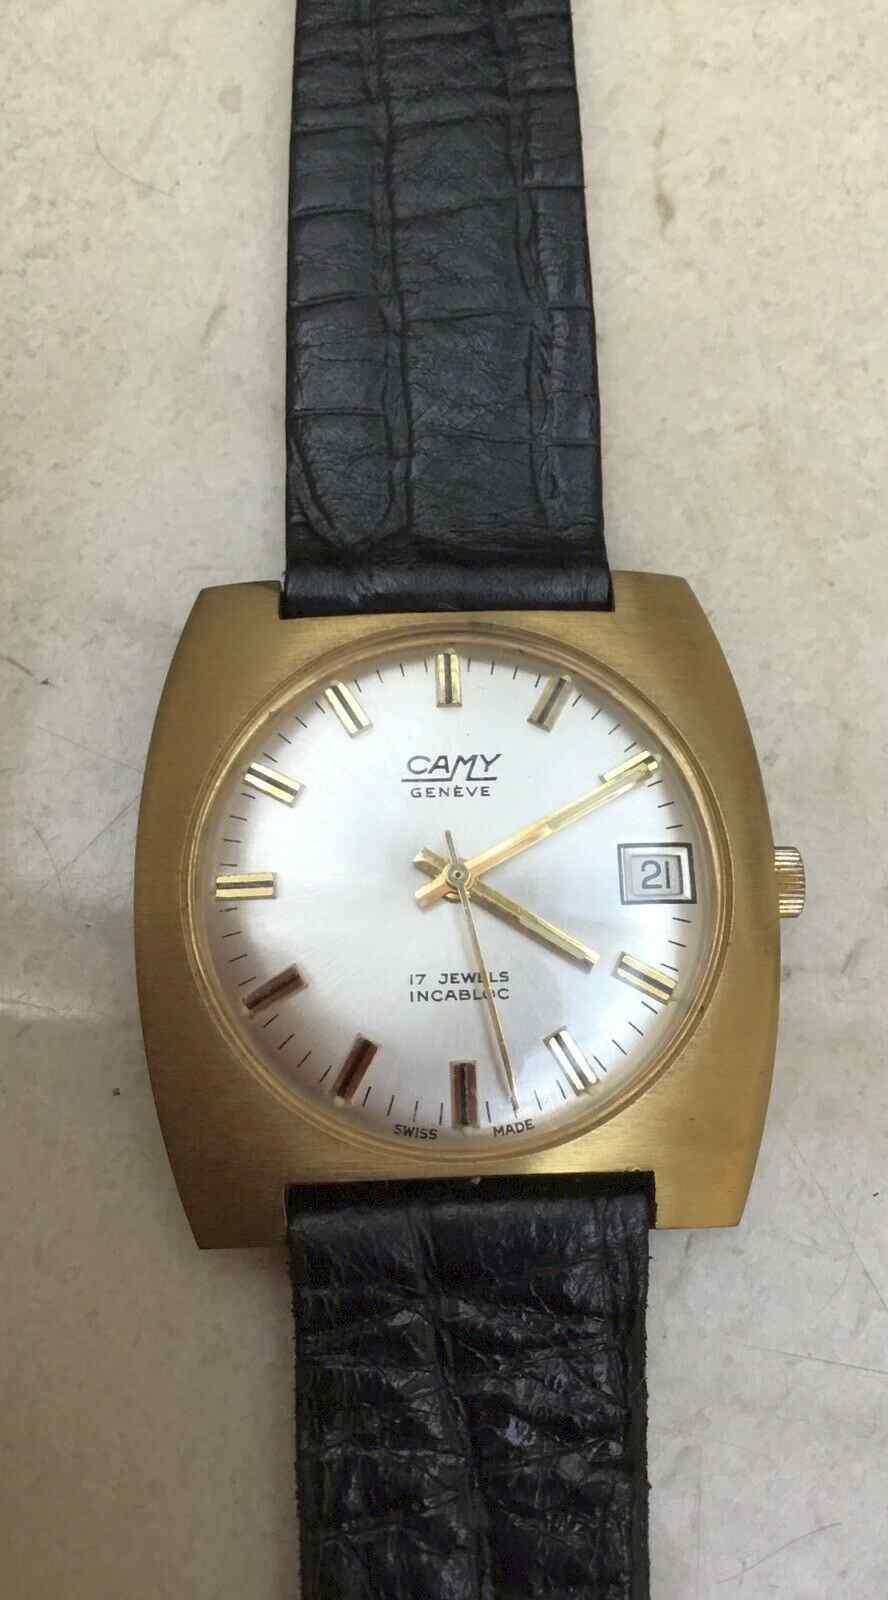
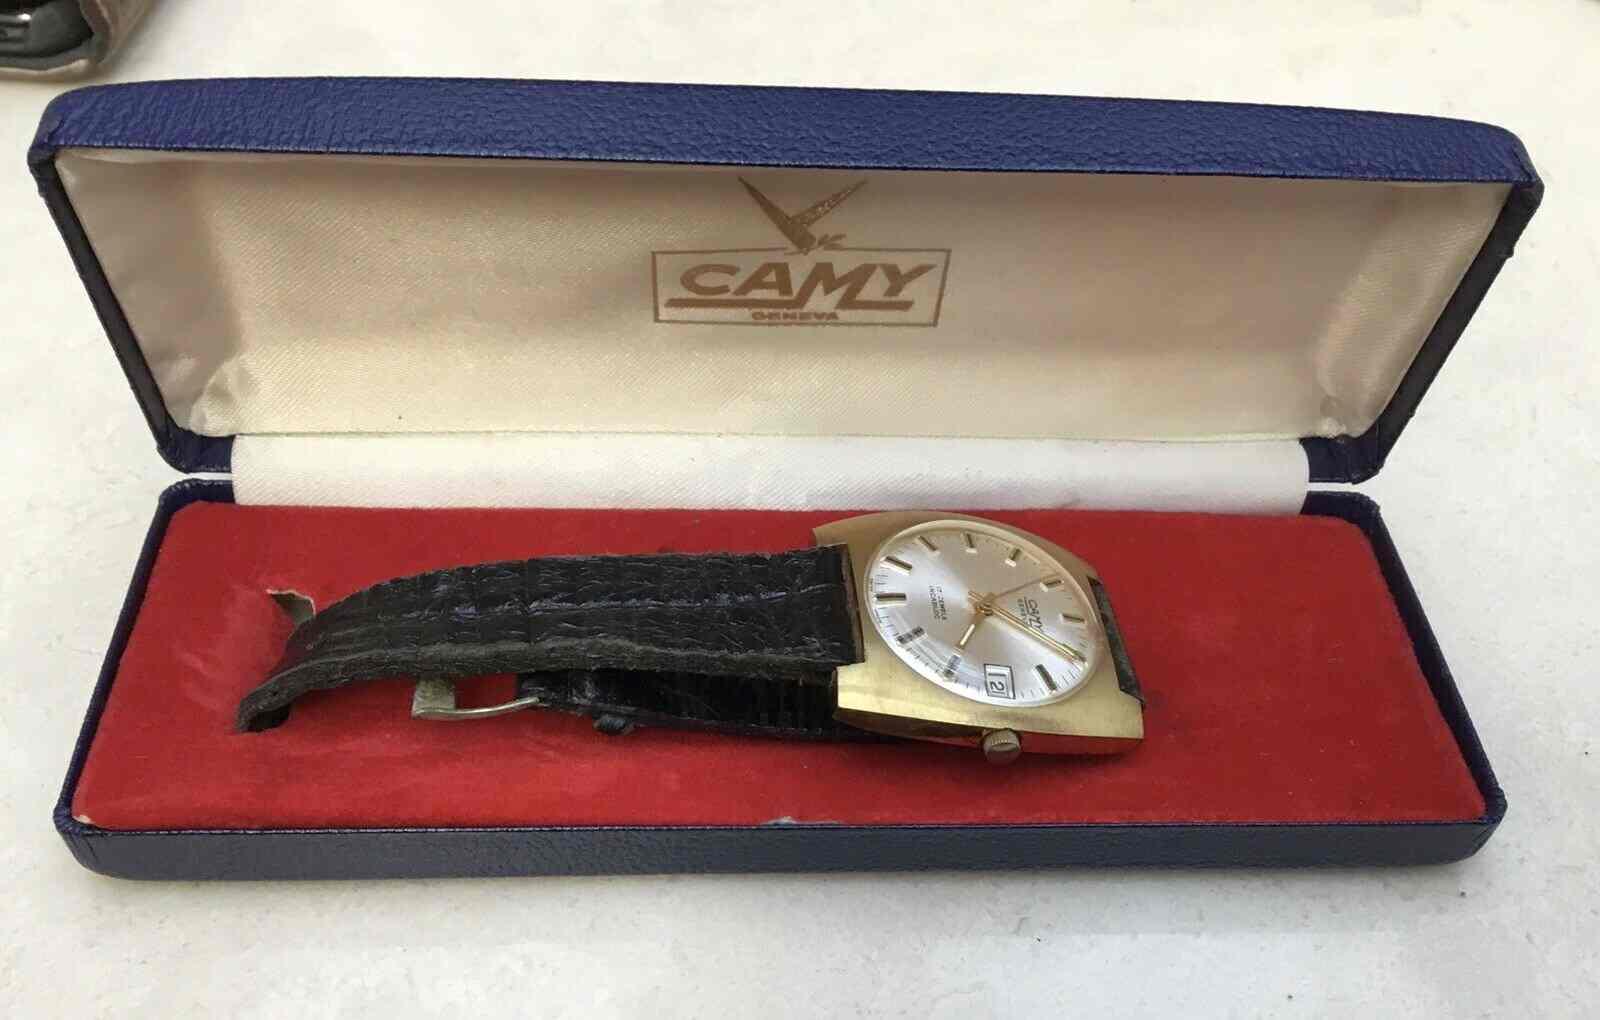
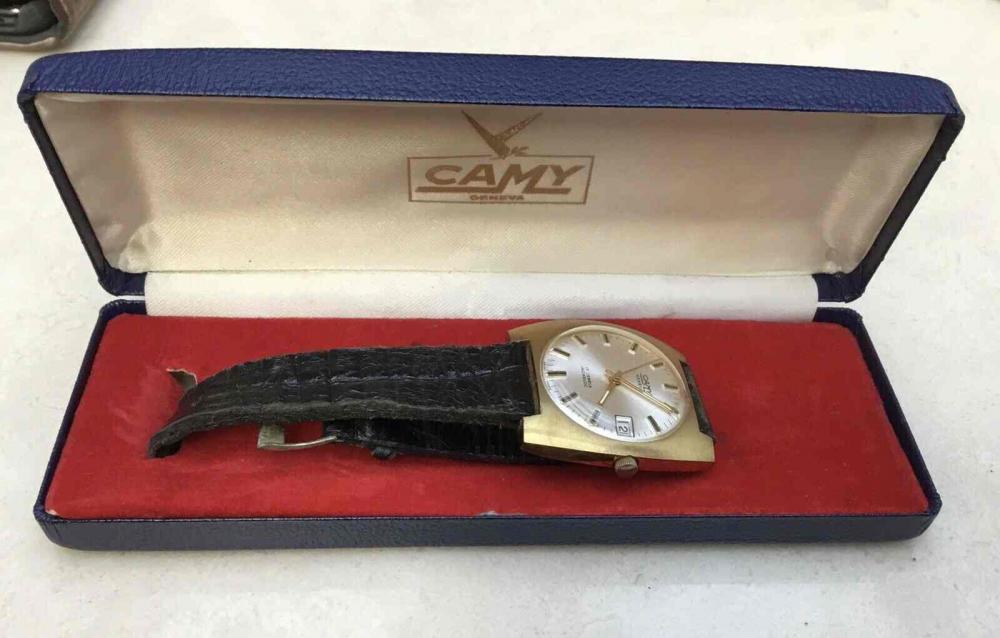
Well my Luch 3055 apparently left the Ukraine over 3 weeks ago and still isn't here yet...... I do have this rather nice Camy on the way though from a UK seller, hopefully won't take too long to arrive.....

 1 point
 -
Oh oh, @rogart63 , that one was a prank1 point
-
There is absolutely no reason to install the balance without the pallet fork being fitted first unless you did some work on the balance (staff replacement, hairspring adjustment, pivot straightening / polishing, jewel replacement, etc). A few questions for you: - you did not by any chance lubricate Pallet Fork Pivots / Jewels? If you did, remove the Pallet Fork, clean it, remove any remaining oil from Top and Bottom Jewels, reinstall the Pallet Fork. That should resolve your "stopping" issue. - also, do not forget to very-very-very lightly oil contact surfaces of both Pallets with light oil. Not even a drop - just a touch with red oil pin. Good luck0 points


.jpg.99e8ef9e4ccbb88ec8508d970a788ae3.jpg)
.jpg.2fdb881139cea5b7a8e4c50b8b6fdc85.jpg)
.jpg.64053e1ce2001fbfbf15890bdd5b5b52.jpg)
.jpg.9004779c76c86609989109cfdd842141.jpg)
.jpg.63575efb294978d681f8526fc5a60872.jpg)
.jpg.baa489c244f9f5325c0d7d67c40493ab.jpg)
.jpg.626b2d20fe114768989ebaff1173d3c1.jpg)


.jpg.d8087b1d80e2cb7343eaaa4f248d4f00.jpg)
.jpg.706c410a56585bdab9dea486821ee083.jpg)