Leaderboard


Popular Content
Showing content with the highest reputation on 01/25/20 in Posts
-
I have read several threads talking about using super glue for the repair watches. Whether or not I think it is the right way or the wrong way to fix something isn't my intention. I would gust like caution everyone that cyanoacrylate adhesives release vapors that can be very irritating to the eyes, damage the surfaces of some materials, as well as, negatively affecting electronic circuits, especially if allowed to set up in a confined space. The words of experience. Shane2 points
-
I think you need to send watches to this guy. He is replacing the "compacitor" on a citizen eco drive watch. Sent from my GT-N5110 using Tapatalk1 point
-
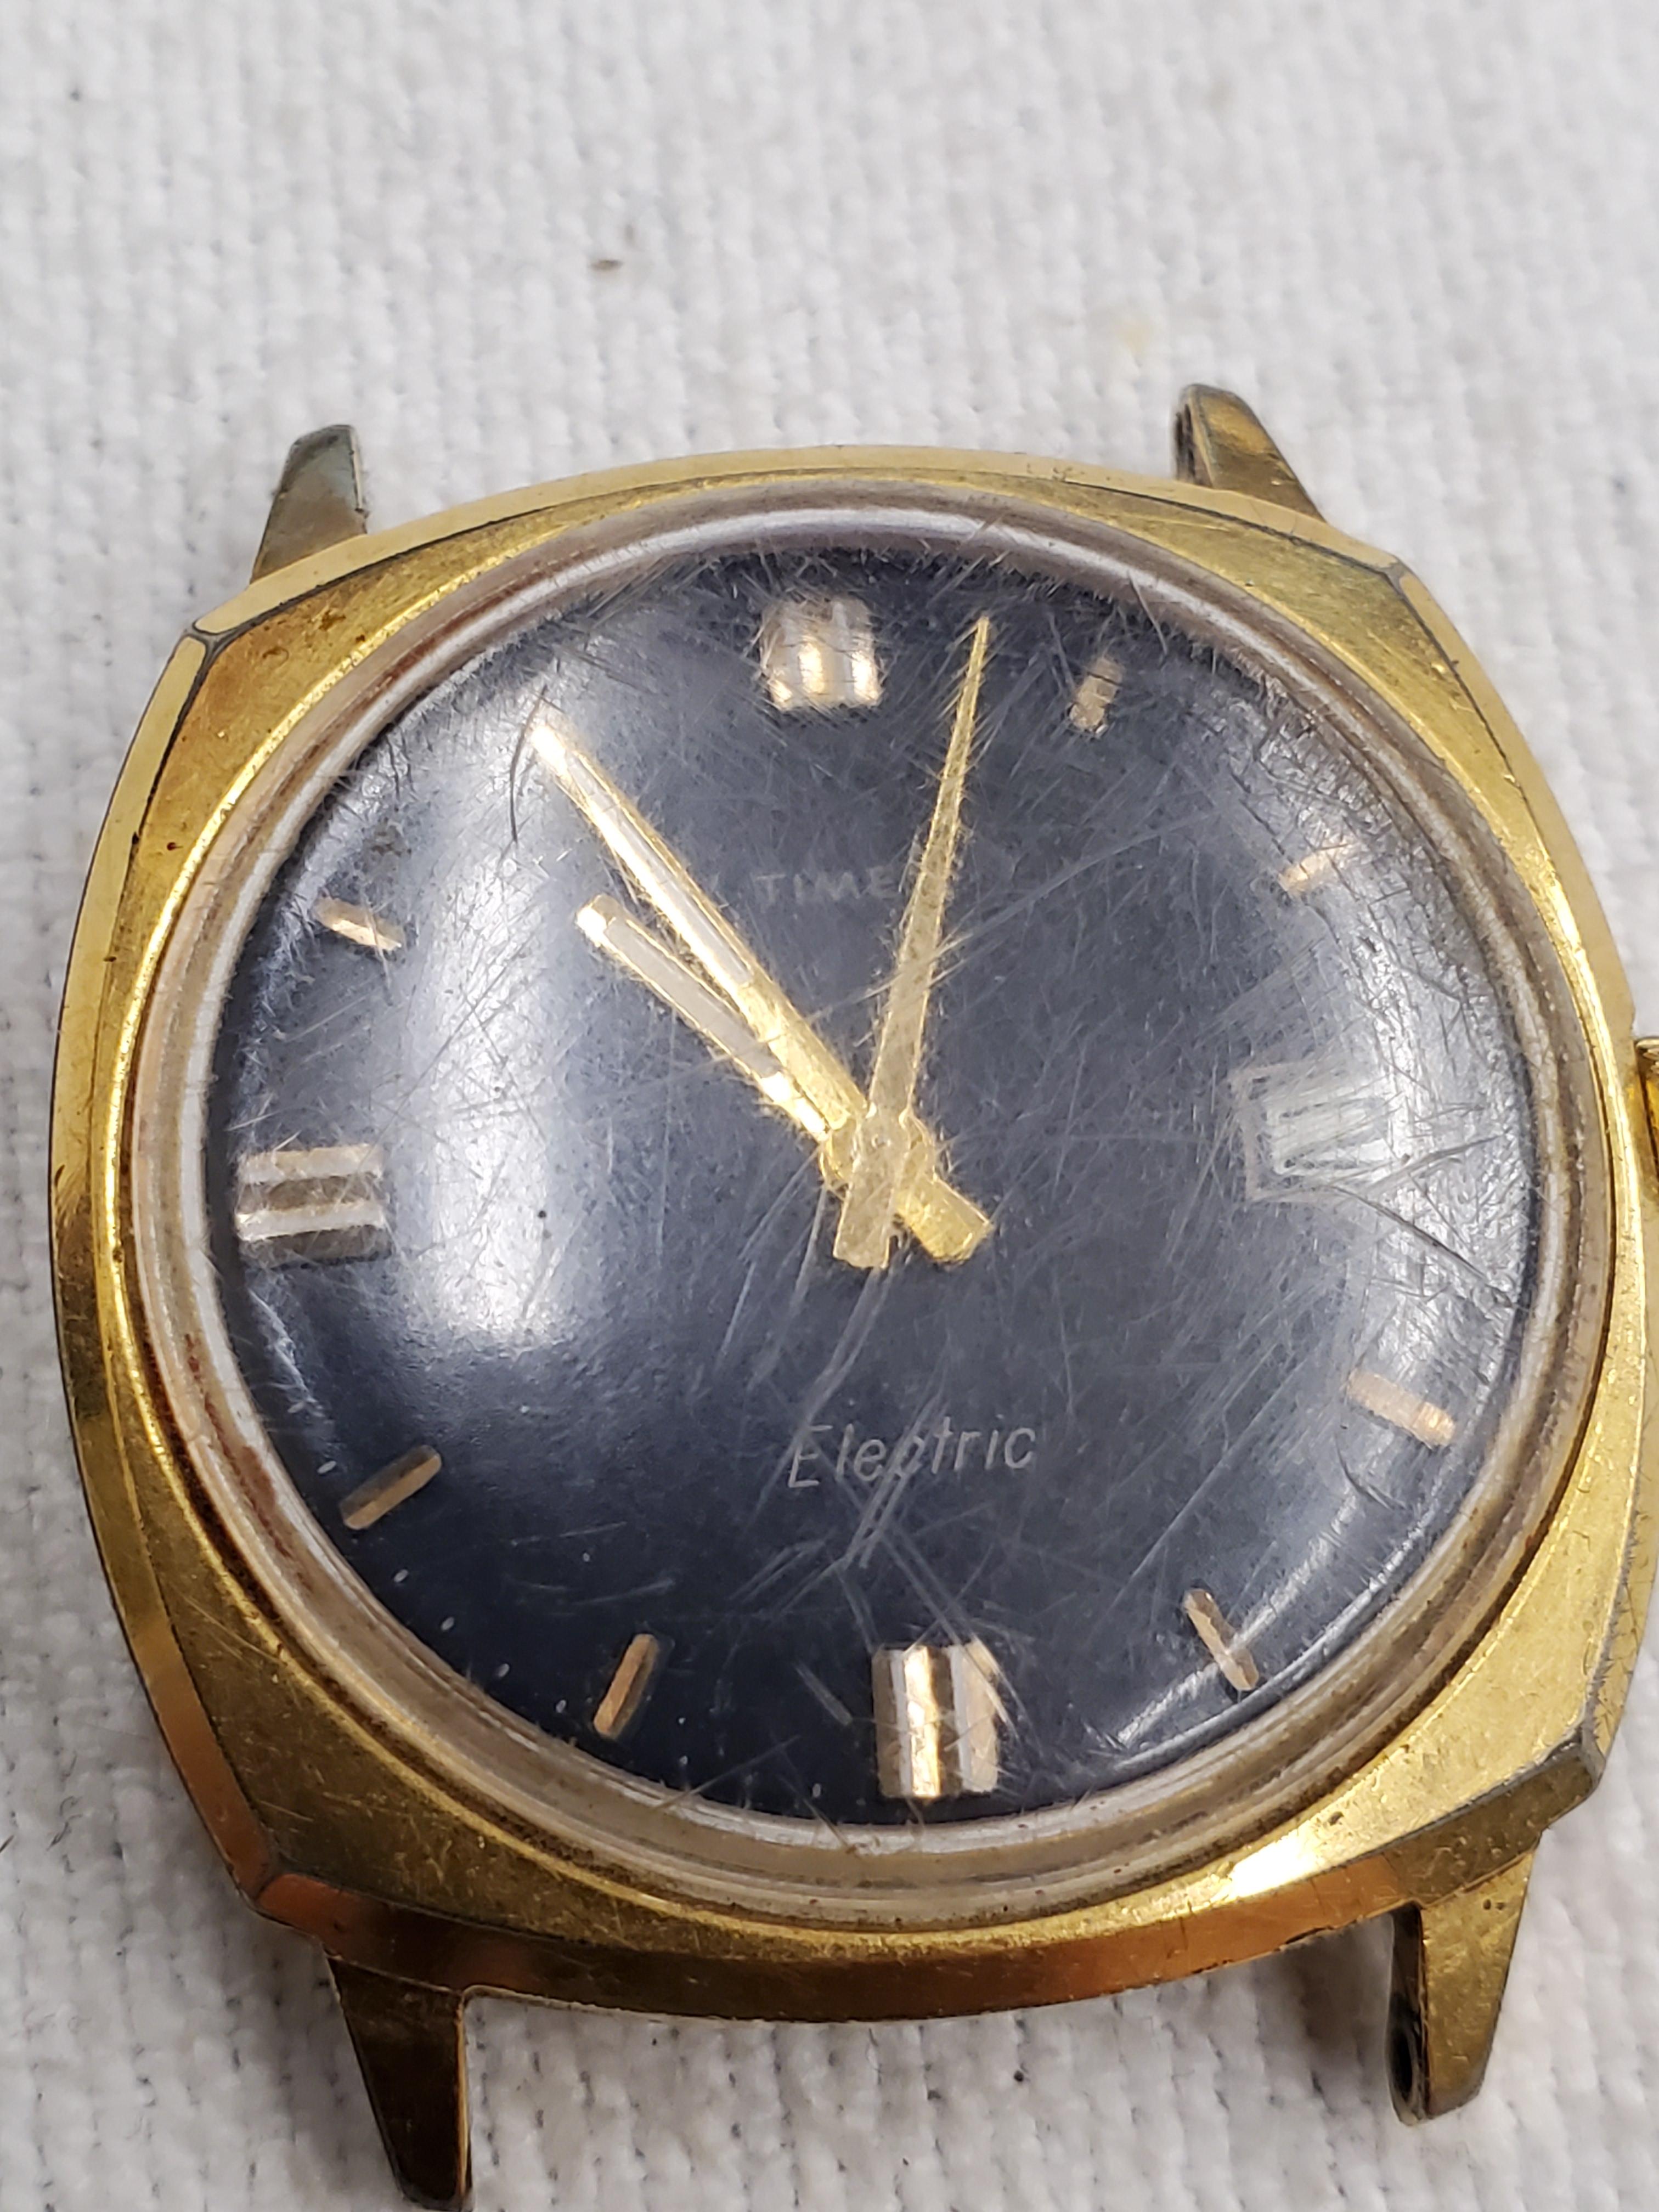
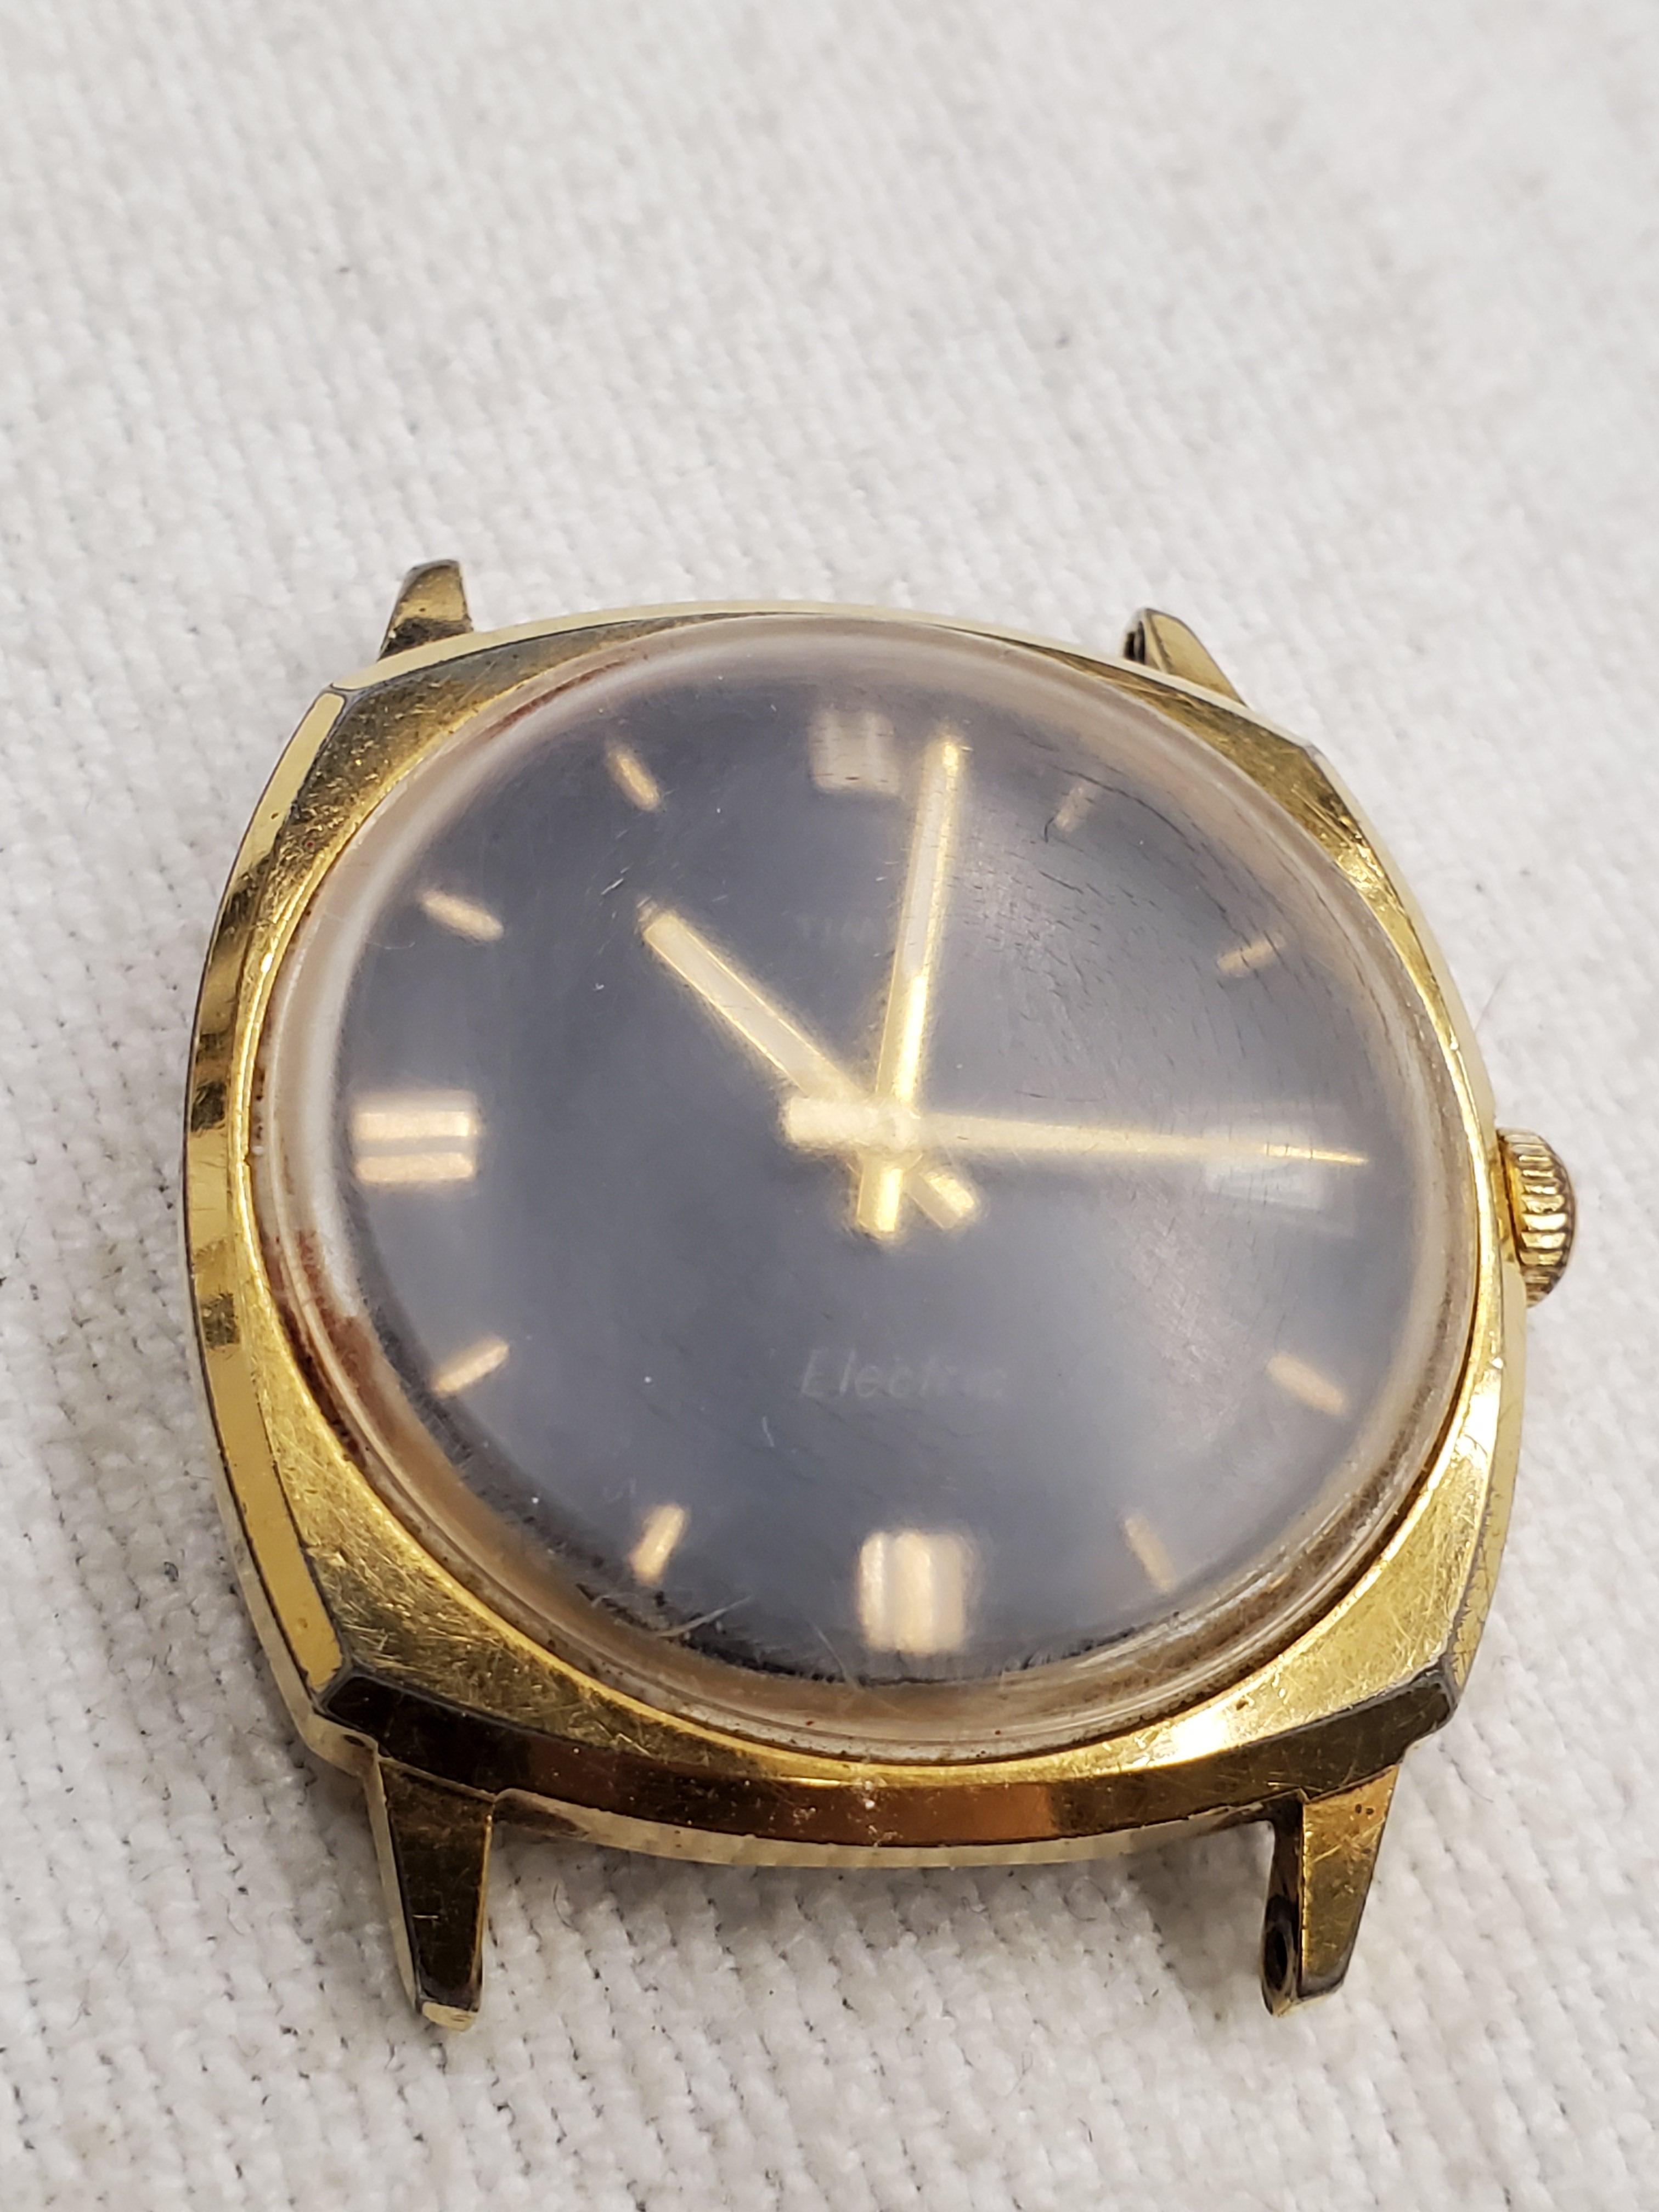
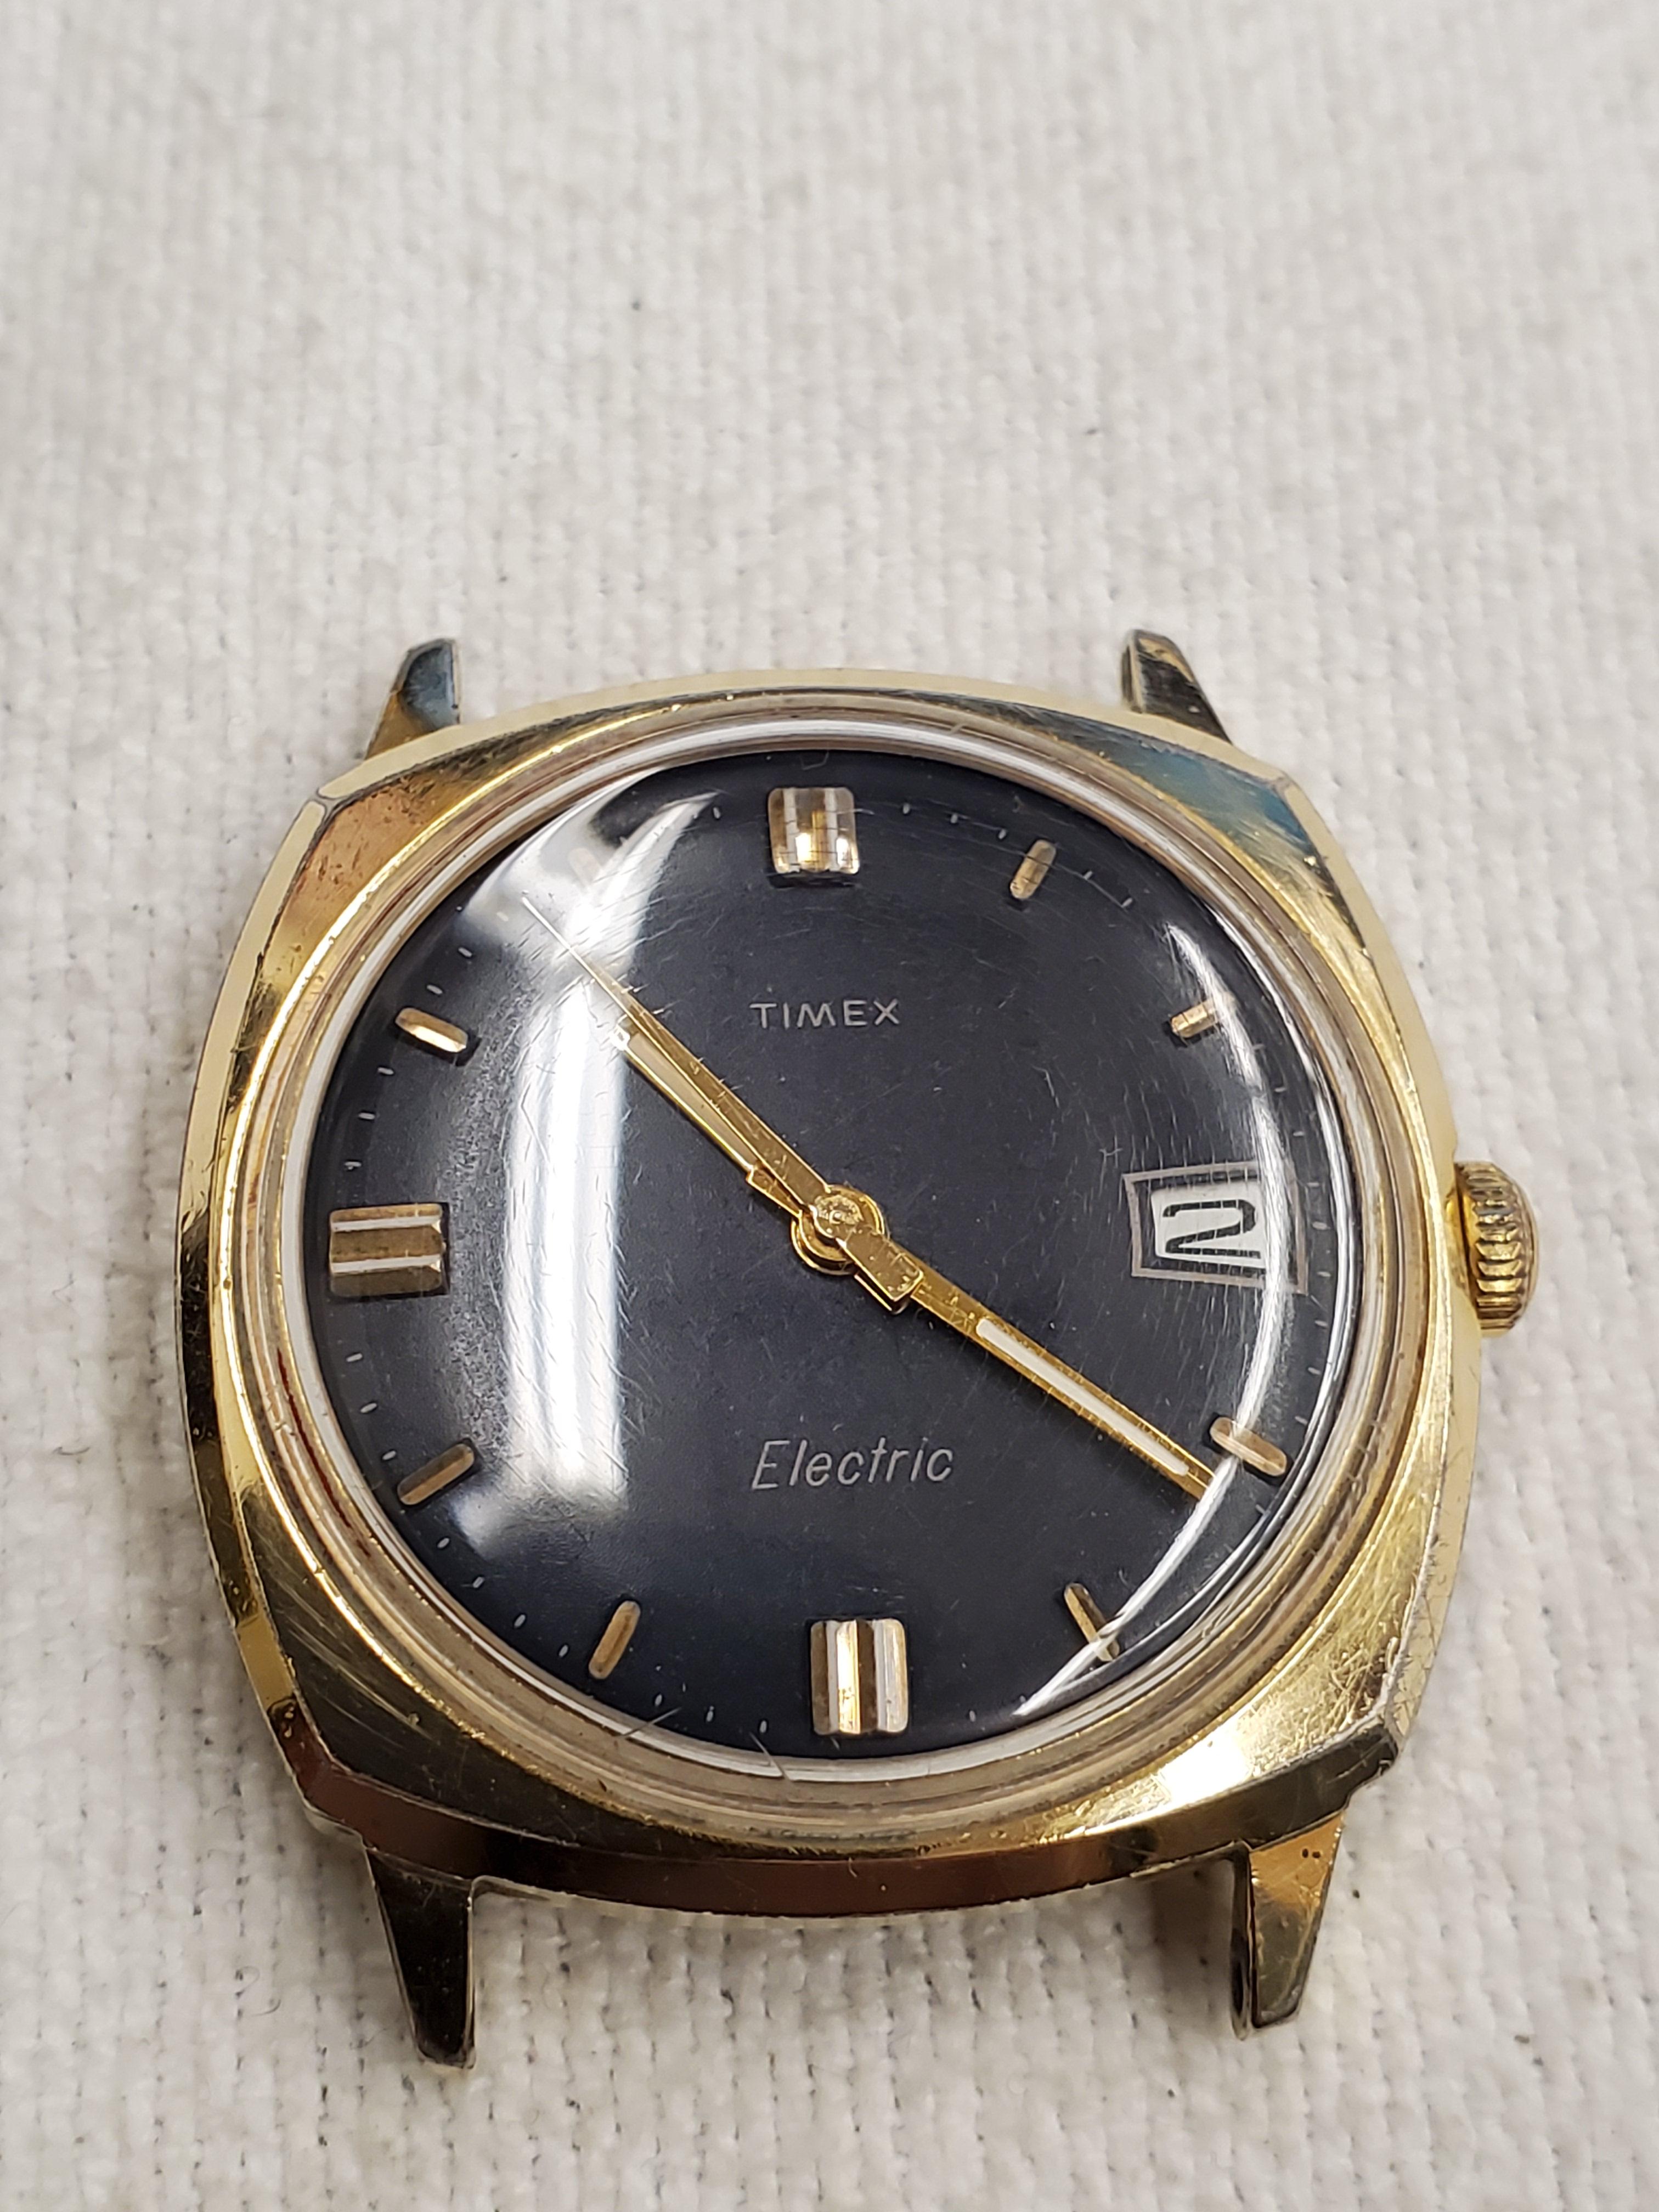
Since I recently acquired 21 watches in various states of function and condition, I thought I'd share my technique for restoring acrylic crystals. As a warning, there are items used in this procedure which can be harmful if used improperly, so please always read the manufacturer's warnings and heed them, thank you, and enjoy. I prefer to begin with a dual sided Emory board similar to what is used in nail salons. They're flexible and conform to the curve of the crystal. The one I use comes with 2 different grits, one coarse and one fine, 400 and 600 grit respectively. I dip the Emory board in water and ensure a small puddle forms on the crystal. I begin with the coarse grit and start with a circular motion, applying steady pressure. As I sand, I rotate the watch in small increments being careful to not stay in one place too long and to maintain a circular sanding motion. I follow the natural curve of the crystal as well, unless it's a flat crystal. After a few minutes, I stop and check my progress. I wipe off the water and acrylic residue and look for any obvious, deep scratches that remain. If not, I proceed to the next step, if so, I repeat the previous steps. When I'm satisfied that the deepest scratches are gone, I thoroughly clean the crystal and wipe it dry. I now flip the Emory board to the fine side and repeat the previous procedure of circular motions. Knowing when you have done it enough is honestly an issue of feel. When you first change grits, the surface feels rough and there is resistance as you sand, but that lessens as the deeper sanding marks are made shallow by the finer grit. This process should take less time than the first step. Again I clean off the residue and thoroughly dry the crystal. If im happy the the smoothness of the crystal, I can now move on to the final polish. I use a polishing compound from my employer that works amazingly, however any glass polishing/scratch remover that contains Cerium oxide will work fine. For this step I take a cotton cloth and fold it over twice giving me 4 layers of fabric. I then dab a penny size drop of the Cerium Oxide cream onto it and then press the crystal firmly onto the cloth. I then swirl the crystal around and around in a steady, circular motion, maintaining a firm pressure as I work. I rotate the crystal every few moments and I rock and tilt the crystal following the contour of the crystal. After a couple minutes of this action, I stop and wipe away the residual cream and inspect my progress. Most times, one cycle of the Cerium oxide cream is adequate, however, if you miss a spot, repeat the process. The initial penny size drop of the cream is almost always enough. If you're happy with the results you can wipe away all the residue and enjoy your work. BTW, cerium oxide will lightly polish metals as well, similar to Brasso. This can help to remove scuffs, light scratches, Oxidation and other residues on older watches. Lastly, this entire procedure can be perform without ever removing the crystal from the case, as long as you are mindful of the case. Thank you for your time in reading this, hopefully I've enlightened you and added a new tool to your watchmaking toolbox. (The crystal used in the photos of this procedure has microscopic crazing cracks from age and heat which are deeper into the crystal and this procedure does not remove those, however, for me it looks great.)
 1 point
 -
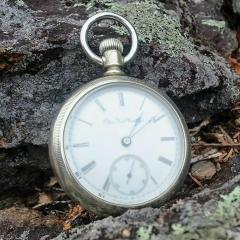
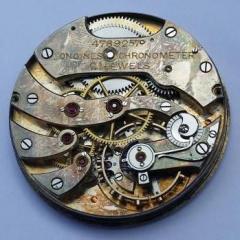
Well, it’s working. Stripped it down to the screw, jewel and gear. The balance staff pins look perfect and so too do the balance jewel holes. But I’m still getting a great deal of end shake that. Can’t explain. The usual suspects: 1. Someone before me replaced the balance staff with “one that would work” and it’s not quite right. 2. Some before me replaced the balance jewels with “ones that would work”. 3. ??? Before I order a balance complete and new balance jewels, if I can find them, anyone have any ideas I may have missed? Here are som pictures. Dial up Dial down Stem up The entire movement And my new $16 macro lens for my phone, instead of using a loop. Sent from my iPad using Tapatalk1 point
-
Correct. Not all abrasives are created equal, so you got no haziness left by using such a corse grit.1 point
-
Is the photo in the bottom center the finished product ? I can still see some lines. Should try some toothpaste or polywatch to completely remove those lines.1 point
-
There are dial dots available from cousins uk. If the watch has calendar works on it sticking dials on can cause problems. I have and do solder feet back on having made the machine to do it If you want details let me know.1 point
-
I was expecting a lot worse to be honest. I imagine that he doesn't have experience and equipment for watchmaking ?1 point
-
OK looking at your pics. I would first remove the remaining outer two screws & see if the movement comes out through the front.1 point
-
Holy Moly that is a nice post, I am amazed at the finished product. That really gives me a new outlook on my watch buying. Wow!!! thanks!!1 point
-
Thank you, all for the friendly welcome. To answer the questions brought up; no, I am not a farrier, I interpret the blacksmith trade at the High Point Museum Historical Park, in High Point, North Carolina, USA. My smithing skills don't help much with tinkering with my watches, rather the other way around. Watchmaking has helped teach me patience. Oldhippy, I am fascinated by the history of the blacksmith/clock maker, and their involvement in early tower clock building and repair.1 point
-
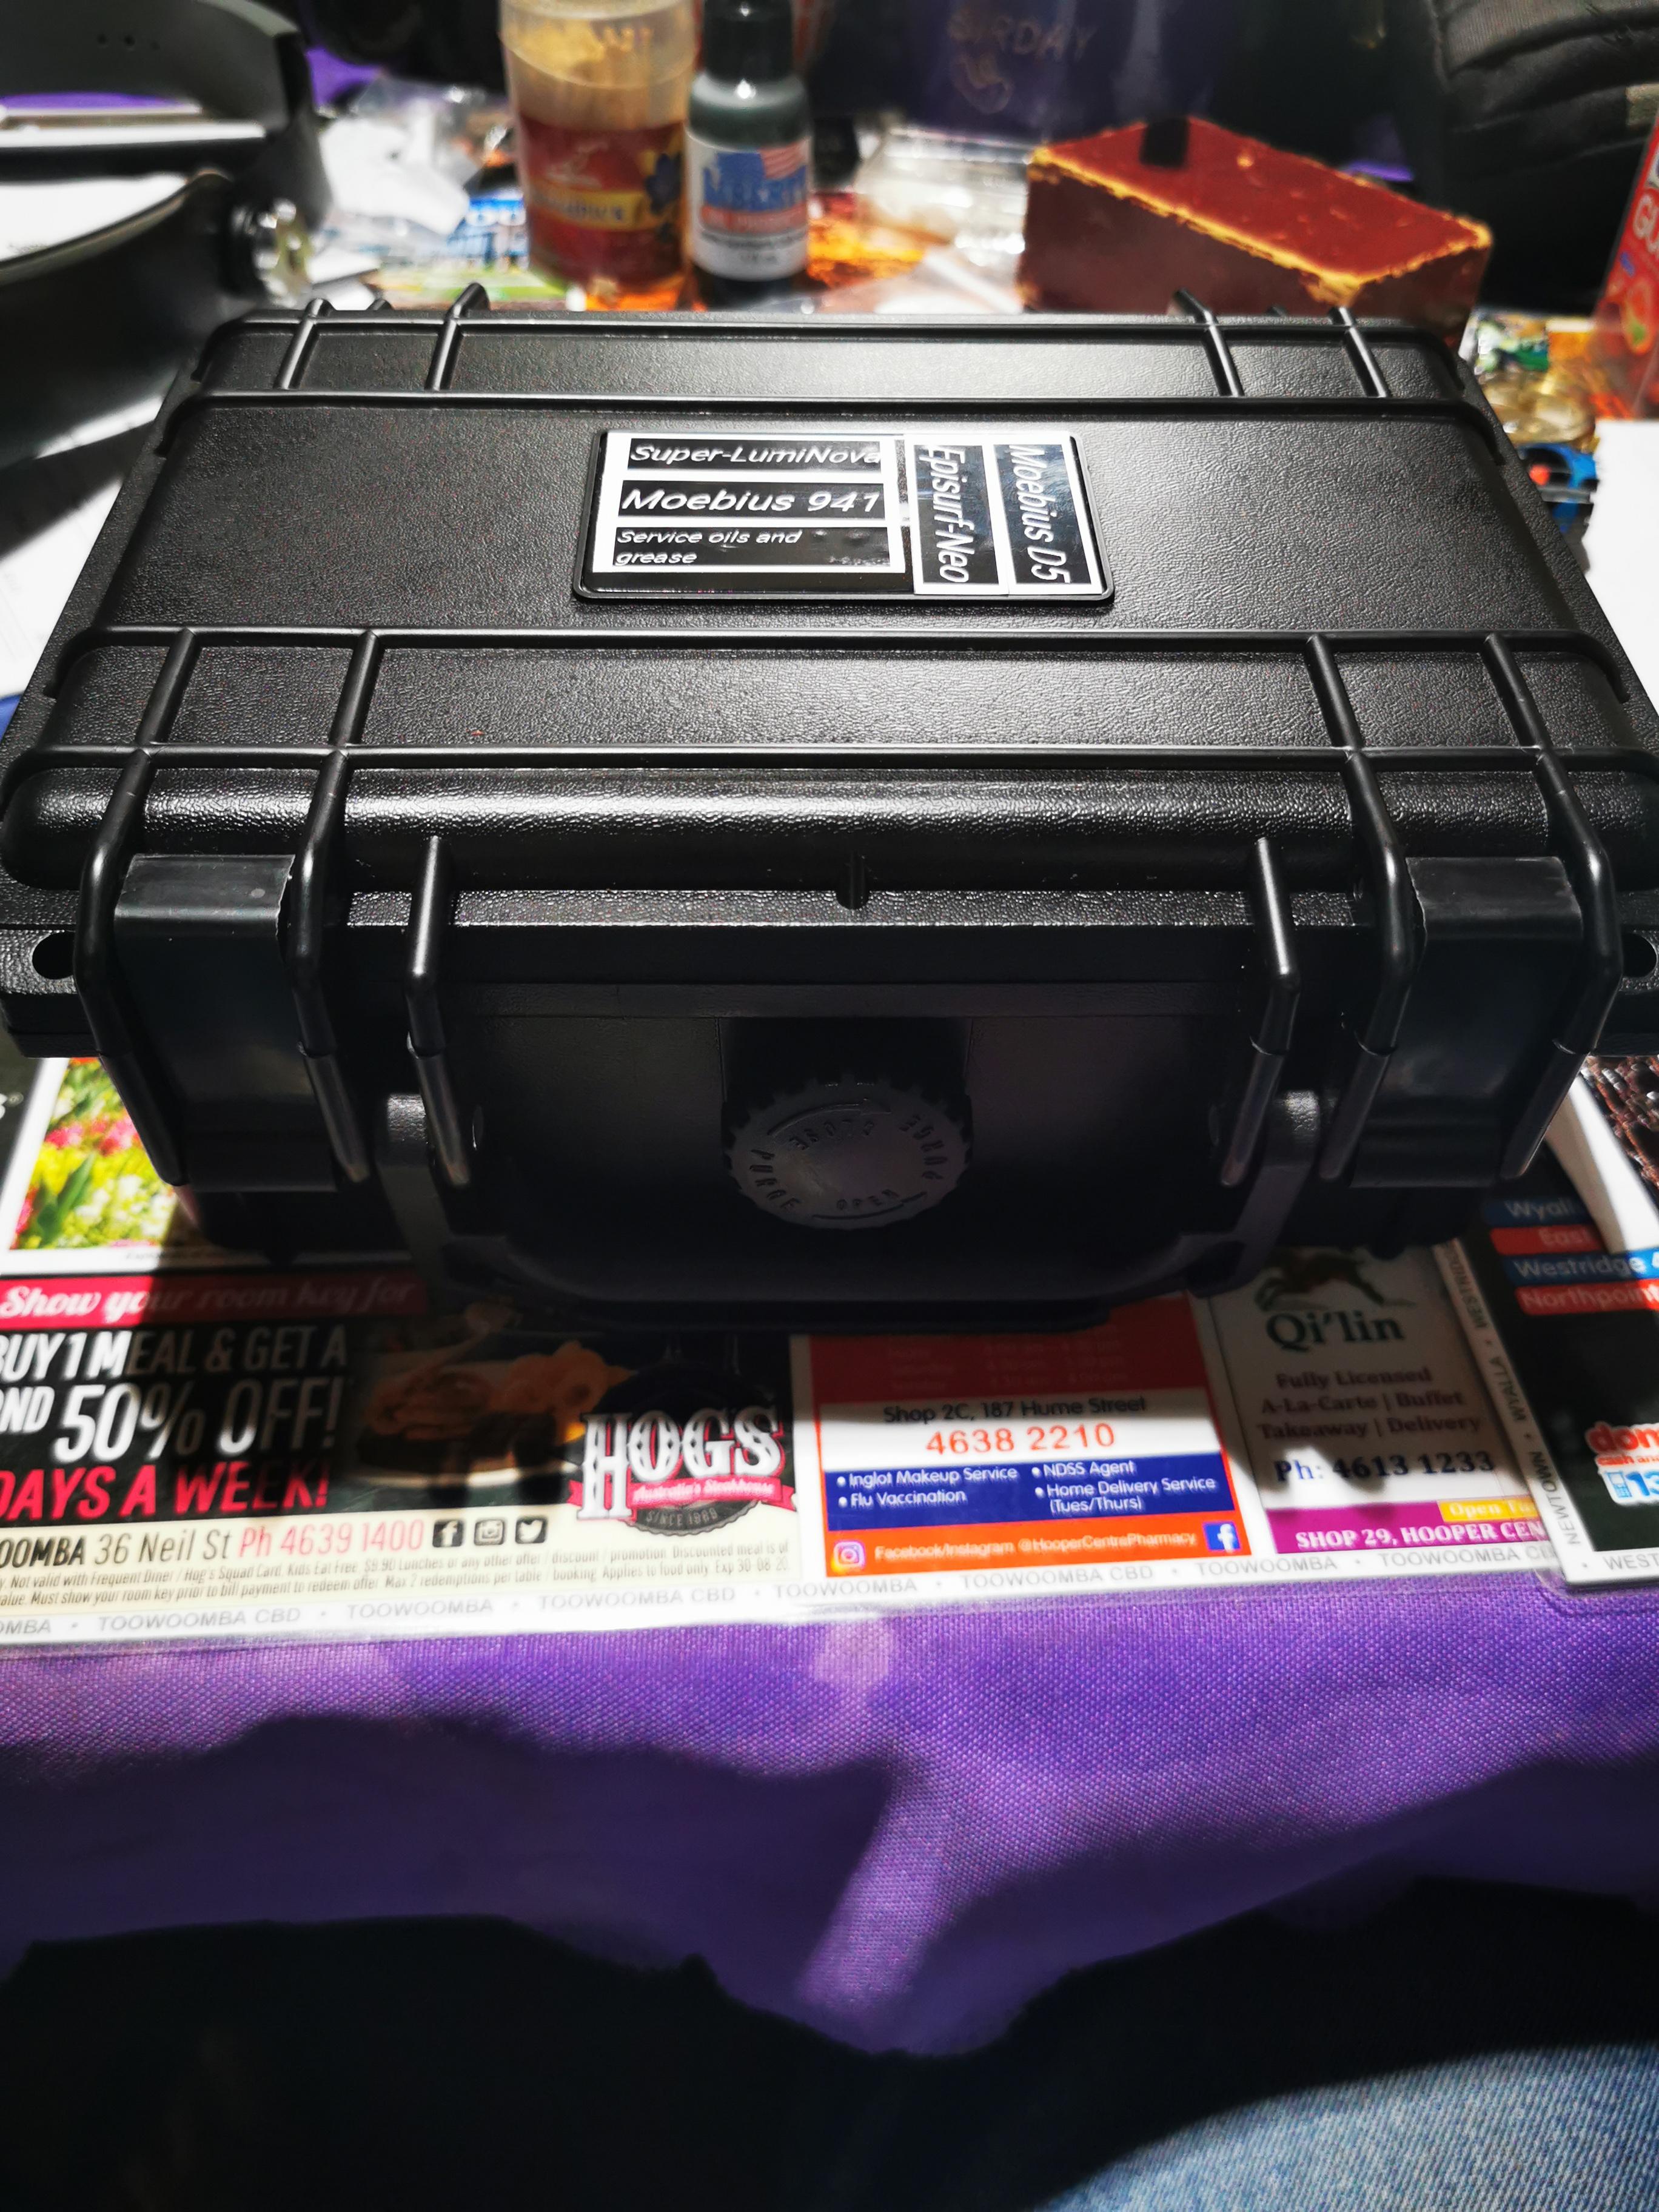
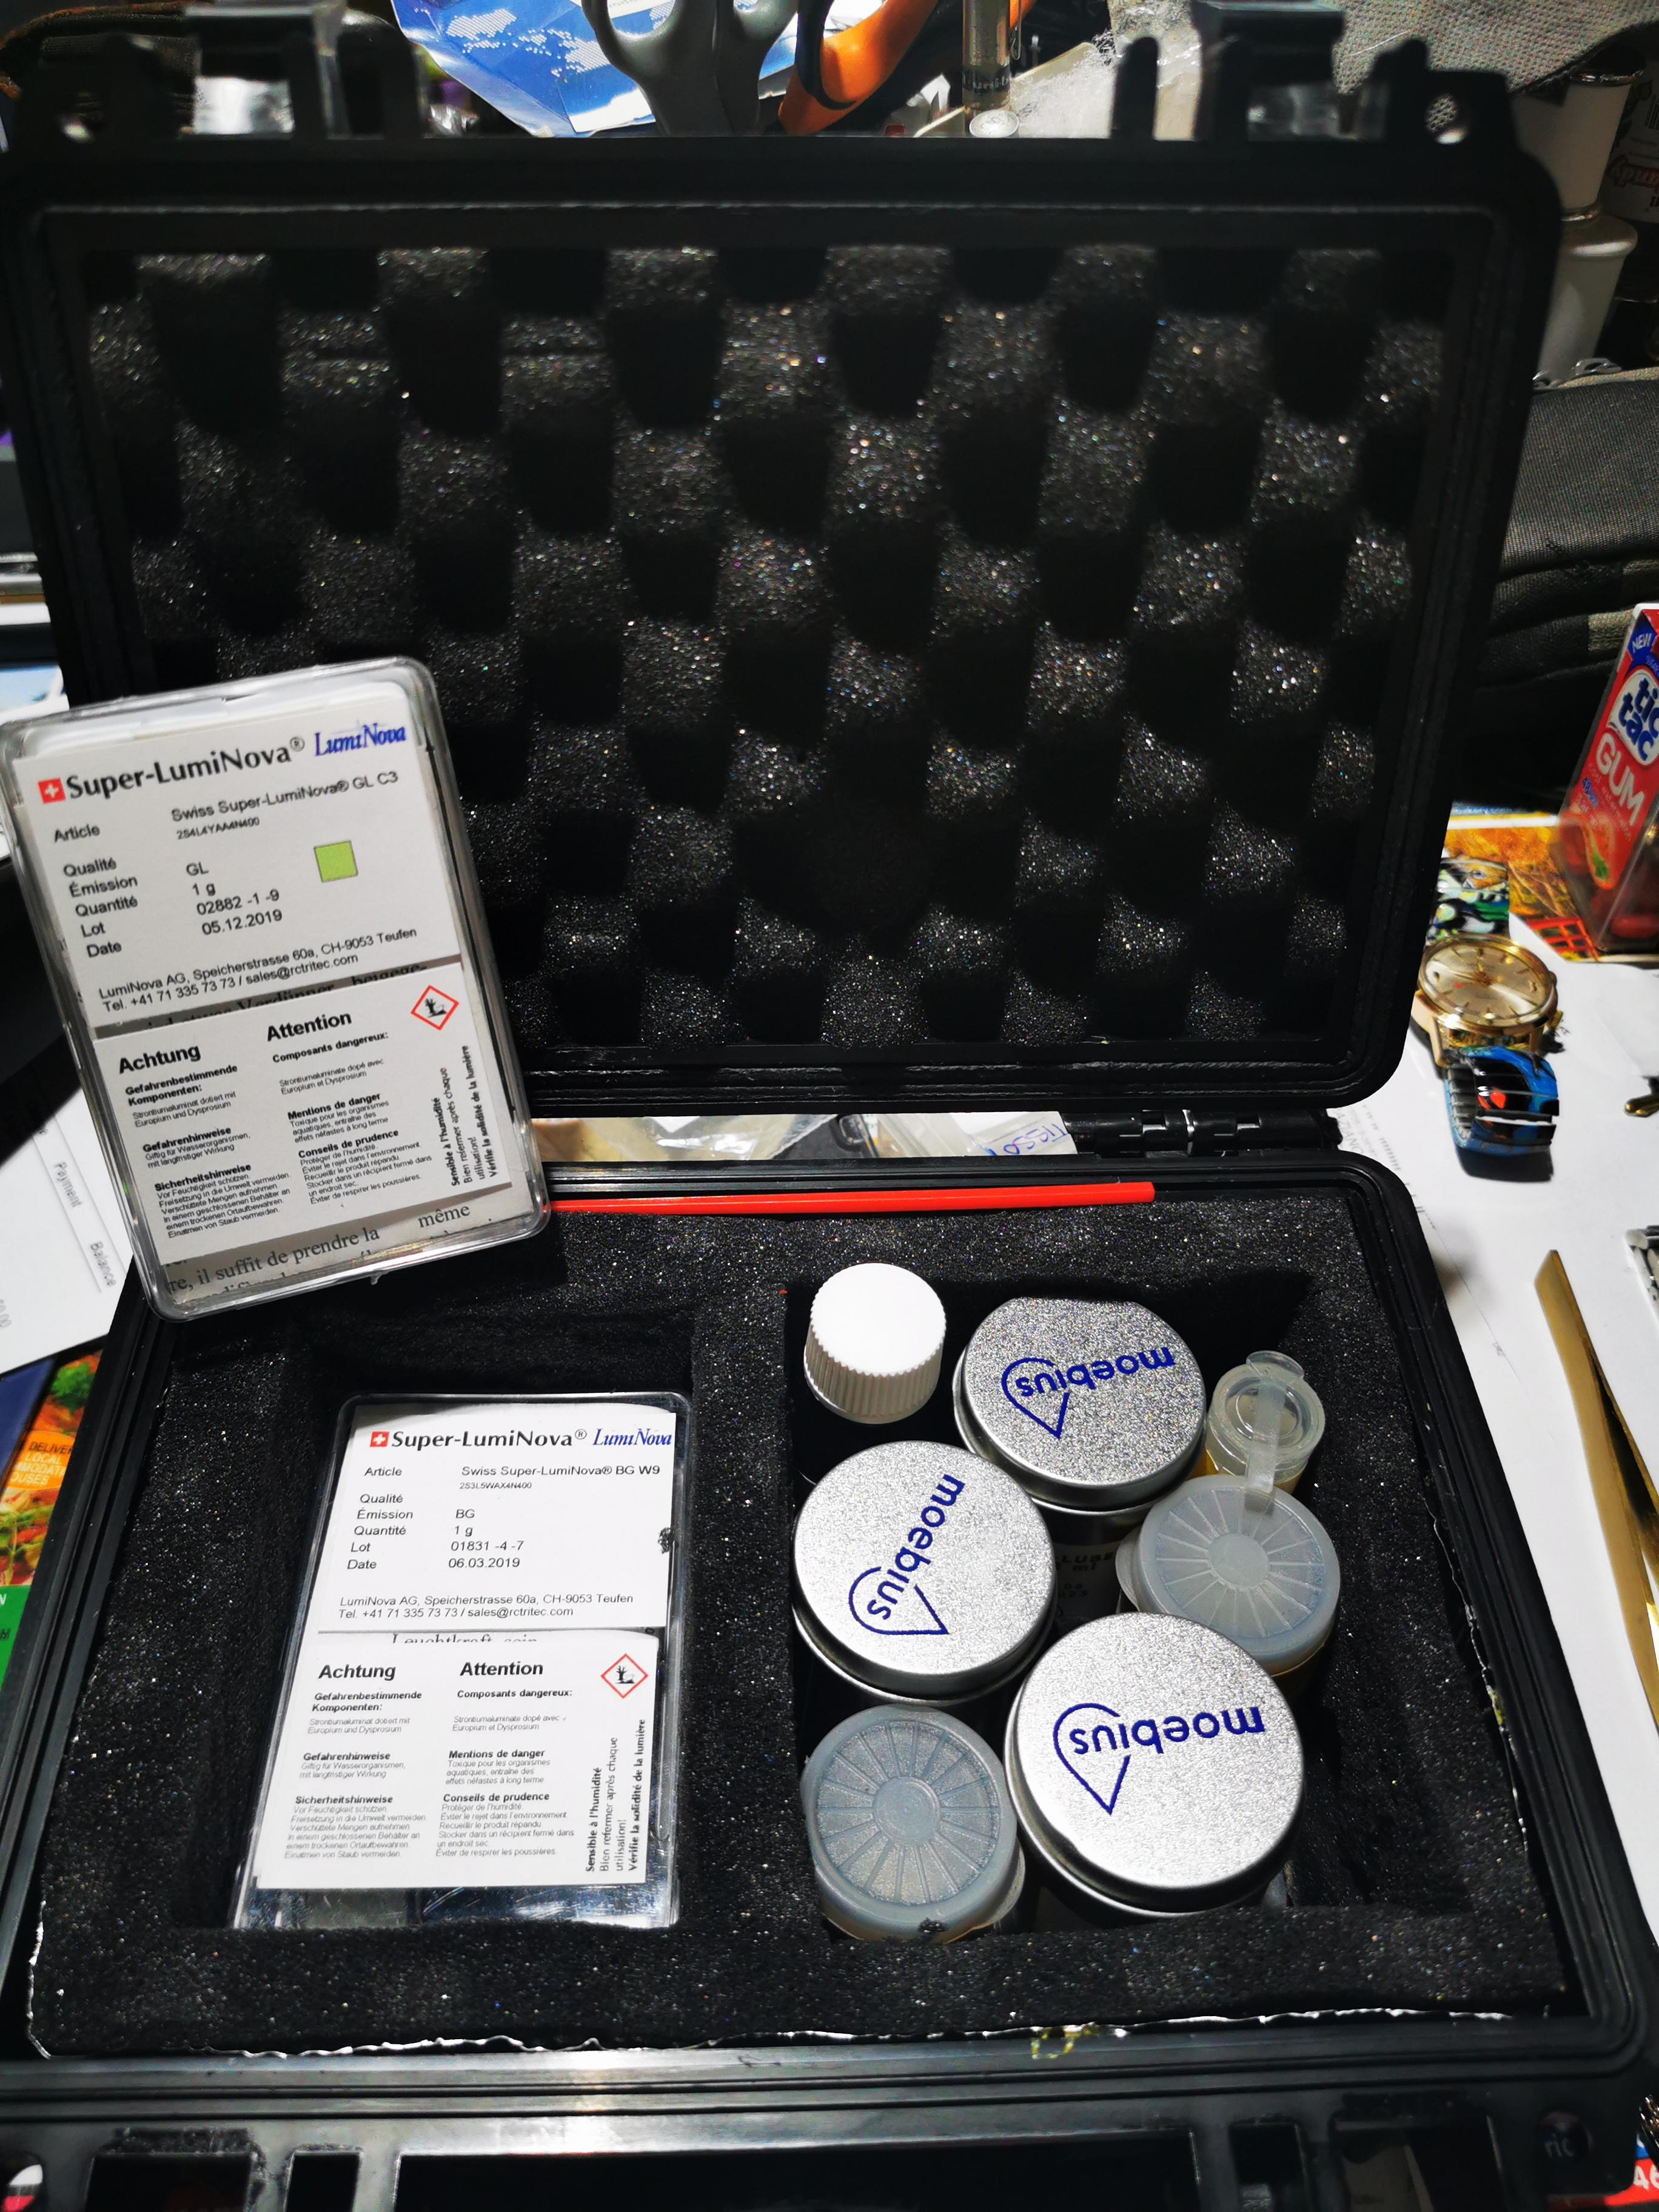
Hi everyone. In Australia we get pretty hot and muggy weather in the summer and I did not want my oils and superluminova to degrade. So I made up storage container for the expensive oils and superluminova.I lined it with aluminum foil from a baking dish. It has a valve at the front for fumes and any needed air exchange. The great thing is the temperature stays around 10 degrees c no matter the temperature outside. It's good to protect your investment from degradation.


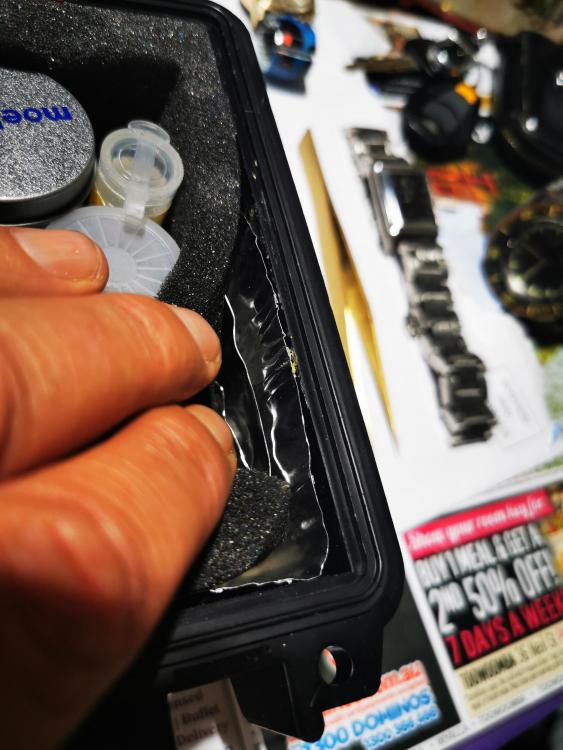 1 point
 -
Thank you for your introduction and welcome to this friendly forum. Did you know blacksmiths used to repair clocks, if no clock maker was about, people would take it to the village blacksmith.1 point
-
to take out scratches on the crystol, i use "wet or dry" sand paper. 600 grit and finish with 1000. sand by hand in a circular manor. after 1000 grit, polish with tooth paste. vin1 point
-
It sort of reminds me of people pay good money for a pair of ripped jeans.1 point
-
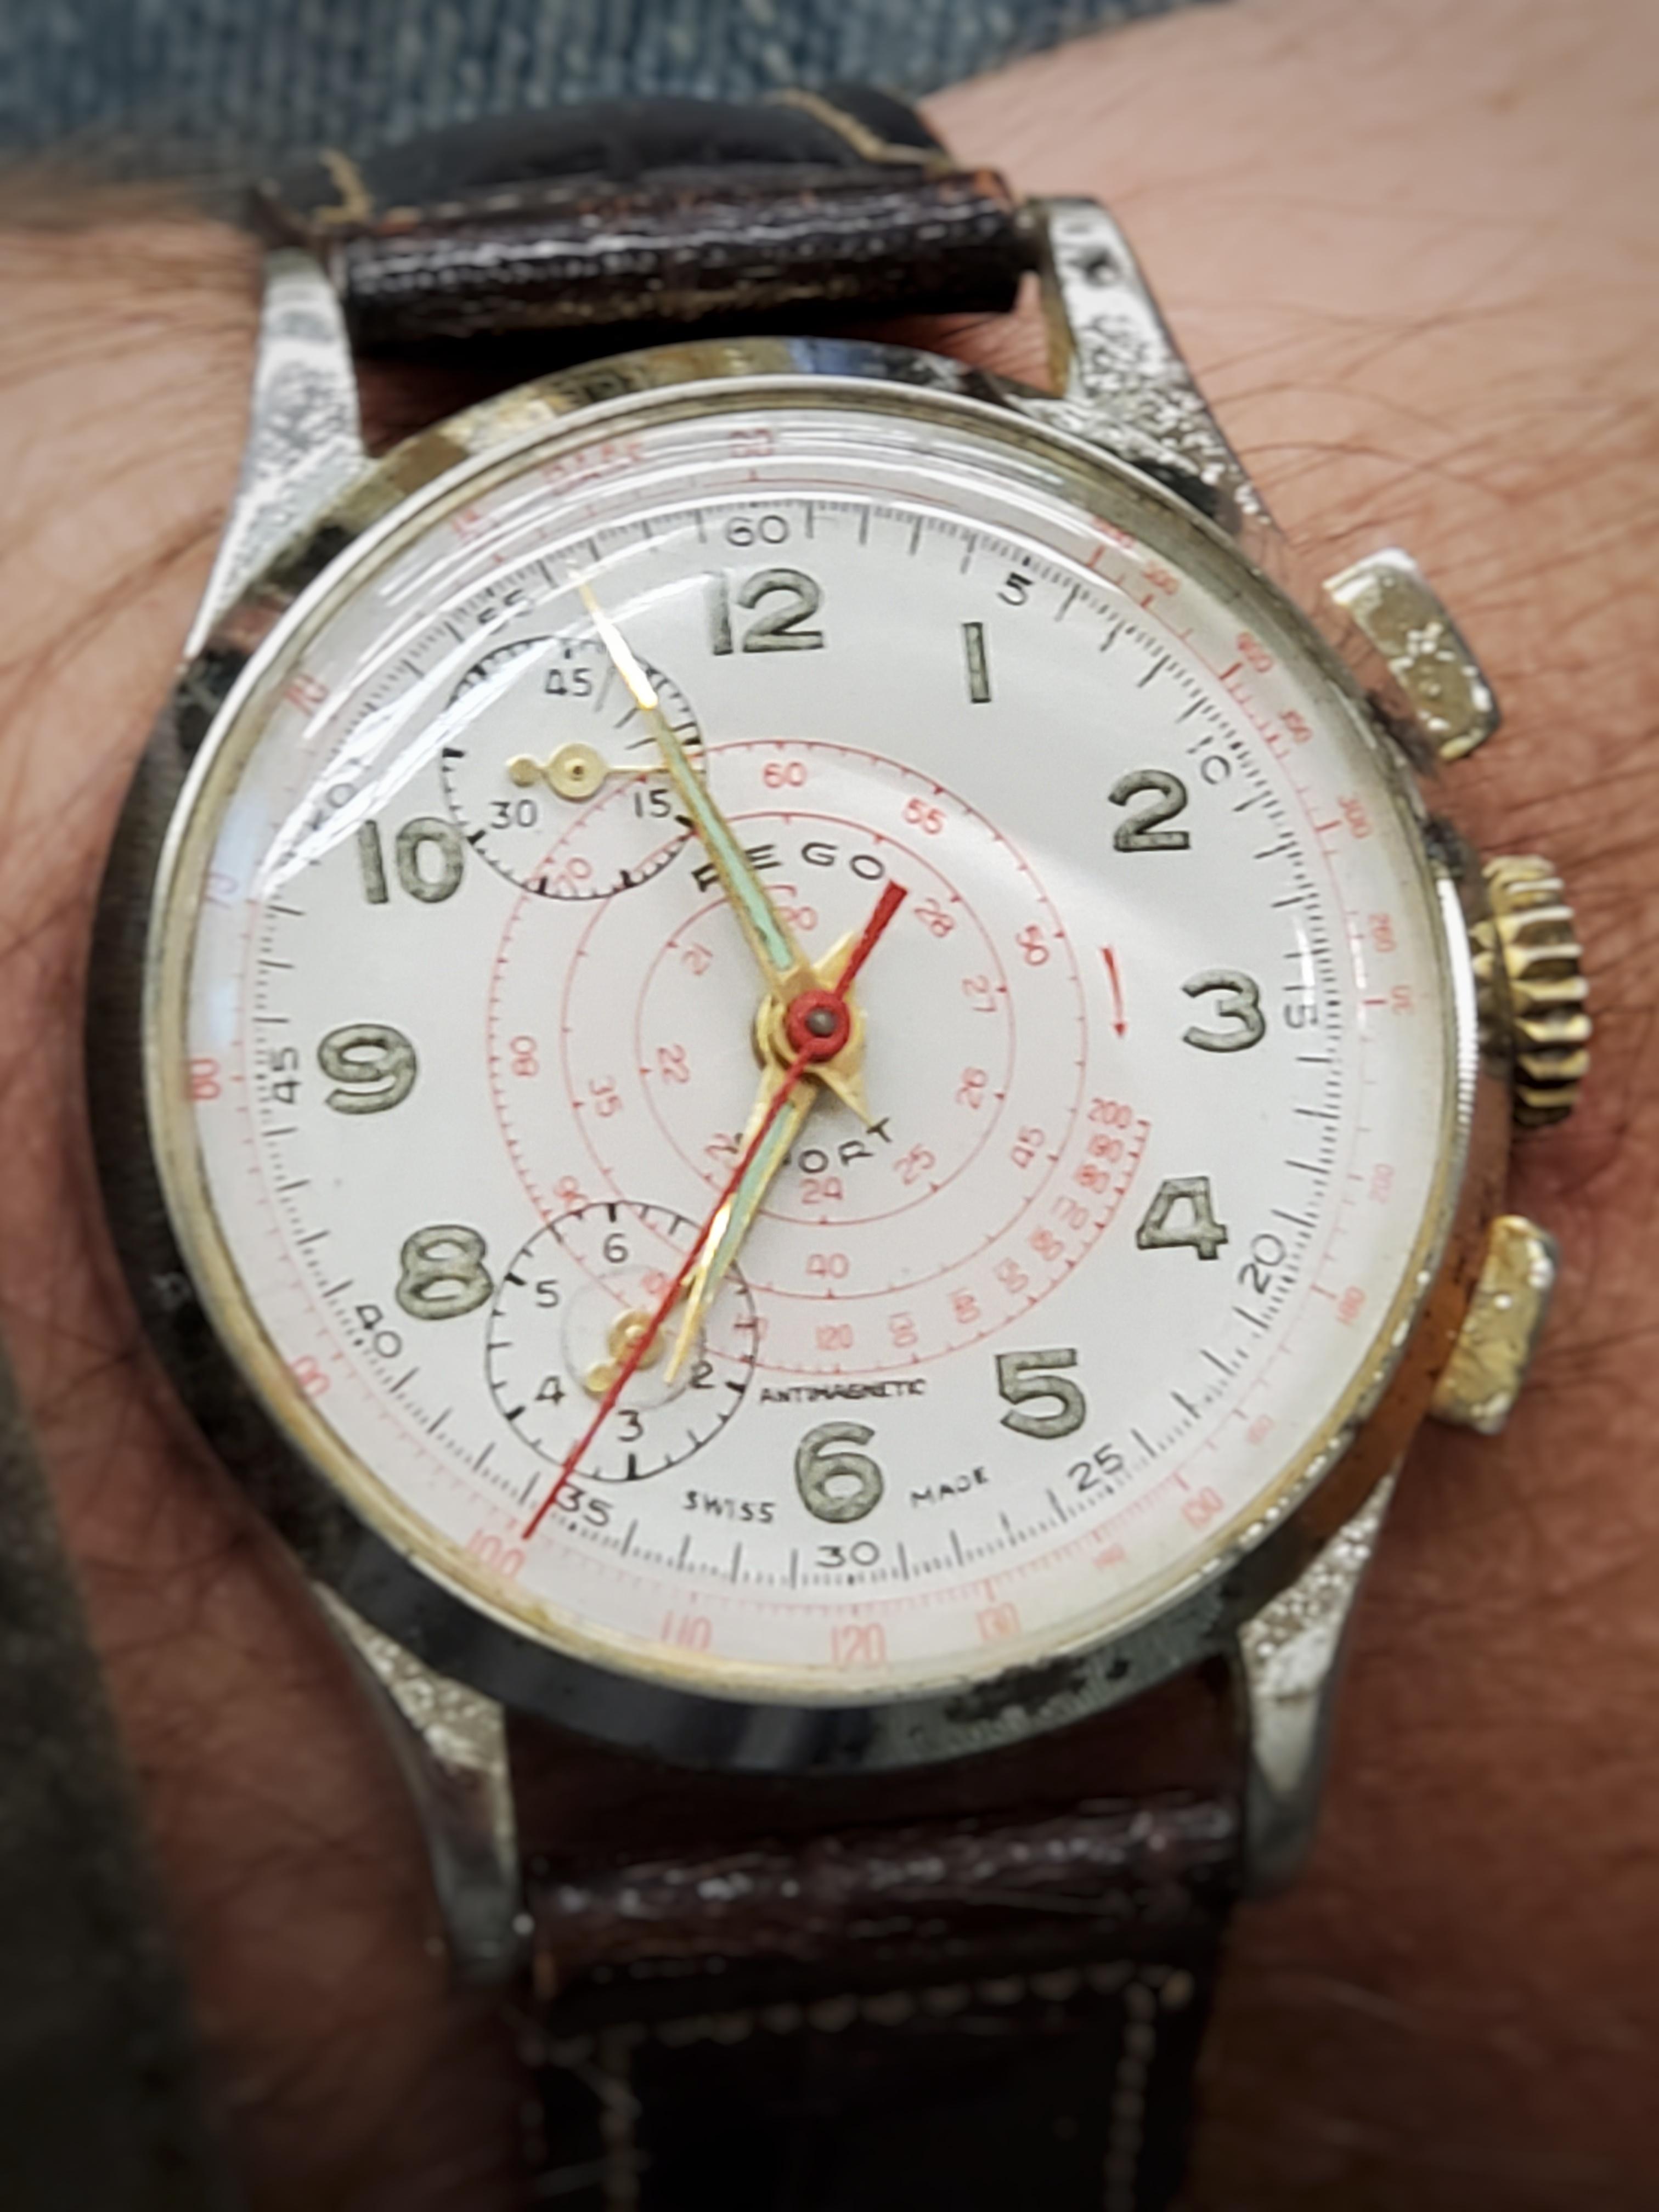
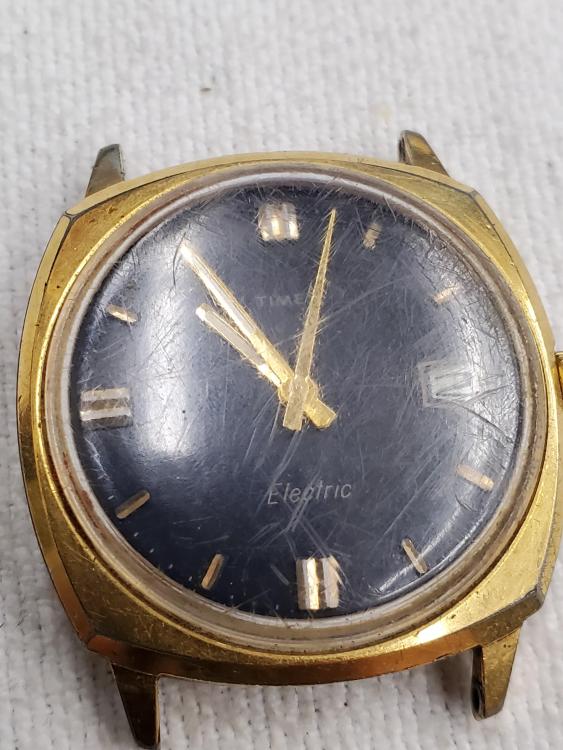
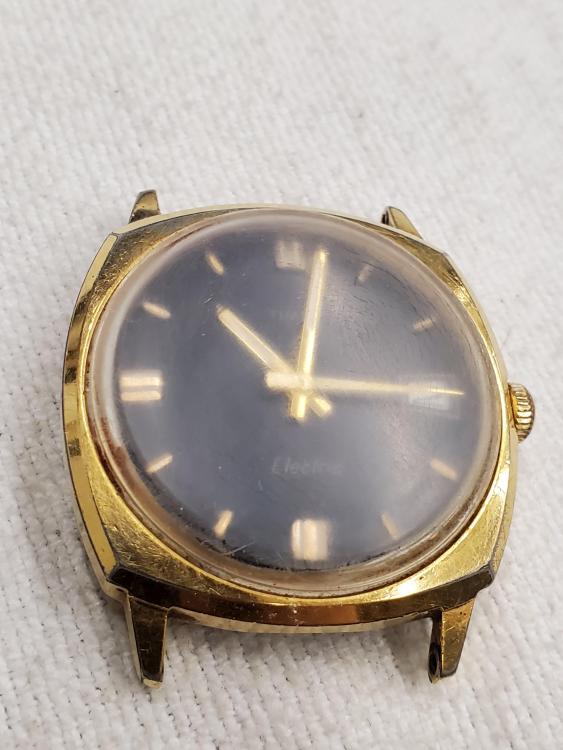
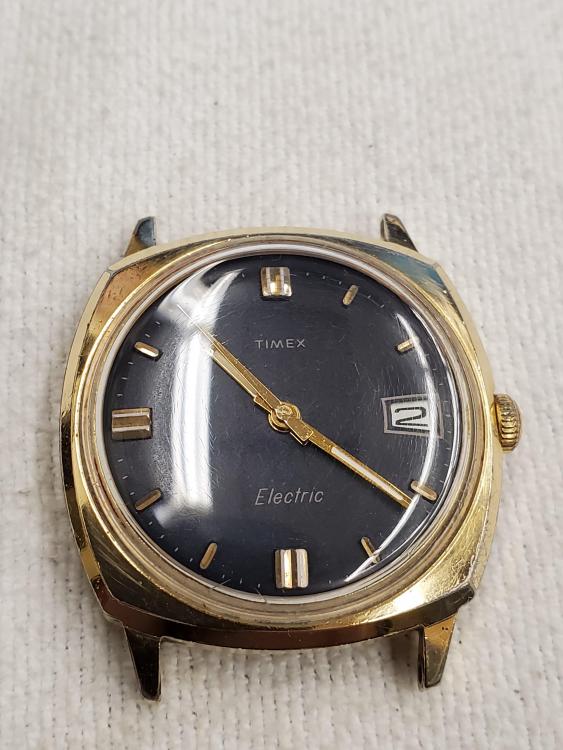
My second Rego pin lever Chronostop arrived yesterday. I cleaned it up this morning, looking nice. Ticking loudly and keeping great time. Hunting for a black dial for this next.
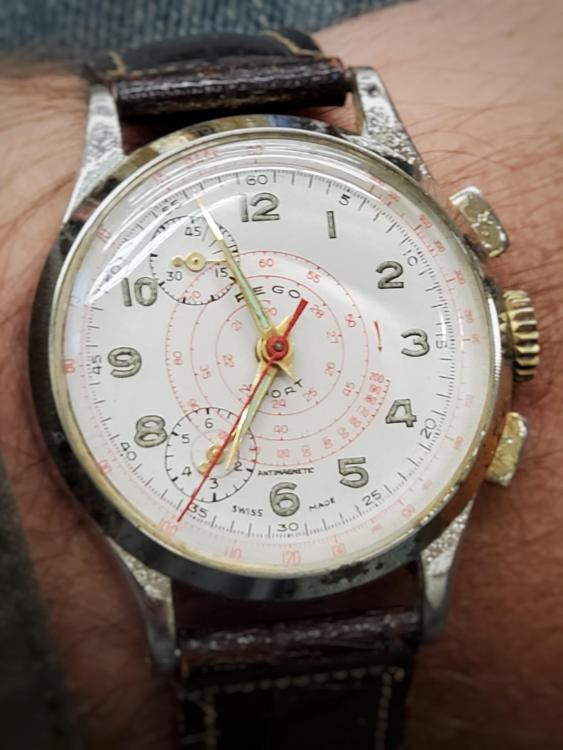 1 point
 -
One more trick. You might like to try using Kapton tape to hold the subdial in position from the dial side. This polyamide tape is safe for soft soldering temperatures, and shouldn't leave any residue when removed. This would allow you to position and re-position very carefully from the dial side until it is perfect, prior to flipping over and soldering from the back. Most of the generic polyamide tape you find on ebay will claim to be "Kapton" tape, but despite being a generic copy is should work just fine. If using the generic stuff, obviously test the claim that it is actually heat safe, on a test dial prior to use on anything that matters.1 point
-
I also like how this one turned out: Sent from my iPhone using Tapatalk1 point
-
There are many ways to skin the cat.... but You can get excellent results using a felt wheel, high quality like Bergeron using a heavy cutting compound. Buffing should remove MINIMAL amount of material but the combo of 1. Felt + 2. Heat + 3. The compound will actually move material from taller sites into deeper (nicks) ones. This is where a case can lose its form and symmetry. Buffing alone won’t get you there... this has to be followed by polishing. For a nice polish a non braided cotton wheel with white followed by yellow compound really bring up the shine. I have a couple examples: Sent from my iPhone using Tapatalk1 point
-
That would be interesting to see!! Stick that Patel in the fire for a few minutes and see how it holds up.... Sent from my iPad using Tapatalk0 points