Leaderboard


Popular Content
Showing content with the highest reputation on 04/27/17 in all areas
-
If you use method one you don't need to leave the hairspring dangling. I use a balance stand and a bit of rodico and it could sit on its standard for years if necessary. Have attached some pictures for demo. Just remember when taking the balance assembly of the stand to hold the wheel gently incase lower pivot sticks in the rodico. Then release from the rodico. I think people prefer method 2 to avoid having to flip the wheel over when working on the balance. Sent from my SM-G920F using Tapatalk3 points
-
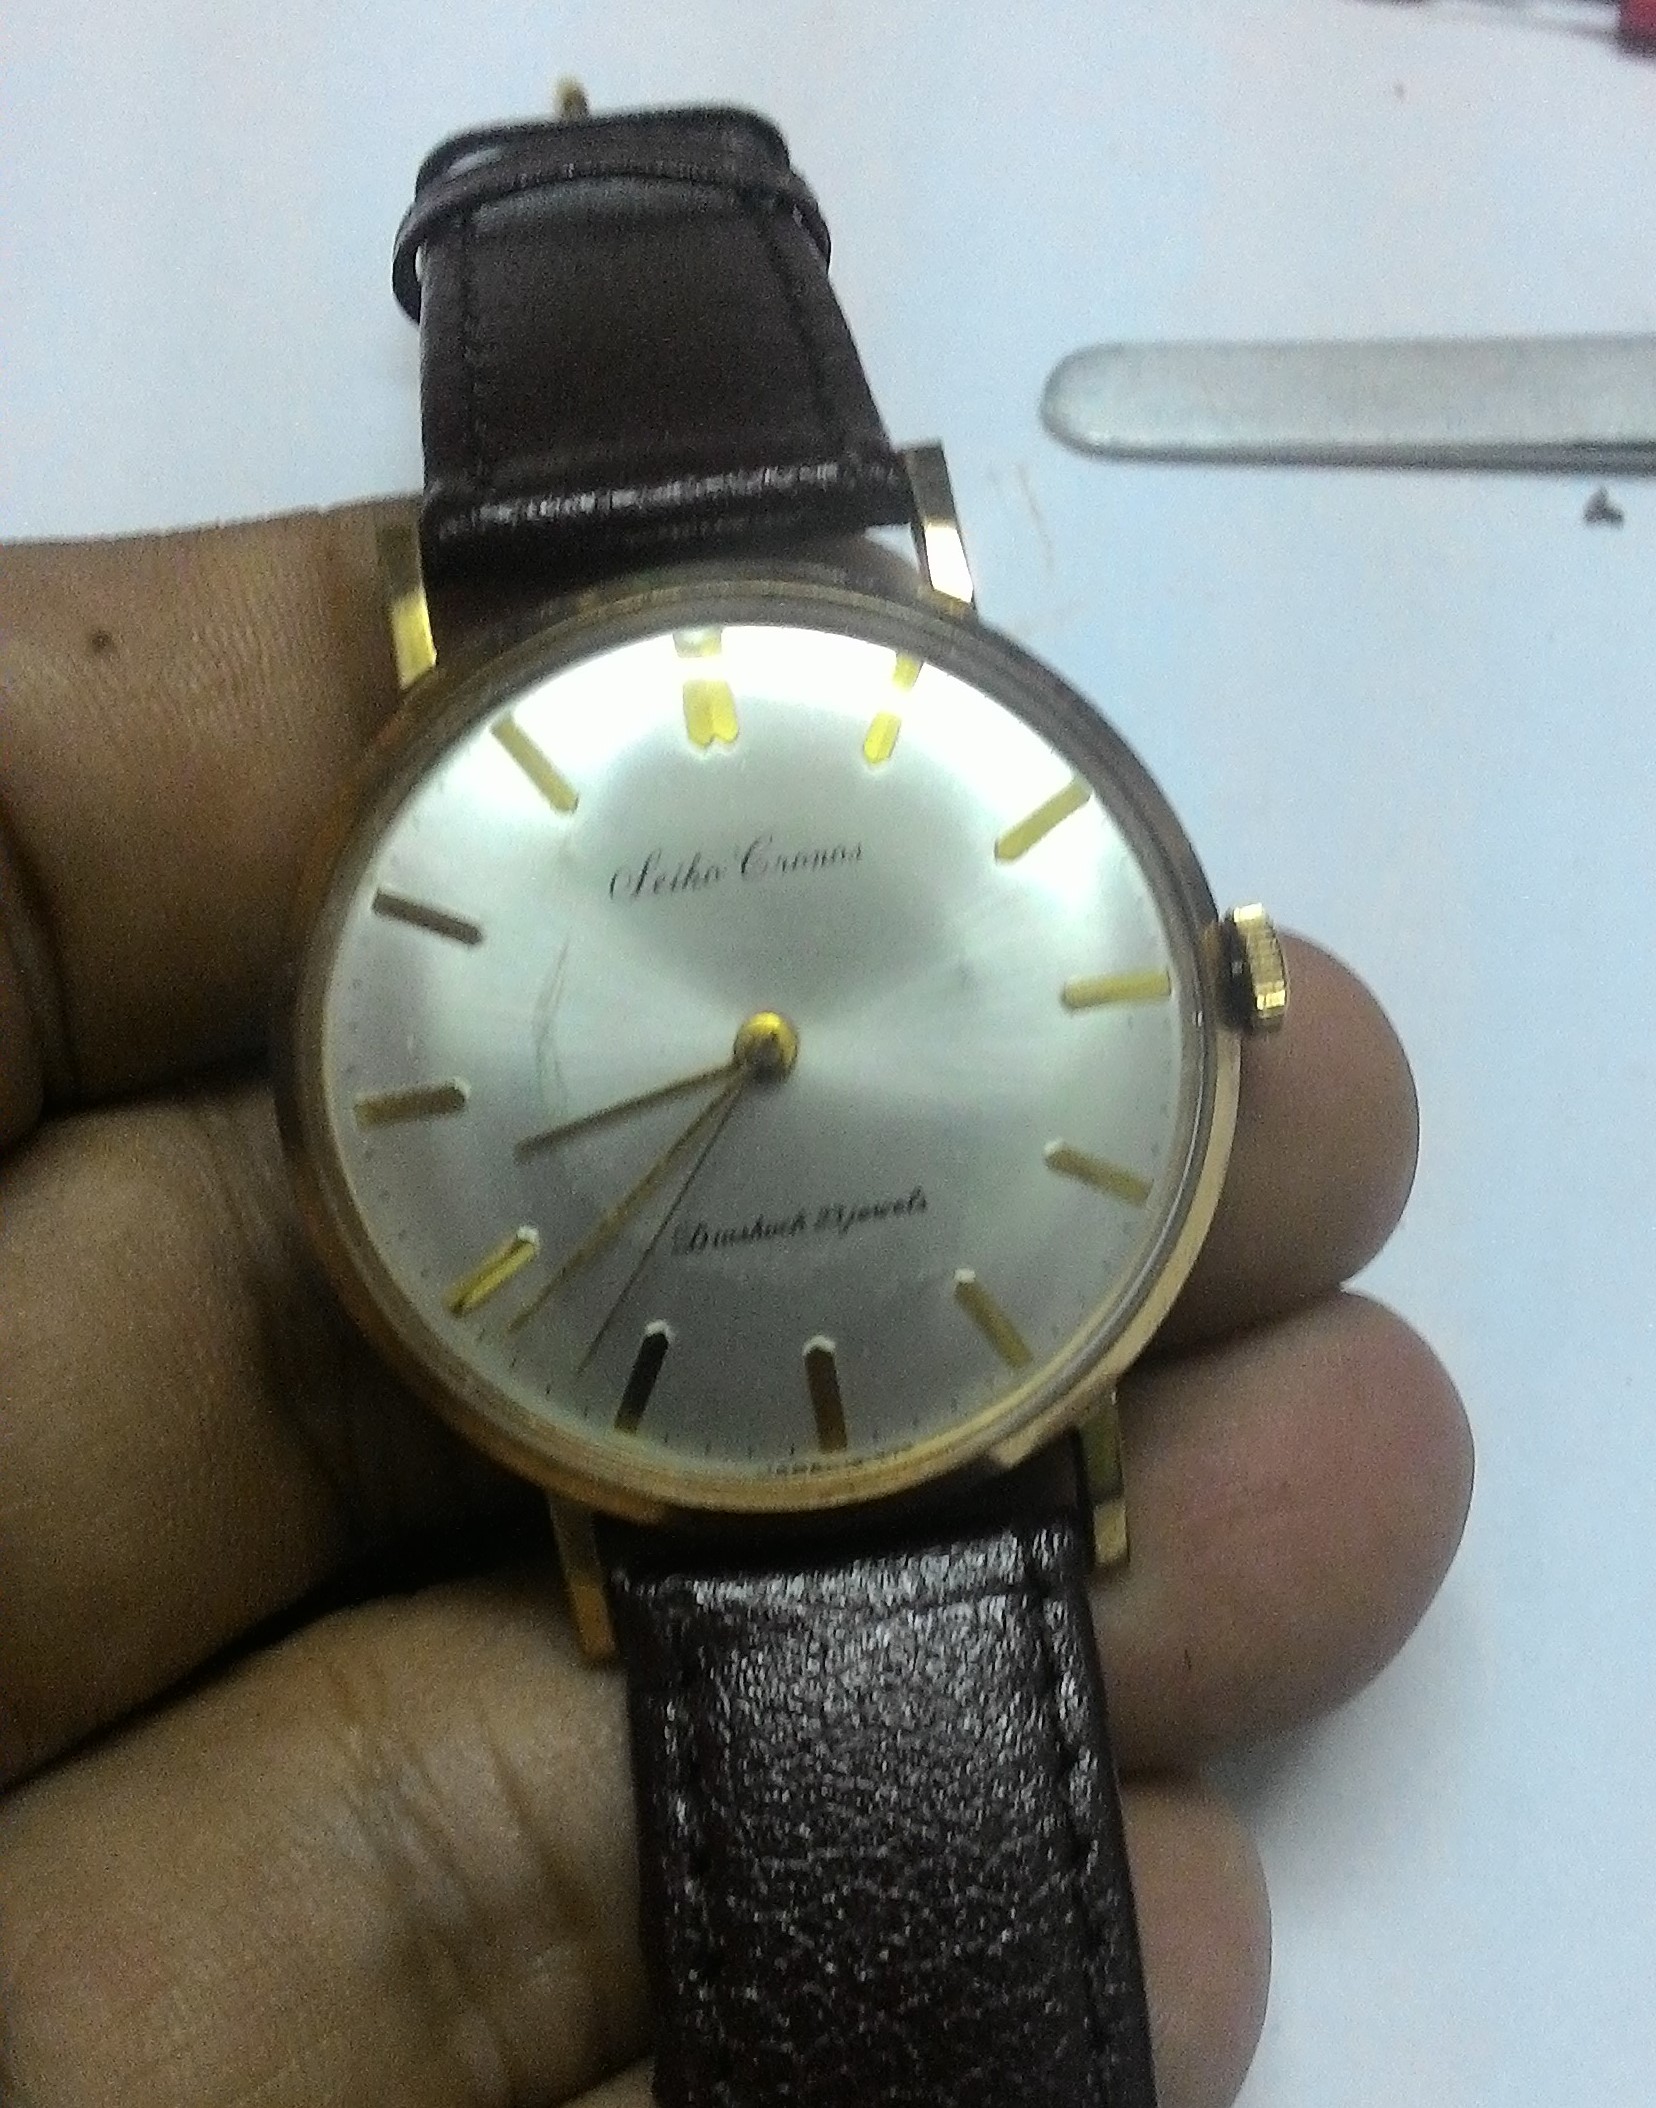
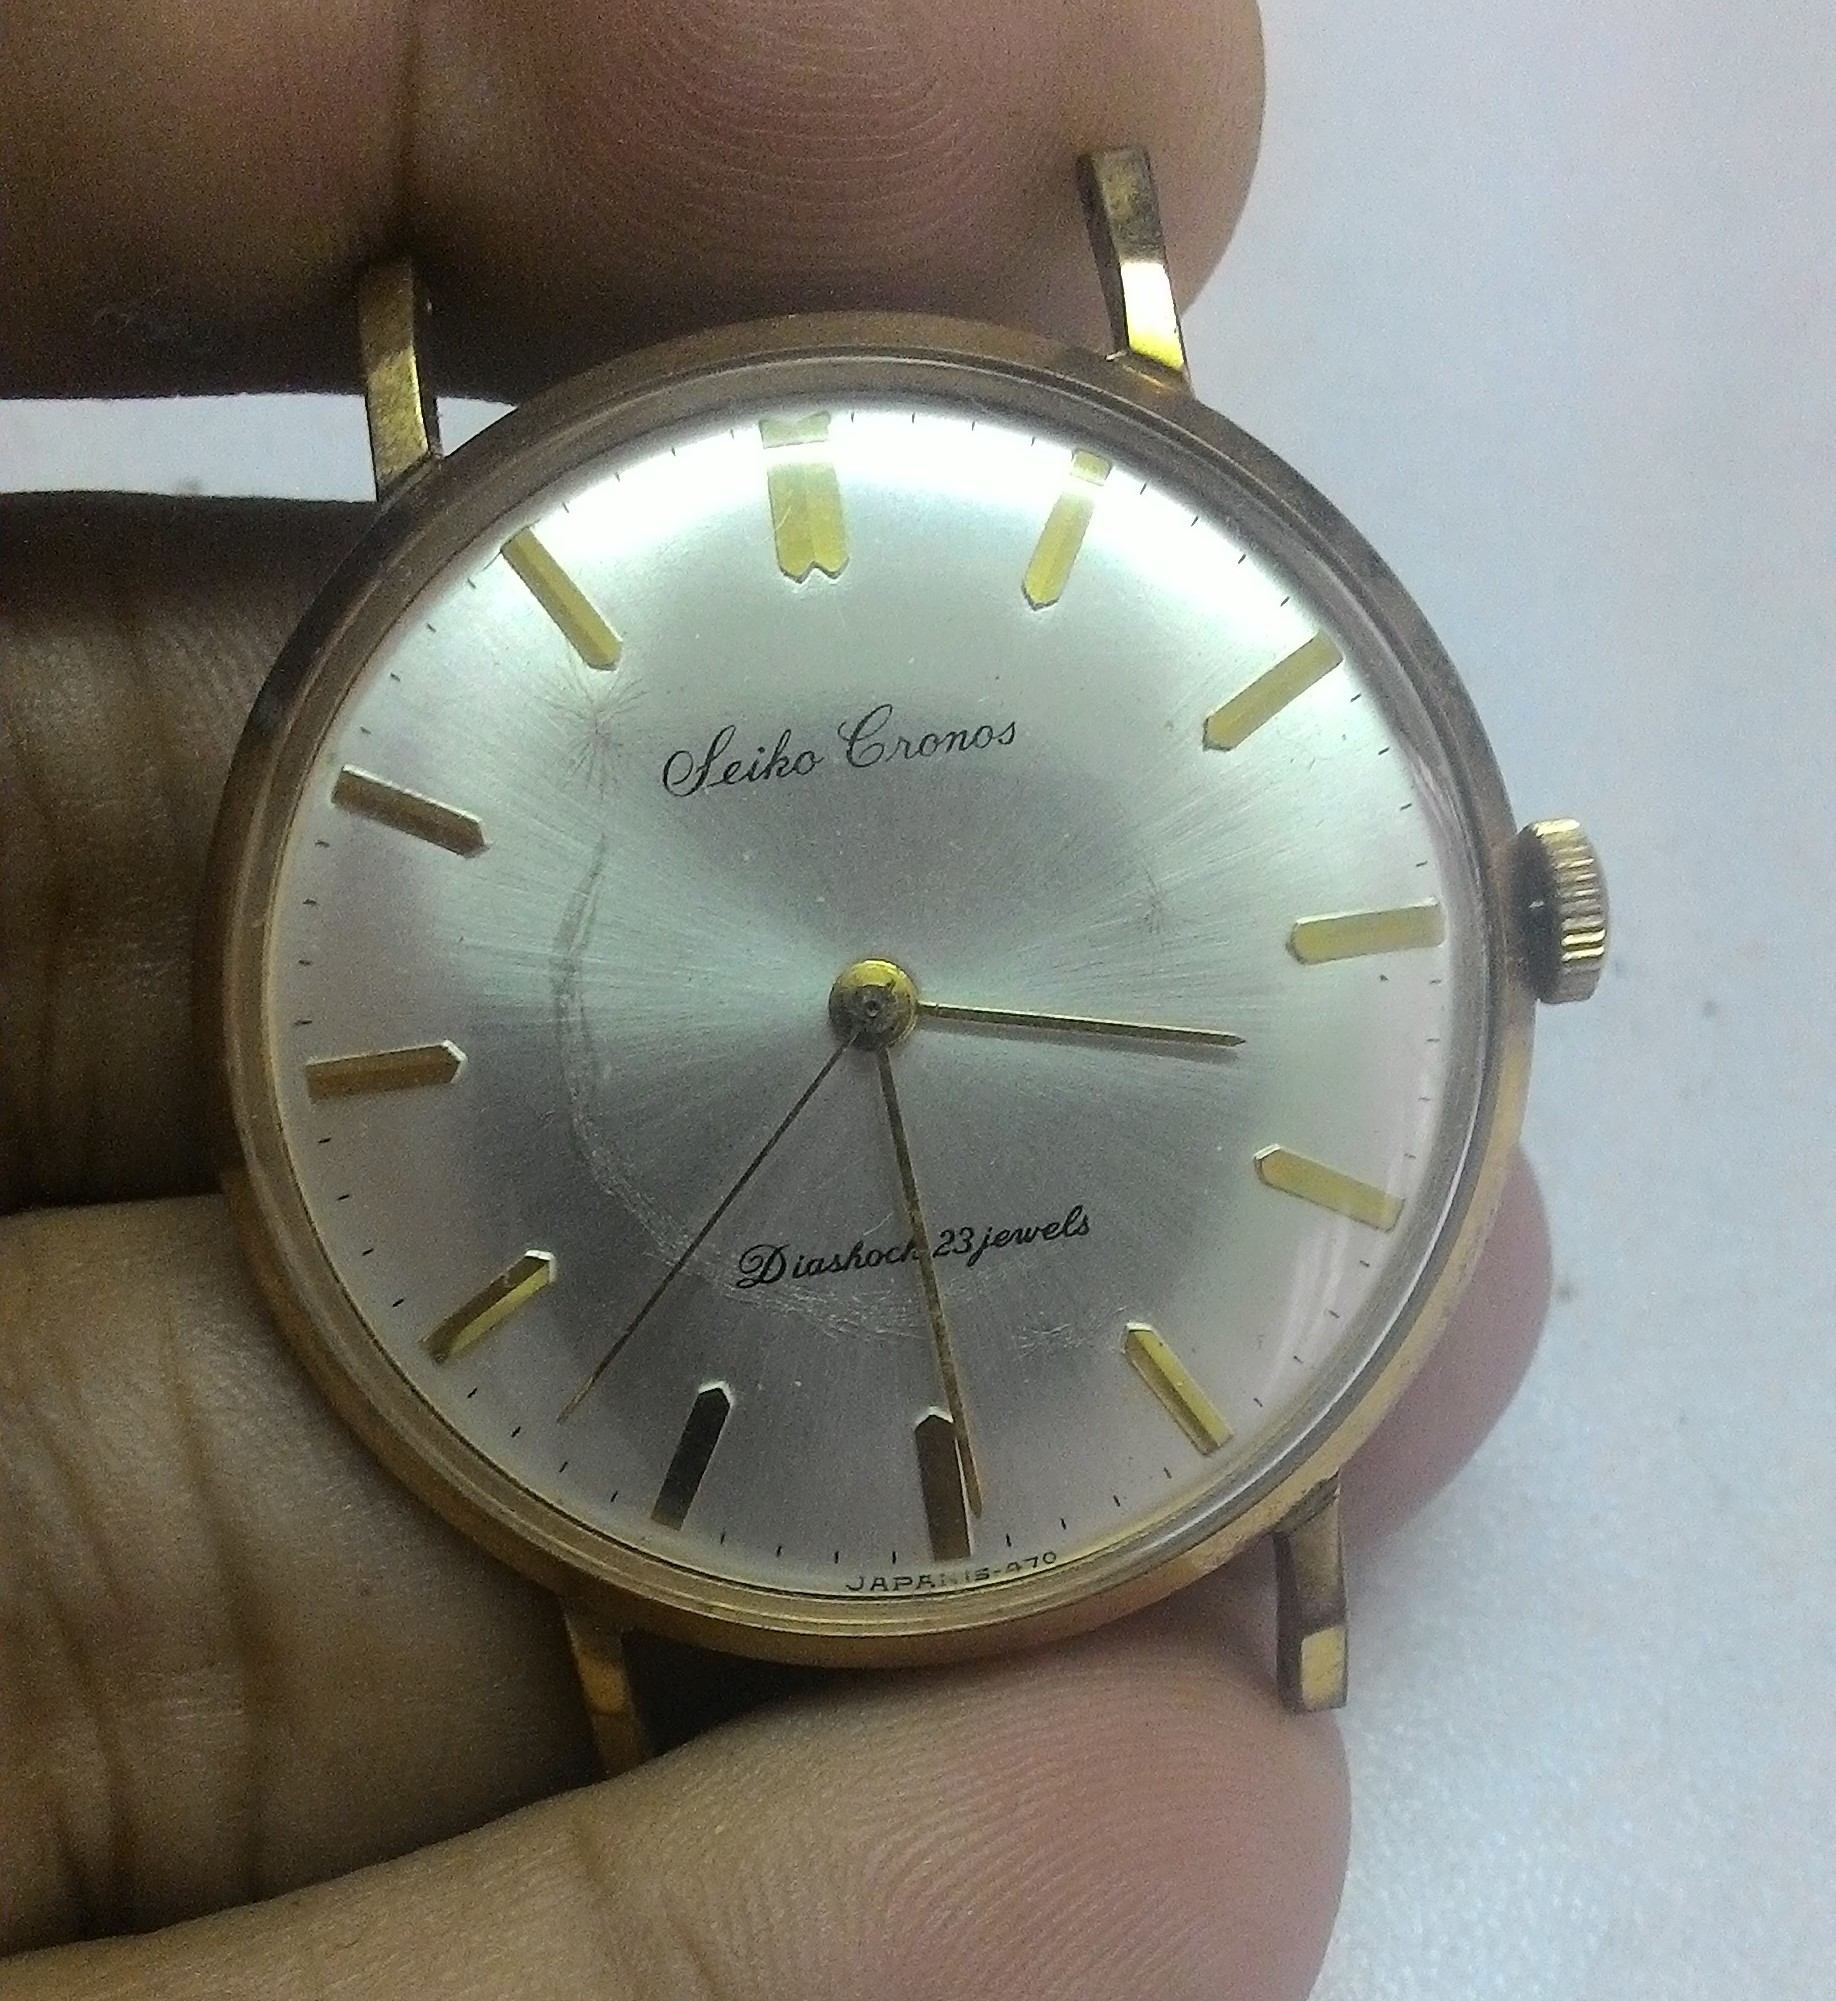
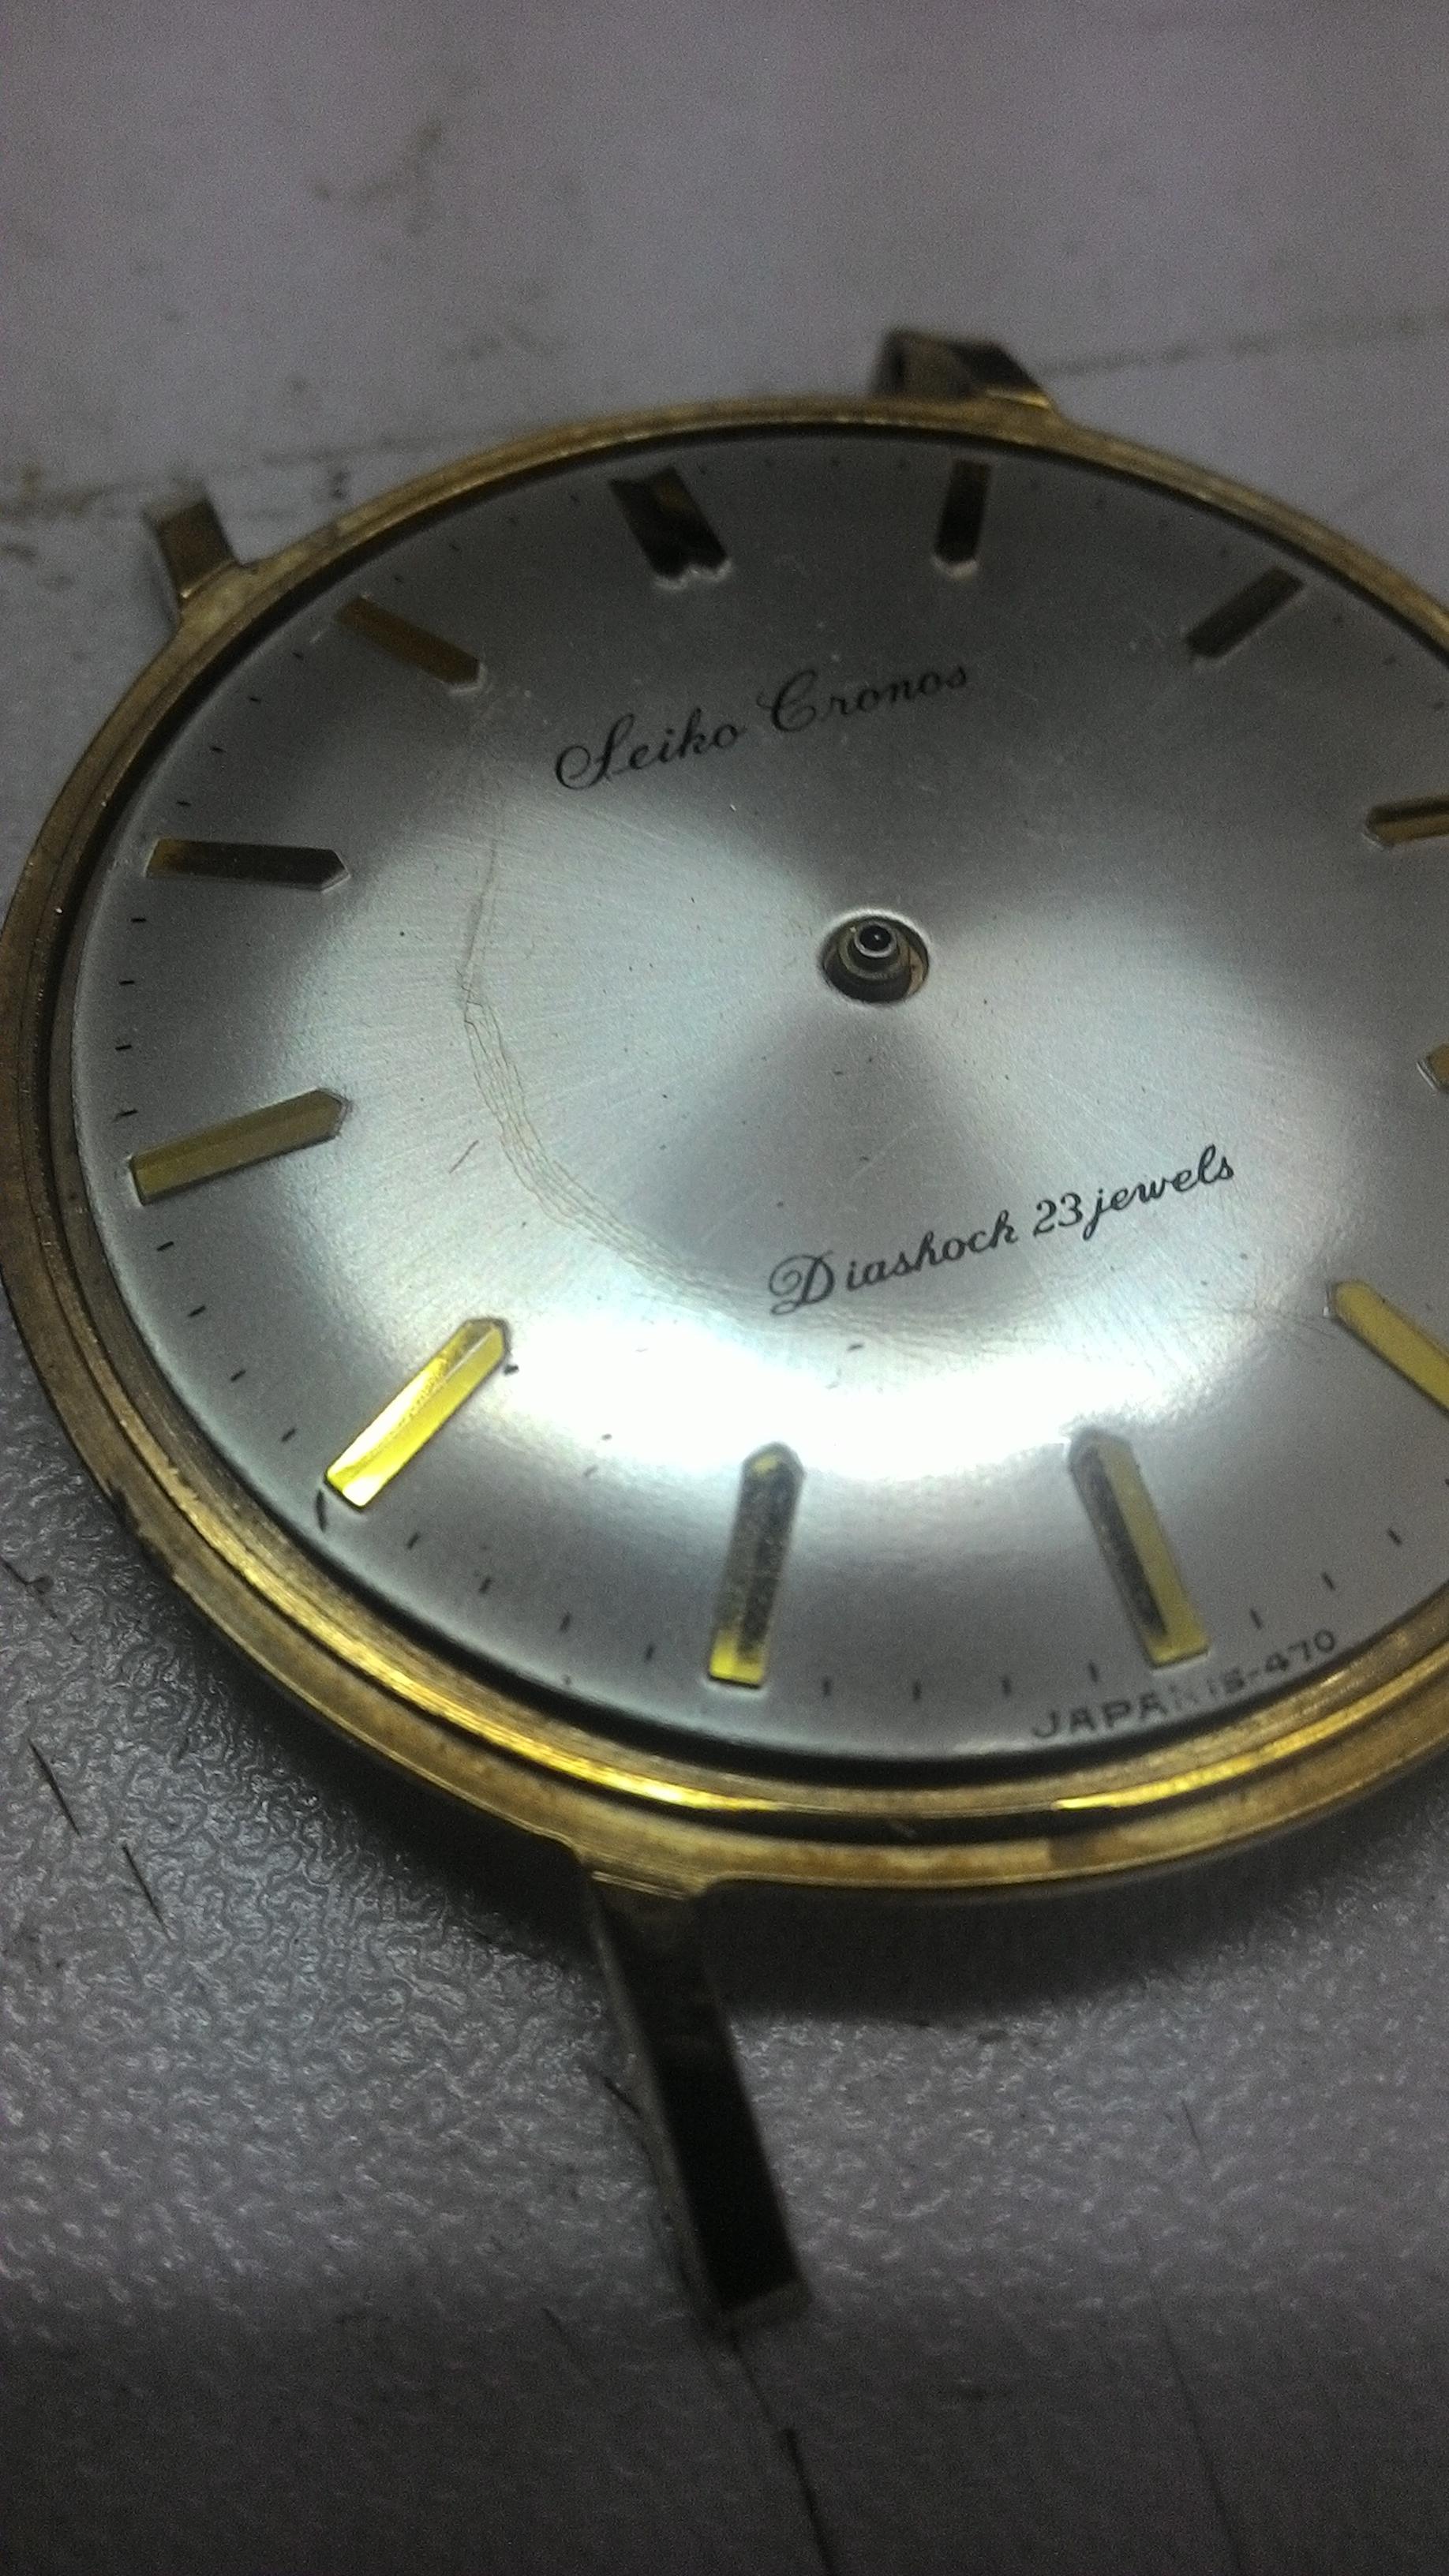
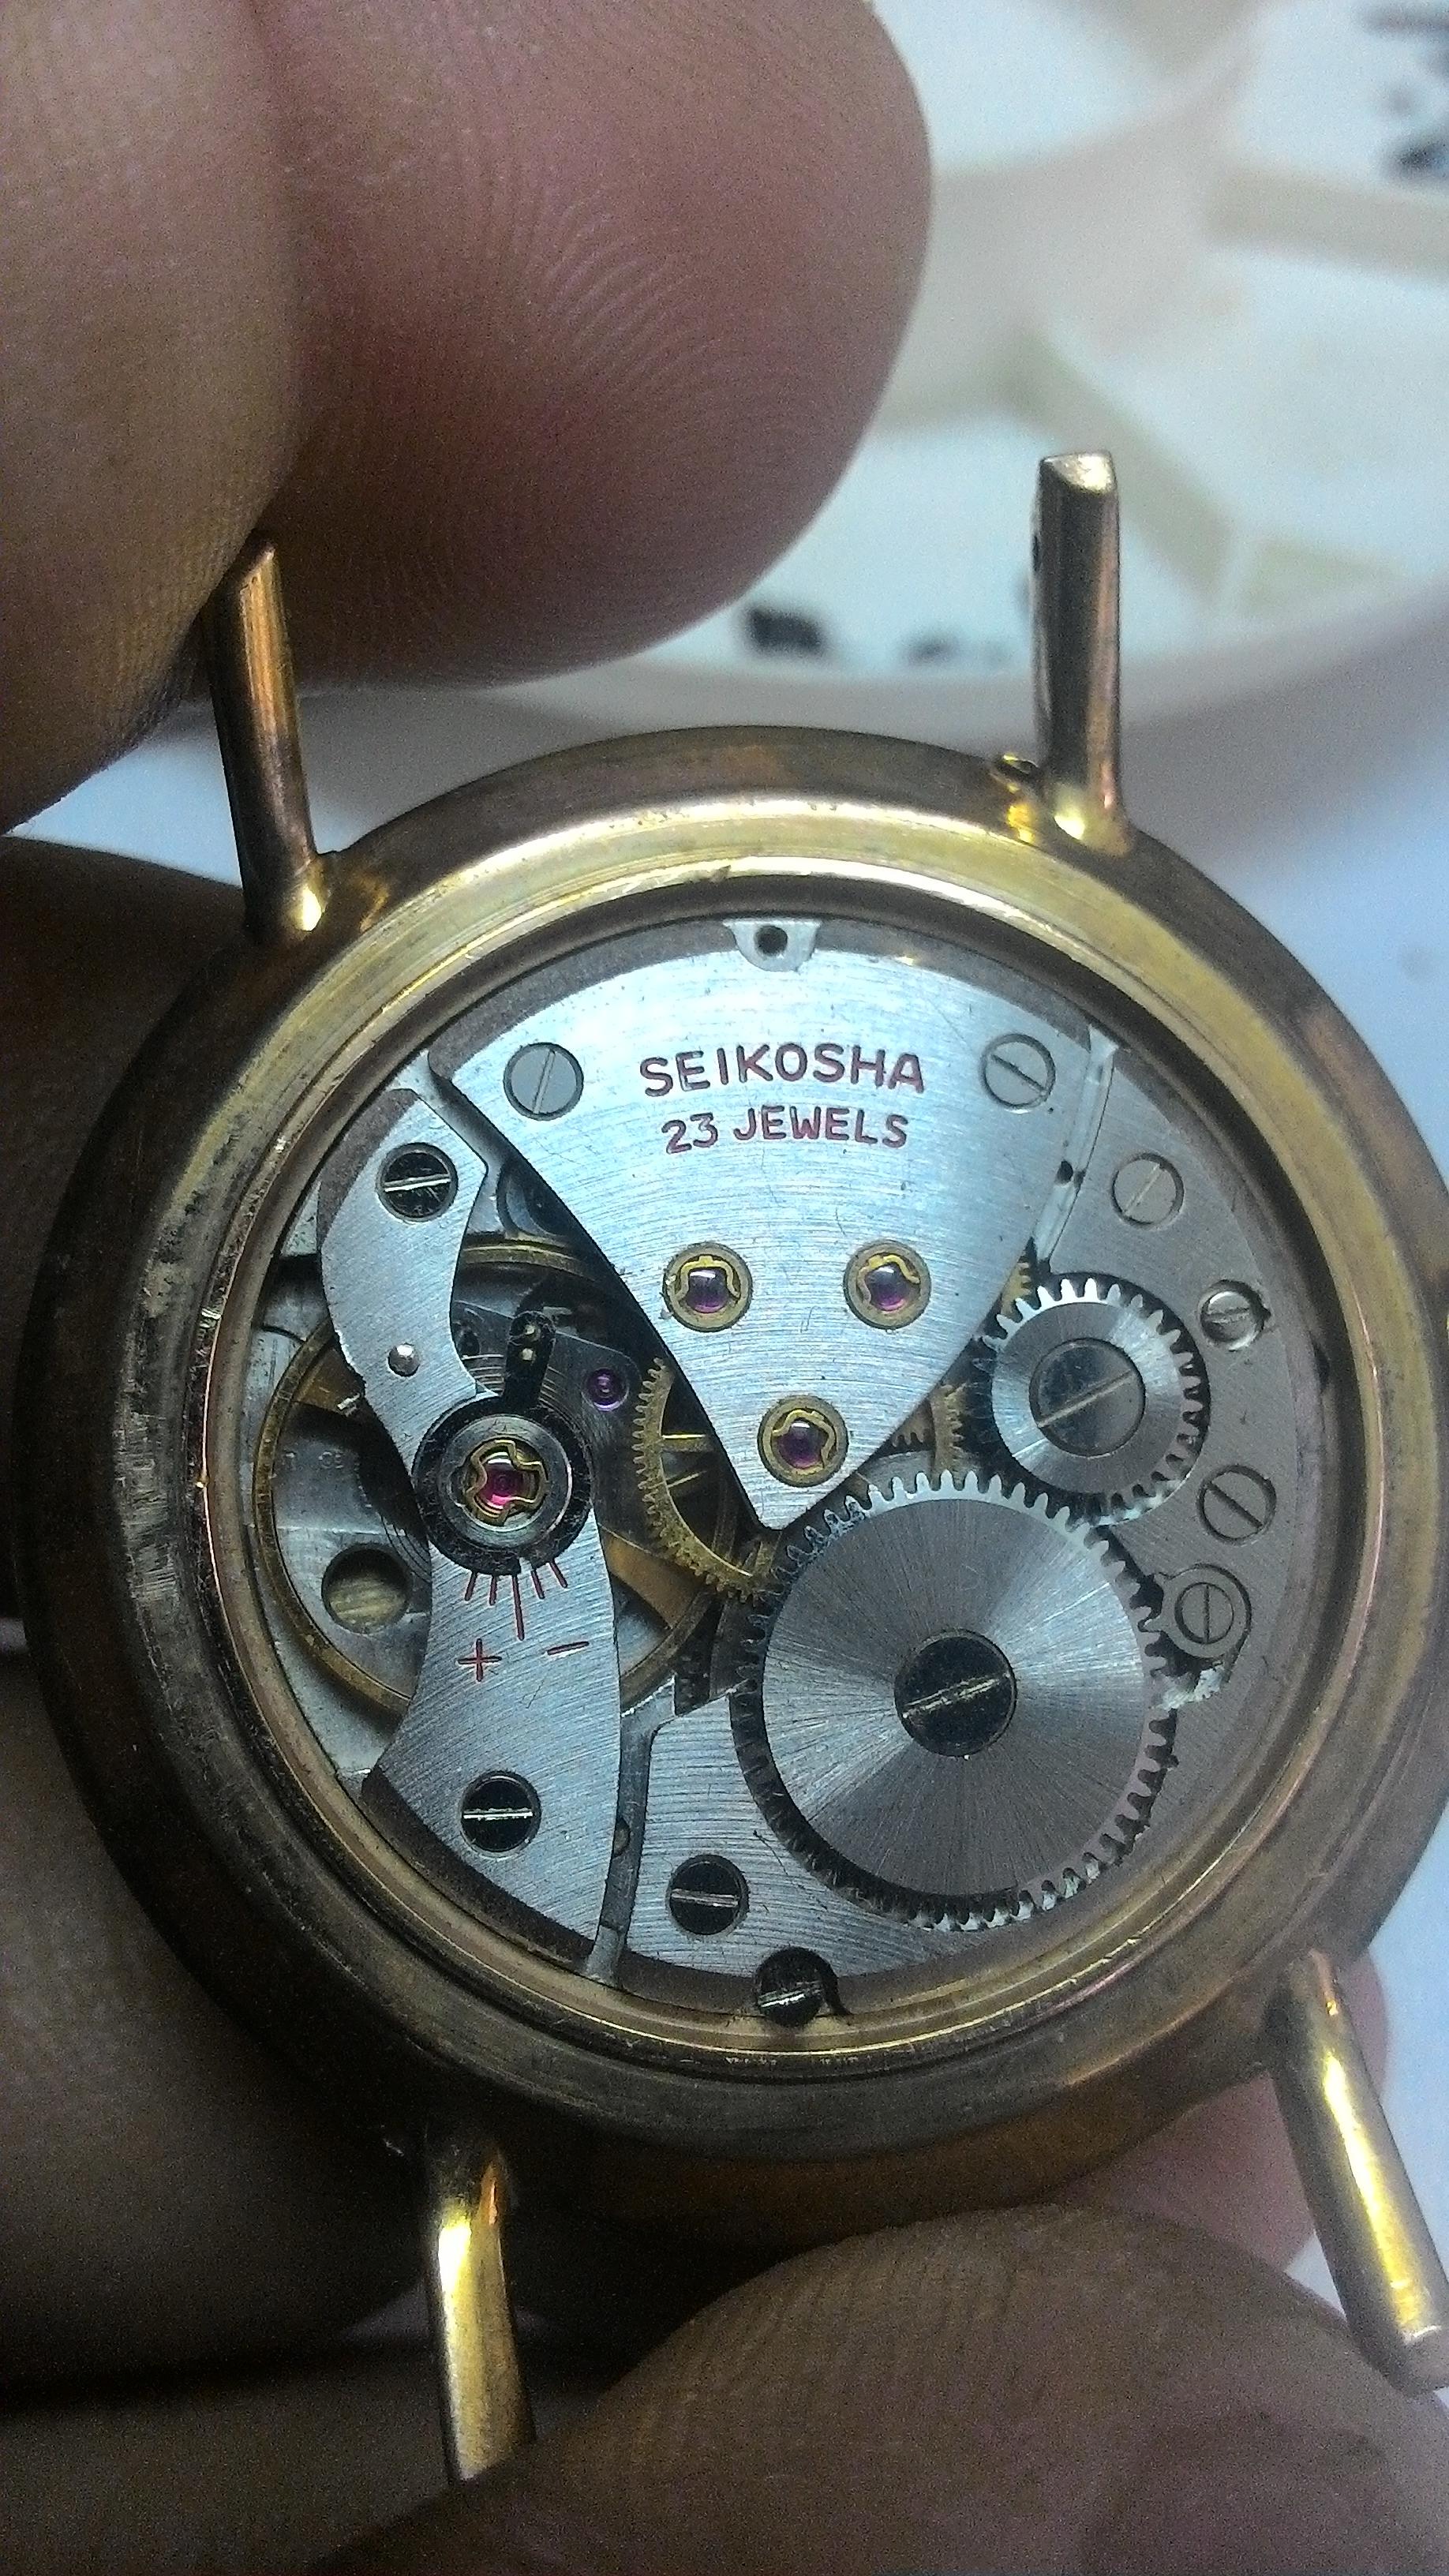
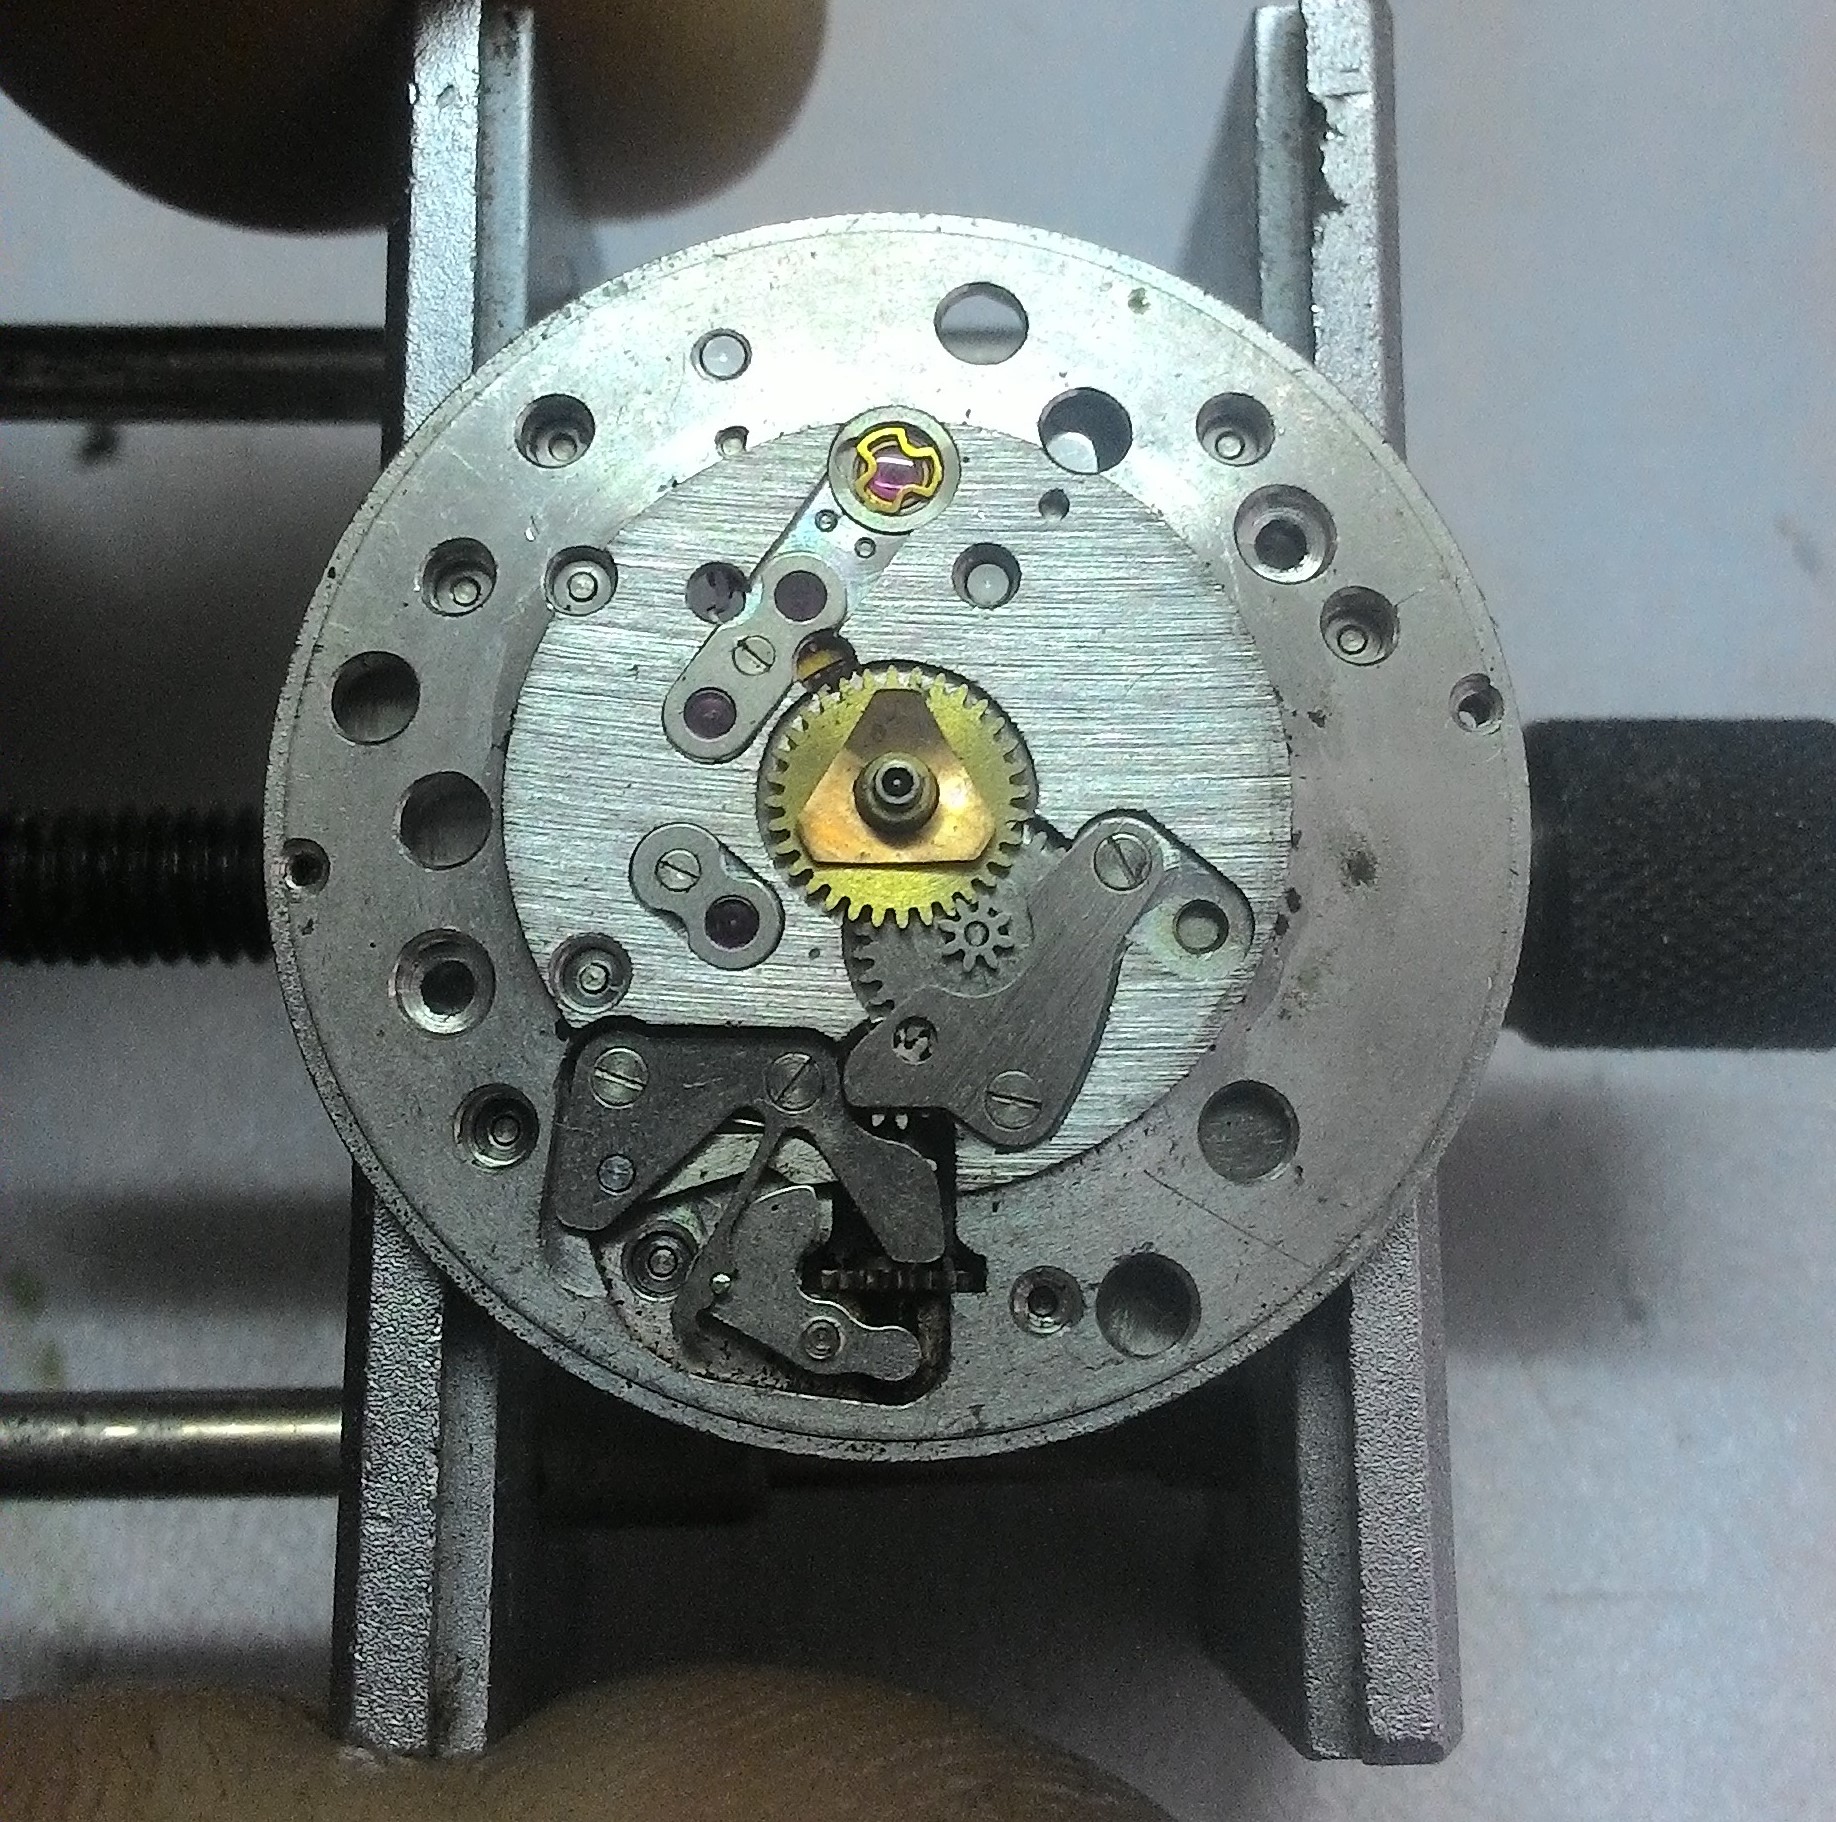
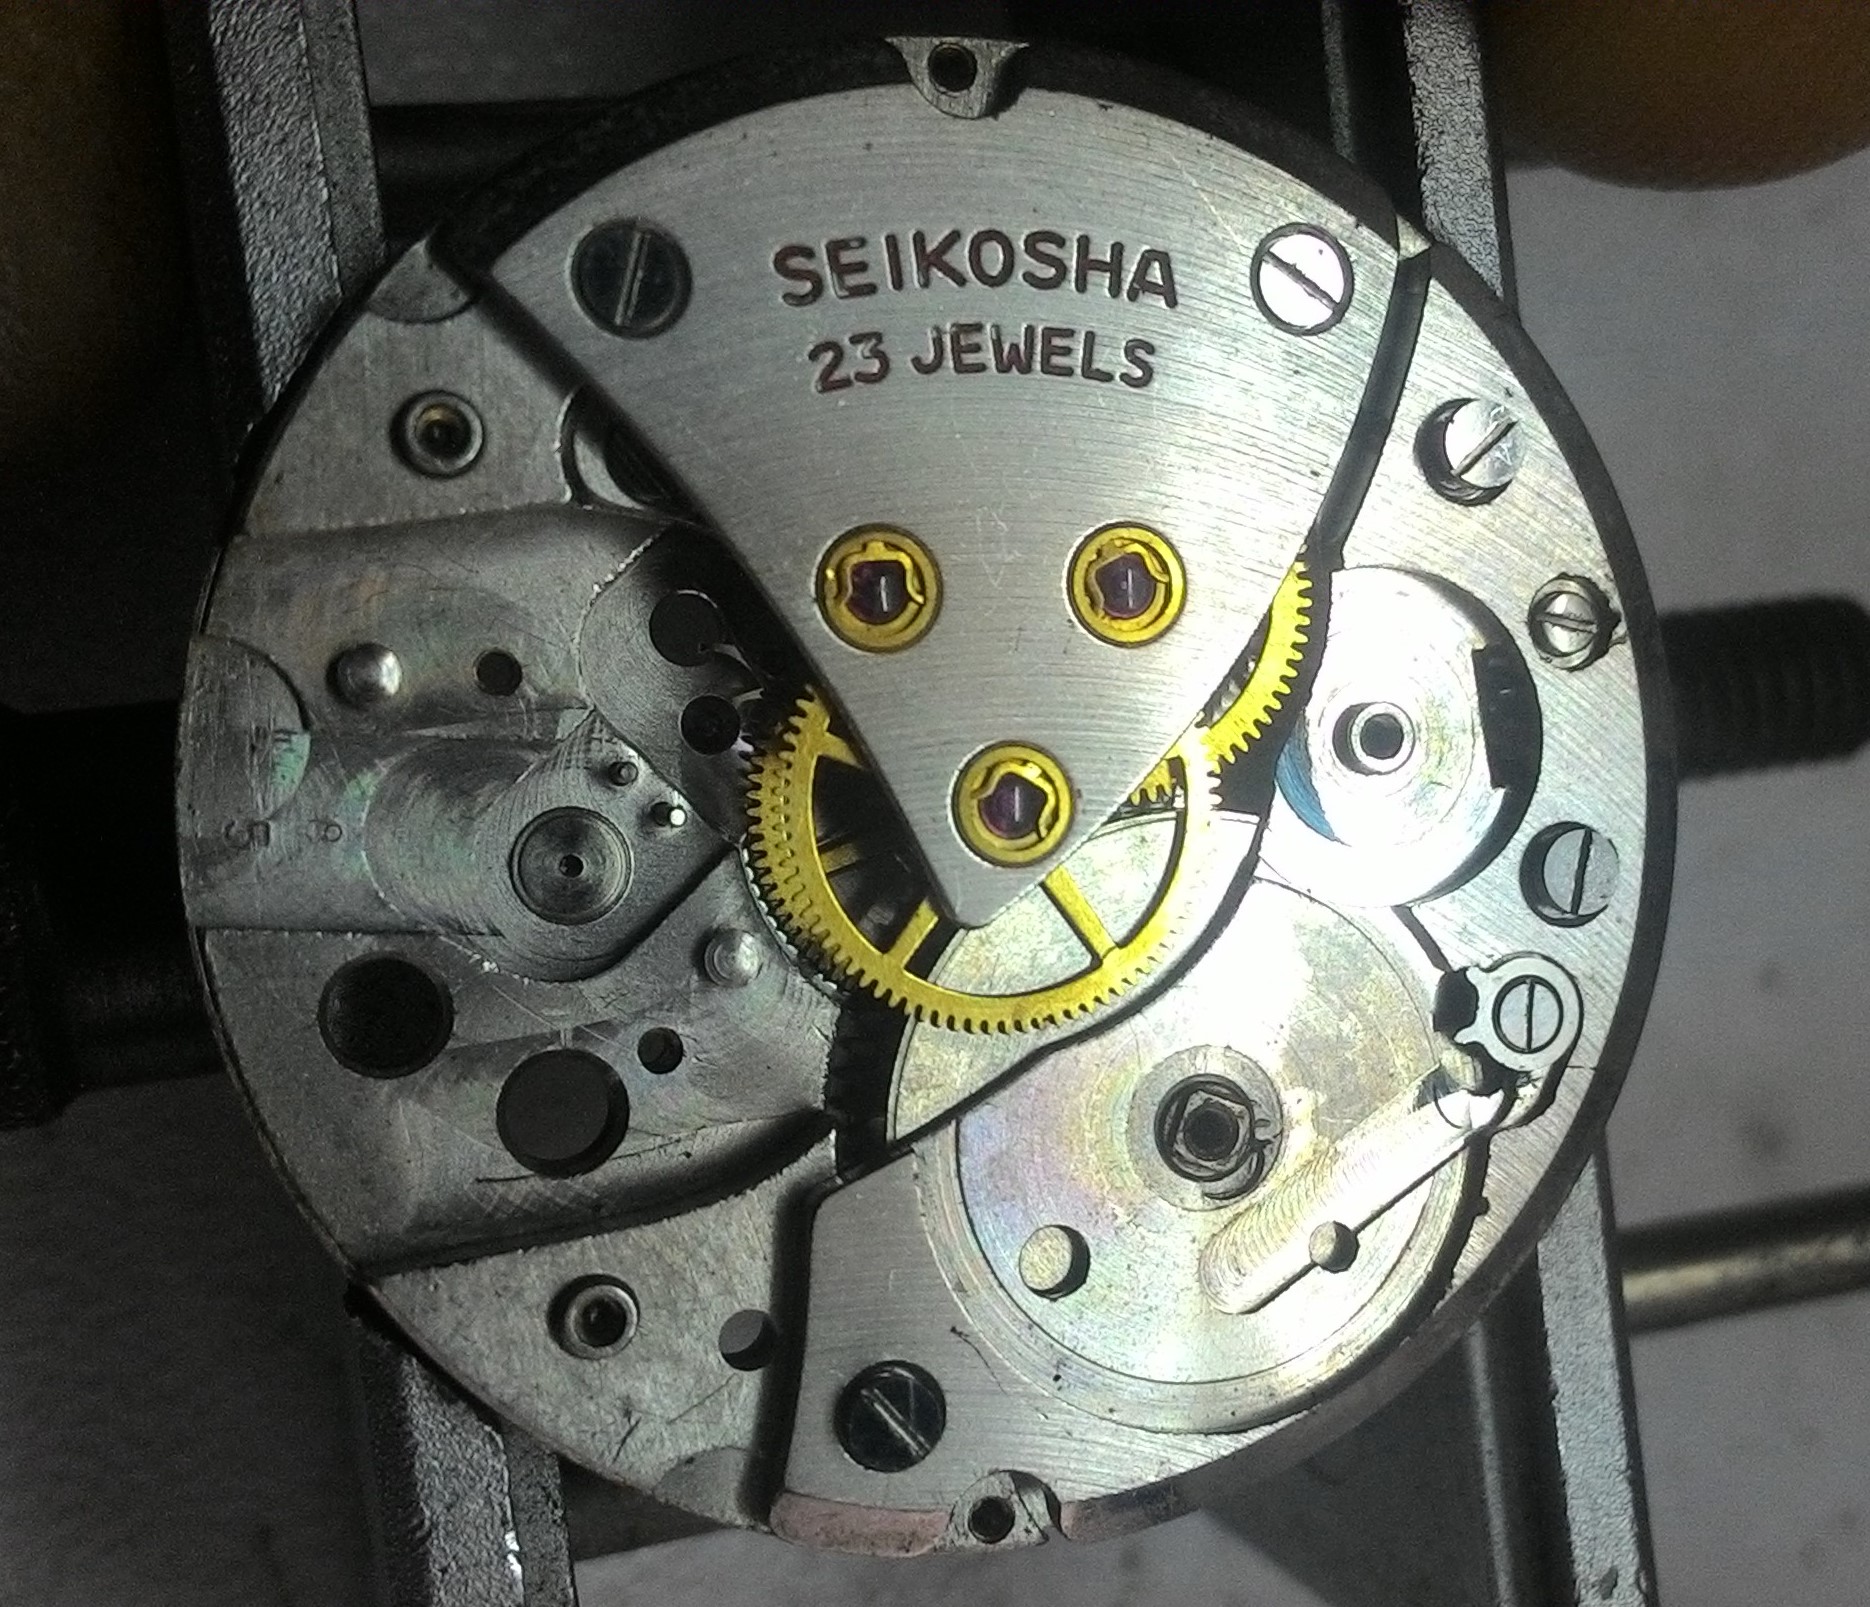
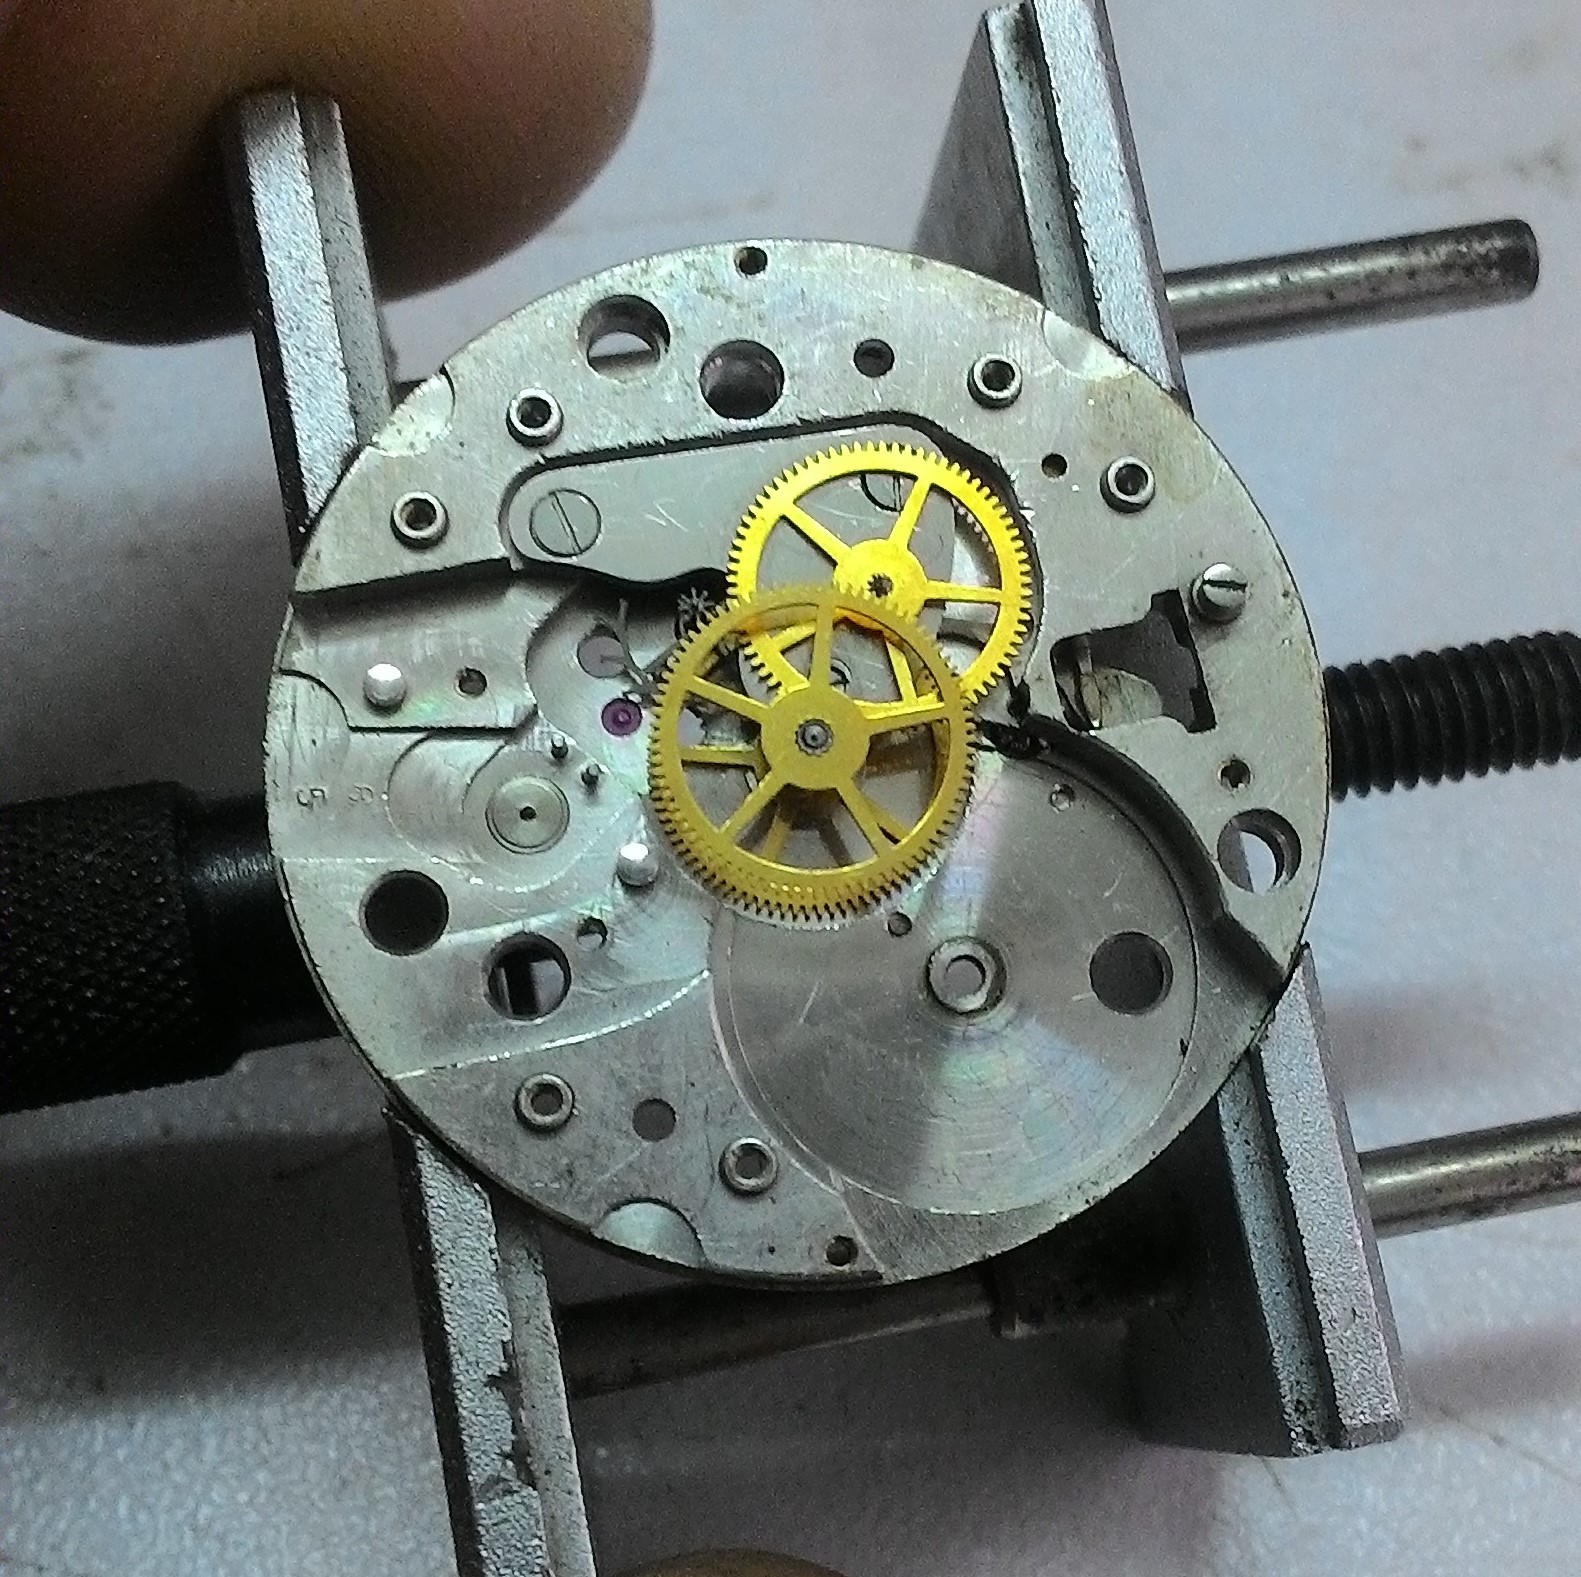
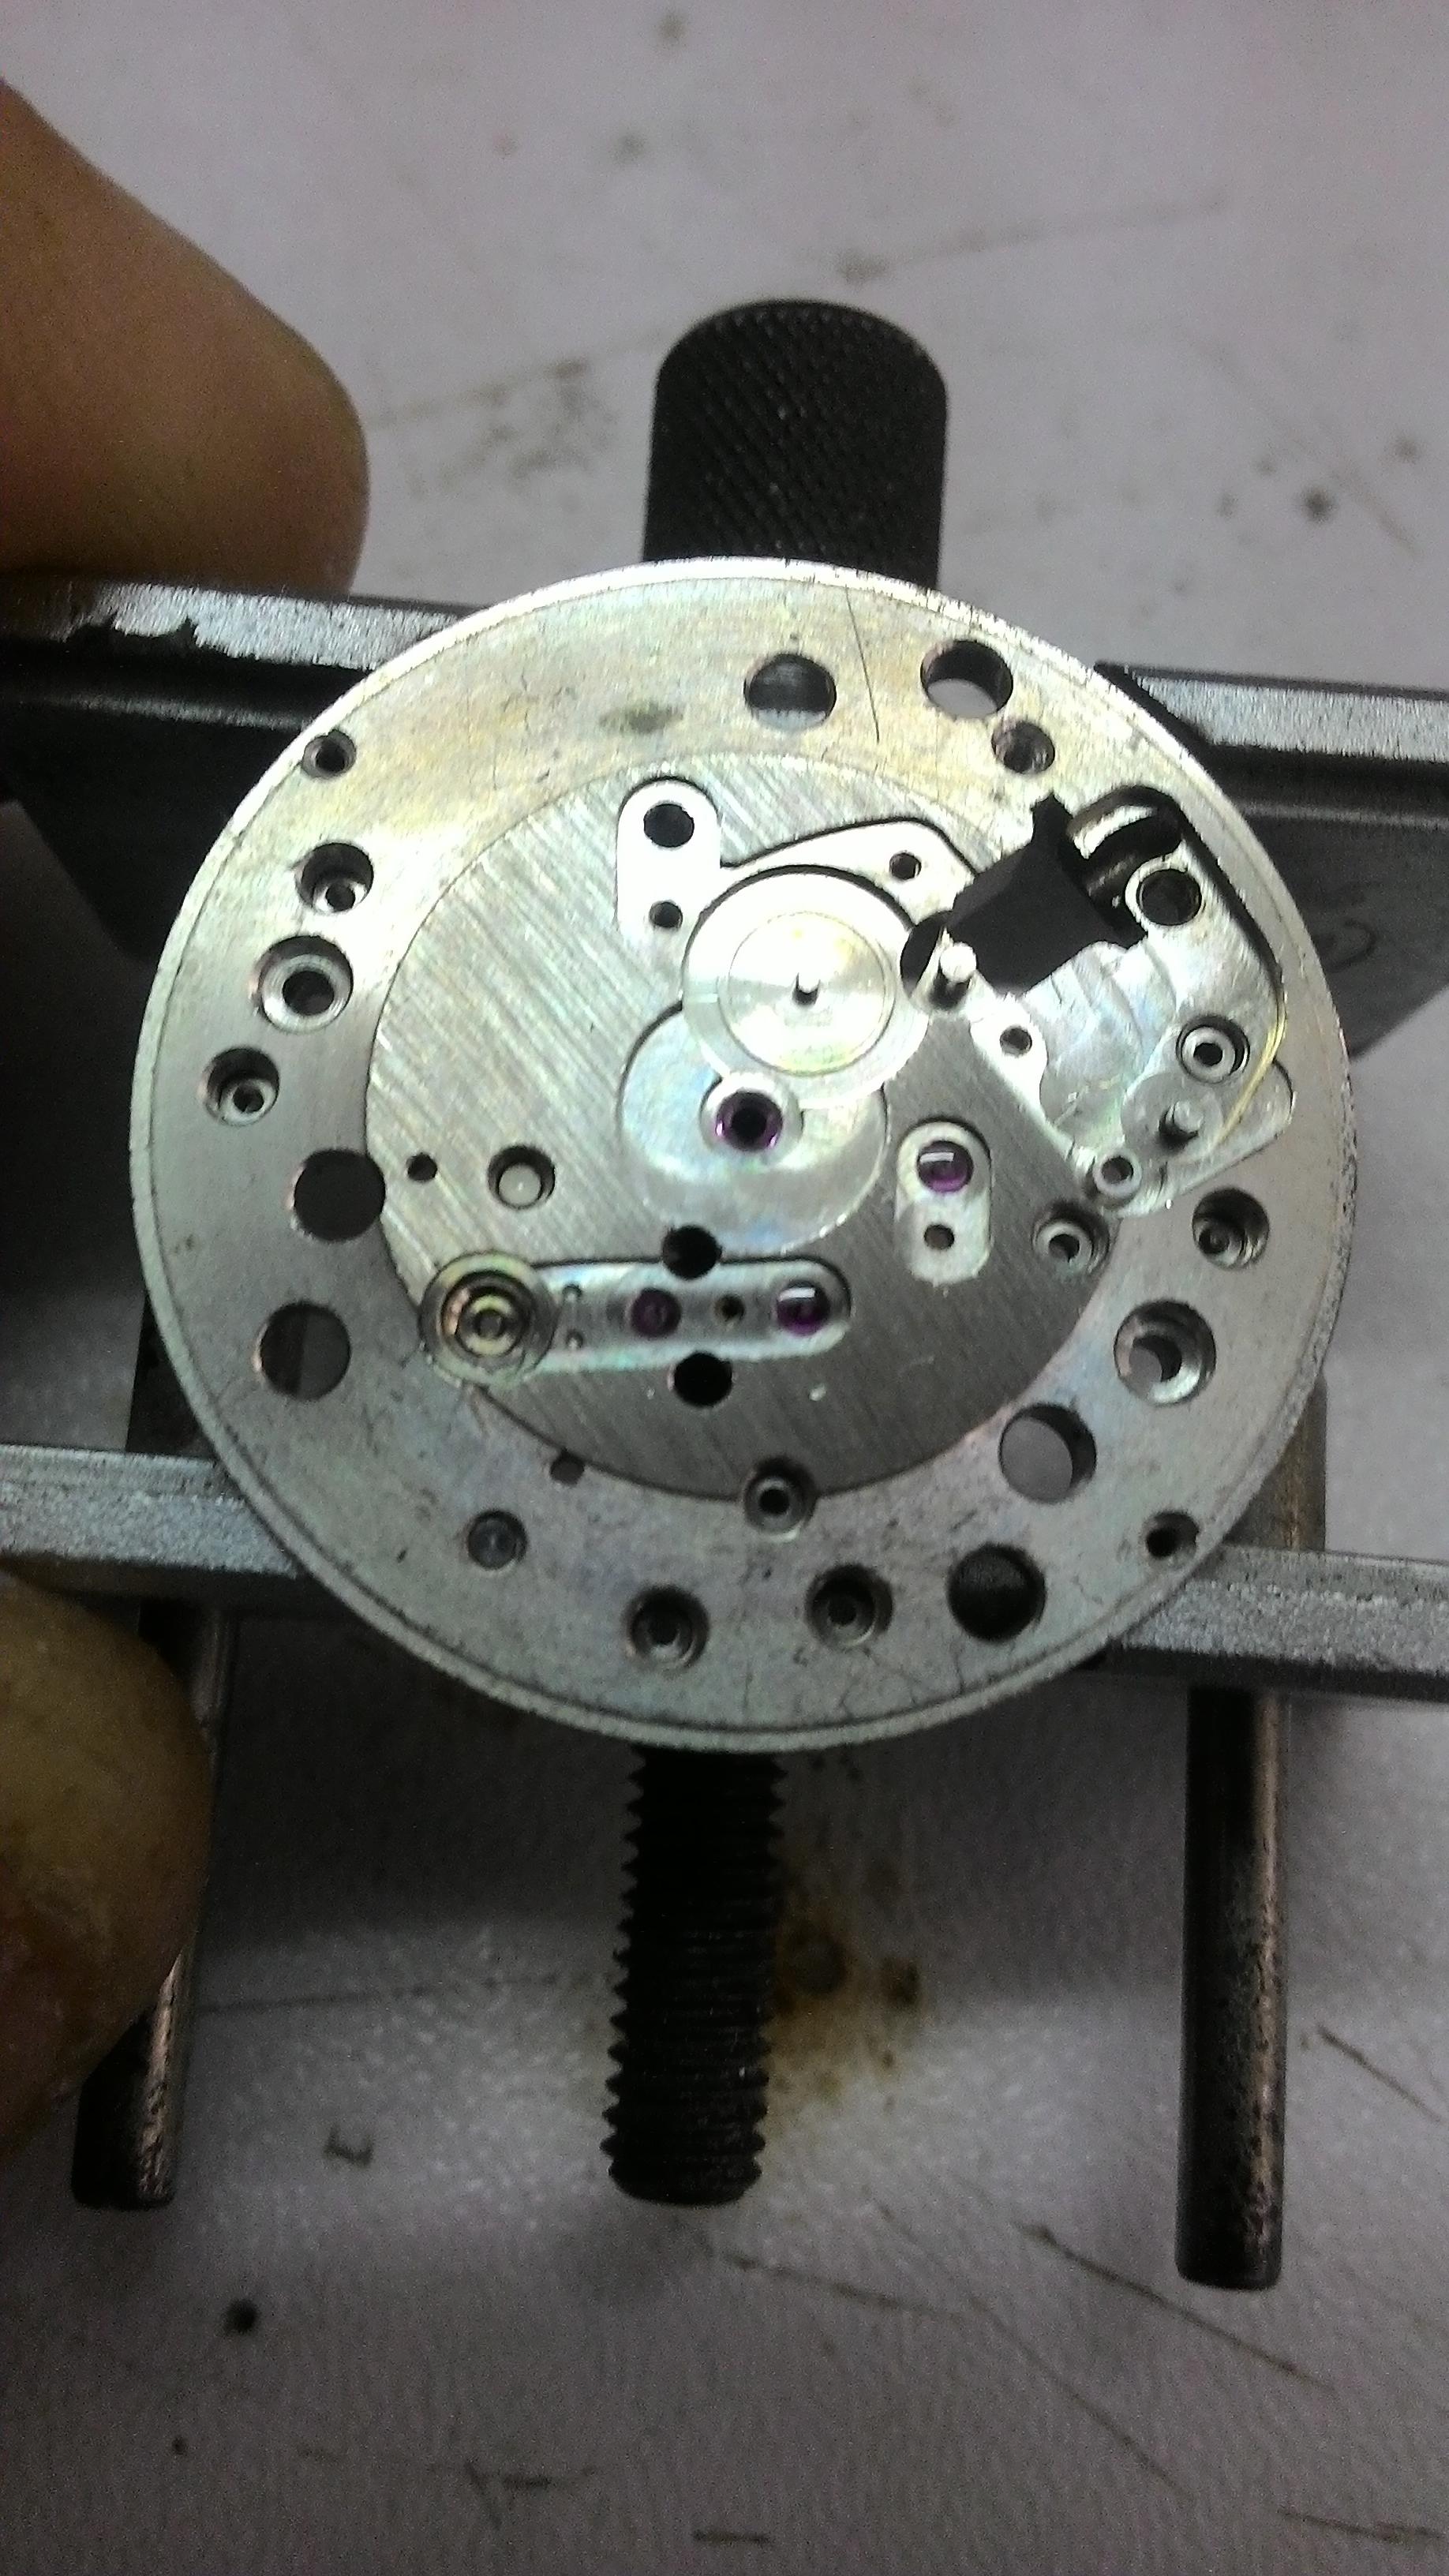
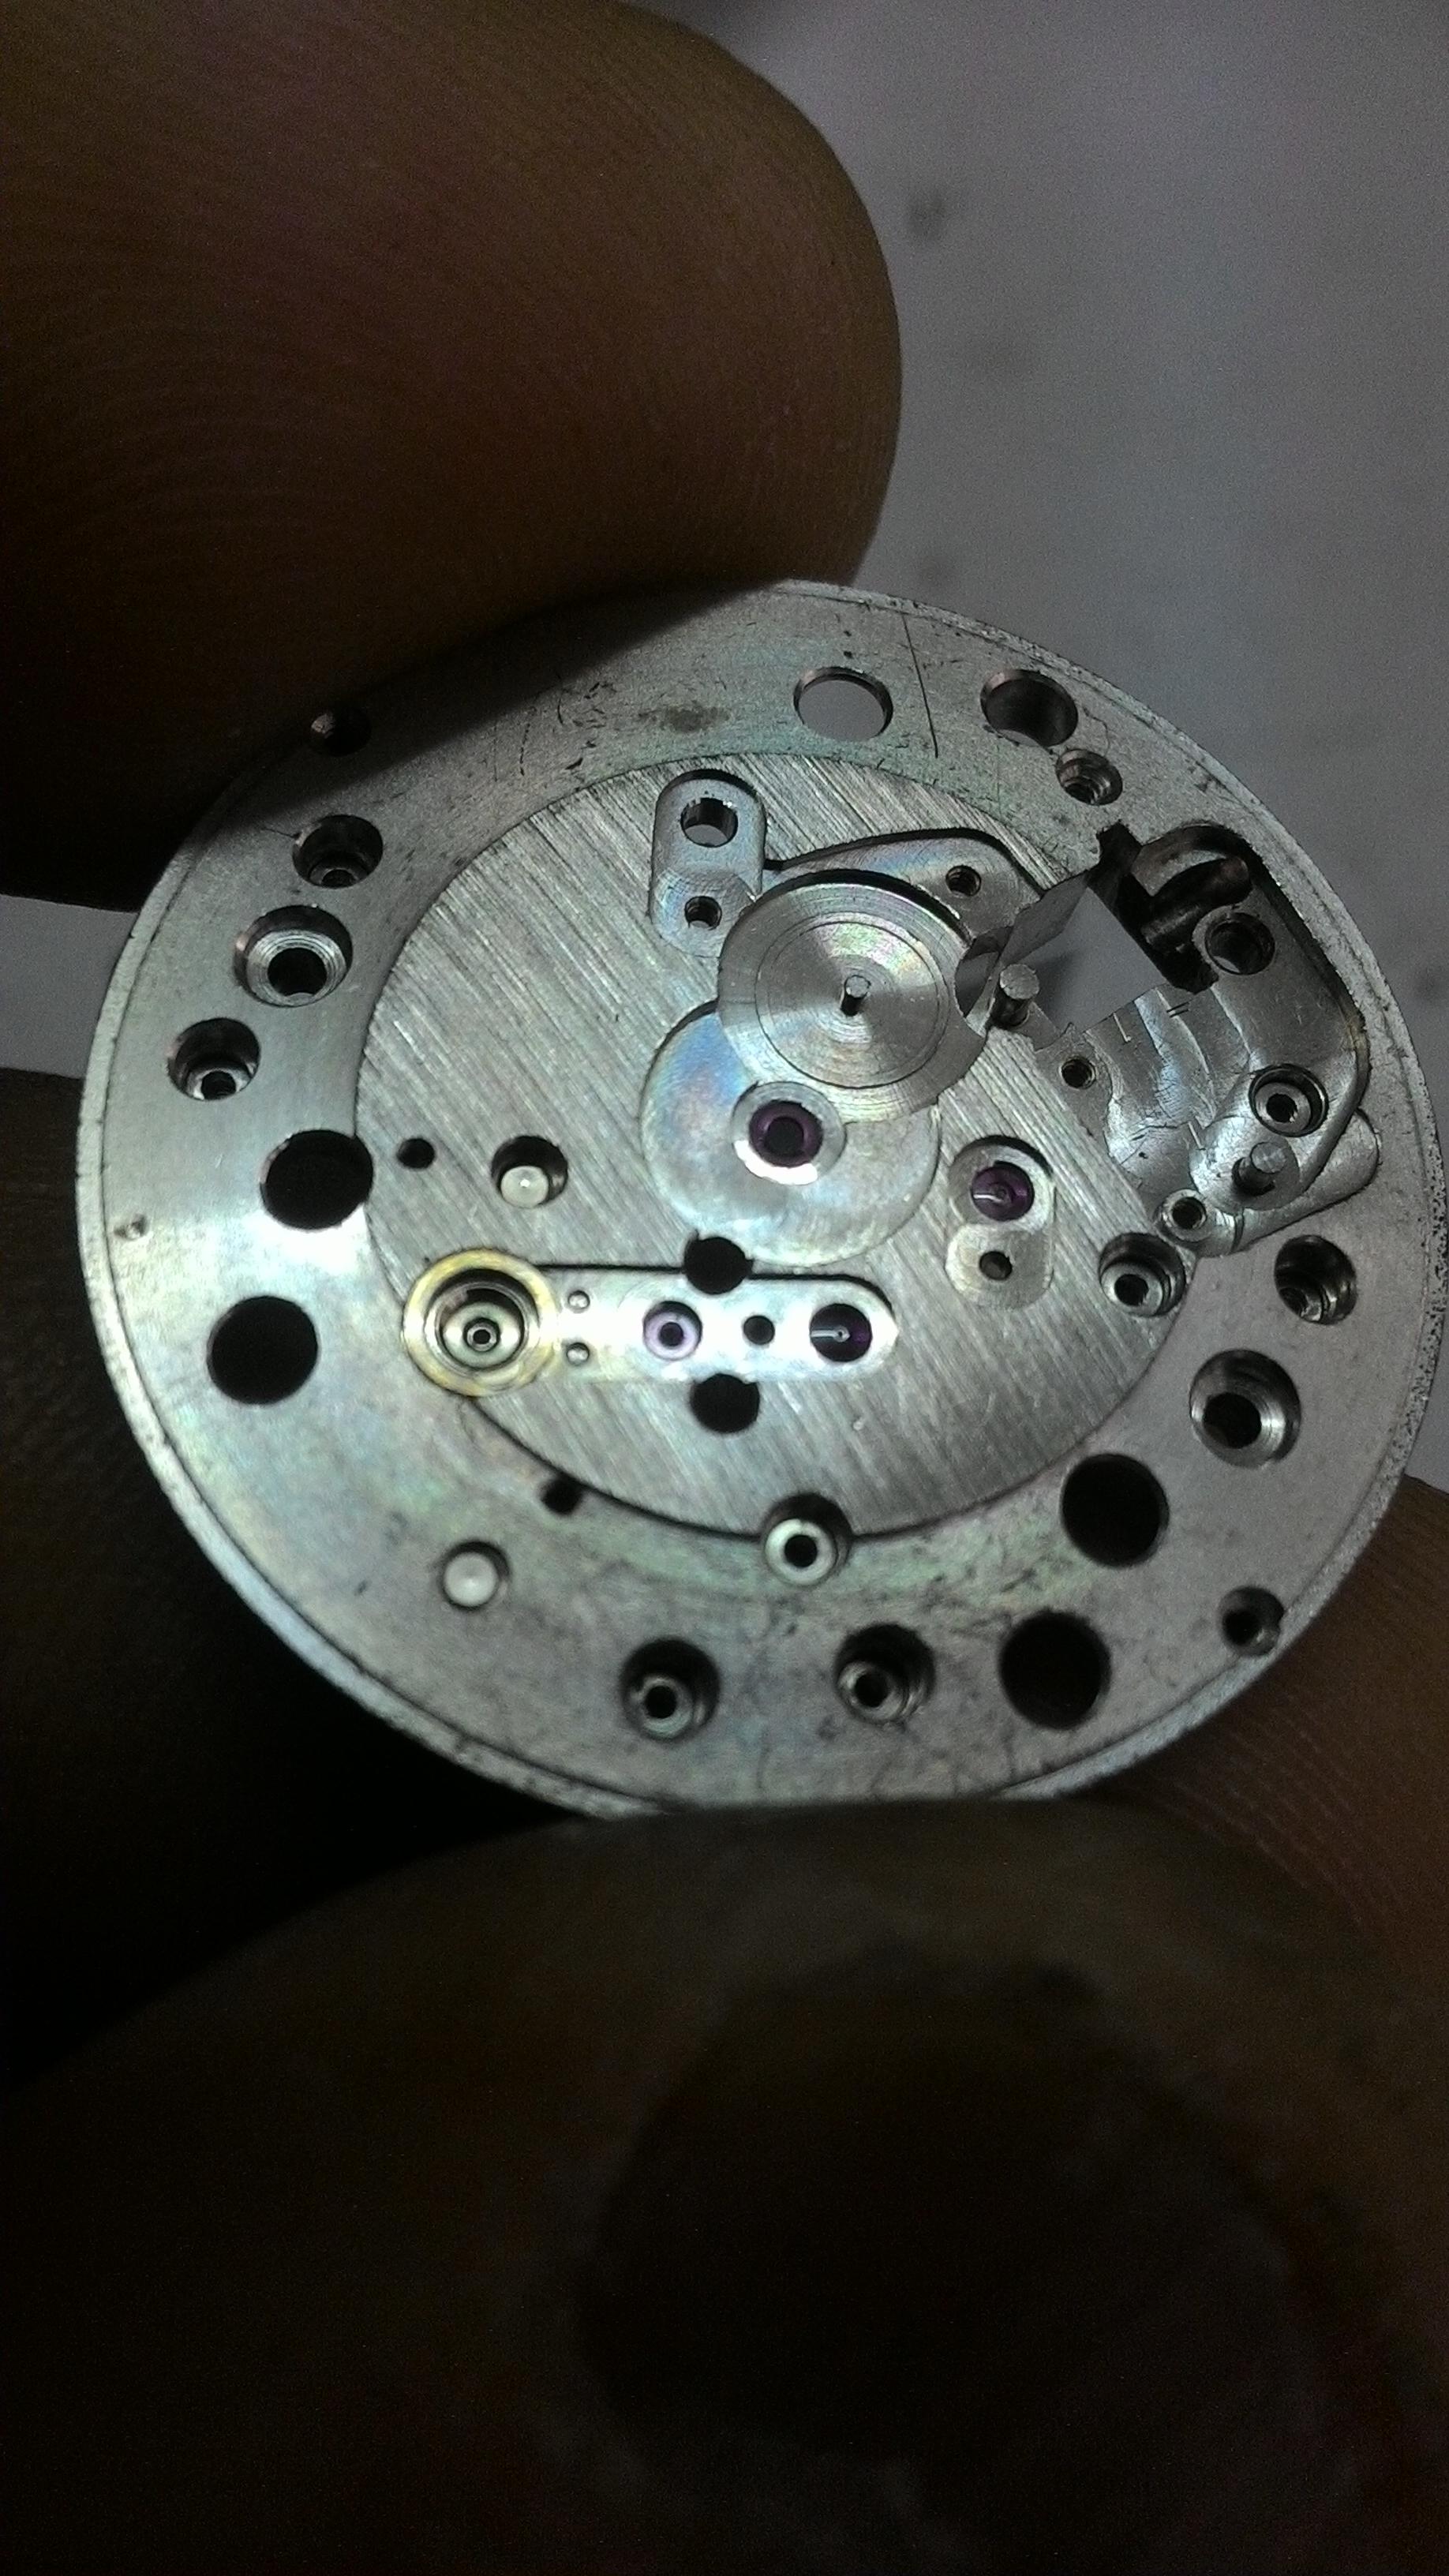
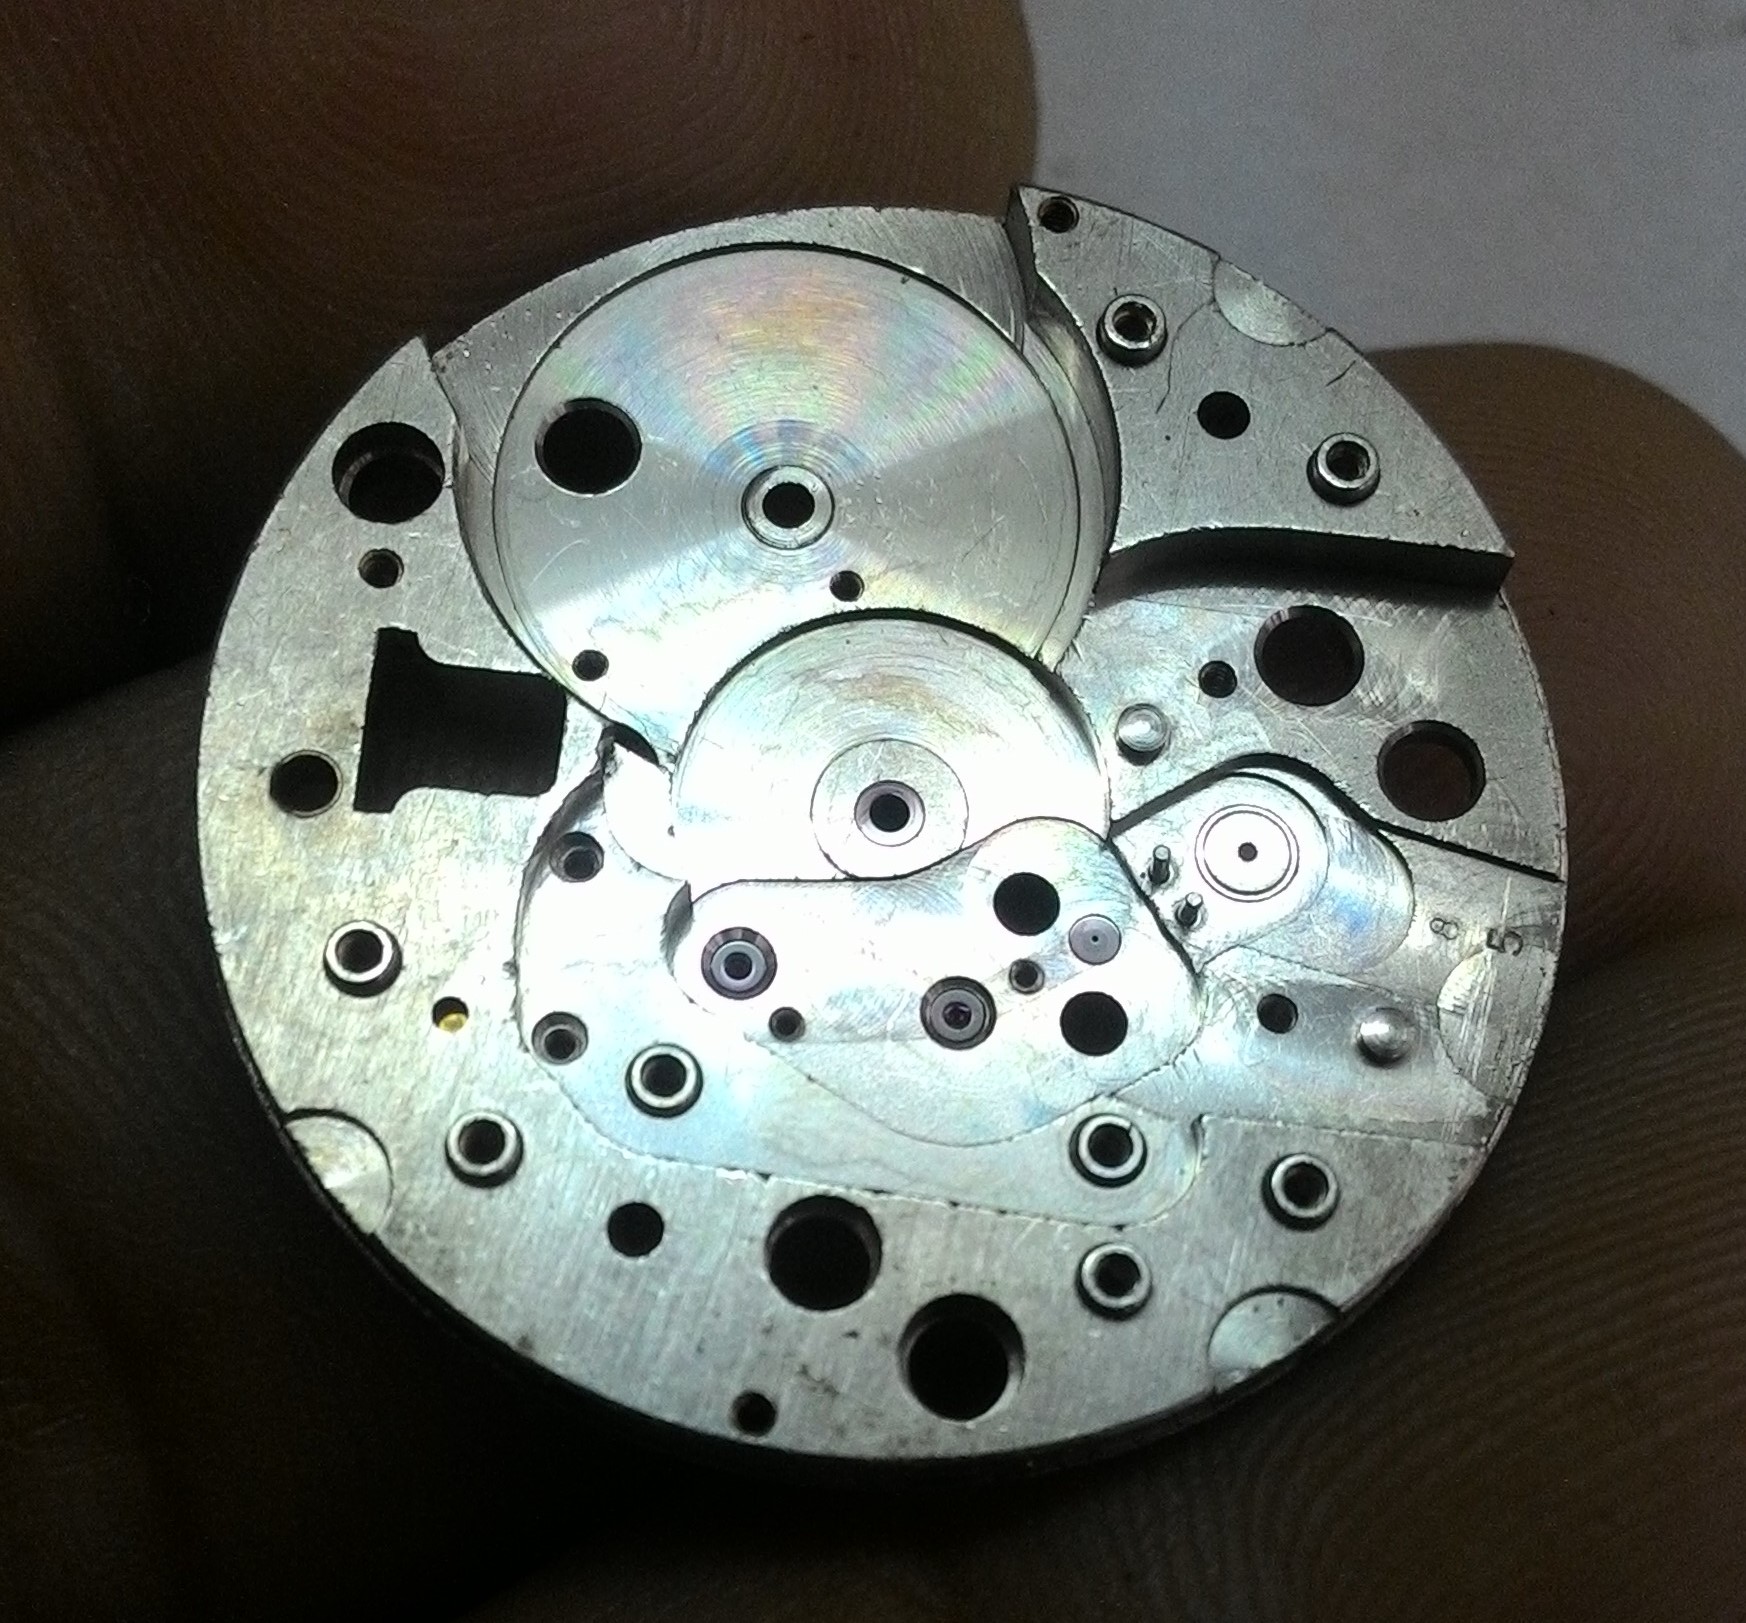
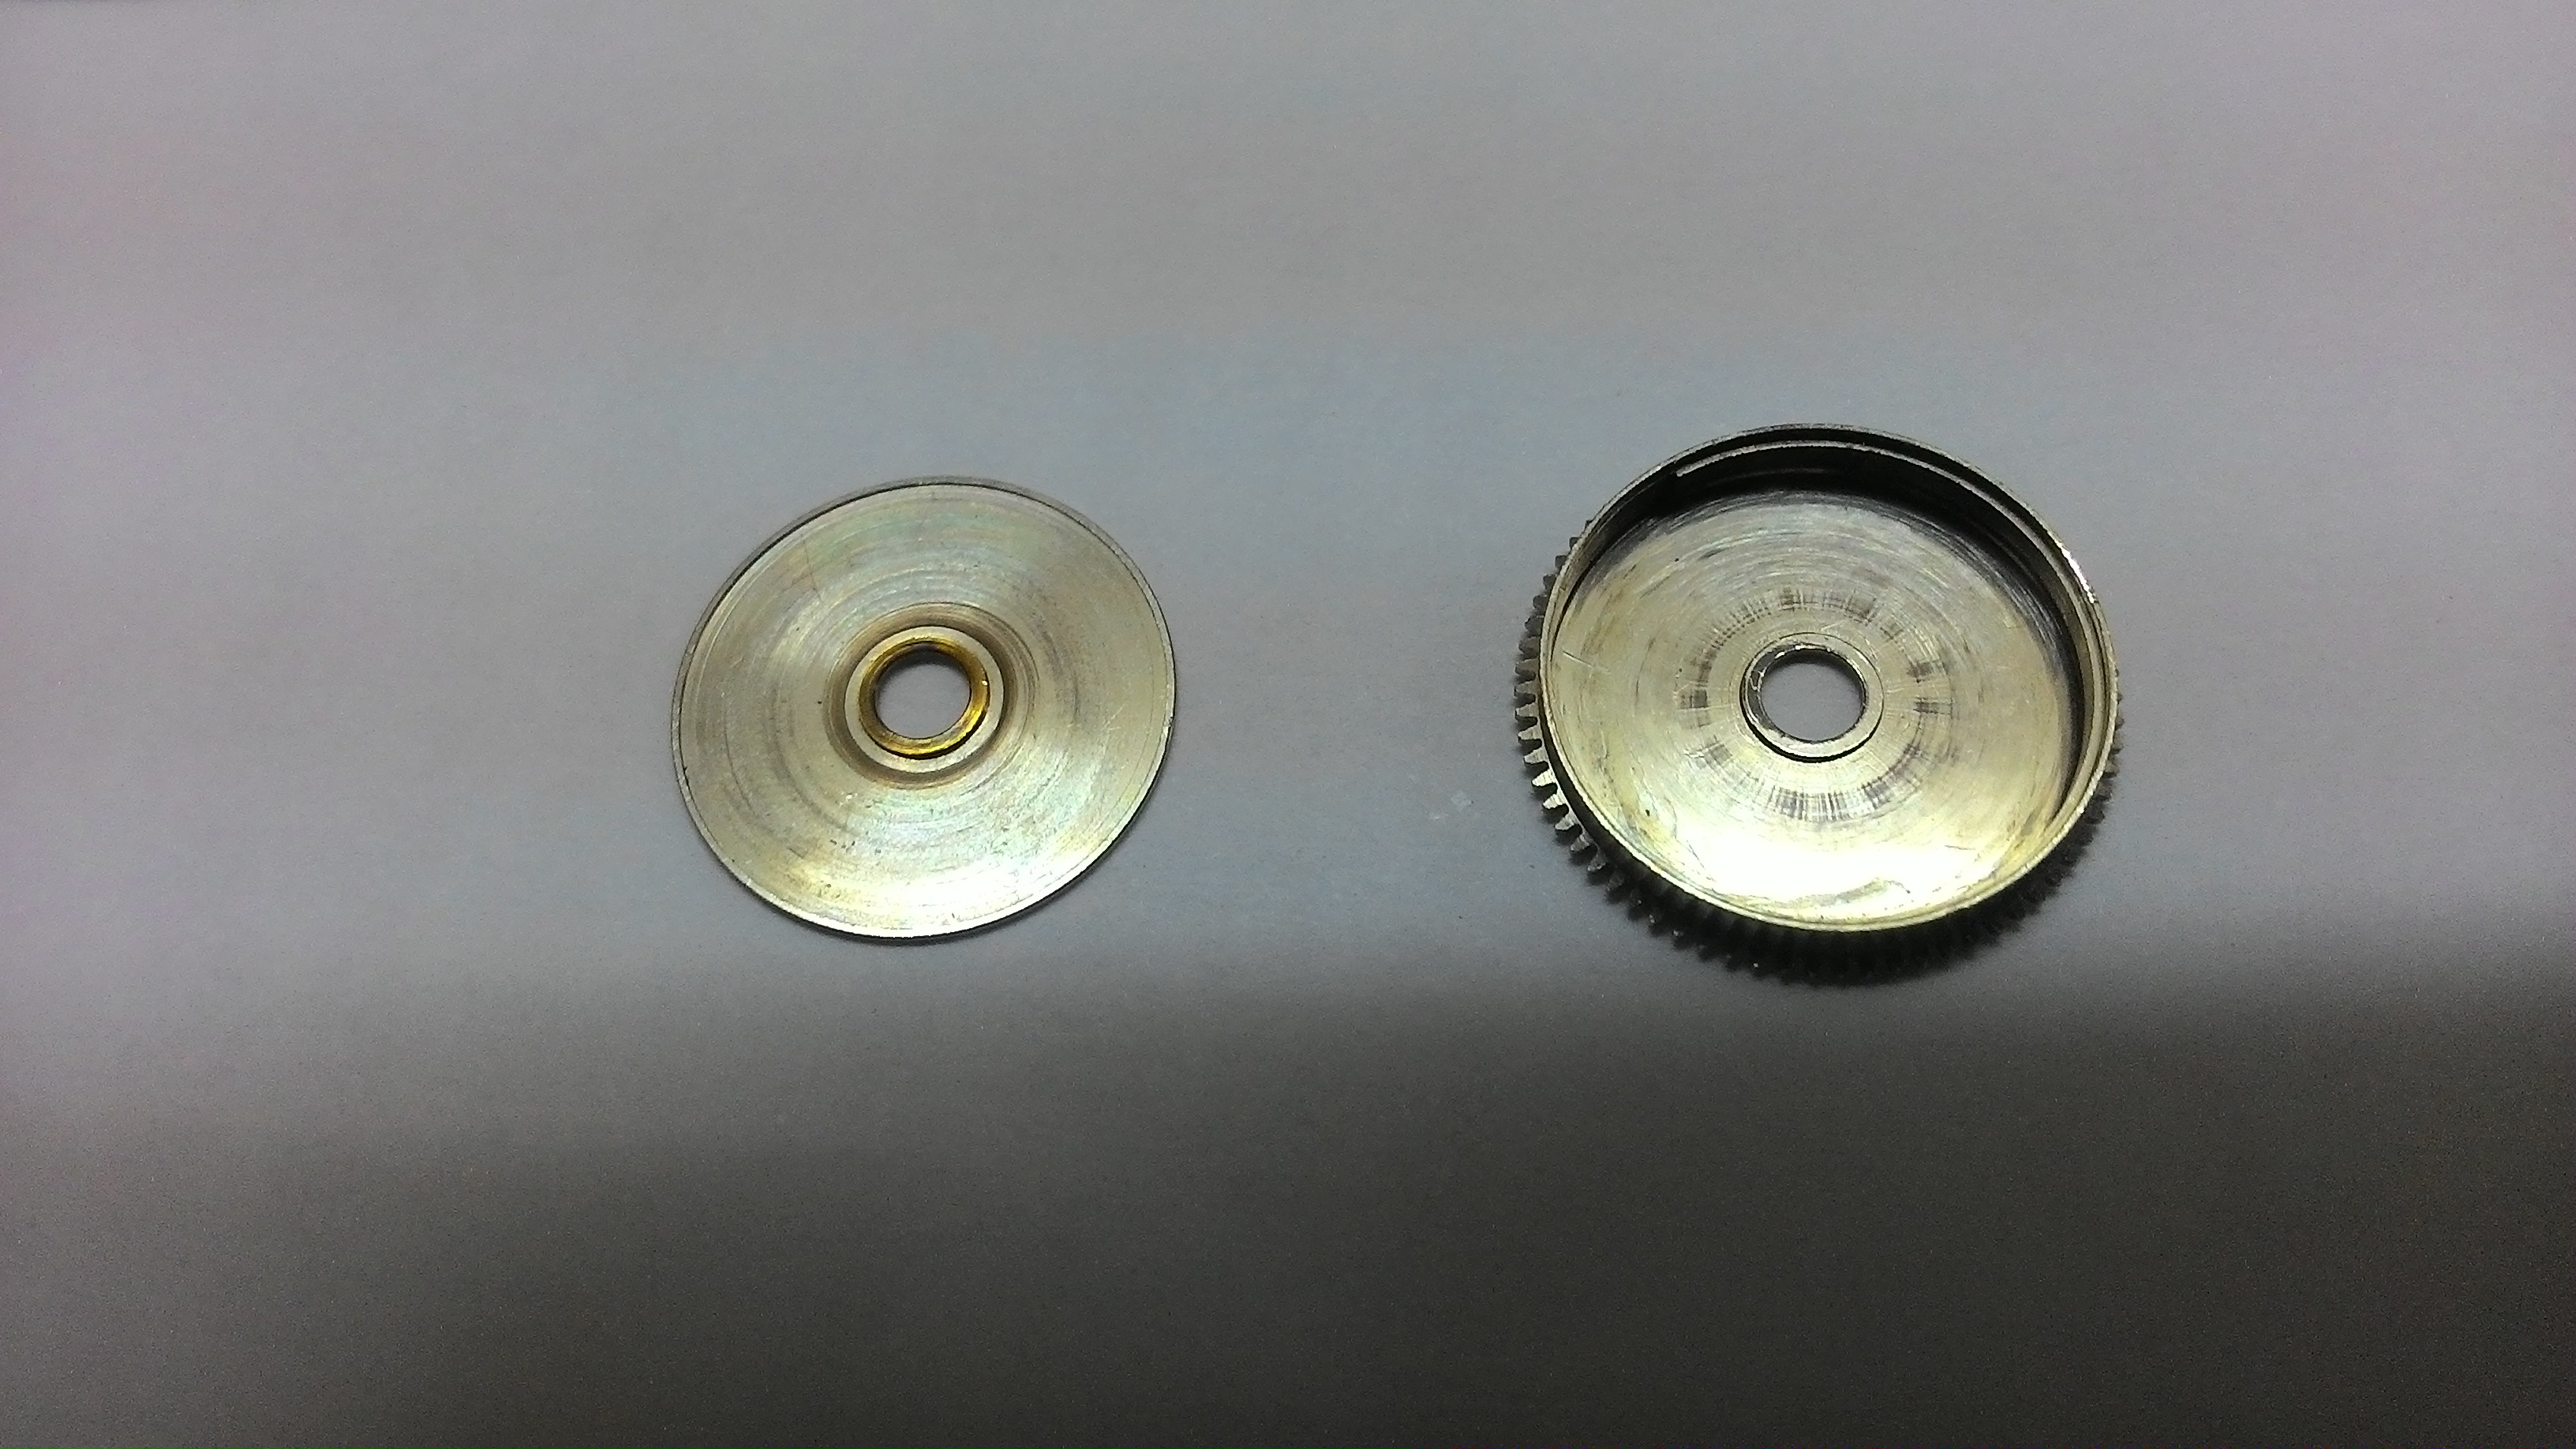
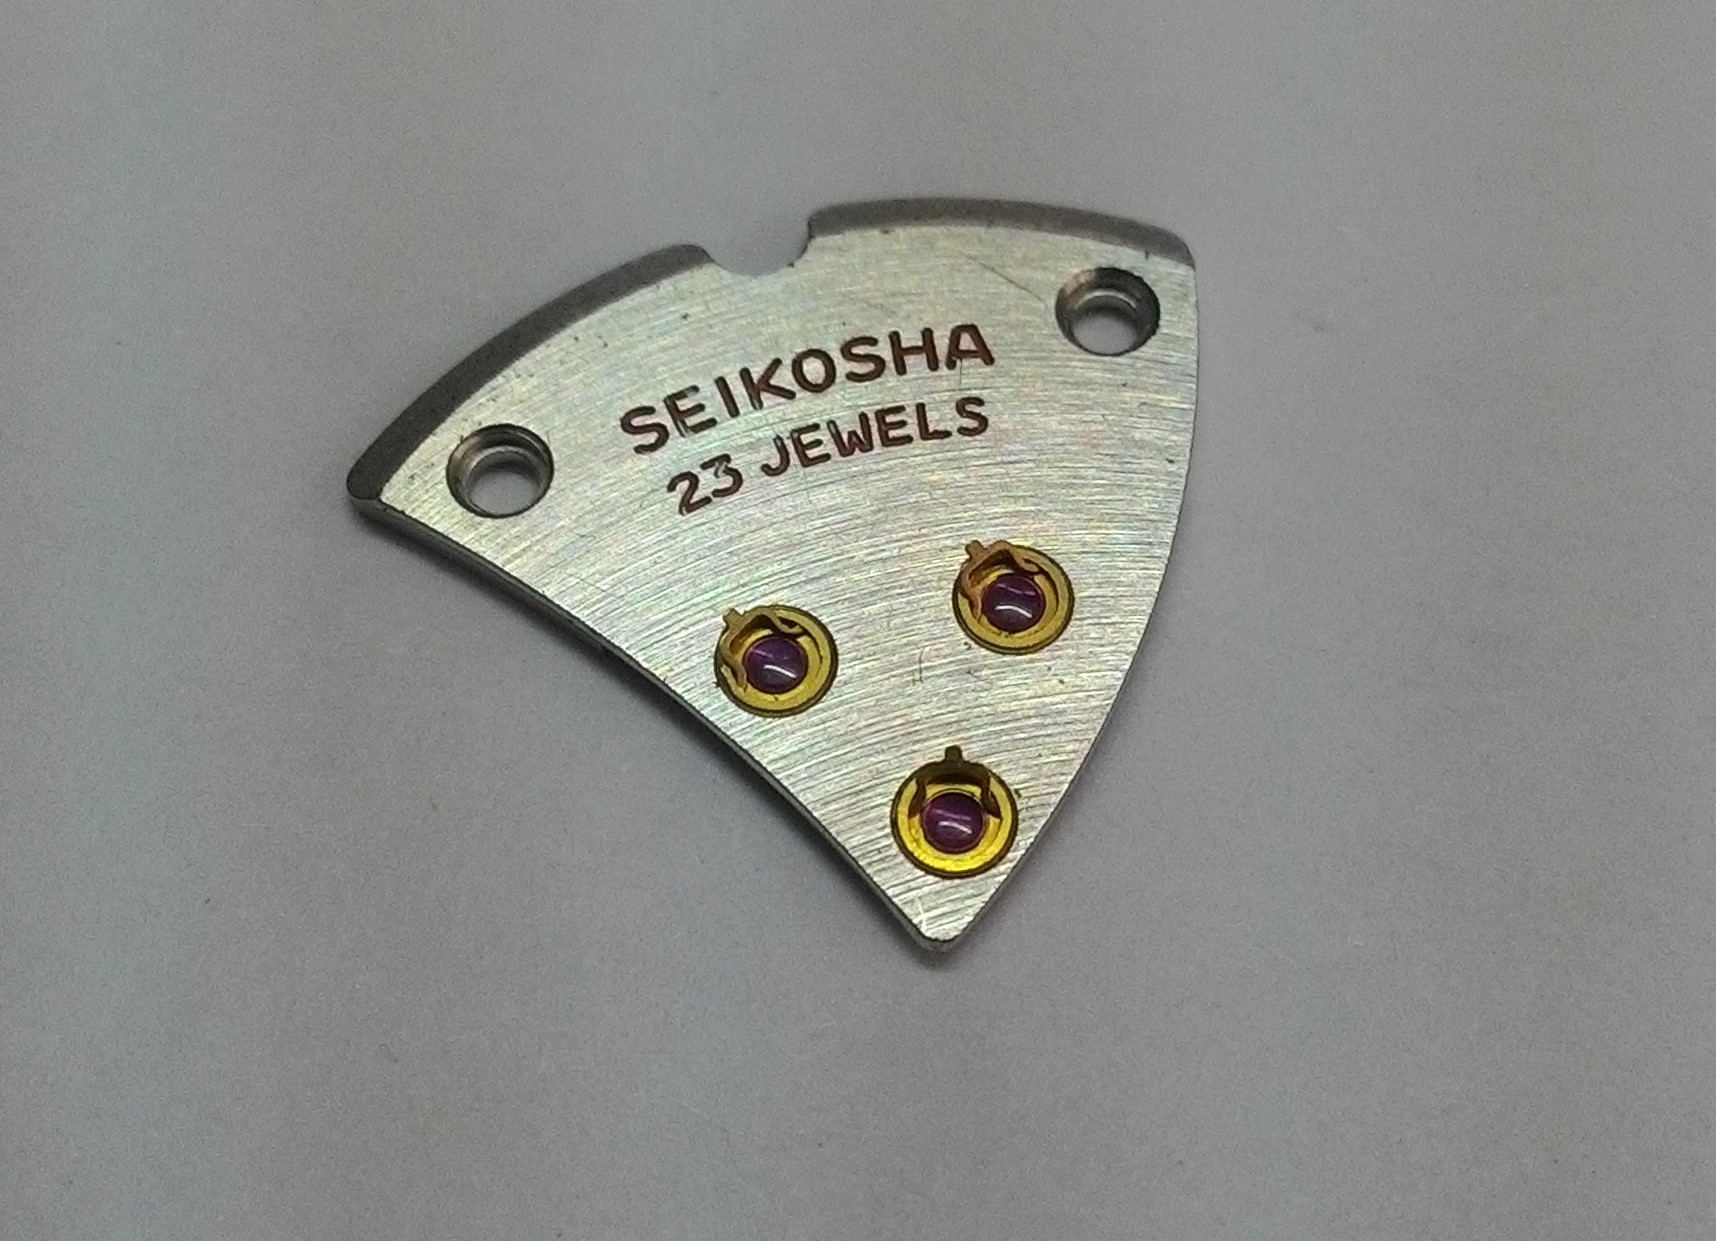
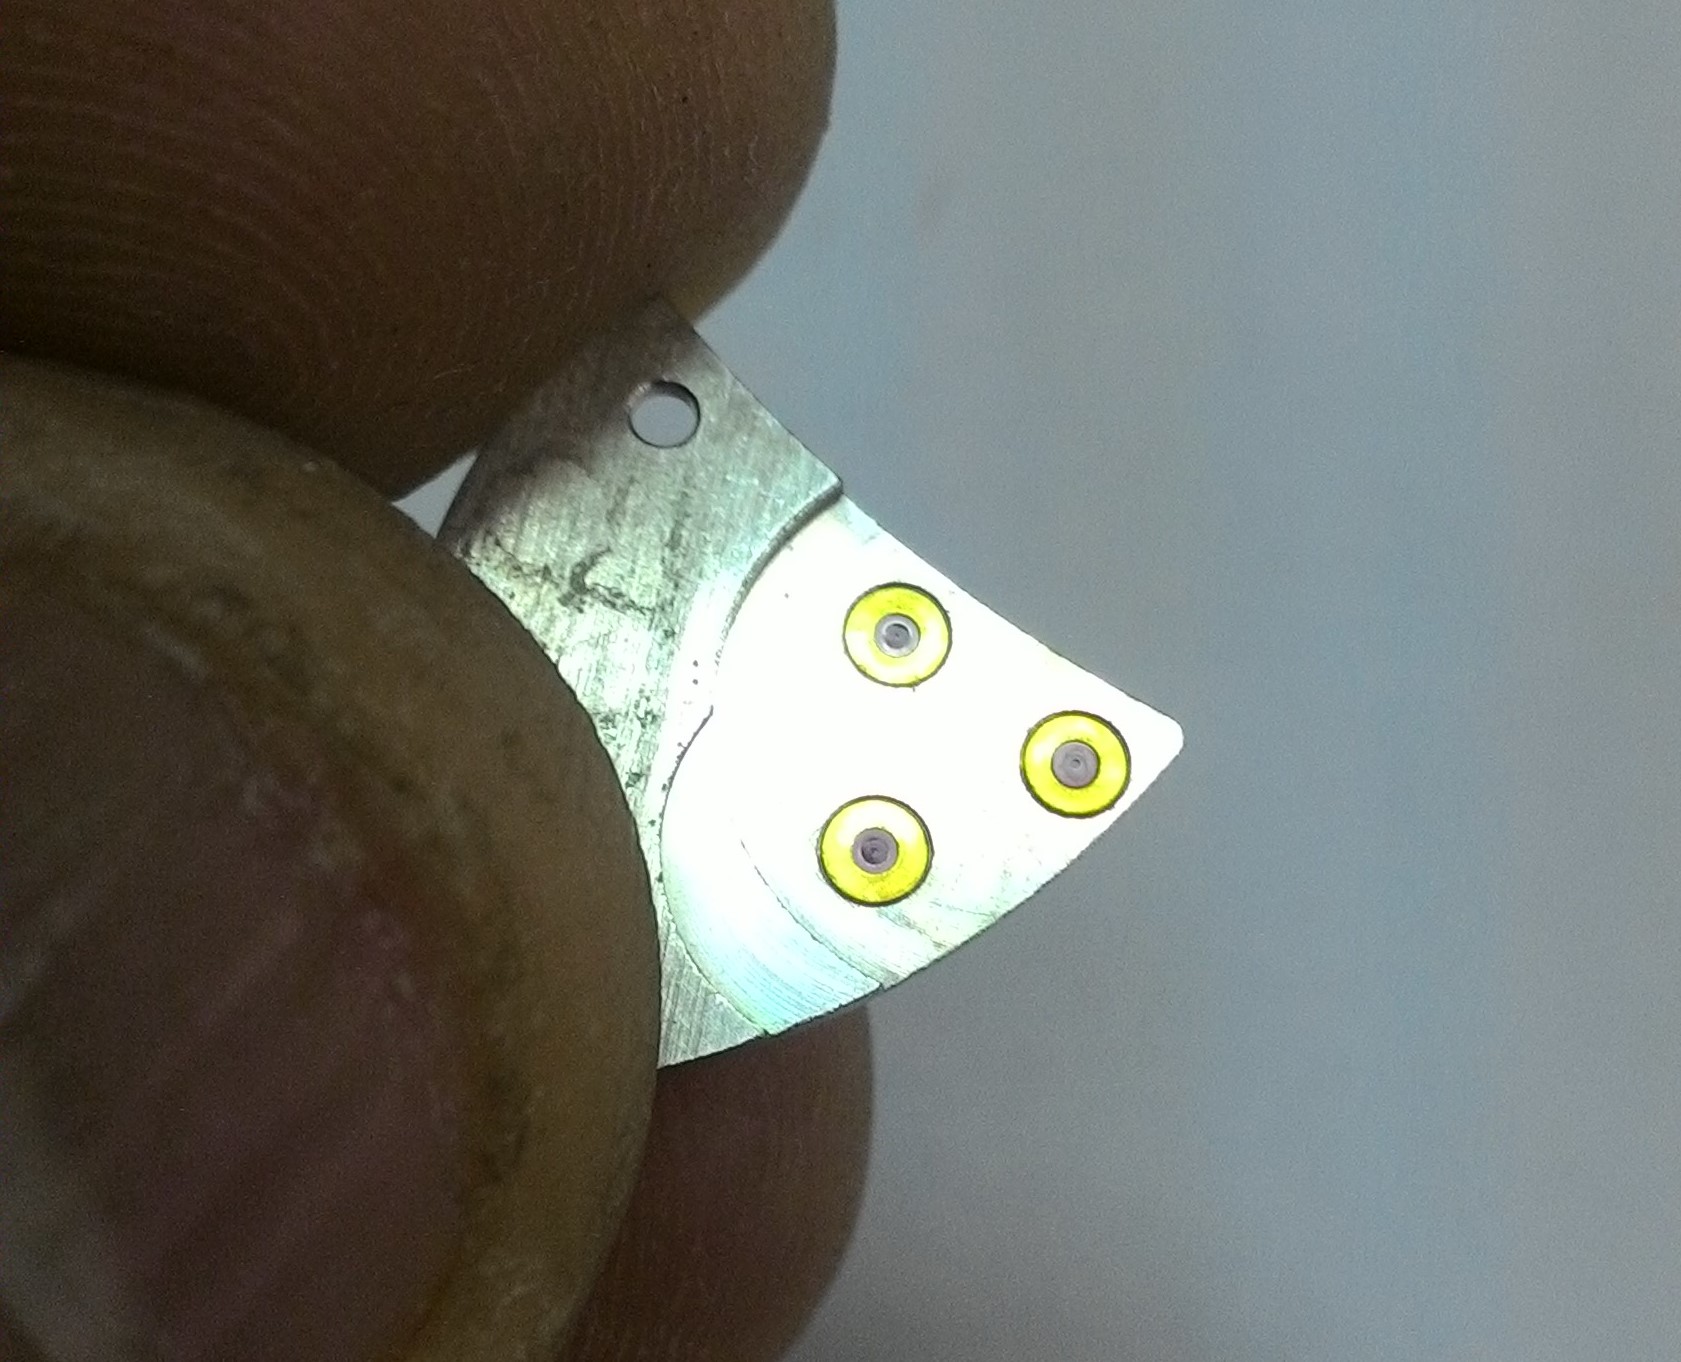
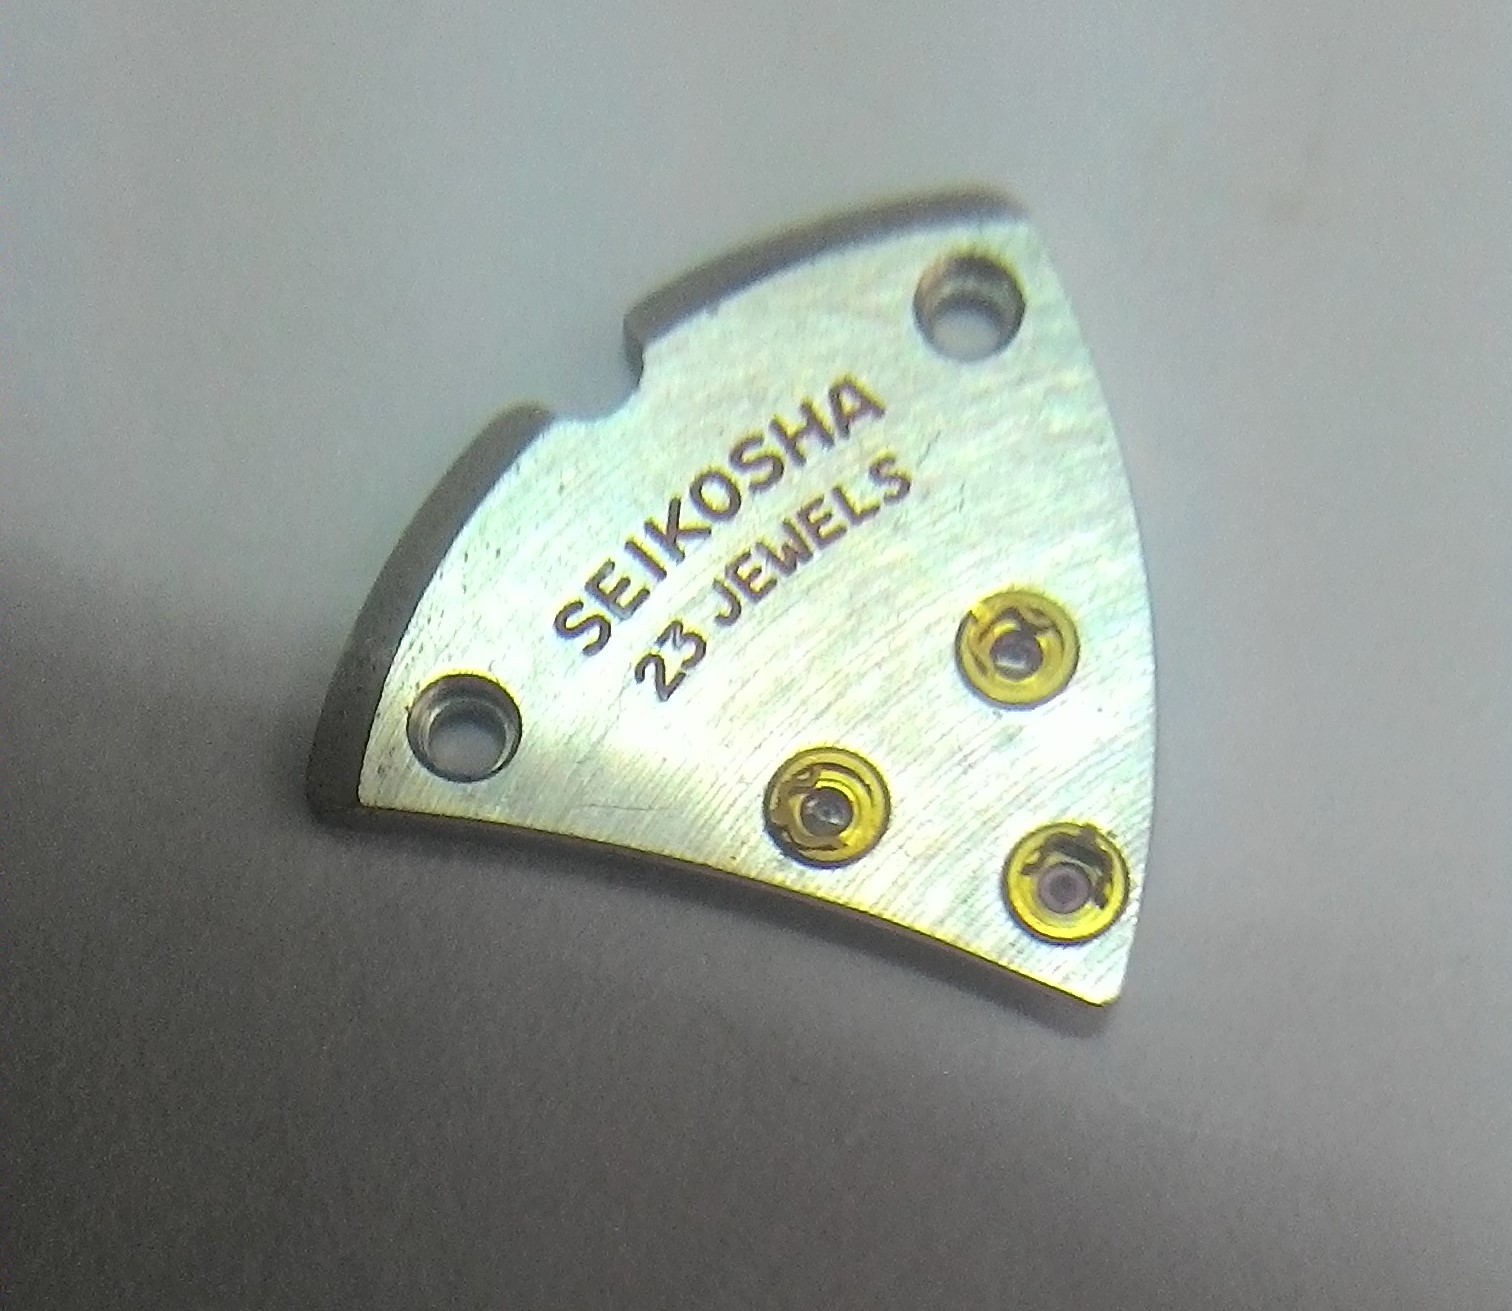
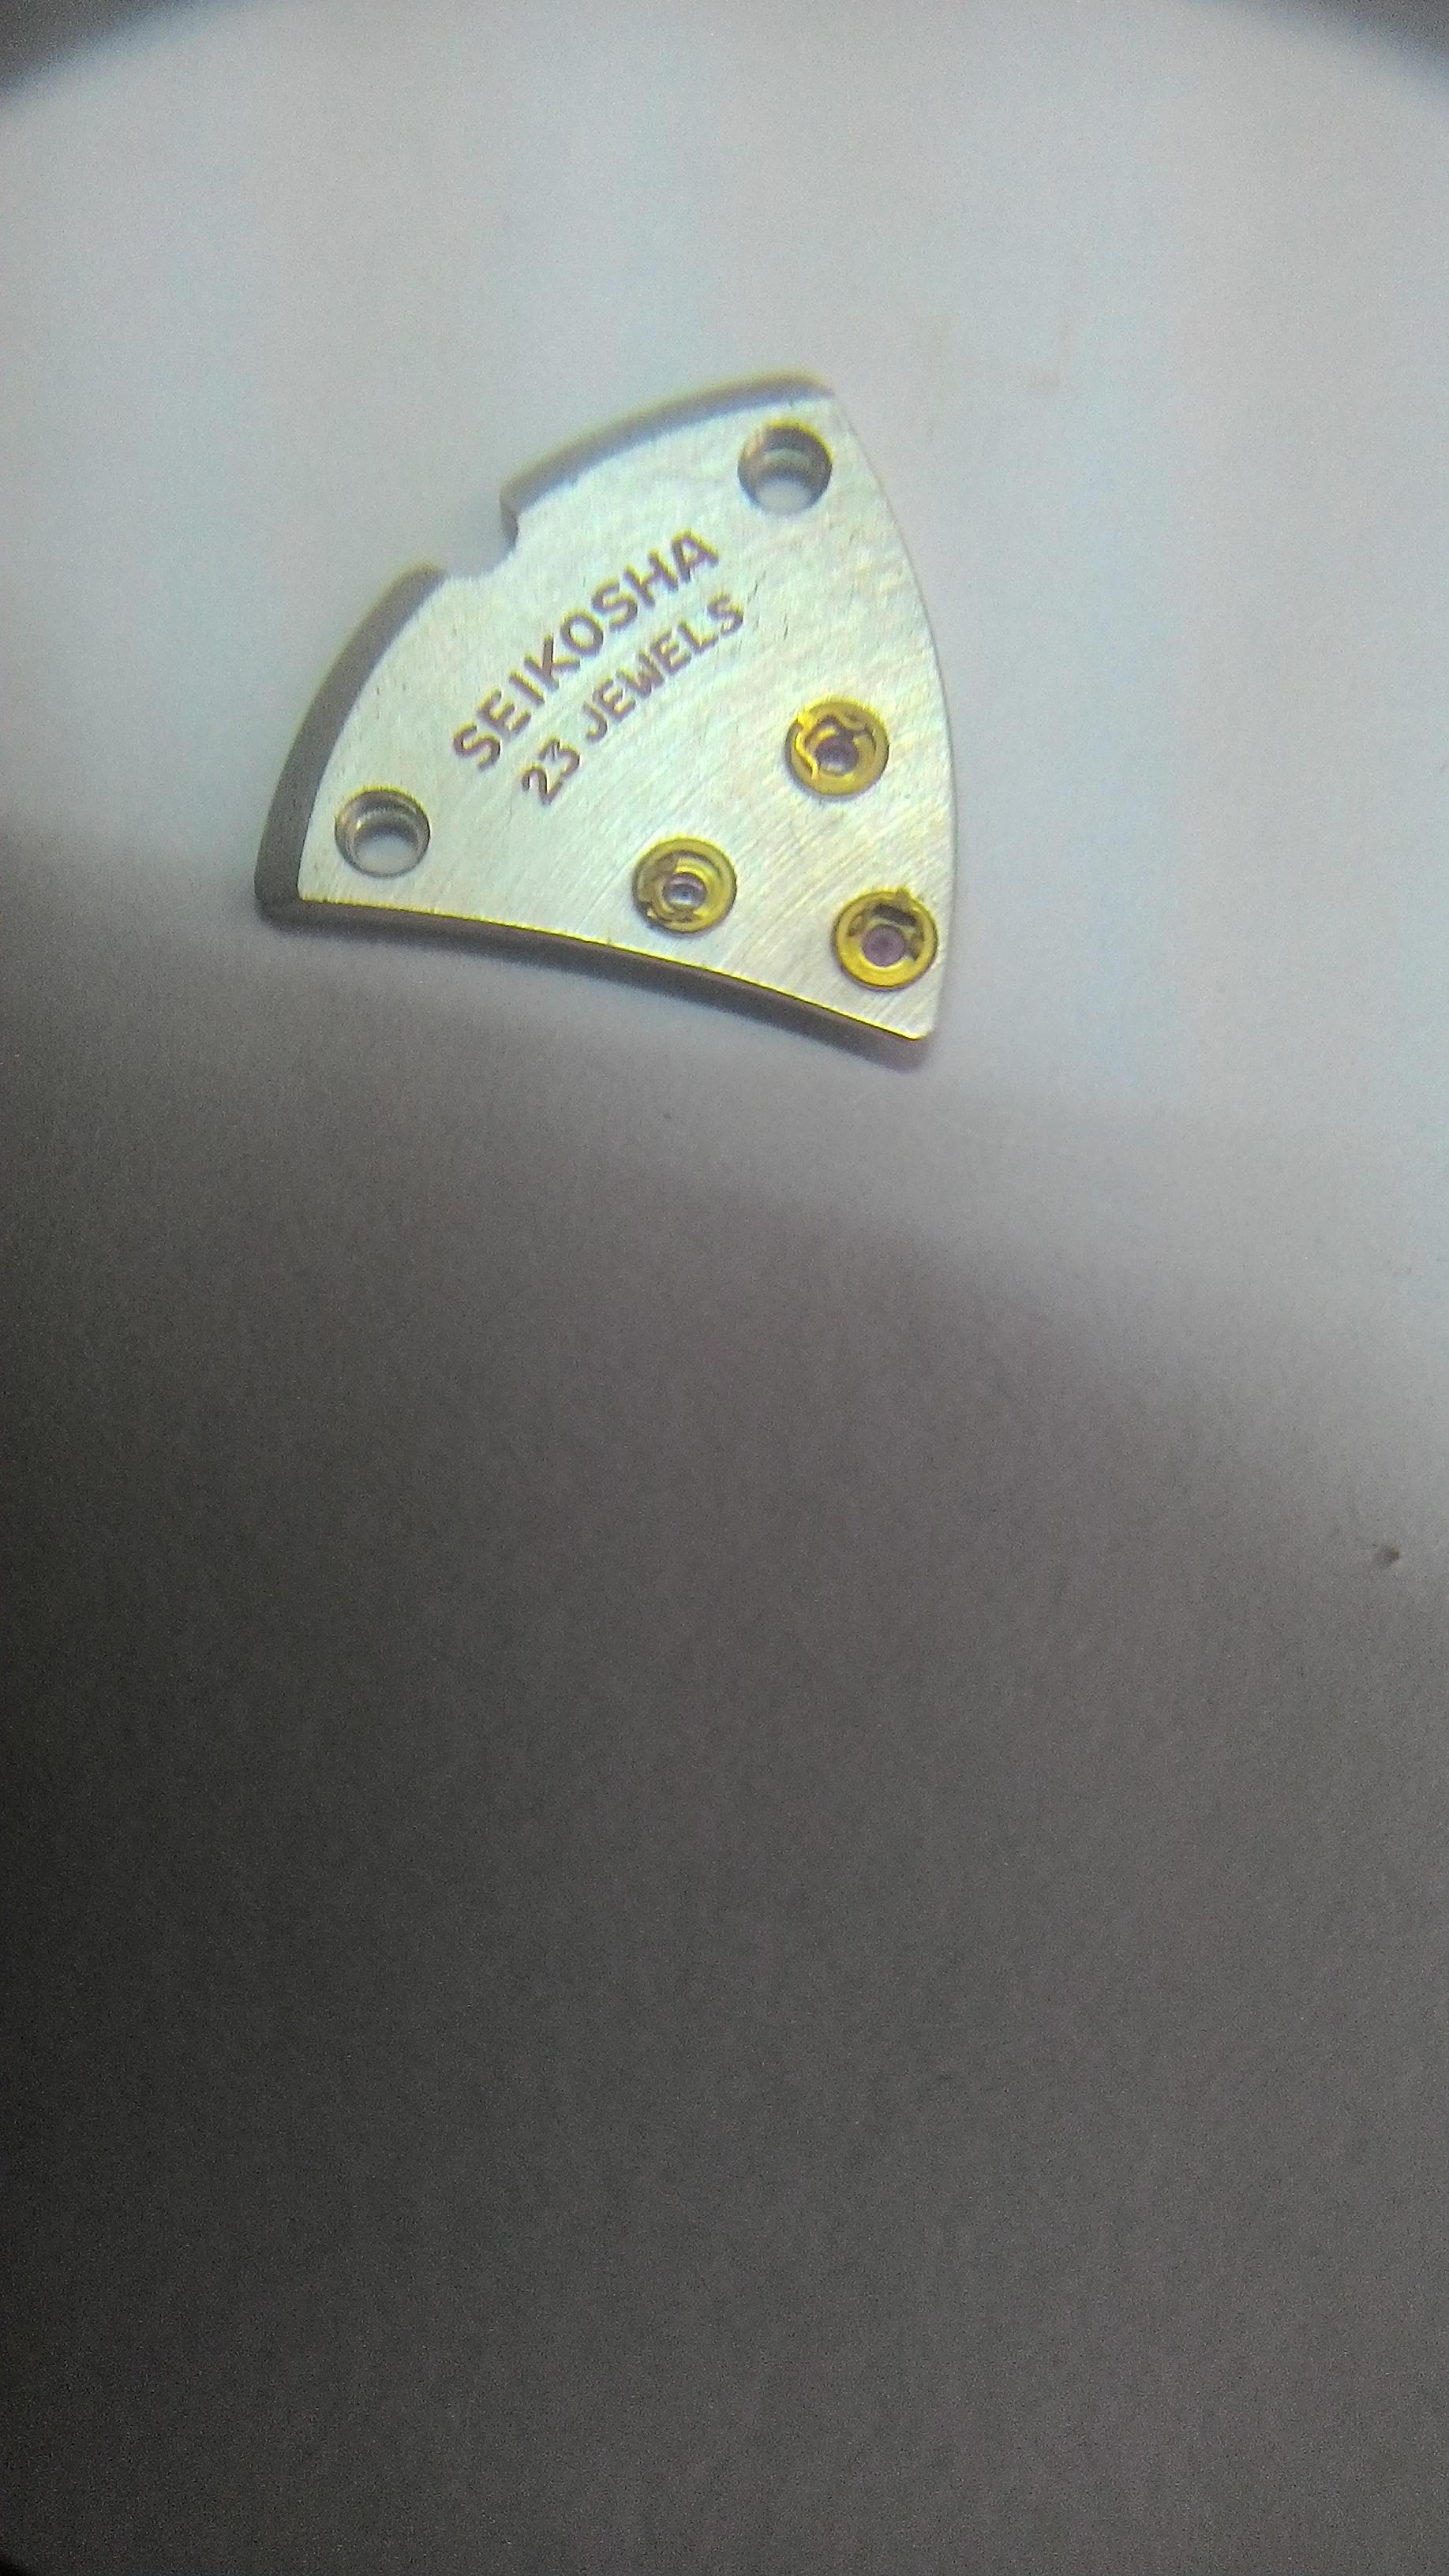
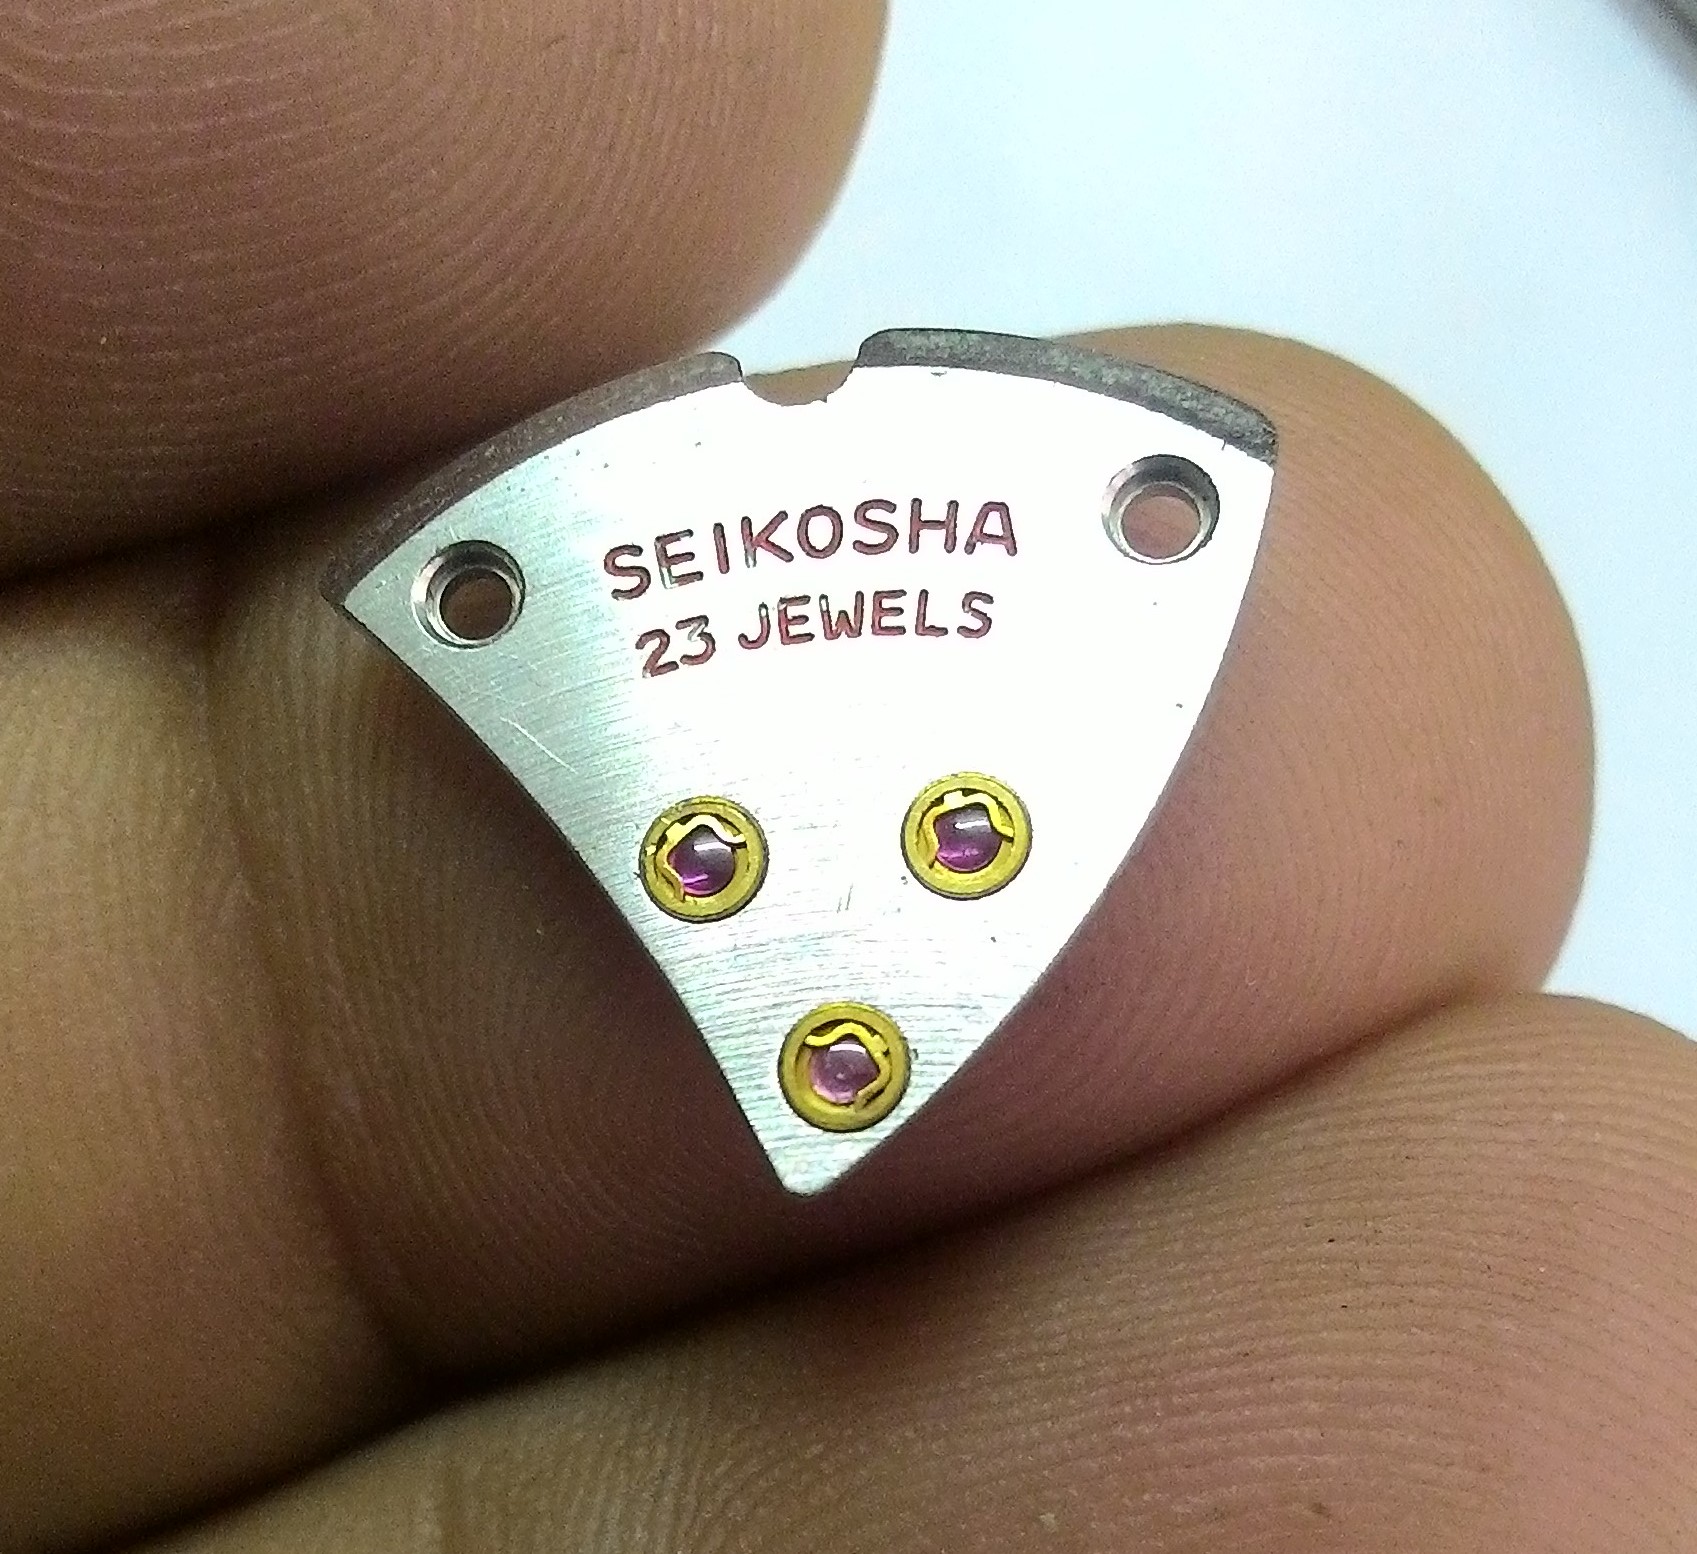
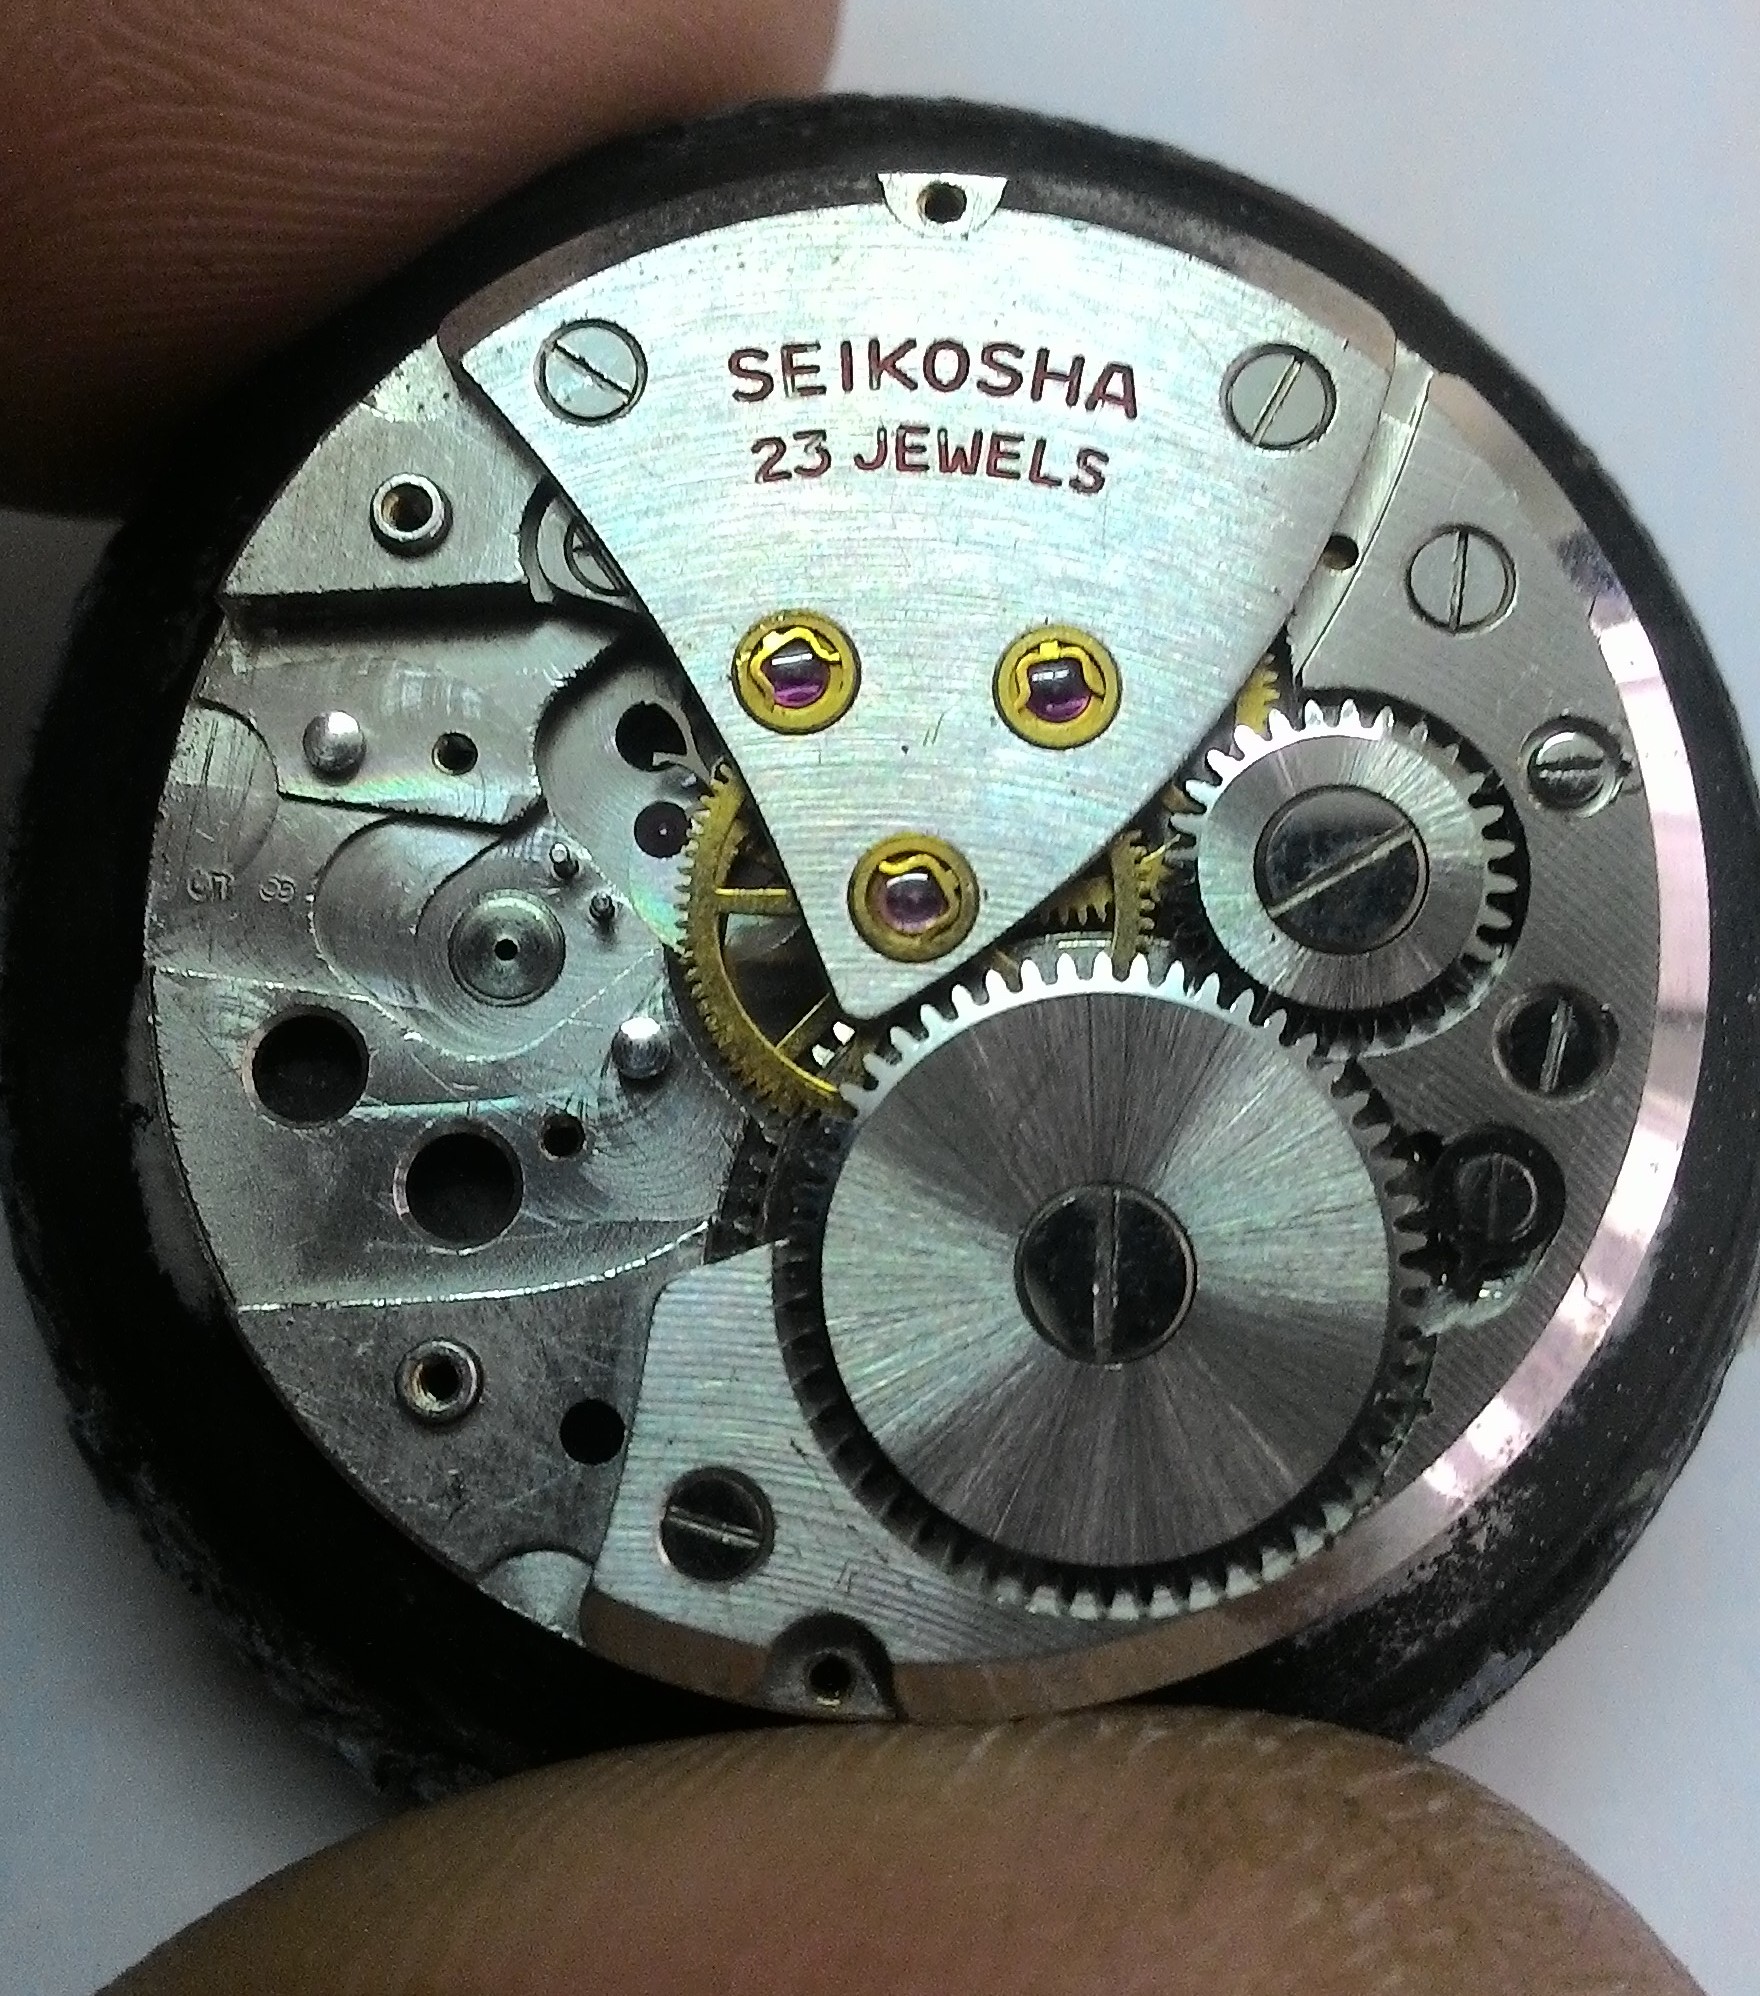
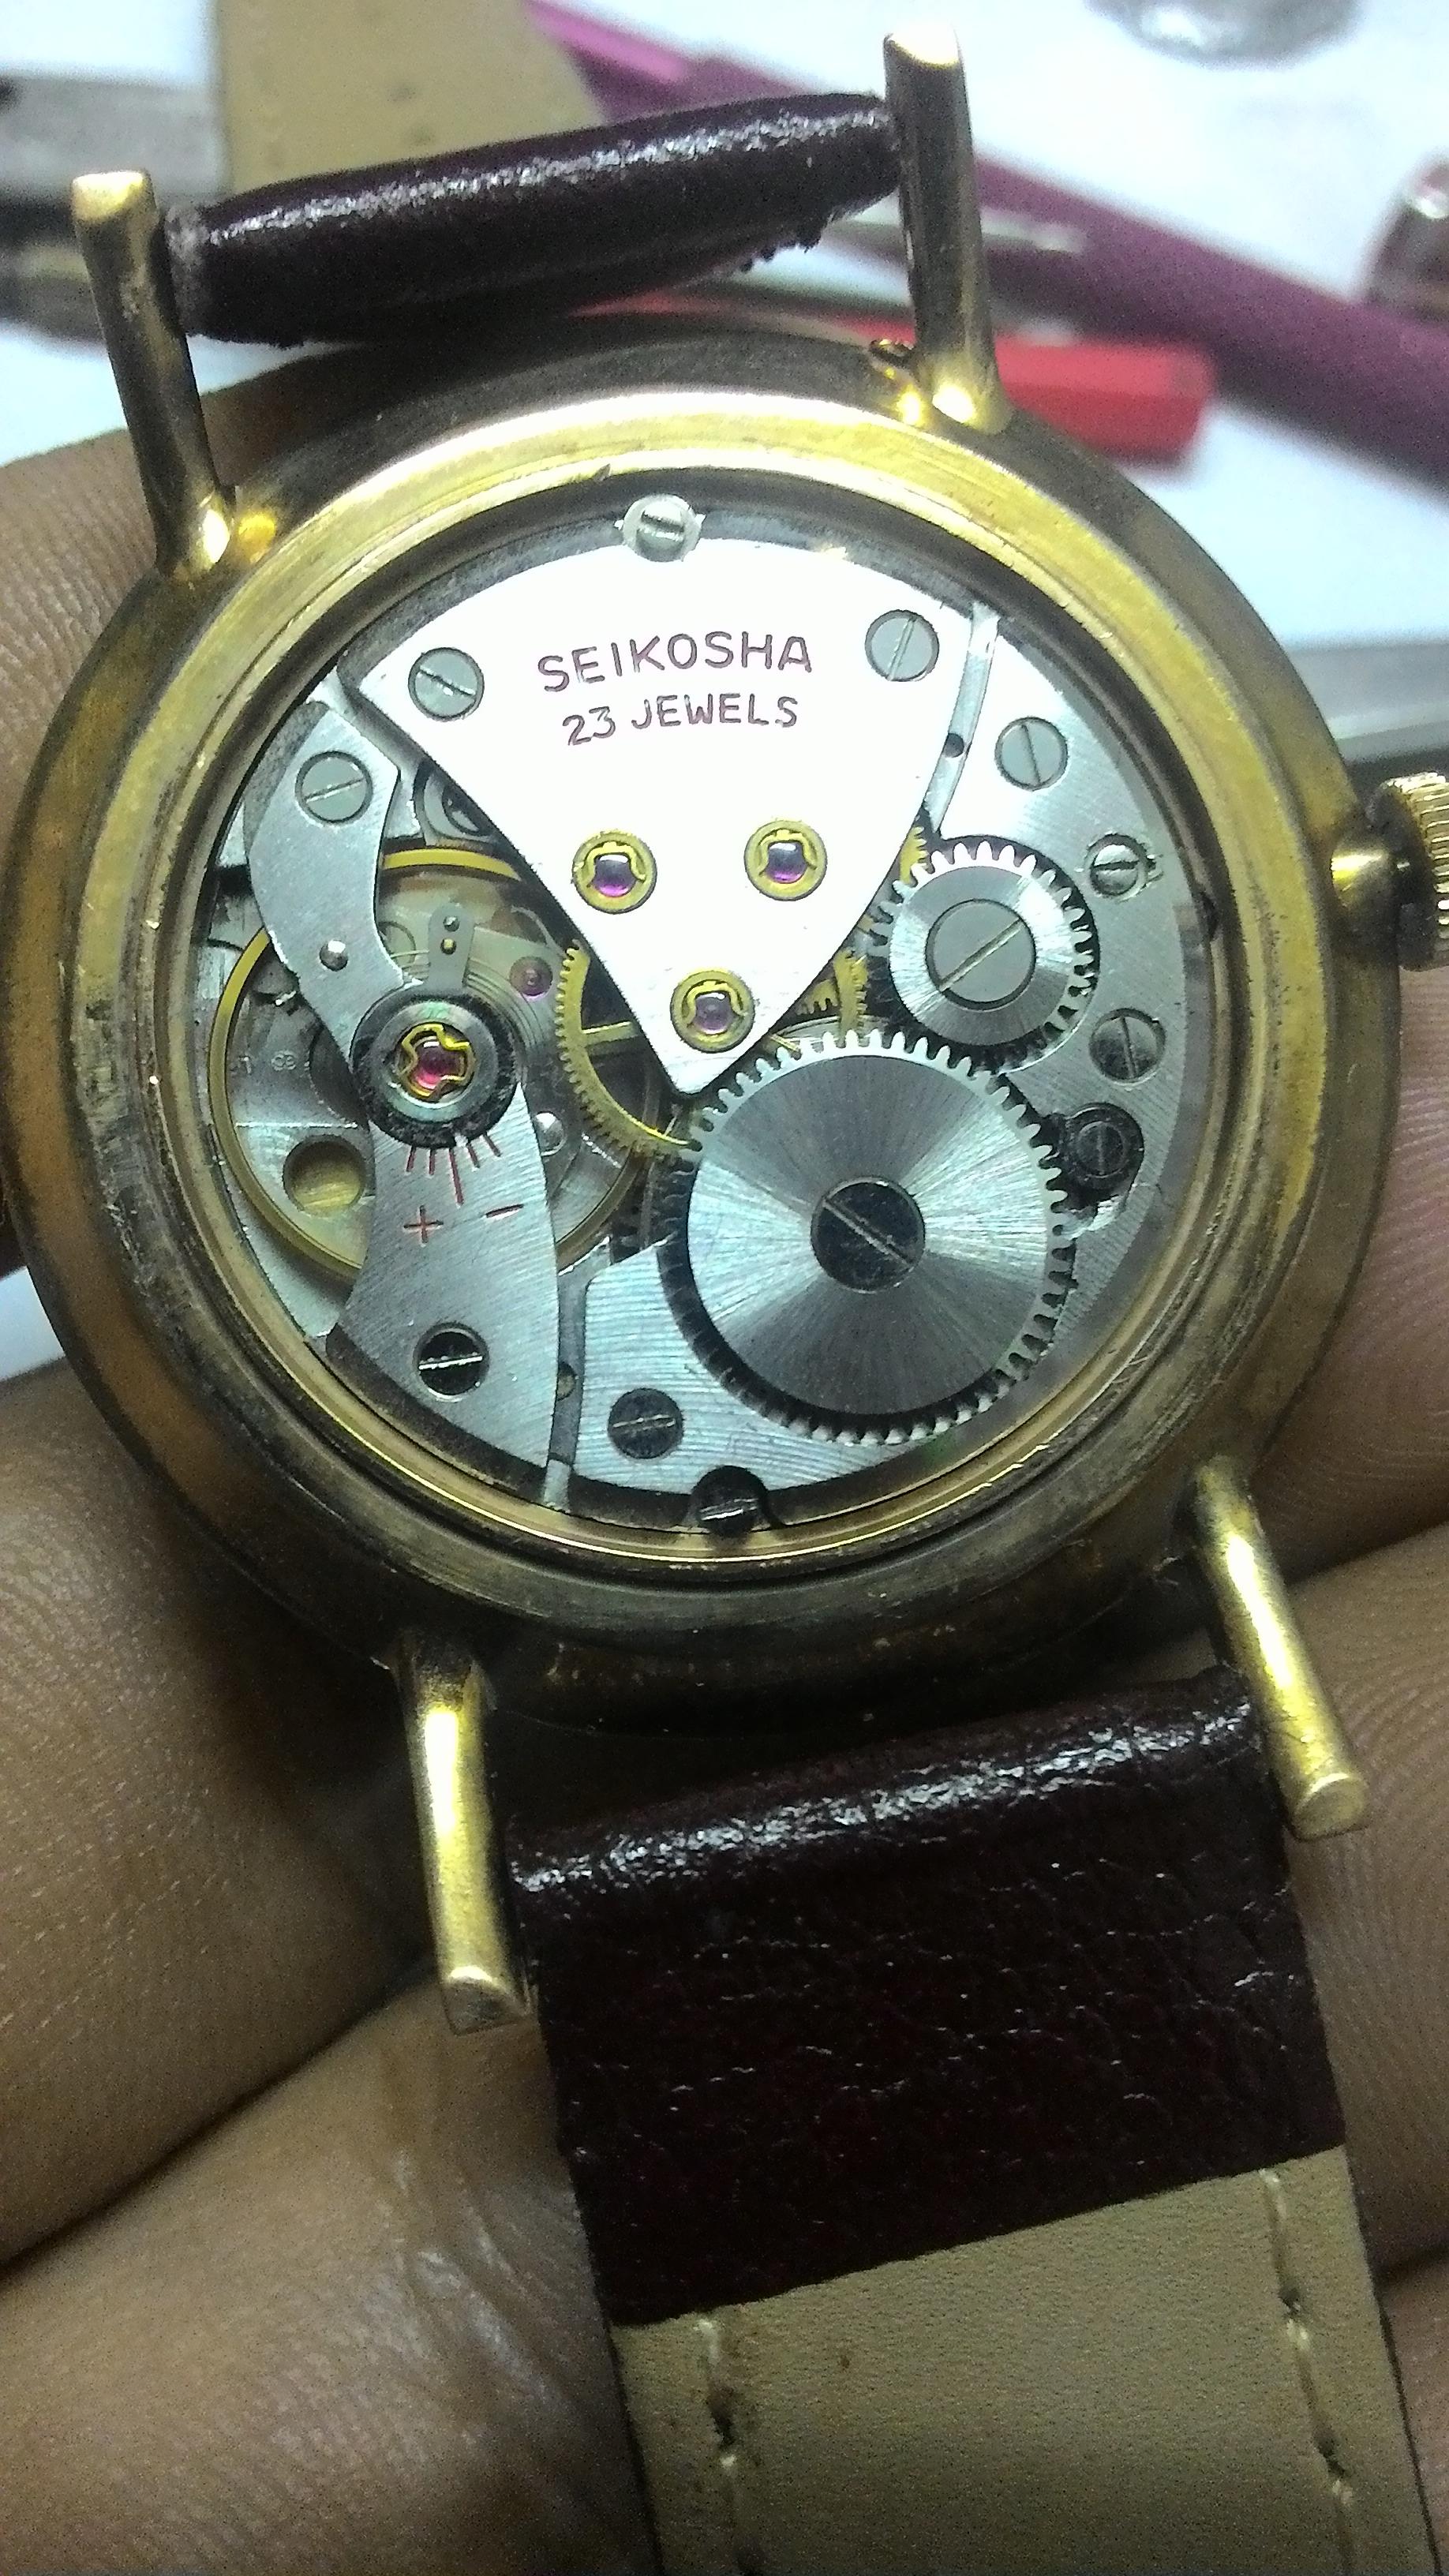
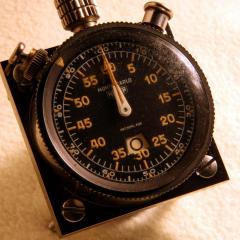
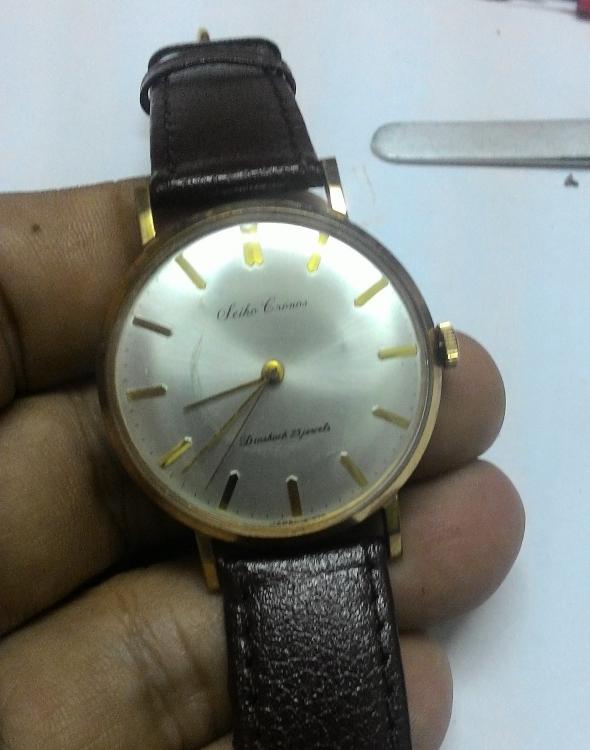
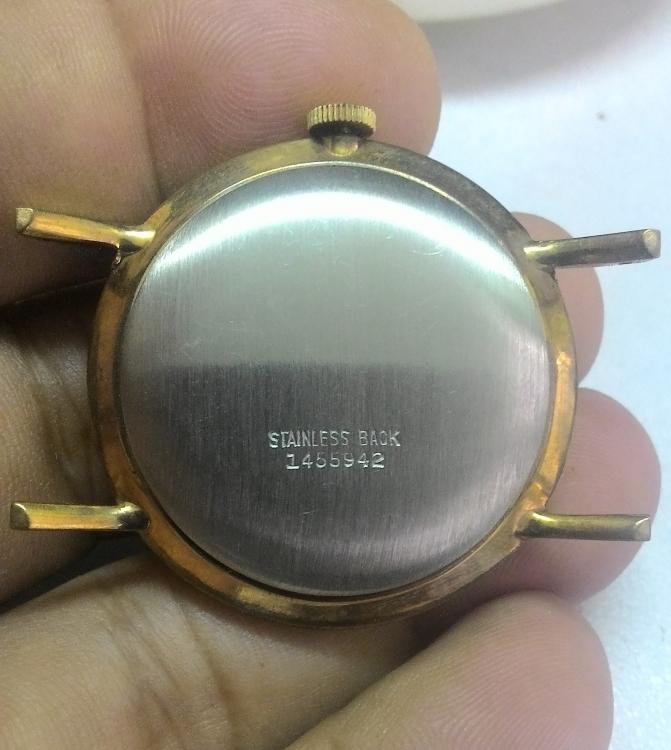
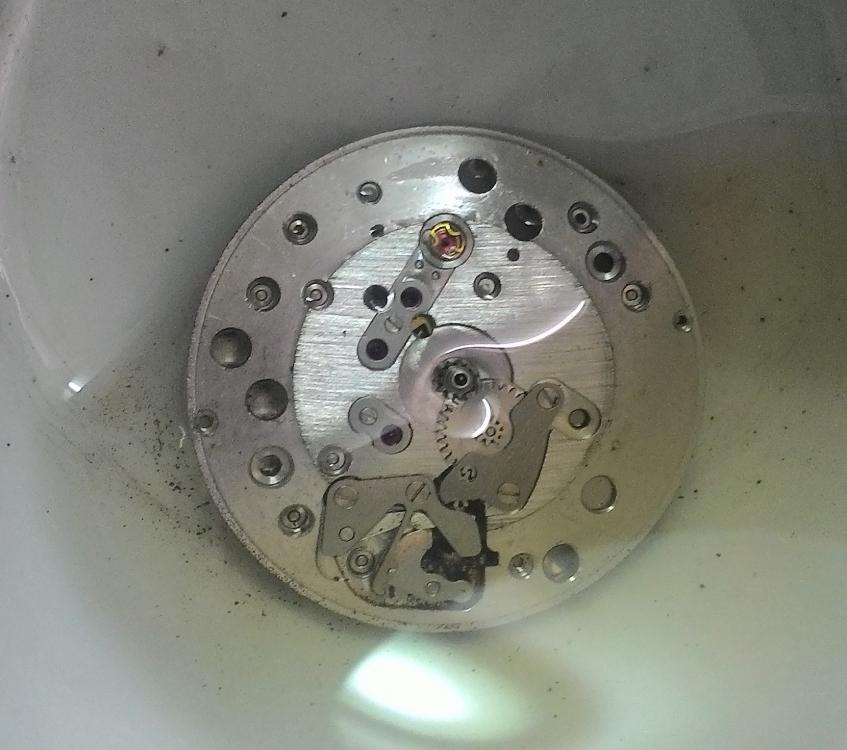
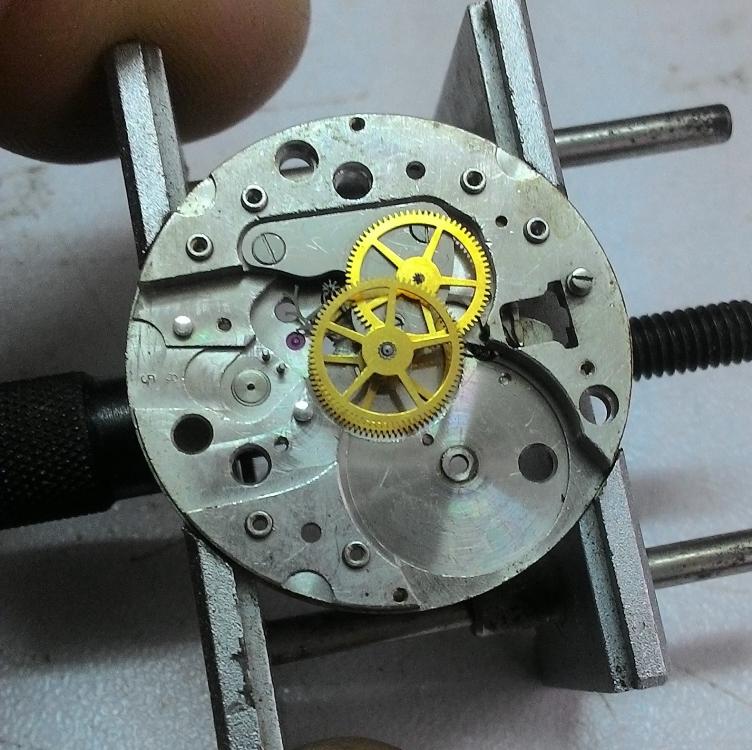
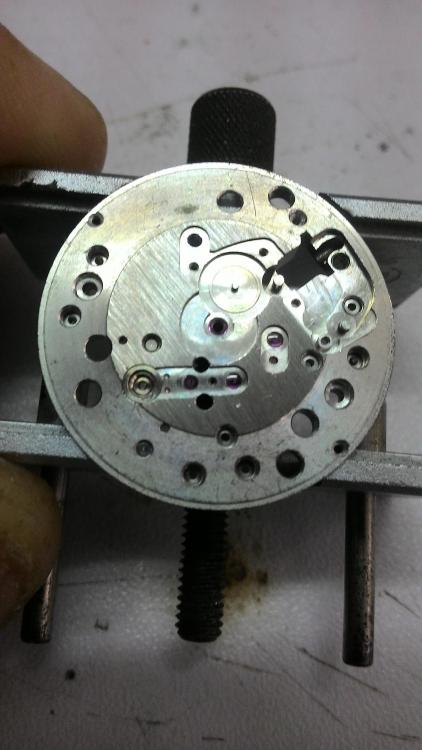
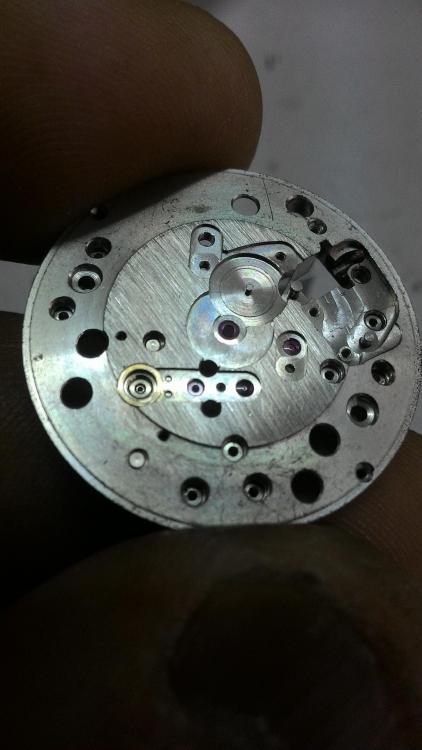
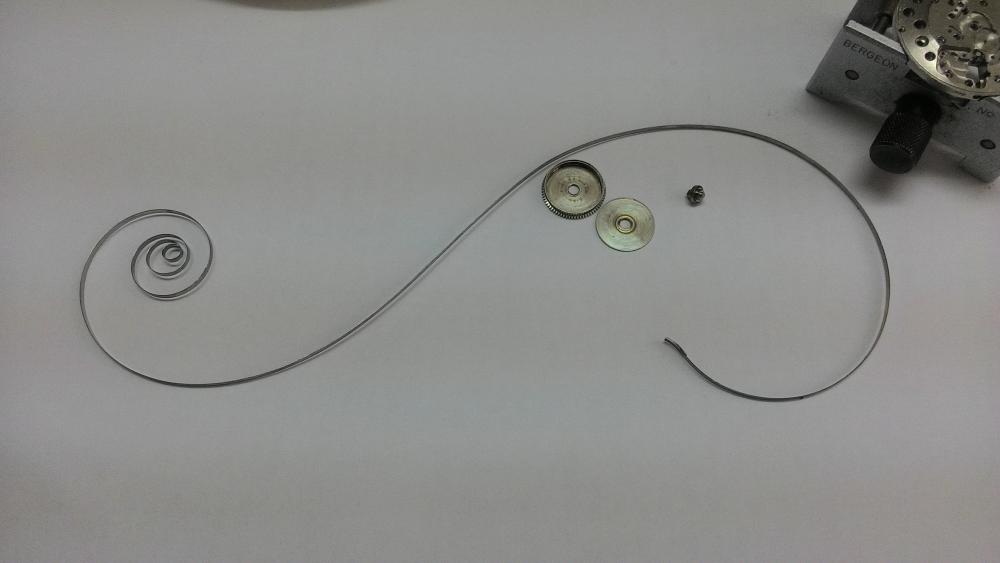
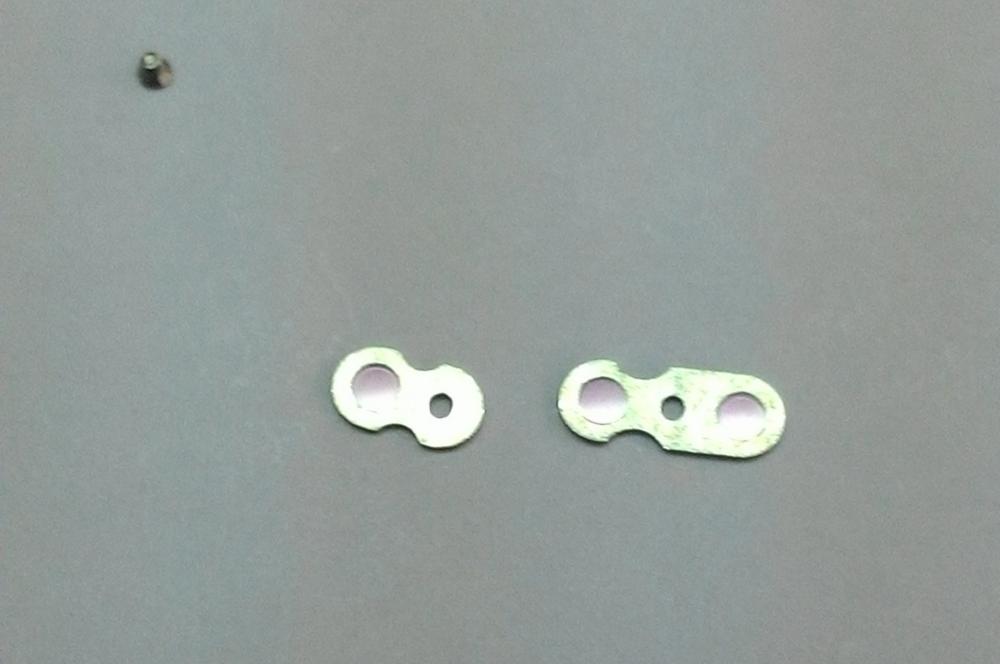
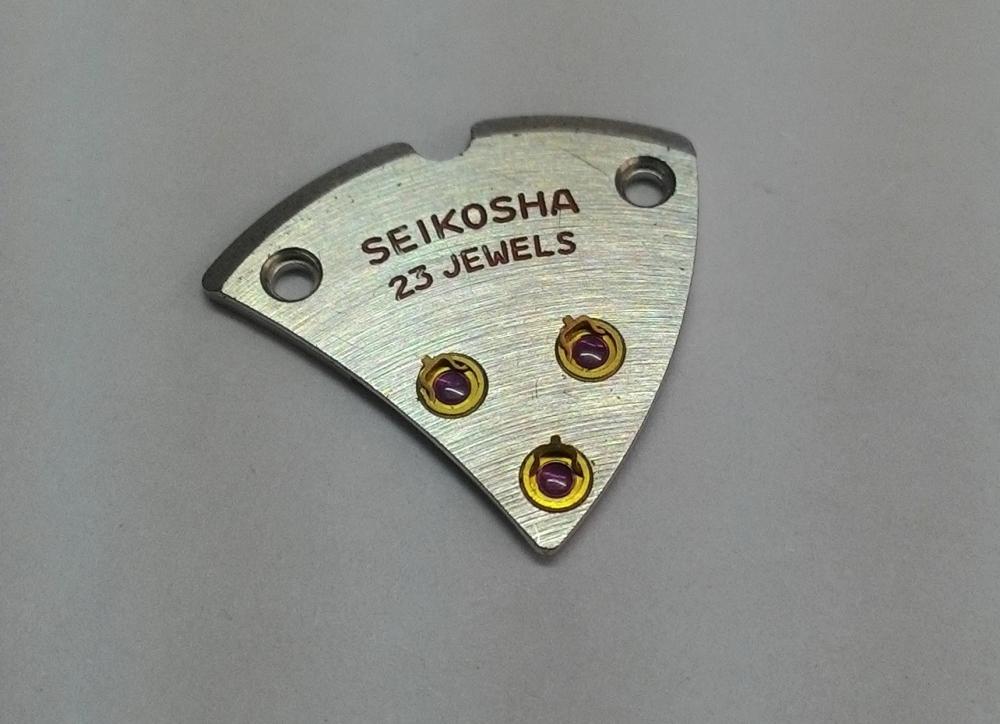
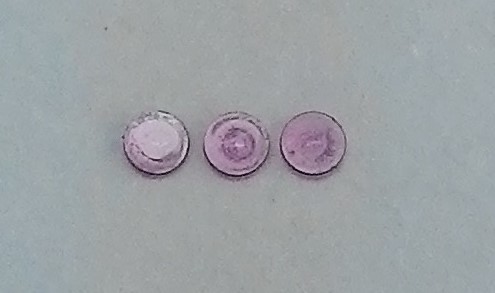
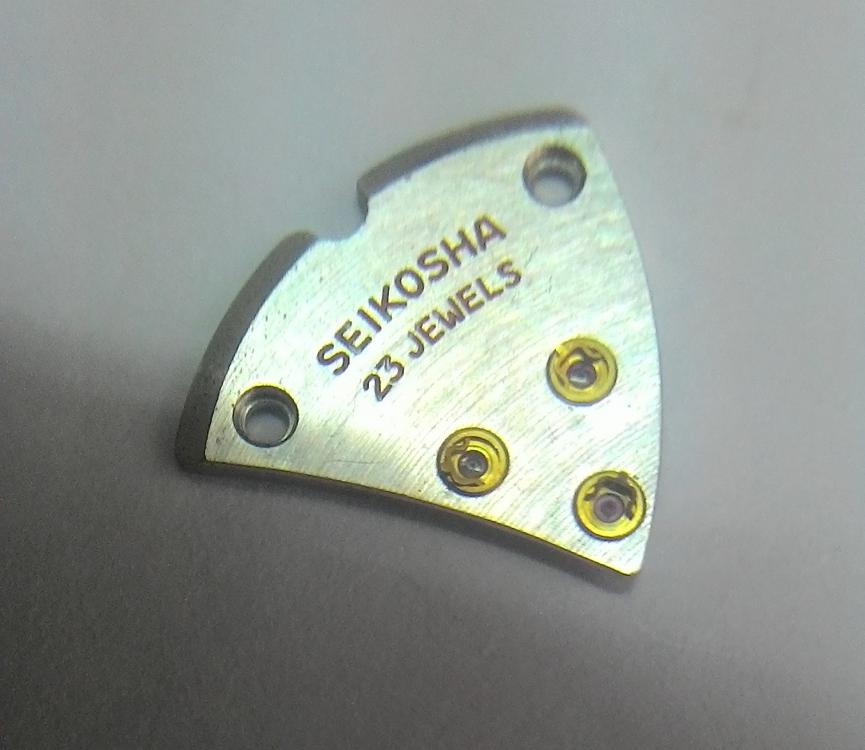
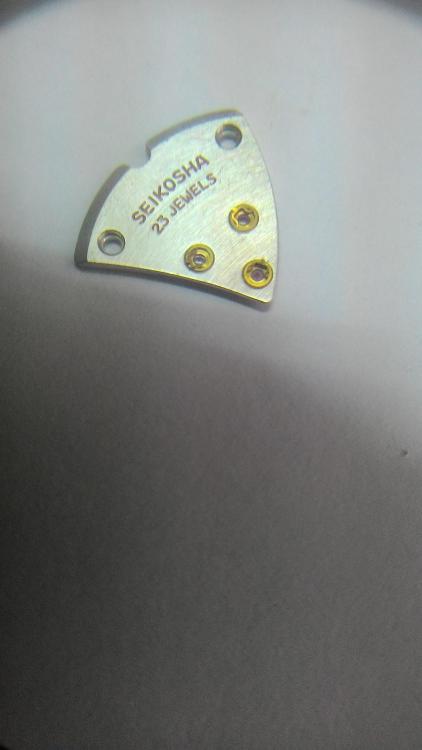
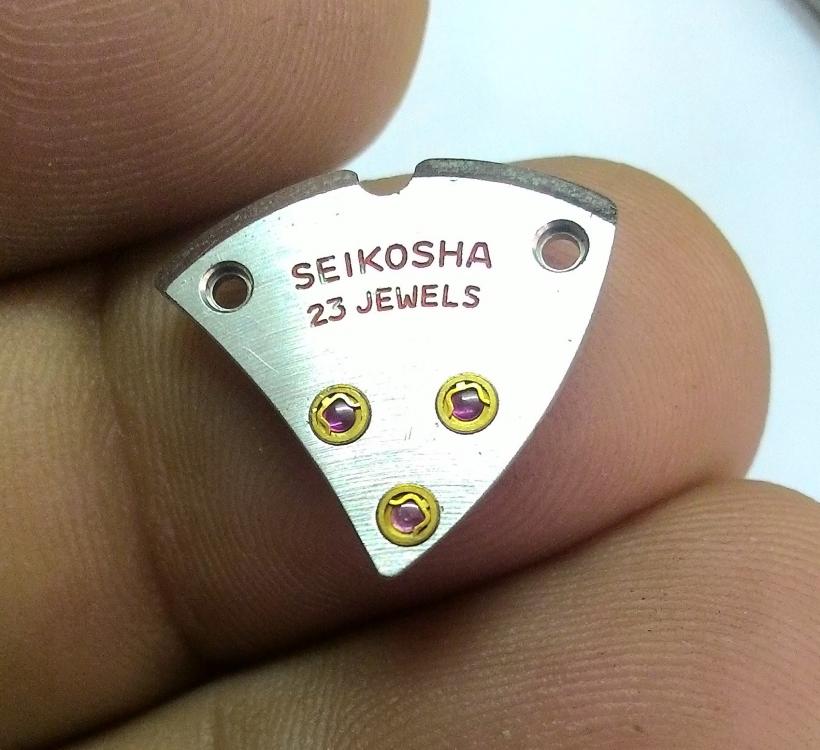
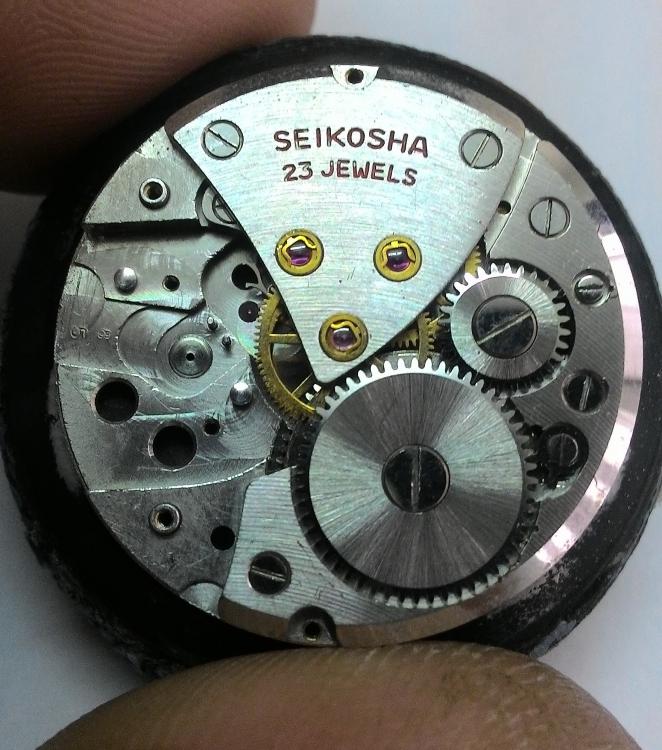
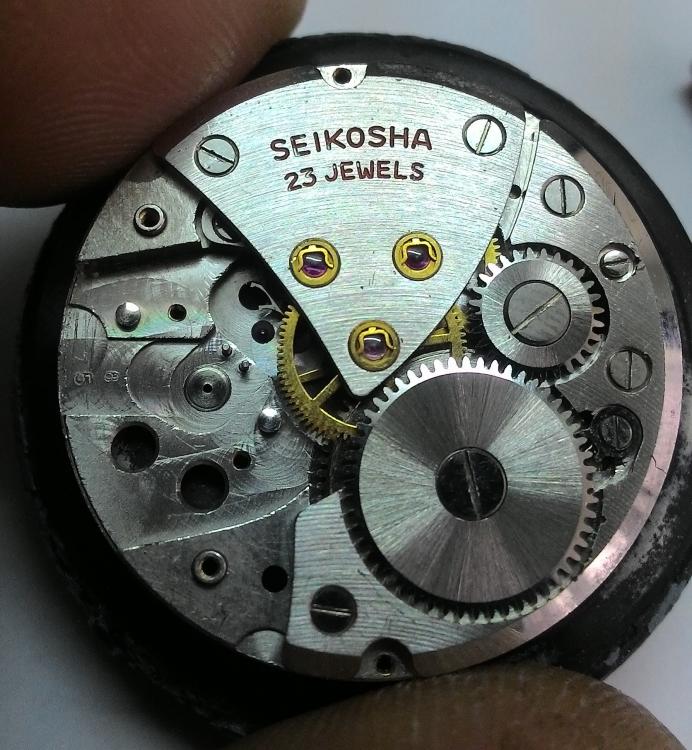
Seiko watches have been a personal favorite of mine because of the quality of the materials used and also the quality of the design. I recently purchased a hand-wind Seiko Cronos which was advertised as non-running and I thought I'd share my experience with it. As received, the watch was in decent cosmetic condition but not running. Caseback is in decent shape and the case itself seems to be pretty much unworn. Its Gold-plated but no indication of the thickness. Serial is the 7 digit type used in the 60s so this would be April '61? I popped the front bezel off as the movement comes out the front, you can see some damage to the dial where the hands have grazed the dial. Another pic of the damaged area. Its a shame as the dial is in good condition otherwise. The Seiko calibre 54. These came in 54A, 54B and 54C.. not to sure which one this is as there's not much info about these movements. Decent looking and 23 jewels for a handwind is pretty awesome. A full bridge for the balance-wheel no less...just like Rolex! One of the case screws is missing. The dial side of the movement with the dial removed... not as pretty as the other side, cap jewels present but in a simpler design. With the ratchet-wheel, balance-wheel and pallet-fork removed.. here we see the first sign of a problem. The barrel arbor hole has been 'massaged' to reduce barrel endshake. The underside of the barrel-bridge.. negligible end-shake on the barrel so it will go back in as it is. Some wheels...pretty similar to a lot of other Seiko movements. Dial-side dismantled.. It is at this point I realised that Seiko was not above playing the 'jewel' game. In the picture below, you can see that the jewel for the pallet fork has an oil 'sink' . In these jewels the endshake is controlled by the inner flat surface, rather than cap jewel which makes the cap jewel superflous. Compare this to the escape wheel jewel where the jewel is domed on the outside and the oil sits in the gap between the curved jewel and the cap jewel. Here the cap jewel serves to ensure minimal friction as the point of the pivot rides on the cap-jewel whereas in normal uncapped settings the pivot's 'shoulder' hits the flat inner surface of the jewel. I'm not sure if Seiko did this to raise the jewel count, pallet-fork pivots are not usually oiled so it could be that having cap jewels here MAY reduce friction in this case as endshake is more controlled. Below we see the other side of these jewels, the escape wheel jewel is the one with a flat side. Mainspring looks good. Ditto the barrel The cap jewels have been cleaned, The double jewelled one goes back in one position only as the cutouts match the holes in the dial where you check the pallet/escape-wheel engagement. Diafix settings with the spring in the open position and cap-jewels about to be removed... Dirty jewels.. And here we see the bottom of the train bridge. again we see another jewel which does not require a 'cap'. The fourth-wheel (seconds) jewel is flat on this side and has the oil-sink on the other. This wheel needs to be oiled and hence the cap-jewel is just a 'dustcap'. view of the oil-sink and 'proper' capped jewels for the escape and third wheel. All cleaned up and oiled. Fitting the diafix jewels went smoothly enough.. sometimes they cause problems but not today! Train bridge installed and checked for smooth runnig.. all good but......... The diafix springs were all over the place so I adjusted how they were aligned.. I think it looks a bit better now! (the upper left spring looks like it has one leg out of the groove but its actually OK). Everything running smoothly. Overall it was a nice movement to work on but the most difficult part about working on these watches is getting the clearance of the hands correct. I had to remove the bezel twice before it ran without hands snagging on each other and I believe that it wouldn't take much to get them out of alignment. This movement was used as the basis for some early Grand Seiko watches and while I haven't timed it, it has been running well for the last few days. I really think that the 2 cap jewels I mentioned above are unnecessary and it would have been better to jewel the barrel arbor but even with 21 functional jewels it still is a nice running watch! Hope you enjoyed reading about this as much as I enjoyed working on it! Anilv Ps.. while outwardly clean, the initial rinse in lighter fluid showed how much of dirt was in the movement. Here the balance and pallet fork was removed, the mainspring given a few turns and it was left to unwind in the fluid. I find that this helps clean the pivots but you have to prevent the wheels from turning (I used a sliver of pegwood) until the movement is submerged in the lighter fluid otherwise the wheels spin too fast and could wear the pivots unnecessarily.


 1 point
 -
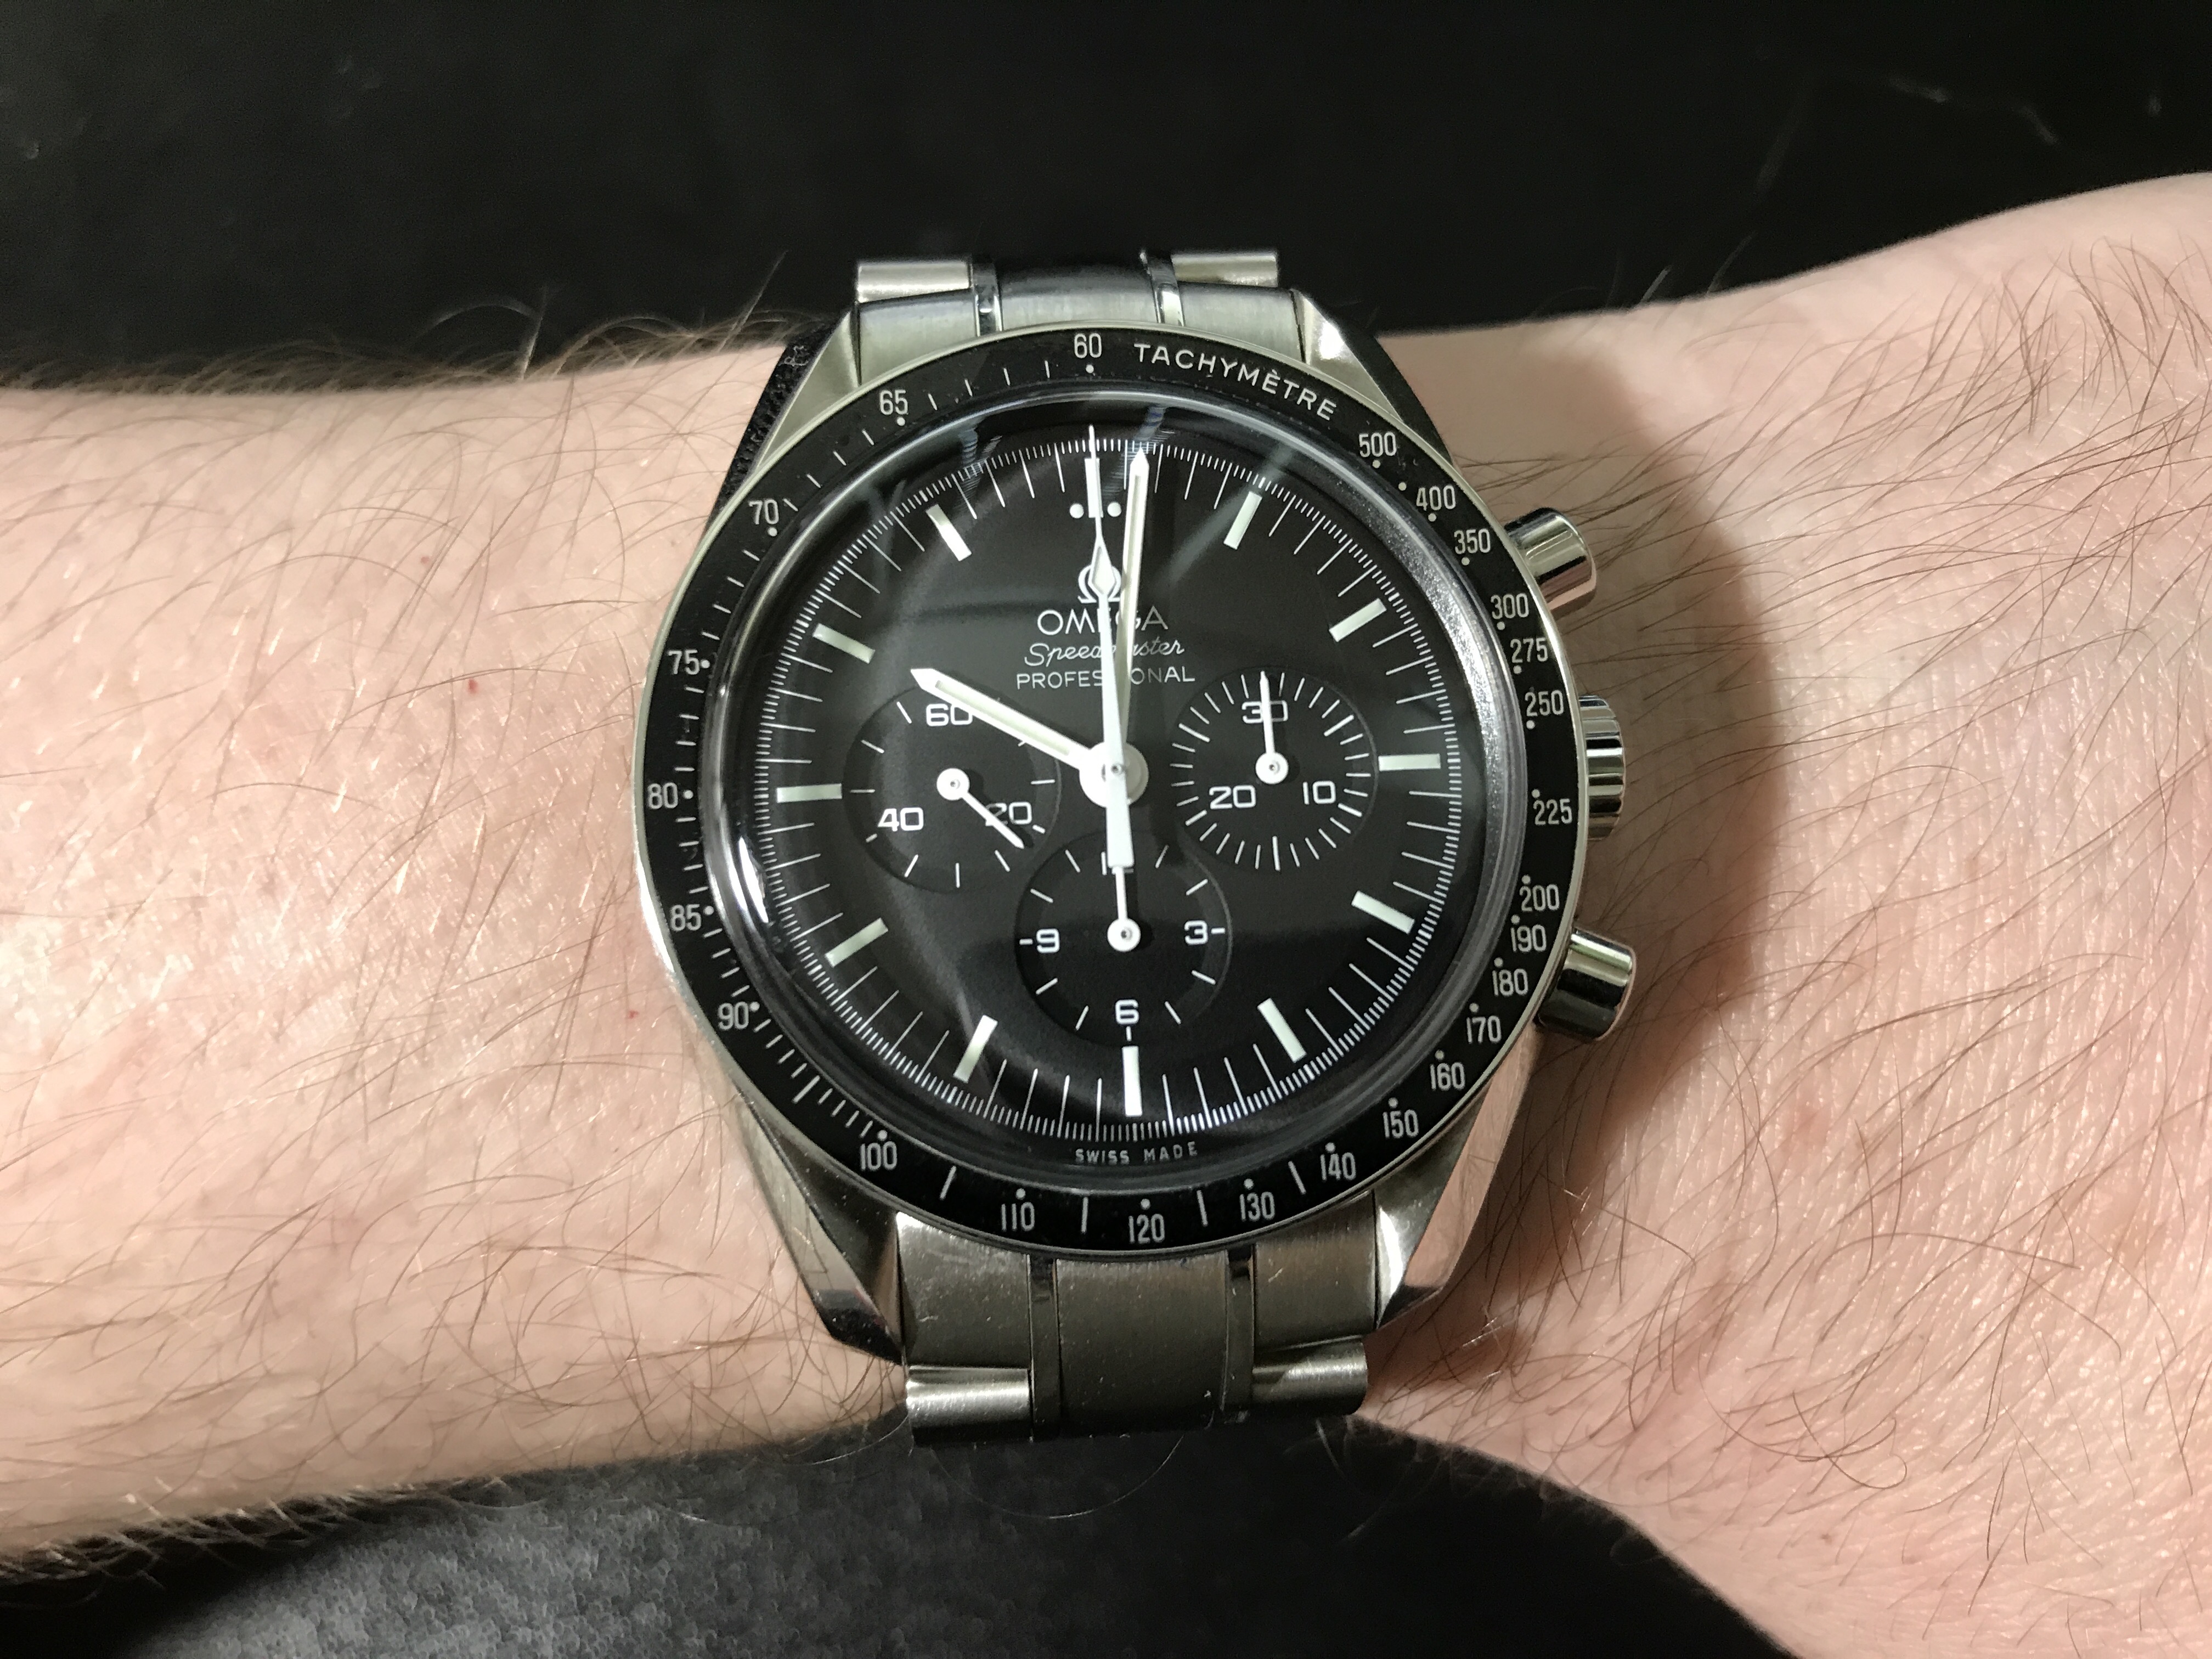
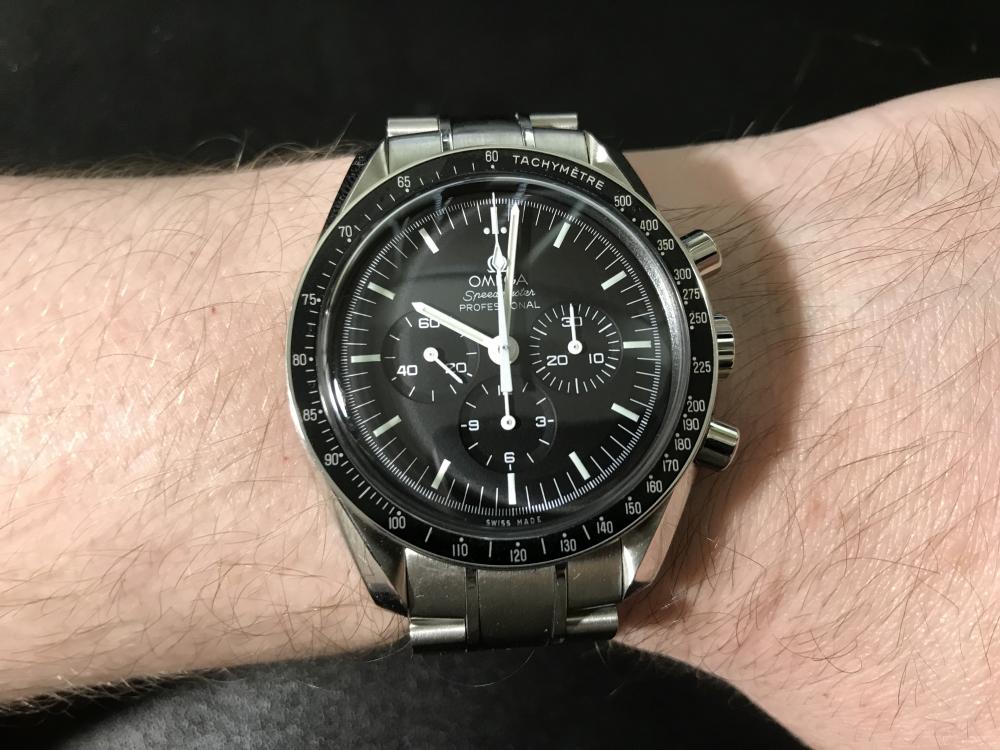
it's the flight rated configuration because I'm a huge fan of spaceflight.
 1 point
 -
Not that I've found, although clearly some of the great watchmakers do make their own. More important is to understand what problem you are trying to solve?1 point
-
I’m working on mechanical wrist-watches for two years now and in this time I came very often to one problem concerning watches with a regulator arm. I wanted a watch to run a little bit slower or faster (let’s say 3 seconds), so I had to push the regulator arm a very little distance. On many of my watches these arms have quite a big breakaway torque, so when I increased force and the arm started moving, it jumped a bigger distance than I wanted it to do (of course this led to a timing “correction” of 20 seconds, not the 3 seconds I wanted). Not my idea of regulating, this is just “try and try again, good luck”. Searching some forums on the internet for a tool to do this better I didn’t find a solution for me. So I had a close look at the regulator arms of my watches, did some measurements and finally built this little tool. The tool head grips over the regulator arm while the watch is on the timegrapher and due to the tools long lever arm (which is about 4 inches) I can manipulate the regulator position very precise. Here are some pics of my work on a Rolex 5513 with 1520 movement. The watch ran constantly +4 seconds per day and I wanted to slow it down to +1 second. No problem with the Delgetti-key.1 point
-
Not sure if this particular application of dual oscillators is simply cosmetic or if it is actually properly designed to take advantage of resonance, a phenomenon which is used in multiple oscillator time pieces to improve the stability (and therefore the accuracy) of the oscillating system. Multi-pendulum clocks have been around for a while, have a read of this; doublependulumclocks.pdf The oscillators don't have to be pendulums though, balance wheels do the same thing and the principal has been used in some pretty high end watches; http://www.luxuo.com/style/watches/why-two-balance-springs-are-better-than-one.html So in theory there is a potential advantage to be had by using two balances in a wrist watch. In practice though I wonder if the trade off between additional friction within the system (resulting from more wheels, pivots, etc) and the improved stability actually results in any discernable benefit, especially in a movement which has been mass produced down to a price rather that precision engineered to the highest standards. I don't doubt that the use of multiple oscillators in high end movements which are made to the finest tolerances can be shown to impart some benefit. However, in the watch in @SteveT's post I suspect that variation in the fit of all of the individual components due to the manufacturing tolerances more than wipes out any possible improvement, making this, as @Geoso succinctly puts it "a cheap gimmick!" It is however an interesting principal. I would love to see someone try and put together a 4 balance system using cylindrical hair springs, each mounted in a 3 axis tourbillon, just for the sheer overkill of it!!1 point
-
It is possible for an AC powered coil to magnetize a watch if the magnetic field strength is not varied during the process. So, one way to vary the field strength is to slowly move the watch away from the coil while it is powered. Another way is to charge up a capacitor and discharge it across the coil. I've written an Instructable to build the latter type of demagnetizer.1 point
-
I would say that this clock is a "Penny Moon longcase" due to its distinct small size moon phase,1 point
-
Convince an US member to split the price, then get it digitized [emoji4]1 point
-
Hello to you all, I've been watching you all since mid february and have laughed and seen myself in so many of you( springs flying off, cap jewels in the carpet etc) anyway I want to tell you my method of cleaning and rinsing parts through trial and lots of errors which gives me good results. I bought a small ultrasonic machine about £50 off fleabay.I then bought a fine mesh tray and a couple of small mesh baskets with snap on lids. I generally put the autowind and calendar side parts in one small basket and the gear train and screws in the other, larger parts i.e. spring, plates with balance attached as Mark does, barrel and even the stripped out case lay in the tray. I use Elma 20/1 chrono clean with low or no heat 10 mins shake the small baskets turn plates over and another 10 mins,change the fluid for a rinse, same procedure change fluid for a final rinse, do the same let it all drain then dry it all off in the basket with a hair dryer. Whole process takes about an hour. Really grotty stuff I'll let soak over night as hobbyists we have the luxury of not being in a hurry. I currently use the L&R no 3 rinse which gives great results but needs changing regularly and is expensive so im going to try their ultrasonic and see if that is more economical. I'll let you know!1 point