Leaderboard


Popular Content
Showing content with the highest reputation on 01/23/24 in all areas
-
Content removed. Some members don't seem to have a grip on themselves.3 points
-
Yes, it's the fourth wheel if you have center-seconds. It's not something I've come across in watchmaking circles, but this is a beautiful explanation of the mechanics of a modern wristwatch, including calendar and automatic works: https://ciechanow.ski/mechanical-watch/ All his explainers are really excellent, with great animations you can manipulate to see what's really going on.3 points
-
did you know that one of my favorite amusements with the discussion group is the obsession with amplitude. the timing machine is a beautiful device but it's like any other tool it's only a wonderful tool if you grasp what its purpose is. But this group feels the purpose of the timing machine is to please it and worship it if it can get amplitude over 300° anything less and you should step in front of a moving train or something. This group has such a bizarre obsession with amplitude. then I go to work and I have an obsessed boss he's obsessed with timekeeping. Who cares of the watches 100 years old it should bill to keep perfect time. I spend a heck of a lot of time getting watches to keep really good time. We even offer a service for a fee I'm the skip over what that is of regulating a watch a chronometer time specifications okay he probably doesn't use the word chronometer unless it's really close to zero. Except of course that's not actually what the chronometer certifications about. did you know that chronometer certification existed before timing machines did so will be hard to have a specifications specify a timing machine when it didn't exist yet? So what is chronometer certification what does it really mean? It means the watch keeps time in a variety of conditions like temperatures. Then ideally although I don't think that's in the specification it should keep a consistent rate of time. Especially in the case of a Marine chronometer where you're navigating so in other words if it's two seconds fast that's fine as long as every single day it's two seconds fast so the end of several months at sea you know exactly how many days from when you started you know exactly how fast you're going. That's actually more important than actually keeping time you just need to know exactly what time it is to figure out where you are. to understand the chronometer certification you need to look up the specifications of ISO-3159. the document itself is somewhat amusing in that one of the copies that I have is licensed to accompany so I can't or will not release it here and then on page 2 is a reference to copyright. It looks like they really aggressively enforce their copyrights so let's do this another way like let's do a search and find this instead. Those of you want to look at the chronometer certification standard. https://cdn.standards.iteh.ai/samples/54804/5a102f6759ed4df194254936a12171da/ISO-3159-2009.pdf the timing machine is a wonderful diagnostic tool not something that you should worship like a God. It shouldn't determine whether you live or die or your OCD kicks in if that's a problem for you perhaps you should seek out psychiatric help and watch repair is not your hobby. Or even your profession as you waste a lot of time trying to please a timing machine.3 points
-
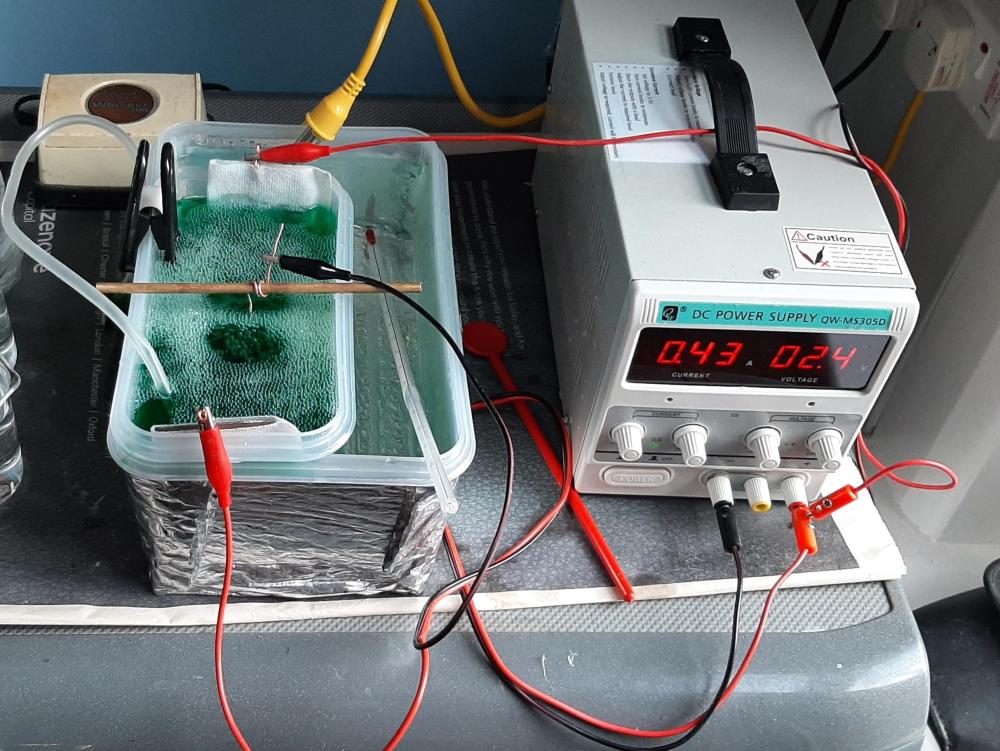
I was following your thread. I buy ready prepared solutions (or kits of the powders to mix) and anodes from plating supply companies. I do so little they should last me a long time. My latest improvements are to use 2 anodes (I was using 1), and anode bags (easily made with cheap polypropylene cloth and a glue gun). I've added the air pump for agitation (I was stirring) and I'm also heating the nickel solution to about 60°C. I was using 40°C as recommended in a kit, but reading up, the ideal temperature is about 55-60°C. I created a spreadsheet to calculate the surface area of the watch case, hence current required, and time to give a certain thickness of plating. It's great fun, and doesn't create any nasty smells !3 points
-
I'm quite happy doing nickel plating at home (the only difference to copper plating is that I heat it to about 60°C). I've plated a few cases, but have only just started with the copper. I considered gold plating, but then I saw the price of the solutions, and the fact they contain cyanide. My set up is not expensive. Plastic containers, an old aquarium air pump, a mug heater and a cheap power supply. It works well.
 3 points
 -
As has been mentioned, dial on hands on, set, check fully for fouling through 24 hours and correct them, check calender and date functions correctly before placing the case and crystal over the dial and press down to close up some of the gap between the dial and inner case dial lip then spin over. For front loaders, drop in carefully from above. As a side note some case mounting rings can be a total steward to get in afterwards, I've had a few that needed the ring on the movement first and then both placed together in the case.2 points
-
Not sure of a 'smart' method' but use the cushion, place the case over the movement and press the case into the cushion it a bit before you turn it over...2 points
-
Put the movement dial up on a watch cushion, place the case over the movement and then turn the cushion over.2 points
-
We evolve in different ways and thats down to the types of watches that we tinker with. I got frustrated sometimes with low amplitudes and decided its not such a huge problem. A perfect example is the raketa i mentioned earlier. It only reaches around 230° after one hour of run at full wind, at 24 hours 180° dd and du the verticals a little less, this could be because of dull balance pivots. Yet it keeps good time averaging around 8-10 seconds fast per day when worn, a touch on the regulator might even improve that. It also fully unwinds itself which suggest that the friction is low, i didnt see a reason to chase amplitude when it happily plods on at it own steady pace. In my eyes its not running itself into the ground with a high amplitude, the torque through the train will not be to an excess and the balance swings are relatively short ( yes isochronism can suffer when they become too short ) so the pivot travel and wear is lower all of that adds up to less potential wear just about everywhere. Higher amplitude pushing through must equate to higher torque loads on everything.2 points
-
Well, I am pritty sure that if You do the test with the old spring, You will learn something interesting. I, for ehample, do not change the old springs if not broken, and I have never purchased a new spring in my life. When change needed, i will find proper spring among old used springs I have. Yes, I have met springs that are to tired ahd have replaced them, but this is one-two in 100. And I usually work with 200-300 years old watshes. The free oscillations test: turn the balance to 180 degr. and release it. Count the free oscillations to full stop. Do this in both horizontal positions, see if there is difference. For a wrist movement, expected result is more than 100, this means that no losses in the hairspring and everything is OK with pivots/stones2 points
-
I suspect that you have an example of the original 2824. Since then there has been a 2824-1, a 2824-2, a 2824-A2, and a 2824R (according to the Jules Borel interchange site. The original 2824 did use the same date jumper spring as the 2783, the other variants did not. The original also used a different stem to the later variants. So neither a Franken nor anything weird, you simply have the original.2 points
-
The ETA 2325 is circa 1950s. I tried copper plating today and it worked really well - I got a nice thick layer. There were some deep scratches on the lugs - I should have filed more before plating, as I've sanded through the plating getting them out, so I'll have to add a bit more copper plate. But on the rest of the case, the copper has filled the holes and marks really well. I'm impressed how much copper plating fills defects. For anyone who's just done nickel plating, I recommend copper plating first. It's like a filler primer spray on a car.2 points
-
maybe that's the problem he wasn't expecting the discussion they go in the direction it went in. I don't think it's his post that was the problem I think it was the stupid stuff that other people said was the problem.1 point
-
You are absolutely right! Sorry for my confusing comment! ETA calls this wheel falsely „intermediate wheel“.1 point
-
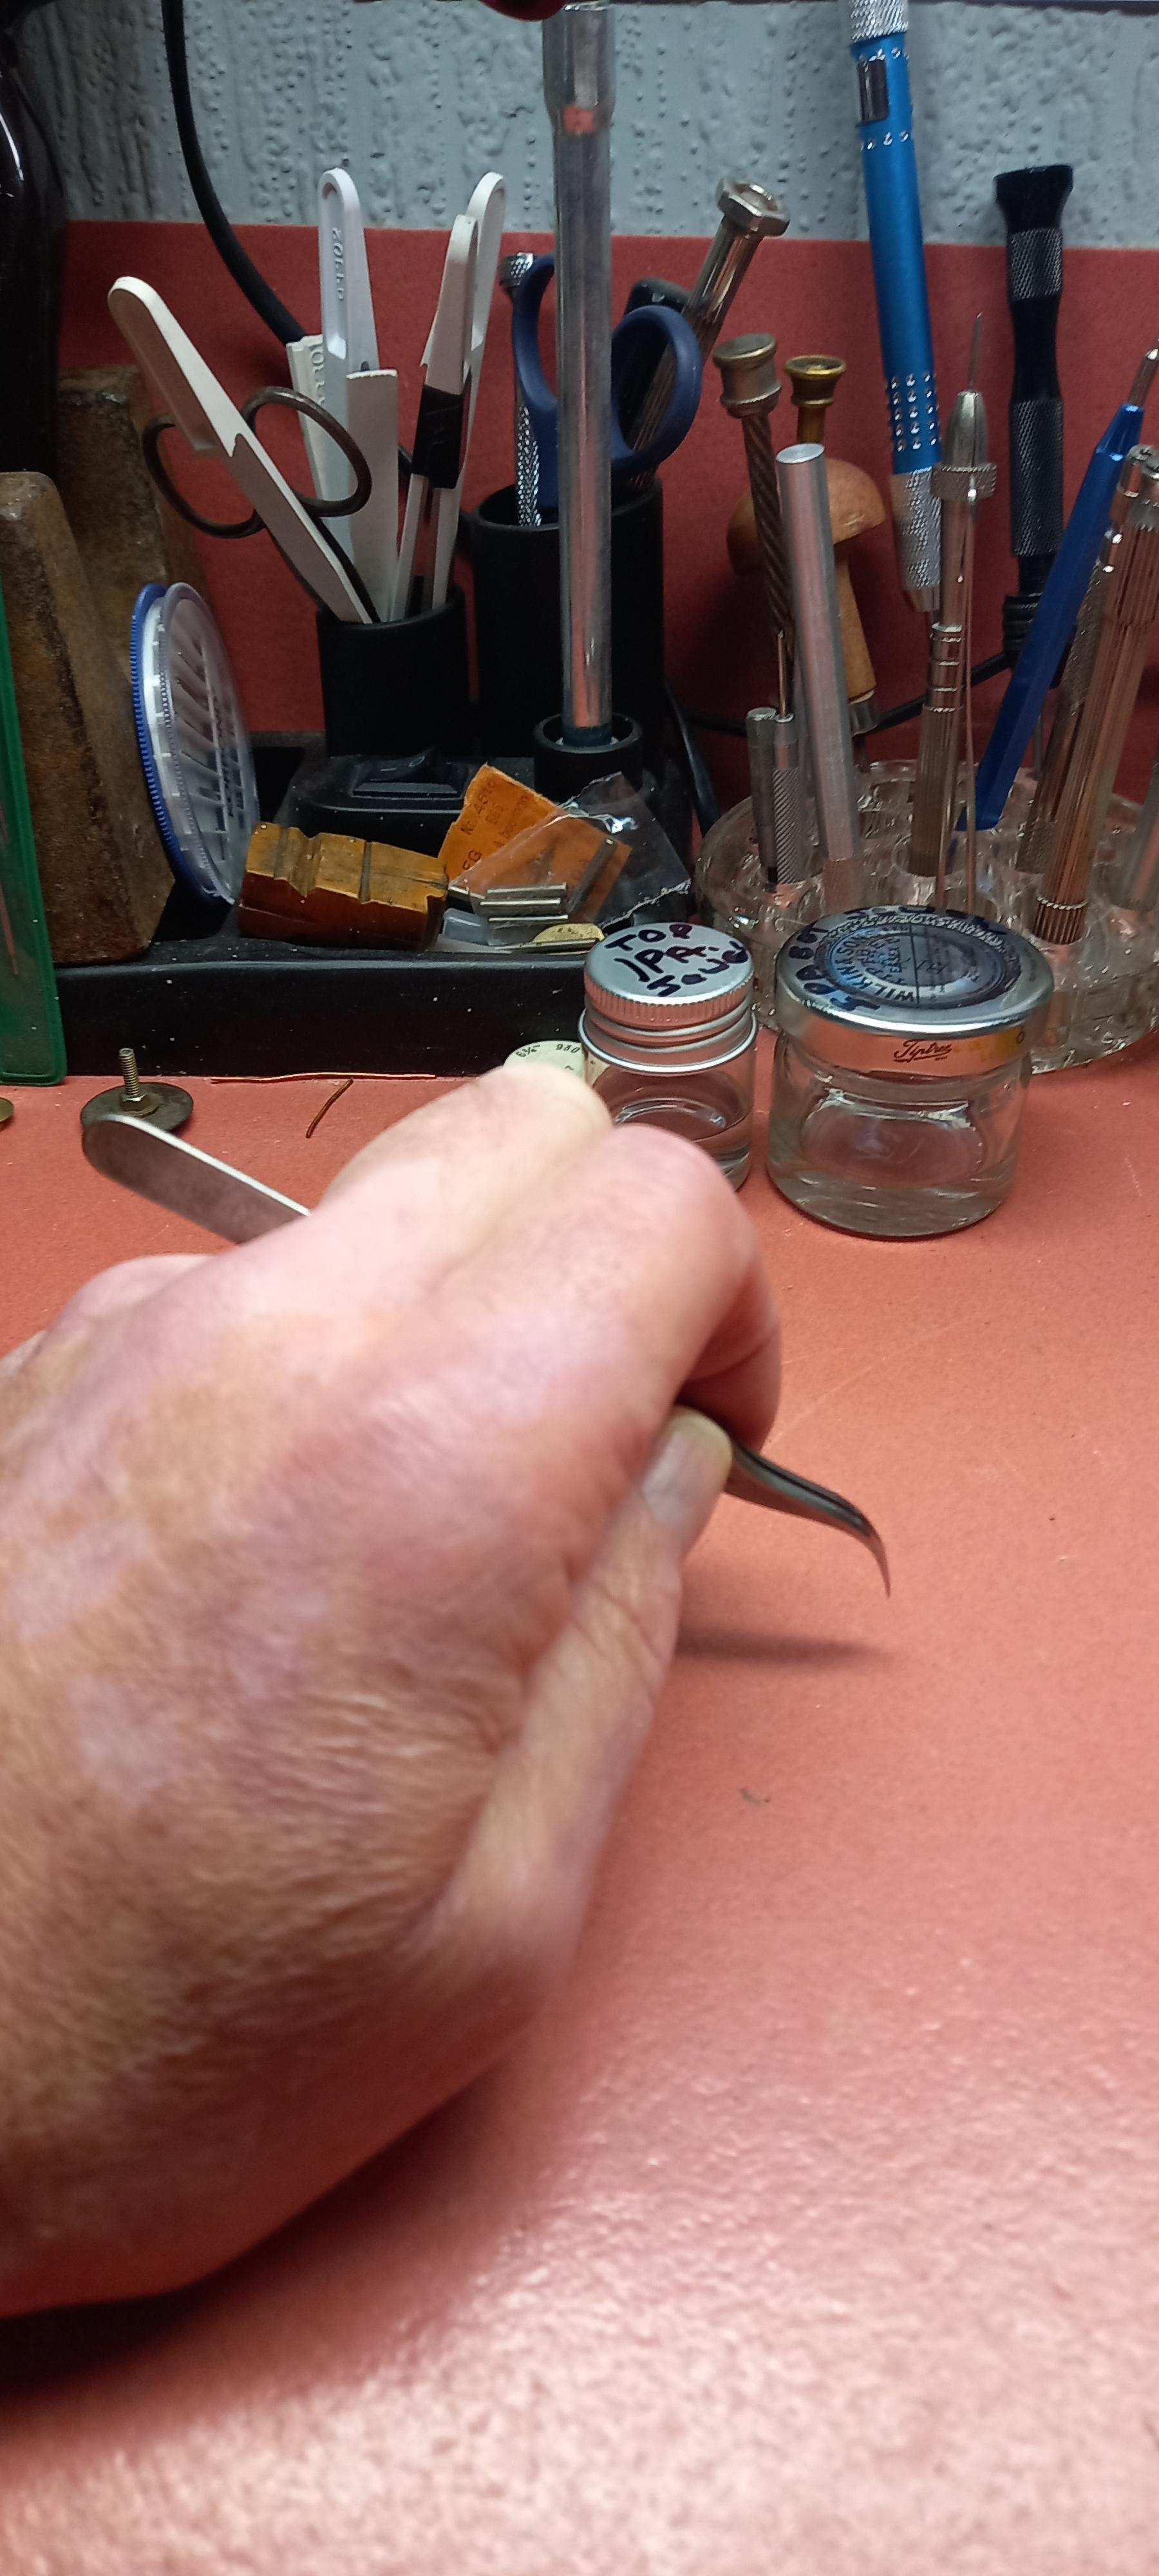
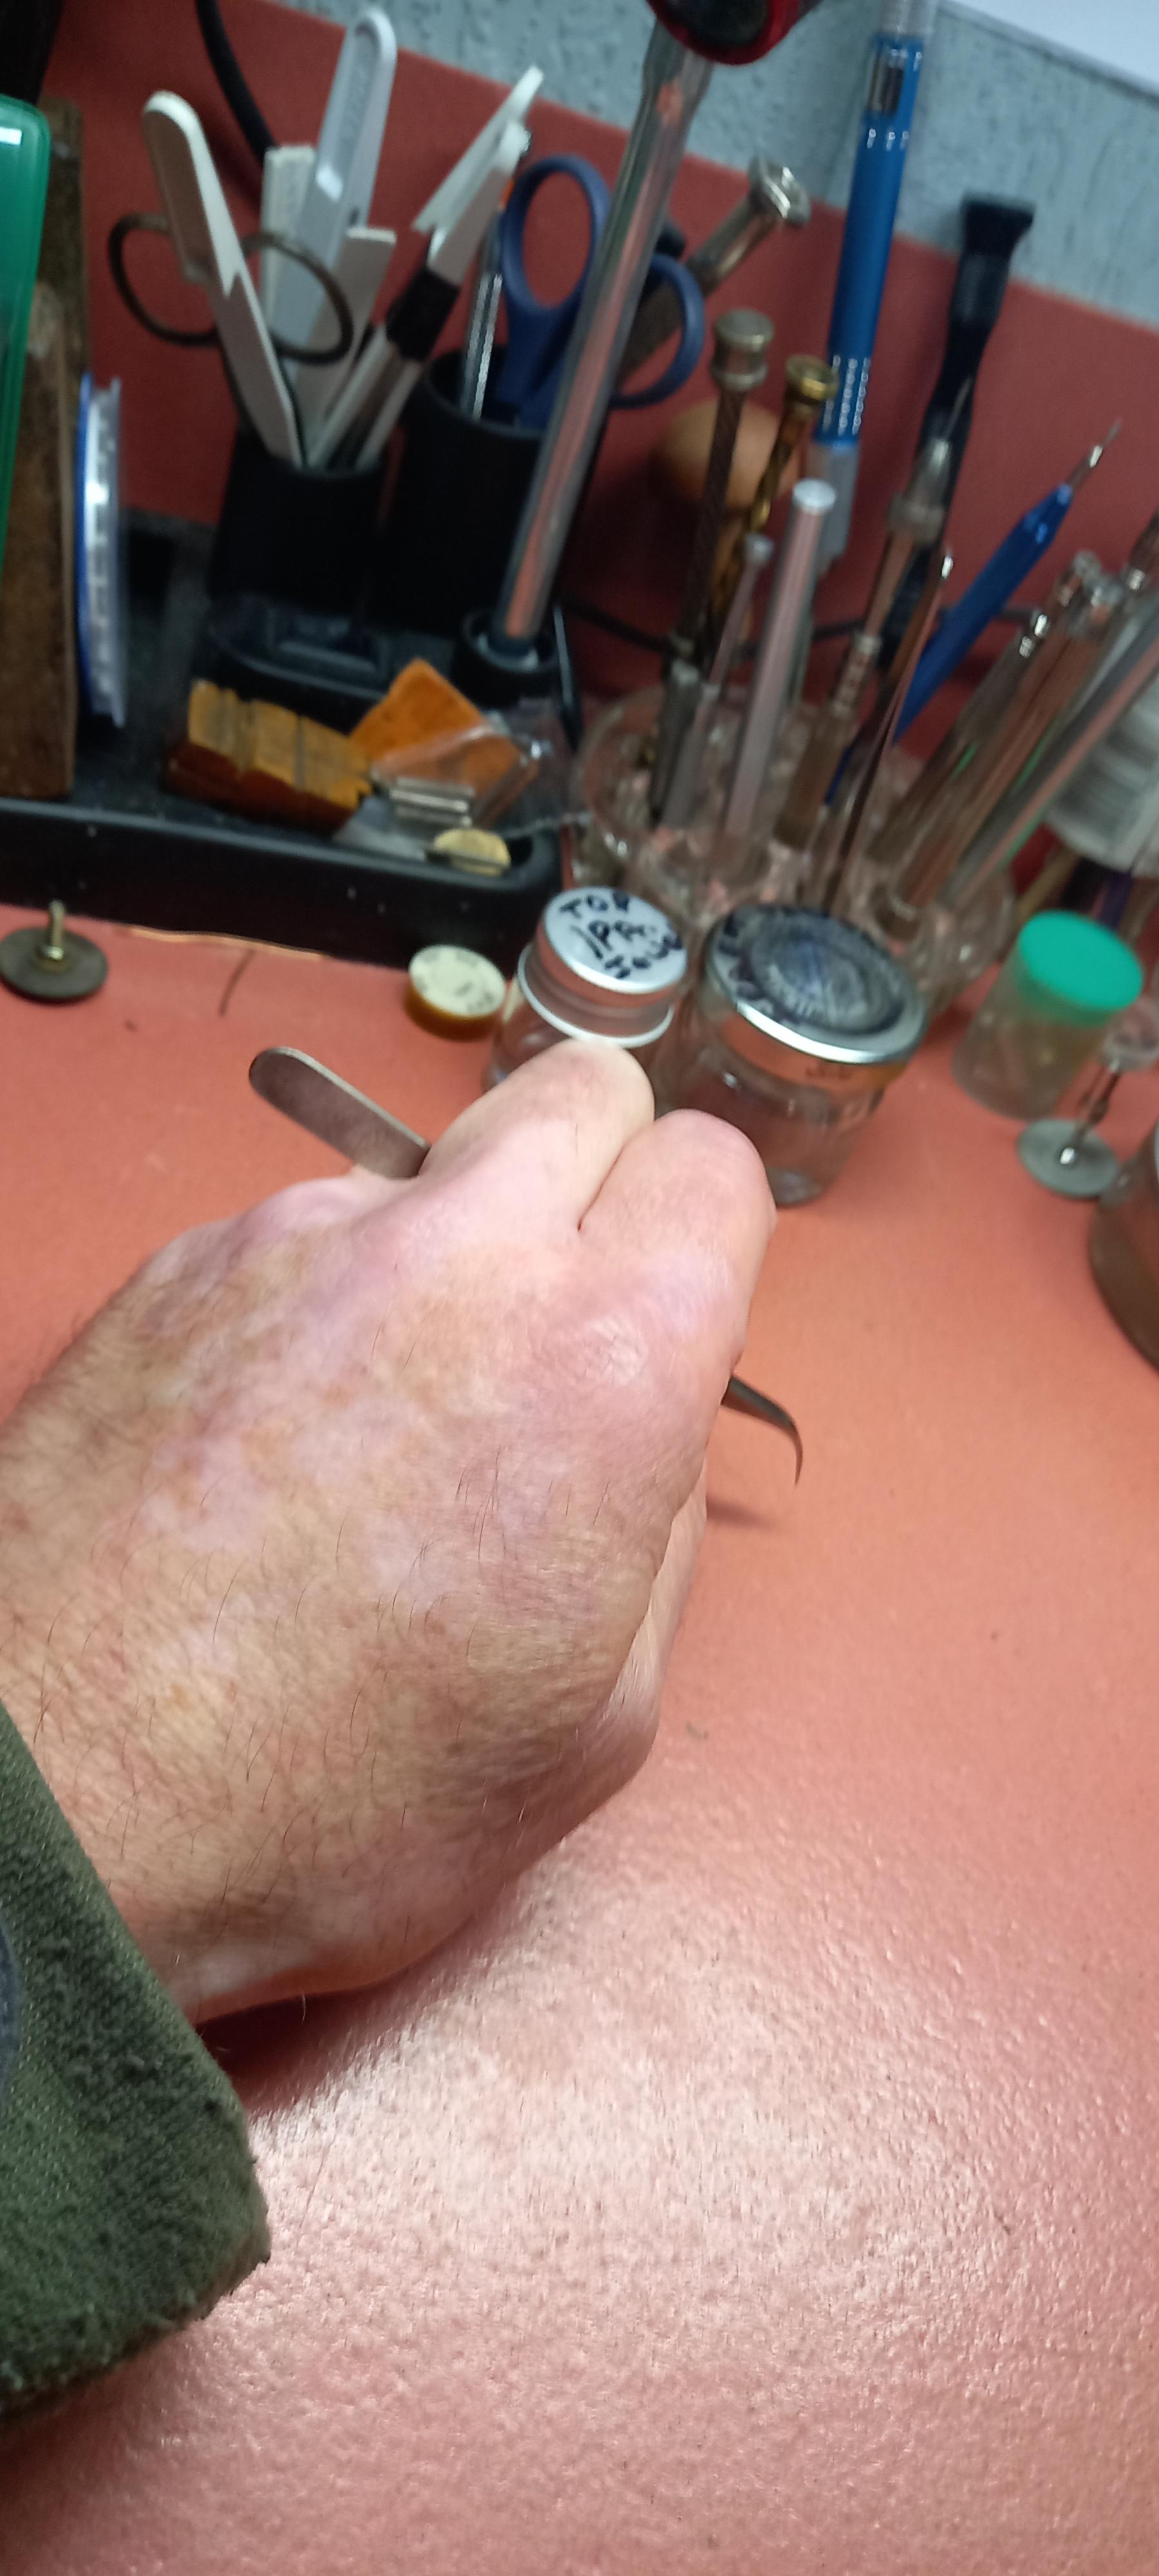
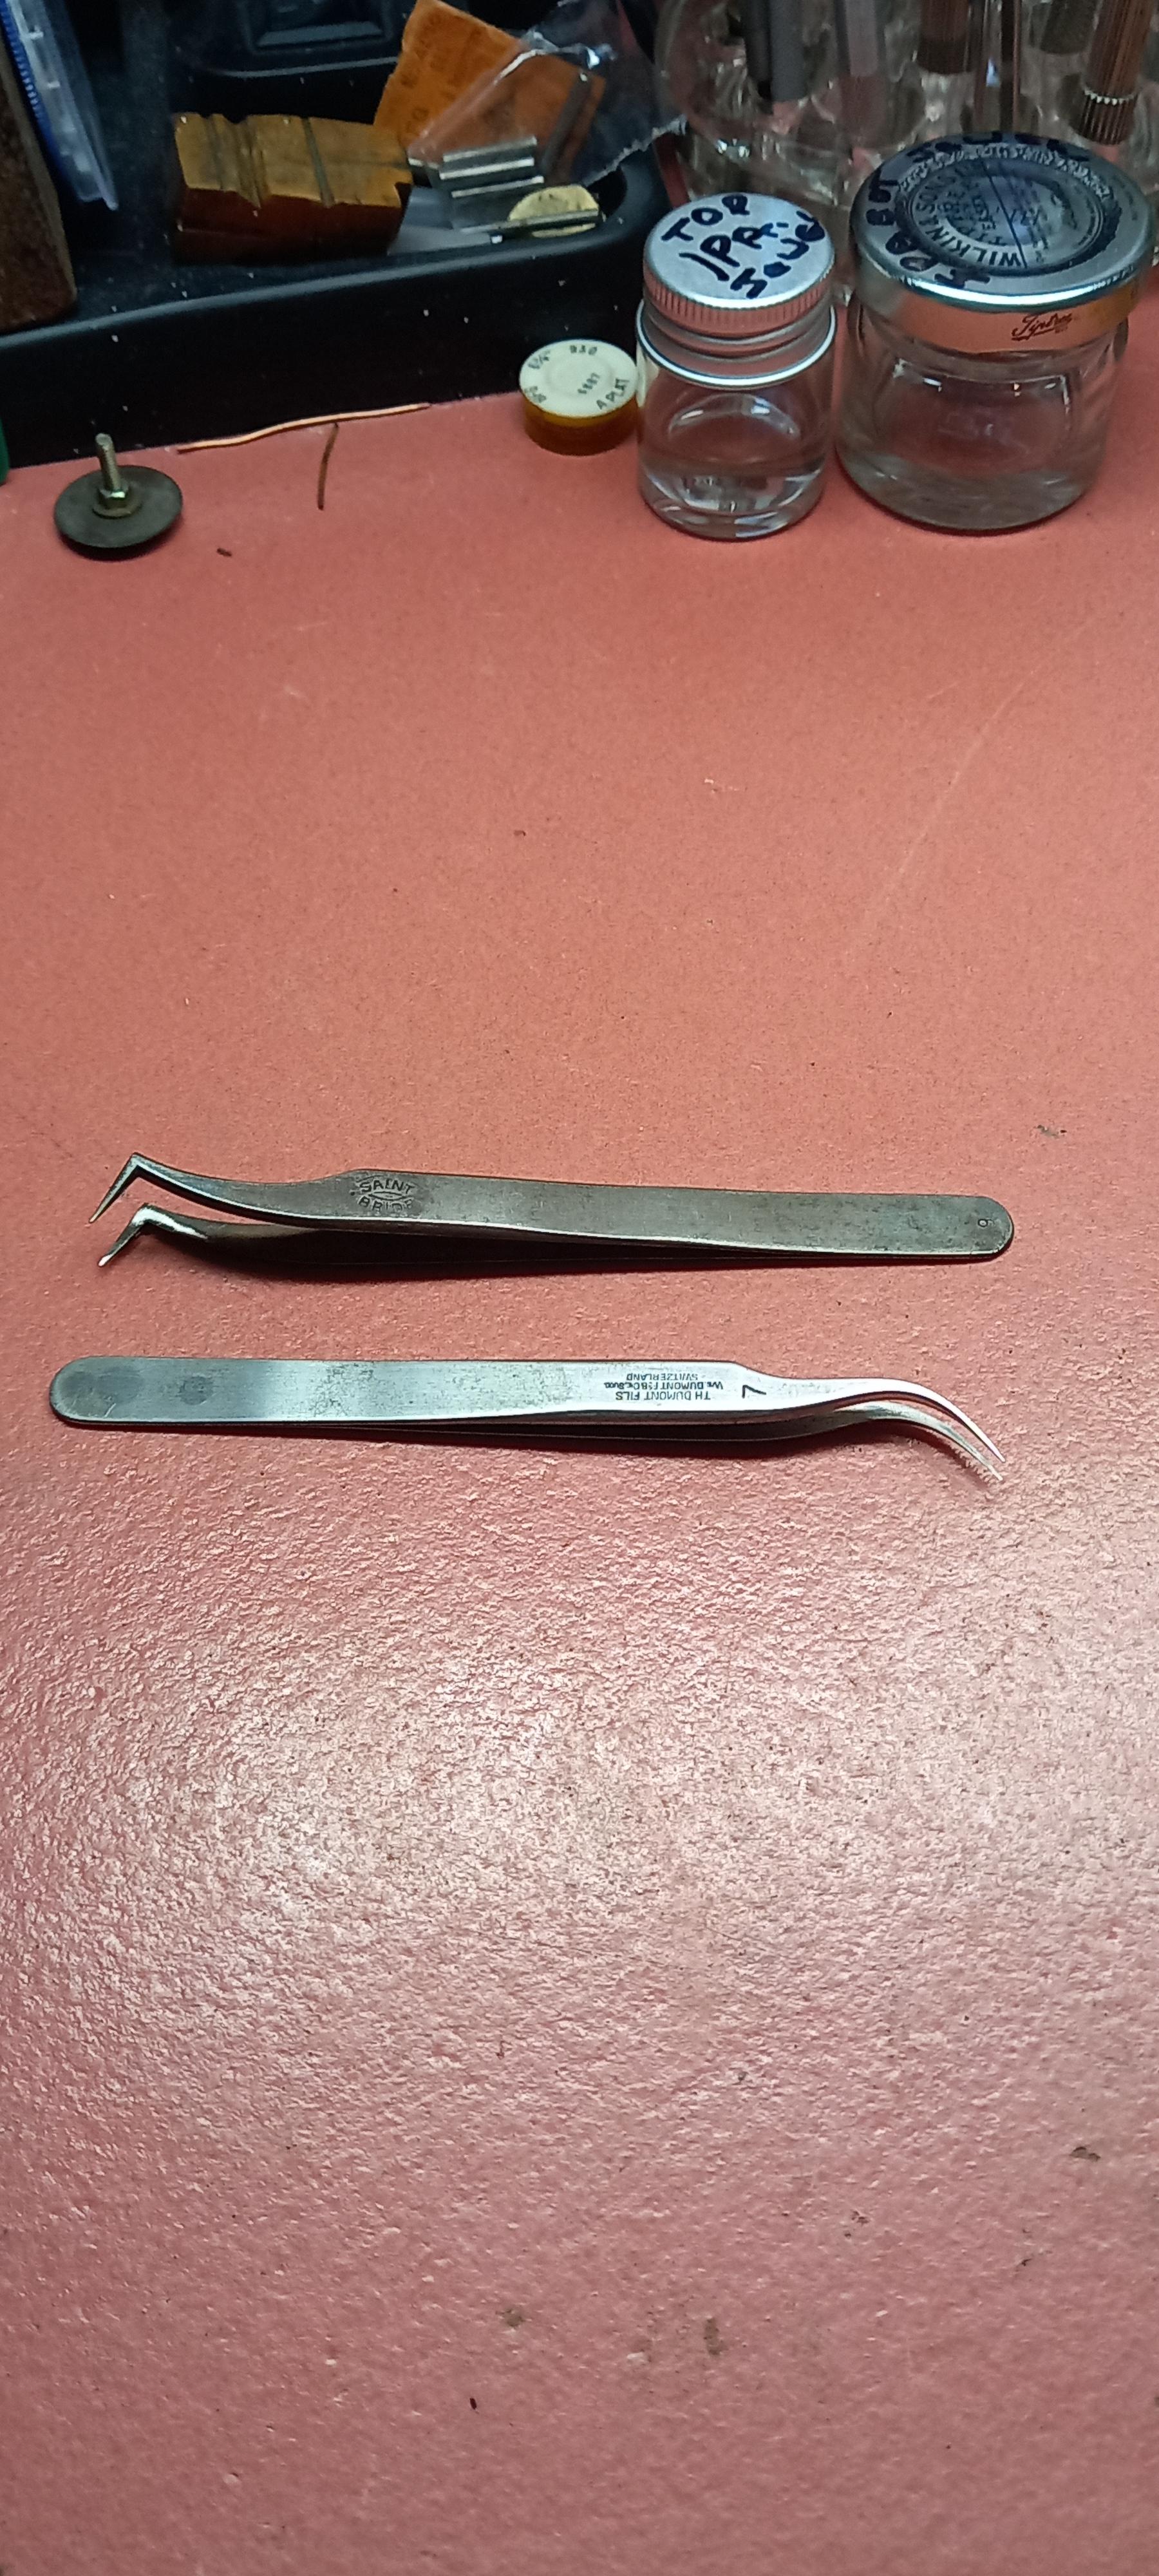
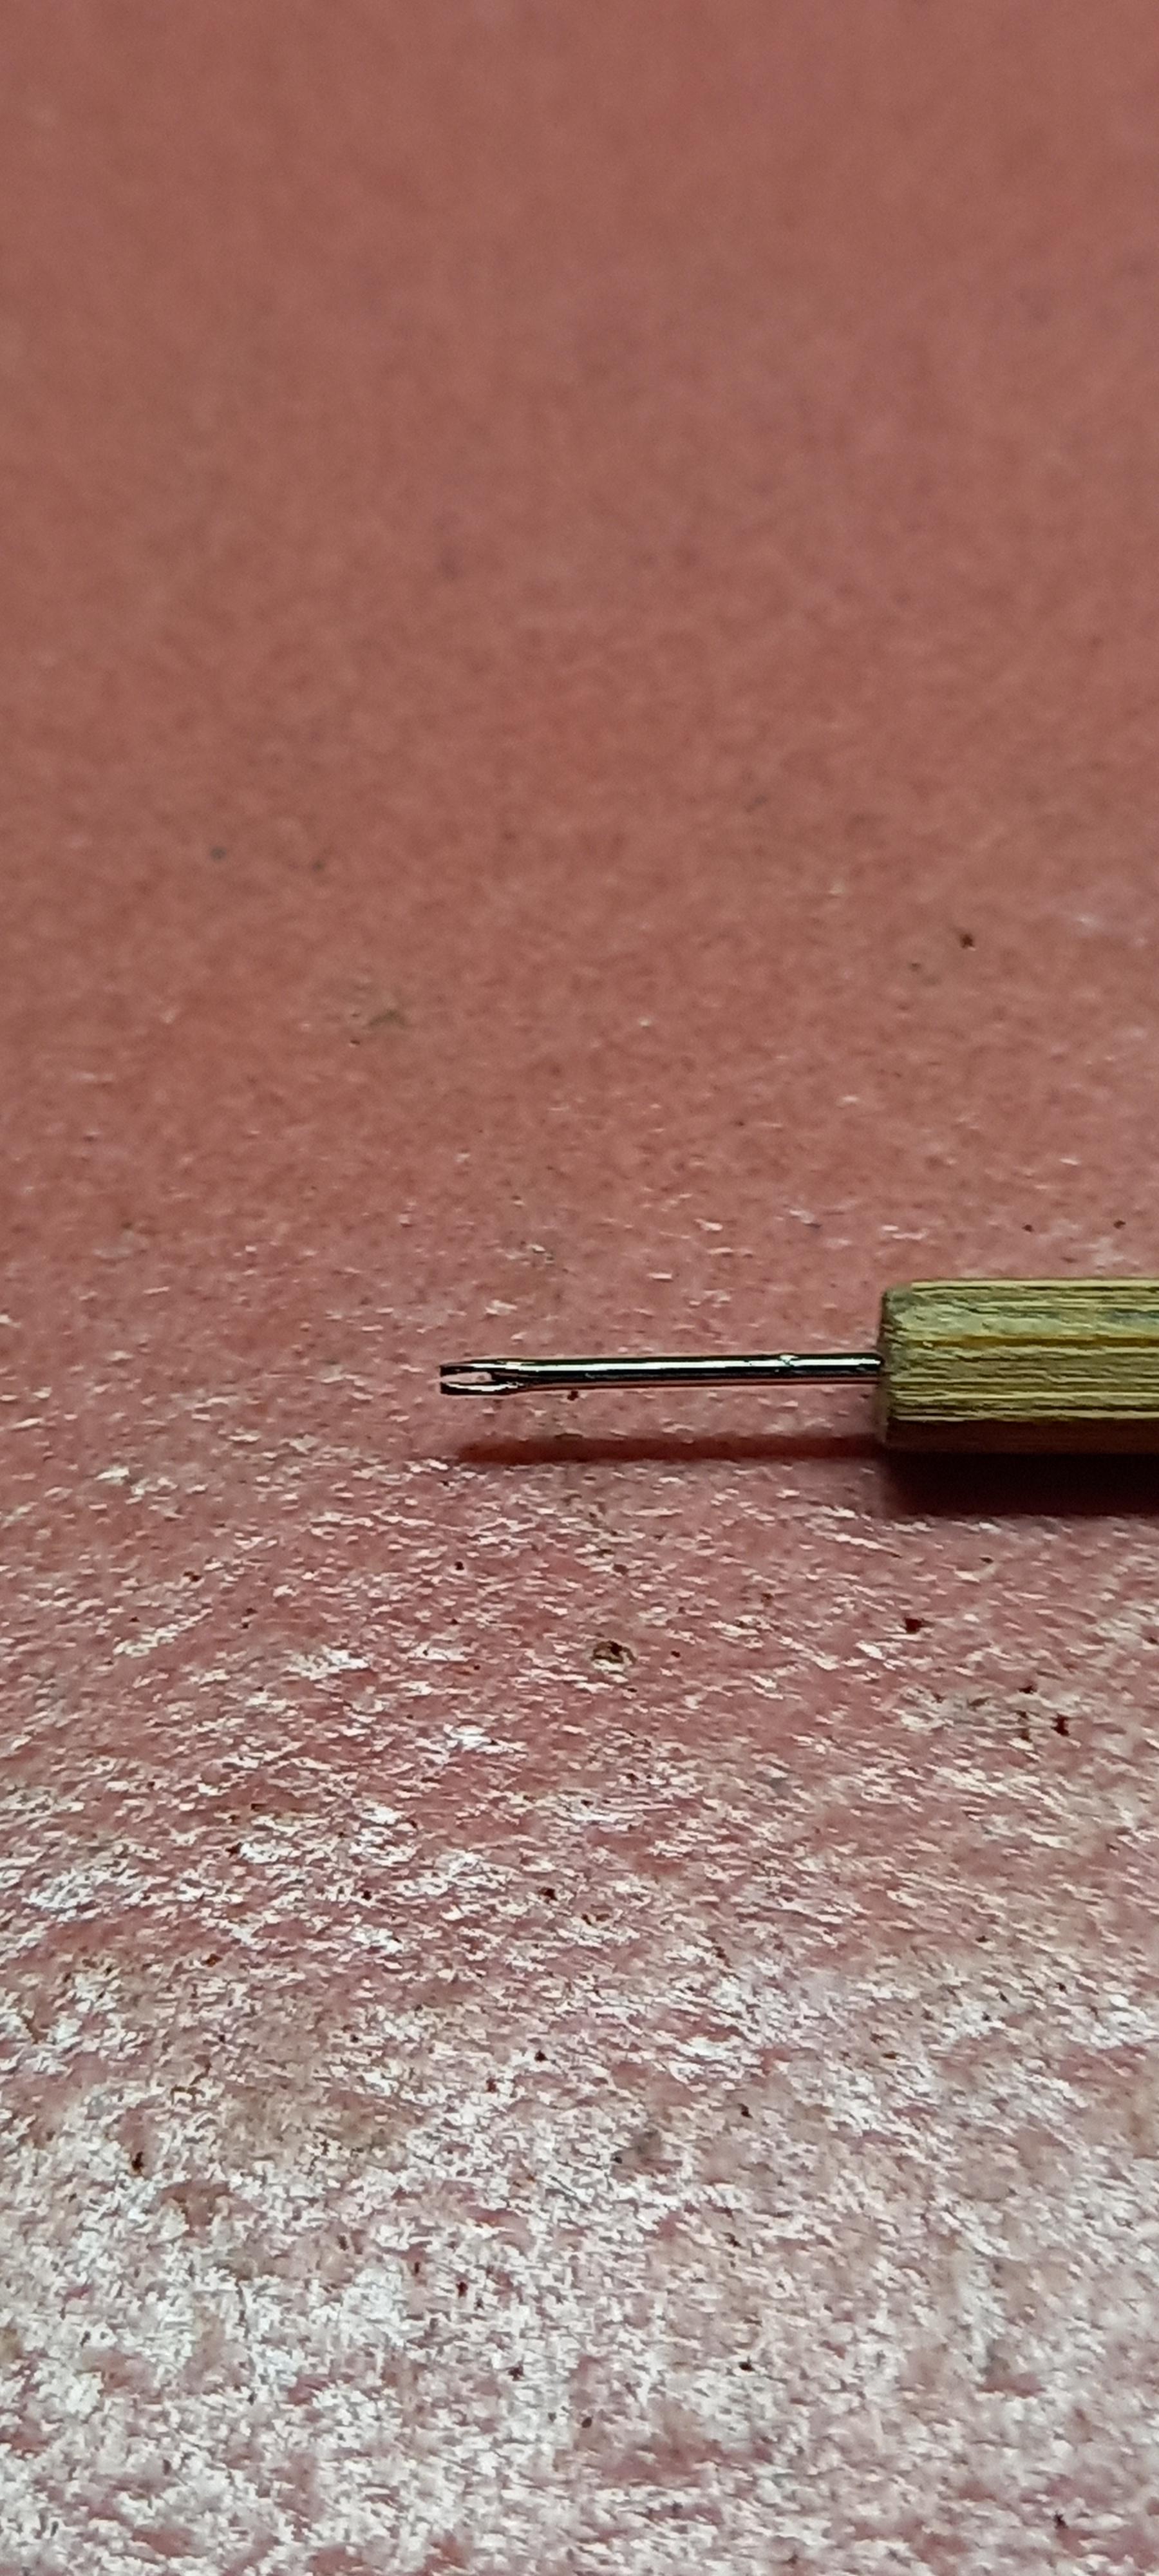
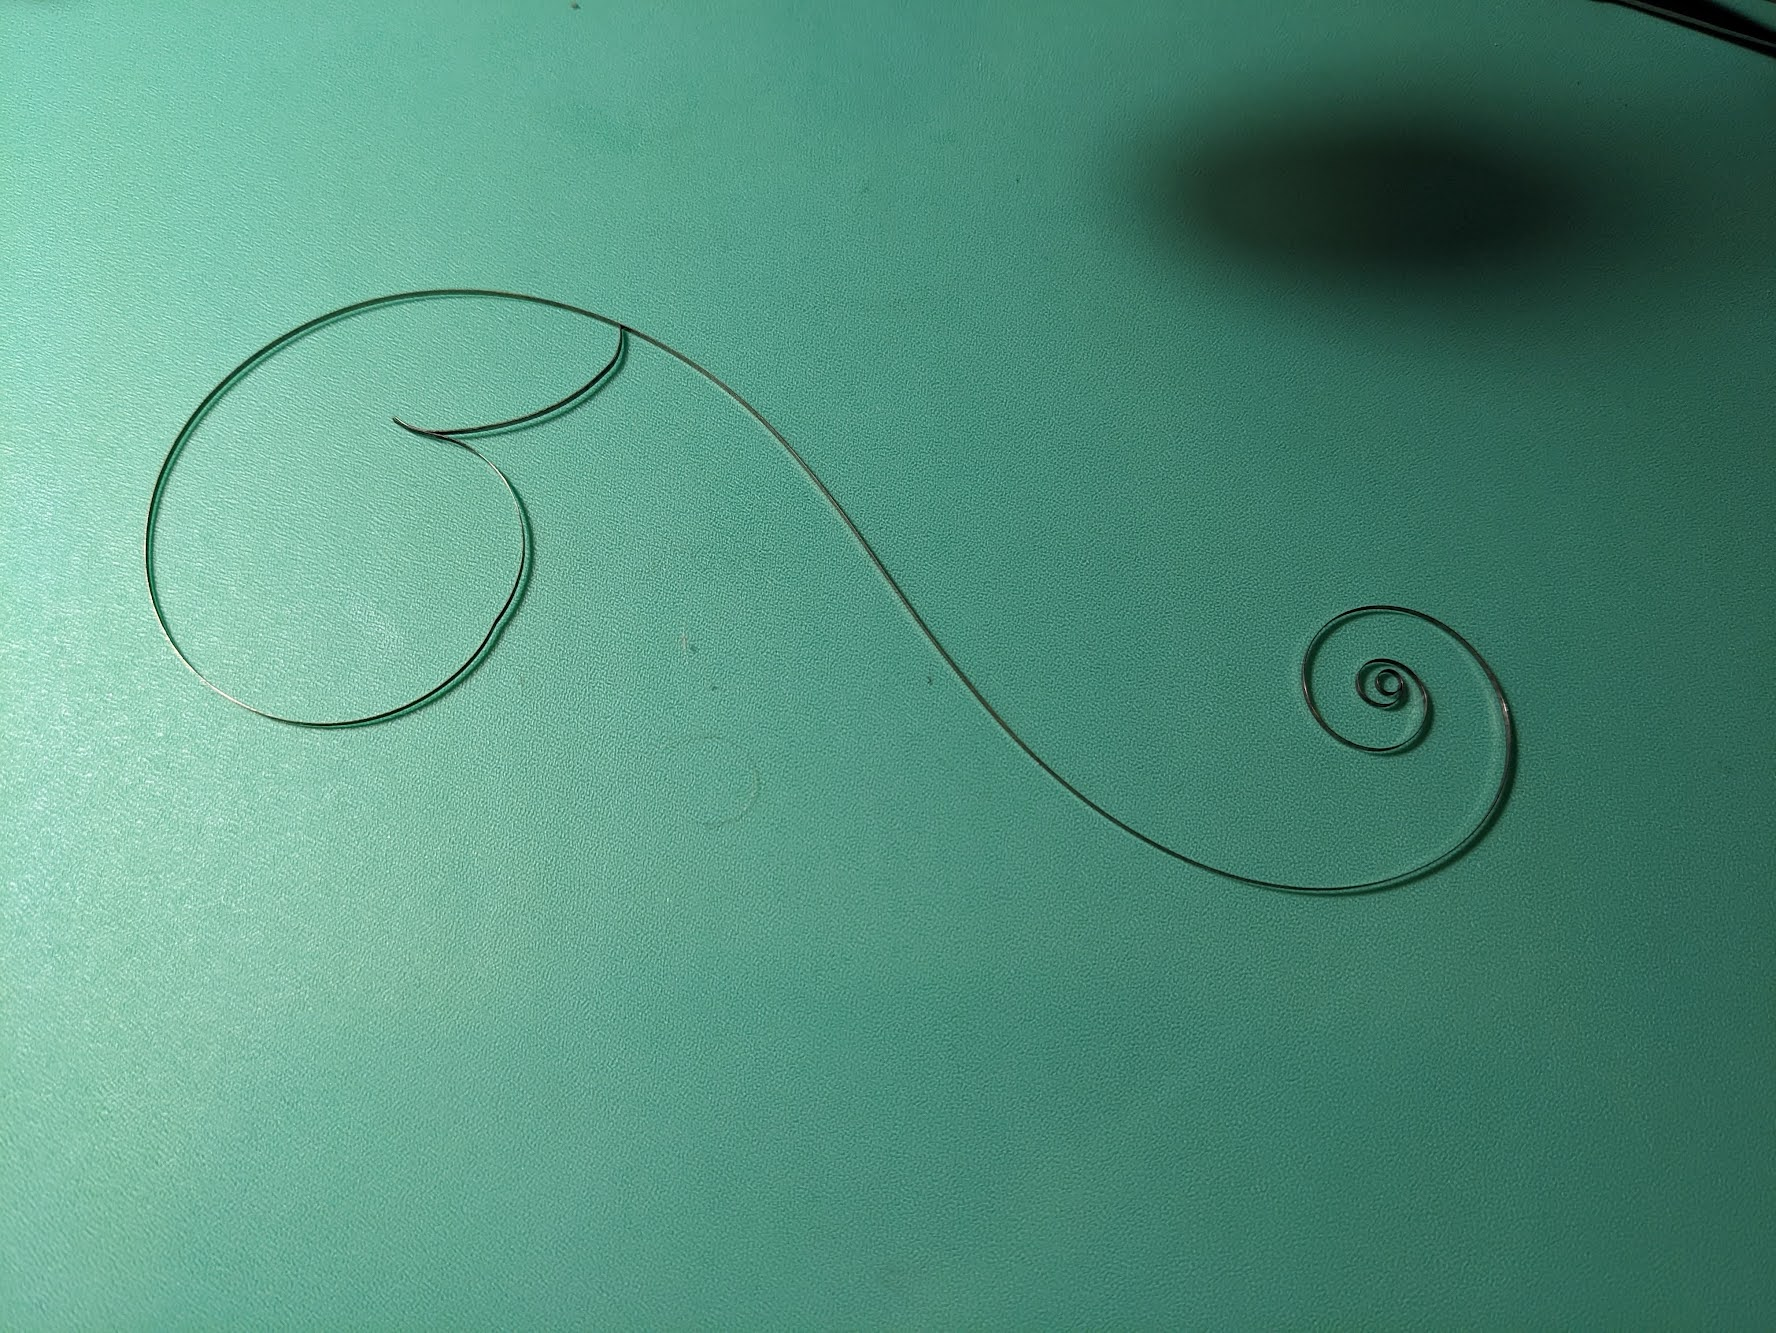
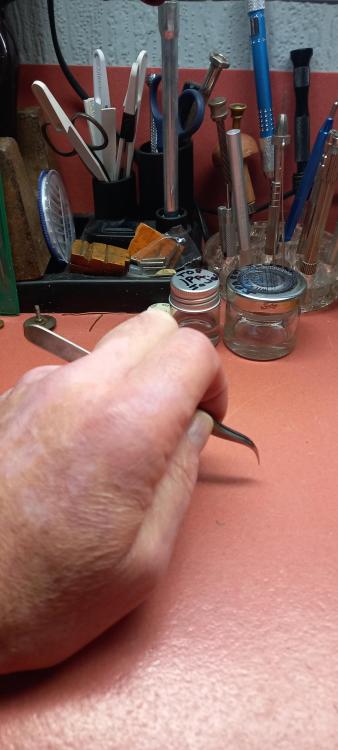
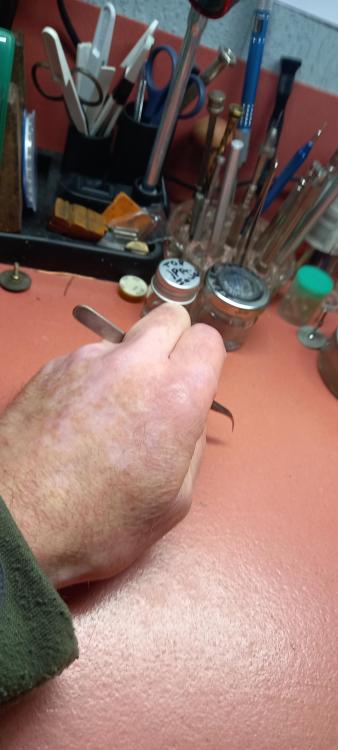
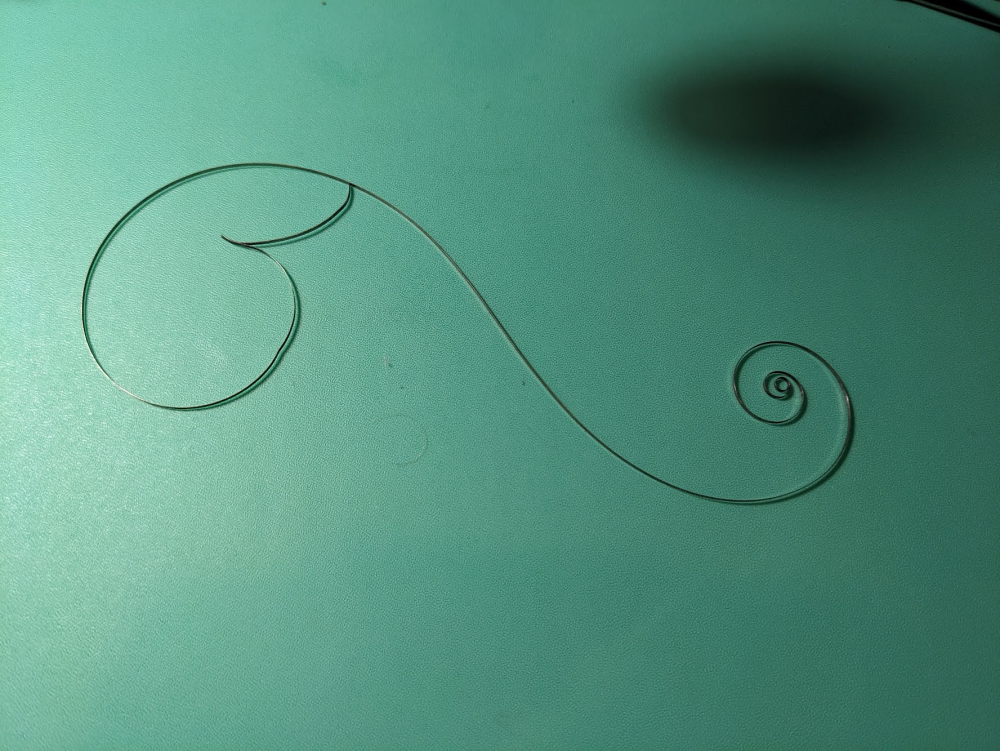
You can do it Ross. You understand learning technique i know you do. Yes that was the worst i ever managed to bring back to some form, i have a picture somewhere as it was coming to a finished state. It wasn't perfect by all means and easy to see that it had had some distress, i think there was one slight shallow verical bend that i just couldn't remove but that watch ran quite well with it. Been doing them almost from week one out of necessity and insanity, wierdly i enjoy it which really helps. I use a pair of no 7 tweezers, thats the curved tipped ones and a bent acupuncture needle set into a piece of pegwood or a narrow fitting pinvice ( i call that a pick , the one in the picture i use to twist the hairspring to raise or lower out of flat springs ) mostly. I hold the tweezers very differently to standard practice to get the correct working angle. The bent tweezers help with coming in on top the hairspring to straighten the out of round bends ( these are the bends that make the coils touch together when looking down on the hairspring) Stability is key here, you will noticed massively hand and finger shake without very good grounding of the wrists or palms of the hands. To further the angle of the tweezers and pick they are slid between my ring fingers and index fingers this helps to keep your hands stabilised while manipulating. Start from the inside of the hairspring and work out . With out of round bends find the largest gap ( coil running outwards ) or smallest gap ( coil running inwards ) and work back 90° into the hairspring, this is where the bend begins, this the manipulating point. I always remove the inward bends first otherwise the hairspring coils will come in on themselves and get tangled up. The out of flat bends and twists are another game altogether, these are the ones that raise the hairspring up or down when looking at it from the side. The twists are quite easy but the bends along the height profile of the hairspring are a real pain to fix. But i wouldn't worry about the out of flat for now, there may not even be any. Some of the correcting you might be able to do with it is on the balance and maybe even with it in the watch. A really common issue of the hairspring bunching up can be just one little correction at the stud. Do some research and make a start see where you get with them i have faith in you Ross, learning to fix them can save you a fortune in replacement balances.
 1 point
 -
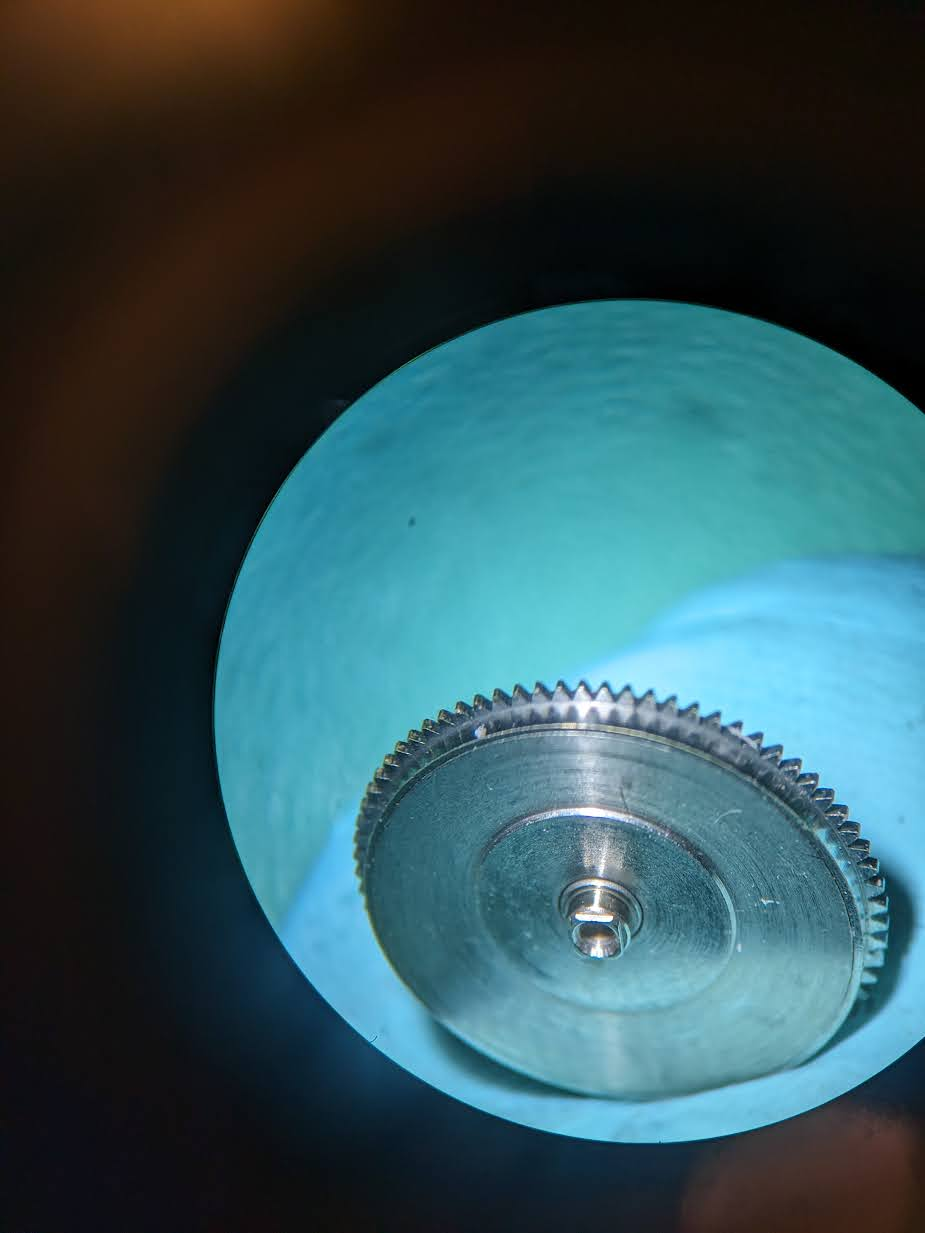
This is the case on what Jon calls 'indirectly driven minute movements". Let's use that for consistency. So in these, as Jon says, the third wheel drives another wheel that turns the cannon pinion. With this I think we're declaring the 6497 as non-Modern. By the tech sheet it looks like the cannon pinion is directly seated on the center/second wheel. Same with the ST36 on my bench right now. (There are other differences between the ST36 and the 6497, so I'm being cautious here.)1 point
-
Hi Ross look at it this way , what have you to loose nothing and every thing to gain in as much you are learning a new skill and if you manage it a repaired/useable balance. Now that skill is transferable to any hairspring. Read up on Henry B Fried on fixing hairsprings understand his theories, practise on old ones first. Confidence. Ross.1 point
-
Well, after Kalanag's post, now I'm confused. In both the tutorial and the ETA 2824 tech sheet, there's a barrel, three wheels in the train, and an escape wheel. The second hand is attached to the fourth wheel. Center seconds arranges to have the fourth wheel in the center of the watch. I don't know what you're referring to as an intermediate wheel in either. The ST36 (ETA 6497 clone) on my bench has the same wheels, though the fourth wheel is off center, so you get "small-seconds". In this case the canon pinion is attached to the second/center wheel. What am I missing here?
 1 point
 -
Hi. The obvious answer is carefully, depending how it fits, some easier than others I use my fingers ( cots on) and put it in on an angle and let it settle. If it’s a bit tight a piece of rodico and lower it in square on, never had a problem with either method, just don’t use bare hands.1 point
-
Birbdad "Also since you've worked on these, how does that mainspring look to you? i got it pretty much perfectly flat, just unsure what a worn out one looks like". There is a 'kink' where the tail inserts with the main section. However, as I assume the project is for yourself, I agree with Waggy. I would re-use the mainspring. If it's a project for someone else, then I would source a new one. Be careful when you re-insert. I would use a winder for that and not by hand. I've tried a few by hand that looked like that, and they snapped at that point. Be very careful. Alarm. I was lucky. I followed Adams video who had the same problem as you. However, I set mine originally at 12. Worked OK. Although I wear the watch I never have the alarm wound now. I leave it at 9. I have my own problem with the latest. But am dealing with that on my own 4006 posting. Great fun this hobby though Ross1 point
-
I can't answer for anyone else , but even though i wasn't sure what was happening i still enjoyed the story. We also now have a new random post thread where i can feel completely at home thank you Endeavor if i was dead i dont suppose i would care who' boots i might be wearing1 point
-
I regret my posting already .......shouldn't have done that, won't happen again.1 point
-
Where rubber boots crack, any rubber would just as easy.1 point
-
Reducing hight is possible, but it is not so simple. I have done it several times and understood that material has to be grinded from both sides equaly, othervice the spring bends to one side and gets 'good for nothing' The lenght is easy to reduce, and the bridle to be converted too1 point
-
I've built one and am on the build of a second. I have used Adams video as my catch all. My build can be seen in 'Watch of the day - page 166'. https://www.watchrepairtalk.com/topic/6203-watch-of-today/page/166/#comment-233962 Both the below videos were (are) invaluable. Watch Adams brilliant video https://www.youtube.com/watch?v=H2UOIUcUEYA&t=2586s Also used Mark Lovick's video from his course https://www.watchrepairtalk.com/topic/6203-watch-of-today/page/166/#comment-233962 Actually wearing the first one as I write. Put it on today. Going to wear it when I visit the Ayr antiques fare on 27th Jan.1 point
-
A lot of clear close-up pictures will probably say more than a 1000 words and you have a better chance that more members may spot the problem(s). Pictures are easy to attach1 point
-
The middle juwel is huge. It seems very unlikely that there is exceptional wear while the upper and lower pivots are still fine. And a triple bearing needs some play to avoid binding due to coaxial tolerances. The most critical parts are the reversers. Thay have to be very clean and free of oil (except the pivots).1 point
-
the roller or staff needs to have some taper to fit tight, you will use tapered reamers again and again in the future I'm sure, I don't know how you will hold the roller to do this maybe a pinvise.....be careful not to remove too much and hopefully the hole will not get out of round1 point
-
Correct me if i'm wrong but this looks like a very reusable mainspring right? It's nice and flat. Weirdly i only really find worn vs new comparison images with the non S shaped mainsprings.
 1 point
 -
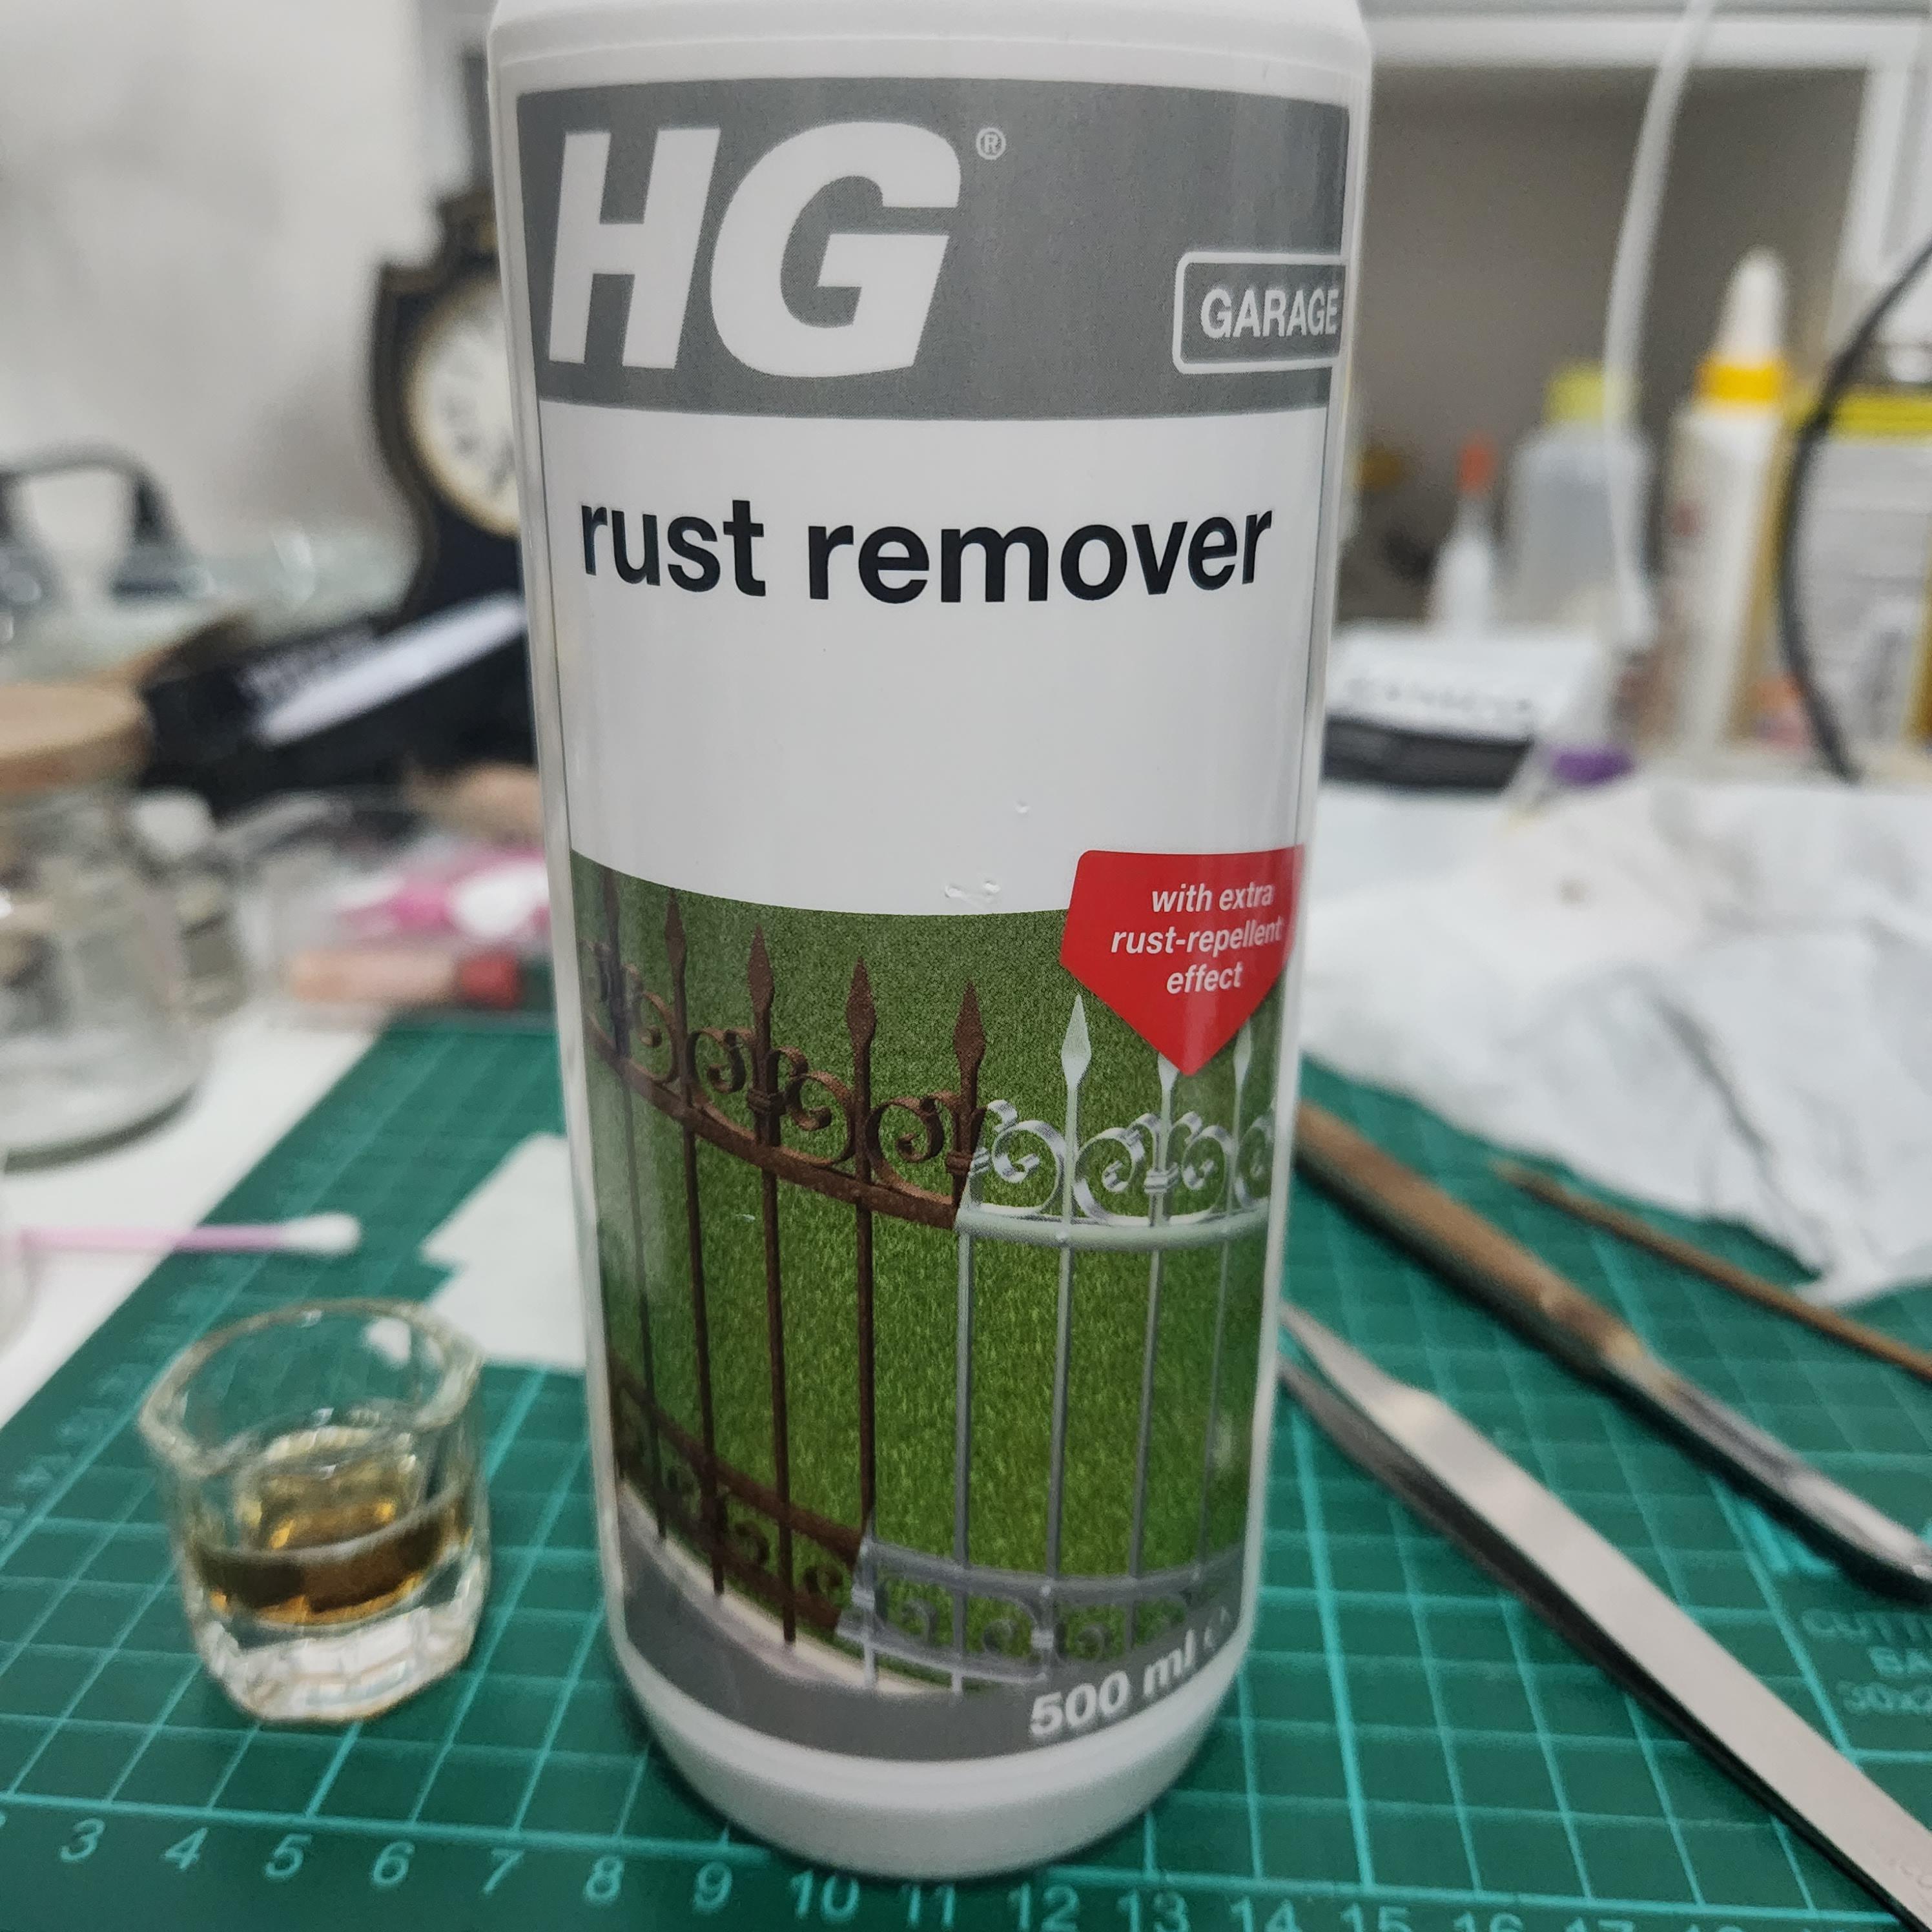
Dilute for soaking parts in, neat for painting on the surface. I use it neat for removing rust from fence posts, gates, etc. Even at 1:5 dilution, it's pretty aggressive. You can see a stream of bubbles rising from the part.1 point
-
I think regular is still the best. Coke zero tastes ok but if you are not diabetic, go for regular. But seriously, I think regular has more phosphoric acid than zero. You can taste the "bite" on the tongue, which you don't get from zero. But if you are looking for industrial strengh rust remover, I recommend HG Rust Remover. If you paint this stuff on blue steel, it will remove the blued layer in under 2 minutes.
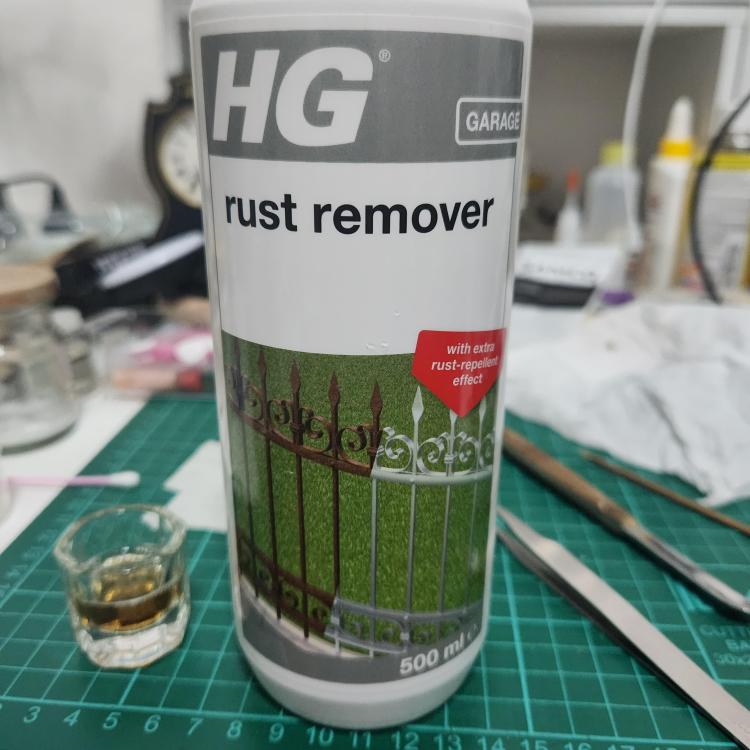 1 point
 -
For anyone who finds this thread later, use the 2.5mm arbor and a 14.0 barrel. Works a treat.1 point
-
So, this complete newb just re-wound the mainspring of an ST36 on his... oh, probably fifth try. But then I did it again immediately, just to prove that I could. This works beautifully, thank you for the effort in design and refinement! FWIW, I printed these in Overture Matte PLA on a Prusa MK3S+ using 0.10mm layer height and 20% infill, but otherwise all defaults.1 point
-
Next step, nickel plating. Copper and nickel plating are quite safe but gold and chrome plating involves some toxic chemicals, which I don't think is advisable if you are doing it from home.1 point
-
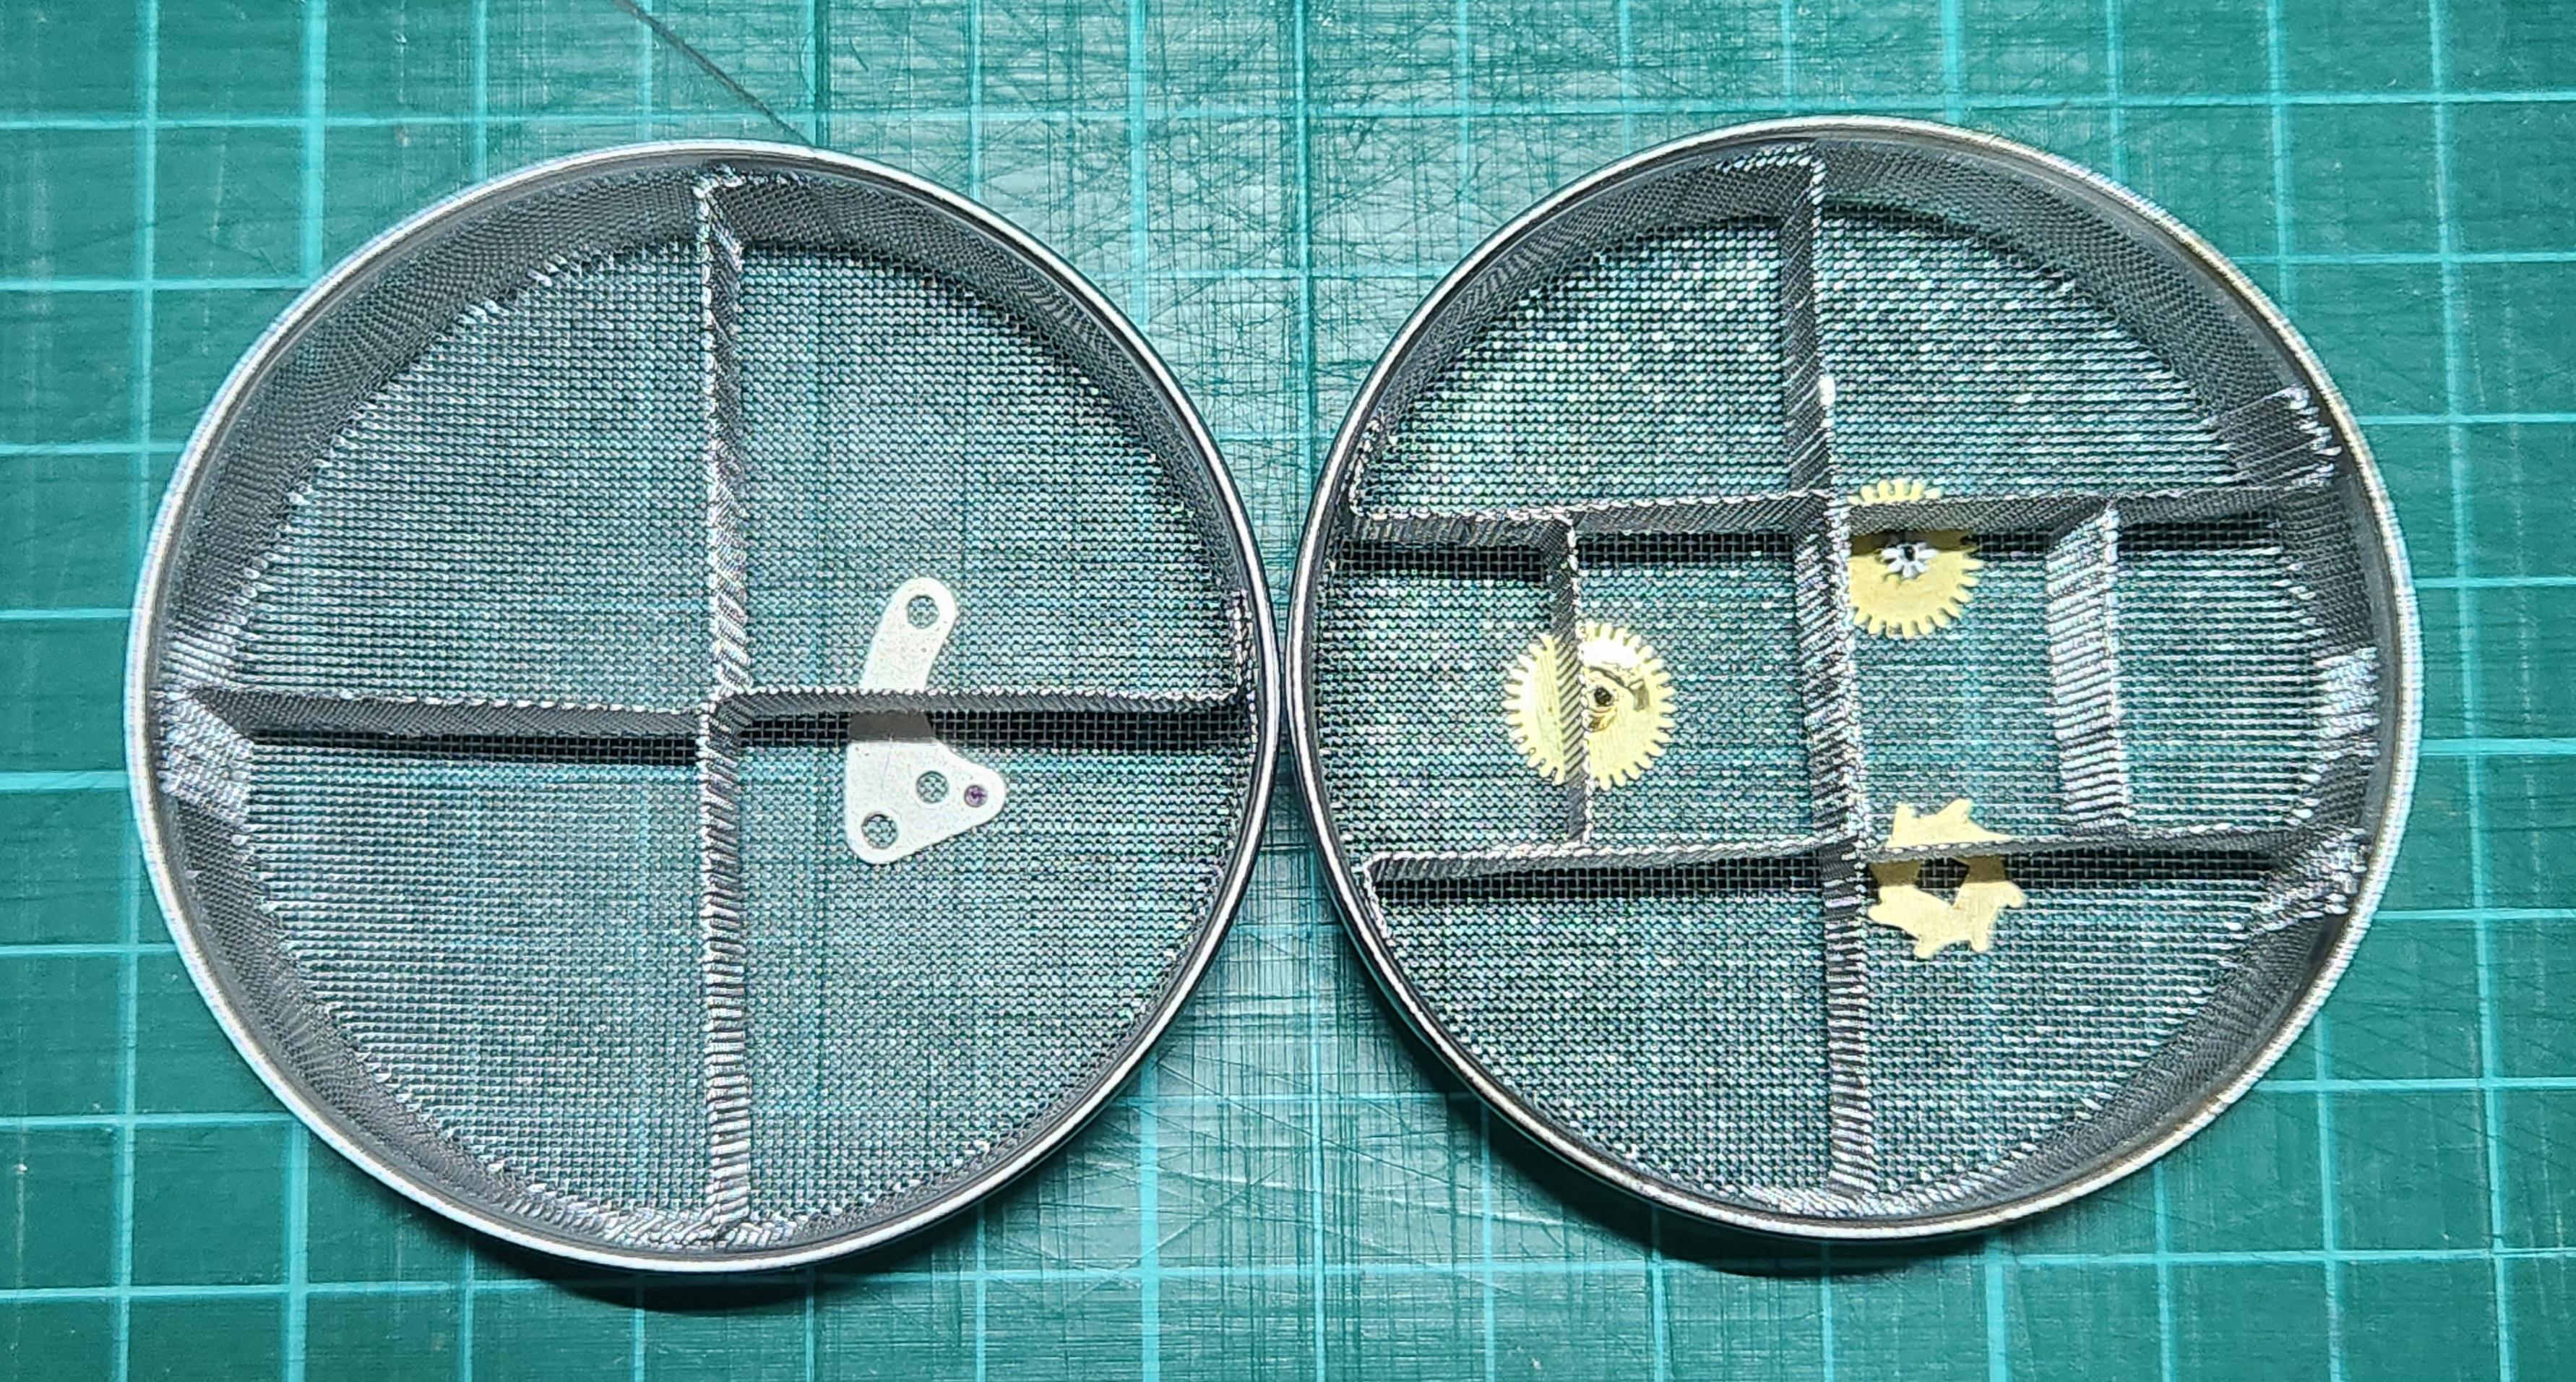
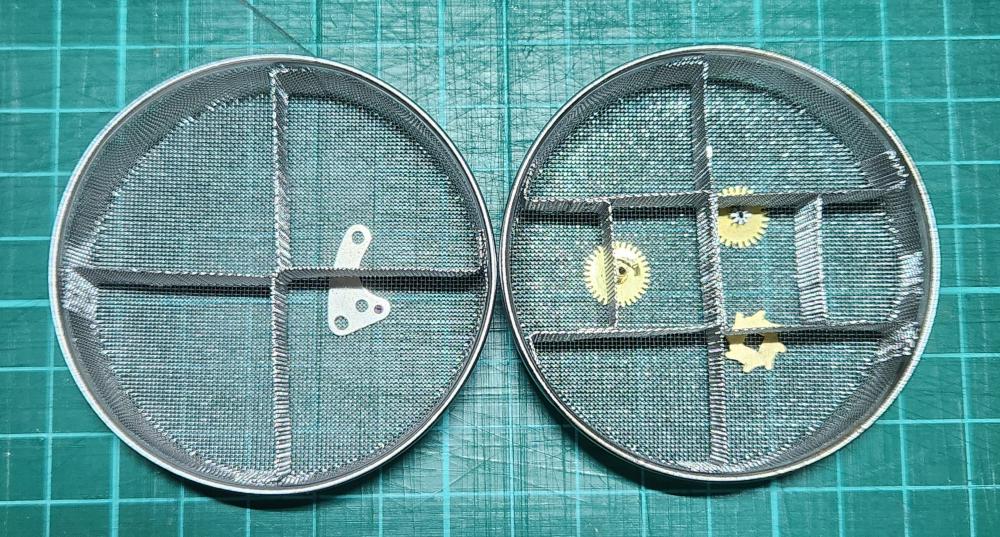
Another new discovery after using this basket for awhile. The wire netting dividers are not welded or soldered to the bottom netting. So small parts can slip under the divider and end up in another compartment.
 1 point
 -
I believe some of the auto winding boxes that people by. Those extremely expensive boxes that have such a cheap circuits inside of them. They look pretty on the outside but are very expensive but they're designed to keep your watch wound up but not wound up continuously because of course continuously winding a watch is not considered good either even though that's was done in the shops so realistically you should probably have a number of conditions running at full winder and then as you said put a timer on turn it off for 10 hours to simulate off the wrist for sleeping or when somebody got home maybe they take their watch off until next day after all the watch should build a run a certain quantity of time after it's been wound up but one of the problems with automatic watches today are is how active are you? Yes I know where all active but are we active enough to have an automatic watch. If you sit at a desk job do you move your arm enough for instance to occasionally get comebacks because people are unhappy the watches are running you put on the timing machine it has practically no amplitude because those people need to manually wind there watch in the morning when I get up to make sure it has enough power to run and the automatic is just there to supplement.1 point
-
Yes there is a way, I've done lots and lots of stem and staff identifications over the last two years. Either by catalogs or as WW has mentioned balance staff and stem .com. you do need an accurate bench micrometer. Quite a slow process though, i managed to get to around 40 id's per hour, some you find straight away some take a little while. Stems are easier to measure up than staffs. There are two basic reference sizes to search for initially then the search narrows down to find the remain sizes and then a final match. I actually find it a therapeutic treasure hunt. Heres an example of a lovely big omega pocket watch stem
 1 point
 -
Do you have smoothing broaches that you can mark up the diameter on, so you have a gauge to work to. I do this when opening up a barrel hole so i know when to stop. Its ok nev those 2 terms are more or less interchangeable where ever you come from. Reamers are often associated with their use in jewelling tools but some people also do call them broaches . Broaching and reaming mean the same, to open up a hole. Broaching a subject would be to open up a discussion usually a difficult one.1 point
-
Yes, of course. And You can make one from sewing needle on bench grinder. The roller is made of brass and is easy to cut1 point
-
Well I’ll throw tuppence in the pot, the knowledgeable folks will hopefully chime in. A cutting broach is basically a reamer with a taper, I would think this would be what you would want for this but I may be wrong. A reamer is parallel and would be more for making a true hole. Saying that I think there are also tapered reamers kicking about for things like morse tapers. Tom1 point
-
Here's a better shot of how it's constructed. And do you mean to like...have the arbor push the cap up from the bottom? The lid is flush with the top and pops out the top itself.
 1 point
 -
welcome, I bet that 25 year collection is very large....1 point
-
So what the seller is saying is that he returned home after a night of drinking and found he'd been bitten by tiny arachnids? They certainly weren't describing the watch.1 point
-
My mantra, which I repeat over and over : "never buy a watch unless you see pics of the movement" (But I am guilty of not doing this on some cheap watches which seem OK. And yes, I have ended up with Mubai Specials )1 point
-
Hello and welcome from Leeds, England.1 point
-
I just ordered, too- namaste old wire baskets!1 point
-
@Jon Thanks for the tip Same as with the IOSS, when living in the reincarnation of the Soviet-Union, it's the AliExpress fine-print that warns you already: "For items delivered from outside the European Union, you may be subject to additional charges for VAT and, when applicable, customs duties in your country" That's in Denmark already, by definition, US$ 23.50 "handling fee" + 25% VAT. I'll search inside the SU1 point
-
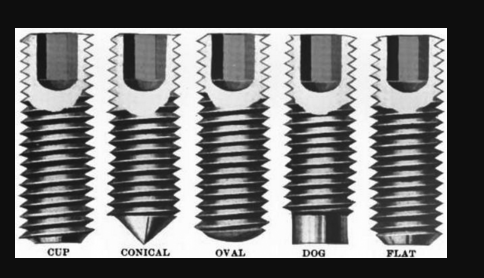
It will usually come after you've serviced the same or a similar calibre a few times, but getting close and personal with the screws using a macro lens the first time you see them is a time saver. We are in an unusually conservative industry but I don't mind using modern aids. Call me crazy, but it even happens that I remove screws with the help of Rodico, and use magnifying glasses rather than watchmakers' loupes! Please don't tell anyone! Kalle Slaap published a rather interesting section about screws in one of his videos where he shows how you can determine where a screw should go just based on its appearance. See if I can find it... Yes, here it is! There's certainly more to screws than one might think at first.
 1 point
 -
Just ran across this and it's pretty cool. It's already helped me (rookie...) to understand a couple things and I believe would benefit anybody wanting to understand how it all works. I don't know if it's already been presented on this forum.1 point
-
About time did a good video on this. He actually recommended against an ultrasonic machine use on shellaced parts. With good experimentation.1 point