Leaderboard


Popular Content
Showing content with the highest reputation on 10/24/15 in all areas
-
Anxiously awaiting the results on this chapter!2 points
-
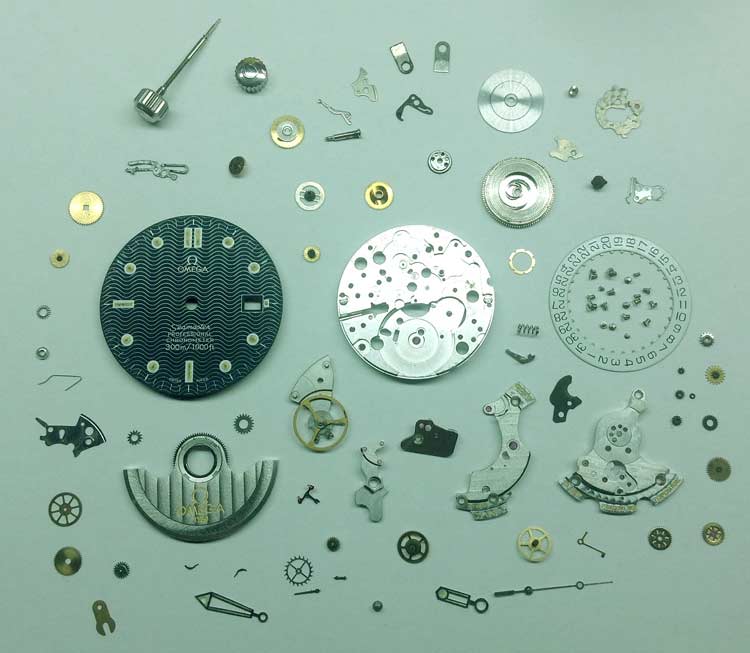
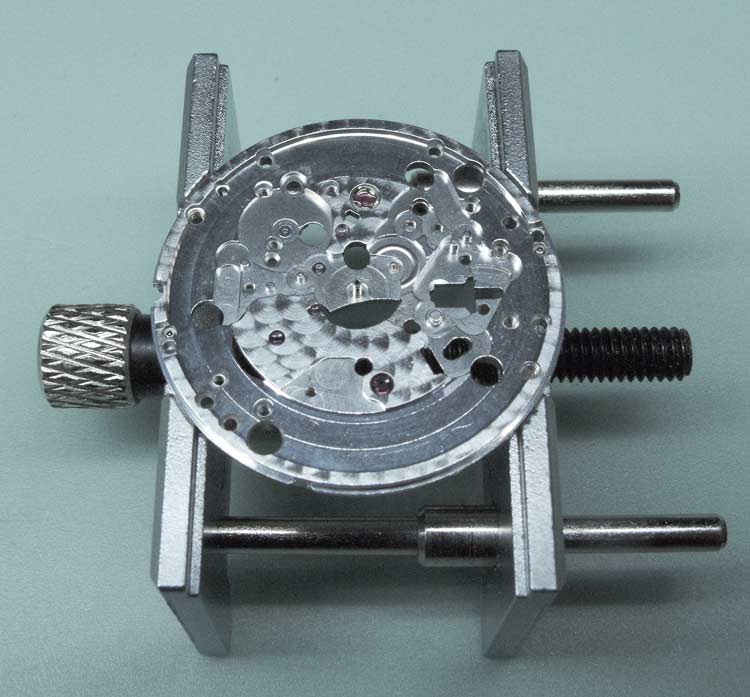
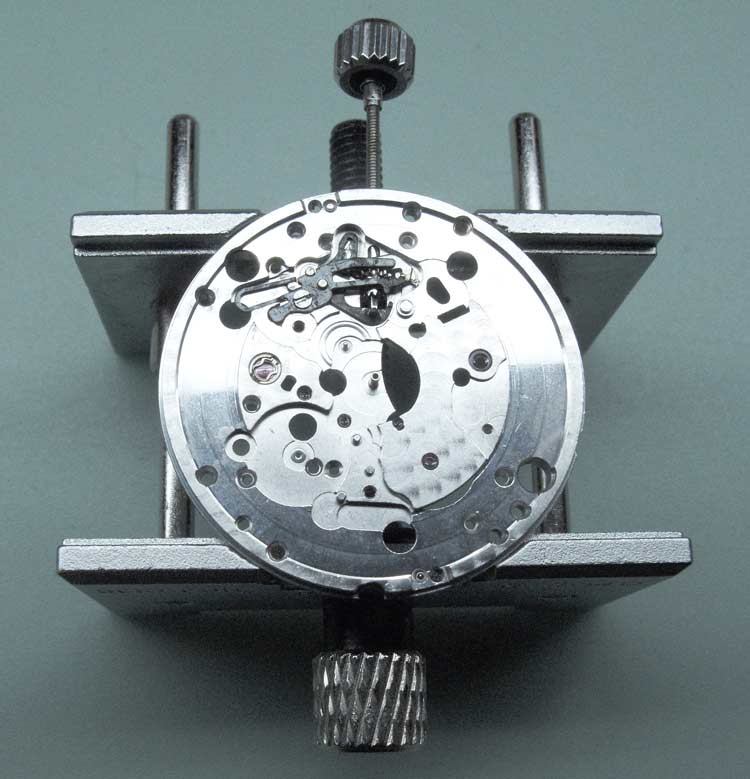
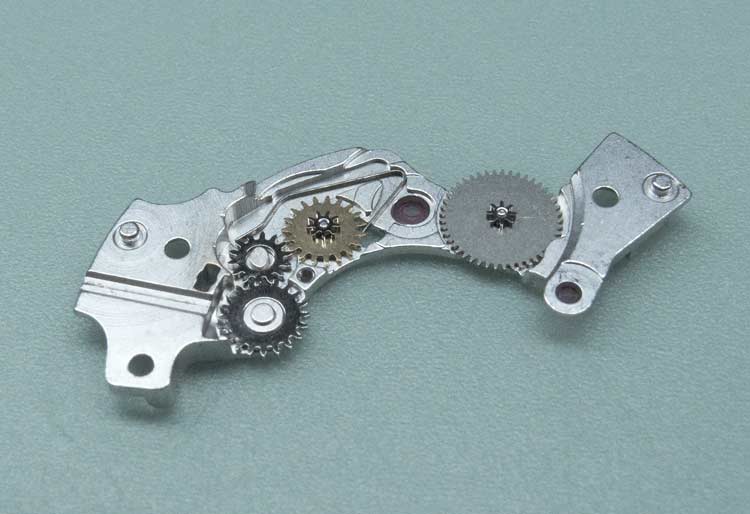
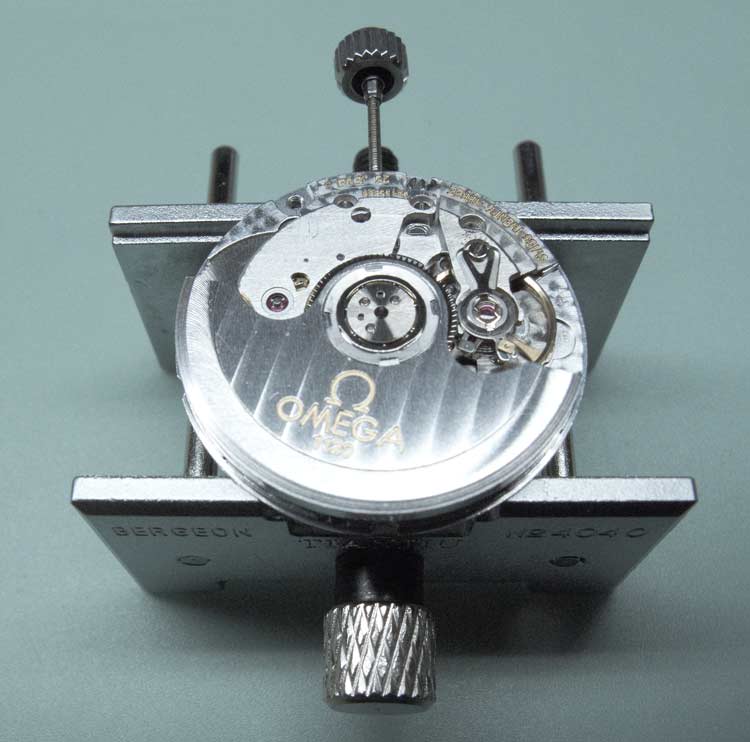
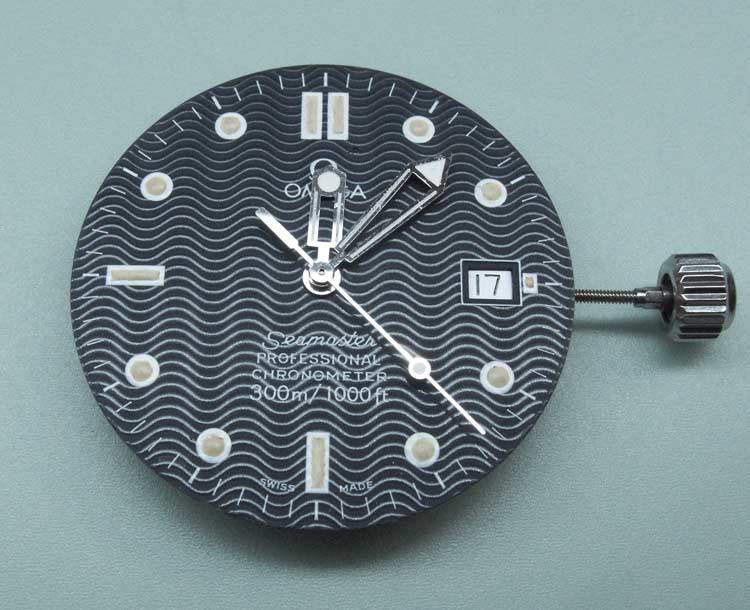
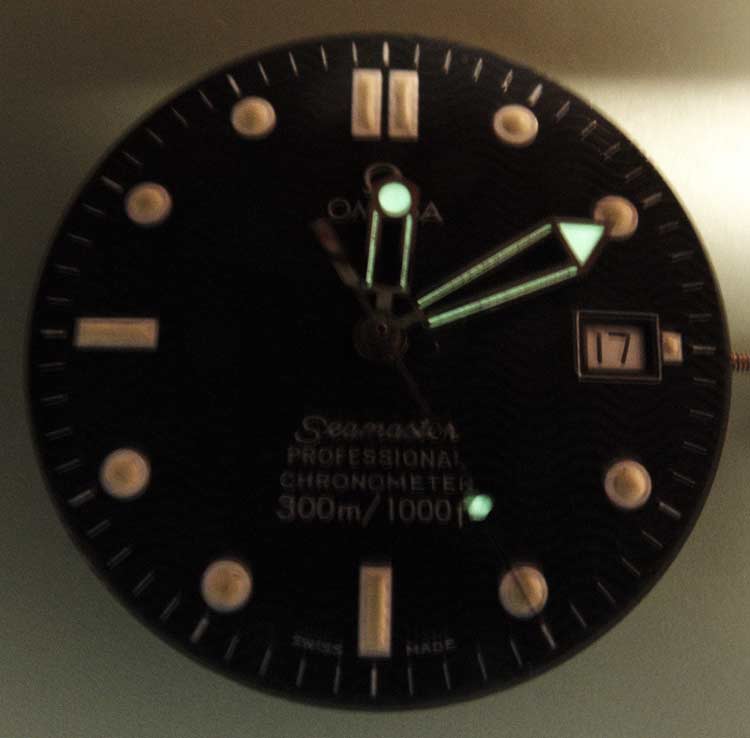
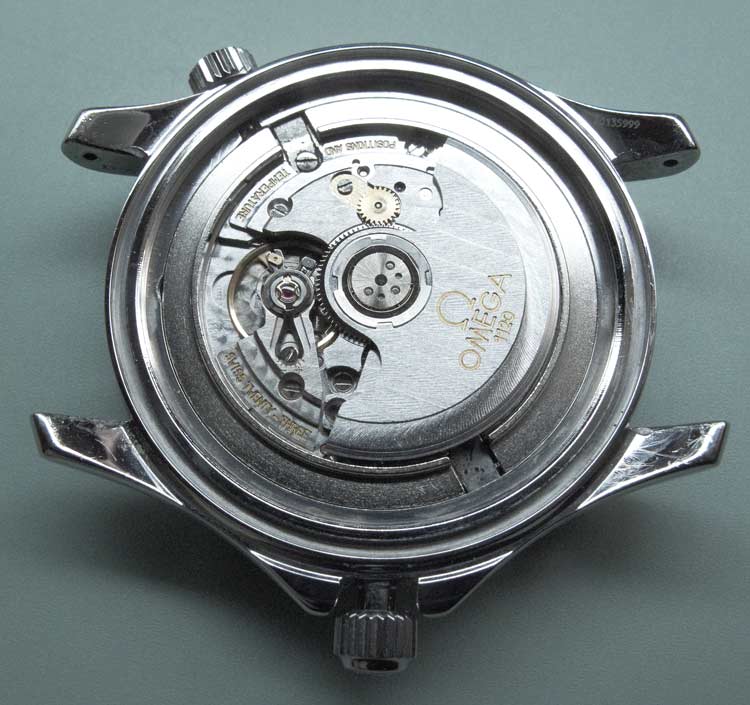
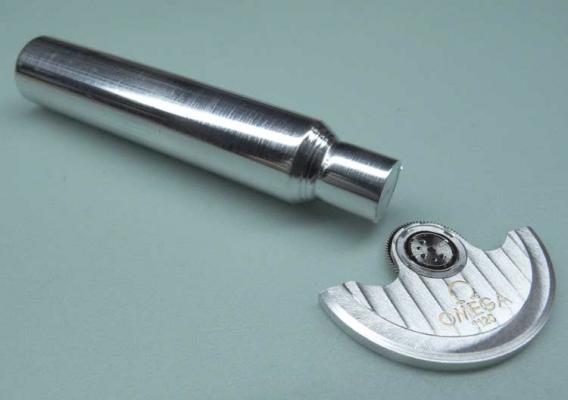
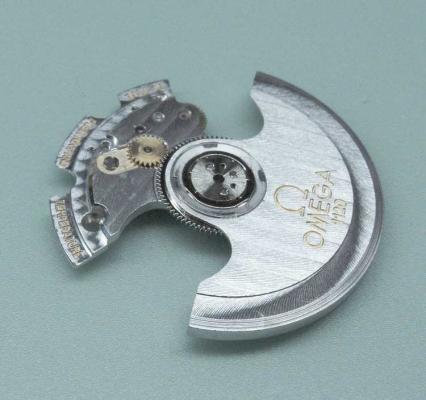
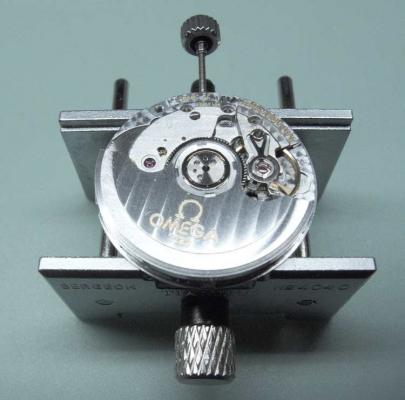
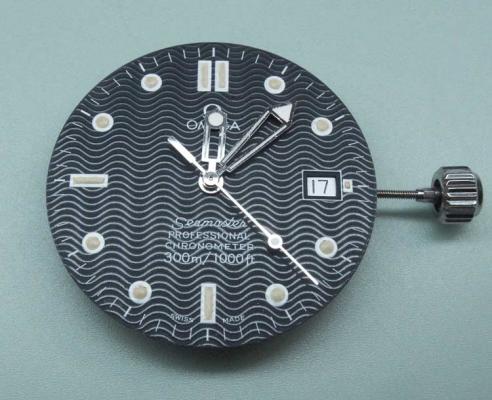
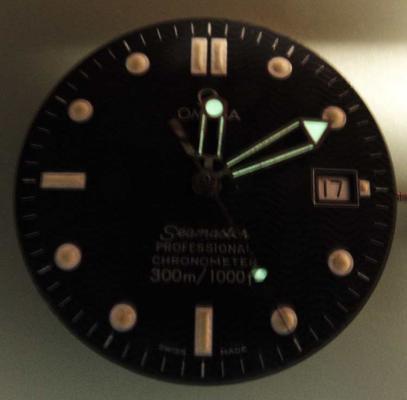
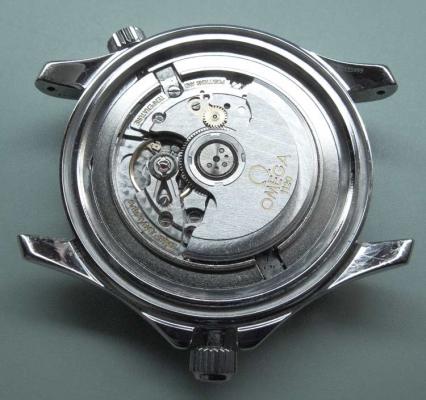
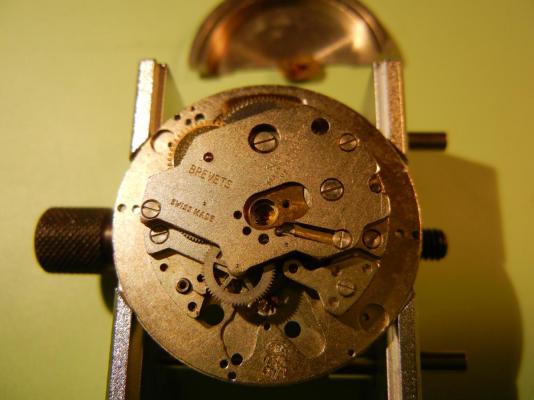
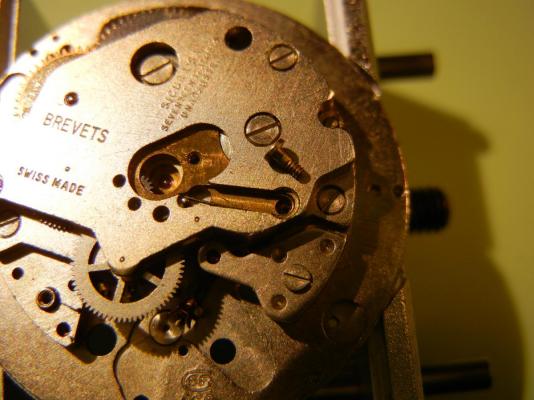
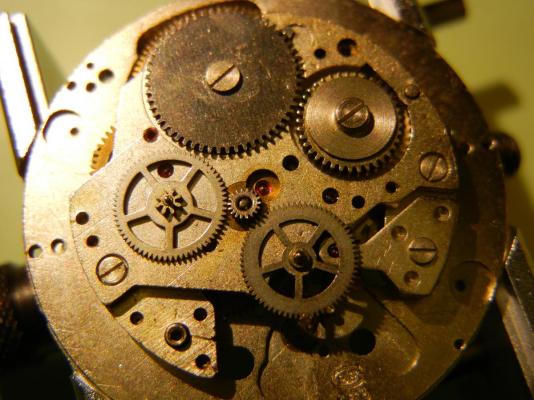
Sorry for the delay with the progress report, but this has been one of these three steps forward and two steps backward jobs. It transpired that there were more issues than I first thought. To reiterate the obvious problems:- Centre Second Fourth Wheel - The gear wheel was off the shaft. Escape Wheel - The wheel was off the shaft. Auto Reversing Wheel - In bits. Oscillating Weight Bearing - In bits. Intermediate Ratchet Wheel - Separated. Intermediate Date Wheel - Separated. Lume on minute hand damaged Lume on dial stained with oil. The watch as received. I eventually worked out how so many components were in bits that come assembled from Omega. The watchmaker before me had tried to clean surface rust off virtually everything except the balance assembly, by soaking in rust remover which is phosphoric acid. This resulted in not only rust, but steel being eaten away allowing the wheels to fall off the shafts and pivots having a rough finish and being reduced in size. I had two attempts at assembling the watch, but unfortunately kept finding other damage. The eventual parts list required was:- Escape Wheel Centre Seconds Fourth Wheel Auto Reverser Wheel Bearing For Oscilating Weight Intermediate Ratchet Wheel Intermediate Wheel Escapement Lever Barrel Arbour Intermediate Date Wheel Ratchet Driving Wheel Third Wheel Cannon Pinion With Driving Wheel Mainspring Total Cost £320 (not helped by postage on multiple orders) THE ASSEMBLY. Starting point, the bare main plate. Keyless work assembled. Barrel bridge with wheels and click spring in place. Click plate fitted. Barrel, ratchet wheel, intermediate wheel, and barrel bridge assembly fitted. Escape wheel, third wheel and fourth centre second wheel positioned. Wheel train bridge fitted. Pallet fork and pallet bridge fitted. Date mechanism and cannon pinion with driving wheel in place. Date jumper located. Date ring retaining plates fitted. Wheel train and revering wheel located in the automatic device framework. Automatic device lower bridge fitted. Auxiliary reverser fitted. Oscillating weight bearing fitted. (I had to make a tool to tighten the nut) Oscillating weight fitted to automatic device framework, held by the three screws in the centre. Completed automatic device ready for fitting to movement. Balance assembly and oscillating weight assembly fitted to movement. Dial and re- lumed hands fitted. The new lume certainly works! Movement cased and running strongly. The scrap. The result! That's All Folks!


 1 point
 -
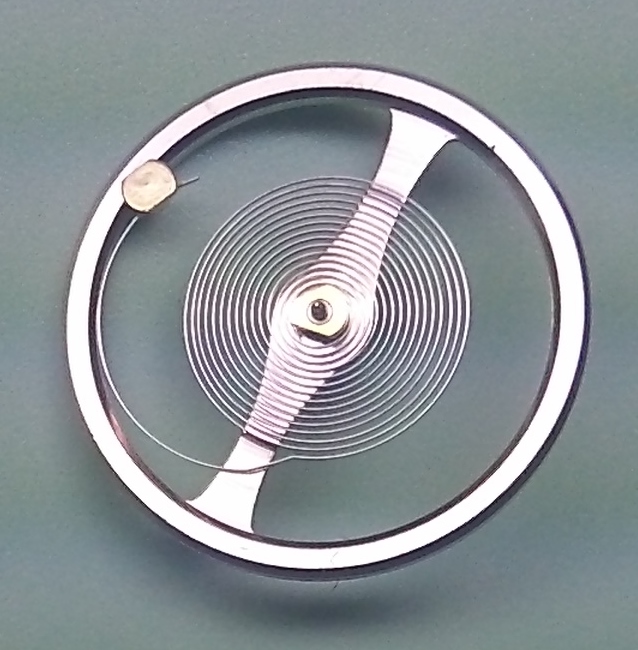
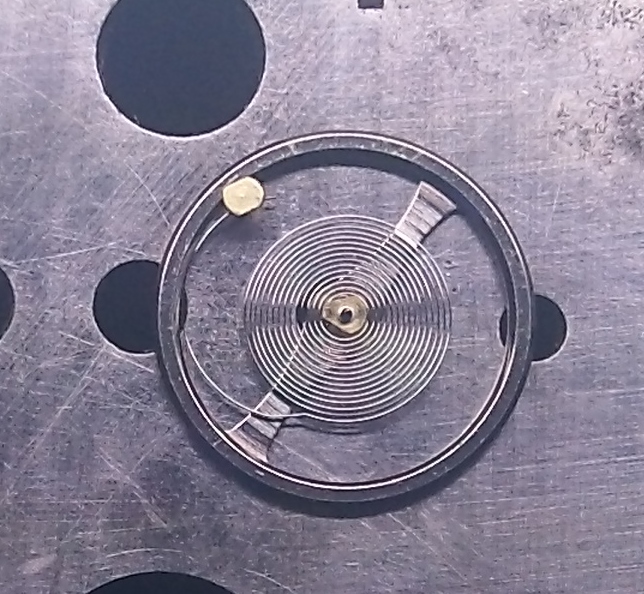
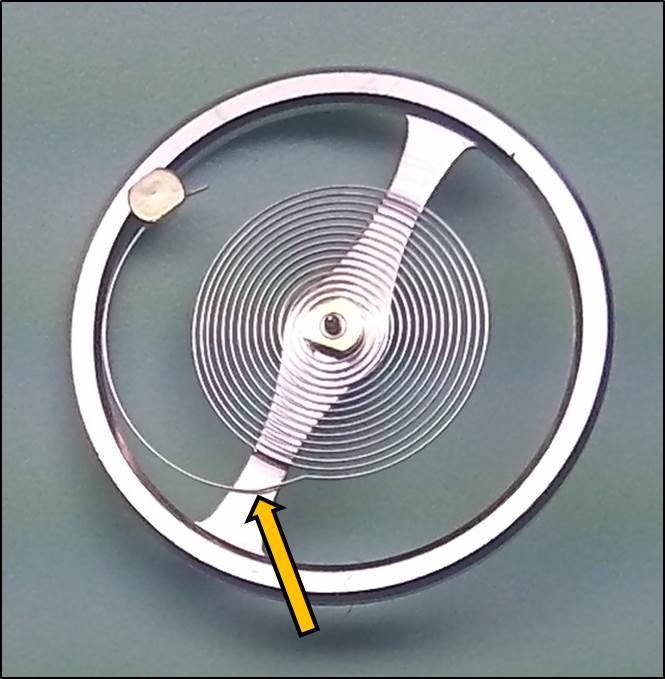
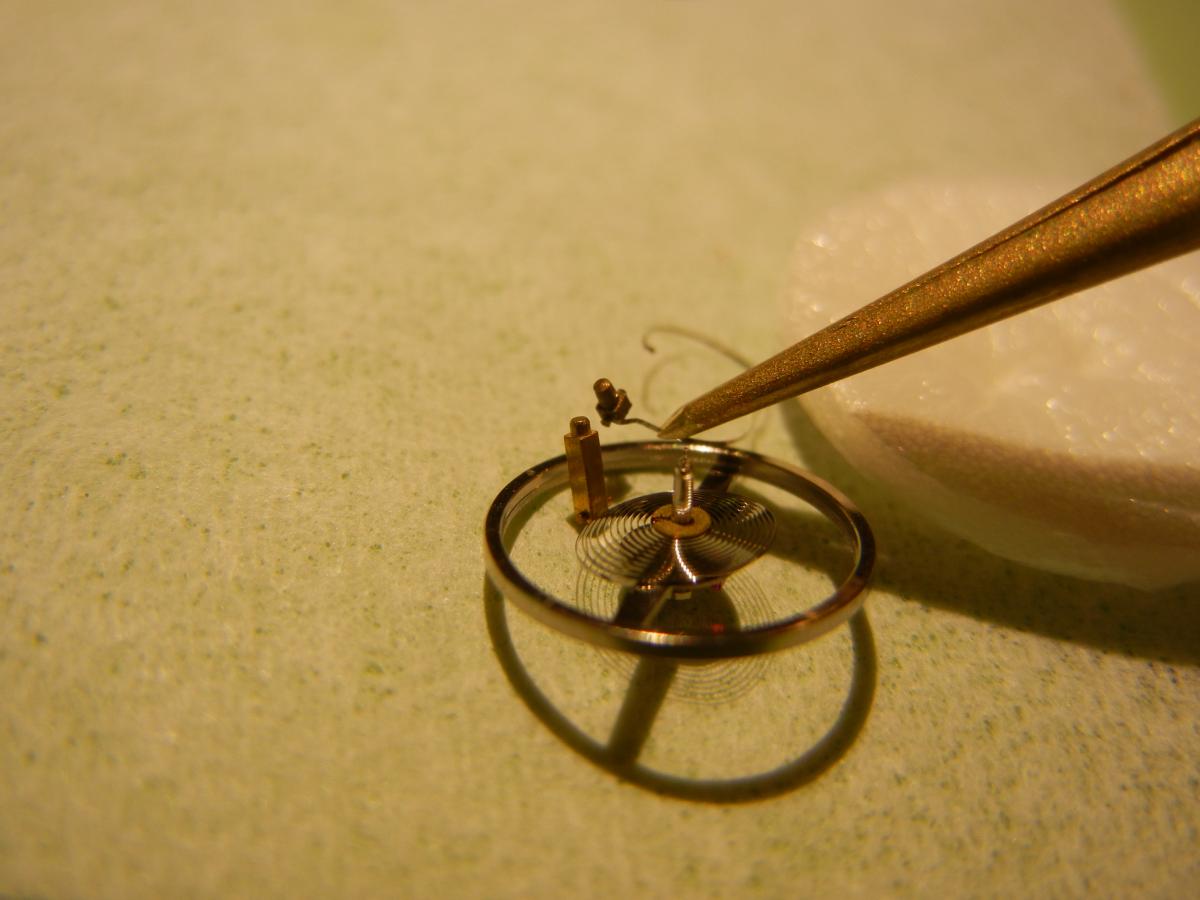
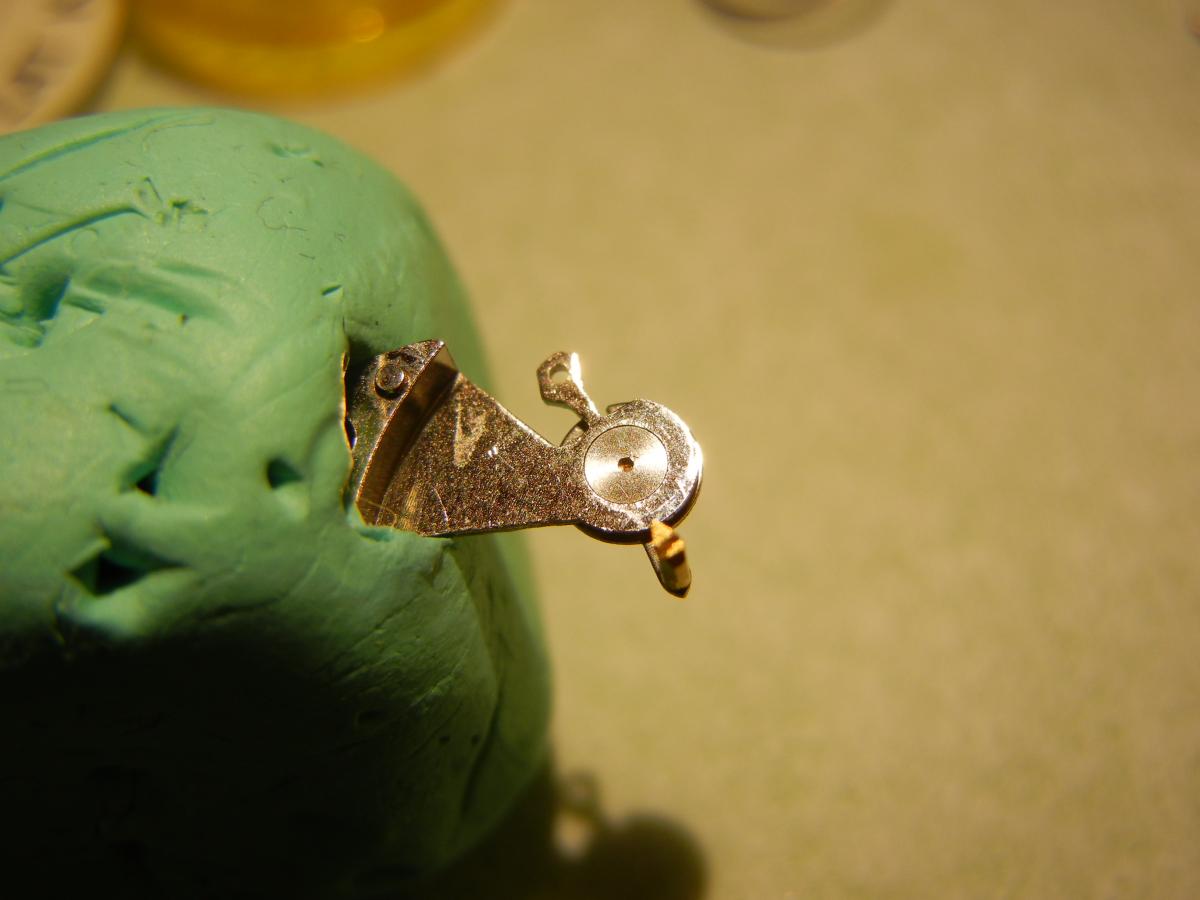
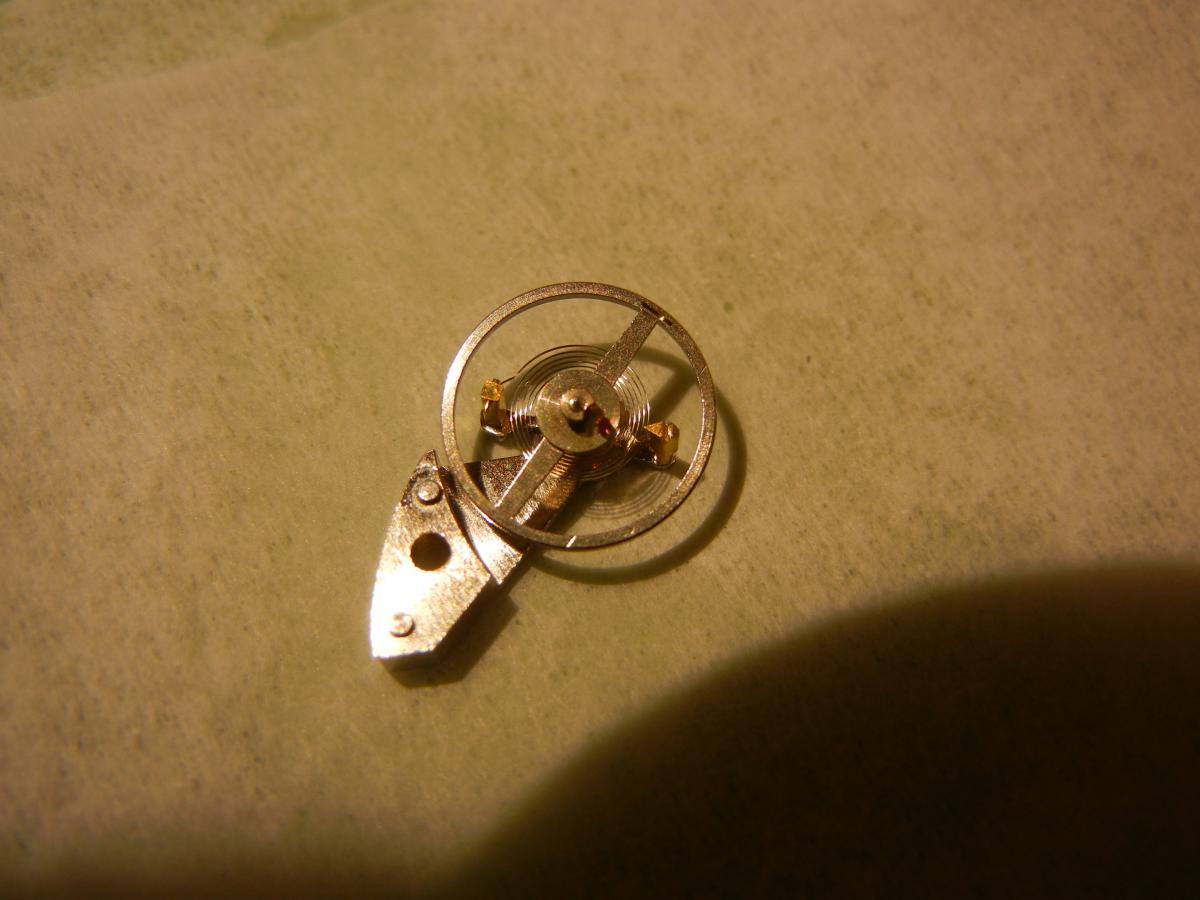
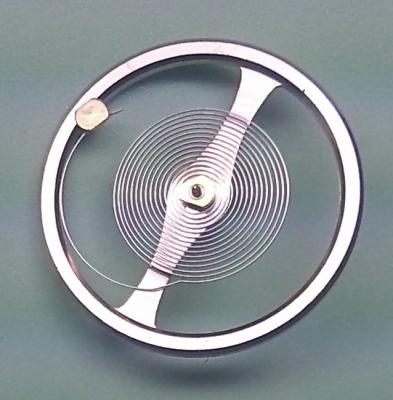
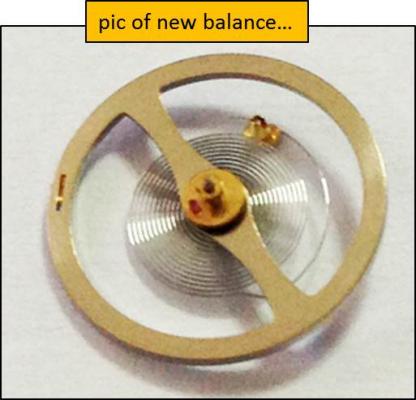
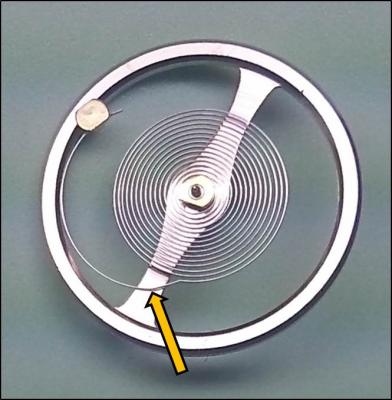
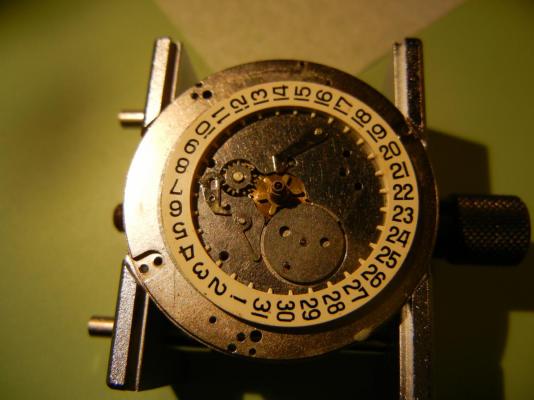
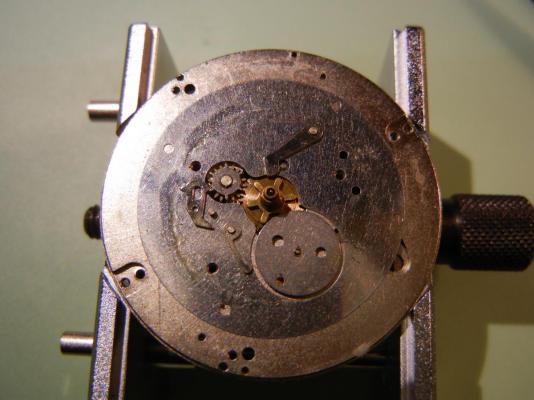
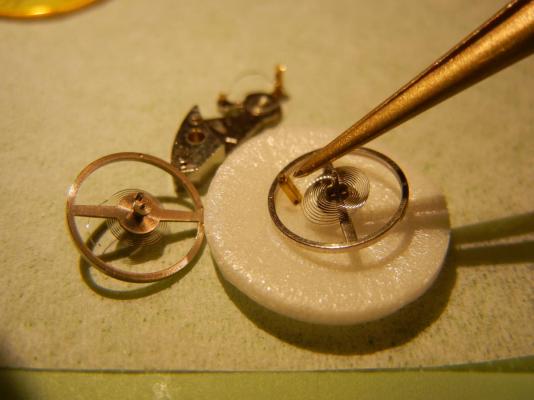
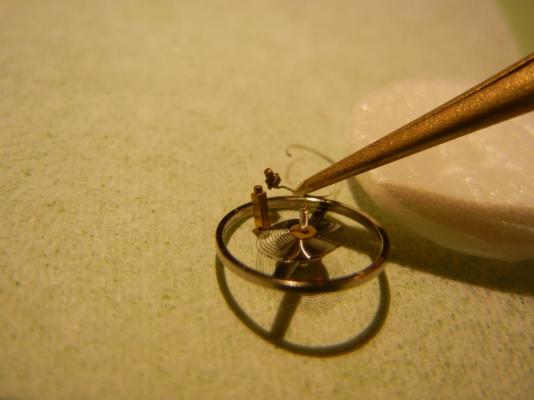
Update #4: I just removed the balance assembly from the balance cock to see how the hairspring behaves out of the balance cock. Here are the results: Again, here is what a new, replacement balance assembly looks like: Based on my limited experience and input from all of you, I believe that the hairspring needs to be adjusted here, (as anilv suggested) as indicated by the arrow: Am I correct, or is there another issue I have overlooked? Thanks everyone! Roger

 1 point
 -
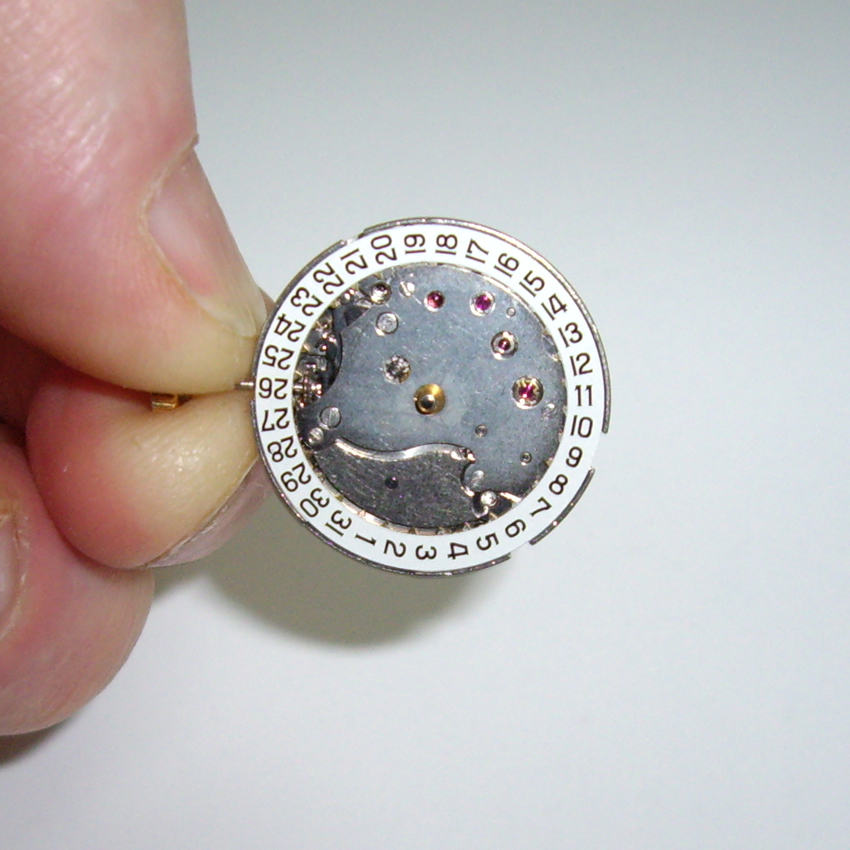
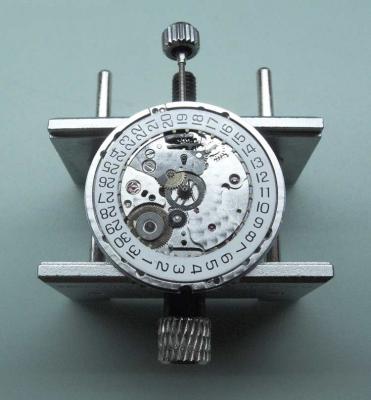
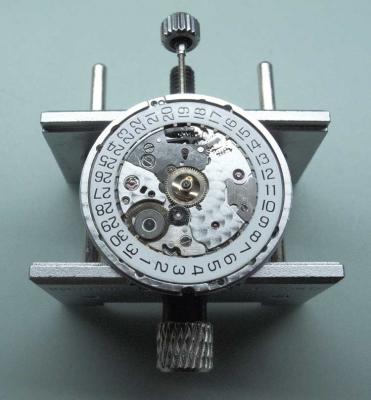
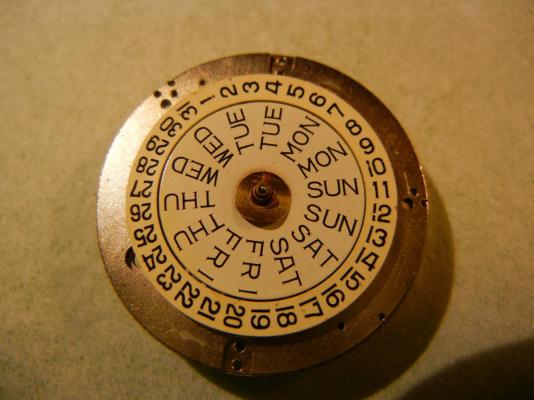
Hi and thanks for the update. Here's a photo of the date ring side, it looks like 2 slots.
 1 point
 -
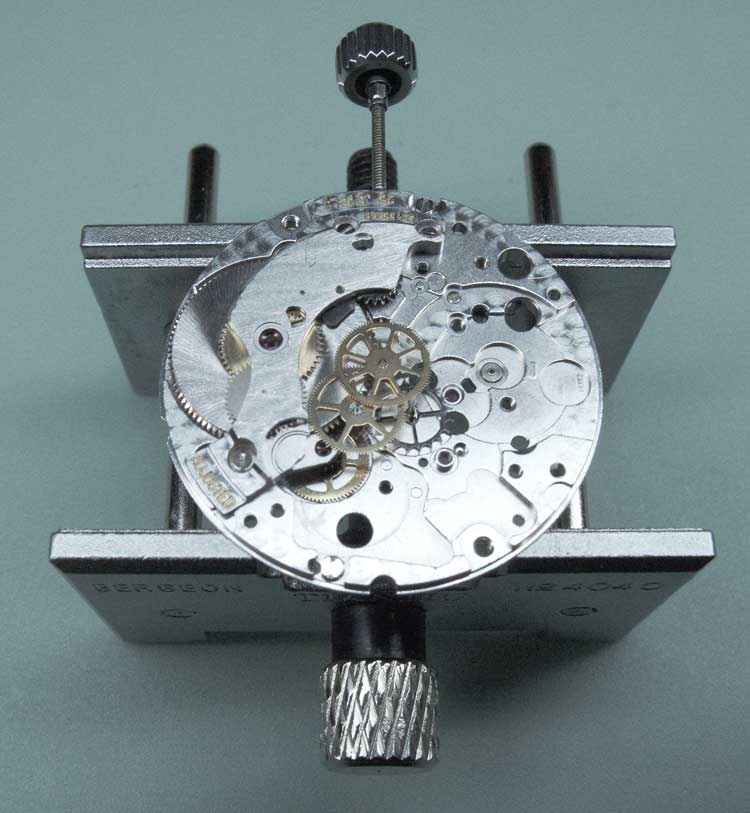
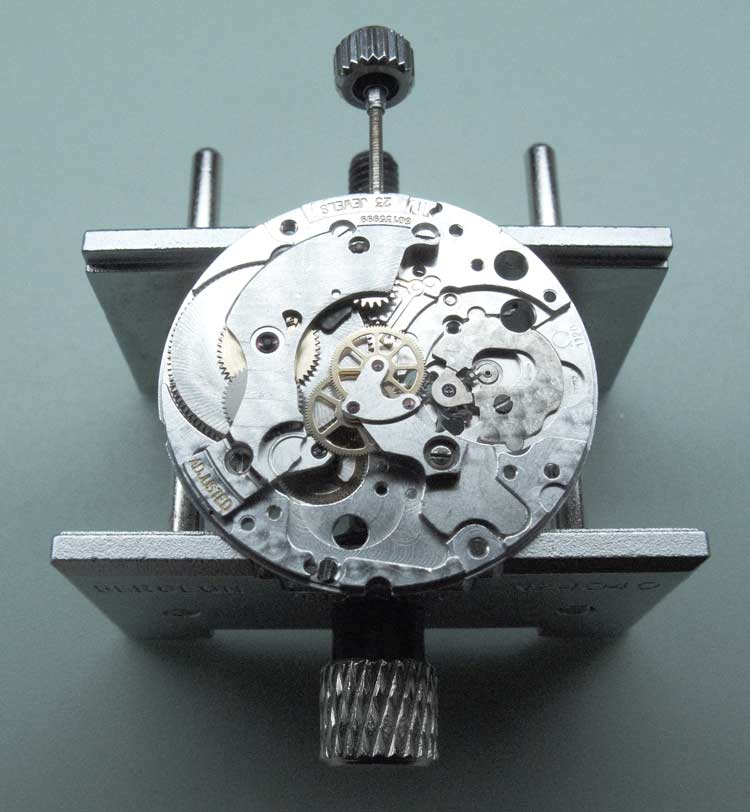
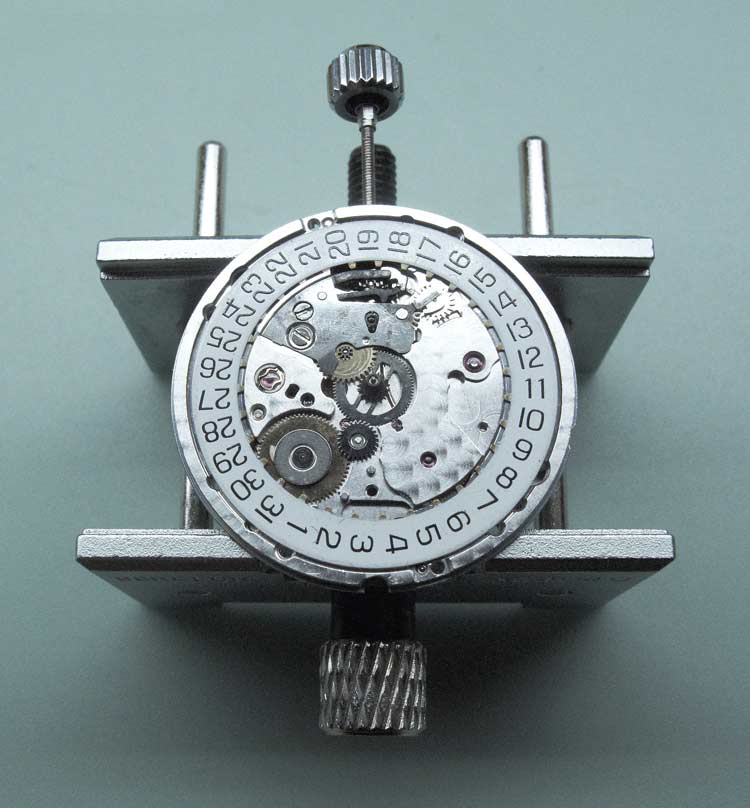
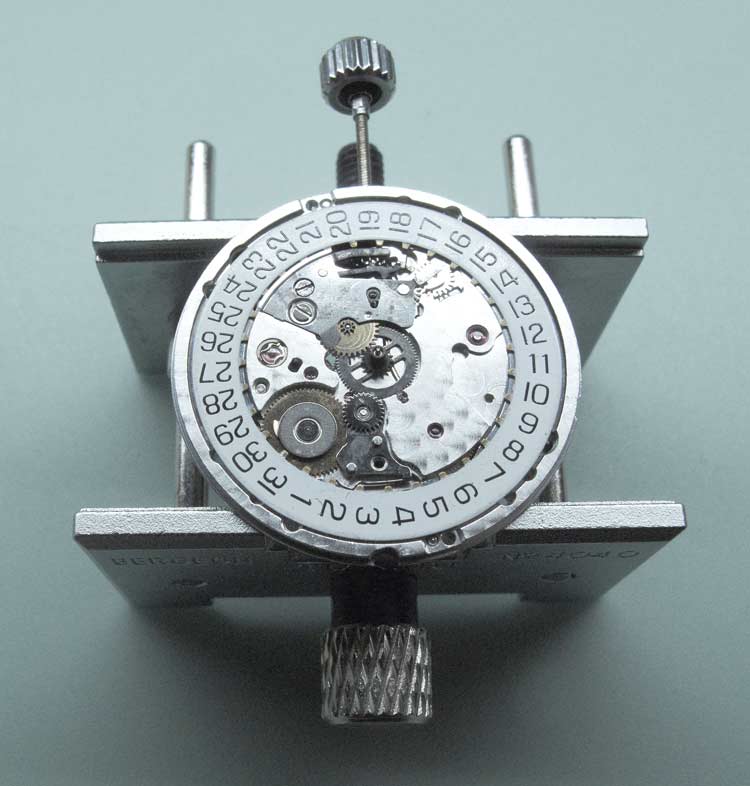
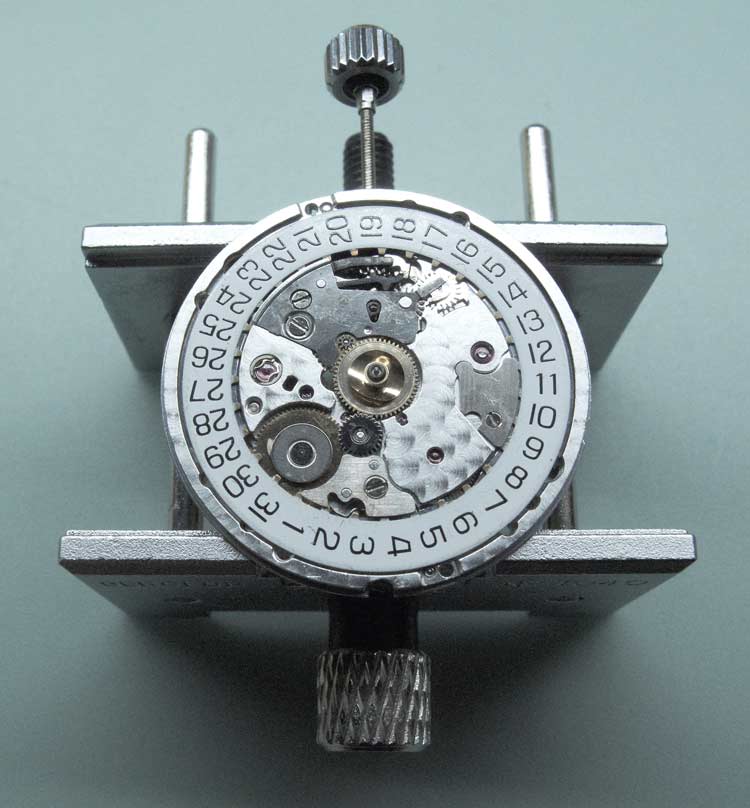
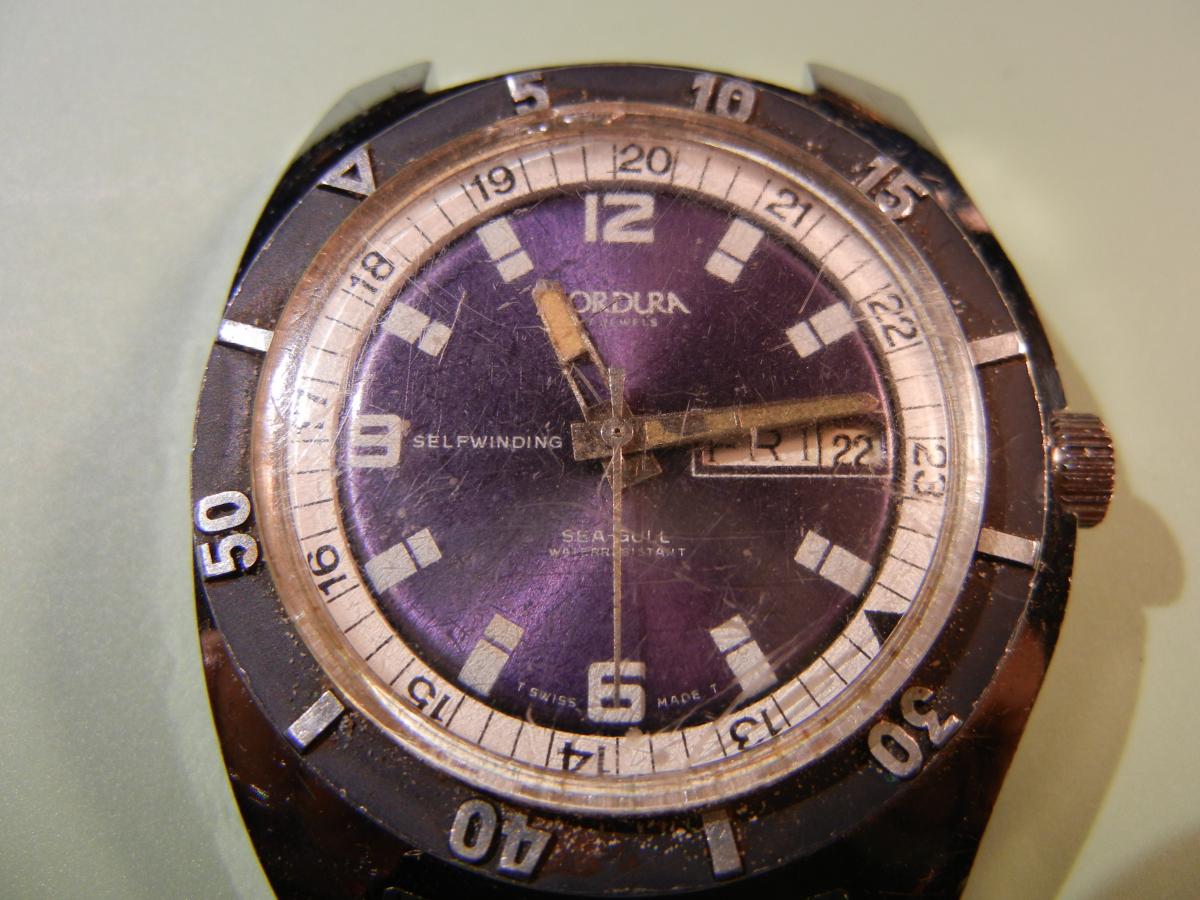
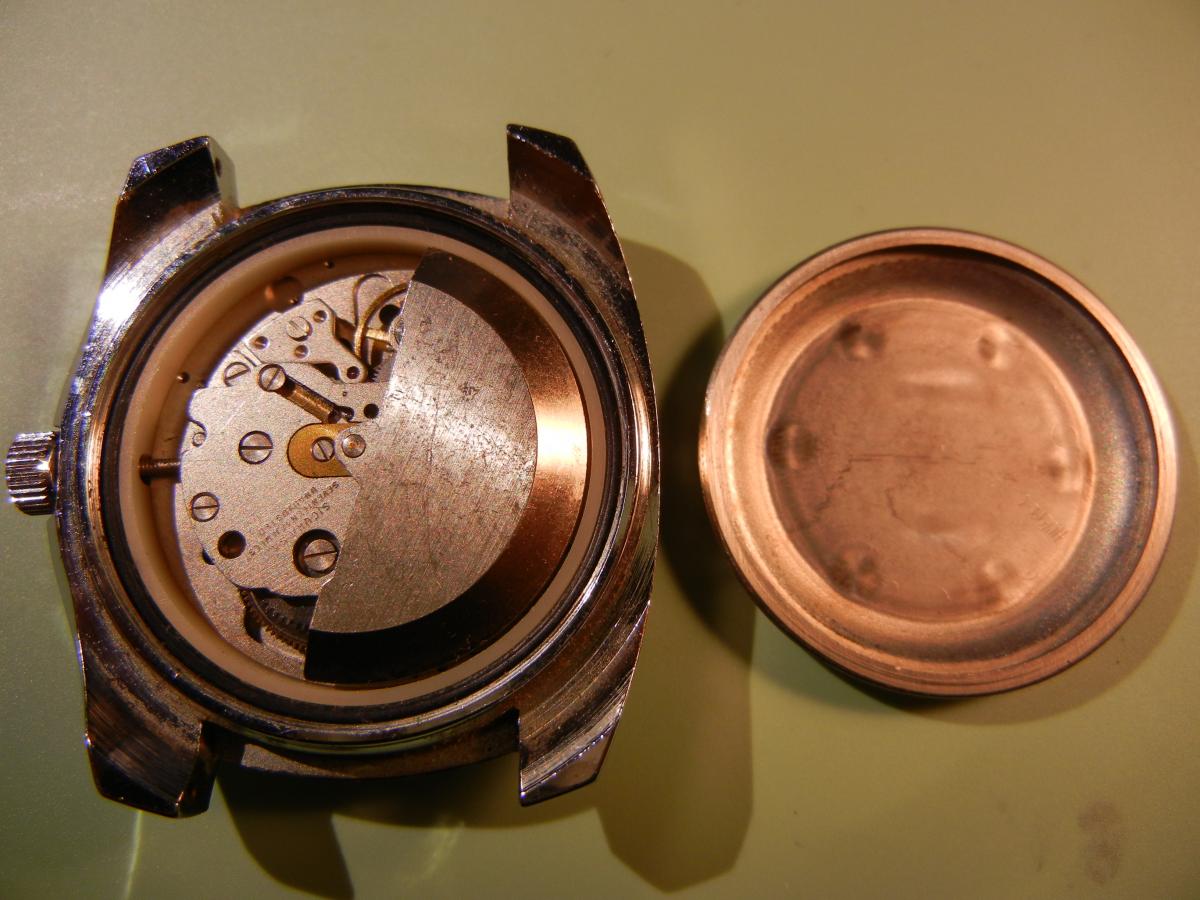
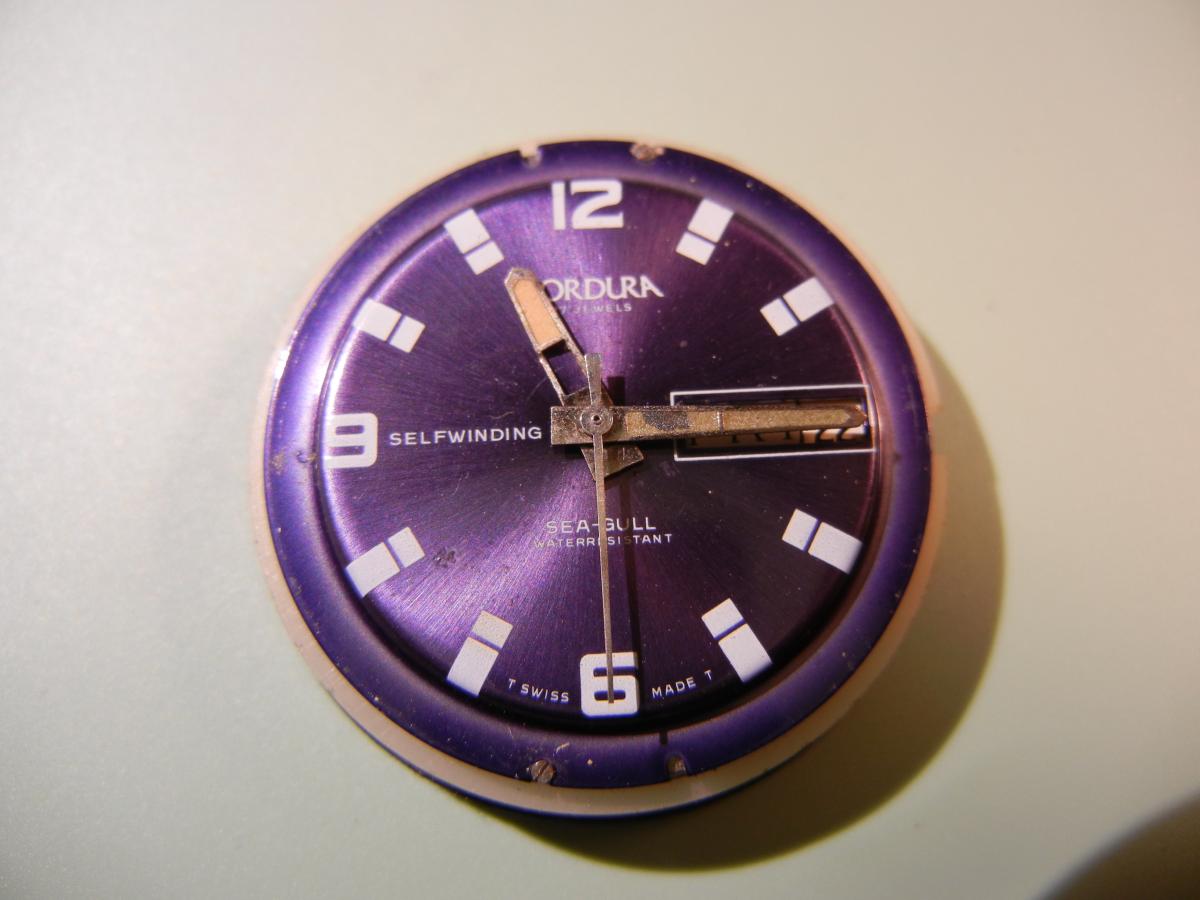
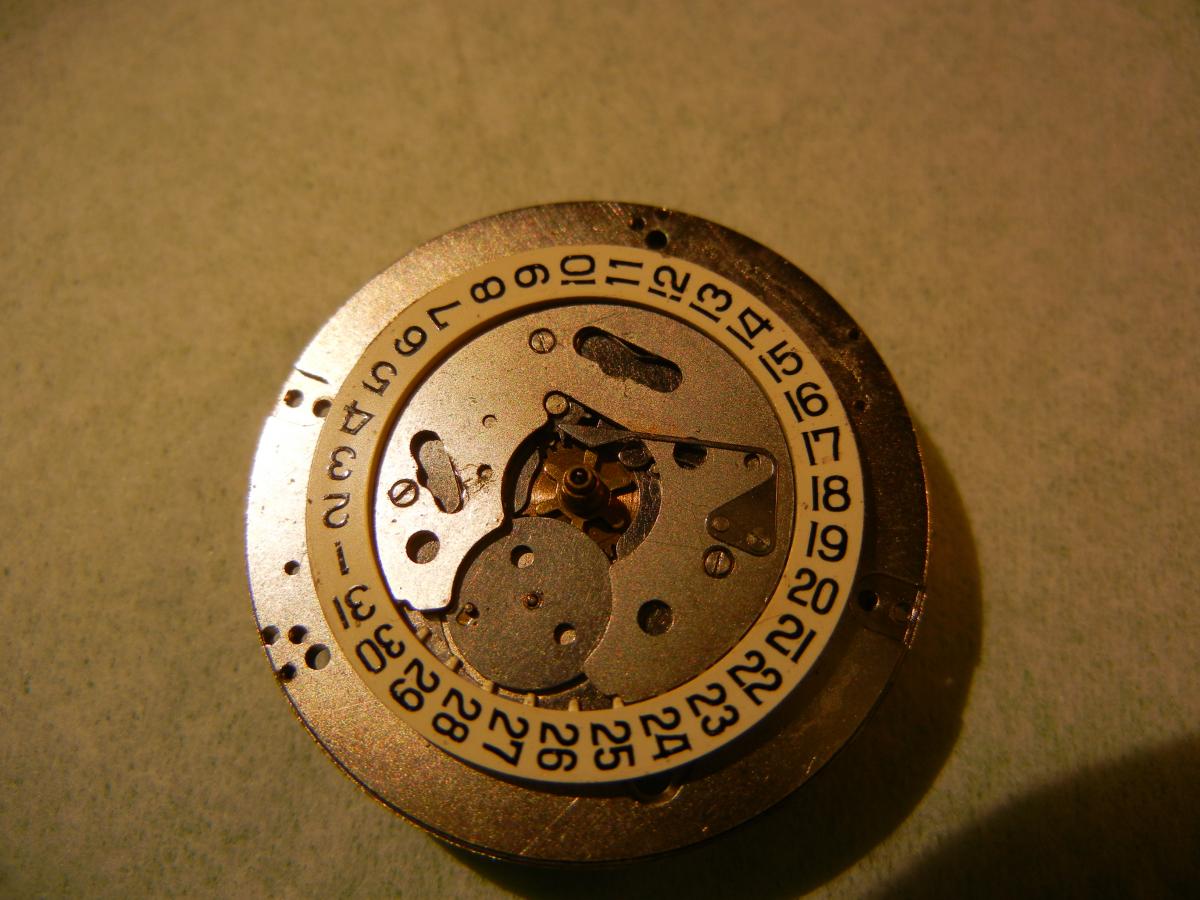
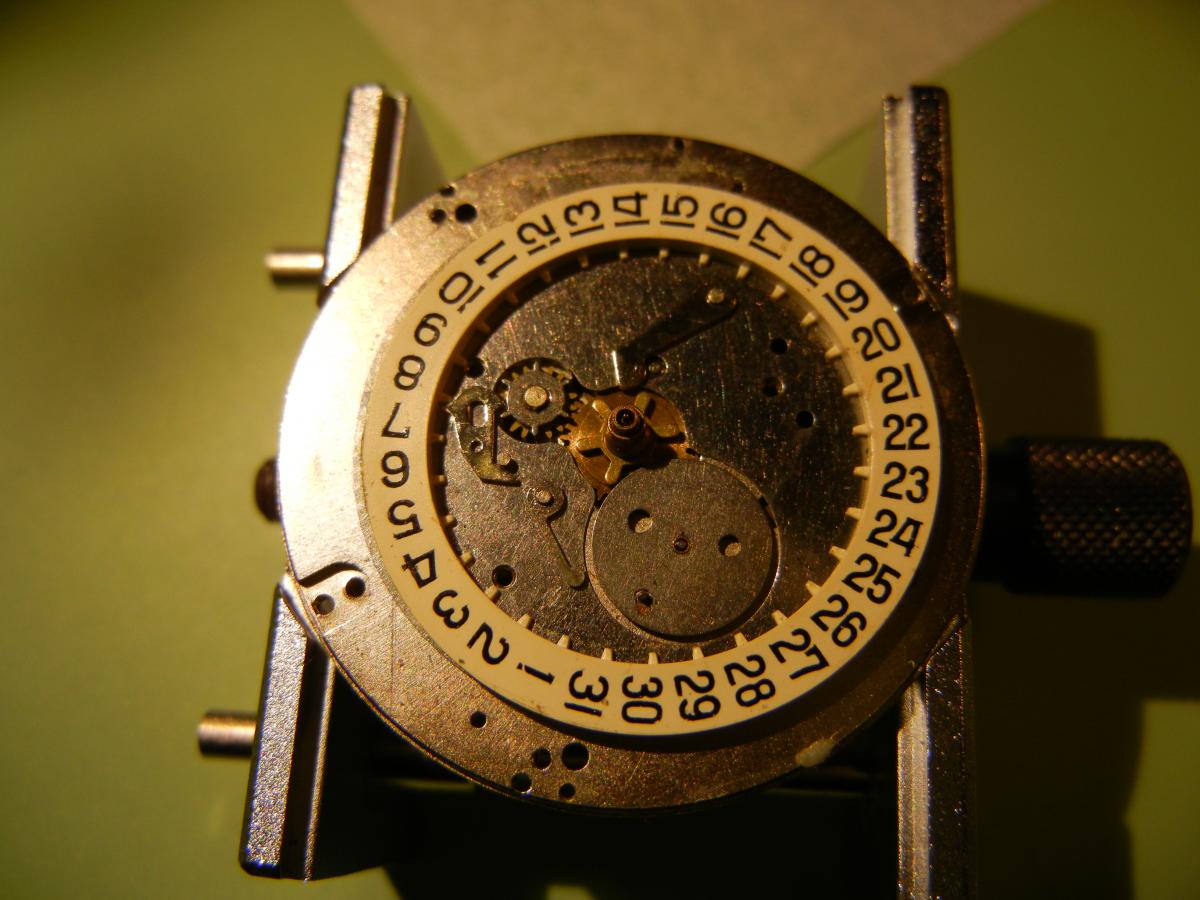
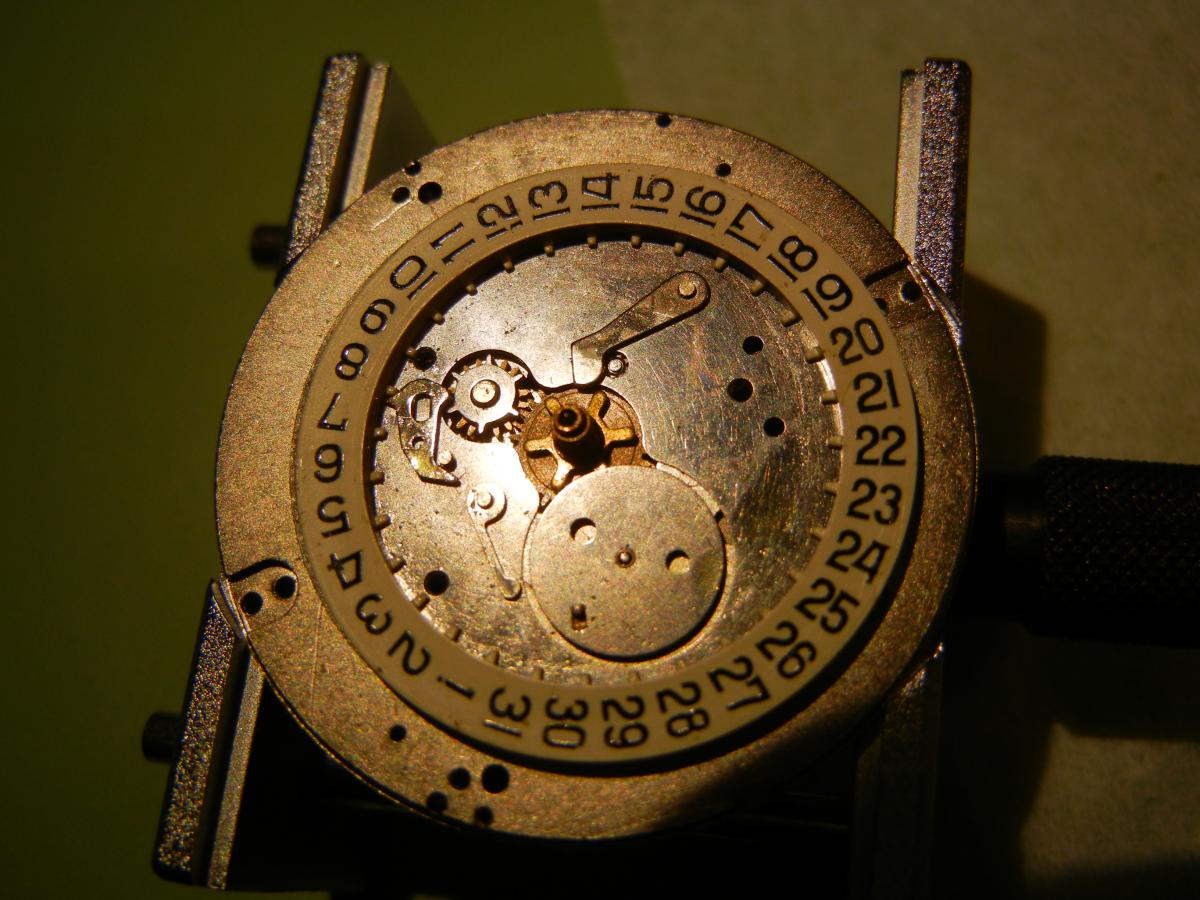
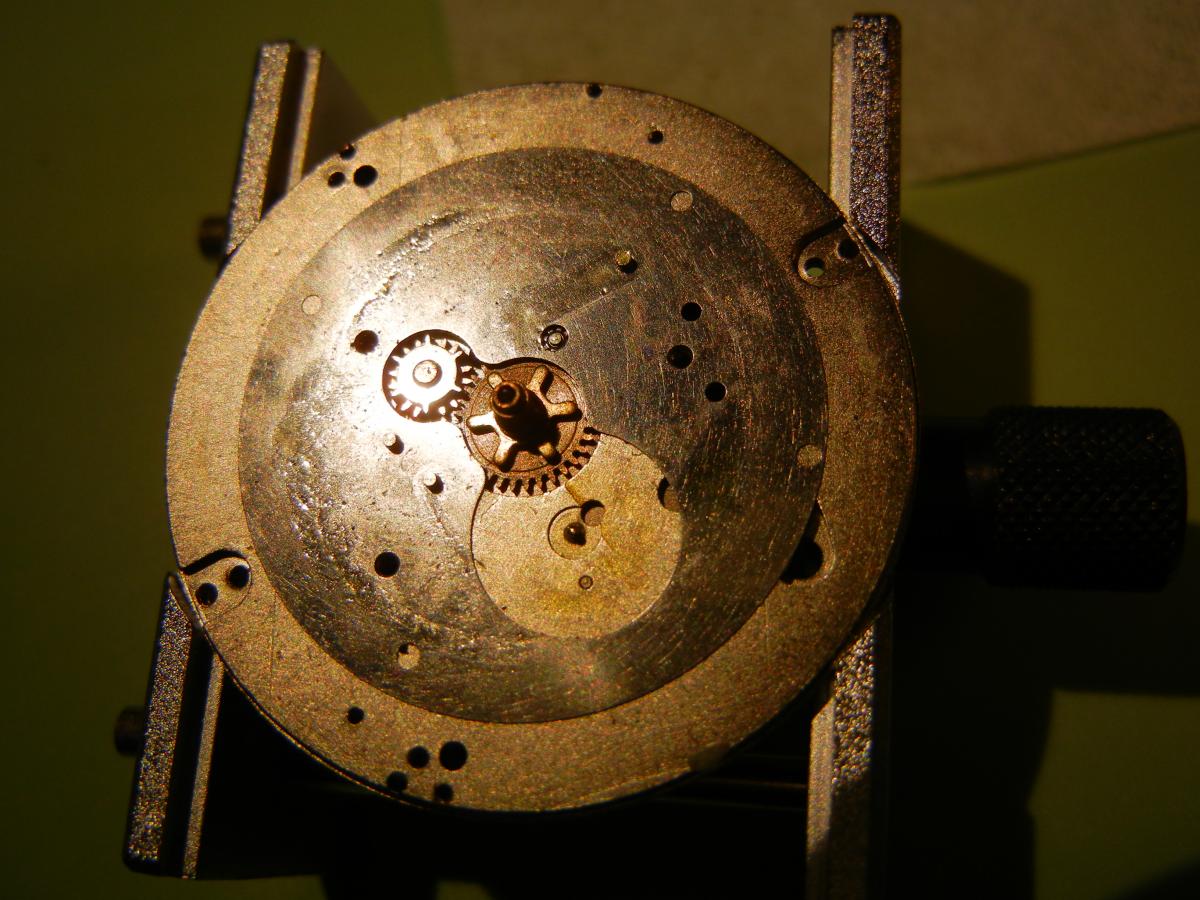
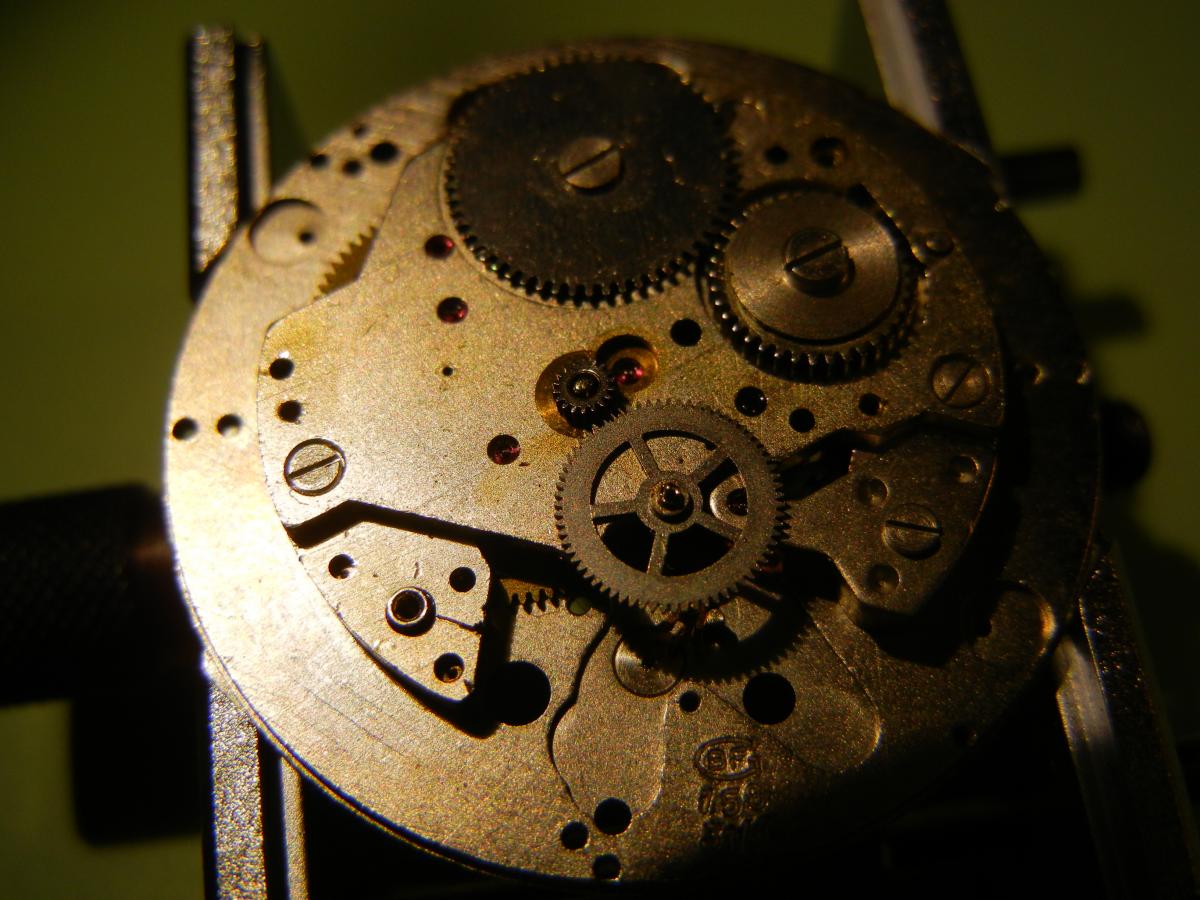
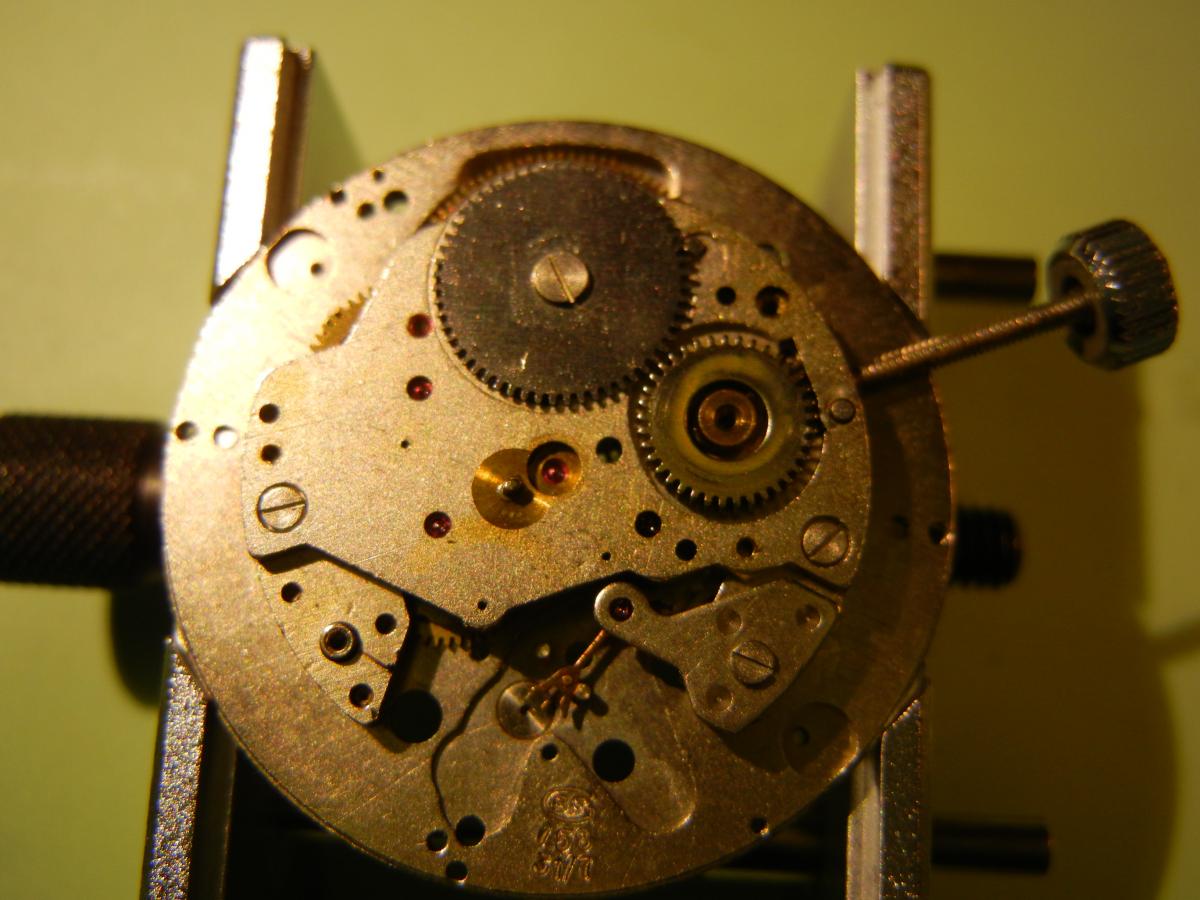
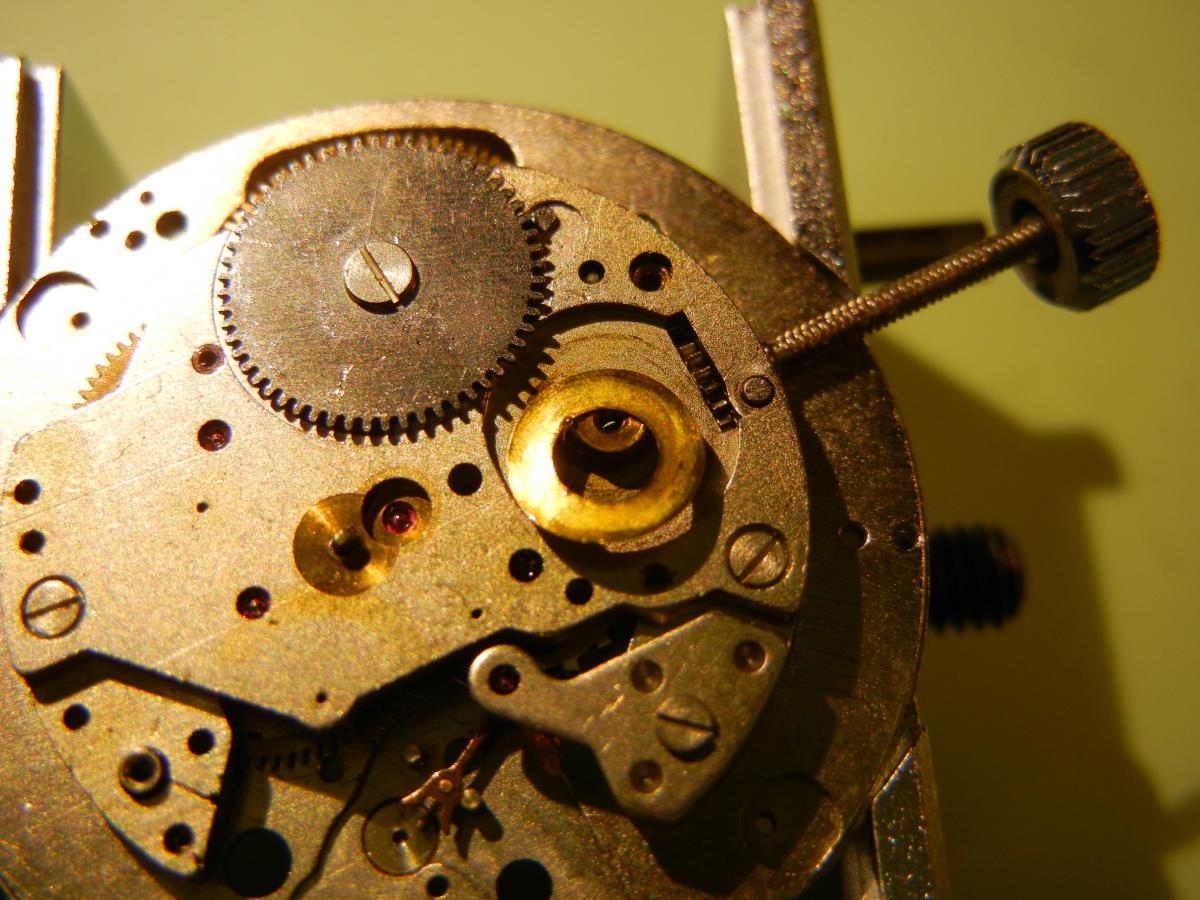
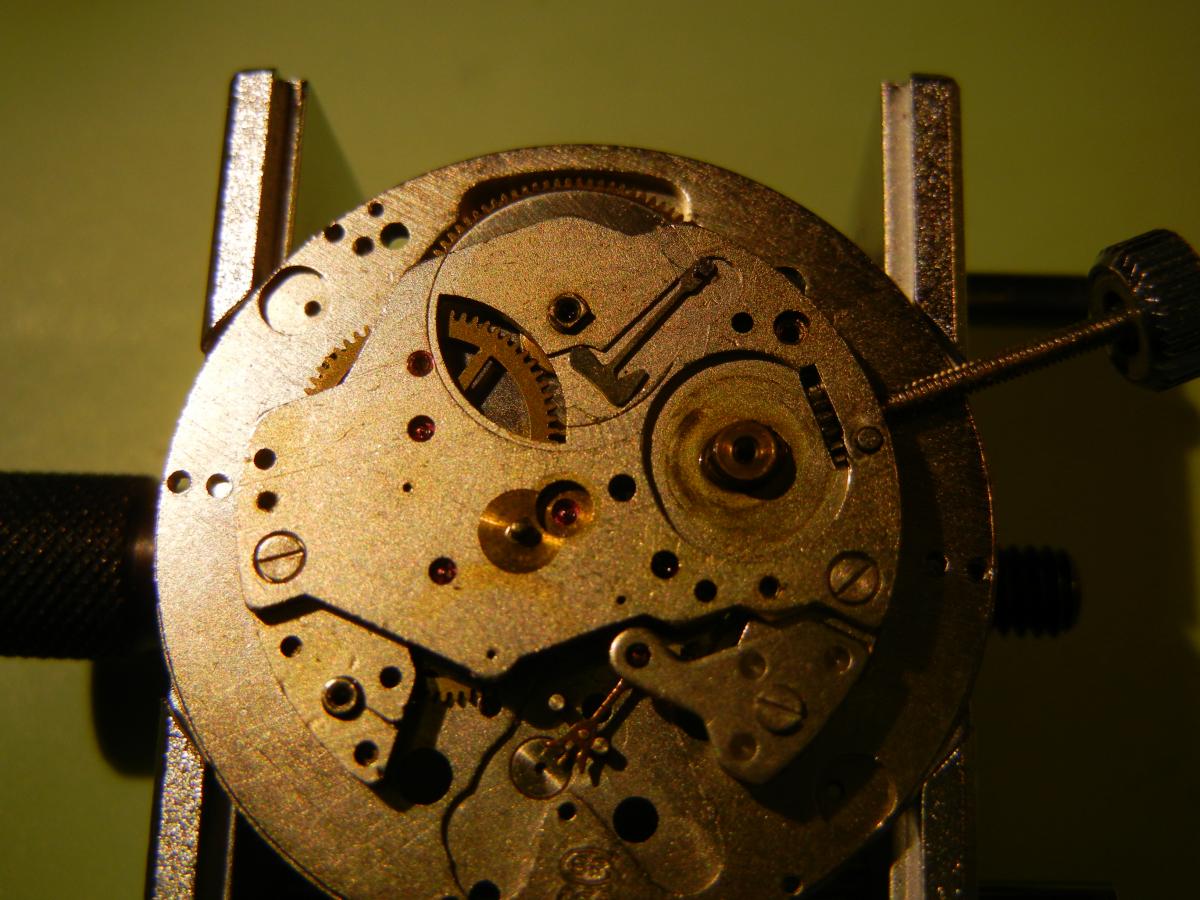
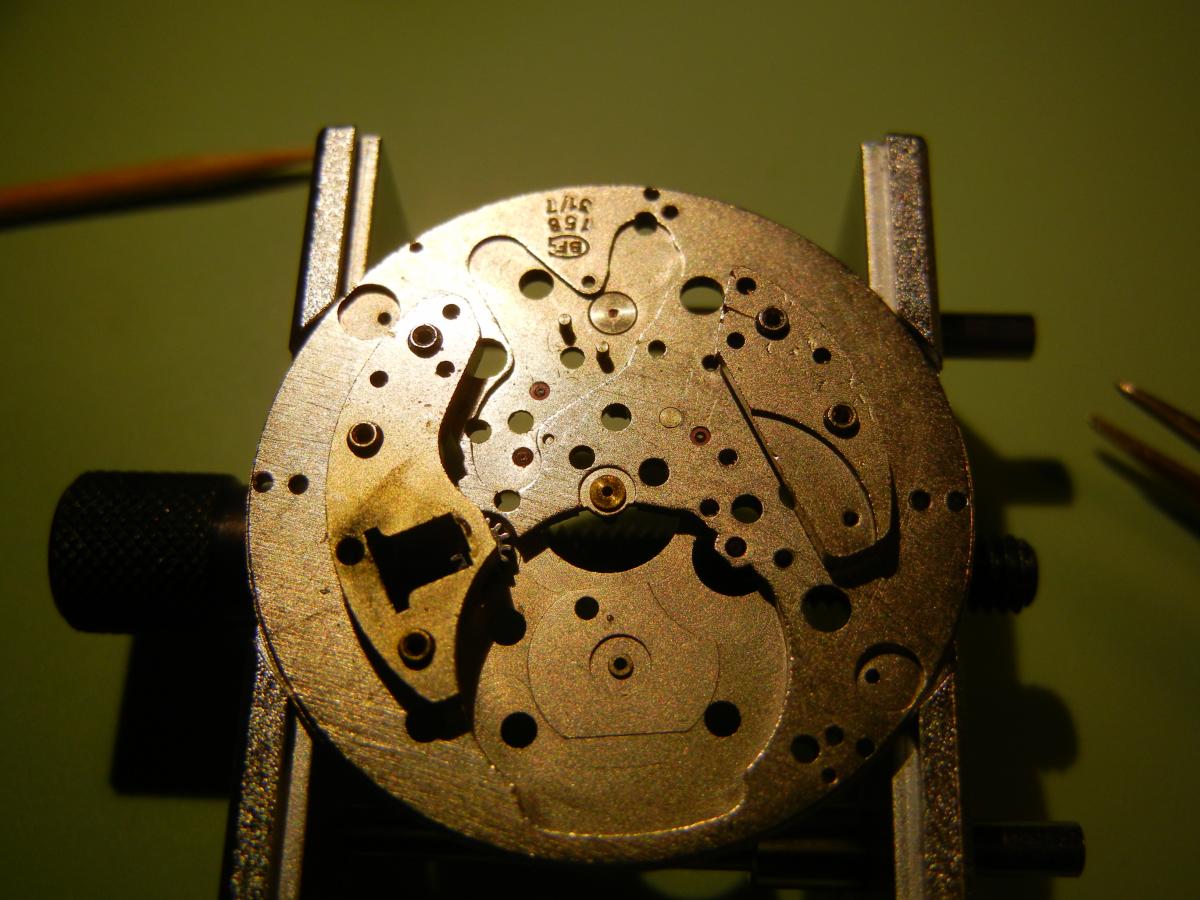
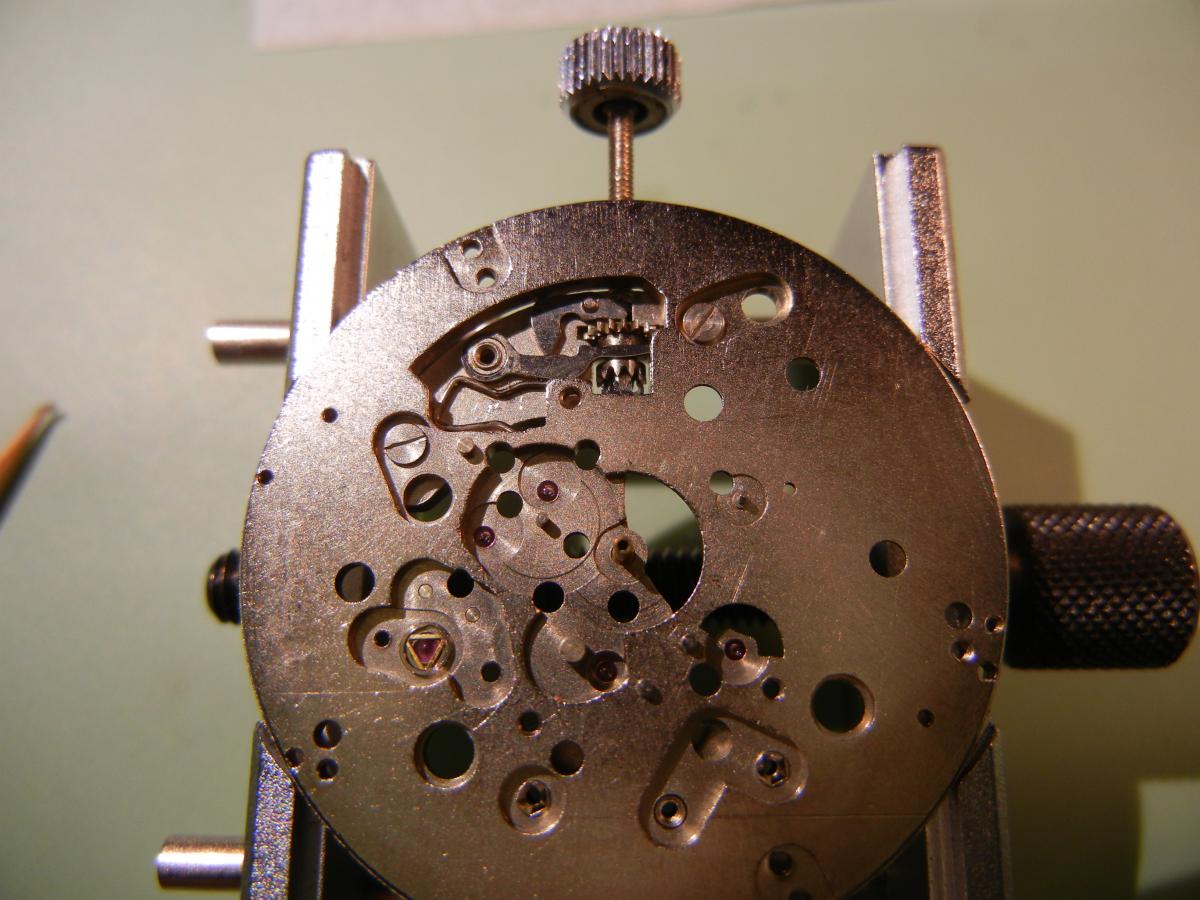
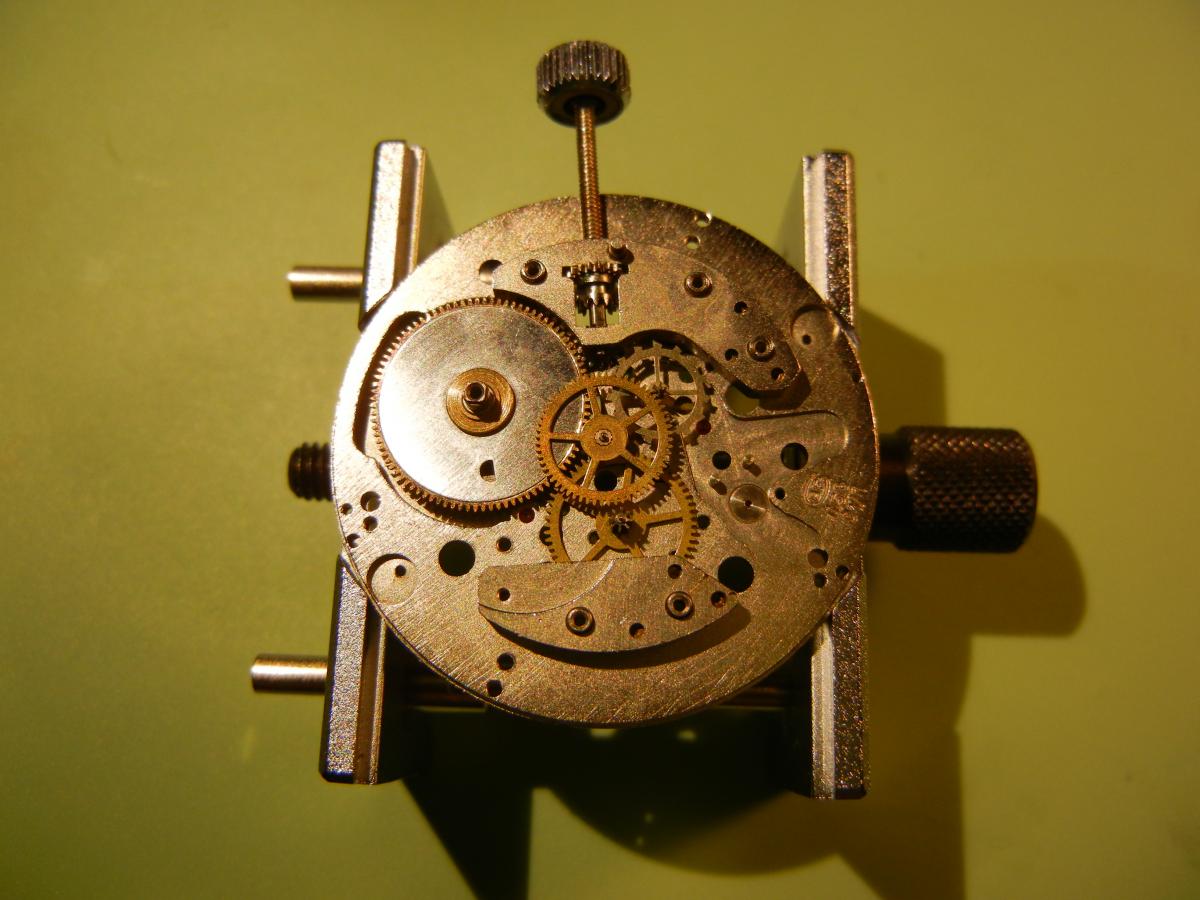
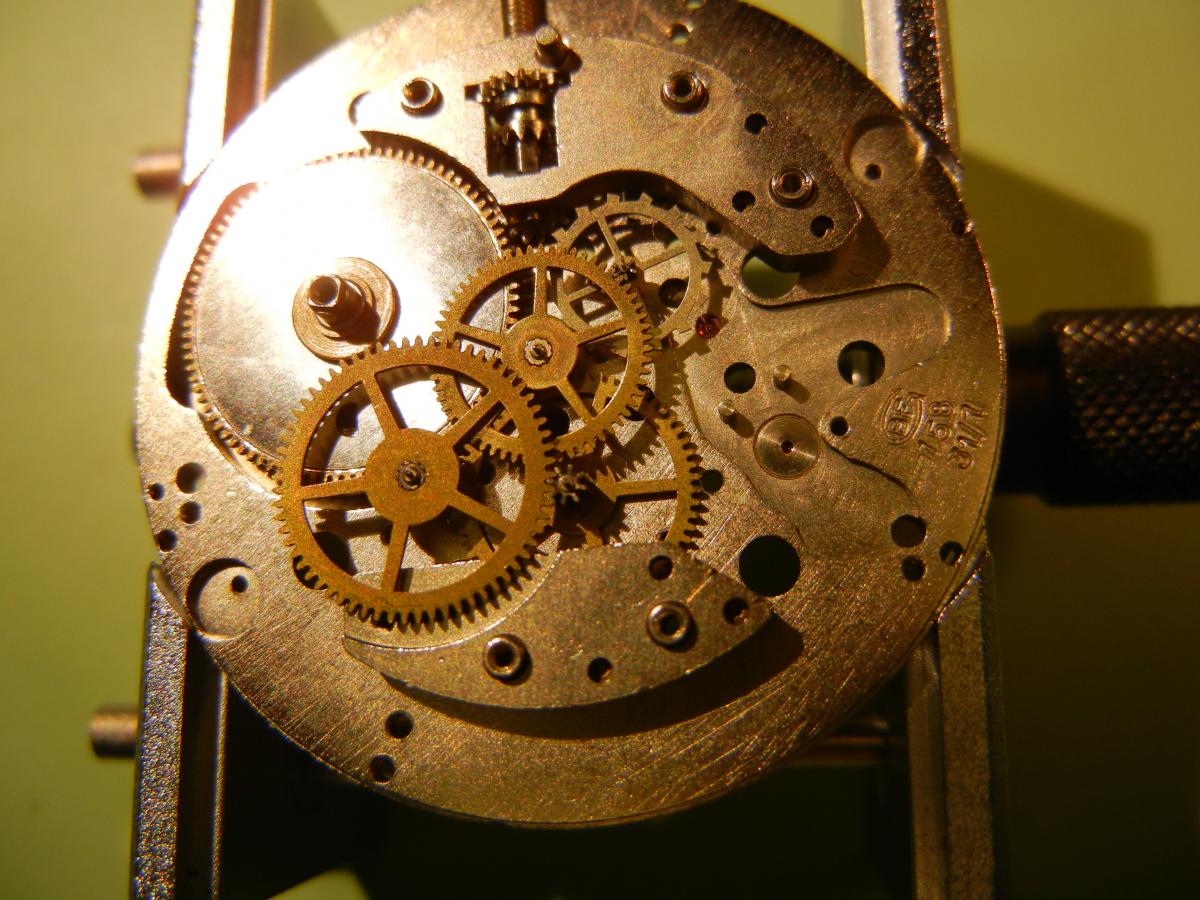
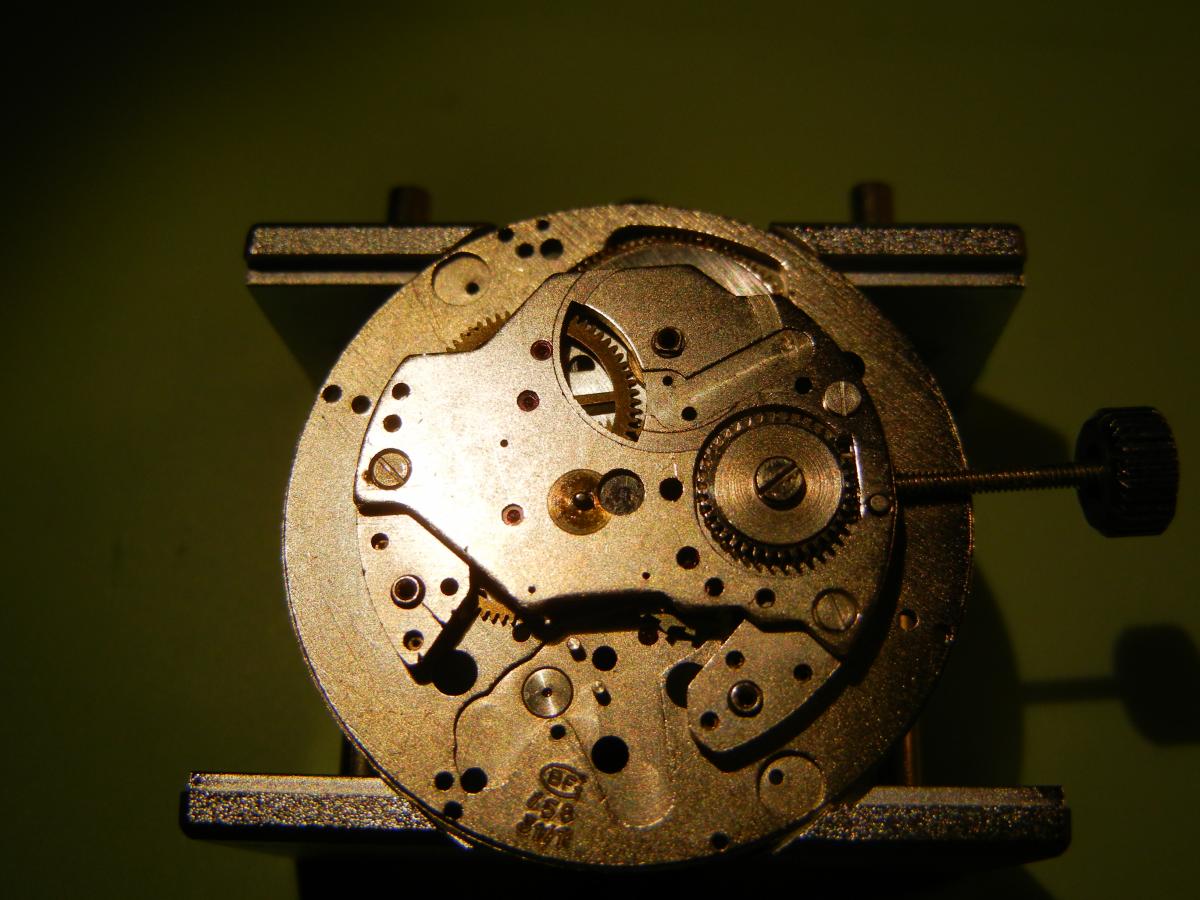
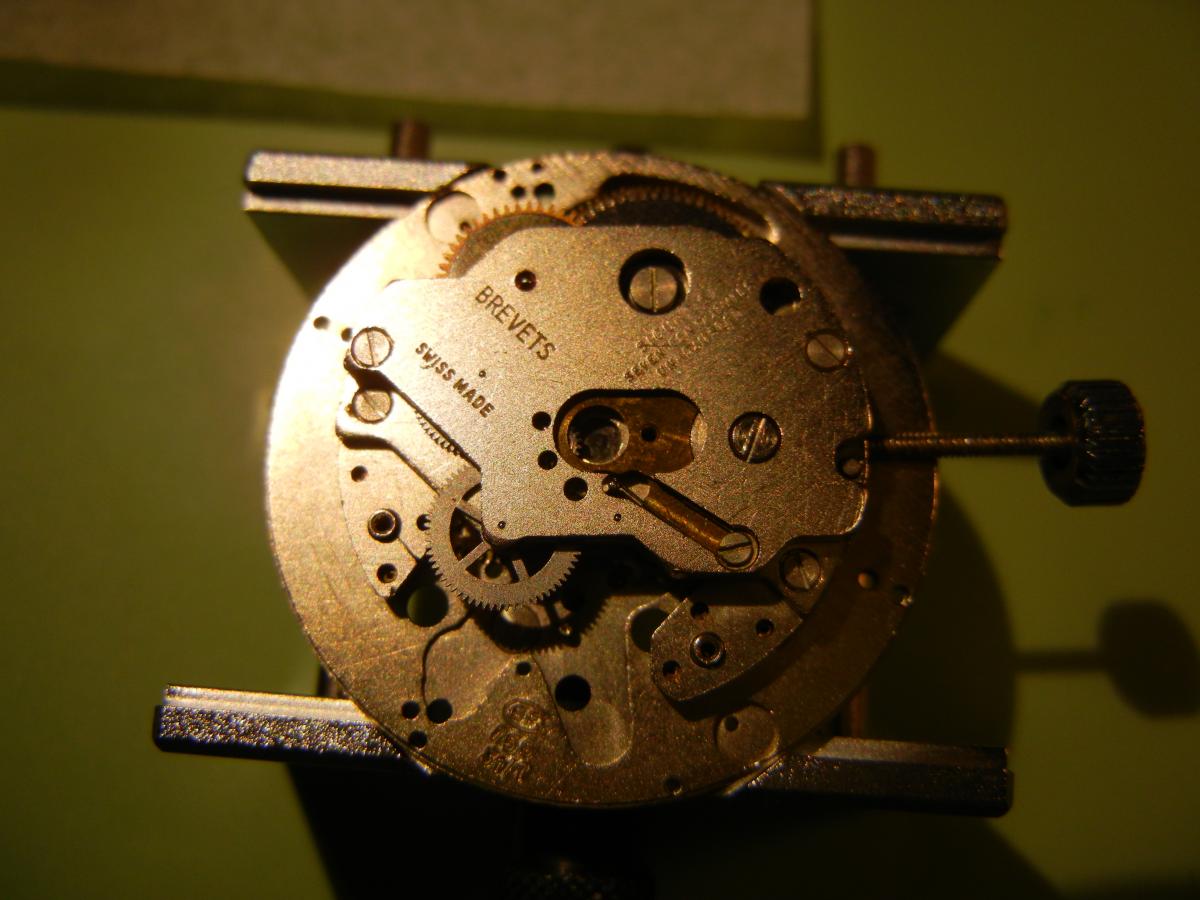
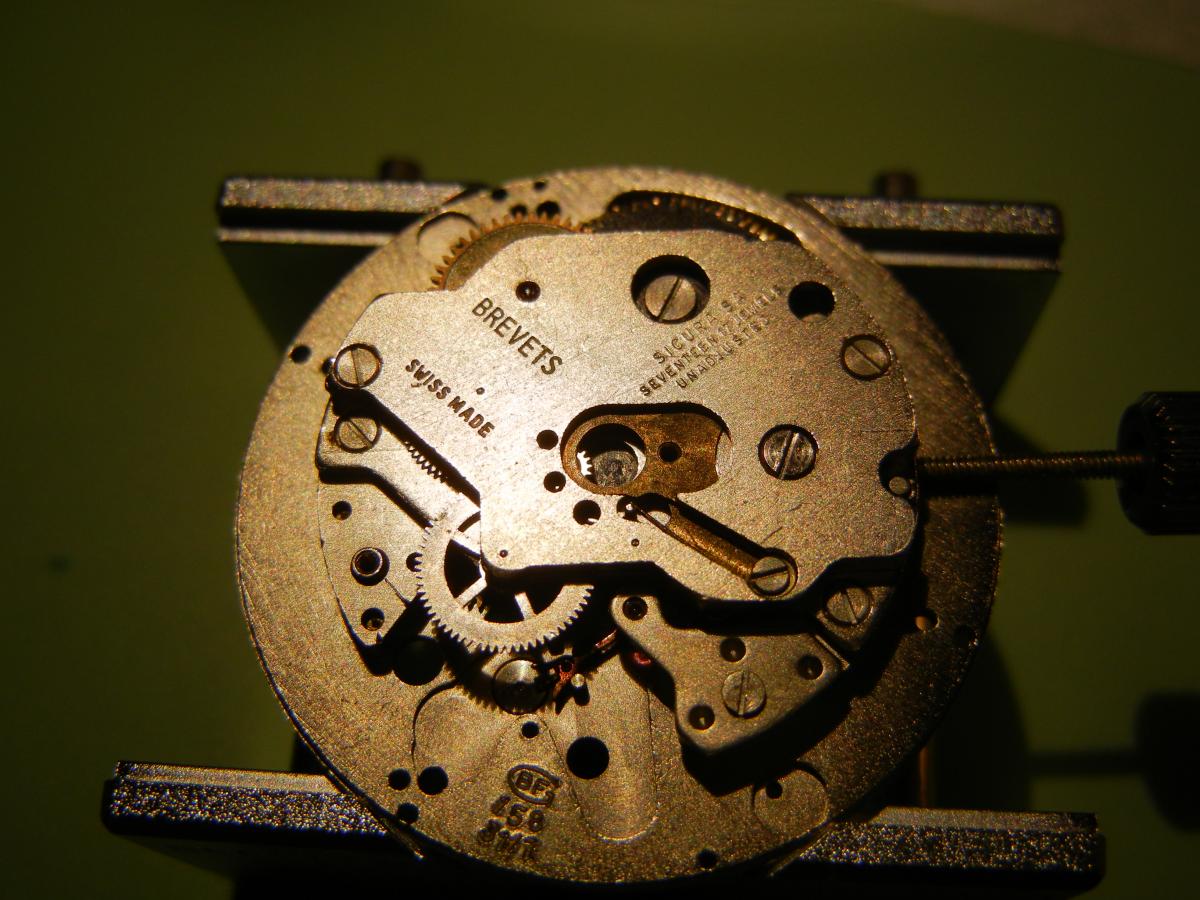
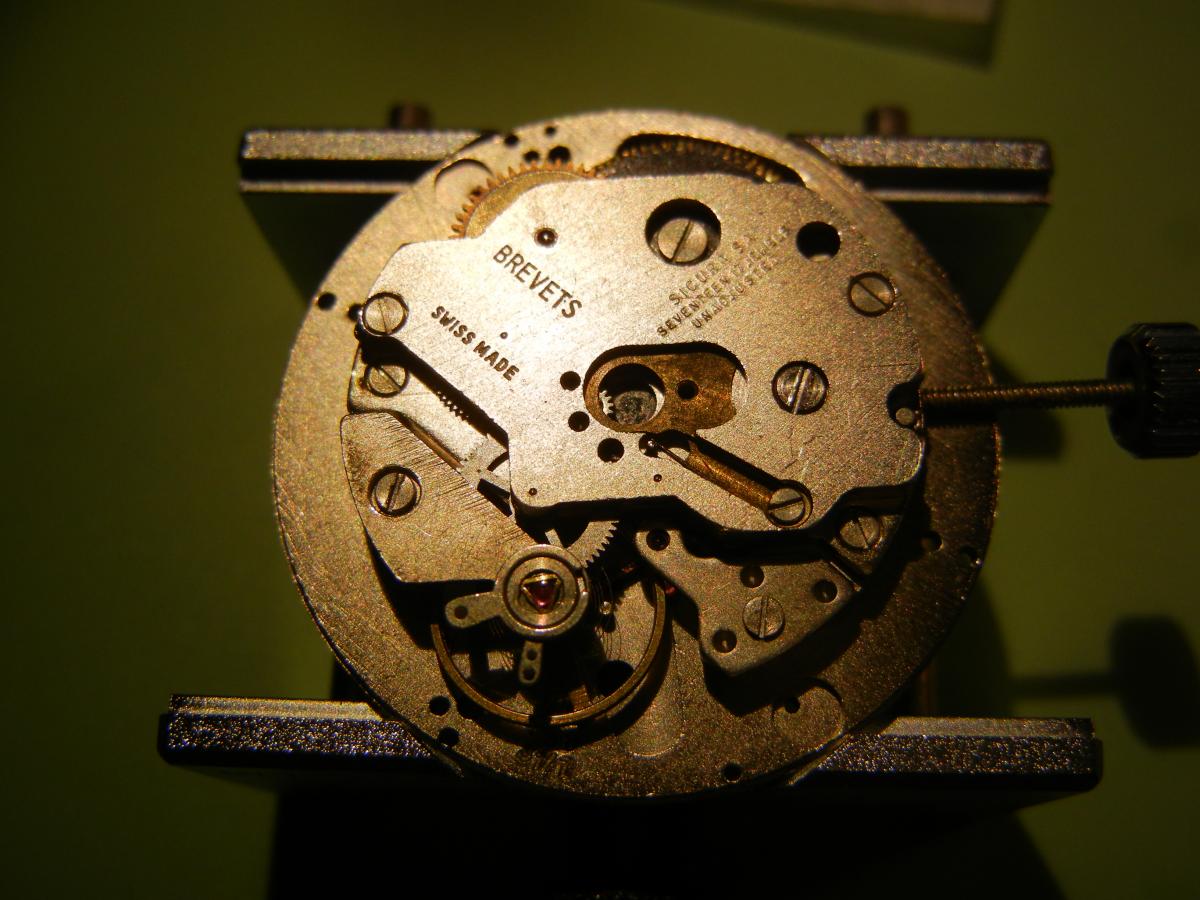
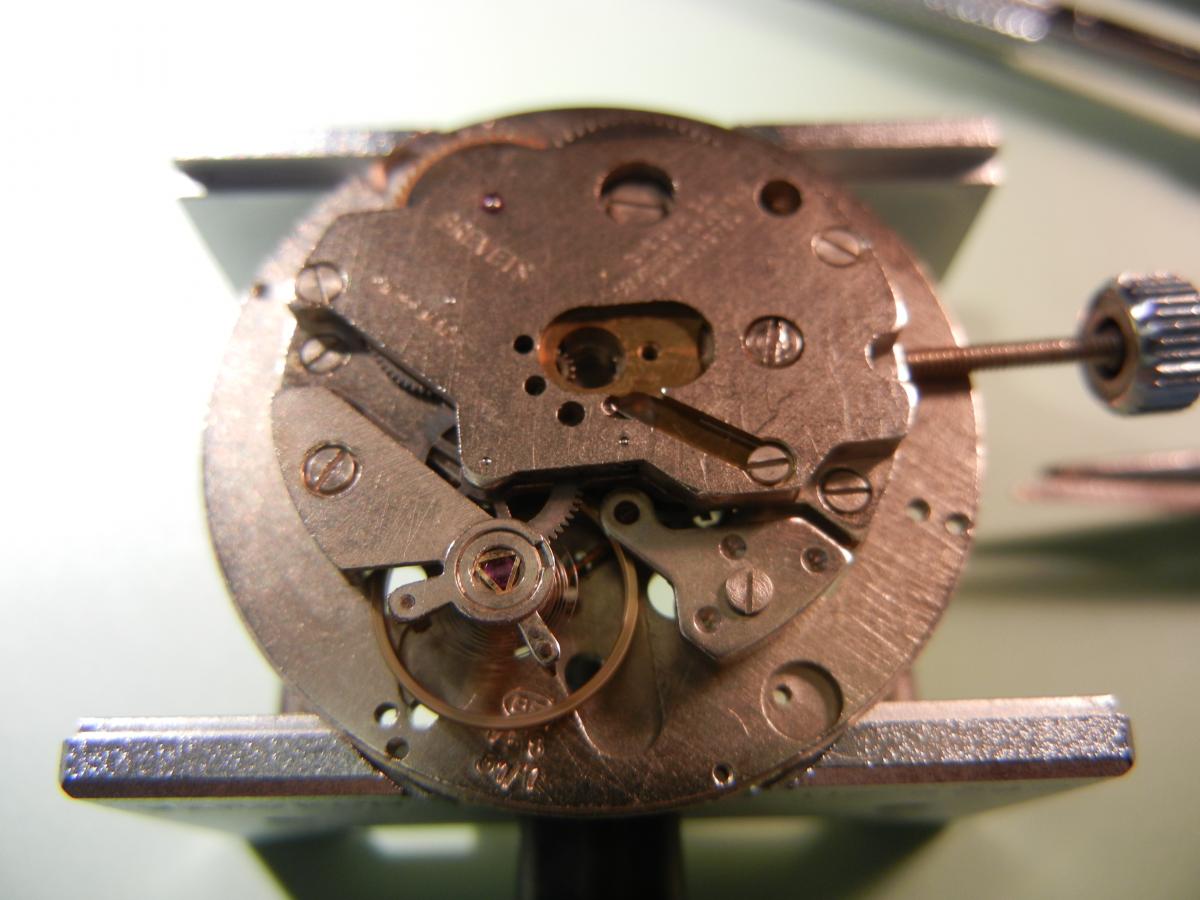
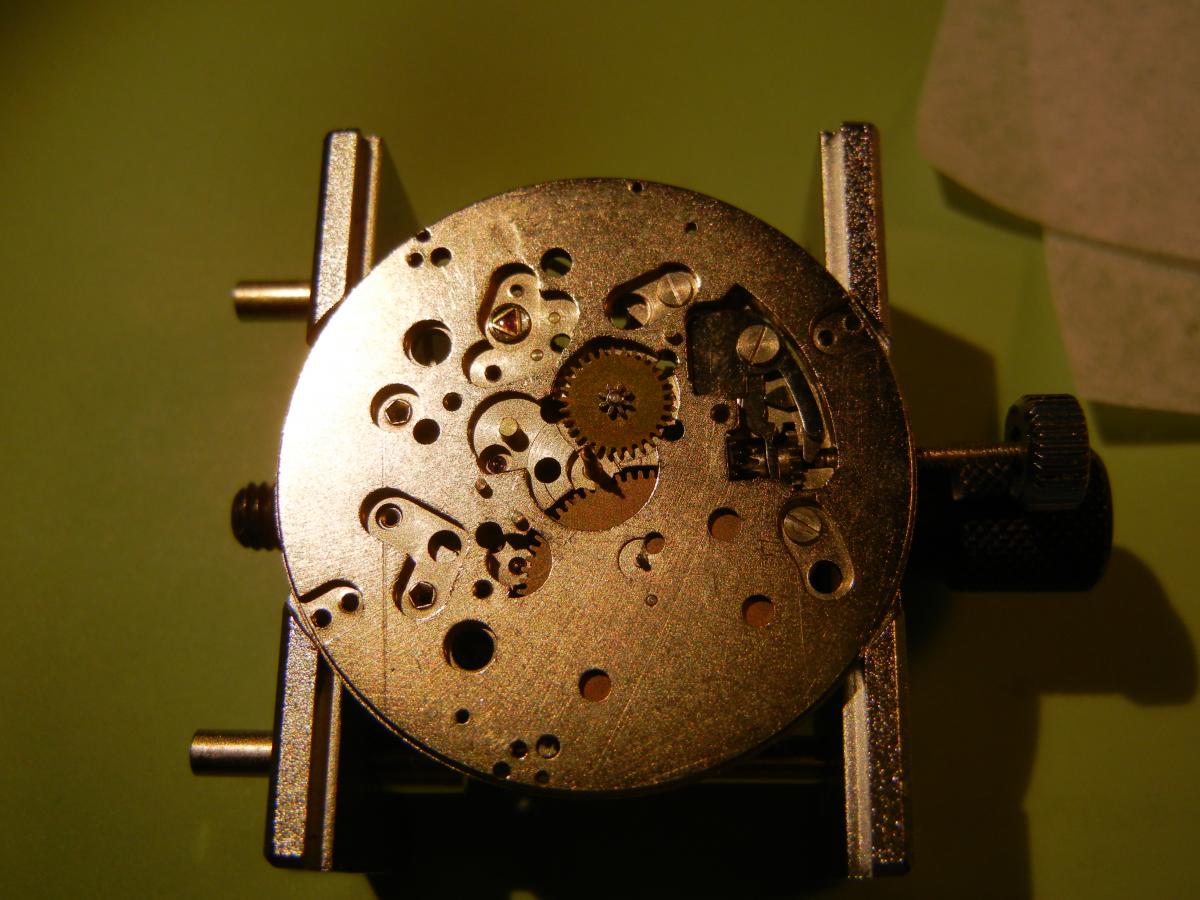
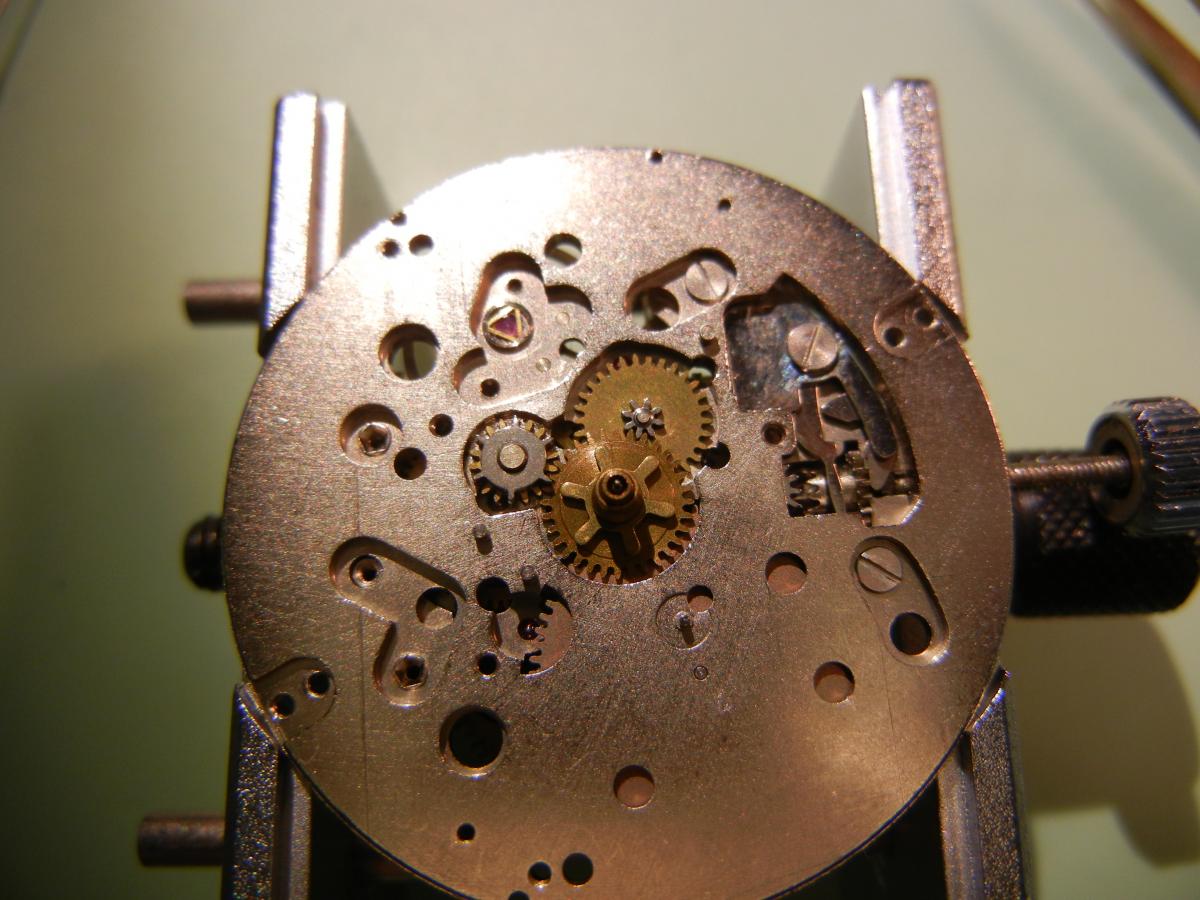
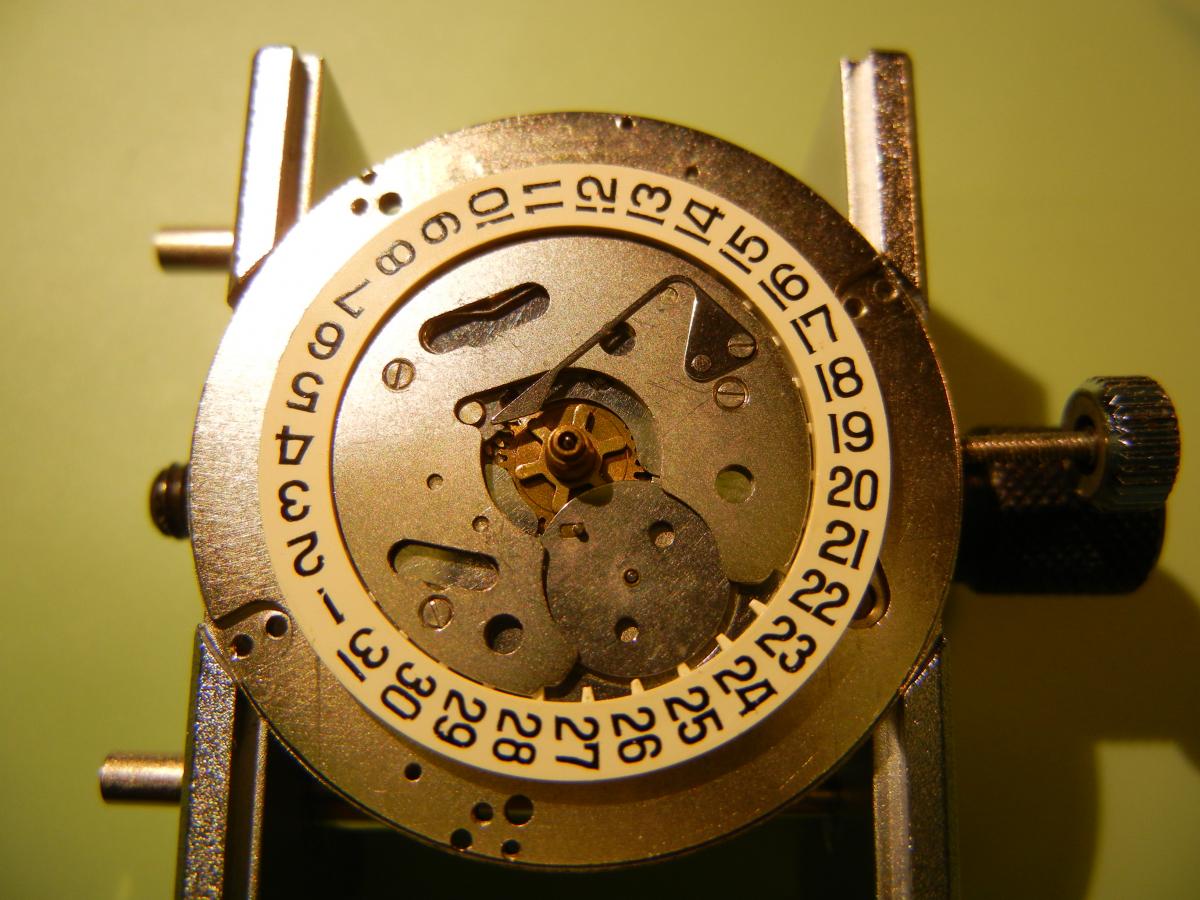
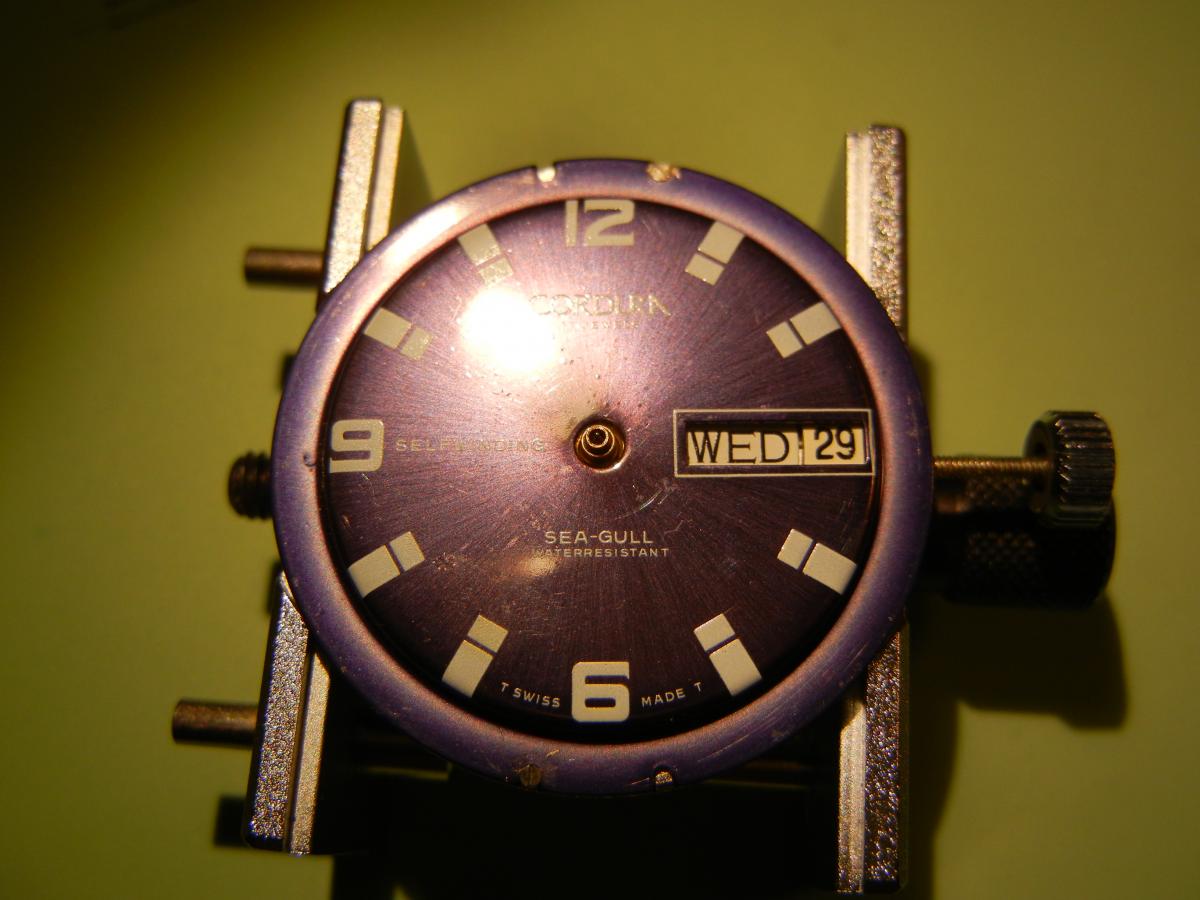
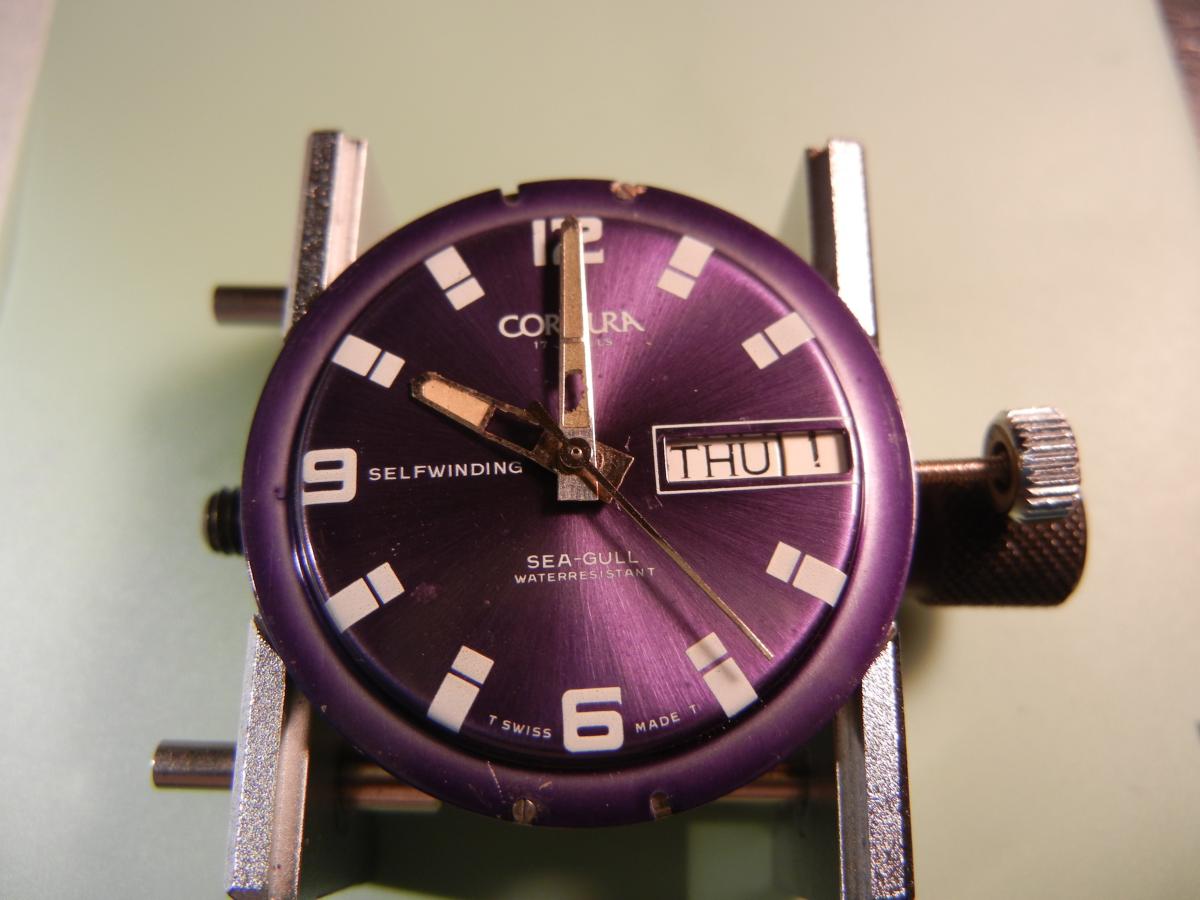
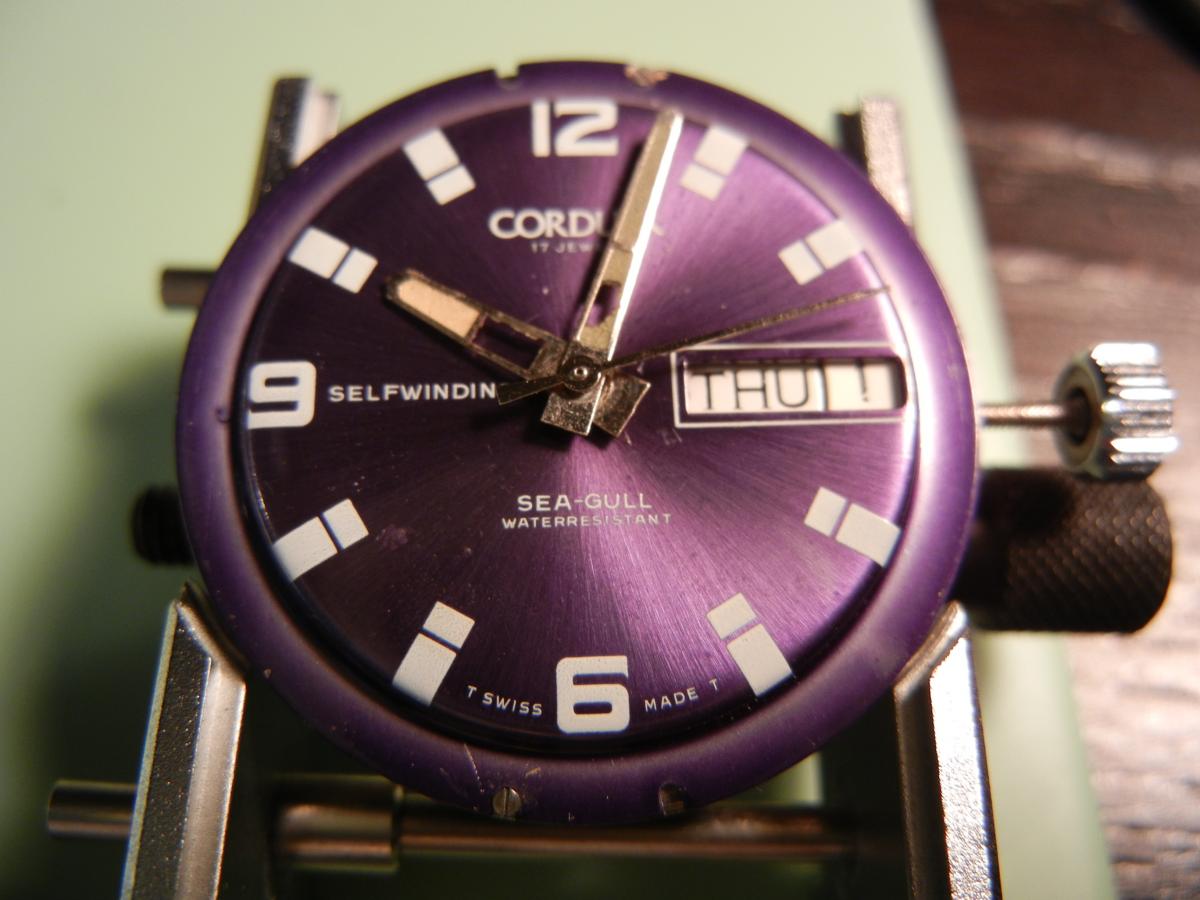
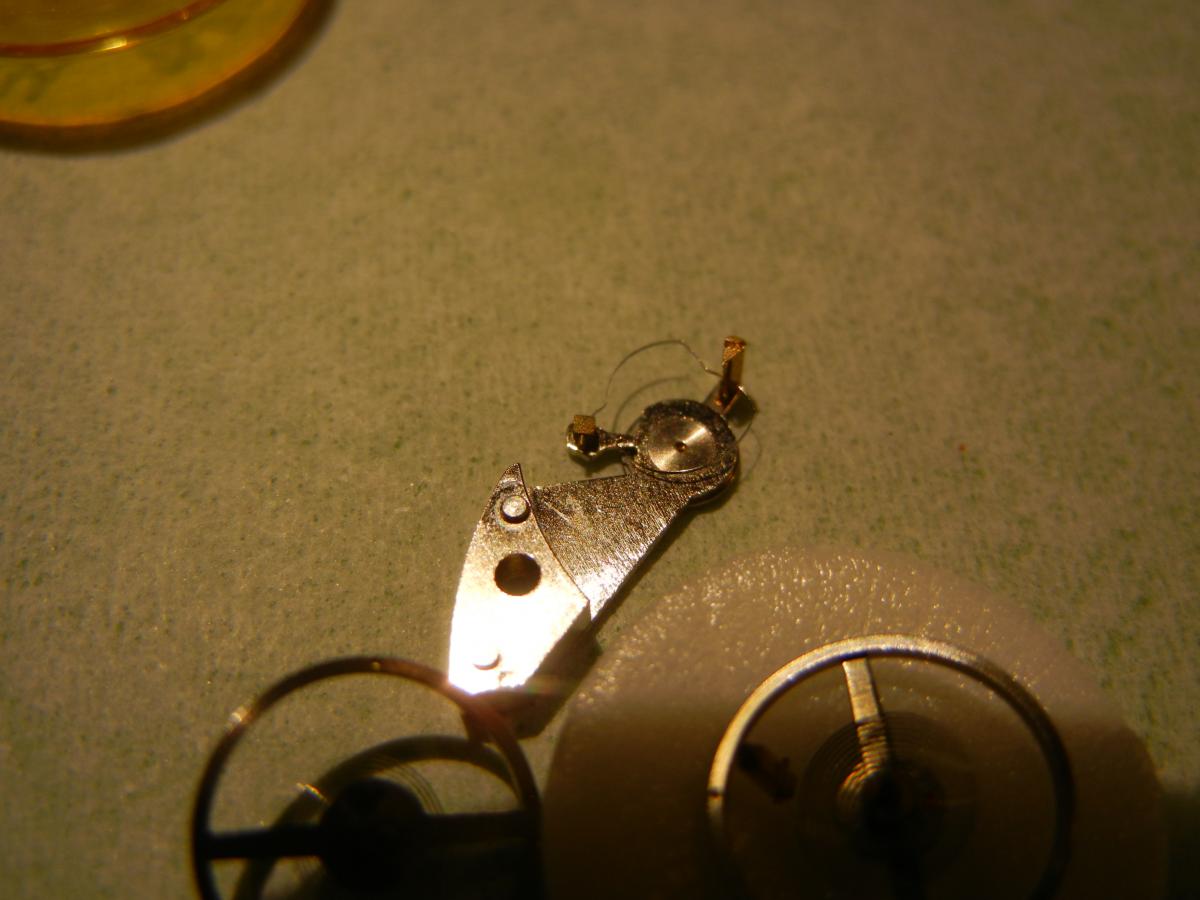
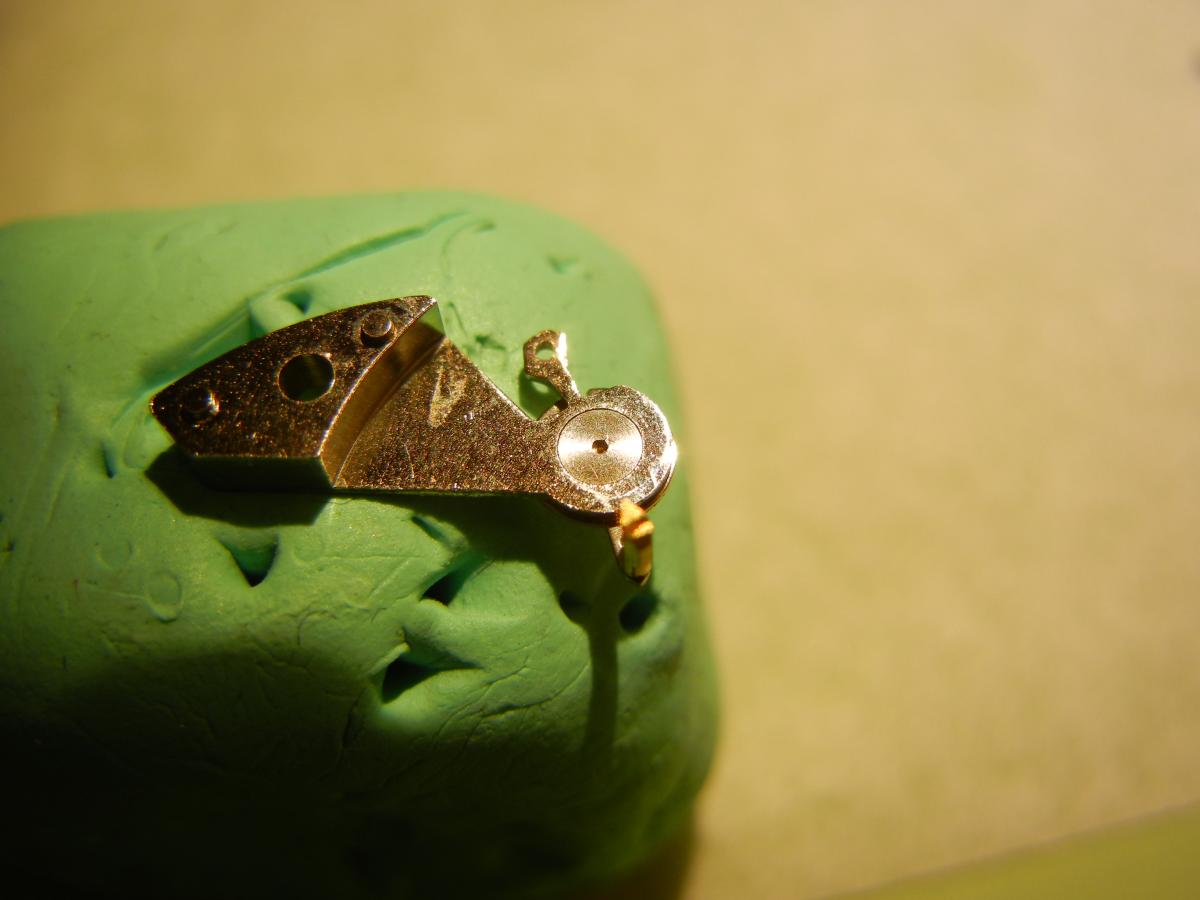
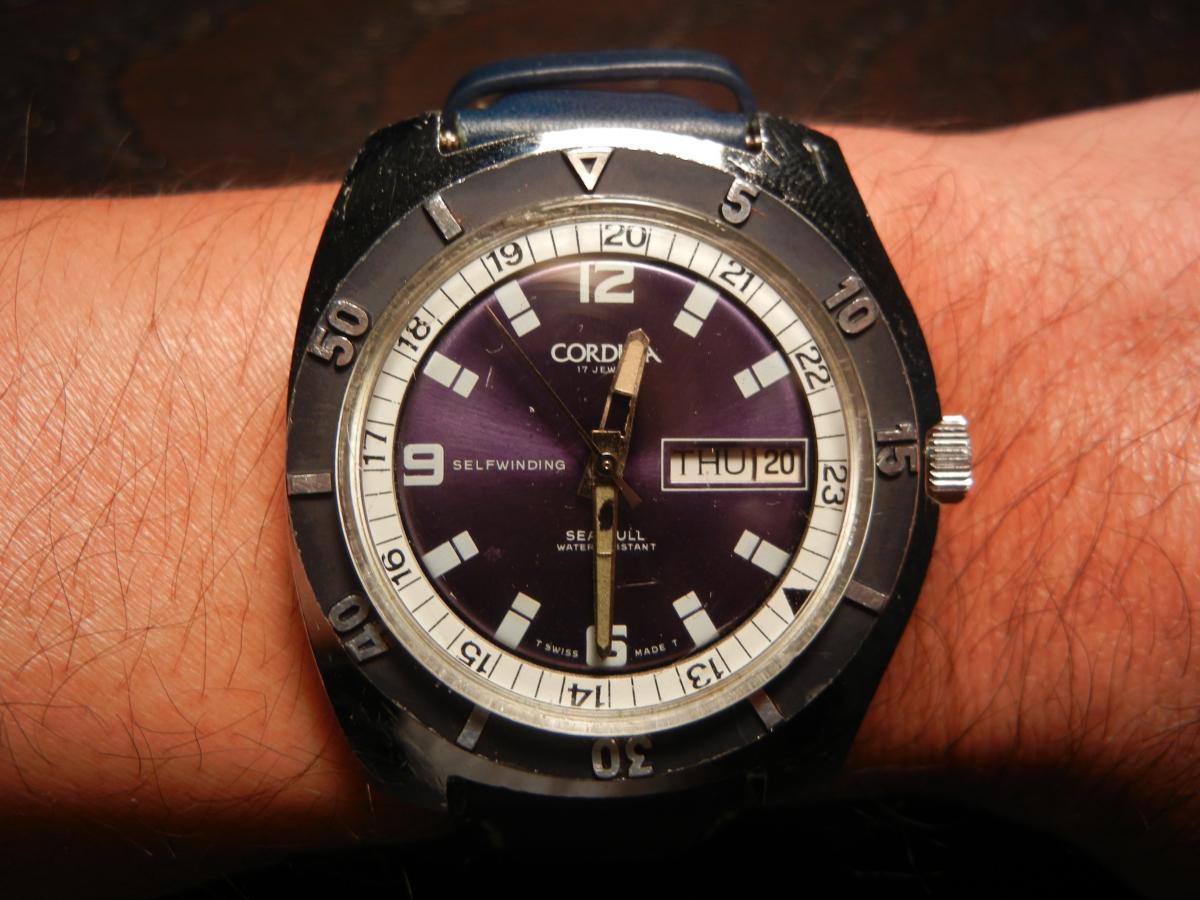
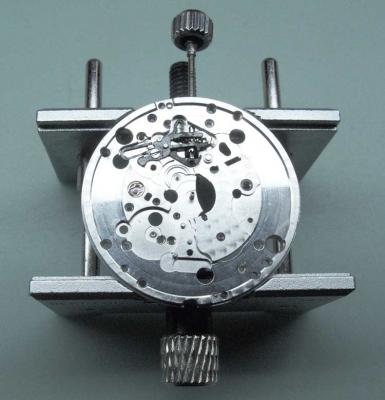
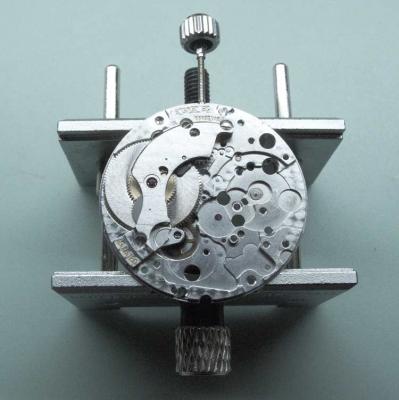
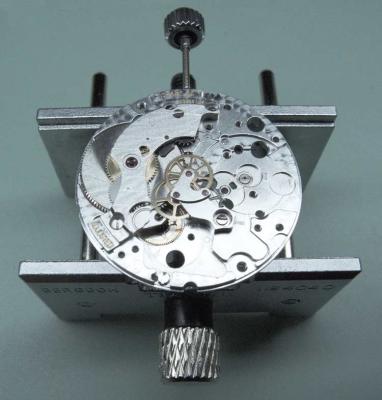
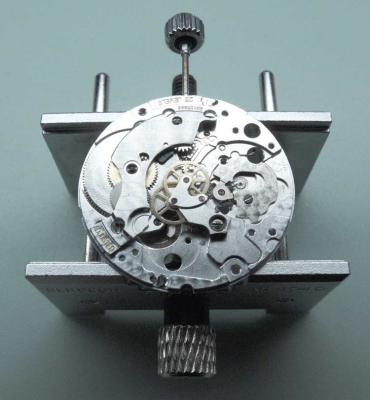
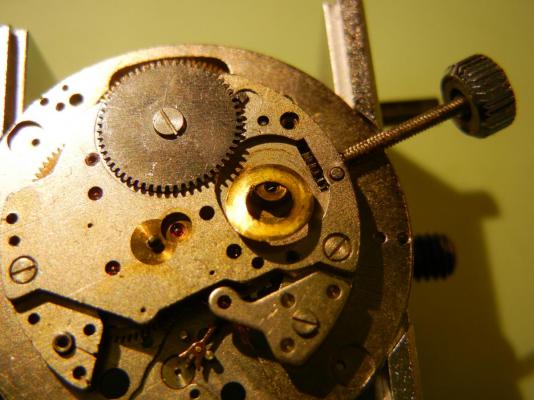
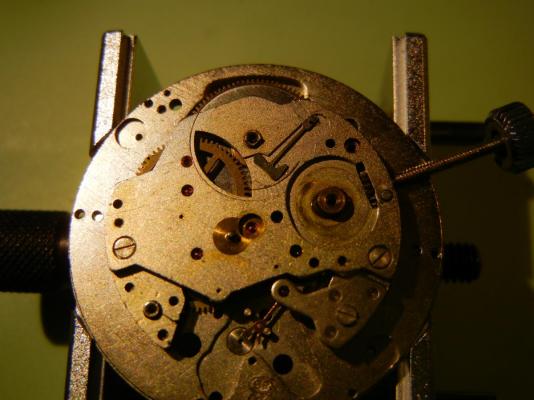
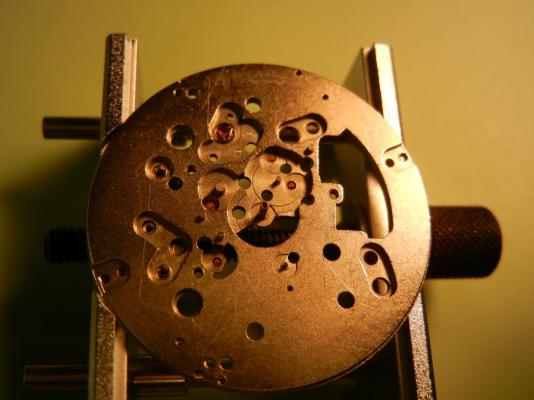
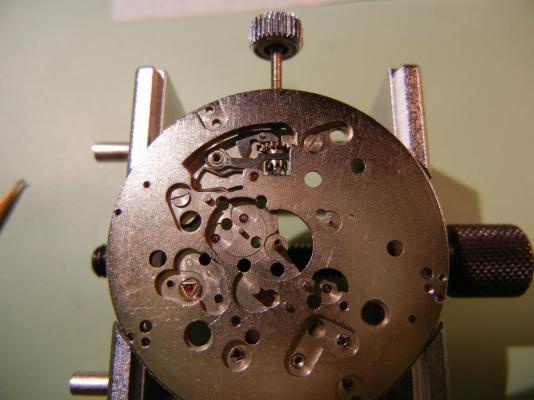
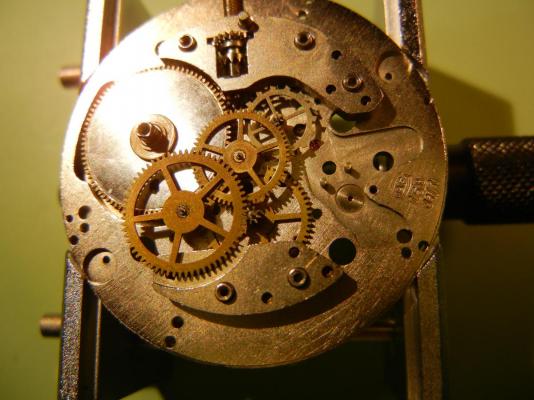
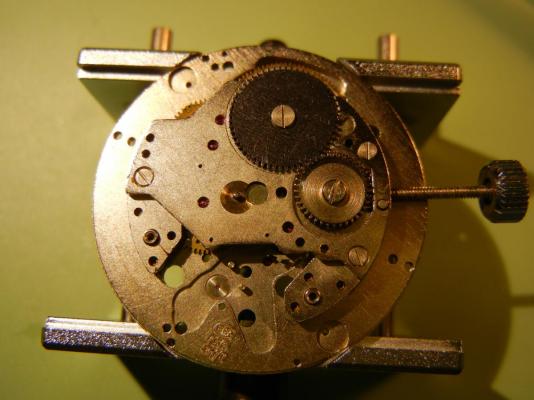
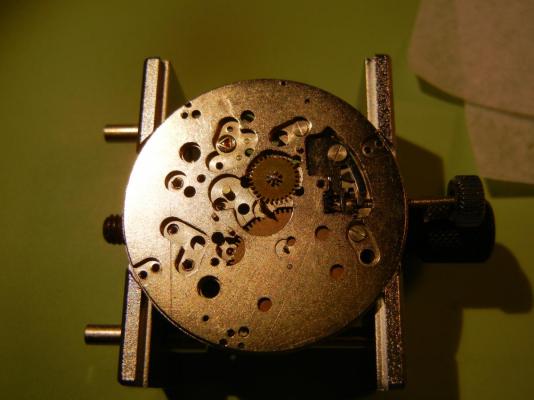
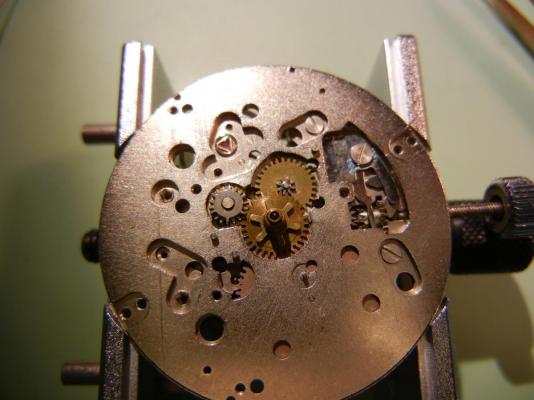
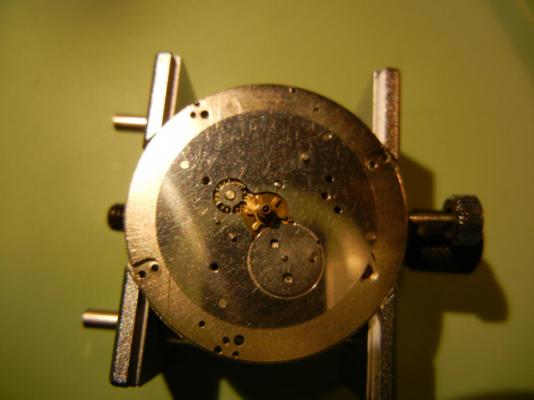
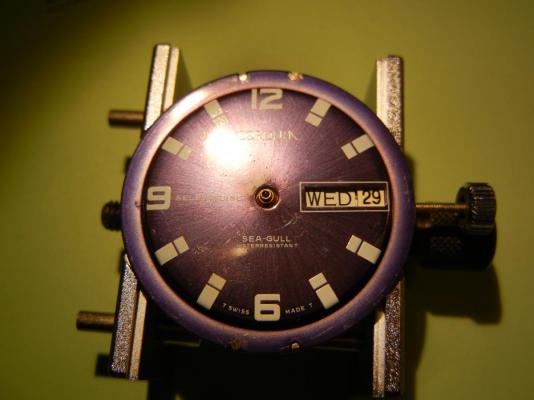
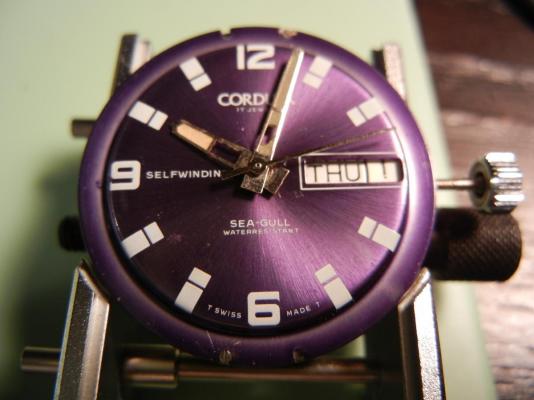
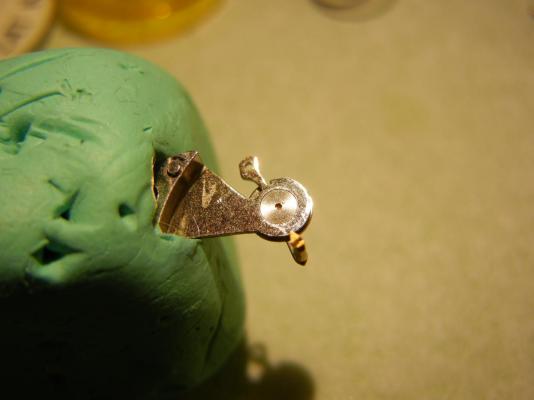
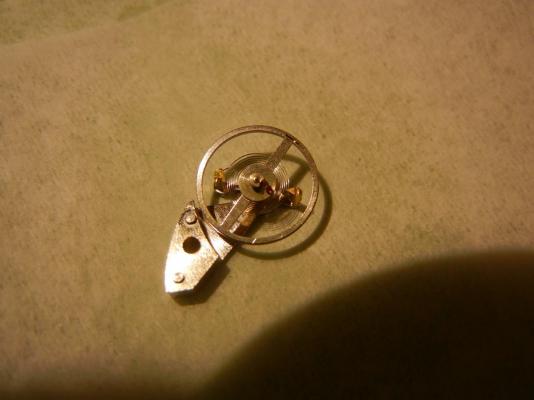
what's up, My pin lever obsession and immersion continues, and I though I'd show a just-completed hairspring replacement on a Baumgartner 158 31/7 17 Jewel autowind day date diving watch. This movement is one of the "maxed-out" pin lever engines representative of the 70's. It keeps great time now, but it wasn't always the case.....we shall begin! Ebay purchase--$40.00, the usual issue: NOT running! Started the dial-side disassembly: and continued on the baseplate: Done! Now the rebuild. dial side: Afterward I TRIED changing the hairspring but ordered one with a shorter stud. This was not apparent to me at first (duh!) because I was so elated just having accomplised it, but I now know that the difference was quite obvious. The hairspring became entangled in the auto winding wheel which extends over the spinning balance and is very close: after wearing it one day it completely jumbled and snapped. I ordered another hairspring and you can see the difference in the length of the stud. This is crucial to its clearing the autowinding wheel gears. Prep for mounting new hairspring Finally in position: Thanks Mark! Done Hope this wasn't too tedious. I have a whole bunch of twisted hairsprings. but who wants to see pictures of that?!? next project I am doing an Omega Constellation 751: The last of the great vintage in house Omega movements. See you soon, JC


 1 point
 -
This may help out with Accutron 2185 problems Bulova-Accutron-2185- Pages 58 to 71 Supplement for Hour and Date Settings Manual.pdf Cheers, Vic1 point
-
It's a Mondia for me today. My first "proper" watch was a Mondia Sea Scout. It was my 16th birthday present from my parents and I still have it, but it was the start of my interest in Mondia watches and I now have 5 of various vintages. This one was an eBay non-runner that required no more than a service and clean up.
 1 point
 -
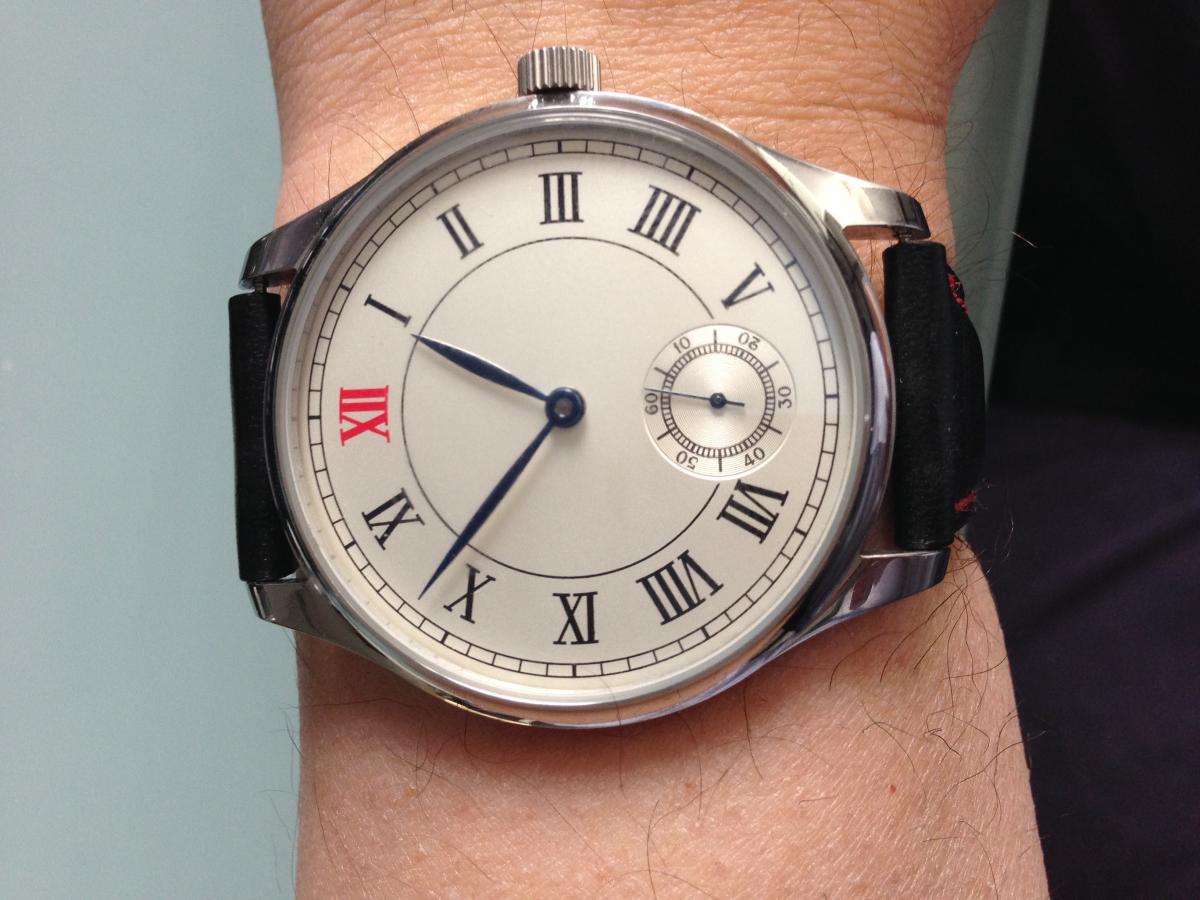
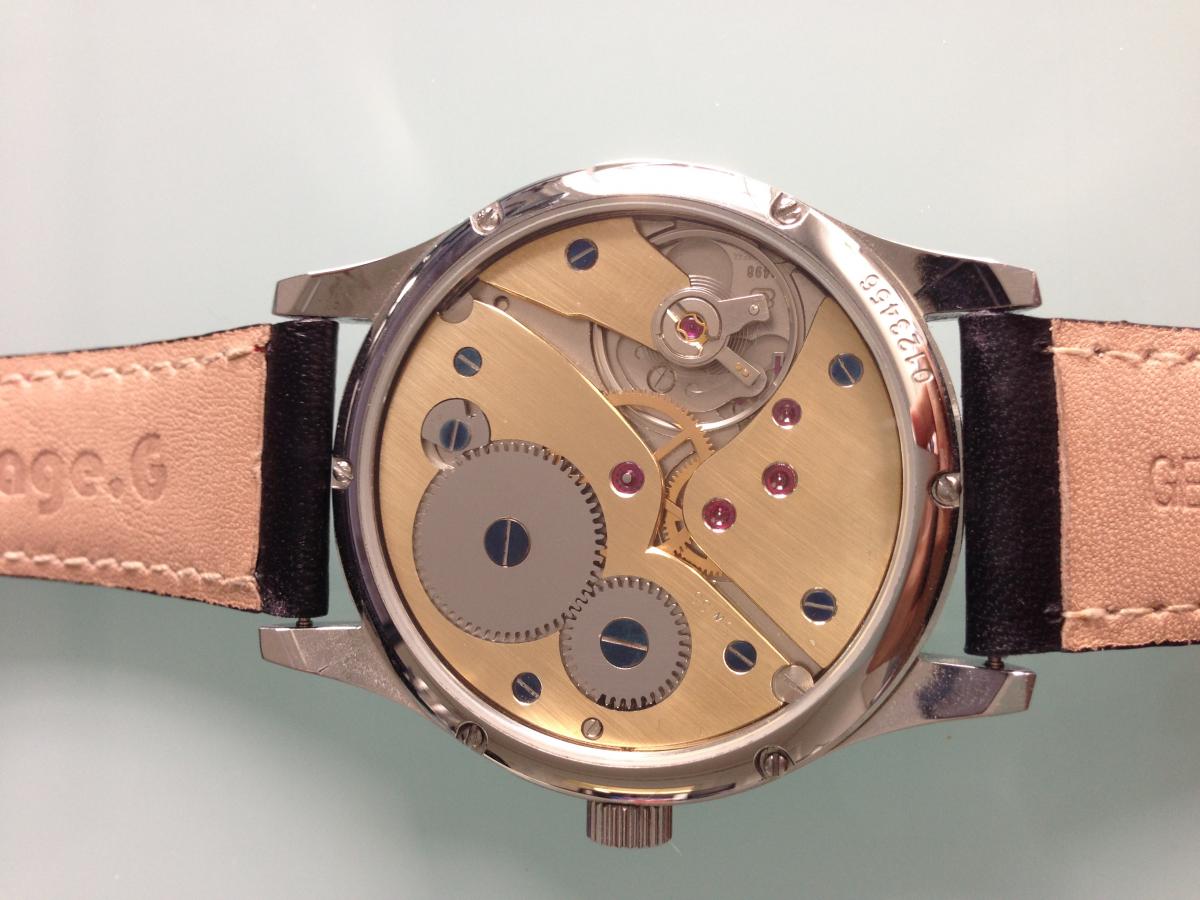
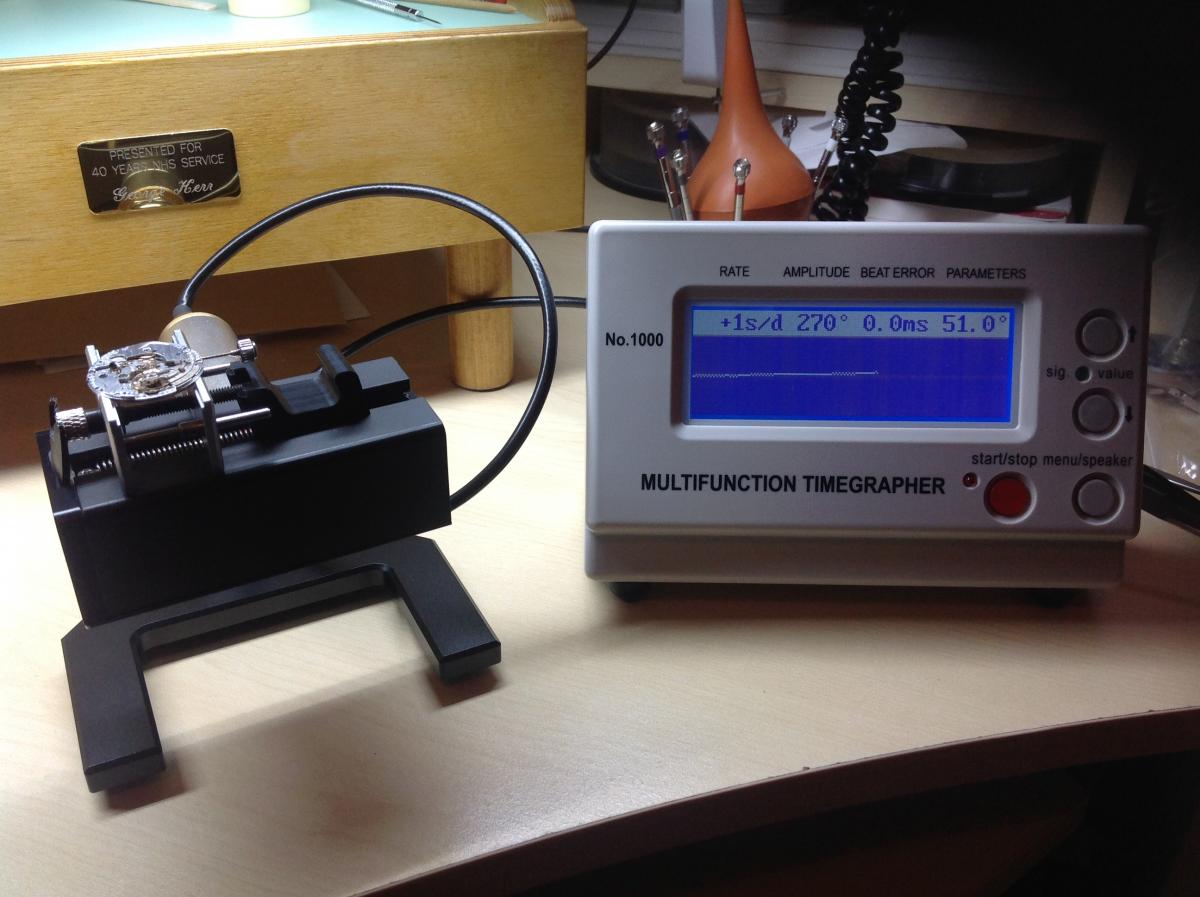
Wearing my 'party watch' made of ebay Bits: I 'pimped' the ETA 6498 movement (polished the wheels, blued the screws and made the plates curvy). Keeps perfect time but MAN it's a loud tick Yes, I know the strap's the wrong size :-)

 1 point
 -
I just checked mine and it also has a 0-300 dial.
 1 point
 -
I've just finished replacing everything that has a pinion except the balance wheel and the results are looking pretty good! I'll post a set of pictures of the assembly when I finish the watch.
 1 point
 -
Thanks extremely useful , especially for me as i see alot of NH35/36.1 point
-
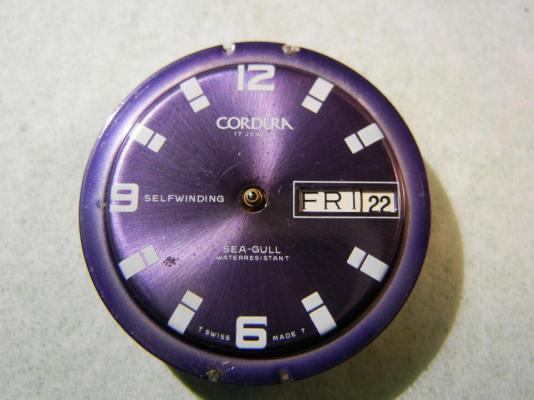
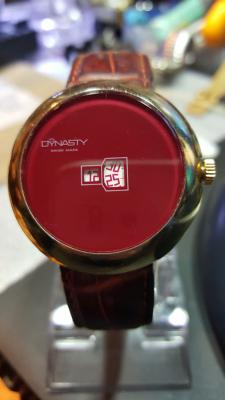
So a new day is upon us and today is the day for something a little different. Today I chose a Dynasty Jump hour watch, I think these are possibly the manual forerunner to quartz digital watches.
 1 point
 -
I wore the Sekonda today. This is one of two watches I ordered from Etsy a few months ago, the other being a Slava that shares the same movement and case, but with a different dial. Gryf1 point
-
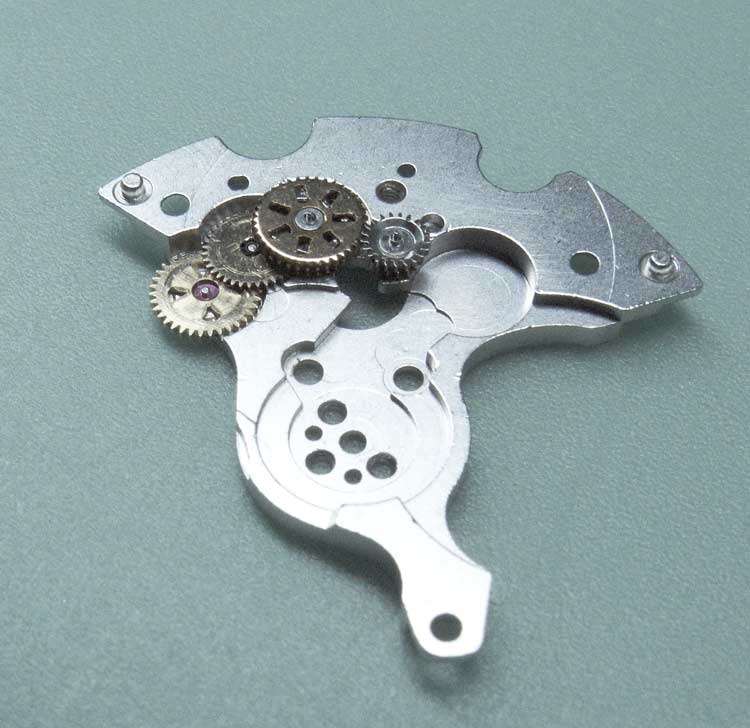
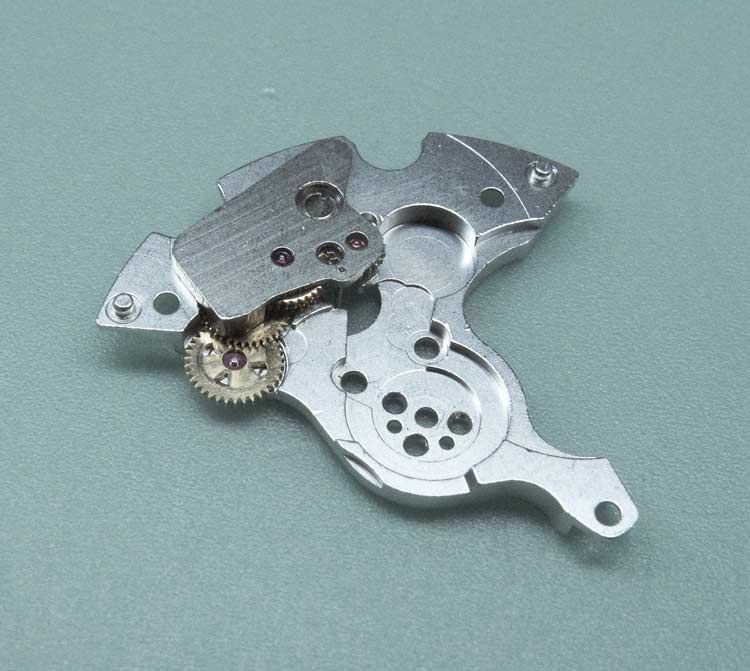
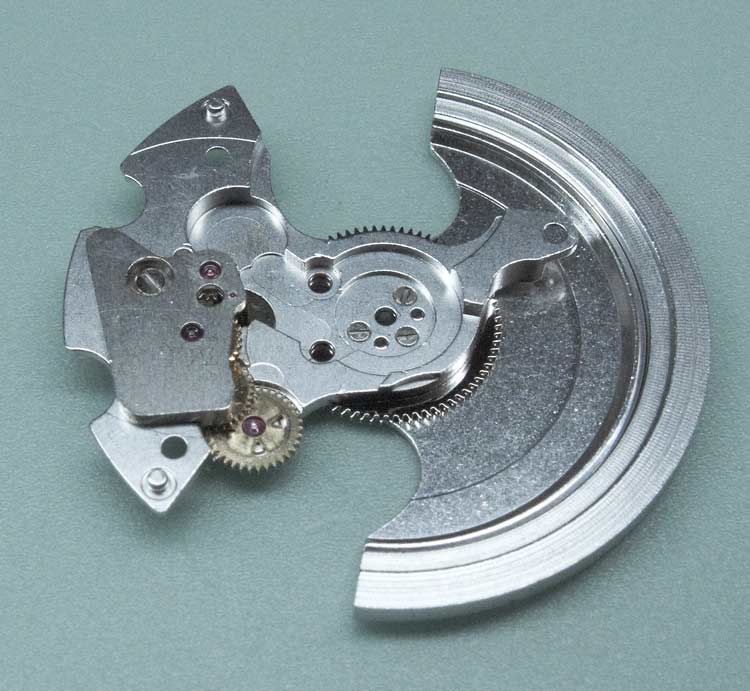
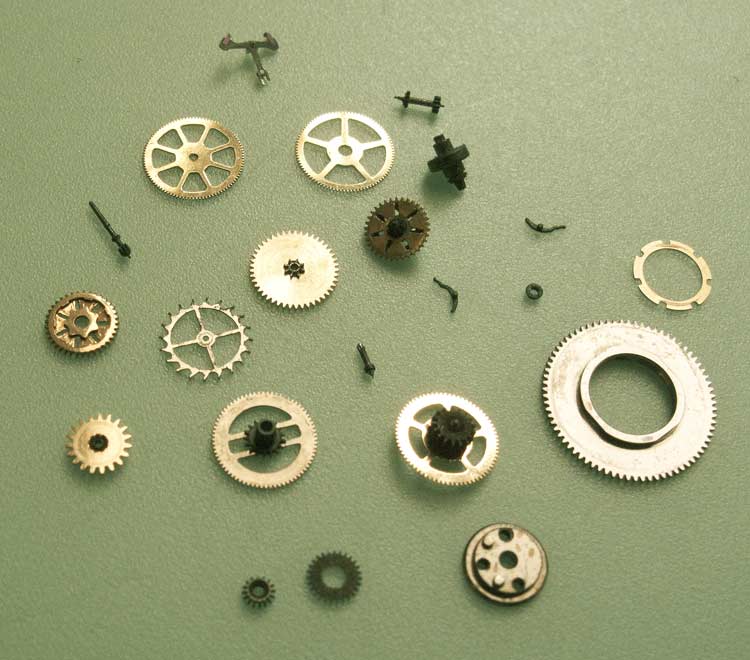
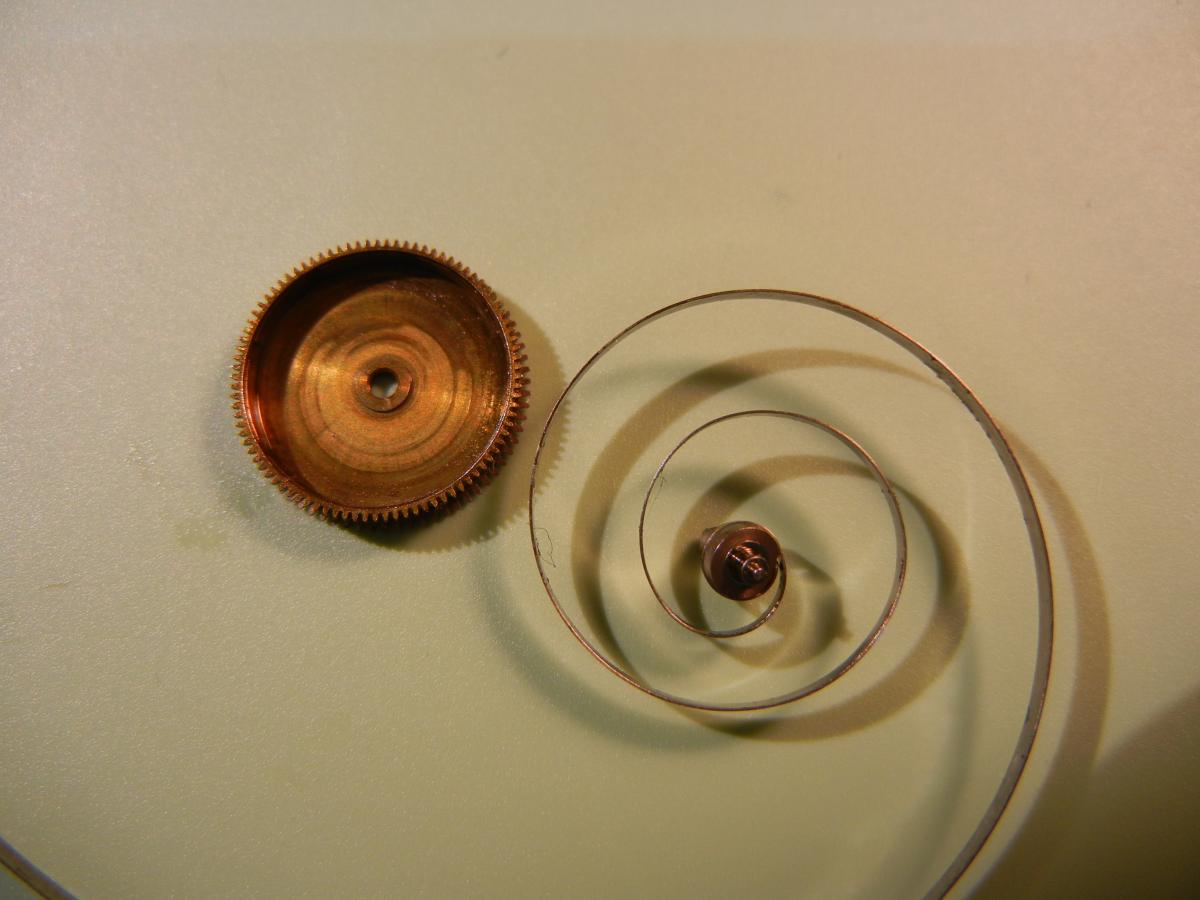
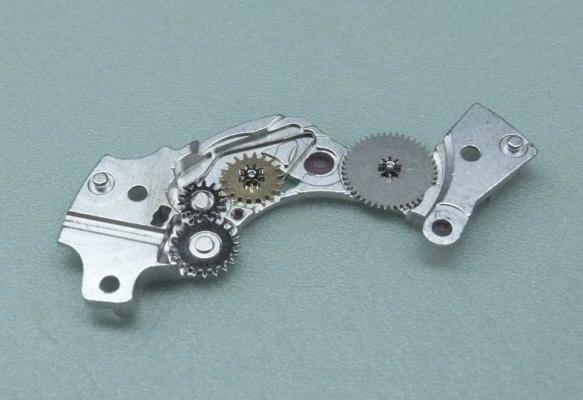
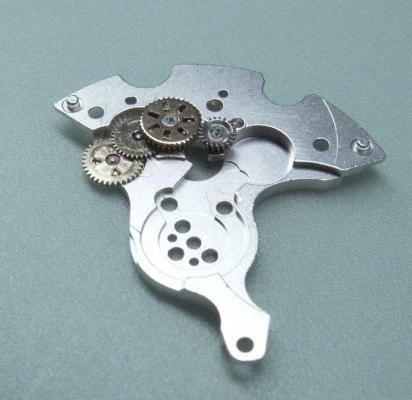
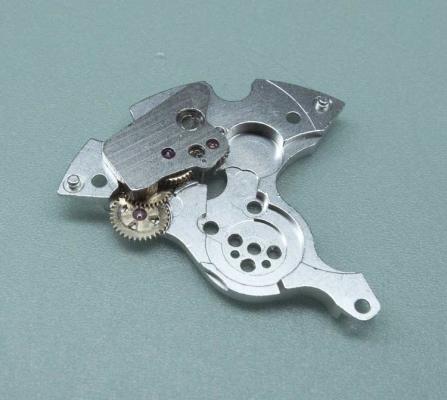
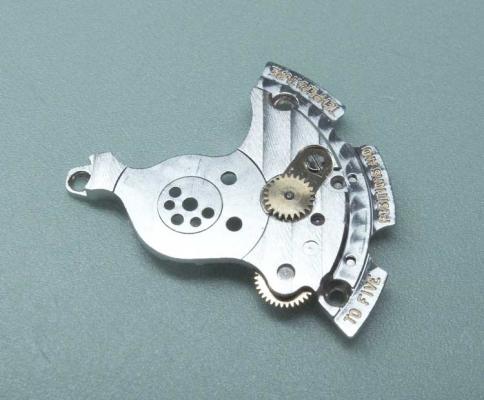
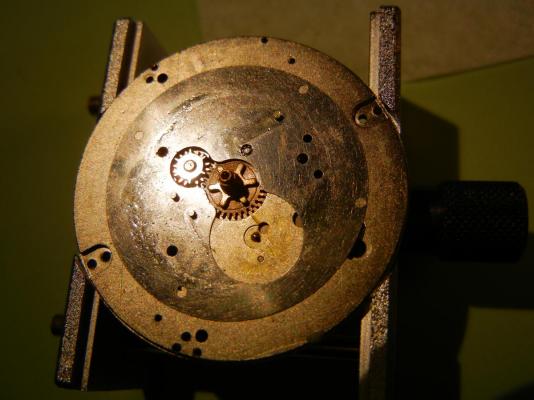
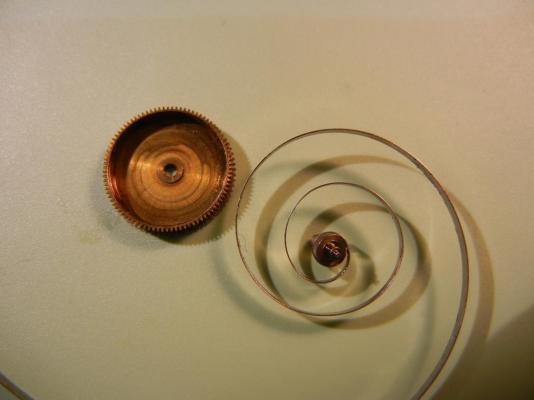
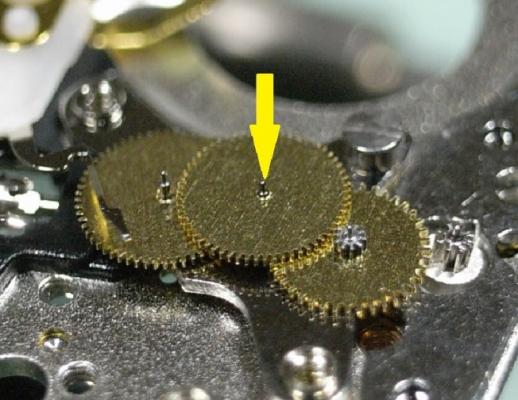
Hey Douglas The most import advise I can offer is taking time to position the rotor and wheels. If you look at the picture of rotor and wheels that I took, they are seated very carefully to be as aligned as possible before fitting the bridge. Once you've got the rotor and wheels positioned as pictured, carefully place the bridge on top, and hold it down gently on top with a piece of pegwood. Then with a fine pair of brass tweezers (#4 or #5) or an oiler, gently "worry" the wheels and rotor into their jewels whilst holding the bridge down with the pegwood. "Worrying" means moving them slightly back and forth Also if your bridge has become magnetized, you will have to de-magnetize it. A de-magnetizer is an essential piece of kit, and are very cheap on ebay ... I purchased mine for about $20.00. Never put parts into a cleaner without de-magnetizing all the parts.
 1 point
 -
Good one Bob, that'll be another off your list! :)1 point
-
With these incredibly small dials I've always wondered what optics they had them days or were their eyes just better.1 point