Leaderboard


Popular Content
Showing content with the highest reputation on 05/08/17 in all areas
-
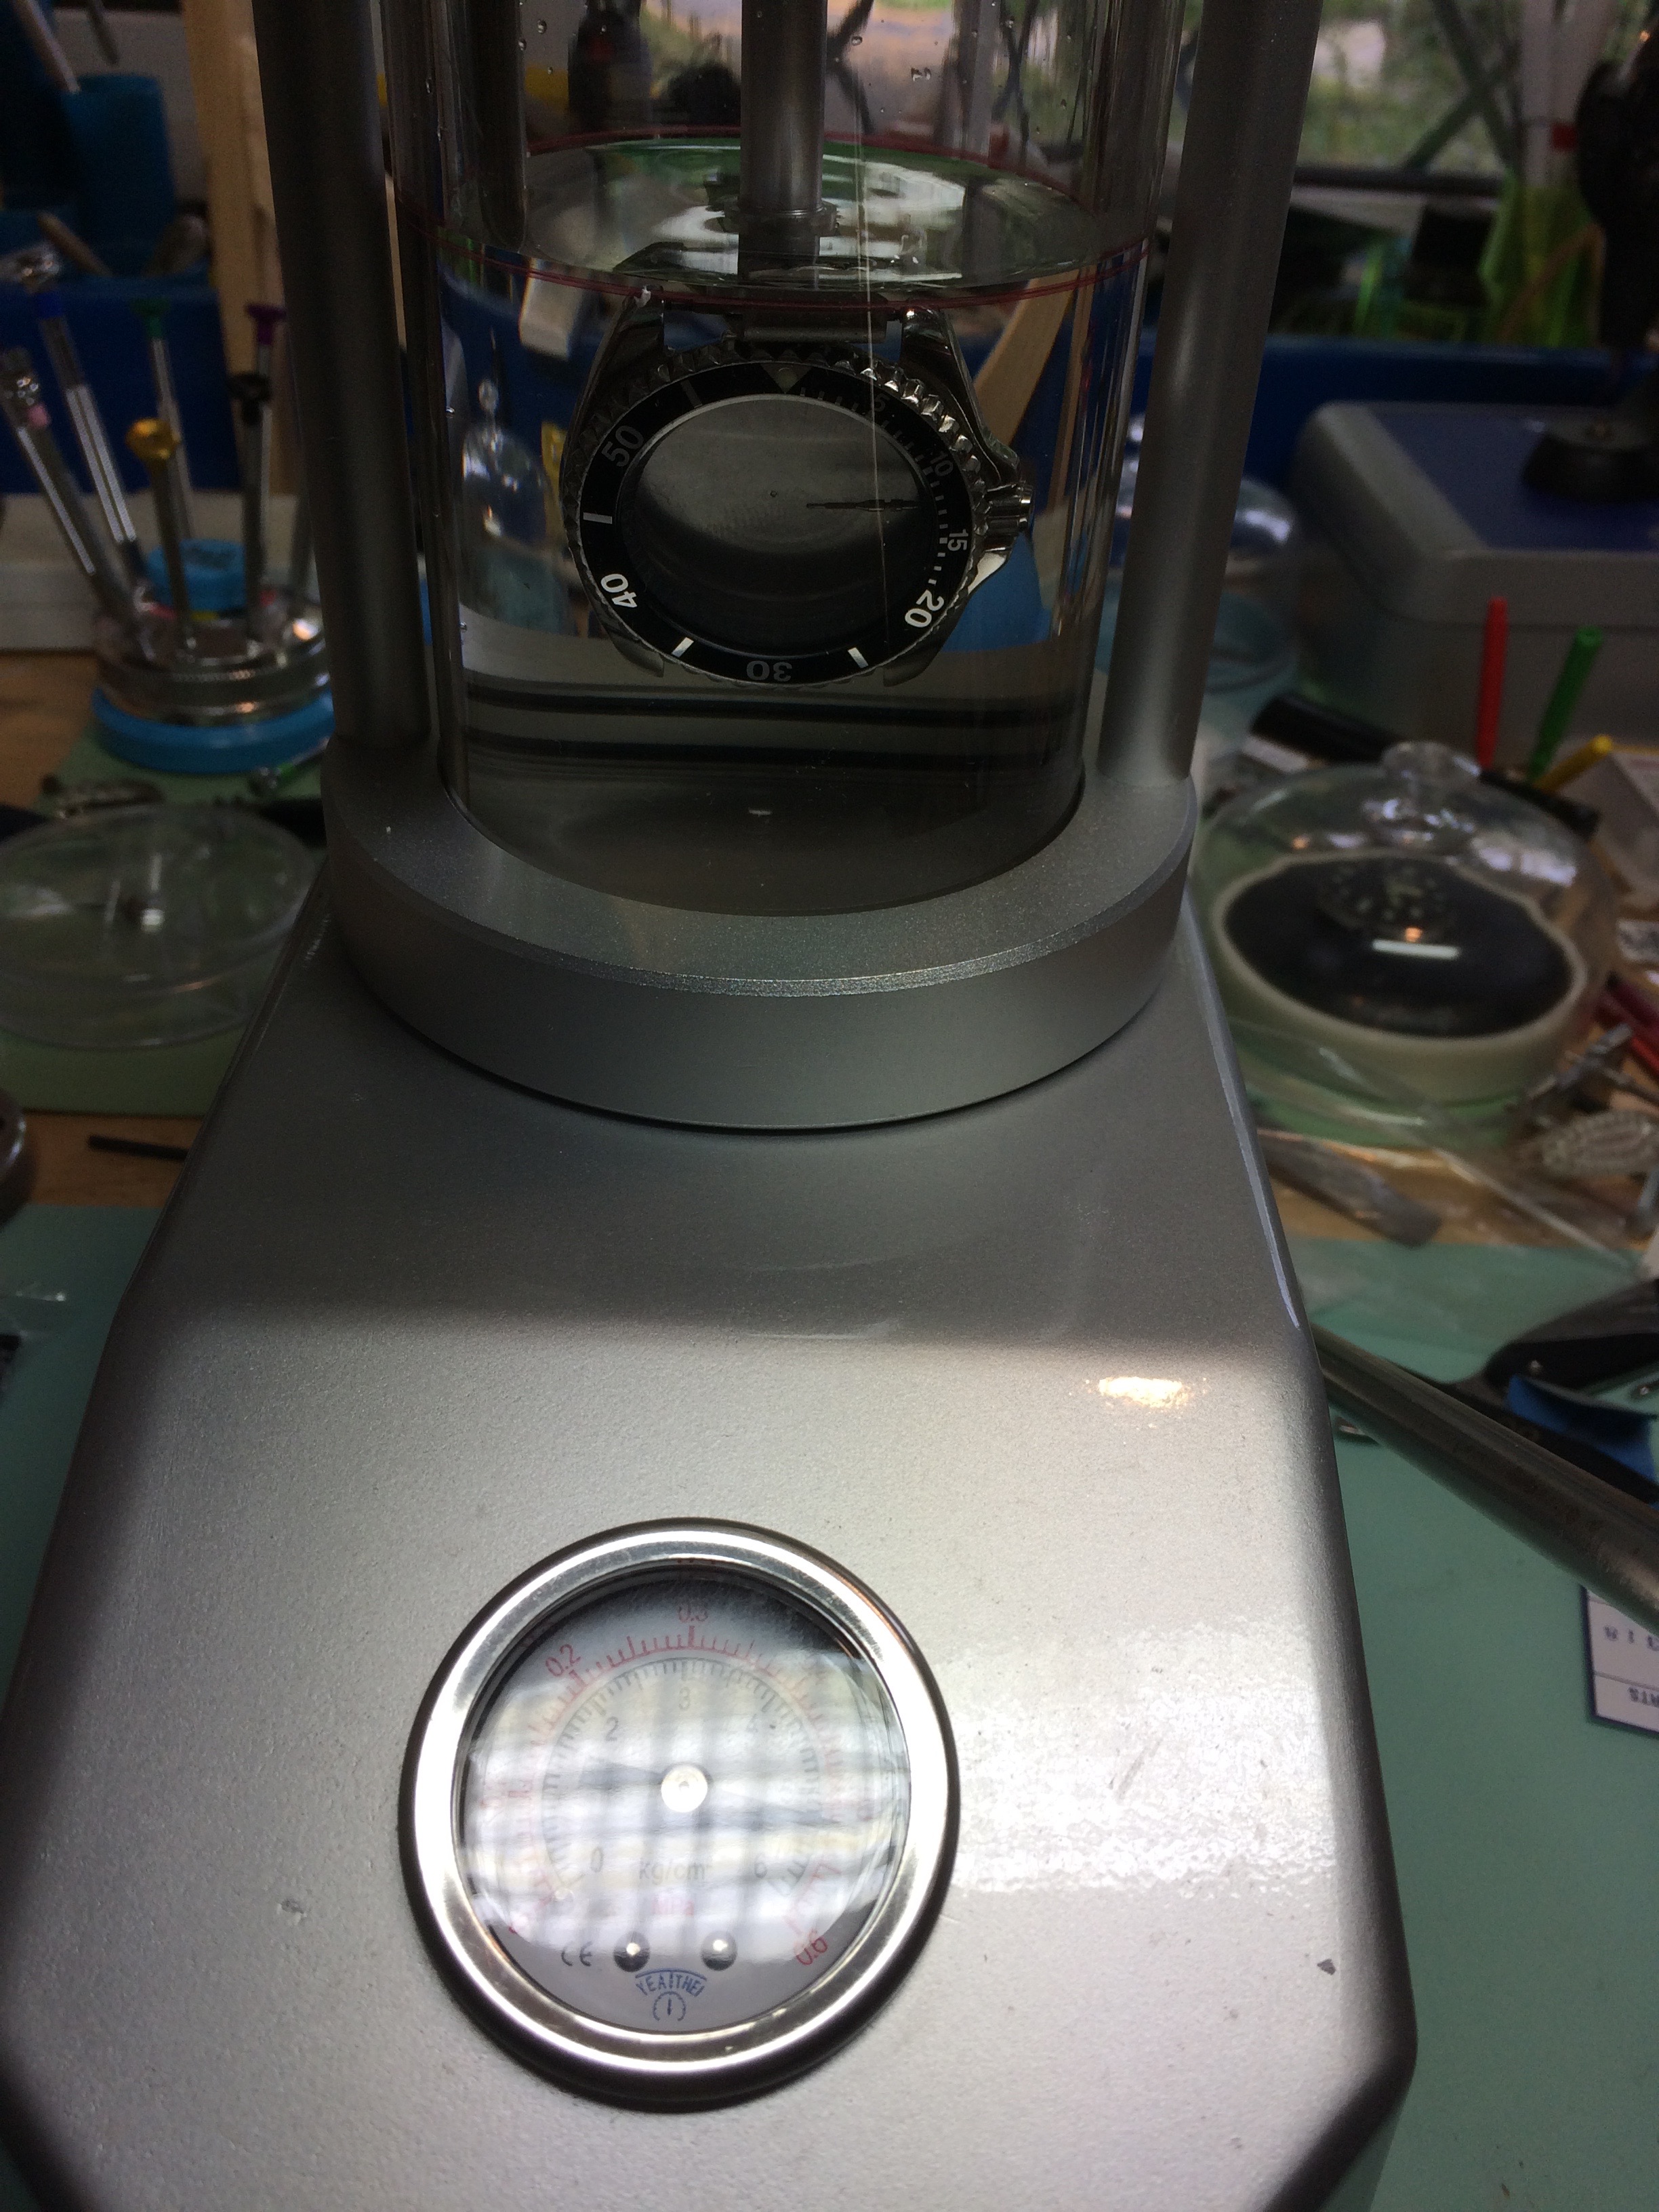
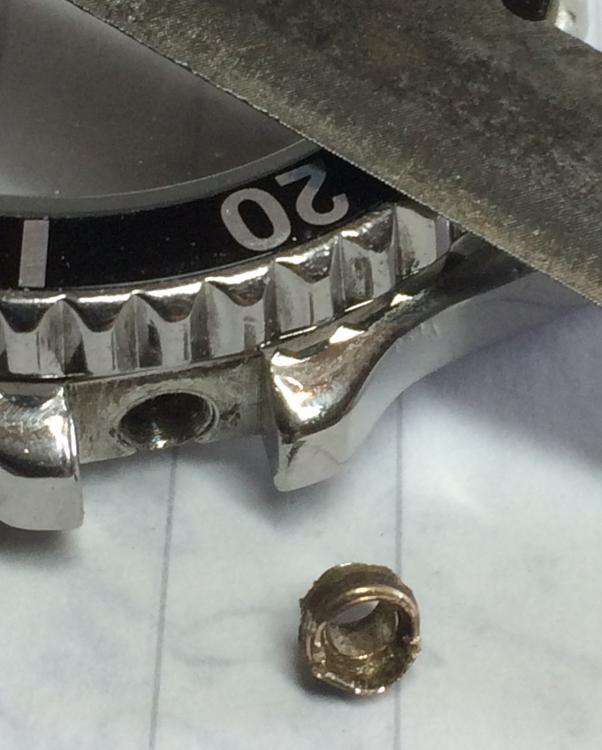
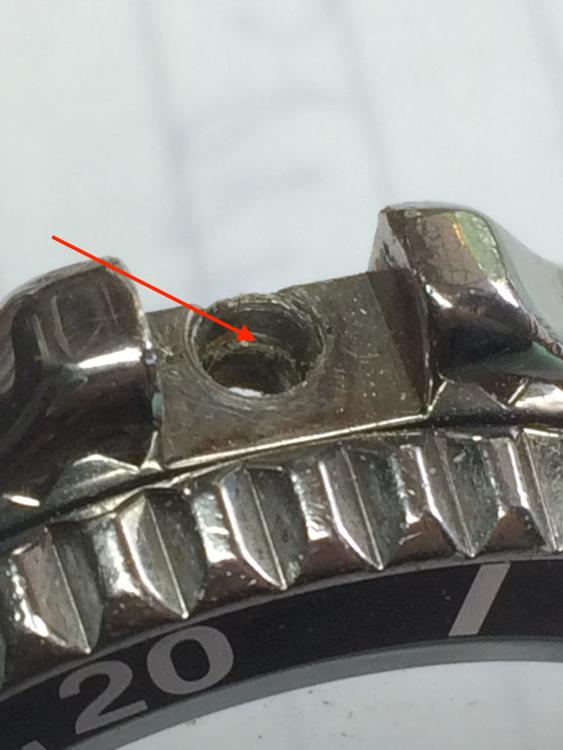
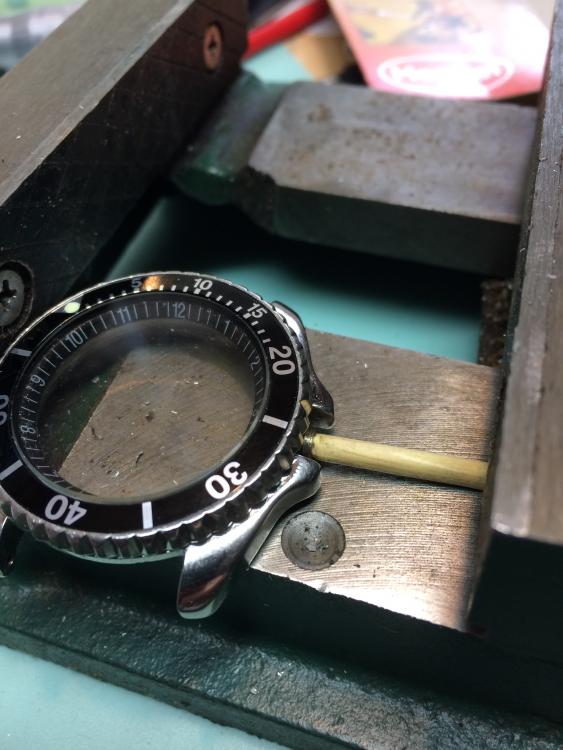
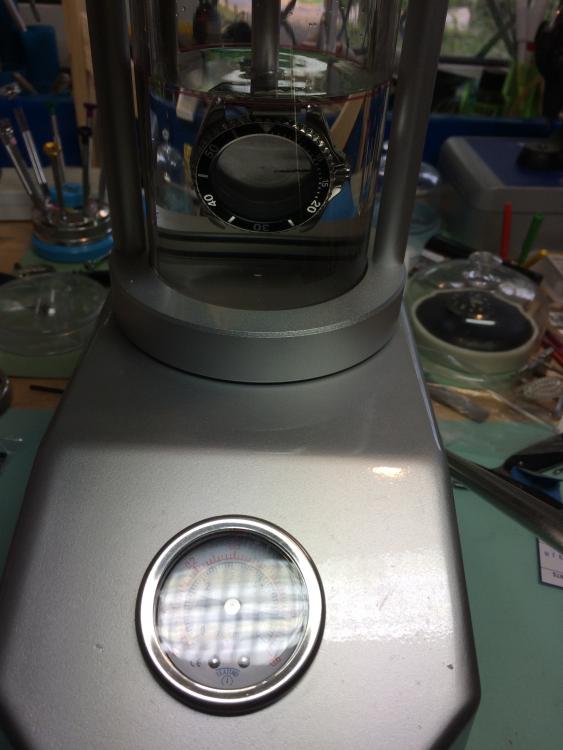
I can now give you a heads up on how these tubes are fitted & replaced. It was the most difficult job I have done in a long,long time. Despite a long time on the internet doing research I basically found nothing of any help. I received no help or advice from this forum or other forums apart from one bit of advice on another forum that suggested it was friction fit which was incorrect. So after a lot of experimenting and measuring with some scrap Citizen watches I found that the tubes are friction fitted to their standard watches BUT their Diver style watches to improve water resistance are a screw fit. I removed the old tube by putting a slit into the top of the old tube with a slitting file and twisting it out. Unfortunately with this watch a previous repairer had stripped the original case thread and had glued it in another tube and then packed it with a clear silicone. The Citizen diver style threads put in these cases only have a depth of 2mm. After a lot of thought & weighing up all the options I decided to try and tap the remainder of the case with a 3mm thread & screw in a longer crown tube that was 4mm long. The tap used had to have a 0.35 pitch not the usual 0.50 pitch for the tap to work and the hole required for the tap is 2.6mm. This proved to be another problem as the drills I purchased marked as 2.6m were actually only 2.52mm so I had to broach out some extra. HOWEVER despite this working fine on a scrap piece of metal I just could not get the thread to take in the watch case. I don,t know if it is because the case is a cast metal. I really don’t know why. So plan B was to but a friction fit tube in but the problem I now faced was I had made the original hole bigger trying to tap the hole. So I fitted a friction fit tube & used Loctite 243 a micro seal at the top of the new tube. I then held it in place overnight to dry. Unbelievably on test the case is actually watertight up to 5 bar. All I can say is I just got lucky and the loctite 243 really does do a lock & seal. I am not 100% not happy with the result because I finished doing the same really as a previous repairer had done which is a bodge job which is not my style. If I encounter this problem again I will just friction fit a tube and use the magic Loctite 243. If the original thread is OK then it would be a very simple job to just shorten a screw in tube and just fit. See some pics taken during repair TUBE REMOVED LIP ON THE CITIZEN REDUCES TUBE THREAD TO 2MM FRICTION FIT TUBE HELD IN PLACE FOR 24 HRS. WATERPROOF TESTED UP TO 5 BAR (50 METERS)
 3 points
 -
Walthams can also slip on the centre arbor as well, especially if a little wear is present. Make sure it's a snug fit Sent from my SM-T585 using Tapatalk1 point
-
Yes make sure you bend the last 5 mm of the spring elt's it will slip off when it gets under pressure...1 point
-
All the new springs I have put in had to be bent on the end, you don't need a spring winder to put a spring in just strong fingers....1 point
-
Omega with water based top coat - soaked in destilled water with a few drops Fairy - brushed lightly every couple of minutes. Before After1 point
-
Greetings and Salutations! Hope you enjoy participating, and Have Fun!1 point
-
Welcome AJ. Yes it is a friendly forum with plenty of knowledge to share. Enjoy.1 point
-
You normally find it when looking for something else!1 point
-
Welcome Virus, You certainly have an incentive to get stuck in and I look forward to your postings. Cheers, Vic1 point
-
Here's another. No its not the Rolex circa 1931 perpetual automatic design. See the date Sent from my SM-T585 using Tapatalk1 point
-
Hi, I thoroughly enjoyed reading that, thanks for sharing it.1 point
-
Gorgeous! Rare to see one in such good condition. Did you have the dial repainted?1 point
-
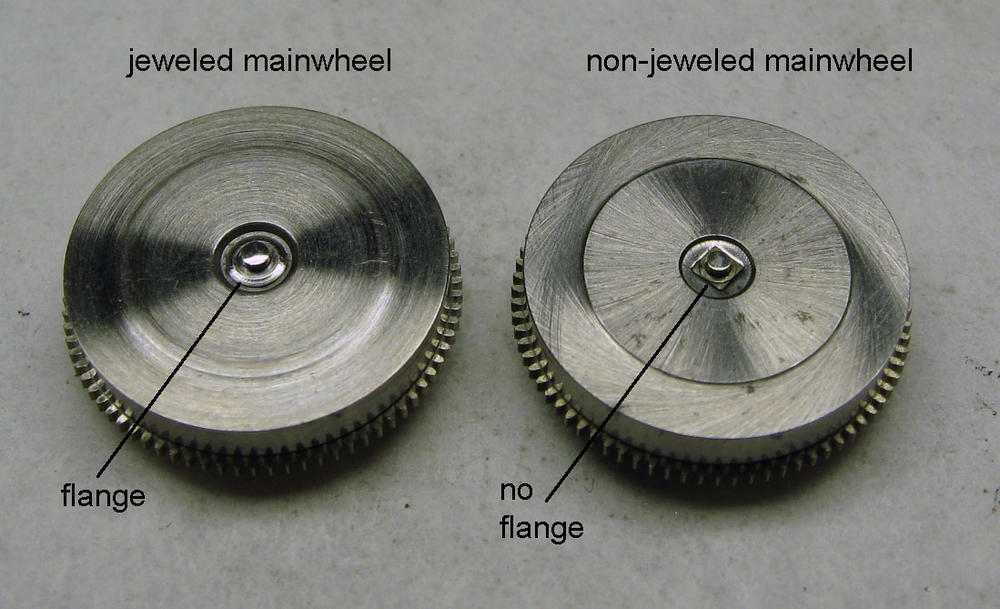
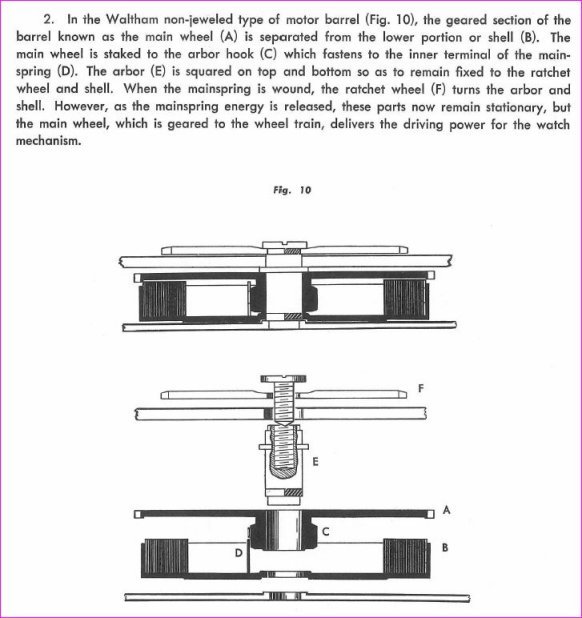
Soaking the parts in lighter fluid for 30 minutes dissolved the crud enough to allow me to release the escapement wheel and pallet fork from their prison. The watch parts have cleaned up nicely. I'm now seeking out the replacement parts. Rounding out the mainspring barrel discussion, this movement is equipped with a Waltham jeweled Safety Barrel. The non-jeweled version is as illustrated above by JohnR725. The barrel I have has a cylindrical pivot on the bottom of the barrel (as shown on the left in the photo I attached), not a square cutout to accept a square pin on the arbor.
 1 point
 -
Waltham was a rather innovative company that made interesting watches to puzzle watchmakers. Like changing the balance staff and opening the mainspring barrel. Attached is an image of the barrel which I think you have.
 1 point
 -
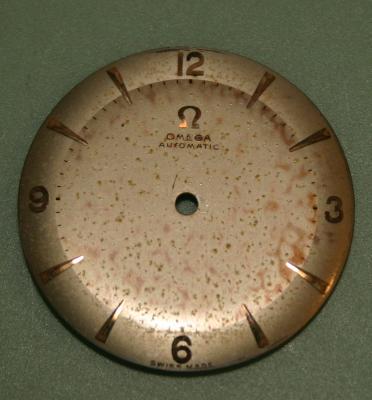
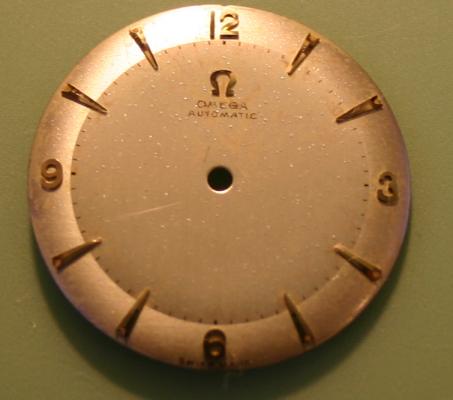
Hello, I have this Omega watch with a stained dial. It's not the kind of "patina" I find particularly appealing so I wanted to see if I could clean it up with the usual soapy water but nothing happened... Then, by chance, I bought the exact same Omega dial for a couple of dollars at a flea market, with the same kind of discoloration (I also scored another omega (354 bumper) in the process, I'll clean it up and give it to my dad). So it was time to experiment !!!! Before picture : All 3 methods were applied with a Q-tip (cotton swab), gently rubbing the cleaning solution on the dial, and rinsed VERY WELL using distilled water. First up : more soapy water, with different soap concentrations... no change. Second : lemon juice diluted in water, increasing the lemon juice concentration slowly... no change Last : Windex (ammonia based window cleaner) MIRACLE !!!! It took about 30 minutes of work to get this result, doing one little portions of the dial at a time. I chickened out around the writing on the dial, so it doesn't look as good as other places. I didn't want to push my luck. After picture : Share any method you've used and before/after pictures.
 1 point