Leaderboard


Popular Content
Showing content with the highest reputation on 05/29/16 in all areas
-
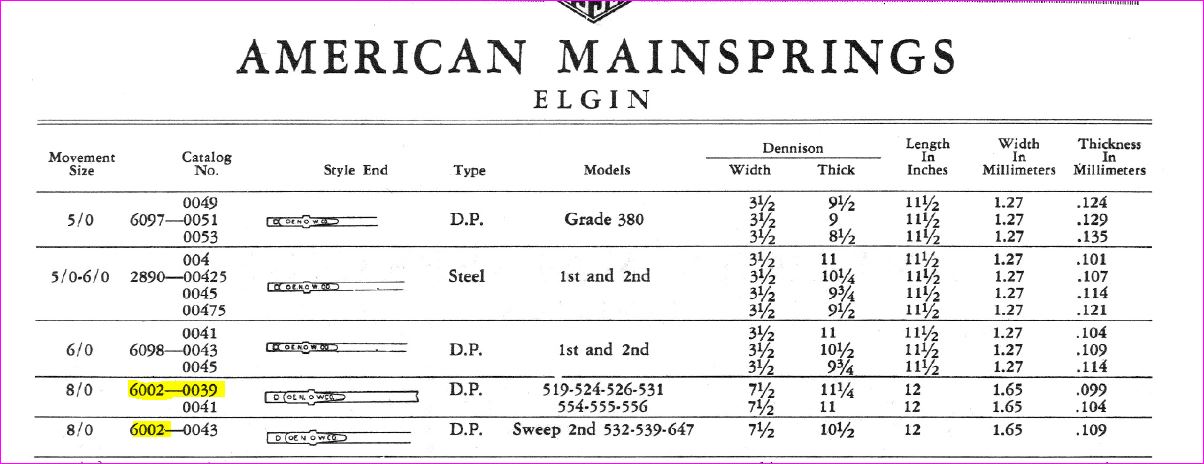
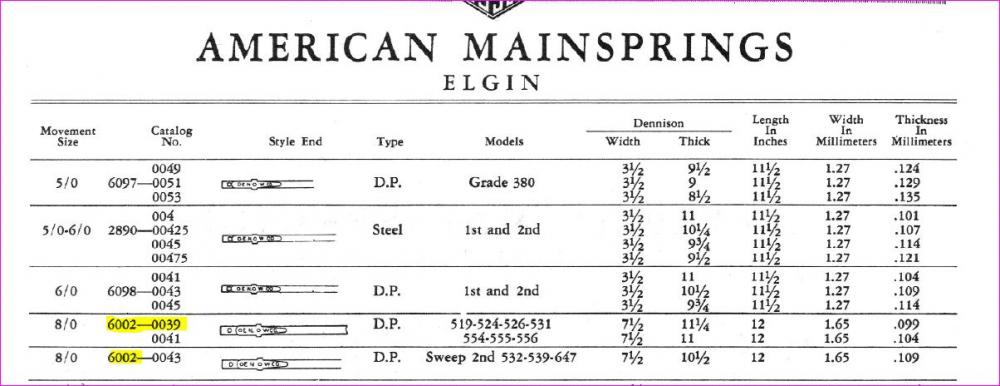
First to add to the confusion mainsprings are interesting because of how their measured. Typically the numbers represent the width, thickness and the length. Watchmakers are creative they used what they had available so we typically end up with a variety of measurements. So basically this means is a lot of confusing numbers on a package of mainsprings depending upon when it was packaged and it and where. So modern conceivably is all metric. American watch companies typically are inches and Dennison and metric. Meaning that the width and thickness conceivably could be any of the three measurements with the length usually in inches. The watch Springs that fell out of the packages do you have the packages? Having packages with numbers means you can compare those to the spring versus springs with nothing. The springs in the metal rings will probably have to be removed to identify them. Right now all you can measure is the width perhaps the thickness of the spring and nothing for the length unless you remove it from the ring. Your second photograph shows an Elgin mainspring If you look carefully in the background is the ghost the word Elgin. So working bottom to top the bottom number is the thickness in inches. The next number 8/0 is the diameter the movement or the size of the watch. I will skip over the 6002 because I'm only looking right now at the package before I go look at reference material so you what it means. Then the next line the DP is the type of end and there is the abbreviation for mainspring. The rest of the numbers I needed to go to a reference. Reference image attached the 6002 is the part number of the mainspring for a 532 watch. I'm also giving a link for find the Elgin parts. If you enter in 532 it will take you to the page where it tells you the mainspring is 6002 notice it does not tell you the thickness? This is why typically when changing mainsprings I always measure the spring just to make sure you get the right replacement hoping that whoever replaced it before you use the right spring. Then not exactly an answer to the question but for those people who like confusing things a interesting article on mainspring gauges http://www.nawcc-index.net/Articles/Watkins-MainspringGauges.pdf Interesting link with converting the various measurements and bonus formulas at the bottom for figuring out mainspring length. http://www.dashto.org/images/msChart1.jpg Reference location for looking up Elgin part numbers http://www.elginwatchparts.com/
 2 points
 -
Hi guys, just joined in to this wonderful forum. After looking at watches online and watch repair on on the Tube I got hooked, being a mechanic / technician I just love the little gears and levers and stuff, how can they ever make it so small ?? Anyway I got a cheap Caravelle at the flee market , took it apart and now I'm re-assembling . Then, I'll do it again just to get a feel for it. I'm sure I'll find a lot of info on here , looking forward to it. Cheers1 point
-
If you know the cal number of the movement, you need to tell them and ask for the correct replacement, if you email them you could take a picture and send that.1 point
-
On these case the back, like the bezel, is screwed. Are you really sure it's not ?1 point
-
I should point out however, that rubies fluoresce under UV light. I have a strong LED UV flashlight at my desk for those occasions where a jewel is dropped on the desk but out of sight. It's saved me once already.1 point
-
Is there a little lever between 1 and 2 that you move in order to release the movement when you pull the button out to set the hands.1 point
-
Picture 2 Is the interchangeable rings that goes with tool from picture 3 Picture 3 Ring sizing stretching tool for rings without stones, such as wedding rings. The idea is to find the right width to fit the ring by changing the one on the right, the ring to be made bigger is put over the left side and in line with the right side, screw the thing close to the ring to be stretched then move the tool by tightening it and keep moving it back and forth. What will happen is the gold will stretch and increase in size. Picture 4 I think is for making watch lugs curved. Picture 5 is a vice for holding and filing down watch bracelets to fit the width of the watch. Picture 7 Is a watch bracelet cutter, you put the end of the bracelet into the slot and squeeze and it will cut the end off then file and shape to fit the width of the watch. Picture 9 I think is a burnisher used for placing gold leaf. It should be nice and shiny not rusty. What I have described here I have used many times in the past in my workshop apart from tool 41 point
-
I don't think it was designed to be fixed. You'll have to pry the glass out. Might just be glued in.1 point
-
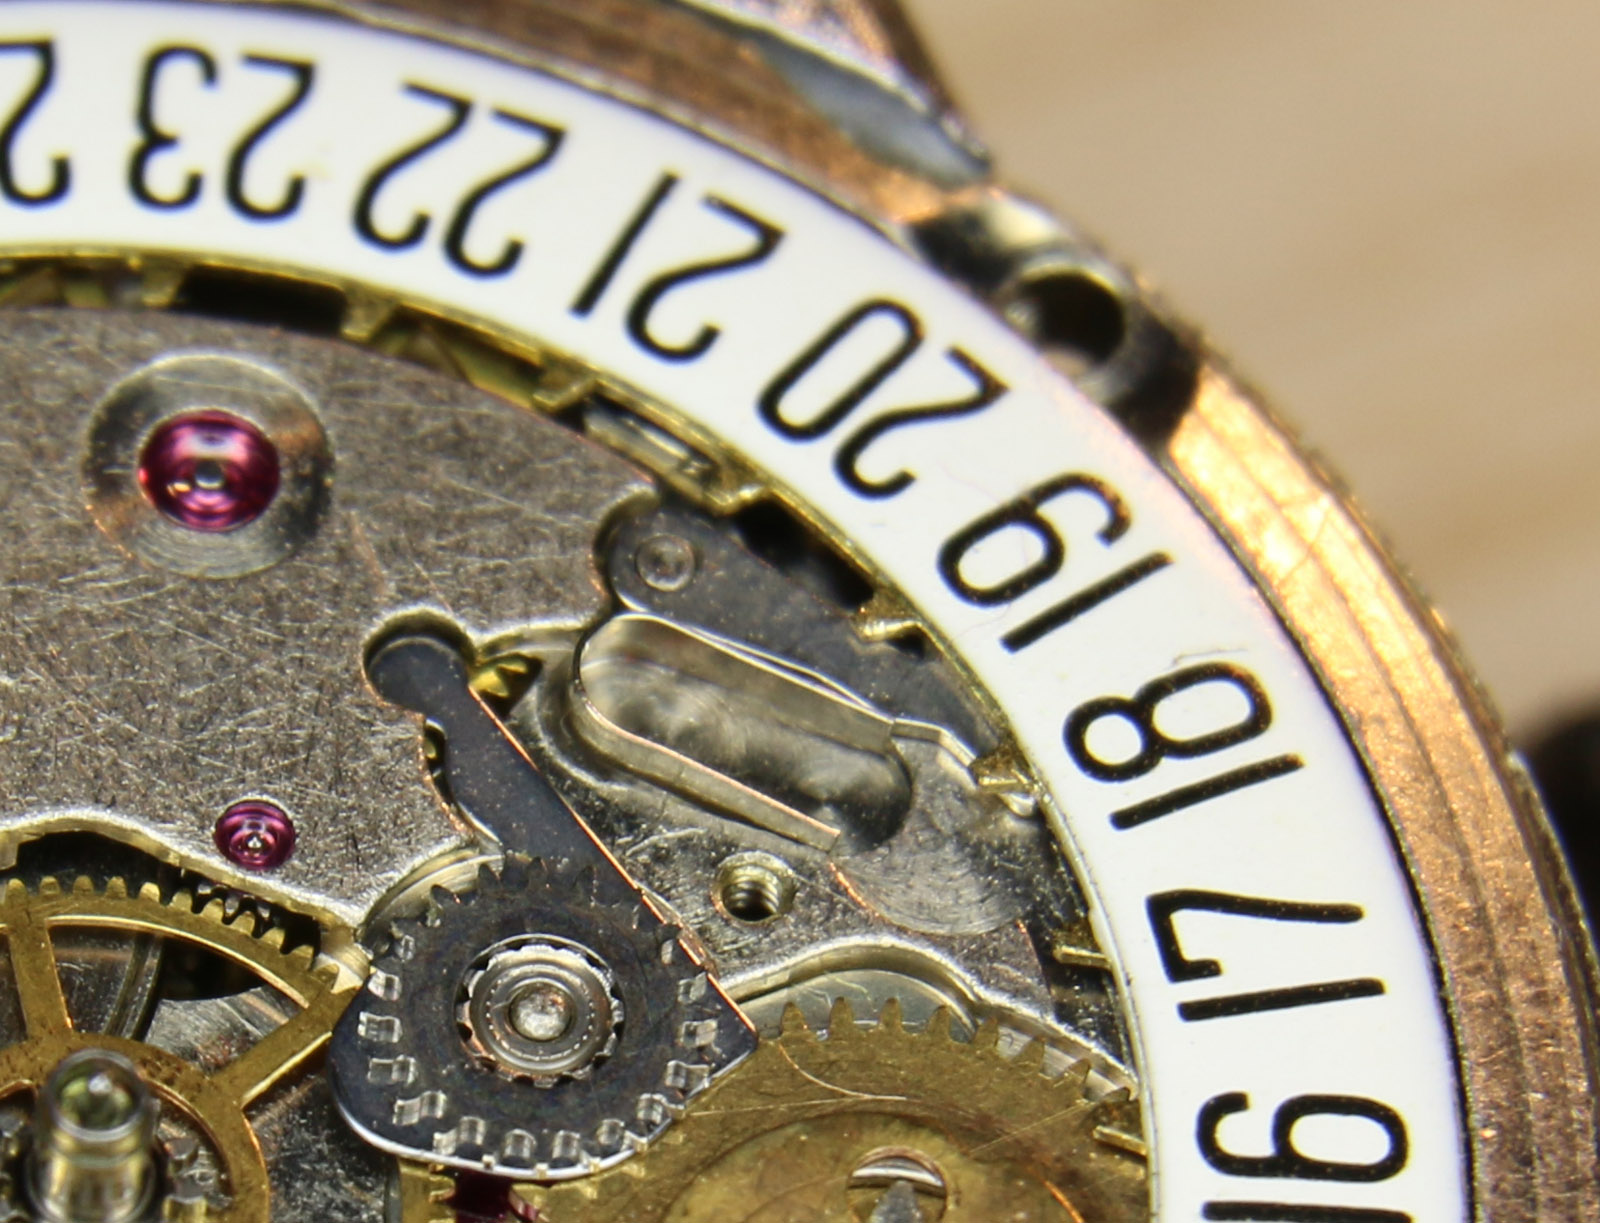
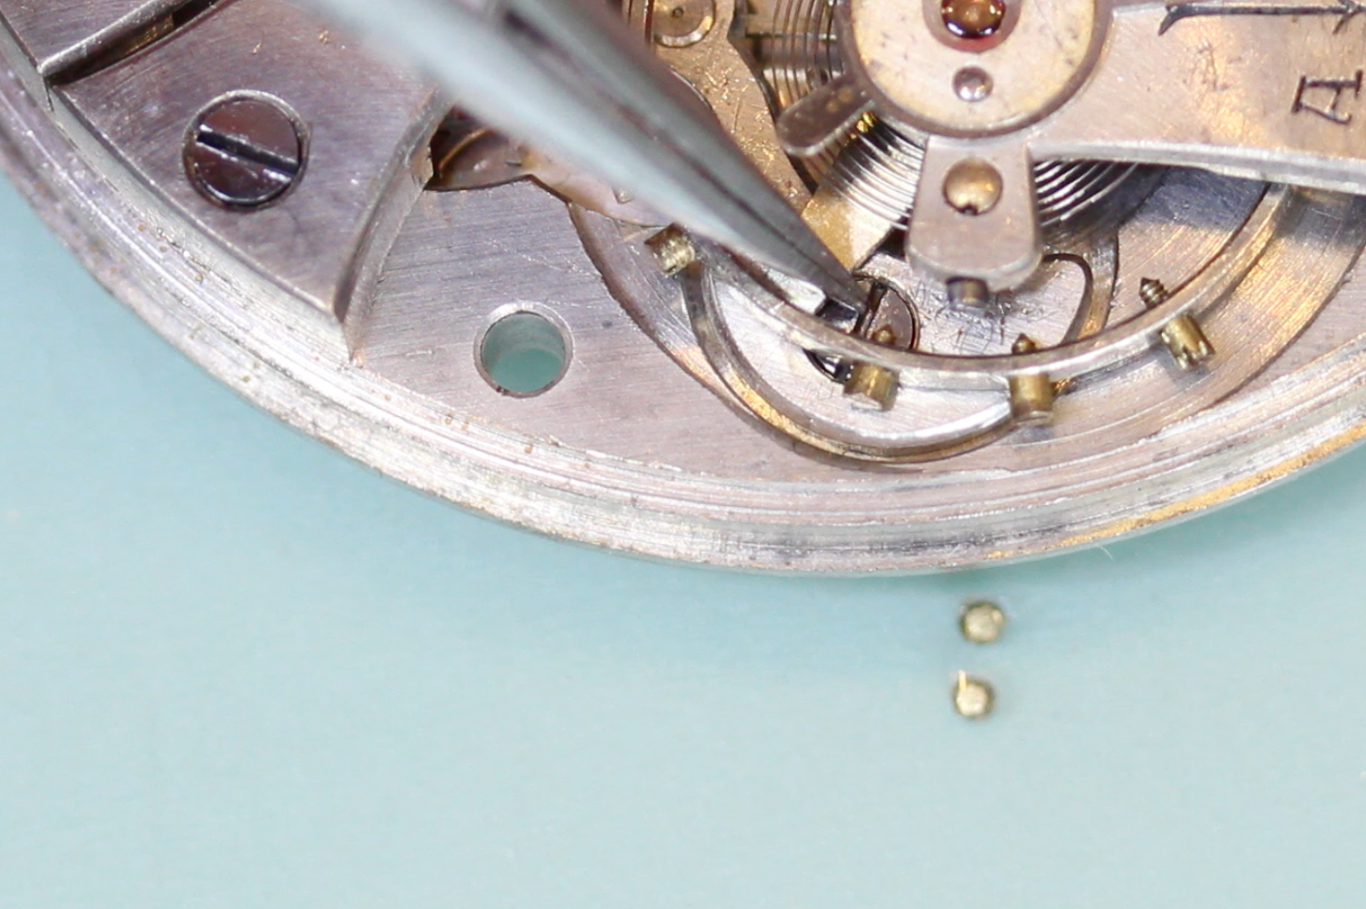
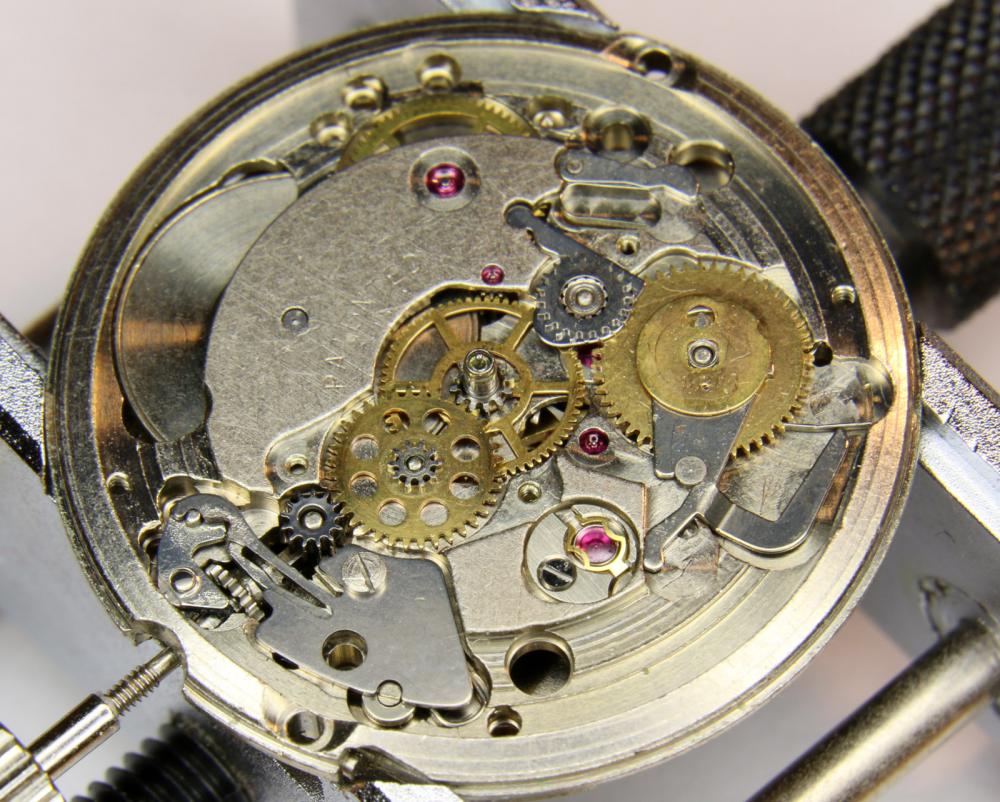
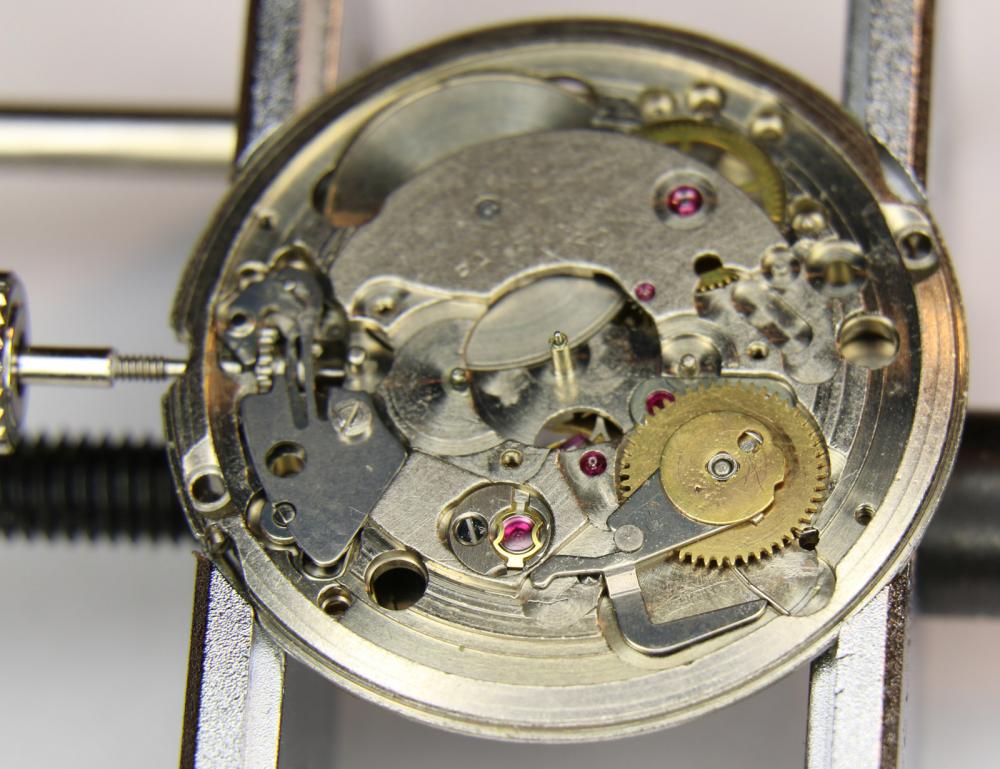
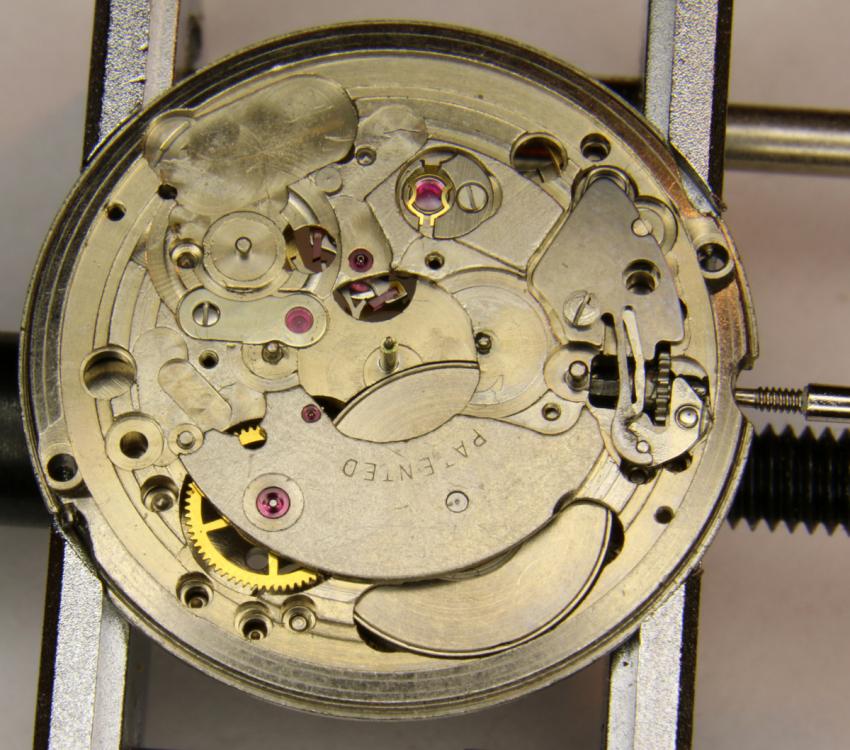
Here are photos of the disassembly of the date mechanism. Very delicate spring! Be aware! The date driving wheel lever slide assembly suddenly jumped away. I didn't find a way to do it properly. Nevertheless both parts could be found. No issues here. Enough for today. Cheers Alexander

 1 point
 -
Great job Alexander! Pity the parts are not available. Thank you for the new 2472 thread! Cheers, Bob1 point
-
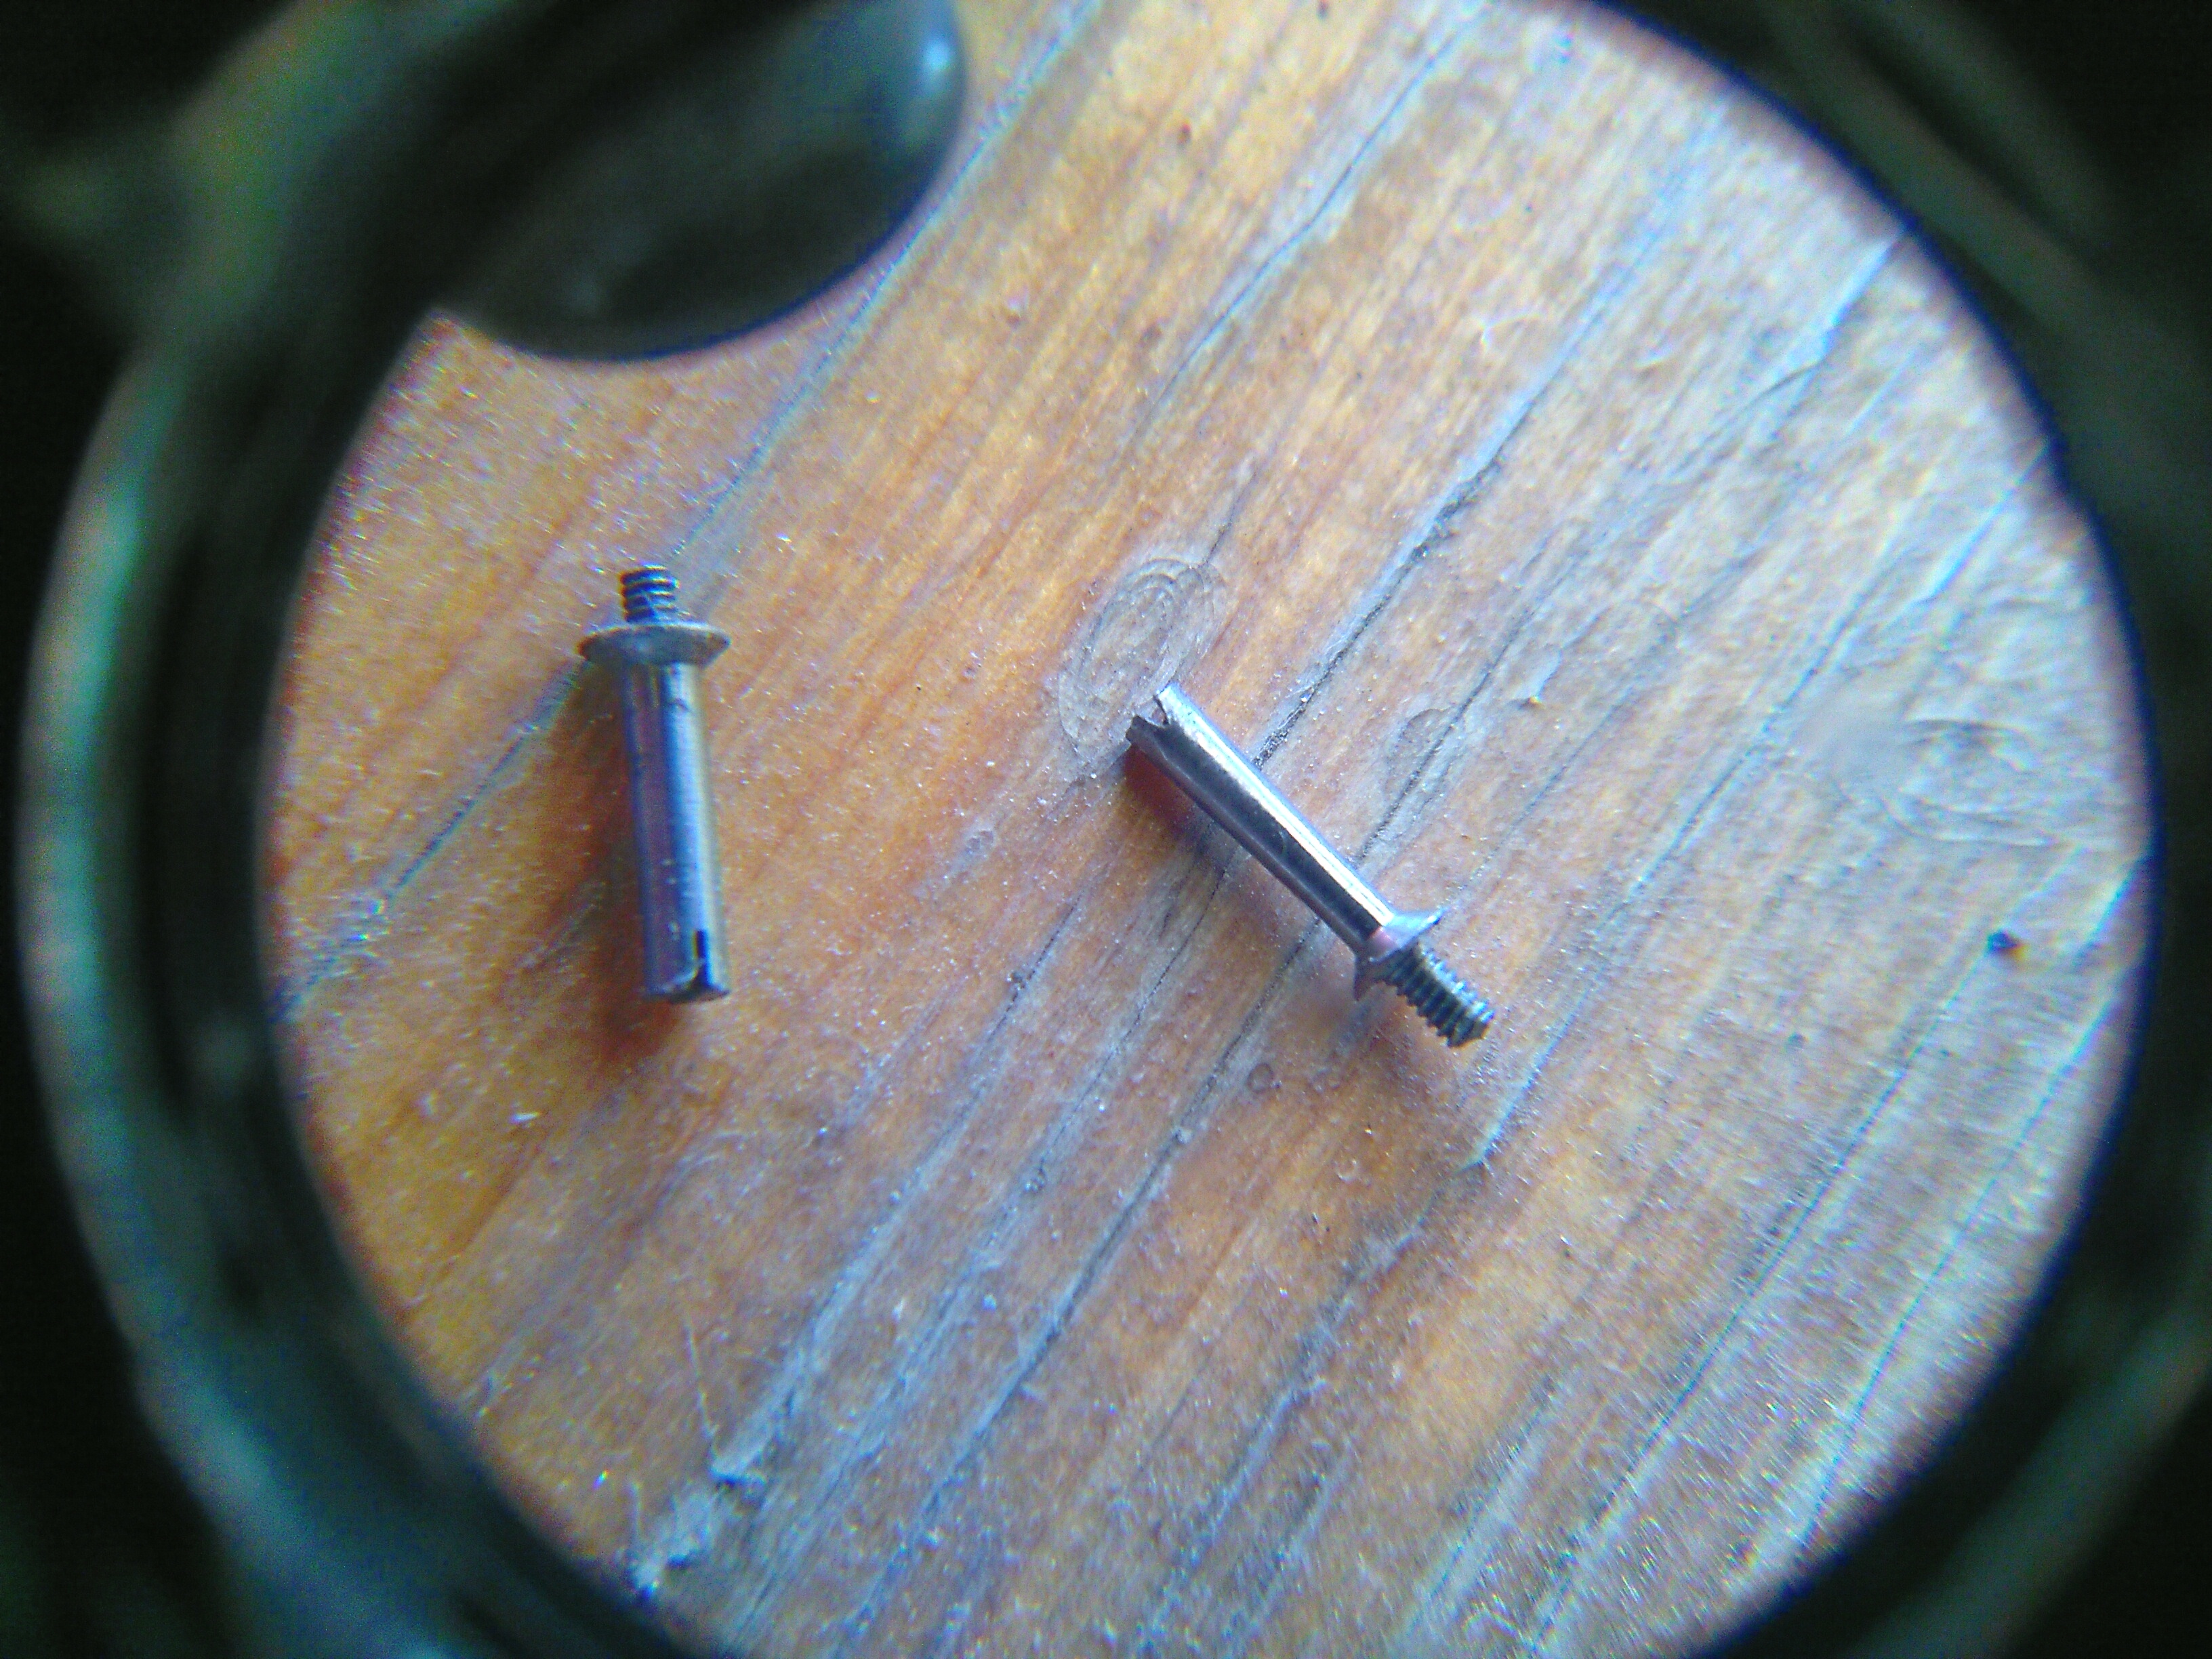
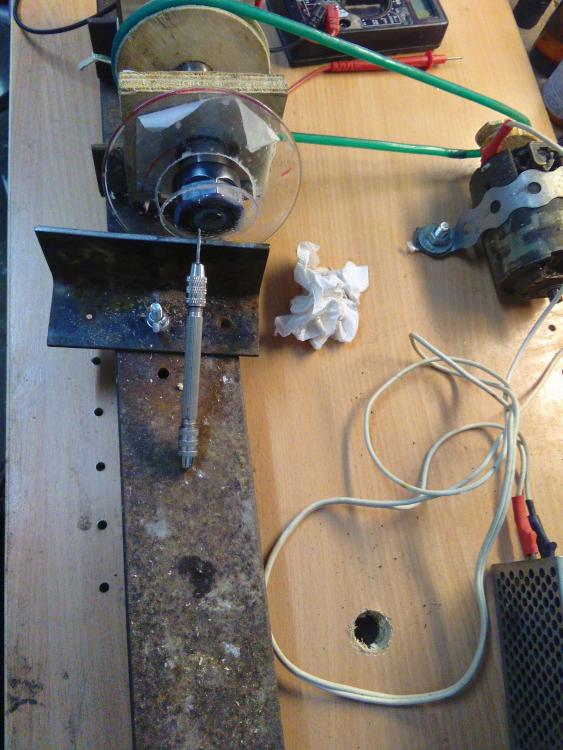
Today i needed to make one dial feet holding screw for the Roskopf to try on the new domed glass a grinded. Started from a 3mm nail. M1.2 thread since the previous screw (M0.9) was broken and had to push out. Roughly shaped upper part. Nut cutting with my new "special file" an old broken pocket knife. The new one on the right. And finally i could put it all together after a bit dial feet adjustment.


 1 point
 -
@Szbalogh I genuinely admire your ingenuity and your "can do" approach to your projects. You put me to shame for my reticence to tackle some of the more challenging aspects of watch repair just because I haven't got the "right" tools. I just love the solutions you put together to get the job done, and by the look of it the end results show that ecxellent results can be achieved without spending a small fortune on tools, just so long as you have a bit of inventiveness and a positive and determined approach. I salute you1 point
-
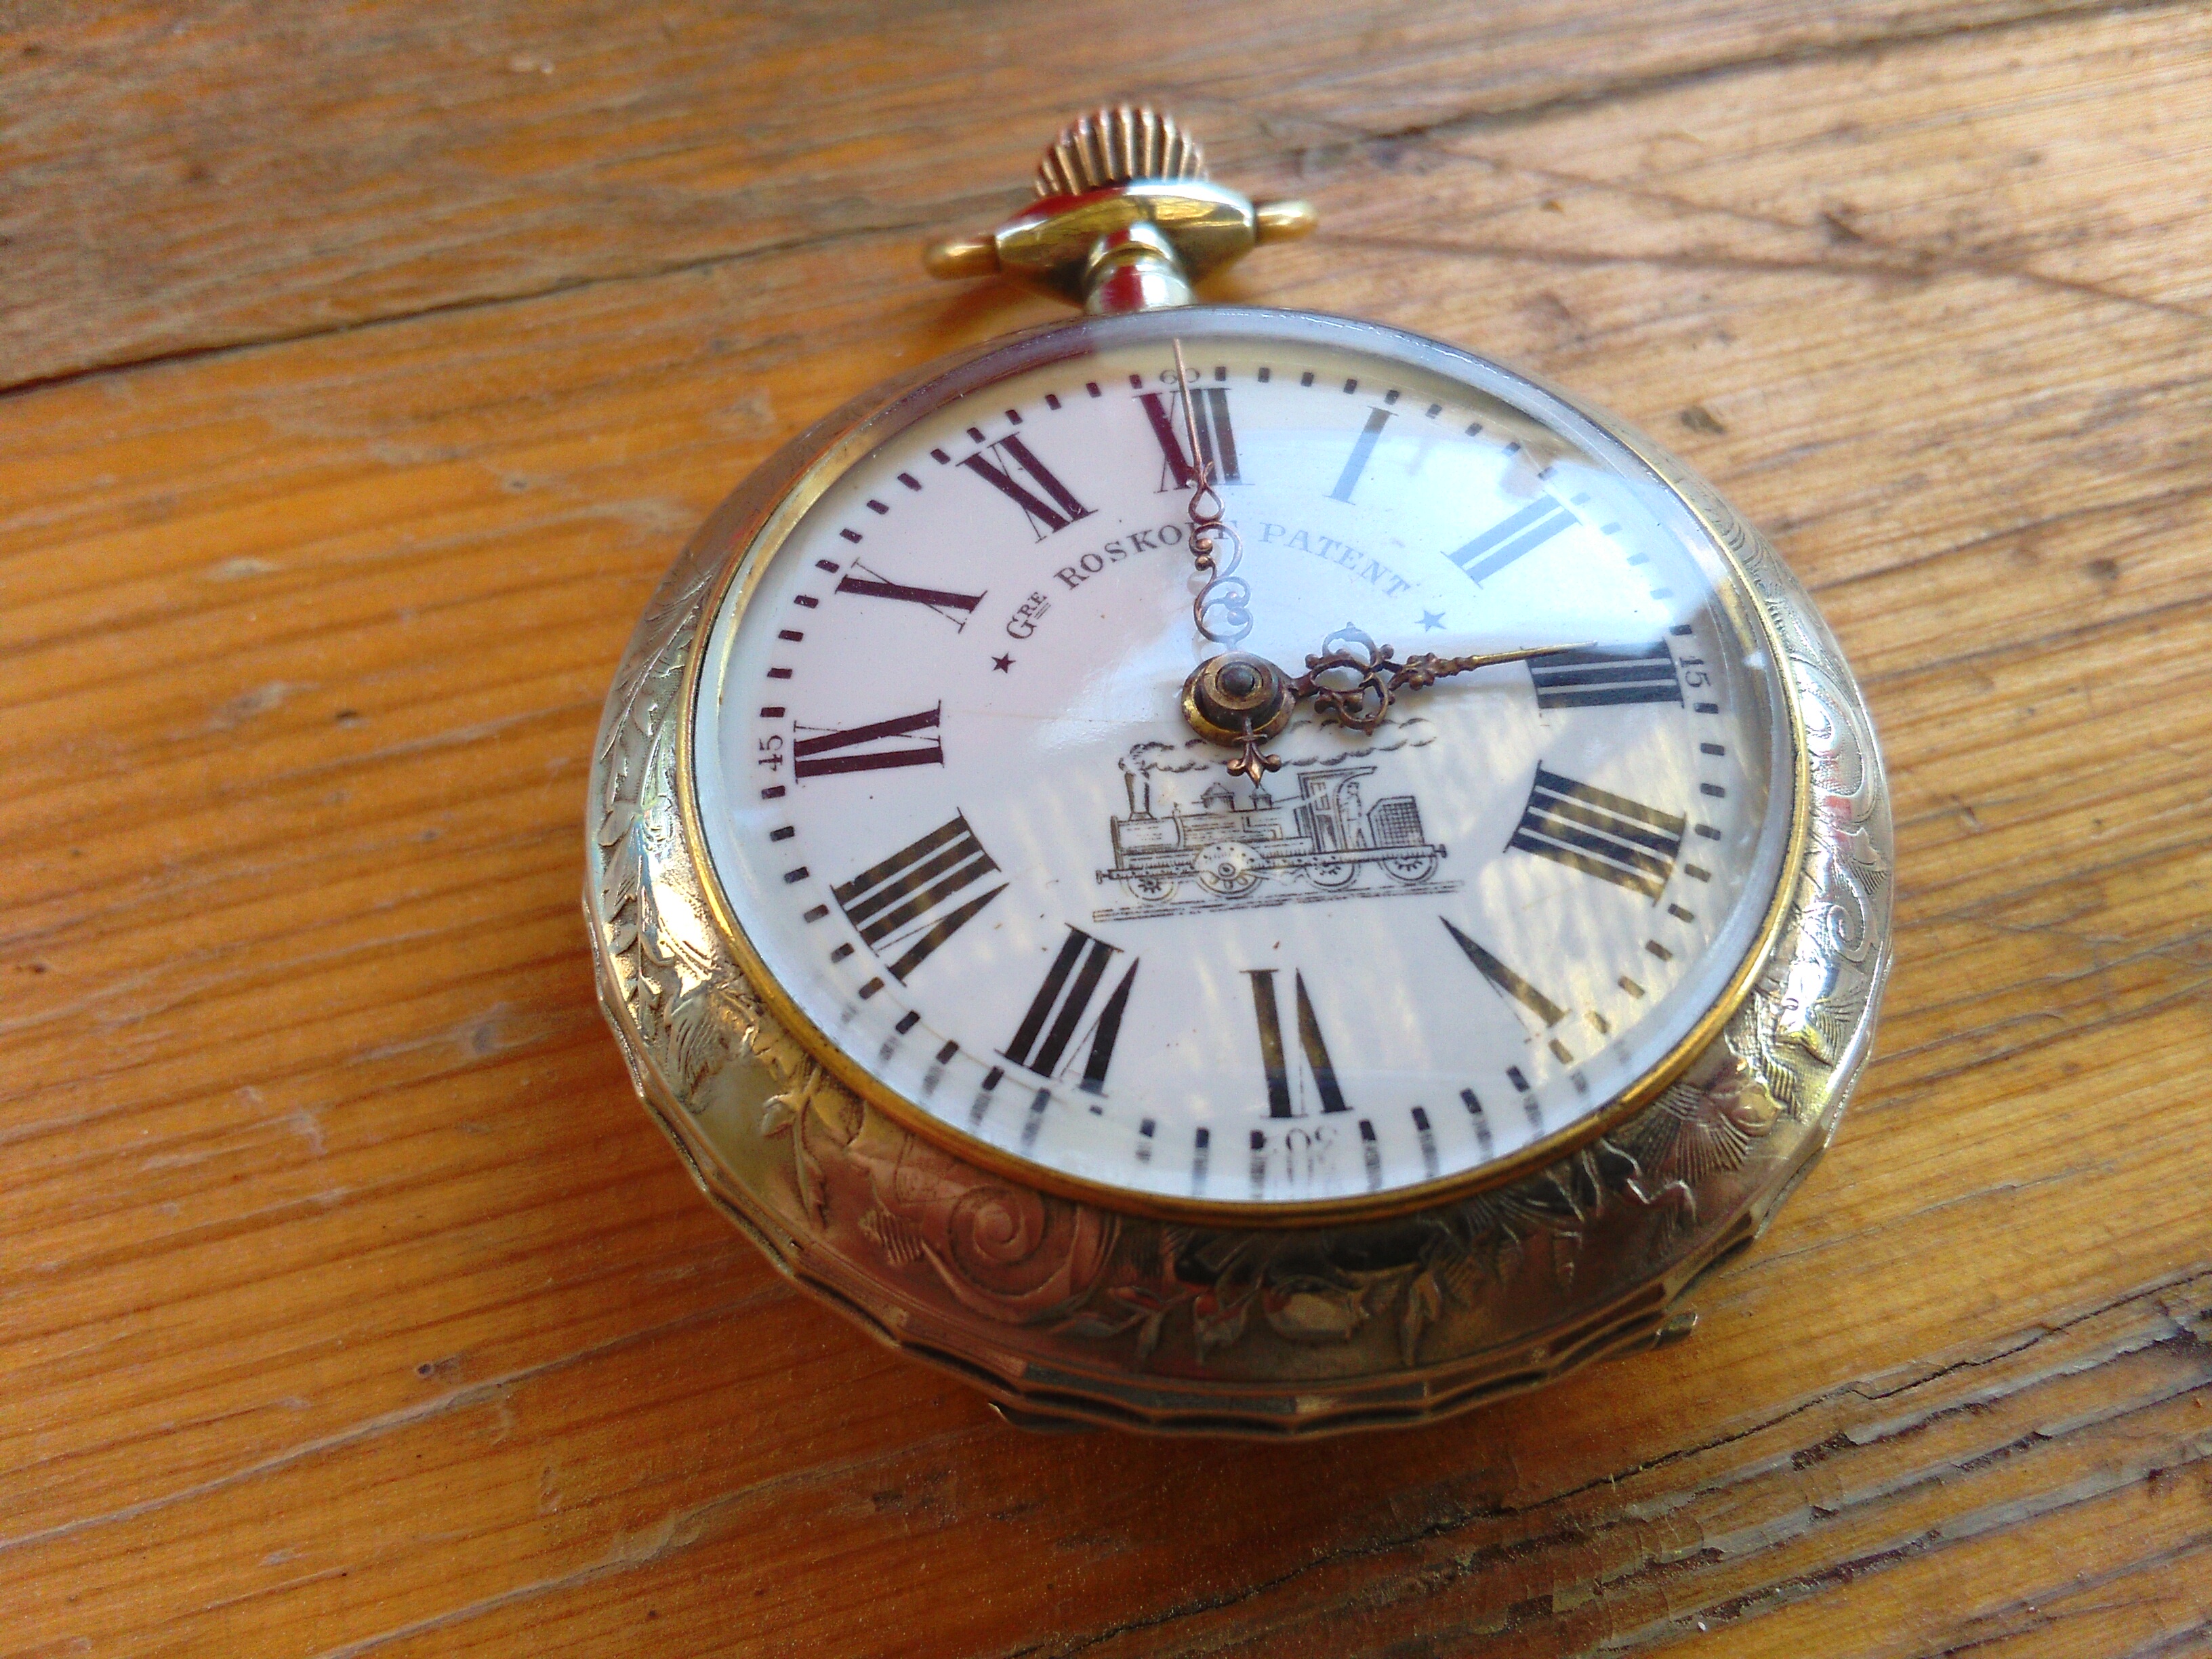
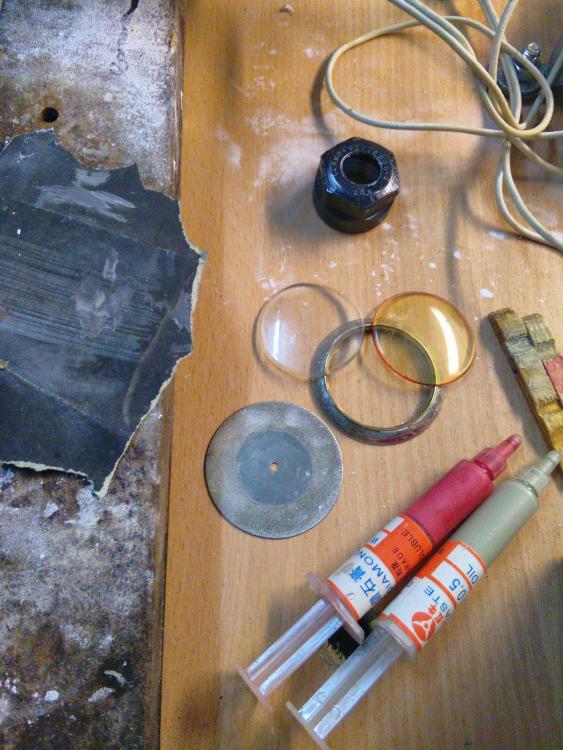
Ordered some laboratory hourglasses. They are 1.7-1.8mm thick. Just finished the domed glass for the Roskopf from one of them. The final diameter is 40.05mm. First, 45-46 mm middle was cut. Here is the finished crystal, the old plastic one, the front bezel and the tools i used. Desired diameter was reached with the diamond disc. 1000 Grit sandpaper, 3000 grit and finally 10000 grit diamond paste was used on the edge. Perfect heat-fitting. No fancy cement or glue However, i added some diluted UV glue on the edges after fitting to make sure it wont fall off. It will cure tomorrow on the sun Now i am waiting for the thin flat glass for the back bezel.
 1 point
 -
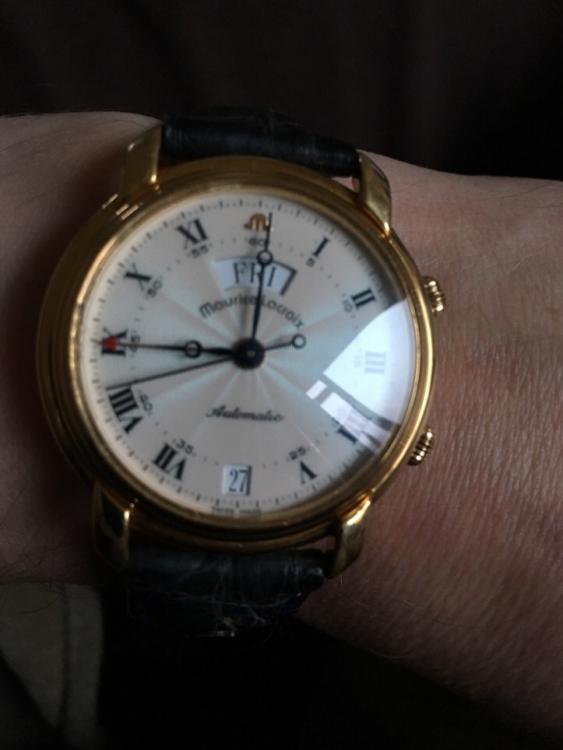
thanks to all that assisted, the Lacroix is beating away nicely
 1 point
 -
From the pics it appears this would be a "waterproof" model that Bulova produced, (full case back or one piece case) which means through the bezel access and two piece stem, likely seller won't go through process of removing movement, it's a bear to get male and female ends of stem to line up, at least it was for me on my first one. Glad it has new battery!!!!!1 point
-
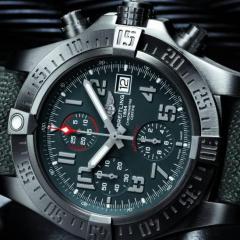
Hi. My name is Jason and I'm an alcoh watchaholic. I started getting into mechanical watches only 4 years ago. My daytime job is very time intensive, so I don't get as much time as I would like to indulge my hobby. I started off with Nicholas Hacko's tutorial but got frustrated (probably at the time with my lack of decent tools and lack of time) and never really got very far. I was drawn to this forum when I saw the videos showing the strip-down and rebuild of the Seiko 7S26 on youtube, which has given me the enthusiasm to have another go. In the last few years I hav been mainly playing at restoring (as best as I could) some old watch cases and have also been doing quite a few custom/modified seiko auto's. Basically I'm having fun and doing bits when I can. Here's an example of one of my latest. It's a Seiko SRP275 handwinding and hacking 4R36 but now with a new hands, dial, chapter ring and domed sapphire.
 1 point
 -
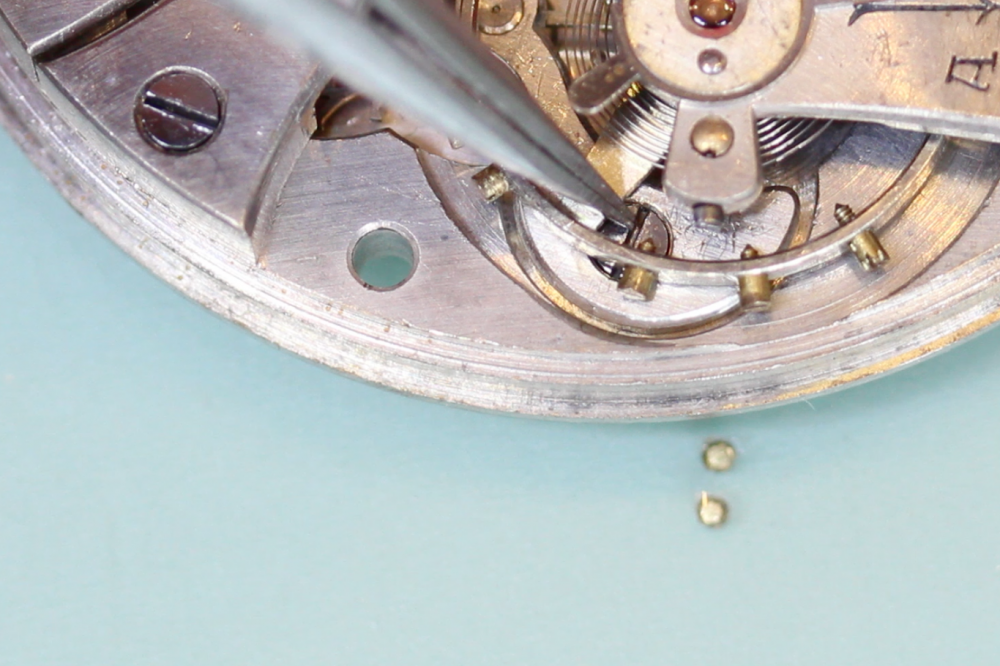
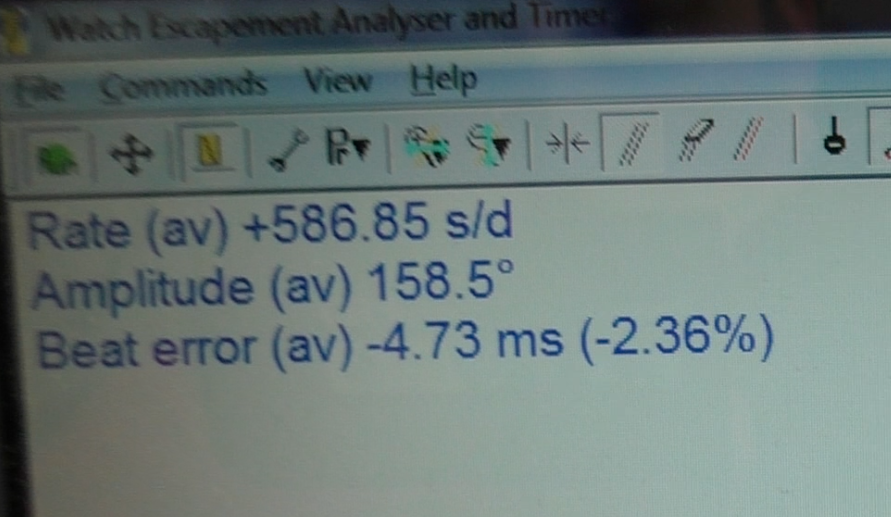
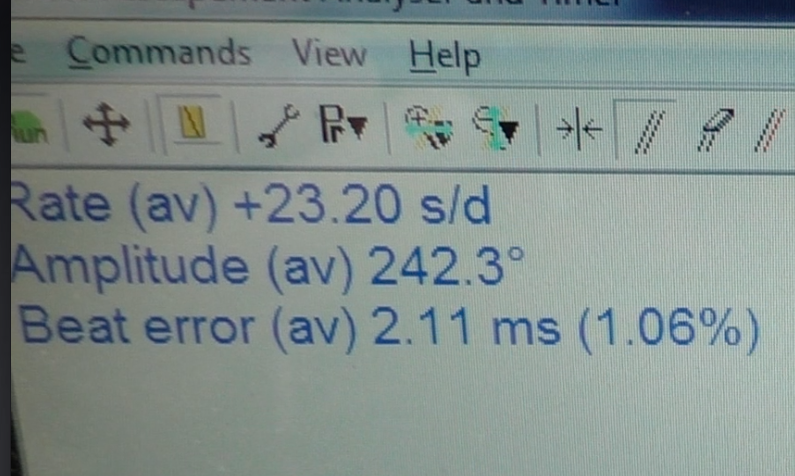
Well, I managed to remove the glue without damaging the hairspring. The collet was way too loose obviously so I tightened it and then remounted the spring. It went from gaining +600s/d to losing around -1000s/d Why you ask?? Well - because some muppet (probably the watchbreaker who glued the spring up and wondered why it was gaining so much) actually GLUED some extra weights to the balance rim!!! I never even noticed them until I started investigating why the watch was losing such a huge amount. I lopped them off and replaced two other timing screws that looked very damaged and hey presto. From this... To a more healthy... Bit of tweaking to do but at least I have something to work with now I made a video which i'll edit and publish in due course.
 1 point
 -
Before: After:
 1 point