Leaderboard


Popular Content
Showing content with the highest reputation on 05/19/17 in all areas
-
This particular one is not possible to pin unfortunately. The best remedy is to clean out the old adhesive and apply new. I would use a slower drying epoxy (very very small amount applied using a clock oiler for example). Apply when the glue is tacky enough to hold the spring in place so you can test if it is correctly positioned. Once you are convinced of its correct position along the length of the end of the spring then leave it to set. Do this with the stud re-attached to the index but the hairspring not attached to the balance staff so that you can check the position of the hairspring collet being directly over the pivot hole. This will make it easier for you to observe that the spring is straight and true on the stud.3 points
-
A smoothing broach is not a good idea you could easerly cause damage to the jewel. A good soak in one-dip / lighter fuel and sharp peg wood should do the trick.2 points
-
The two part Araldite that comes in a twin tube should be OK. It sets quickly but stays tacky for a long while before hardening.2 points
-
I am not familiar with a Samsung but I presume you just attach pics via this which is at the bottom when creating a post. Drag files here to attach, or choose files...1 point
-
I use one of these when assembling but could be used sharpened for the jewel cleaning. https://www.cousinsuk.com/product/component-probe-bergeon-6436?code=S15511 point
-
Hello, your in the right place here for good friendly help. Many like to chip in and help others out.1 point
-
You never broach out a jewel. clockboy has hit the nail on the head with this one.1 point
-
What @clockboy said. Just avoid 5 minute epoxy as it may not give you enough time should you place the spring incorrectly.1 point
-
Welcome!1 point
-
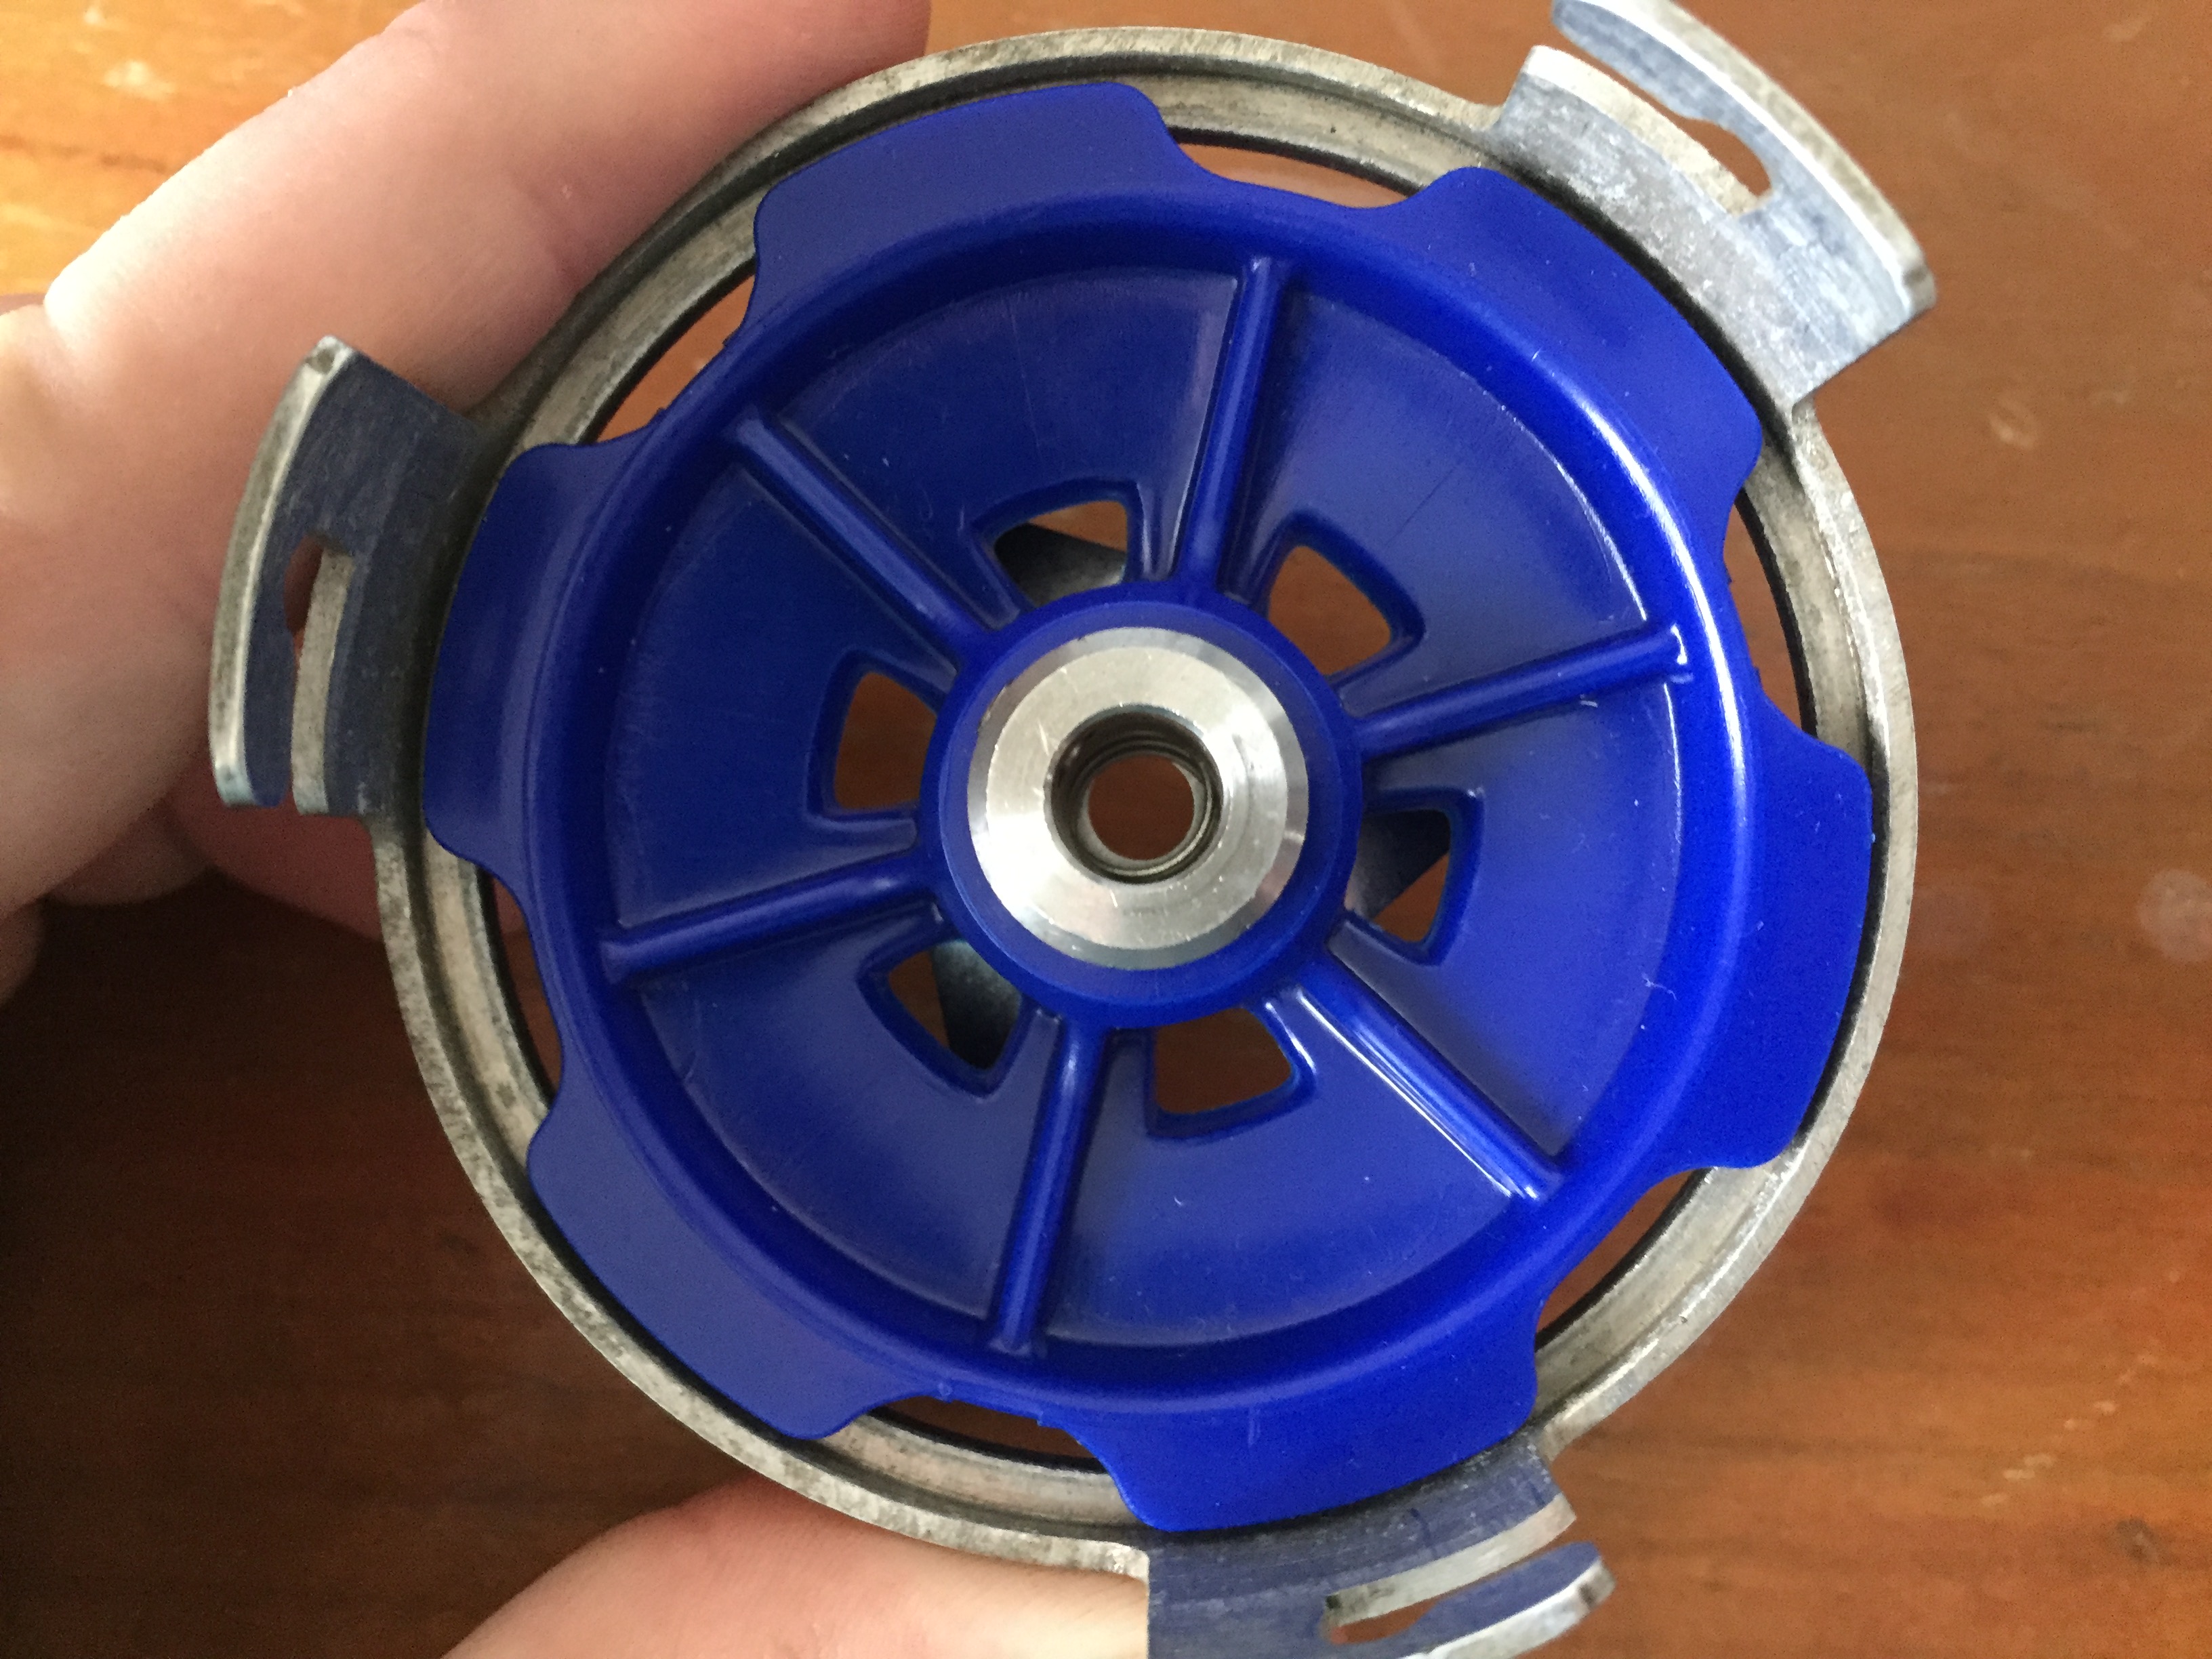
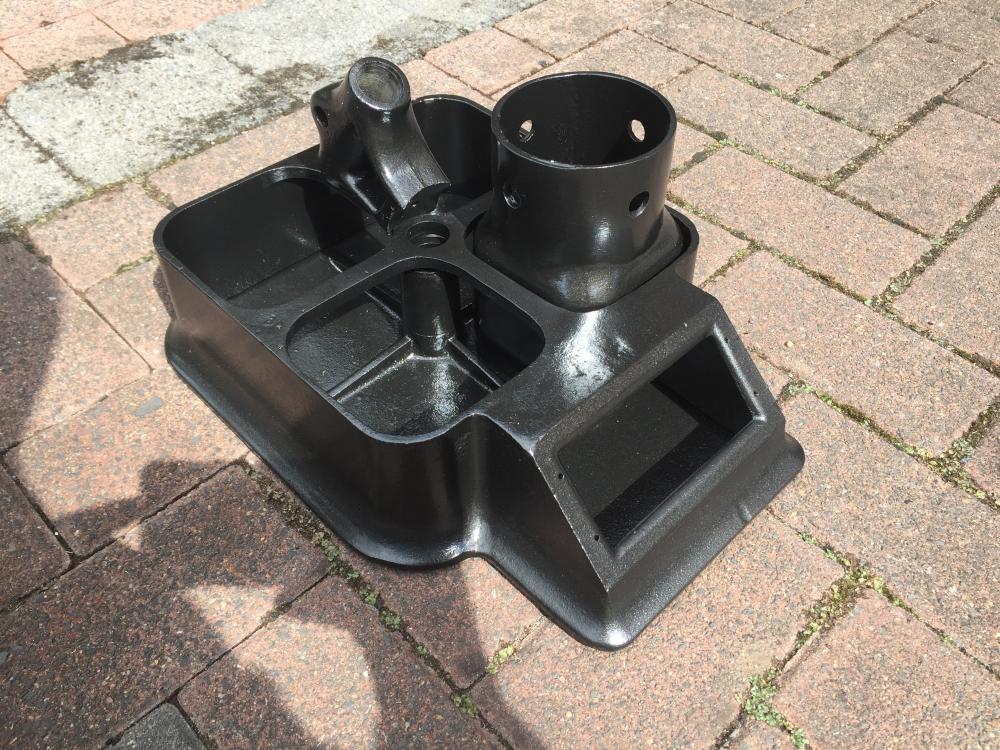
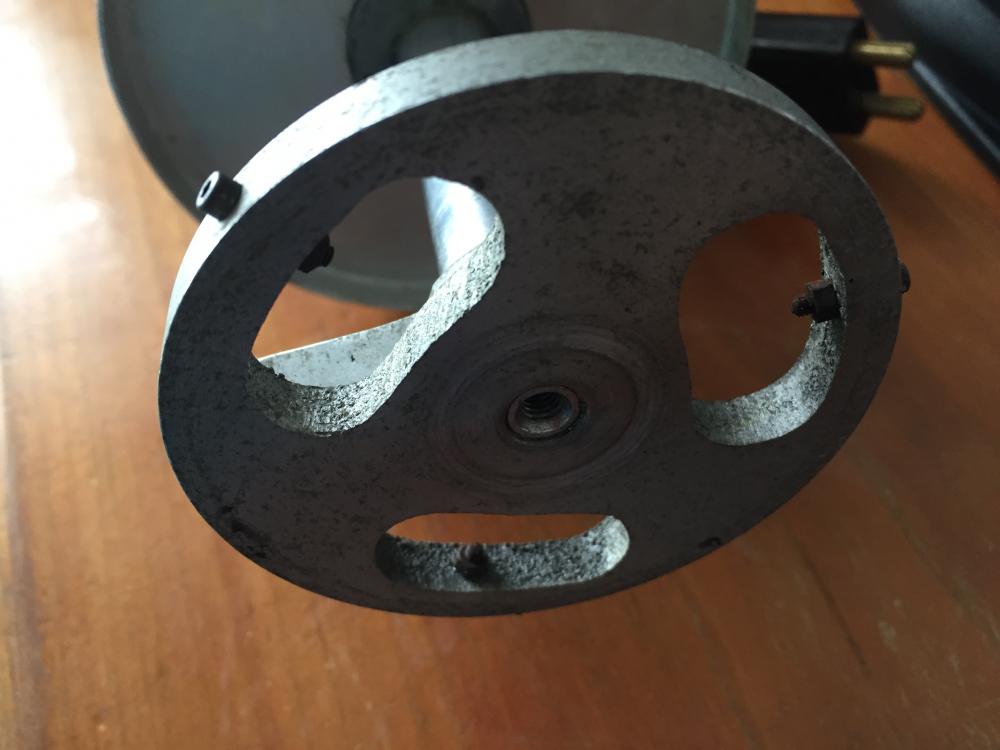
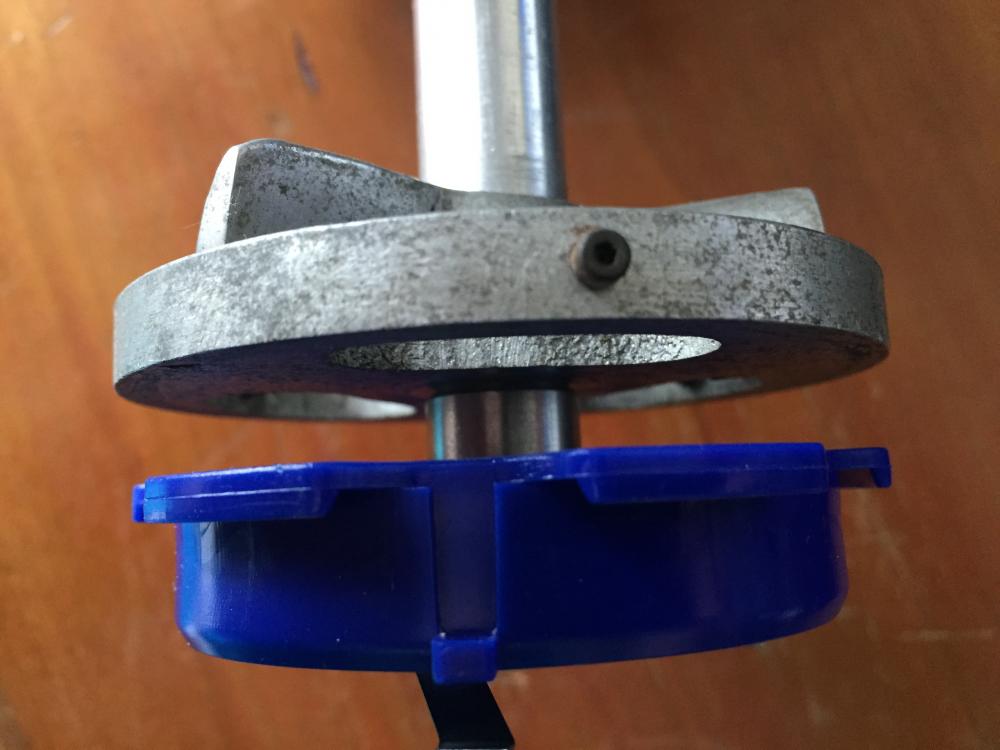
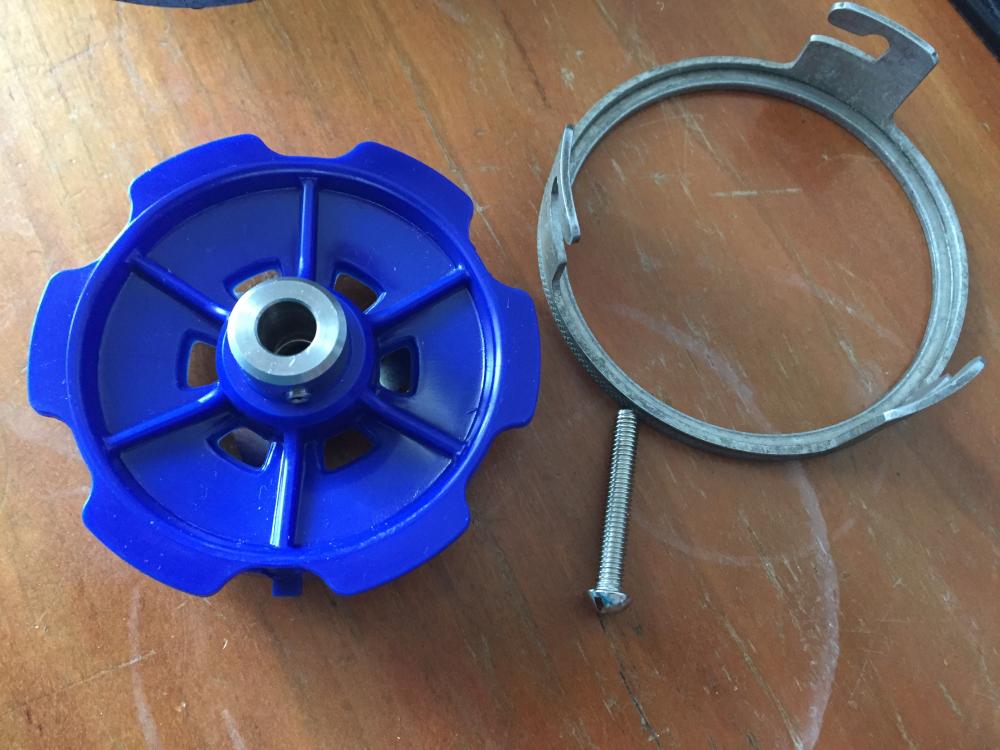
Some updates! Painting complete: Next project is a slight modification to allow it take a modern Elma basket holder. The outside screw thread of the motor shaft is too wide for the Elma holder, but there is conveniently an interior screw shaft that was used to hold a spring: This allows me to attach the Elma bracket with a screw running through it. It will hold the baskets at about the same level the original holder did: Now, the issue I foresee here is getting the bracket centred so that it spins on its axis, rather than offset to one side. The screw thread on the motor shaft is an Imperial 2BA - had to be specially ordered. The screw shaft is narrower than the Elma bracket's hole, though. There's a retaining pin that I can use to hold it in place (I'll add some locking washers also), but the trick will be getting everything centred. I'm thinking of a shim of some sort, but bits for this screw diameter seem to be hard to come by. The original Brenray basket holder, the new Elma bracket, and the screw: The Elma bracket fits almost perfectly in the old basket holder, so I'm hoping to use it as a makeshift jig to get everything centred. It'll take a little eyballing and adjusting, but I'm hoping it will be good enough: As always, any thoughts or suggestions are very much appreciated!
 1 point
 -
Because many are quite expensive, peoples opinions will be fairly subjective. I like my apple watch as it fits in with my Apple eco system very well. However, if I was a Windows/Linux, Android user then the Apple watch would be useless to me and I would have a very different opinion. And yes - I do wear an Apple watch on occasion lol - ask user @jdm who was a recent witness to this atrocity.1 point
-
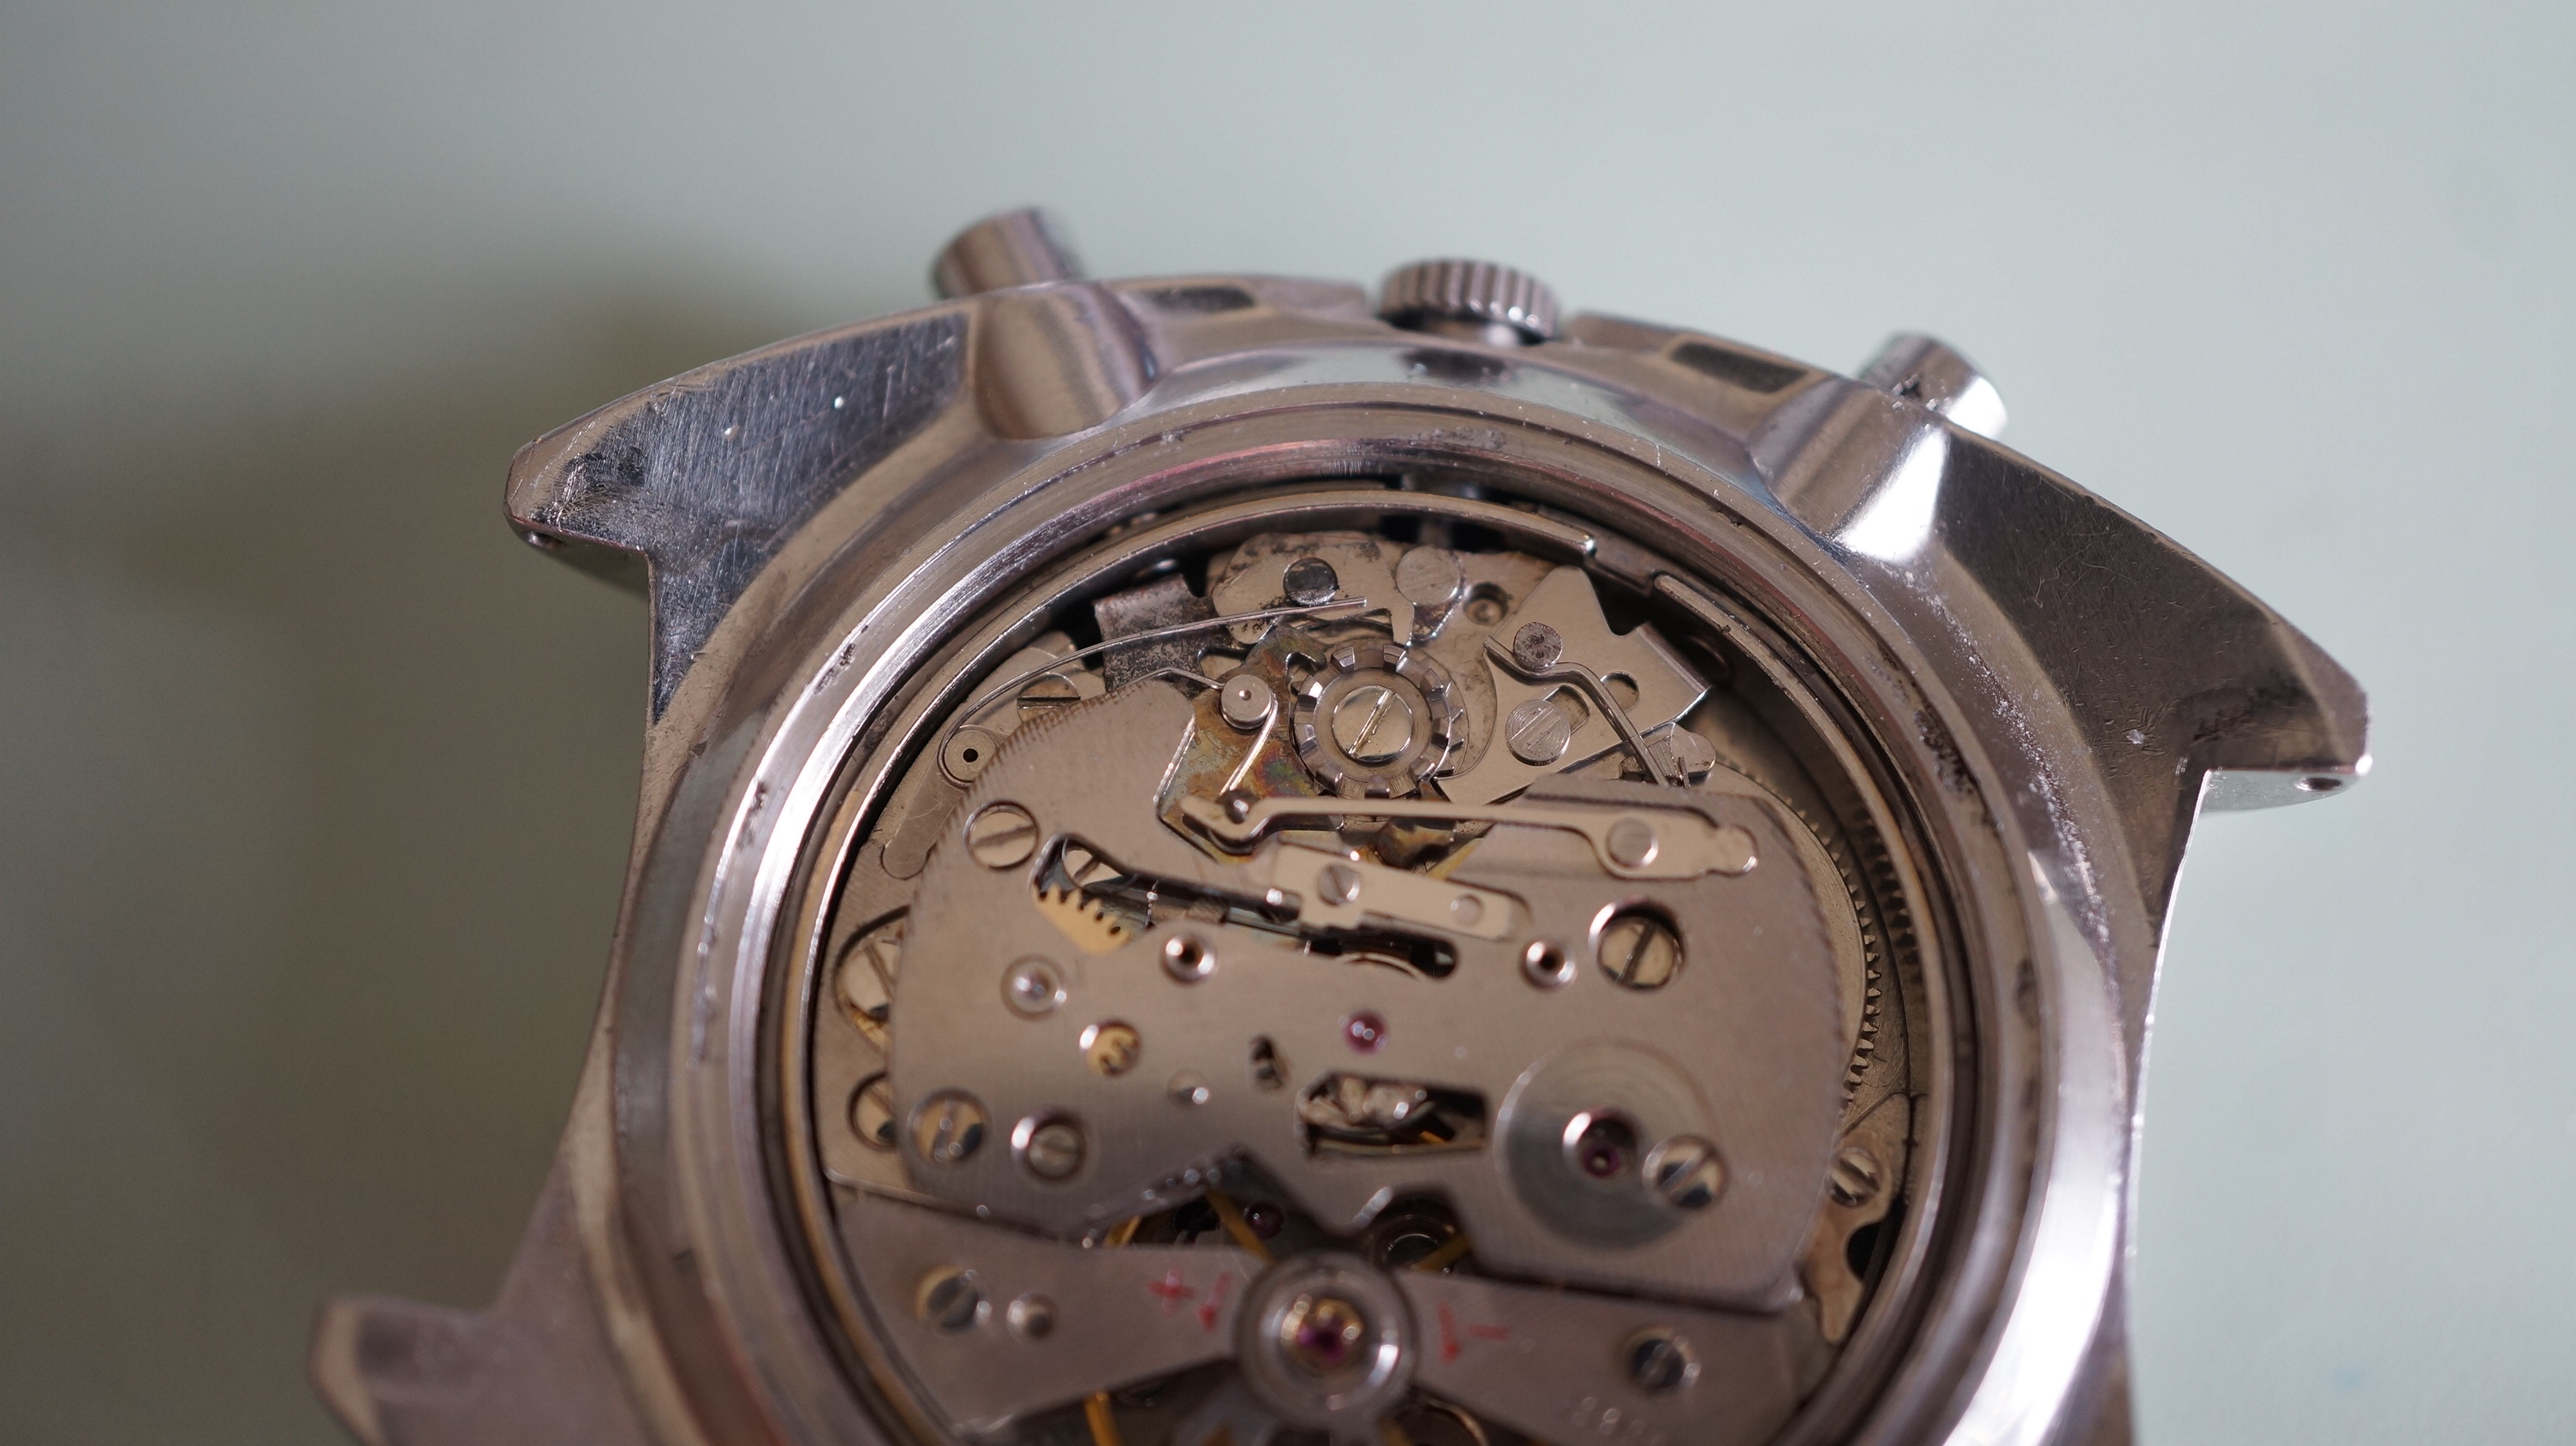
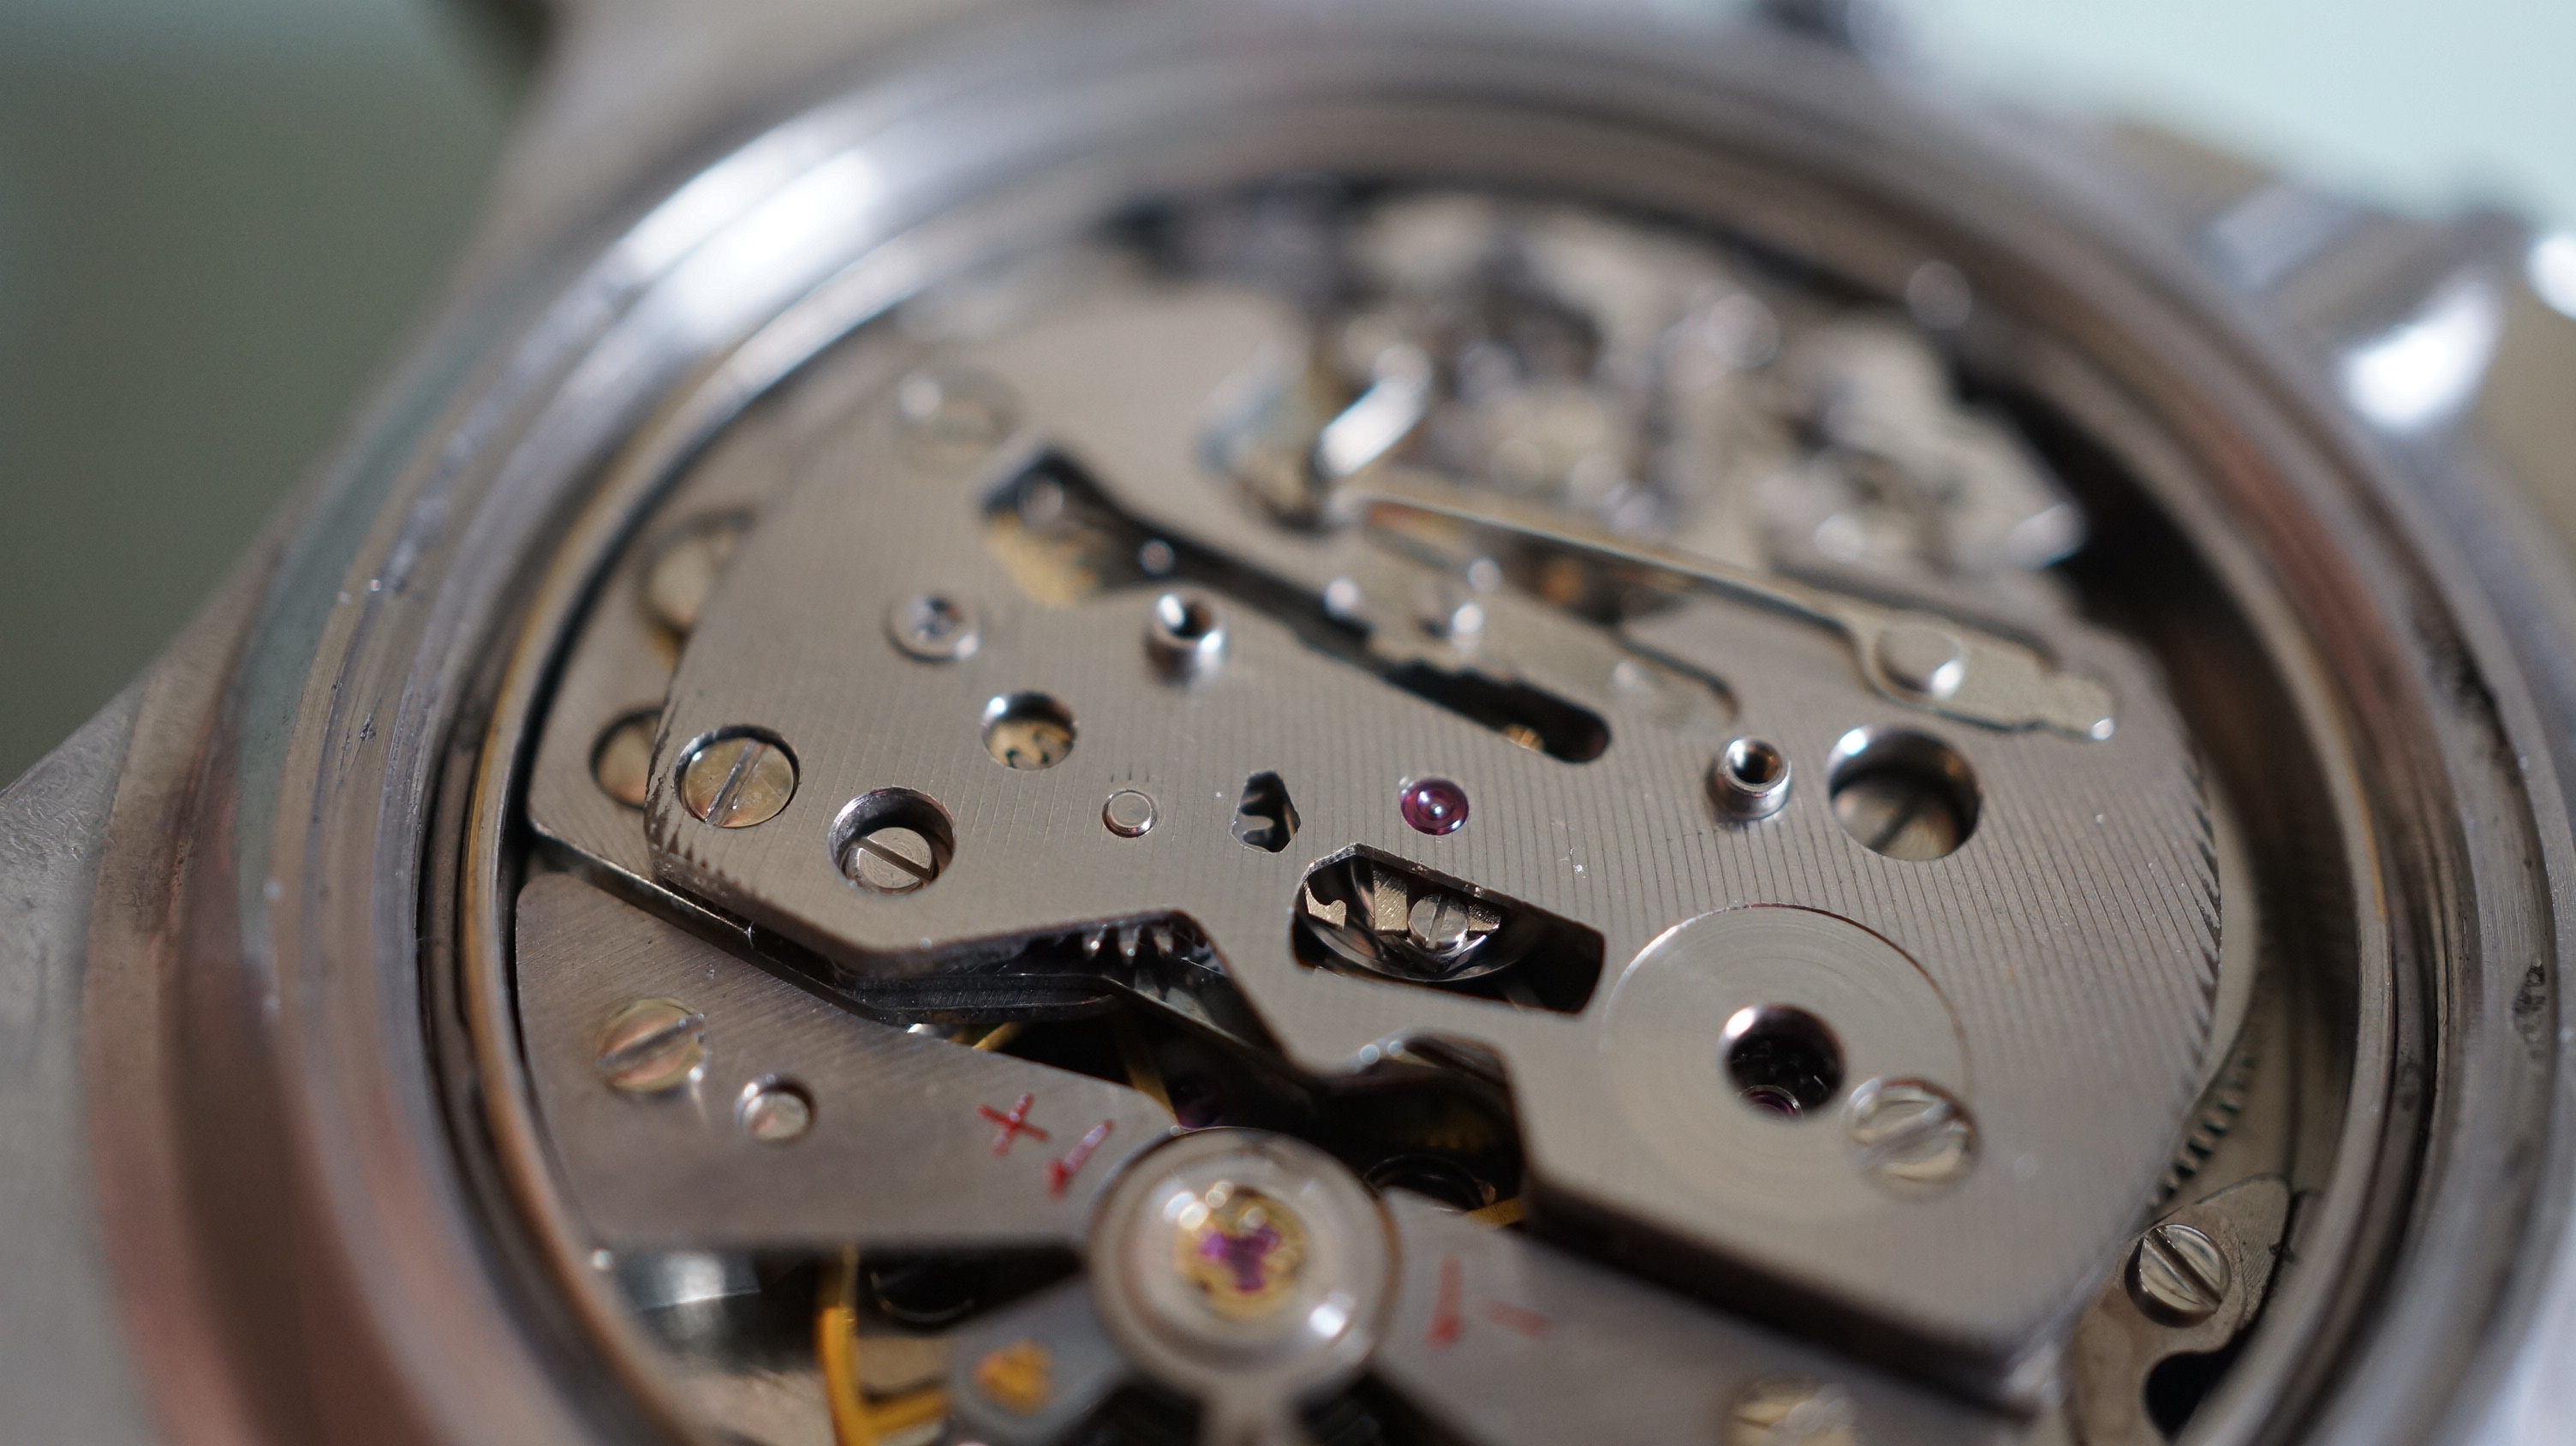
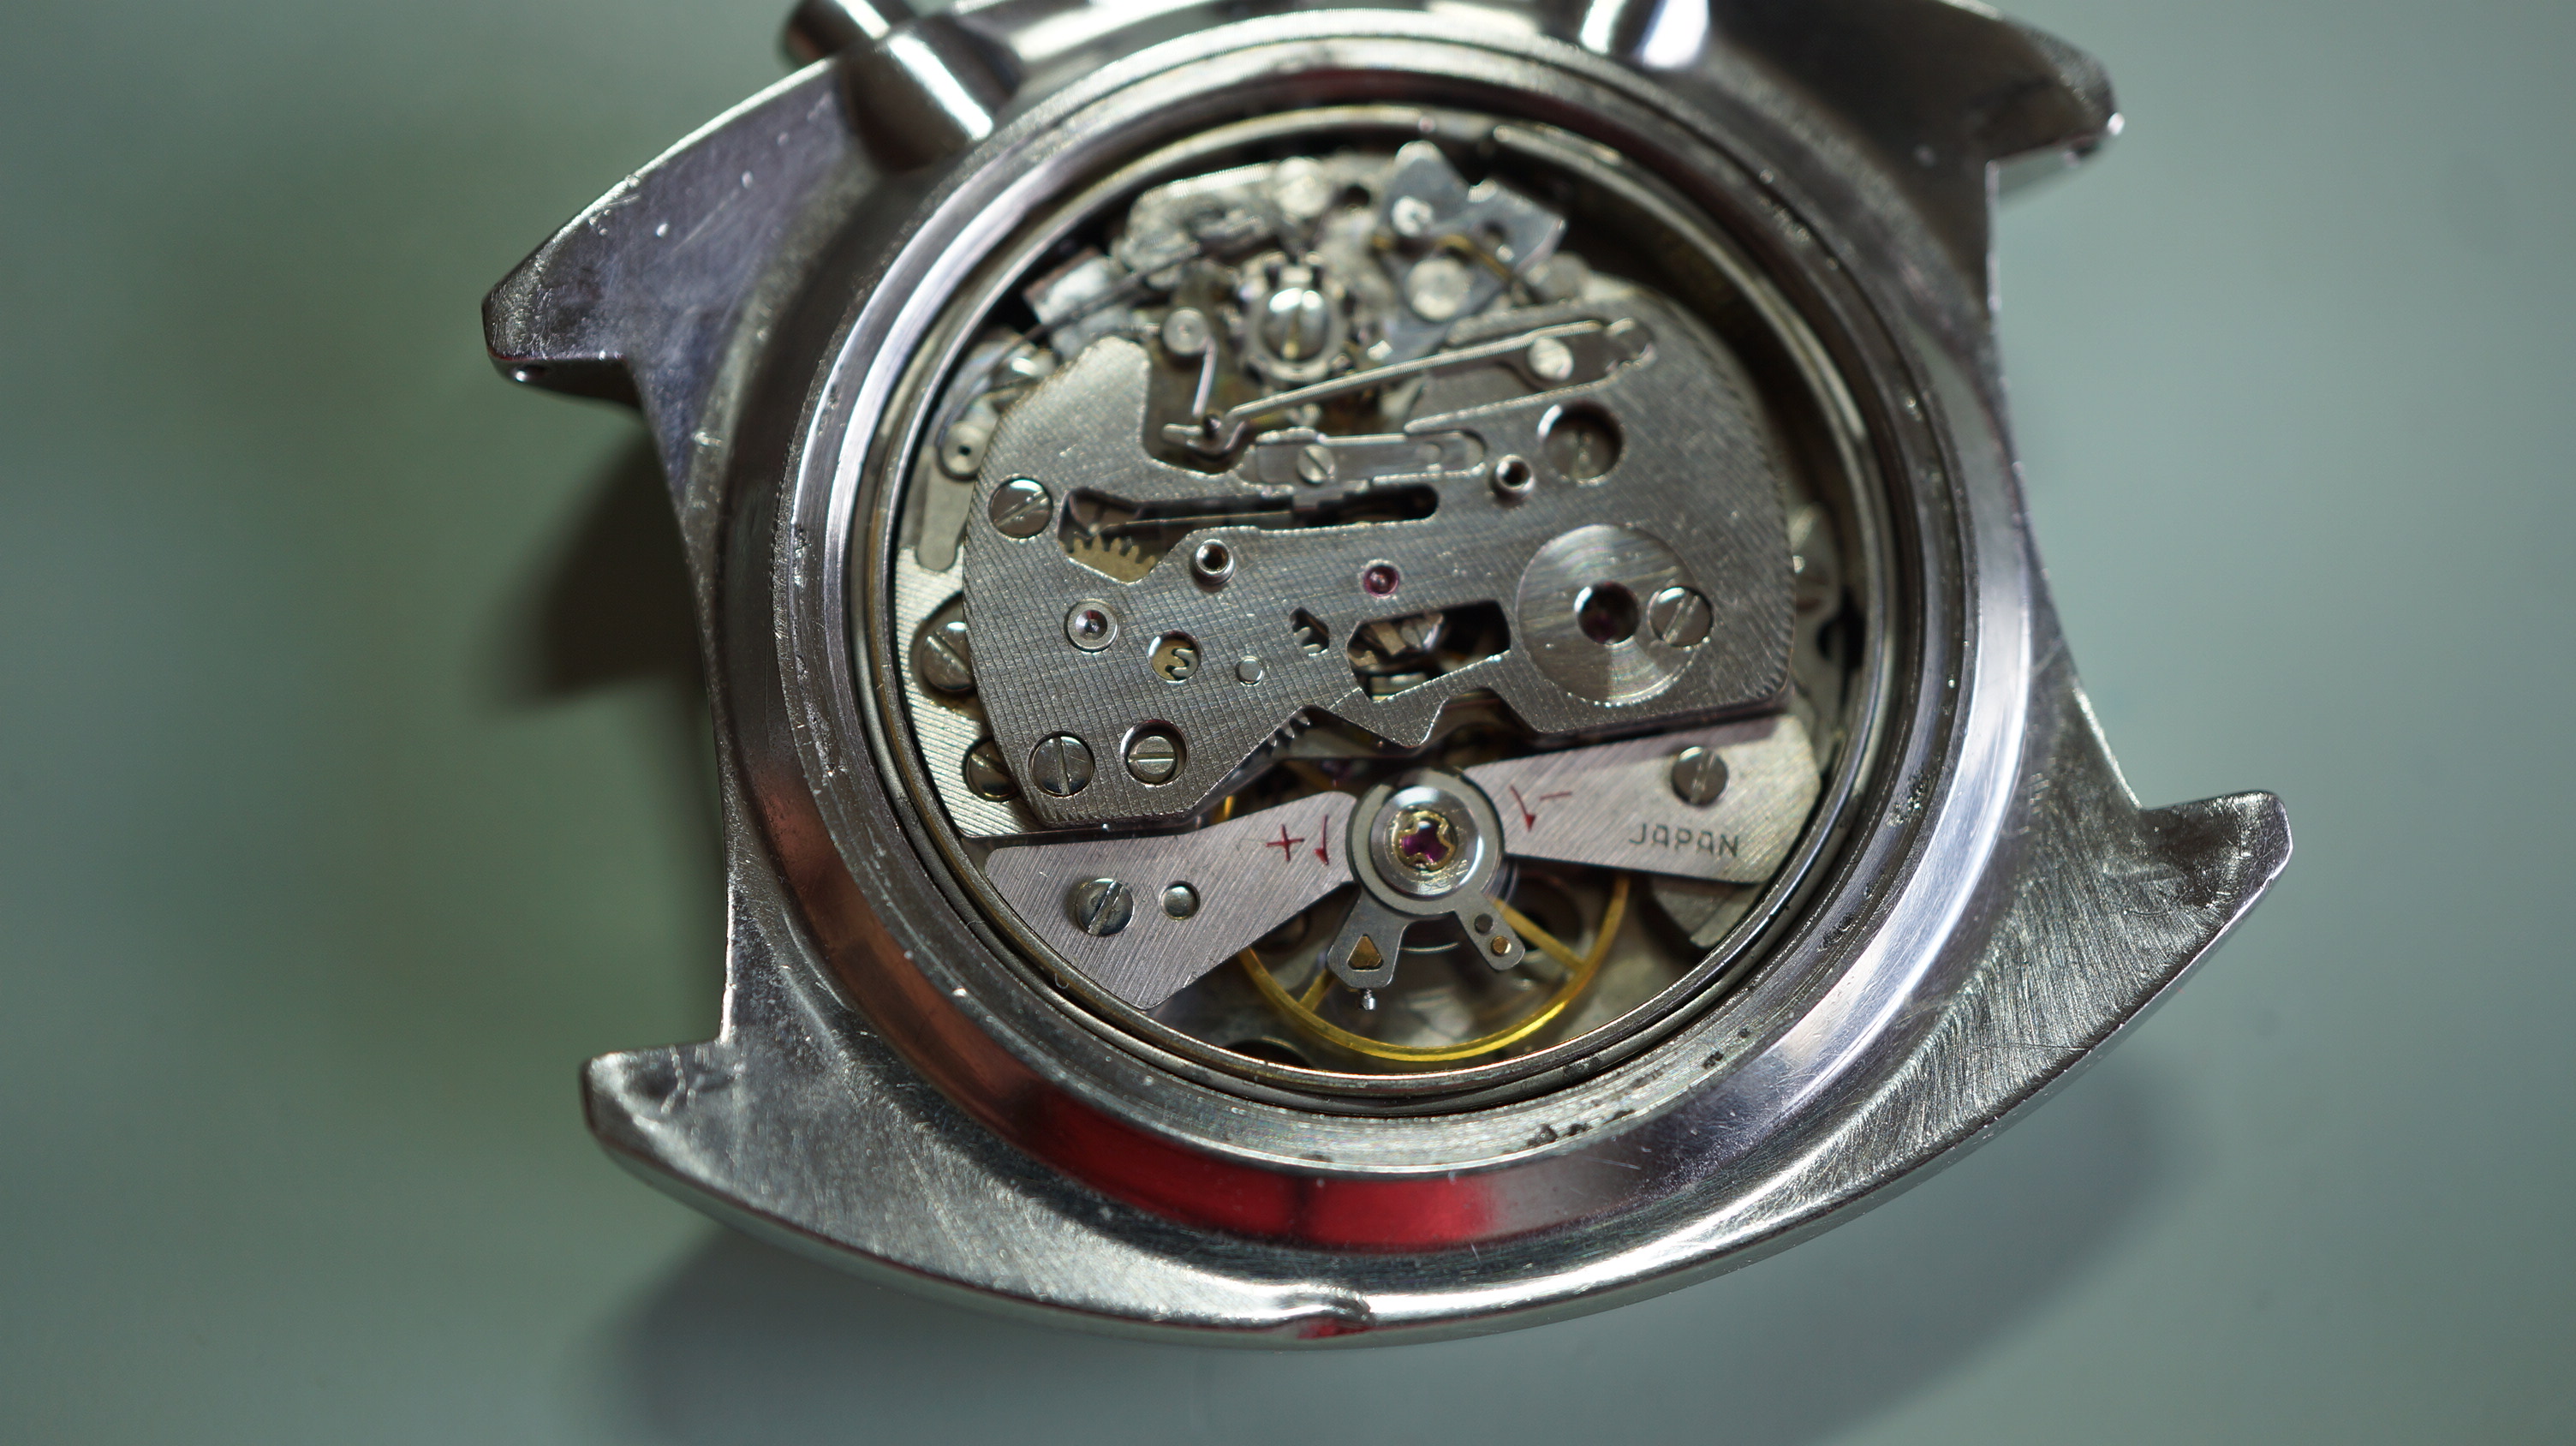
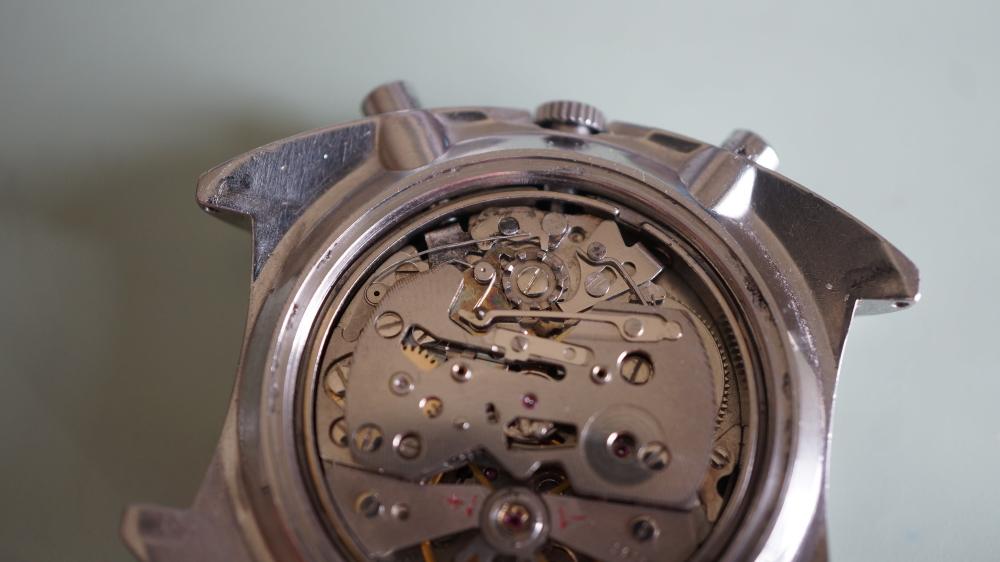
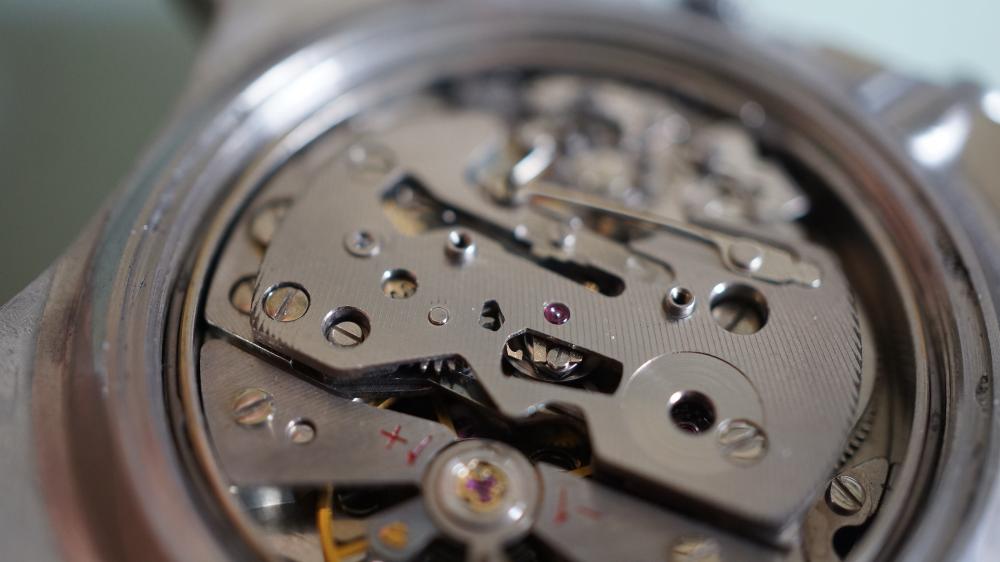
This is what started my morning . I thought i would service this 6139 today. Open it up and found a mismatch off different parts from A and B Don't now which parts i need to replace? Or if the owner is willing to take the cost? Would proberbly cost a few £100 . To replace the upper automatic bridge for a B and minute recording wheel. And maybe even the chronograph wheel. Don't now if it's an A or a B
 1 point
 -
This will seem a very basic and silly question to many I am sure. But in preparation for some practice strip downs, cleans and rebuilds, I thought I should get some pegwood. It seems all online retailers will happily sell me a bundle for not many pounds in sizes from 2mm to 6mm. But all the bundles are the same size. I wanted to buy an assortment, rather than all the same. So from 2mm to 6mm, is there one particular size than most people have as their 'go to'? Does anyone have one size and always whittle it down? Or do you all have bundles of all sizes and always start with the closest size you want? Surely if one size was OK, then I would only see 6mm for sale. Or does it really not matter at all? For information, I am not planning on doing a lot of servicing. Mainly a few case clean ups initially, and movement / dial / hand swaps (on quartz movements) and eventually get my hands onto a few Seiko 7S26 movements. Nothing more involved than that really. So main use will be for scrubbing, holding, placing, moving with perhaps one or two jewel clean ups as needed, eventually. Your comments are much appreciated. If you were in my shoes, what size would you buy today?1 point
-
I use toothpicks and nail art wood sticks in different sizes? 100 pieces for little money. Nail art wood sticks are the same as pegwood. From orange wood.1 point
-
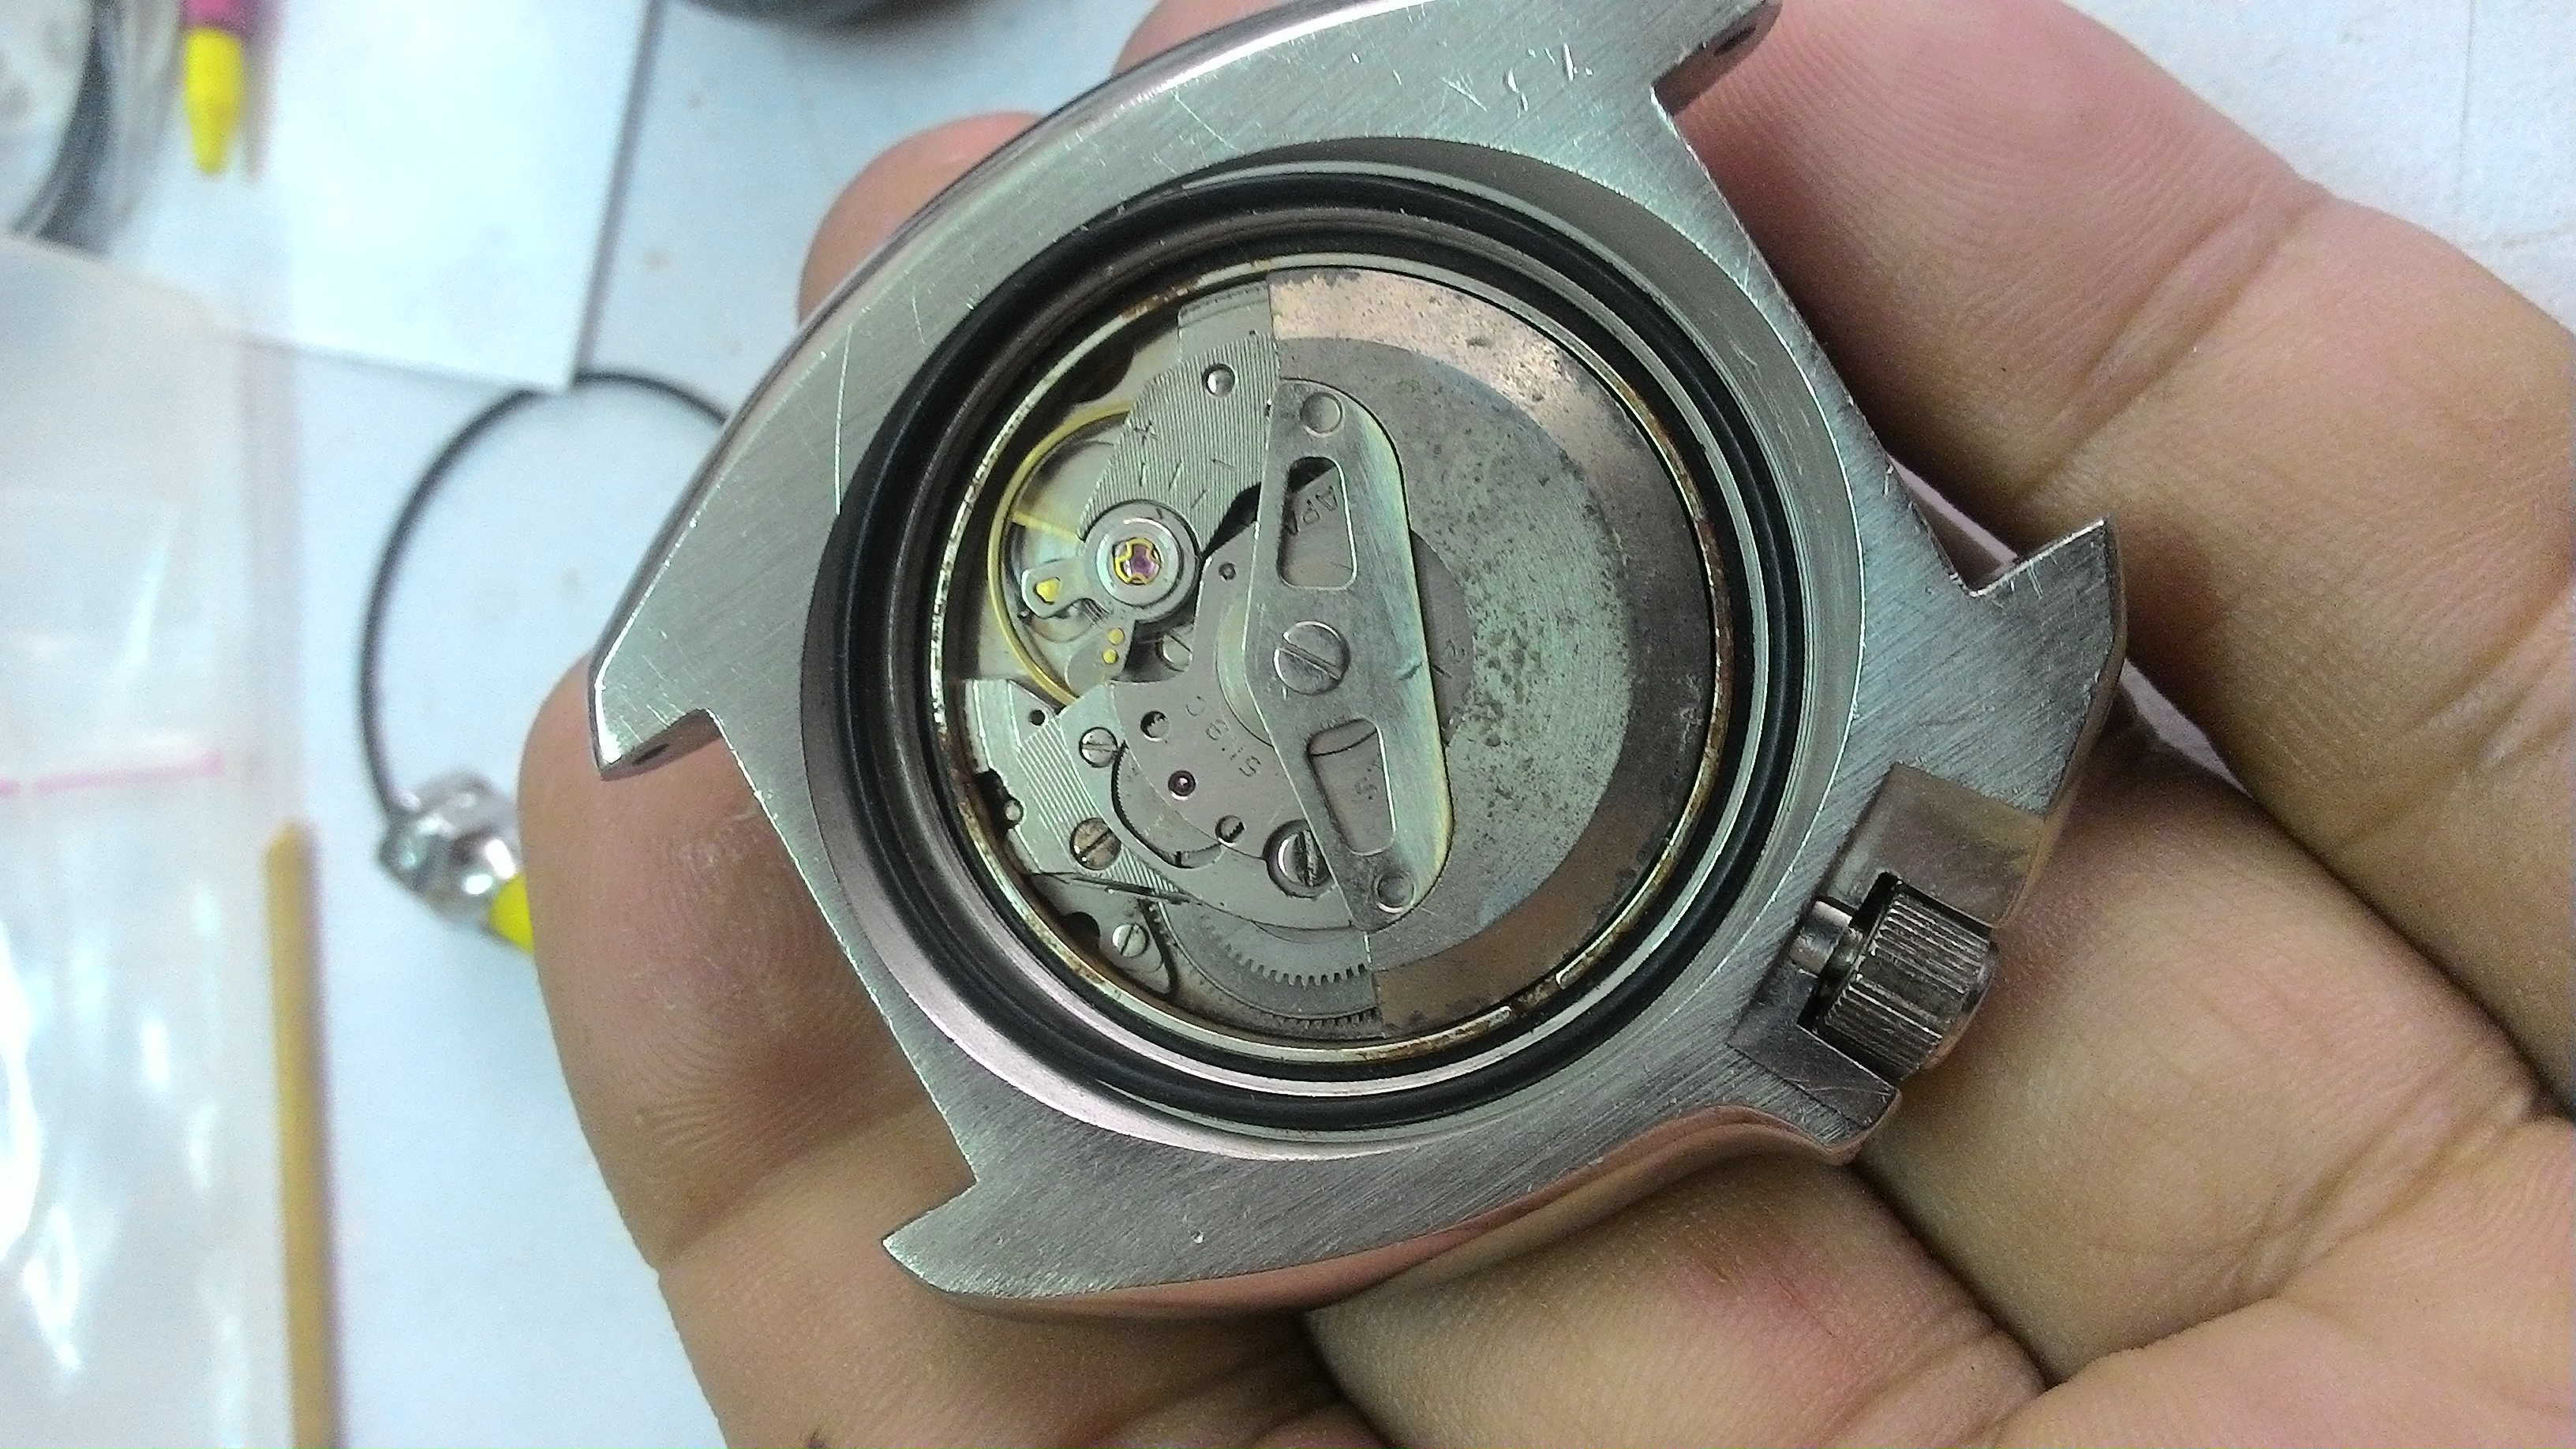
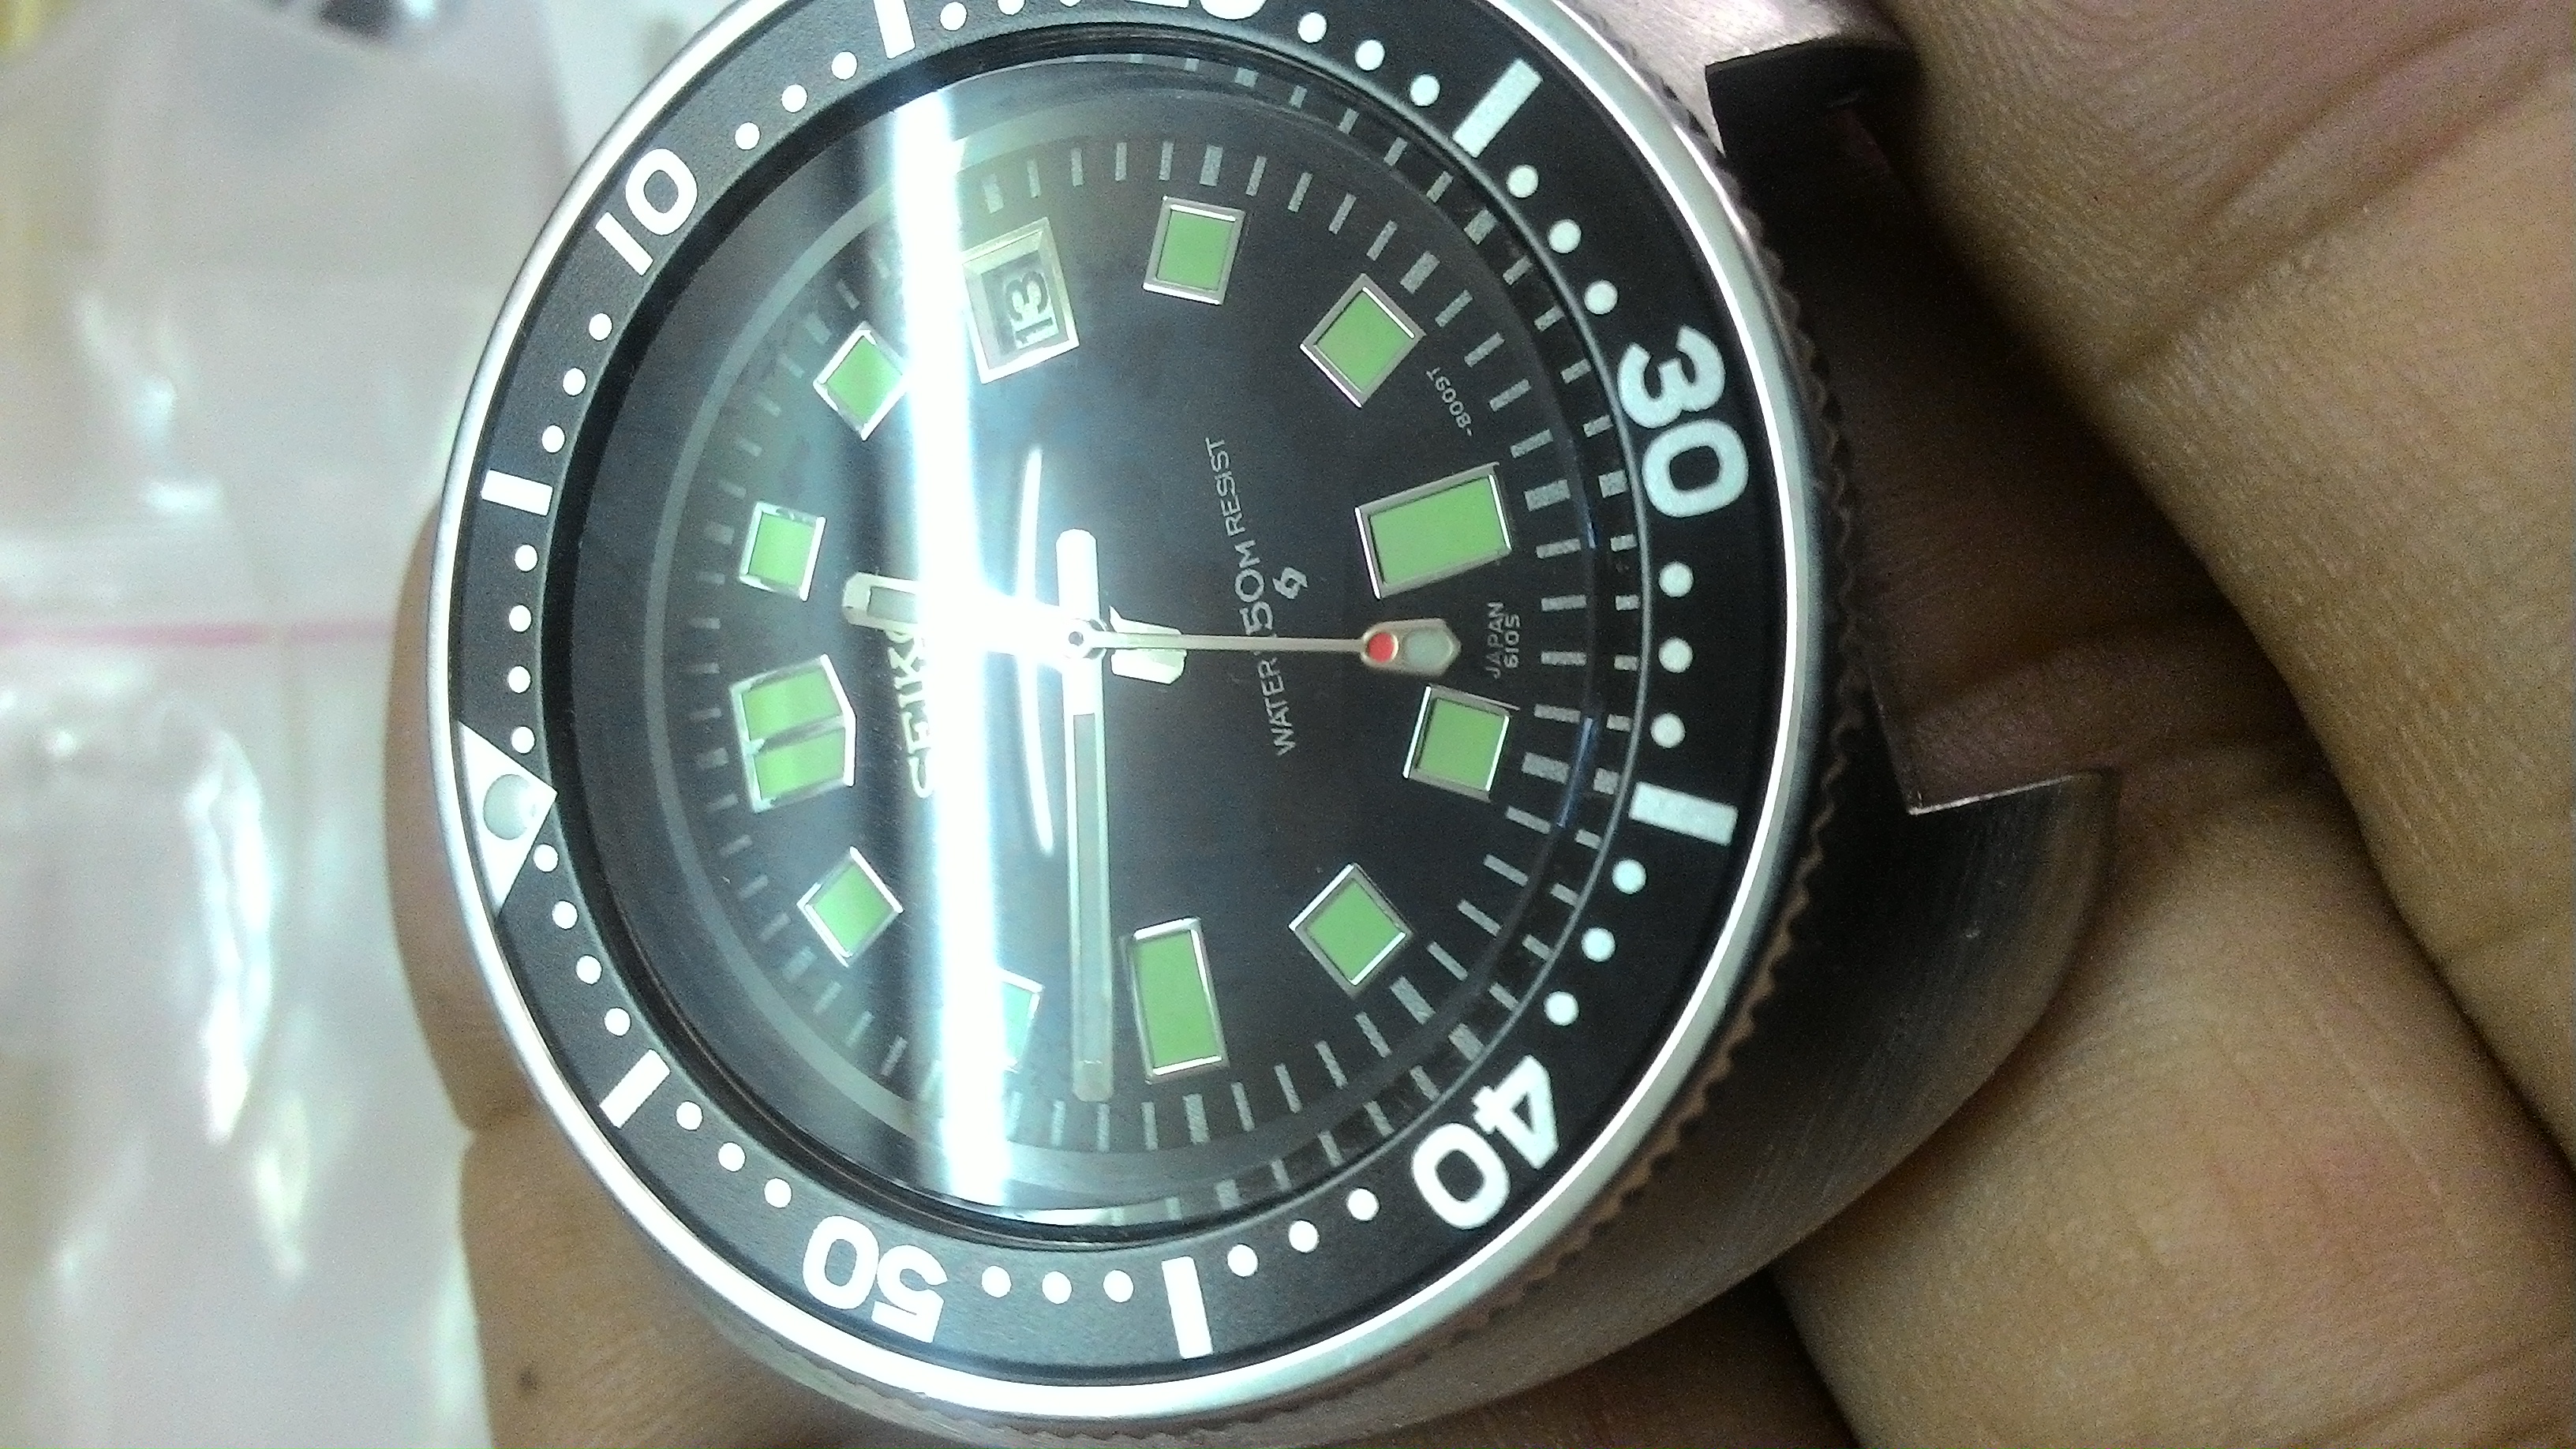
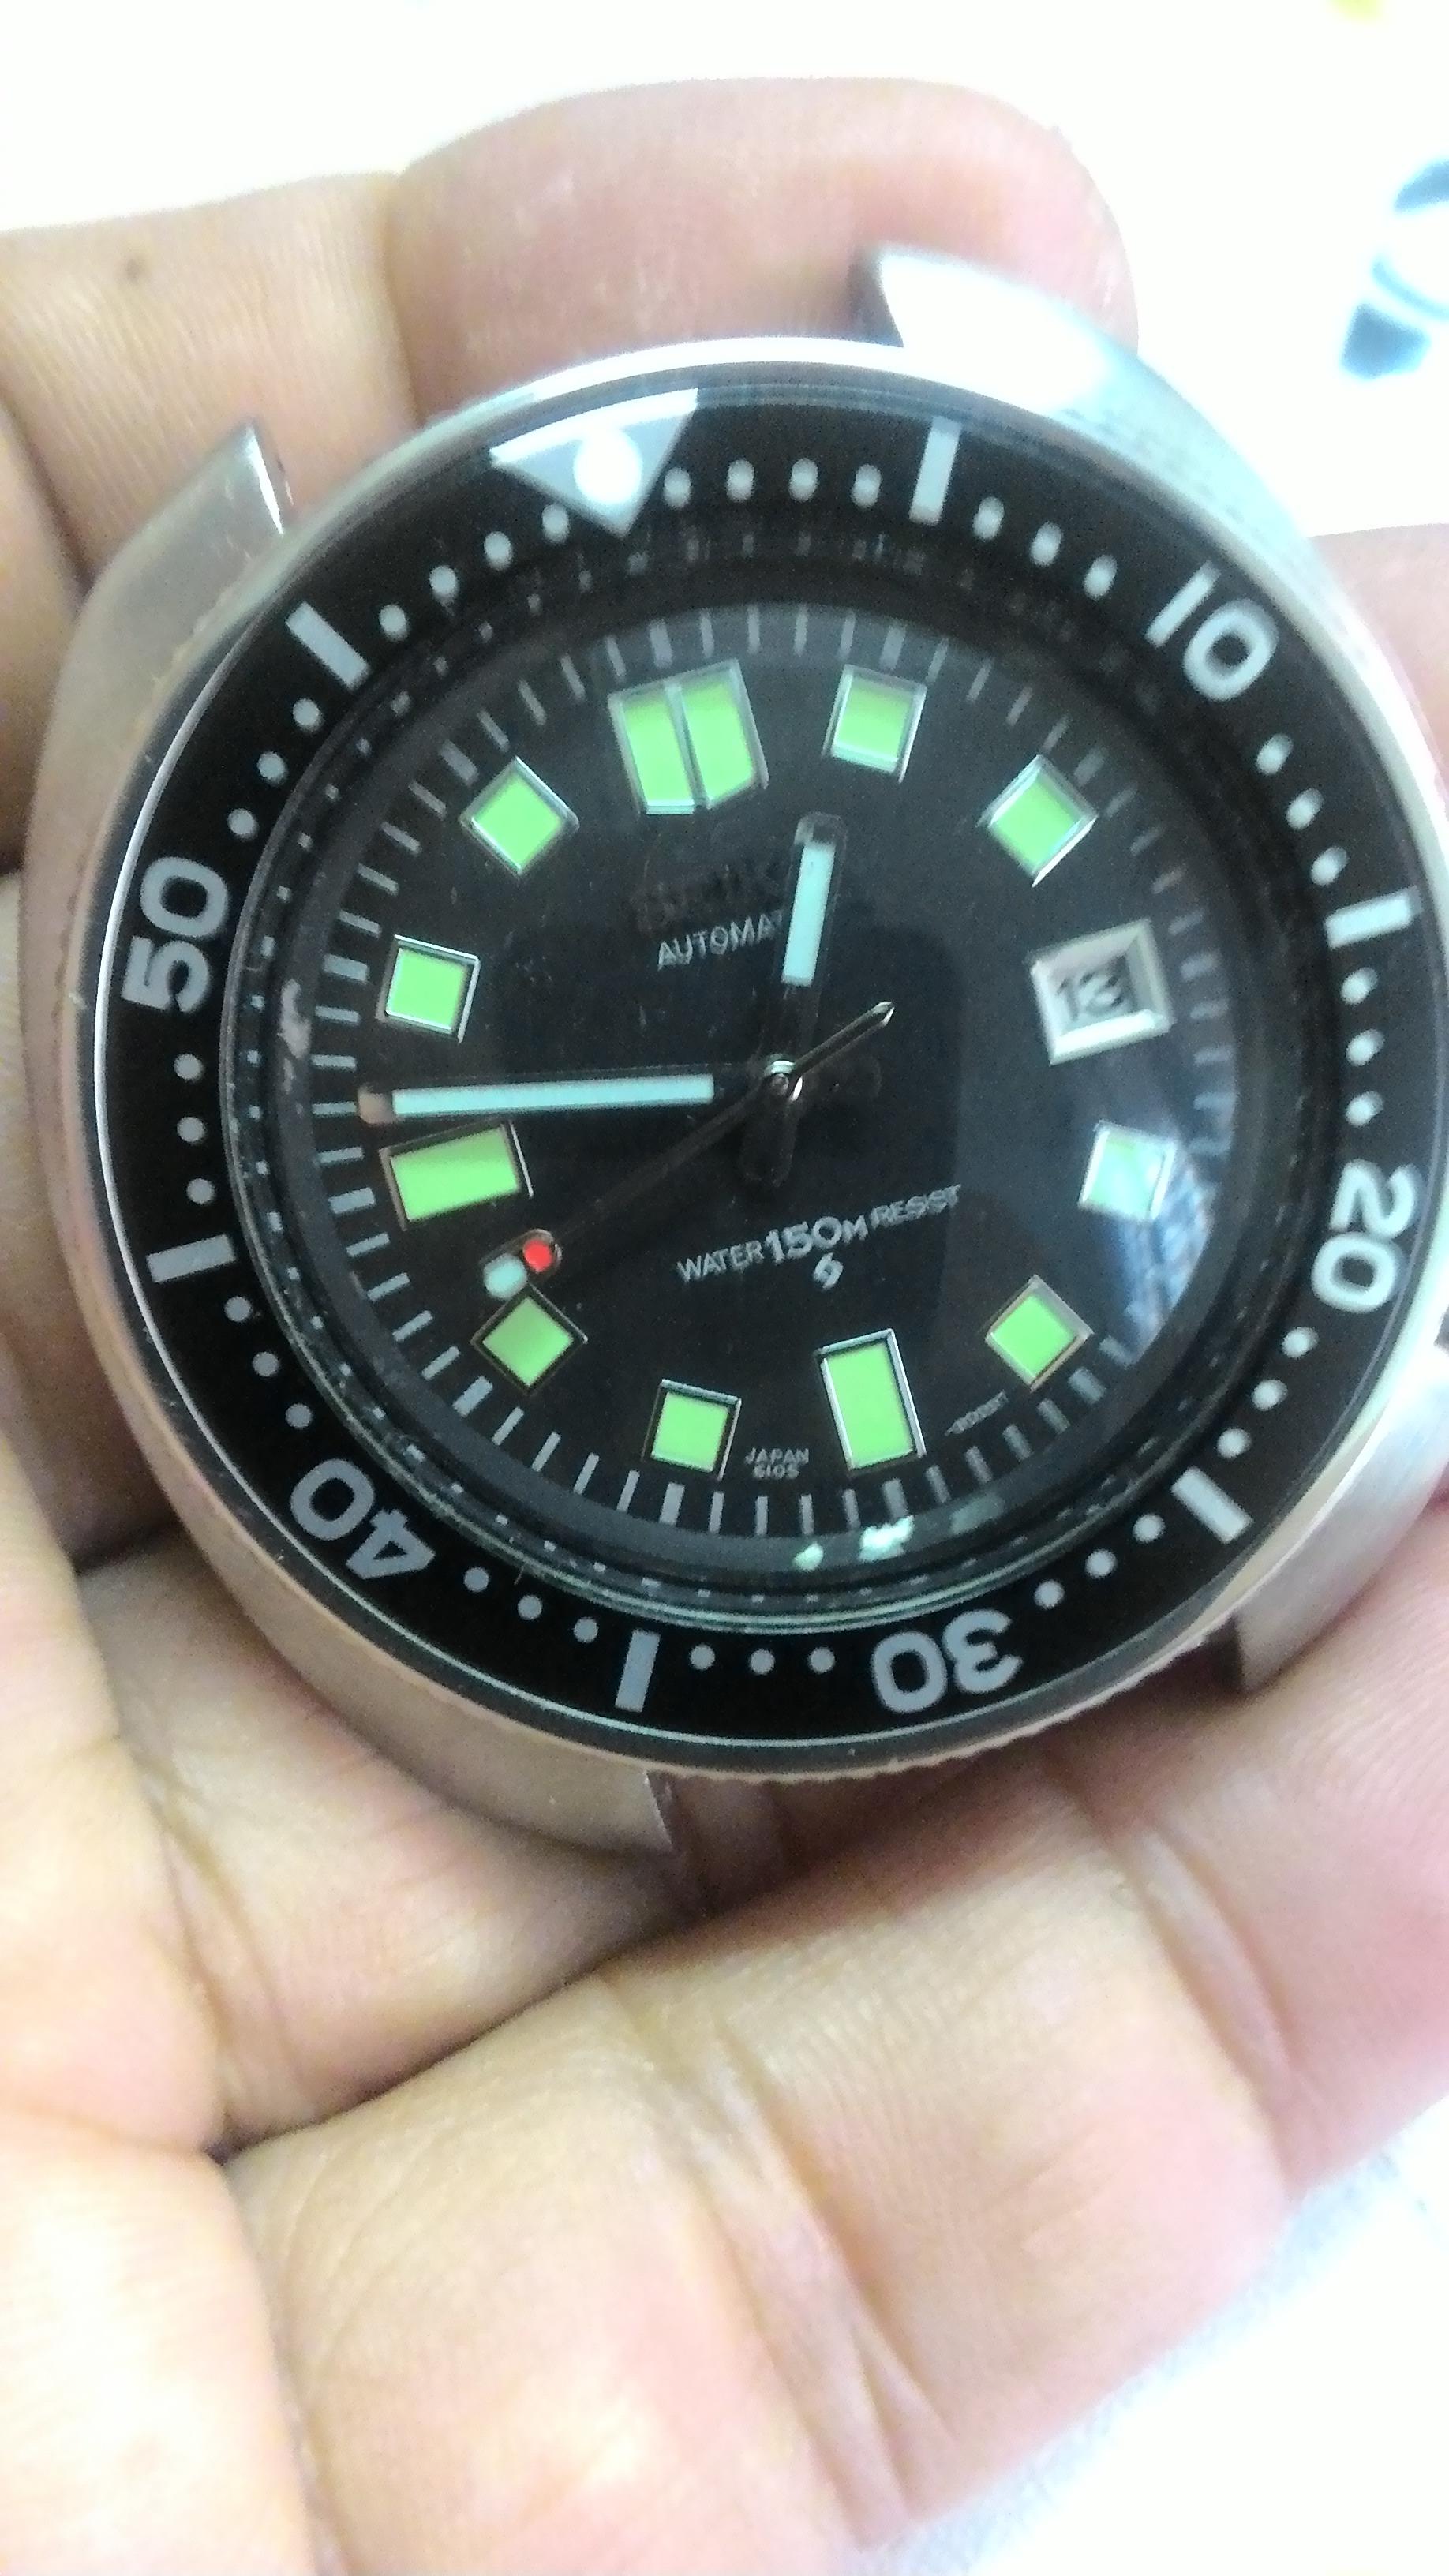
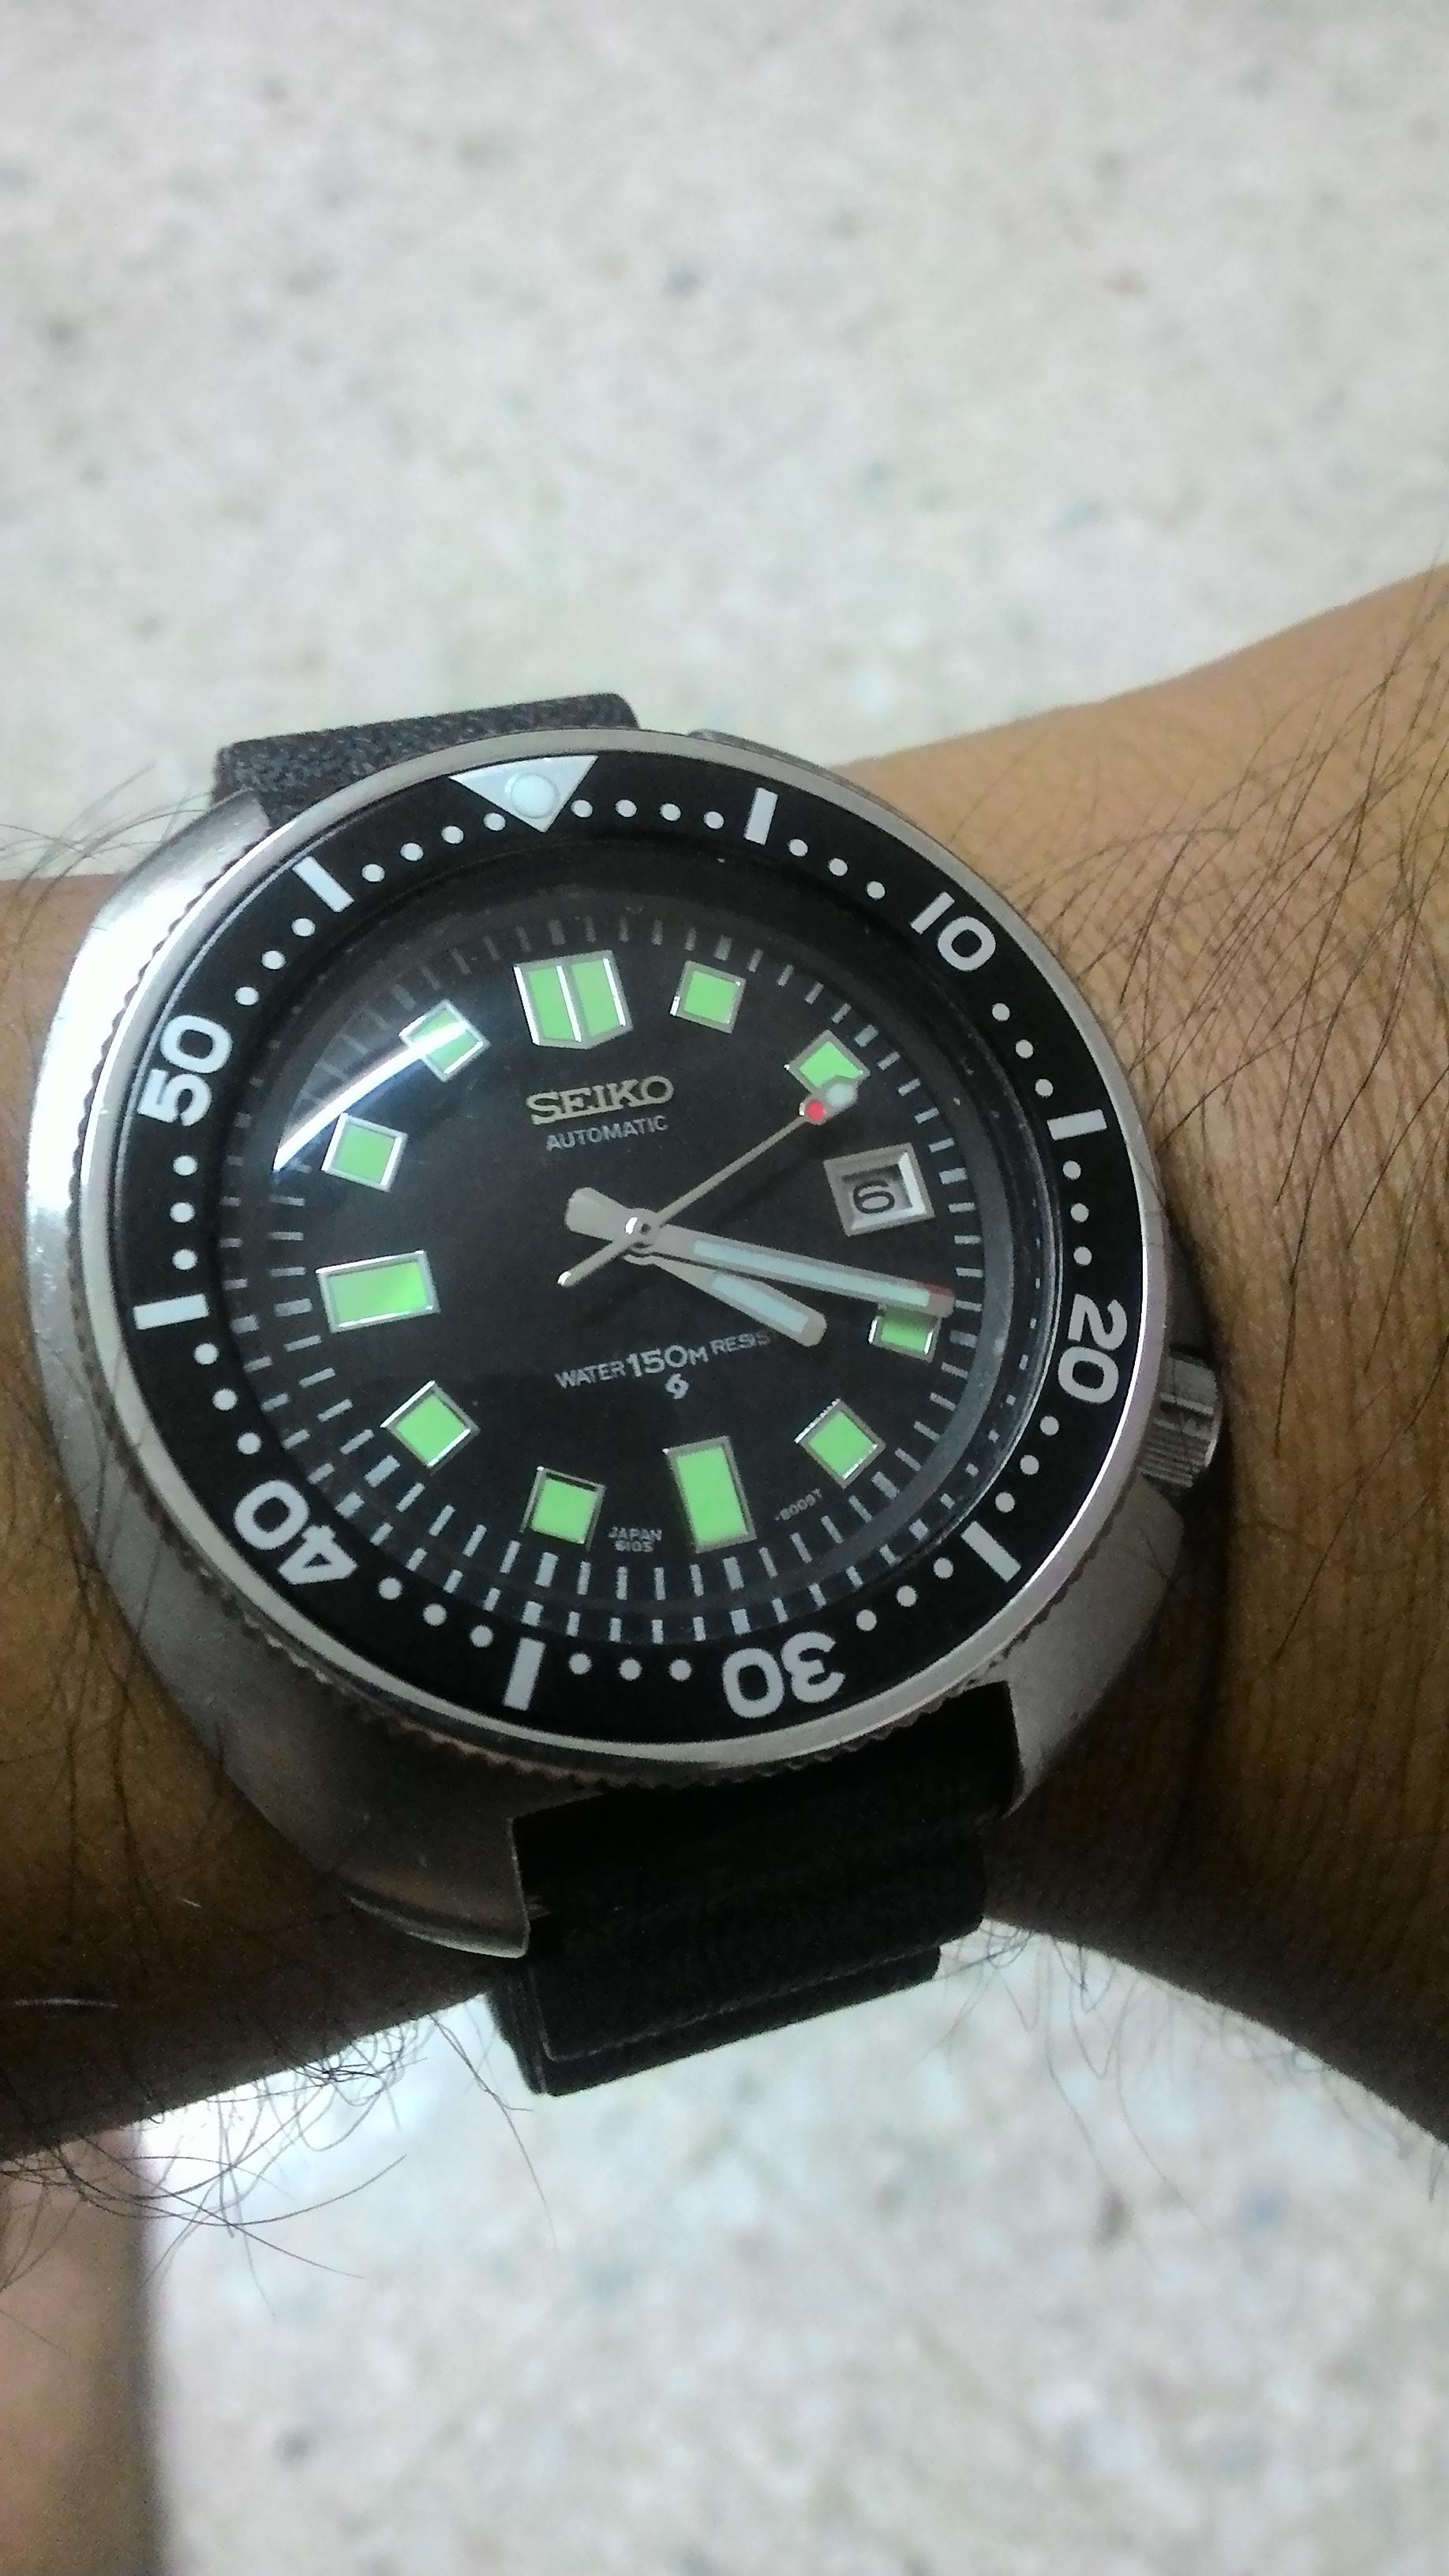
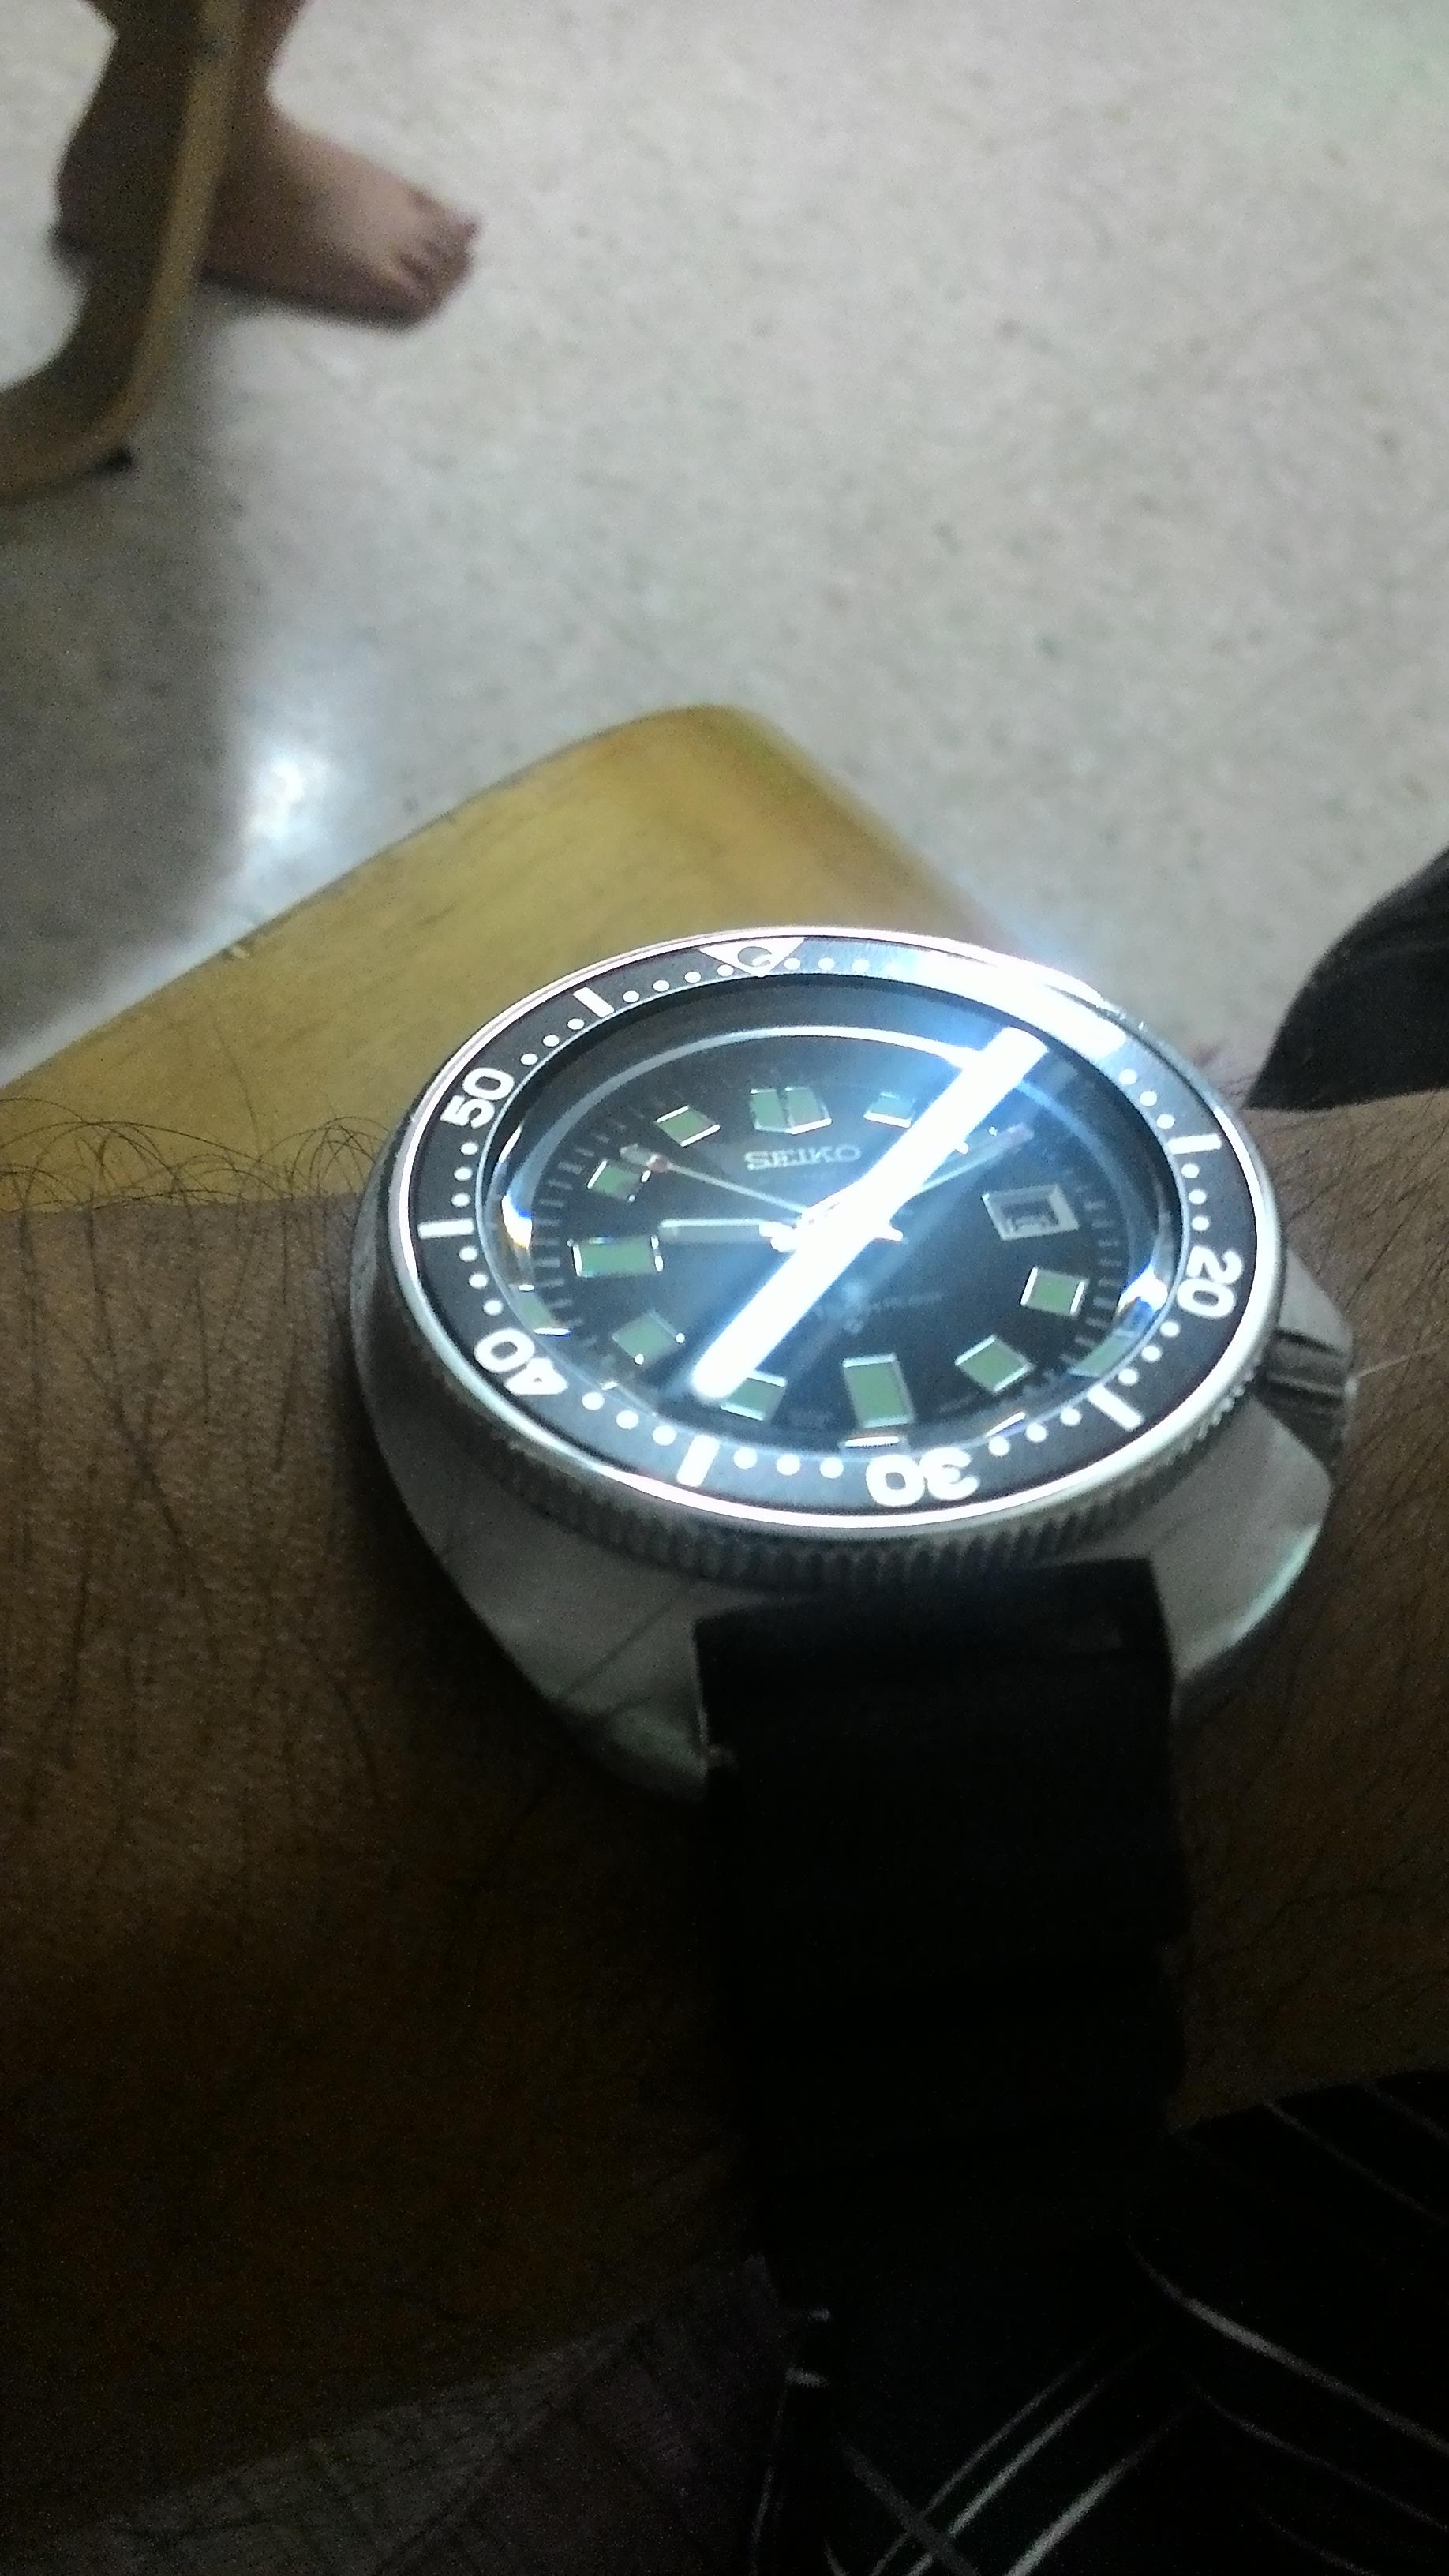
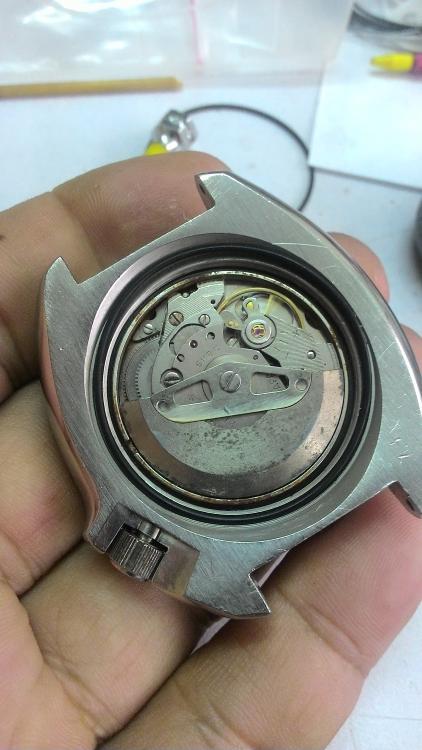
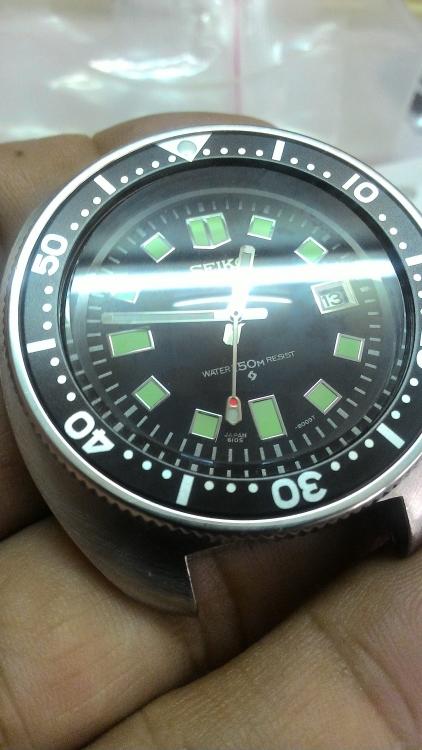
Chapter 5... finished article Well its done..the 6119 movement is safe in its new home. Caseback gasket is a tad too big.. I had to poke it back into the groove as I was tightening the caseback. The quality of the crystal is good.. straight on the outside and curved on the inside with no inconsistencies (shown by wavy reflections). The bright green lume is very apparent in these pictures but less so in reality. Only reason I would change it is it doesn't match the hands/bezel dot. Not because of the green-ness. Final pic on my manly wrist! Issues... 1. Crown gasket does not fit. I bought 2 so I'll probably hunt around for another one with thicker section. 2. After-market bezel was a **BLEEP** to get on. I had to use a lot of force to get it on and now that its fitted, its a **BLEEP** to turn. The inner circumference needs to be machined a bit bigger to make it fit but now that its there I won't mess with it as it'll probably pull the crystal retaining bezel off if I try to remove it again! 3. Hands look ok but are flimsy. Summary.. It was a fun project bringing something totally trashed back to life and this was only made possible because of the good parts support for these Seiko divers. This will be a keeper as I don't think I'll find another one at a price I can afford. Hope you enjoyed the trip! Anil


 1 point