Leaderboard


Popular Content
Showing content with the highest reputation on 05/09/15 in all areas
-
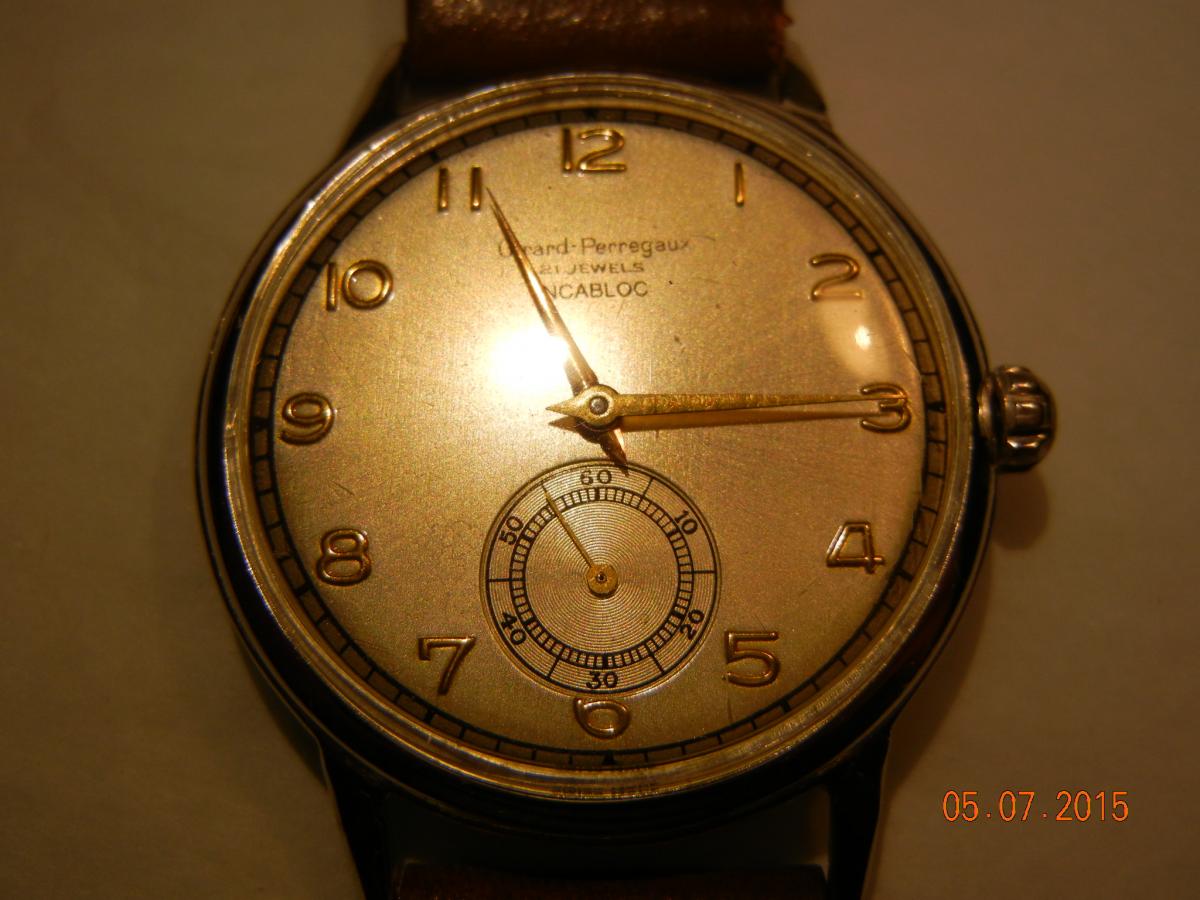
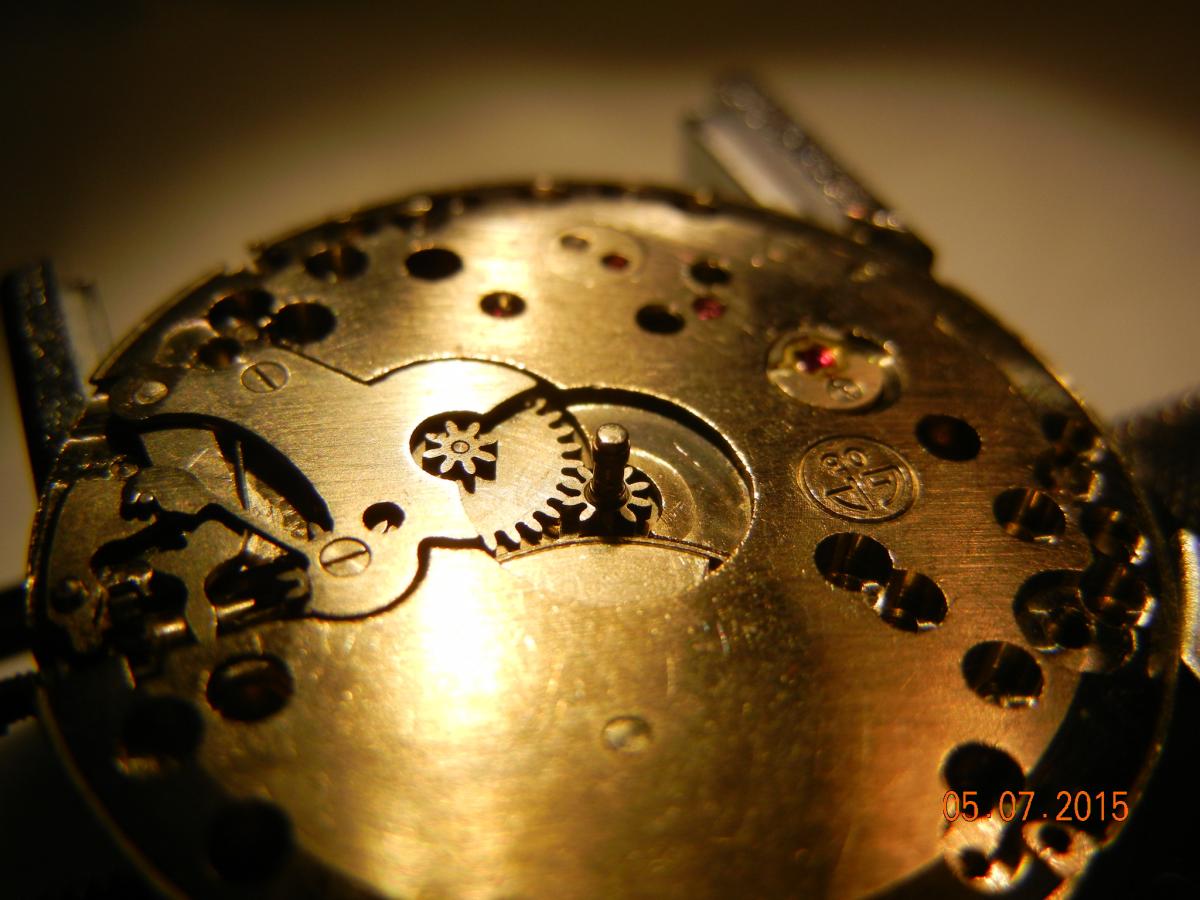
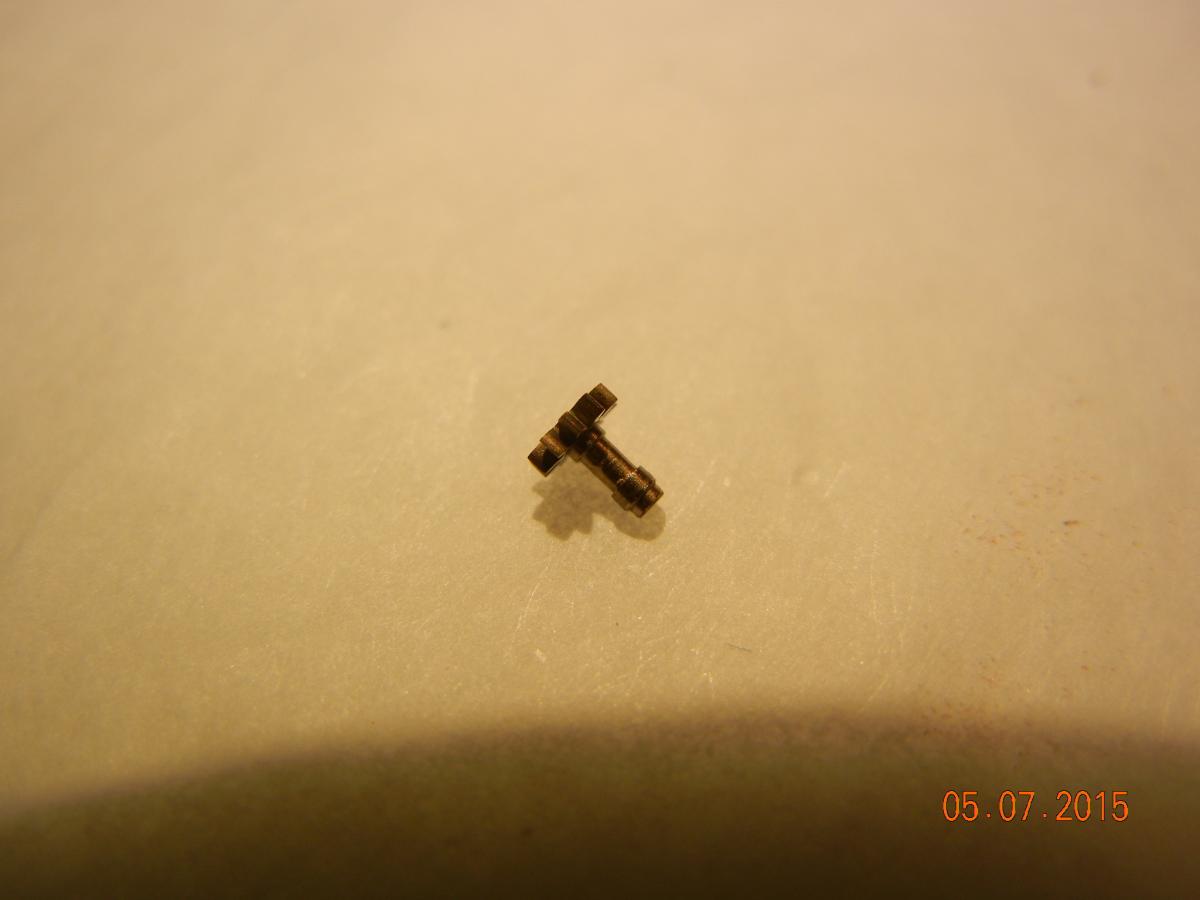
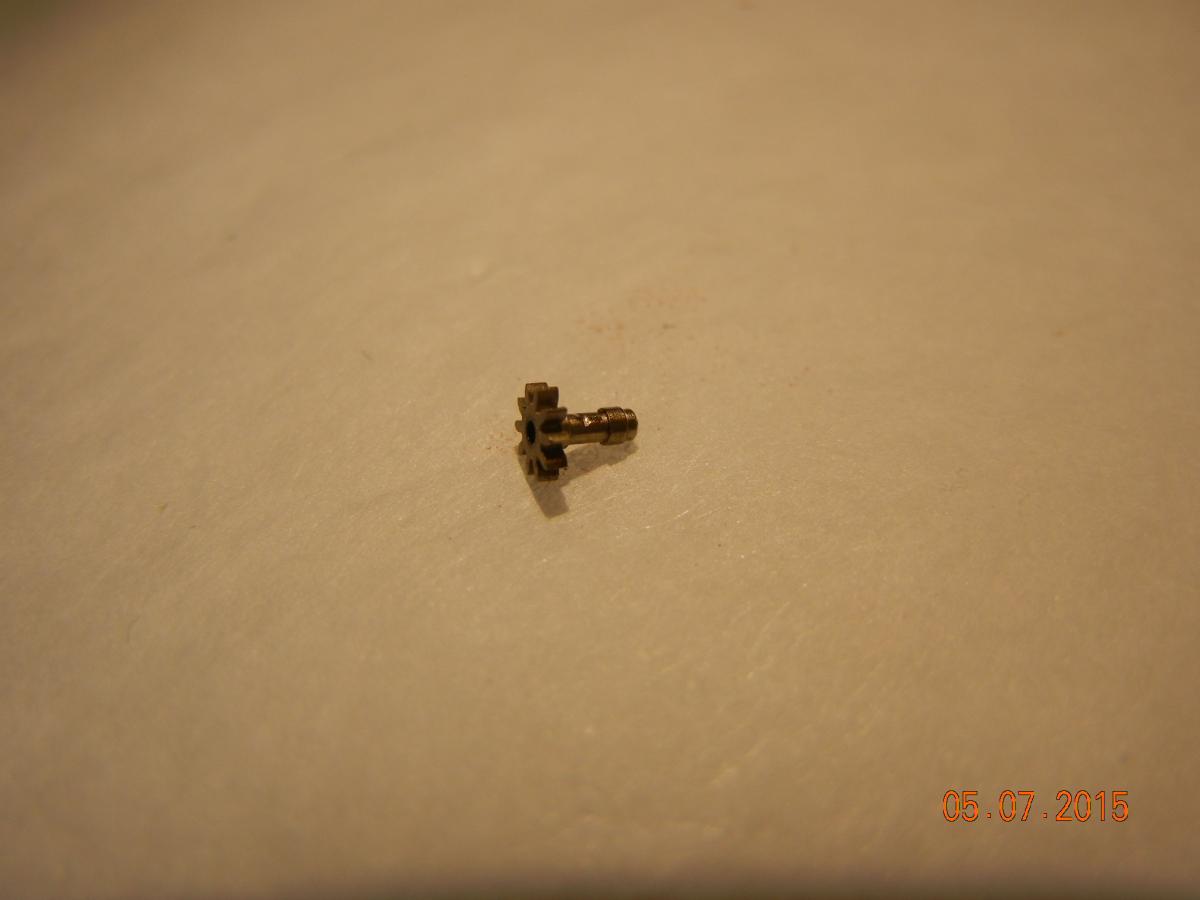
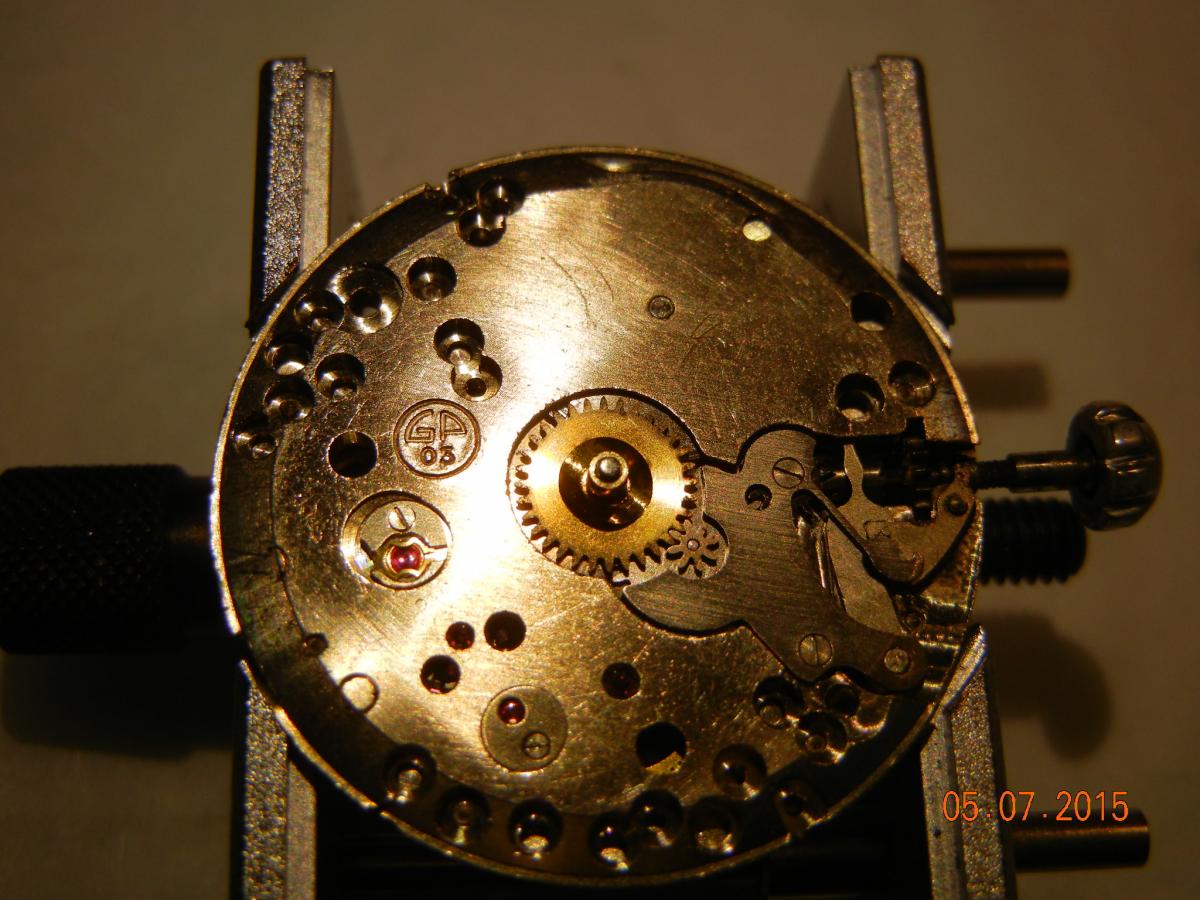
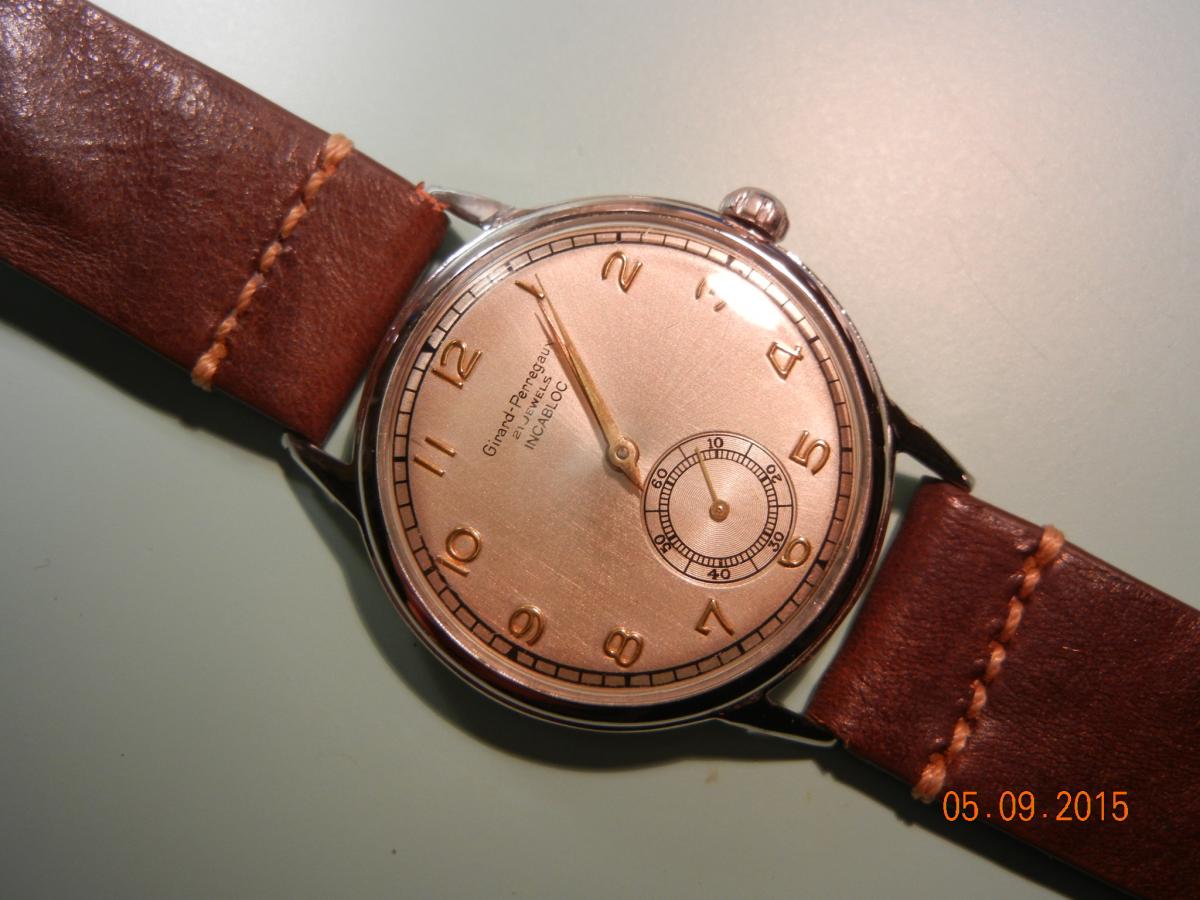
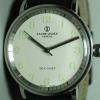
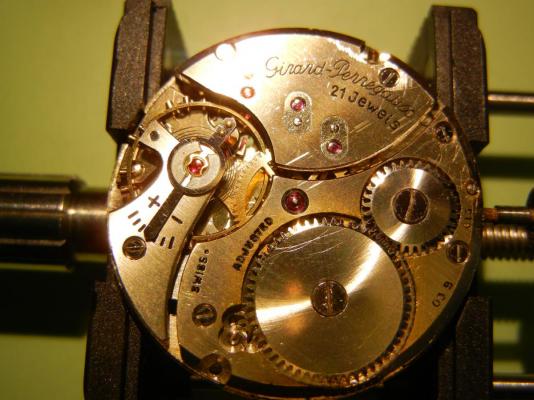
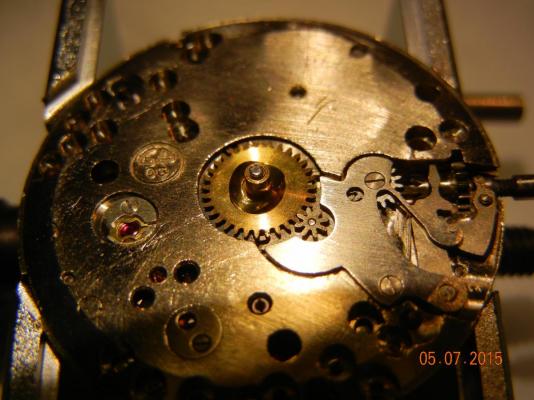
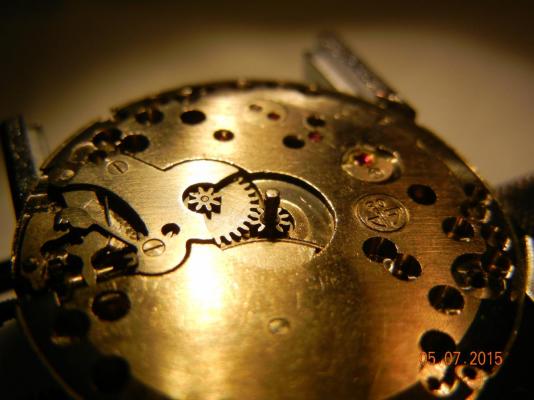
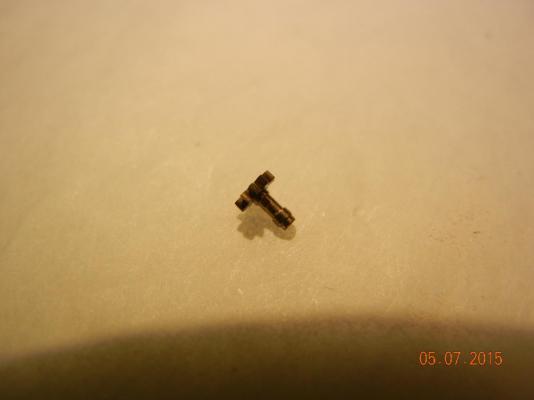
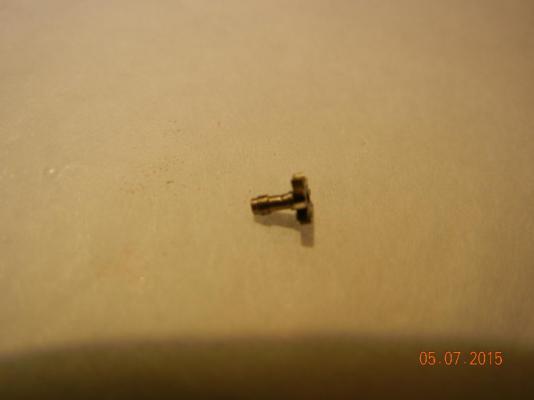
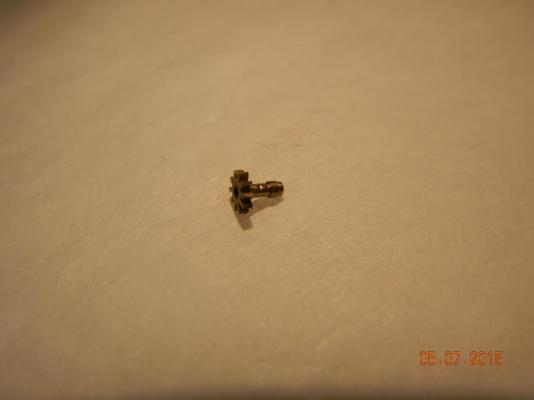
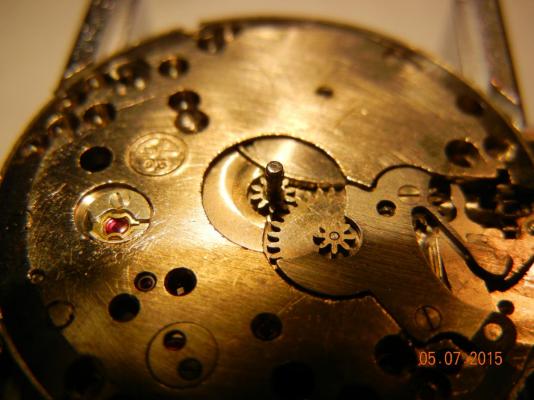
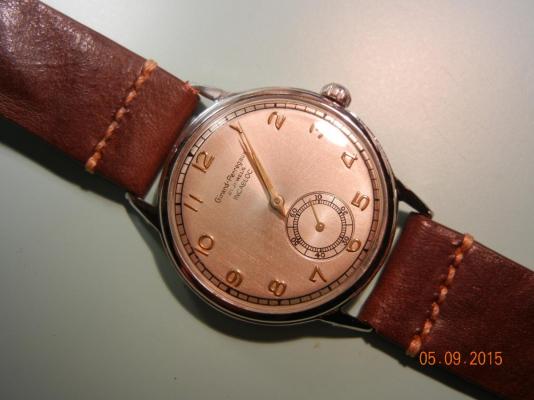
Hello fine watch fellows! It’s been a while since I’ve posted mostly because school is giving me a thorough thrashing and I simply don’t have time to do much of anything else. Well, recently I overhauled a Girard-Perregaux manual winder with caliber 03B. I was impressed by the quality of the watch and I have not been able to date it with certainty except that it has sub seconds, and to me that means late 50’s but I’m not sure. The watch had been roughly treated in past as evidenced by the scars on the movement, but it is well made, and is now at least being better cared for. In any case, the overhaul was performed carefully and everything went back together without incident. The timegrapher helped me get it within a few + seconds a day and all seemed well…After letting it sit overnight I noticed it was running 20 minutes slow, and so I thought I must have set it wrong (which has happened after a long night!) so I set it again and checked it after an hour—20 minutes slow! I found it strange that it would run so consistently slow, so if course I put it back on the timegrapher and tweaked it to run about 20 seconds fast a day and again reset the time. When I checked it again one hour later it was 20 minutes slow. OK, so I knew something was wrong, but what? It was not the balance or the drive gears because the timegrapher readings are good, but I noticed the hands were very easy to set—almost no resistance. I remember reading about certain cannon pinion problems and so I suspected that. After some research I knew it had to be the cannon pinion because the time loss was too consistent and rapid to be something in the gear train. Also the timegrapher readings were good—but that loose action upon setting was a hallmark of a loose cannon pinion. I didn’t want to try a nail clipper (yes, I guess some people have used these) because this is not my watch and replacement parts for this GP caliber are non-existent—I checked everywhere. So I went ahead and bought a cannon pinion tightener from Dash To and nervously went about it. It took two taps and…. Success! cannon pinion tight! The Girard Perregaux keeping time beautifully again (after readjusting, of course). I posted just in case anyone unfamiliar with old[er] watches comes across one losing big chunks of time, especially after an overhaul--check the cannon pinion! J


 2 points
 -
Vote relume.2 points
-
There you go. Broke out the brut. Sent from my iPhone using Tapatalk2 points
-
Hi Rog! Just my feverish mind at work here but what about getting a short length of windscreen wiper rubber and using the edge, dipped in black paint, as a sort of tampon? If the rubber is new and the edge nice and straight, maybe under tension from either end, I reckon you'd get a passable result.2 points
-
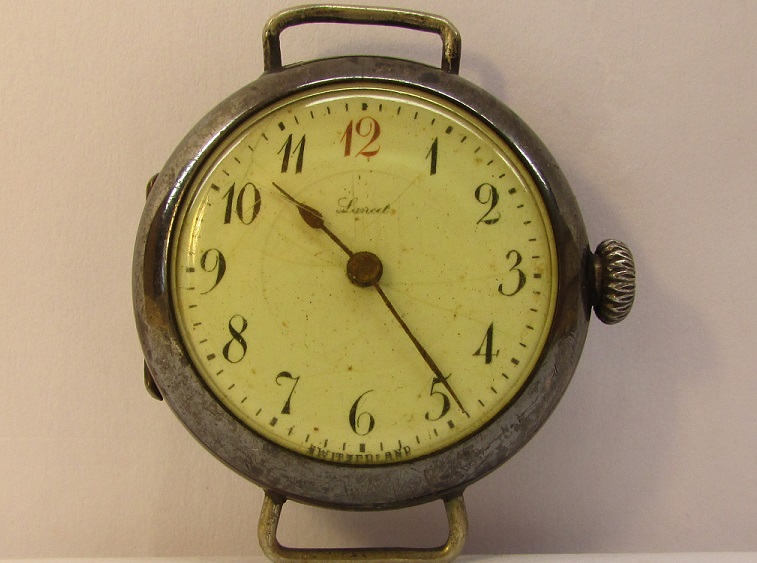
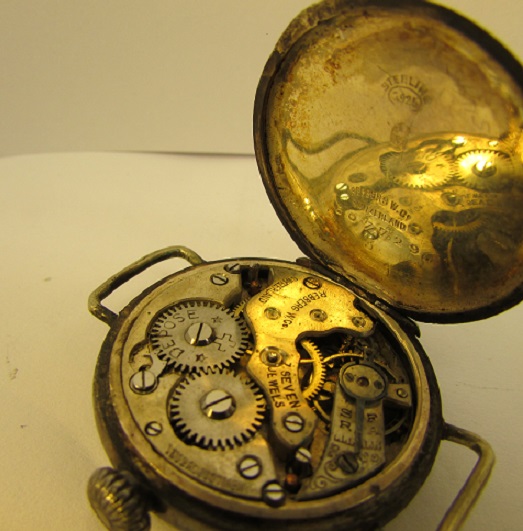
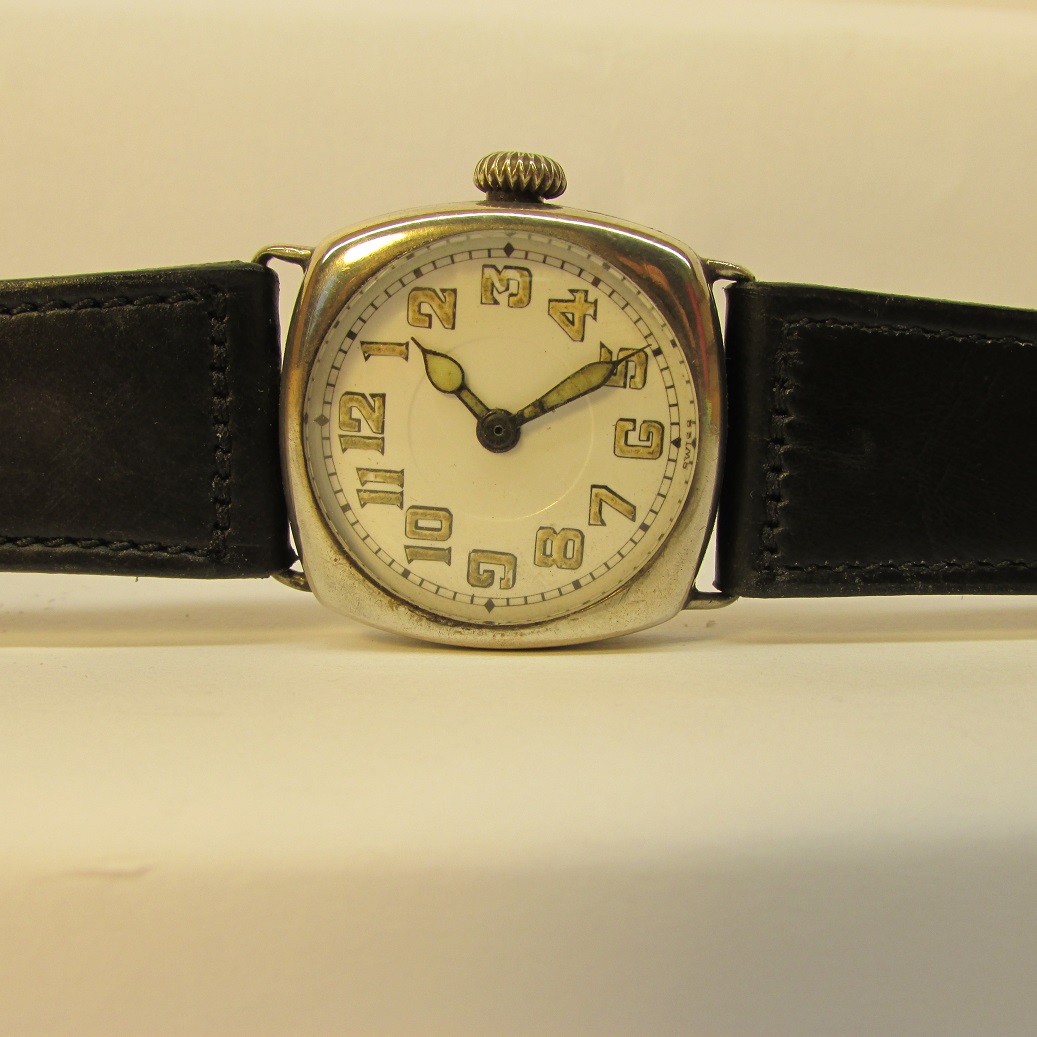
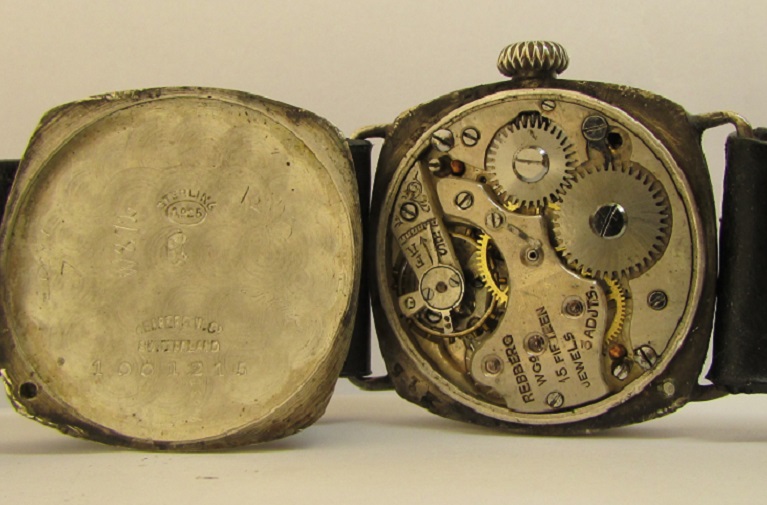
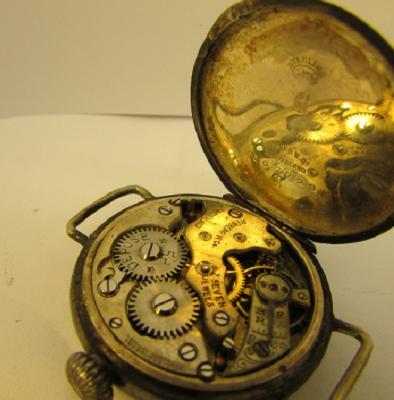
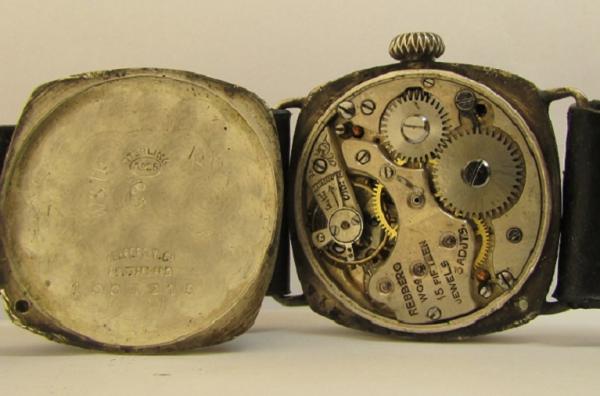
Hi Clockwatch, I really like wrist watches from this era. I have a couple of Rebberg's which I thought you might like to see, which are not one's that were sold to Rolex. The cases are marked Rebberg, and one was branded by Lancet. You will see the movement was also marked Rebberg. I am pretty sure your find is a Rebberg that was sold to Rolex and the ratchet wheel would have been marked with Rolex branding. It is a nice find, even if only for spares


 2 points
 -
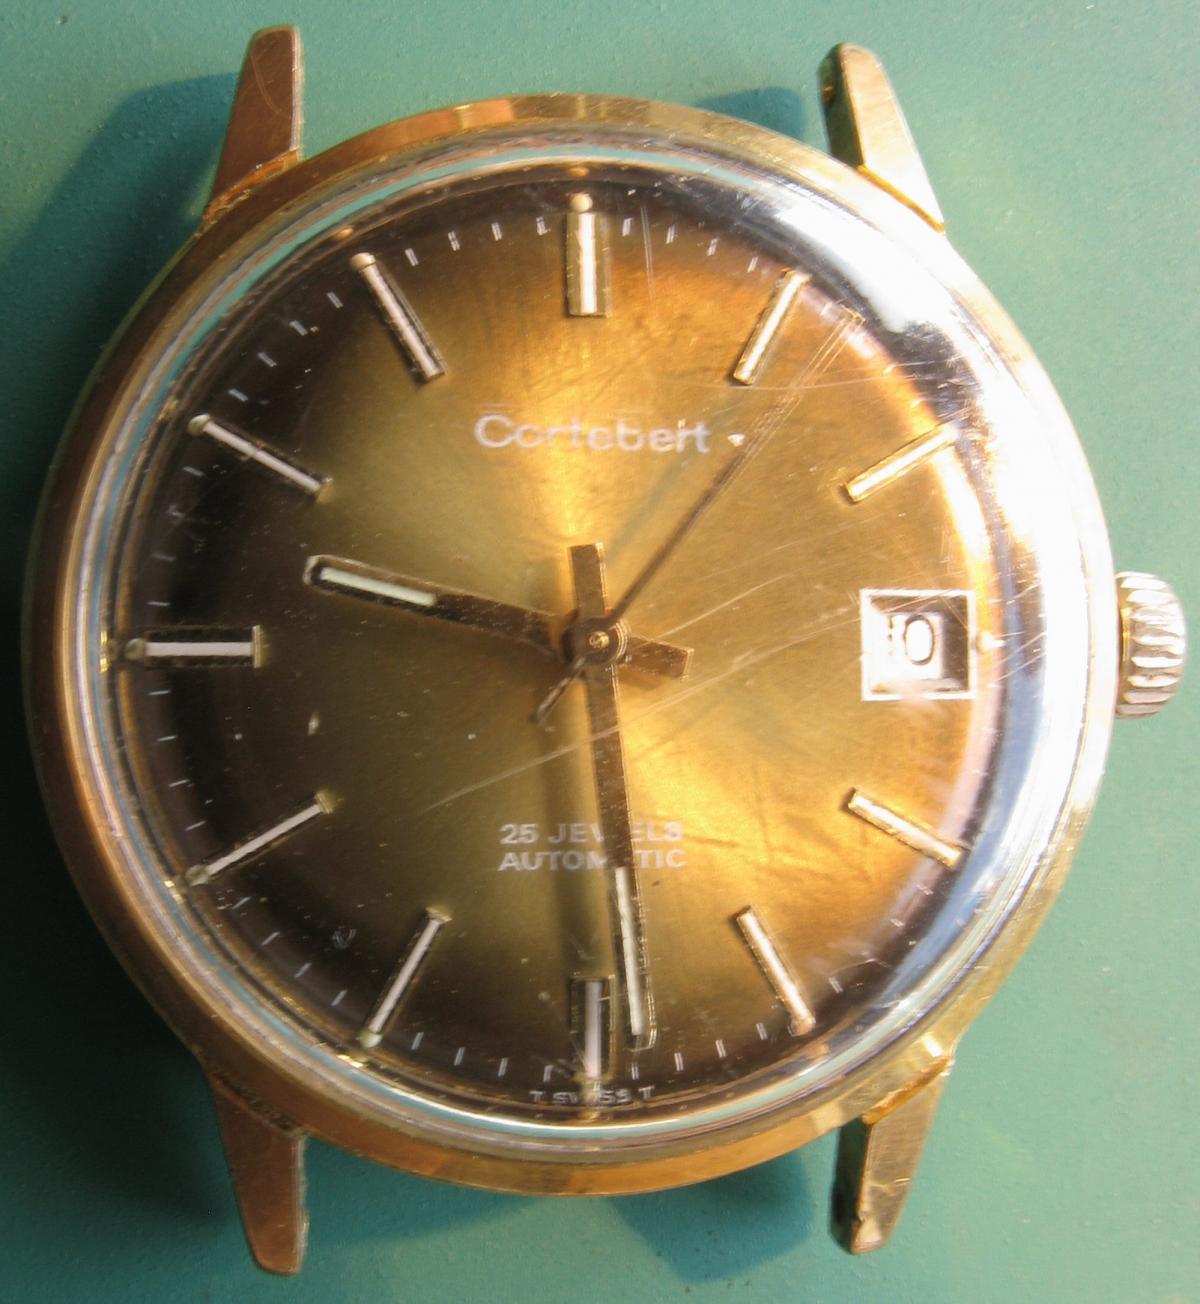
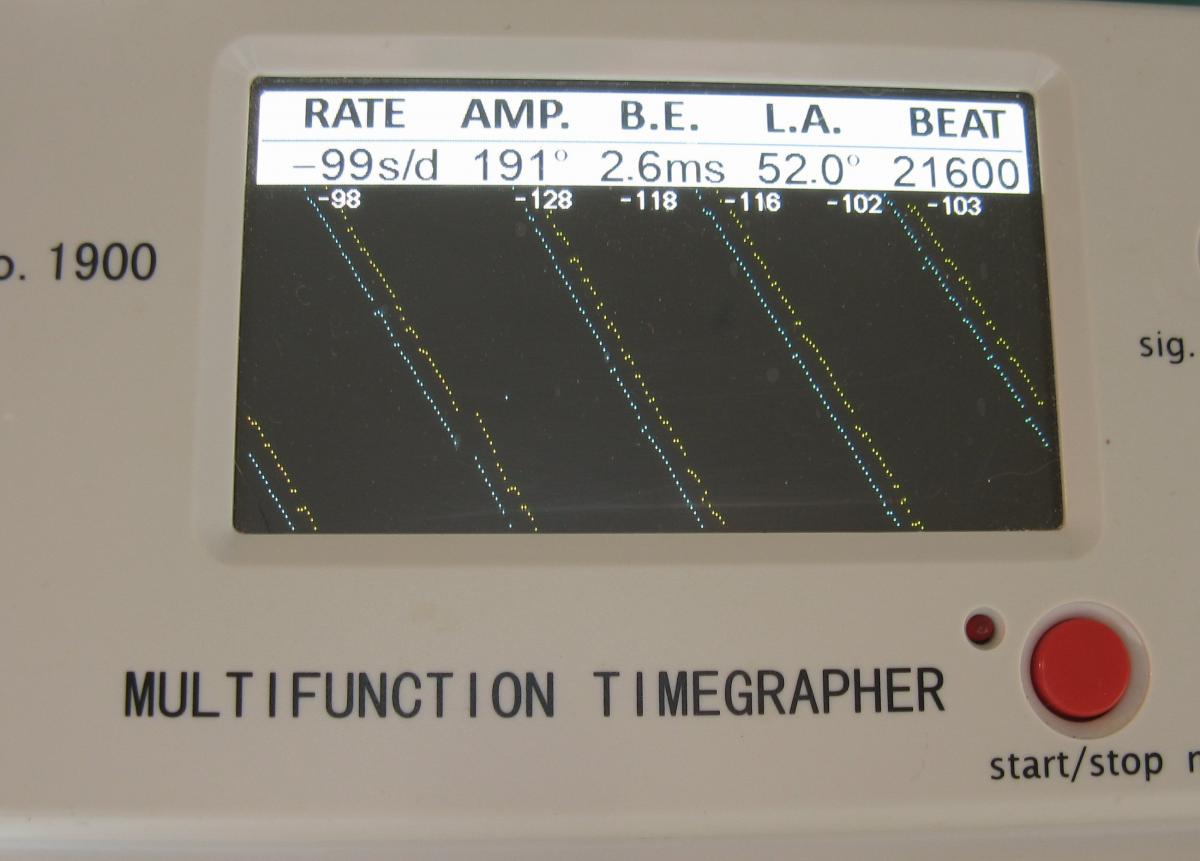
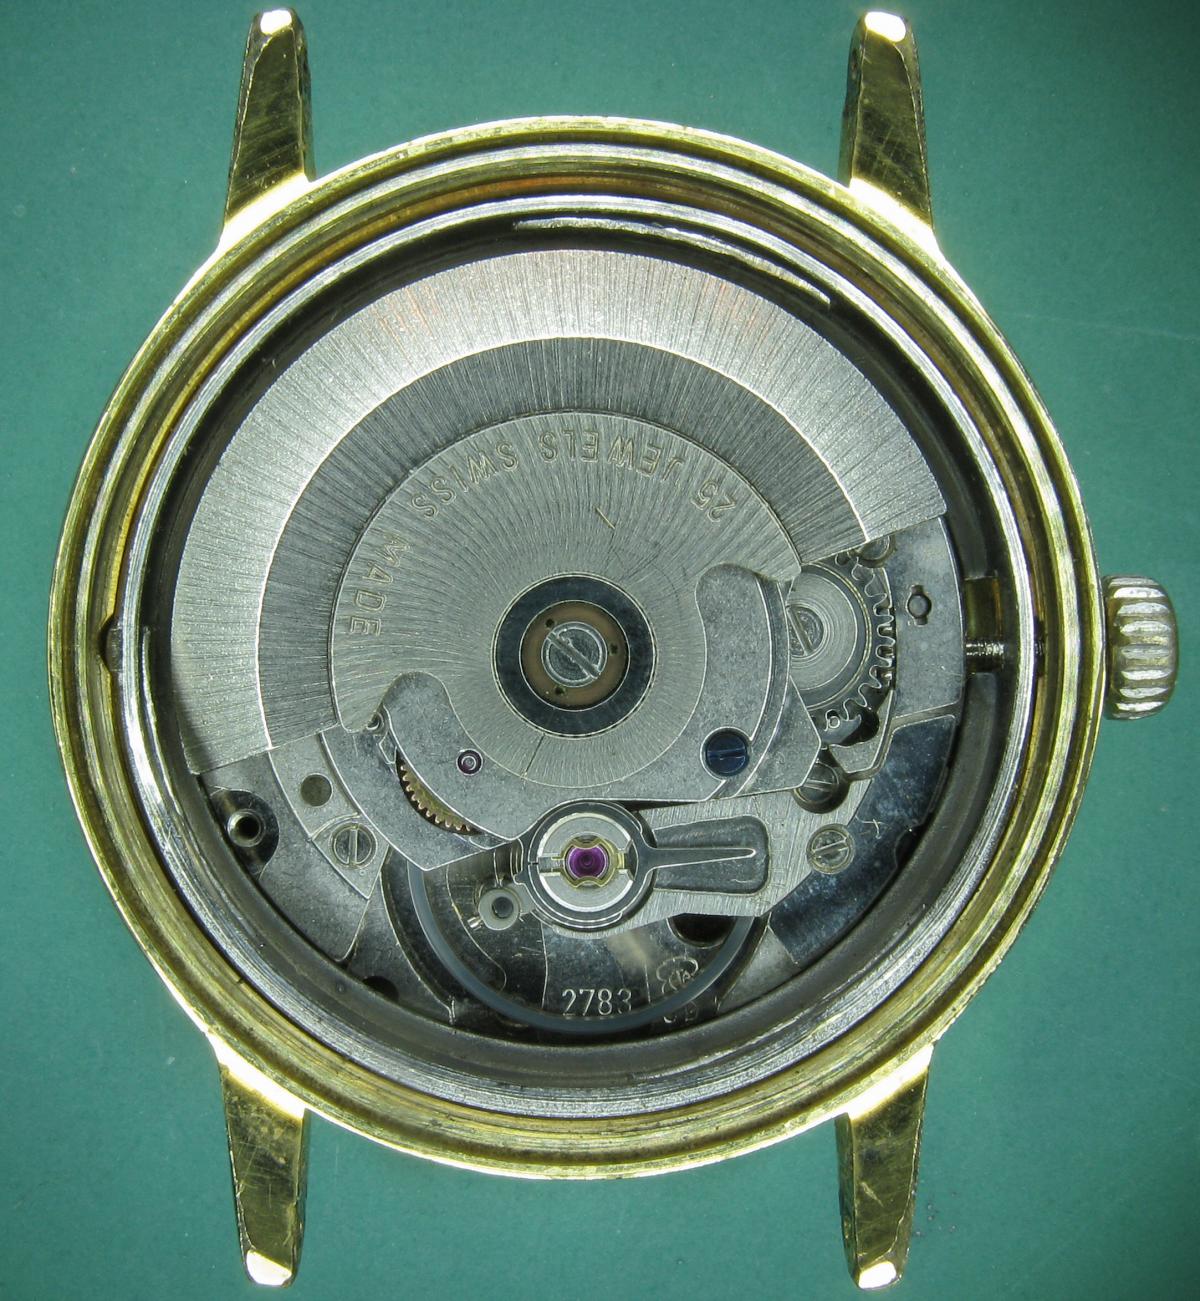
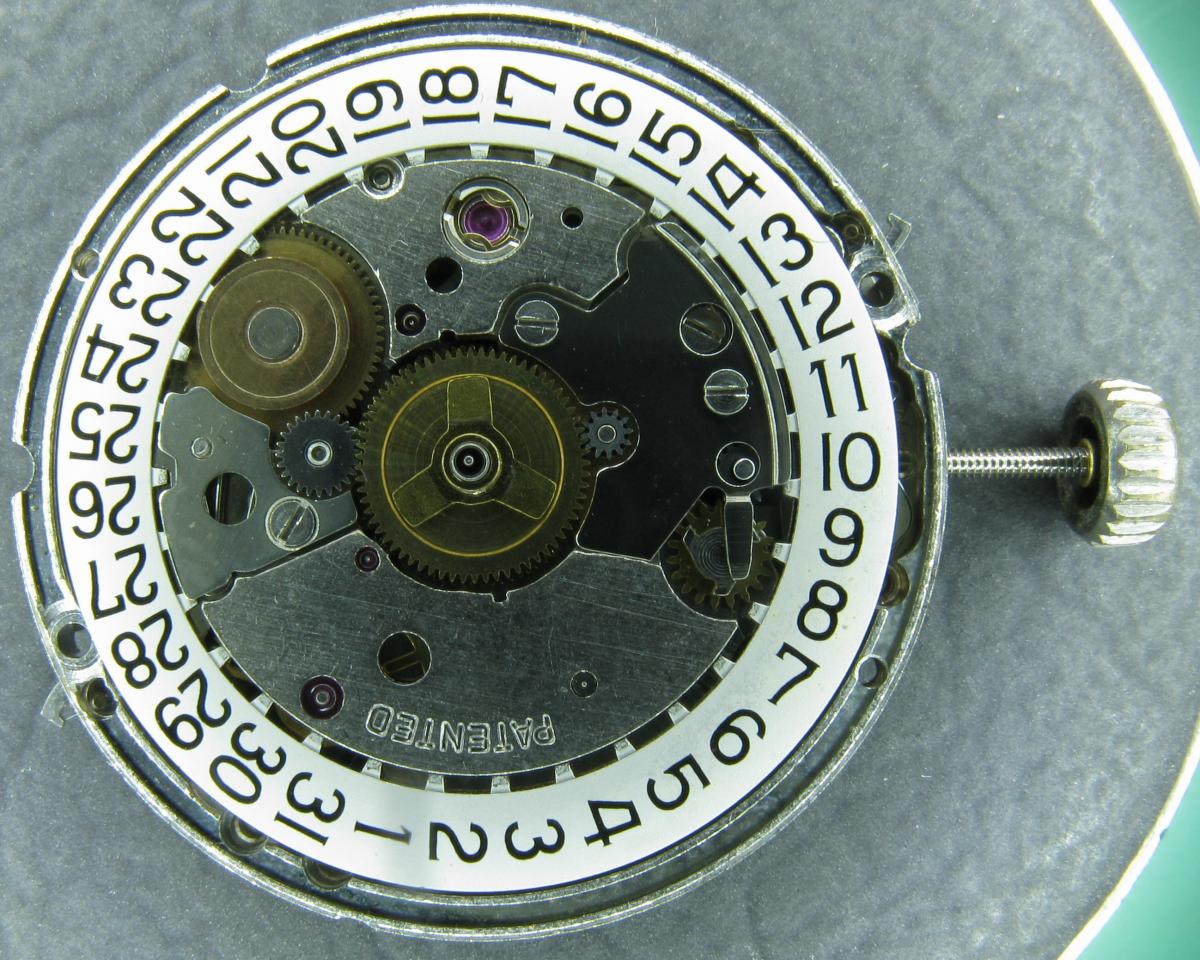
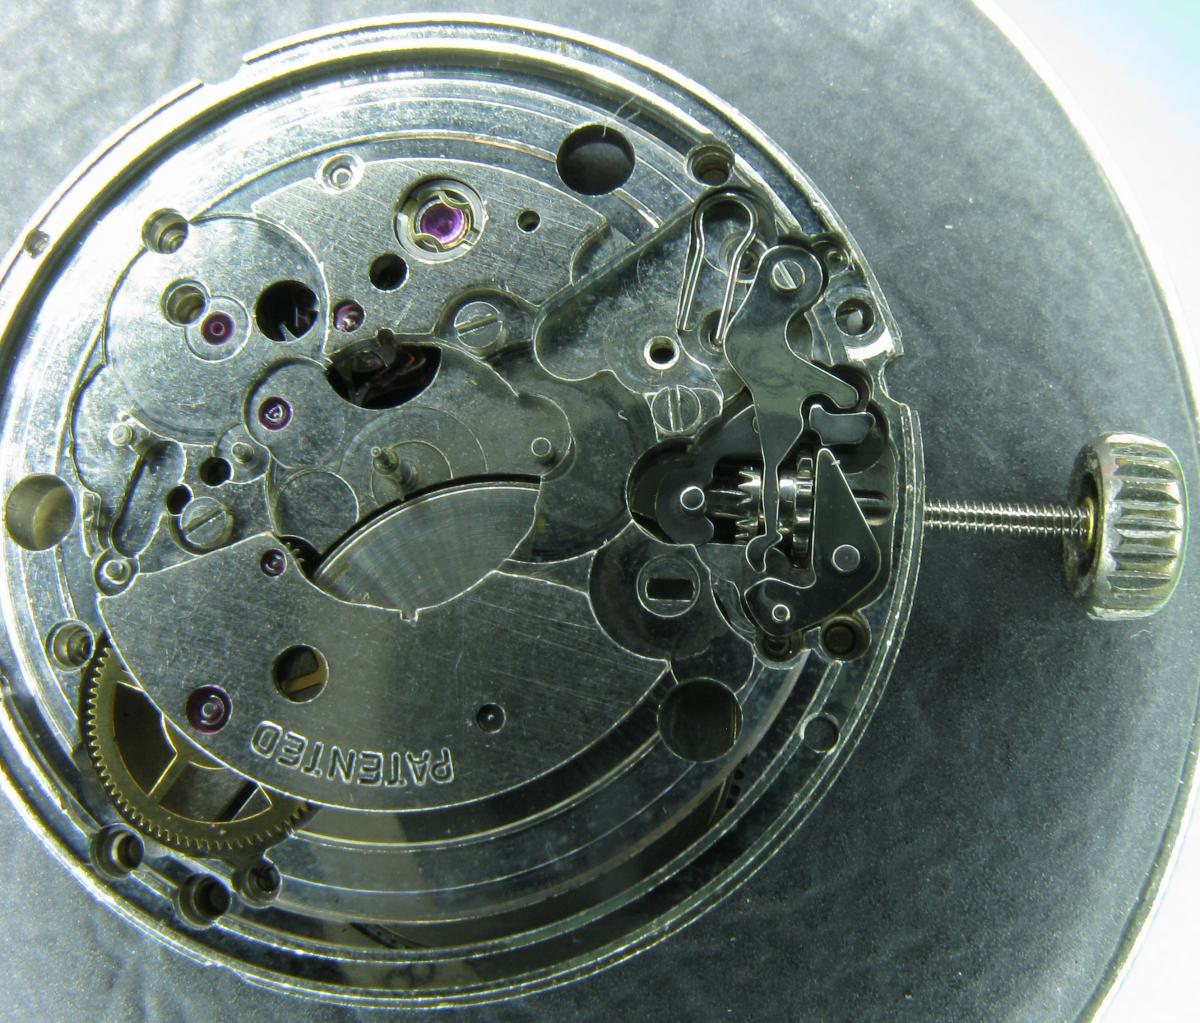
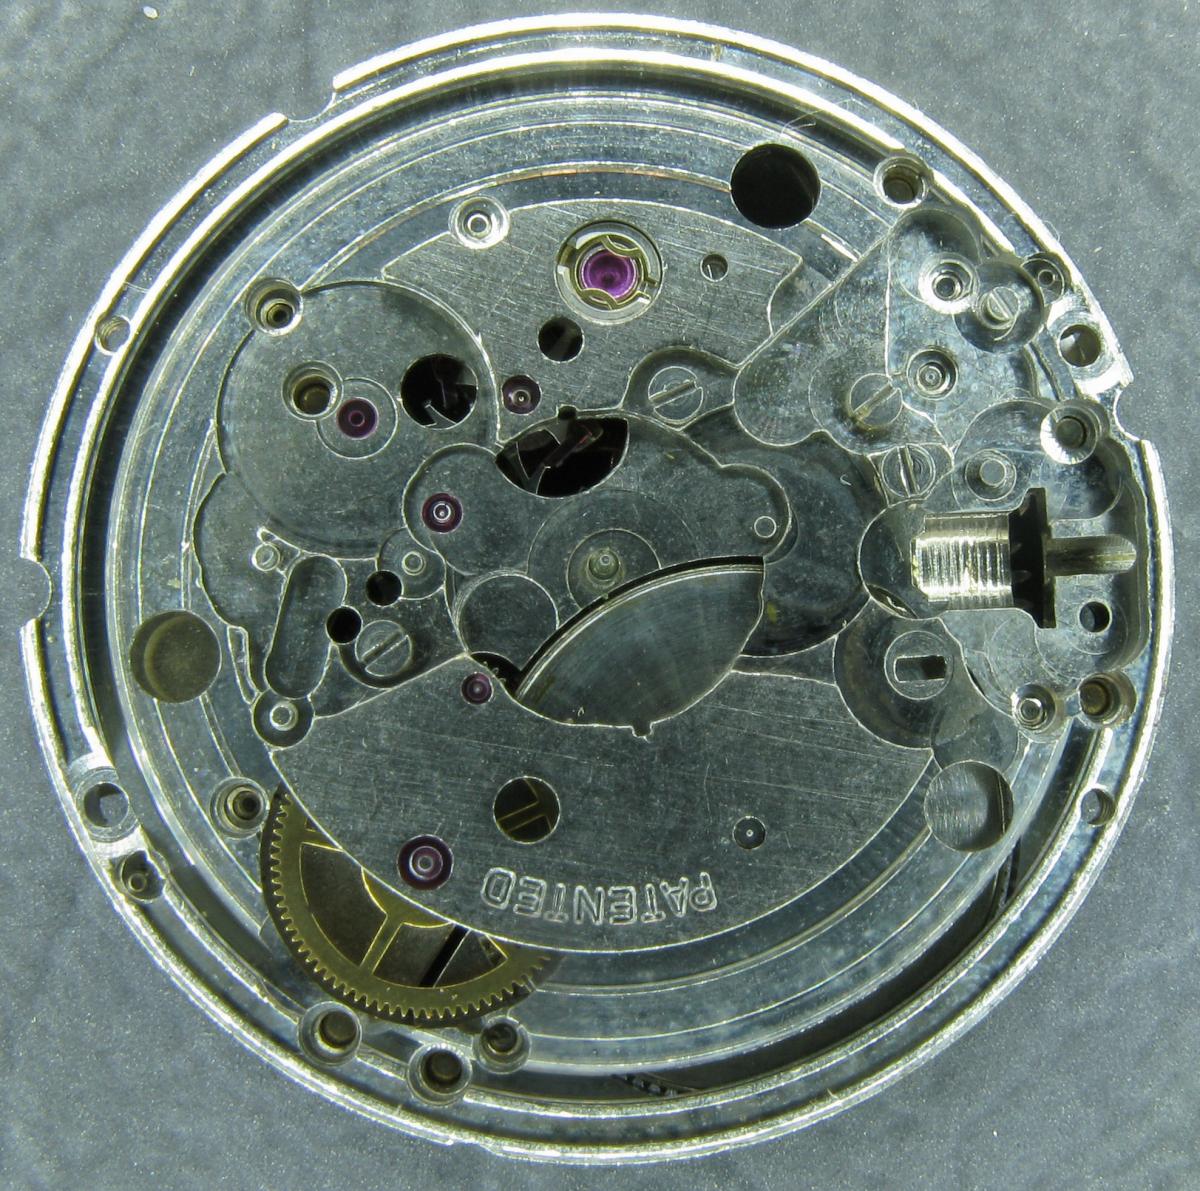
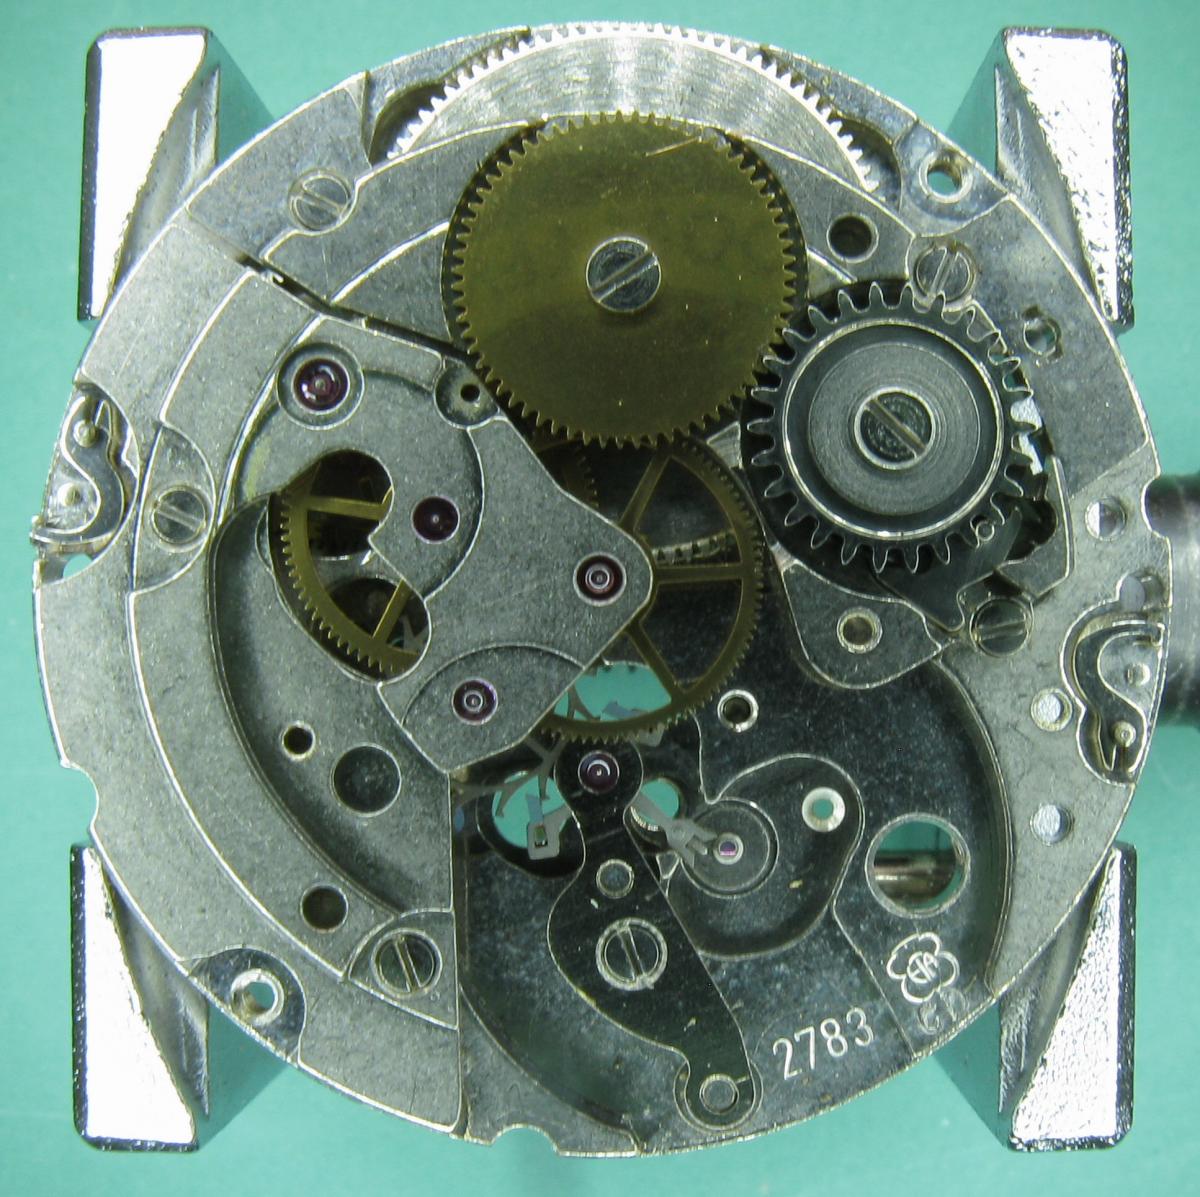
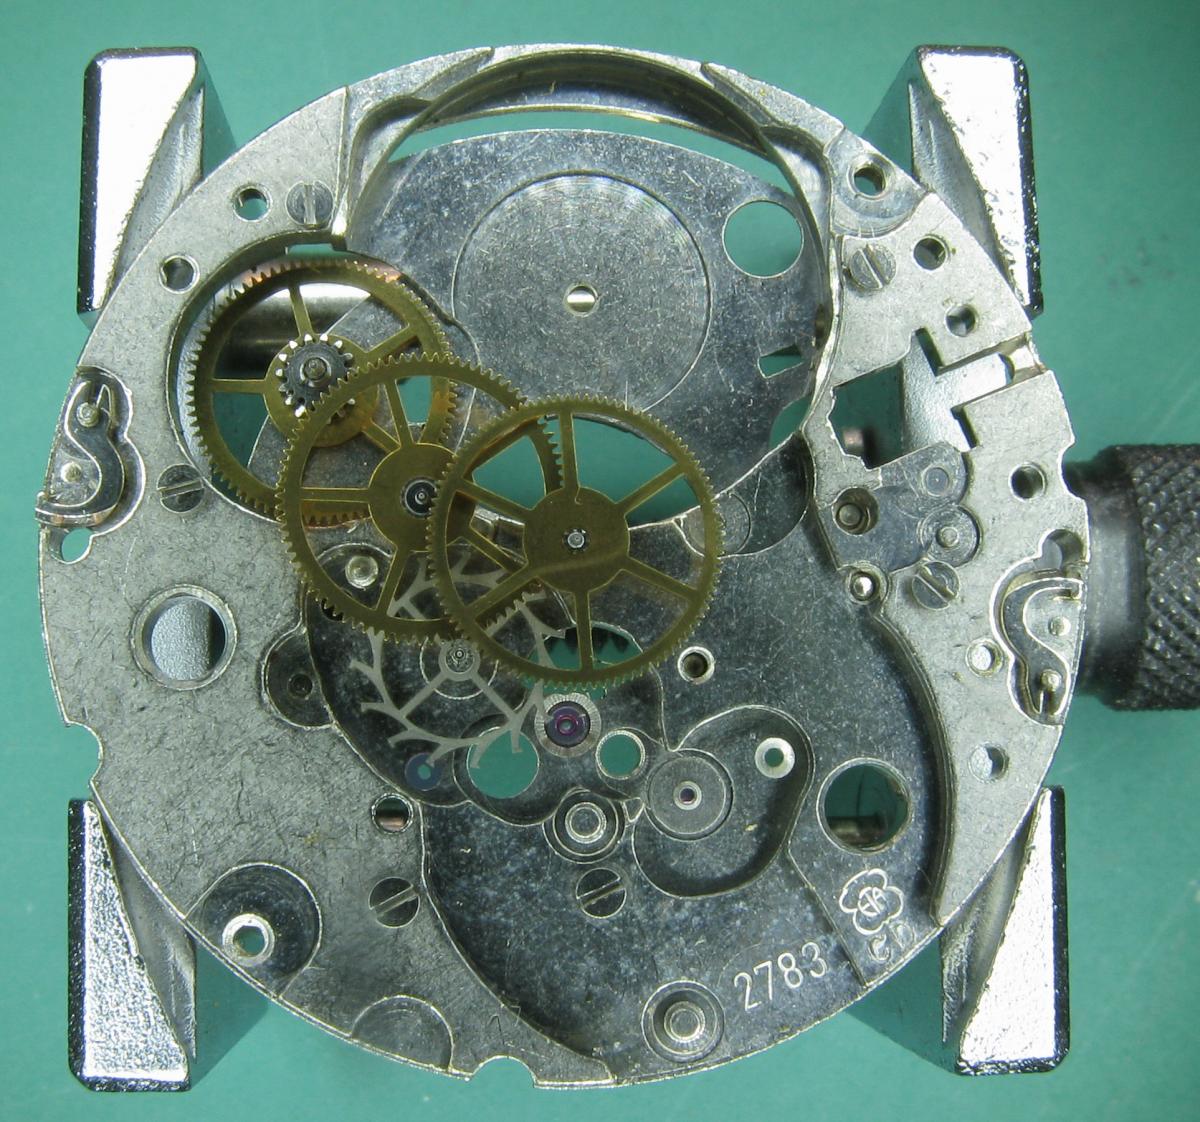
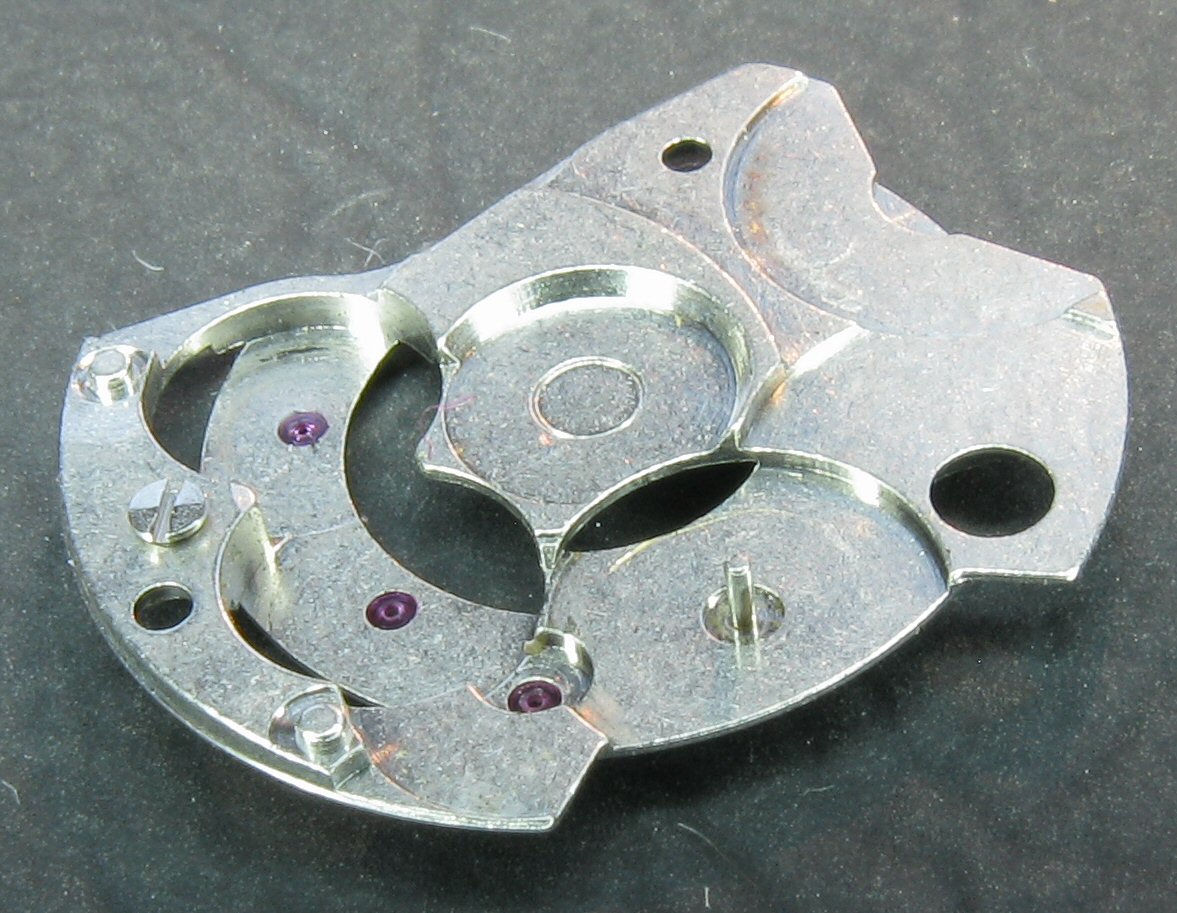
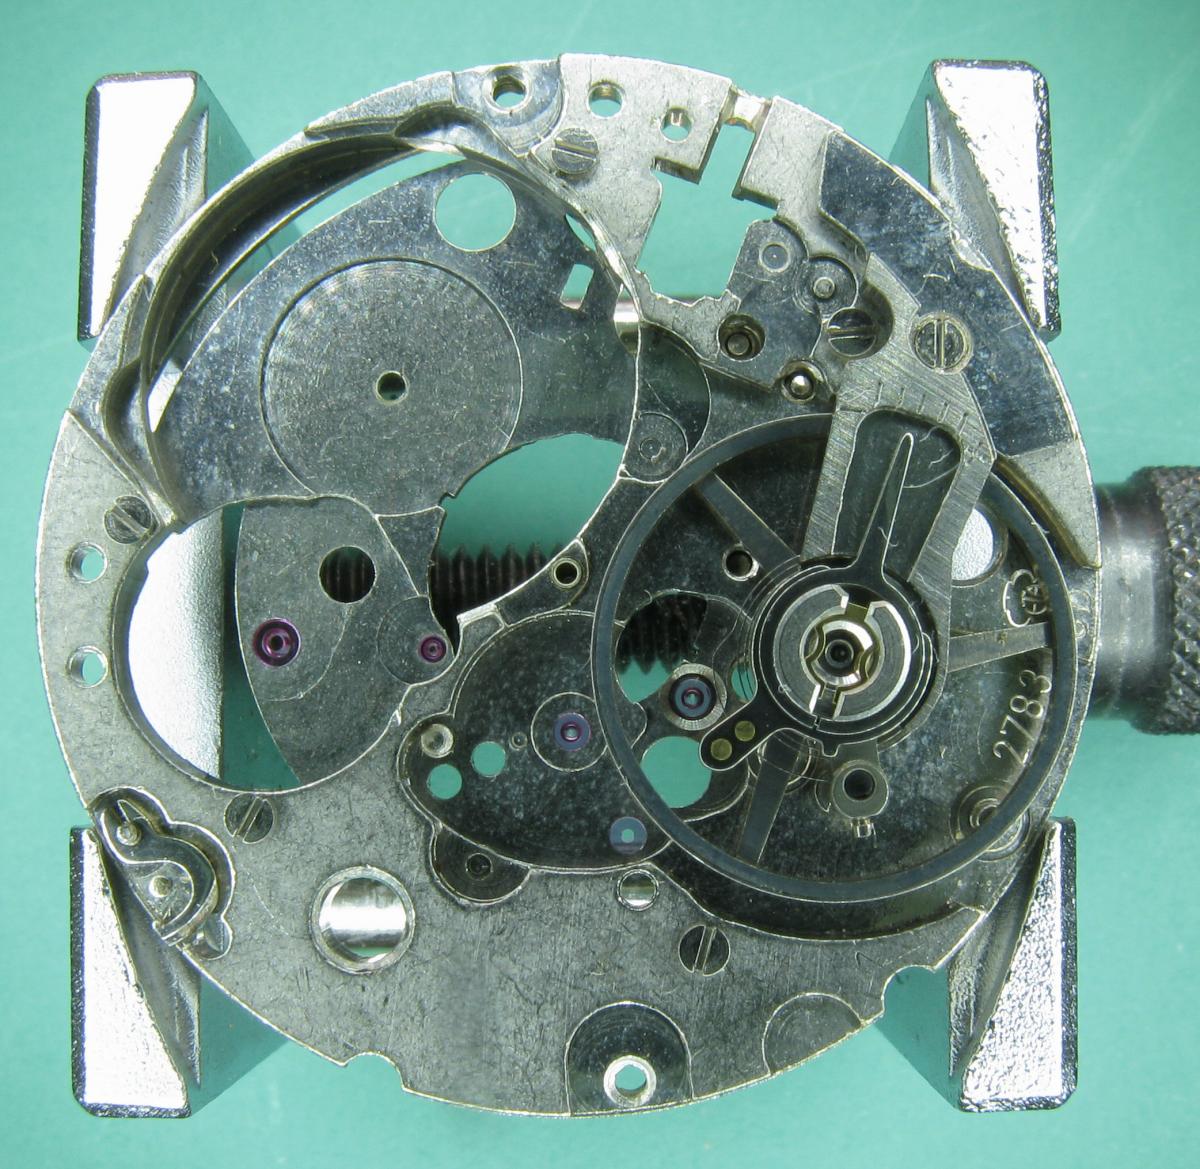
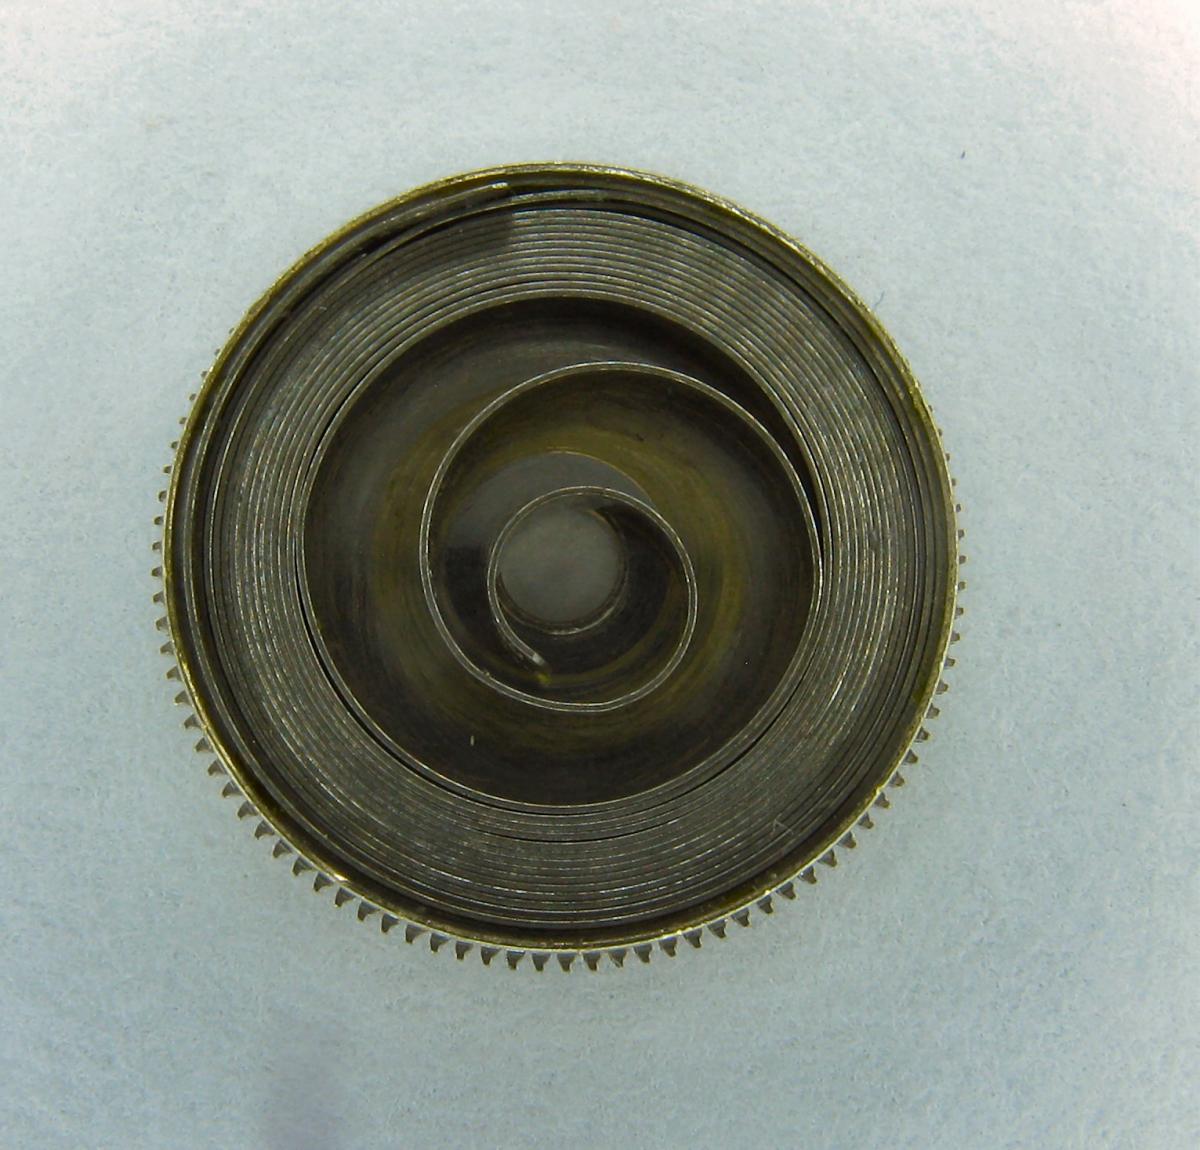
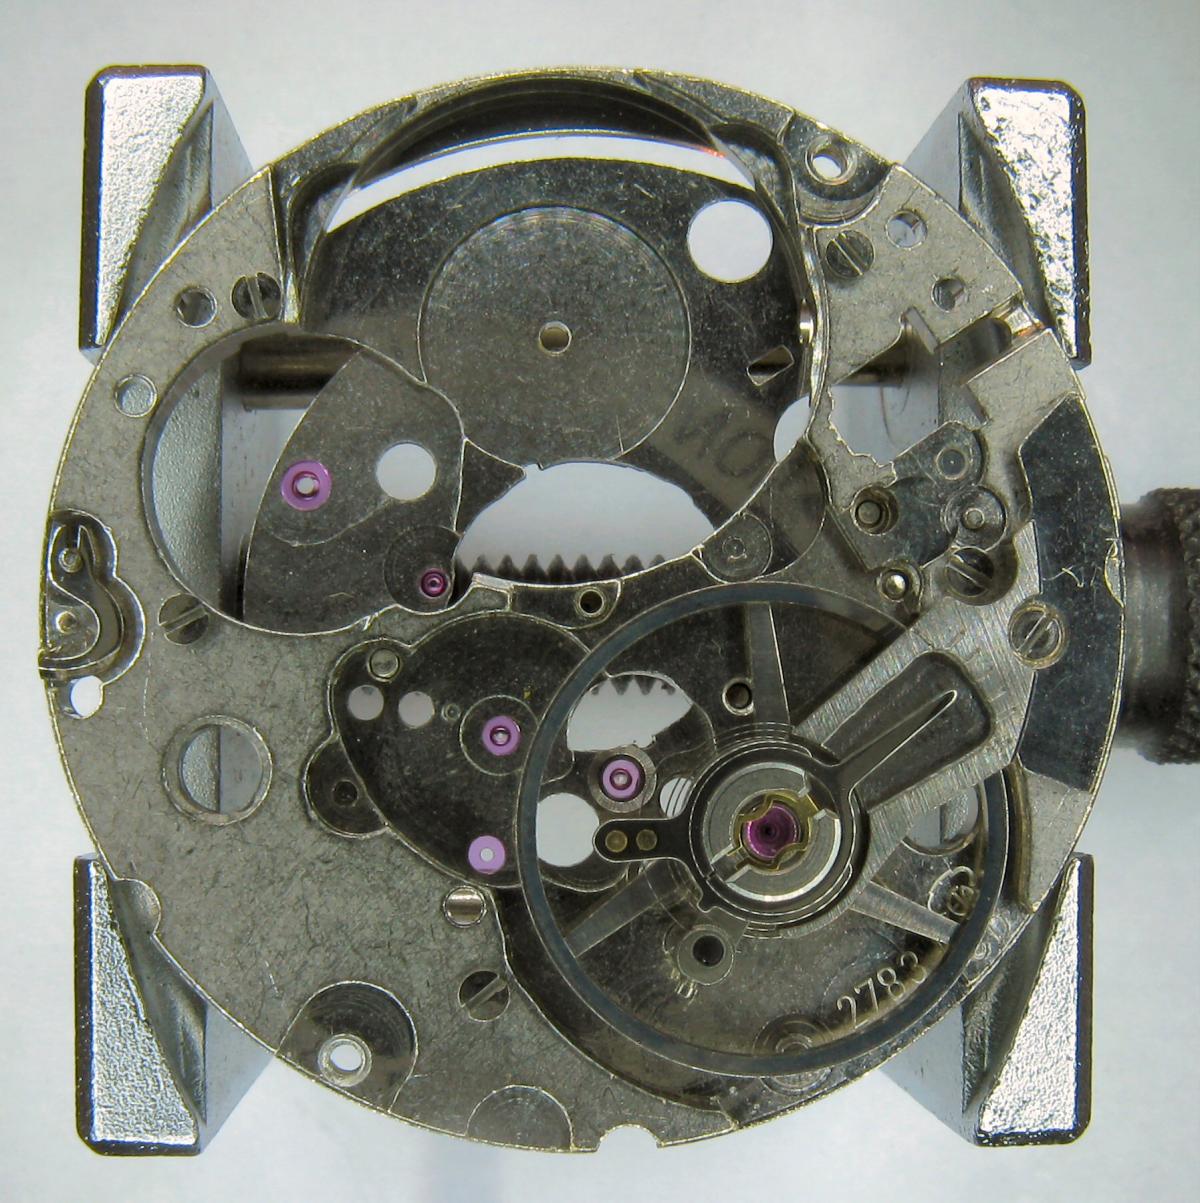
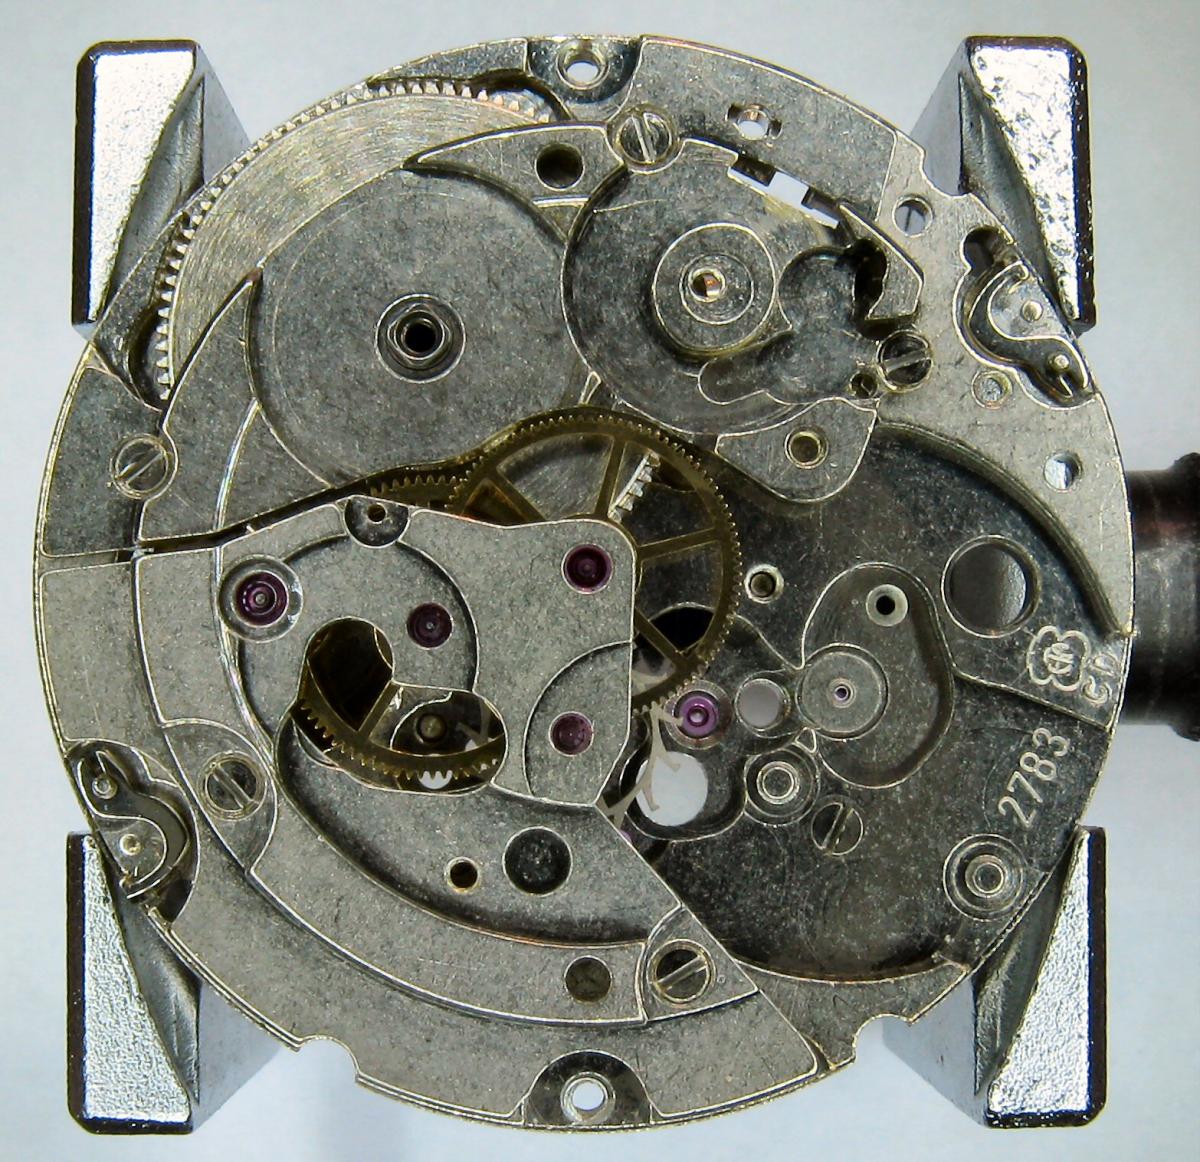
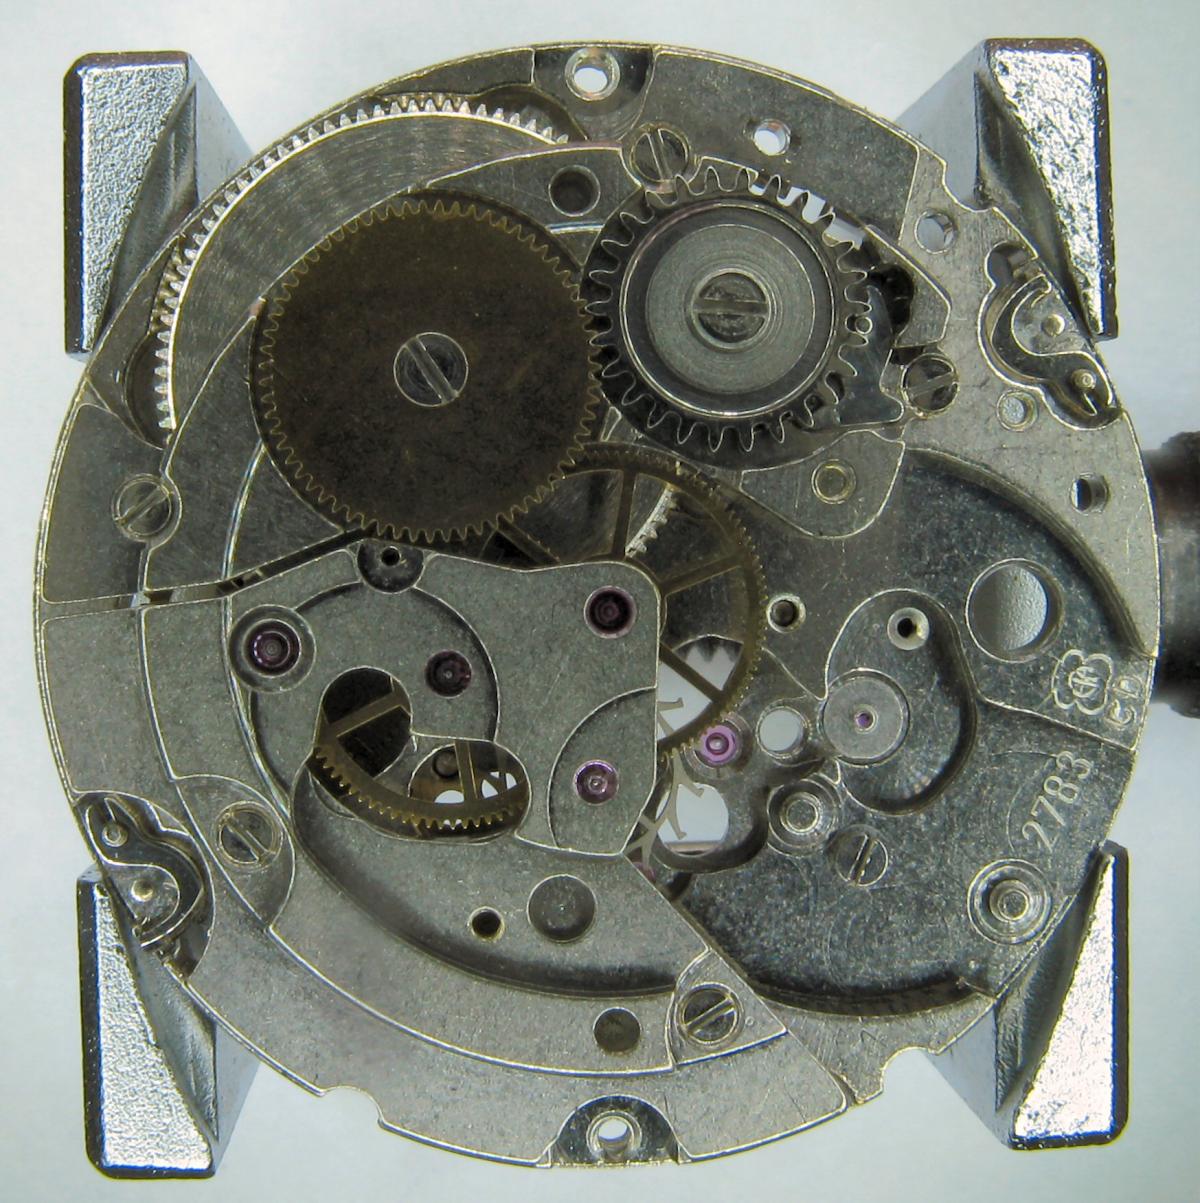
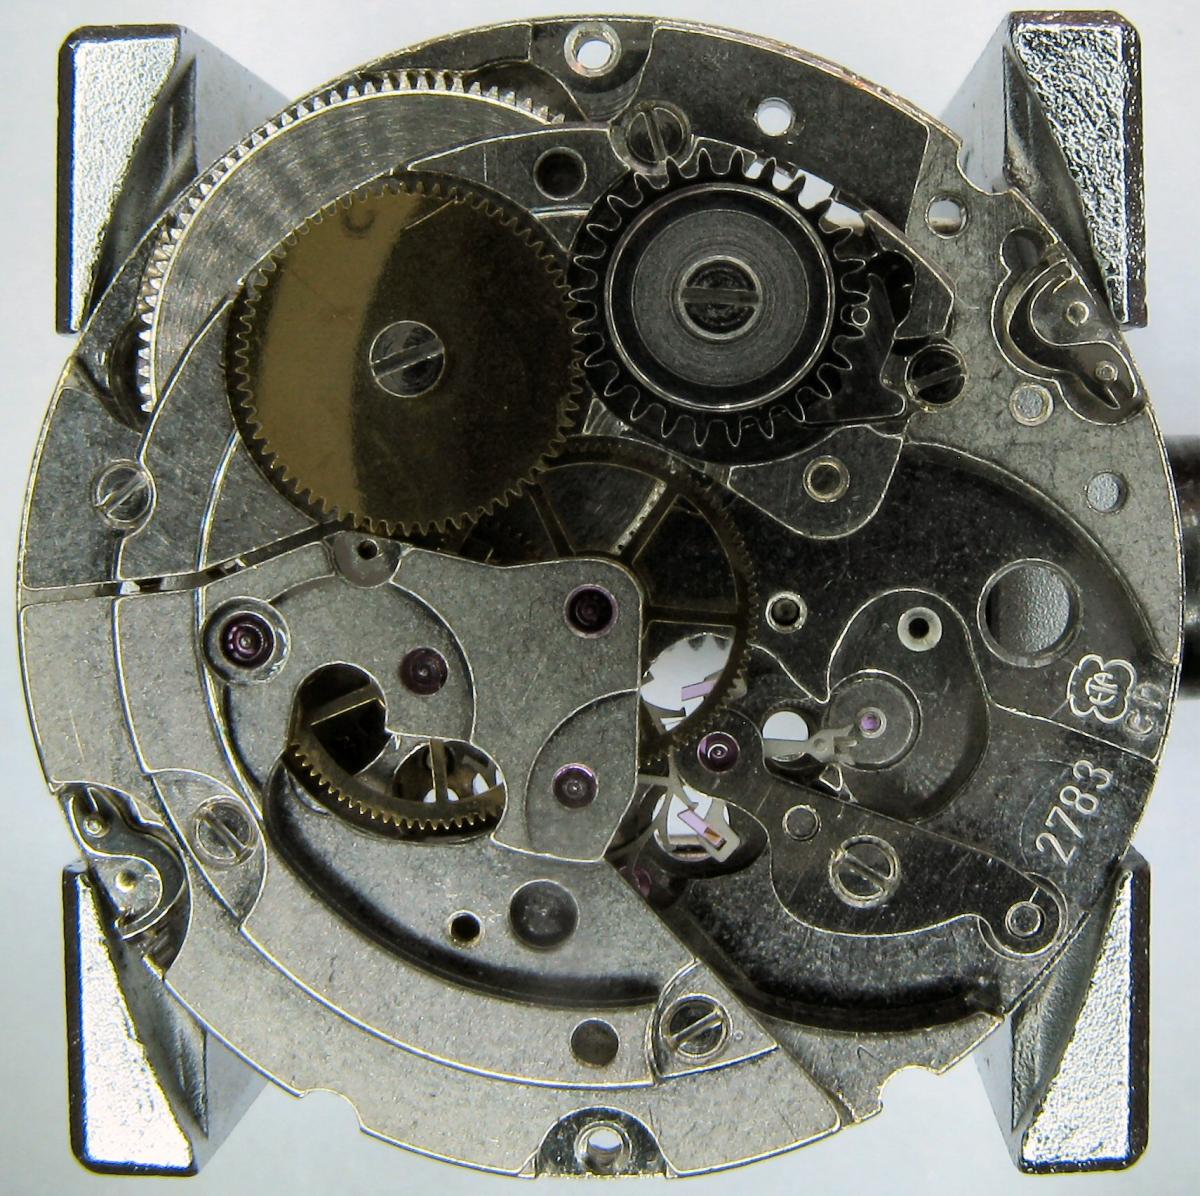
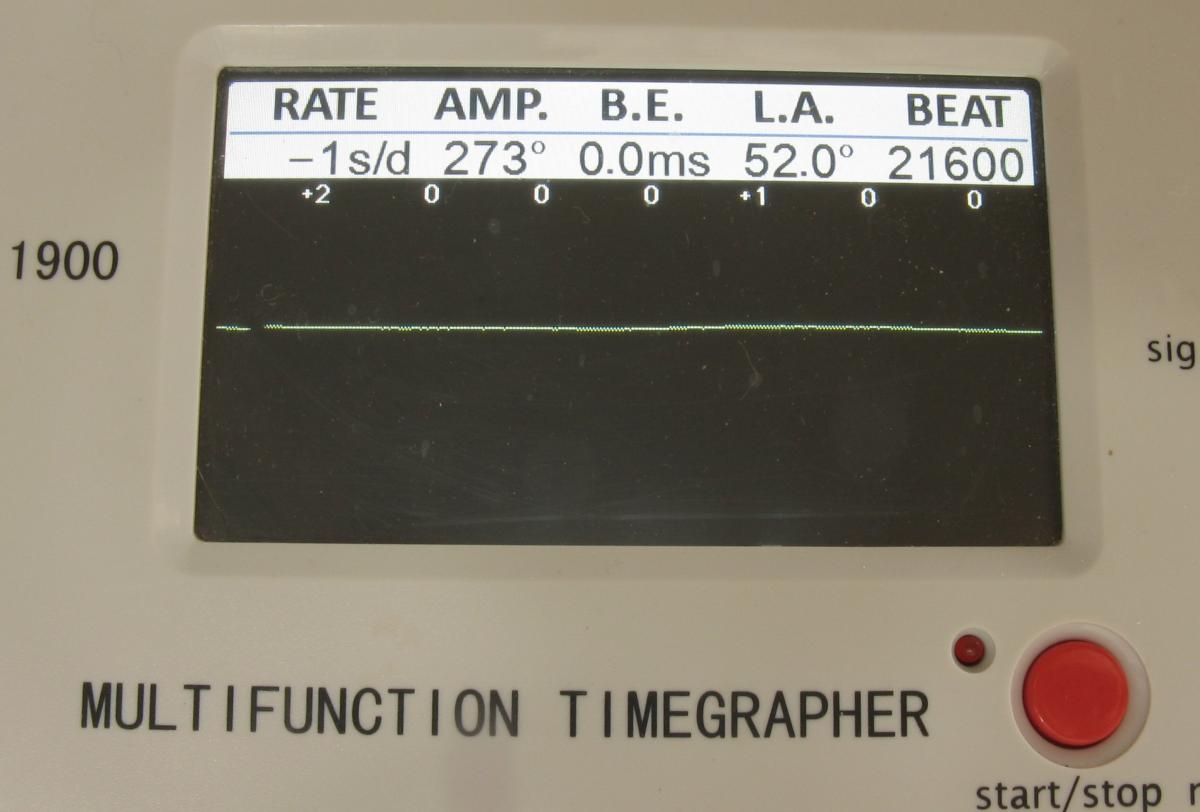
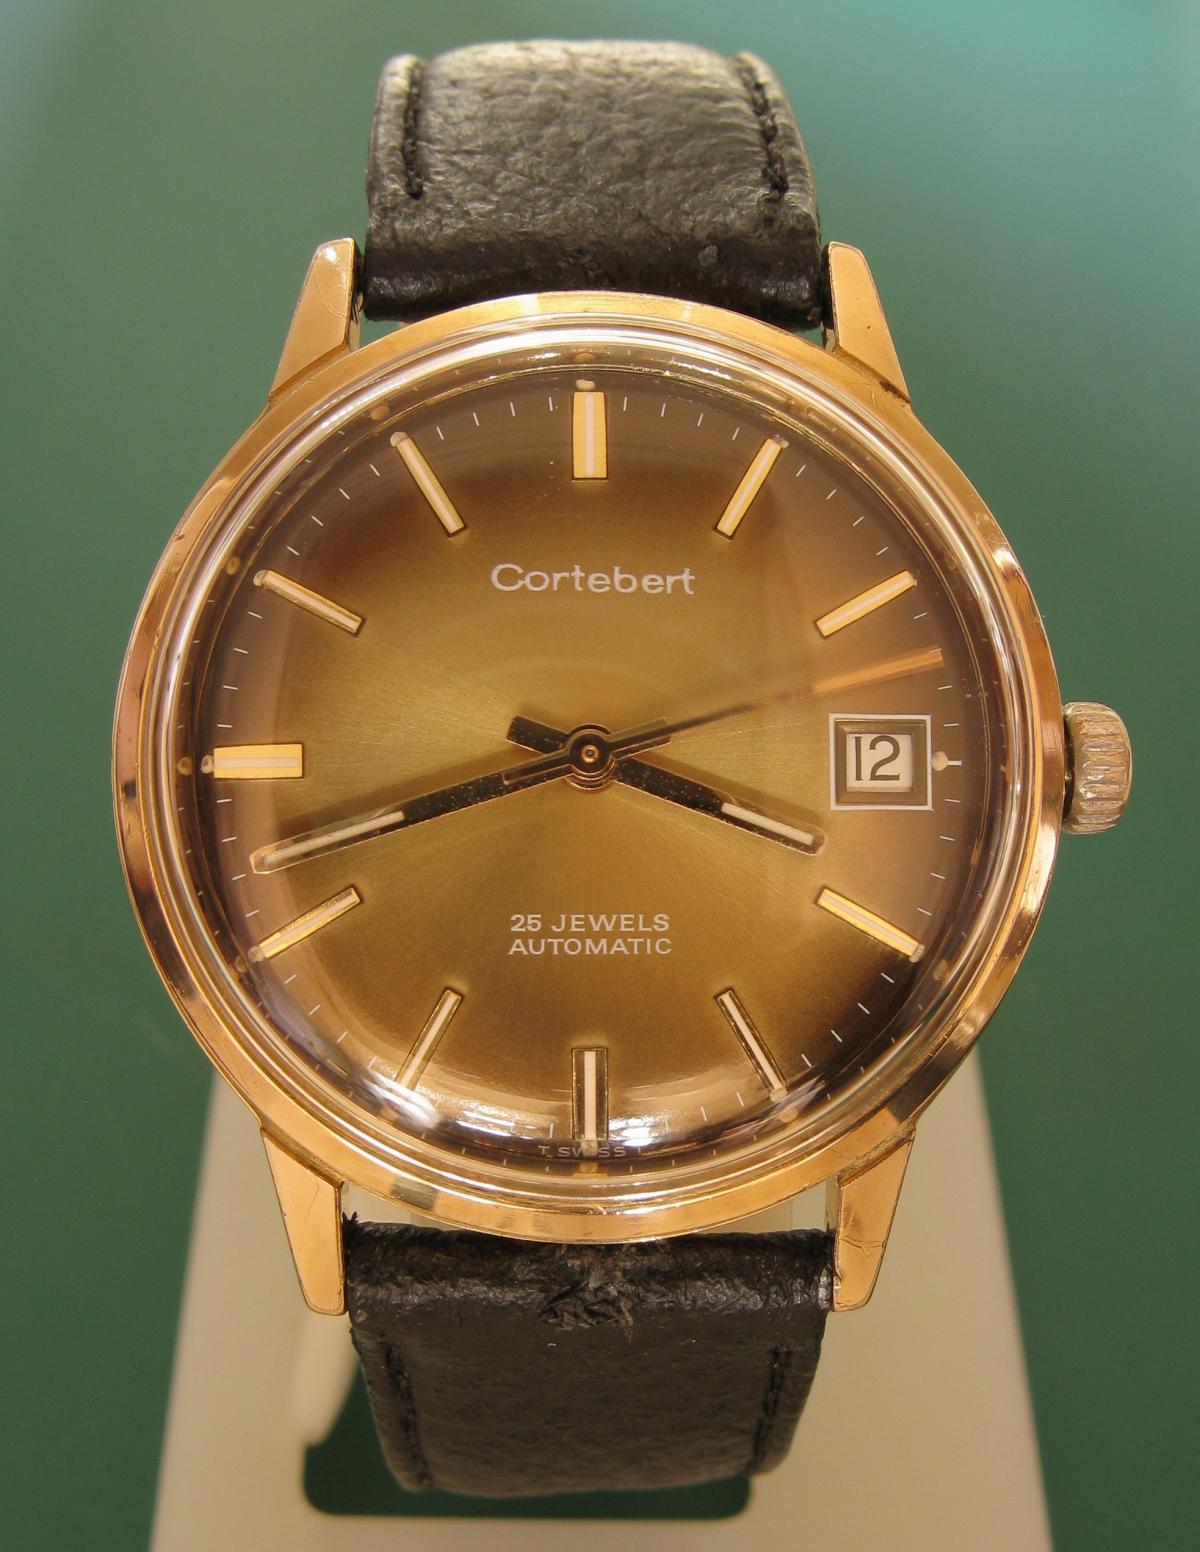
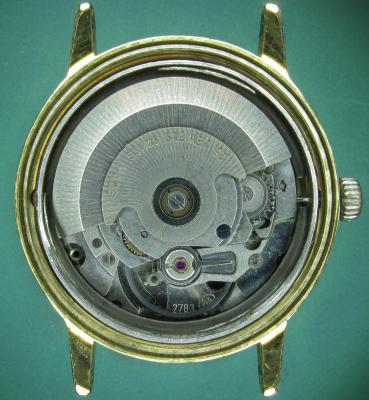
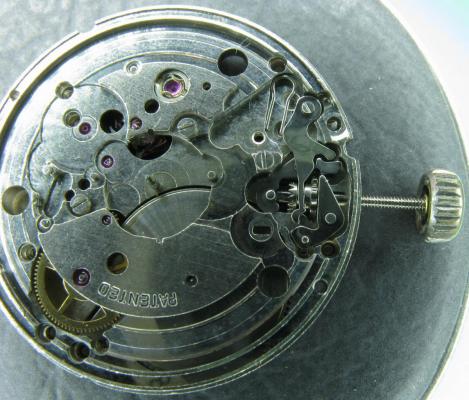
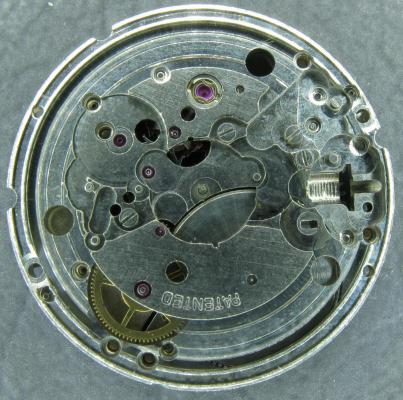
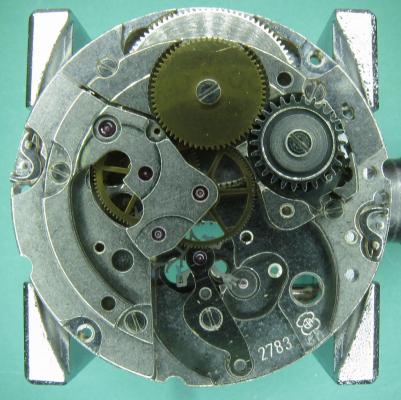
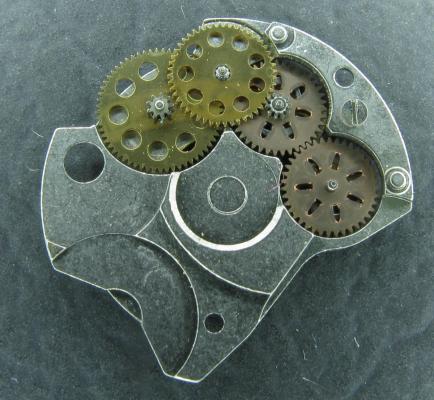
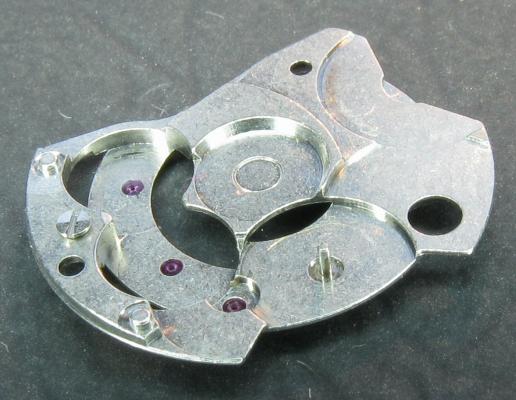
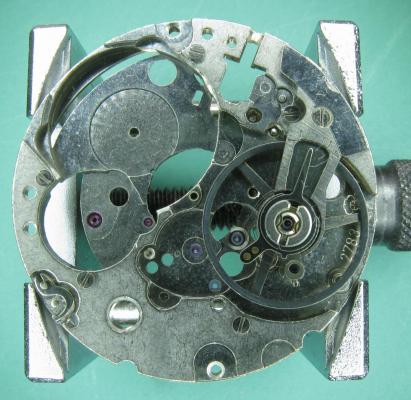
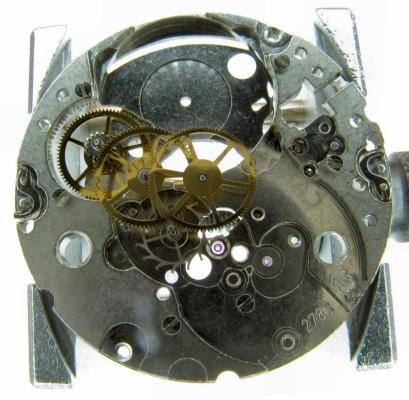
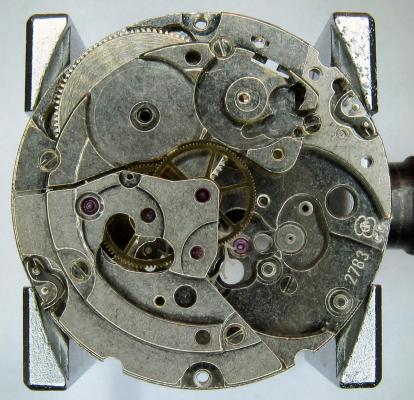
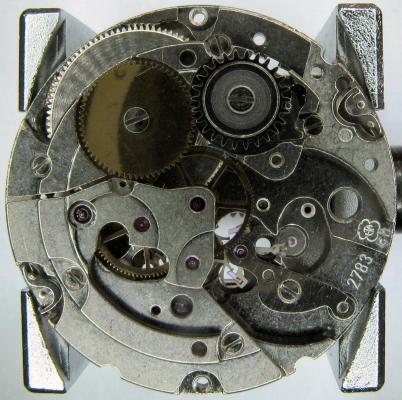
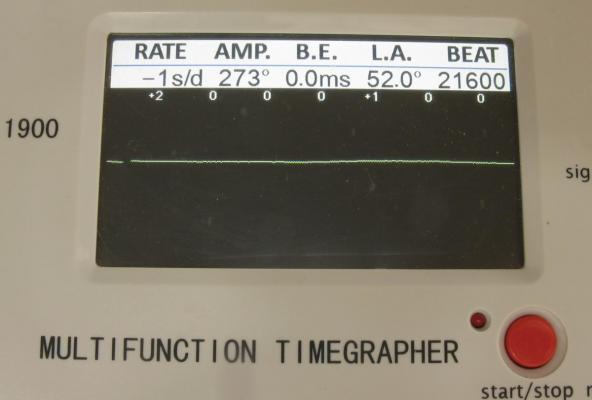
This is one that I picked up a while ago to restore and send on its way. A Cortebert 25 jewel auto probably from the 70's or early 80's. As you can see it was in need of a little TLC on the outside.... And by the look of it on the inside too. With the back off the movement looks pretty clean. It's an ETA 2783, a good solid workhorse, and apart from a couple of light scratches to the rotor and auto wind bridge, it doesn't appear to have been abused. With the auto bridge off the scratch can now be seen to extend to the ratchet wheel as well. Looks like someone slipped undoing the rotor screw and skated their screw driver almost to the edge of the movement. They must have been pushing quite hard. I guess they didn't get as far as trying to remove the dial. All pristine under here. Calendar works out of the way and layout of the key-less works exposed. Dial side stripped out. Just the balance pivot setting to come out. Flipped back over now and the balance and cock removed. With the remainder of the bridges, and the barrel out, the going train layout is revealed. This is the under side of the auto bridge with the reversing wheel cock removed to expose the two reverser wheels on the right, and two reduction gears on the left. The fully stripped auto bridge. I think that this might be the missing centre post that Tim was referring to in his post on the ETA 2873. And the balance and cock go back onto the main plate (minus the jewel settings) ready for the Elma. That's everything out of the cleaner and ready to go back together. The mainspring was in really good shape so after a very light application of grease, and a few dabs of 8213 in the barrel wall recesses it goes back into the barrel. The balance jewels are then installed with a bit of 9010 and the free movement of the balance wheel checked. Also the state of the hairspring and it's proximity to the balance cock is checked. All is well here so the balance and cock come back off and go to one side whilst the rest of the train goes together. Going train back in. I just love how bright and shiny it all comes out of the wash. Barrel and bridges back in place. HP1300 for the barrel pivots, 9020 for the second wheel, 9010 for the rest. With the ratchet wheel, crown wheel, and click in place I can now check the recoil on the escape wheel. All good. Pallets back in place and lock and draw checked, then a touch of 941 on the exit pallet, transferred to the escape wheel teeth by gently working the pallet fork manually. Then drop in the balance, and off she goes. It's then just a matter of reassembling the calendar works, key-less works, and the auto wind module, and the mechanics are done. And there's a nice drop of ETA goodness to confirm that all is well. A very gentle clean for the dial and hands, polishing of the case, and a new armoured crystal, and things look a whole lot better than they started. I hope that this proves useful to somebody. This has now had a 24 hour test drive and has managed to stay within a couple of seconds of spot on on the wrist. I really like the look of this one and it's a very comfy size, I almost decided to hang on to it but I just can't justify another at the moment, so it is now on eBay. If anyone is interested I will post up the item number although it should be easy enough to find. Marc.


 1 point
 -
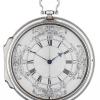
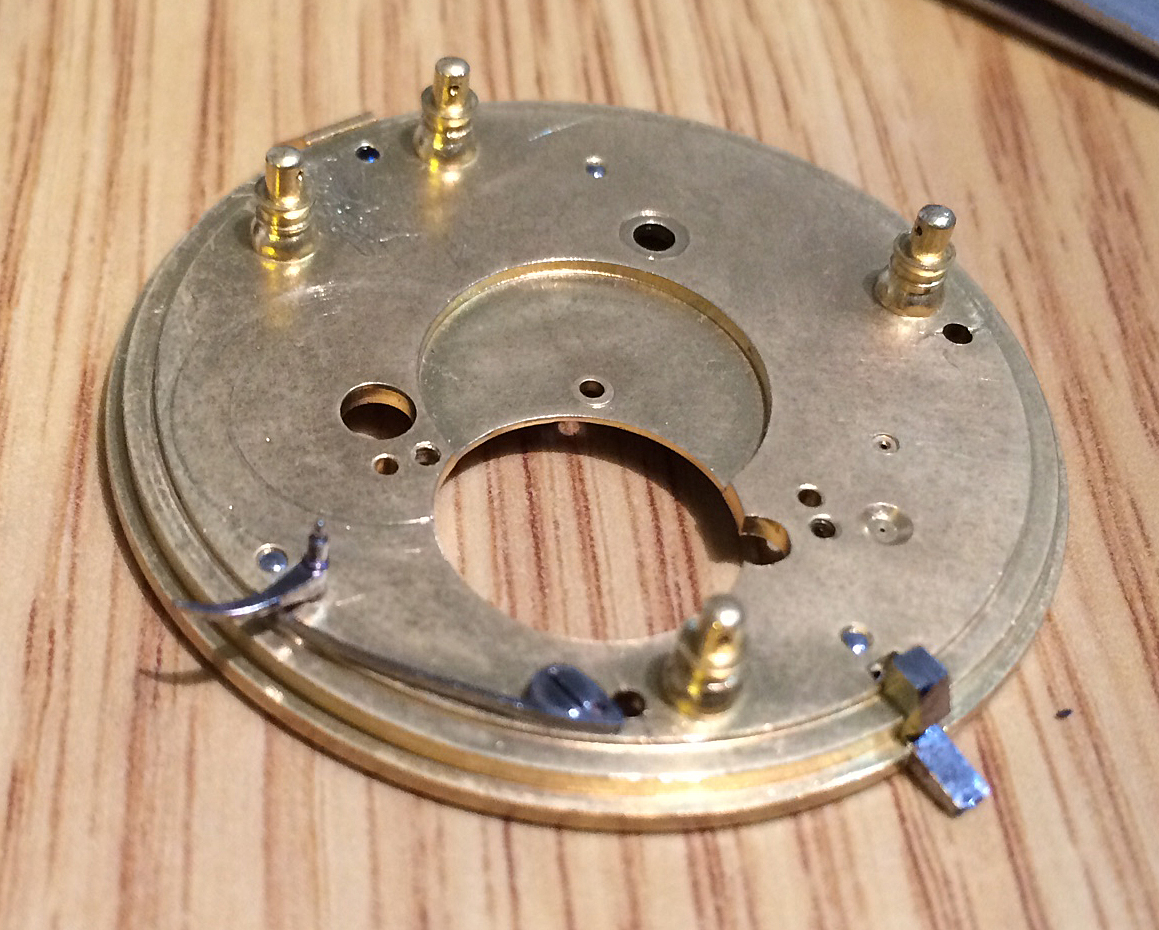
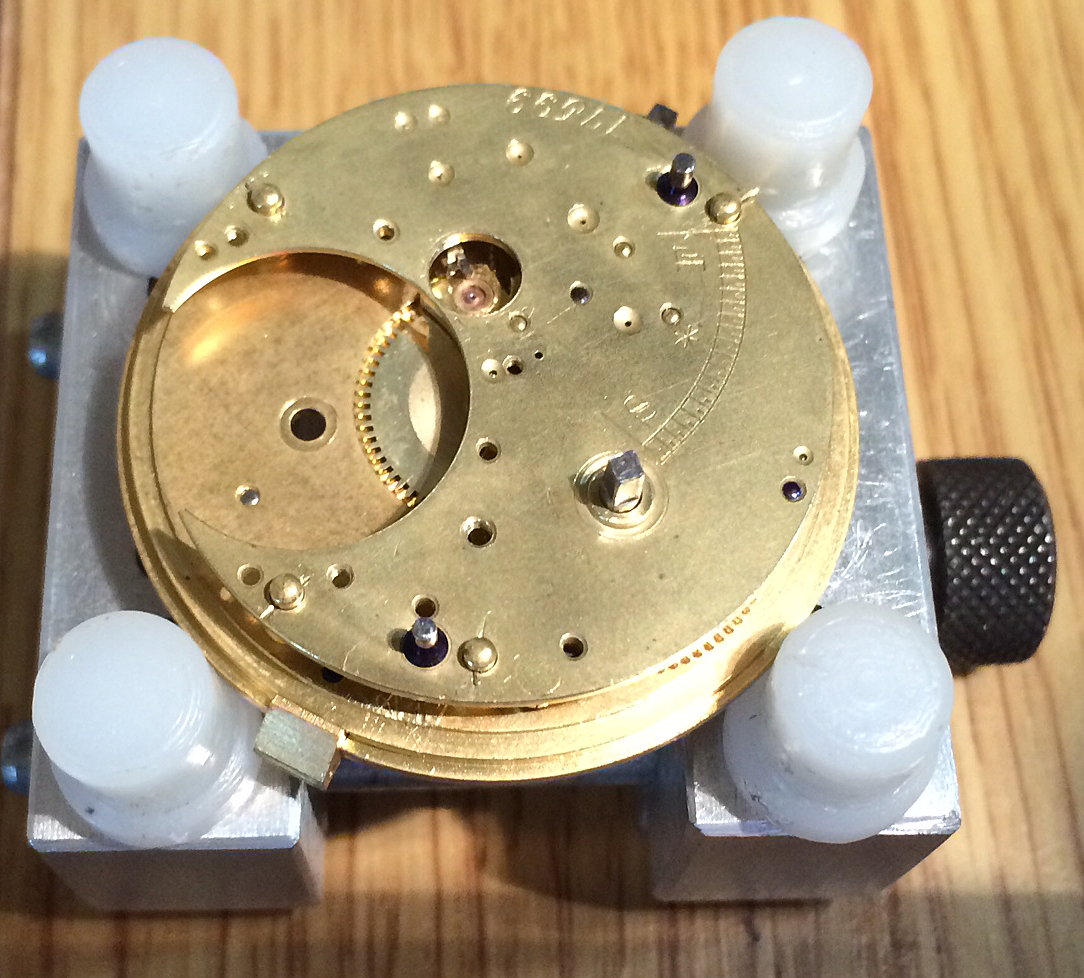
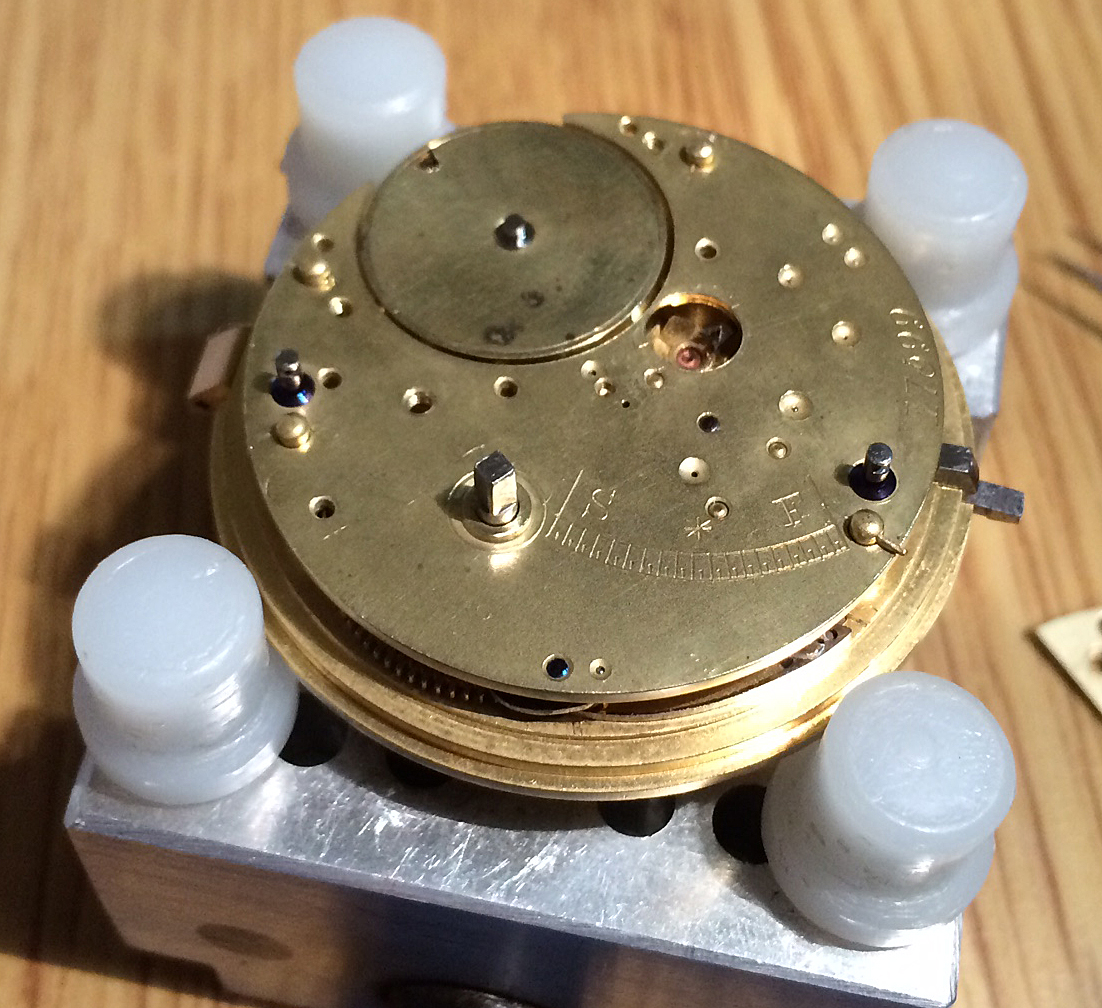
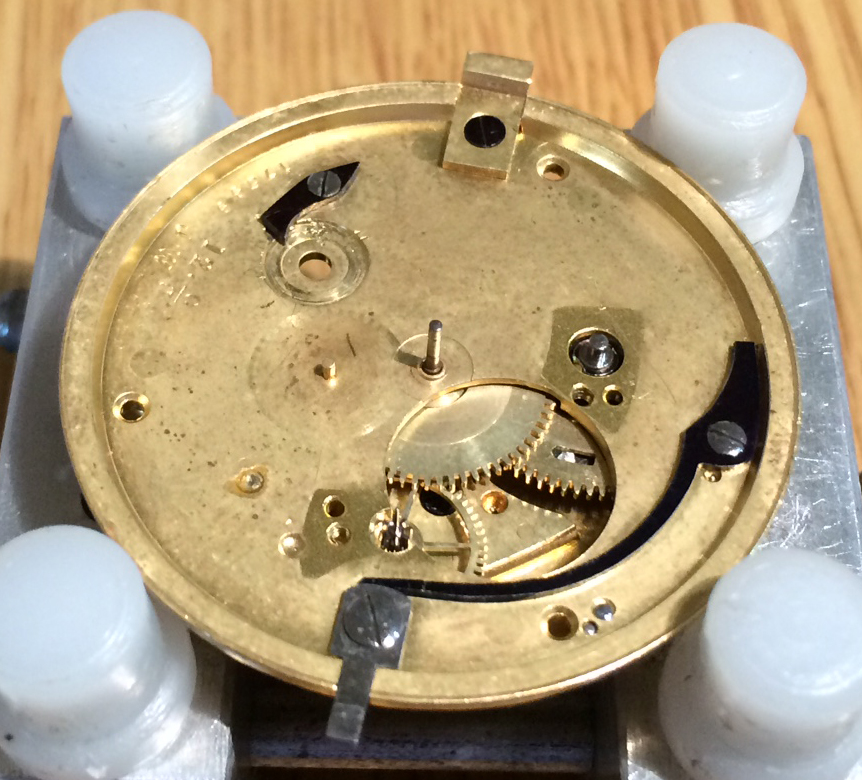
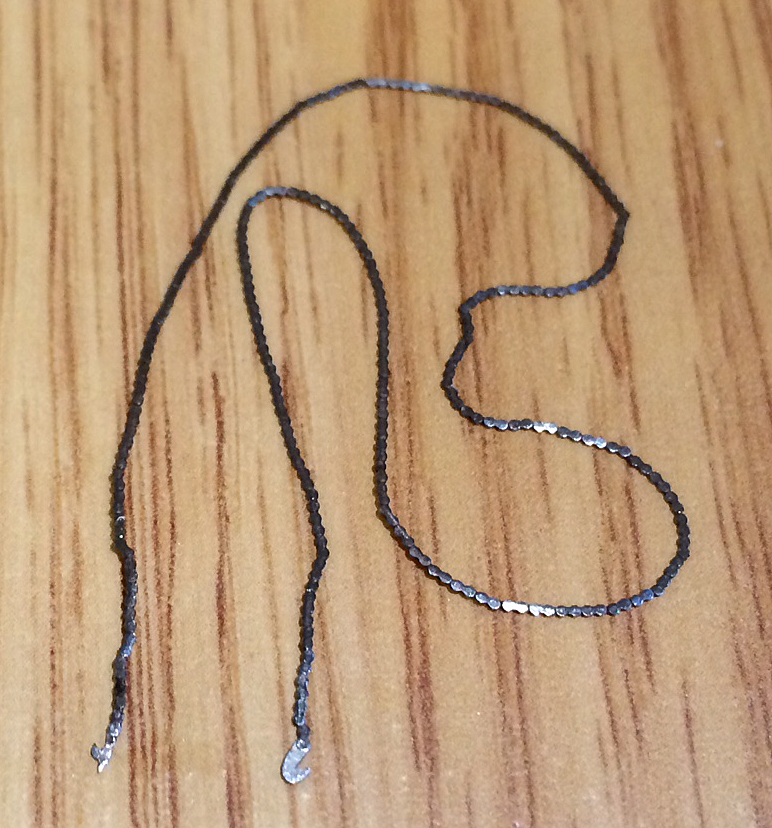
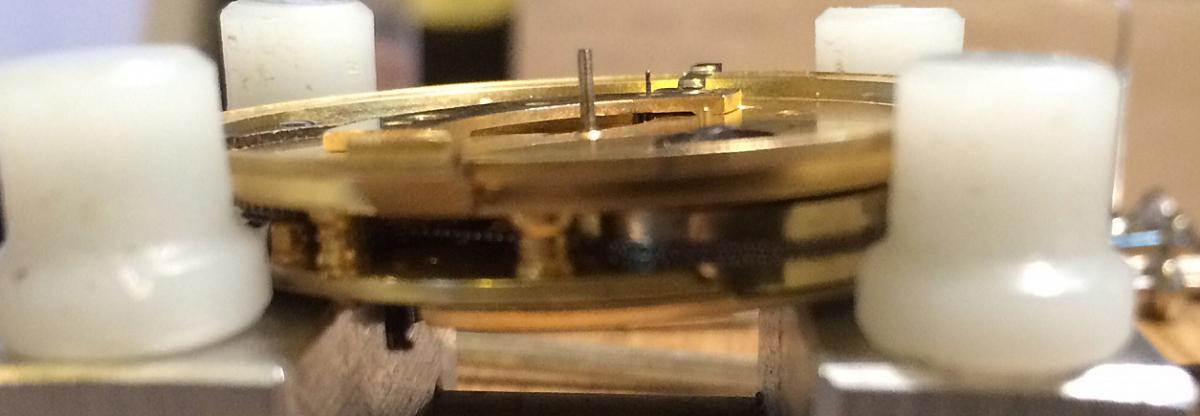
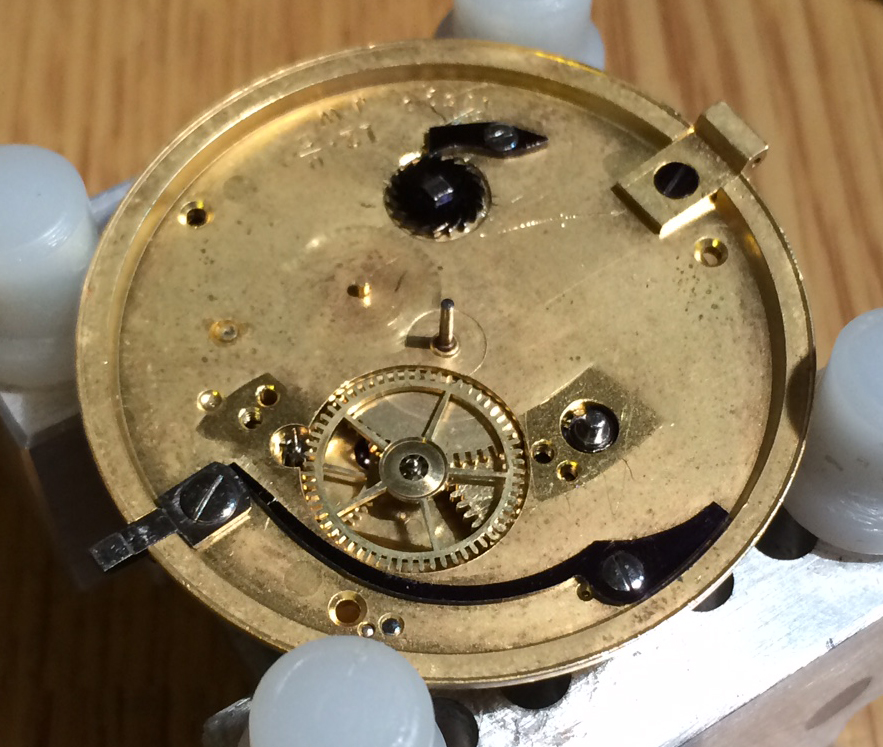
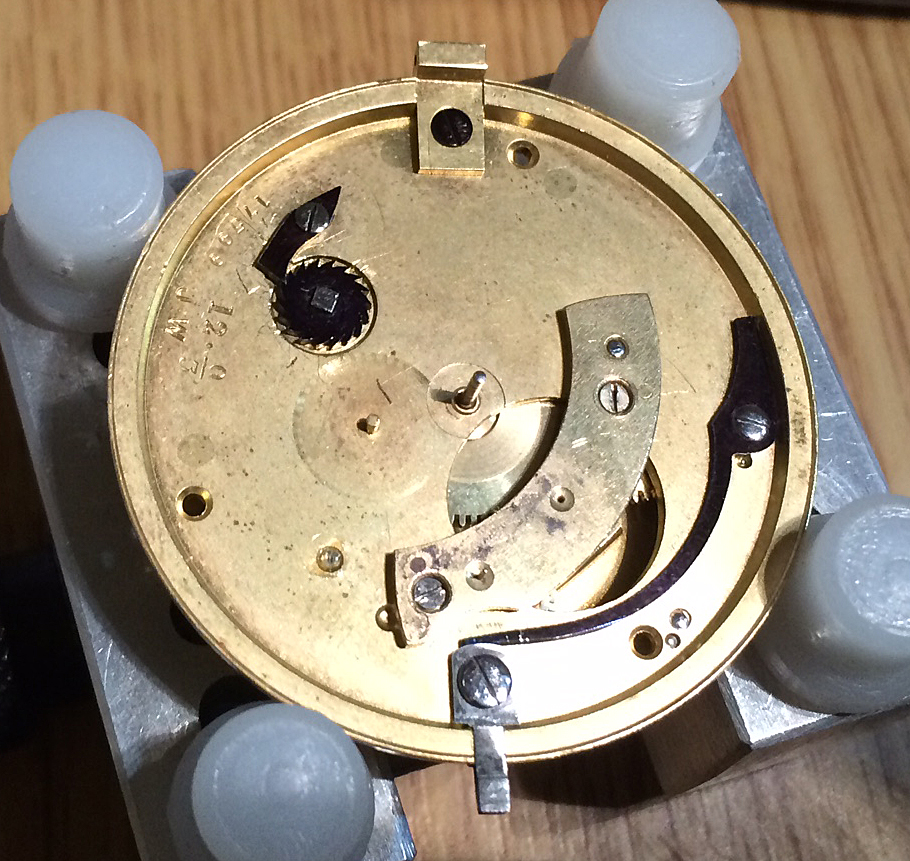
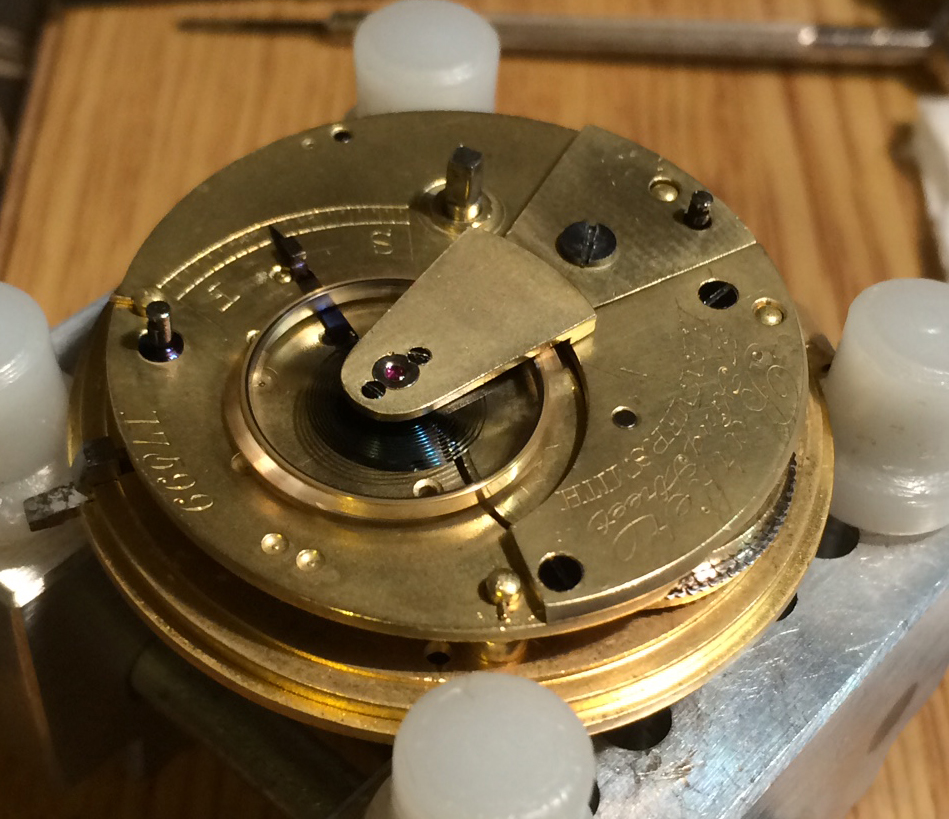
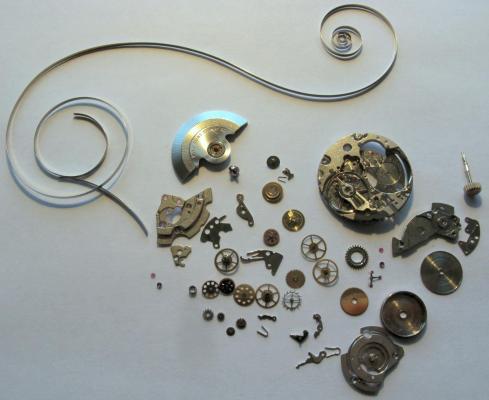
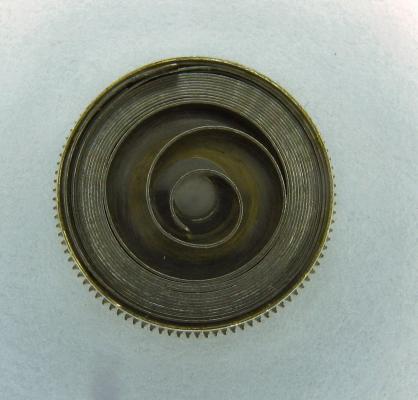
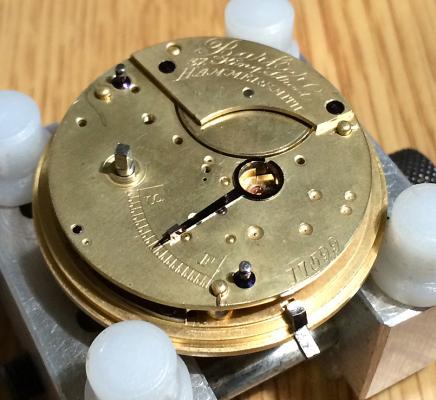
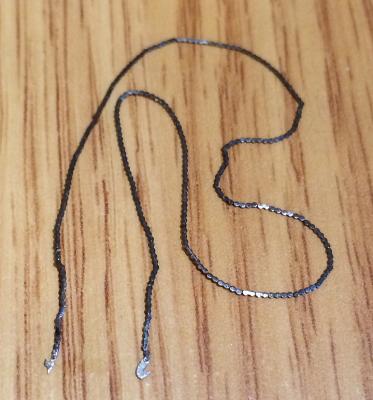
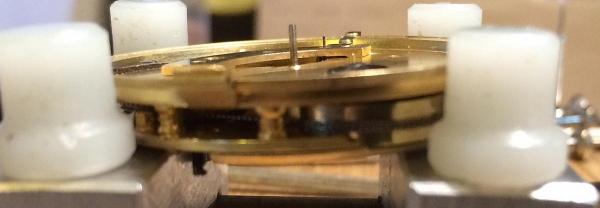
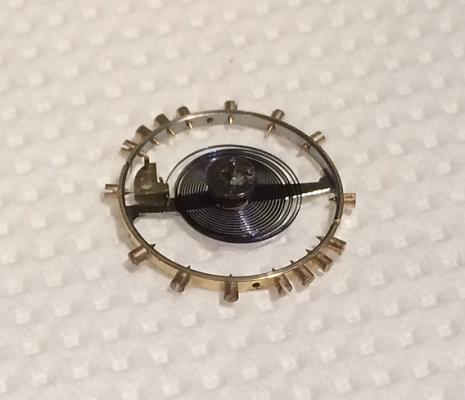
As promised, here's the reassembly of the watch who's fusee I posted photos of: First, here's the bottom plate with the fusee, centre wheel, lever, escape wheel & 4th wheel in position: and the fusee ratchet paw on the top plate: The plates are joined & pivots located in their holes & pins replaced. (This watch was a non-runner when I got it & the lever had a rather badly bent pivot which I straightened & I'm hoping this was the only problem stopping it running): At this stage it's best to fit the 3rd wheel bridge, solely to protect the 4th wheel pivot which also has it's hole in the bridge: Next fit the barrel: and the barrel bridge: Next the fusee chain needs fitting - the hook end goes in the fusee & the pointy barb end in the notch on the barrel Apologies but it's not possible to photograph the actual chain fitting, but after fitting fit the blued steel barrel ratchet, add some tension (say half a turn of the ratchet) then screw in the ratchet click to hold it in place: Now fit the 3rd wheel & replace the bridge: At this point it's worth winding some chain onto the fusee & check that the lever snaps to & fro with a little movement of it with a cocktail stick...this shows that power is getting through the train. Then the balance wheel can be fitted - the staff has a safety roller & jewel peg like a Swiss lever escapement: Here the balance cock has been fitted & it's ticking nicely Part two will come later when I'm satisfied all is well which will take a few days of windings...I'm not 100% happy with it at the moment as after running for a minute or so it kept losing power to the lever & stopping...having said that, after some fiddling it's running now...it could be that the fusee is not giving maintaining power...if it continues to play up I'll have to strip it down again & investigate....anyway, hope that was interesting!


 1 point
 -
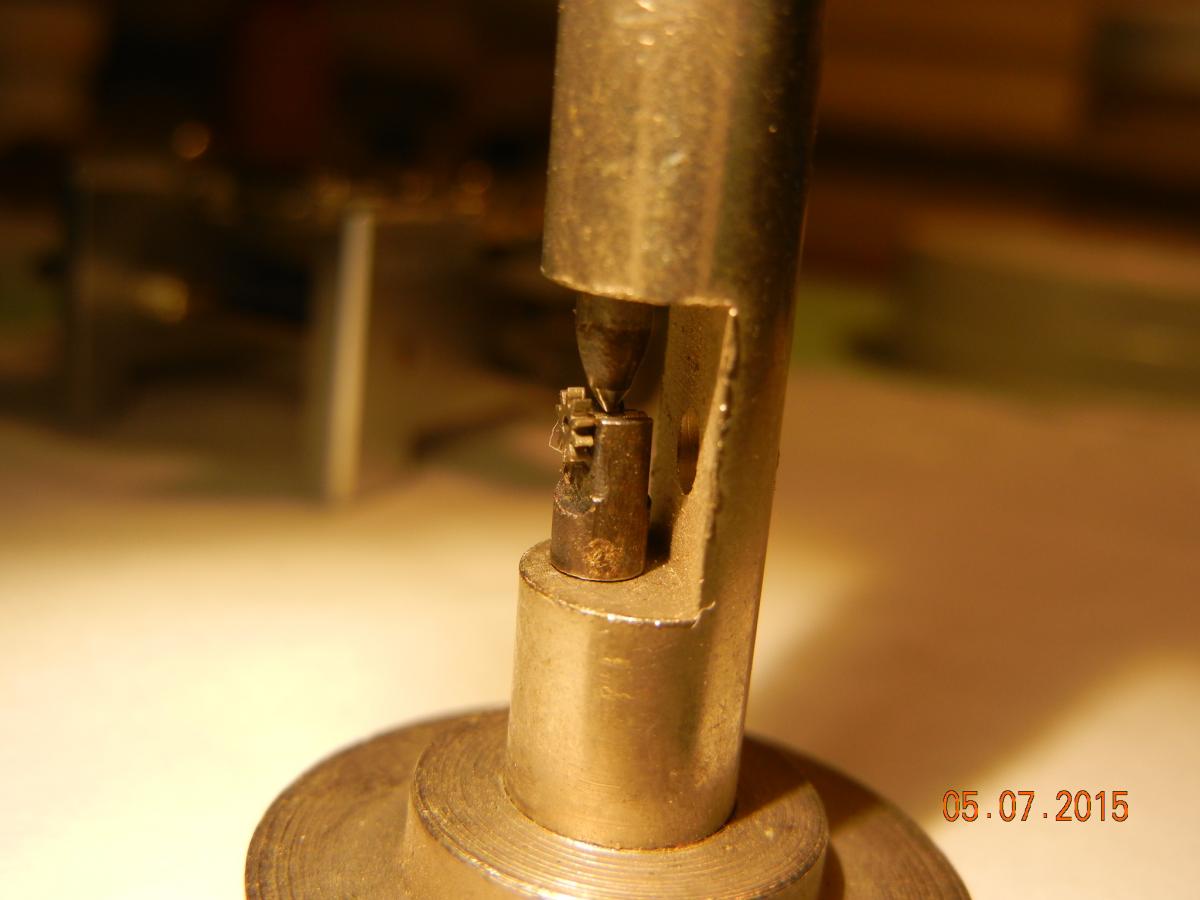
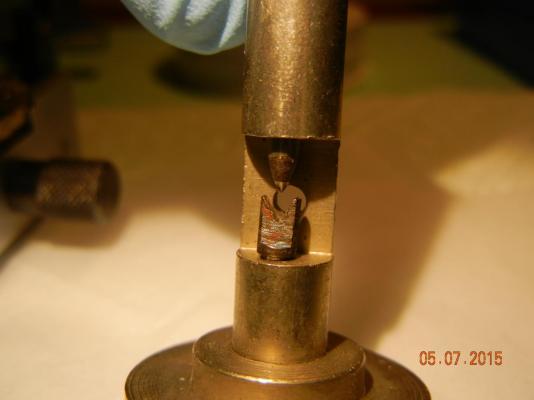
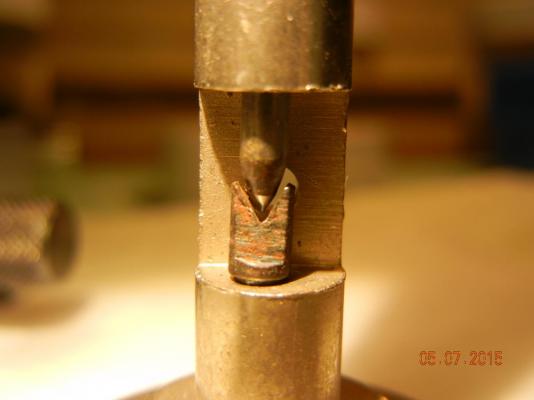
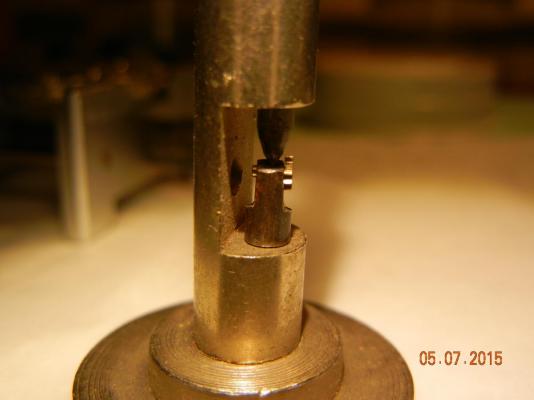
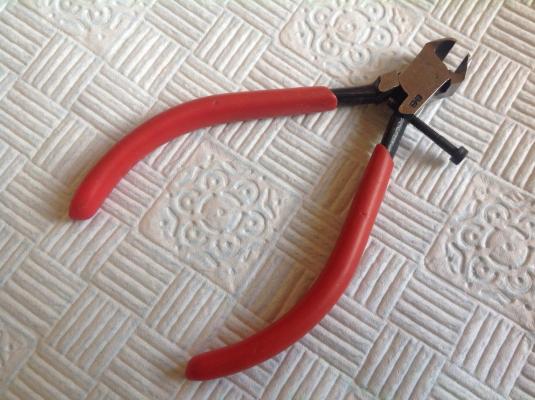
I use a modified set of end cutters to tighten cannon pinions. The screw allows you to increase the compression a little at a time until the correct amount of friction is achieved.
 1 point
 -
Yes, Geo, on looking closely I an see the blind end. The only reference that I have found to dealing with this type of cannon pinion is in the beginner's book by Harold. C. Kelley. He suggests the obvious which is to shorten a tapered broach or pin so that it fits into the Cannon pinion with some friction. I also like the treatise by Jeff Elgin who goes into this business in some detail. http://elgintime.blogspot.ch/2012/01/mechanics-of-canon-pinion-friction.html1 point
-
Beat me to it Rob.1 point
-
The 6119 series have a push to set date system IIRC. If not working it could be the wrong crown has been installed at some point. Pics would help.1 point
-
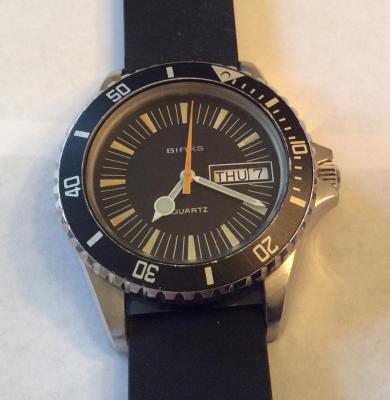
Hi guys, thanks for the continued insights. I'm planning to do the repair like Anilv says for the experience of making my own parts and for the fun. I will be checking the donor really closely. Good idea with the light stake near the pivot - I presume on the backside since the face is the sliding surface - and the backside recess is wide open and accessible. If (when) I get it done, I'll post a photo. In the meantime, here's the first watch I stripped and repaired. My high school graduation present back in '80, and had run for years and quit. Took in for battery and the guy said "new movement - maybe $350", and I thought no way. Went on line and bought a back opener and a cheap loupe, and discovered the ETA movement number inside. Another search brought up the blog "Adventures in Amateur Watch Fettling", which was a revelation - beautifully formatted, elegant photographs and smart and witty commentary - a treat to read and the bonus was Martin had virtually the identical watch, although his was branded a Tag Heuer, rather my house-brand "Birks". basically it was a how-to tutorial written and photographed just for me. Do check it out if you've not seen it. Anyway, that launched the fascination.
 1 point
 -
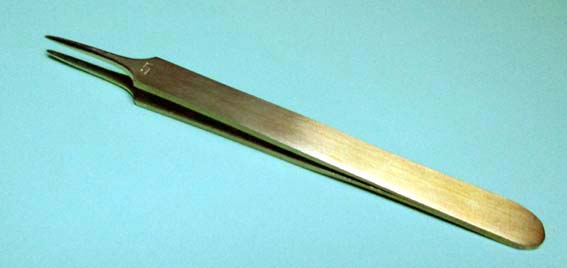
Lawson, I was so impressed that instead of clicking on 'like', I searched the web for a gold plated Dumont brass Nr. 4. It doesn't appear to be anymore available. So I have whittled down a brass Nr. 5 and have almost perfected the tips. Here it is before final dressing and gold plating.
 1 point
 -
No microscope required Blakel. These pics were taken hand held on an ageing Canon PowerShot A720 IS compact digital camera fitted with a cheap Chinese LED ring light. I use it set for macro focusing and in aperture priority (AV) mode with the aperture set to f8. If the shutter speed drops below about 1/40 sec then I use a small table top tripod. The ring light is the real key as it allows you to get really close without casting a shadow on the watch. Also, apologies for the late night typo. I referenced Tims post regarding his missing centre post; it should read 2783, not 2873.1 point
-
That's true so the story goes....frequently by candlelight I heard! I once repaired a broken one by re-riveting links & suddenly developed enormous respect for whoever made them....even with a decent light & a loupe my thumb looked like a raspberry afterwards from hitting it & the swear-box was full. I believe there's a book called "The chain gang" describing the fusee chain industry which I'll treat myself to one day.1 point