Leaderboard


Popular Content
Showing content with the highest reputation on 03/05/16 in all areas
-
Boley has a service manual here http://imgs.boley.de/dbfile.ashx/269131a9e7ce4444927bdfe62c698b4f/down/assembly-drawing-eta-c01-211 Note special lubricant on pallet ends (moebius TH7) and pivot. I would avoid using any other oils on the plastic parts because they may damage the plastic. S2 points
-
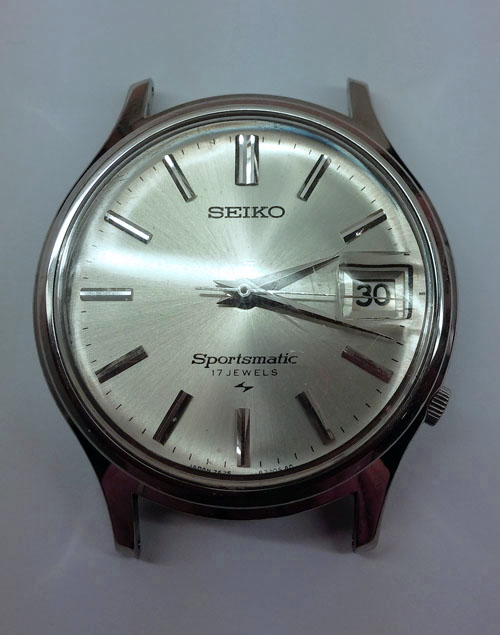
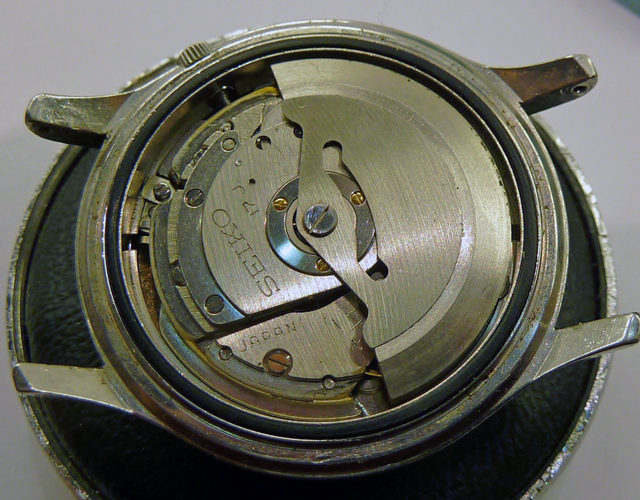
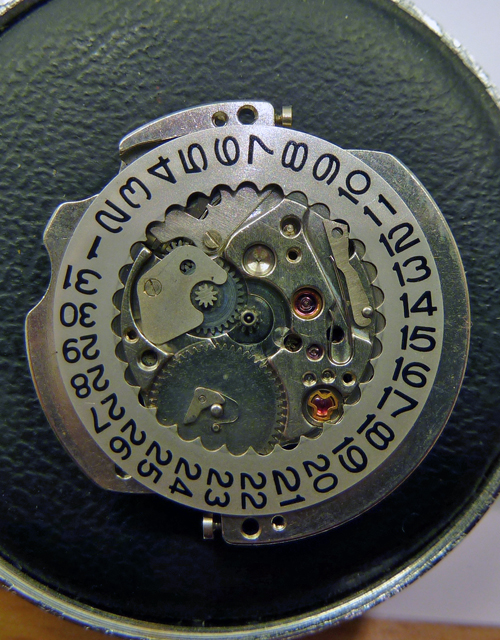
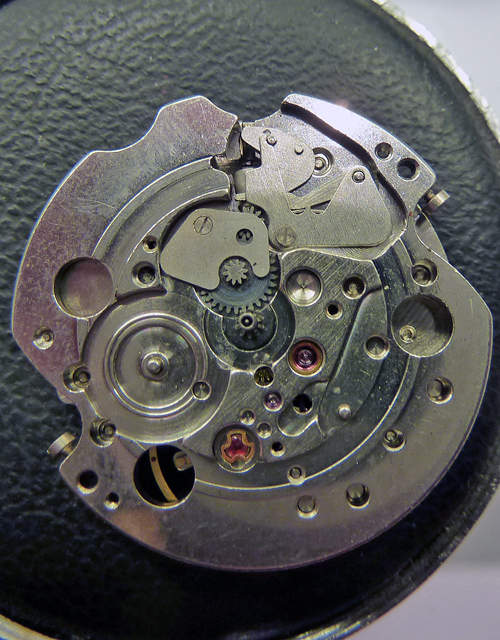
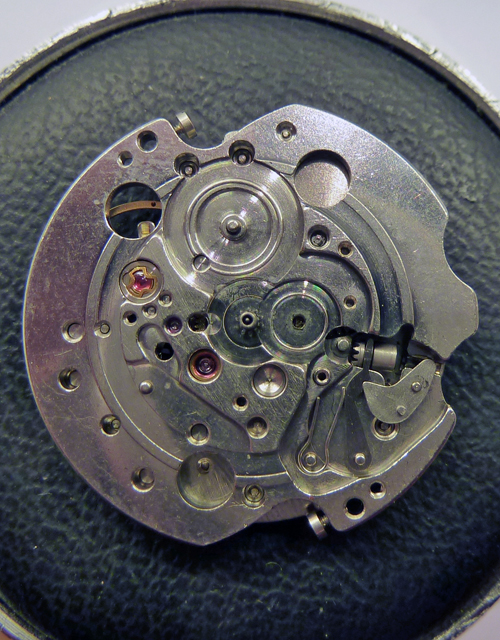
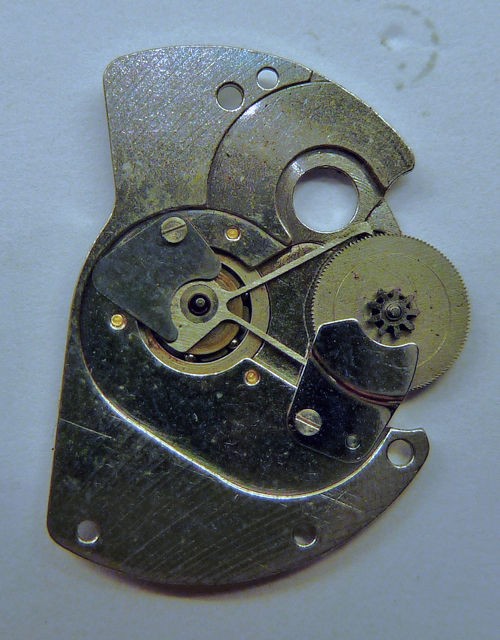
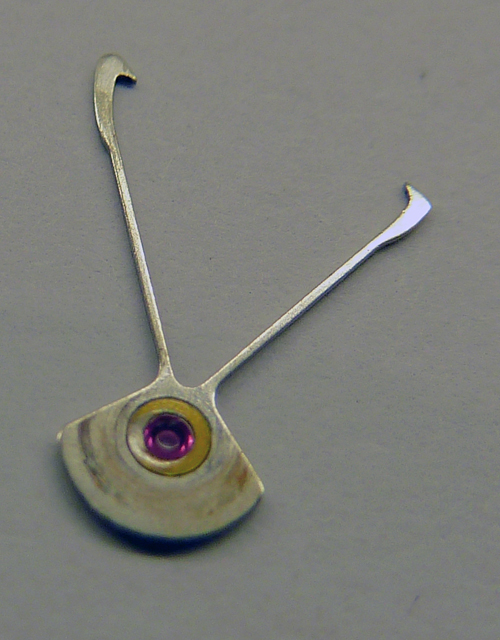
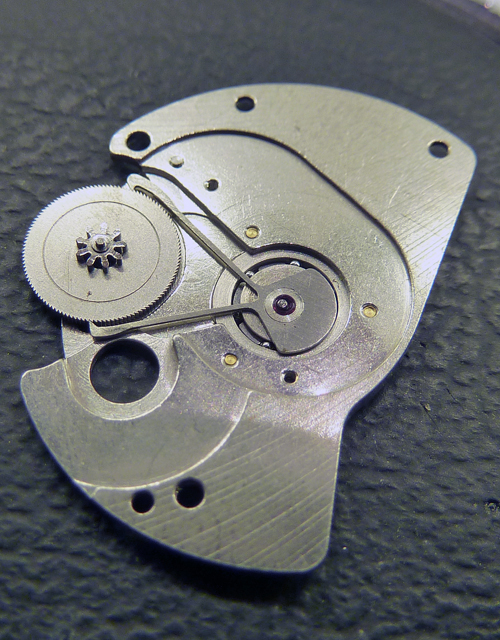
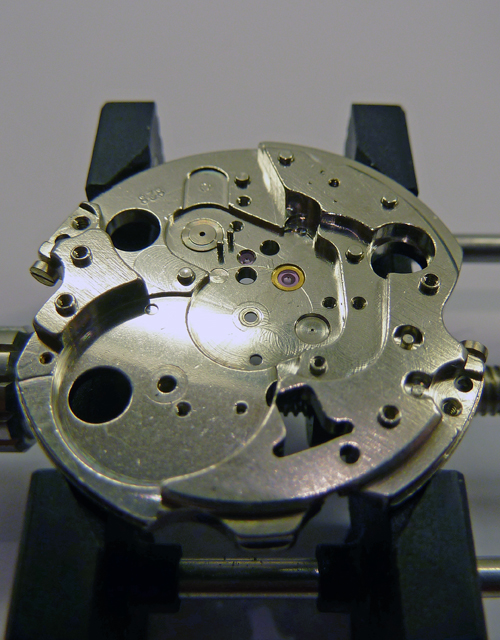
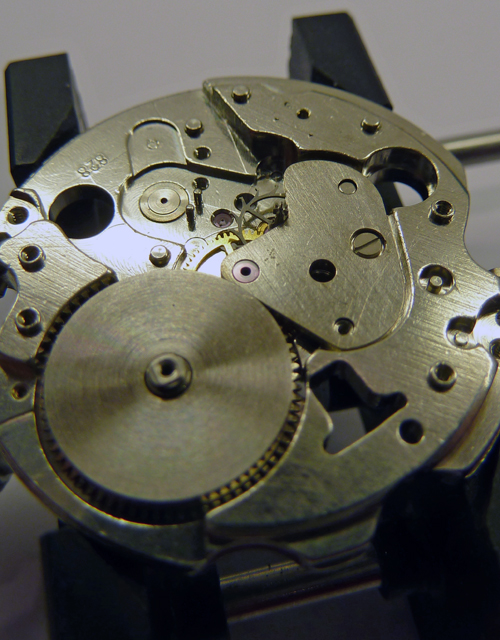
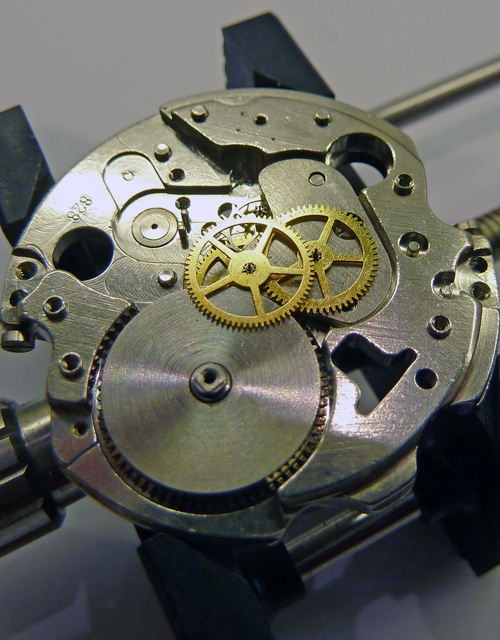
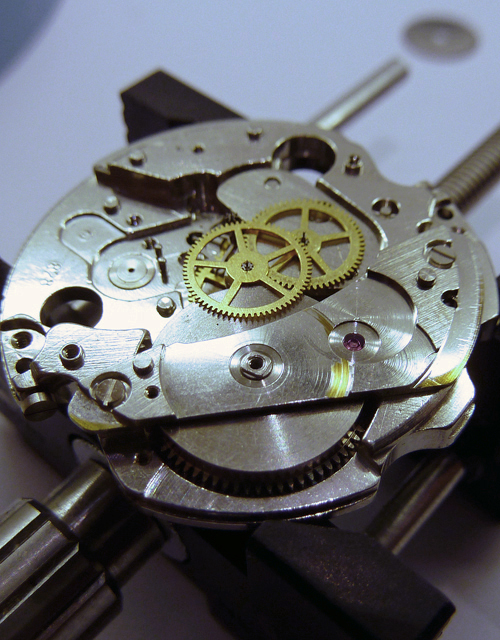
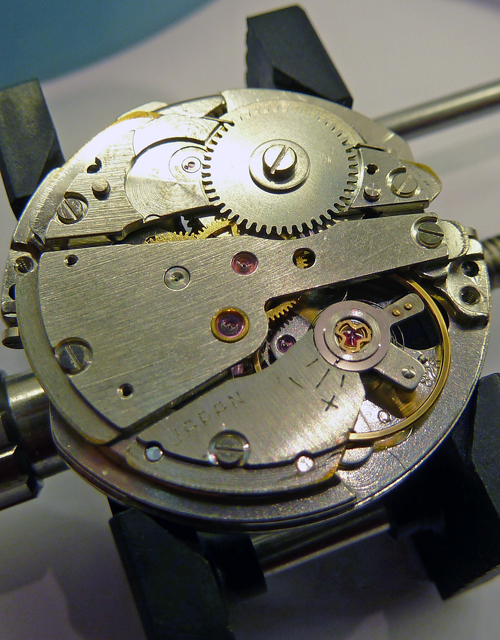
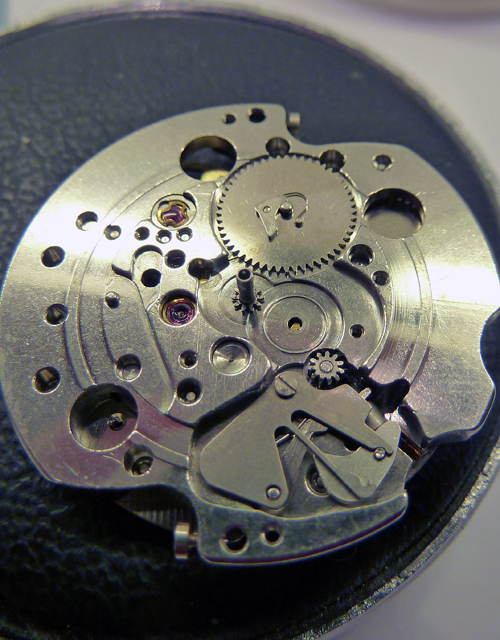
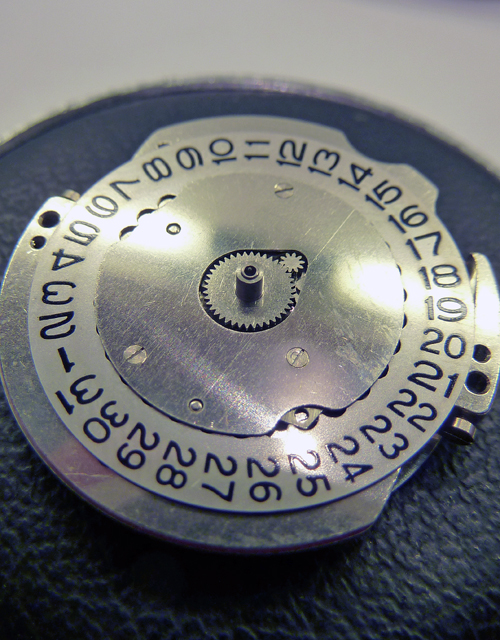
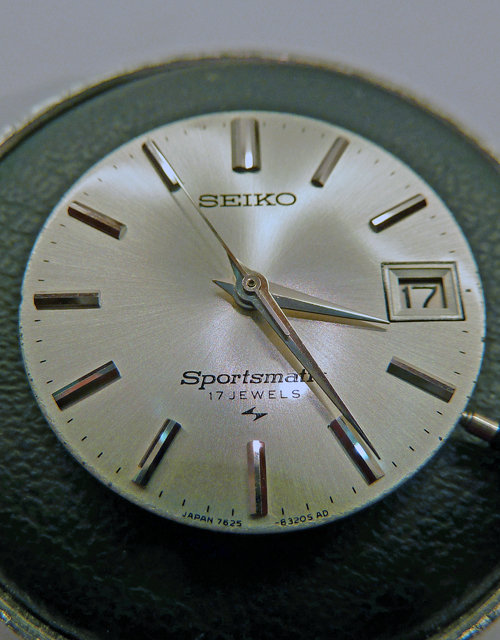
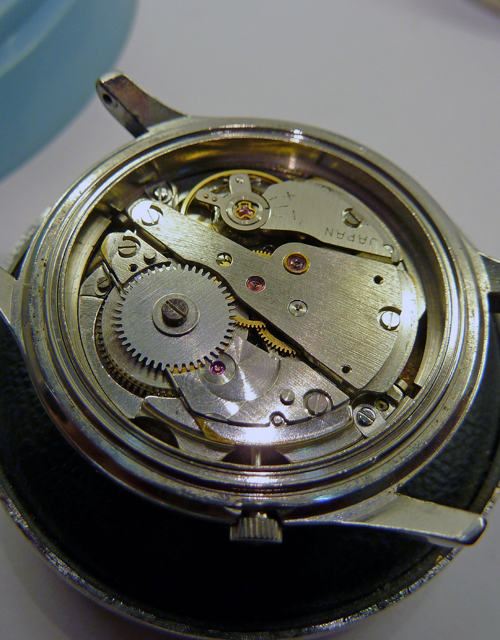
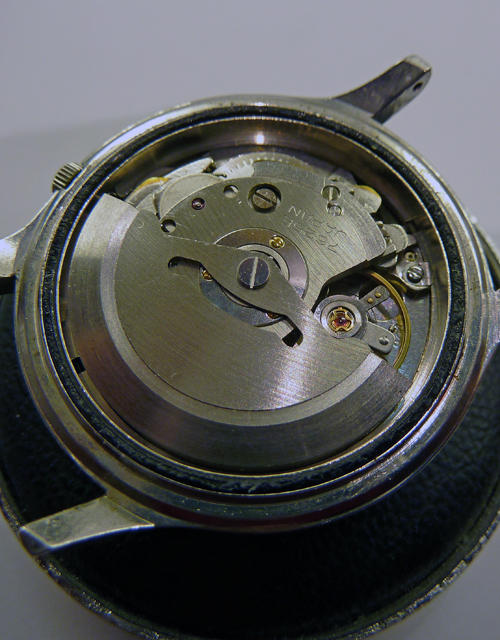
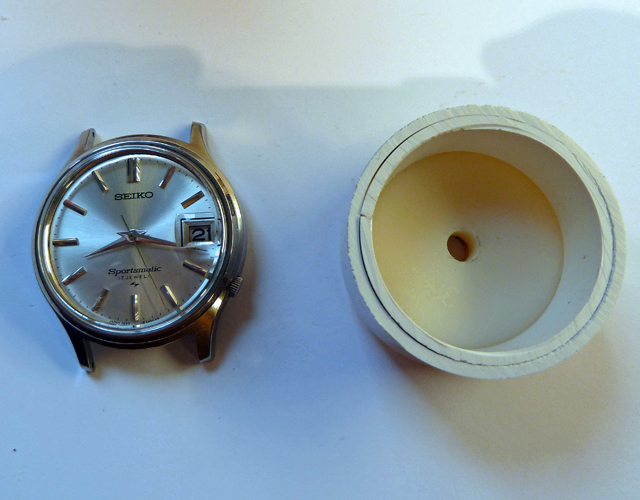
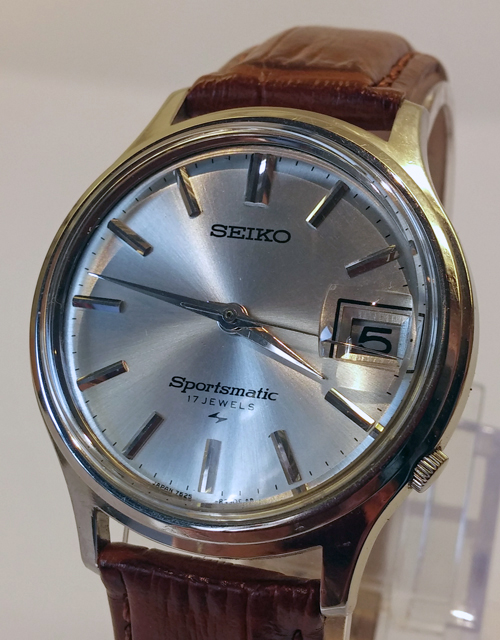
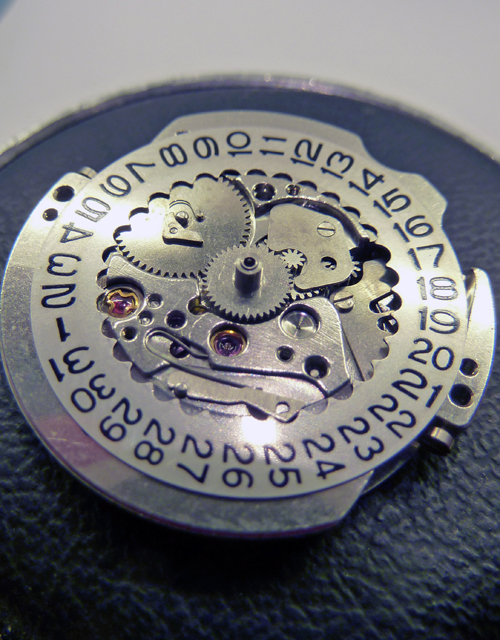
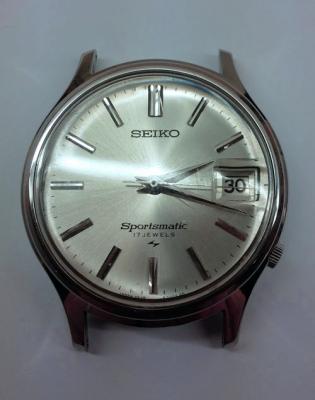
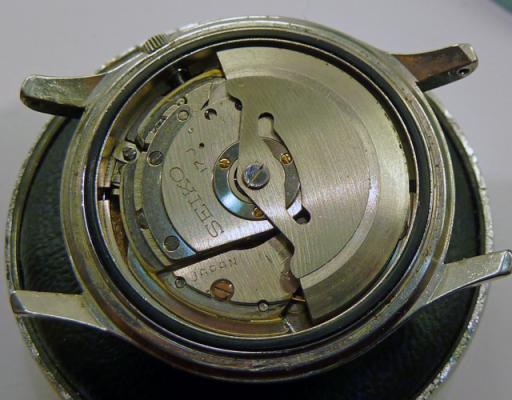
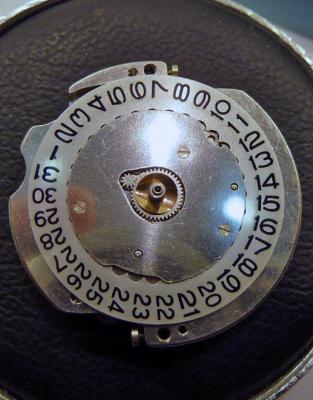
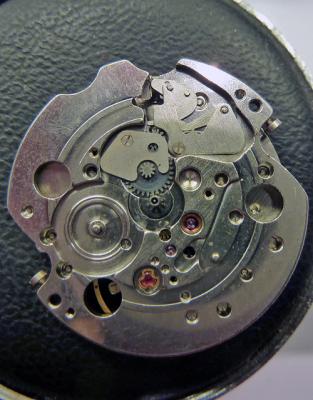
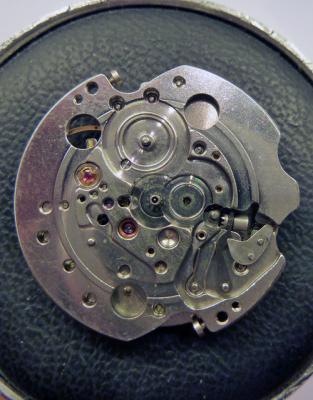
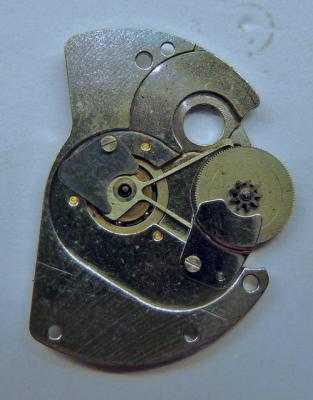
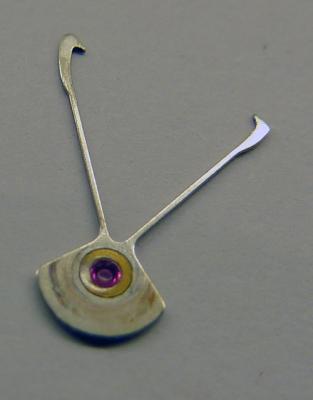
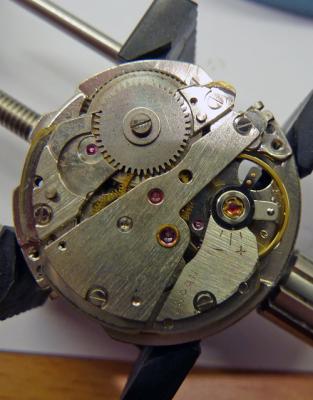
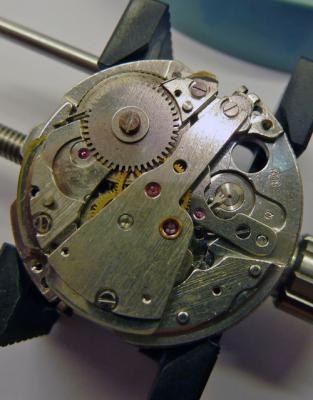
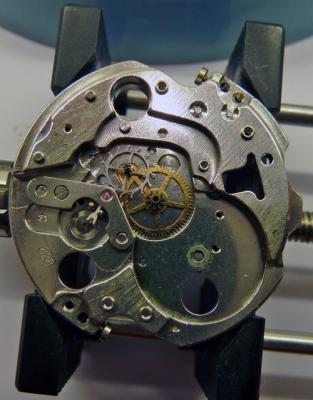
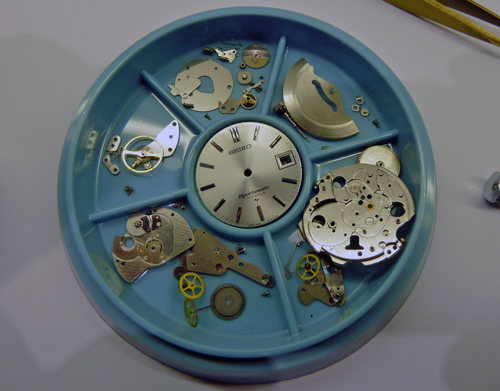
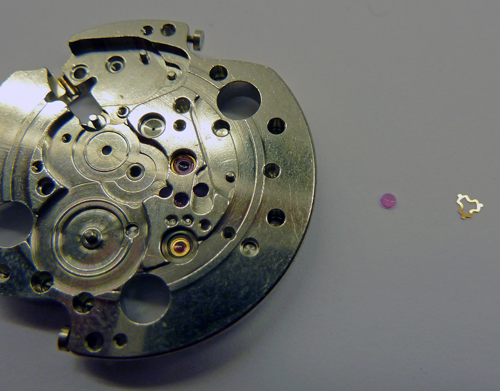
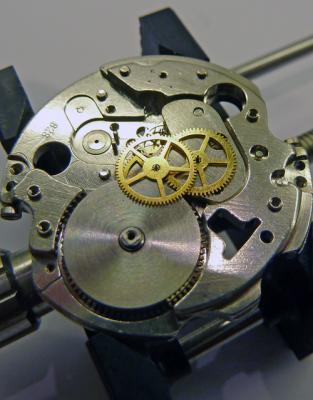
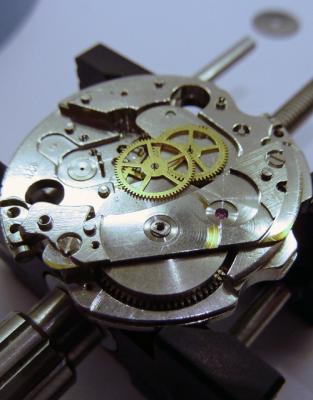
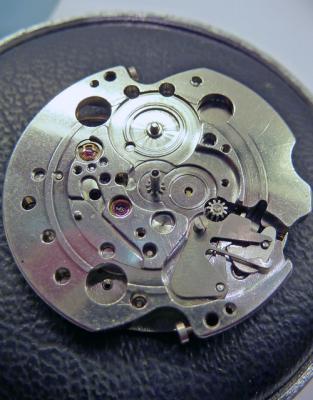
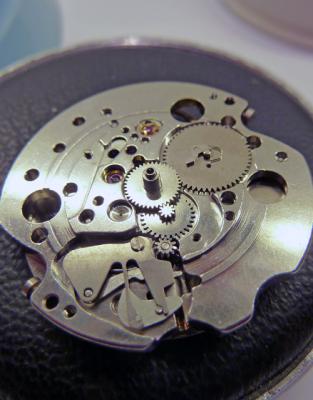
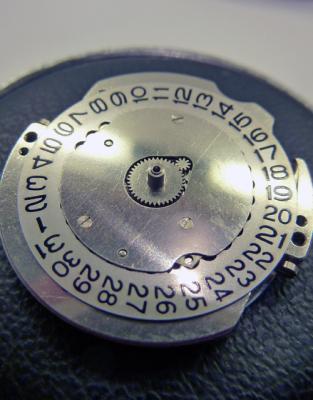
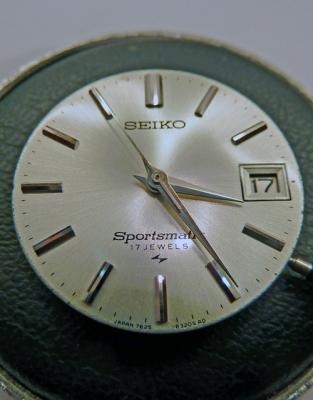
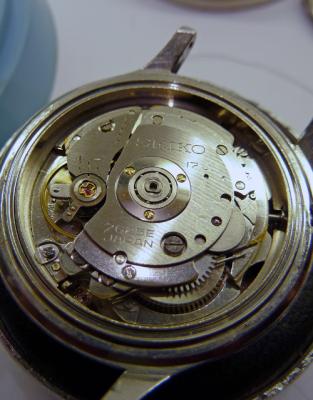
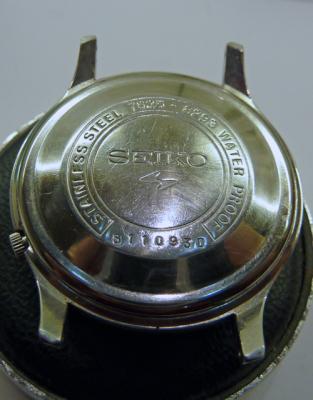
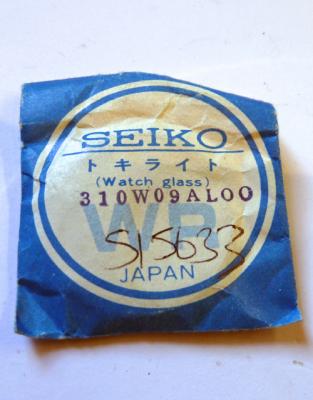
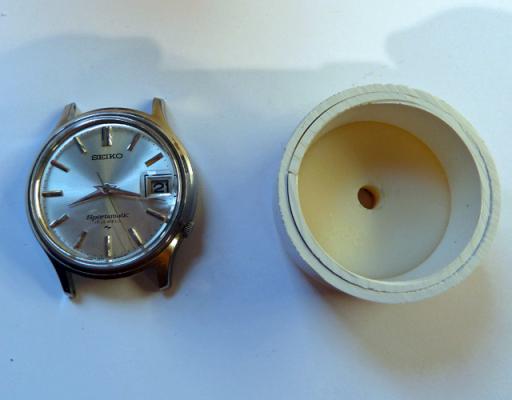
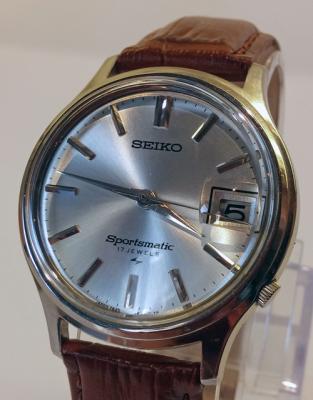
Picked this up recently for a snip from an excellent fleabayer in Japan: A fairly clean item from August 1968 with a good dial. Being a bit of a fan of Sportsmatics, I haven't come across this particular model before & wrongly thought at first that it had a cyclops crystal retro fitted. Further research showed this to be the original configuration, however the crystal was in fairly poor nick & appeared to have been polished a few times in the past. After some more detective work the part number was obtained & amazingly Cousins had one in stock: So far so good, although the rotor sounds a little rough (not uncommon on these). Lets see whats inside: Bit grubby with a scraping rotor, but the bearings seem OK, so the rotor gets bent upwards slightly - don't frown, it's what Seiko recommends! Out of the case, dial & hands off, strip down the dial side. Note the broken setting lever spring, I have a donor movement from a previous project and will replace this: Turn over & rotor off: Remove the winding gear: Strip down the above, a bit of wear on the magic lever but appears to work fine, clean lube & reassemble: Onto the main stripdown: All in bits & cleaned: Lower Diashock dismantled, cleaned then reassembled: Then it all goes back together: On to the dial side, setting lever spring replaced: Into the case, reattach winding gear, rotor & caseback on: The original crystal was used before the previous step to protect the hands, this is now removed the dial is given a final clean before putting the new crystal in place, which pushes on under finger pressure. The crystal is held firm by the bezel, which is a problem to fit as all of my dies are shallow & bevelled, unable to push the bezel down, so 2 pieces of 40mm waste water pipe are cut to suitable length, one piece is then fitted onto a stepped flat die, the other has a section removed and placed inside the first: Works a treat. Finally, with a new tan alligator strap fitted: It looks like the crown has been replaced with the wrong one in the dim & distant. Hopefully this will be rectified in due course.


 1 point
 -
Just picked this up Sent from my SAMSUNG-SM-G925A using Tapatalk1 point
-
Just adjust the resolution that you want from the cog wheel and let YT do the rest.1 point
-
I got this book from Amazon. Sent from my XT1068 using Tapatalk
 1 point
 -
Aye man, that must be huge, I use a pressure washer on mine. :D1 point
-
Hello Sergiu and welcome, You may find it is worth getting even a Cheap ultrasonic, you dont need an expensive professional version if you are a hobbyist (like me). http://www.ebay.co.uk/itm/Ultrasonic-Bath-Compact-Jewellery-Ring-Watch-Dentures-Coin-Gold-Cleaner-Cleaning-/262116260559?hash=item3d0758bacf:g:LnEAAOSw5VFWMQYf I started with one of these and I put the parts I wanted to clean in lighter fluid (pure Naptha) inside small jars standing in about 2 cm of water in the cleaner and then transferred them into a similar jar with pure isopropanol in it for a few minutes before leaving them to dry off. There are a lot of postings about cleaning on the forum and I tend to look at them all as there is often a new idea that someone suggests. You may want to keep the pallet jewels / escapement anchor out of the solvents though, there has been some talk on the forum that the shellac / adhesive holding the jewels to the anchor could be melted by some solvents. Other than that everything cleans nicely and you don't have to breathe in the fumes. I have since bought a bigger ultrasonic from Aldi but still only an ordinary house version. Salutari, Vic1 point
-
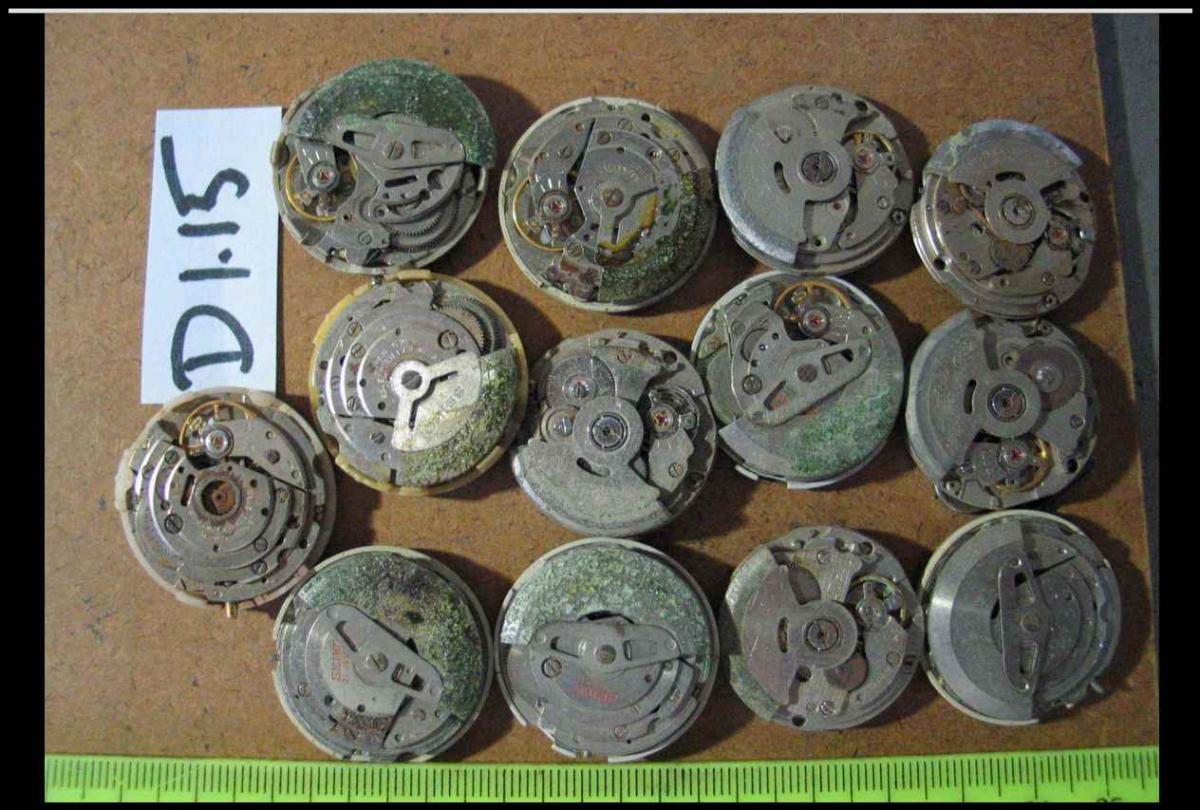
I clean these complete in the ultrasonic cleaner, remove any useful dials, day wheels etc first, then they are almost clean enough to work on and pull down and clean properly :D And somebody posted about Russians being serial abusers :pulling-hair-out: Max
 1 point
 -
i am going to learn more about the manufacture of the watch1 point
-
Ah, the good old Duncan Swish cleaning method, I like that! :)1 point
-
I'm beginning to get scared to close my eyes I have images of naked watch repairers wearing finger cots in inappropriate places. :startle:1 point
-
I've never considered anything I've bought as a bargain. :-p Just gambles, and some I've won and some I've lost.1 point
-
Yowza! If this machine is functional, has good bearings and lines up well, you got a real deal. So what if it's over 100 years old :-) At $dayjob, we have some production machines that are still in use that are almost that old.1 point
-
Looks like a great start. I too have office desks, they used to be in a L shape format, but having just moved apartment due to renovations, I was unable to set up my workspace the same as I have been accustomed to, so had to put them side by side. I do plan on raising the height of these too when we move back, I have some extender legs salvaged from an old sofa. Untitled by Micky Aldridge, on Flickr Almost set up in temporary apartment by Micky Aldridge, on Flickr1 point