Leaderboard


Popular Content
Showing content with the highest reputation on 08/03/18 in Posts
-
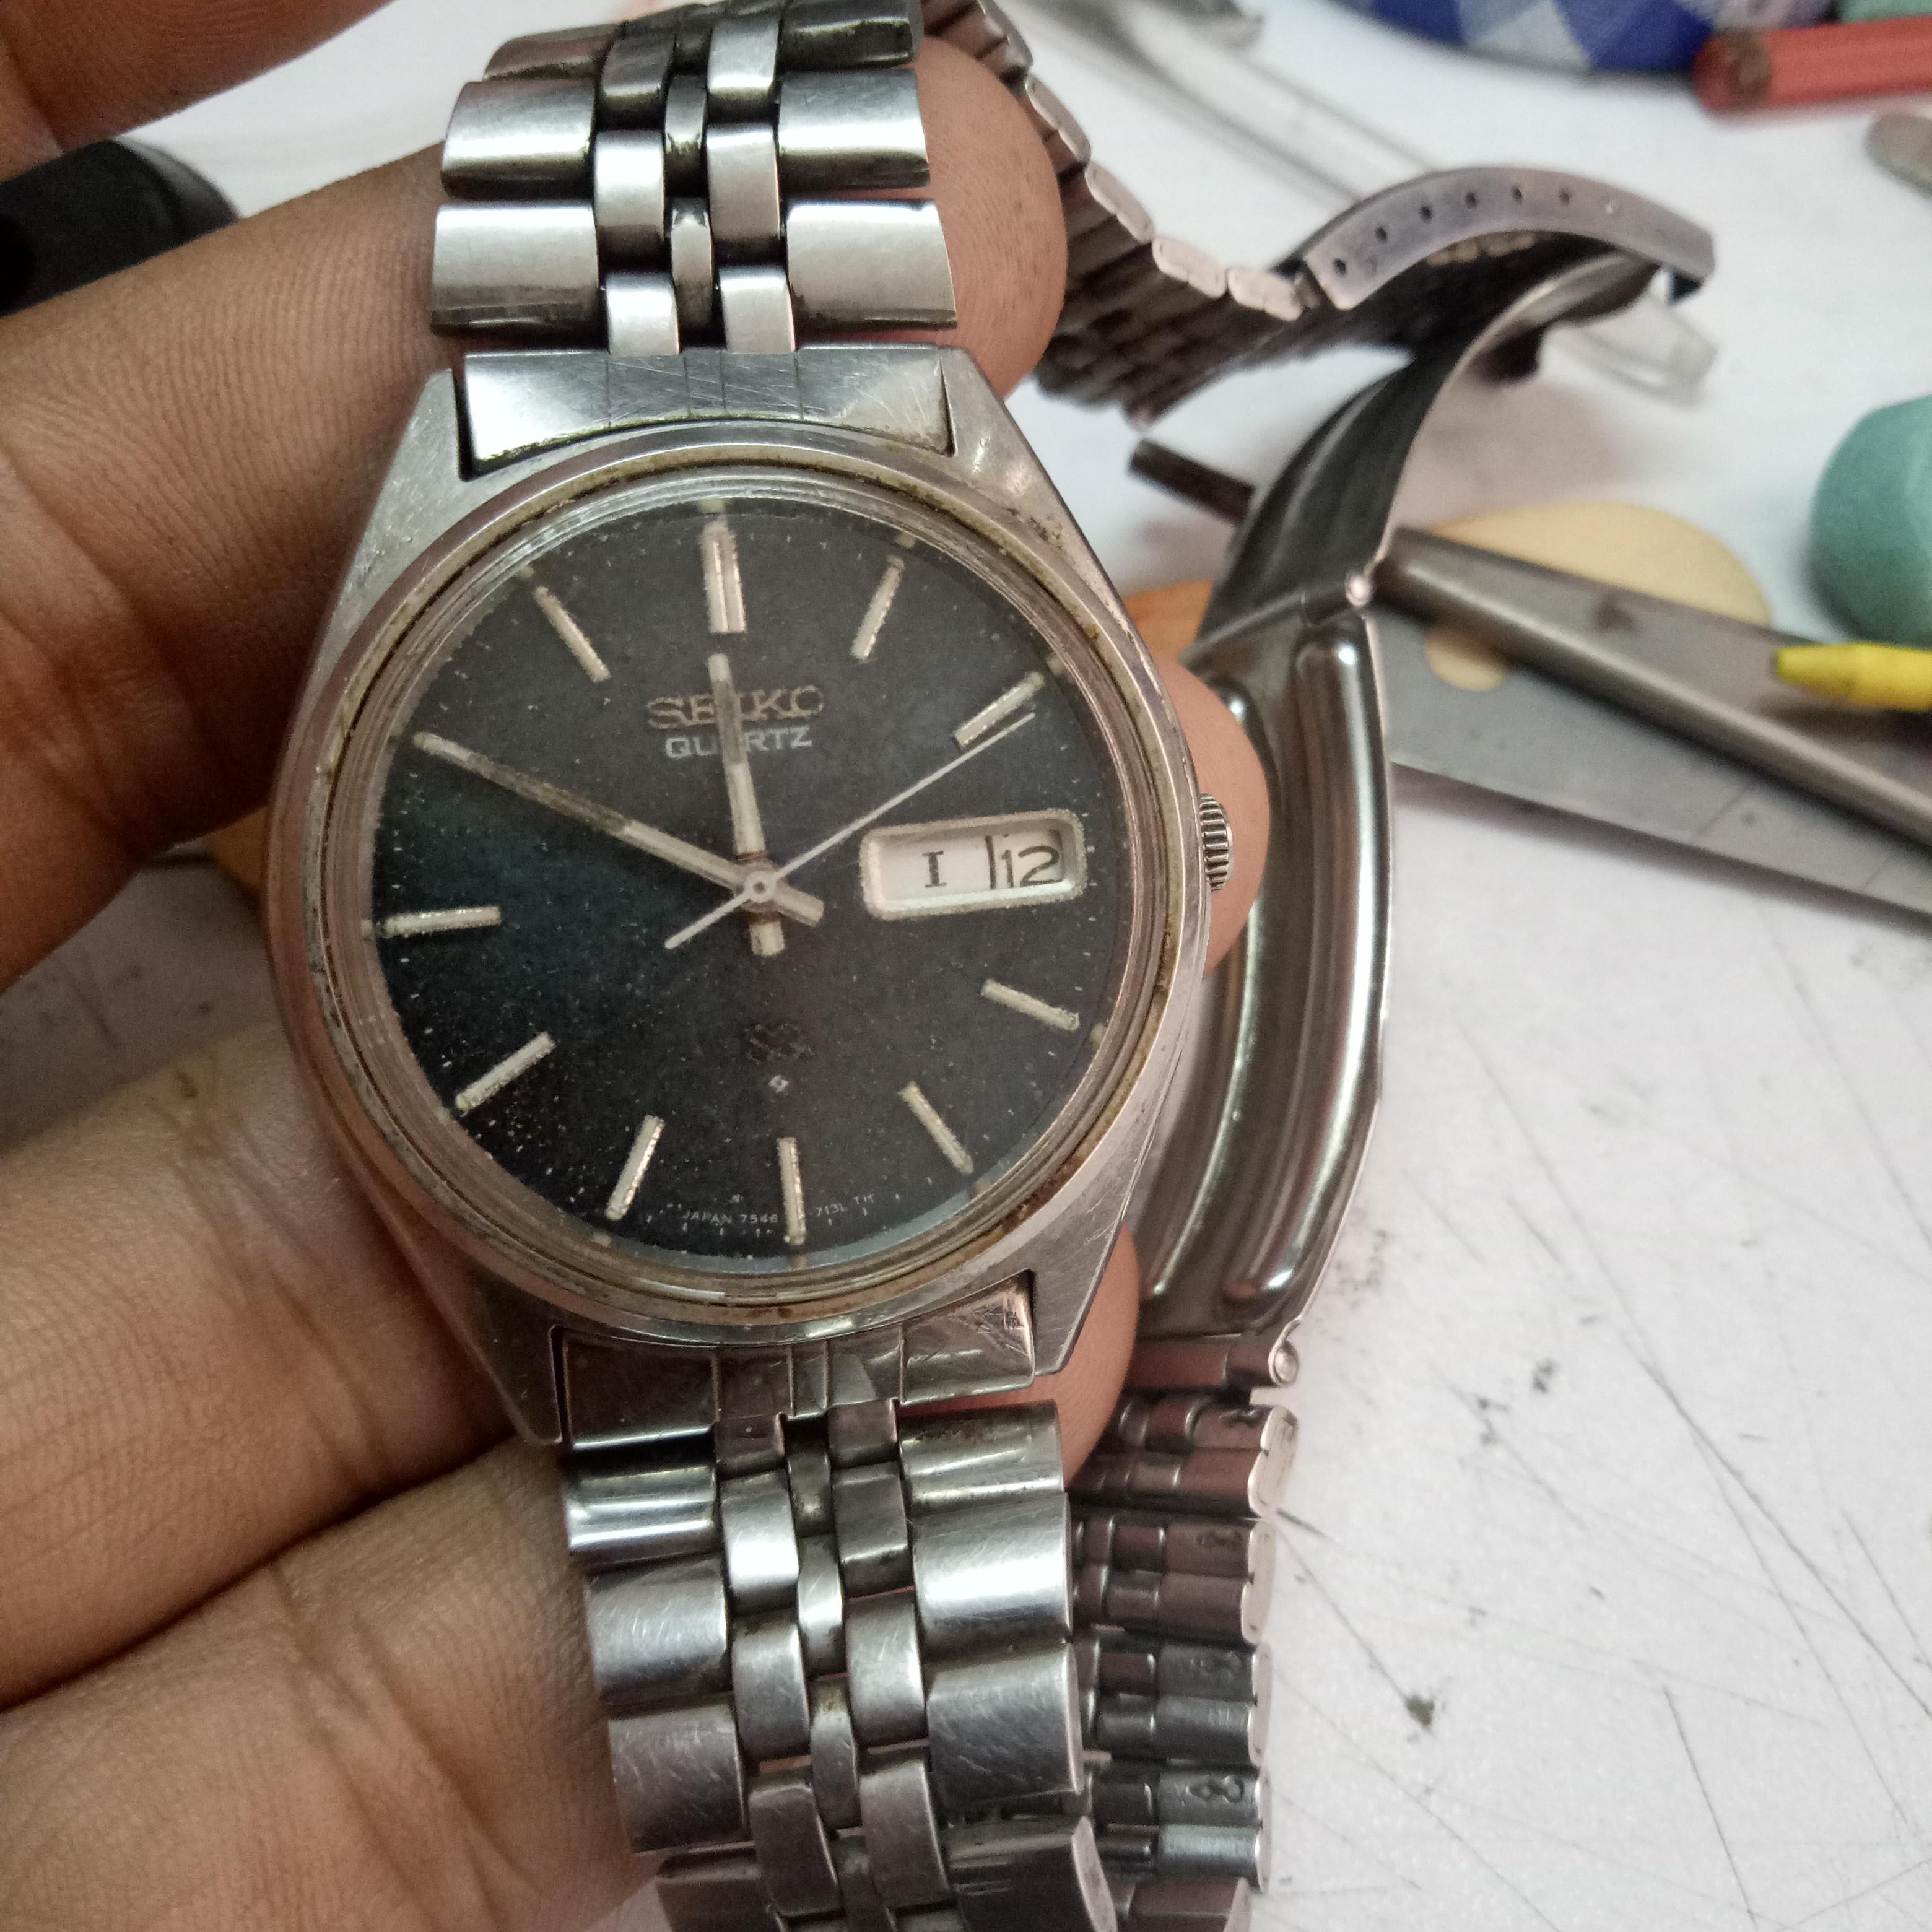
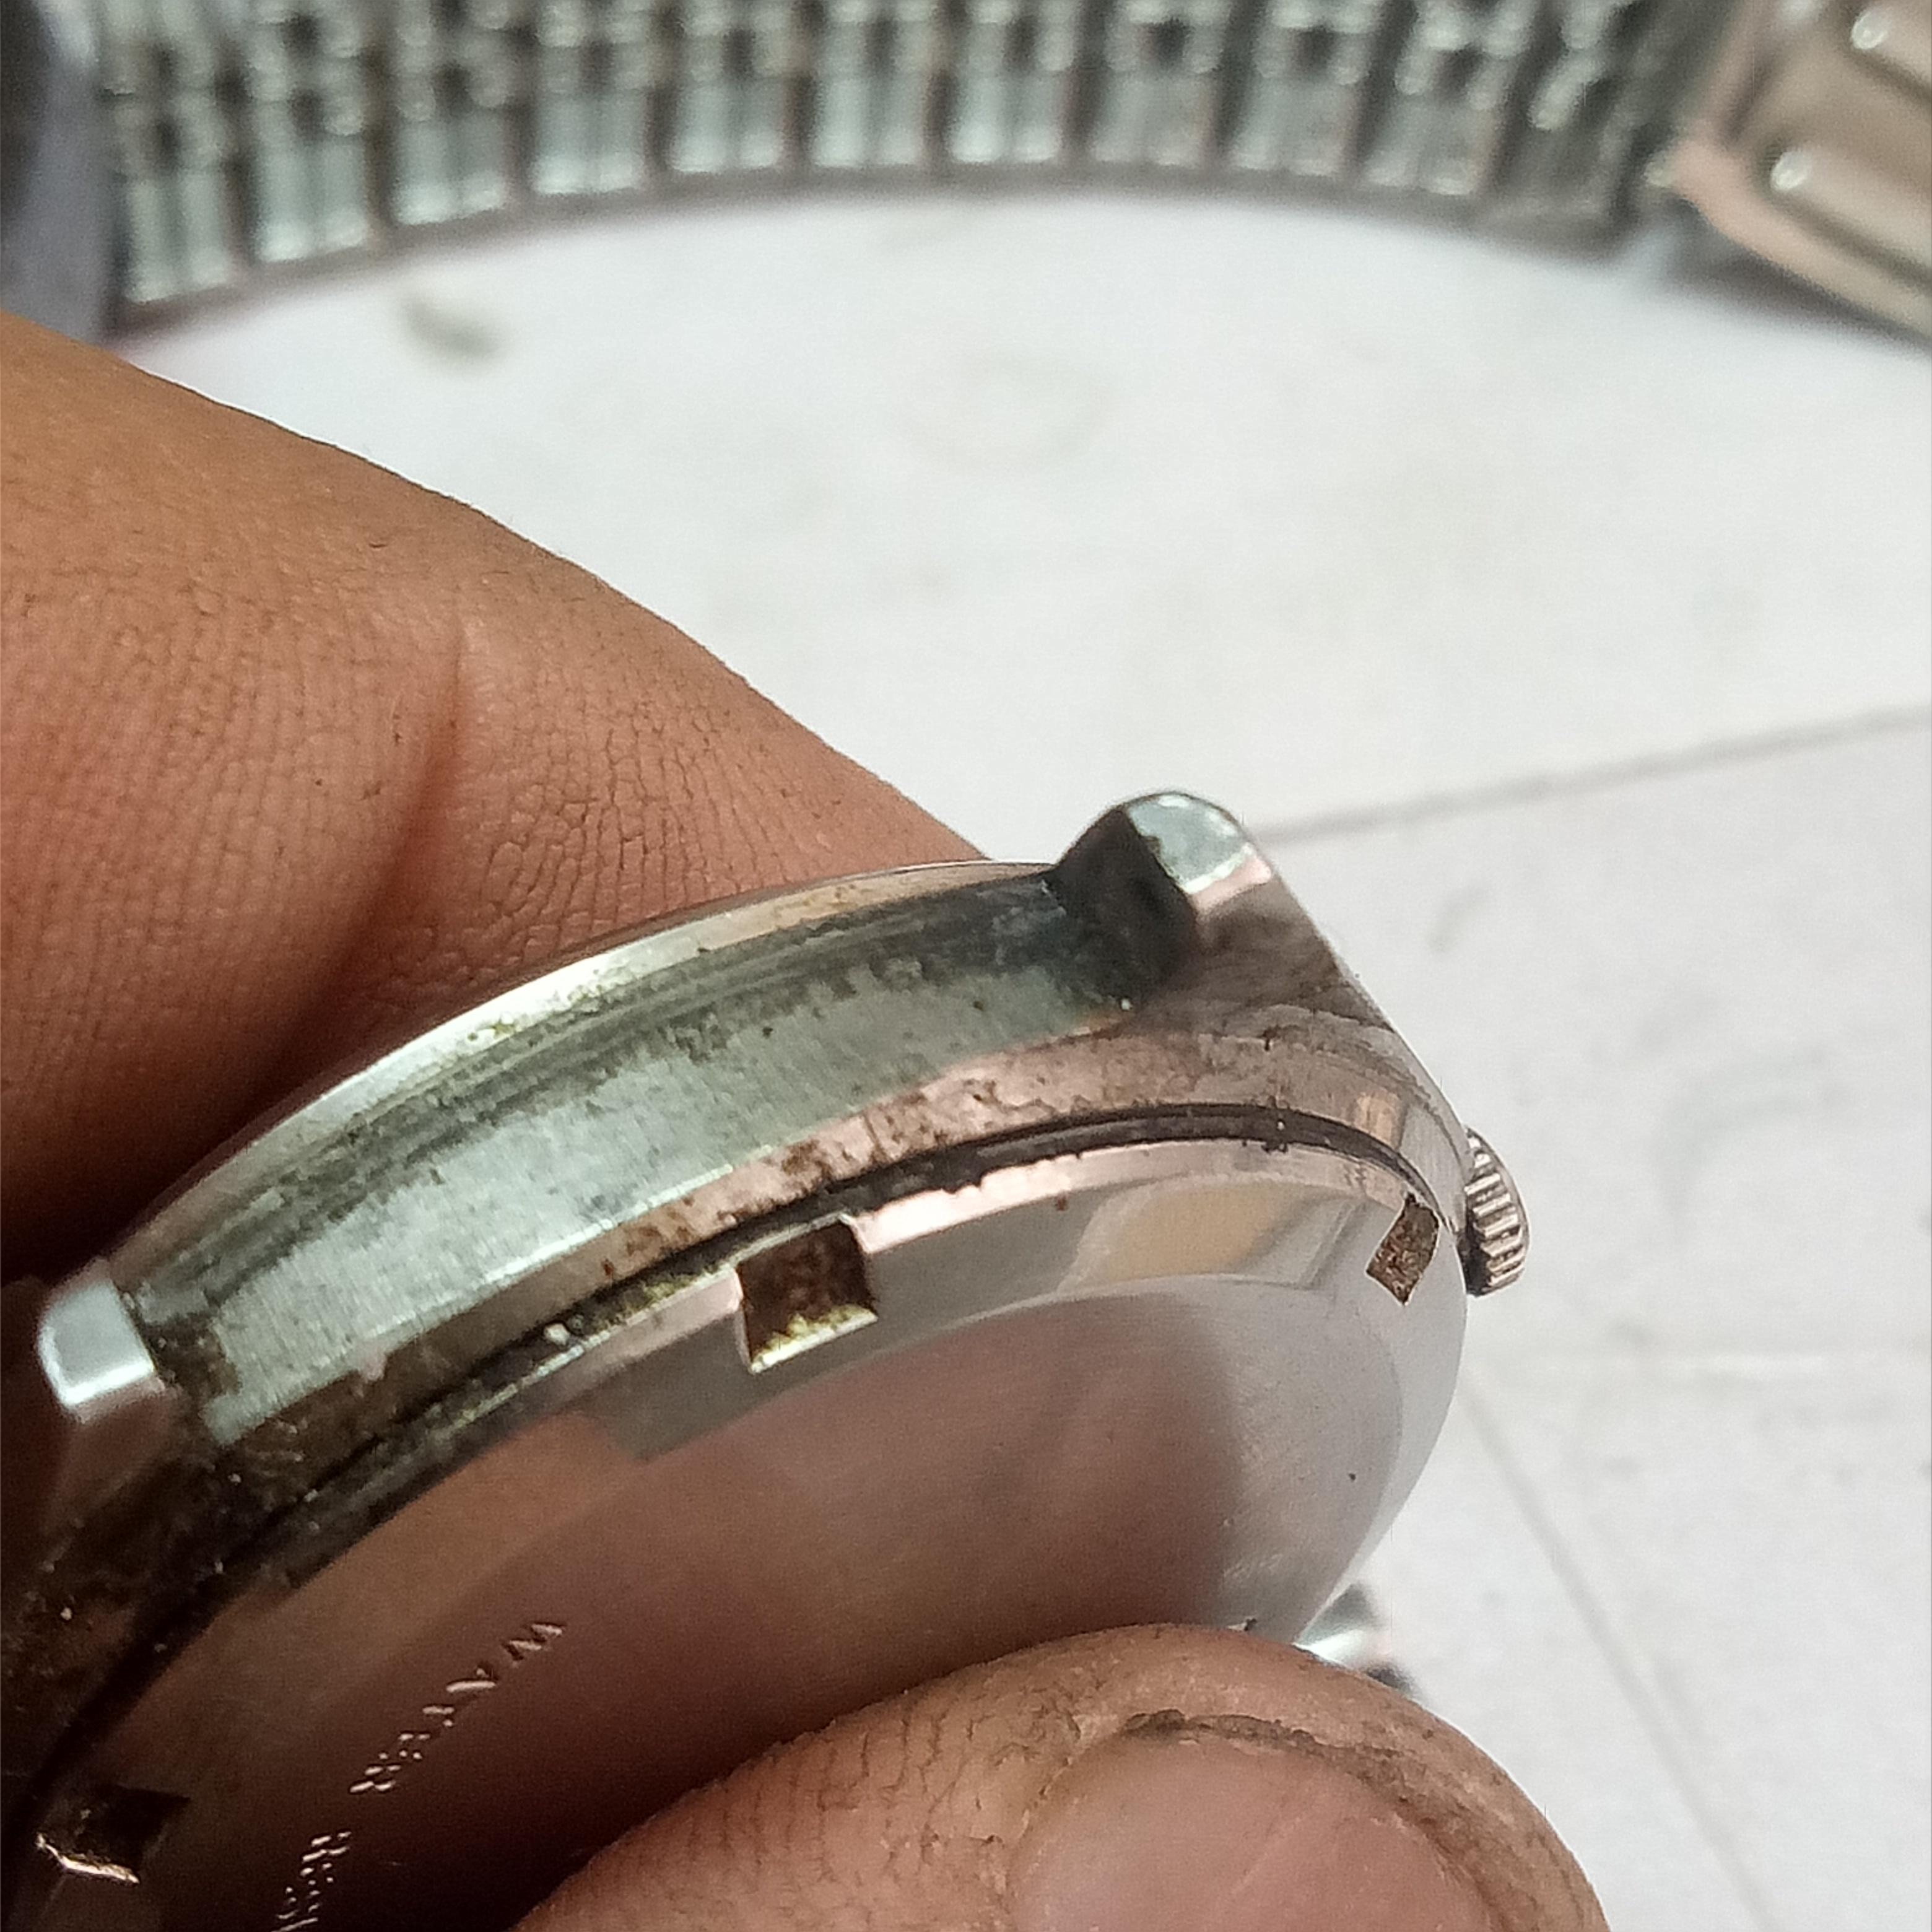
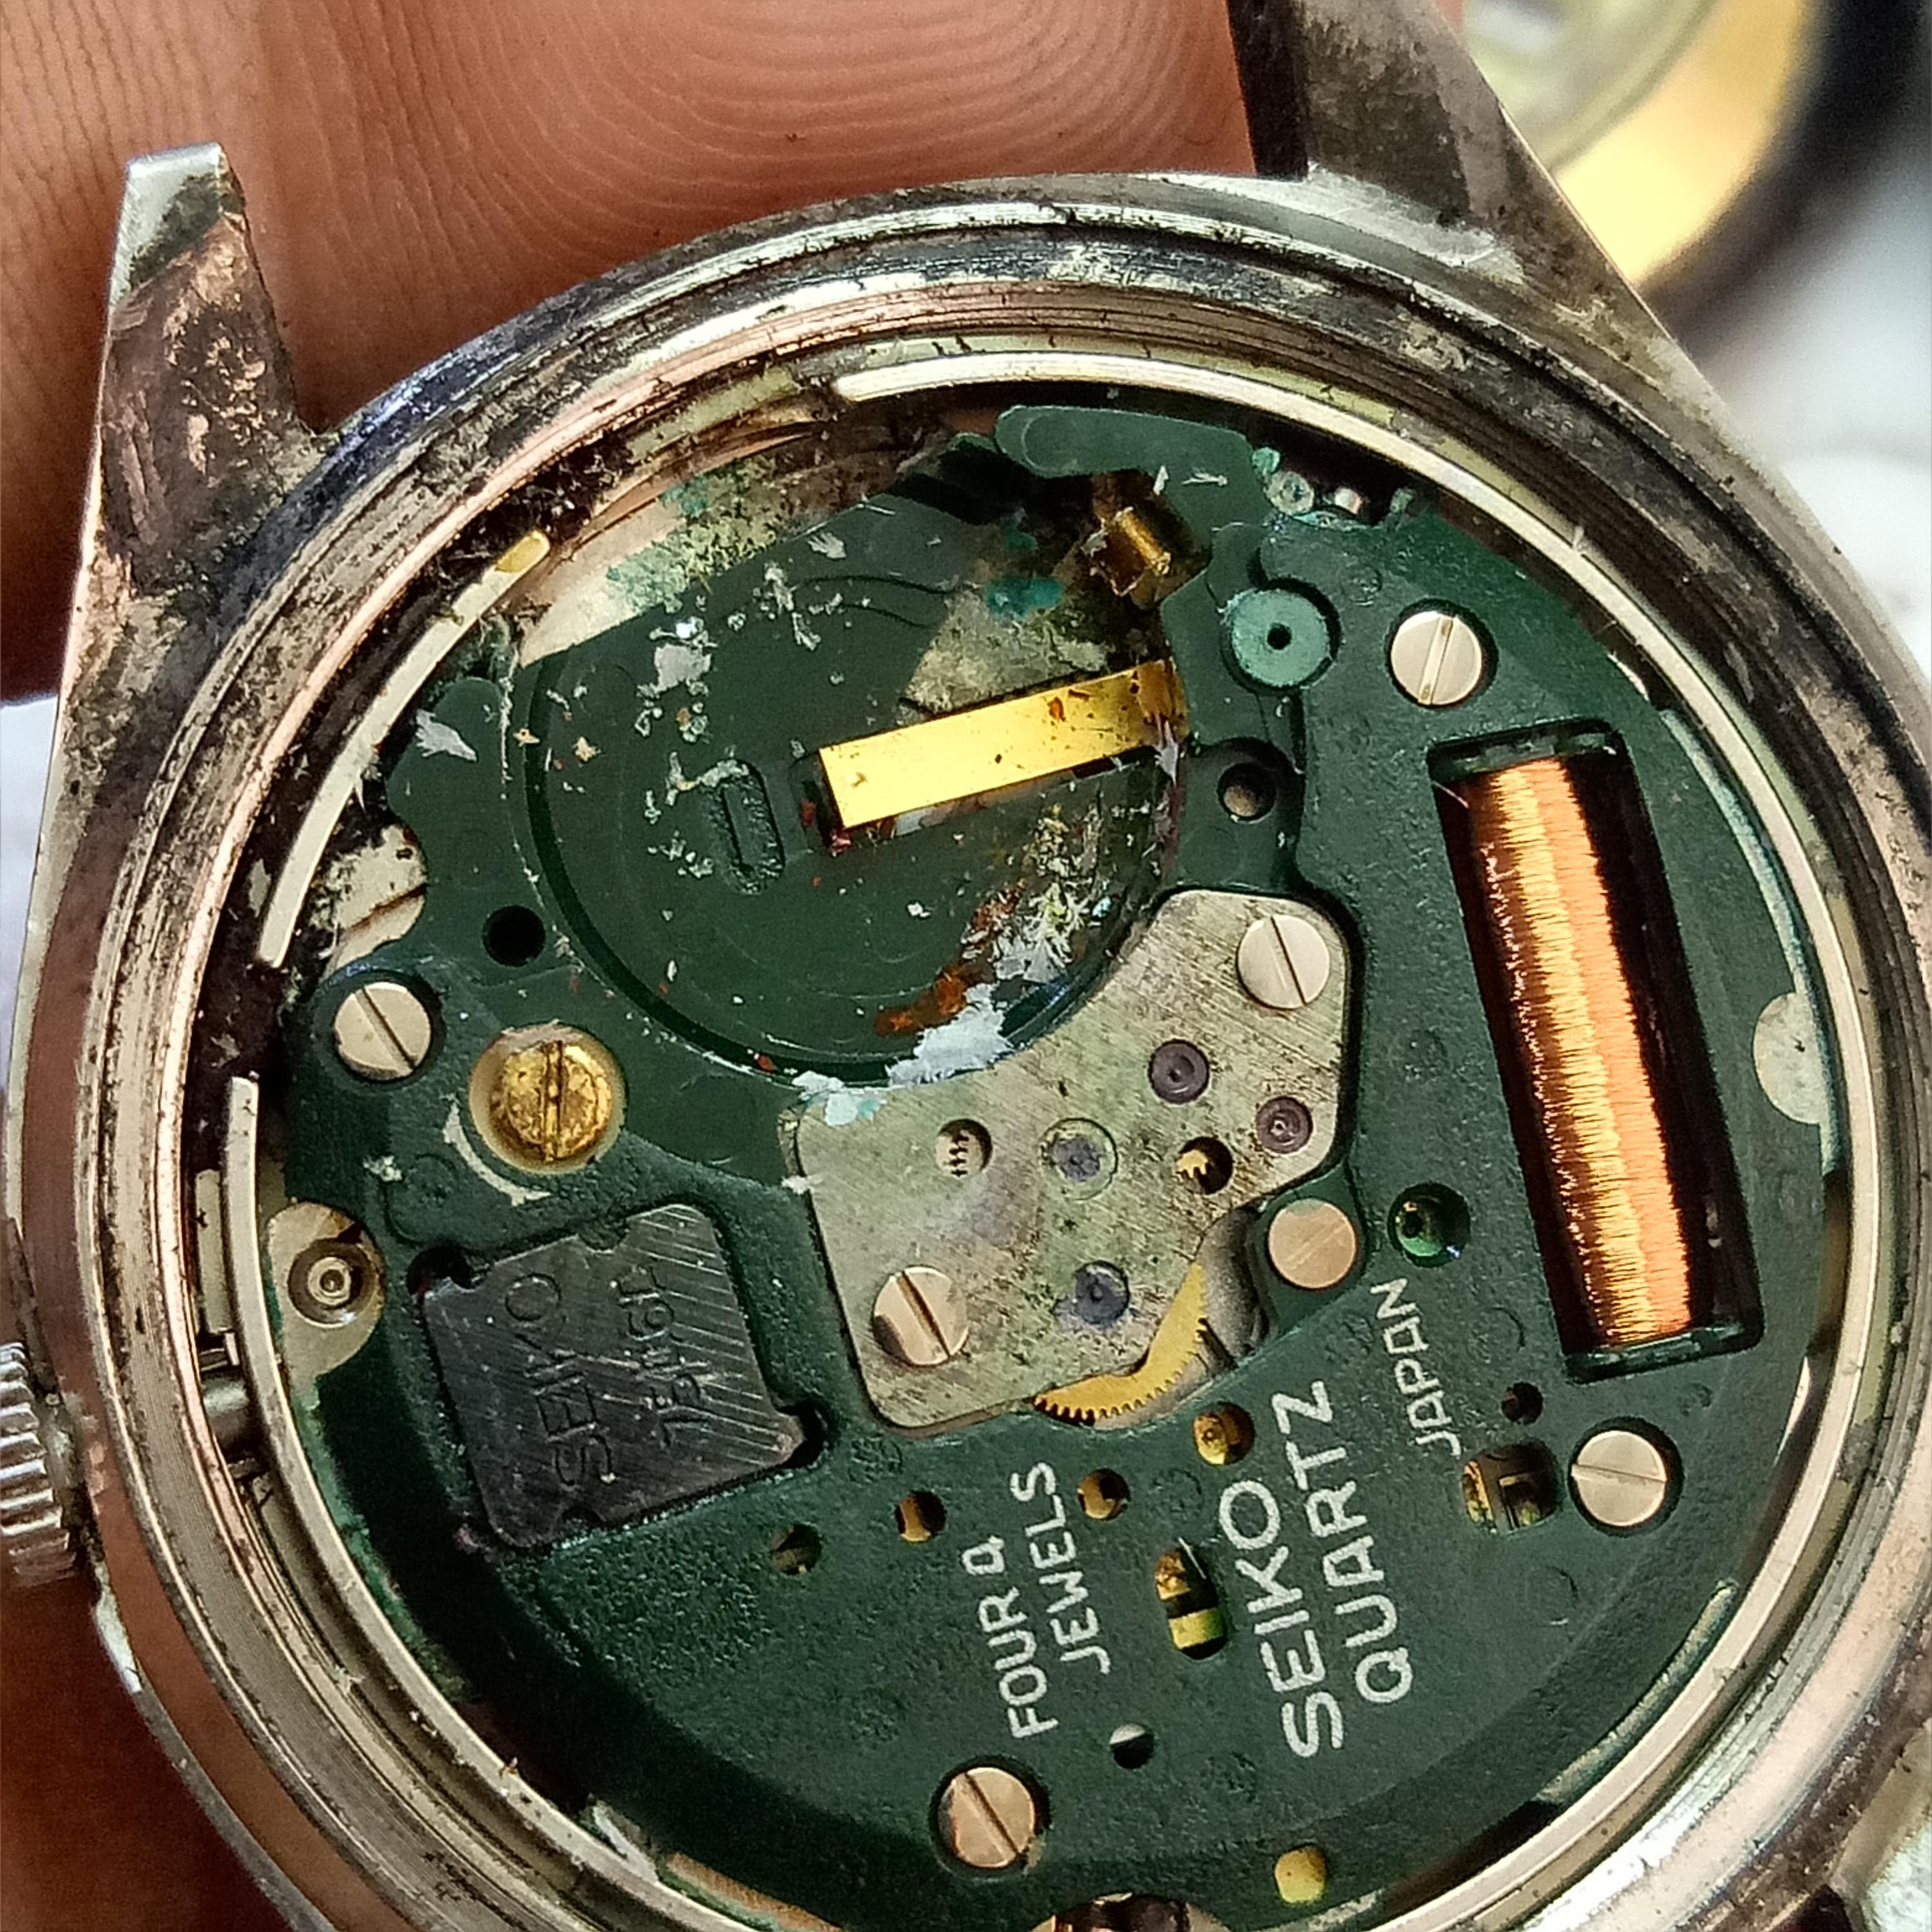
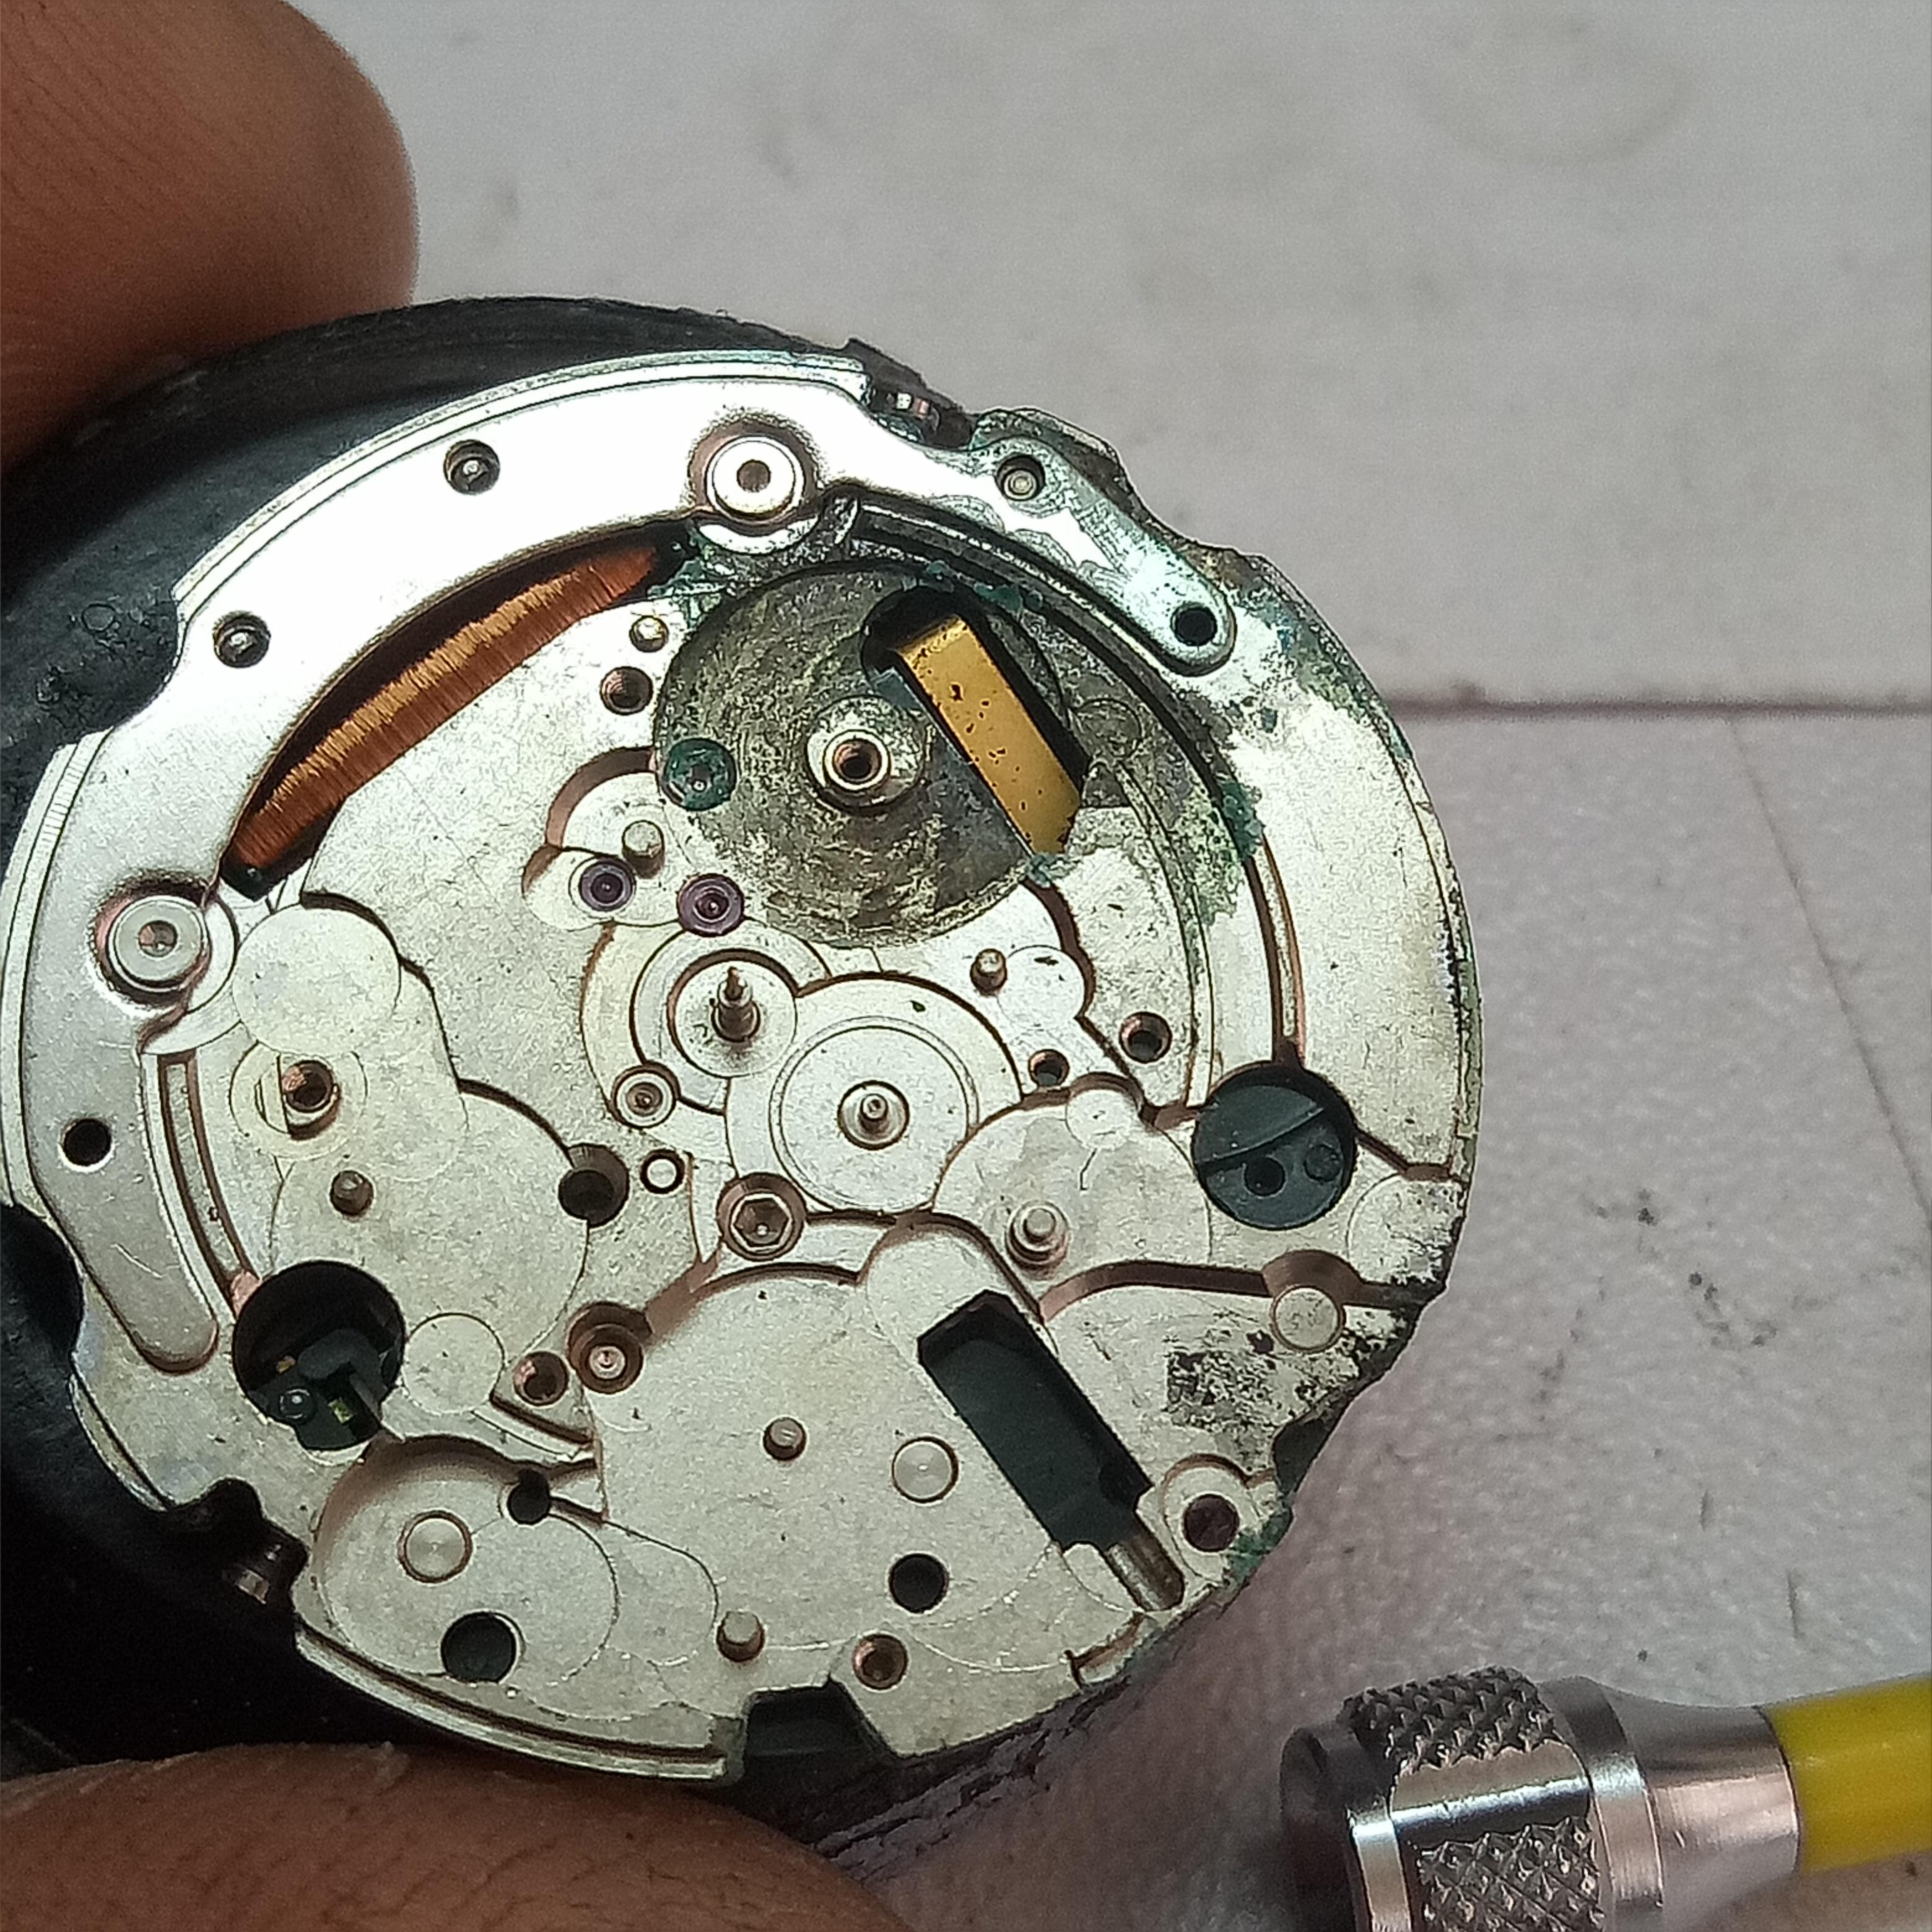
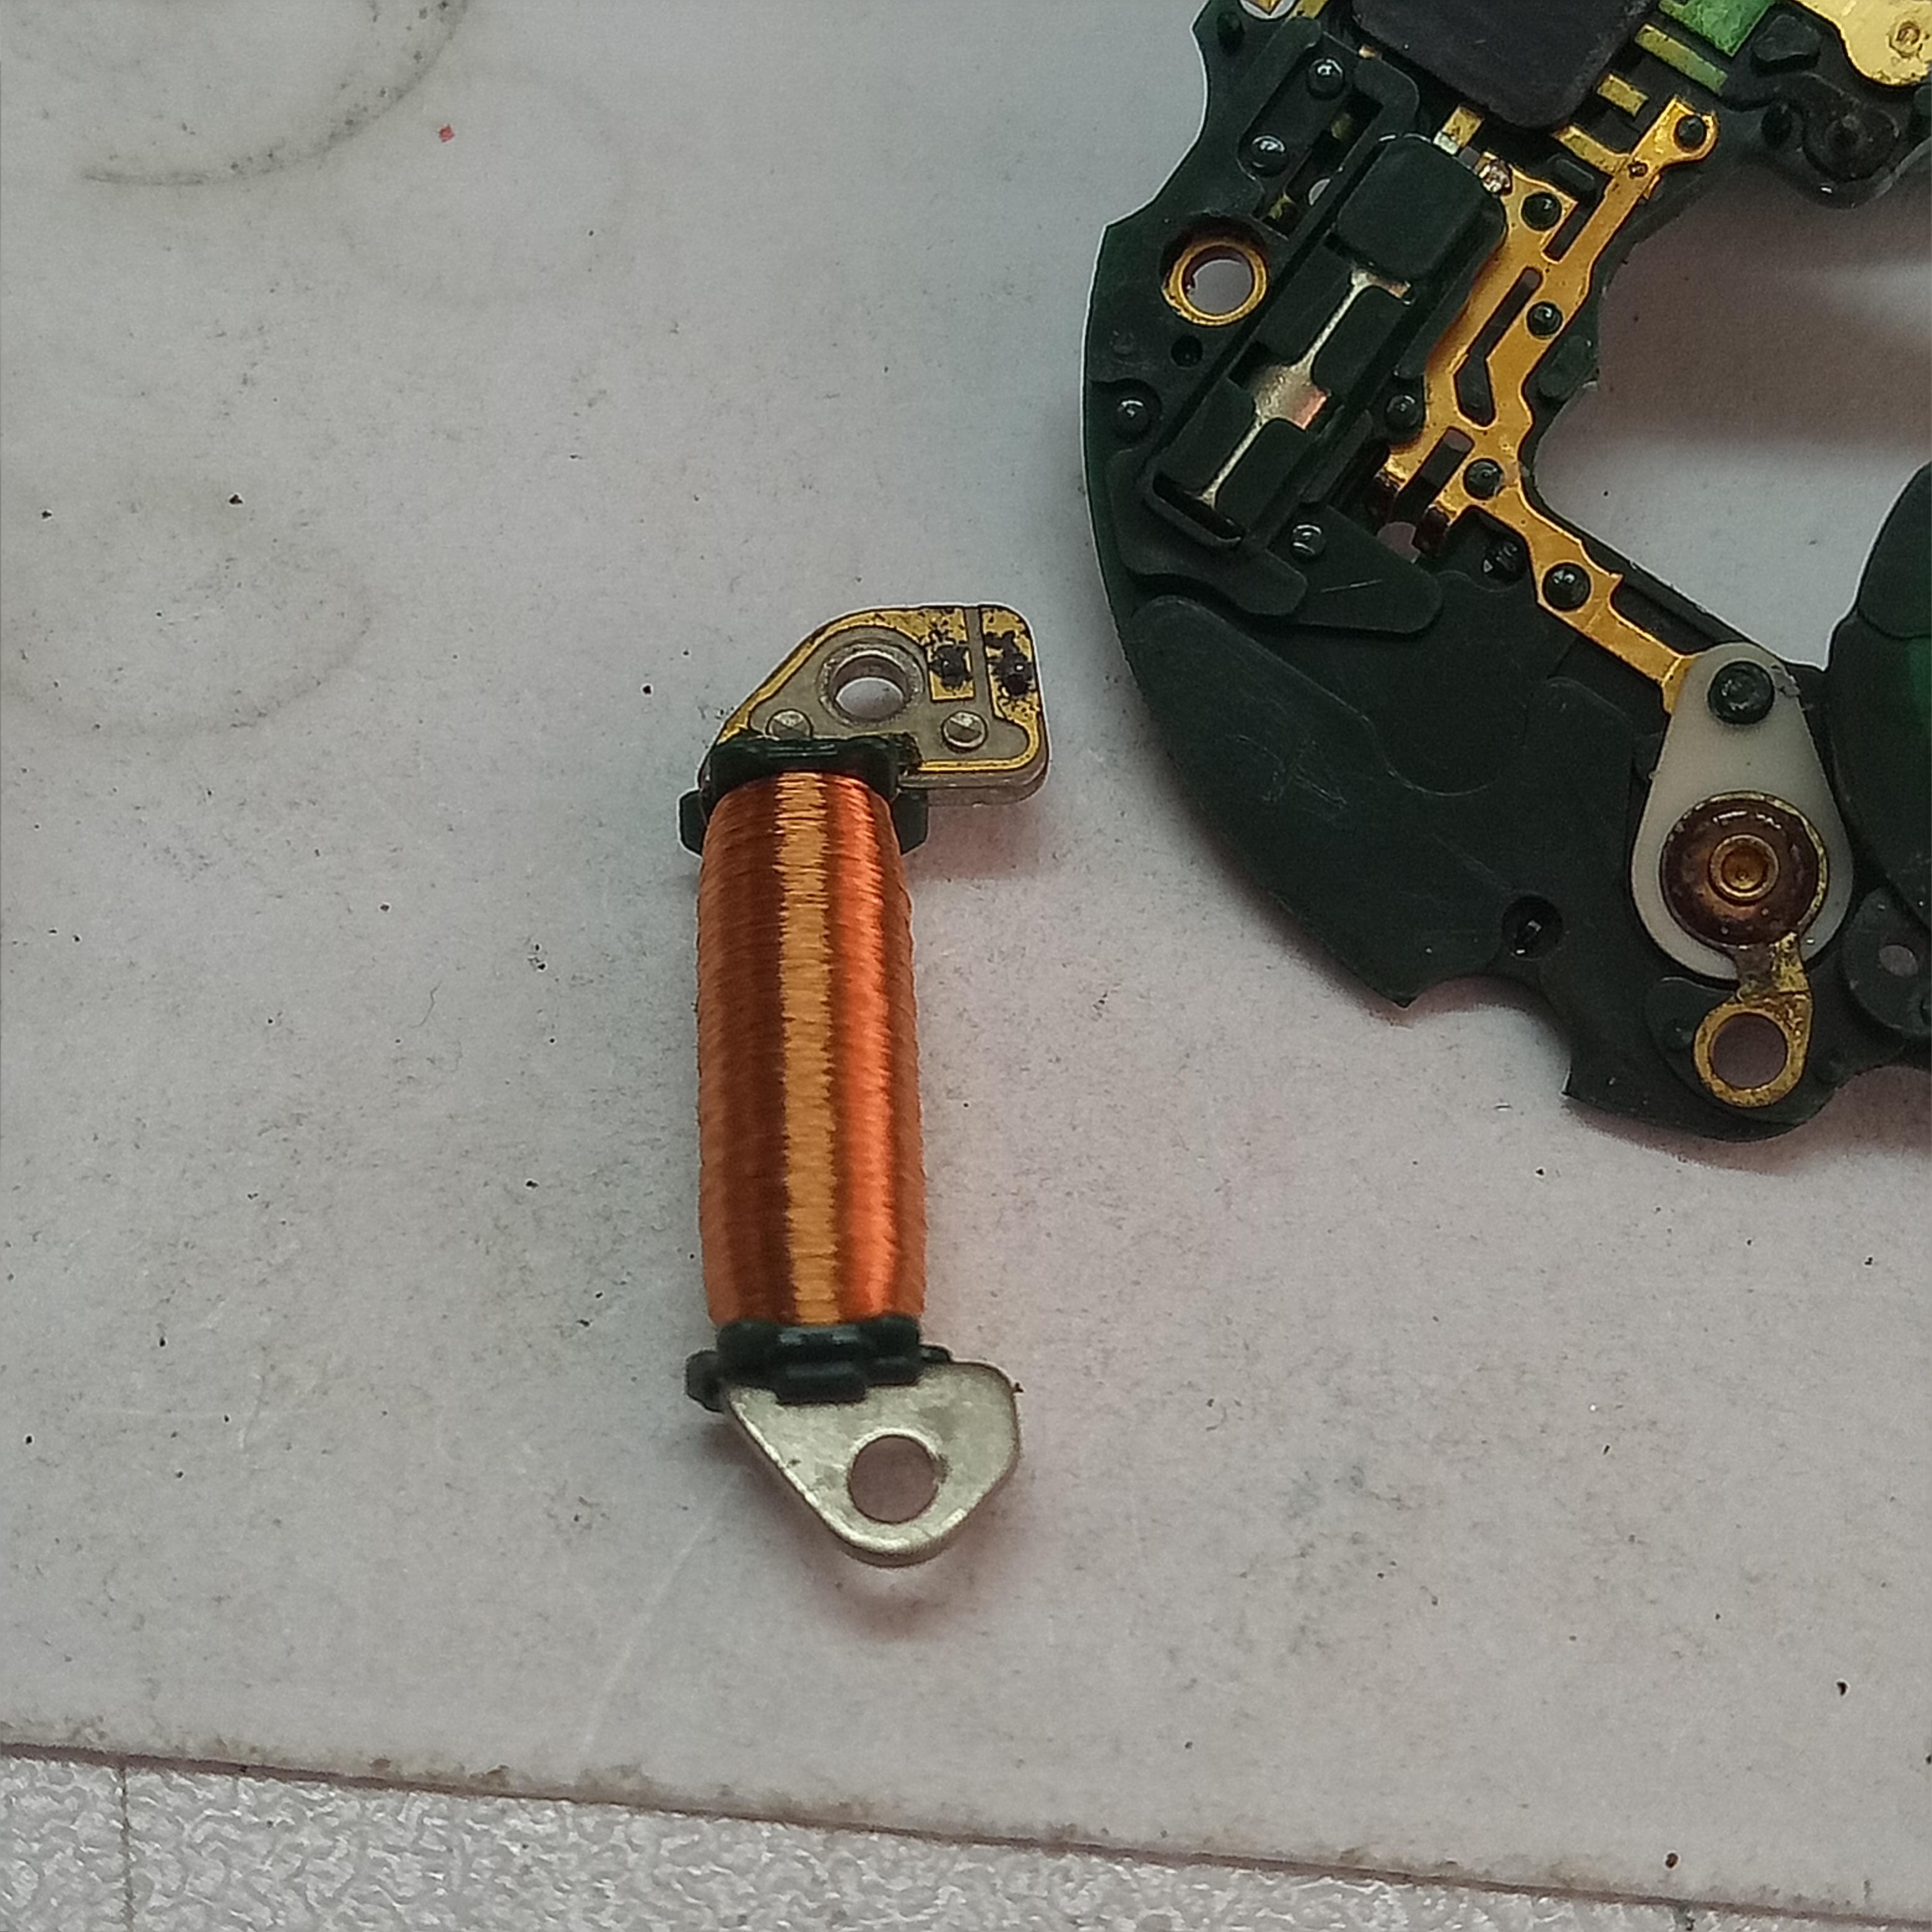
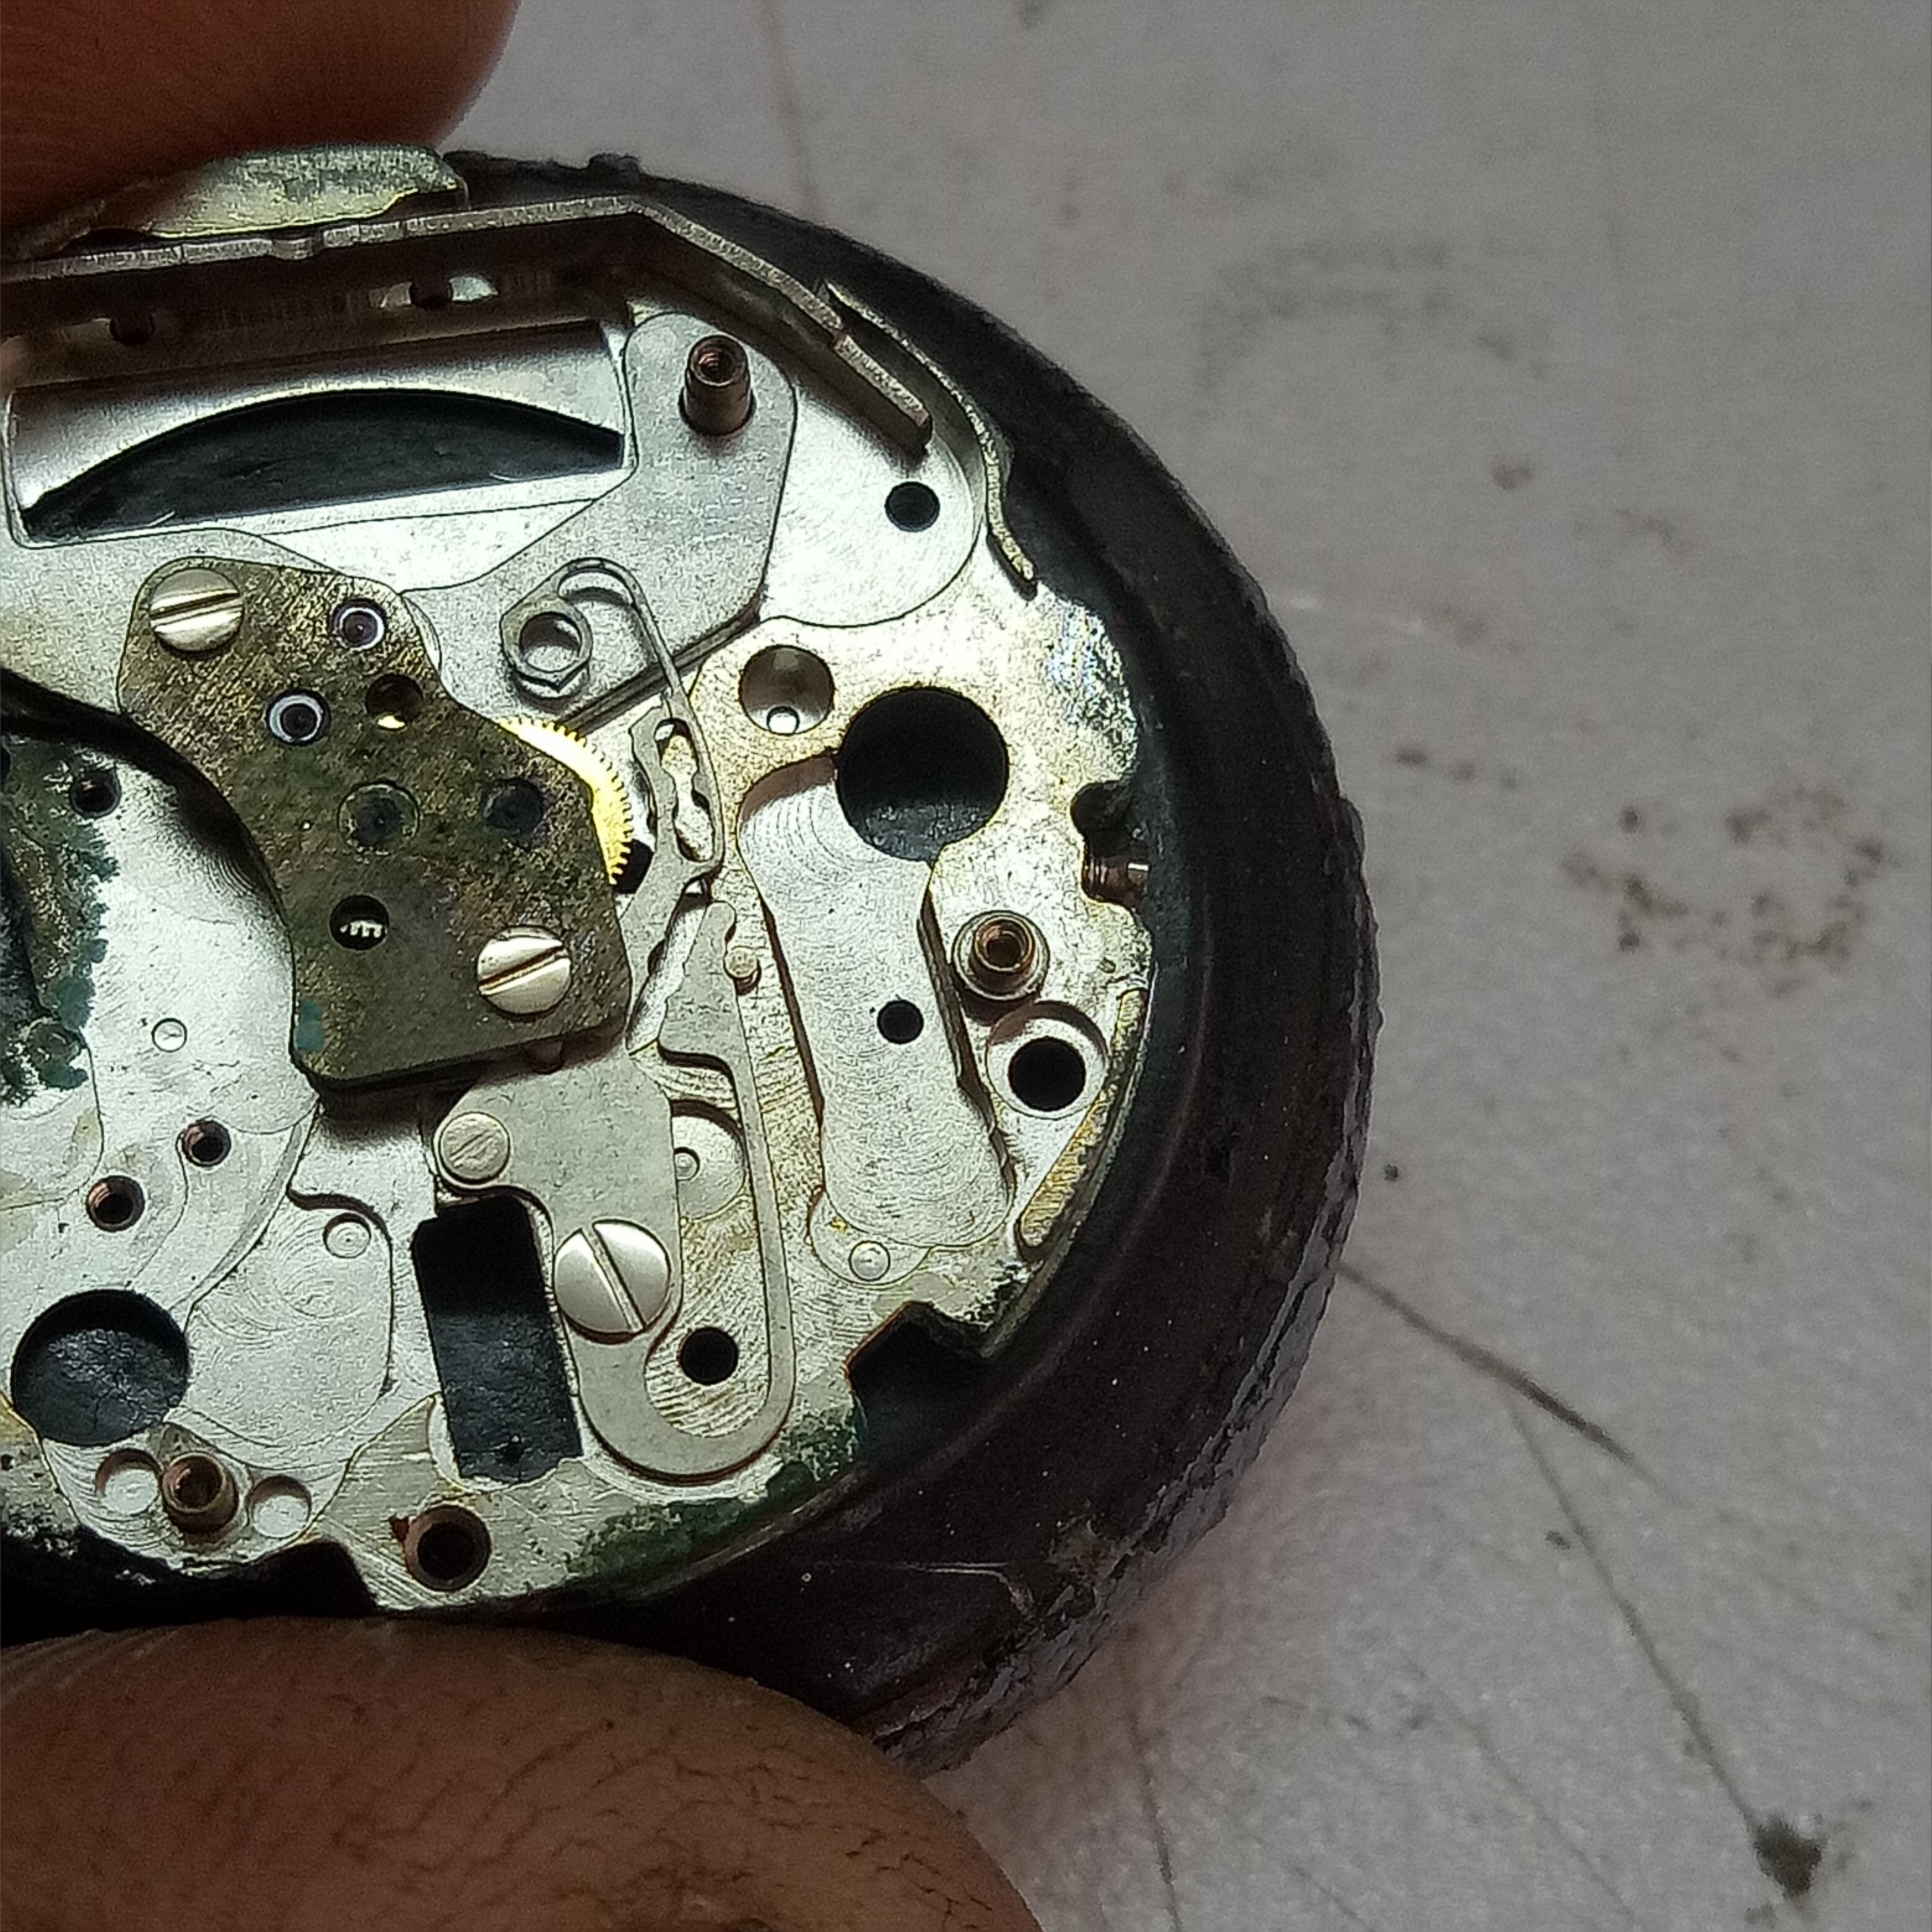
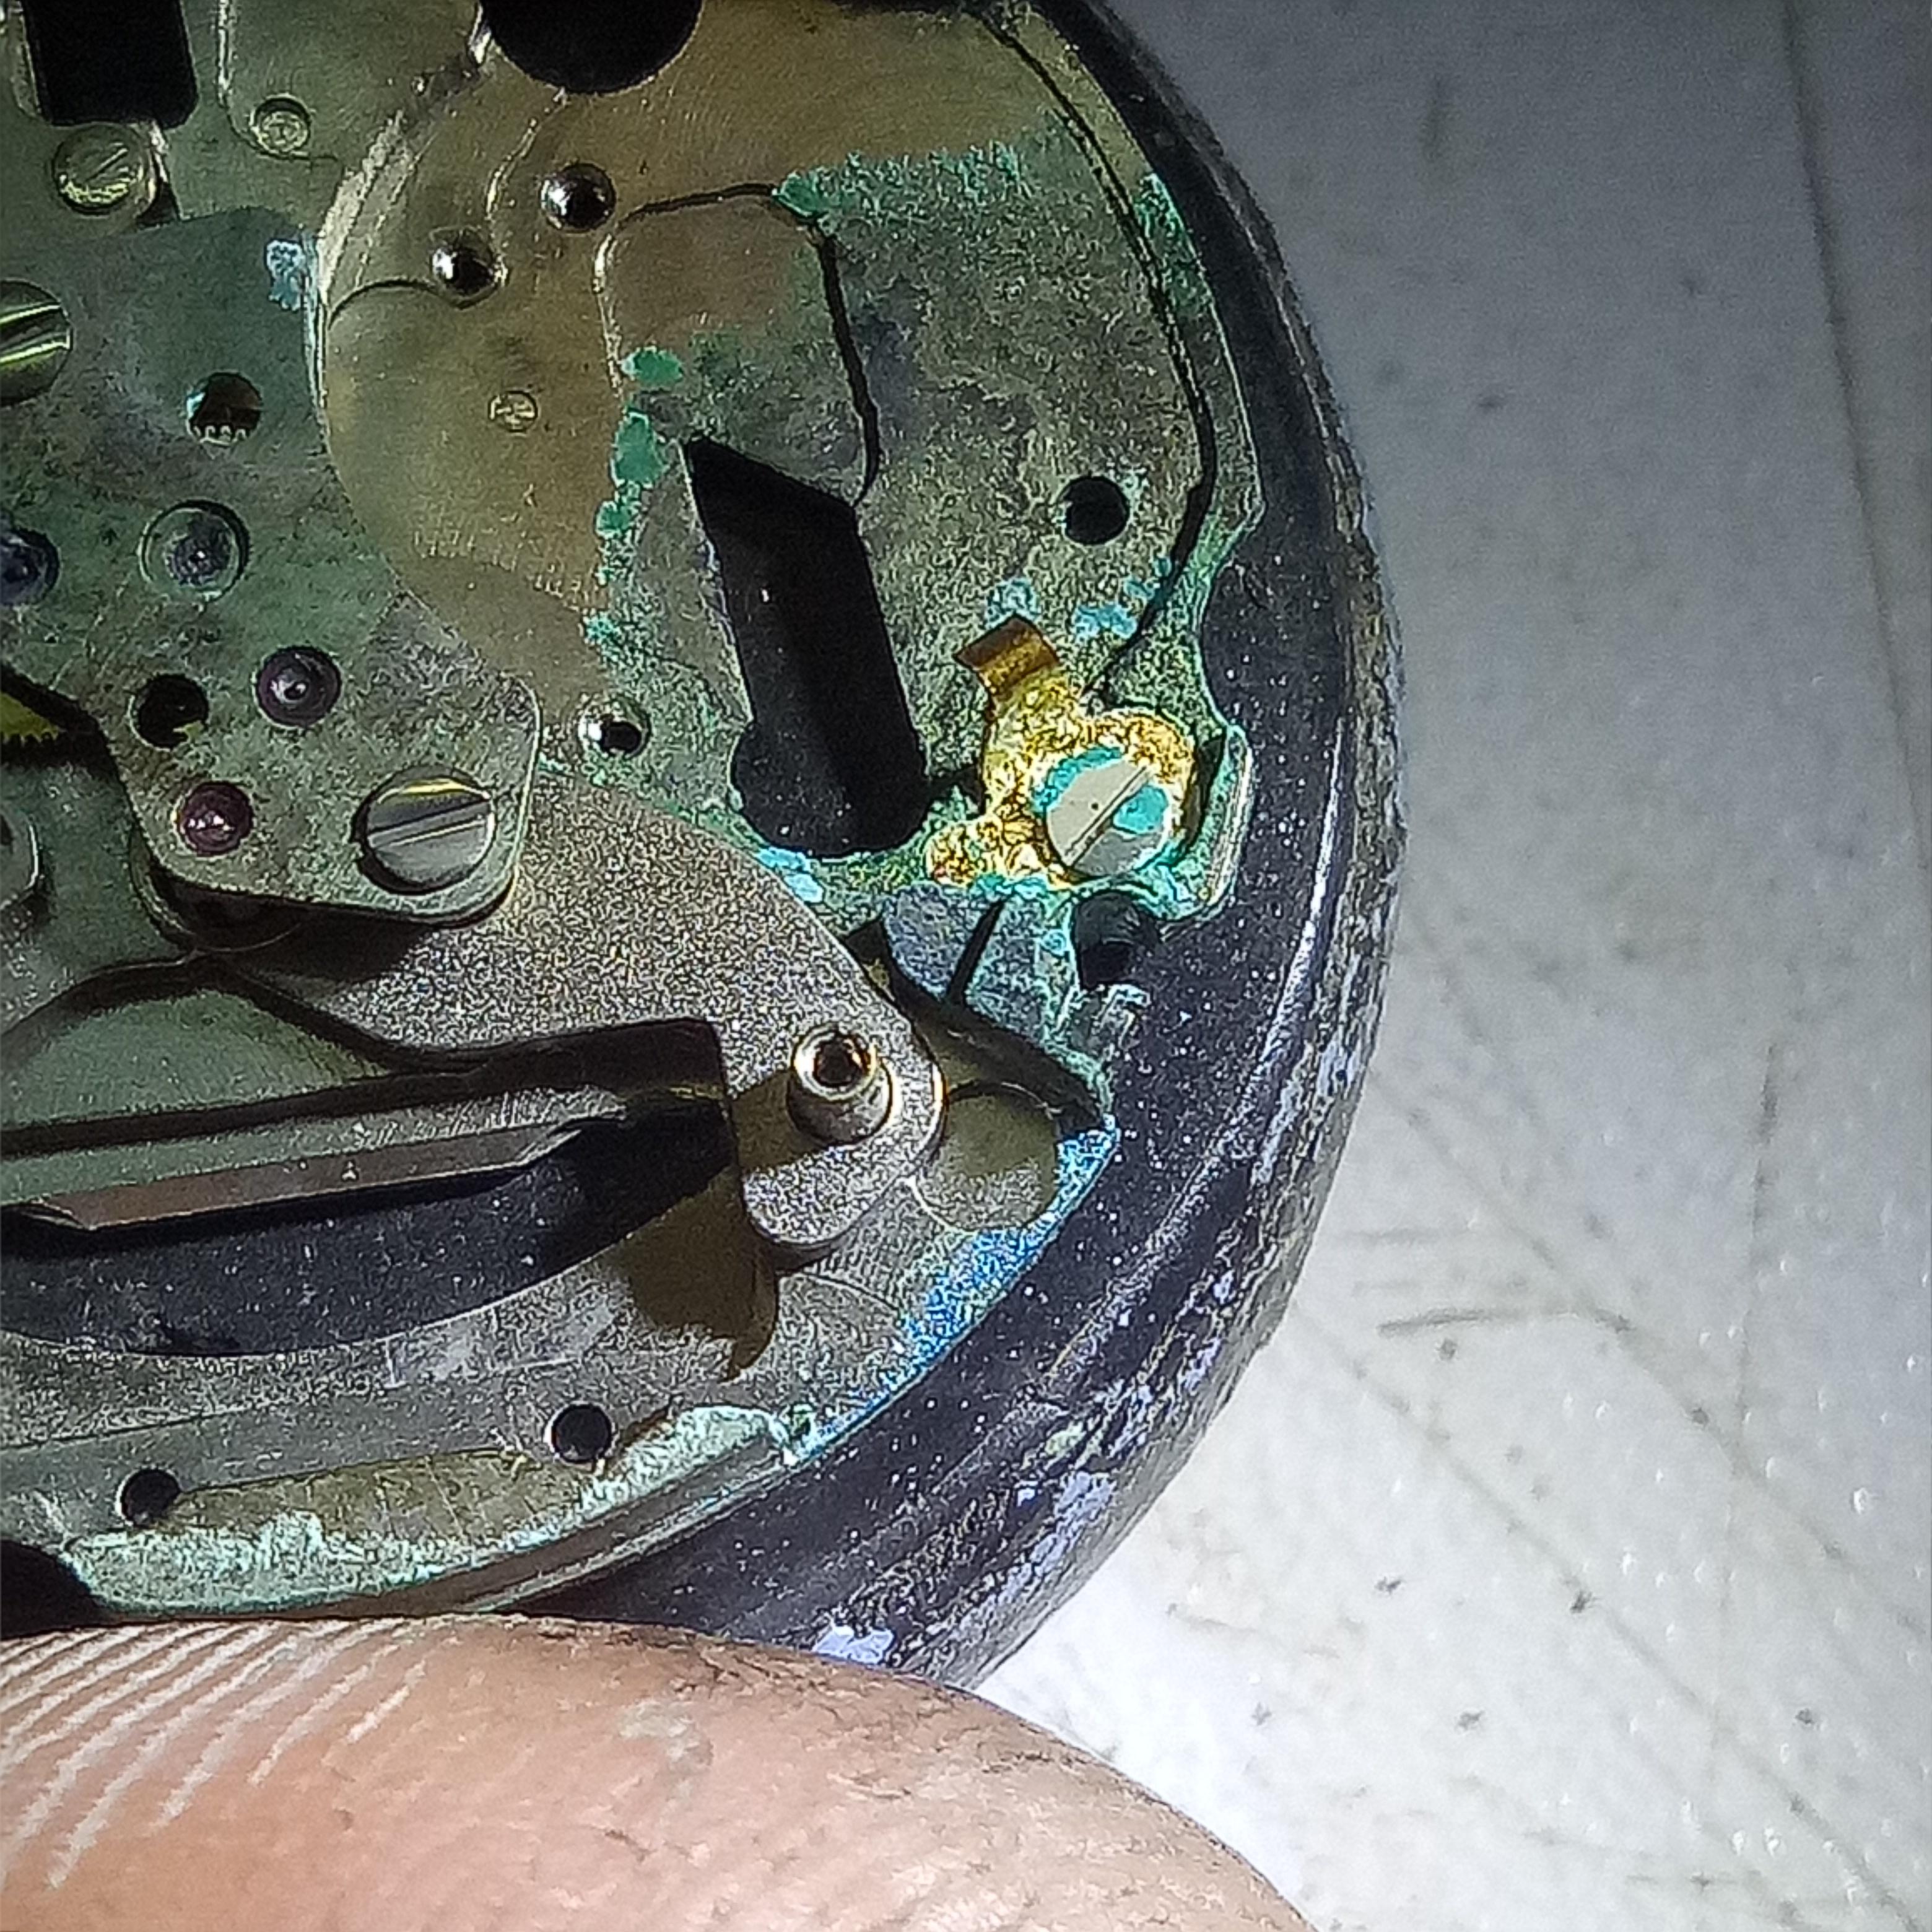
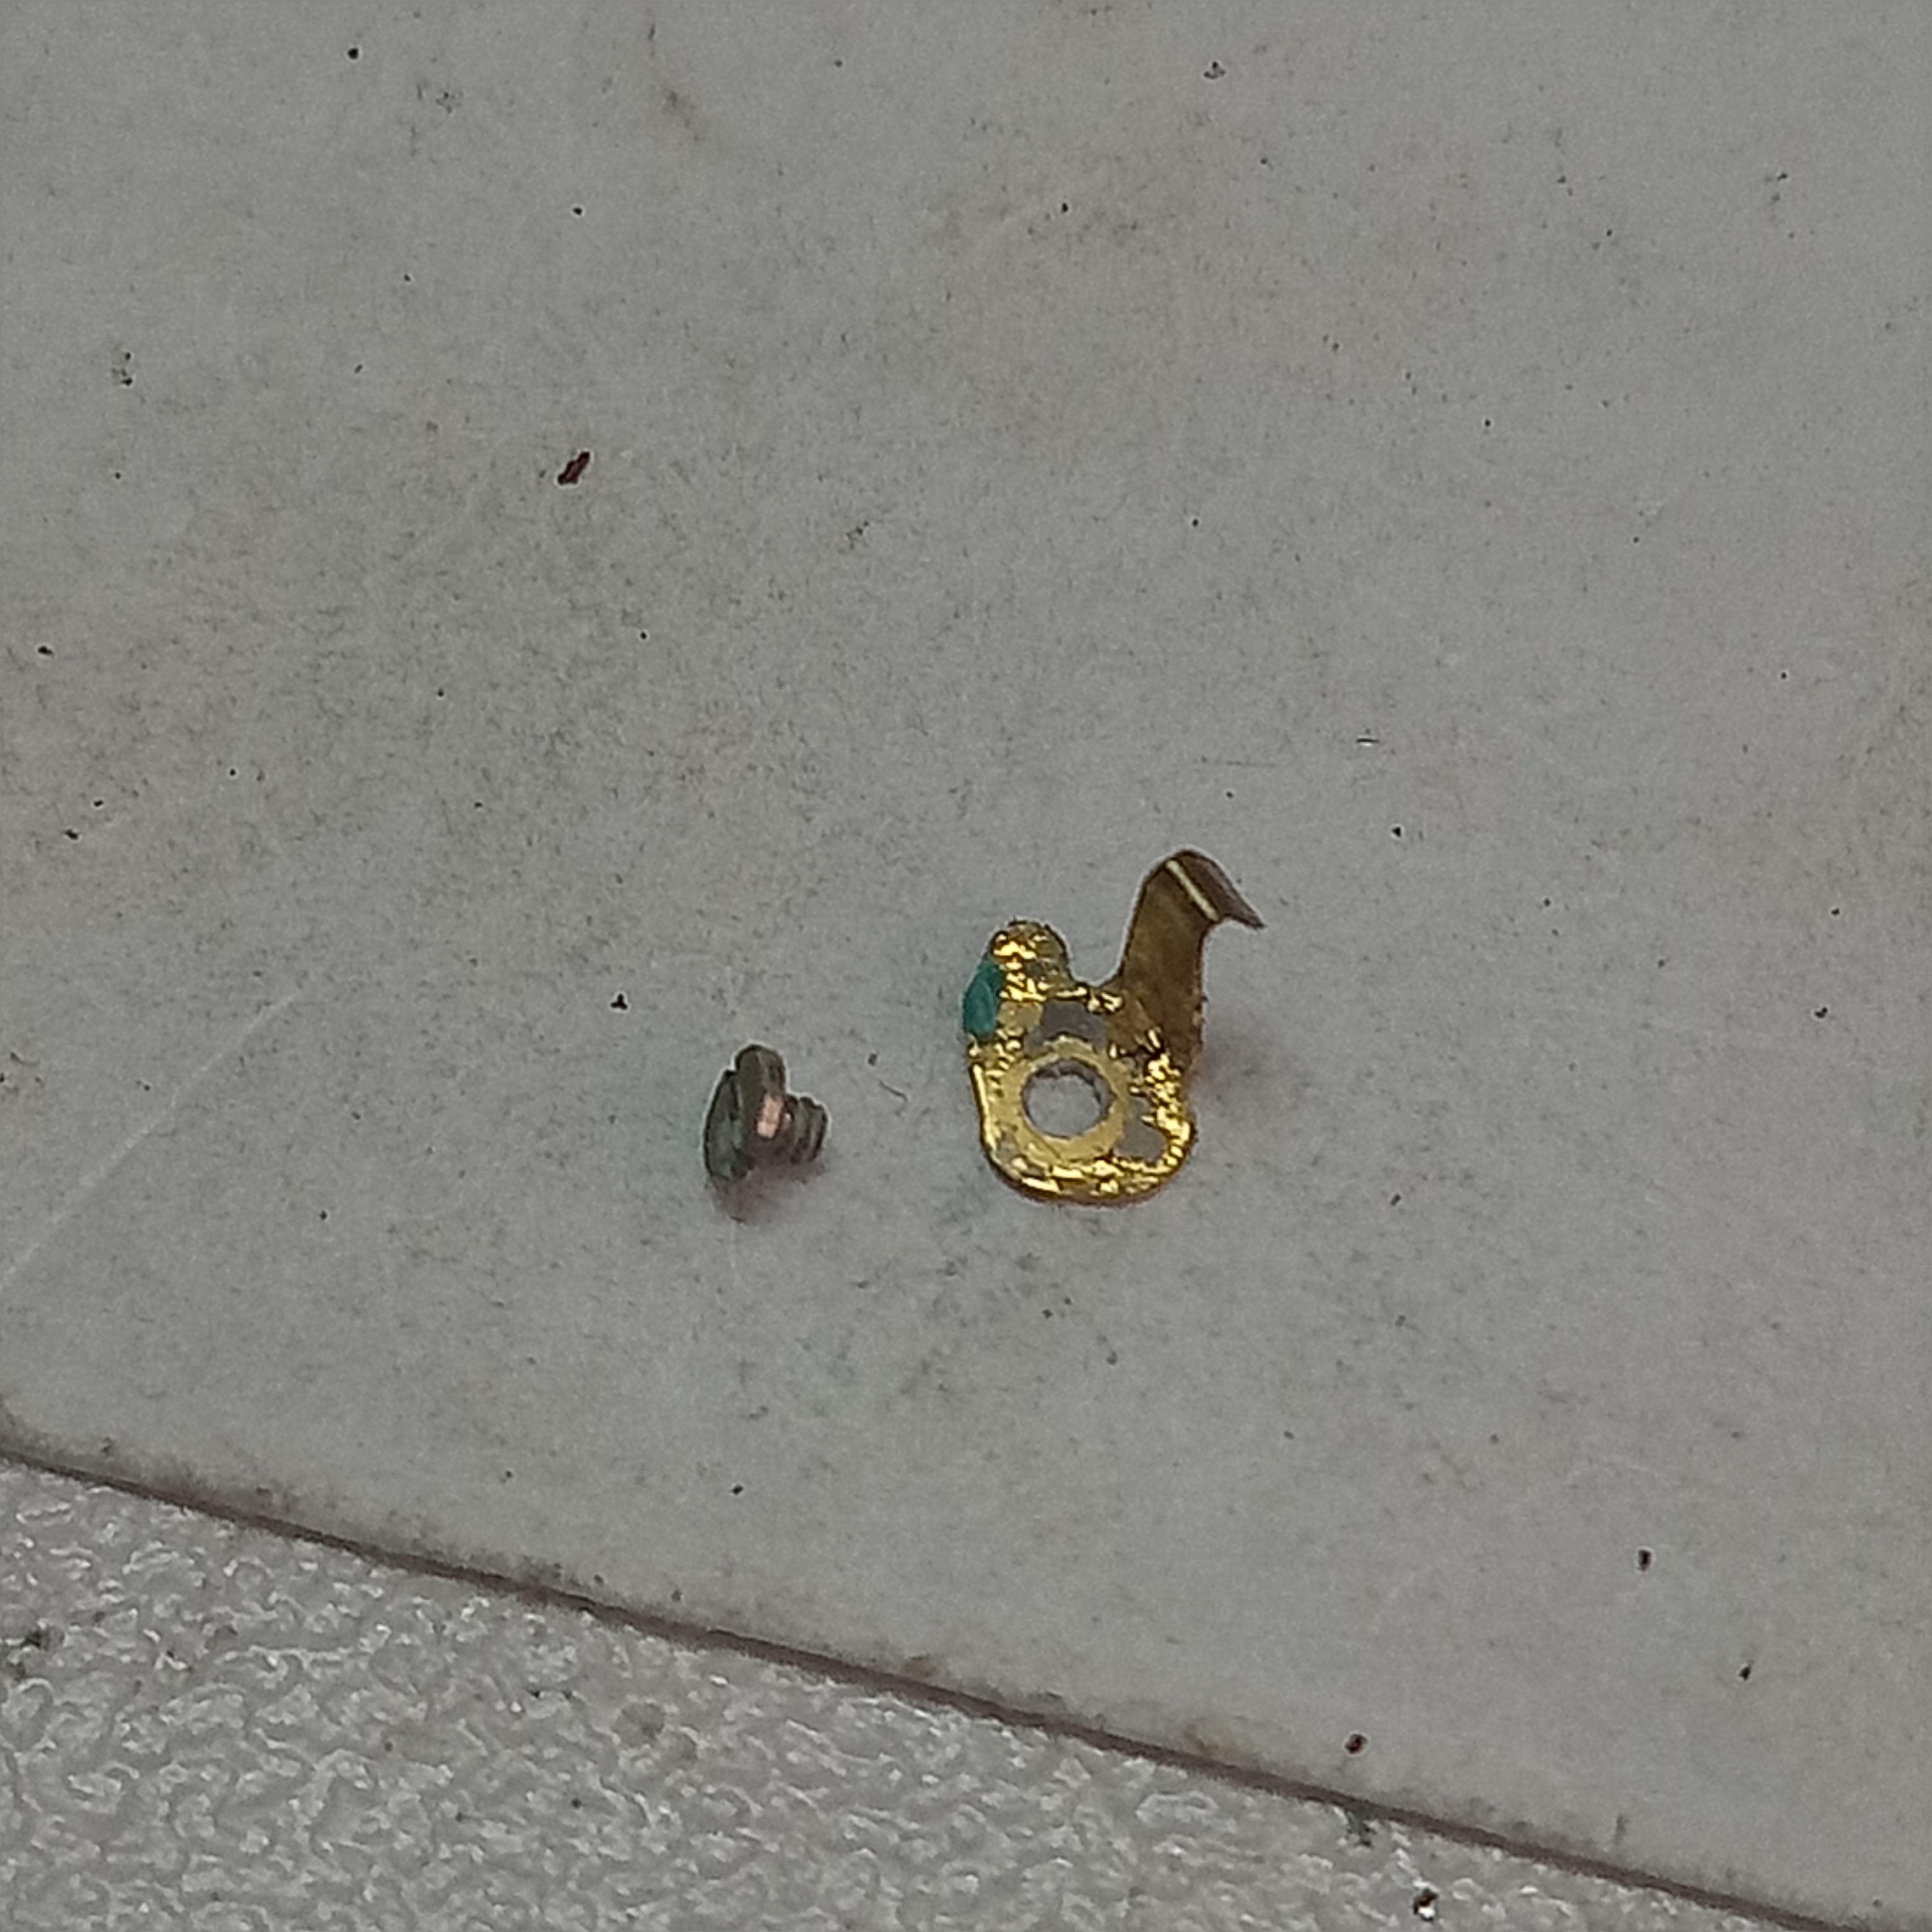
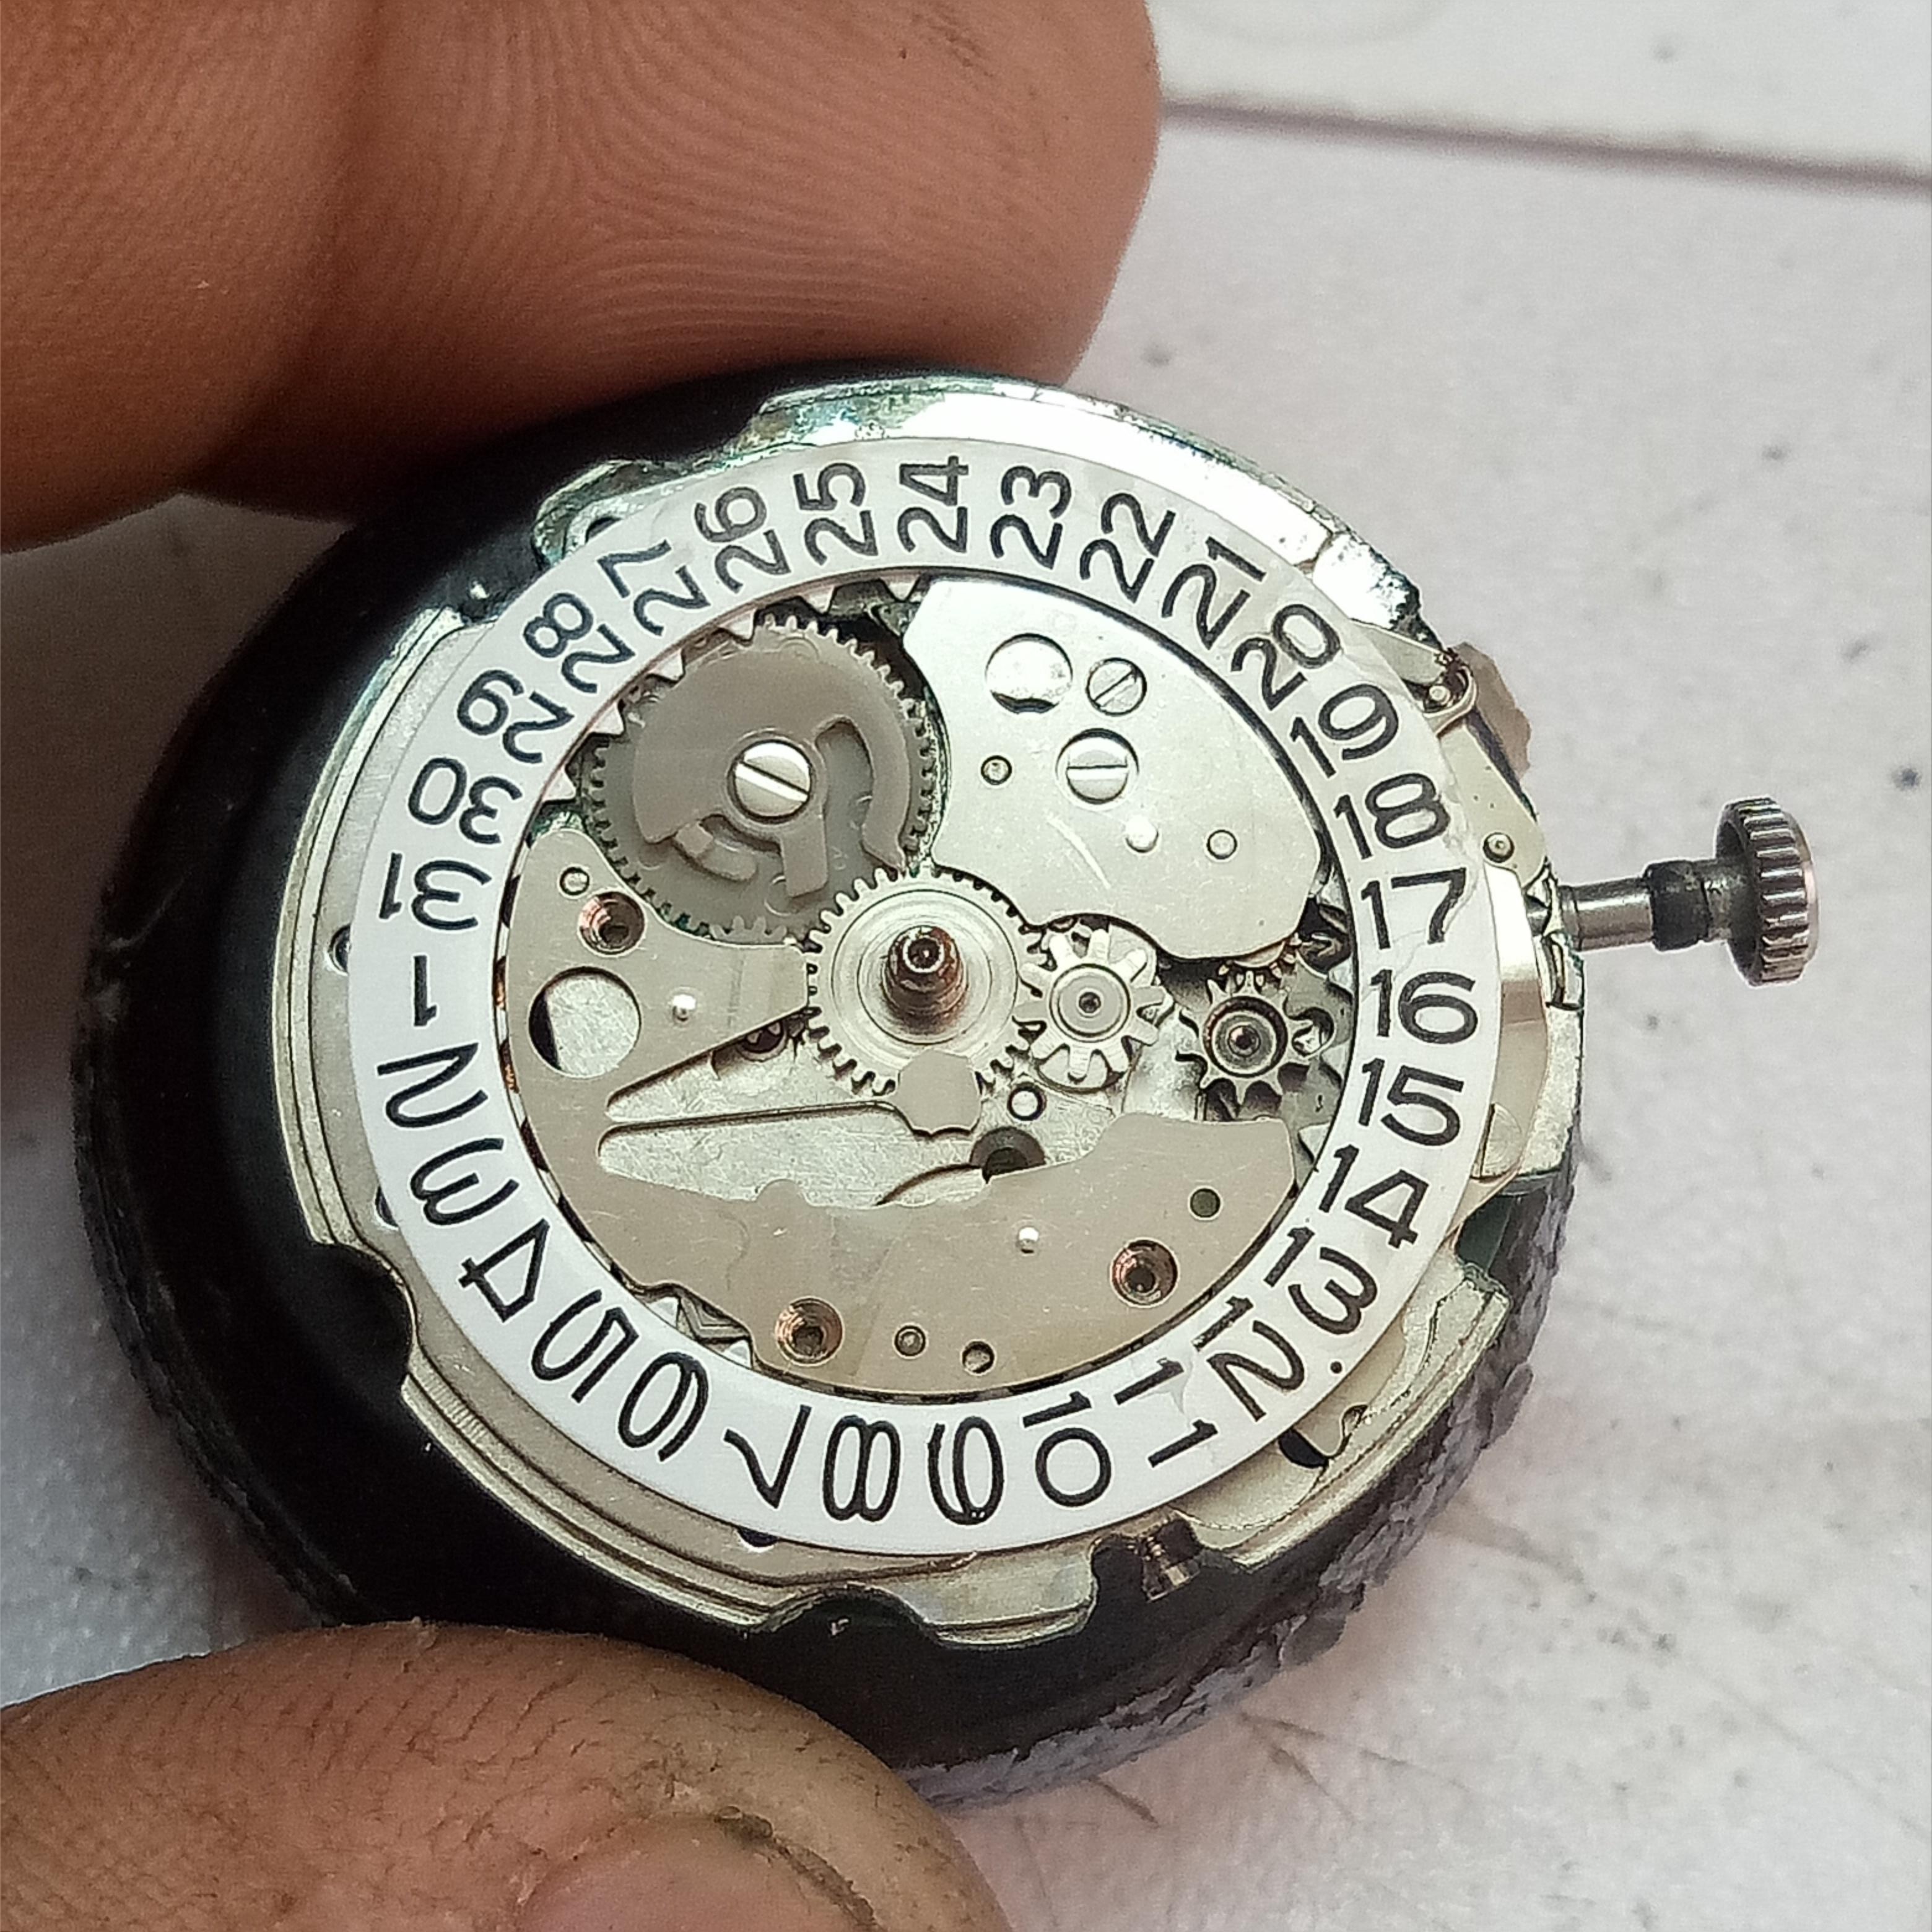
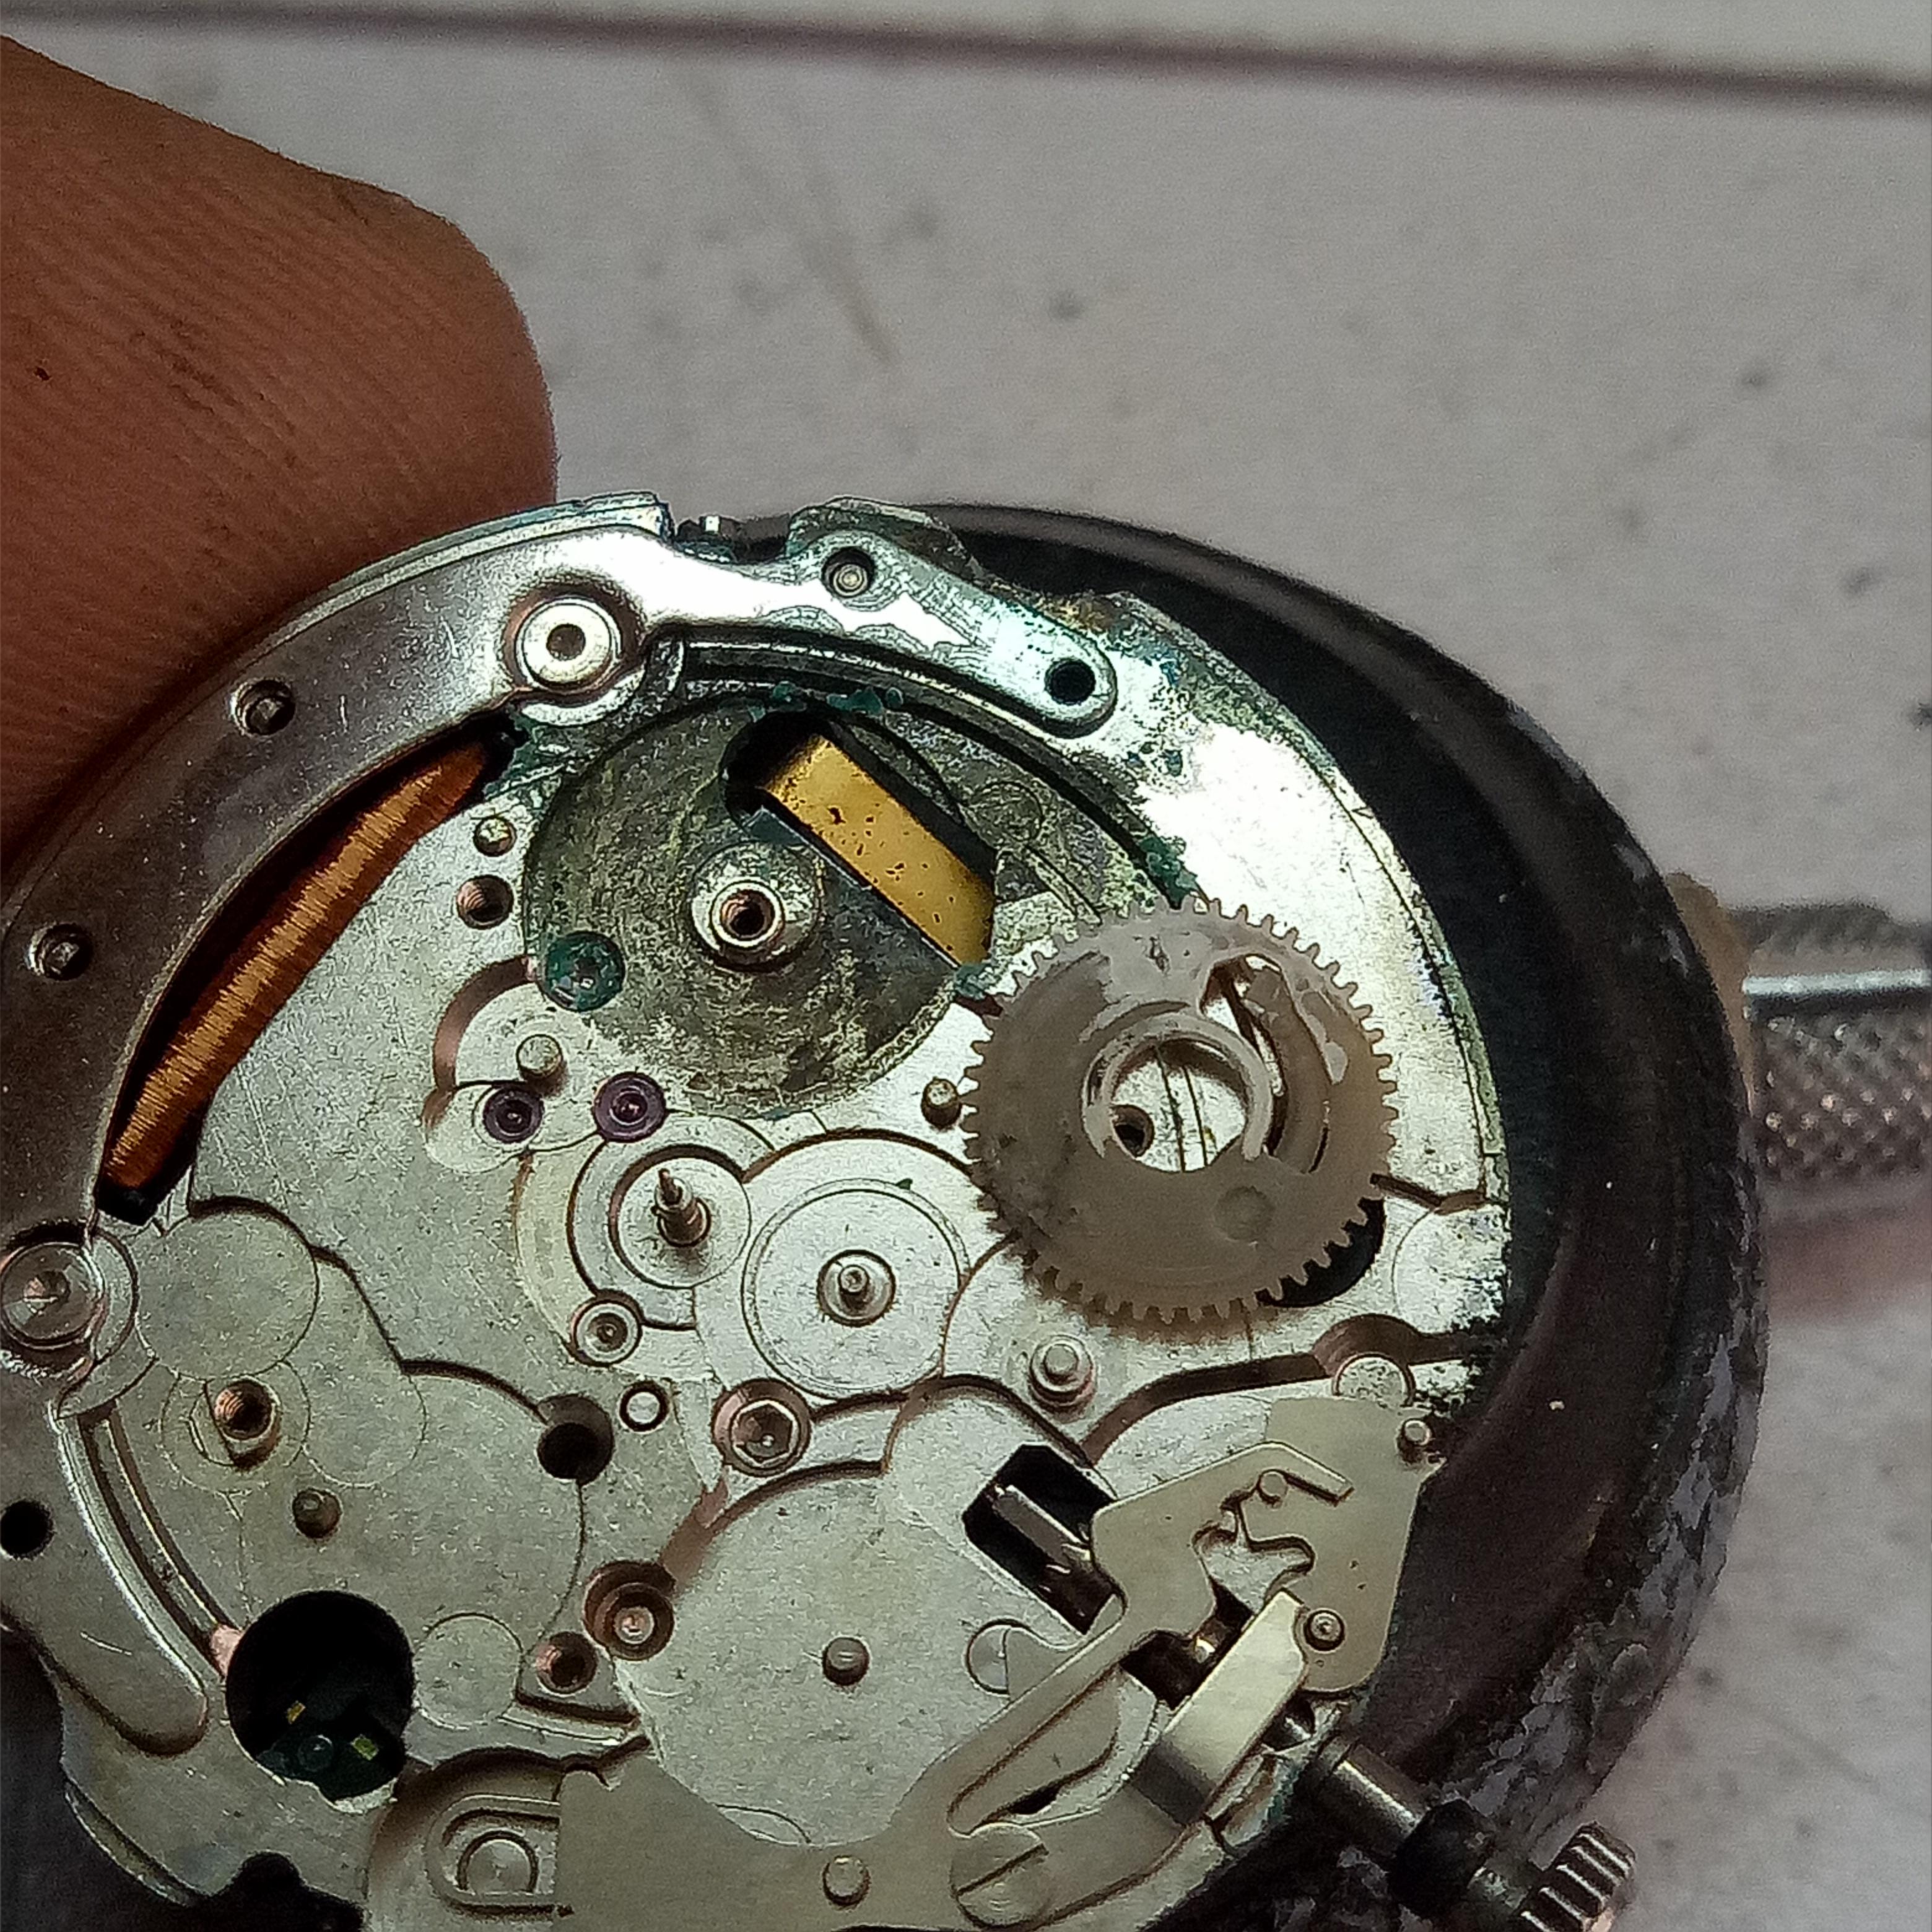
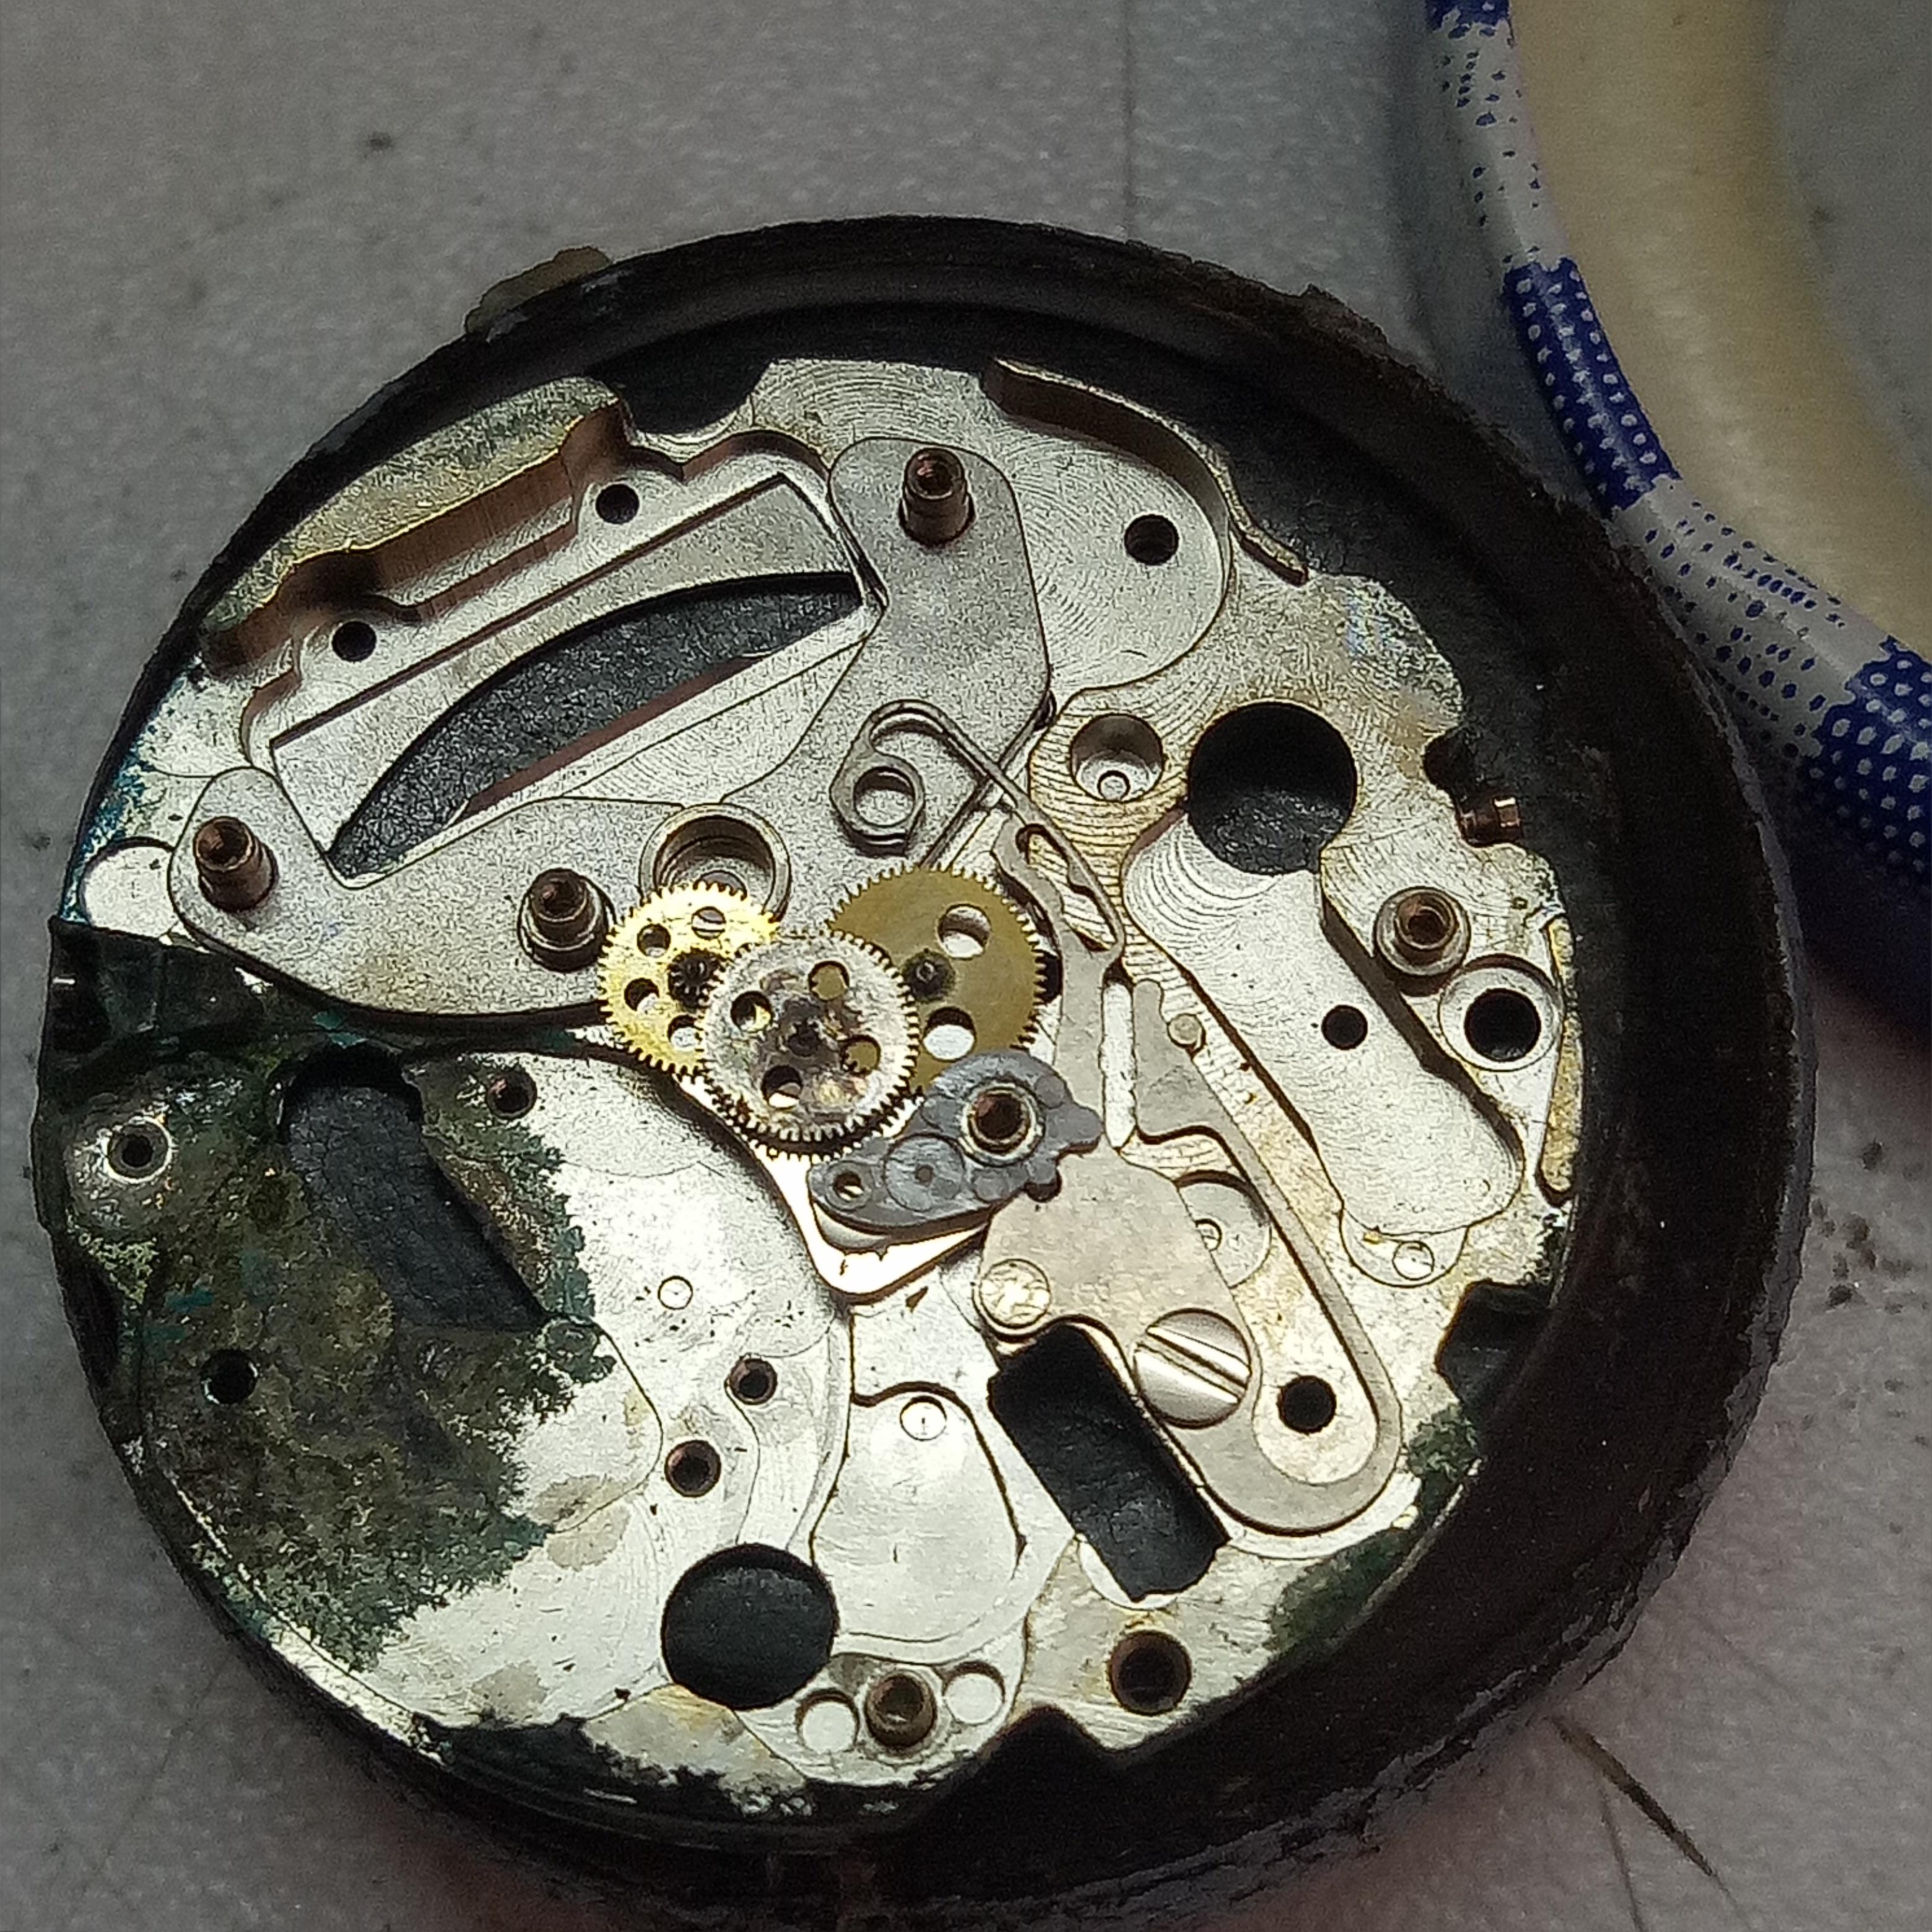
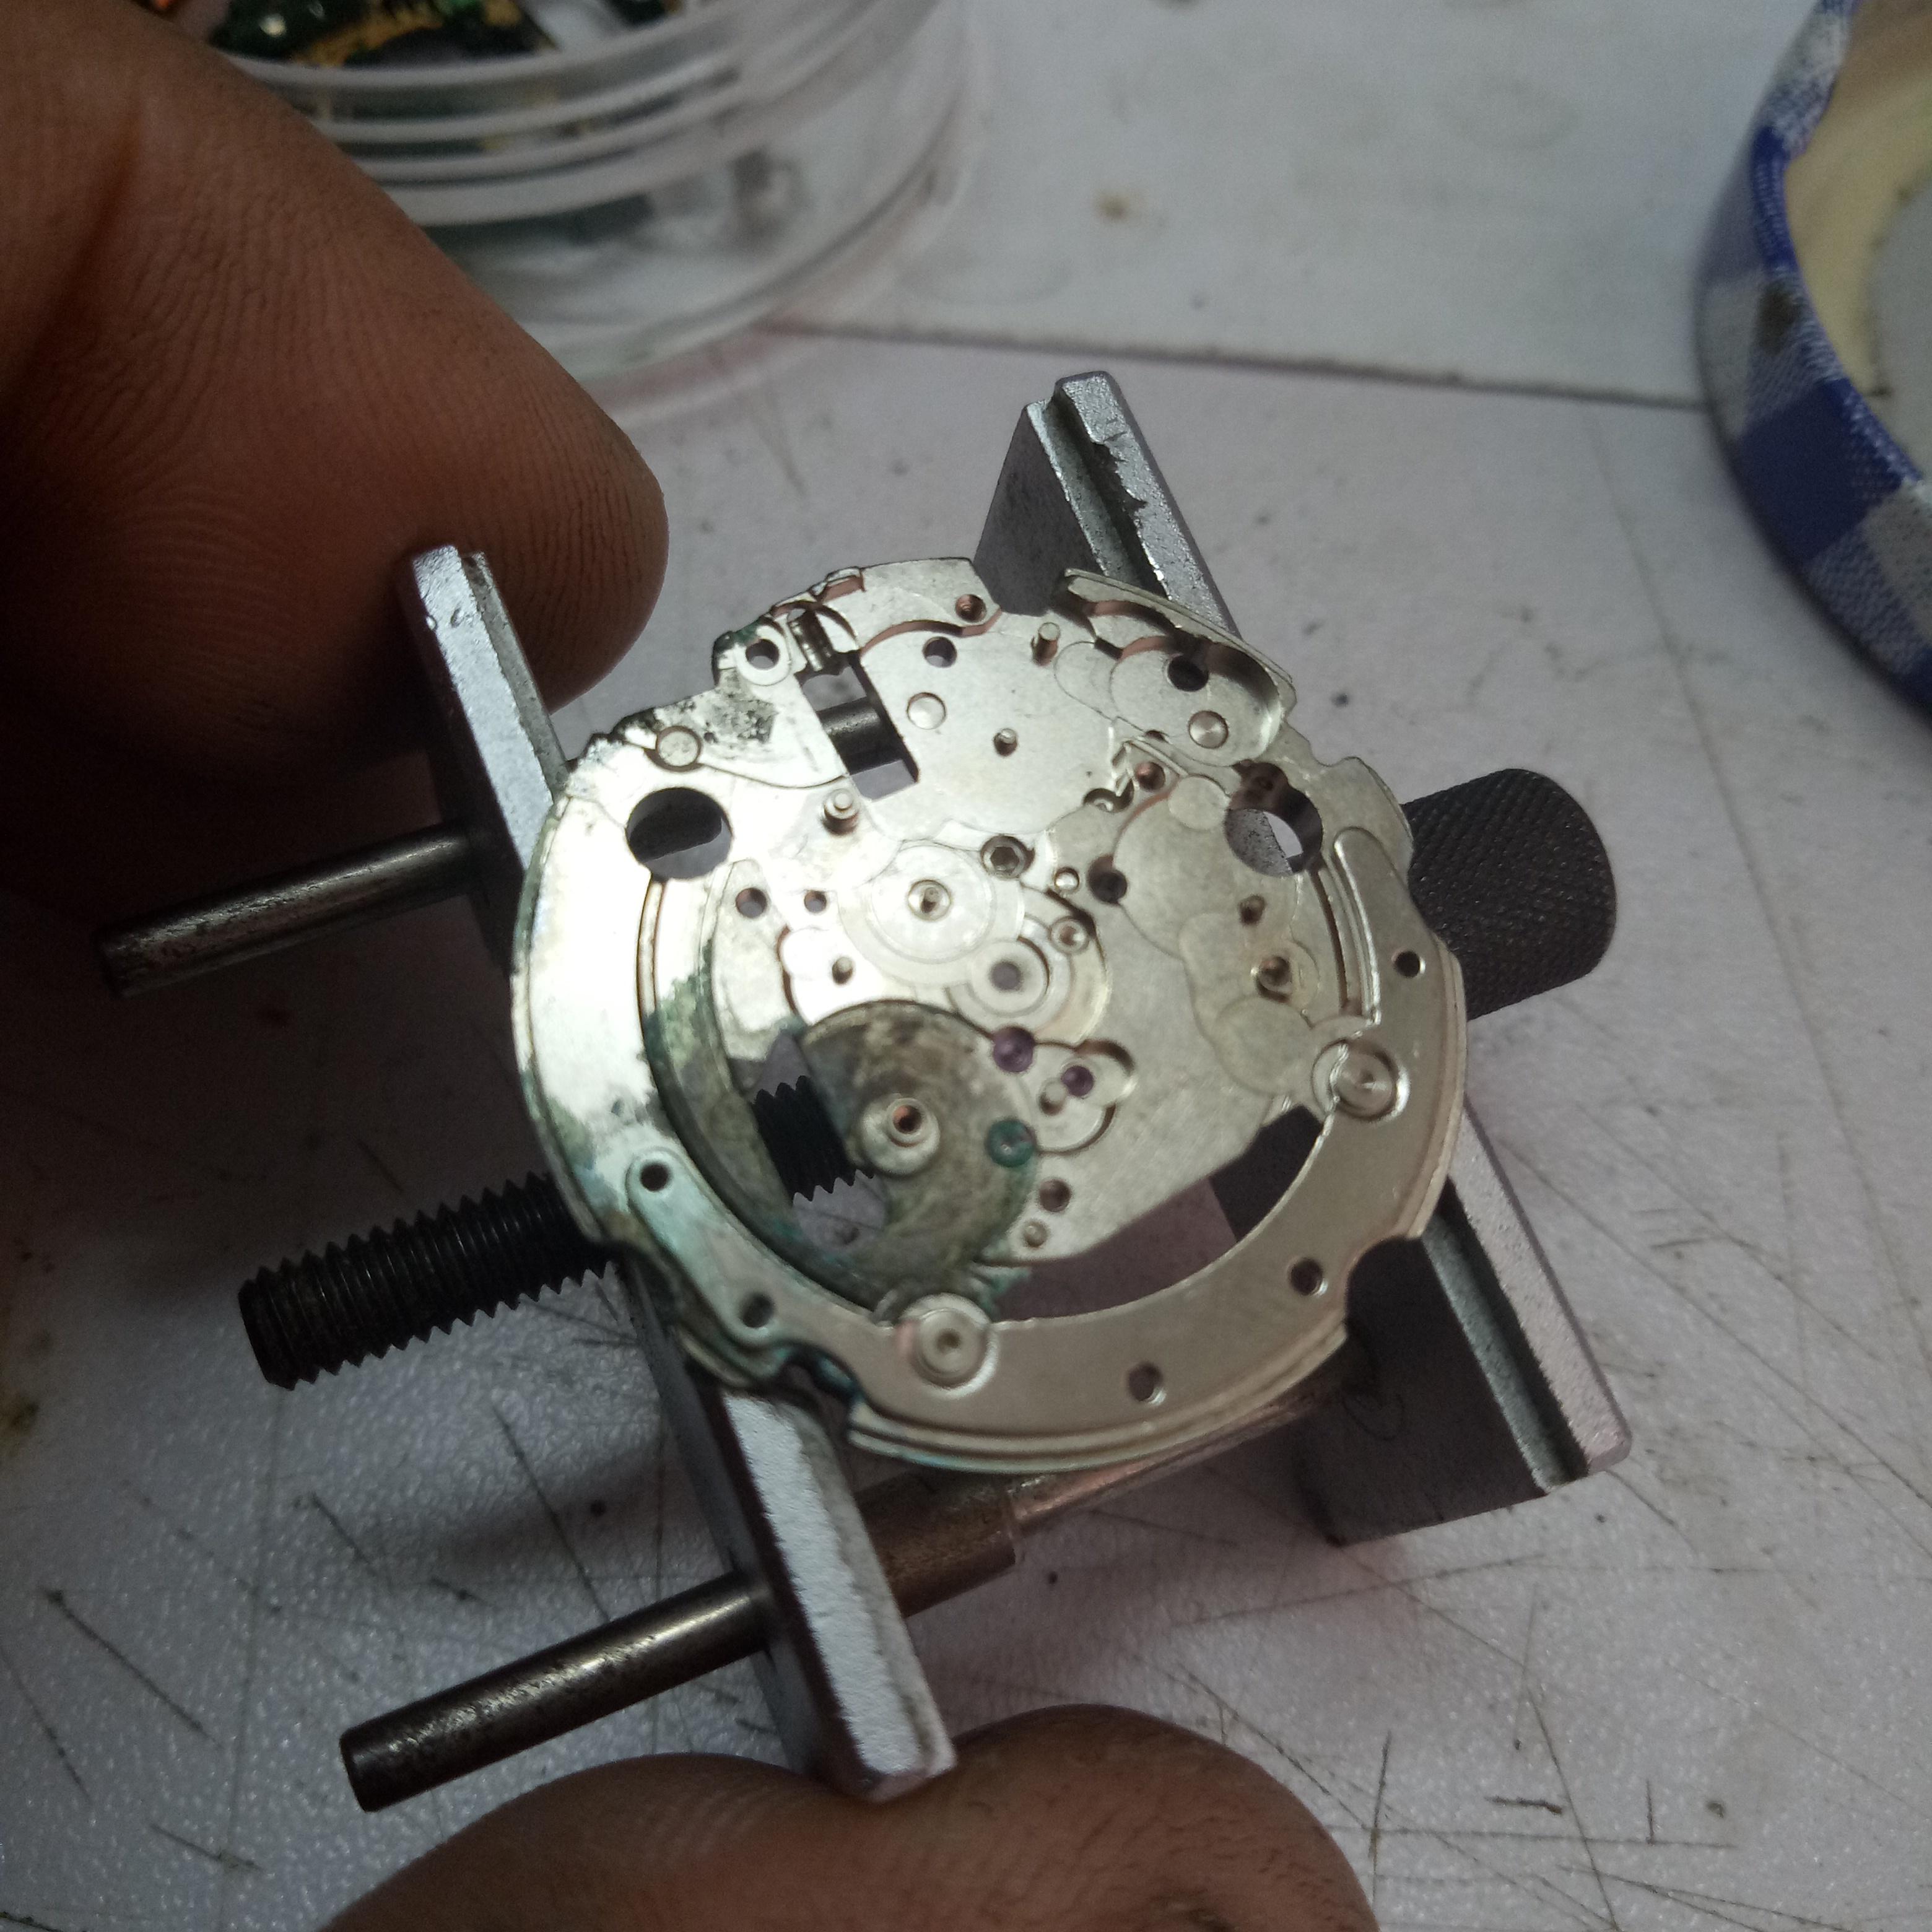
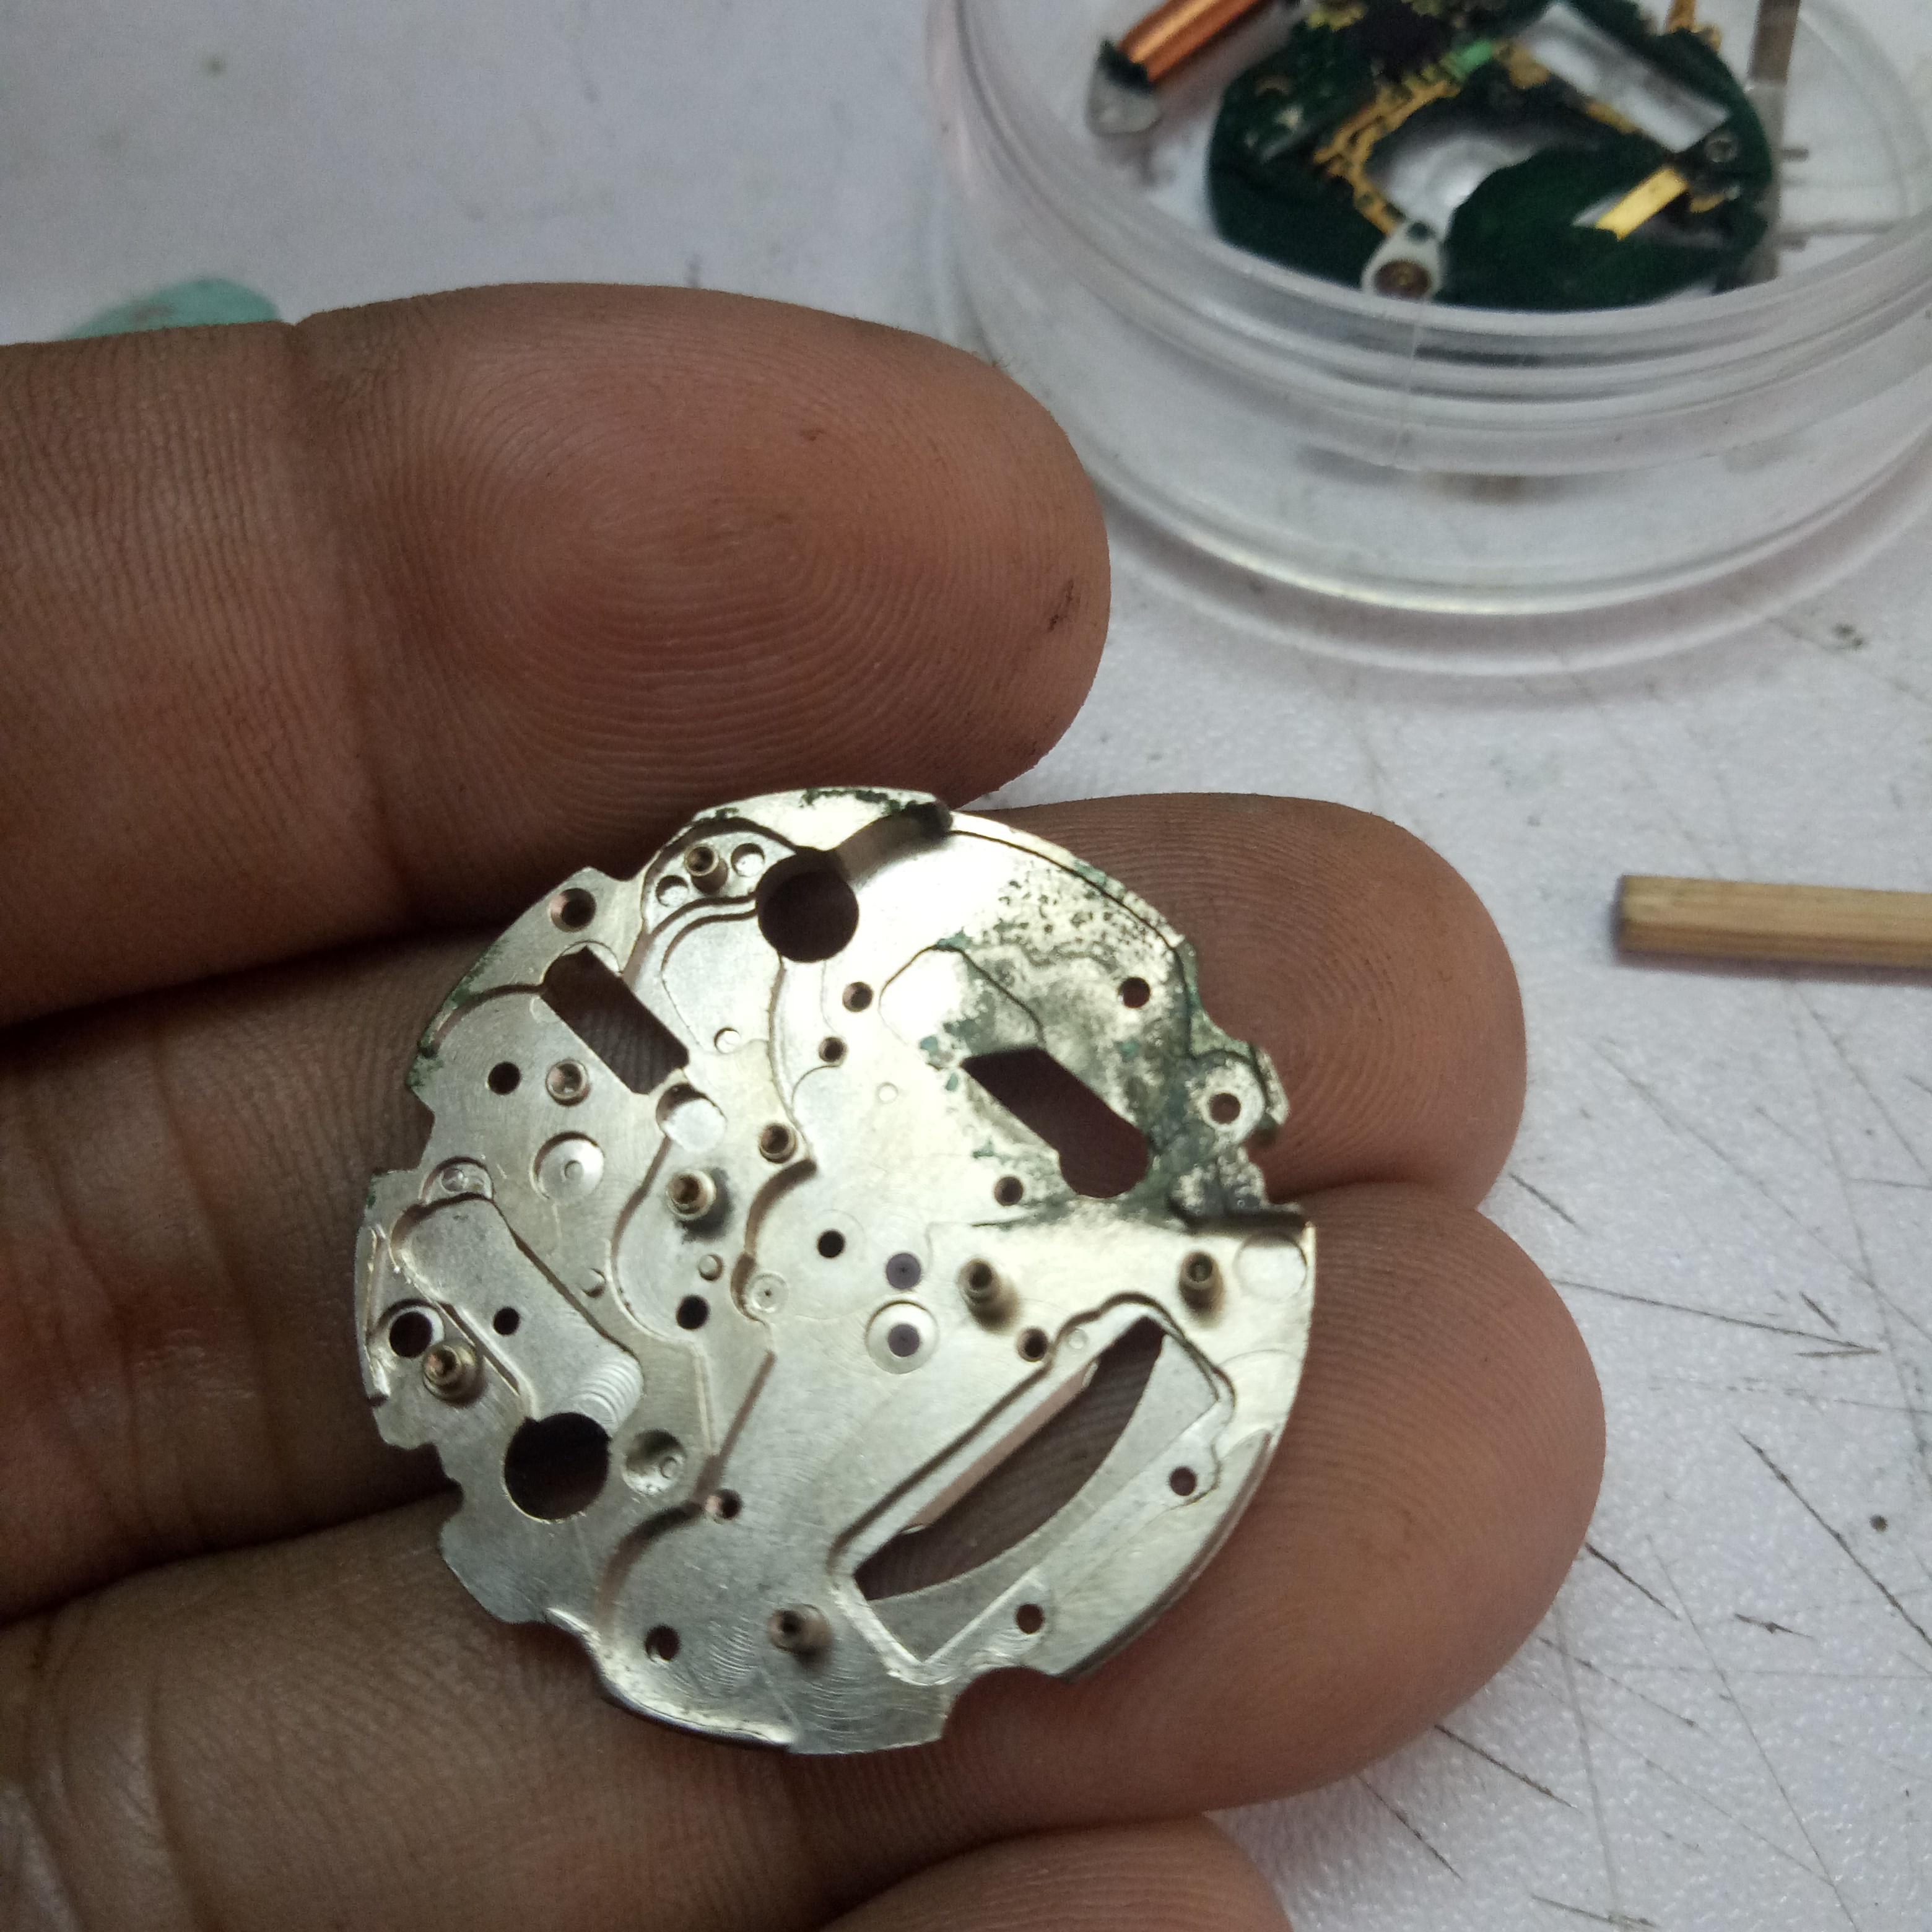
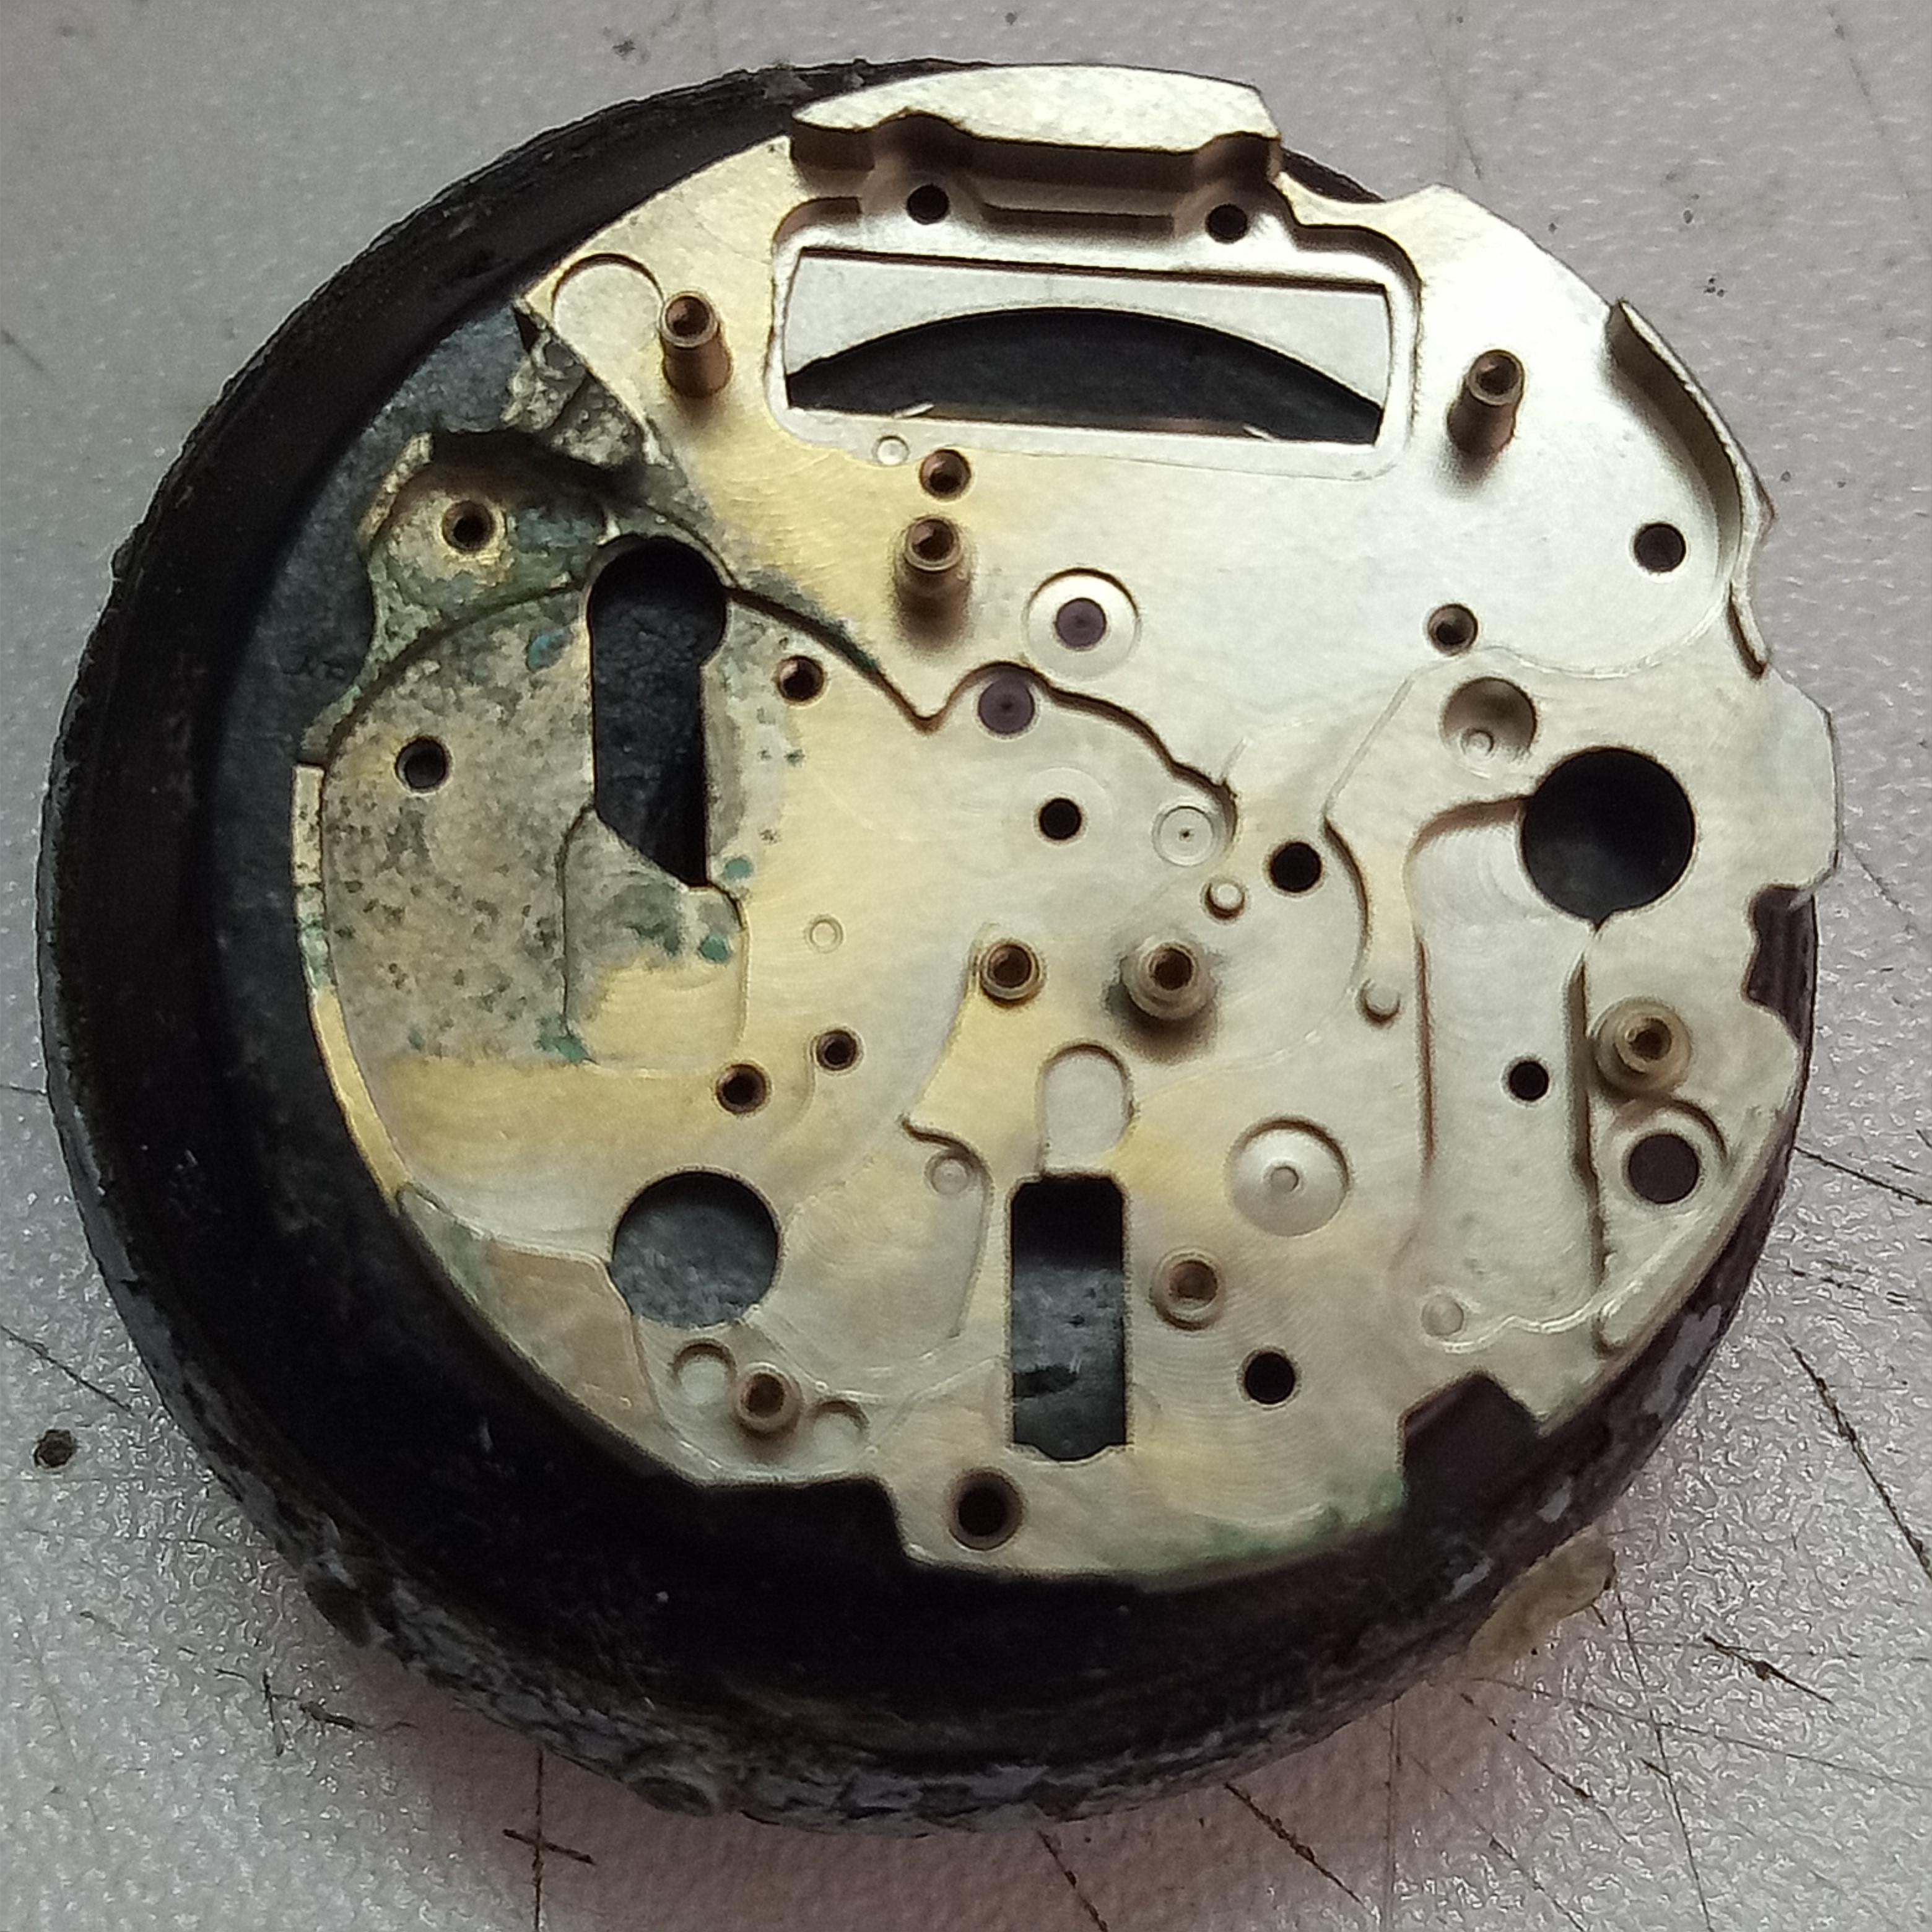
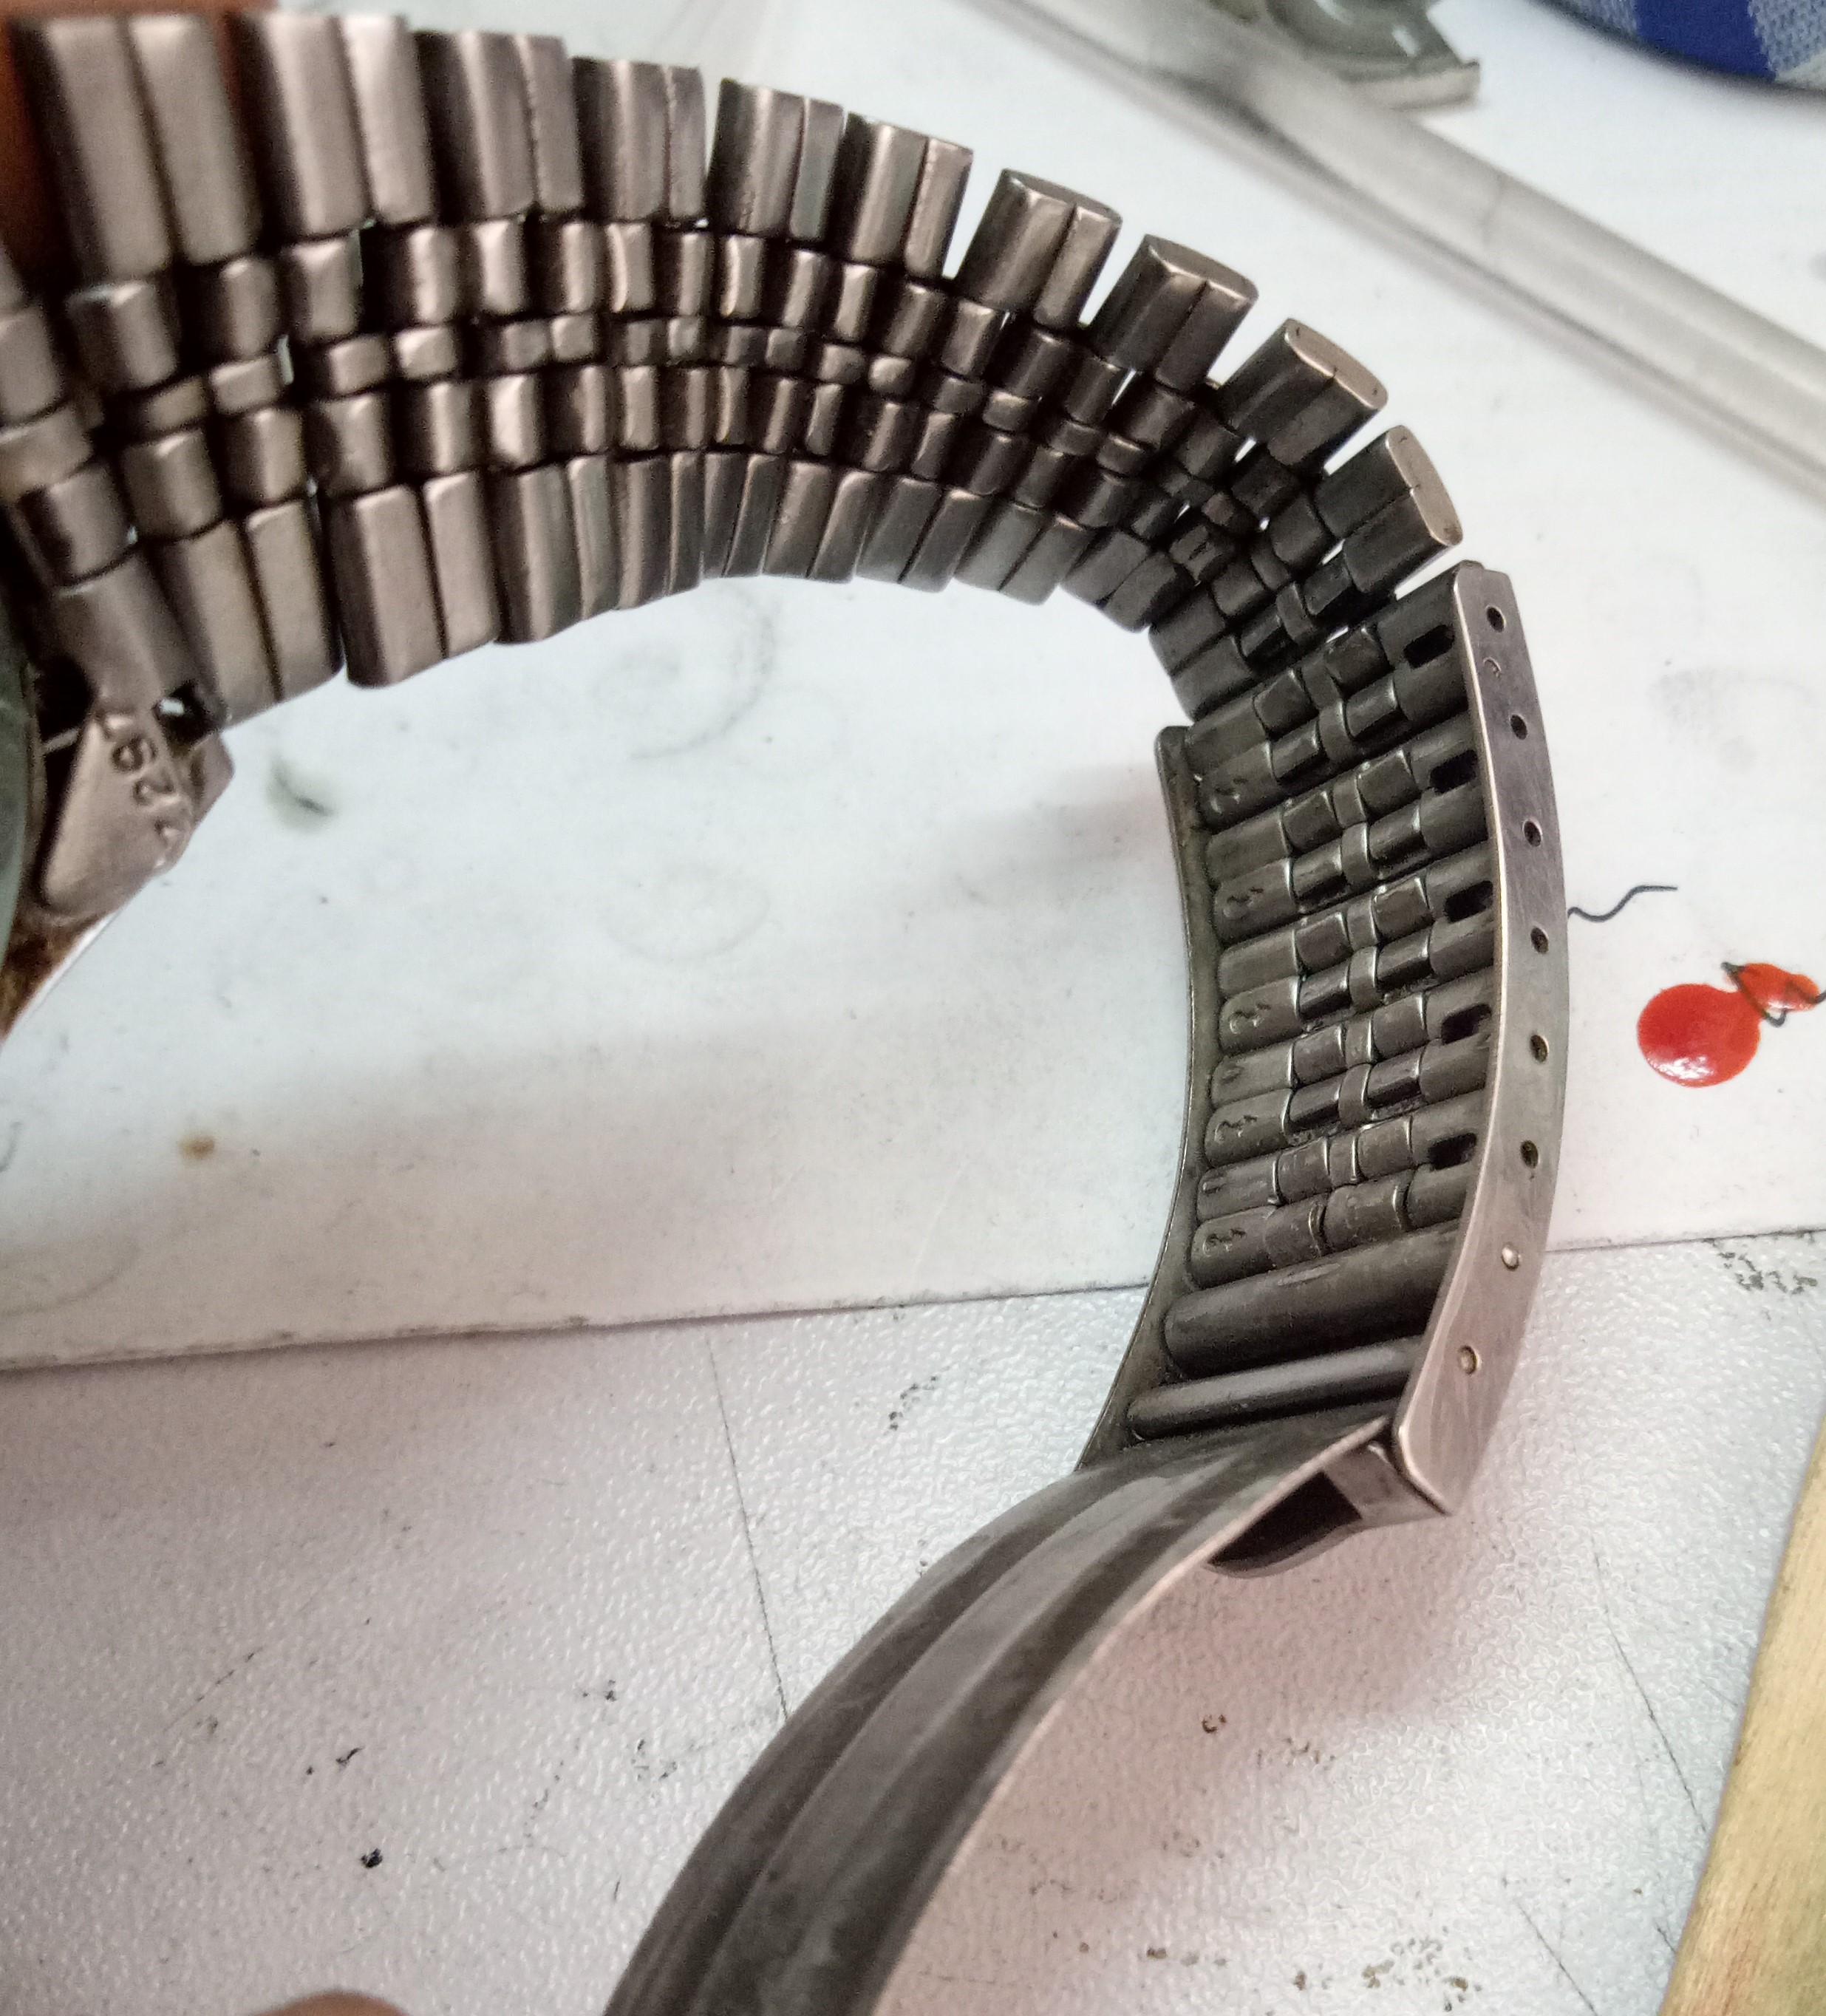
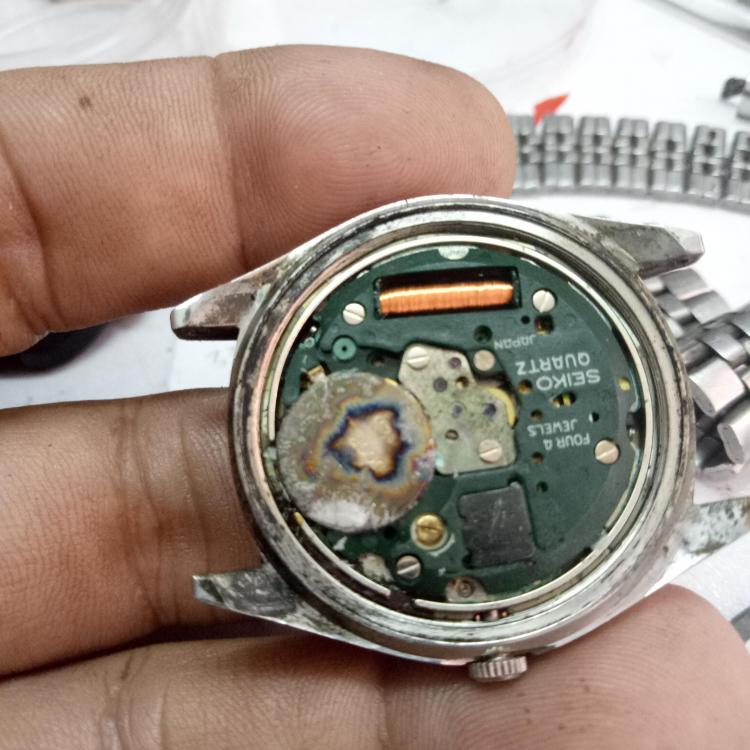
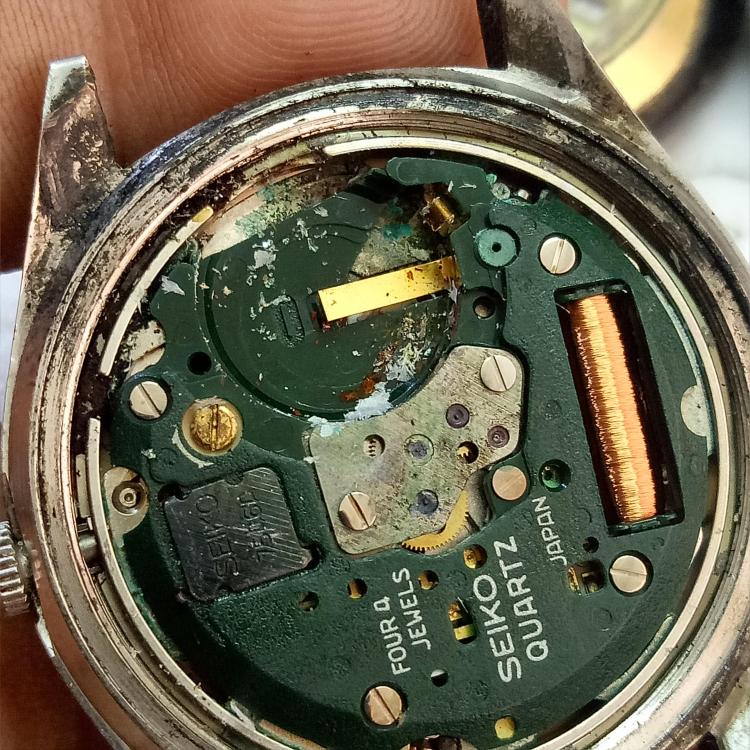
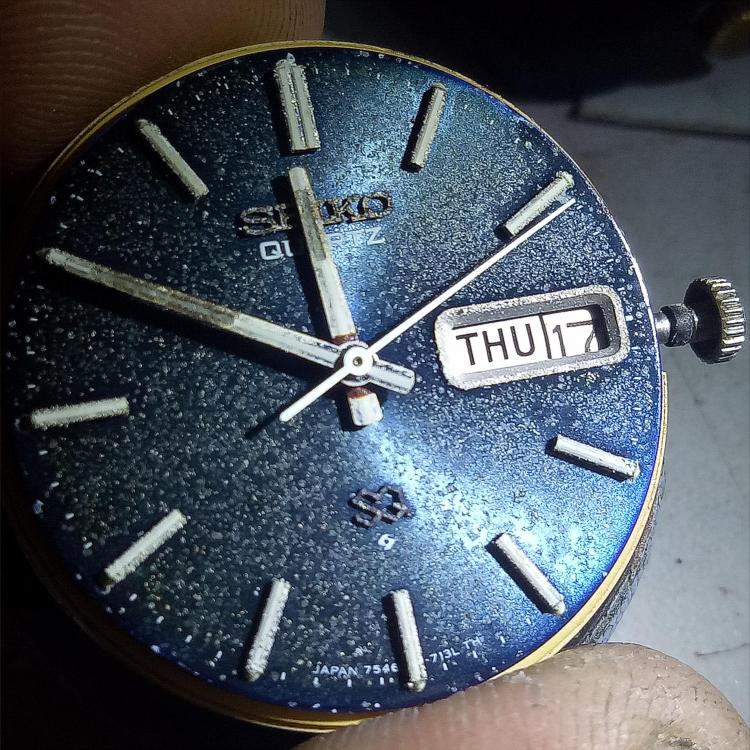
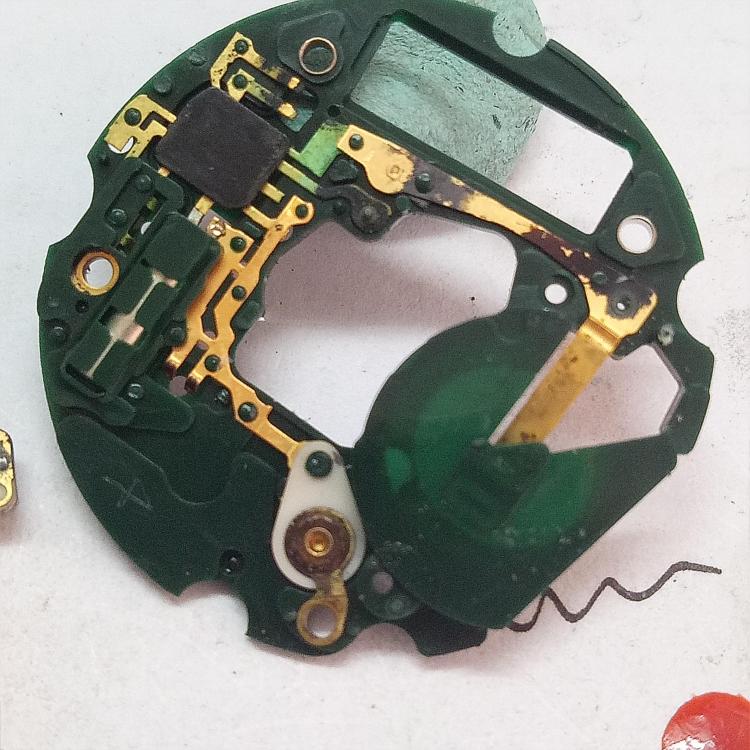
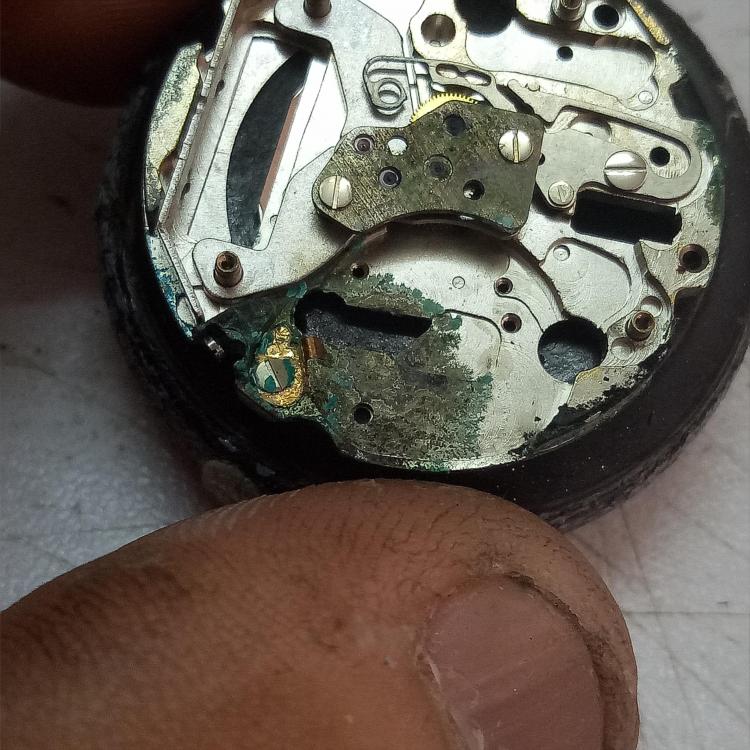
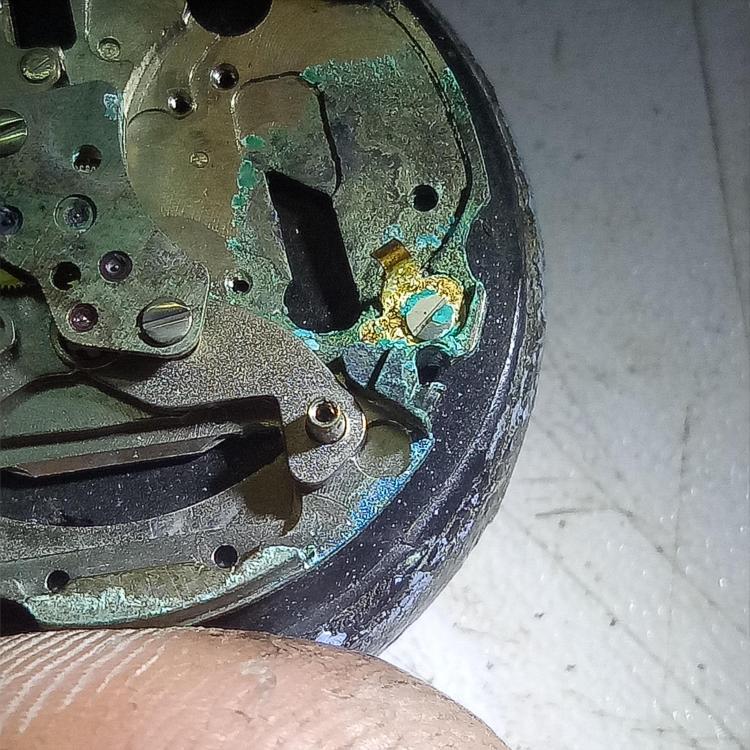
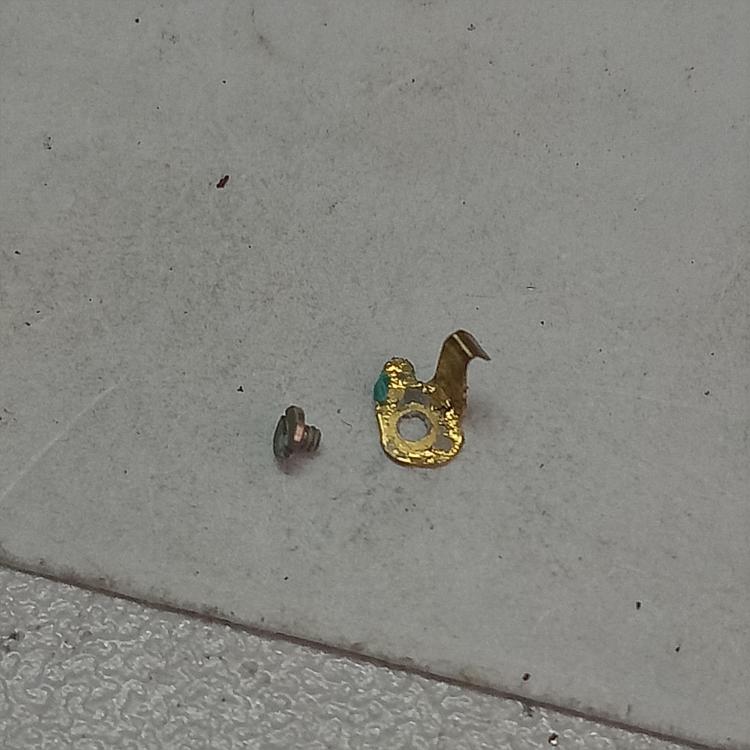
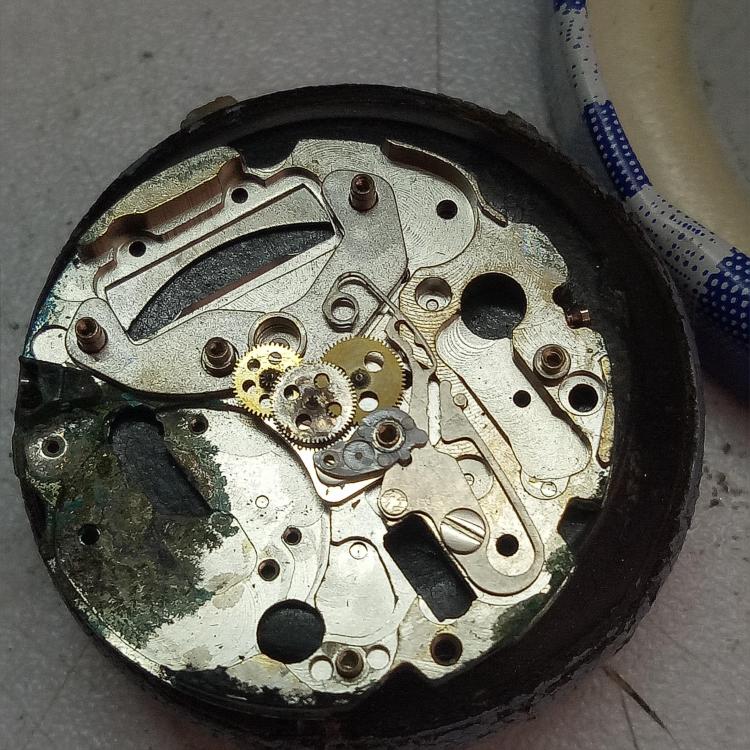
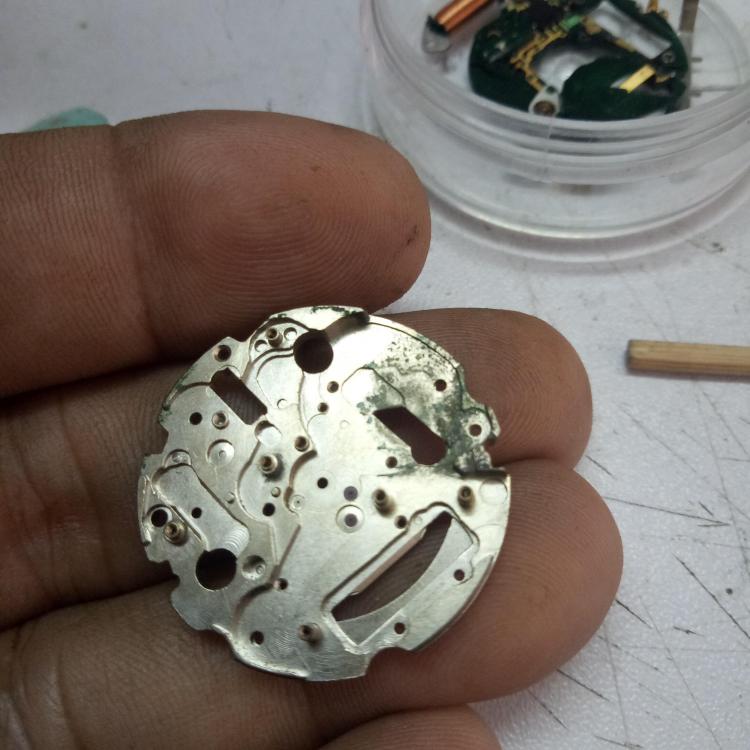
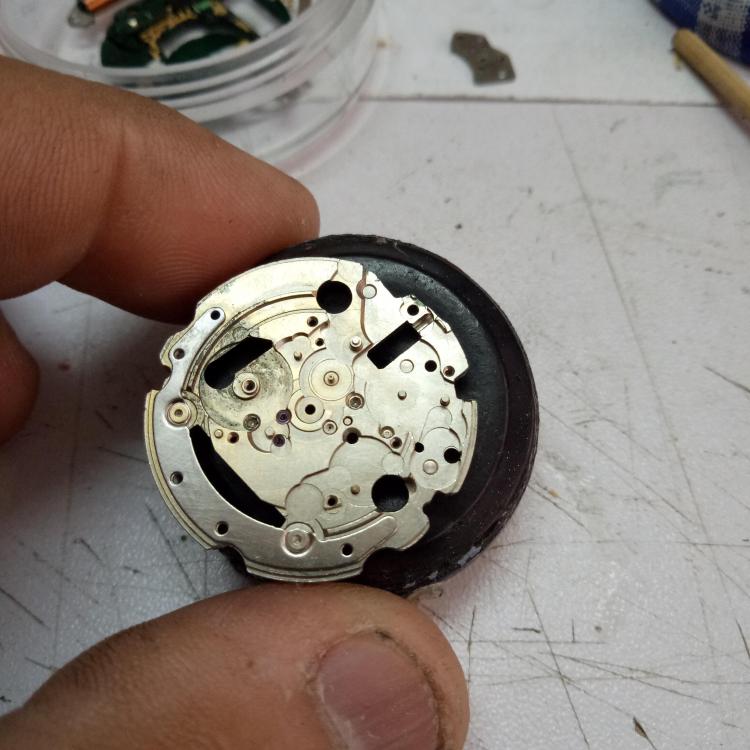
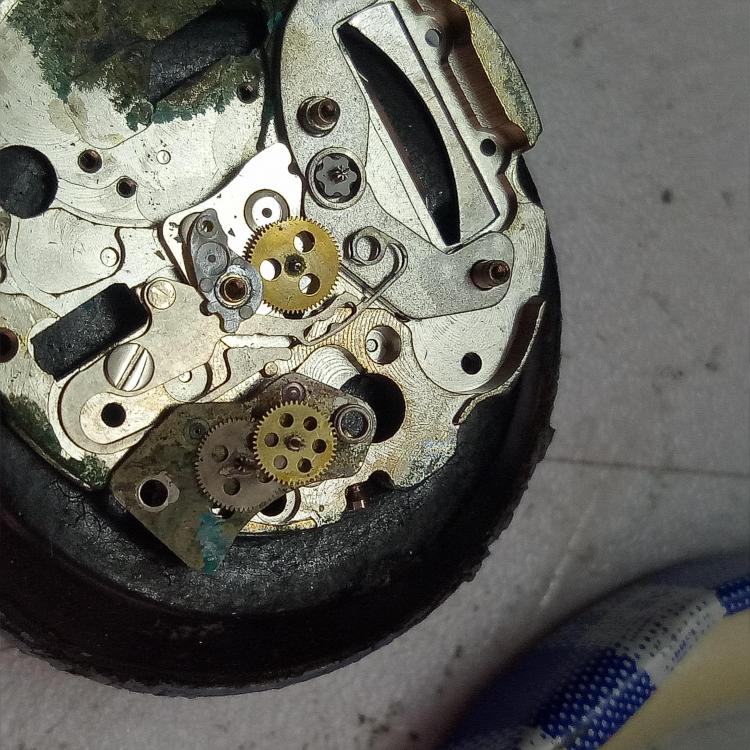
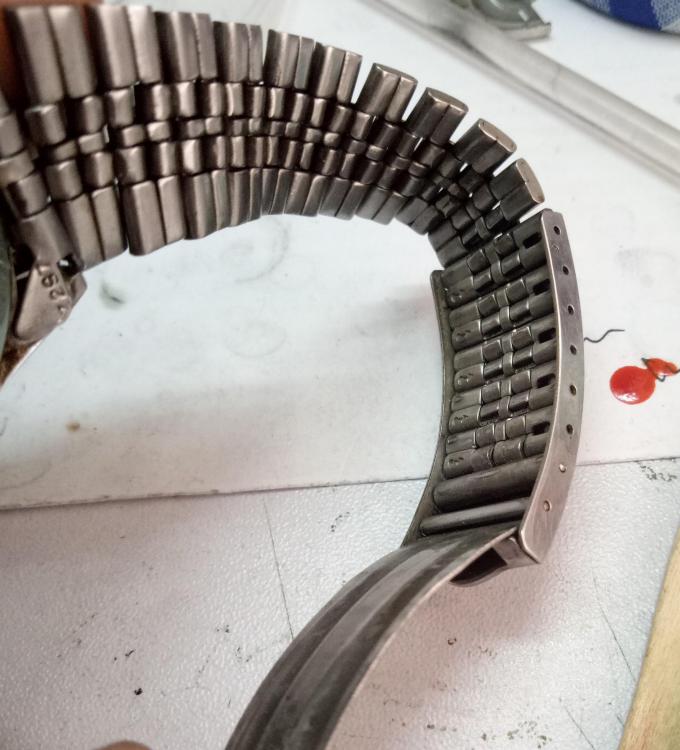
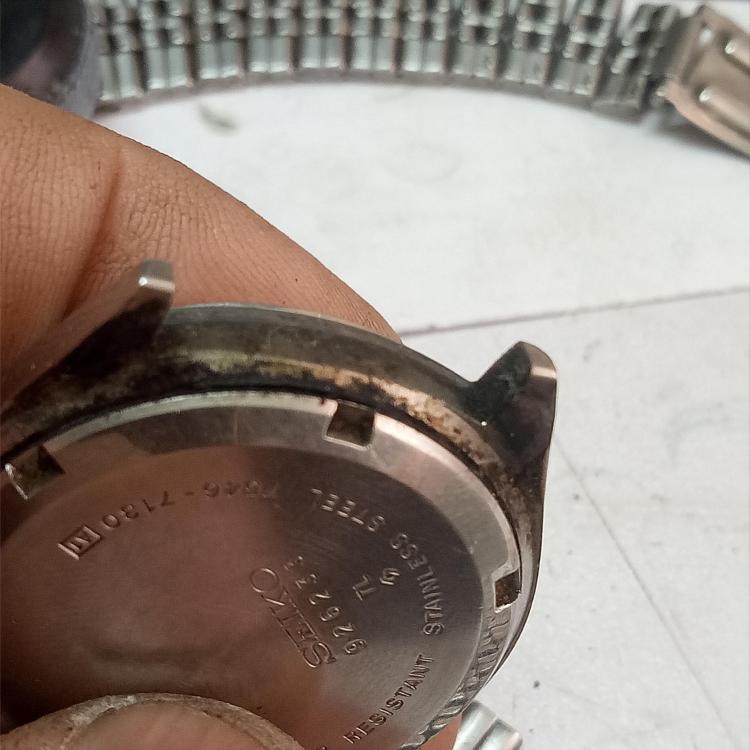
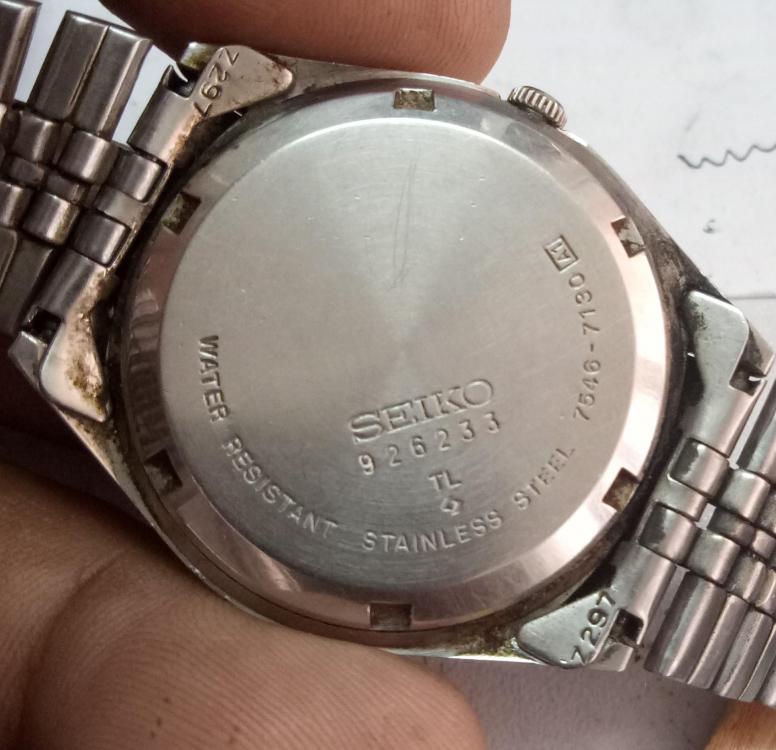
Hi guys.. I don't really like working on quartz watches but I do make an exception for the Seiko 7548. I came across this at a flea-market for MYR20 (USD5) so I figured I'd try to get it working. Its actually a 7546 but theres not much difference. The 7548 has five jewels and the 7546 has to make do with only four. The hands have the usual black stuff which is what remains of the original lume. First thing I checked is if the hands set, unfortunately it only does part of the way. Forwards the minute hand sticks at the 50 minute mark and backwards it gets stuck around the hour mark. Day date sets ok. Typically grotty caseback. This is a 7546-7130 It has a full length bracelet.. that's good! What's not so good is the amount of dirt. Those with a weak stomach should look away now. I finally open the caseback and look inside.... what I see is usually enough to throw it into the bin. The battery needs to be physically pried off as the corrosion has made it stick to the movement. Once removed I find this. The corrosion is pretty bad but I've seen worse. In this case the two contacts for the battery are still present and stand up to the prods from my tweezer. Sometimes they are corroded beyond use and break off. The dial resembles a starry night sky. You'd pay a lot of money if this was a high end swiss watch but this is bassically a reaction from the cases released when the battery acid oxidises. That sh\t wont buff out. The stuff under the dial is the same as on the 6309 automatic movement. Looks good so far. But the hour wheel was stuck to the cannon pinion and thats was what made setting the hands impossible. When this happens the keyless works usually suffer broken/worn teeth as people try to force the crown around. Those parts on this watch look ok. Here we have a picture of the underside of the date advance. The date advance is made of plastic so its in pretty ok condition but the mainplate has a lot of corrosion. Next off is the circuit block. More corrosion (the black stuff).. it can be scraped off with pegwood. And the coil is carefully lifted out and put away safely. Here we can see the effect of the battery juices on the watch mainplate. train bridge is heavily discoloured and most likely the pivots as well but its in the battery cavity that the corrosion is heaviest. The (+) contact (held by screw) shows sign of corrosion. If this breaks off the movement is not worth repairing. but luckily it comes off in one piece. I finally remove the train bridge and lift it off. I made a mistake here as the stem is out and the movement is 'hacked' with the hacking part contacting the wheel. Mot really a problem but more important to remember this for the assembly. The wheels are stuck in the pivots so thats not good. Need to inspect them carefully to see if they are reusable. Reference pic to show how the various wheels go together. Bare mainplate ready for cleaning So is the watch worth fixing? Frankly no. The dial is beyond salvage, the damage to the wheel pivots may affect the performance of the watch (surprisingly the pivots look good at high magnification) but the most important issue is the coil and circuit board. They are no longer available from Seiko and this particular watch is never going to be worth the money to source one from other sources. Having said that.. I will check the coil and circuit board and if they are in working condition then I will re-install it and use the watch for a while. Even if I do get the watch to work, I foresee that the eventual fate of the movement will be as a donor for a 7548 diver watch as this seems to be the only quartz watch still in demand. Will post updates.


 3 points
 -
Hope not@anilv as I want to see how this project comes out mate! There’s not enough people working on my lovely Seiko’s on here so I appreciate it when people show their work so I can learn from them. Sent from my iPad using Tapatalk1 point
-
Don`t worry, be happy, stay with us Anilv. This is a friendly forum !!.1 point
-
Sorry to hear that. I hope you will carry on posting so all on here can read you input.1 point
-
just take a vacation and come back to one of the friendlyist (sp) forms I have found. vinn1 point
-
Anilv, Sorry that you're taking this so seriously over myself moving your Seiko walk-through to a temporary location until completed. It is now back to the original place, please be aware that my housekeeping wasn't meant to diminish your work in any way. If you desire to correspond on the matter with me in PM I'm always here.1 point
-
What is the matter anilv? Can I help in anyway. We don't want you to go.1 point
-
Yes indeed it was because the pallet fork was still in place. The centre wheel of this particular movement was a mangled mess so I replaced it with one that I had then went back to assemble the train bridge... Which as you noted was next to impossible because of that darn pallet fork. I wasn't even thinking about it until it popped into my head... Hey, genius the pallet fork needs to come off before the train and it's bridge will ever think of going on. That little pallet fork caused me quite some grief... I only needed to see back for a minute. You know it was on the bench for a few days before I realized and came back to it... Lol moral of the story... When you find yourself getting frustrated set it down and come back to it.... The answer will be so obvious Sent from my Z956 using Tapatalk1 point
-
I am making a new balance staff for an 18S Waltham. I think the balance is friction fit, however, my first cut 1.45mm was a bit too much and the balance fits but is not tight enough. I decided to leave a little lip so I can rivet it on as well (let's see how that goes:). I then cut the hairspring part at 0.9mm and the pivot at 0.12mm; cut down to 0.2 and then reduced using a stone. I had to move the Steel Rod out as I had worked my way in too far with a failed first cut on the balance part. I then cut the roller table side and angled the largest diameter. Tonight I cut the lower pivot. Sent from my iPhone using Tapatalk Pro1 point
-
There definitely seems to be a hair spring issue but this will have no impact what so ever on the refitting of the train bridge. Your photos imply that you have installed the barrel bridge, pallet bridge, and balance cock before attempting to install the train bridge. Or that you've removed the train bridge without removing anything else and are now trying to reassemble. This I believe will only make life difficult because the pallet fork will seriously restrict the movement of the escape wheel, and as all the wheels are meshed together, all of the other train wheels as well, thus considerably reducing your ability to jiggle pivots into place. I always follow a specific assembly order (which may or may not be an accepted standard practise) which seems to make relocating pivots as painless as possible. If the movement has a separate escape wheel cock then I start with that, otherwise I start with the train bridge. With nothing else on the main plate there is plenty of room to fiddle everything into place and all of the wheels are clear of obstructions that could limit movement. Once I'm happy with the freedom and function of the train I then I install the barrel bridge. At this point it is possible to properly test the transmission of power all the way from the main spring to the escape wheel, and once this has been proved satisfactory I then install the pallets and the balance. It is sometimes necessary to install the barrel and train bridges together but the pallet and balance should always go in last otherwise it is impossible to test the freedom of the train. Hope this helps.1 point
-
It works beautiful on threads. Green kitchen pad (no sponge) at the supermarket. Cousins also sells them in big sizes.1 point
-
Wearing this old thing today. Its probably from the early-mid 80s and its survived! The pushers are a bit weak in that you need to press them a few times. Anyone else have an old digital? Anilv
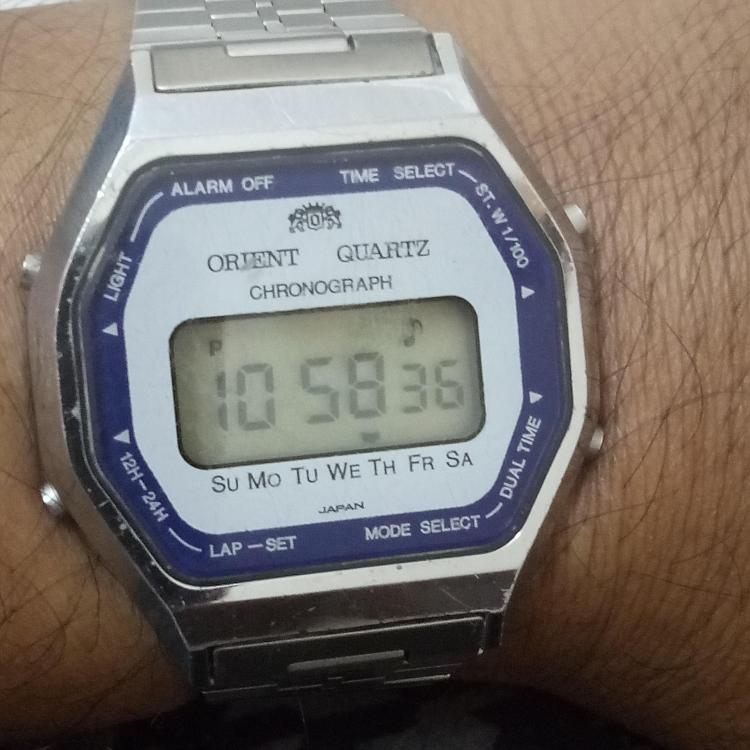 1 point
 -
Sorry about that. Started off with the intent of just saying stuff and then got specific Sent from my iPhone using Tapatalk Pro1 point