Leaderboard


Popular Content
Showing content with the highest reputation on 07/13/17 in Posts
-
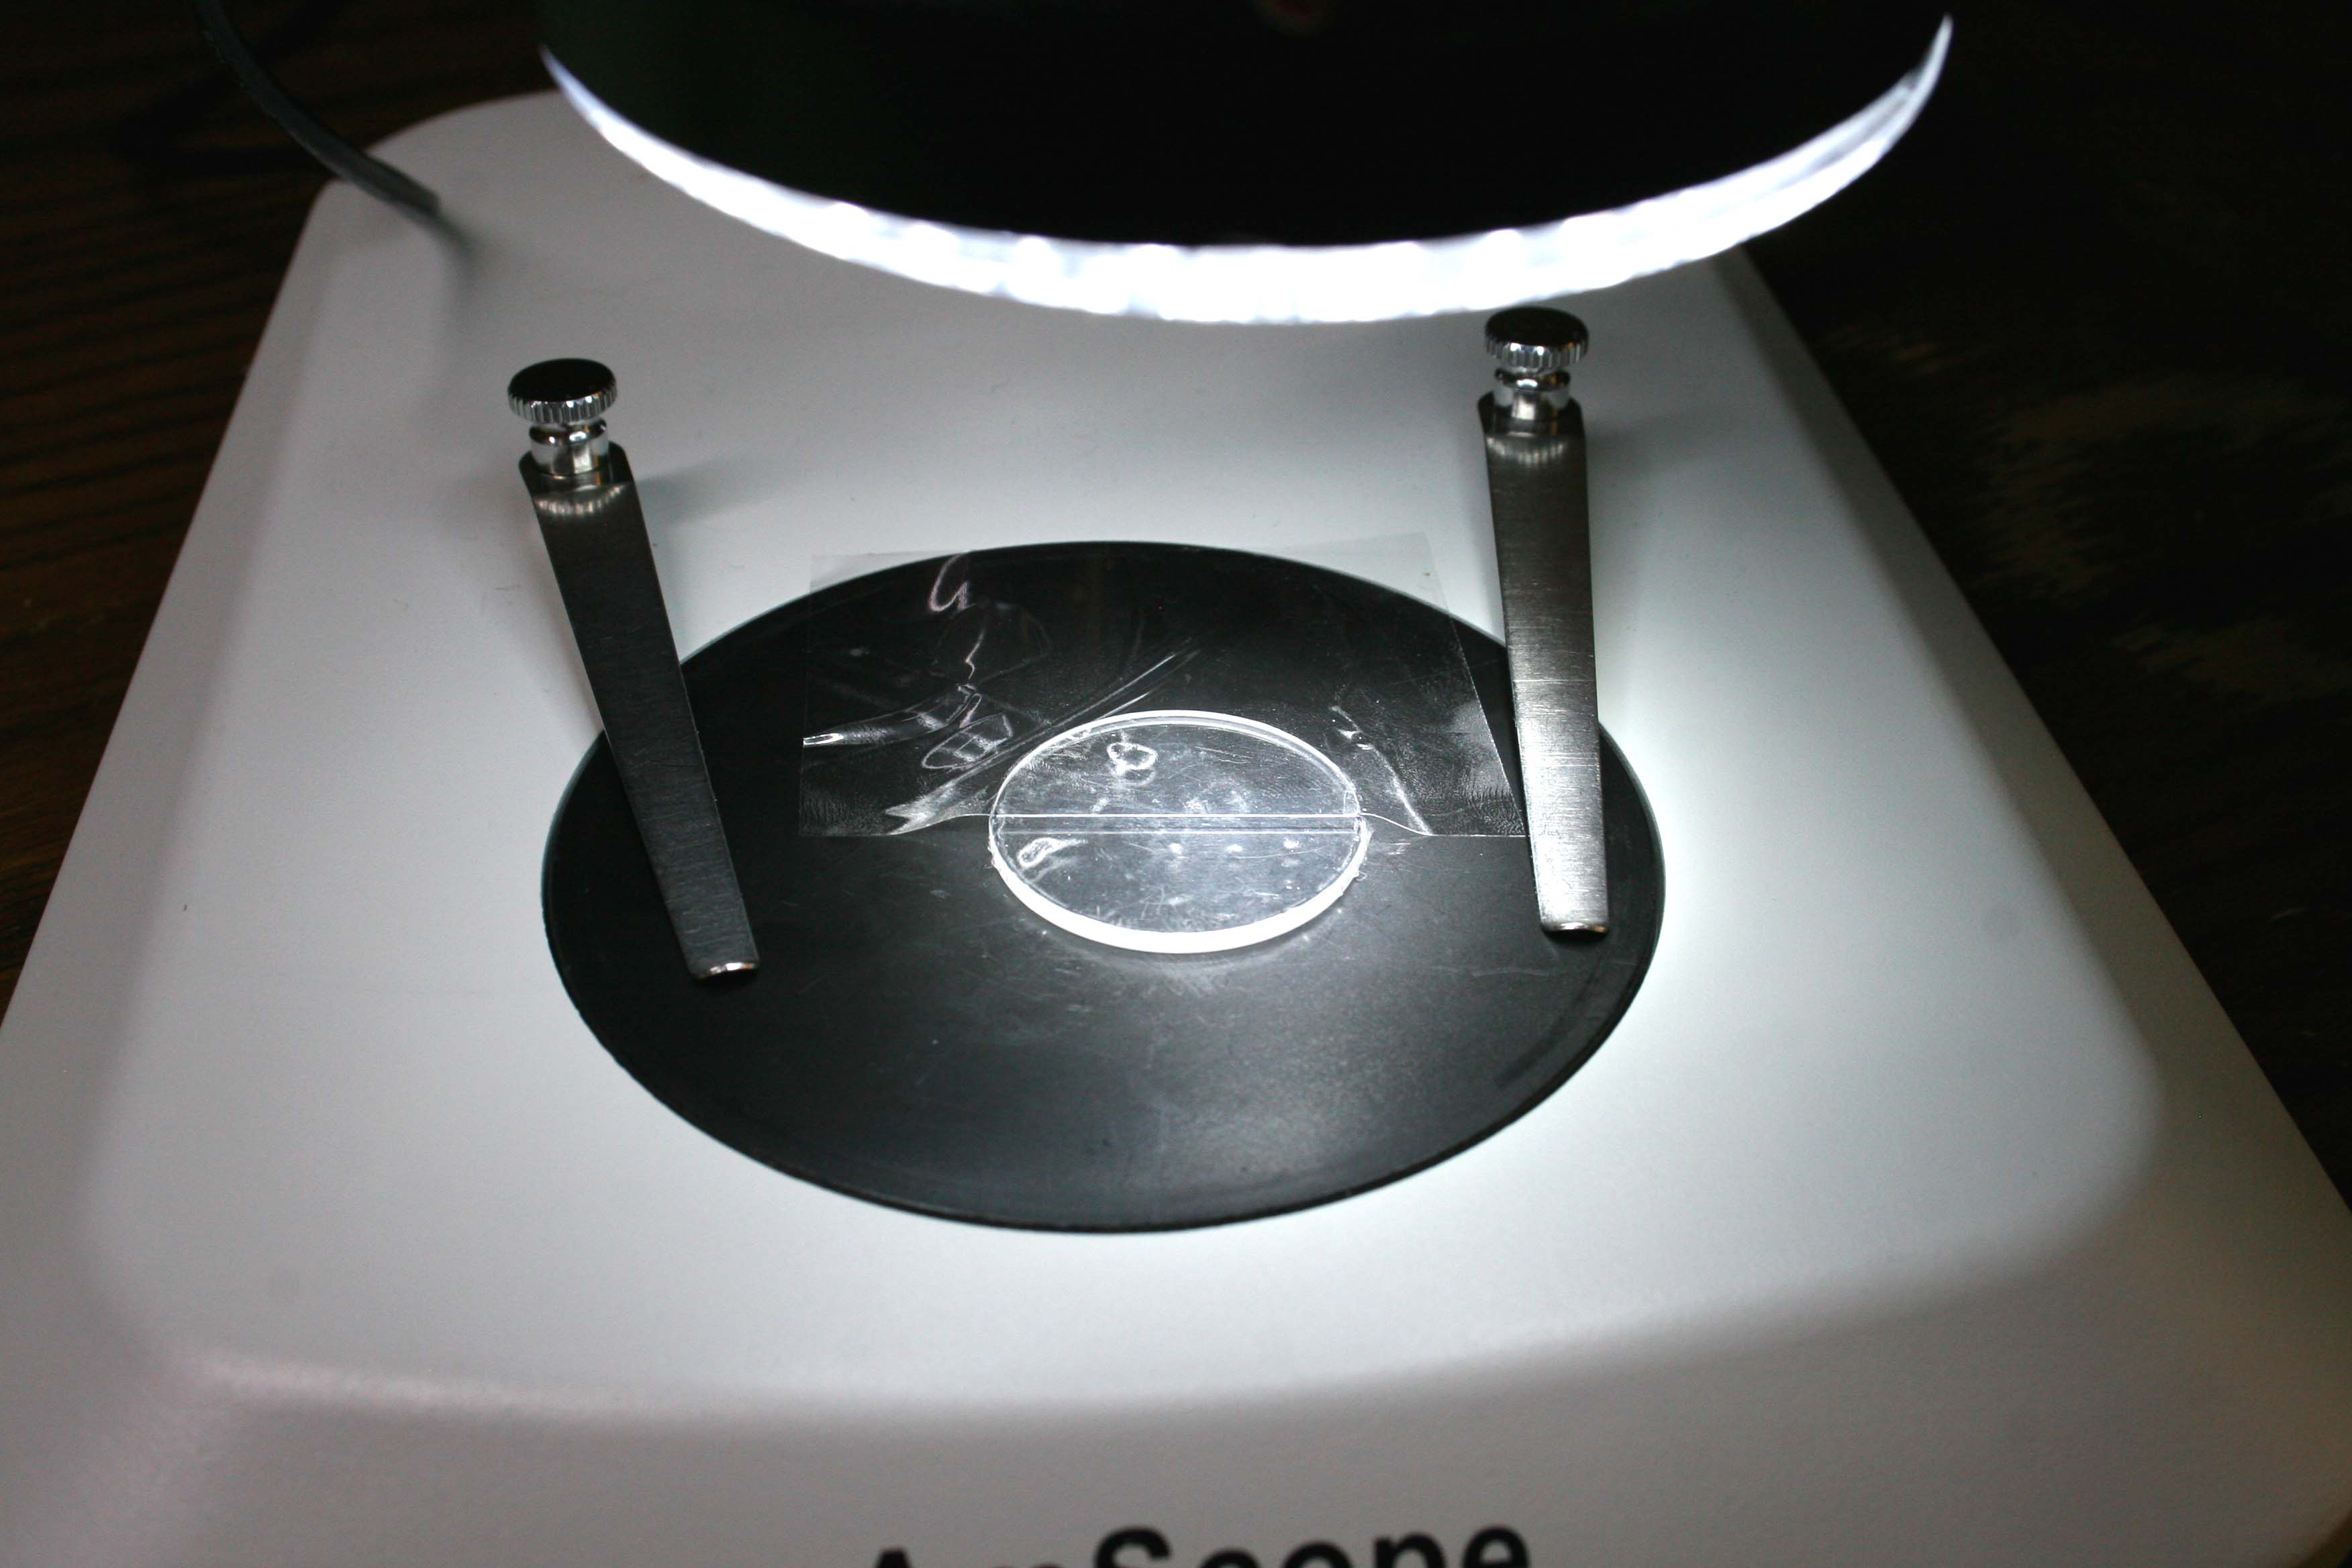
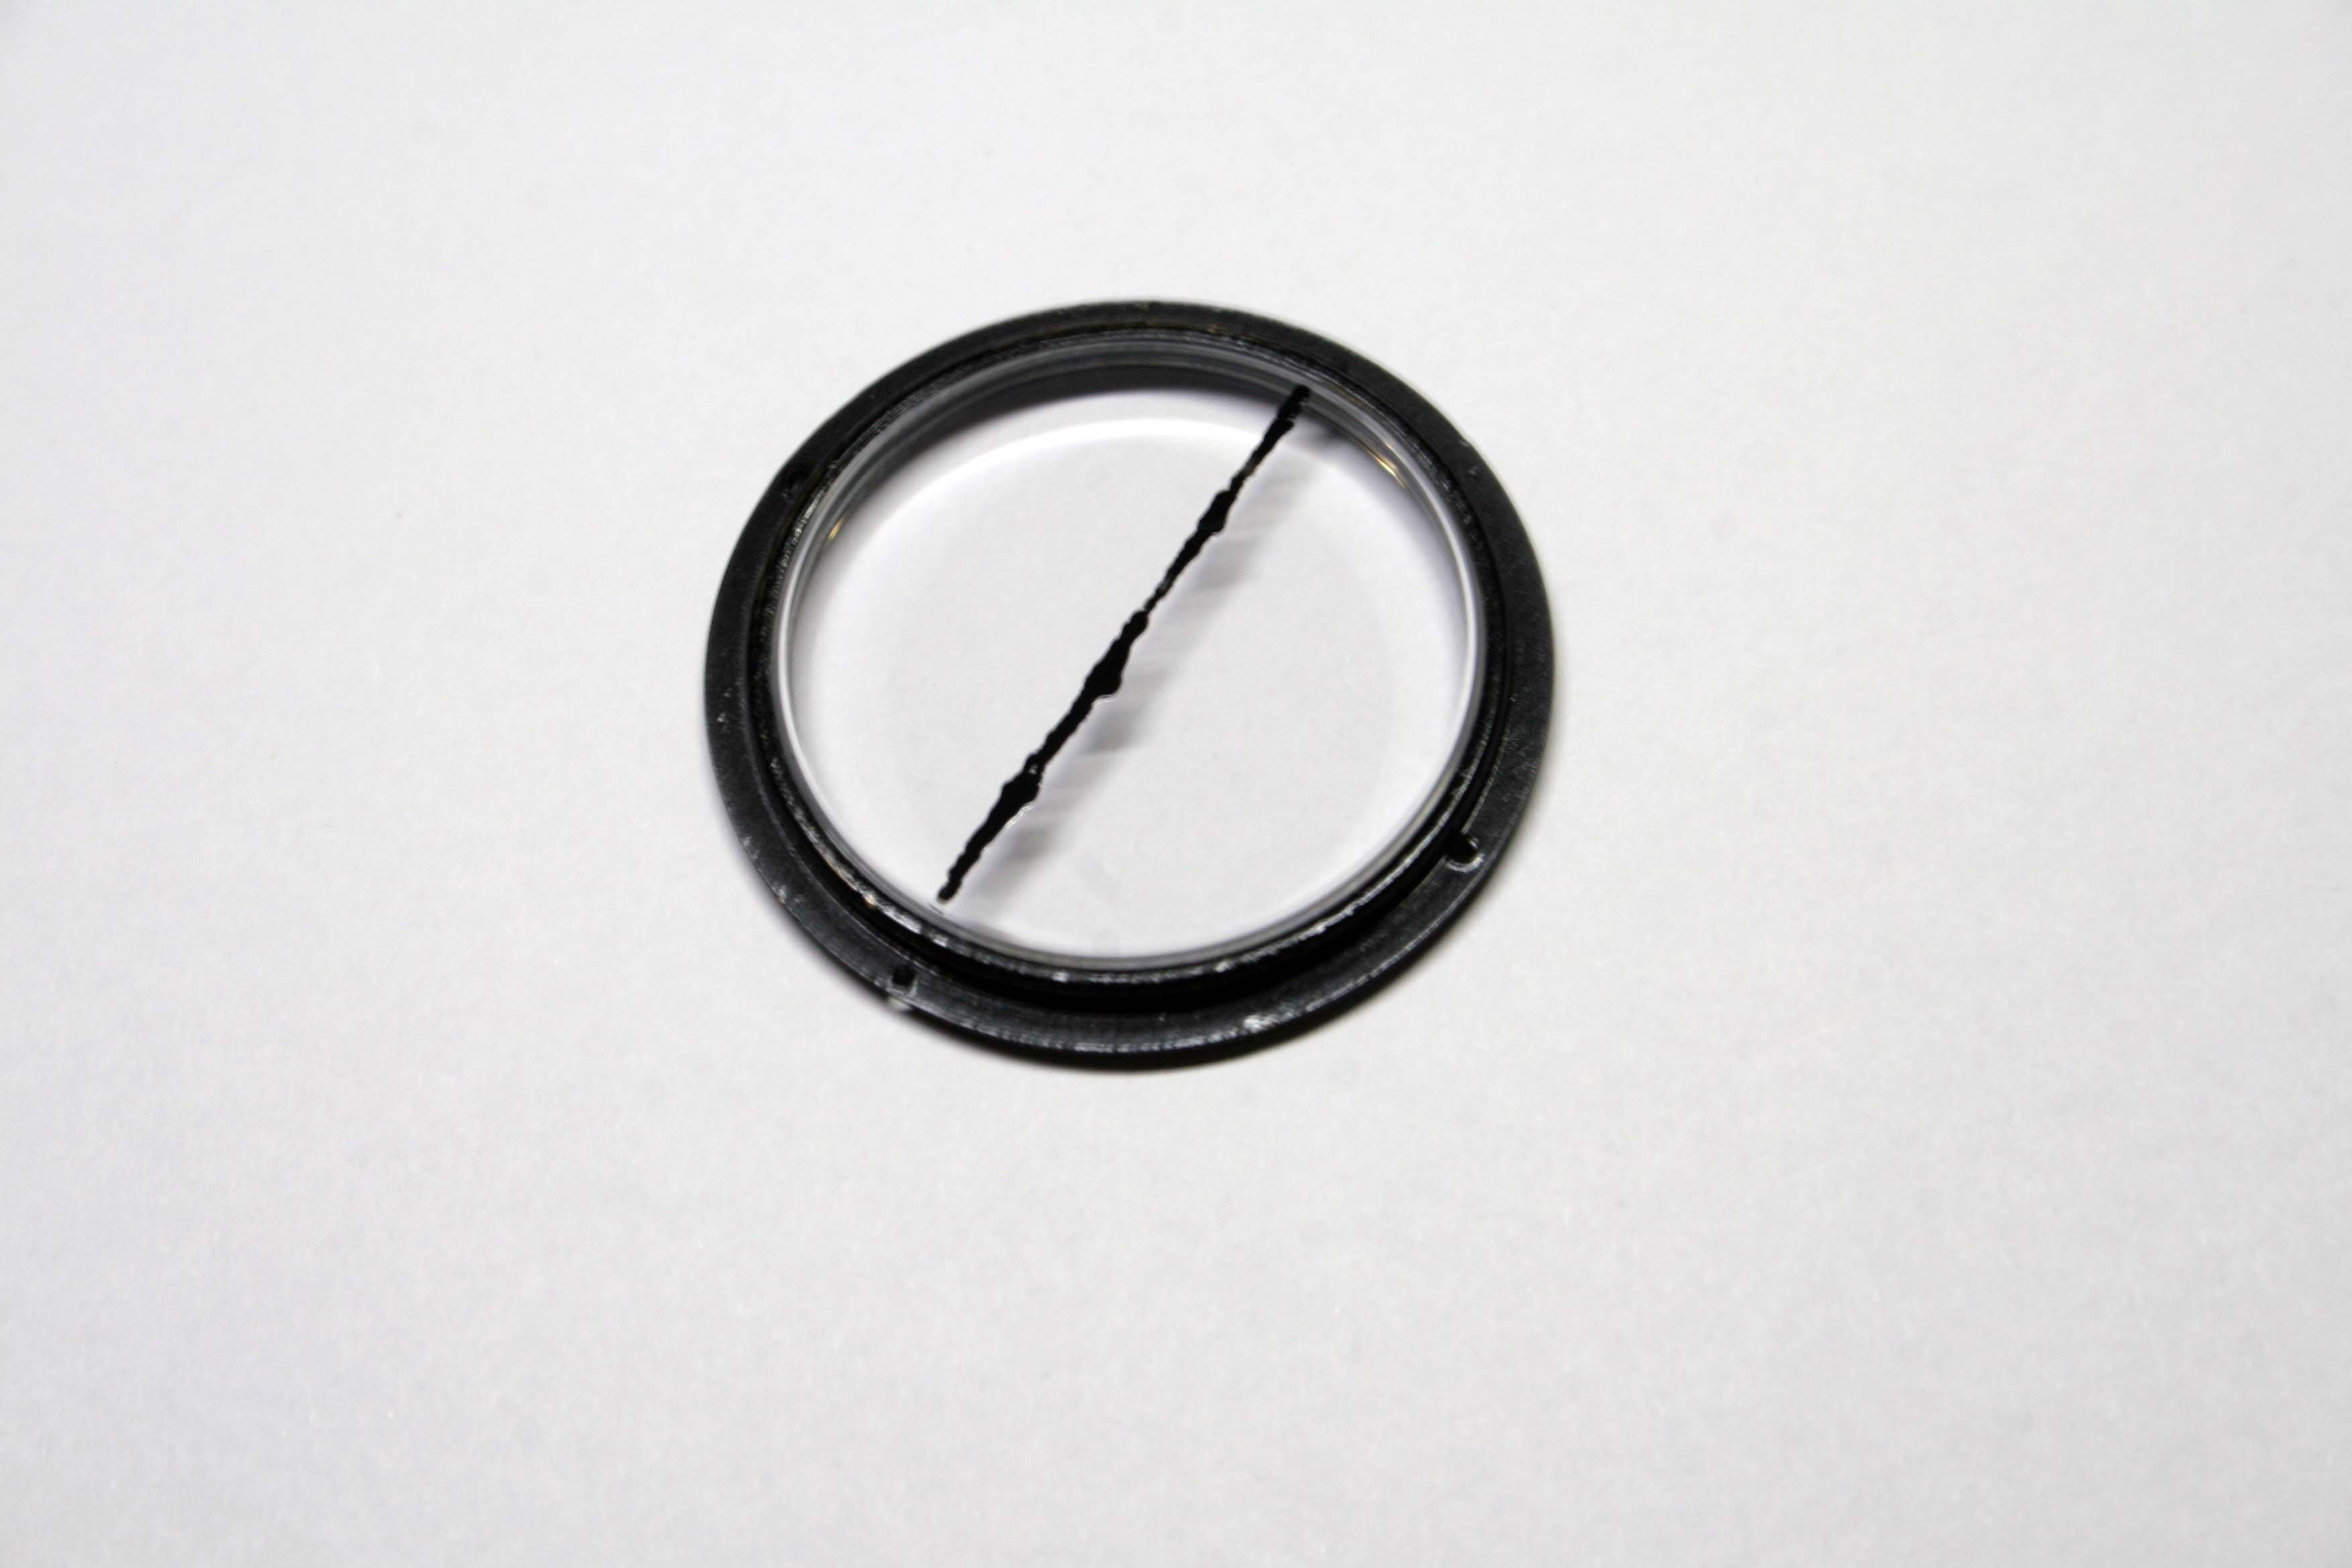
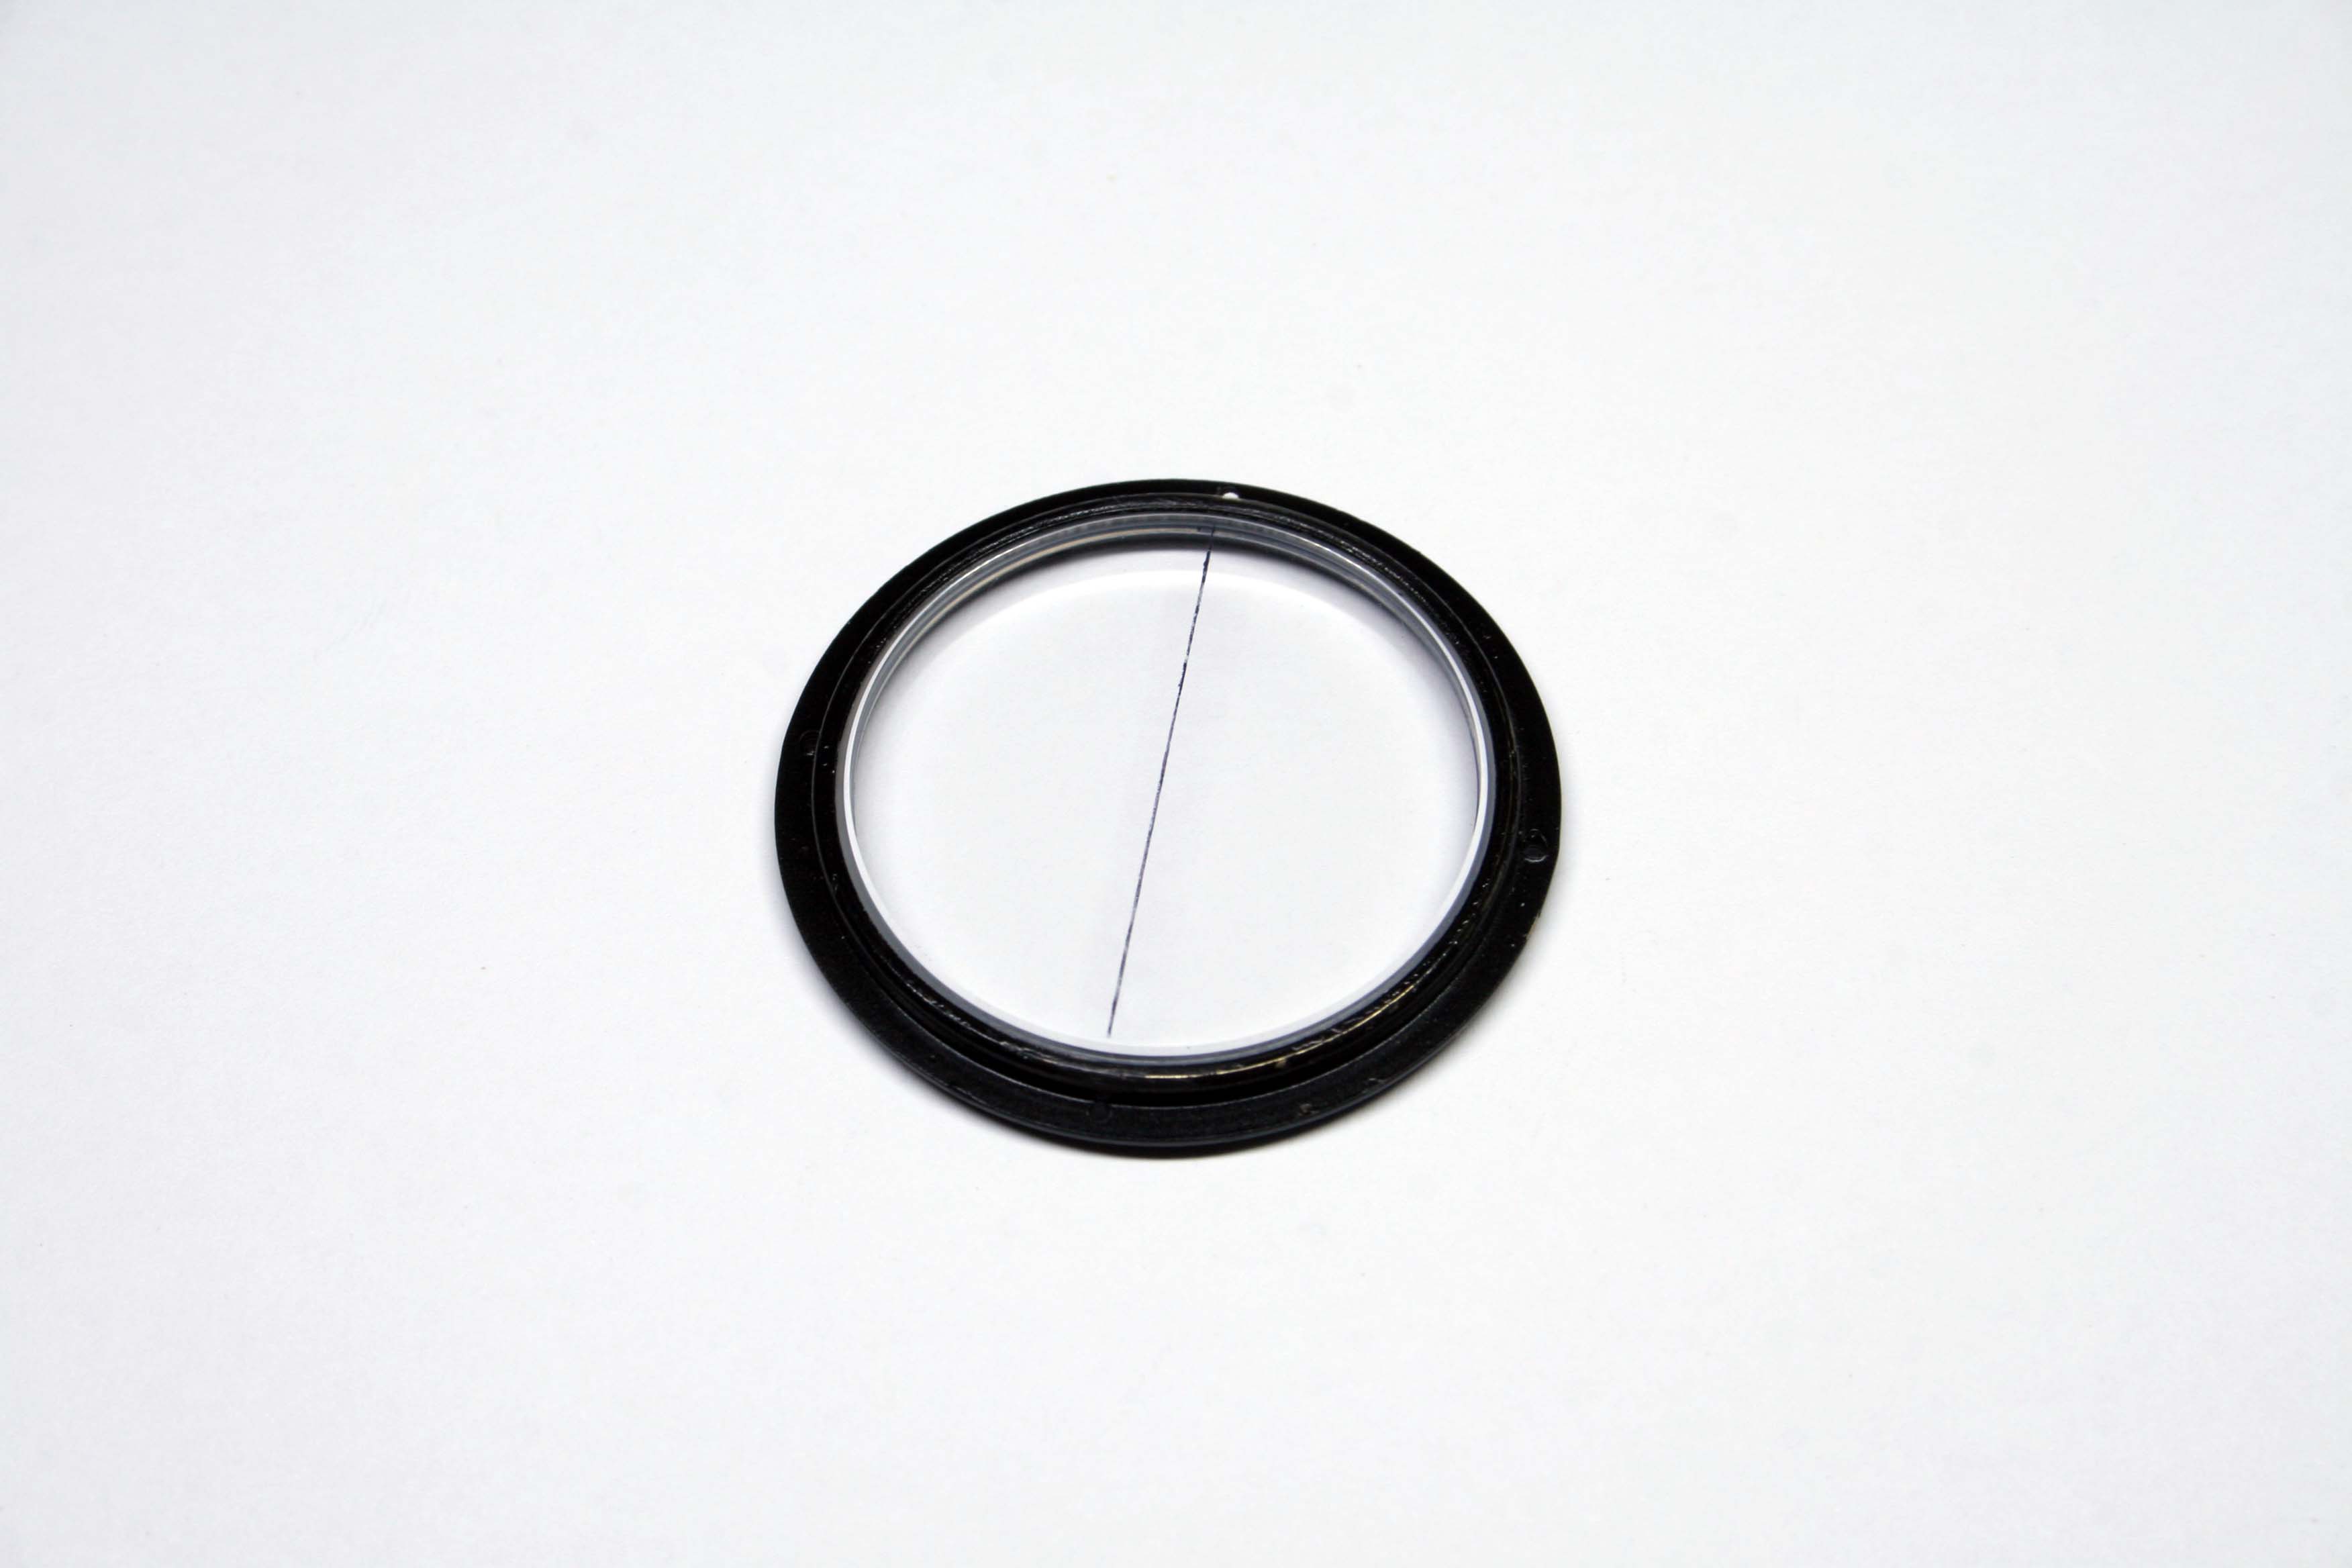
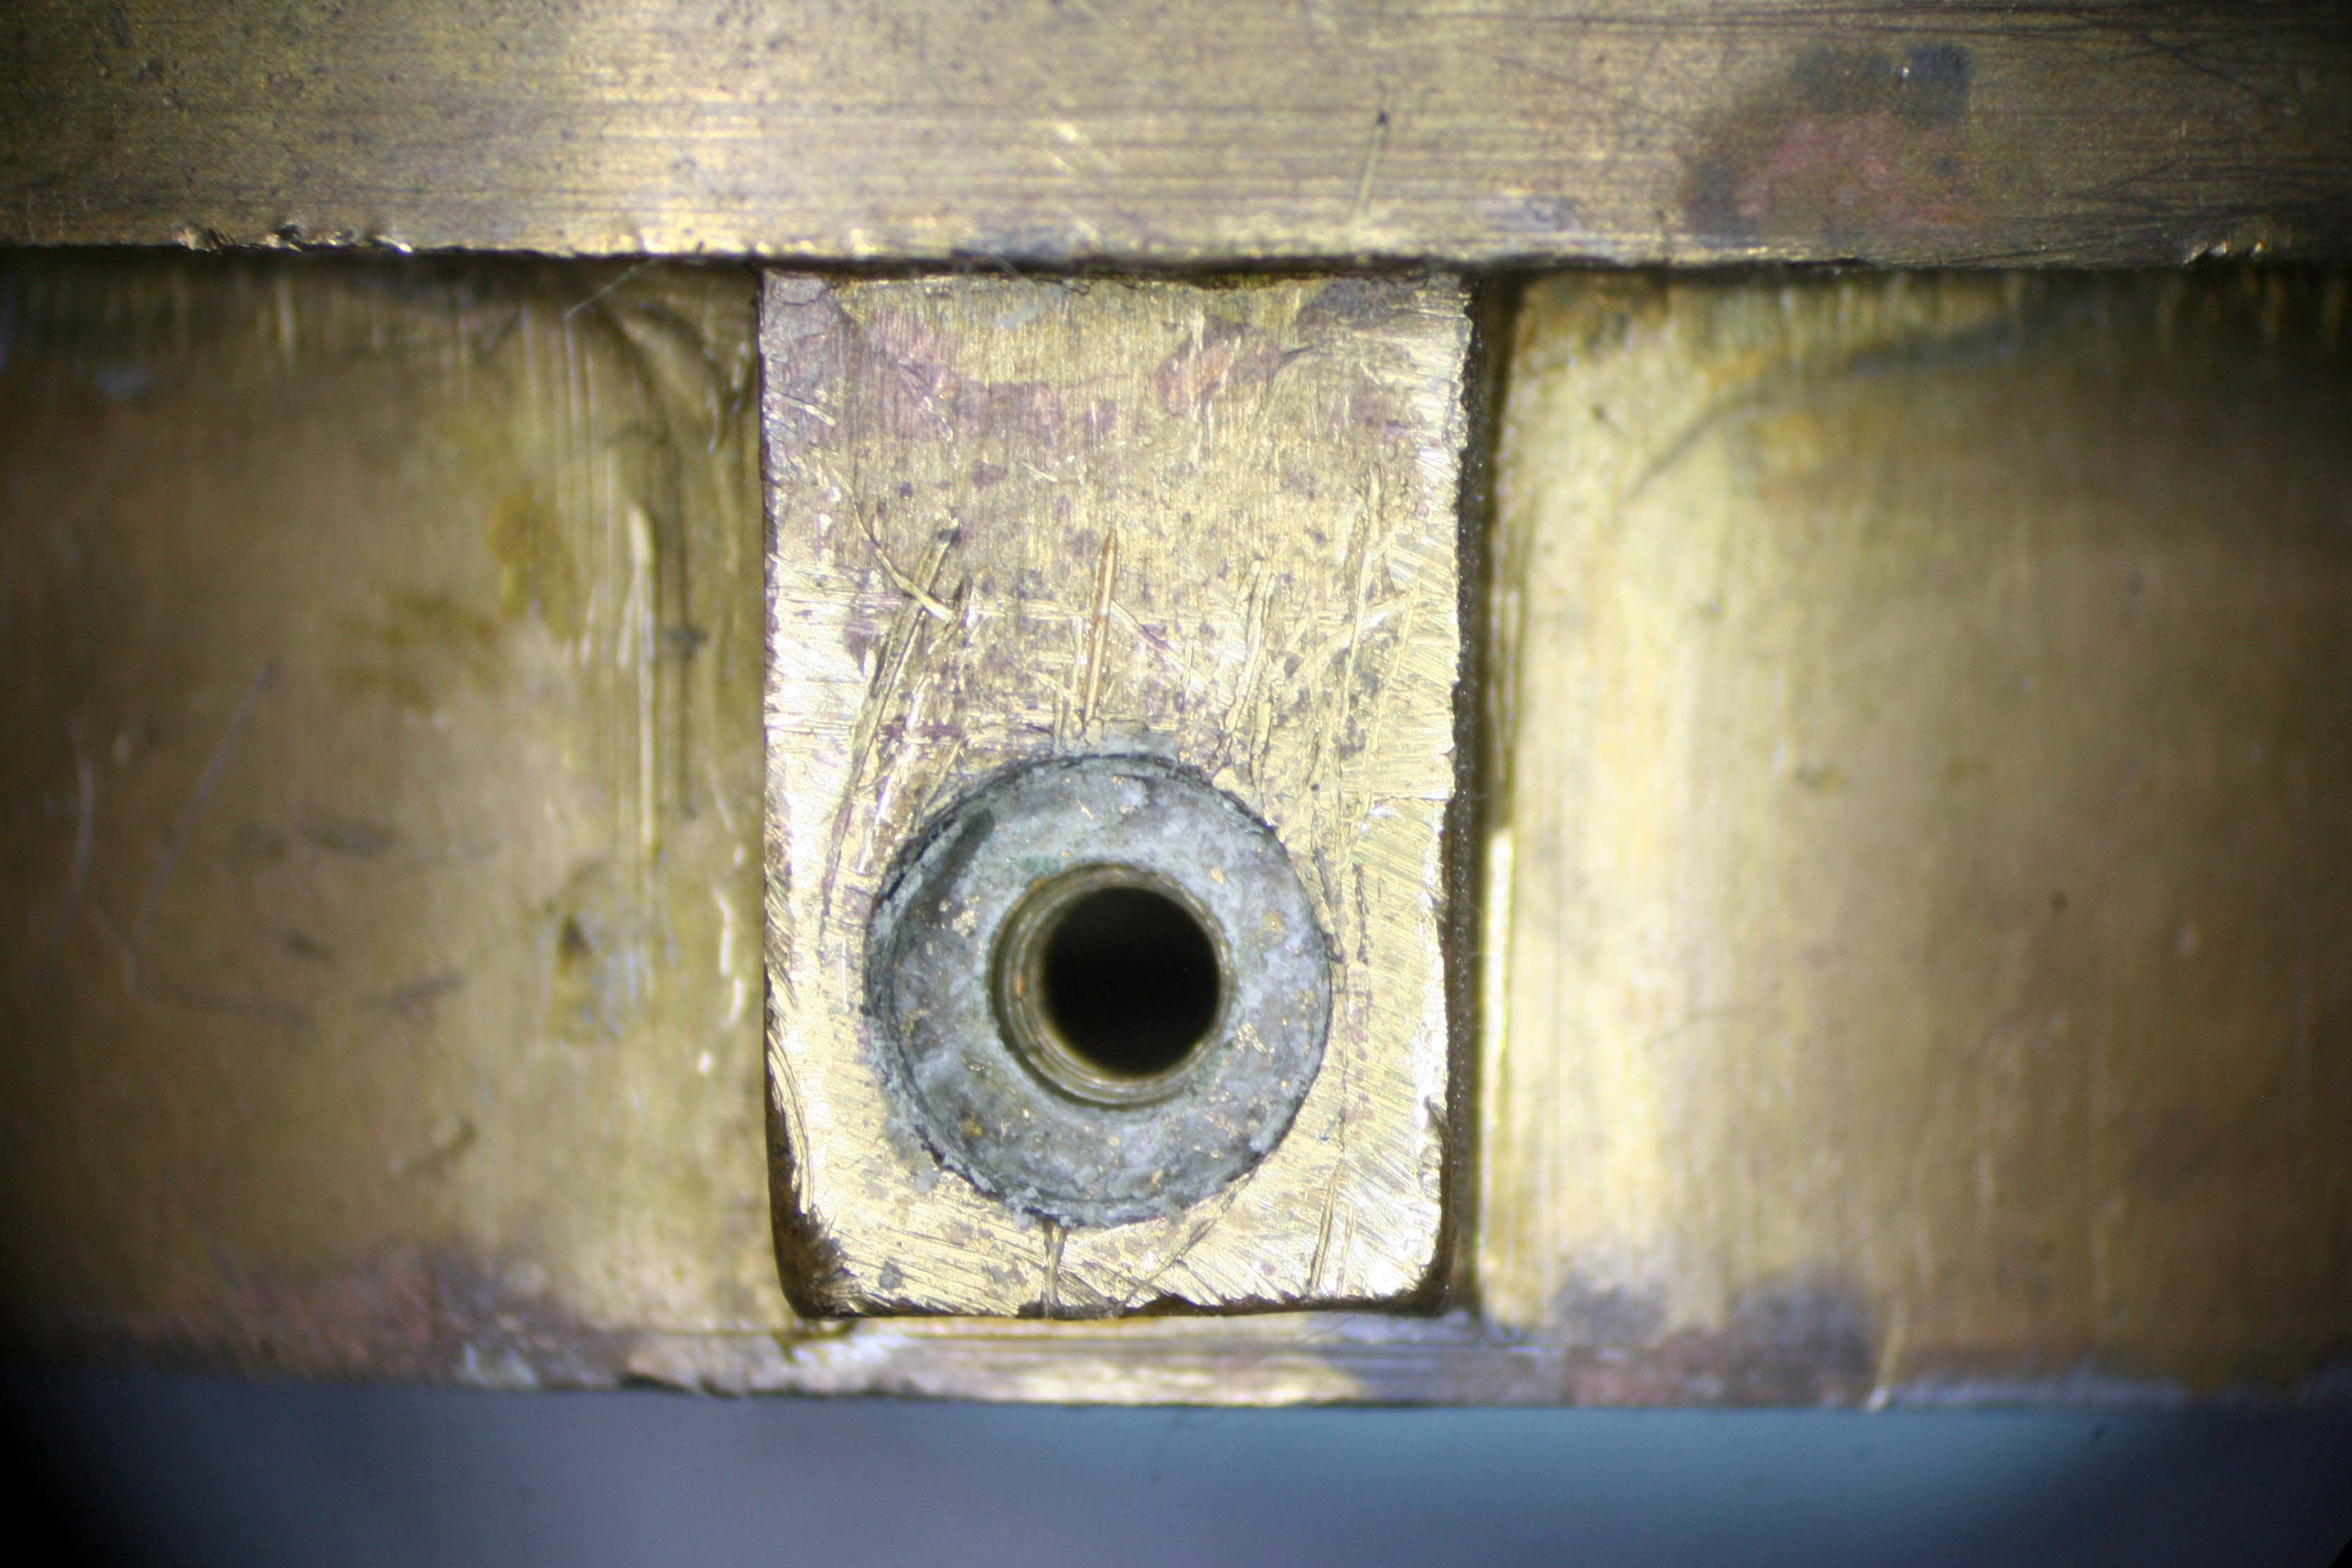
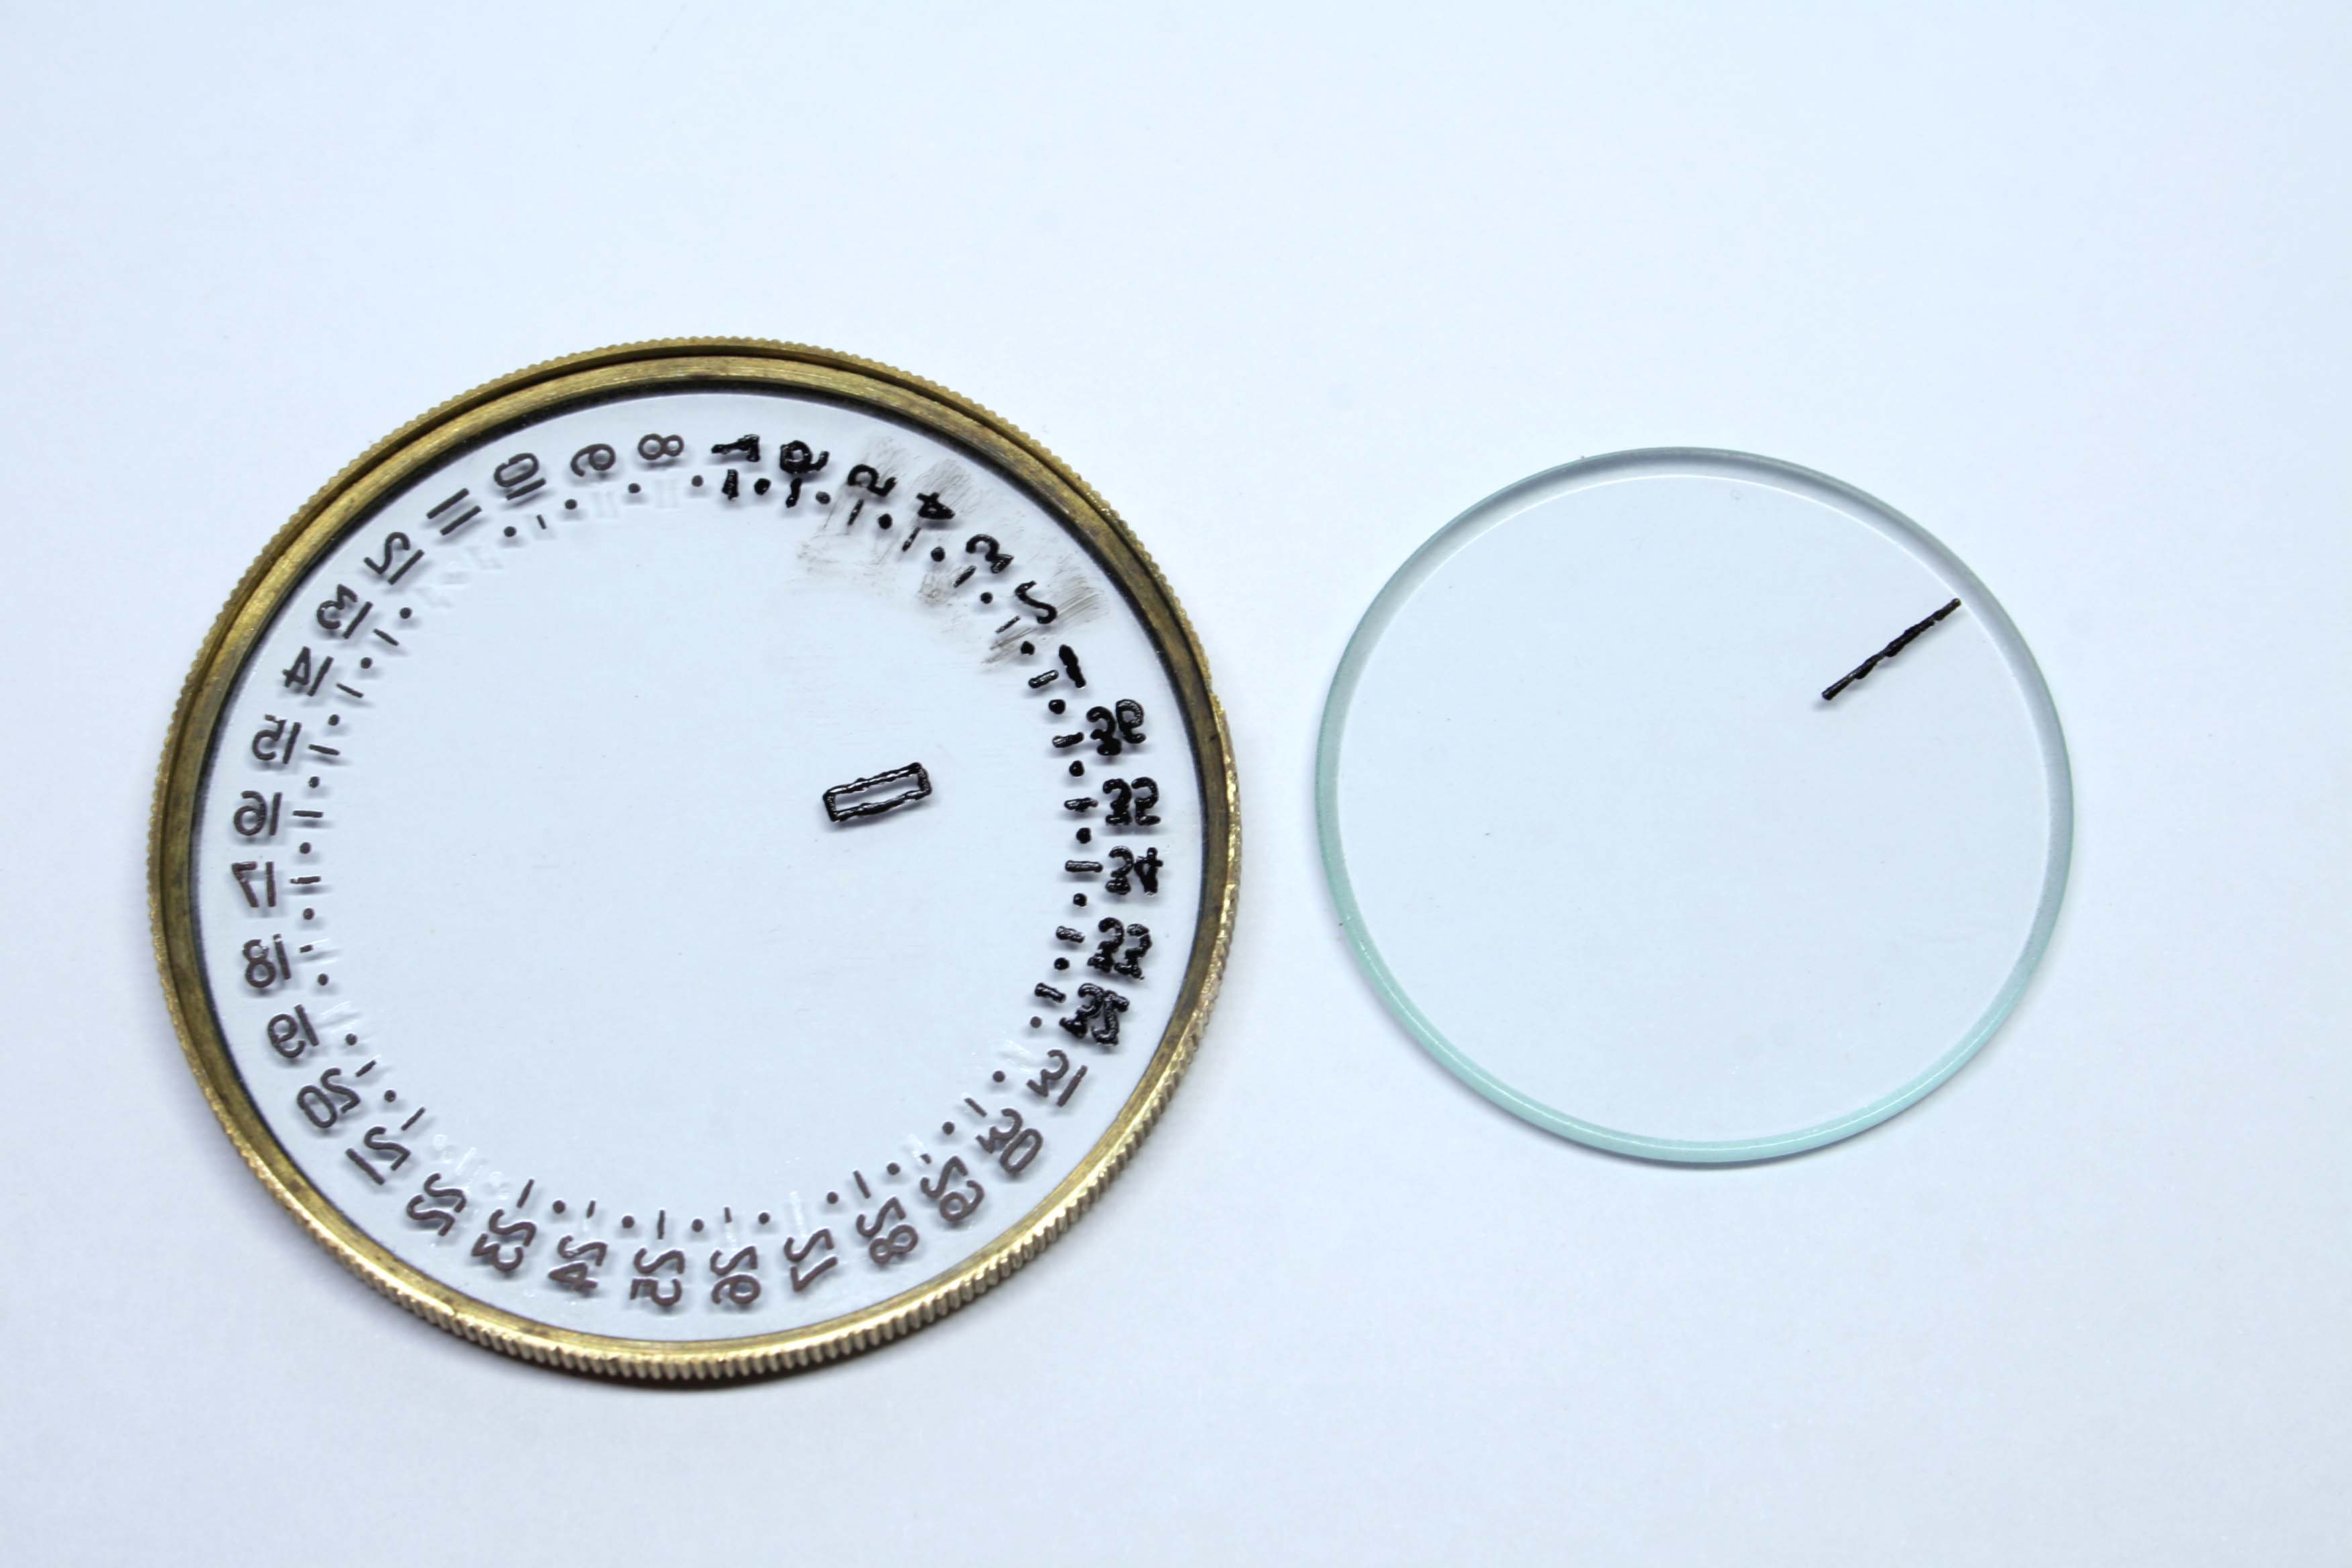
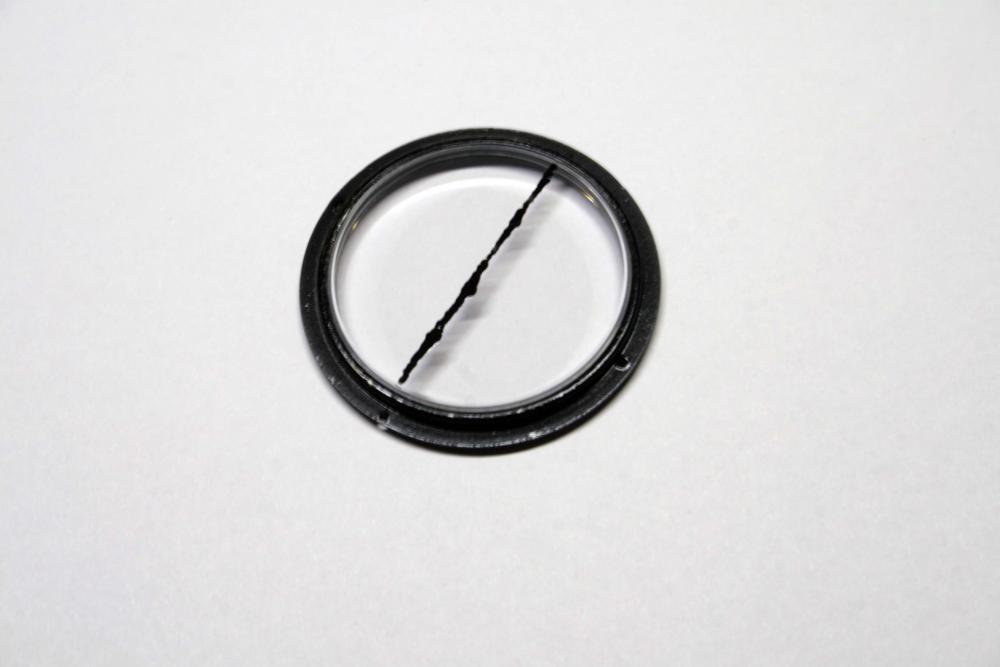
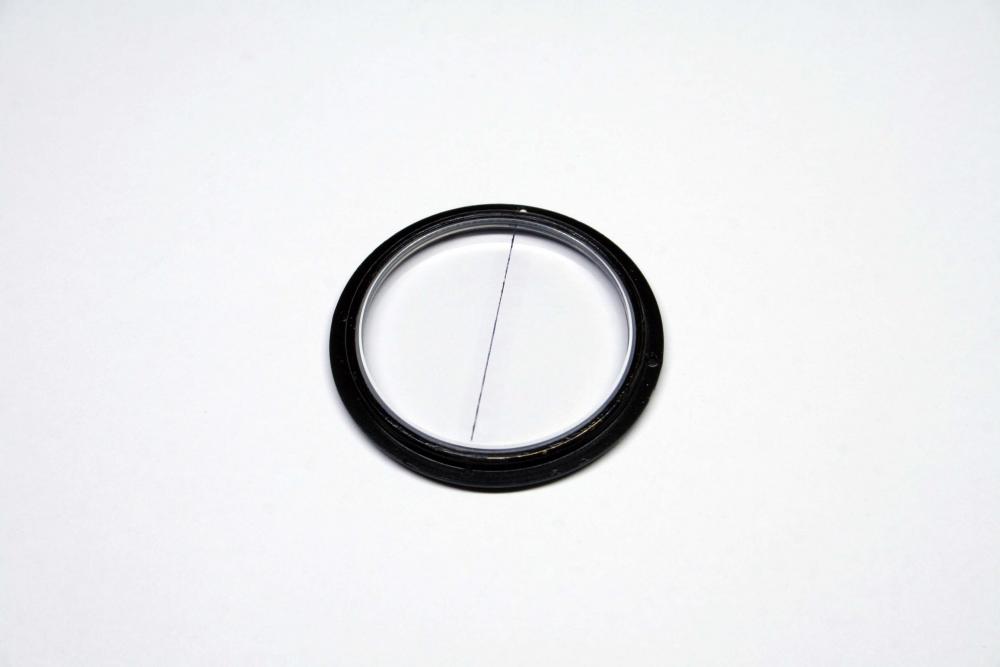
Yes, in fact this may have been the repair that was done before as one of the screws is a bit longer than the rest. What became of the nut, I don't know. Unfortunately I don't have a tap large enough to fabricate a new nut (yet). I've ordered a set though so I should have this sorted out soon. While waiting for the tap and die set I went about replacing the crystal for the case lid. The original crystal was chipped and didn't survive being pushed out during the cleaning process. I The replacement is a 33.6x2.0mm flat mineral crystal. The sighting line runs from 12 to 6 on the crystal. In order to replace this line I first etched the crystal using a bit of etching paste I picked up online. The dimensions of the line were marked off with a bit of packing tape and the paste applied to area between each piece (of tape). After about five minutes the etching paste was removed with a dampened cloth and the tape removed. I near perfect line running the diameter of the crystal remained. This was filled with a bit of black enamel and left to cure. Twenty-four hours later the excess black enamel was removed using a felt pad and the Dremel tool. What remains is a very fine black sighting line. Now, I somehow managed to misplace one of the mounting screws for the crystal so I'll need to turn a replacement in the lathe. This is also an m2.0 thread so it will have to wait until my tools arrive.
 3 points
 -
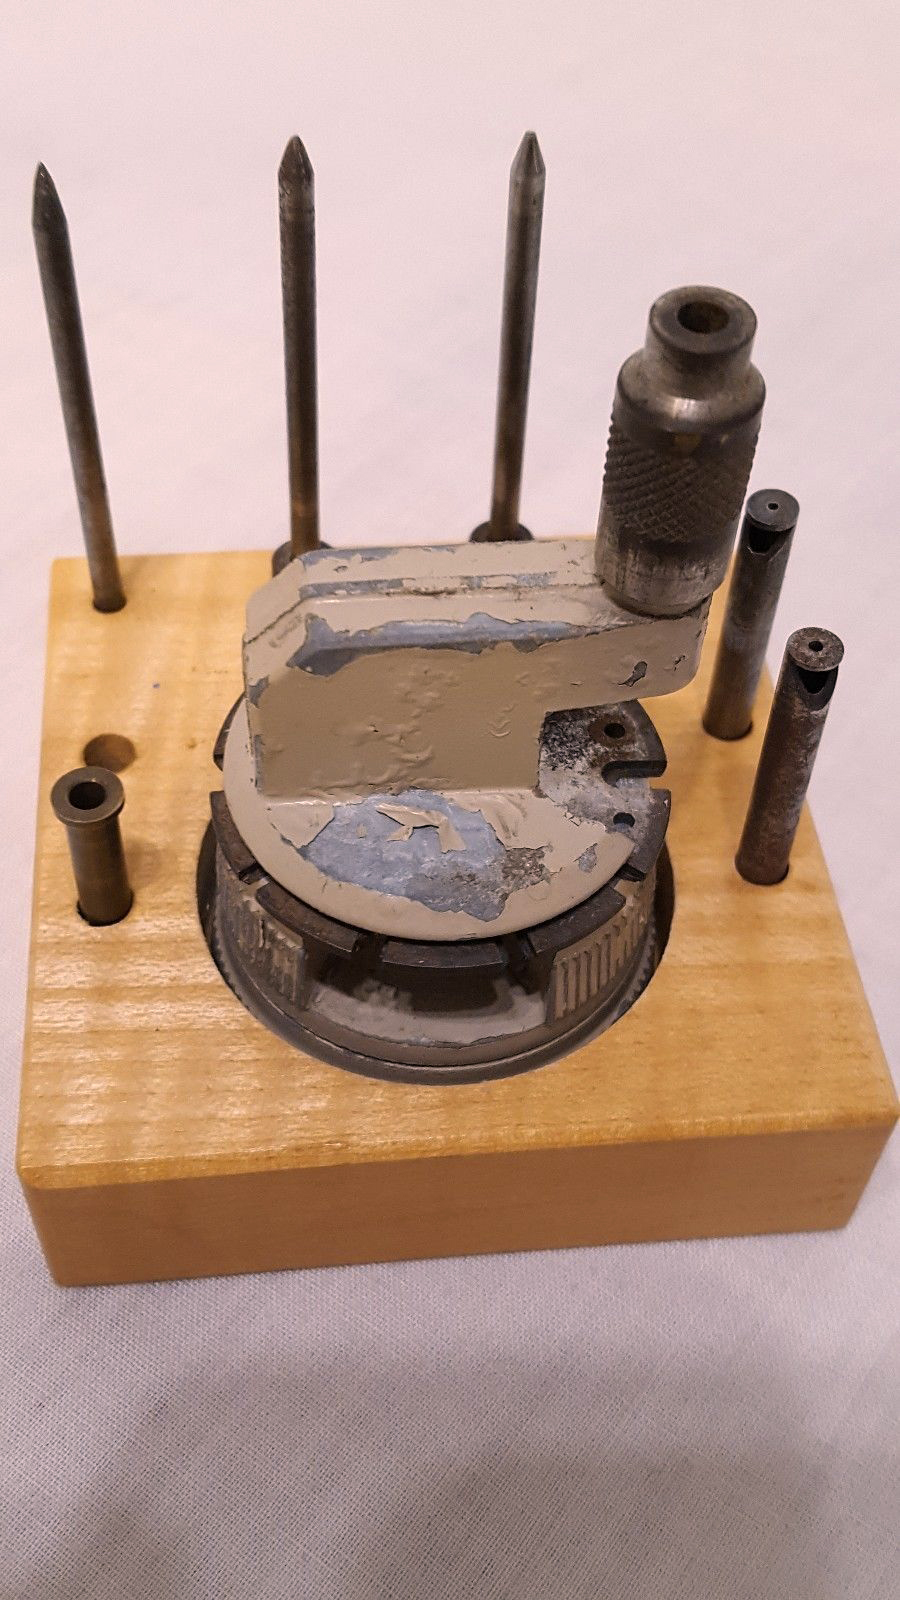
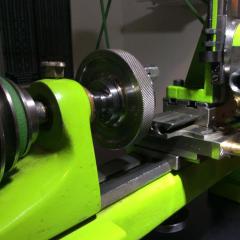
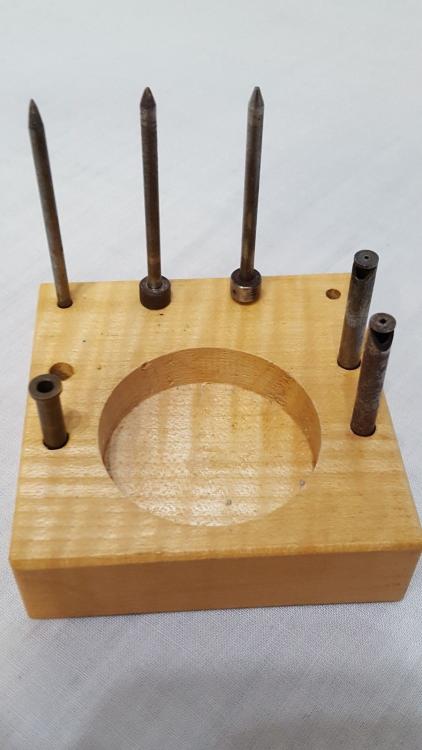
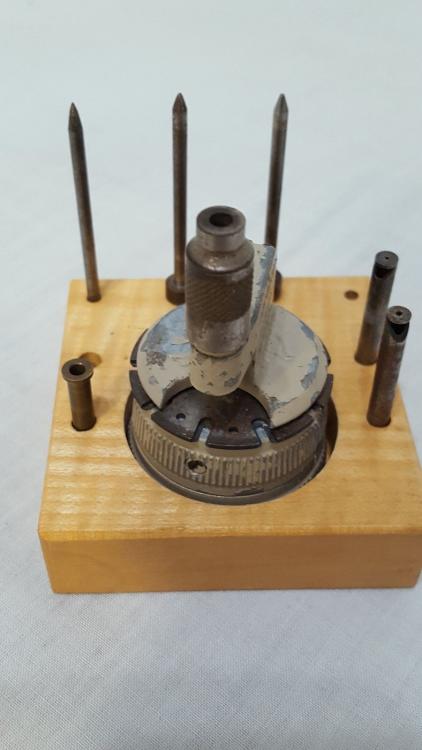
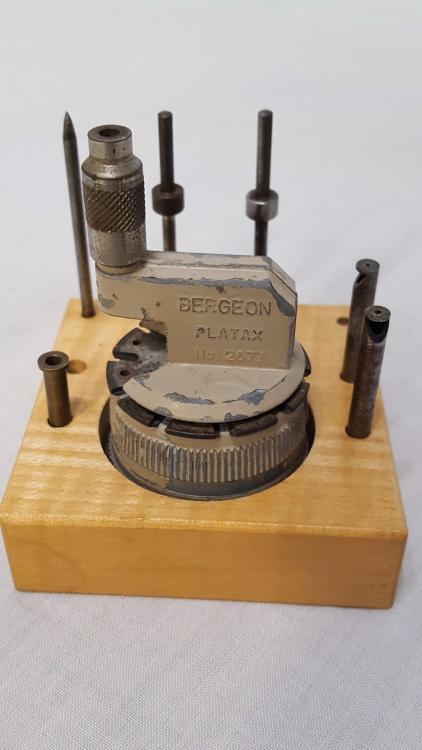
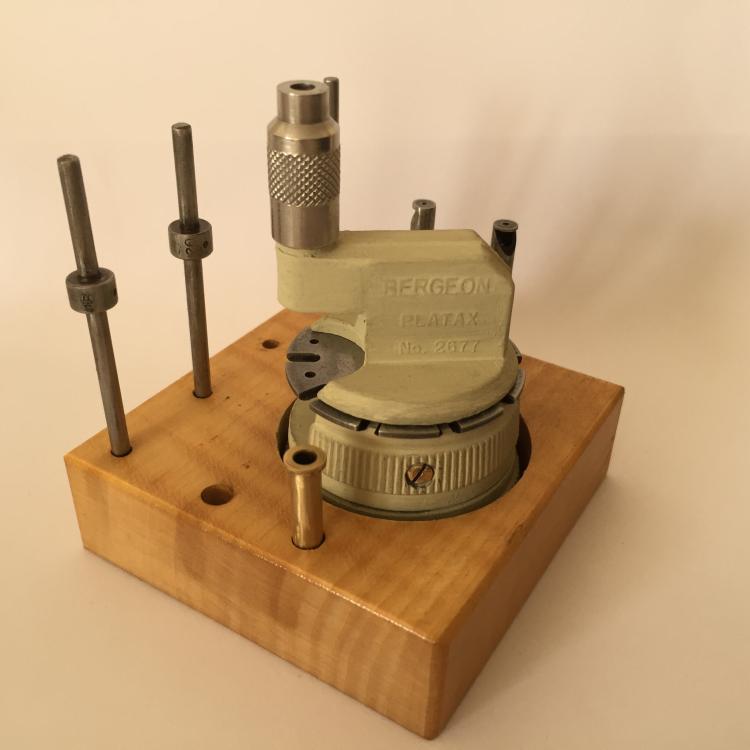
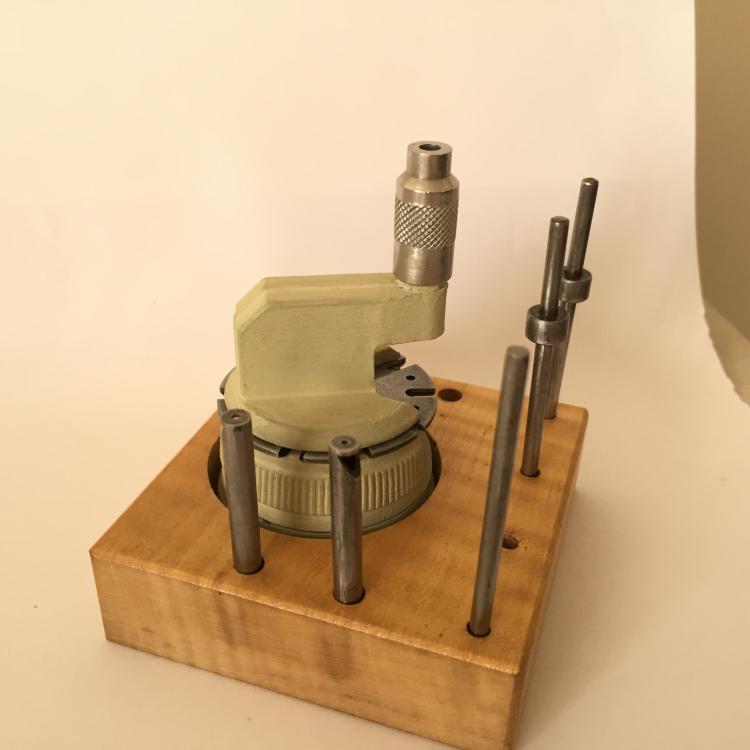
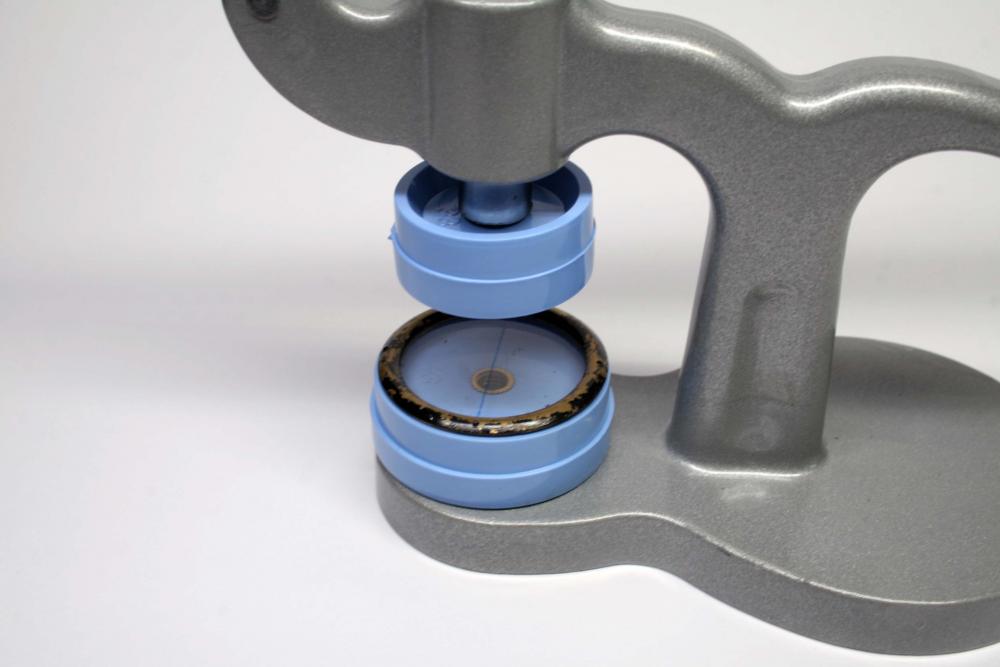
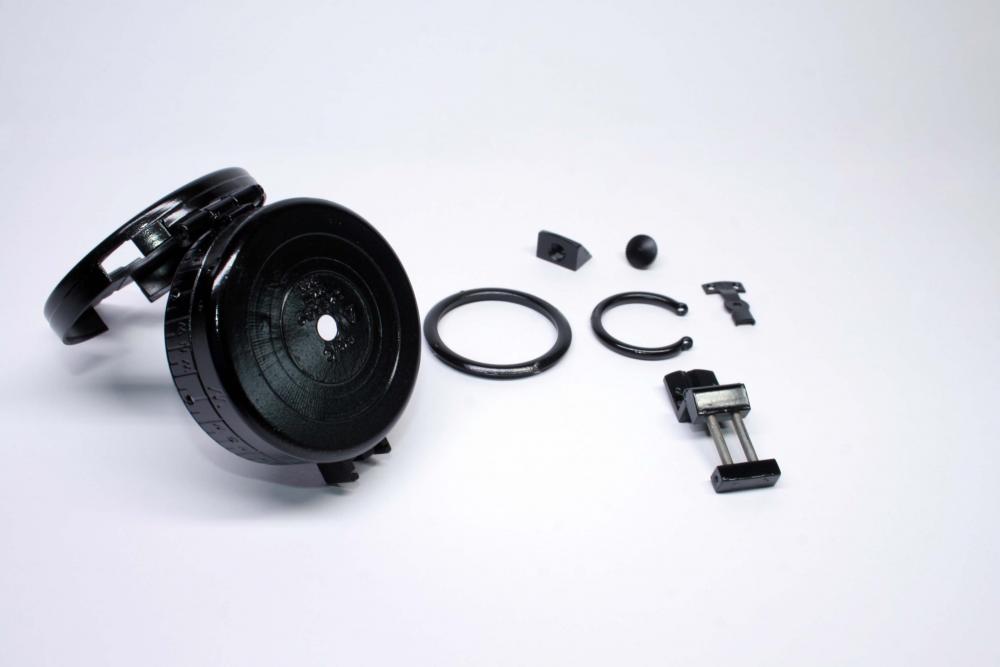
So I picked up this bad boy on eBay from someone in Spain. It's pretty messed up cosmetically, and missing a heeled bush and a removing punch. Considering all that, I definitely overpaid, but oh well. I don't know how rare these are to find on eBay, so I just decided to grab it. I scraped off all the old flaking paint and found a very similar color paint at Michaels. Not a very professional job and you can see some brush strokes, but all in all it's much better. I know the colors look off in the pictures, but that's a camera white balance issue. In real life the colors are very similar... a completely unattractive greenish gray oatmeal. Why Bergeon used this color I'll never know. Carefully removed the rust from the metal plate with steel wool and very very fine sandpaper. Did the same with the punches and bushes which had a nice coat of oxidation on them, then put them through the ultrasonic like they were watch parts. The original chrome plating had worn away on the top knurled nut, but not to fear! I busted out my little Caswell "Plug N Plate" kit and used "copy chrome" (real chrome plating is dangerous and pretty toxic apparently, but I can't see much of a difference between old chrome plate and Caswell's 'copy chrome' - looks about the same). The biggest unknown was if I could find replacement punches / bushes and yep! I just ordered them from perrinwatchparts.com... they were super expensive. I definitely overpaid for these, but again, oh well. I just wanted the tool to be complete. So ta da! I now have a Platax tool. I'm going to break out one of my many Bulova movements with a broken staff and experiment with using this tool on the poor thing. I don't know the I really needed this tool, per se. I have a nutcracker - type roller remover which works pretty well (I might have broken a few staffs by squeezing a little too much, but those staffs were broken anyway), and I have the little K & D balance remover tools for my staking set. I don't see how the Platax tool would be so so much better than the K & D tool, and I'd imagine any objections or concerns about the K & D tool widening the hole in the balance by using force instead of cutting out the old staff would also apply to the Platax tool, no? It also uses force to drive out the old staff while keeping the balance arms pinned. So maybe I didn't strictly need this, but when it popped up on eBay I couldn't resist, because I want to be able to follow along with what Mark does as closely as possible... and I'm still so new at doing this. So, now I have a Platax tool, a complete 'inverto' K & D staking set (got for under $100, go eBay!), and just picked up a Seitz Jeweling tool (ouch, that was too expensive). I am now wondering what other real watchmaker specific tools you need to have to be able to deal with most, if certainly not all, the issues you find on vintage watch movements ??? I mean, I'm not going to buy an old mechanical watch washer and put it in my one bedroom apartment in manhattan, not going to happen (at least, not if I don't want my husband to divorce me ). So I make do with a tiny, cheap Chinese made ultrasonic machine. And obviously, I'm not going to buy a lathe either, for similar reasons (space constraints, expense, plus wouldn't know how to even begin to use it)... but I'm wondering if I've covered almost everything else? In terms of being able to make watch parts, yeah, that's the holy grail. Living in manhattan comes with many advantages and disadvantages. The disadvantages are obviously space constraints and expense of living. But the advantages are there are lots and lots of resources. In fact, there are a few "Maker Spaces" in the city, which are co-ops you can join and you can use their tools, like CNC mills, CNC lathes, 3D printers, 3D scanners etc etc... you can join these co ops for not much money, and they teach you how to use the tools.... I know that the consensus so far is that 3D printing watch parts won't work, because the machines are not accurate enough on such a small scale. But the CNC lathes? The CNC mills? Could they do micro-machining, in theory? It's something to think about. I think I'll create another thread about that sometime. Maybe I can pick up some good tips. Anyway, hooray for overpriced watch tools! They are so much fun!

 2 points
 -
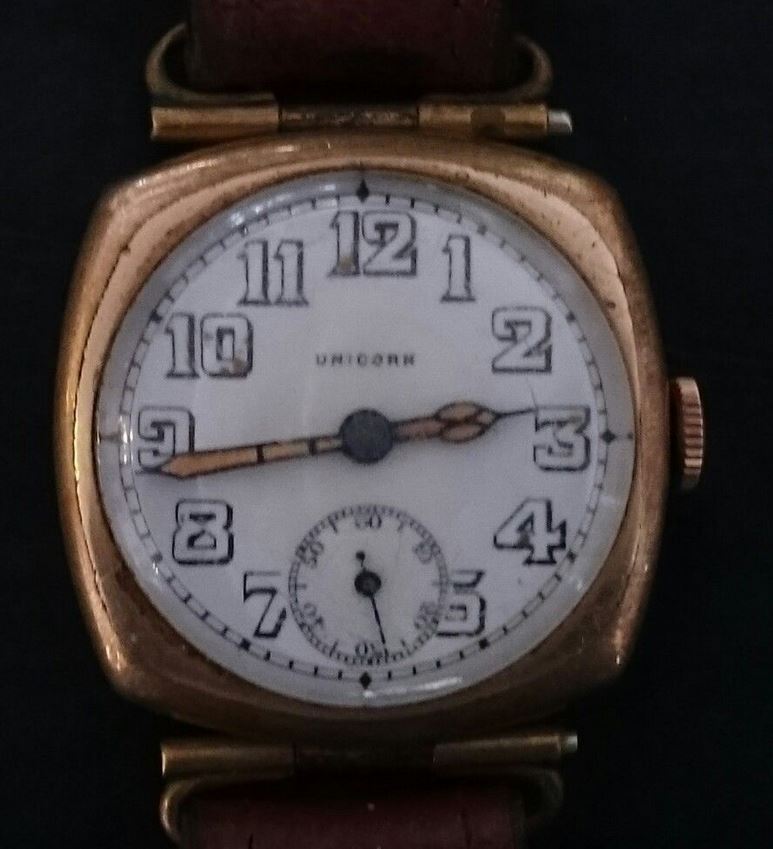
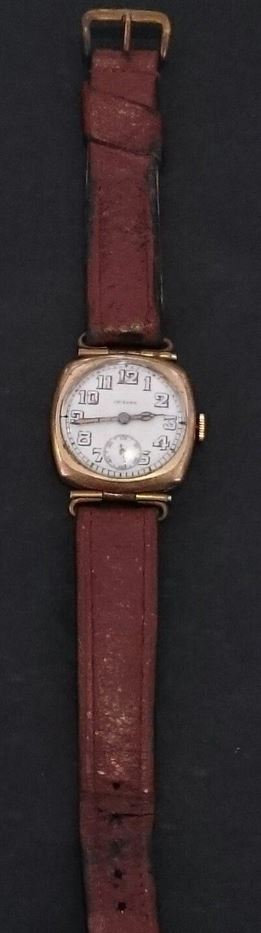
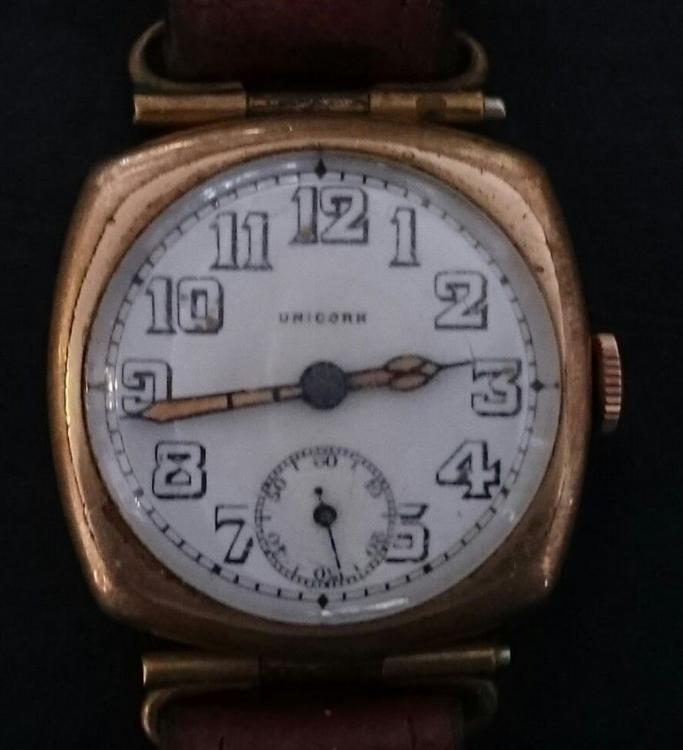
I just won this on a popular online auction site, so don't have it in hand yet, but I'm reasonably happy with what I paid for it. I'm pretty confident on the date being the back of the case has an engraving dated 1927. From what I understand up until around 1933 Unicorn was a brand marketed by Rolex in Australia, it uses a movement made by Beguelin & Cie SA (BTCo). The plating on the case is heavily worn on the back, but I am attending a workshop at the end of the month on gold plating, so will hopefully be able to get that fixed. I know its not a Rolex, but its probably about as close as I will come to ever owning a real Rolex. This will sit on my back burner whilst I practice on a few other movements before I feel confident to work on this watch.

 2 points
 -
D'oh! Try this item 1525892949601 point
-
Ok, done, watch is fixed now, thanks you for the help! Actually I was not wearing the watch when it fall, and I wasn't using it because I couldn't find a strap here in my country... As a country that has more cows than people it sounds pretty weird, but I saw no leather straps anywhere, just chinese fake leather ones... The new strap is arriving from the US in a couple of days. And I was very careful with the coils not to even touch them. Thanks for the advice1 point
-
Not sure that those are the same? That is Cal 497. Not cal 479. Found one but a hefty price at $115 plus shipping. Not giving up yet though. But could take some time. I am not married so why not be married to a Jeager le coultre? Could be worse Think the owner could take back some money if he sells the movement and the dial and hands. Someone that has the right tools could probably make a new axle. Something i can't. Not yet anyway.1 point
-
Brilliant response, many thanks!1 point
-
Try Toshi at KKHServices in Guilford. Or Give these guys a try http://www.watchbands.com/Departments/Seiko-Watchbands/Genuine-Seiko-Links.aspx Sent from my Honor 5c1 point
-
Greetings and Salutations!1 point
-
Score! If you don't have a balance truing caliper, you might consider that. Good to check that the wheel is true after replacing the balance staff. The tool that I overpaid for was a Jacot tool, I really don't know how much use I'll get out of it, but I just had to have it. Got a nice one, too. As far as maker space CNC tools are concerned, it really depends on what they have. I think the bench top Roland CNC mills are used by some folks for watchmaking.1 point
-
Welcome!!!1 point
-
Unless you can source a replacement movement then I'd give it back undone. This is the kind of job that you end up being married to!! Sent from my iPhone using Tapatalk1 point
-
There not that easy to get hold of. It sure was in a mess when you got it. It’s come up really well after giving some spit and polish. There will be a few on here that will envy you for having a nice bit of kit.1 point
-
Nice post and good story Part of the fun of what we do it to overpay for stuff once in a while, isn't it?1 point
-
welcome bikerix.. i ride bikes and wherever possible I try to work on my bikes and cars before I send them out. After watches they're so much easier as my eyes get weaker! Anilv1 point
-
I'm not saying its right for this movement. With old movements it was very easy to replace the axle as the pallet would unscrew. If its a friction fit you will need some sort of staking tool.1 point
-
It's a bit fiddly and you need good magnification, but not difficult if you have a jewelling press with the right pushers in the set. I have a seitz one and the tools are here https://www.cousinsuk.com/product/seitz-jewelling-pushers-and-stake-for-levers The staff should be a friction fit in the lever, unless in the previous repair someone modified the lever too. When you fit it you will need to make sure that the lever height is correct so the fork lines up properly with the balance roller. There is a nice picture of what you are trying to achieve here: http://raulhorology.com/2012/10/setting-up-the-escapement-eta-6498-end-shakes-divisions/, of course in the real world that is all quite tricky to see!1 point
-
Hi Radiumgirl, I think you have done a pretty good job of this resoration. No doubt you enjoyed it and if you are like me you would have picked up some skills from the job as well. Like you I have some 'overpriced watch tools' just ask my wife, but my preference is to try and use old tools as much as possible in restoring old watches. You have raised a number of questions in your post and I will now try and give you my two bobs worth. What other watch tools do I need? I suspect you are further along the path of watch repair that your post suggests, but here goes. My vote would be, given the lack of space you say you have, are a good set of tweezers and screwdrivers. These are readily available from Daves Watch parts, Uncle Larry's (second hand) and eBay. You said you had a staking tool, that is great. Other small things I can think of are a loupe of some kind, a small anvil or steel block, small pin vice, broaches, small file, brush, rodico, oilers and oil supply and glass dust covers, demagnetiser maybe a mainspring winder...Not sure if you have all this, but all this will fit in a drawer somewhere. I would say that you should have easy access to many of the old second hand American watches that will be fun to work on. Watches like Elgin, Benrus, Bulova etc these will be fun to restore and are quite easy to use to build up your skills further. Good luck with it all!1 point
-
Welcome to this friendly forum. Lots of info here for you.1 point
-
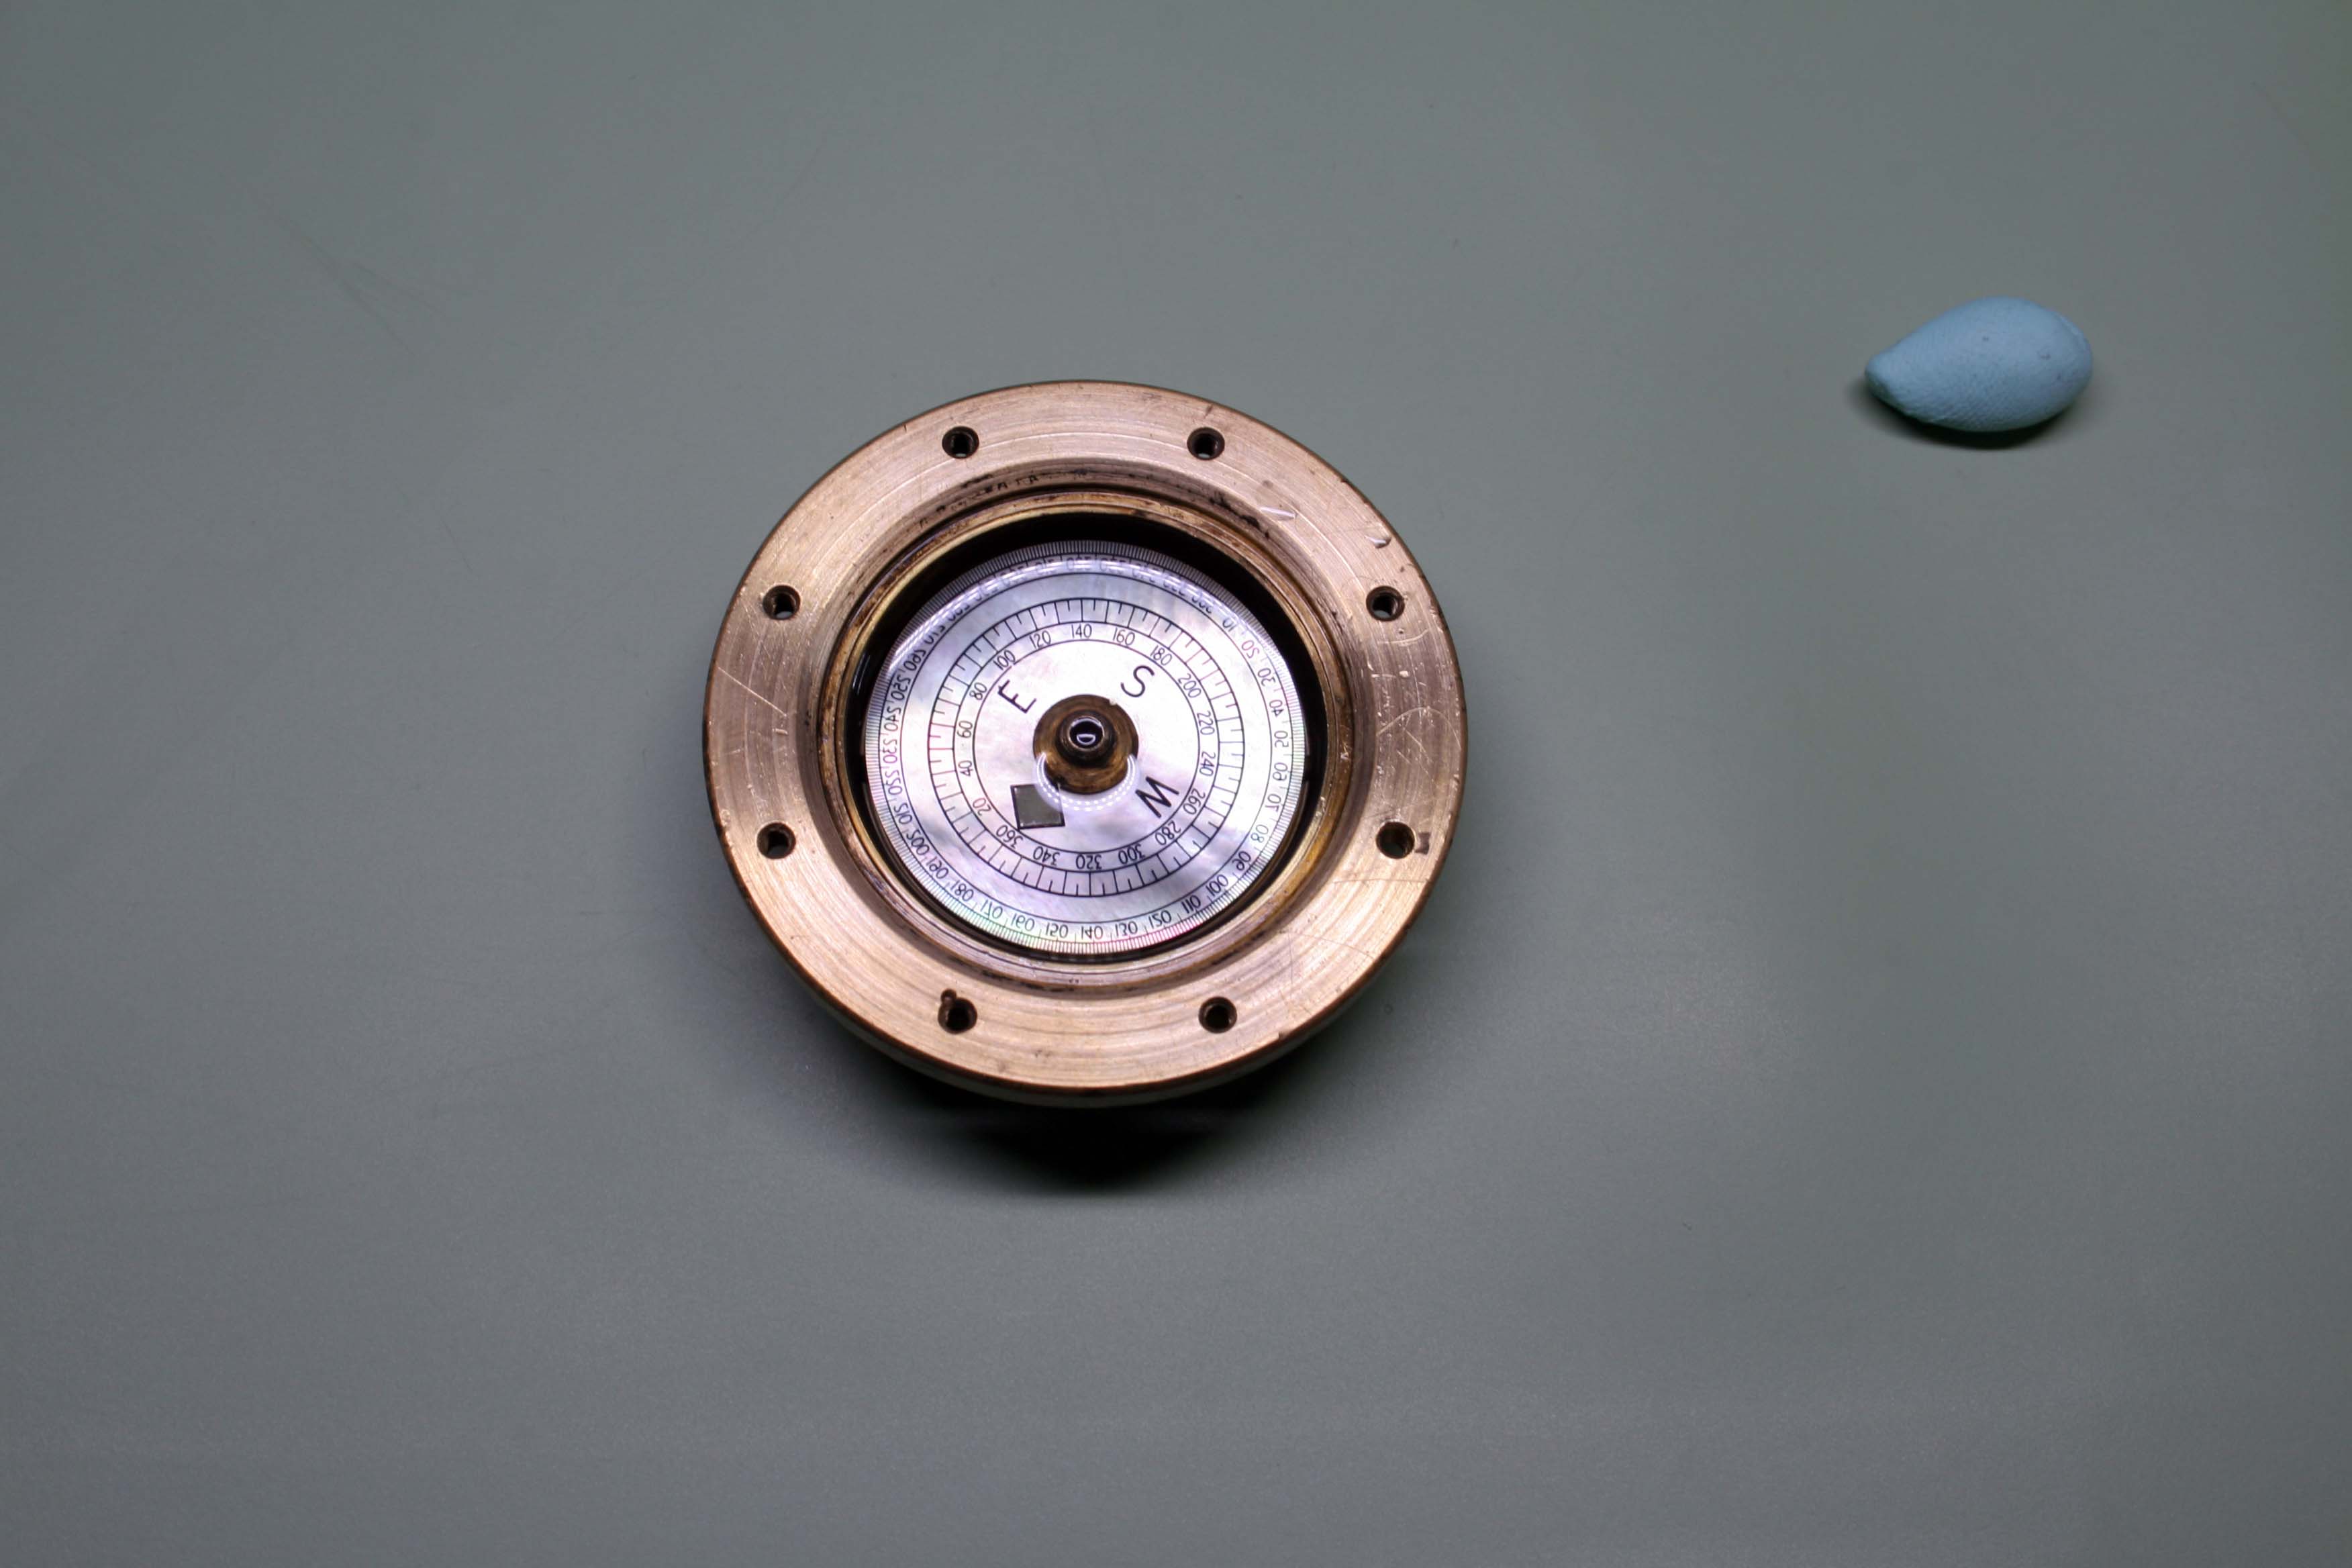
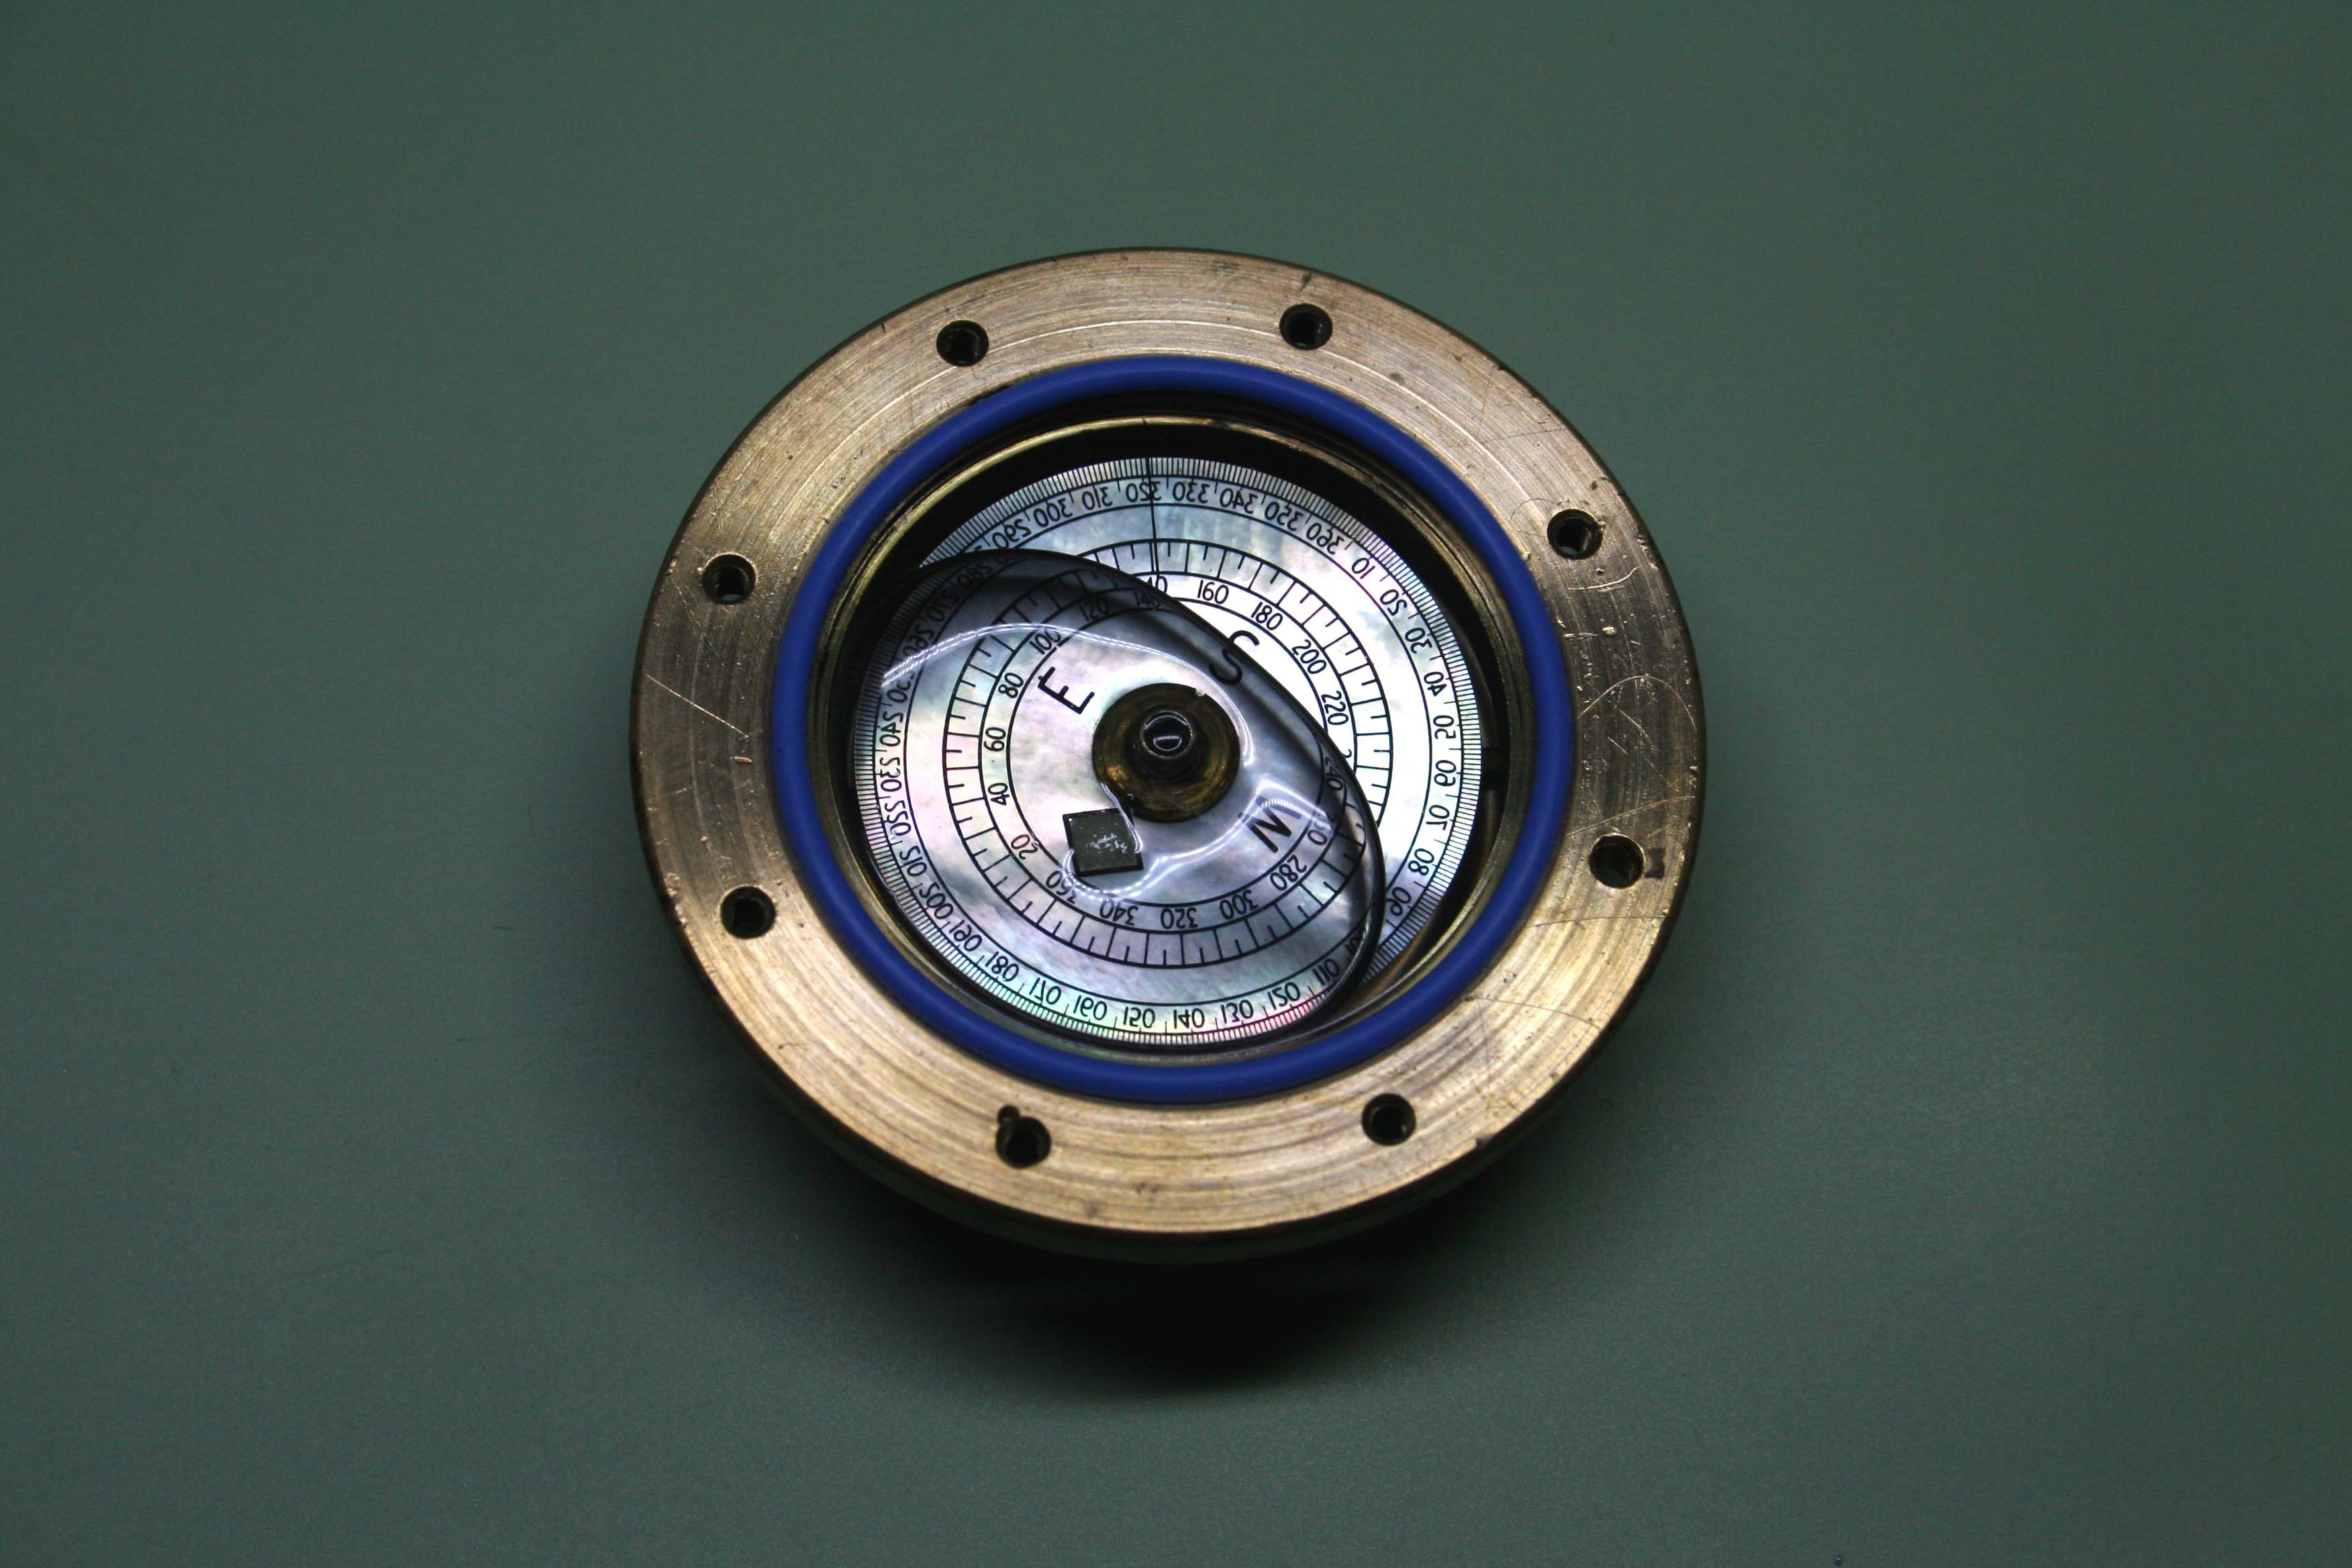
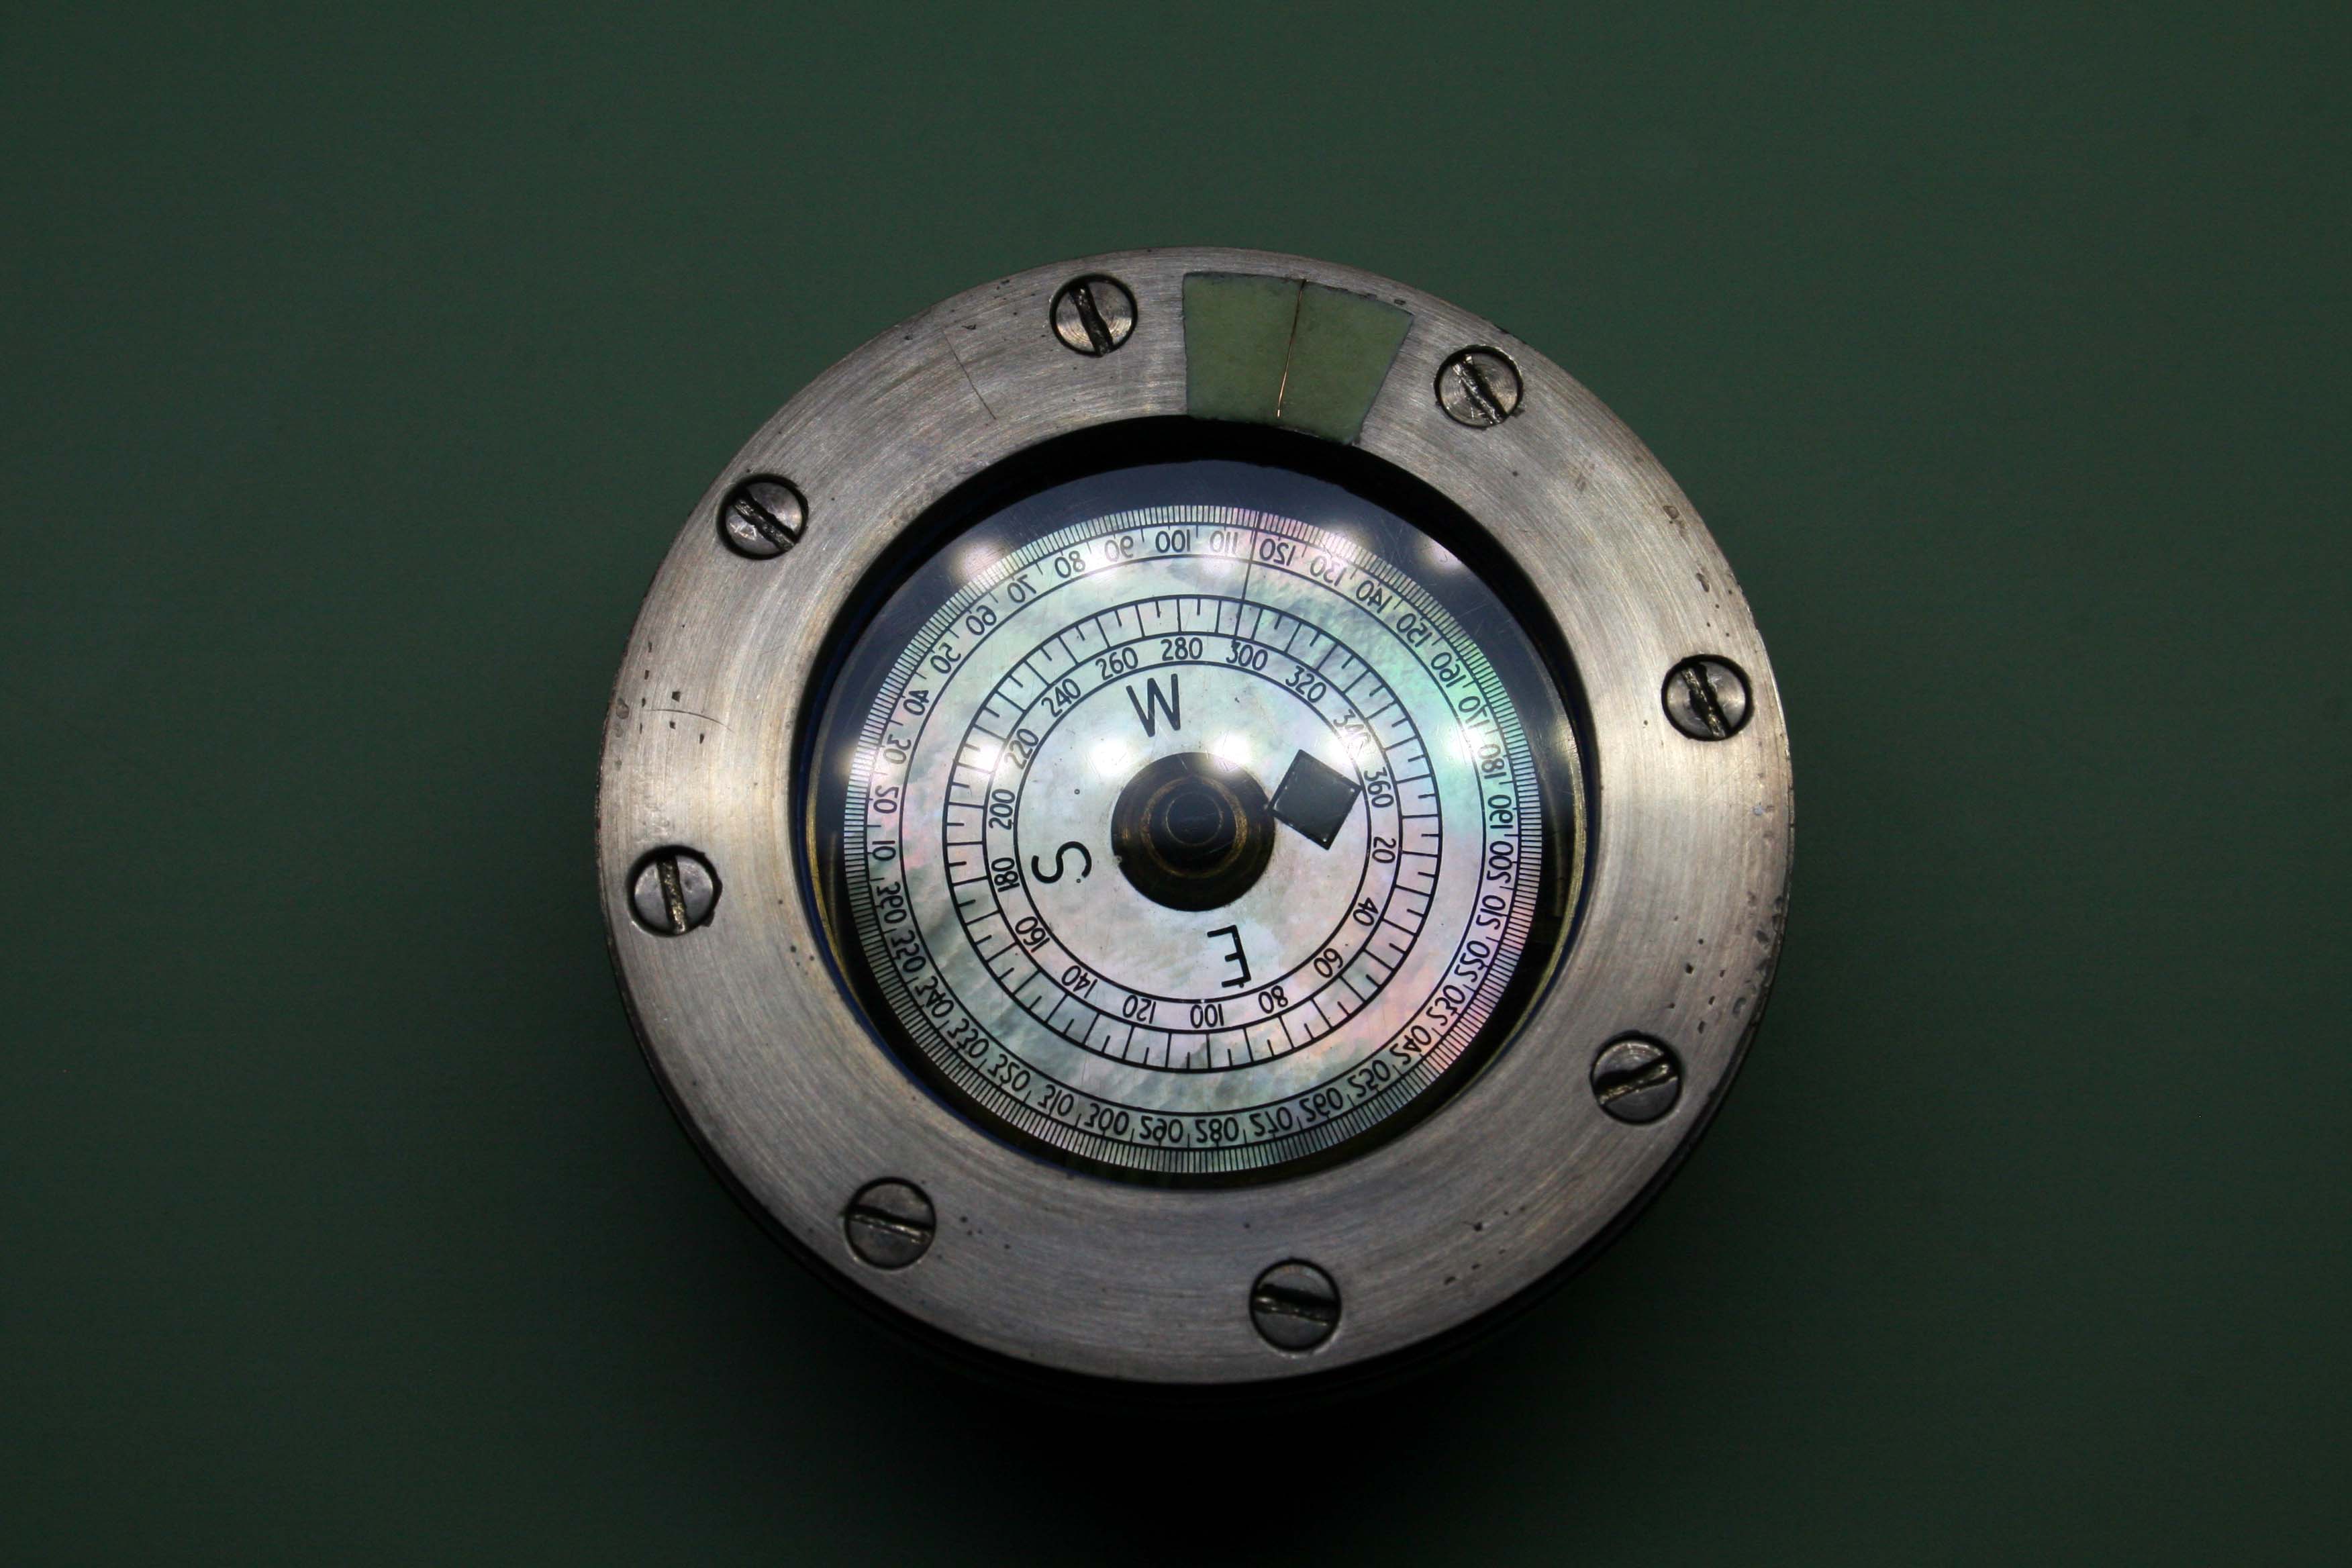
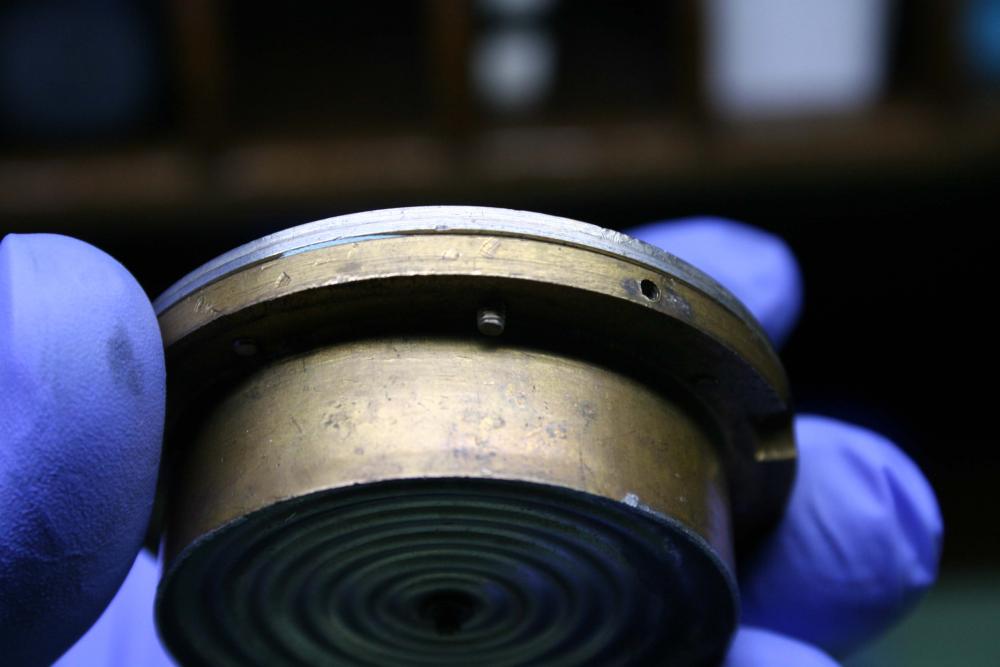
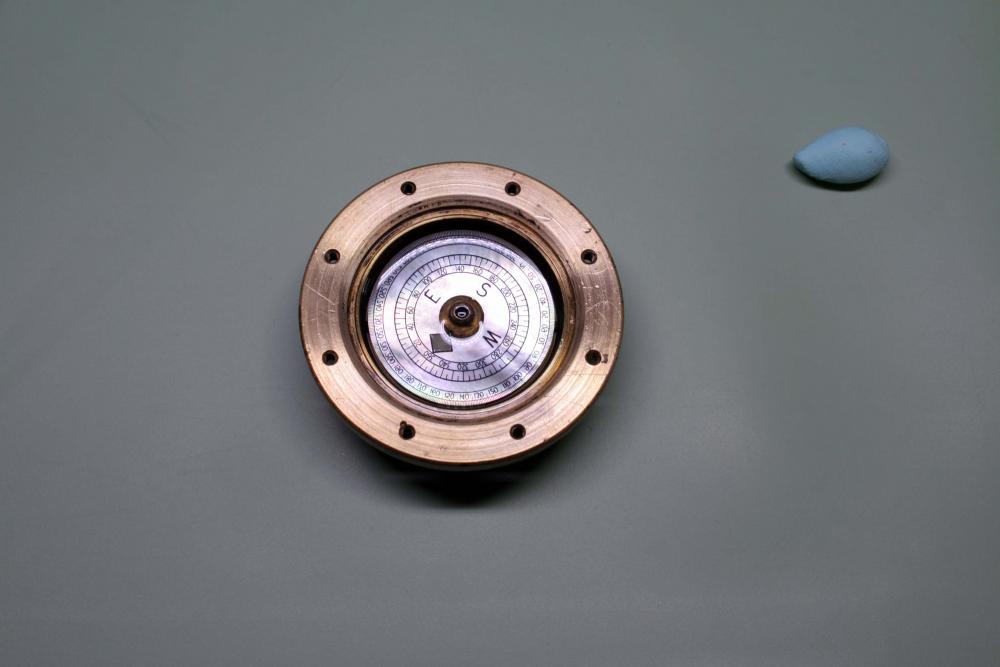
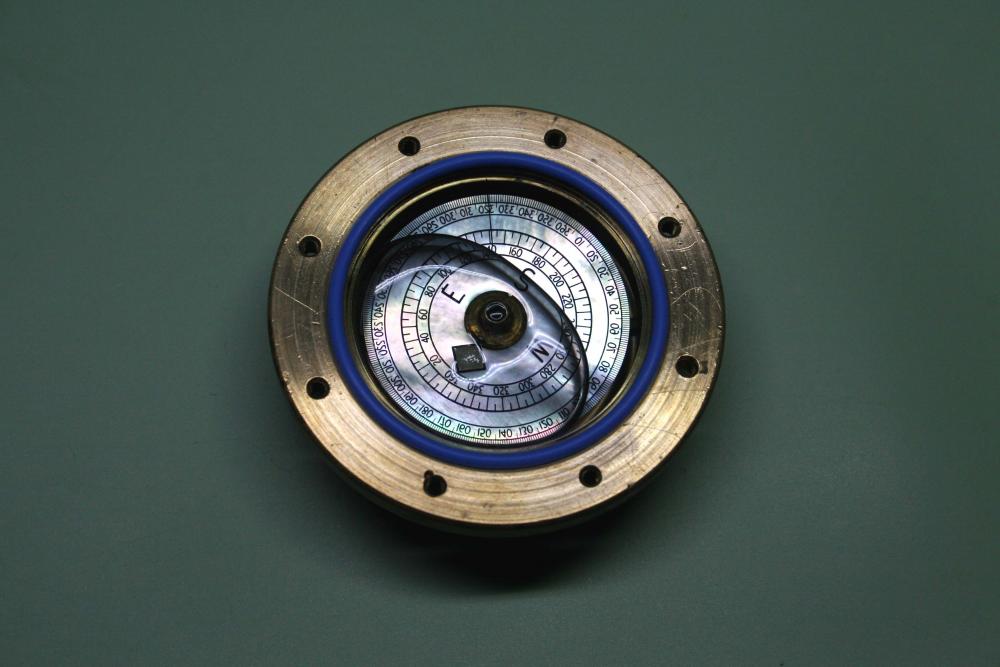
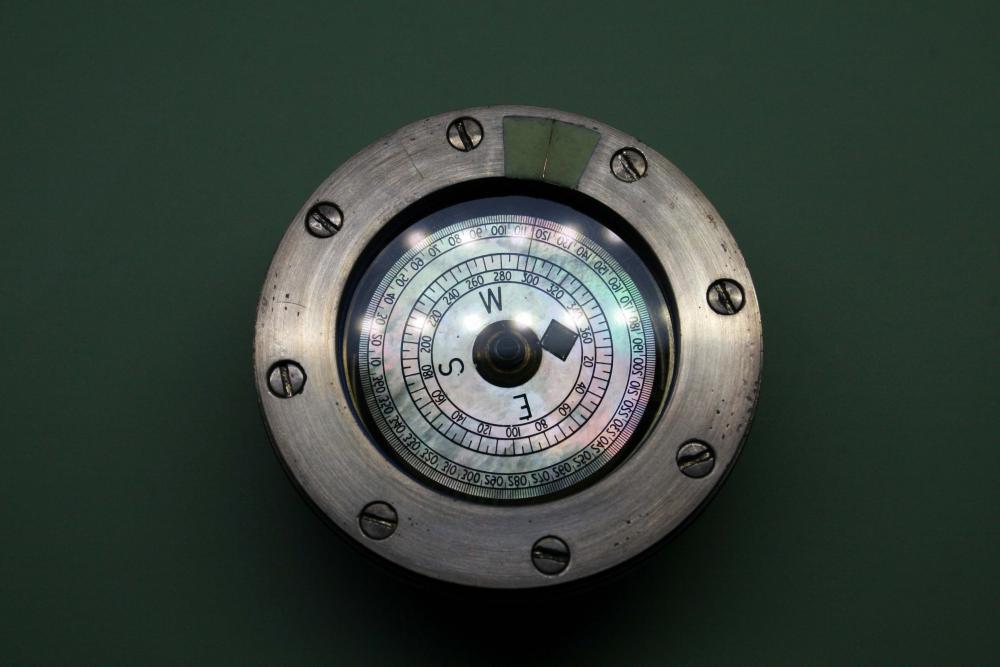
Thanks for the support! Well I received my alternate light sources in the post the other day and set about applying luminous paint and tritium tubes where needed. The compass was originally painted with radium in five different locations. Radium paint glows all the time without need of recharging under UV light. Tritium does the same but it's not quite as bright as radium paint and since it is also radioactive tritium is now kept in small glass tubes. I installed the tritium tubes under the compass card and on the large crystal which is set in the bezel. The luminous paint was applied to the compass card, and the marker on the bowl lid. I was on the fence about whether or not to use tritium throughout but felt the tubes would be too distracting and opted to hide them where possible. Below you can see the four tubes which were installed in the tray beneath the compass card. Originally the tray would have been painted with copious amounts of radium paint. The luminous paint used is a Europium based paint from a company called United Nuclear. I've not used it before but opted for their product since you can get a course grain base powder which emits a brighter light. Below you can see the compass card with the north marker now painted with Europium. In a test run, I filled the compass bowl with purified kerosene and secured the crystal and lid with all eight screws. These have to be torqued in much the same way you would torque the bolts of a cylinder head. Satisfied that the flourosilicone gasket was doing it's job, I reopened the lid and installed the compass card before topping off the kerosene. The large bubble was dealt with after rescuing the bowl lid. The compass was filled to the brim using the filler hole on the side of the bowl. This turned out to be quite a job because even though I had a syringe for filling the bowl, kerosene doesn't play nice with rubber and the piston in the syringe was made of rubber. Whenever the kerosene mades contact with the rubber it would expand and seize up. I went through three syringes before getting nimble enough to ensure the kerosene never contacted the piston head. With the bowl filled completely I tightened down the filler cap and sent the bowl on end. Here it will stay for a few days to allow any air bubbles to appear and also ensure the gasket continues to hold.
 1 point
 -
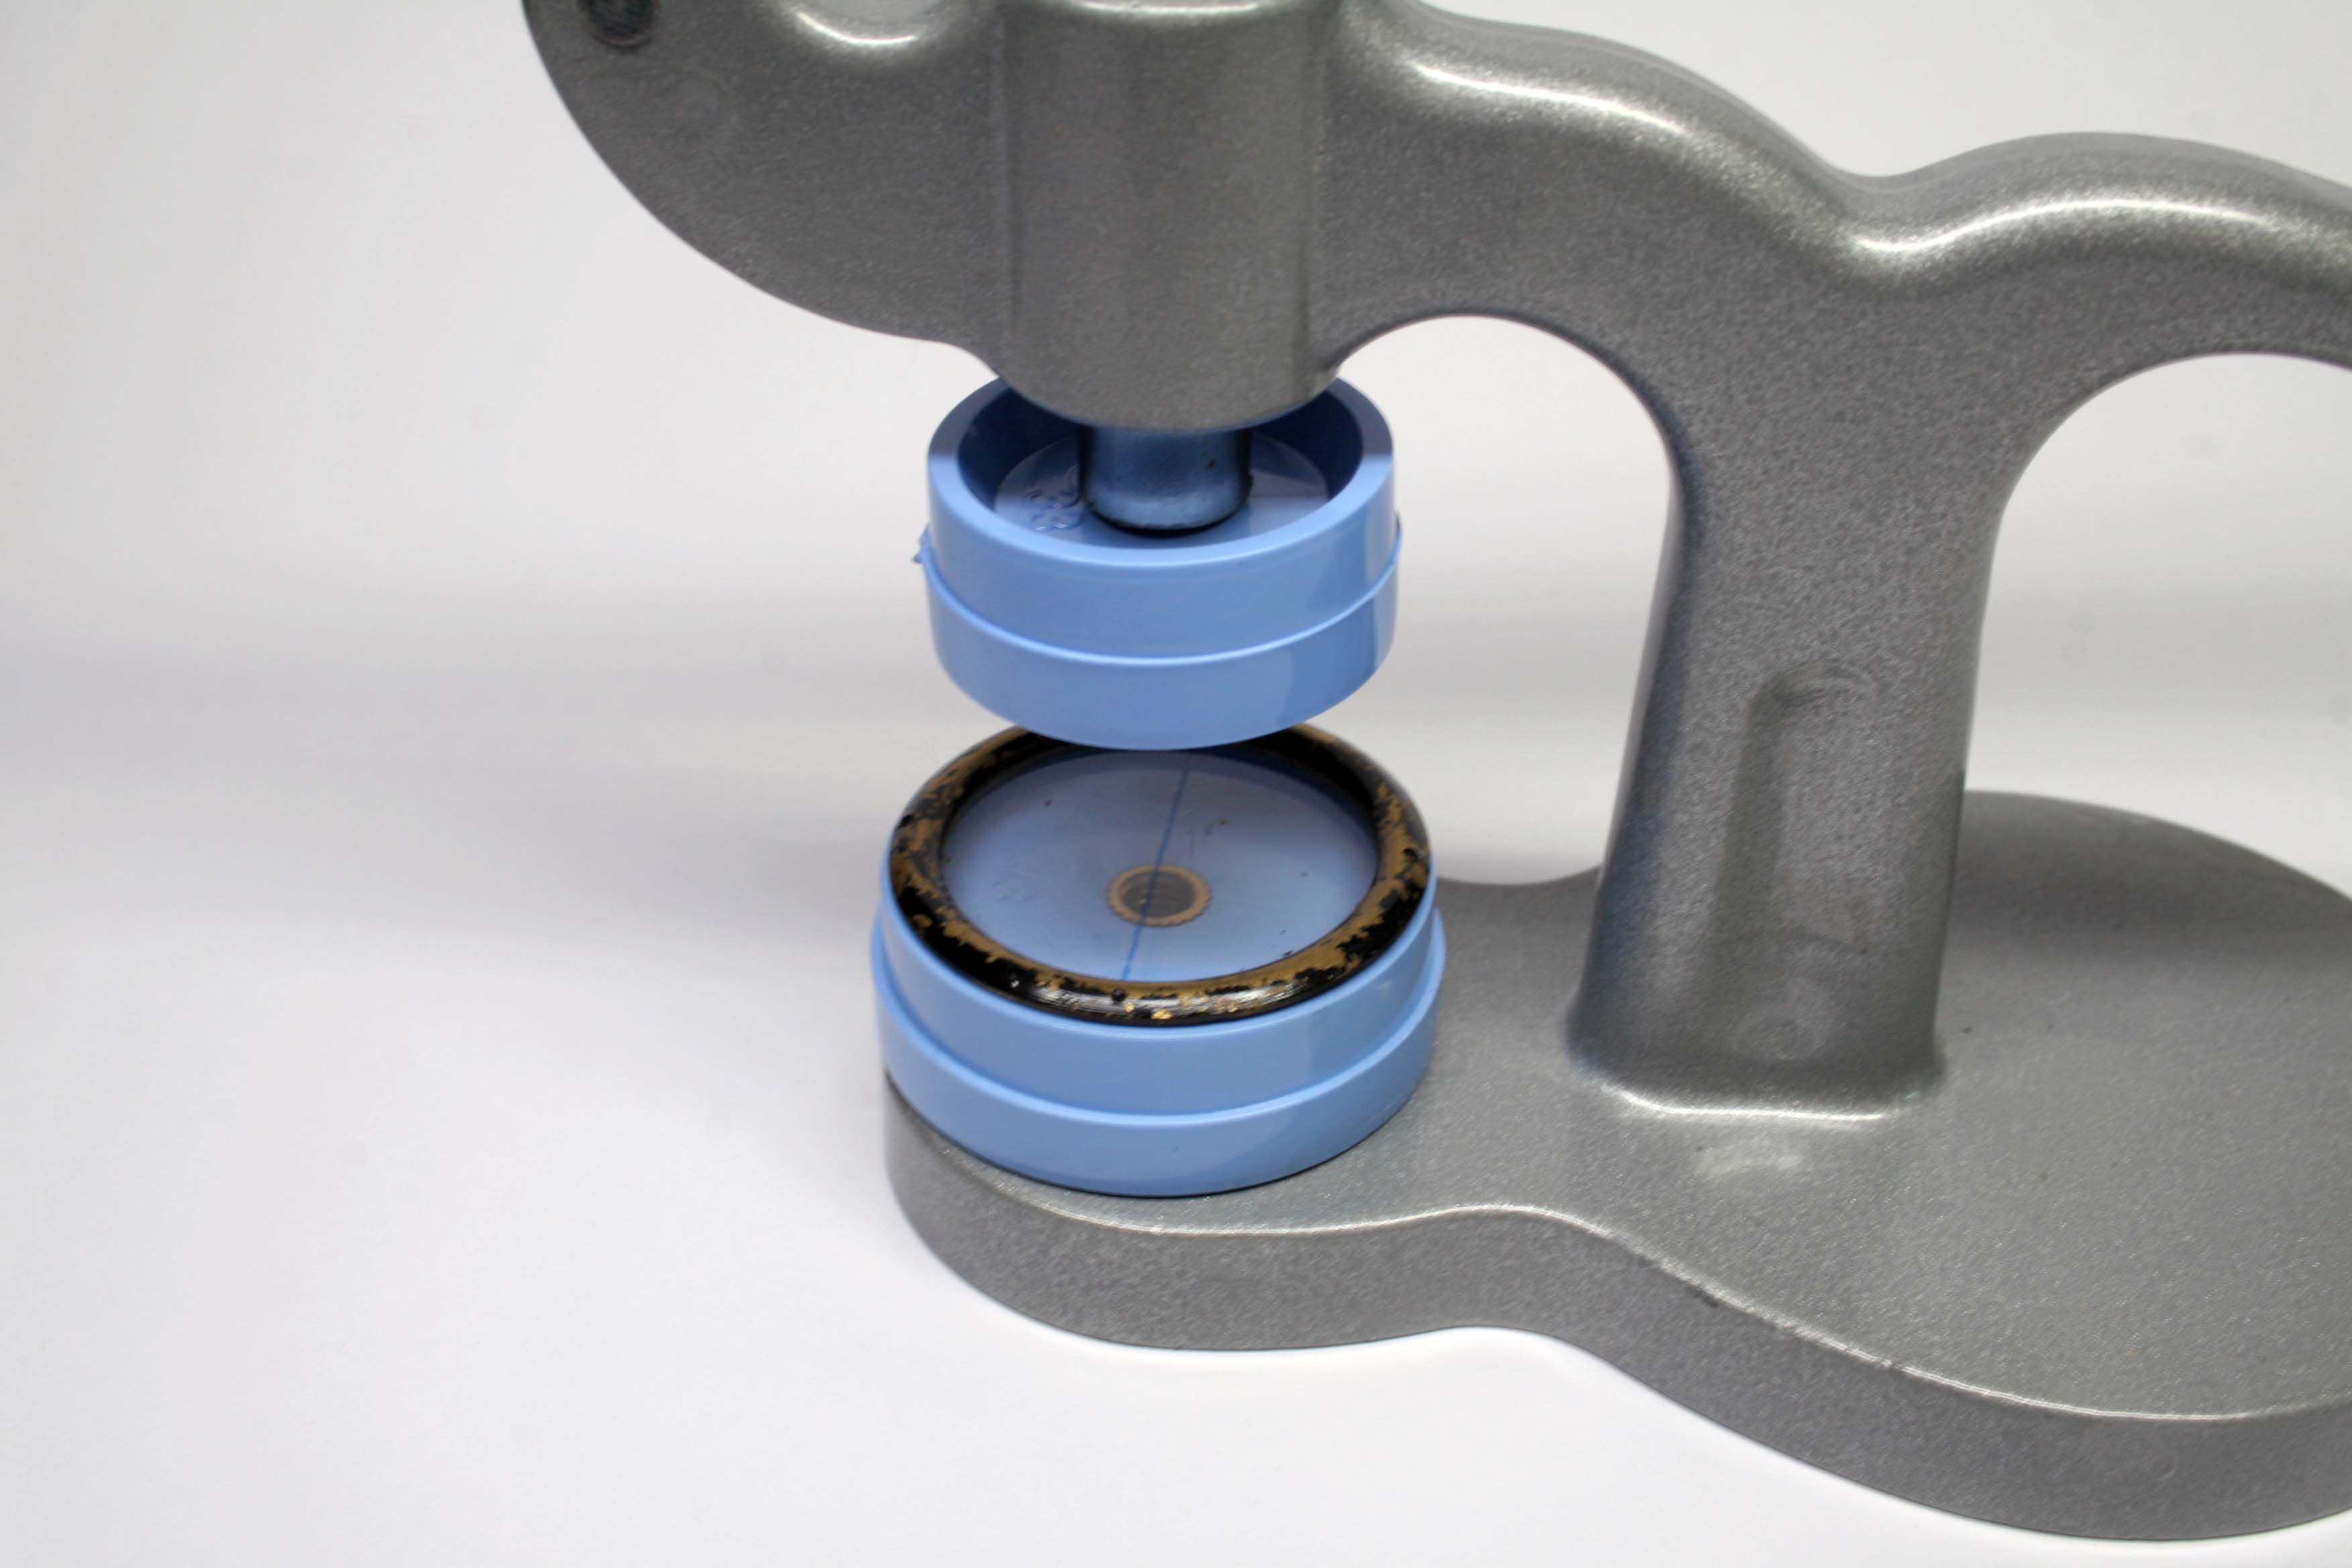
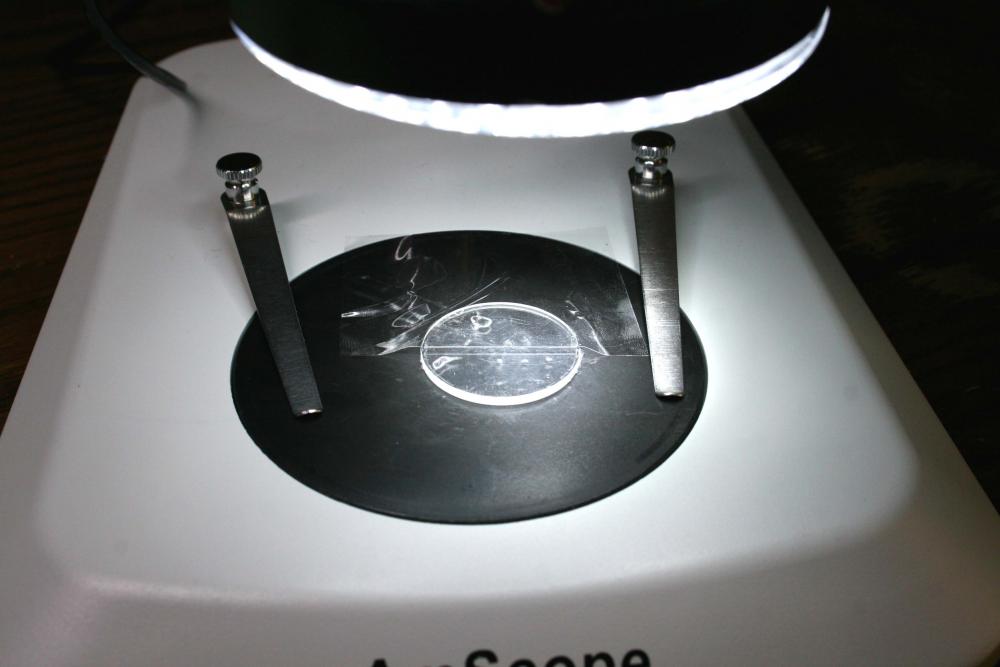
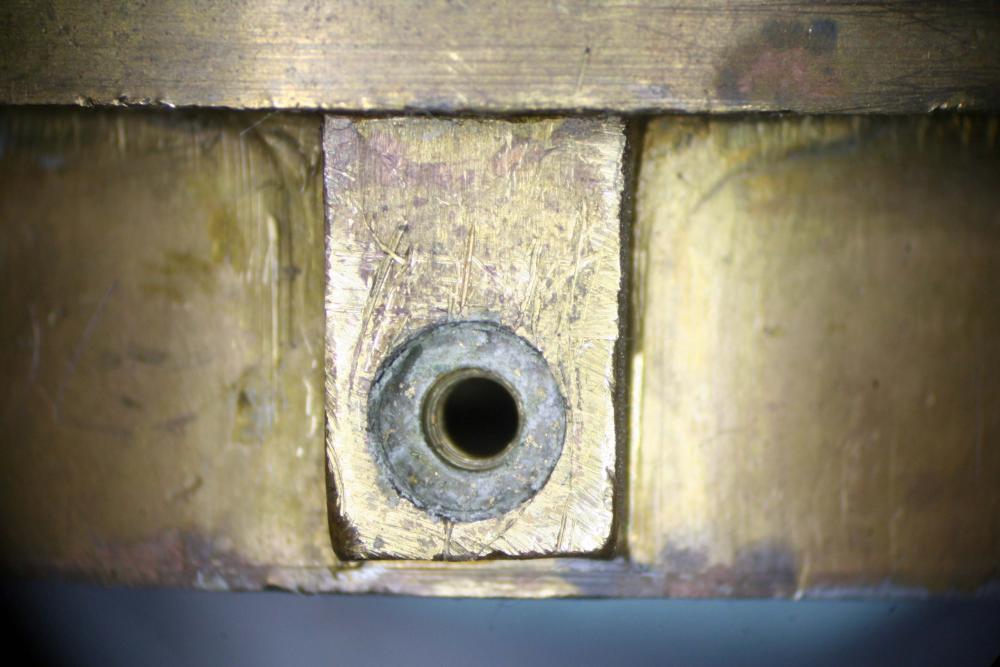
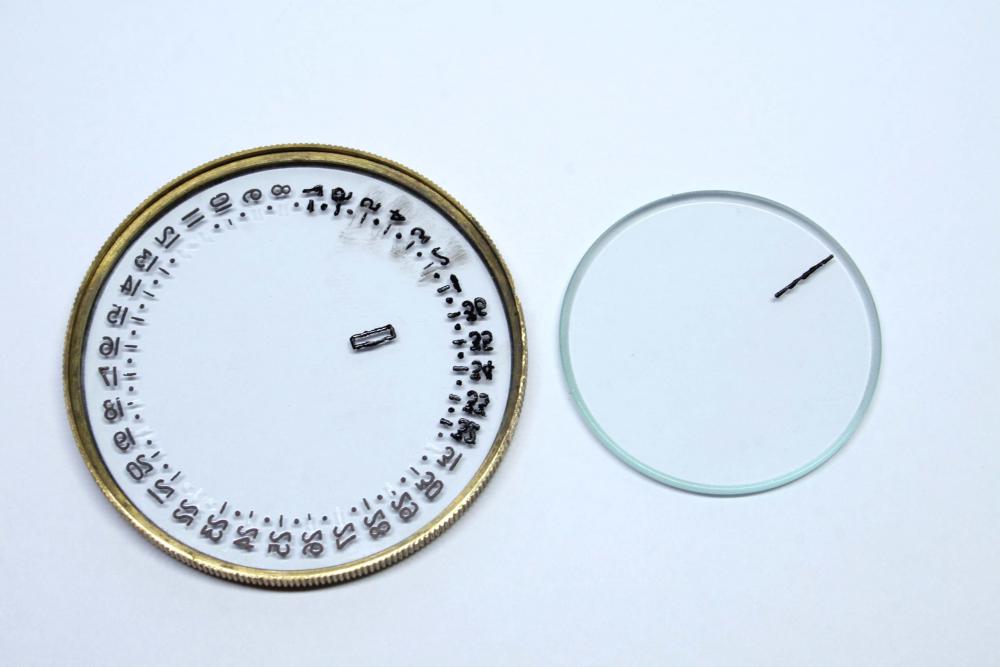
Update on the compass project- After stripping the case clear of paint I found that I forgot to strip the brass ring containing the top crystal, so the crystal was pushed out with the press and the ring stripped of paint. For whatever reason this particular part was not plated prior to painting but was simply black paint on brass. All the parts where then primed and painted with black lacquer. I tried to match the original look by selecting a semi-gloss but kind of wish I'd gone for a simple flat black. Regardless, I'm sure it will look fine in the end. I'll allow the lacquer to cure for a few days before repainting the markings on the exterior of the case in white. Setting the parts aside to let the lacquer cure, I returned to the compass bowl which had troubled me as the filler plug was secured quite well. A good soak in thinner and a proper sized screwdriver eventually freed the plug from the bowl. The fiber gasket was soaked with varnish as well and needed to be coaxed carefully from filling hole- I'll need to find a replacement that is just the right size. Below you can see the gasket still tightly glued in the hole. Lastly I turned my attention to the crystals. The crystal for the bowl was badly stained but this cleaned up with a bit of Dialux compound the rotary tool. Sadly the lubber line had become a bit faint during cleaning. The same happened with the degree markings on the rotatable crystal. Since the degree markings and lubber line are etched into the crystal, I simply needed to fill the etchings with a bit of black enamel. When the enamel dries, some thinner and pegwood will be used to remove the excess from outside the etchings. The crystal for the case lid was chipped and didn't survive being pushed out of the ring so a replacement was ordered yesterday. I also ordered a couple tritium tubes to replace the luminous radium paint. More to come soon.
 1 point