
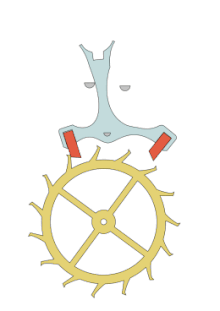
Balance staff installation


-
Recently Browsing
- No registered users viewing this page.
-
Topics
-
-
Posts
-

By Neverenoughwatches · Posted
Hmmmm nice Mike , the Vertex was very popular over here, the brand was relaunched not so long back by the grandson of the guy that had a lot to do with their sales here. Nice Dennison case as well, whats the dial matey. -
By BFernandes · Posted
It varies from 180 to 140. Sometimes 130. -
 I too have a cal 59, but it's in a gold case with no movement ring. What I'd do is look for a job lot of movement rings on ebay, and tweak one to fit. They are easy to cut and bend, and you don't have to be exact on diameter as there is a cut out for the stem
 -

By Michael1962 · Posted
Well today was the day that we loaded the last stuff that we are getting rid of into a big skip that we hired to get rid of the spa bits. I pulled down my hanglider from storage in our garage and out with the spanners. The sail and some stuff that is not salvageable is all in the skip. The aluminium tubing and stainless brackets have all been reclaimed and have been stored. Why? I have been struggling to find the tubes that were demonstrated with the Joe Collins winder on YT anywhere, so I presume that they were made to suit. I haven't really been able to find any tube that I could use. I now have a plethora of tubing that is not just plain aluminium, but is aircraft grade aluminium and is a fair bit tougher. Different diameters as well so that is a bonus. Doesn't cover all the diameters of a set of spring C clamps, but beggars can't be choosers. I have already worked out what I am going to use some of the stainless for. I will attach it to my clock movement testing rig so I can then use the light gauge pulleys and ropes that I salvaged to set up a way for the clock movement rig to be pulled up to the ceiling when not required. I also have to route out some holes in the side panels of the rig so that pendulums can swing and so that I can see into the movements from the side. I really must take some other photos. -
By Neverenoughwatches · Posted
I really like these adjustable winders, in particular the multiple choice of arbor sizes within the same winding nut. Mine are the Star brand but that is more than likely just a retail name. If you find the spring ends snapping from slot to slot then just release some of the tension, let the spring unwind a little and then feed the end in by hand. A drop of oil on the insides of the prongs and ease off the edges of them makes them less harsh, but no personally i would leave the arbor hooks alone, try backing them out where the spring isn't so tight as it is at the very end, I've had the hooks release completely this way.
-


Recommended Posts
Join the conversation
You can post now and register later. If you have an account, sign in now to post with your account.
Note: Your post will require moderator approval before it will be visible.