Jump to content

Recommended Posts

Posted

OK, once assembled, there is not enough power to drive the chime side.  These electric clocks wind a mainspring, kinda like an autowind on a watch I suppose. The springs slips when it gets to some amount of tension.

I did not open these barrels up because it does not look like these wheels/barrels are designed for maintenance.  Thus I did not clean the mainsprings or even inspect them.  Here are a couple of pictures from the previous repair.

This clock is gonna kill me.

2022-03-16 16_55_43-IMG_8028.JPG ‎- Photos.png

2022-03-16 16_55_29-IMG_8027.JPG ‎- Photos.png

Posted


Well, once I learned how the autocorrect works, I opened up the other clock that I had fixed to make a slight adjustment.

Bad news.  The wire on the motor was so frail that they broke off.  Motor is dead.

These Sangamo motors are long since gone.

I could retrofit it with a modern motor using PWM control to get the right speed.  I will ponder this.  A long term project.


Posted

Yesterday I discovered that the chime spring just could not drive the hammers.  Ugh!!  The hour chime seemed robust.  Lacking any other strategy, this morning I switched the springs.  This is only about the sixth time to tear down and rebuild!!  With the springs switched, the chimes seem to be working now.  It is in testing now...we shall see how it goes.

I wish I had a dozen more of these to work on now that I understand everything about assembly and calibration.

In yesterday's search I found a guy in the US who repairs these things.  He charges $1200.  I can understand why!!!

  • Like 1
Posted

Hi LWS  the chine spring is always the stronger of the two , It has more work to do. when dismantling three train clocks always label the barrels, and if removing  springs for cleaning do them one at a time and put them back in the barrel before moving on tho the nex one to avoid mixing springs and barrels.  You will be the expert now.

  • Thanks 1
Posted

With a strike or chime always have the correct number of tubs to put the parts in, that way you won't muddle things up. The chime spring is always stronger and you will find the barrel bigger and so will the arbor, on the strike and going sides quite often the complete barrels are the same size. Always best to mark them with something that doesn't leave a permanent mark. 

  • Like 1
Posted
4 minutes ago, oldhippy said:

 Always best to mark them with something that doesn't leave a permanent mark. 

Most of the time the clocks I see the barrels, lids, and train wheels are already marked by a previous repairman... usually with HUGE deep scratch marks 😅. If I need to mark them I do it as you say, in a non permanent way, or just keeping them separate during cleaning.

  • Like 1
Posted

I am still having fits with this. Yes, with the springs in the correct places, the chimes do have more power...but not enough. These springs are designed to slip since they are constantly being wound be the electric motor. There is an auxiliary winding mechanism using a key.

last night, I disabled the chimes which takes the load off of the chime train which allows each quarter hour to cycle properly. My theory here is that the spring will find its natural equilibrium. May be just hocus locus thinking...dunno. It may simply be that the spring is old and weak. I see no way to service it, as it appears to be a sealed unit.

this morning I will see if my abracadabra worked.

Posted

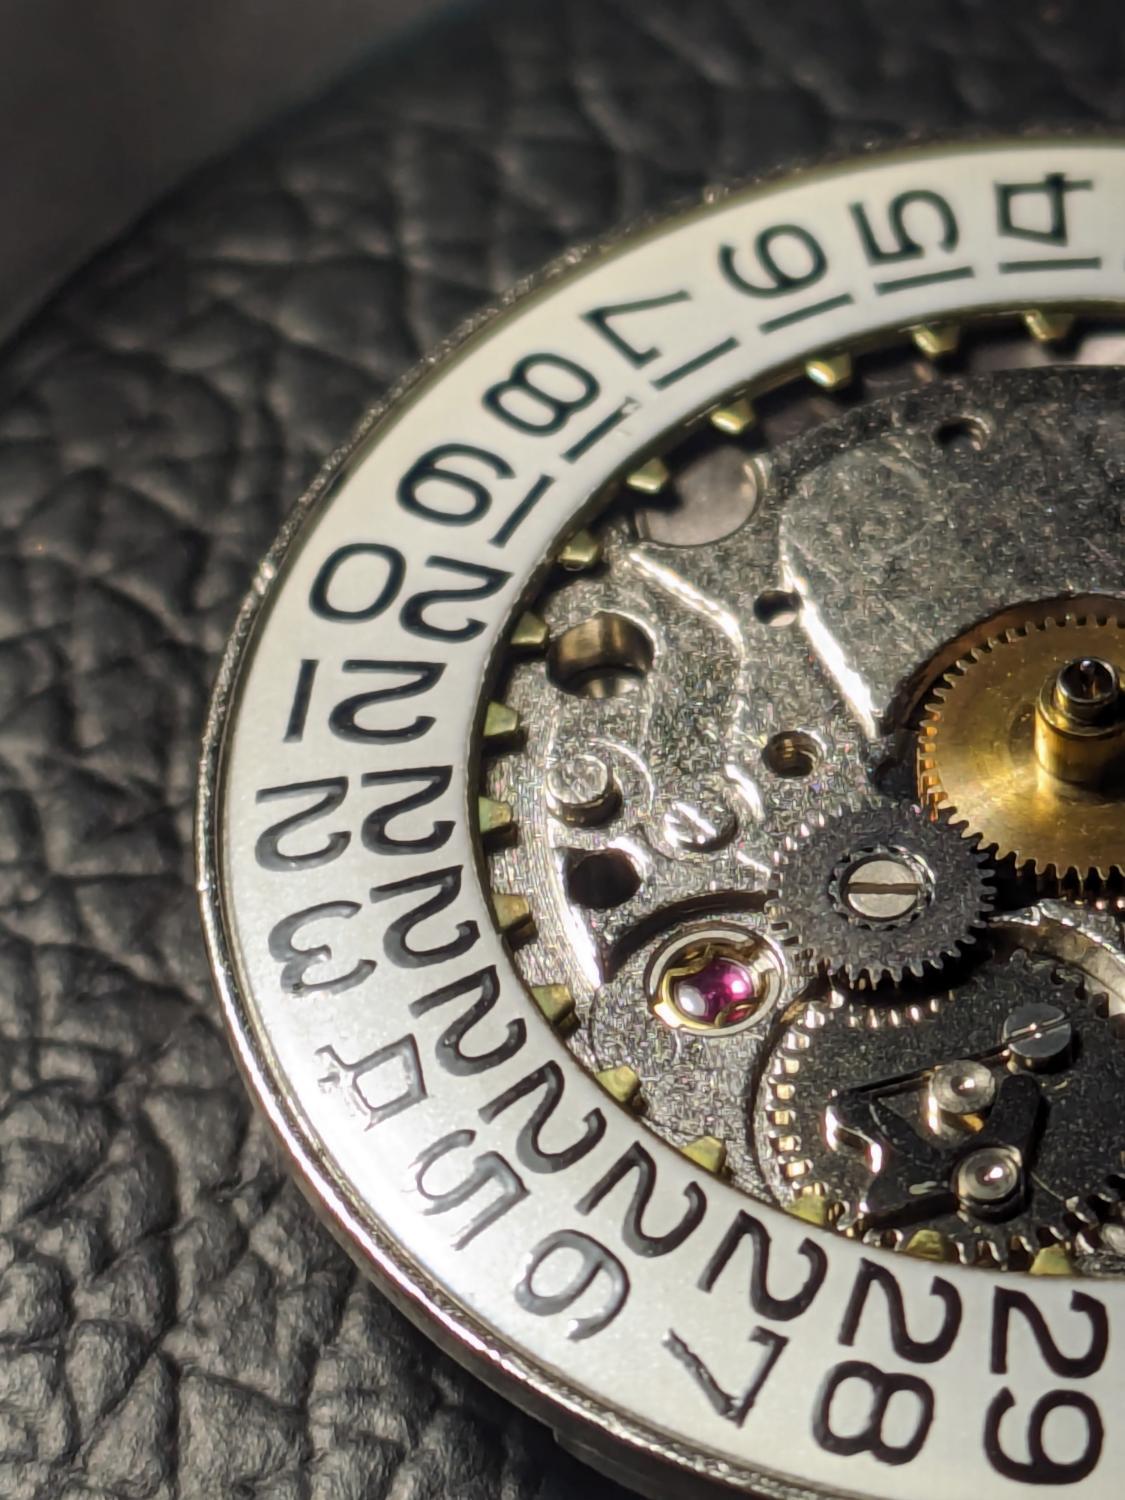
Well...not there yet.  I noticed that the chime has trouble starting, but once started, it goes fine.  I noticed that one of the wheels in the train was "bumpy" in that I could do an end shake test and it would kind of lock in two positions is if there were a bump the pivot was riding over.  Here are some microscope pictures.  The pivot hole is not a great picture, but it definitely has some discontinuity.

I can polish the wheel pivot easily enough on the lathe.  What is the best approach for the hole.  Broach it???  I do not want to re bush it because I have not done this before and dont want to practice on this clock.

While I am at it, I am going to polish all of the pivots in this train.

2022-03-18 09_07_13-IMG_8281.JPG ‎- Photos.png

2022-03-18 09_07_28-IMG_8280.JPG ‎- Photos.png

2022-03-18 09_07_35-IMG_8280.JPG ‎- Photos.png

Posted

More data.  Here is the bump.  The pivot does not have to pass through the hole completely.  As a result, there is wear on a portion of the hole in the direction of the force on the pivot.  Not certain this is a problem.

2022-03-18 09_33_06-Drawing1 - Microsoft Visio.png

Posted

OK, I polished the pivots and cleaned up this bushing--very gently.  It was good to do but that was not the problem.  Just the slightest resistance from the stop lever cam wheel.  Ugh...these are quite tricky to tune.  I think I got it now though.

  • Like 1
  • 2 years later...
Posted

Following up on this old thread.

I bought another one of these clocks on ebay (I just love these old electrics with Westminster chimes).  Did a full disassemble and clean and had the same issue with the chime not having enough strength.  Well, since the last one I serviced, I learned how to disassemble the MS barrels.  I guy on the NAWCC forum had done it.  The picture I am attaching is from him (I did not take pictures).  So, I took this clock apart again and disassembled the chime barrel.  Oiled the spring, and reinstalled.  Wow, it made a world of difference.

I would say this is the most complicated horological unit I have ever worked on.  Complicated, because there are five different things that must be calibrated...one of which must occur while assembling the plates.  While I have worked on more complex watches (alarm watches), there is no calibration beyond setting the hands.

2023-04-01 10_09_44-My First Seth Thomas Electric _ NAWCC Forums — Mozilla Firefox.png

2023-04-01 10_09_52-My First Seth Thomas Electric _ NAWCC Forums — Mozilla Firefox.png

  • Like 2

Join the conversation

You can post now and register later. If you have an account, sign in now to post with your account.
Note: Your post will require moderator approval before it will be visible.

Guest
Reply to this topic...

×   Pasted as rich text.   Restore formatting

  Only 75 emoji are allowed.

×   Your link has been automatically embedded.   Display as a link instead

×   Your previous content has been restored.   Clear editor

×   You cannot paste images directly. Upload or insert images from URL.

  • Recently Browsing

    • No registered users viewing this page.
  • Topics

  • Posts

    • Well, my fundamental stance is that I want to go in and out without leaving any trace other than a shining, perfectly running movement. So, no scratchings on the inside of the case back lid, no marred screws, no debris, no fingerprints, and so on. That is, my goal is to make it impossible for the FBI to track me down. As a professional, I suppose you might want to keep track of returning watches, but as @JohnR725 mentioned, we can keep detailed computer records without marking the watch at all. That may not be true for every watch, but luxury and COSC-certified movements do have unique numbers. John also says it’s best to leave no sign you were ever there, and I couldn't agree more. Now, suppose the Sea-Dweller I'm working on is one day scrapped, and you want to sell the case-back separately (perhaps the case was destroyed in a plane crash). Then the scribbles on the inside no longer reflect the current movement inside the case. Also, the engraving will likely halve the market value of the case back. It had been "sleeping" for about a week and a half. Yes, the "debris/old lubricant" theory is my hypothesis as well! It will be interesting to see what I find once I have time to start disassembling the movement.
    • I've repaired a few of these, having some success with stripping and cleaning the mechanism.  They are so cheap though, its hardly worth the effort in many cases.
    • Get well soon Old Hippy, torn muscles.,  not good
    • Id love to see how he has the output shaft mounted to this setup, as I have the same rotary stage and stepper in my build.
    • If you see at least one thread protruding, or even a half, then you may have a chance using this "tool", but don't squeeze hard. Lot's of patience, and if you notice any signs of loctite or other adhesives, then apply several drops of acetone on top of broken stem. Use heat (hair dryer) also. You should be able gradually turn it counterclockwise, just like i did on this broken Timex stem, which was glued with something like nail hardener. Then you can use an extender to save your broken stem. https://m.media-amazon.com/images/I/513DVvkfW5L.__AC_SX300_SY300_QL70_ML2_.jpg   You can also try cutting a small grove / slot on top of the broken stem to use 0.7mm flat screwdriver.   Depending on the Crown material and Stem material, you can try dissolving the stem. 
×
×
  • Create New...