Jump to content

Recommended Posts

Posted

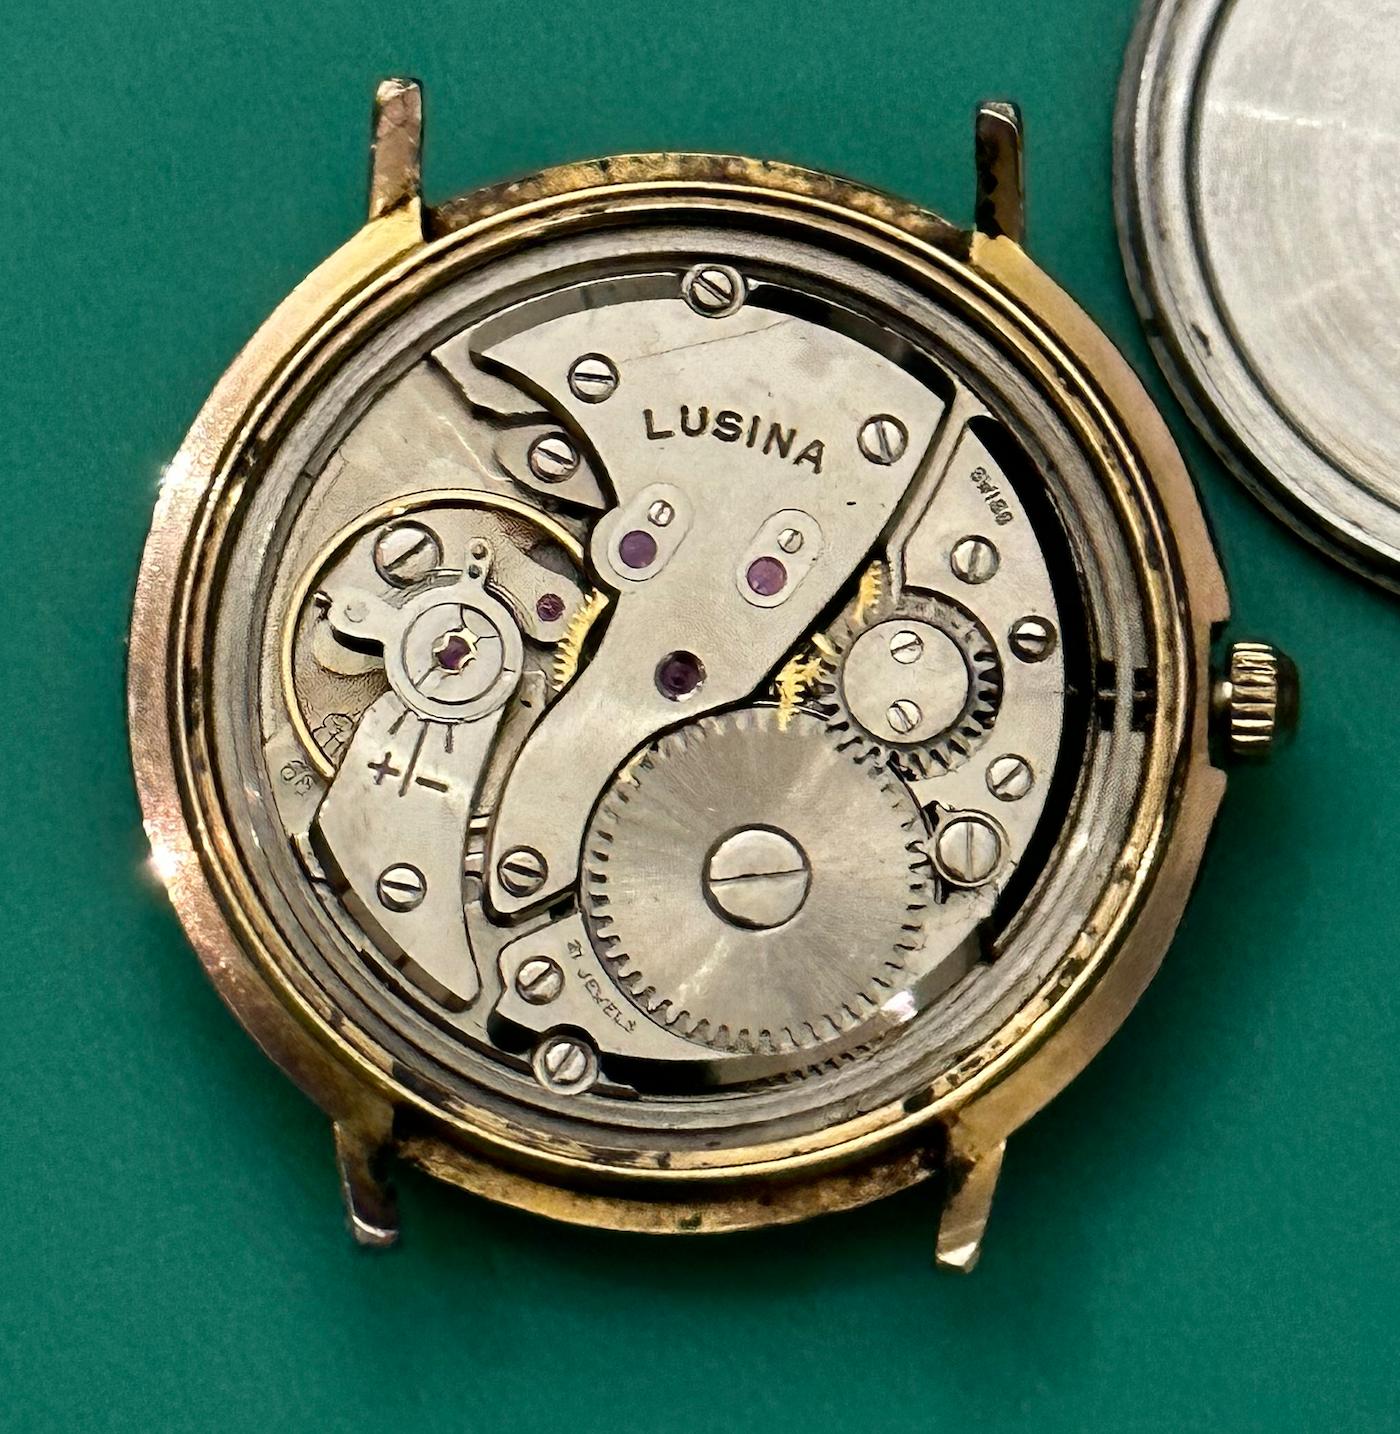
This hole accepts the screw that holds the balance cock.  The threads are stripped.  Gotta wonder how that happened.

This is far more serious than the Lorsa thread issue I posted about last year.  I do not think closing with a domed tap will be enough.

Also, the cock may not allow a larger diameter screw unless I open the hole in the cock...maybe that is what I will have to do.

Thoughts/

IMG_8222.JPG

IMG_8223.JPG

Posted
  On 3/6/2022 at 8:39 PM, LittleWatchShop said:

Thoughts

Expand  

I would try a bit of closing hole first.  If absolutely no holding to the screw, you will need to drill the hole bigger, fit a brass plug, then tap it for the original screw.

I don't know what the book says but having one I would do all that on the lathe with faceplate fixture to hold the plate, enlarge the thread hole, drill the plug, and tap it with the tailstock as a guide.

Posted
  On 3/6/2022 at 9:30 PM, jdm said:

I would try a bit of closing hole first.  If absolutely no holding to the screw, you will need to drill the hole bigger, fit a brass plug, then tap it for the original screw.

I don't know what the book says but having one I would do all that on the lathe with faceplate fixture to hold the plate, enlarge the thread hole, drill the plug, and tap it with the tailstock as a guide.

Expand  

This sounds like a fun lathe project.  I do not have a faceplate fixture...not even sure what that is, but I will do some googling.  In the mean time, I made find a donor watch...you know...worst case scenario!

Posted
  On 3/6/2022 at 9:30 PM, jdm said:

I would try a bit of closing hole first.  If absolutely no holding to the screw, you will need to drill the hole bigger, fit a brass plug, then tap it for the original screw.

I don't know what the book says but having one I would do all that on the lathe with faceplate fixture to hold the plate, enlarge the thread hole, drill the plug, and tap it with the tailstock as a guide.

Expand  

That’s exactly what I was thinking. Needs to be spot on target and the faceplate holder will do that. 

Posted

Oh and I assume you have the Elgin tap assortment? One of the things nice With Elgin once had was a small box of all of the taps for the various screw sizes they had.


Posted
  On 3/8/2022 at 9:58 PM, LittleWatchShop said:

Hoping it turns true.

Expand  

You do know that it doesn't actually have to turn true don't you? In other words the Centering pin that comes in the backside really doesn't have to center. There's other ways to Center things on the faceplate like the thing I always find the peculiar name you use a wobble stick. There is a term you can look up then you don't need the thing that's in the backside and then he can also be absolutely sure you're running true.

Posted

Well, what I mean is...the holding disk is perpendicular to the collet. if it is manufactured correctly...a good assumption, then all is well. but, if it were dropped or otherwise mistreated, then it might wobble. once i get it, i will return for guidance.

Posted
  On 3/8/2022 at 9:58 PM, LittleWatchShop said:

Bought one on ebay. Hoping it turns true. Will see when it arrives. Excited to learn something new.

Expand  

It arrived today.  Beautiful...should work great (not "user" proof though...lol).

QUESTION

How much greater than the screw diameter should the bushing diameter be?  If the screw diameter is 1mm what should the diameter of the bushing be?

Posted
  On 3/12/2022 at 12:45 AM, LittleWatchShop said:

How much greater than the screw diameter should the bushing diameter be?  If the screw diameter is 1mm what should the diameter of the bushing be?

Expand  

I'm no machinist, but I would shoot for a similar excess diameter as the brass jewel settings have around the jewels.  That seems like plenty, and it would keep the visual appearance consistent

  • Like 1
Posted

Well, I have decided for the option of tapping larger threads in the plate and making an appropriate screw.  Seems like less of a risk for an amateur.  I made the screw so far.

2022-03-13 12_18_18-IMG_8256.JPG ‎- Photos.png

2022-03-13 12_18_33-IMG_8259.JPG ‎- Photos.png

  • Like 2
Posted

Is that your first screw? That looks great! Looks like you tapped with a screwplate, Martin L? The thread pitch will be different to Elgin, but doesn't mean it won't work. Work it in with a little oil.


Which reminds me, how do mathematicians deal with constipation?

They work it out with a pencil.

  • Haha 1
Posted
  On 3/15/2022 at 6:59 PM, nickelsilver said:

Is that your first screw? That looks great! Looks like you tapped with a screwplate, Martin L? The thread pitch will be different to Elgin, but doesn't mean it won't work. Work it in with a little oil.


Which reminds me, how do mathematicians deal with constipation?

They work it out with a pencil.

Expand  

This is my 4th or 5th screw. I get a little better each time.

yes, a screw plate. I have 4 or 5...don’t remember which one. I tapped the hole using a tap Thea seemed to match the screw plate, but, in the end I think it was a little off, so the screw itself became the tap.

i am very confused be these screw plates I have and screws and thread sizes in general for watches.

Posted

Threads are bit of a can of worms. The old Martin threads, the most common screwplates, are by and large pretty close to modern metric threads. But the U.S. companies generally had their own threads- each company had its own threads.

  • Like 2
Posted
  On 3/16/2022 at 10:48 AM, LittleWatchShop said:

i am very confused be these screw plates I have and screws and thread sizes in general for watches.

Expand  

I suppose the confusion has to do with trying to figure out the standards?

  On 3/16/2022 at 11:17 AM, nickelsilver said:

But the U.S. companies generally had their own threads- each company had its own threads.

Expand  

Darn somebody beat me to the answer?

Yes everyone assumes their standards for screws sizes used in everything on the planet. But all the American watch companies had their own sizes. I think only Elgin and Waltham ever published their sizes everyone else it's a mystery.  

It's why you can have a whole bunch of boxes of screws and try to replace one find that none of them will fit.


  • Like 1
Posted

You guys are “Johnny on the spot” answering this screw dilemma...but I need one of you geniuses to answer my clock question because, that is the one where I am really “screwed.”

  • 9 months later...
Posted
  On 3/8/2022 at 9:54 PM, JohnR725 said:

I thought for anyone else that wants to know what a faceplate is I have some images.

watchmakers faceplate page 3.JPG

face plate page 2.JPG

face plate page 1.JPG

Expand  

@JohnR725, I have one of these but it was missing the index pin that runs through the center.  So, I recently purchased some 4.5mm round stock to make one.  The round stock is a perfect fit except that my faceplate(s) have a key inside the collet housing...much like the spindle of a WW lathe.  Seems to me there is no good reason for this key>  The index pin is symmetric in the theta plane.  There seems to me no reason for key in the collet.  Any thoughts???

The key is made of soft metal and I can punch it out easily enough.


  • Recently Browsing

    • No registered users viewing this page.
  • Topics

  • Posts

    • Sorry @nickelsilver, I'm just seeing this now.  It is a standard metric screw plate. I followed the suggestion of doing the thread cutting in a pin vise.  It took me forever because the piece is so delicate that I cut and cleared chips very frequently.  But eventually I did get it.  Not pretty, but I got it; the first thing I ever successfully made on the lathe. I cut the screw slot with a jewelers saw.  How can I ensure that the slot is centered on the screw head?
    • Hello and welcome from Leeds, England. 
    • Hello, My name is David and I’m a vintage watch collector/ wanna be hobbyist watchmaker from France. I really want to progress into my watch repairing hobby. For now, I’m only having fun servicing my own watches and spare movements, simple small 3 hands from the 50s (Omega, eterna…) Learning step by step or at least trying to 🙂
    • More setbacks and successes...  After letting the watch run in (but before I fixed the BE) a chunk of the radium lume fell off one of the hands and pulverized leaving radioactive dust all over the dial 😞 ☢️ ☠️ So before I could continue further I decided I would remove the radium lume.  I have removed radium lume from hands before where it was already starting to flake away but this time I had to work out what I was going to do with debris on the dial.  I decided that getting everything under water and removing all the lume was probably the best way to go. So here is what I did... I put an essence jar I use for cleaning parts and filled it with water and put it into a big ziplock bag along with the tools I would need - a sharpened piece of pegwood and  a 0.80mm screwdriver  -  I put on a pair of nitrile gloves and a covid style mask and then opened the back of the watch. Now with the back off the watch I could do the rest inside the bag.  I removed the watch from the case and removed the hands from the dial (through the bag) and then undid the dial screws and removed the dial from the movement.  I then put the hands and the dial and the watch case into the water and removed the movement from the bag.  Carefully and slowly with one hand in the bag and one hand trying to poke and hold stuff through the bag I gently rubbed away the lume from the dial and hands with the pegwood. I then took the parts out of the water and removed the jar from the bag (leaving the parts still in the bag) - with the majority of the dangerous stuff now in the water I disposed of this (down the toilet) and gave the jar a good rinse in running water before refilling it and returning it to the bag where I gave all the parts another rinse in the new water.  I then took the parts and put the geiger counter over the top of them and looked at them carefully under UV light to see if there were any flakes still hanging on. I dried everything with some kitchen towel. Once I was finished will all that I remved the parts from then removed the gloves and put them in the bag with the paper towels and the pegwood and thew the bag in the household waste. Finally I gave the dial, hands and case another rinse in the sink under running water.  I didn't bother following up with a rinse in distilled water water because the water here is pretty clear of limescale etc and I find it doesn't mark! So here are the results of my weekends work! Timegrapher dial down (dial up is almost the same) The fixed shock setting New crystal - and lume removed from dial and hands
    • Hi and welcome! I'm new here too—greetings from Leicester, UK.
×
×
  • Create New...