


-
Recently Browsing
- No registered users viewing this page.
-
Topics
-
-
Posts
-
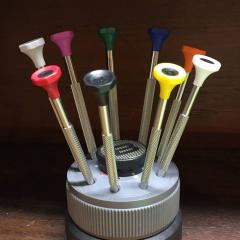
 Thank you. It didn’t look rusty. For sure old. Female part was inside the movement, and when I pushed male part, it got broken. I didn’t apply grease. Here is the photo. Could it be that male part is too thick for some reason?
 -
 @WatchesUAE Advertising/promoting is not allowed on WRT.
 -
 In that case the angle is not quite right between the cutting face of a cutting tool and the surface of the work back of the tool.
 -
Is the old stem rusty, are you sure you have it all lined up. Some of these two piece stems can be fiddle that is why I mentioned about the grease. Could you post a photo of the offending stem.
-
Bringing this old thread back to life, as I have similar problem. I did follow this advice, but while inserting a male stem (crown side) and just pushed it to the female part, and the fork (female side) of the stem has broken. What is the right way? Push the stem part so it widens the gap and fits in? Why it was then receiving side got broken? Old metal? It is a vintage watch from late 60s. or the outer part should be inserted somehow from the side (slipping to the gap), but I don’t have space there for this manipulation. The watch is Orient Fineness monocoque case. thank you!
-


Recommended Posts
Join the conversation
You can post now and register later. If you have an account, sign in now to post with your account.
Note: Your post will require moderator approval before it will be visible.