
How to ...... from LH burnisher to RH burnisher or vice versa.


-
Recently Browsing
- No registered users viewing this page.
-
Topics
-
-
Posts
-
 There are a lot more oils and grease in the trade for clocks now then when I was clock making. This is how I went about the job I used a paint brush the sort that an artist would use, first brush around the barrel arbor, I went around the top of the spring when it was in the barrel and a round the few coils to the barrel arbor. Just a few drops to the top and bottom of the barrel. Tommy Jobson who has a youtube channel and is a very high class clock maker likes to use a spray on oil. There is no need to flood the barrel some think the more oil the better which is not recommended because it will just run out and go all over the place.
 -

-
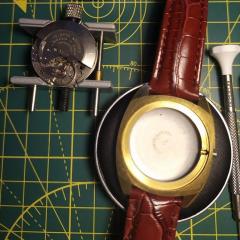
 You should be able to find something close in the shaped acrylics, https://www.cousinsuk.com/category/acrylic-shaped Then file to shape.
 -

By HectorLooi · Posted
I've been watching YouTube and getting more and more confused. I've seen people use machine oil, engine oil, engine oil additives (Slick 50), D5, bearing grease, molybdenum disulphide grease, graphite grease, chain lube, PTFE dry lube.... Some advise putting a thin film, while others really slather on the stuff. I know @oldhippy always advises using Windle's Clock Oil on mainsprings, but how exactly is it applied and in what quantities? TIA -
By easthammer · Posted
I can’t seem to find it on there, that was the first place I looked
-
Recommended Posts
Join the conversation
You can post now and register later. If you have an account, sign in now to post with your account.
Note: Your post will require moderator approval before it will be visible.