

-
Recently Browsing
- No registered users viewing this page.
-
Topics
-
-
Posts
-
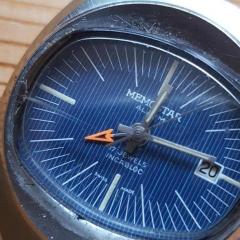
 Without any hallmarks it could be debatable if this is gold or just gold plated?
 -
 I haven't tried them in US machine since I use a rotary cleaner. The glass is actually a bit thicker than my jam jars, by about 0,1-0,15mm. The cap lining doesn't like acetone too much, it has swollen a bit but otherwise feels normal to touch.
 -
 This is exactly what I said to my friend 🙂. Another friend has a Longines with a solid gold case, and I told him to keep it. I wish I had that joy to have an old time piece made of gold ...
 -
 Another source of baskets if you're going to do a DIY spinning machine would be to go to eBay and purchase something like this By hairspring I assume you mean balance complete? Then if you had baskets like in the above image You can place the balance wheel in one section and the pallet fork in another.
 -
 I think I can answer that. Yes! In Russian, "movement" is called "mechanism". @Leonid, if you google "cleaning" on this site you'll find many posts about it. For example, type the following on Google and press enter: site:watchrepairtalk.com cleaning Happy reading!
-


Recommended Posts