Leaderboard


Popular Content
Showing content with the highest reputation on 11/30/14 in all areas
-
Hi Bob, thanks for the info, this is a question that has exercised the grey matter somewhat this morning. I have in the past done some pretty exhaustive web searching to try and track down any published tech data on the 7S26A/B movements and only ever found one document from Seiko which completely fails to mention lift angle. The only Seiko published data that I can find which includes this information is the one I uploaded above. I had always assumed (and assumptions are always dangerous) that the upgrades from A to B to C were more to do with changes in materials / production processes / commonisation of non-critical parts between different calibres etc. than they were design parameters such as escapement geometry, which is why I've always been quite happy to use the published lift angle for the C variant as a reference for the A and B movements. I have in my parts / projects stock a 7S26A so this morning I thought I'd have a go at working out the lift angle using a technique I had seen on a YouTube video. The idea is to put just enough power into the main spring to get 180 degrees of amplitude (which is supposedly easy enough to judge by eye!!), and then put the movement onto your timing machine and adjust the lift angle on the timer until it reads an amplitude of 180; simple!!...... Ha!!!! not so simple..... First of all judging 180 degrees by eye on something oscillating at 21600 bph seems to be a bit of an acquired skill that I have as yet to acquire. Secondly, my 7S26A is in desperate need of a clean and service (that's why it's in the parts / projects box) and probably as a result of all the c**p it has picked up through not being in a case for a few years, the amplitude varied by as much as 20 degrees either way over a cycle of about 30 seconds. I gave up on that one but may have a play with it again once serviced. I resorted to plan B, which was to work out just how significant the difference in reported amplitude would be between a lift angle of 52 degrees and 53 degrees on the Timegrapher, I wish I had done that to start with. Feeding the reported amplitude of 235 degrees, and a lift angle of 52 degrees into the equation that svorkoetter publish in his DIY timing machine thread (many thanks Stefan) I worked out what the lift time (which is what the Timegrapher actually measures) was. Plug this back in to the equation but substitute 53 for 52 for the lift angle and provided I haven't completely goofed the maths (a distinct possibility) you get an amplitude of 240 degrees. What have I learnt from this? 1. in the grand scheme of things, using a lift angle value that is out by 1 degree either way makes a relatively insignificant difference to the reported amplitude. 2. my brain hurts when I do maths. @Watchdog Did you also use 9010 on the pallet jewels? If so you may be losing a little amplitude there as it is a bit heavy for that, you'd be better off with 941. However, your biggest issue I think is the poor power reserve. MR-1 should be fine for the barrel wall and if you wound it with a screwdriver then you should have got a full wind no problem. The recoil in the train and the snappy pallet fork response does suggest that the train is free enough so for my best guess the main spring and as you say the arbor would be the place to look first. For Seiko technical data there is a 3 or 4 page thread on the SCWF of just tech sheets. Link here: http://www.thewatchsite.com/14-user-manual-technical-manual-casing-guide-downloads/15-seiko-calibers-technical-repair-manuals.html Mark I hope it's ok to post a link to another forum, if not then please remove. Marc p.s. apologies for the protracted ramble but I've just noticed that it's my 100th post and for some reason that makes me feel good about it :-) p.p.s. @Watchdog, probably better off with 9415 for the pallet jewels not 941 which is for higher beat movements.2 points
-
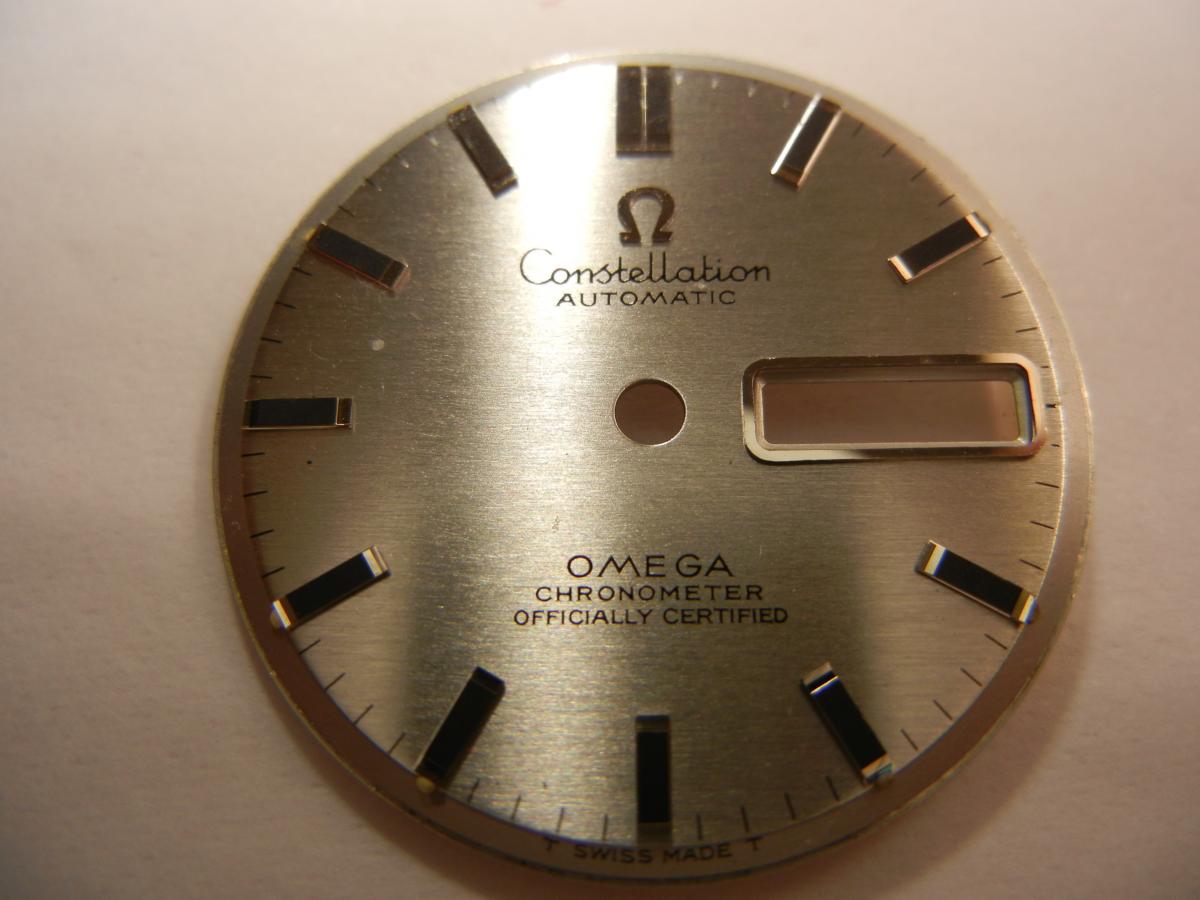
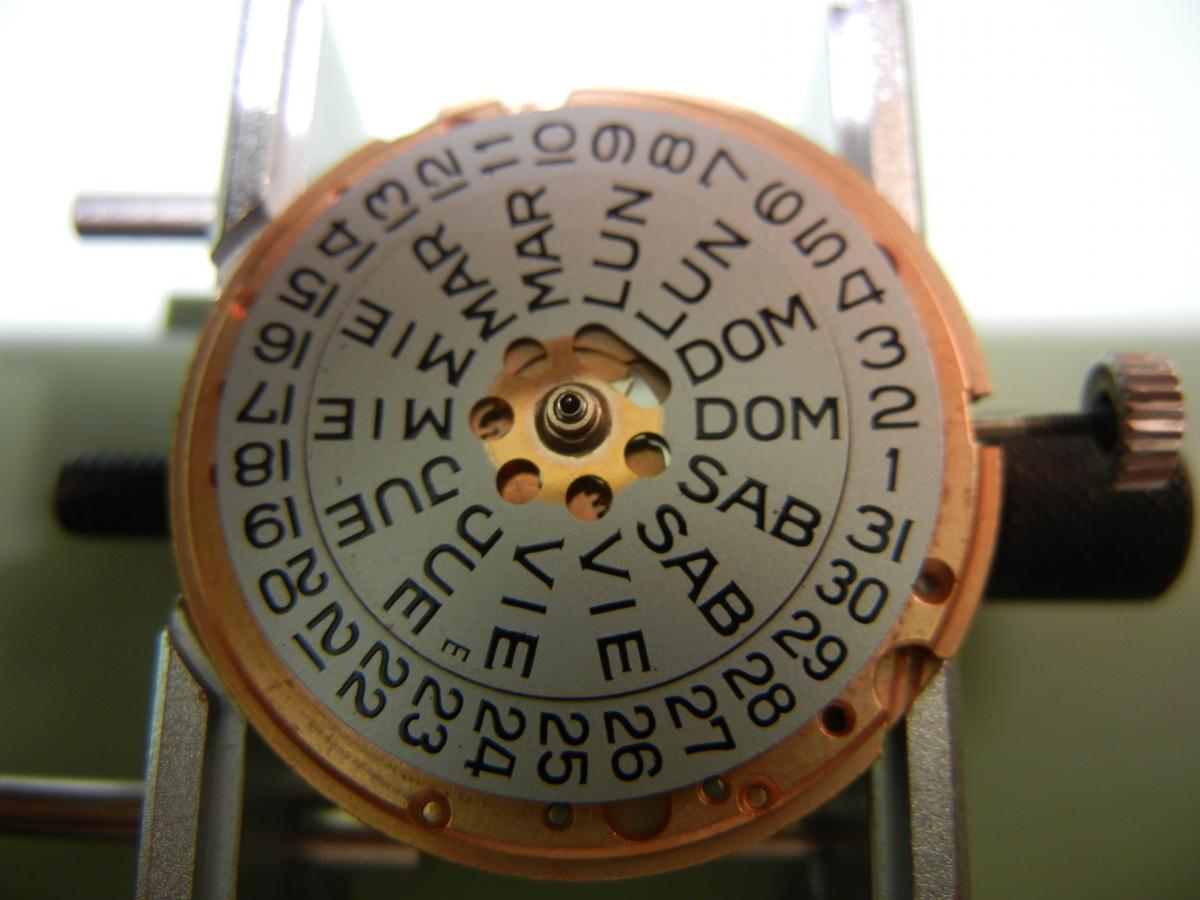
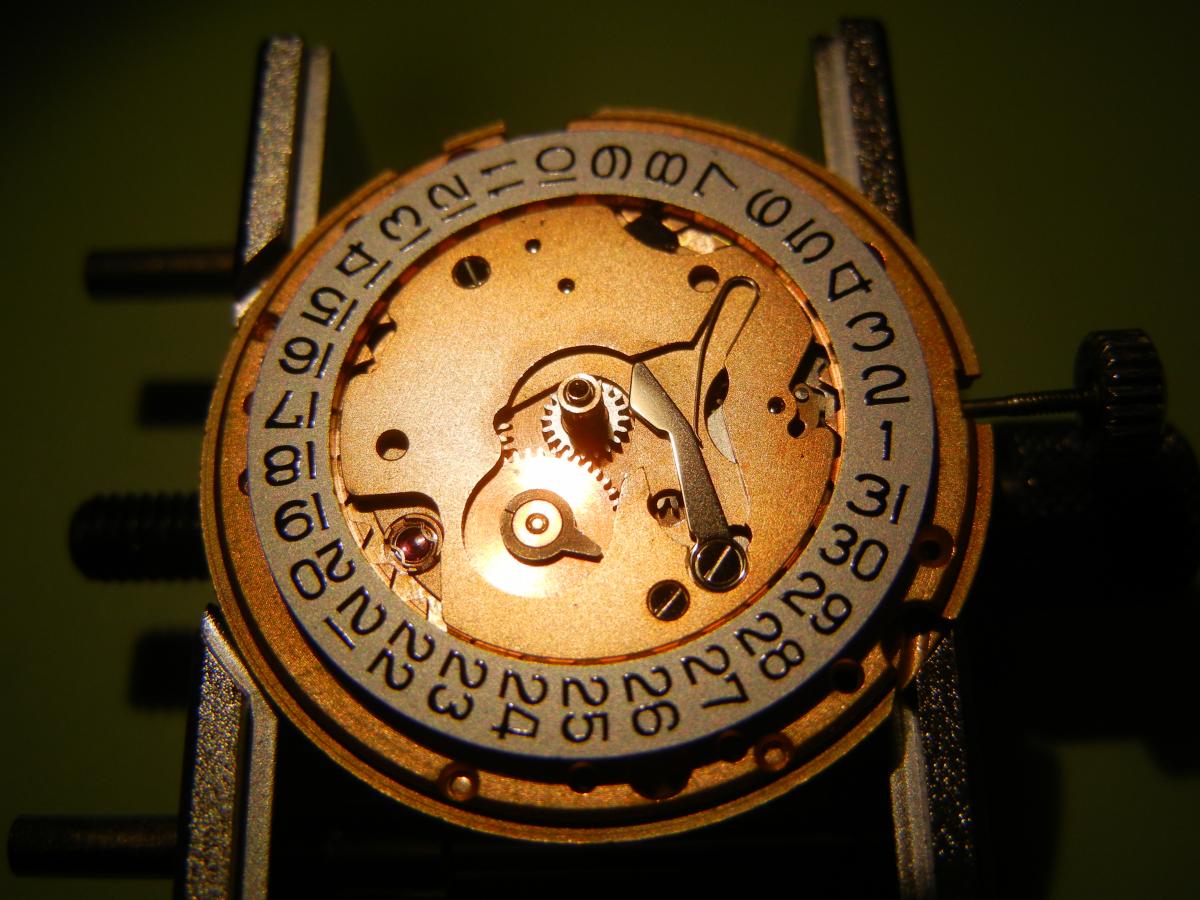
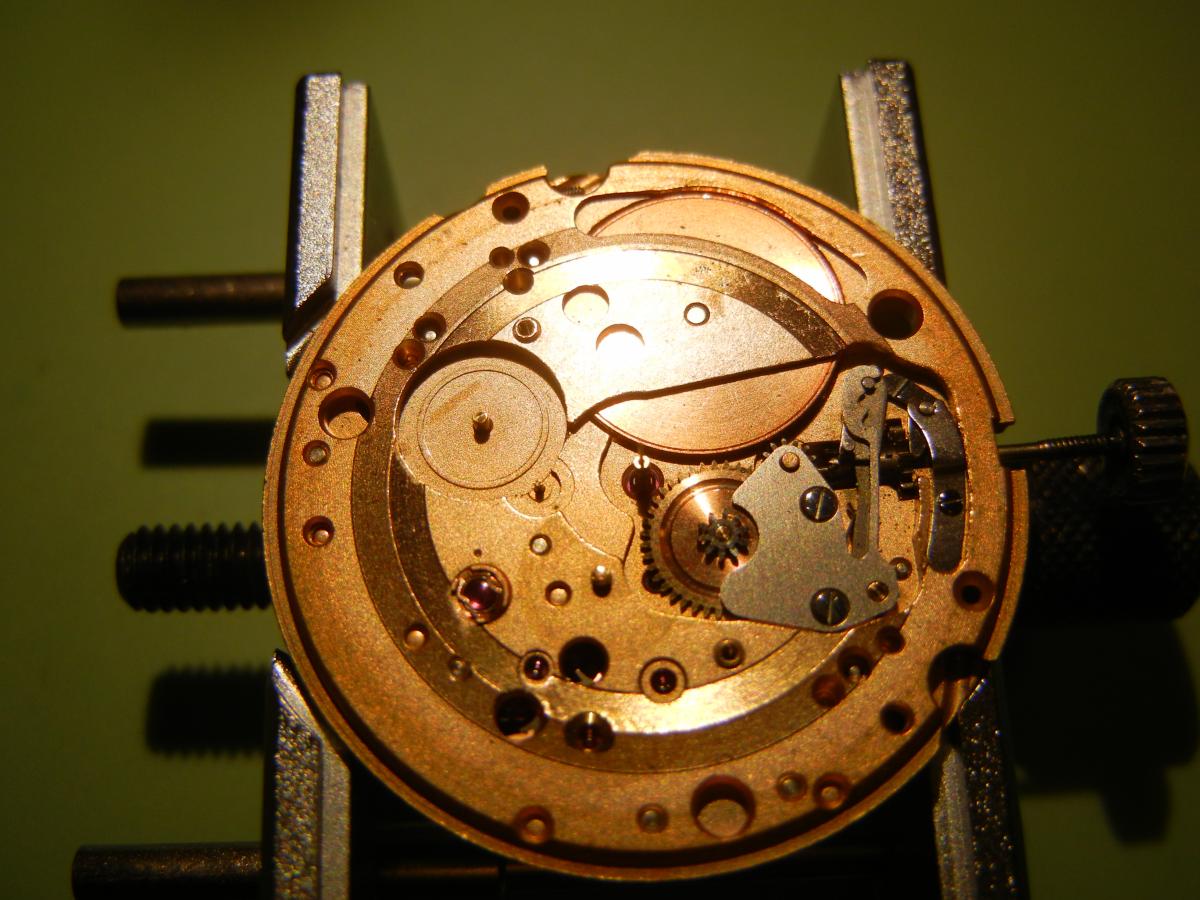
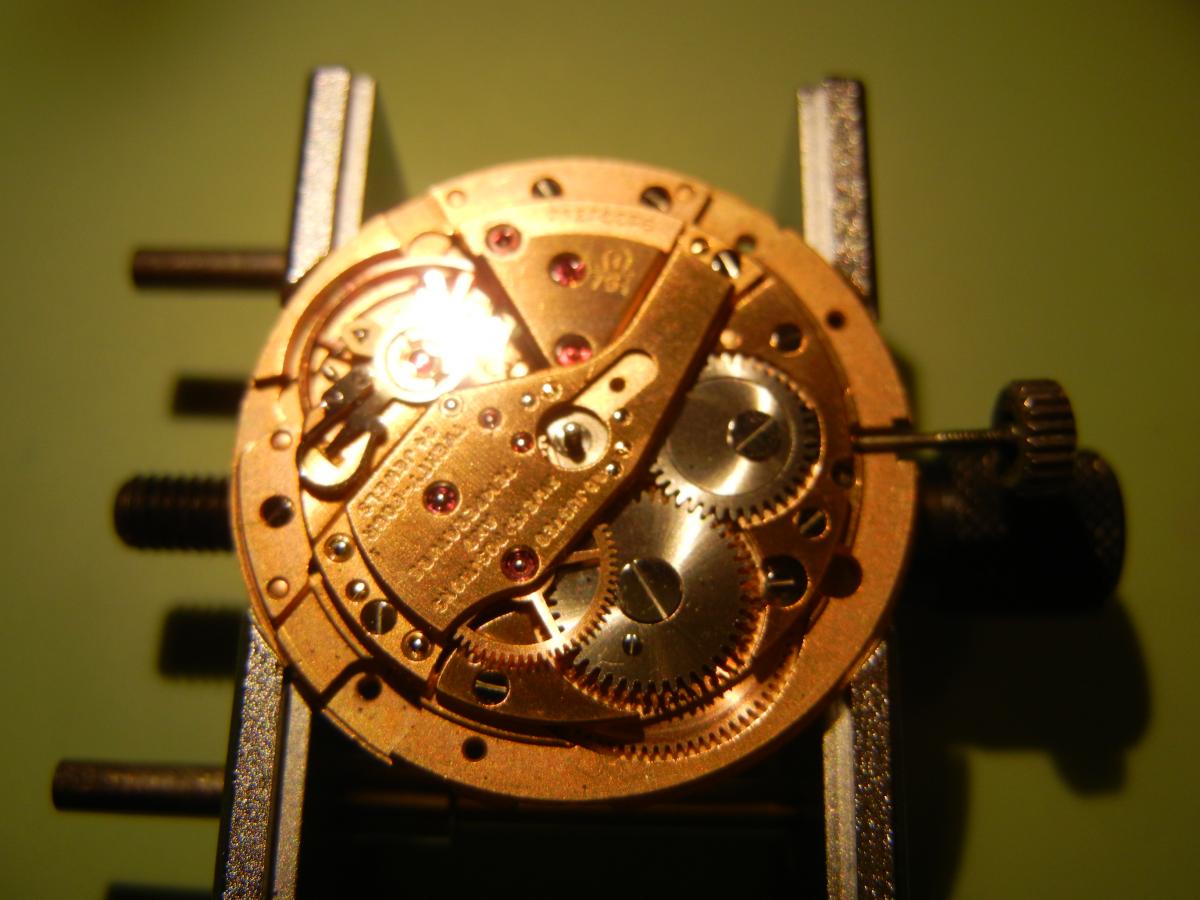
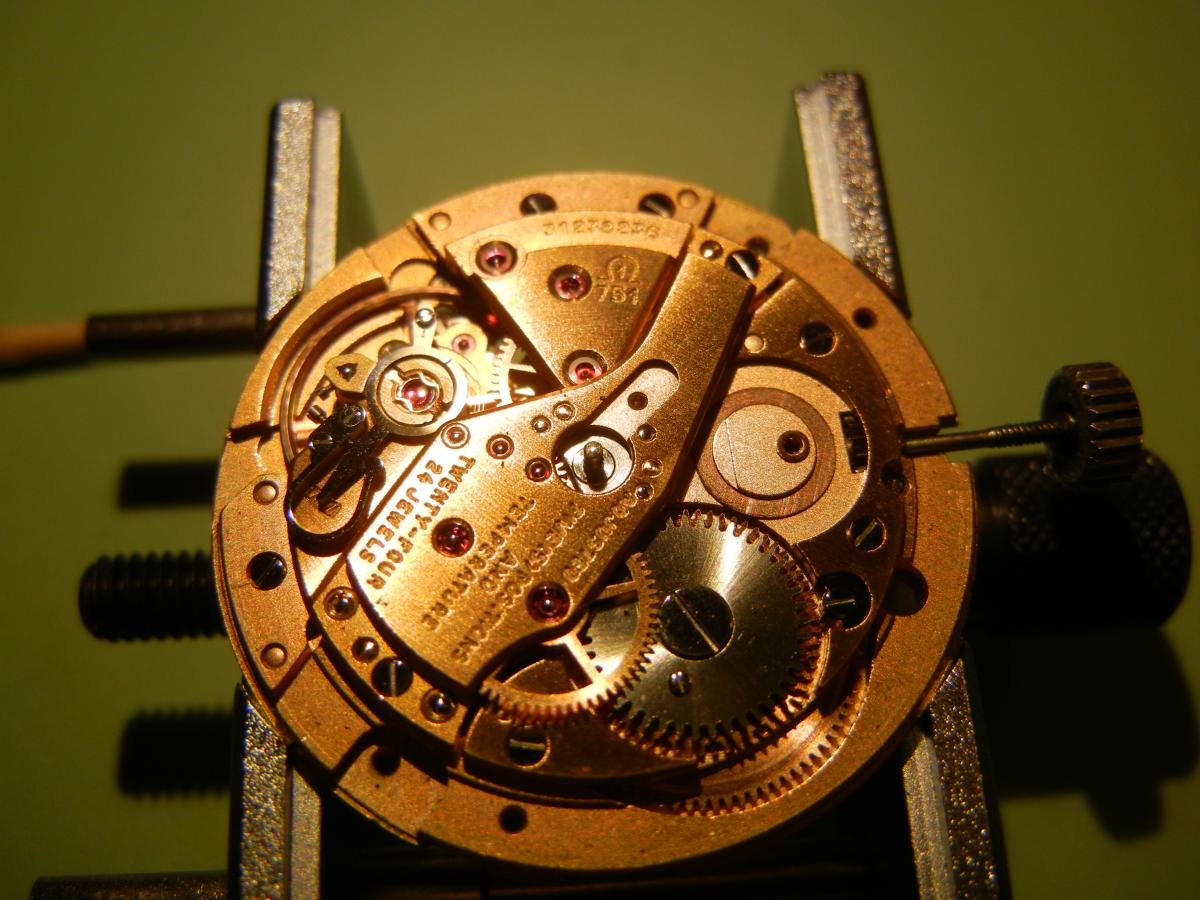
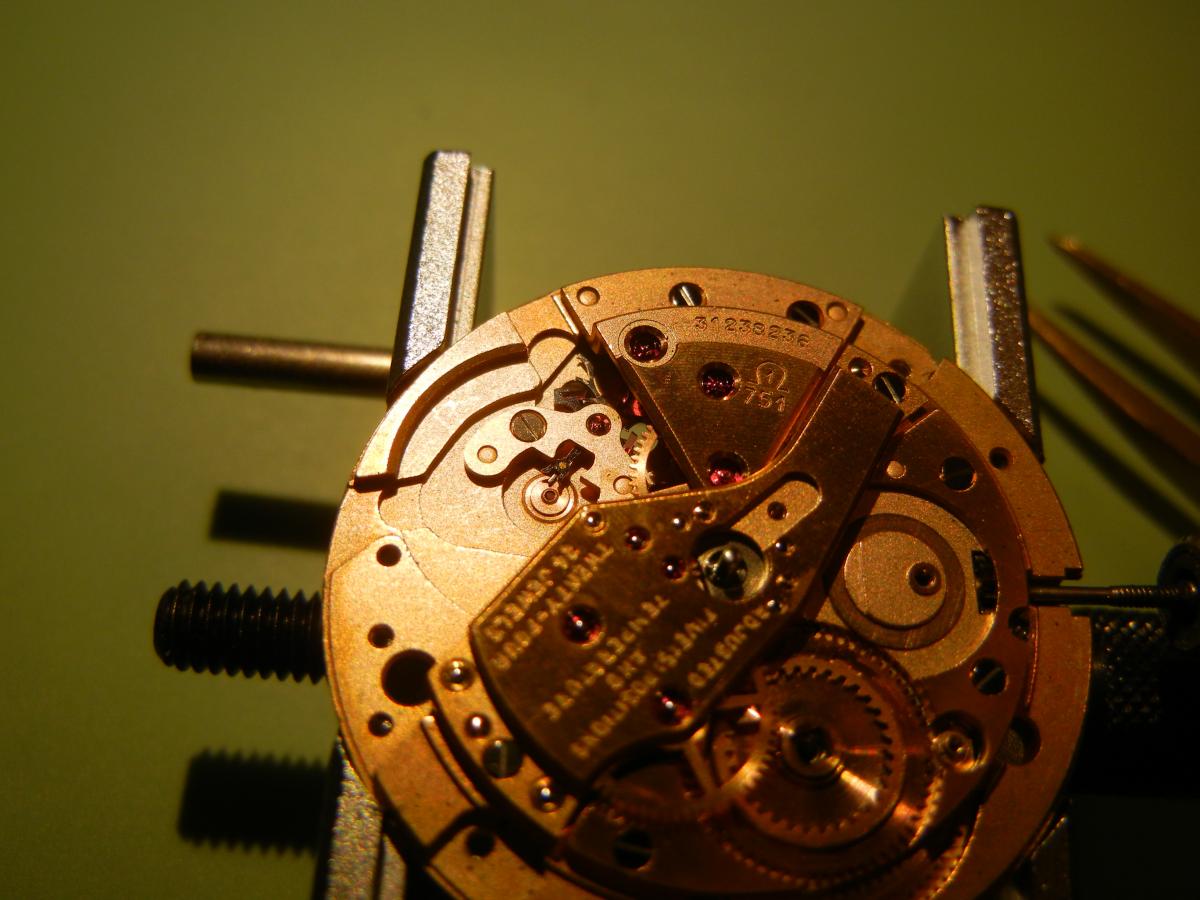
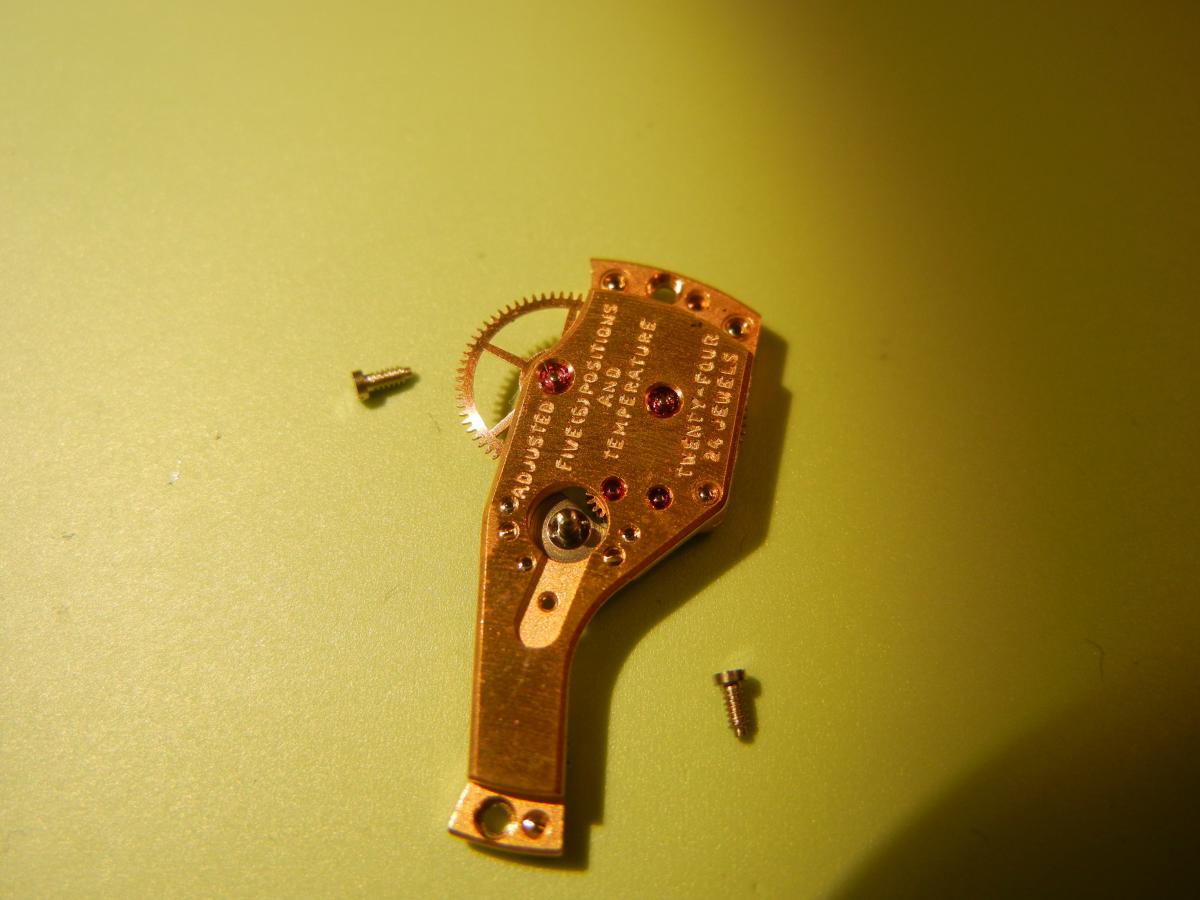
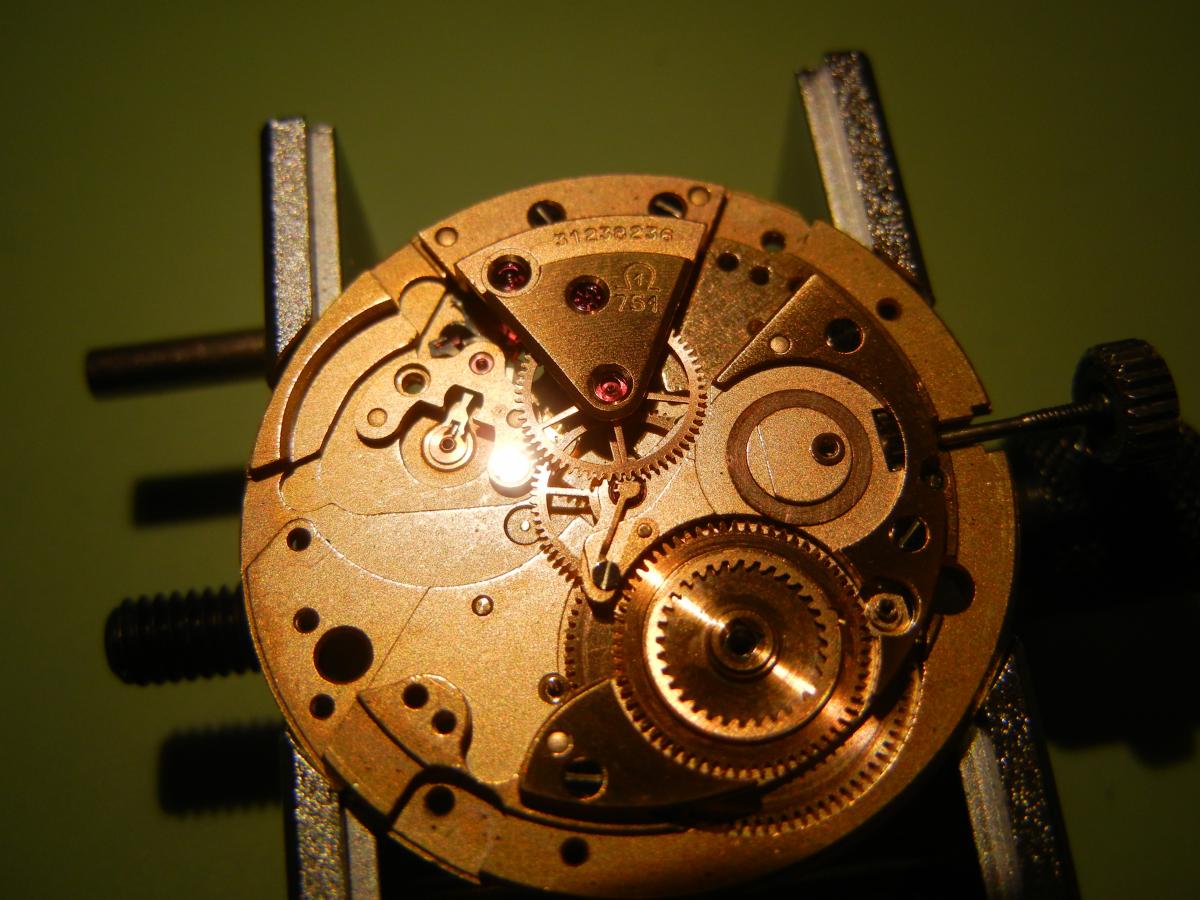
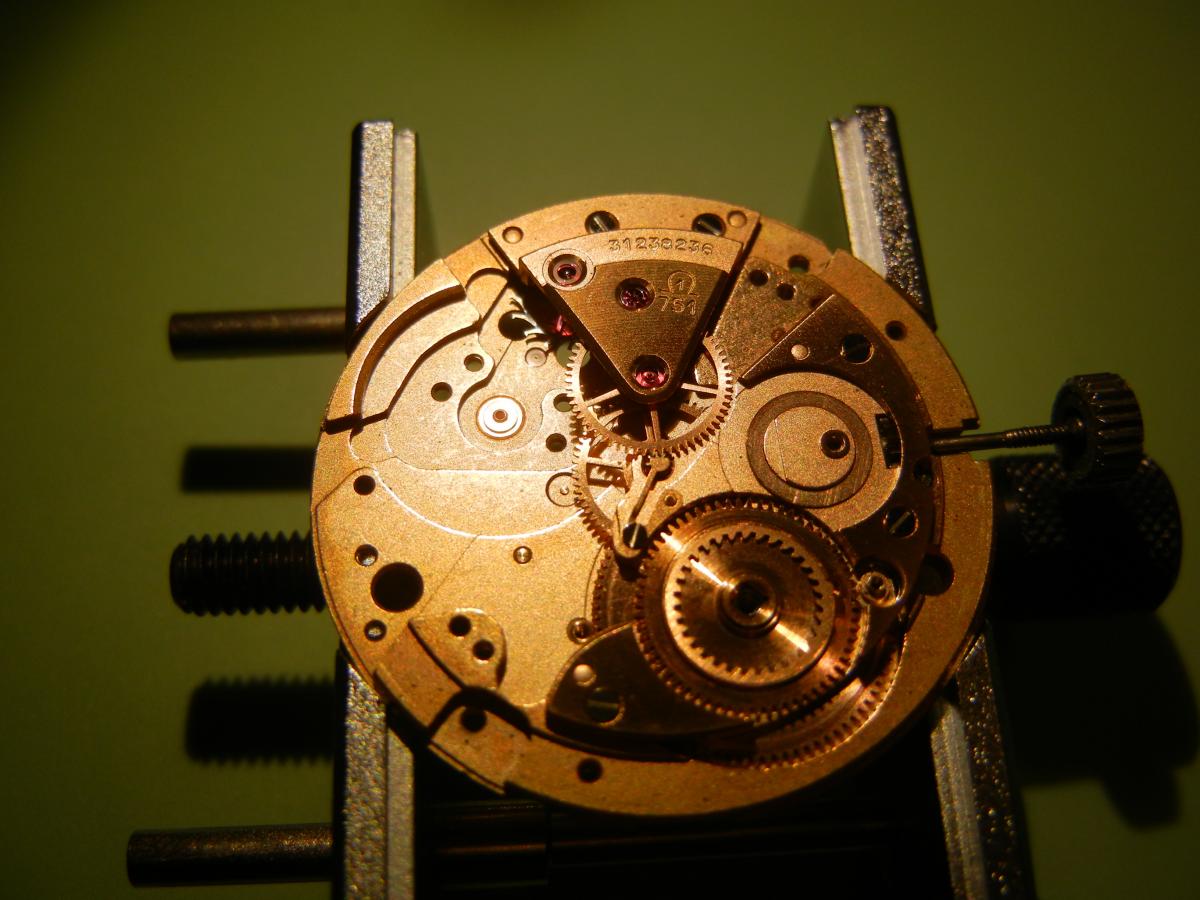
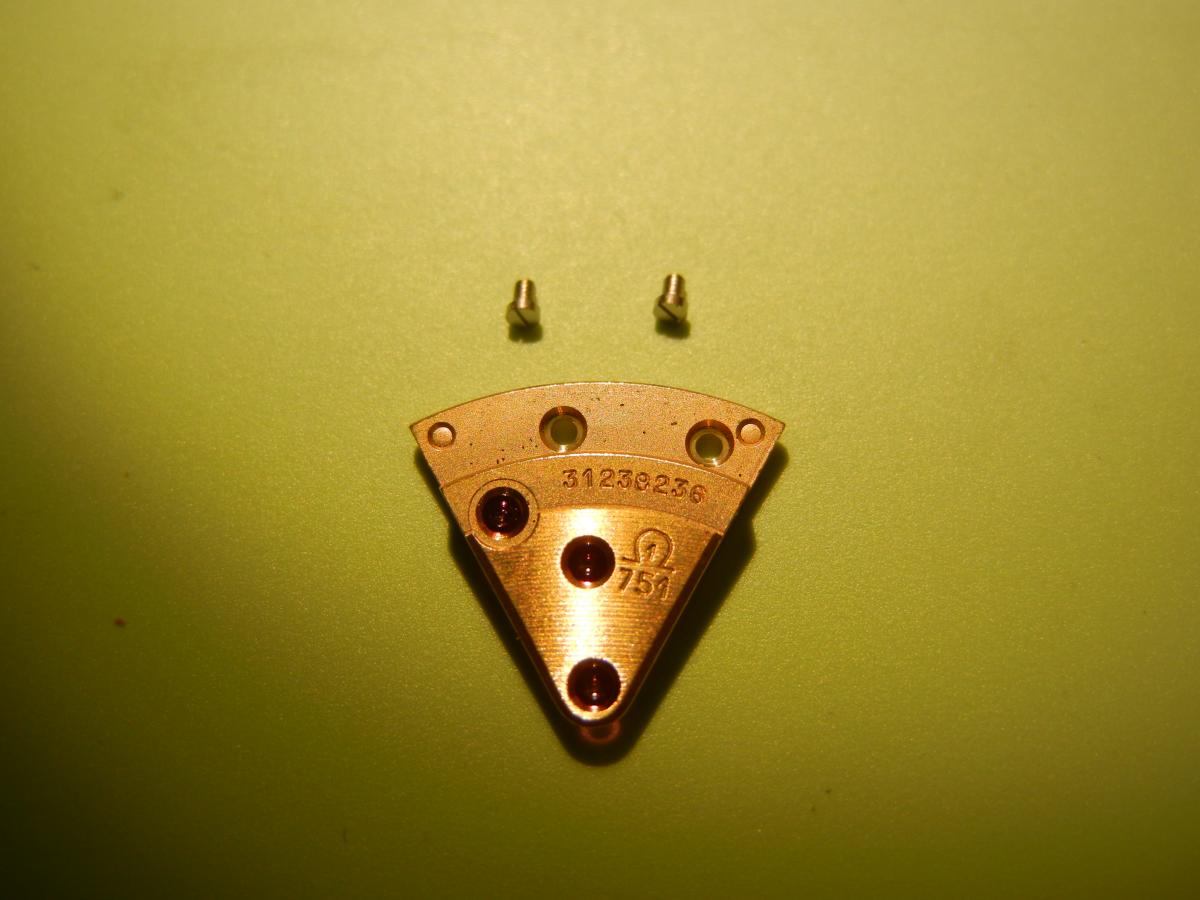
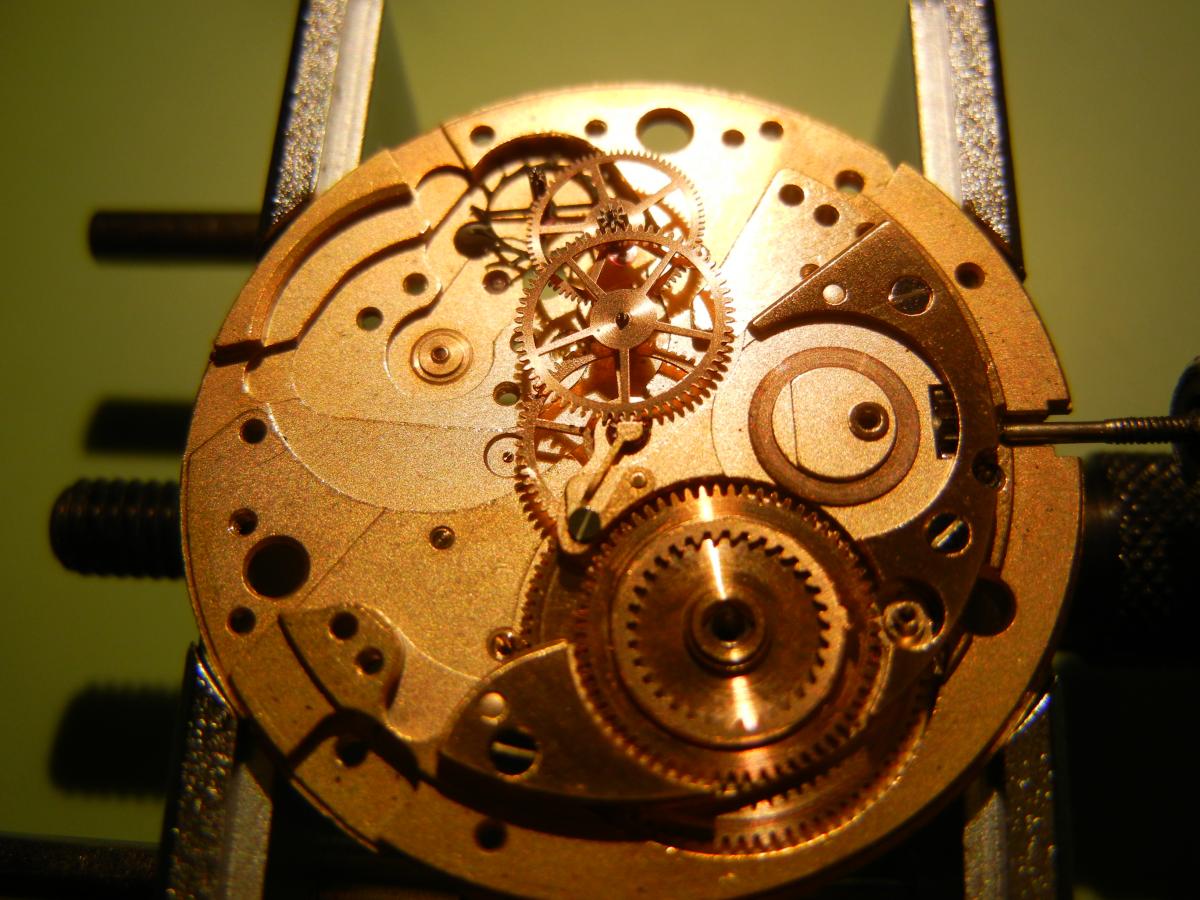
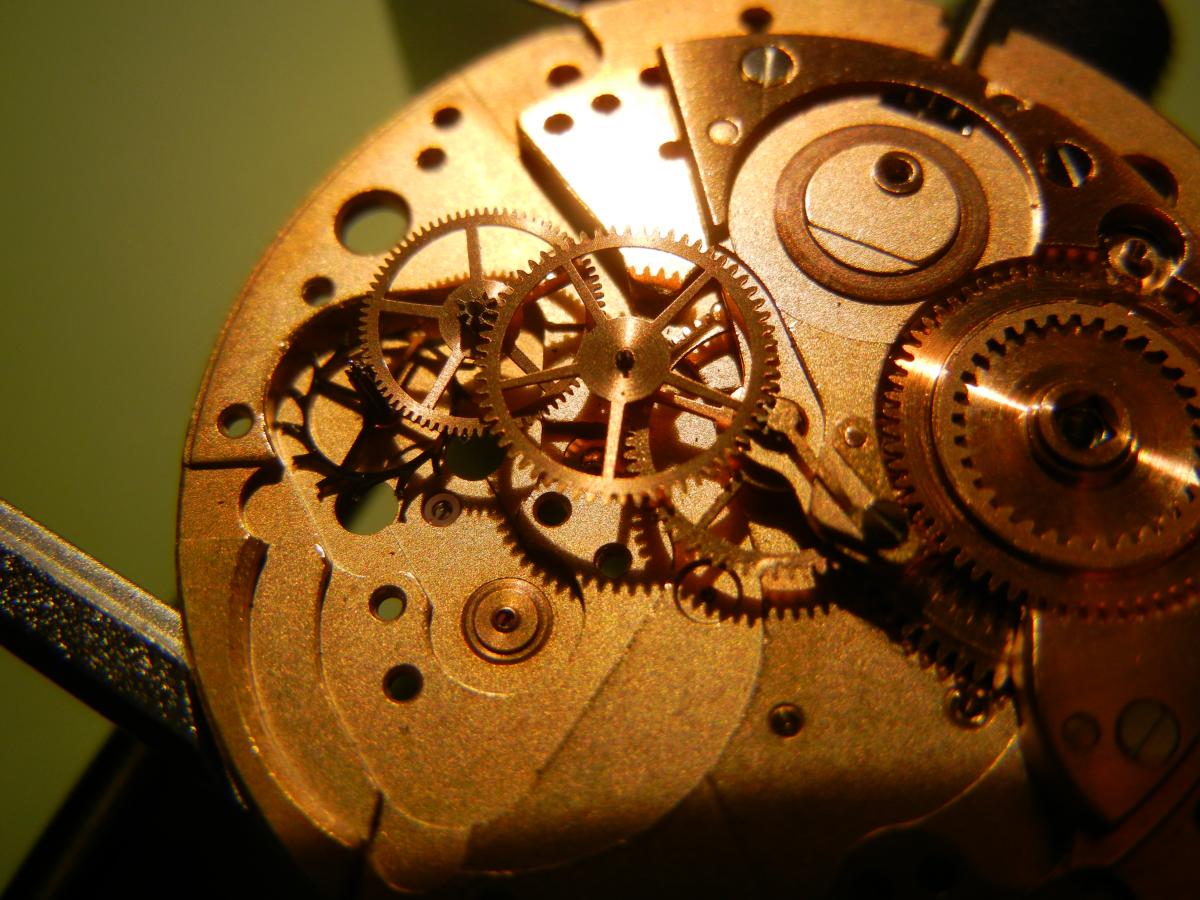
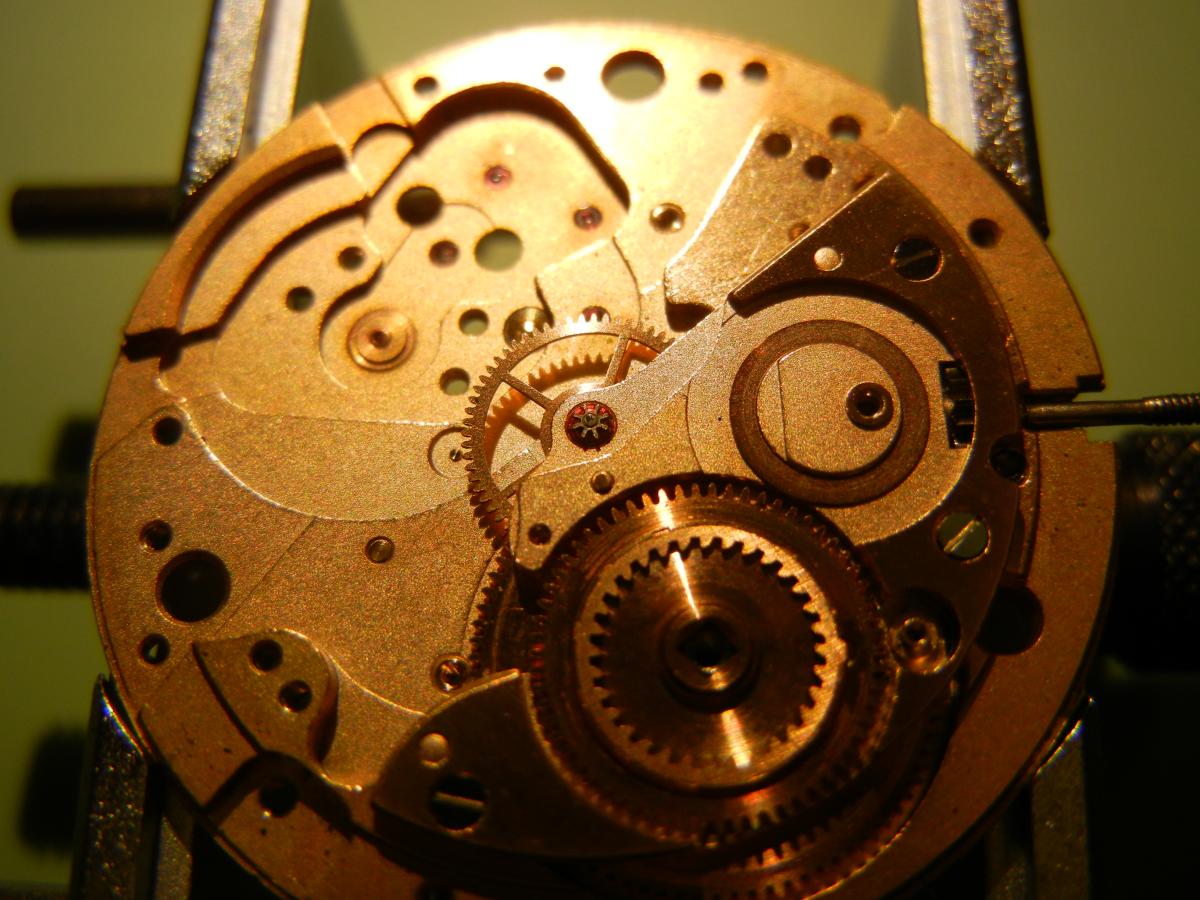
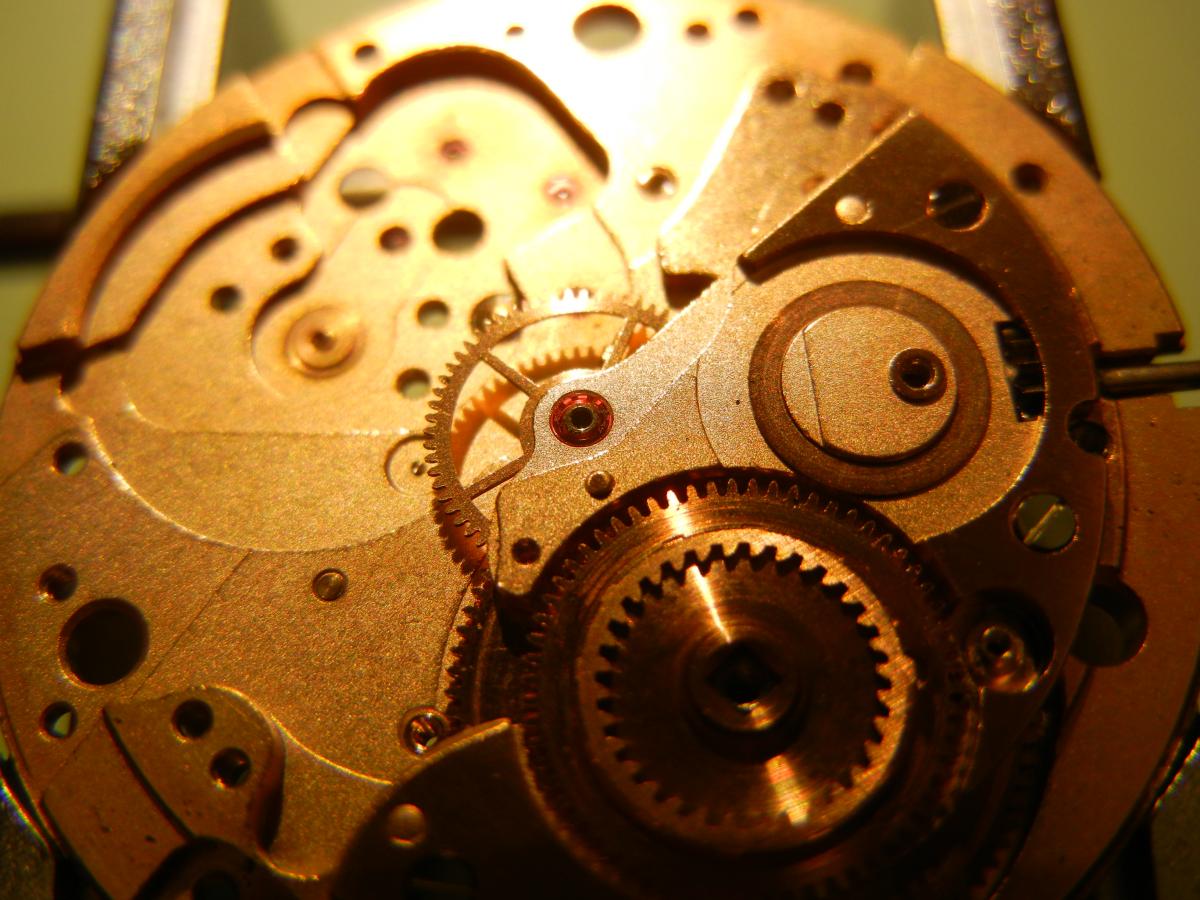
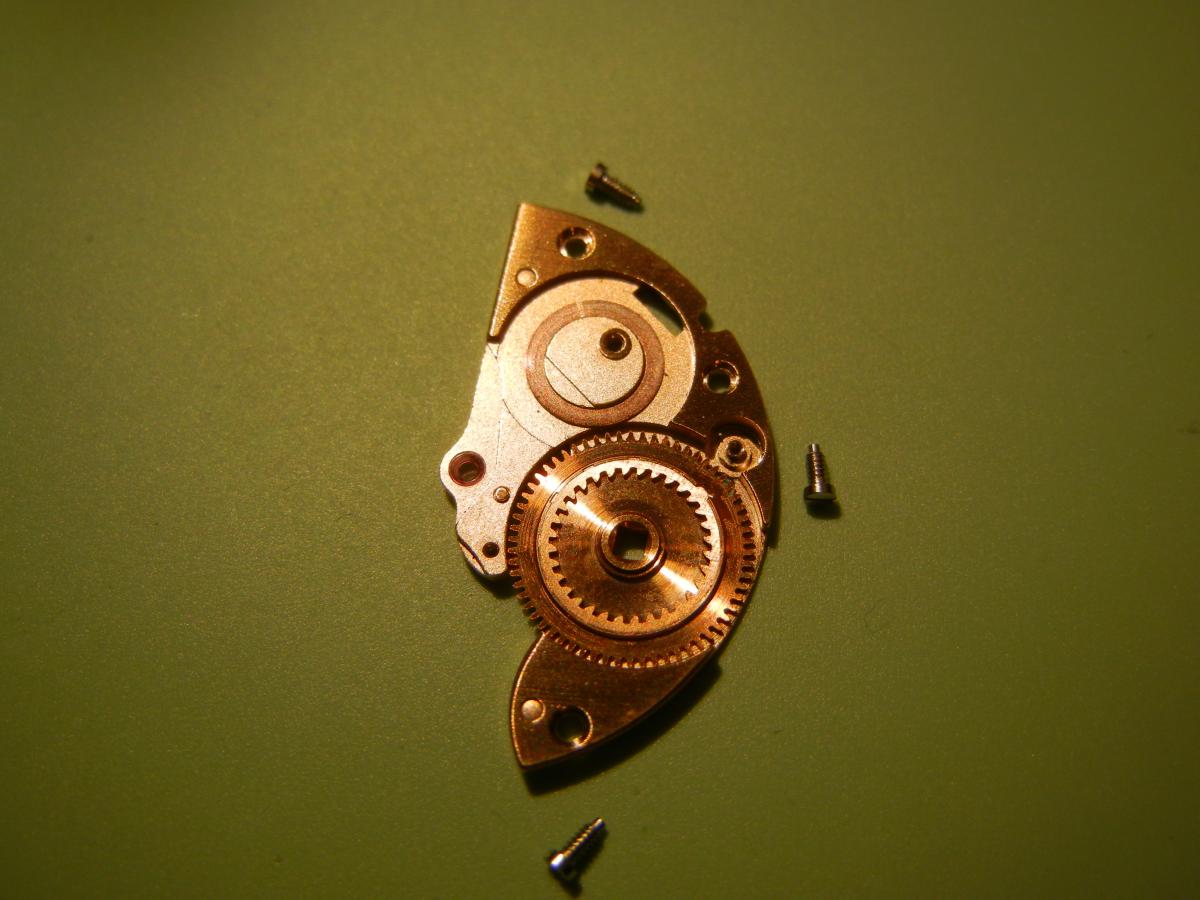
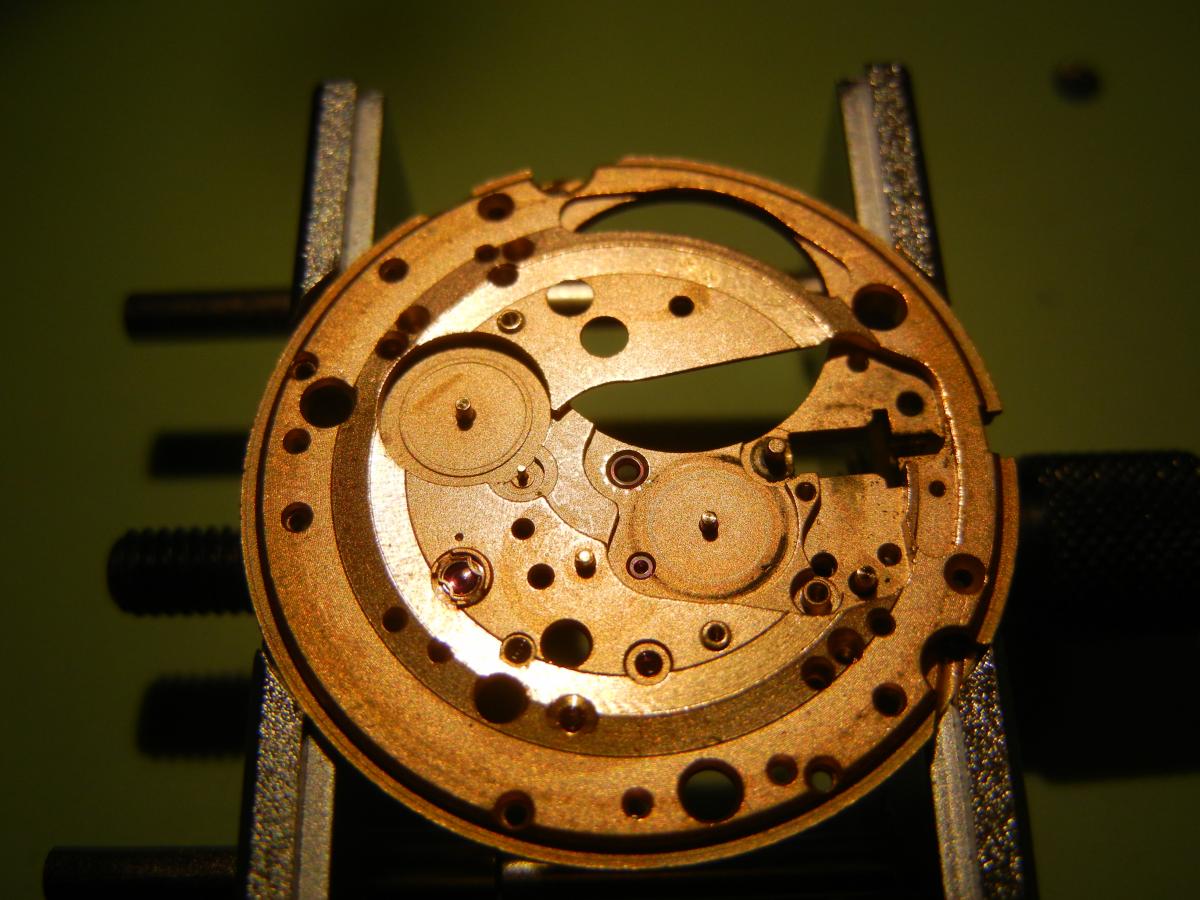
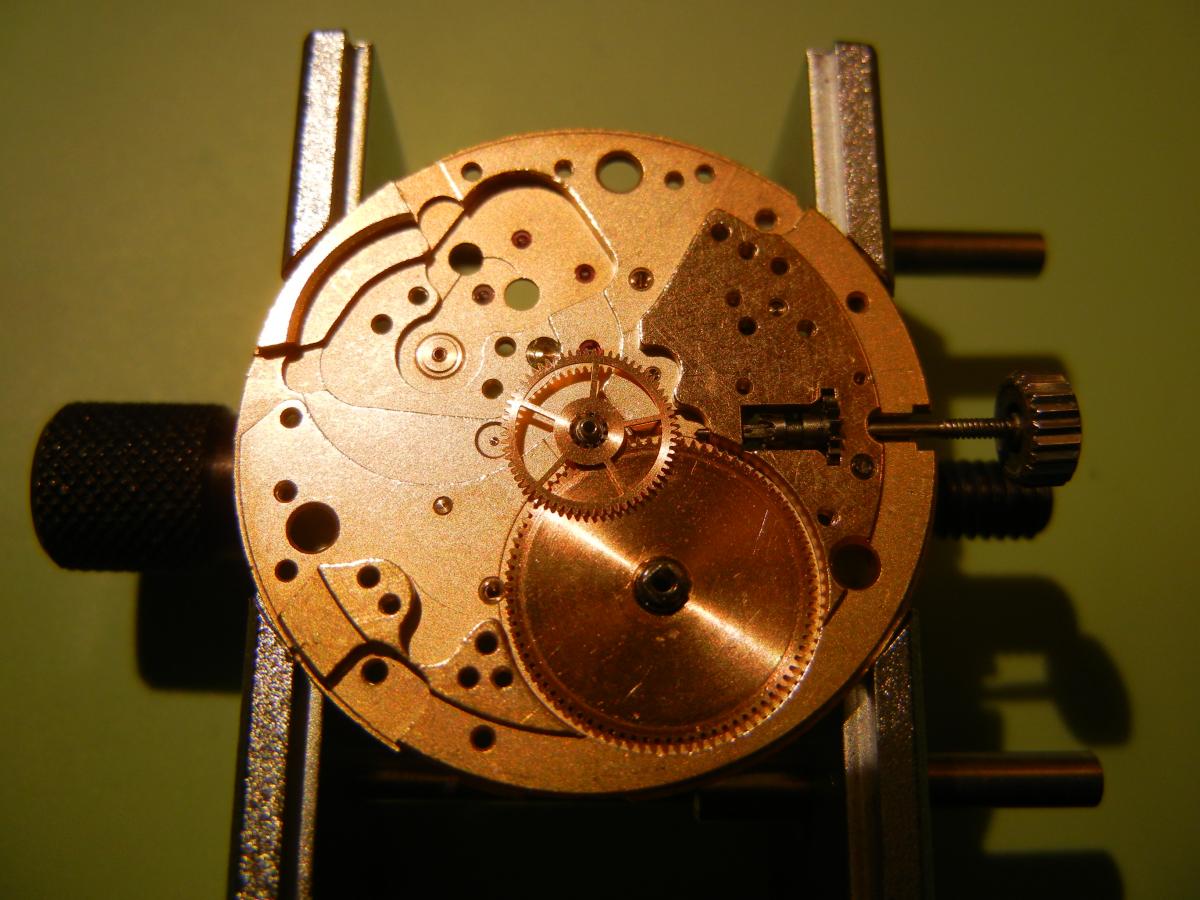
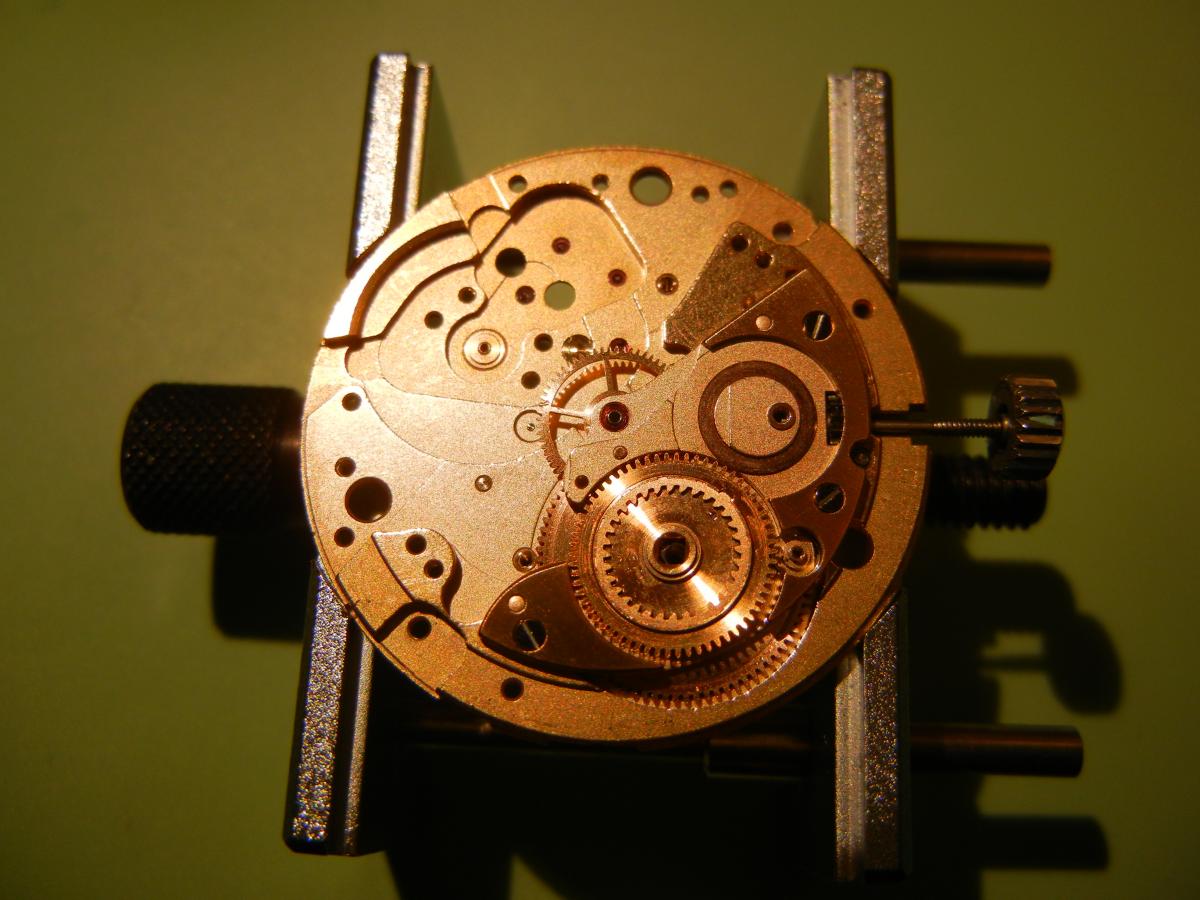
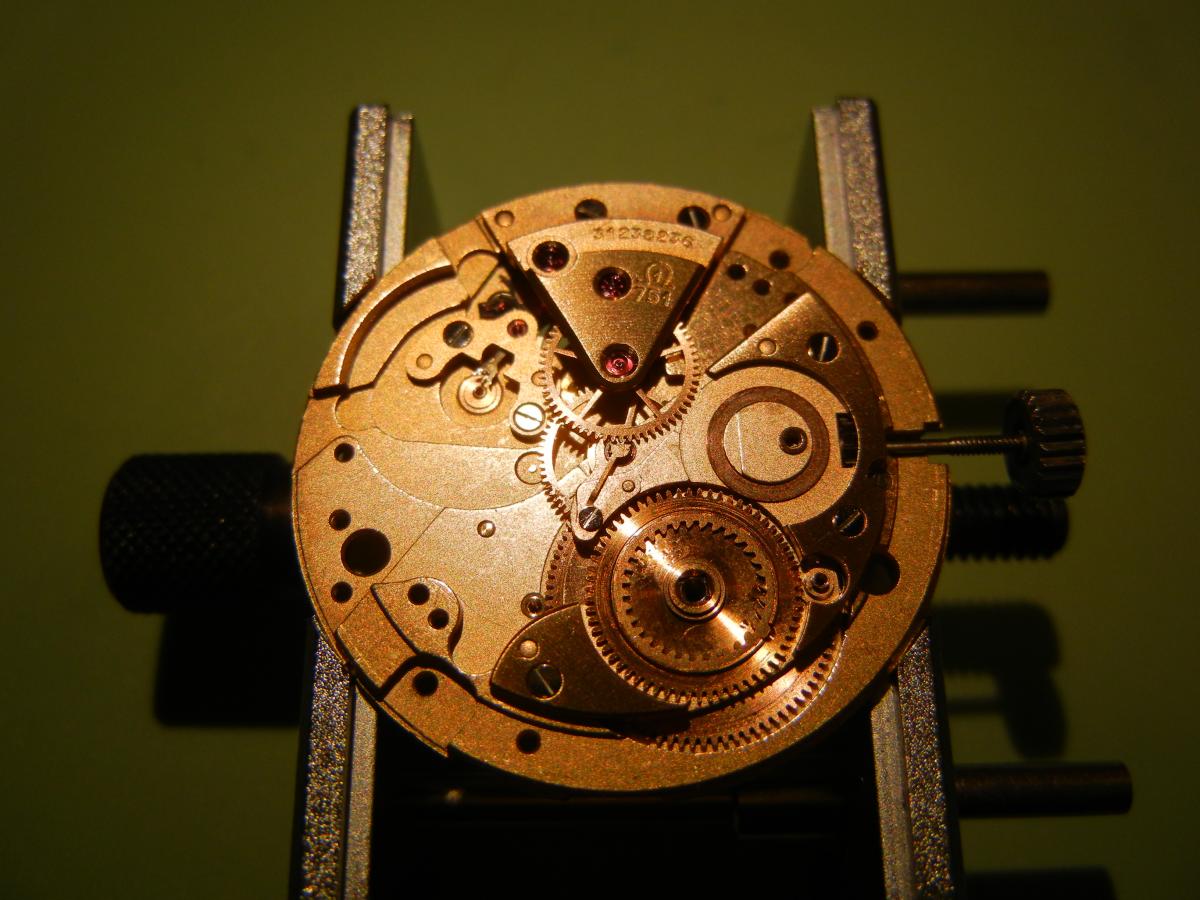
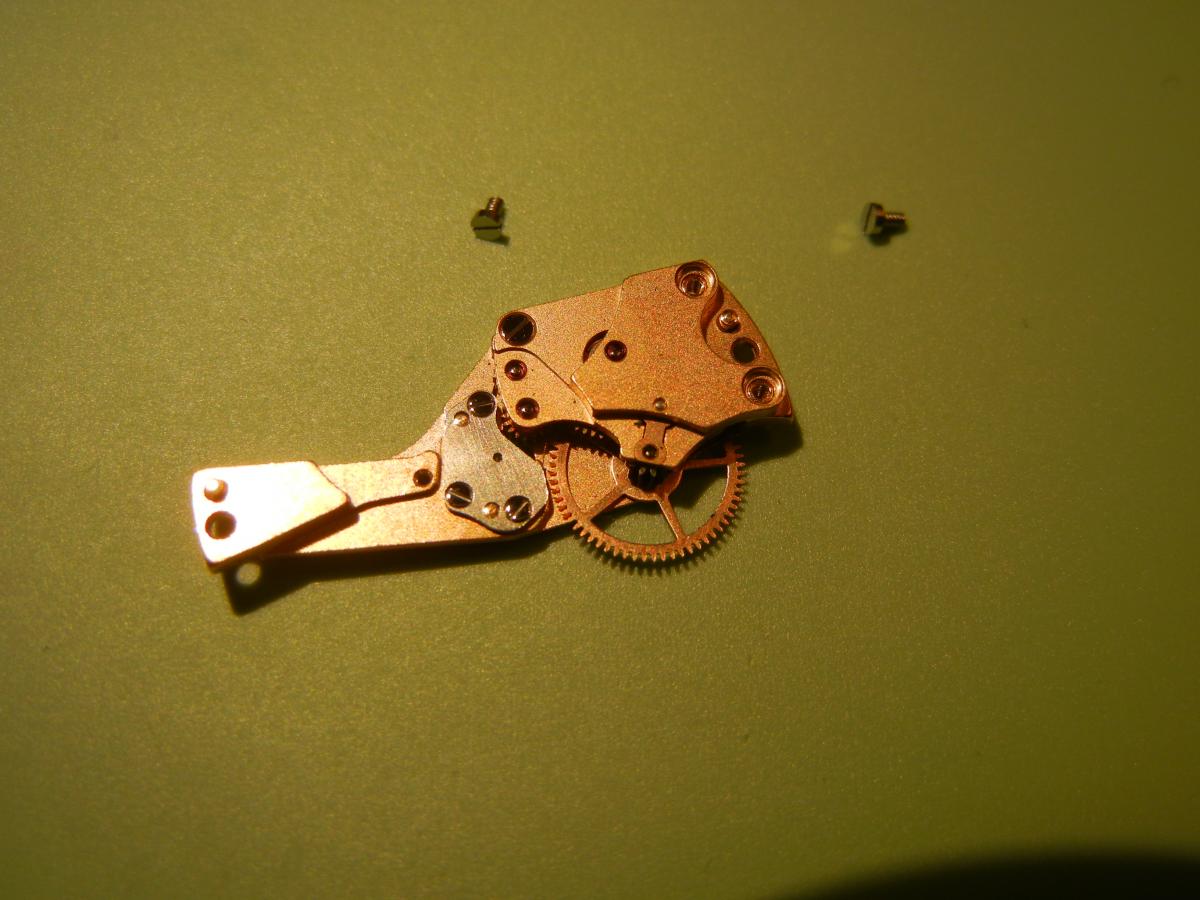
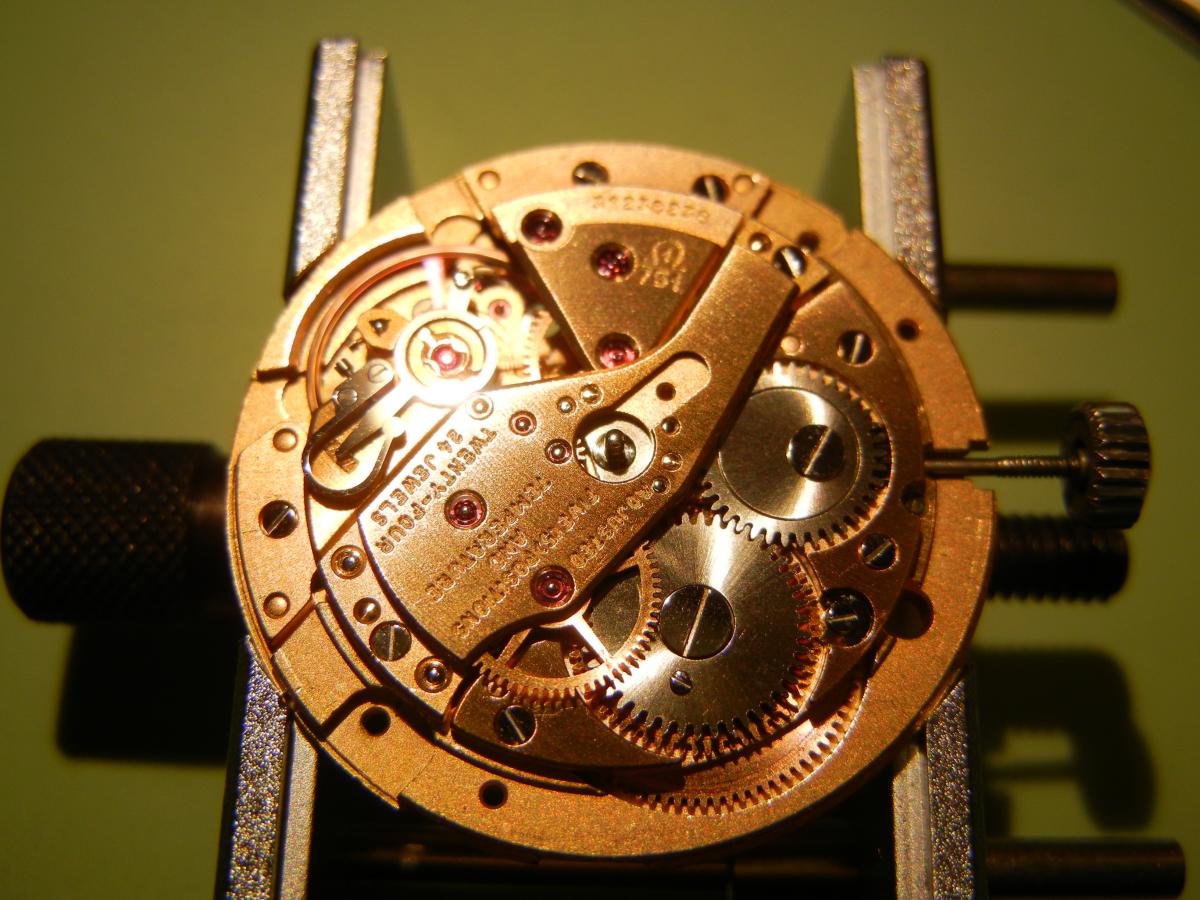
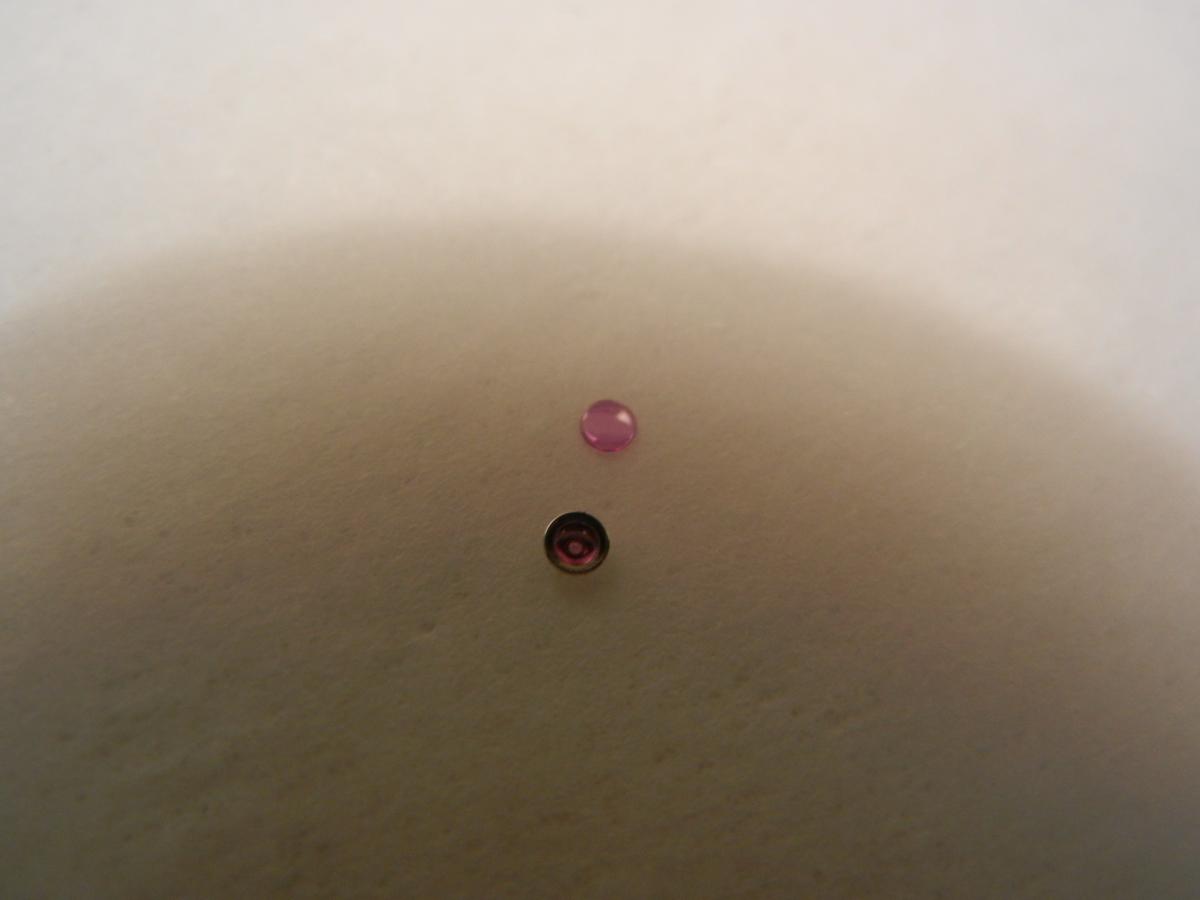
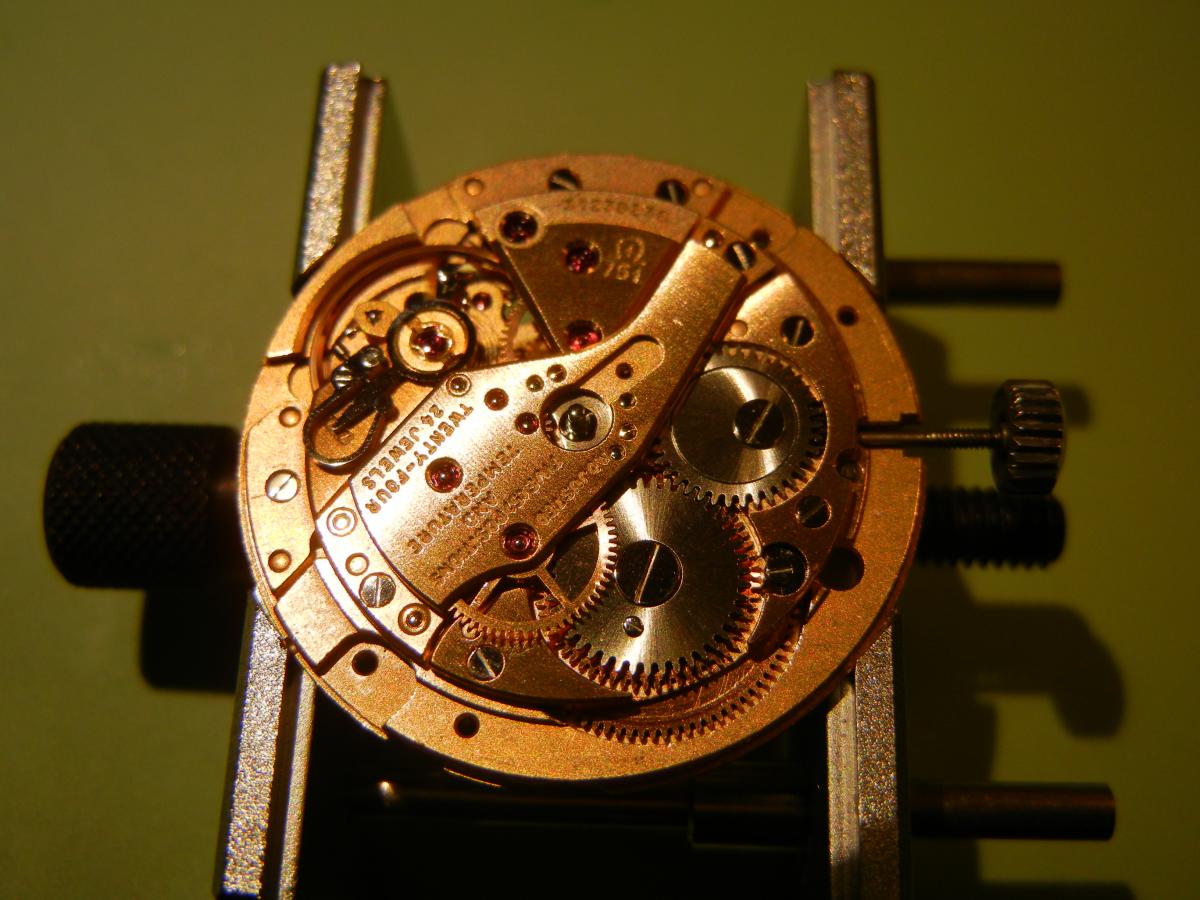
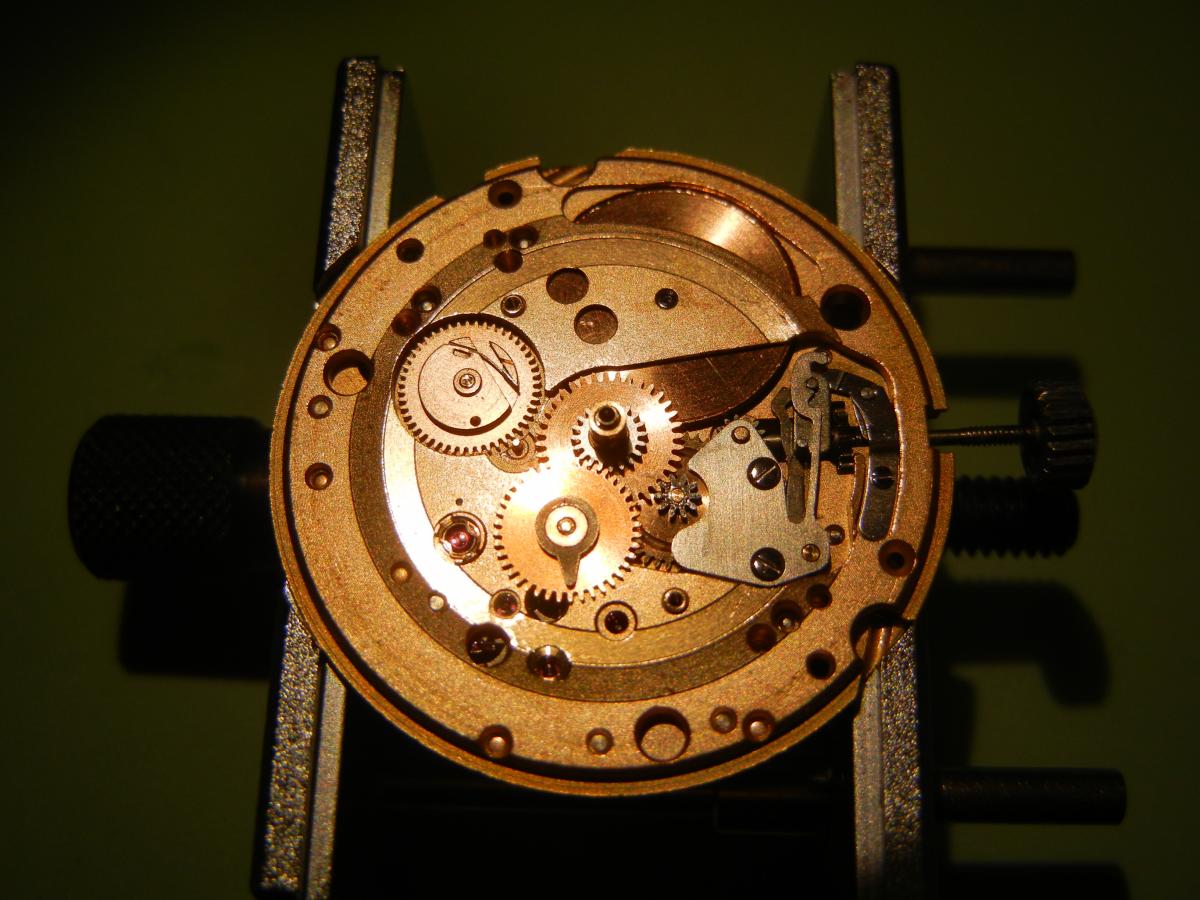
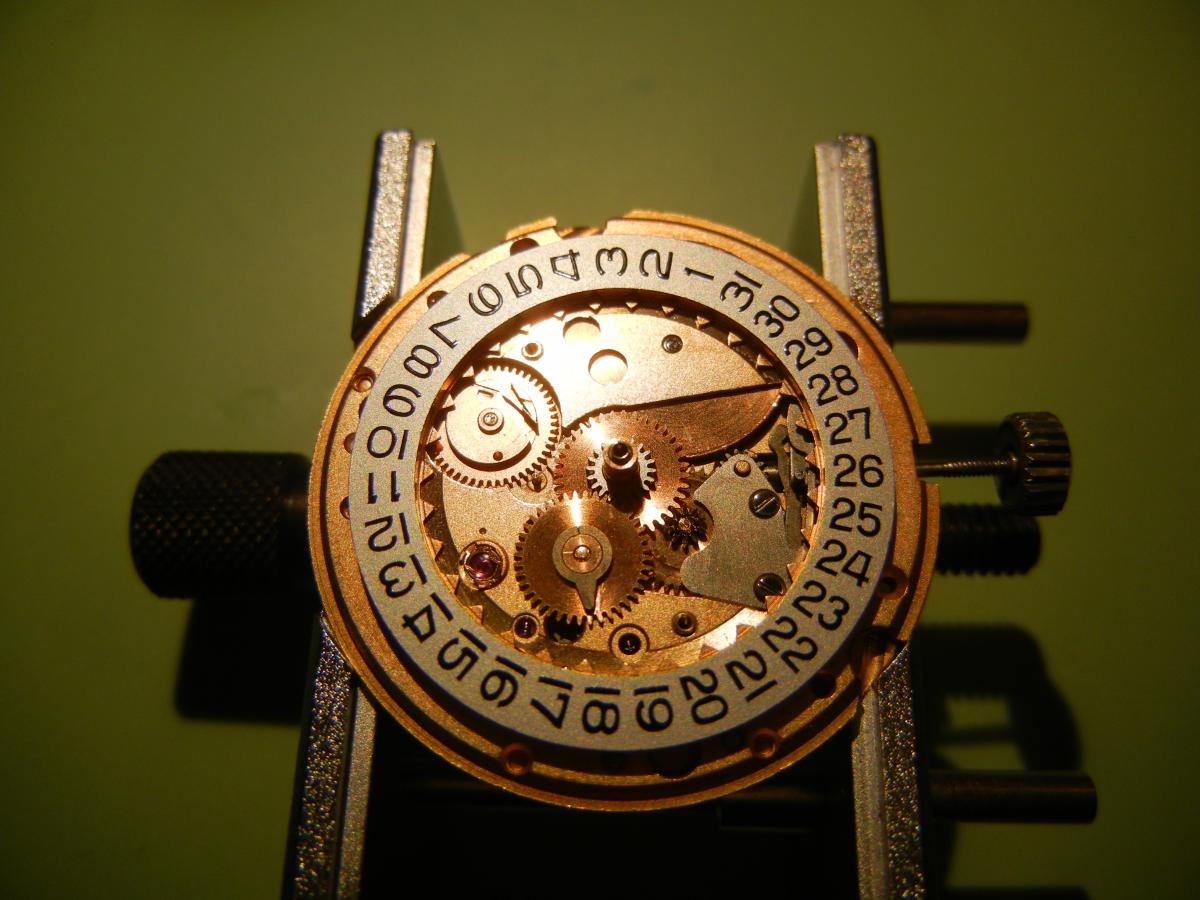
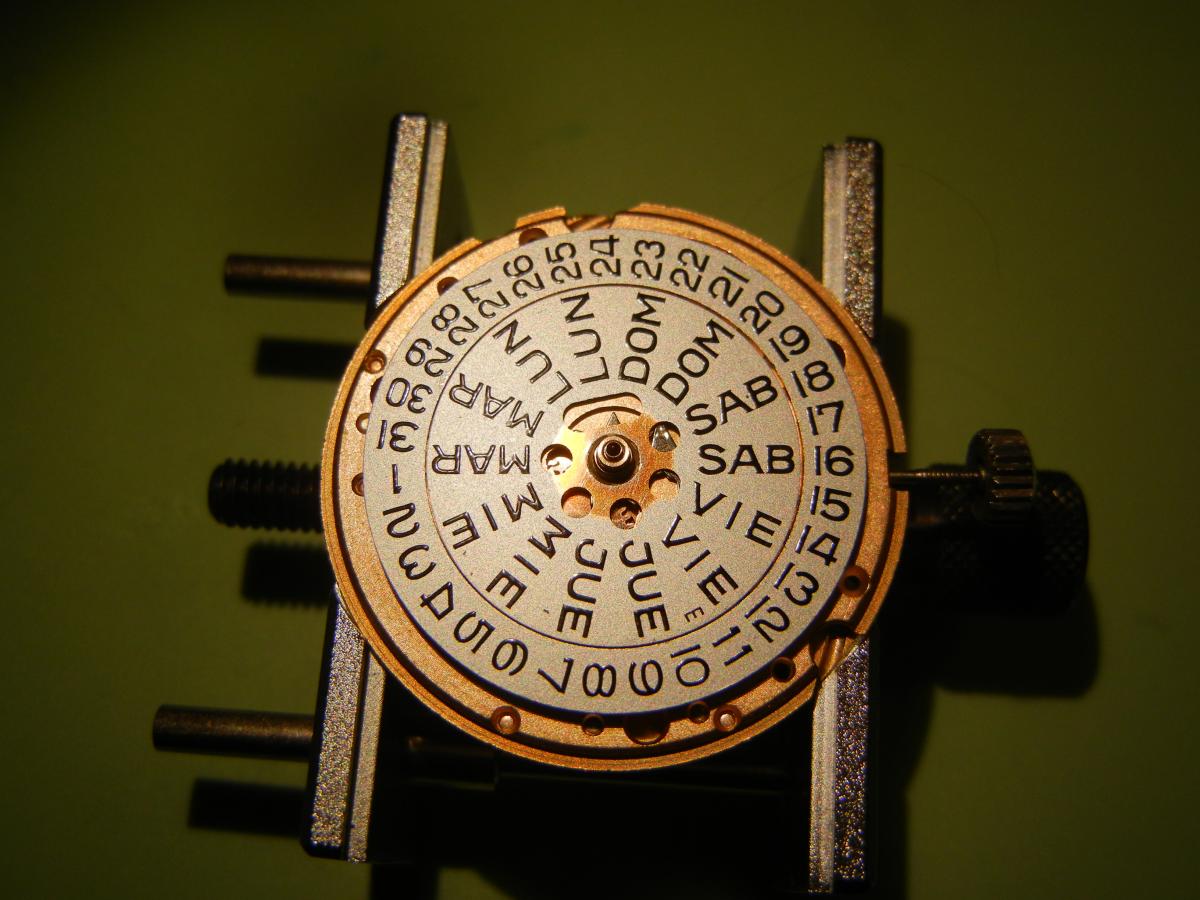
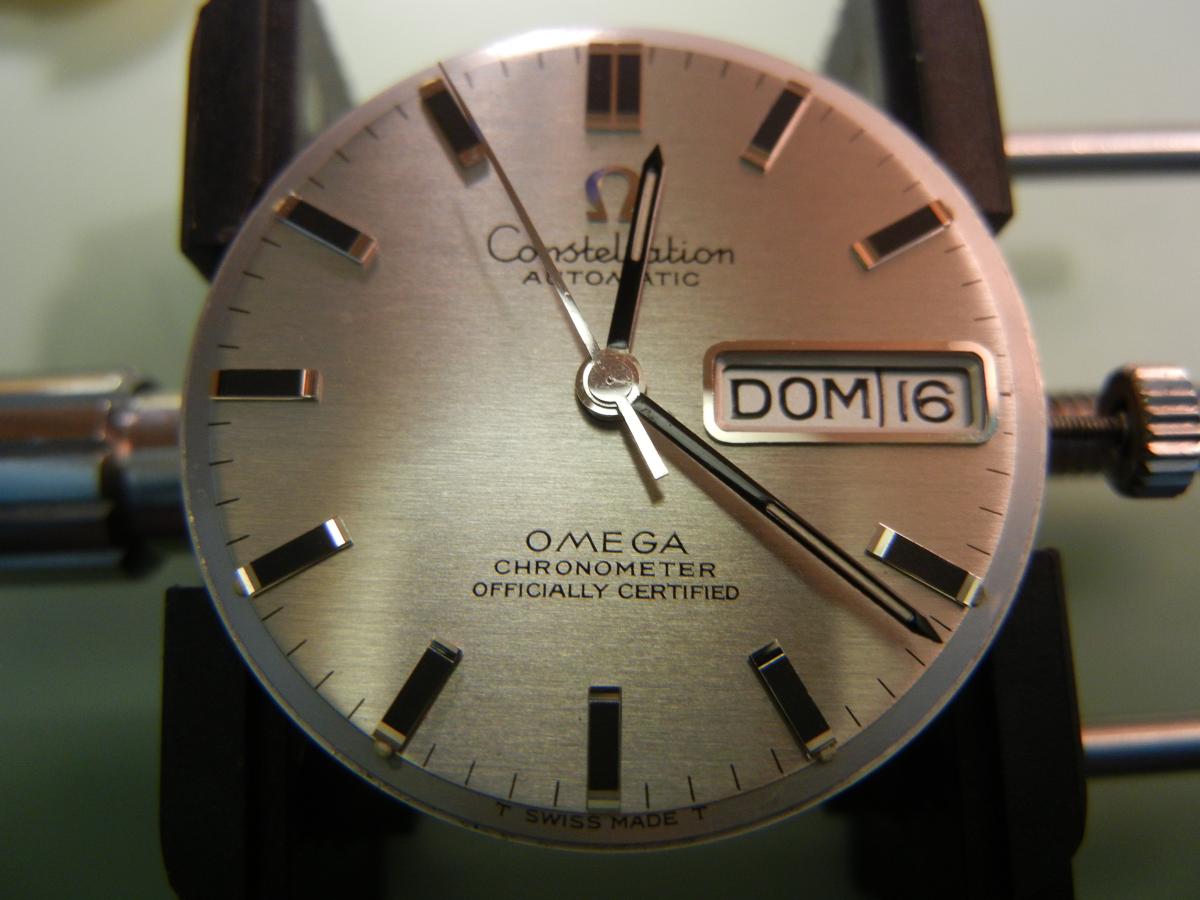
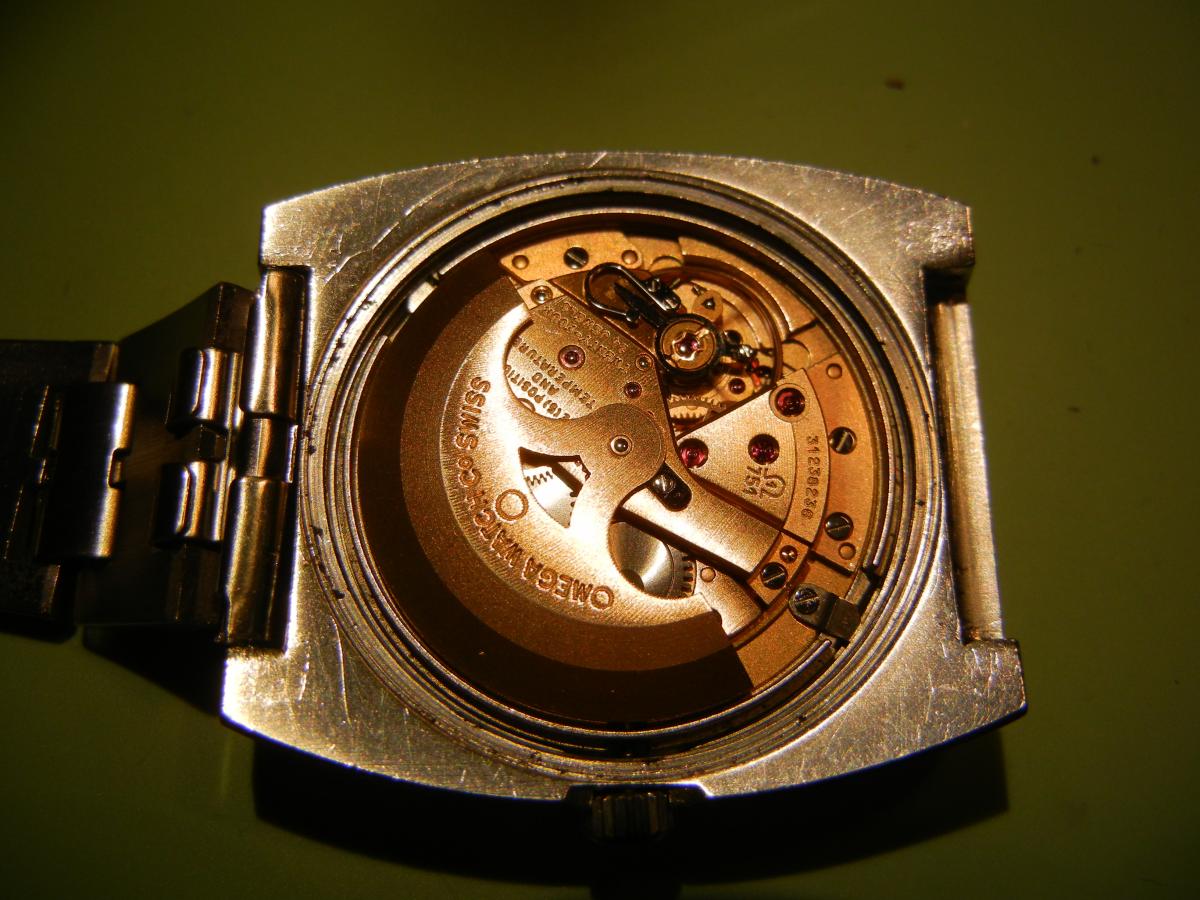
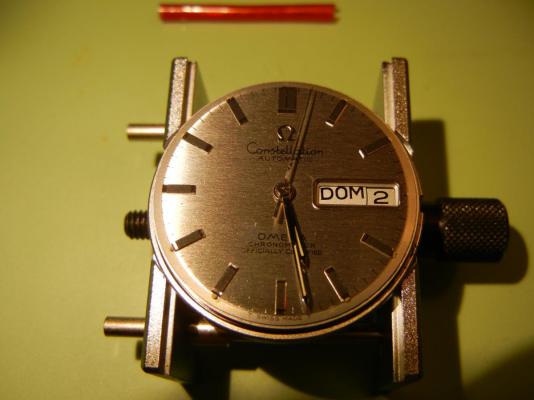
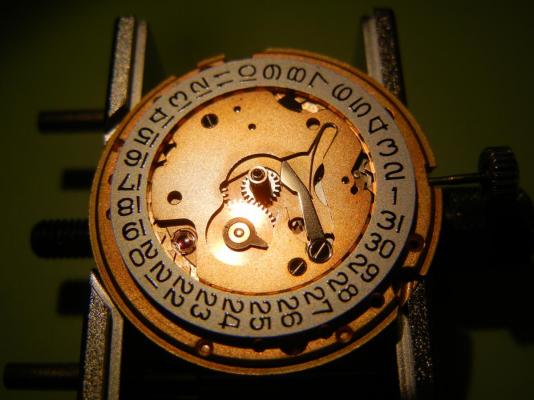
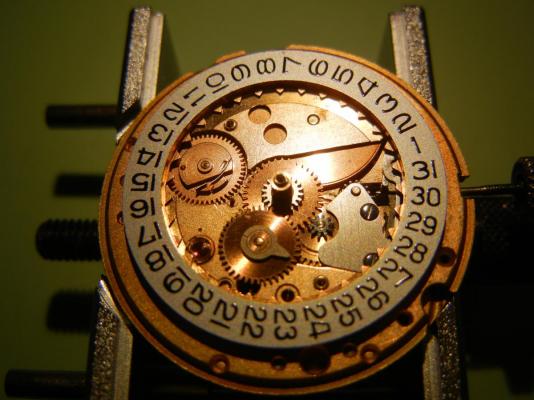
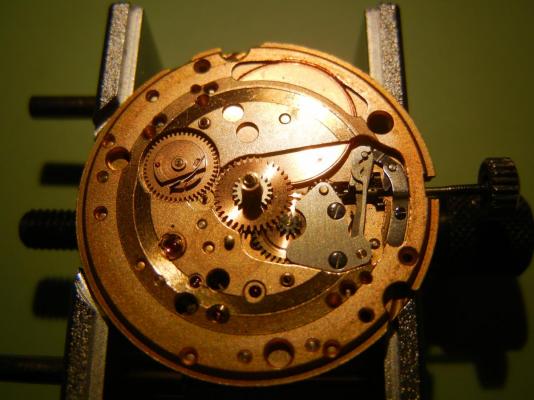
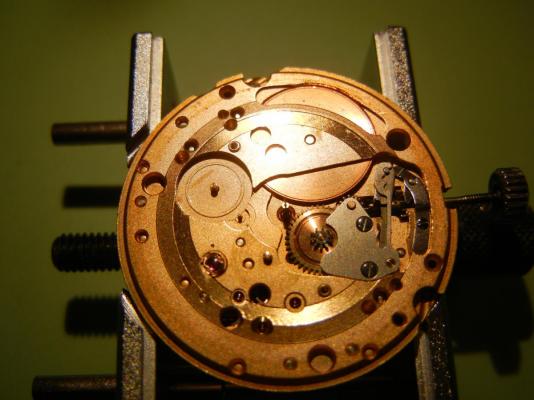
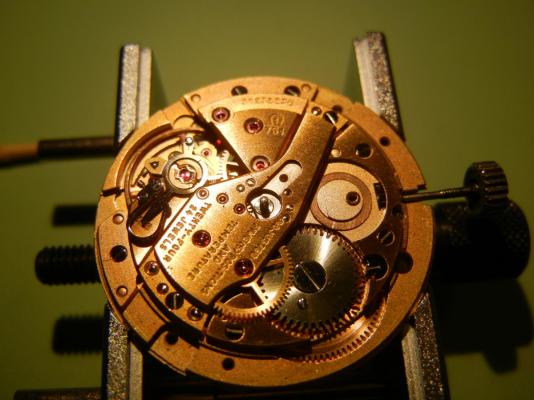
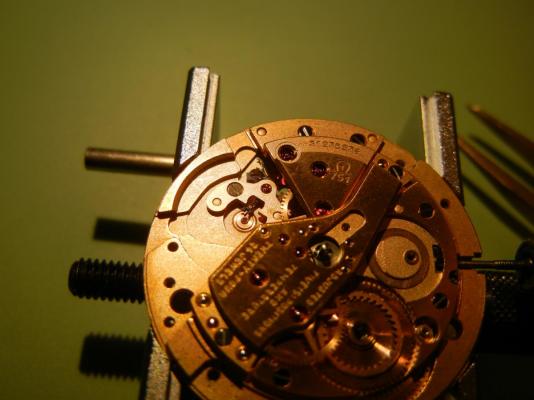
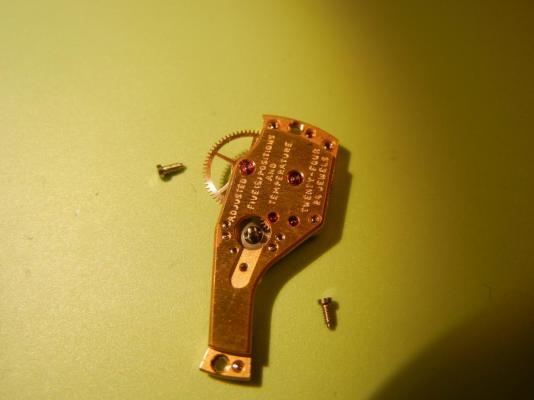
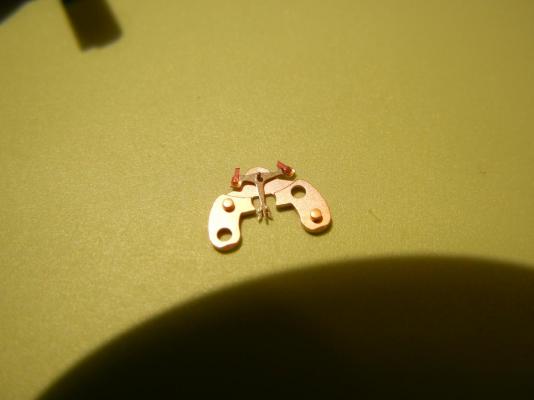
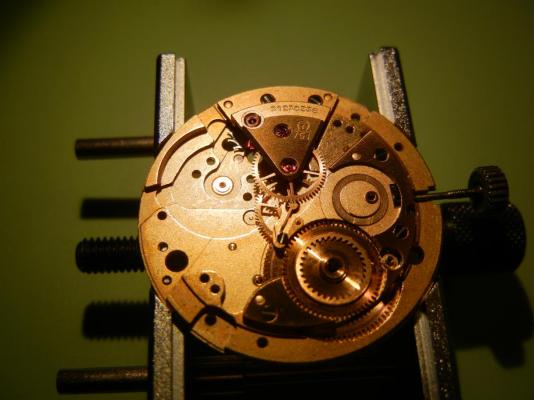
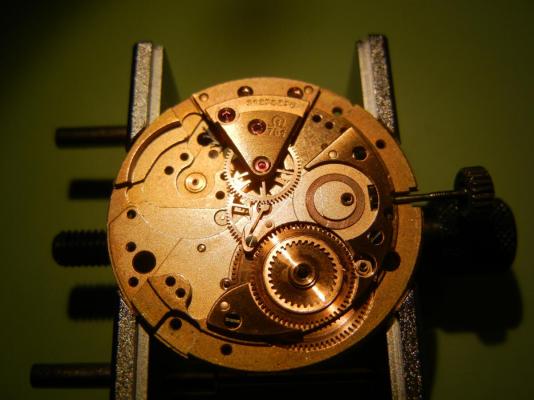
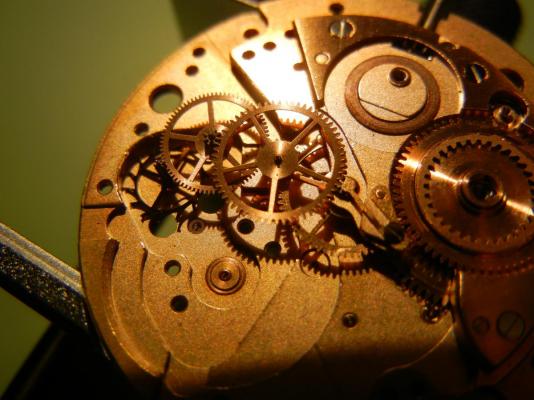
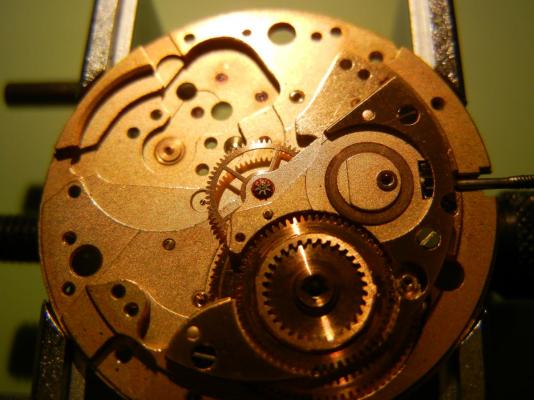
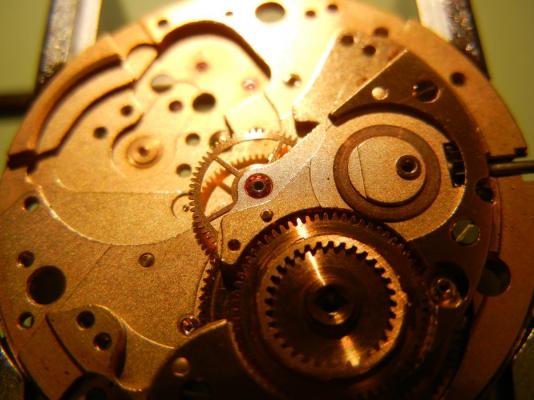
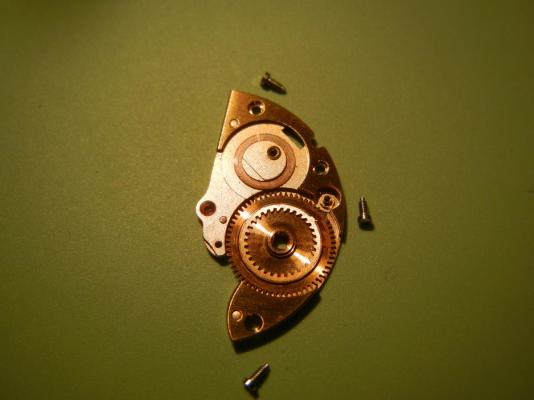
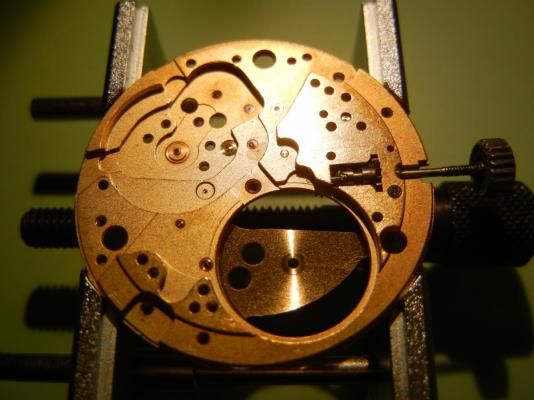
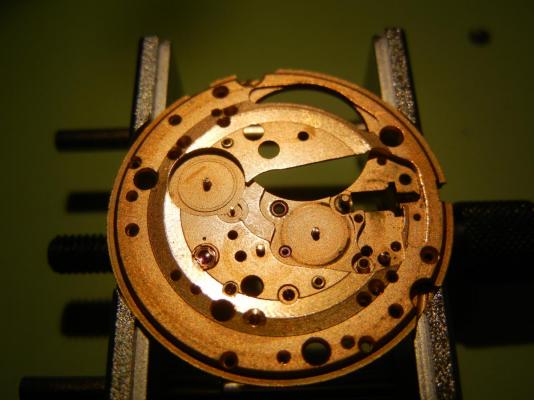
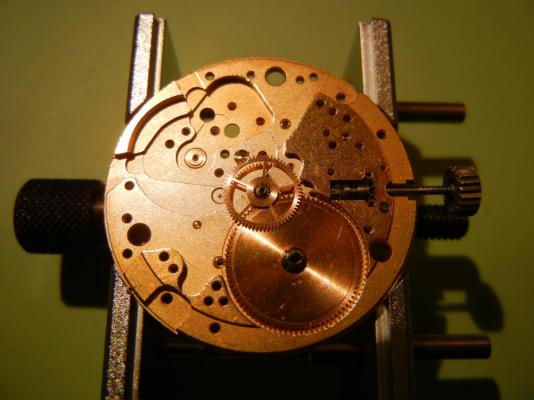
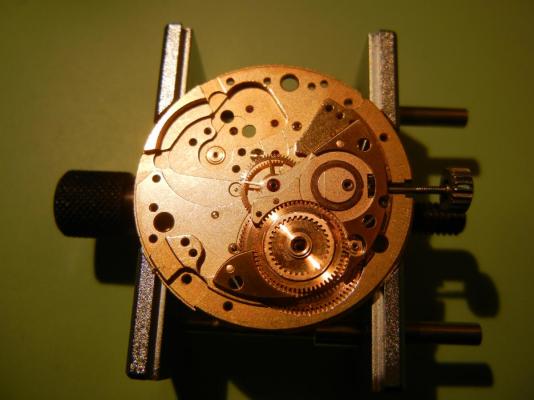
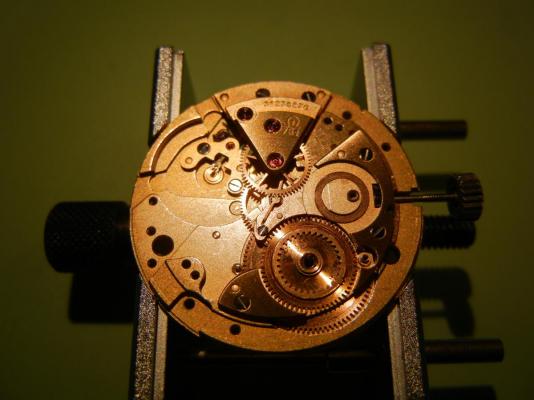
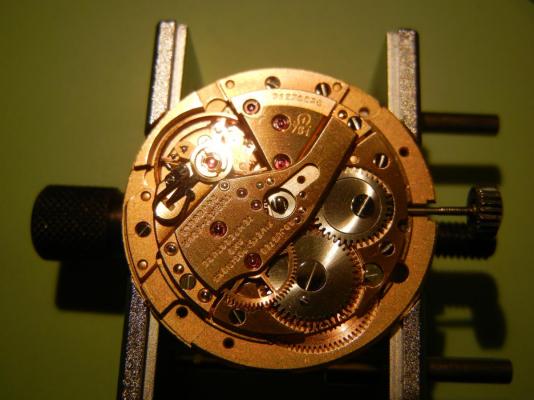
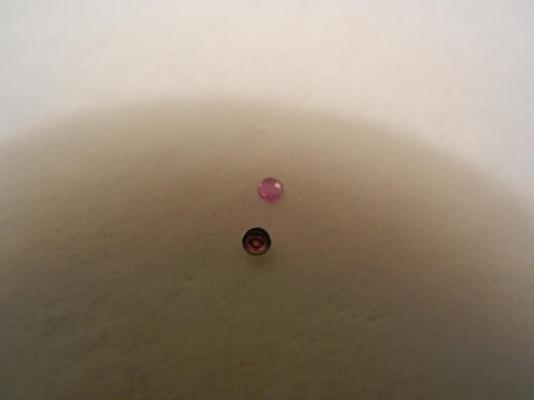
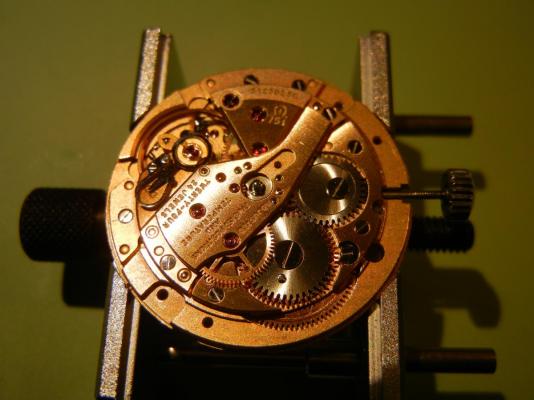
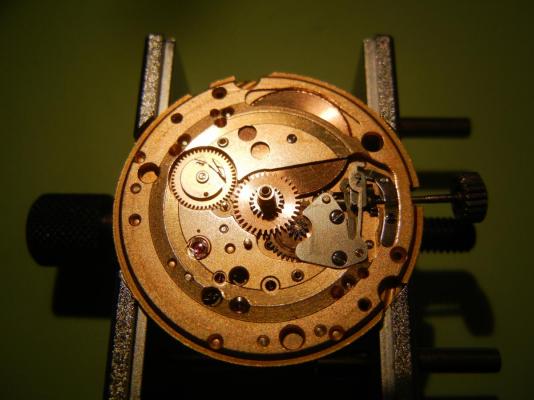
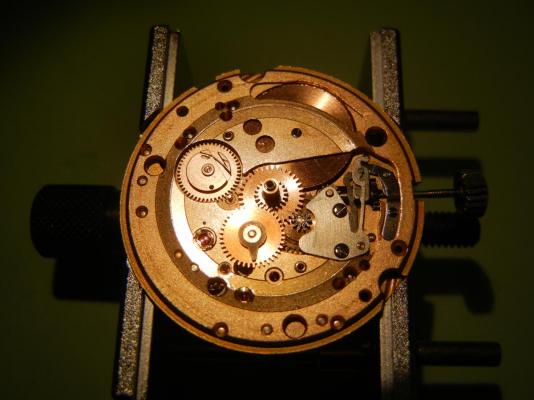
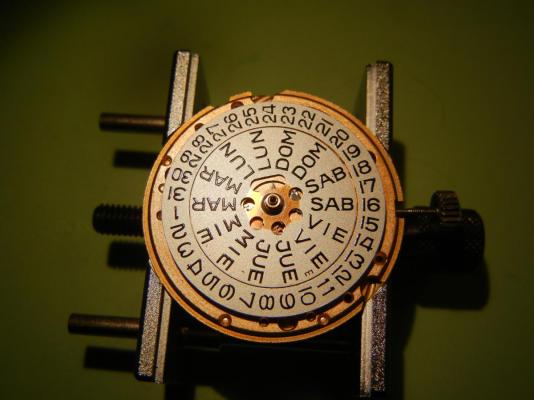
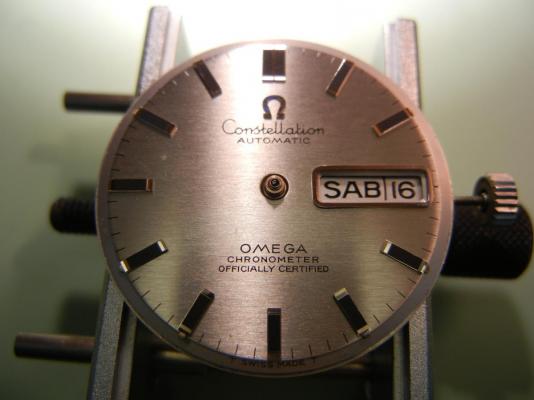
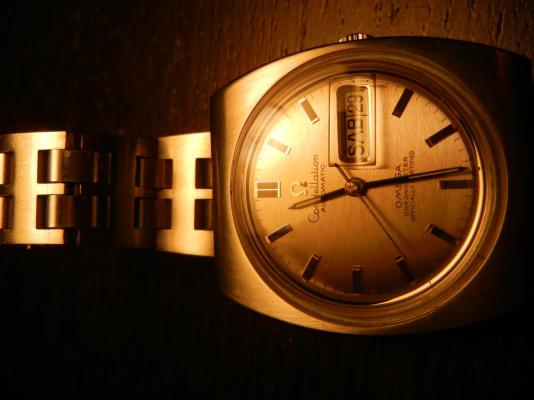
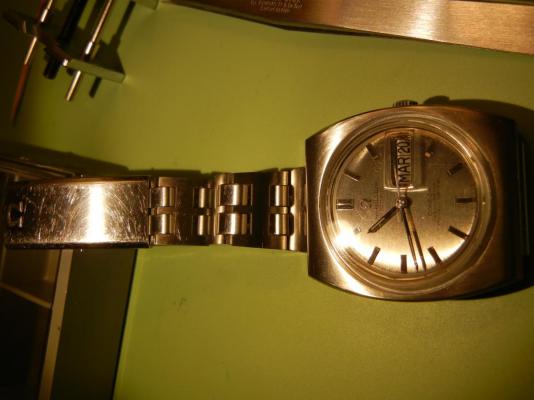
My favorite watch---a stainless steel omega with a missing bezel. I finally got the courage to give it an overhaul even though it runs perfectly. It is original in everything except the darn bezel is gone---its hard to find one these days but I almost don't mind becasue it looks very clean. I beganby very carefully uncasing: I immediately noticed the movement was cradled in an additional metal ring with screws The dial itself has a curious ridge around it that I figured out is to help stabilze it when mounted on that ring. The dial is also held in place with screws of course. The day (in spanish) and date wheels, and a complicated quick set mechanism that took me a while to rebuild: The movement is very nice and finished to a high level--something very different compared to my pin pallets watches I like so much The bridge was intimidating with its separate level of gears and jewels And continuing with the tear down: It was nice having a separate bridge for the drive gears Rebuilding was straighforward: I opted out of taking apart the bridge and just cleaned it as best I could and carfully checked it afterward Lets face it: The incablock sping system makes it very easy to clean the jewel and cap. Much better than novodiac spring I am used to: For the dial side I have to admit I got a little careless and overlooked some key details about the where the quick set mechanism should be positioned. Because of this I had to redo it twice--meaning I had to remove the dial and hands AFTERI had put the whole watch together when I discovered I could not set the date properly. The day is in Spanish which is fine because I am proficient and I like the abbreviations. The dial looks great ...YES I DID GET THAT LITTLE BIT OF RODICO OFF! The watch is recased and is ready to be worn. Its keeping the same great time as before I took it apart which is good! Hope you guys enjoyed the walk-through.


 1 point
 -
This just about sums it up: https://www.youtube.com/watch?v=-tjHlFPTwVk1 point
-
Swearing also helps Al, believe me, at some point you will need to blow out steam if it gets really bad...you know there are those days when no matter what we do it won't happen! So, don't worry and as everybody is saying, patience and more patience! Cheers, Bob1 point
-
Thank you Mark for the outstanding research. I figured it was not much of a difference being off 1 degree and you have confirmed it. I was just going by the tech sheets I had. I do service a lot of Seikos so I figured I would put in my 2 cents. Much appreciated all you did! Watchdog, is that some sort of bike grease? I was googleing it but only came up with "bike grease". Please, let me know what it really is. I thank you in advance -- since I'm not familiar with it. I usually do the true Seiko recommended lubes: S6, S4, Moebius 9010 with the twist that I "paper rub" the main spring lightly with Moebius 8200 after cleaning and put Moebius 941 (which is for 28000 bpm or less watches) in the pallet fork jewels. Seiko silicon grease in the gaskets for sealing. Those Seiko lubes can be had from ebay and some other vendors, not too easily though. Cheers, Bob1 point
-
The dial is far too cluttered, they should remove the central dot. :-)1 point
-
Hey Al! Glad to hear from you and it was outstanding to see you doing your thing at the NAWCC on Nov 9th. so thanks for that opportunity. I've not worked on an ETA 2750 but I looked it up and see it is a big bridge with 4 pivots to line up. I've done so many watches now that I can tell you that it is just a matter of placing the bridge right atop the screw holes as a rough guide, and then gently moving the bridge with brass tweezers until you feel the pivots--or at least one, go into place. Foe me the most difficult one is always the escape wheel pivot. That one takes gentle prodding from under the bridge and sometimes spinning the drive gears a little bit with the tweezers helps, and then they all fall into place. I've done both cheap watches where its a breeze to line up the pivots on the top plate (there usually is no bridge) to better watches with separate bridges where is hard to make them line up. It takes a little practice, and if I get frustrated I put it away for some other time. One thing I have learned to do is never tighten the screws up on a plate until I have confirmed with a 10x loop the every single pivot is in its place and also by giving the drive gears a little push with brass tweezers--only when they are freely spinning do I begin to tighten and I recheck to make sure the gears are properly seated and spinning before giving the final tightening. You just keep nudging the bridge around and pushing gently down with brass tweezers, then look with a 10x loop to confirm if you need too. This is what works for me. Keep practicing buddy! JC1 point