Leaderboard


Popular Content
Showing content with the highest reputation on 09/30/16 in all areas
-
Have a look at the hair spring with a loupe. With that level of gain the odds are that you have a couple of coils sticking together, either due to magnetism or oil residue. Alternatively make sure that the hair spring isn't hitched up on anything and that it isn't touching anything that it shouldn't.2 points
-
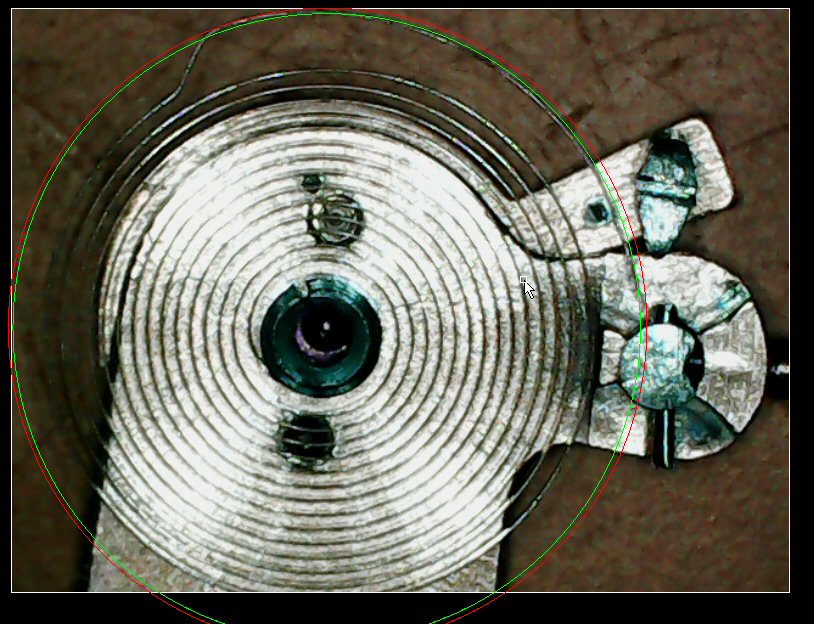
Just a thought but I always get suspicious about the point the HS exits the stud. I have sorted out more out of flat and off centre hair springs by tweaking at the stud than anywhere else and I reckon it's because it's the most vulnerable point if the balance cock is handled carelessly or if there is a struggle with the tweezers trying to remove the stud from the mounting. Looking at your pics it looks to me like the terminal curve spacing (to the next coil) is less at the stud than at the dog leg. The difference between the red and green circles. If you slacken the bends at the dog leg it will reduce the spacing at the dog leg, and if you slacken the bends at and just after the stud it will increase the spacing at the stud; in either case you will need to gently reprofile the arc between the two points. Also, it looks as though both approaches should be possible without adversely displacing the collet from the balance pivot, and could even be used to improve this alignment. What we can't see though is the where the central point between the inner curb pin and the inside of the boot is. As this is the point you need the hair spring to be at, without knowing where that point is it is impossible to say which of the two adjustments is correct, or if you need to do a bit of both, which I suspect is the correct answer. If you measure the distance between the centre of the balance jewel and the inside of the inner curb pin and carefully draw a circle on a piece of paper with that diameter using a pair of compasses. Place this template onto a piece of cork board and pin the hair spring to it so that the pin goes into the centre of the circle you will be able to use the circle as a template for the terminal curve. You do need to ensure that the collet is held firmly on the centre of the circle.
 2 points
 -
The AF screwdrivers are very nice. Ball bearing ends and nicely weighted. These are made in France. The same item is re-branded by Beco which is a German company you occasionally see on eBay. I'd say the tips are more important than the handles themselves; I use AF Swiss tips, and used to use these on an old Indian set which worked out well.1 point
-
I found out its 19821 point
-
As Rogart says it sounds like there isn't quite enough friction at the canon pinion. It is just tight enough to transmit the power for the normal time keeping outside of the date change window but as soon as the date change finger starts to apply a load to the date wheel the friction is overcome and the hour and minute hands as well as the the date wheel stop.1 point
-
Yes, there's a fair amount of that on eBay. I had been following a watch on eBay and three different sellers had the very same watch, same pictures, same description, I placed a low bid and in each case, a "private" buyer came at the last minute and placed a bid of exactly 20.50 US. It caught my attention so I followed each watch put up for bid and I would place a bid below 20.00 US to see what would happen and in every case (9 times) a "private" bidder would win at 20.50 US. interesting no ?1 point
-
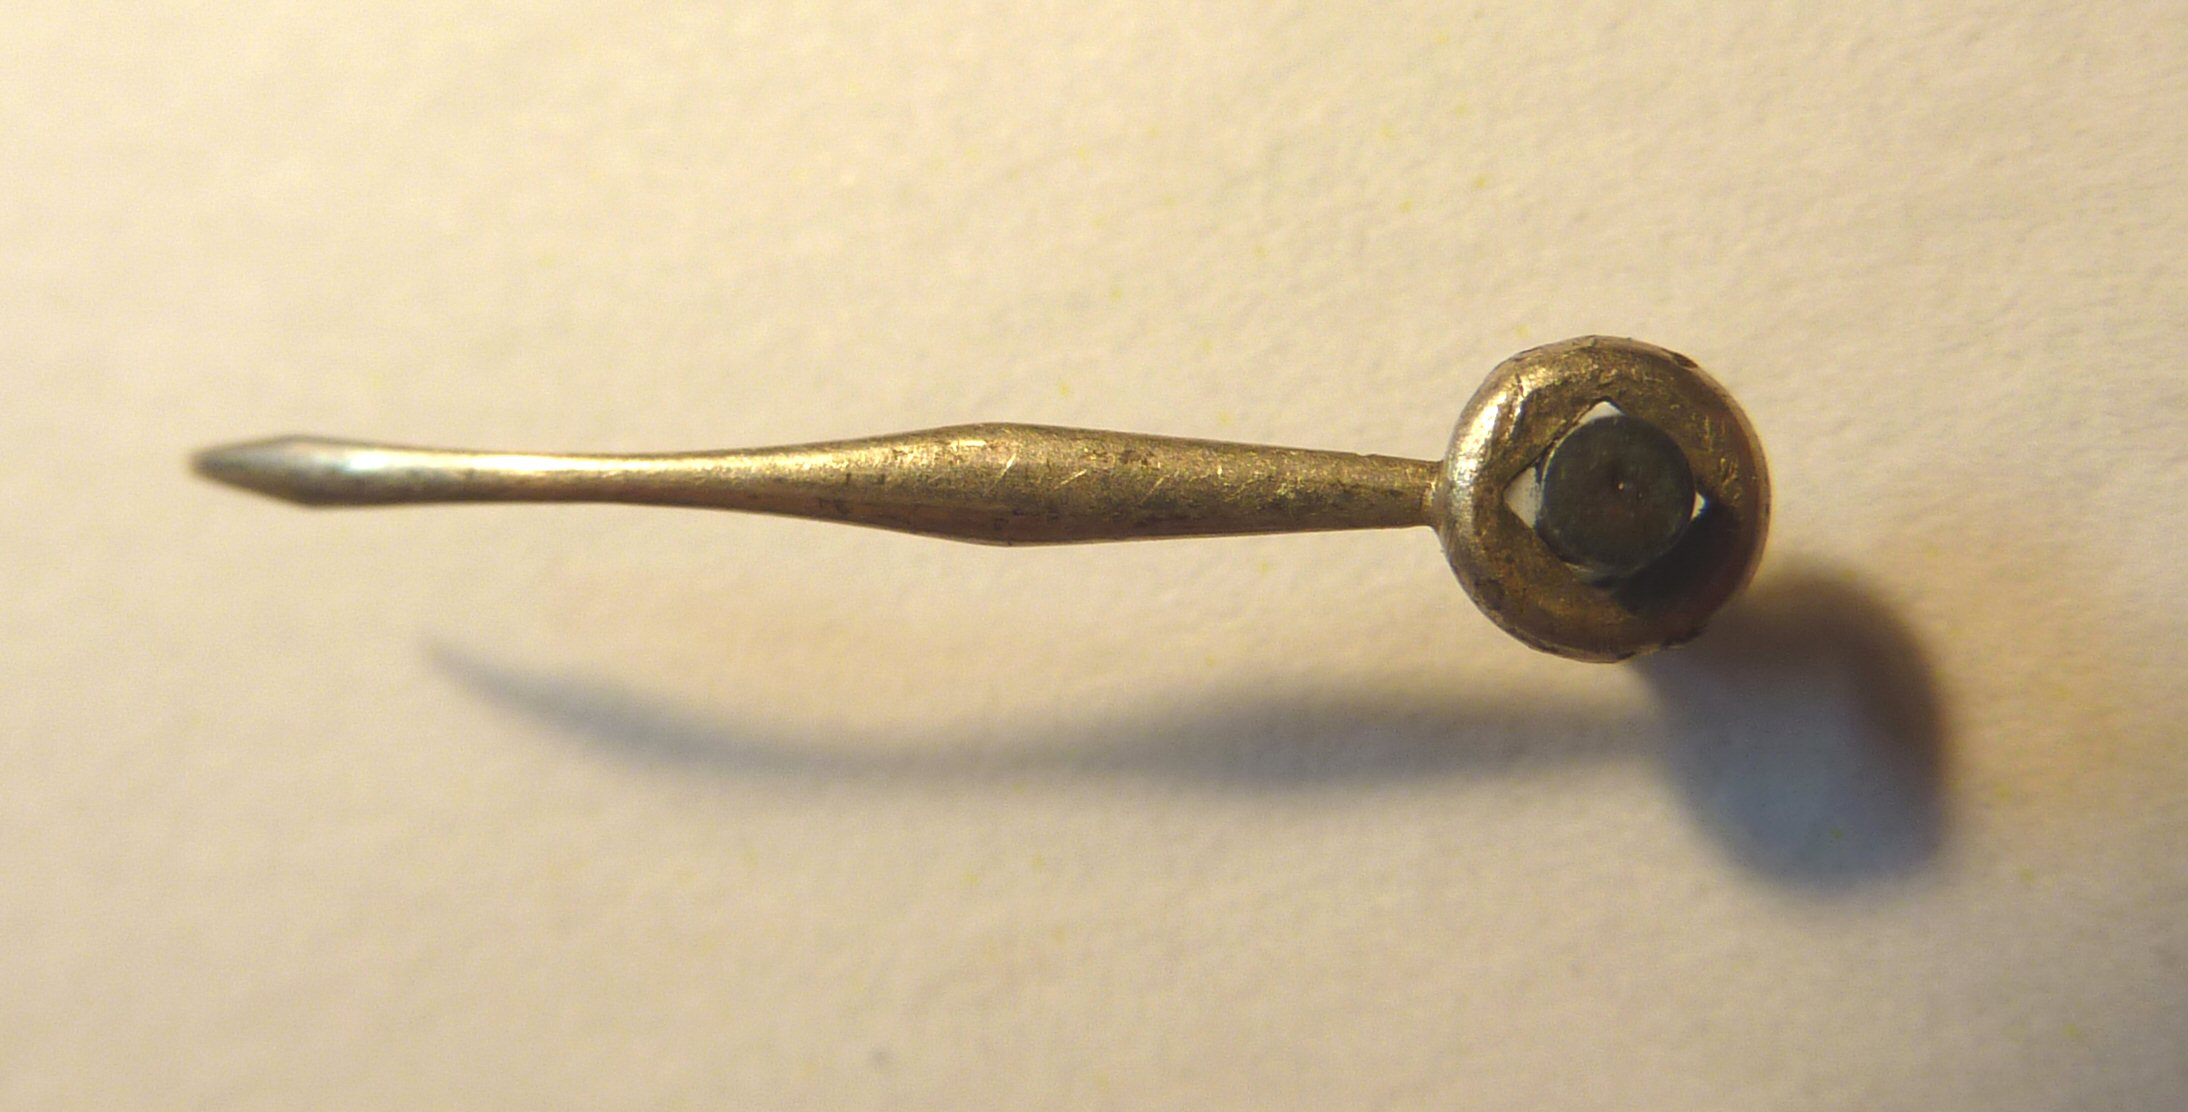
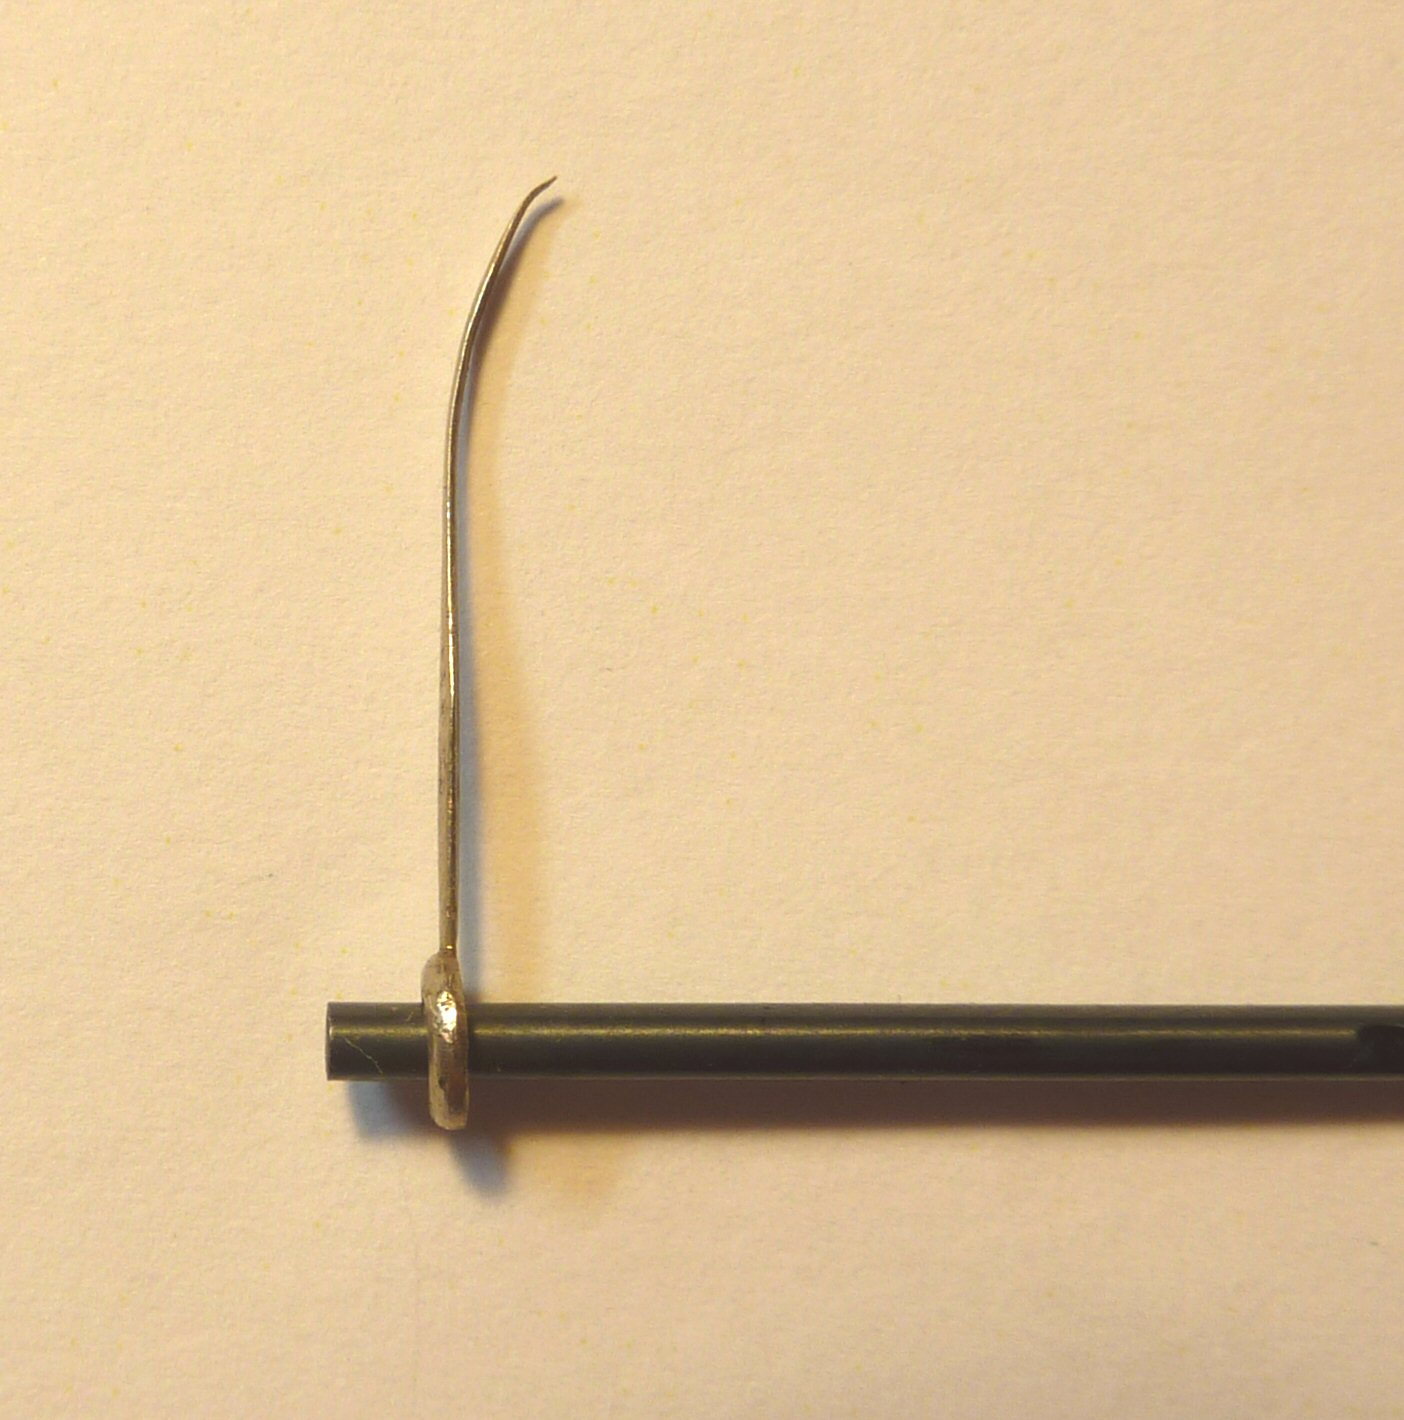
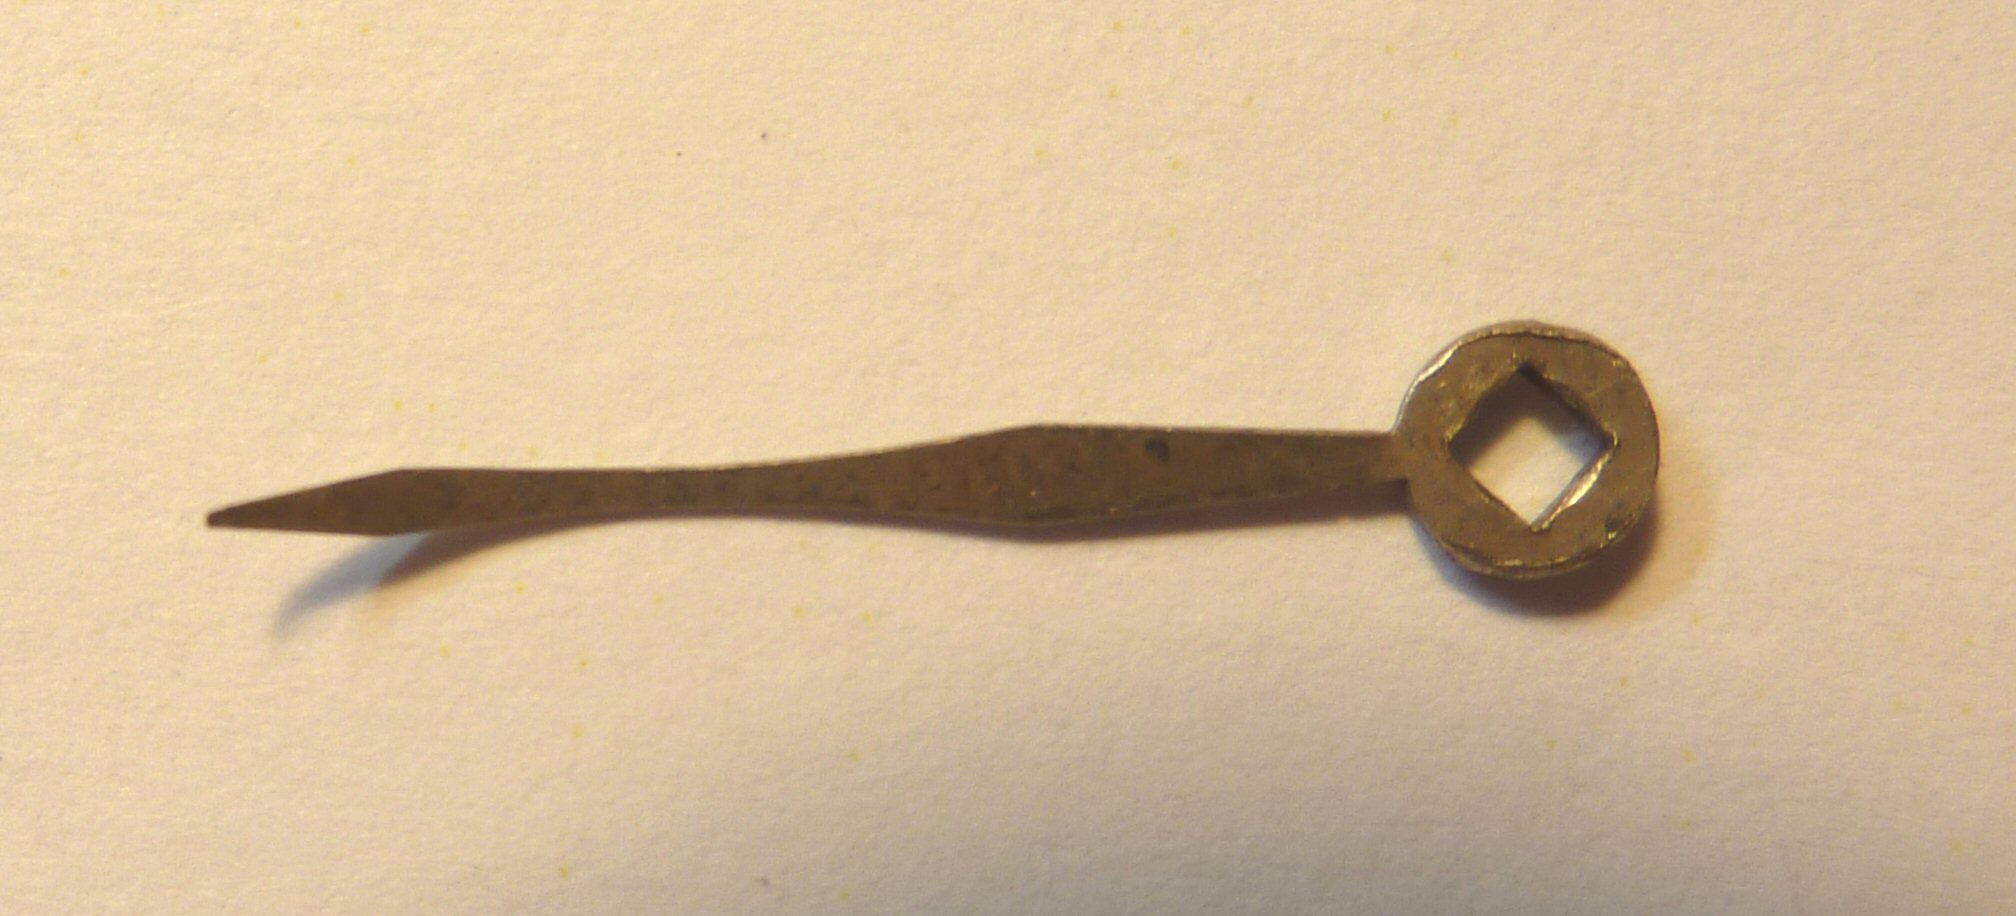
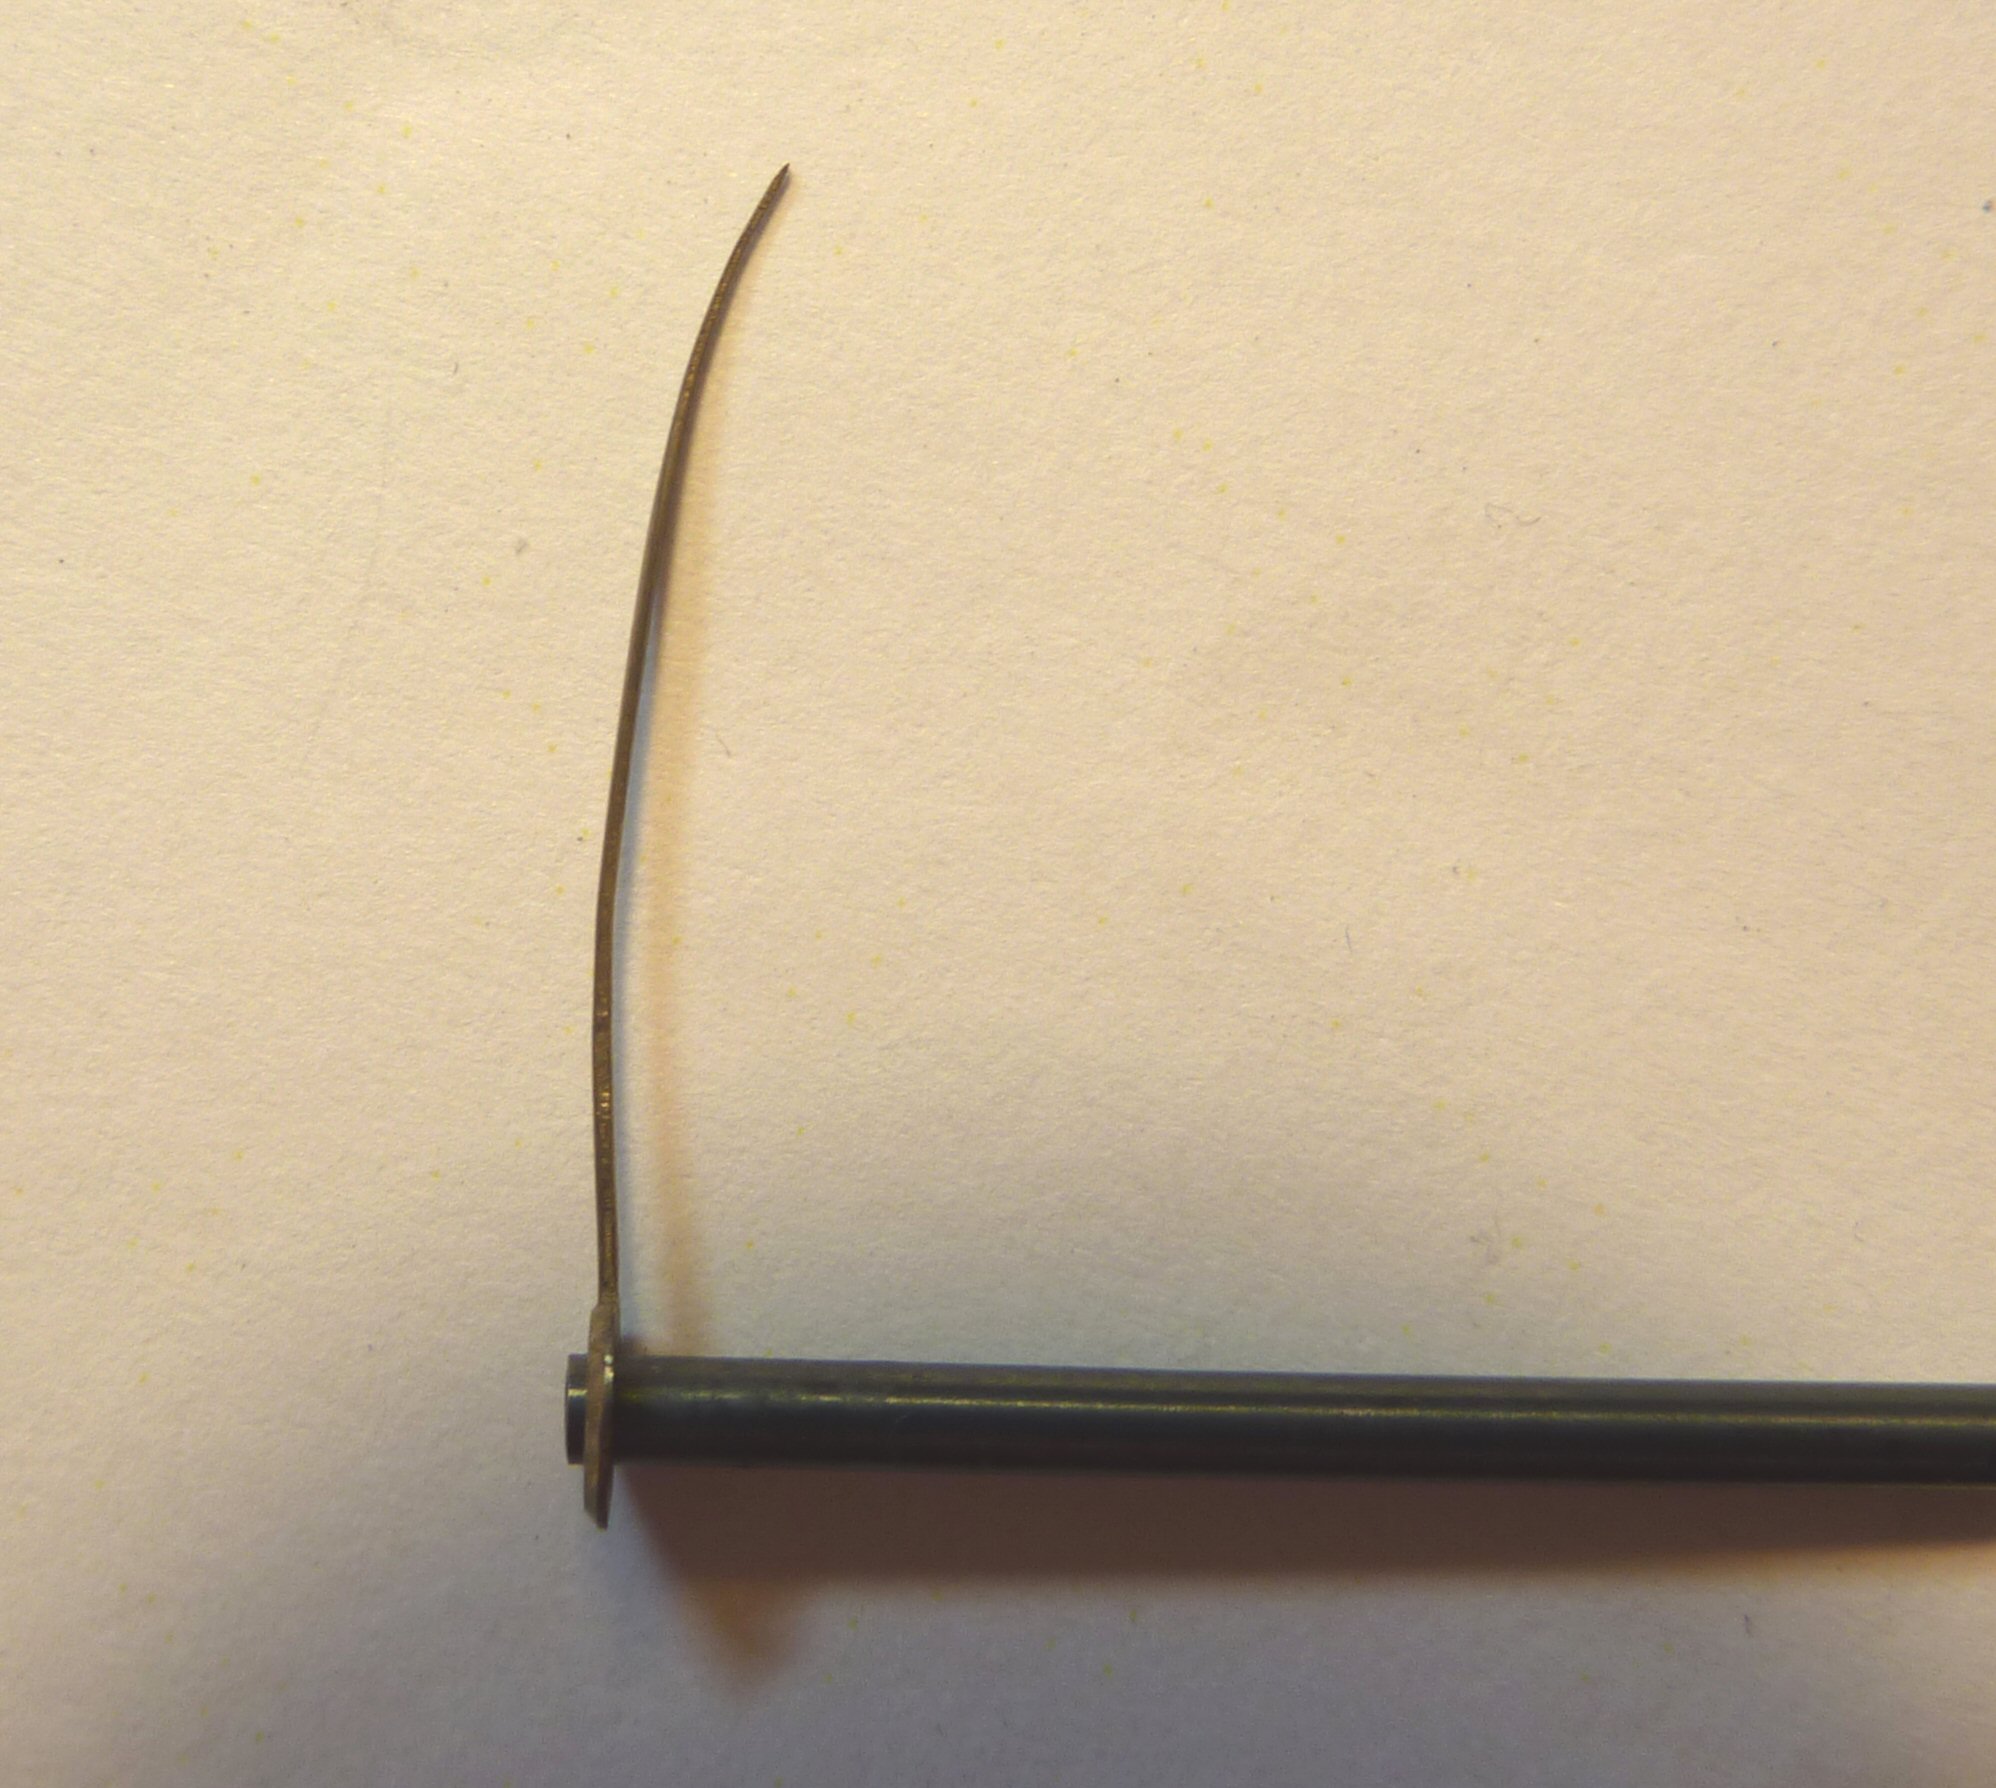
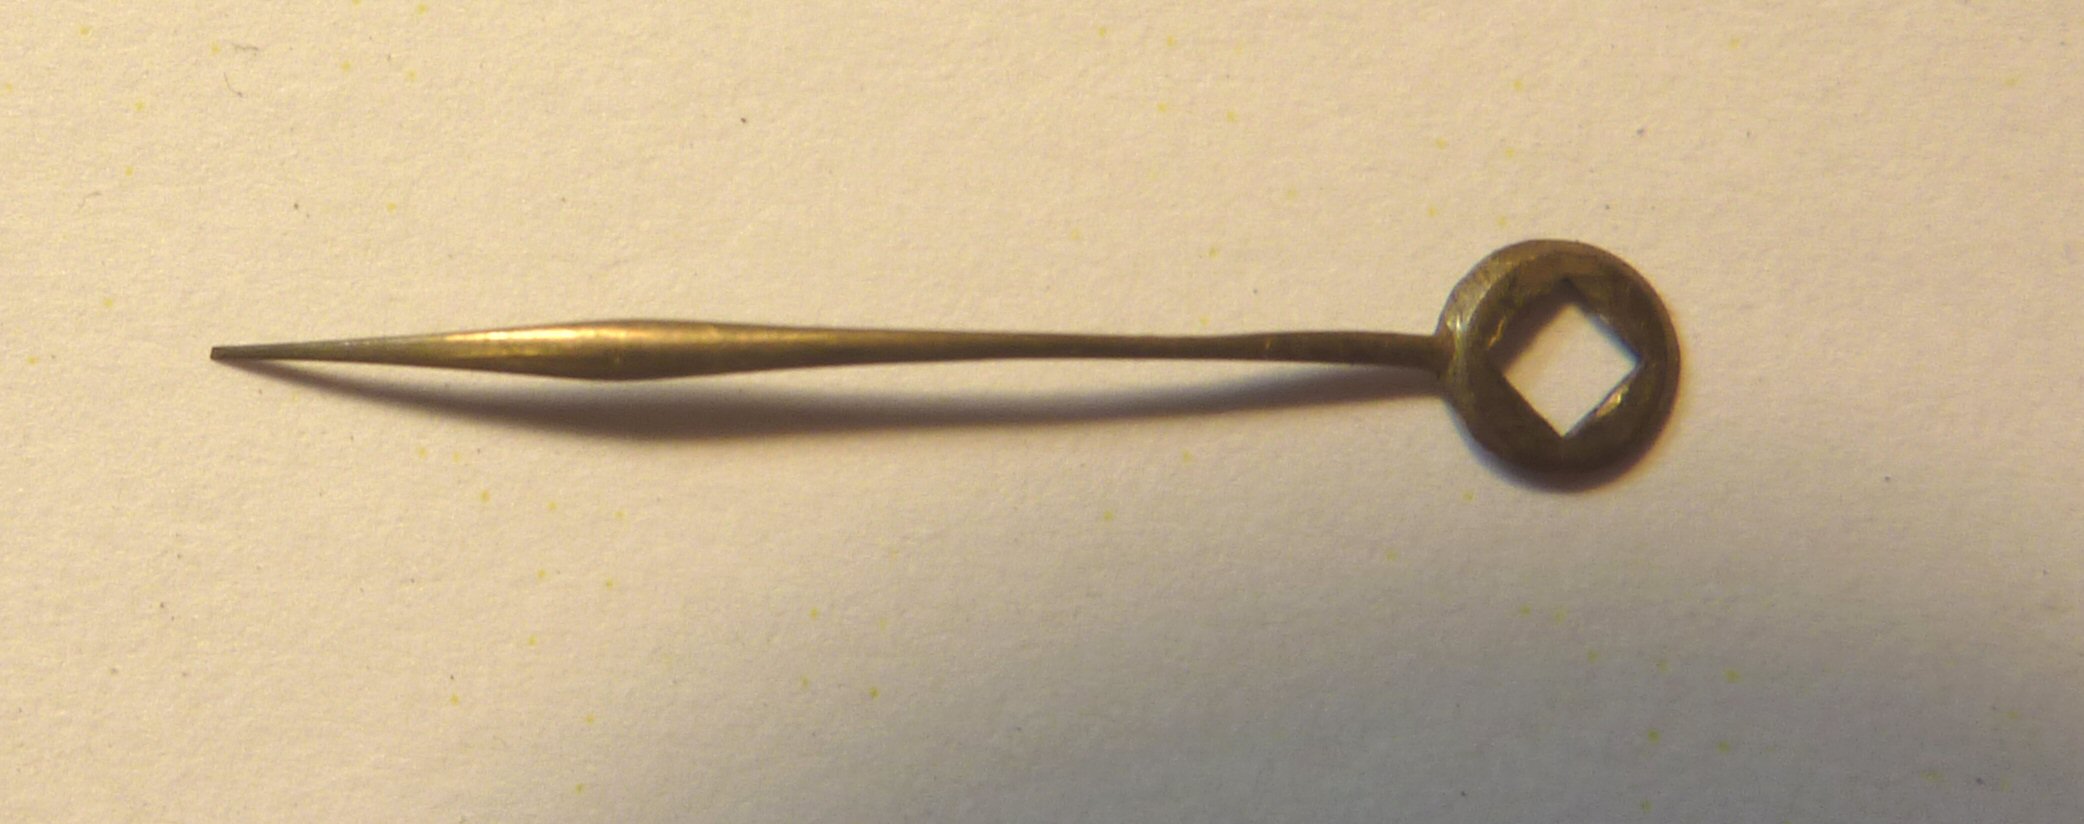
Hi Paul, are either of these any use. Both are shown on the shank of a 1.7mm drill bit and both are roughly 19mm long. They are both meaty enough to withstand a little bit of re-shaping and should polish up nicely. pm me with an address if they are any good and I'll pop them in the post.

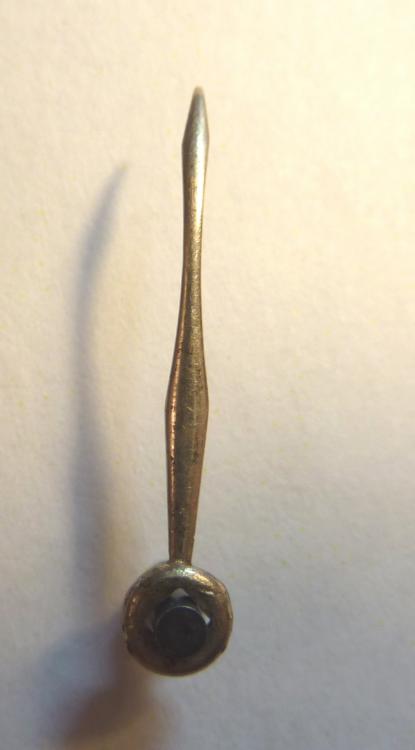
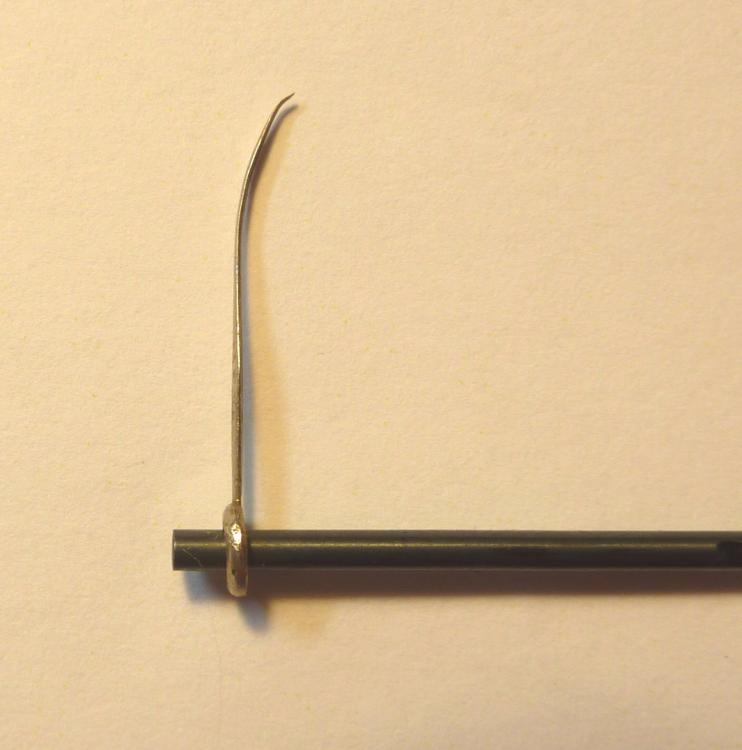

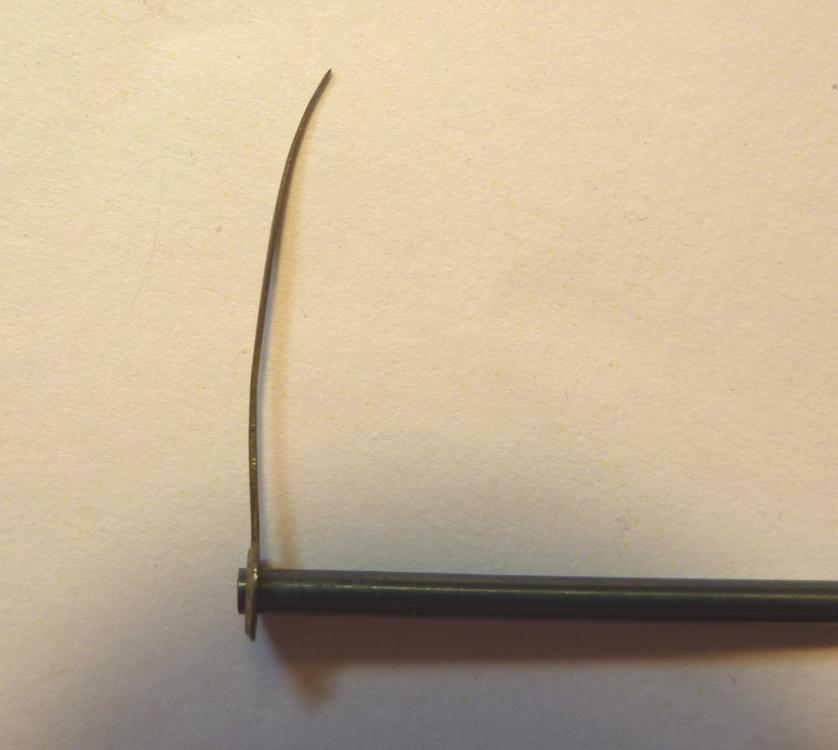
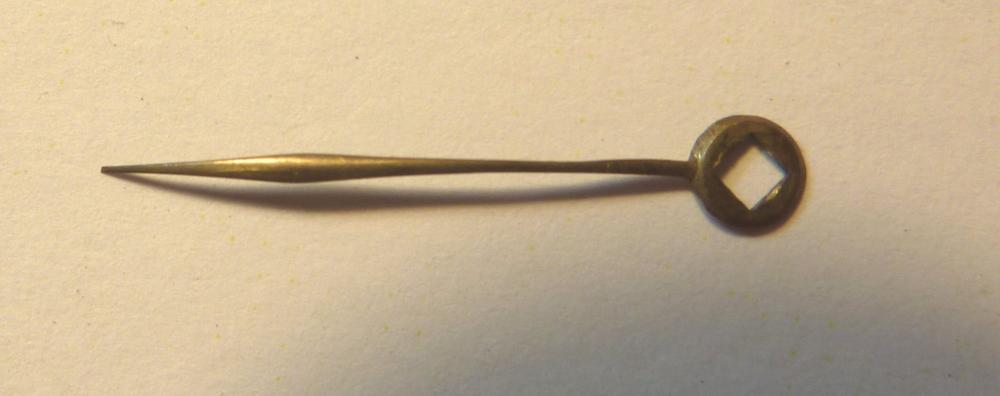 1 point
 -
Update - figured out the stem release method for the 7T34A movement. For the 4 o'clock position alarm crown stem, the release is available at the circled hole when the crown is one click out from normal. You can see a lever with a dimple appear in the hole at the first click. Approximate location of dimple to press is at the red dot. The main crown stem at the 3 o'clock position is a bit more obscure, but again if you pull the crown out to to the first click you can see a dimpled lever appear down the space to the left of the dimpled tab in the green circle. Approximate location of dimple to press is at the red dot. In both instances space is a bit tight to use tweezer tips to disengage the stem. I used a blunted sewing pin which worked great. Hope this helps someone out.
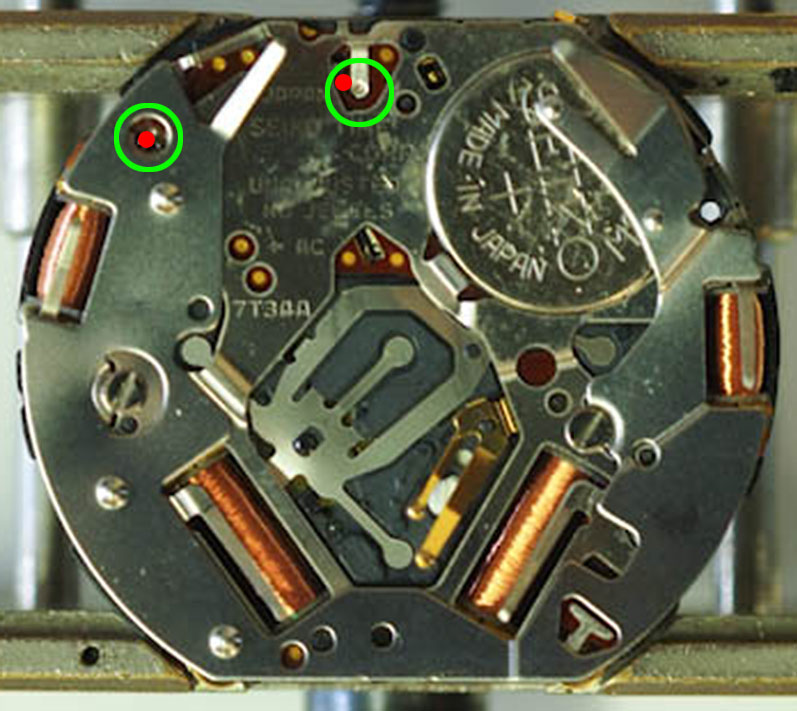 1 point