Jump to content

Old cuckoo clock music man wire is broken off


MKC

Recommended Posts

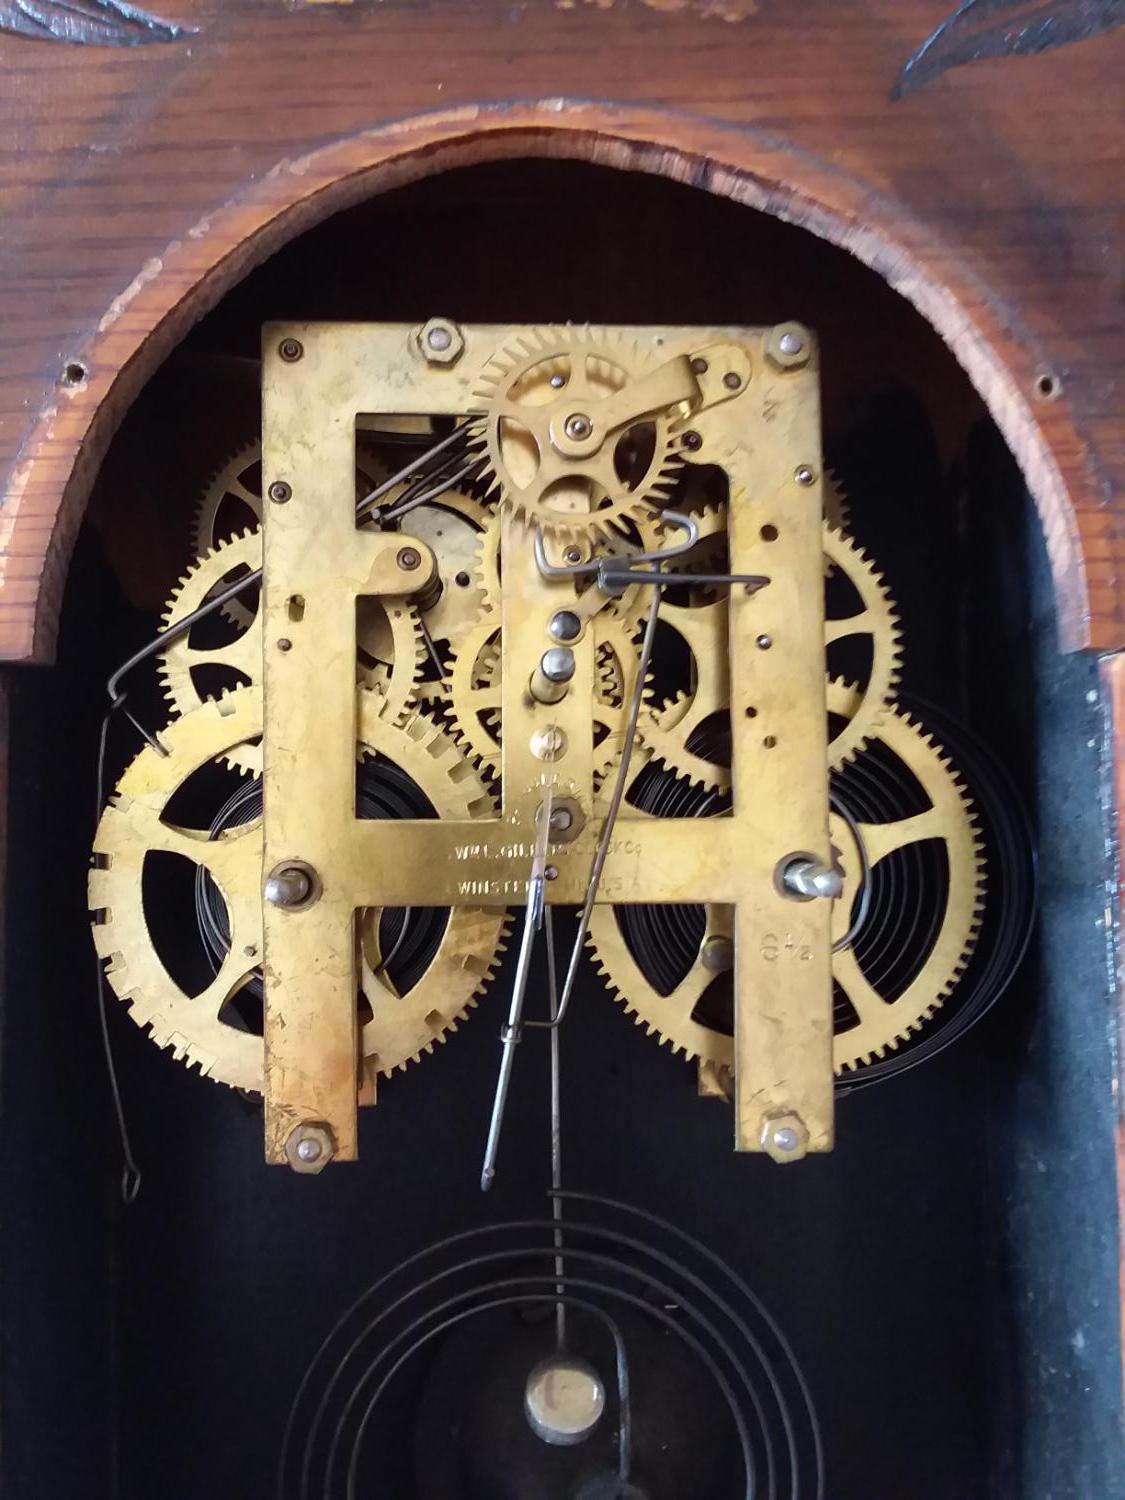
Hi to all! After I got my HAC up and running with great help from here (thank you again!) I have gone back to tinkering with cuckoo clocks and I have a new problem.. I have a 1950s cuckoo with a music box and the music man attachment wire is broken and he needs to be re-attached. (His head was also cracked, but that was easy to deal with .. even if I could not make him look very happy, lol !). I had to deal with quite a bit of rust all over the movement, I have cleaned things the best I could and I need to try to reattach the wooden man.. but how?? I am a total new learner on my own... I assume I have to try to solder the wire attachment? But what kind of solder wire should I use and what temperature etc etc?  (Is there a particular solder iron I should look for as I do not yet own one. I only own and have ever used a wood burning iron, hah.) I don't want to end up ruining the music box as it actually does sound quite lovely despite it's ratty look. Thanks again in advance for any helpful suggestions!! I will attach an image here too. The yellow circle shows the area where the music man should be perched on.

Music man.jpg

Link to comment
Share on other sites

Hi. Soldering is quite straight forward, the main thing is cleaning the areas to be soldered treating with flux and using resin core solder all available fron hardware stores. Soldering irons come in all shapes and sizes. Pistol grip irons , straight tip, spade tip , round tip.  I personally have a seller workstation with four interchangeable tips, probably best value because it covers most bases. But again depends how much you are going to use it, so it’s a cost thing, solder comes in reels or tubes with a few yards inside.

remember to clean thoroughly the joint to be soldered for the best result..     If the point where the wee man fits has a projection requiring a butt joint fit a sleeve over the joint preferably of brass or copper.

  • Like 3
Link to comment
Share on other sites

On 2/29/2024 at 3:46 PM, watchweasol said:

Hi. Soldering is quite straight forward, the main thing is cleaning the areas to be soldered treating with flux and using resin core solder all available fron hardware stores. Soldering irons come in all shapes and sizes. Pistol grip irons , straight tip, spade tip , round tip.  I personally have a seller workstation with four interchangeable tips, probably best value because it covers most bases. But again depends how much you are going to use it, so it’s a cost thing, solder comes in reels or tubes with a few yards inside.

remember to clean thoroughly the joint to be soldered for the best result..     If the point where the wee man fits has a projection requiring a butt joint fit a sleeve over the joint preferably of brass or copper.

Thank you very much! This is very helpful. I will figure out how far I want to go with the soldering. These old clocks are like rabbit holes and cuckoos have turned out to be particularly vexing to me. A new music box would probably be the smartest solution, but that would not have a wooden, cranky looking Music Man with a cracked (but repaired!) head 🙂

Link to comment
Share on other sites

Hi originality is always best, to be kept as it was when made with all its bruises and chip/dings. These are all what it gathered in life, I hate as new restorations as they remove the history from the clock.  Plenty of patience will be required and an investment in time good luck  and come back if you need help.

Link to comment
Share on other sites

Join the conversation

You can post now and register later. If you have an account, sign in now to post with your account.
Note: Your post will require moderator approval before it will be visible.

Guest
Reply to this topic...

×   Pasted as rich text.   Restore formatting

  Only 75 emoji are allowed.

×   Your link has been automatically embedded.   Display as a link instead

×   Your previous content has been restored.   Clear editor

×   You cannot paste images directly. Upload or insert images from URL.


  • Recently Browsing

    • No registered users viewing this page.
  • Topics

  • Posts

    • My mentor has been using one of the Chinese clones for several years. Seems to work very well. Just put the object you wish to demagnetize in the centre of the cross and press the button. One word of caution though, the quality and QC of Chinese clones can vary a lot. You'll never know whether you got a gem or a lemon.
    • You could also use a very fine artist's brush to brush between the coils.  If you get a size 00 or even 000 that should be small enough for convenience, and with bristles so fine that they are incapable of damaging the hairspring.  Get a good one though, like Windsor-Newton or similar.  I have never had a Windsor-Newton brush shed on my art or other work.  You want a soft brush that will not shed.
    • Sounds interesting but how do you push the button if you’re holding both ends? the large current draw overheats after 3-5 seconds and the thermister triggers. A great tool for magnetizing things but I’ve not be able to ever demag anything with it because the emf is so strong it pulls the item off center (down or up).   I paid $89 bucks for it from  CAS-KER, if someone on the board wants it I’d gladly sell it for $25 plus shipping (probably US only otherwise postal costs are prohibitive). Just sent me a note offline.
    • Hi. First thing to do is measure your oil movement as the vx32E and the 43 look very similar but one is a couple of mill smaller the vx32E.  Also the canon pinion heights differ attached tech sheets for 7N22. And  VX43, check details on the sheets. 7N22A_29A_33A_42A_43A.pdf VX43.pdf Hattori VX32E - Specification.pdf Hattori VX32E - Disassemble.pdf
    • Thank you for your introduction and welcome to this friendly forum. We all look forward to your contributions and continued involvement. 
×
×
  • Create New...