Leaderboard

Popular Content
Showing content with the highest reputation on 04/05/17 in all areas
-
I just bought this having used the round trays for 20 years. The lid is not pictured. I have used all types of trays covers etc and this one is great 10 spaces and a locking plastic cover. Of course its from GB Mark will be happy worth every penny of the 25 bucks. http://www.ebay.com/itm/250973978381?_trksid=p2060353.m1438.l2649&ssPageName=STRK%3AMEBIDX%3AIT Best regards all Jim
 1 point
 -
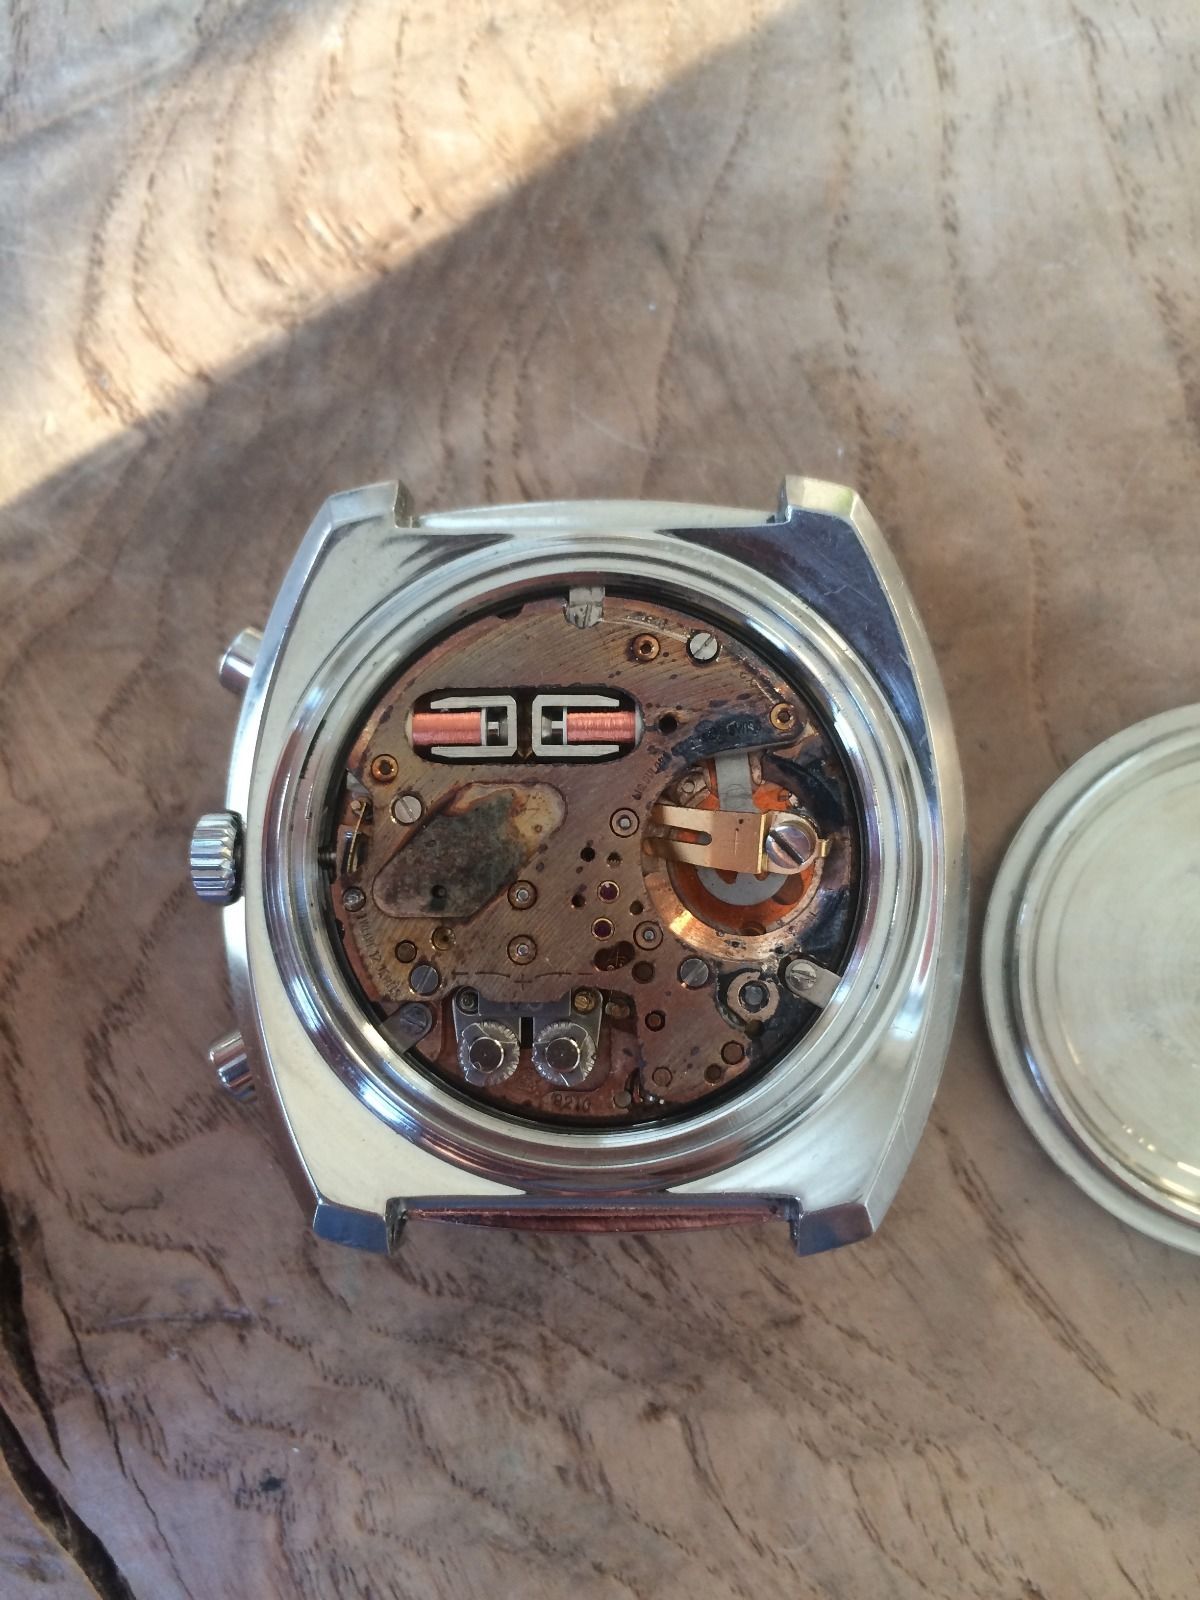
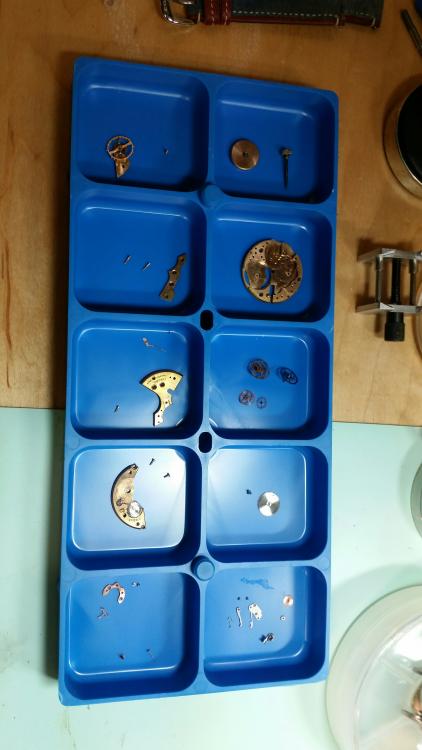
I recently bought a ESA 9210 powered Omega Speedsonic chronograph in a rather sad state. the Oscillator deck of this one is horribly discoloured and blackened in places, the battery strap screw is broken off on the main plate below the osc deck. Just to see what was possible with this one, I removed the oscillator plate to see the main plate below. This had faired a little better, having gone a light rainbow colour and not heavily corroded thankfully. I decided to check the oscillator plate, resonator, coils, index etc. The coils amazingly had continuity and of the correct resistances, resonator is clean, index is dull tarnished colour. I gave the plate and the rest a clean--which didn't really clean it much, but built it back up with at least clean jewels and fresh 9010 for index and second.. It wouldnt run, even though the coils passed resistance checks, no oscillation, no hum very low current drain of 3uA. Replaced the RC coil, It wouldn't run, still only 3uA. Replaced the TR coil, now we had life, it runs, and taking 6uA, Strange, the original TR coil checks fine so does the transistor but just wont work. I reinstalled the osc deck back to the watch, and jury-rigged a makeshift battery strap--my thinking is to assess the general operation (or not) of the rest of the movement, particularly the Chrono stages, prior to tearing into it for real. Ive read many a story of the chrono decks of these movements and would rather not have to pull that apart.... Well, The watch runs and keeps time, however on starting the chrono, will run for 5-10 seconds then stop, reset/flyback works as it should, the constant seconds display stays running when chrono stops, so looks like we got to tear into its devils-doings, the chronograph deck, with its weird vertical clutches and other oddities!....
 1 point
 -
Full plates ate a pain in the backside but if you do it as @StuartBaker104 states you'll be well on the way. I usually screw down the top plate slightly not fully or you'll break a pivot this stops the top plate moving about as much. Working under a plate when you cant see anything is frustrating I also get my light as close as i can to the top plate and look through the side of the movement you can usually see a little pin prick of light to aim for when pushing your top pivot into place don't forget to keep gentle pressure on the plate you'll feel it pop in.1 point
-
No clocks have always been a secondary interest to watches for me, but recently I bought and serviced a French two train 8 day clock, and two things struck me whilst working on it, the first thing that I noticed was the quality. I paid £40.00 pounds for it and wasnt expecting much when it arrived. When dismantleing it I noticed the thickness of the plates and sheer quality of the finish, I polished the plates and they came up nice and shiny, when looking at them I noticed that they almost looked as good as the day they where made with no wear to the pivot holes and indeed there was no wear to the pivots I cant think of anything I could go out and buy made today for £40.00 that would have that quality and last over 100 years. The second thing I noticed was the simplicity and elegance of the striking parts of the clock, many years ago I worked on a Perivale westminster chime, and as I know now its not a very good clock to start to learn on It was a absolute nightmare for a beginner to work on. Setting up the striking train on that was a 3 day nightmare and it put me off clocks until recently, its quality also is nowhere near what I found with the French movement. I have been lucky with the french clock because had it needed rebushing I would have been stuck as I dont have the right equipment yet to attempt that level of repair infact I lack some quite simple tools such as mainspring winder, luckily I work with someone who repairs clocks as a hobby I had to give the barrels to him to inspect and grease because of my lack of tools, but I am developing a mix of admiration and respect for these clocks that will I know bring me round to buying what I need to attempt more than just cleaning and oiling. I have also worked on recently Elliot platform timepieces I like these and have five of various designs, bought cheaply from charity shops, Ebay, and auctions, altough simple platform movements I found it very enjoyable to work on these and would recomend anyone wishing to have ago with clocks to buy one of these they seem to be bullet proof as far as the movement goes and with them being platform escapements there is much for hobbyist watch repairers to relate to. Wayne1 point
-
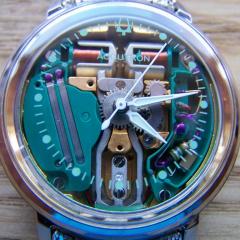
Ive found a trick that may work with other watches, but works great for Accutron 214,--which is basically most of what Ive been doing lately.... bung all four wheels in, lay bridge carefully in place, lined up with dowels and screw-holes, then gently tap movement holder at 45 deg angle with tweezers they all just fall into place, bung screws in after confirming train free--job done. --It took longer for me to write this, than to refit the four wheels and bridge to the 214, but as I say--it may not work for other movements. poking round inside Accutron with a pin or summit to line wheels up is Not an option due to delicate nature of index-wheel--one touch on the teeth of that, its stuffed.1 point
-
Try this... First check that each wheel on its own will run freely in its jewels. This will help you be sure that none of the pivots is damaged and that you are trying to put the wheels in the right holes. Place all the wheels pivots in their holes in the bottom plate, rest the top bridge plate down and align one pivot at one end of the train - e.g. the centre wheel. Rest a finger or piece of pegwood on top of the bridge, then use a pair of tweezers to push the next wheel across until the pivot aligns with the hole... the bridge will need to lift up slightly to do this, but hold it down gently to stop everything falling apart. Then move to the next one. If you struggle doing all of them, learn to do it with 2 wheels first, then build up to 3... Make sure all the wheels continue to turn freely as you tighten the screws.1 point