-
Recently Browsing
- No registered users viewing this page.
-
Topics
-
Posts
-
By RichardHarris123 · Posted
Could you print the image either enlarged or reduce the the same size as the actual part and then glue it to the steel. -
By Neverenoughwatches · Posted
Next is to drill the screwhole this then provides an anchor point so the bridge doesnt slip around while scribing the shape. A cork lid, a pin and a piece of gaffer tape ( 😅 ) keeps it all in place. The hole is measured from the broken part using a hand measuring gauge. Mark the hole, punch it and drill it off to size. The awkward bit is working out where the jumper should be and the detent positions. I remember watching a youtuber a while back do this with dividers, so i dug out my old school compasses and improvised a little. This bridge only has one hole and to find the detent positions you need two points of reference, so i just worked the second point from one of the corners, hopefully its near enough. Then scribe in the jumper using the two detent positions ( wind and time set ) that were marked and a big picture of the complete spring to look at that helps to give you a feel of where the jumper should be. -
By ManSkirtBrew · Posted
Right now I'm making do with a similar micrometer (the one below is $45 shipped but you can find better deals) and a $20 stand. You do have to be excruciatingly careful measuring jewels, since there's no table, but if you don't have the $500 to throw around, it's a nice option. -
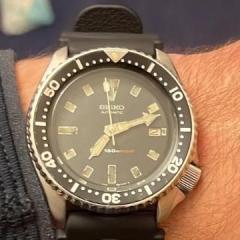
As I kid, I'd watch Godzilla stomping over buildings and cars and I'd think to myself: Tokyo is a really dangerous place to live... . Cool watch!!
-
By Neverenoughwatches · Posted
Next one up an AS 554, looks like a bit more to this one. First job is to check thickness, most springs are somewhere between .3 and .4, this one measures .35, that matches in with the .4 spring steel i ordered. So for marking up a permanent marker comes in handy to colour up the steel to be marked later with a scriber once its dry. Bestfit provide the extra bit of info for the jumper spring that is missing.
-


Recommended Posts