Jump to content

Recommended Posts

Posted

I like the well-known brass movement holder for doing work, but when I have a movement in the "waiting for parts" mode, it is nice to have it sitting in a nice stable holder.  So, I decided to print this movement holder.

Print time was 20 minutes.  Probably took me about that long to design it.  Now that I have one complete, I can tweak it for other movement sizes with only a few minutes of effort.

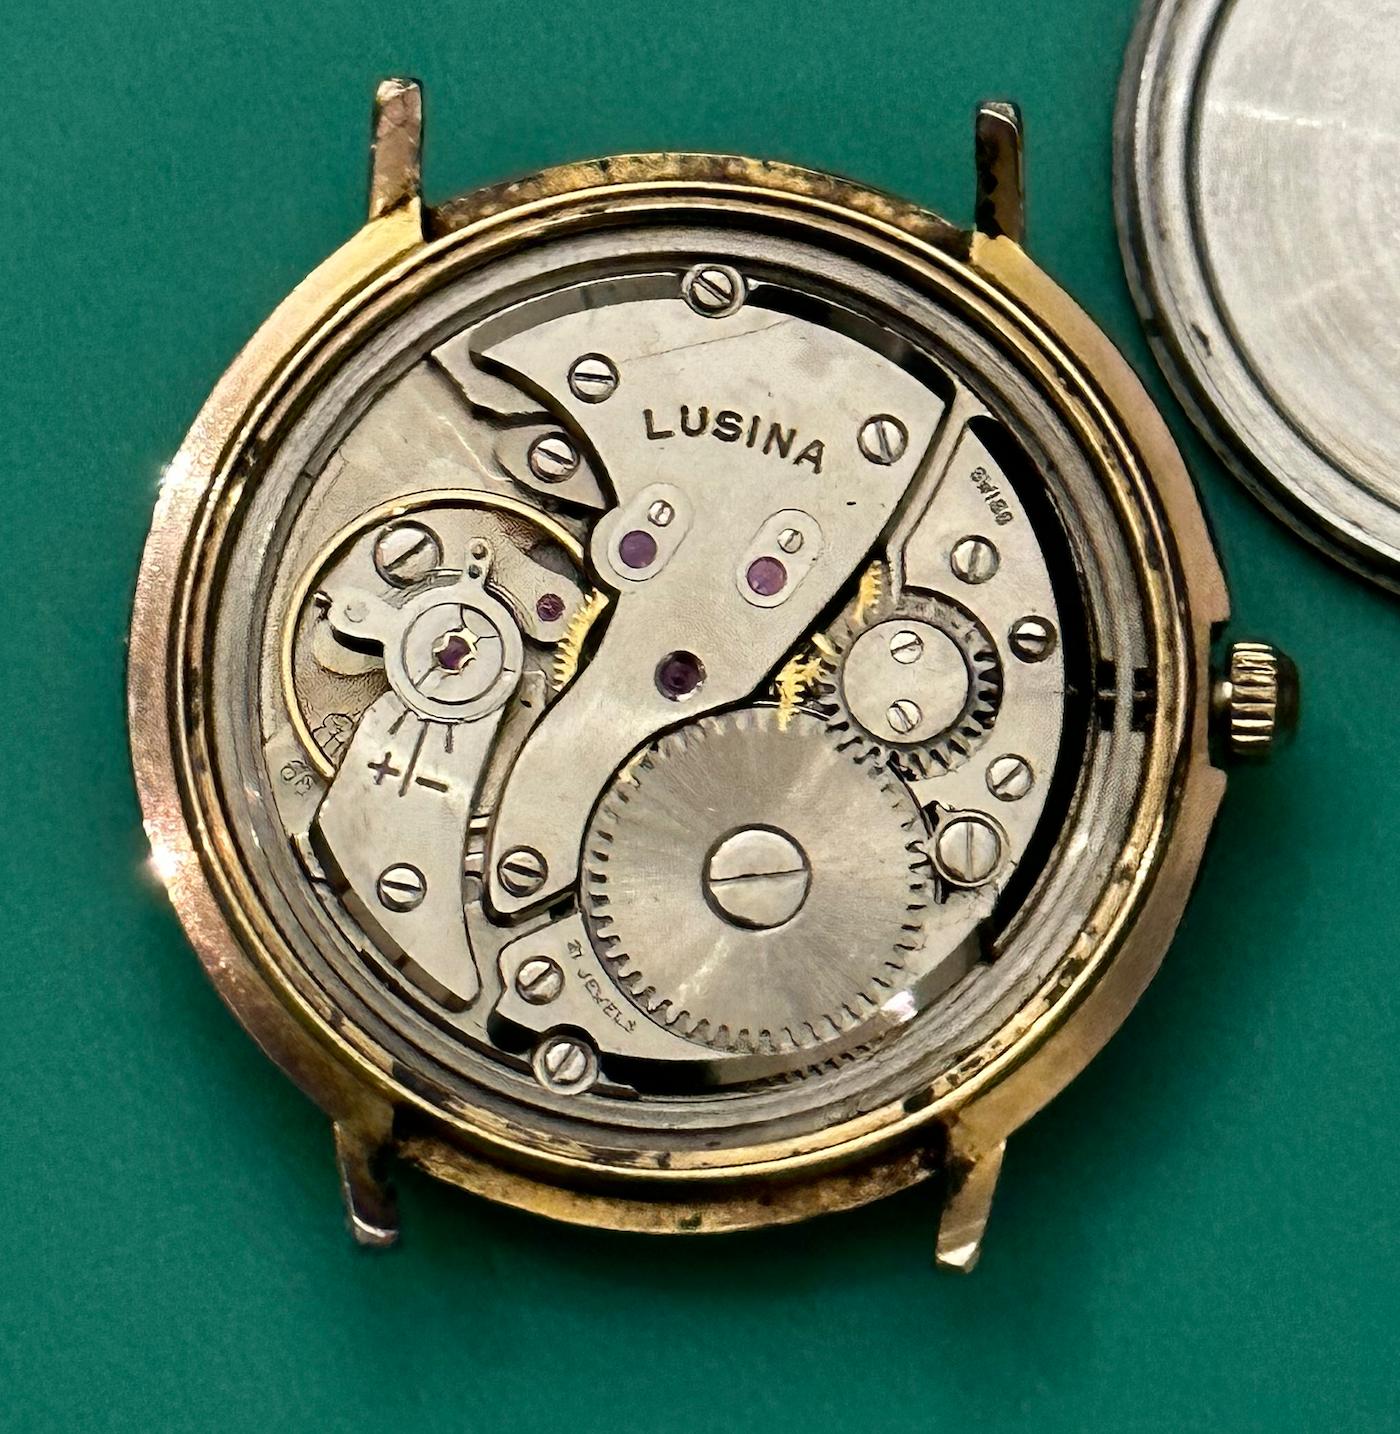
FYI, this is a Landeron 51 chrono.  I cleaned it and it is running fine, but I need hands and a decision about the dial.  I have a dial, but it is in really poor shape.  I see hands and dials on Ebay, so I just have to decide which one to commit.

2021-04-11 07_54_05-Photos.png

  • Like 4
Posted

This type of holder should be so sligly undersized so to grab thanks to a slit in the diameter. And when is for a chrono mov.t all the difference is made by having pushers.

Will you publish it on Thingiverse or perhaps just attach files here?

Posted (edited)
  On 4/11/2021 at 2:16 PM, jdm said:

Will you publish it on Thingiverse or perhaps just attach files here?

Expand  

I am attaching the Freecad file.  I use Freecad which is open-source software that is heavily supported and it is FREE.  Been using it for three years and love it.


STL file also attached, but it is not as useful because it is much harder to edit.

When I get some time, I will parameterize this for easier mods.

movement_holder 2.FCStdFetching info... movement holder.stlFetching info...

Edited by LittleWatchShop
  • Like 2
  • Thanks 1
  • 2 weeks later...
  • 3 months later...
Posted

Here is an update on the movement holder.  When I store an unfinished movement in the popular domed parts carrier, it tends to flop around if I try to place it in the center.  The solution was to put a base on the holder that sits nicely in the center partition.

movement holder.png

2021-08-14 16_26_11-FreeCAD 0.19.png

  • Like 3
  • 1 year later...
Posted

I made these as generic movement holders, they are 2 for 1, just flip them over to get a 0.5mm larger or smaller. just let me know and I can send you the .stl file for them.

Movement holders.jpeg

Posted

For someone completely new to 3D printers, do you have any suggestions on what to purchase? My main interest is little horology tools like these movement holders, mainspring winders, and such. For what it's worth, I'm running Apple computers at home.

Thanks!

Posted
  On 2/15/2023 at 10:36 PM, RickTock said:

For someone completely new to 3D printers, do you have any suggestions on what to purchase?

Expand  

My son owns the printer, I just feed him the drawings and he works his magic. I'll see if I can get any advice from him and pass it along.

  • Like 1
Posted
  On 2/15/2023 at 10:36 PM, RickTock said:

For someone completely new to 3D printers, do you have any suggestions on what to purchase? My main interest is little horology tools like these movement holders, mainspring winders, and such. For what it's worth, I'm running Apple computers at home.

Thanks!

Expand  

I use a Lulzbot Mini which I bought about five years ago.  Have been very happy with it. Print ALL the time.  It is a little pricey.  I suggest you consider a Prusa.  The product line is well received and is very economical.

  • Like 1
Posted (edited)
  On 2/16/2023 at 2:55 AM, moodesu said:

Good work on the holders, I am printing the 2 for 1 now.

Expand  

Hope you like them 🙂

Anyone have any 3D stuff they have made that would be good to share, I asked on another post about movement holder rings for Seiko (not dial spacers) but nobody has responded 

Edited by Waggy
Posted

Sorry I don't have a separate file for each holder, I sketched them out and my son drafted them for his printer. I have now forced myself to learn the software he uses, but these were done before that. I'll see if I can get him to split them out.

  • 8 months later...
Posted (edited)
  On 8/14/2021 at 9:35 PM, LittleWatchShop said:

Here is an update on the movement holder.  When I store an unfinished movement in the popular domed parts carrier, it tends to flop around if I try to place it in the center.  The solution was to put a base on the holder that sits nicely in the center partition.

movement holder.png

2021-08-14 16_26_11-FreeCAD 0.19.png

Expand  

I have a 3D printer on the way and am playing around learning FreeCAD. This looks similar to what I will be trying for my first project (movement holder that fits in the hand setting tool). Could you post the FreeCAD file? I'd like to see if I can adapt it to what I am trying to do.


By the way, your movement holder has that 'ledge' that is below the top of the holder which the movement rests on when in the holder. When you designed how thick the ledge is and how far down from the top it is, did you get those numbers from measurements you did on the movement or is there some other way you decided on those numbers?

Edited by GuyMontag
Posted
  On 11/26/2023 at 5:35 PM, GuyMontag said:

I have a 3D printer on the way and am playing around learning FreeCAD. This looks similar to what I will be trying for my first project (movement holder that fits in the hand setting tool). Could you post the FreeCAD file? I'd like to see if I can adapt it to what I am trying to do.


By the way, your movement holder has that 'ledge' that is below the top of the holder which the movement rests on when in the holder. When you designed how thick the ledge is and how far down from the top it is, did you get those numbers from measurements you did on the movement or is there some other way you decided on those numbers?

Expand  

WRT does not support FreeCAD file types.  PM me and I will attach to my reponse (if it lets me), or we will go offline via email.

My design was a simple hack more or less.  All measurements except for the width of the movement were SWAGs.  You will see in the FC file, I created a spreadsheet to parameterize the elements.  The extra piece on the bottom to fit the movement holder was also an "addon" hack using the Part workbench.  It too is a hack...lol.  When exporting to stl, you have to select two sets of elements.  If I were to do it over again, I would assemble the whole thing using Part Design workbench.

  • Like 2
Posted
  On 11/26/2023 at 7:49 PM, LittleWatchShop said:

WRT does not support FreeCAD file types.  PM me and I will attach to my reponse (if it lets me), or we will go offline via email.

My design was a simple hack more or less.  All measurements except for the width of the movement were SWAGs.  You will see in the FC file, I created a spreadsheet to parameterize the elements.  The extra piece on the bottom to fit the movement holder was also an "addon" hack using the Part workbench.  It too is a hack...lol.  When exporting to stl, you have to select two sets of elements.  If I were to do it over again, I would assemble the whole thing using Part Design workbench.

Expand  

Thanks, I'll send you a PM.

Posted (edited)

Wow, great minds think alike, I use freeCAD and also have a 3D printer being delivered by Santa 🎅, I currently have to bribe my son to use his. I was was thinking on Friday afternoon that it may be cool to try some parametric modelling in freeCAD and sketched out a parametric movement holder. My idea was to measure the movement outer diameter and then let freeCAD spit out the complete design.

Here is what I sketched in my lunch hour (including a doodle I did whilst on a very boring conference call) on Friday:

holdersketch2.jpg.6143123ae8885119aa056be816cb26ed.jpg

I also plan to put a fillet (0.25?) on some of the outer 'corners' mainly for aesthetics, and one on the entry to the seat to make it easier to get the movement in, but didn't get time to add them to my sketch, blue circles above.


Also l1  is the cutout for the stem/crown, was thinking of making it U shaped rather than square, but would model it as a square and simply fillet the corners to make it a U shape.

Just in case you can't make out my handwriting:

d1 = variable (the movement holder OD and the only input you need to make)

d2 = d1 + 10 mm

d3 = d1 - 5 mm

d4 = d2 x 1.5

r1 = h2

l1 = 10mm (with 2mm filets{?} to make it a U shape)

h1 = 5mm

h2 = 30mm

h3 = 5mm (will only need this outer dimension also to be h3 if I decide to keep the 'shoulders' at the top of the model, thinking I may just skip the outer shoulders and have the top and bottom linked by an ark without the shoulders... I will need to think about this....any ideas??? My initial thinking is that the shoulders may flex a little as you push the movement in and grip the movement better, but not sure how realistic this idea is?) - see version 1 and version 2 below.

Once I get to grips with it, I'll post the freeCAD design on thingiverse and you can also PM me for it from here 🙂

Version 1 and version 2 of the top of the movement holder

PXL_20231127_041944489.thumb.jpg.f3176f0a61413aeefeffe5500172c722.jpg

Edited by Waggy
Typos
  • Like 3
Posted (edited)

Think I did it.....

Below  is my parametric movement holder (size 30mm movement)

image.thumb.png.4529885b22908c632f494e64018ad422.png

Below is size 10 mm movement (minimum size before model breaks):

image.thumb.png.ee485142b0a82b5ff2111e66b1a3e91e.png

Below is size 70 mm movement (maximum size before model breaks):

image.thumb.png.06927778a7892aa088e1340d3cabada3.png

And here is the Parameters table - only need to change the red text cell at the top:

image.thumb.png.8feeded4f889f70bab4bc37f085e5e91.png

PM me if you want the link to download 🙂

This is in FreeCAD not sure if it will play nice if exporting in other formats, but I'll give it a go if you let me know what you need.

I think I managed to create a link you can download the freeCAD file:

LINK HERE

Thingiverse link:

LINK HERE

Edited by Waggy
  • Like 3

Join the conversation

You can post now and register later. If you have an account, sign in now to post with your account.
Note: Your post will require moderator approval before it will be visible.

Guest
Reply to this topic...

×   Pasted as rich text.   Restore formatting

  Only 75 emoji are allowed.

×   Your link has been automatically embedded.   Display as a link instead

×   Your previous content has been restored.   Clear editor

×   You cannot paste images directly. Upload or insert images from URL.


  • Recently Browsing

    • No registered users viewing this page.
  • Topics

  • Posts

    • Sorry @nickelsilver, I'm just seeing this now.  It is a standard metric screw plate. I followed the suggestion of doing the thread cutting in a pin vise.  It took me forever because the piece is so delicate that I cut and cleared chips very frequently.  But eventually I did get it.  Not pretty, but I got it; the first thing I ever successfully made on the lathe. I cut the screw slot with a jewelers saw.  How can I ensure that the slot is centered on the screw head?
    • Hello and welcome from Leeds, England. 
    • Hello, My name is David and I’m a vintage watch collector/ wanna be hobbyist watchmaker from France. I really want to progress into my watch repairing hobby. For now, I’m only having fun servicing my own watches and spare movements, simple small 3 hands from the 50s (Omega, eterna…) Learning step by step or at least trying to 🙂
    • More setbacks and successes...  After letting the watch run in (but before I fixed the BE) a chunk of the radium lume fell off one of the hands and pulverized leaving radioactive dust all over the dial 😞 ☢️ ☠️ So before I could continue further I decided I would remove the radium lume.  I have removed radium lume from hands before where it was already starting to flake away but this time I had to work out what I was going to do with debris on the dial.  I decided that getting everything under water and removing all the lume was probably the best way to go. So here is what I did... I put an essence jar I use for cleaning parts and filled it with water and put it into a big ziplock bag along with the tools I would need - a sharpened piece of pegwood and  a 0.80mm screwdriver  -  I put on a pair of nitrile gloves and a covid style mask and then opened the back of the watch. Now with the back off the watch I could do the rest inside the bag.  I removed the watch from the case and removed the hands from the dial (through the bag) and then undid the dial screws and removed the dial from the movement.  I then put the hands and the dial and the watch case into the water and removed the movement from the bag.  Carefully and slowly with one hand in the bag and one hand trying to poke and hold stuff through the bag I gently rubbed away the lume from the dial and hands with the pegwood. I then took the parts out of the water and removed the jar from the bag (leaving the parts still in the bag) - with the majority of the dangerous stuff now in the water I disposed of this (down the toilet) and gave the jar a good rinse in running water before refilling it and returning it to the bag where I gave all the parts another rinse in the new water.  I then took the parts and put the geiger counter over the top of them and looked at them carefully under UV light to see if there were any flakes still hanging on. I dried everything with some kitchen towel. Once I was finished will all that I remved the parts from then removed the gloves and put them in the bag with the paper towels and the pegwood and thew the bag in the household waste. Finally I gave the dial, hands and case another rinse in the sink under running water.  I didn't bother following up with a rinse in distilled water water because the water here is pretty clear of limescale etc and I find it doesn't mark! So here are the results of my weekends work! Timegrapher dial down (dial up is almost the same) The fixed shock setting New crystal - and lume removed from dial and hands
    • Hi and welcome! I'm new here too—greetings from Leicester, UK.
×
×
  • Create New...