Jump to content

Recommended Posts

Posted

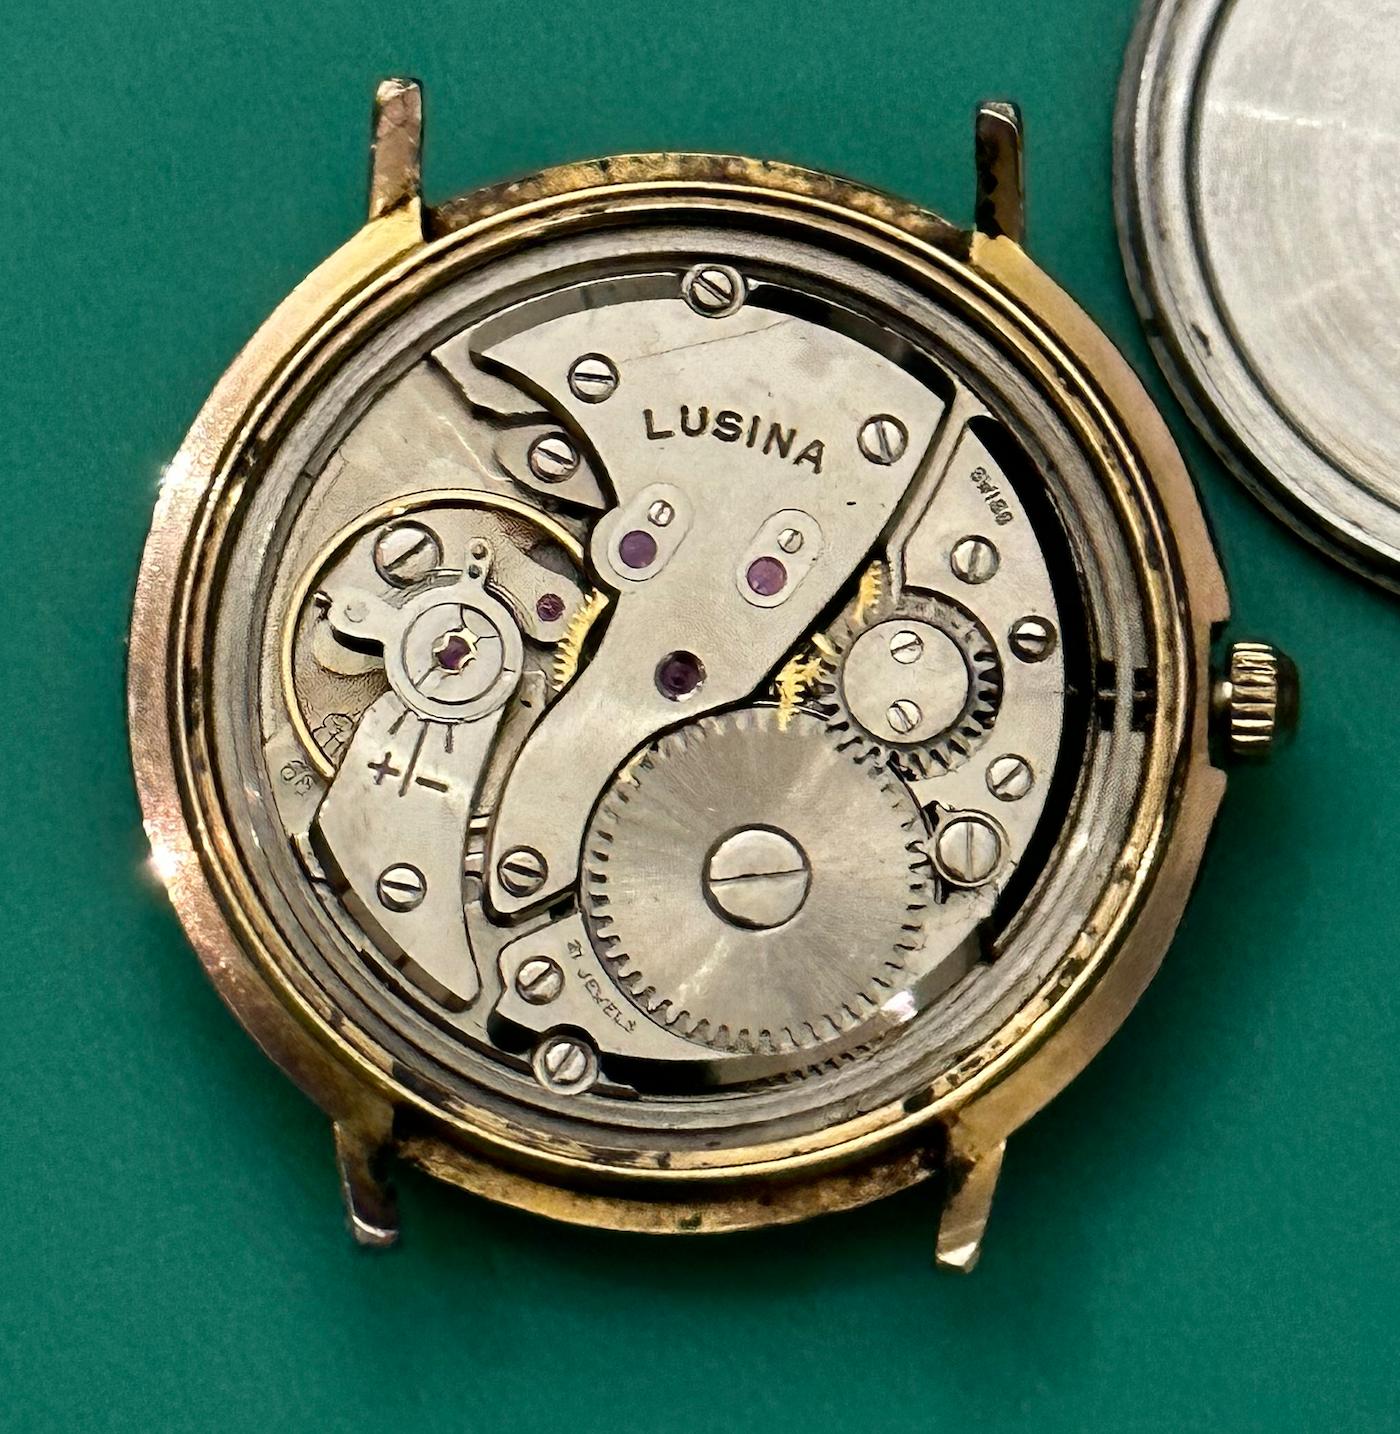
Evening all just got this little project in.

8228872D-D96D-43FA-8796-8F060547C1EF_zps

D7CD2CEC-2BED-41FB-96AD-AABC18778837_zps

E487E745-3A6B-4673-96BB-59D67019D22B_zps

She is a non runner and very gunked up, I have 2 questions I can find the technical manual for 6139a on cousins but I notice that mine is a 6139b (as you can just see in the above pic) what are the major differences between the a and b? Can I use the a guide or will I become unstuck!?

Second this will be my first crack at a chrono, any tips for me? Or suggestion of similar movements I could pick up cheep to practise on first?

Cheers

Yogi

Posted

Nice project, I love chronographs.

I can't make comment regarding the technical specification, but if you do go ahead take lots of detailed photos of every step. View Mark's videos on chronograph overhaul a few times, I wish I had before doing my first one.

Oh, and make sure that what appears to be a screw is a screw and not an adjuster cam!

Have fun and best of luck with it.

  • 1 month later...
Posted

I was just wondering if you have started working on the Seiko?

I bought one last week and I'm in the process of picking up parts for it.

You asked about the difference between the 6139A and 6139B. I read that there were changes made to the date/day side of the watch, but the movement and chronograph mechanism is is the same in both movements.

  • 2 months later...
Posted

Just done a full refurb on Pogue (yellow face) version of this watch with 3168B movement.  Was gaining 2.5 hrs/day before service and now run for 11 days without losing a second!!


You can use the 3169A data as most of the parts are visually the same.  I think there we a few changes to the chrono wheels (58 & 47) and chrono bridge but nothing to indicate different assembly.  The following are my key points which may help you, the numbers refer to the steps in the 6139A chart you have from Cousins (if you want a coloured version then it can be found on www.scribd.com/doc/121154984/seiko-6139.)


Chronobridge (44) - 6139A/B differences are that some parts are rivetted on B but screwed on A.  No need to remove these parts just clean as-is.

Intermediate Minute Recording Wheel on chrono bridge is fixed onto post in A but is a removeable wheel in B.  This wheel is difficult to refit as the chrono bride hammer spring puts the bridge under some tension and it moves all over the place!  I used a couple of very small pieces of Rodicao to hold the wheel to the chrono bridge, fitted the bridge then carefully removed the rodico.  You only need to 'catch' the edges of the teeth in one hole and at the edge of the plate, too much and you wil have trouble removing all the rodico.  I also lubes the pivots very sparingly with Moebius 9010.  Great care is needed refitting the chronobridge as pivots cab easily be bent/damaged.


Do not remove the adjusting screws on the centre chrono wheel (58) or the first coupling lever (50)


The day finger (31) has a cut-out and a finger.  The protrusion on the Date Finger (32) fits into this cut-out NOT the hole at the end of the finger.

The intermediate date wheel (34) is small a plastic wheel with 2 cogs and the teeth can damage easy when checking motion if any tightness in setting train (I know I did it!!).  I sourced a new one and it was metal (much better!) so I think this was an A-B mod (to save money on parts cost??).


The operating lever spring (48) goes round the post in the operating lever and not the screw post (as done on an Ebay video!)


The Pillar Wheel Jumper Spring locates into the pawl at the bottom of the pillar wheel not the pillars.


The Day Corrector Finger (27) must not be trapped under the dail guard(24), pressing the crown fully in should send it to the centre of the movement. Also check that the spigot for the Day Corrector Finger is fully engaged in the dail guard (this can cuase the finger to jam under the guard).


The Dial Guard (34) has an incorporated spring for the Day Star Dial Disk (22) and must be clicked into the star inderneath the disk when the disk is fitted.


I had to replace the mainspring and used the one from the base movement as one for the A&B are no longer available.  401615 for 410616. The barrel and arbour are all the same.


Leave the pallet and balance until you have assembled the chrono etc as you can then check all is free and the chrono works, turn the screw in the middle of the barrel 1/2 a turn or so to help.


Be careful when refitting the centre second chrono hand as it is not unknown for the jewel to be pushed out, Seiko have a special movement holder.

If you are prepared to remove the case bezel (there is a notch under the bezel at 12 oclock to prise it off) and the crystal (just pops out, fitted on gasket in holding ring) then you can use the pushers etc for resetting the hands as explained in the chart which is easier than handling the movement with the dial fitted outside the case.  When done the crystal and bezel can be refitted using a case press (do not overpress, the bezel will just click into place)


I used Moebius 9010 to replace Synt-Oil-A and Moebius HP1300 to reaplce S4.  I used Moebius 8317 on the mainspring barrel.


Good tip is to search google for Seiko 6139B PICTURES and follow links, much quicker than searching text data.


Hope this helps.

  • Like 1
Posted

Looks like I have been having a dyslexic moment.  All references to movement 6138B and 3169A should read 6139 of course!!!!

Posted

Must have been the beer last night!!!  Correction, my watch was LOSING 2.5 hrs/day.  Also apologies for the spelling errors!

Posted

Thank you canthus, very helpful she is currently sat in a box with my other stuff as I have a 3 month old to add to my 2 year old! Not got much spare time! Once it gets cold and dark again I'm sure I will crack on with this project and this info will be very useful thanks

  • Recently Browsing

    • No registered users viewing this page.
  • Topics

  • Posts

    • If you see at least one thread protruding, or even a half, then you may have a chance using this "tool", but don't squeeze hard. Lot's of patience, and if you notice any signs of loctite or other adhesives, then apply several drops of acetone on top of broken stem. Use heat (hair dryer) also. You should be able gradually turn it counterclockwise, just like i did on this broken Timex stem, which was glued with something like nail hardener. Then you can use an extender to save your broken stem. https://m.media-amazon.com/images/I/513DVvkfW5L.__AC_SX300_SY300_QL70_ML2_.jpg   You can also try cutting a small grove / slot on top of the broken stem to use 0.7mm flat screwdriver.   Depending on the Crown material and Stem material, you can try dissolving the stem. 
    • How long had it been without any wind before you first put it on the timegrapher?  Perhaps there was some debris / old lubricant that loosened up while you were waiting to do the 24 hour reading? I recently serviced a Seiko 6319 that immediately after service was absolutely horrible on the timegrapher - 24 hours later (without me doing anything) it was rock solid!  I was a little surprised by this (as I have seen improvements in amplitude after letting it run in but never a watch going from useless to great!). I was suspicious that some dirt must still be in there so I took it apart and cleaned and lubcricated it again and had exactly the same experience - snow storm that after some hours turned into a nice straigh line with good amplitude 🤷‍♂️
    • Yes, I know it was able to run before just enough that everything supposed to be affixed with shellac could fall out. I won't get back to work on this watch for several days at least, but one thing you mentioned about the banking pin adjustments being intended for fork horn clearance got me wondering.... The last adjustment I made to the entry stone yesterday did not solve the problem when the balance is installed. The escape teeth can't quite clear the stone when the balance swings. But I thought it was going to work because manually snapping the fork back and forth did allow the escape wheel to advance almost all the time. I wonder if there's another issue with the impulse jewel, that I have to shellac again anyway. I am going to measure the fork slot and the jewel because I am curious if it is the right size or possibly narrower than it should be. My thinking is if the horn clearance is too great maybe it is not getting enough impulse to clear the escape tooth. But pushing the fork with a tool can move it far enough to clear the escape wheel tooth.  I'll see later in the week. I didn't expect a big challenge from this watch because it ticked for 5 minutes before stopping without shellac. As always I was way wrong.
    • I had one success (and one failure) dissolving a broken stem out of a crown with Alum. The successes was a stainless steel crown and a milder steel stem. A Tag Heuer 2000 Automatic - here with the solution at around 60ºC I could see small bubbles coming up from the stump of the stem and it took maybe 6 hours to disolve I tried to repeat this with another watch and it did nothing.....  This was A Bulova Ambassador with what again looked like a stainless steel crown.  
    • That good to know in one way.
×
×
  • Create New...