Search the Community
Showing results for tags 'navitimer'.
Found 4 results
-
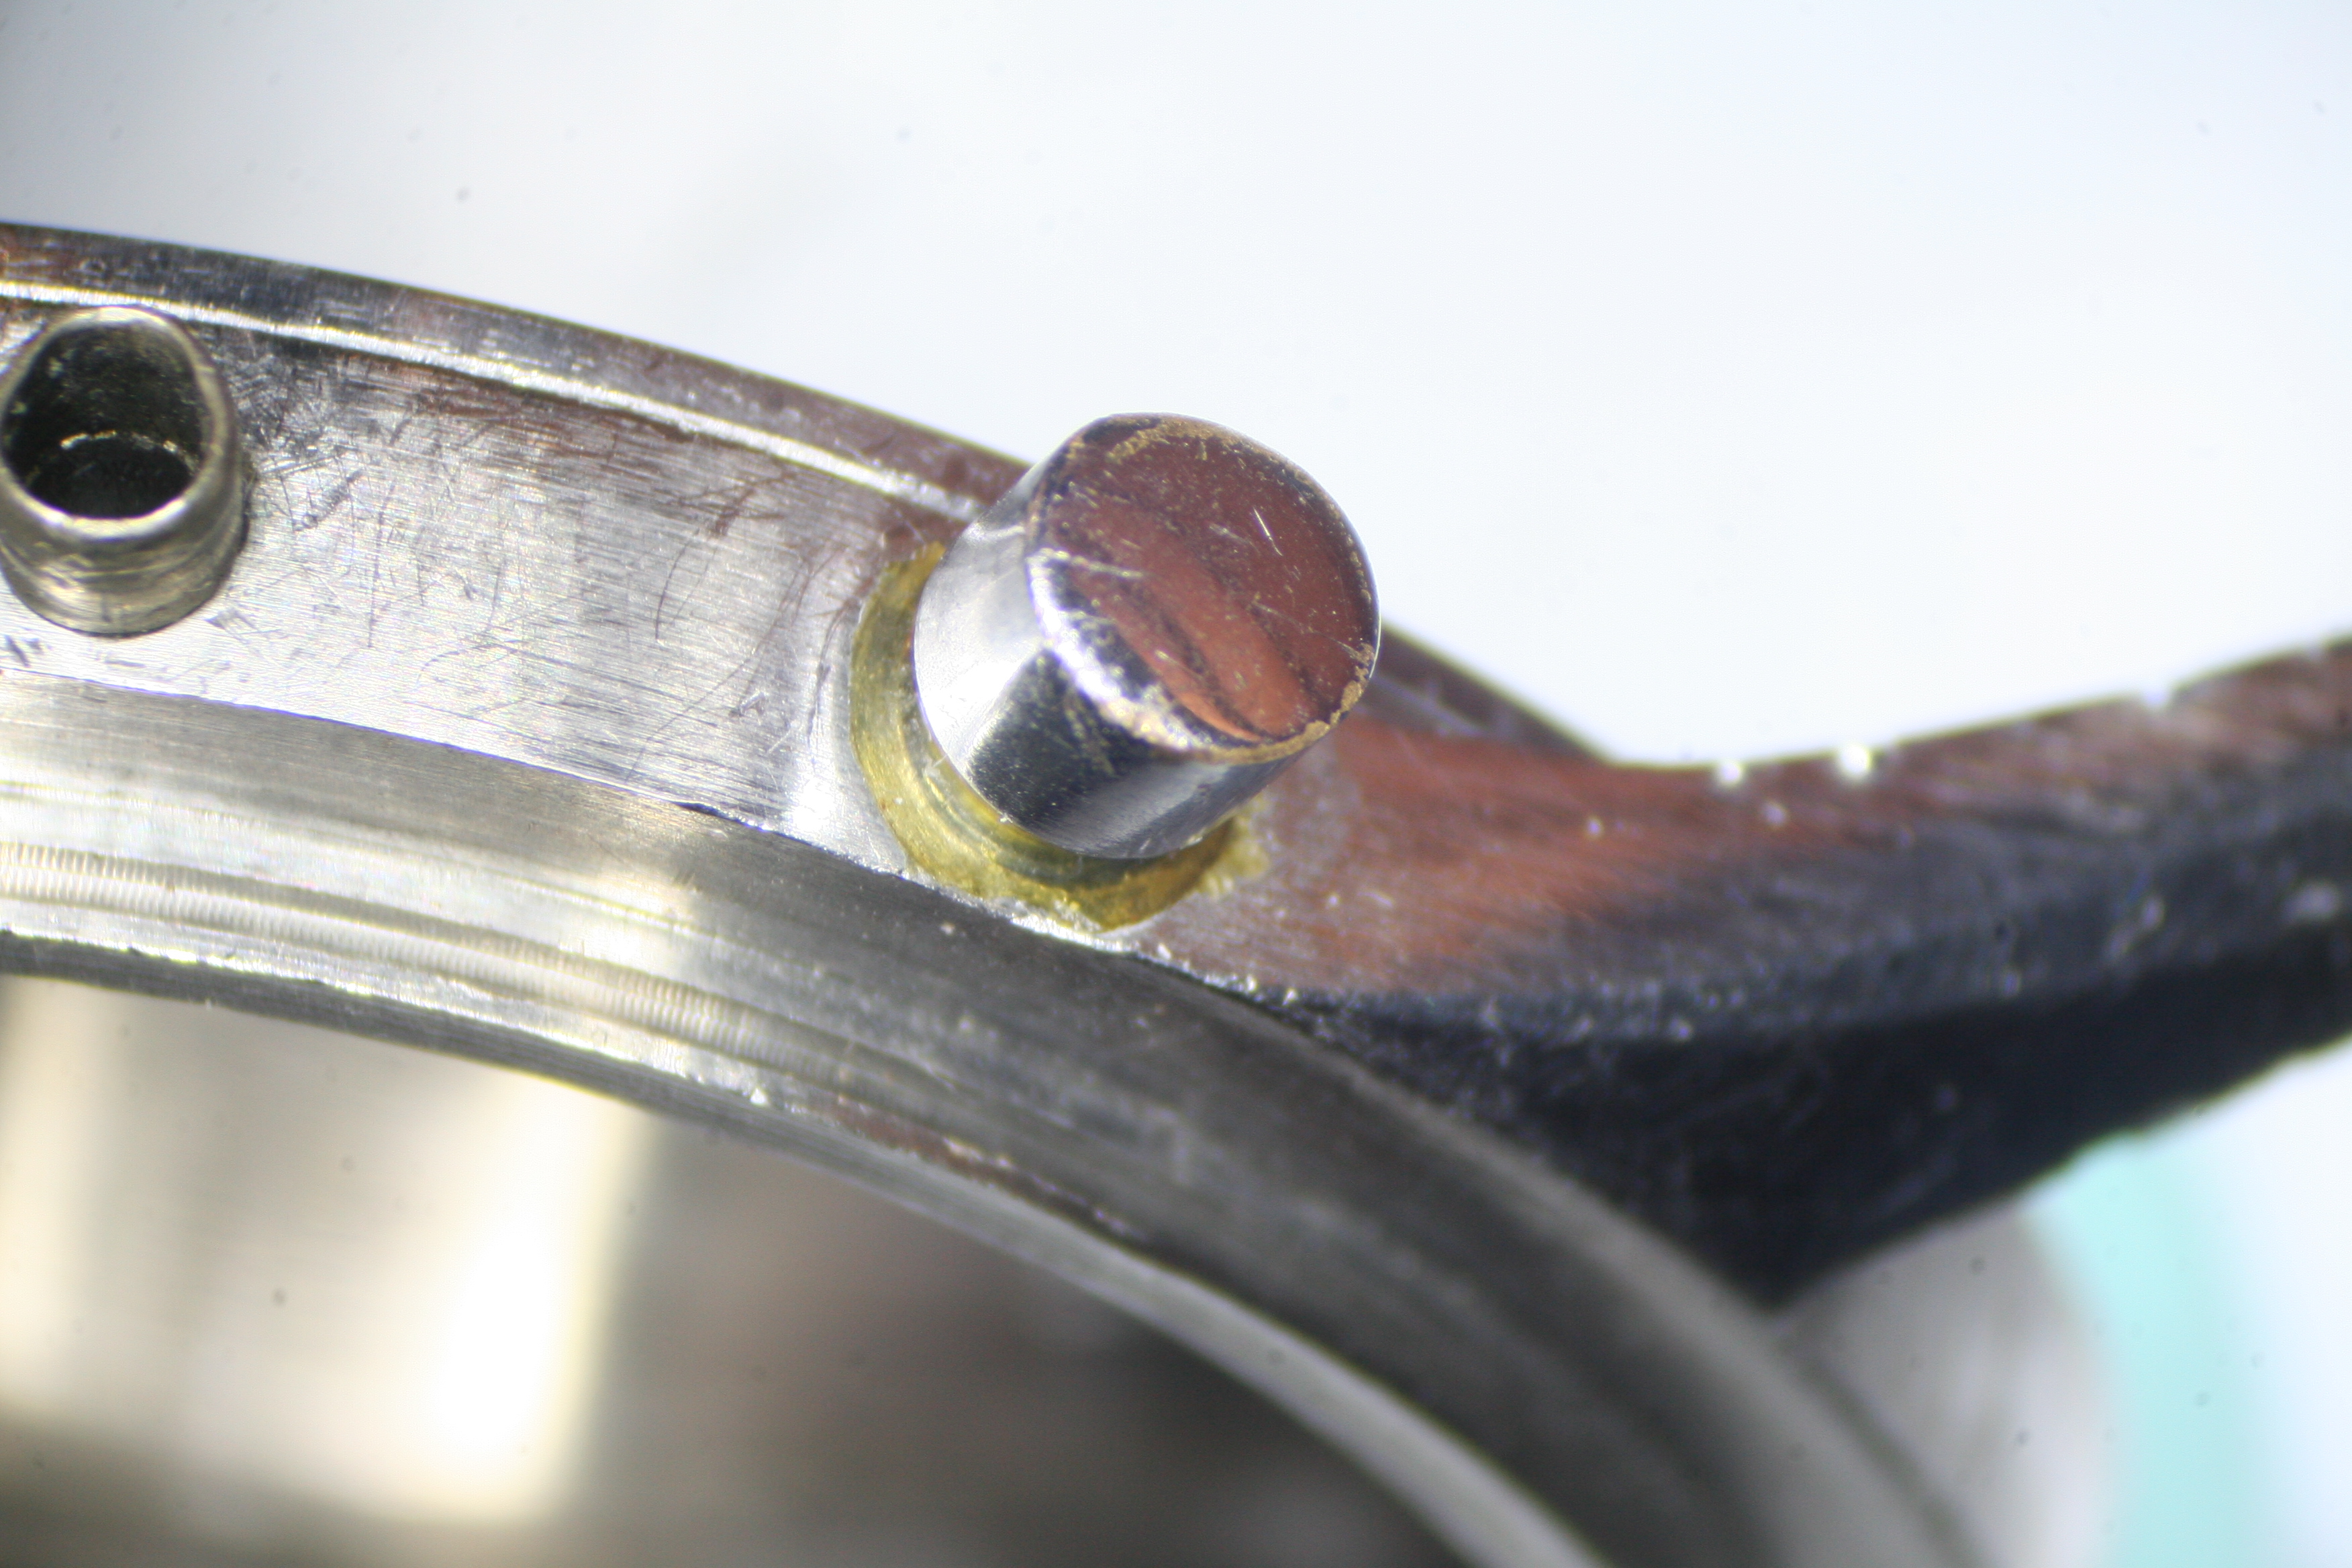
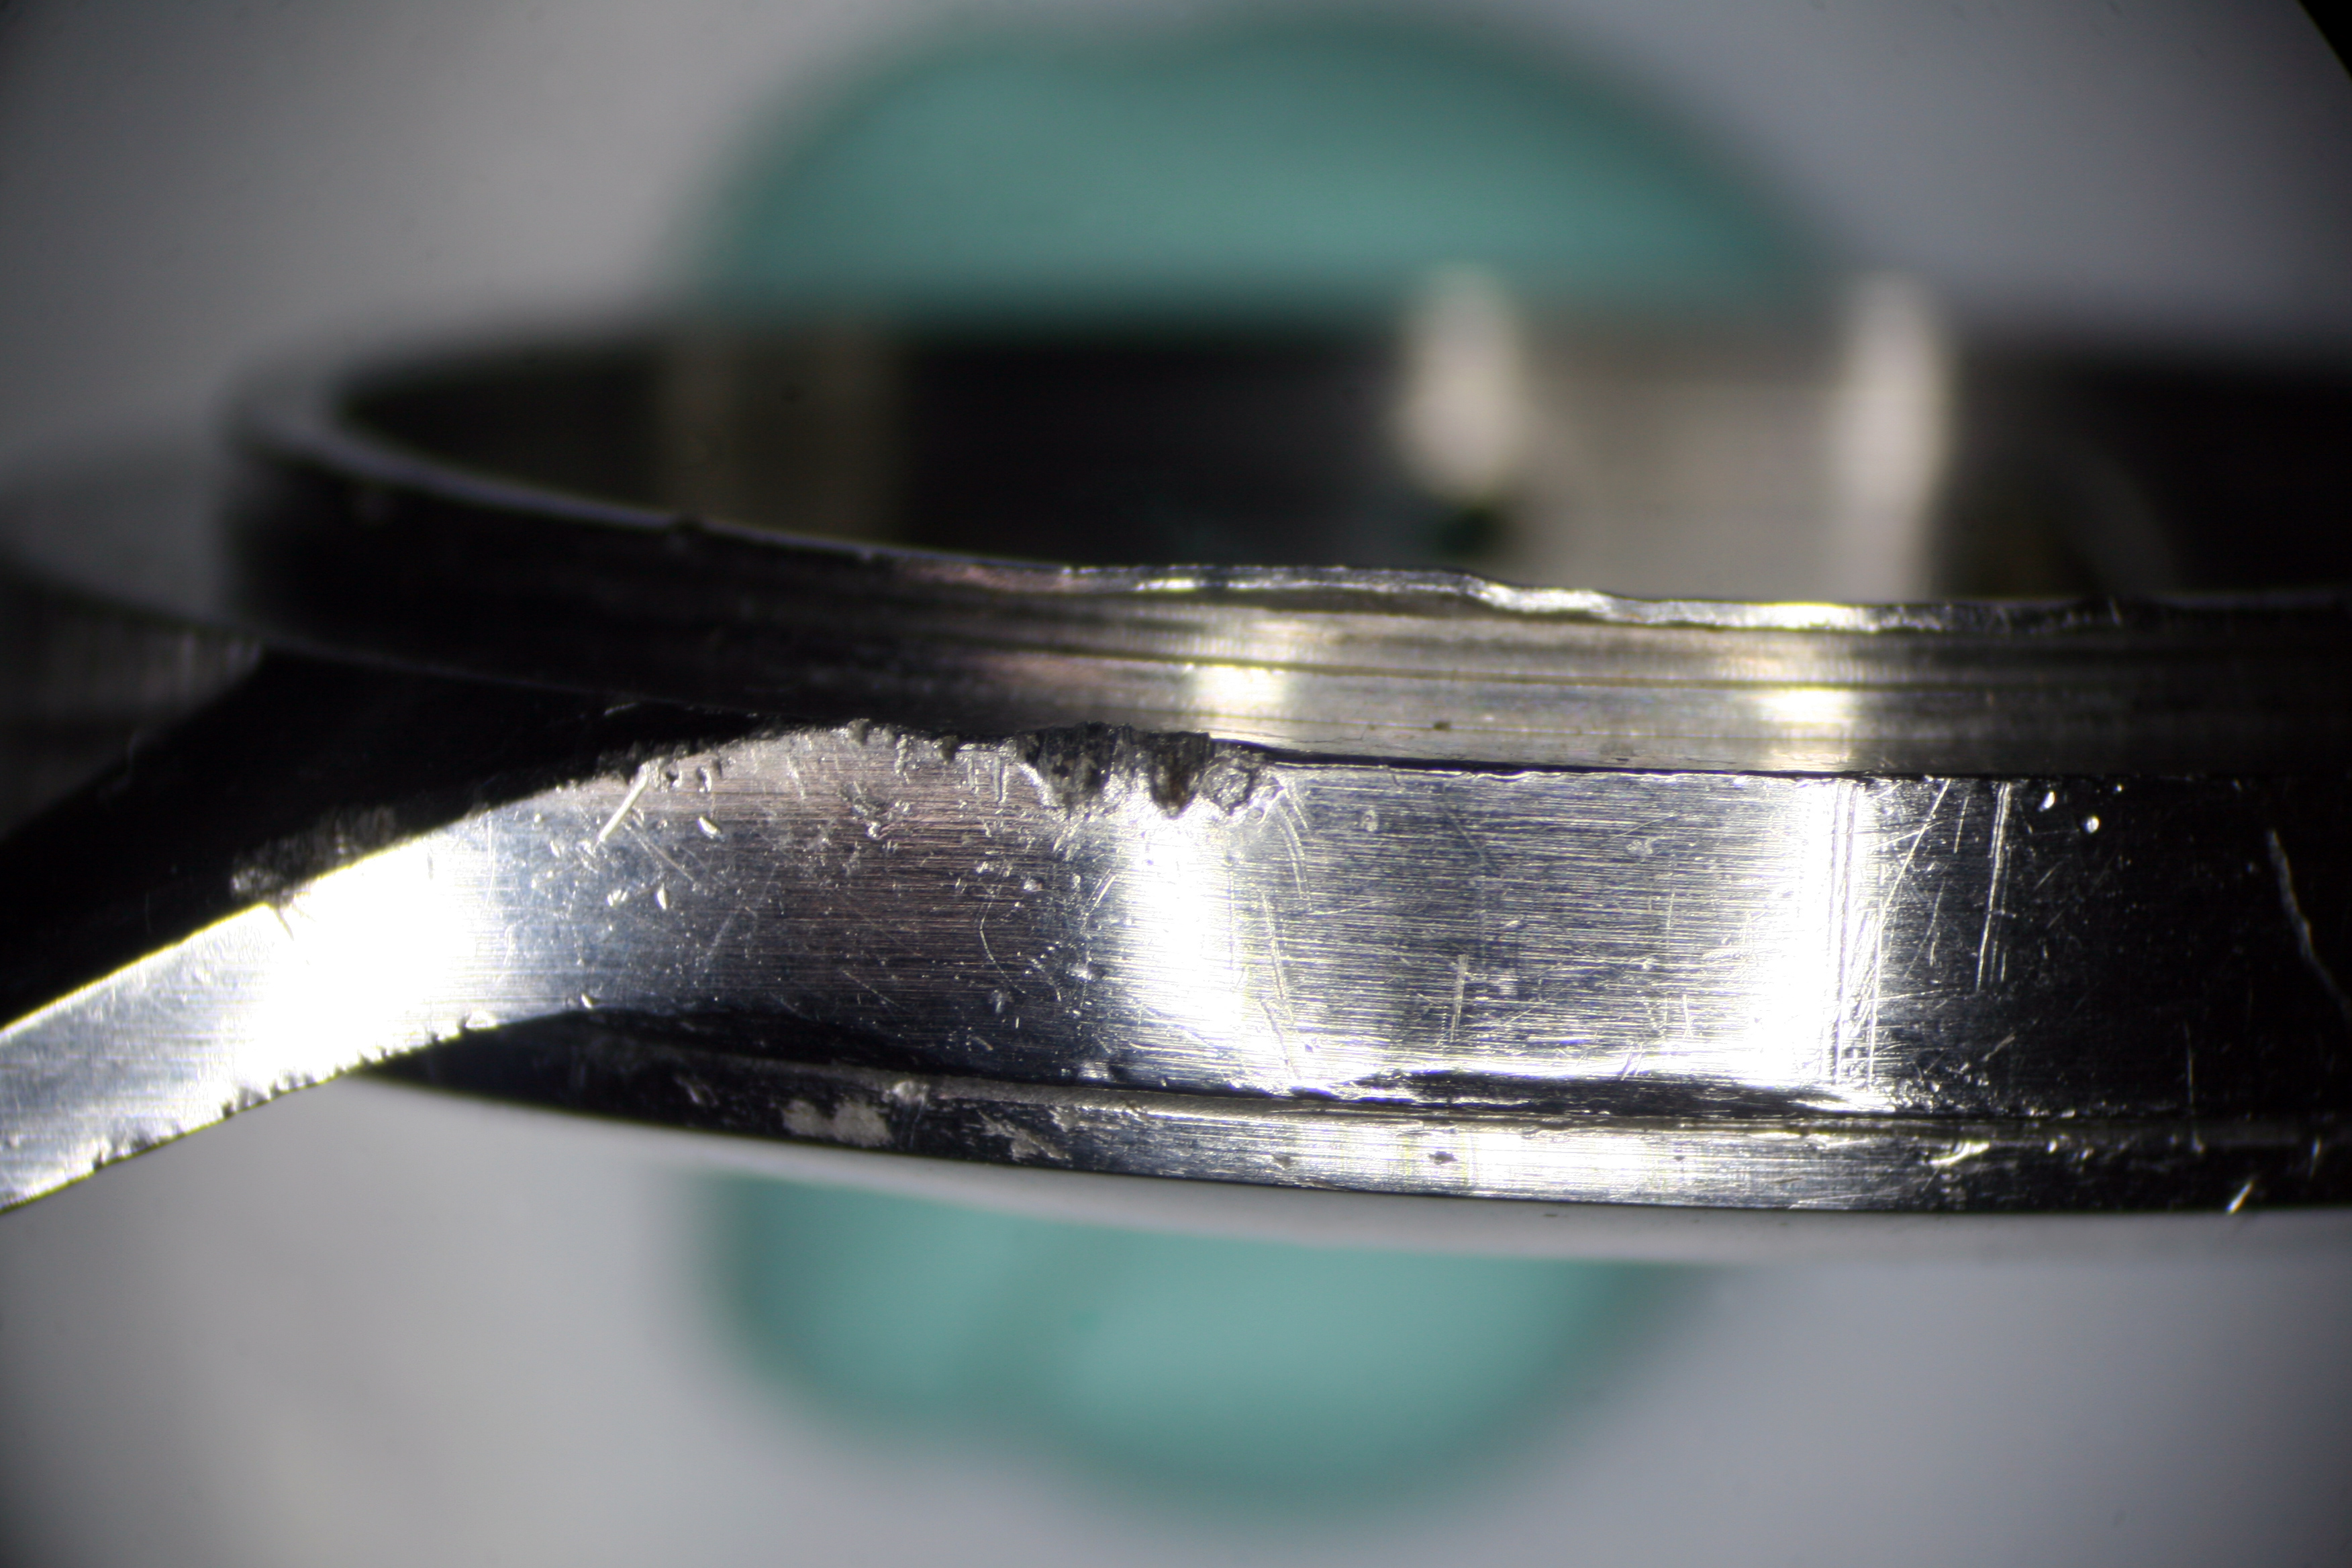
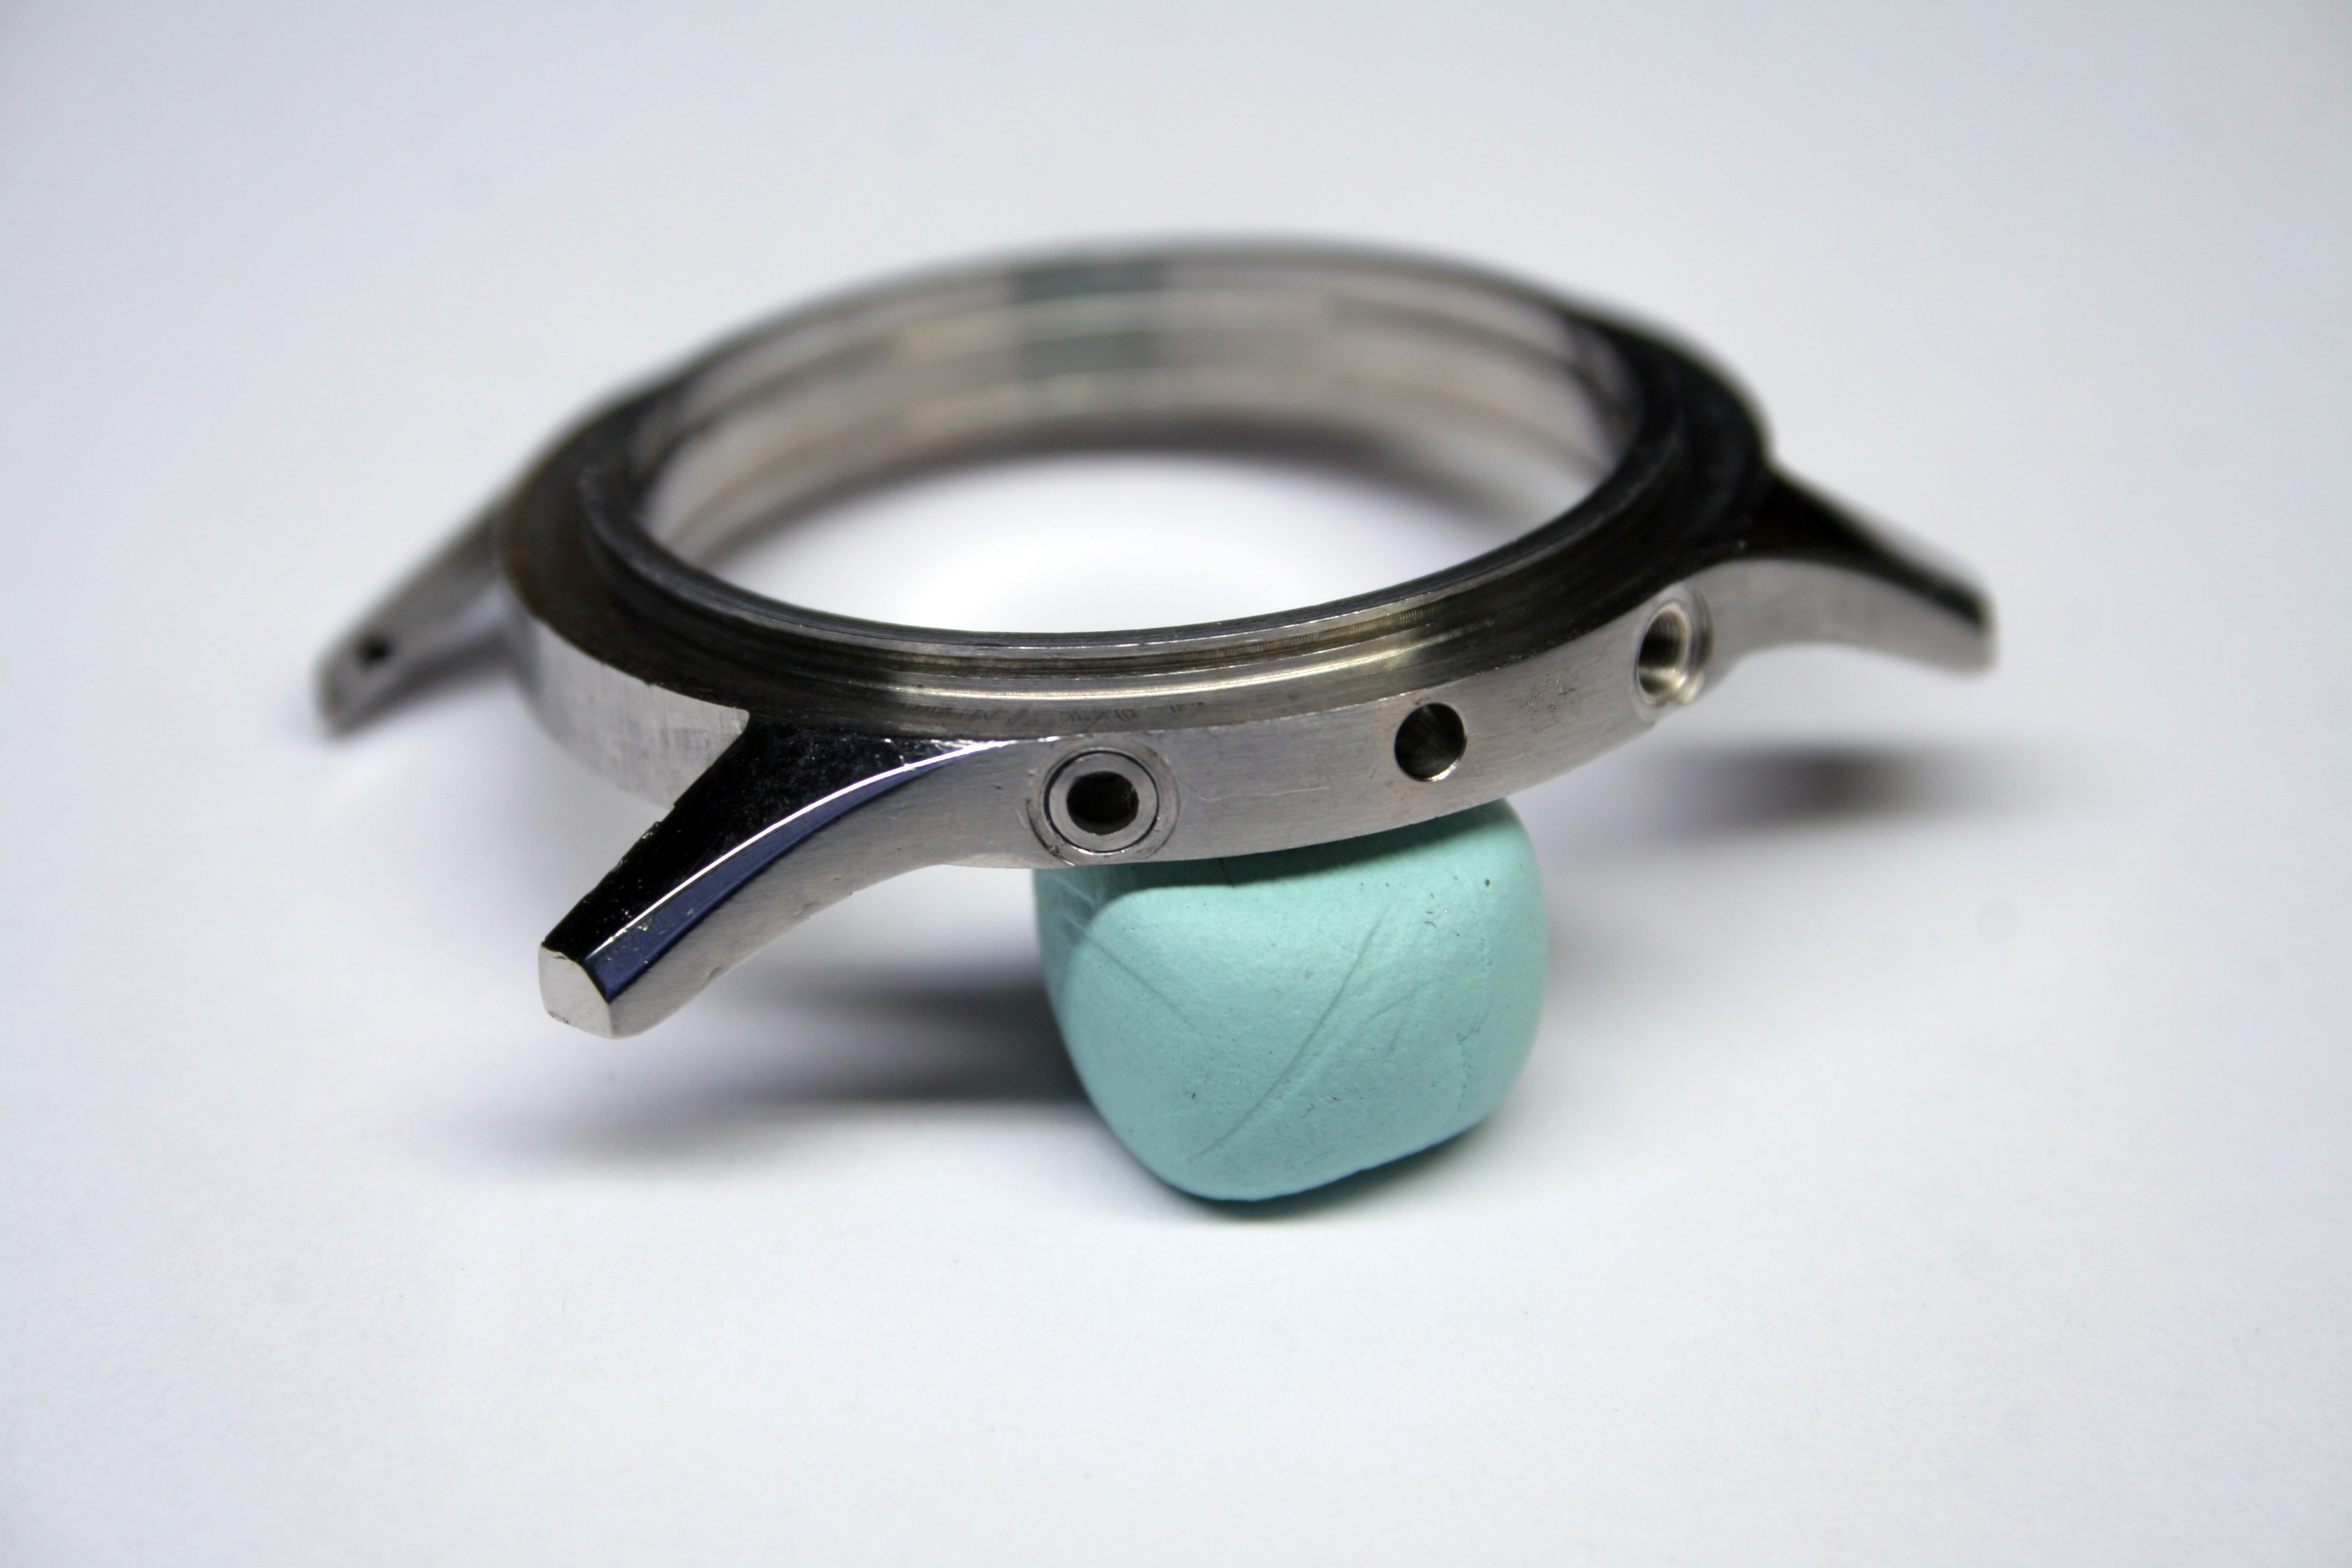
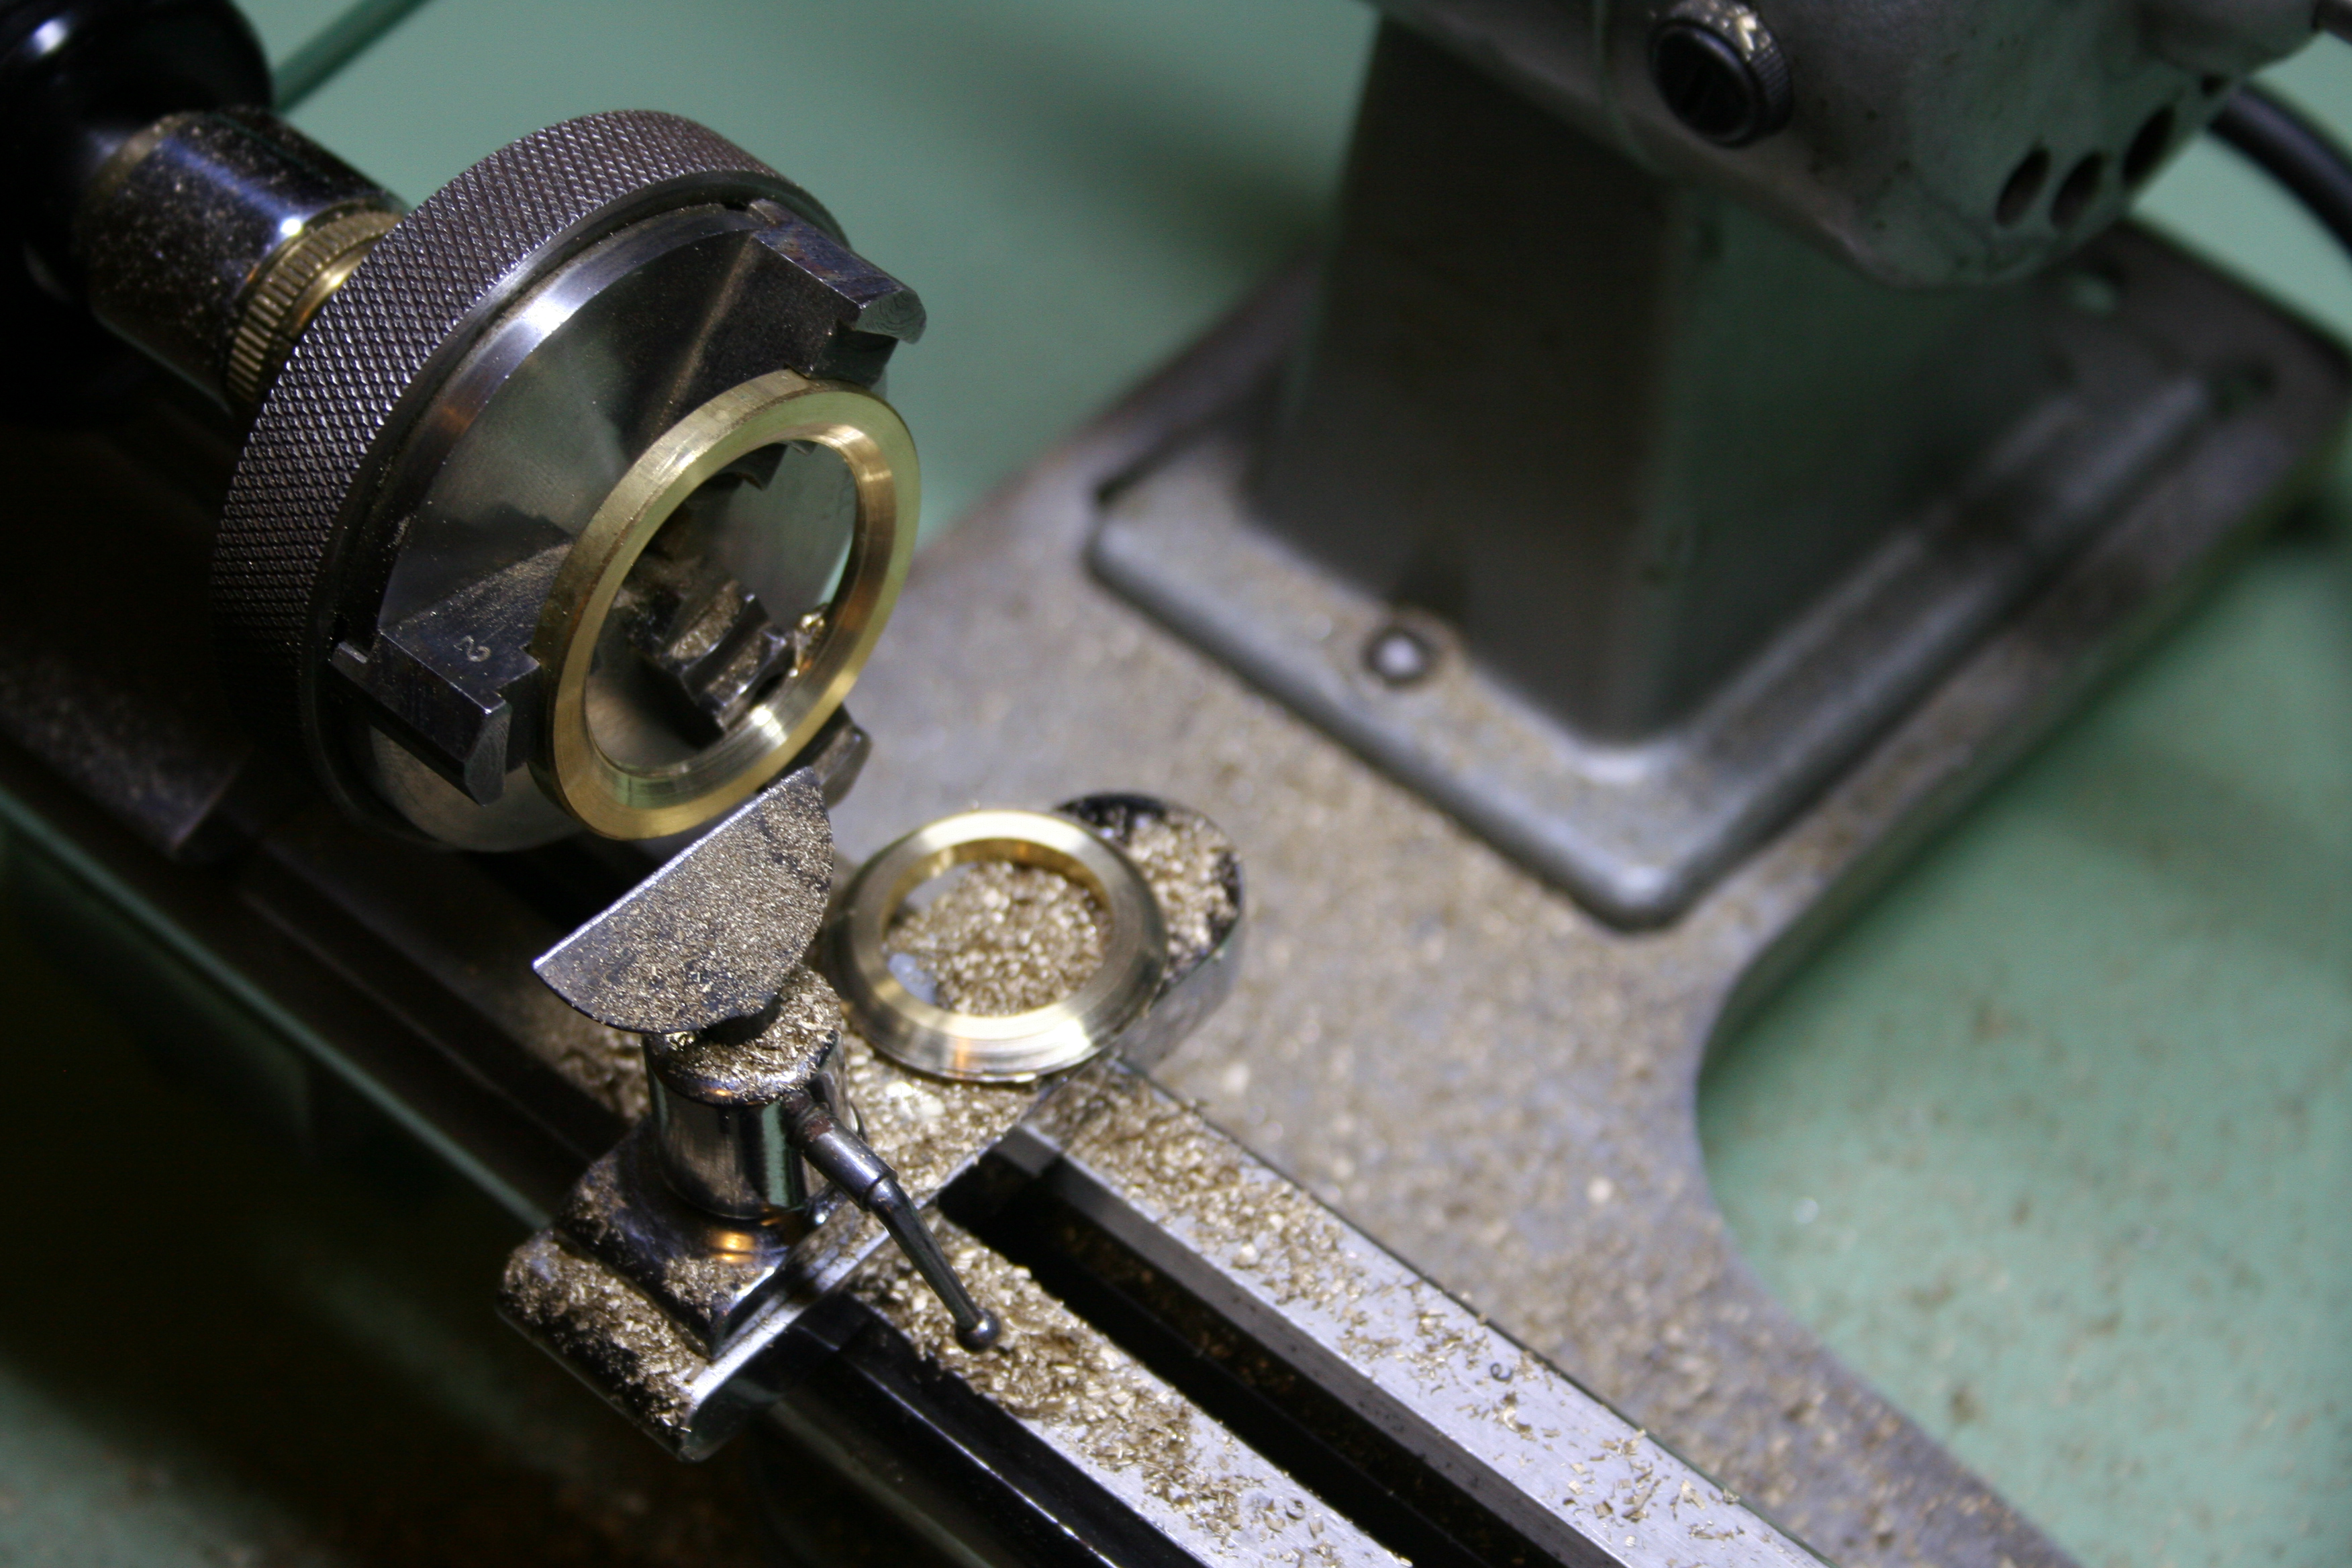
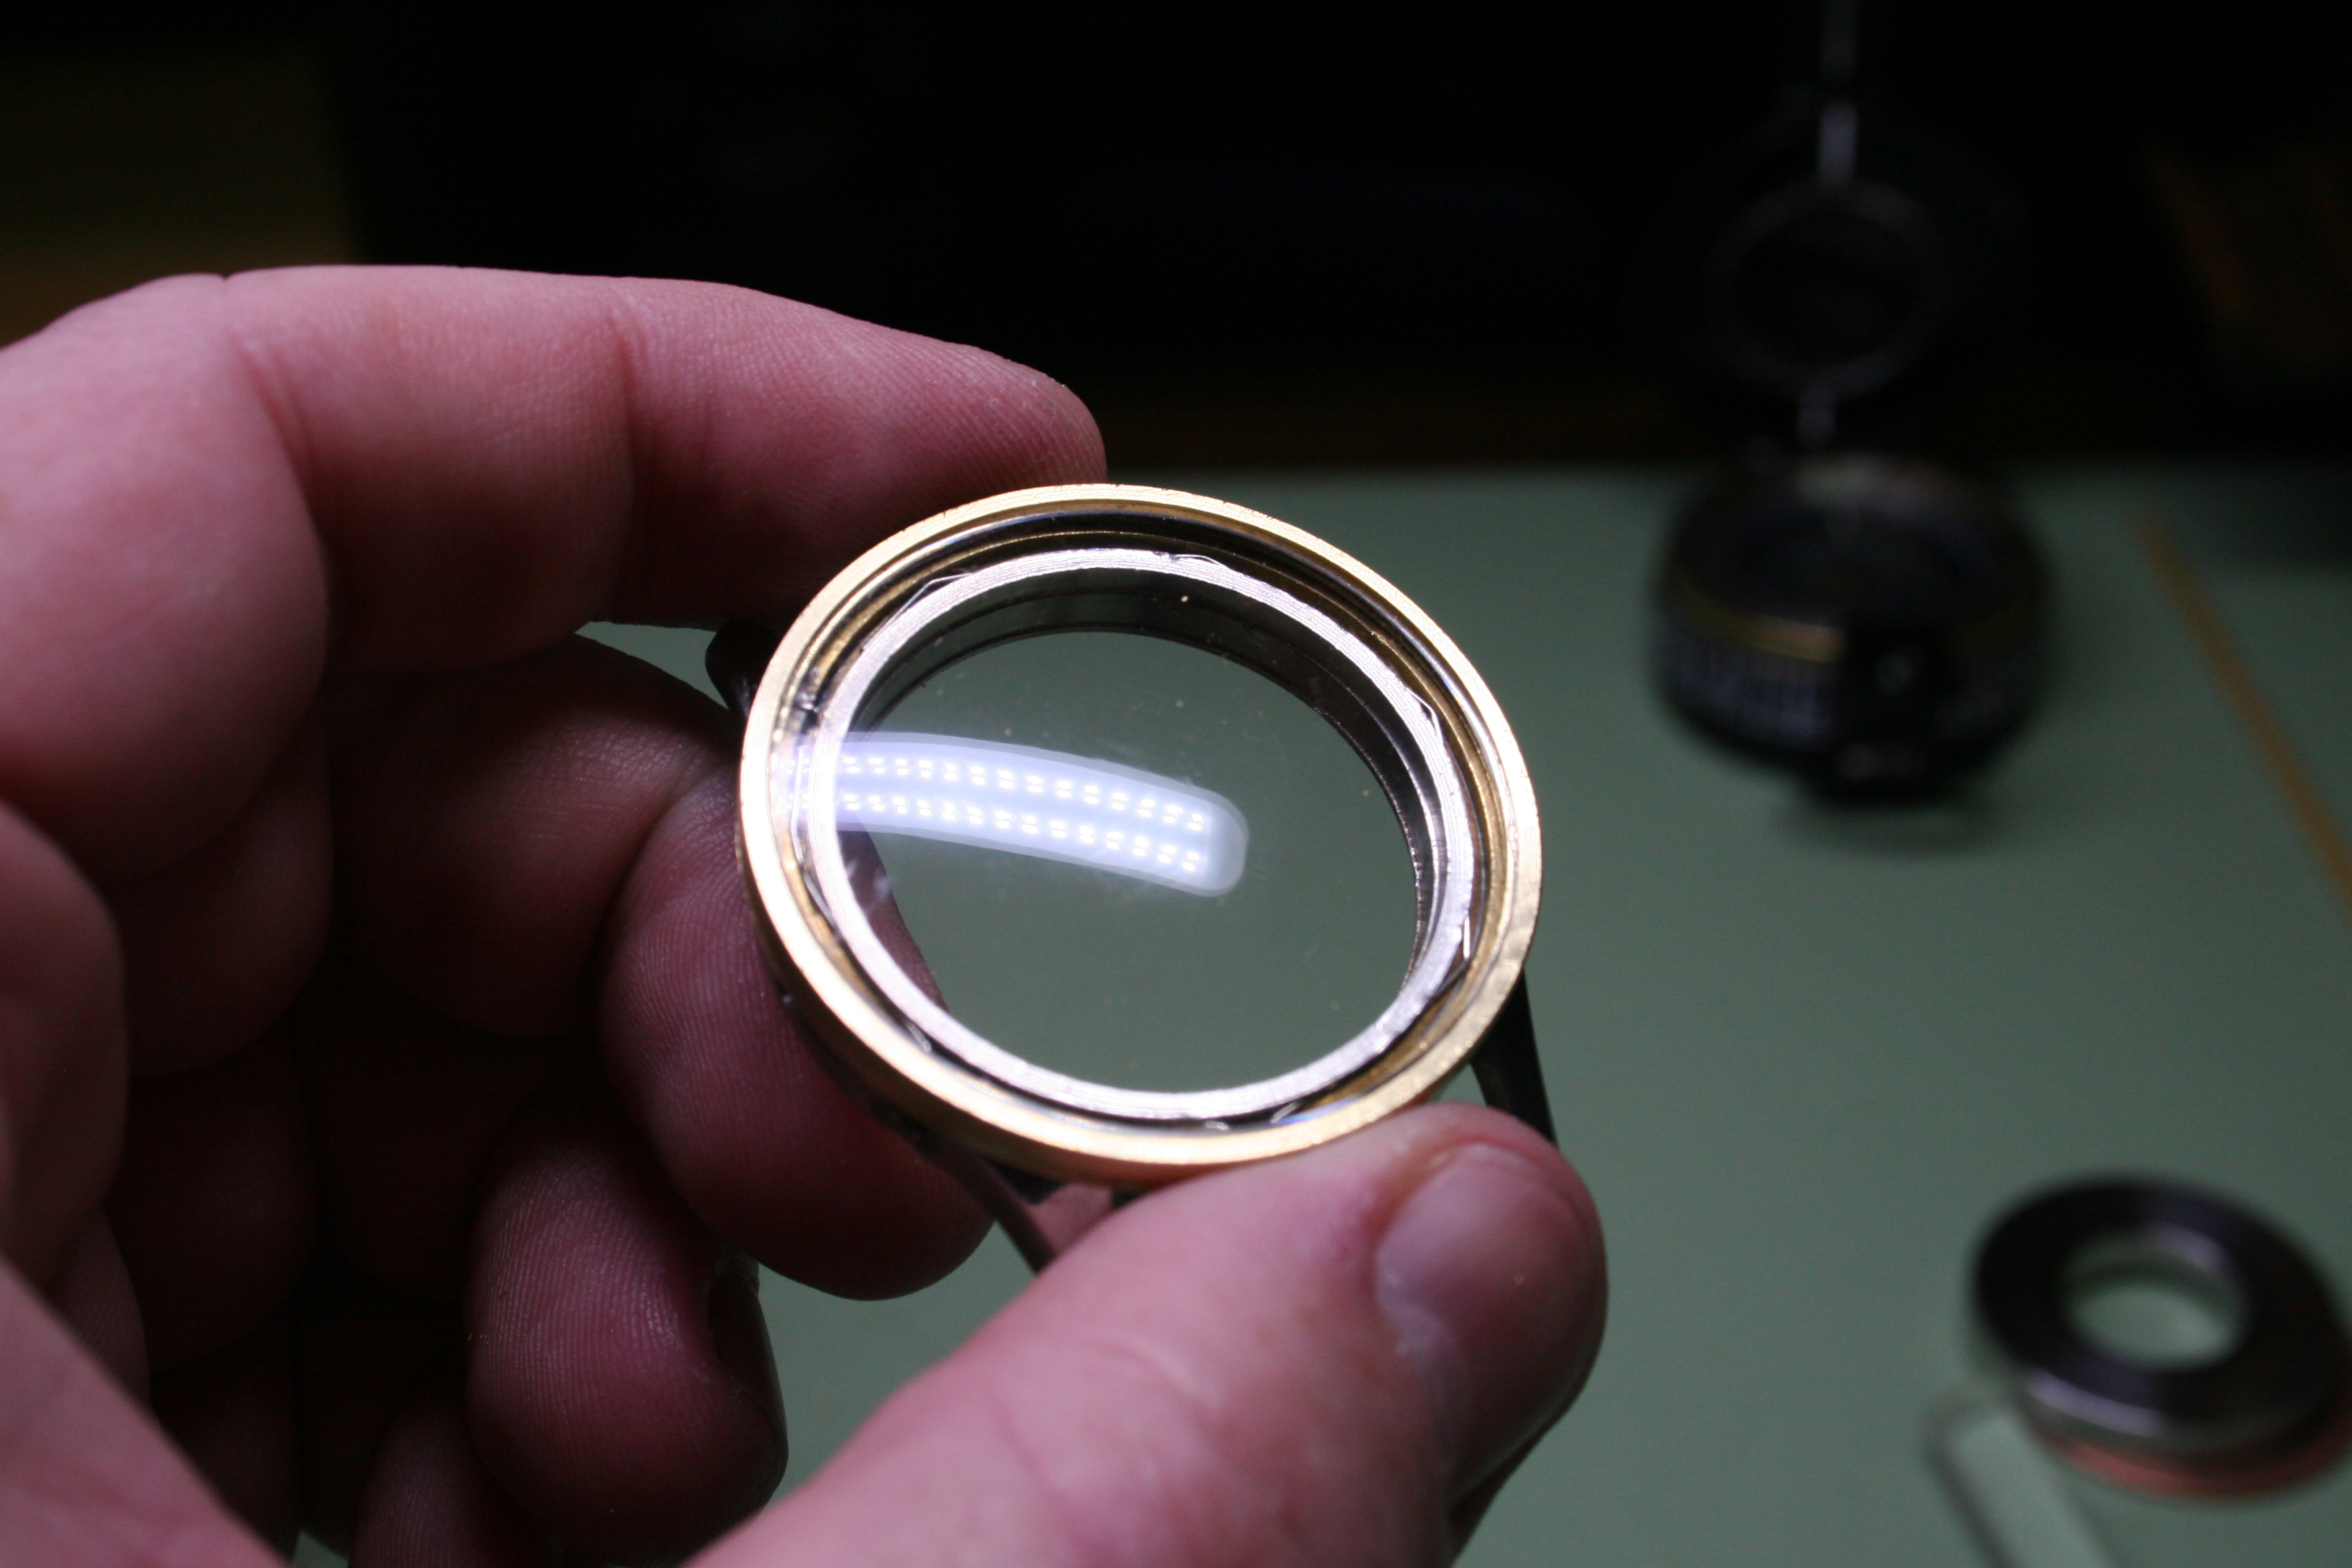
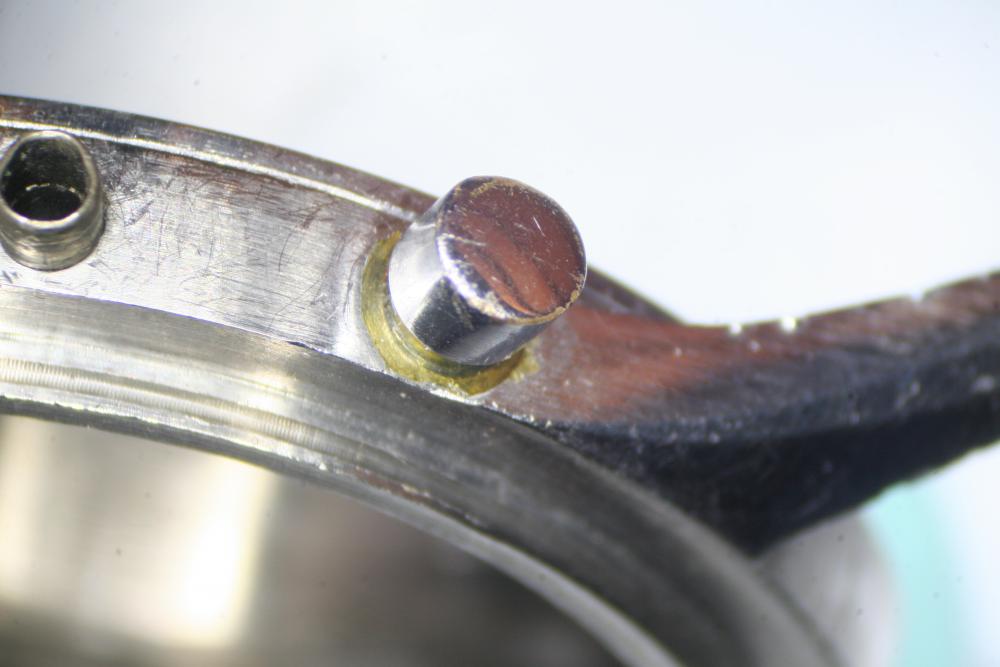
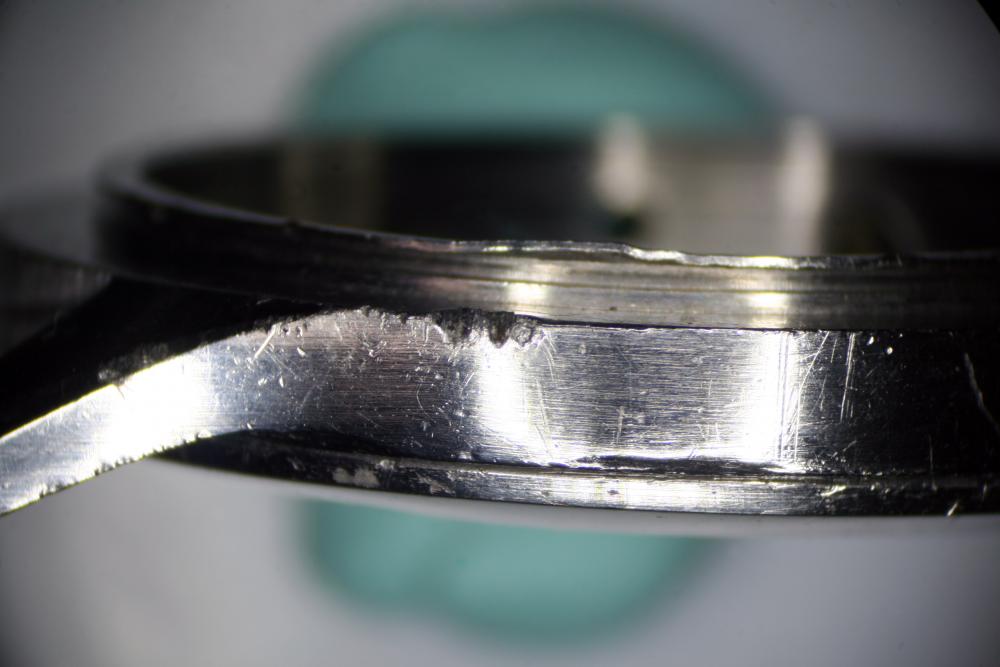
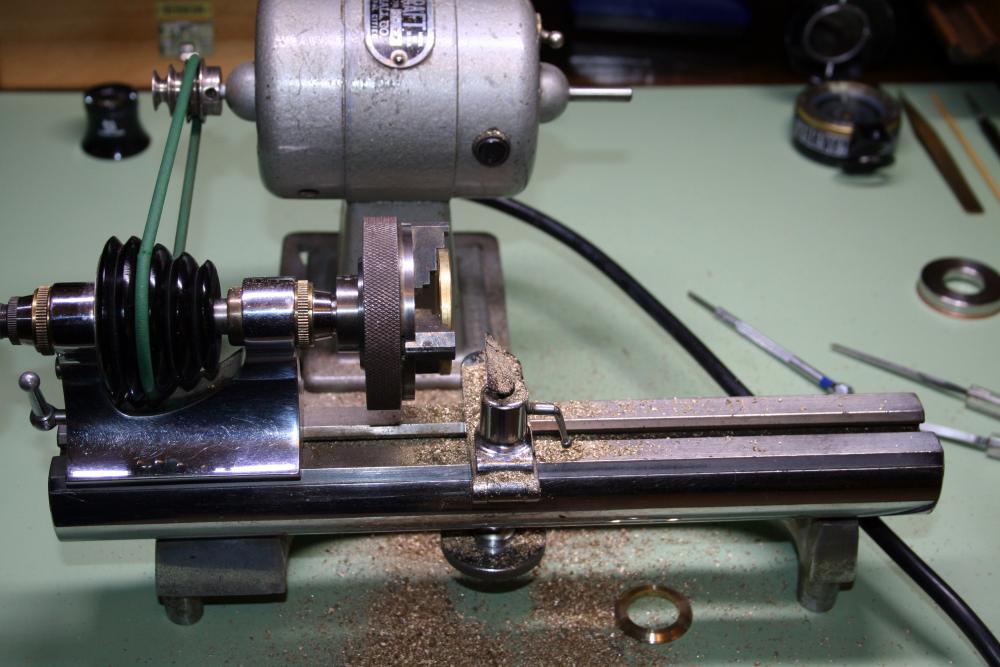
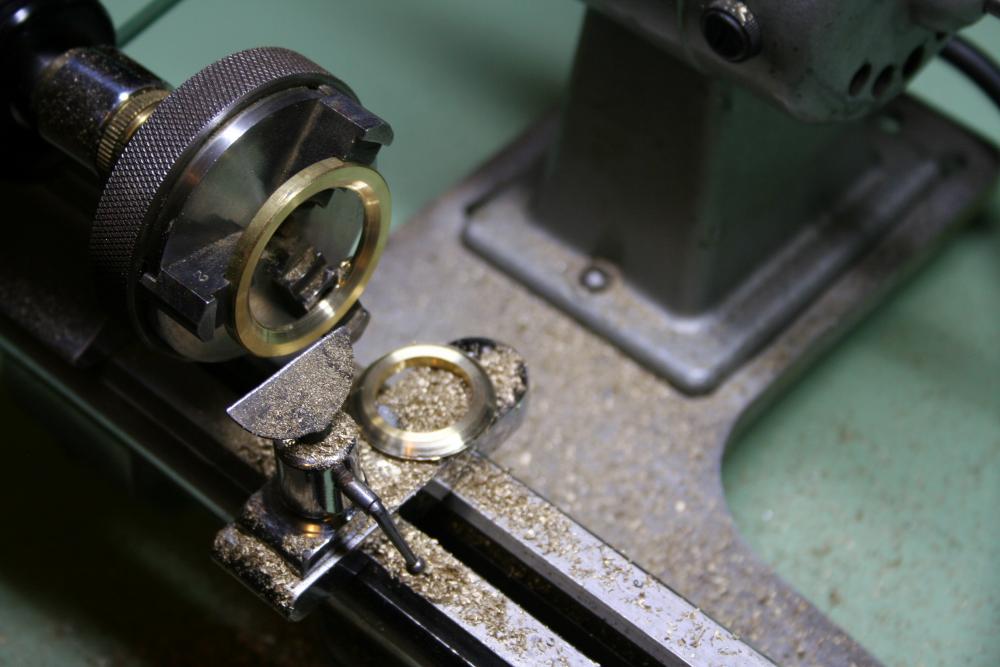
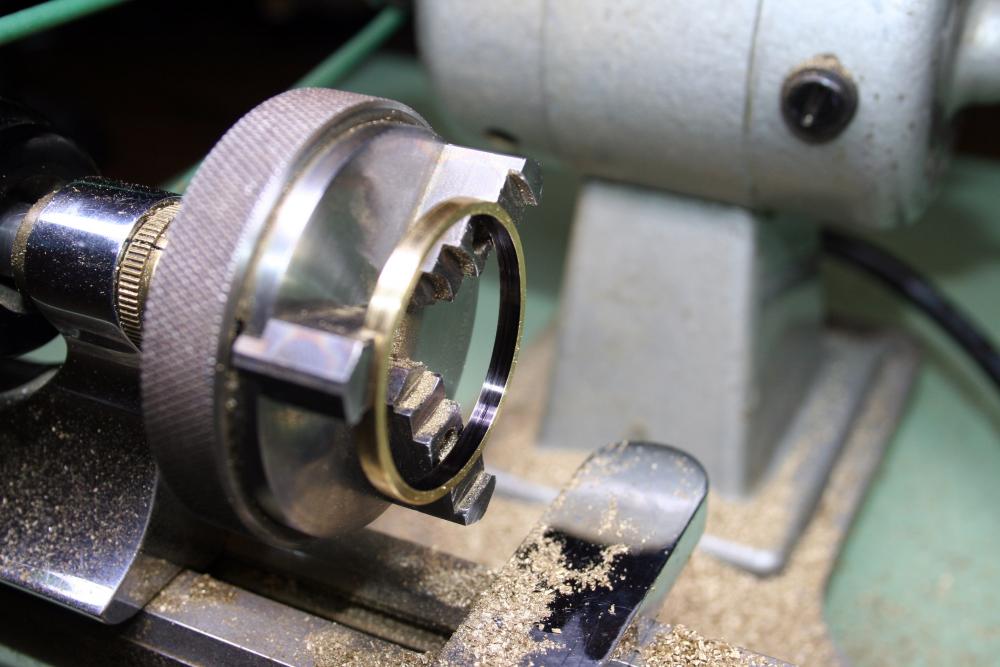
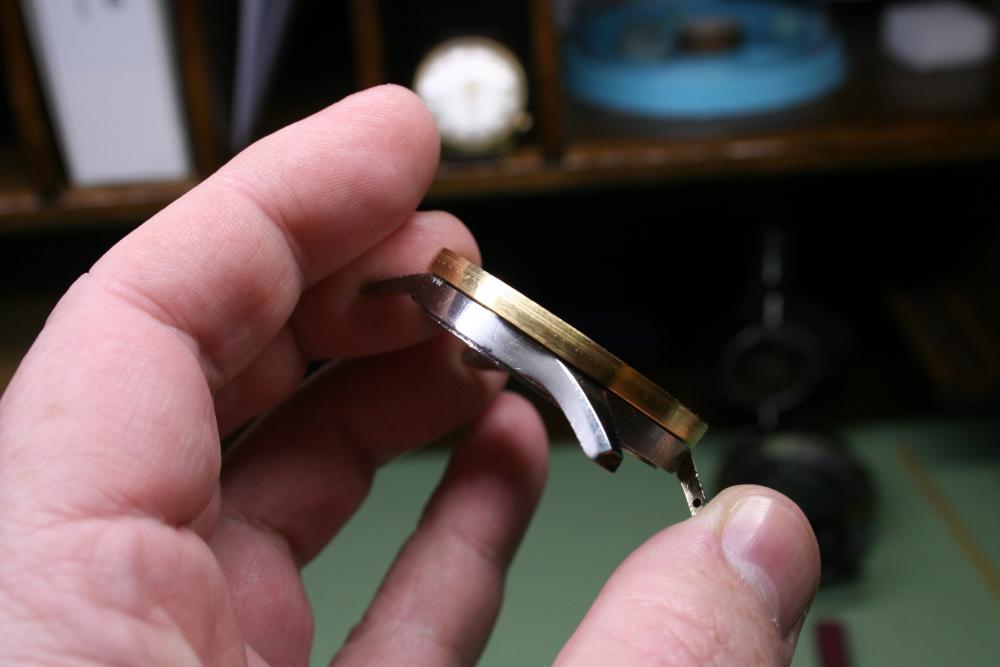
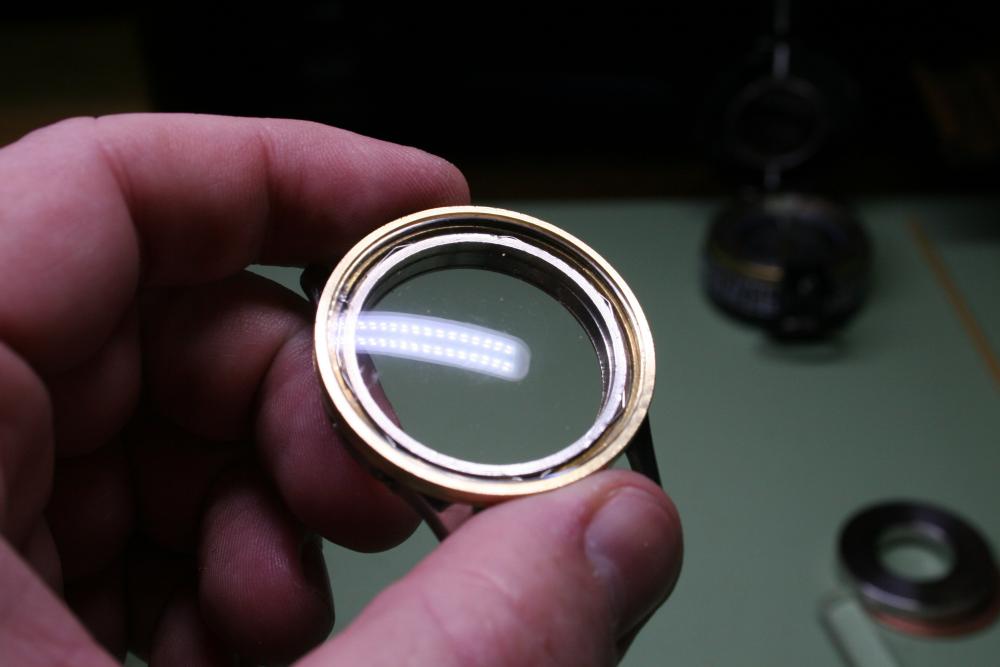
 Well this isn't really a walkthrough because I'm learning on the fly but I felt it was worthy of sharing as the story will probably return some good advice. A bit over a year ago I picked up a Breitling Navitimer movement complete with crown, dial and slide rule. There were a few parts missing and a couple of broken pieces but I corrected those issues in short order and stored the movement away for that day when a case would come available. A few months later just such a case came up on eBay and I picked it up for a fair price even though the bezel was missing. The case has some issues- for example the threads for one of the chronograph pushers were stripped out (note the pusher held in with glue below) and it looks like the bezel was removed with a forklift. I widened the stripped out pusher hole and pushed in a stainless steel sleeve which will be tapped to accept the proper pusher (2.5mm tap, pitch 0.20mm). This work was completed some time ago then the project stalled out as replacement bezels are about as common as unicorns. Frustrated by this I decided to roll up my sleeves and turn a replacement. The correct bezel is approximately 3.25mm tall with a 41.0mm outside diameter, so I started with a 304 stainless steel ring which is 6.00mm tall and has an outside diameter of 41.0mm. I've not turned stainless steel on the lathe before and was hoping to start with a softer grade (say 400) but was limited by what would fit in my three jawed chuck. Now for anyone who is thinking, "you can't turn stainless like that on an 8mm lathe" you are of course correct (for the most part) but try I did and with a carbide graver I was able to make pretty quick work of the piece- chips were flying nicely but OH BOY DOES IT GET HOT! About twenty seconds of turning was all I could do before cooling the graver; this is of course why you always see stainless steel milled or cut under a stream of coolant. Since my workspace is limited and I don't want to make a big mess I moved on to Plan B (which was actually Plan A because I never figured I'd successfully turn a replacement stainless steel bezel on the lathe). Plan B was using brass, which meant I could put the carbide gravers away as they aggressively dig into brass like it's chocolate. This time I started with a thick brass washer and my usual HSS graver. Pretty soon I was knee deep in shavings (which are useful for bluing screws). I turned the washer to a ring with an inside diameter of 37.5mm. A recess was then cut 1.0mm deep to accept the crystal on one side and the inner bezel ring on the other. The inner bezel ring (on which the bezel is mounted) is about 1.8mm tall so the recess needed to be about 2.00 mm tall to accommodate the inner bezel ring and the slide rule. Getting the dimensions just right was achieved by using a black sharpie and a scribe (needle in a pin vice) to mark out the cuts then constantly checking and rechecking the fit. Once a proper fit to the case and crystal were achieved I proceeded to cut the exterior of the bezel. The cuts were done by eye then checked and rechecked for proper fit and finish. The outside diameter of the bezel where it meets the case tapers to 40.0mm and if I cut too much there's no way to add the material back. The current status is promising- below are the pictures as it stands today without notches. I'll be cutting the notches this weekend using a fine round escapement file. To ensure the notches are evenly spaced the plan is to remove a stainless steel bezel from another Navitimer I own and glue it to this one. The notches in the stainless bezel with then serve as pilot holes to guide my file. Once completed the plan is to have the bezel plated and the case professionally refinished (laser welded, etc.). Even though it's not correct for this watch, I'm thinking I'll probably have the bezel yellow gold plated as it will be easier to sell when and if a proper stainless steel bezel ever comes to replace it. A few things I've learned along the way that might be helpful- Don't get discouraged- I was 95% done two days ago when the bezel slipped off the chuck at speed and deformed- I had to start the whole thing over again. I did get to test my notch making skills on the bent piece though and that's worth something. A three jaw chuck isn't really the right tool for this job. There is a five or six jawed chuck for holding bezels, if you can find one, I'll bet it's a lot grippier. Turning large brass rounds on a lathe is great for your confidence. You'll think you're a master until it comes time for clean-up when you realize you really do need a proper machine shop (separate from your service workbench).
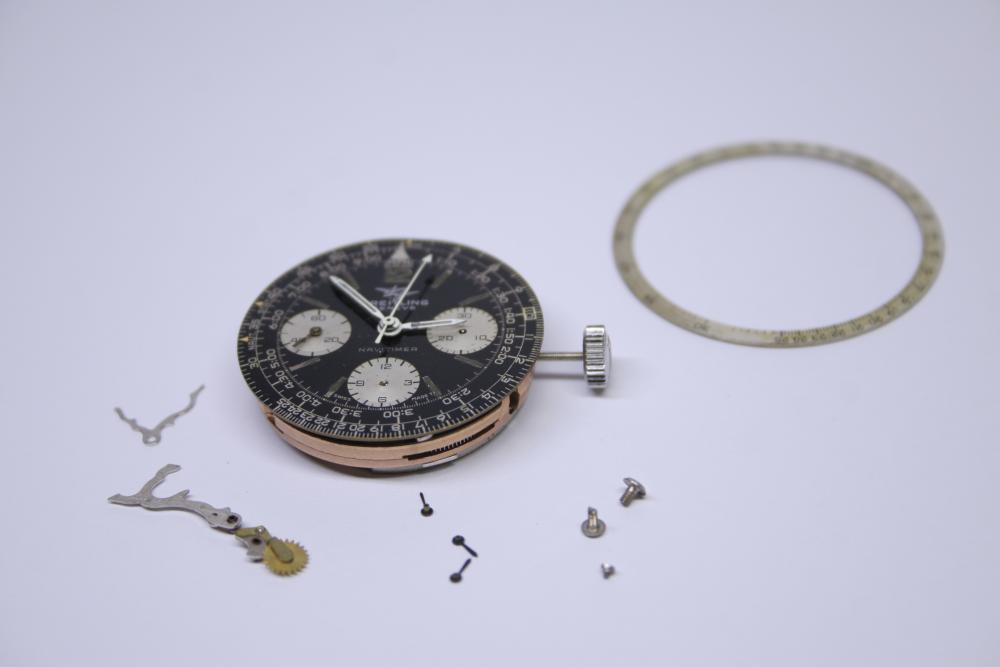


-
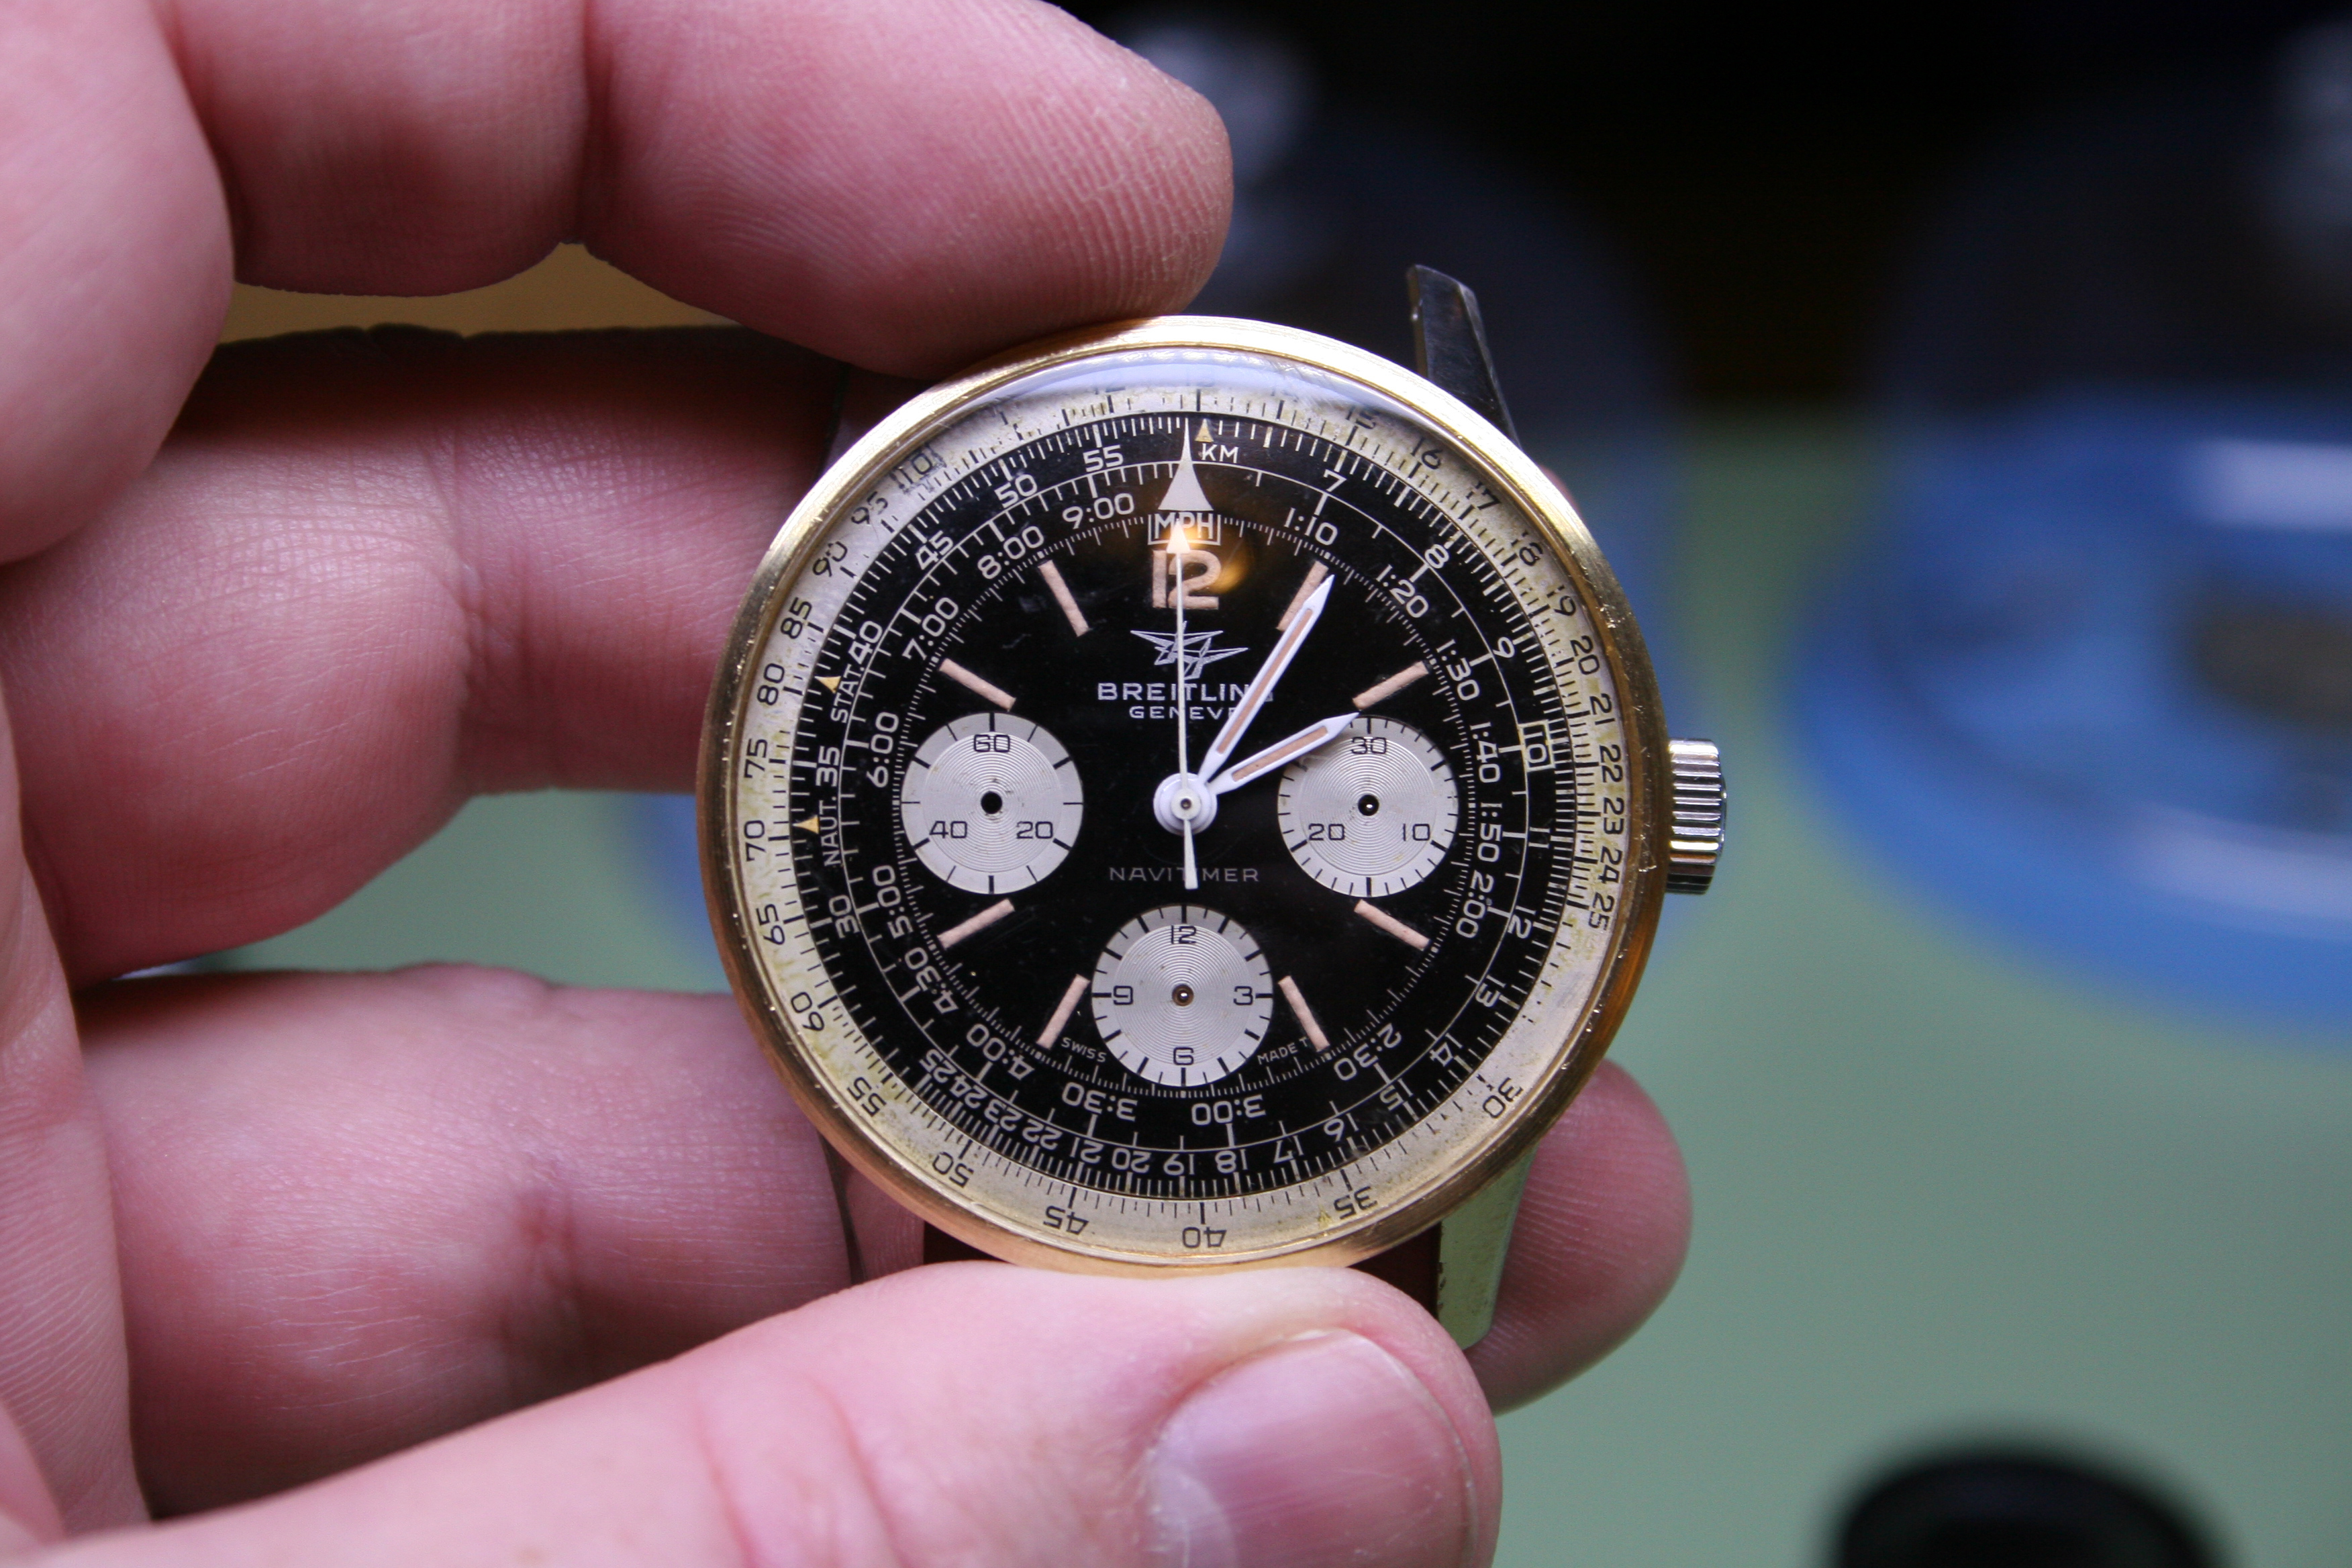
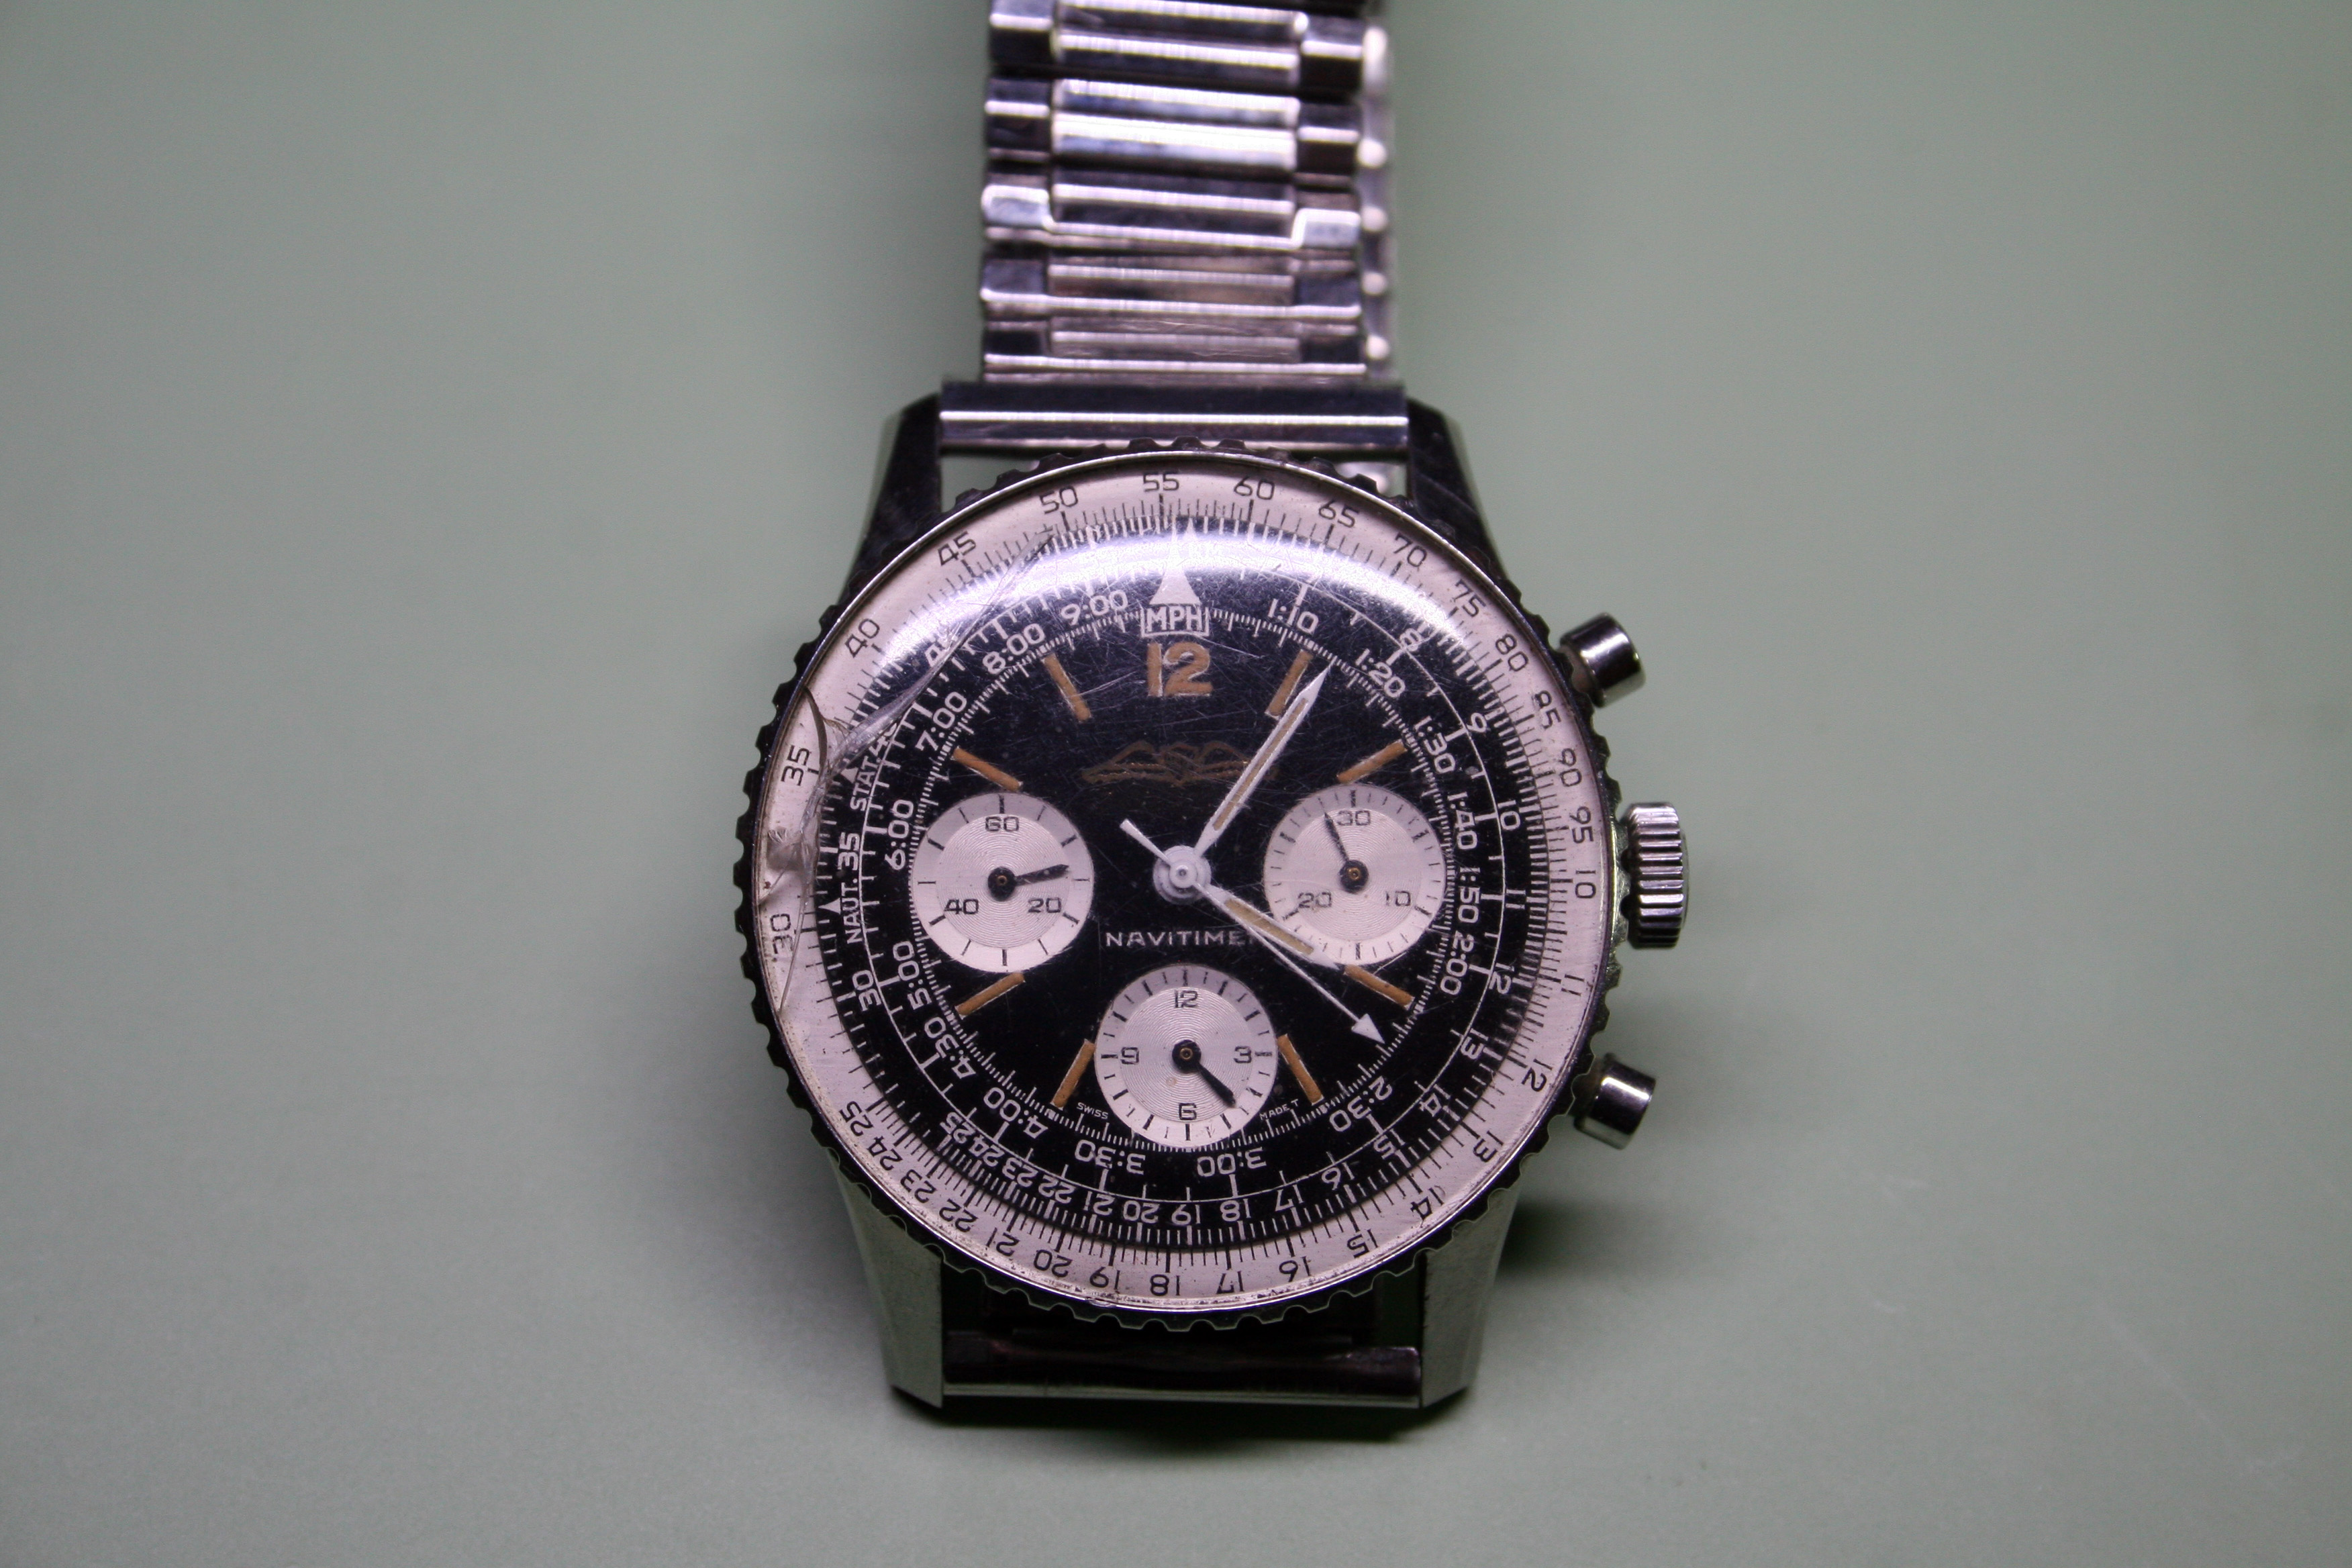
 Hello- I own the watch described in the subject. When changing the band recently, the bezel popped off. I was able to press it back on, albiet it took a little bit of effort. I plan on taking it to a watchmaker for repair, I just wanted to understand what would/could have caused this to happen and what parts would be needed to repair this. The bezel rotates in order to do calculations for aviation. Pictured is a photo of the watch I have ( not mine, but identical model, poor band color choice). Best Samson
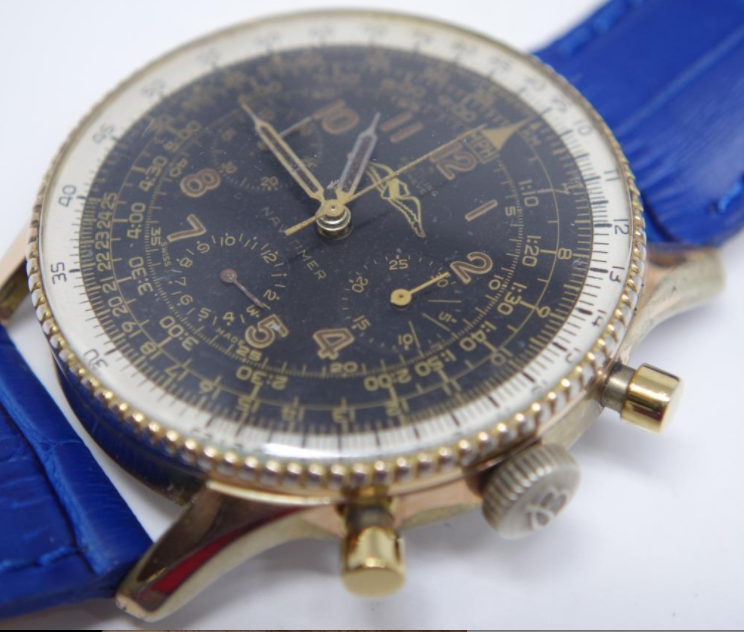
-
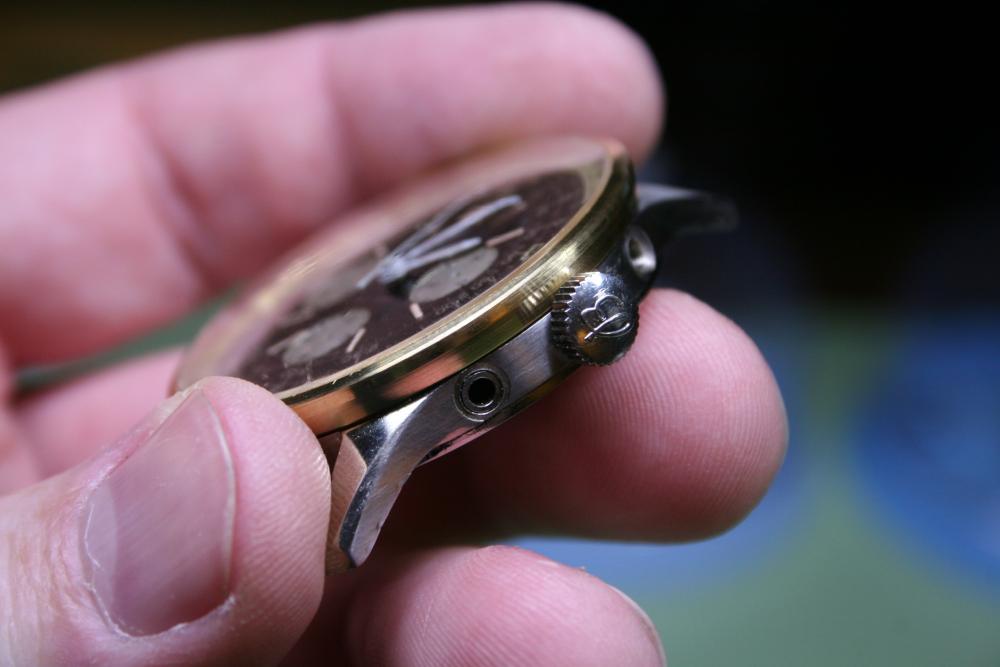
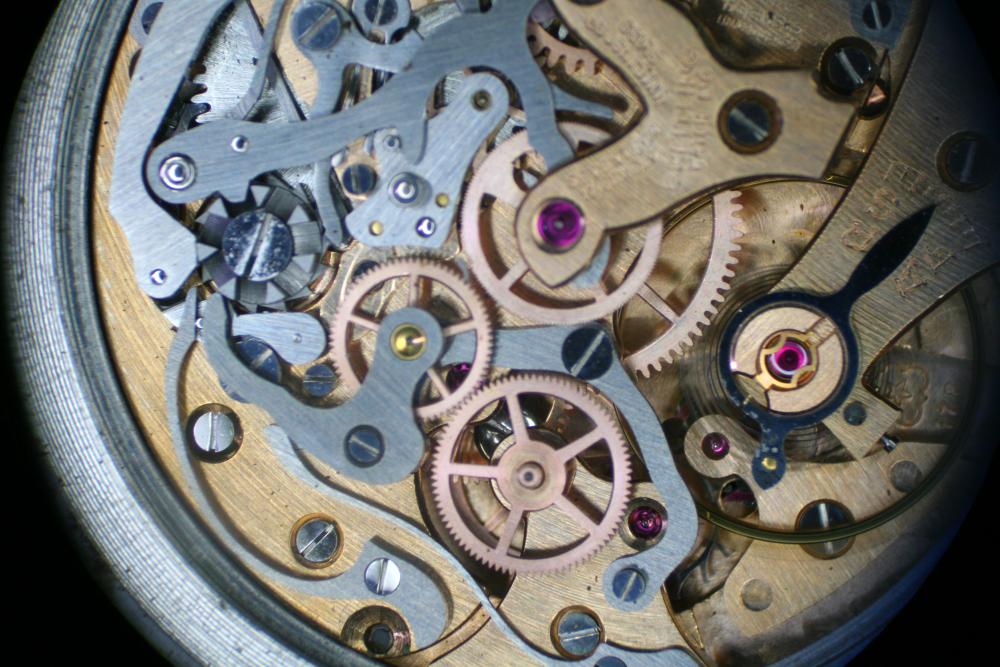
Sometimes you get lucky and for me, it looks like this is one of those times. Here I have a vintage Navitimer that I picked up for a fair price but also with a fair bit of risk involved as it was bought online and in non-working order. Under inspection following receipt I discovered that dial wasn't seated properly and pushers were jammed. Things were indeed looking bad. Imagine my relief upon seeing this under the microscope. That would be a case screw hiding under the fourth wheel! Unfortunately it's sheared off in the case, but the good news is that the movement started ticking merrily away once the screw was extracted and with the works unjammed the pushers are operating properly again. With luck, a simple cleaning, alum bath, and a new case screw will be all this one needs. (knocking on wood)
-
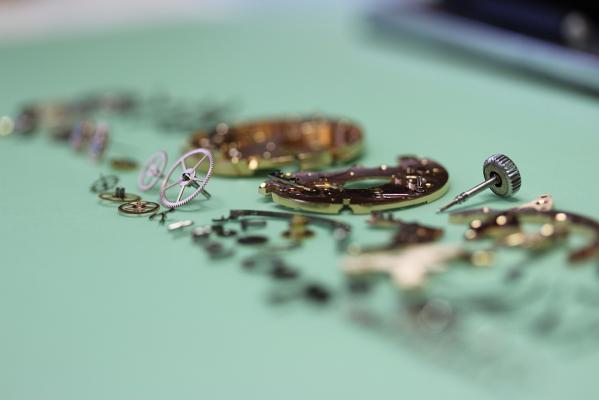
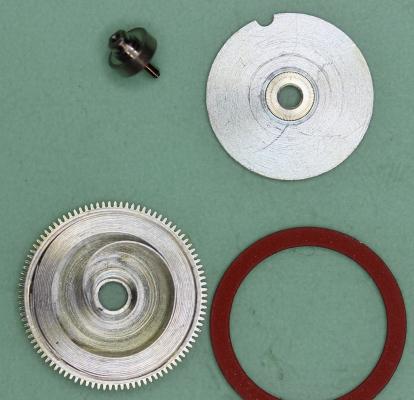
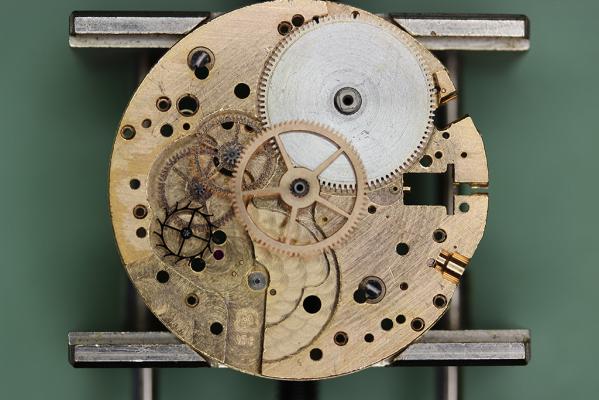
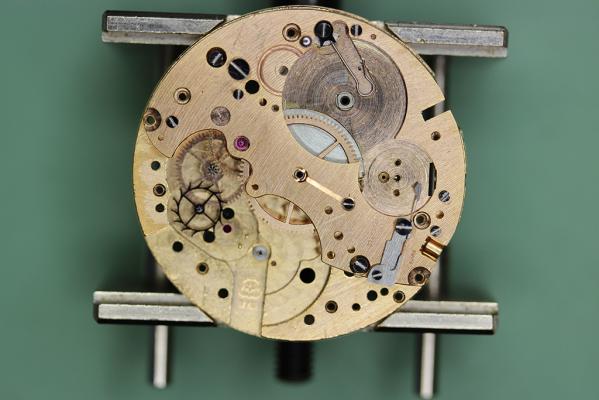
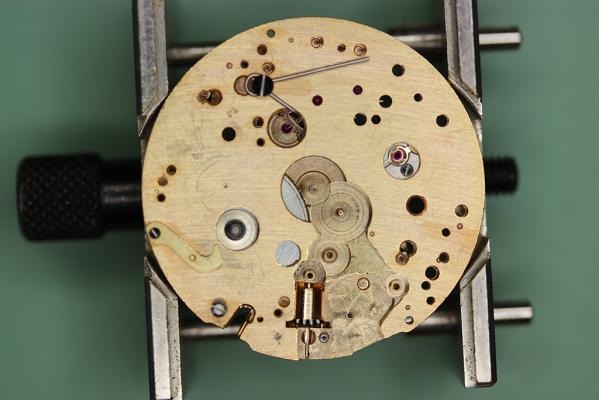
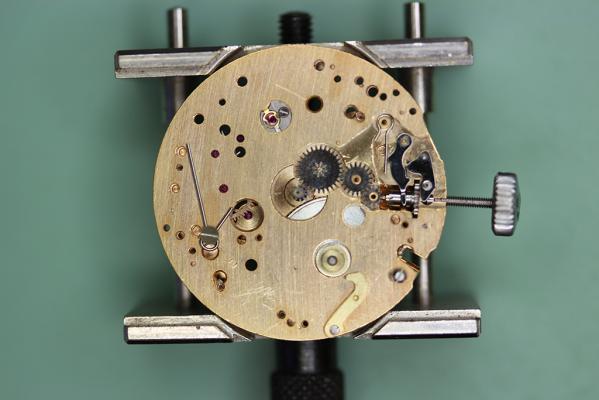
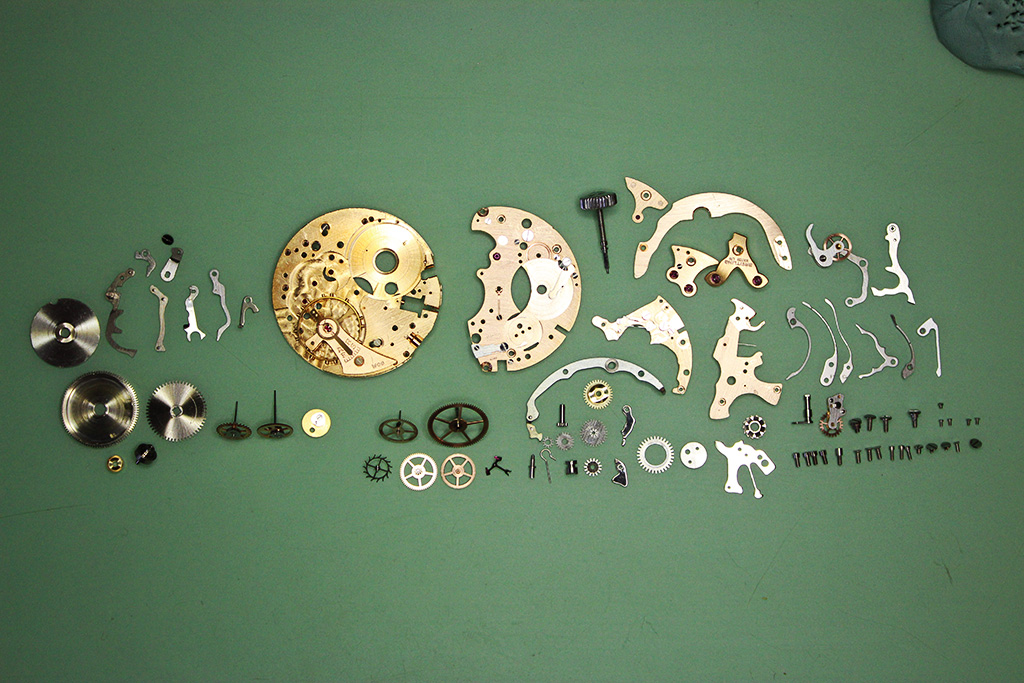
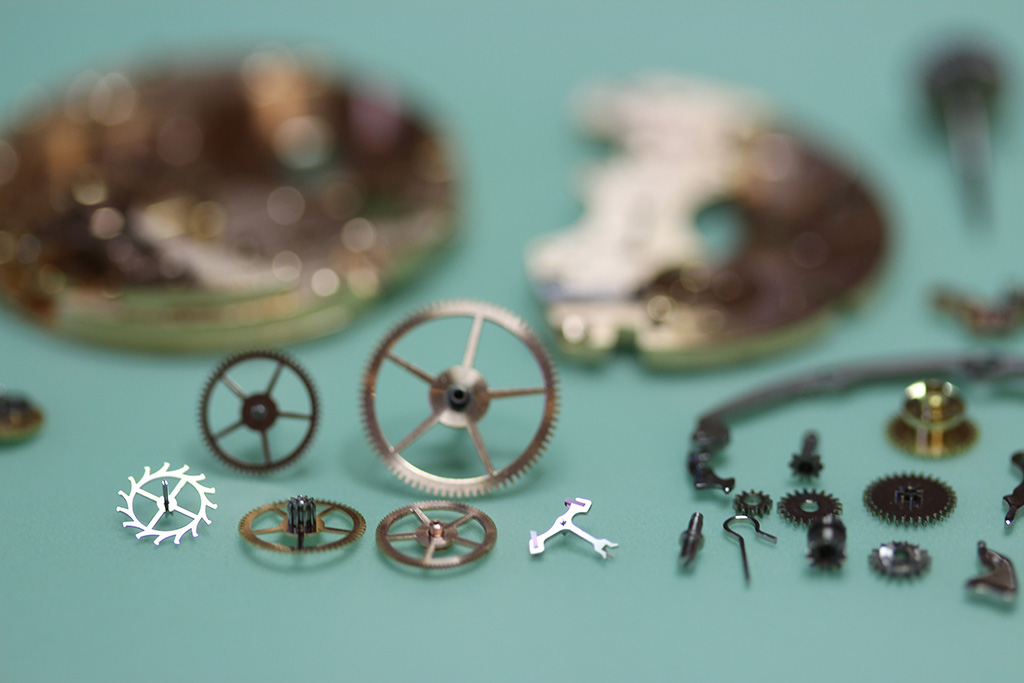
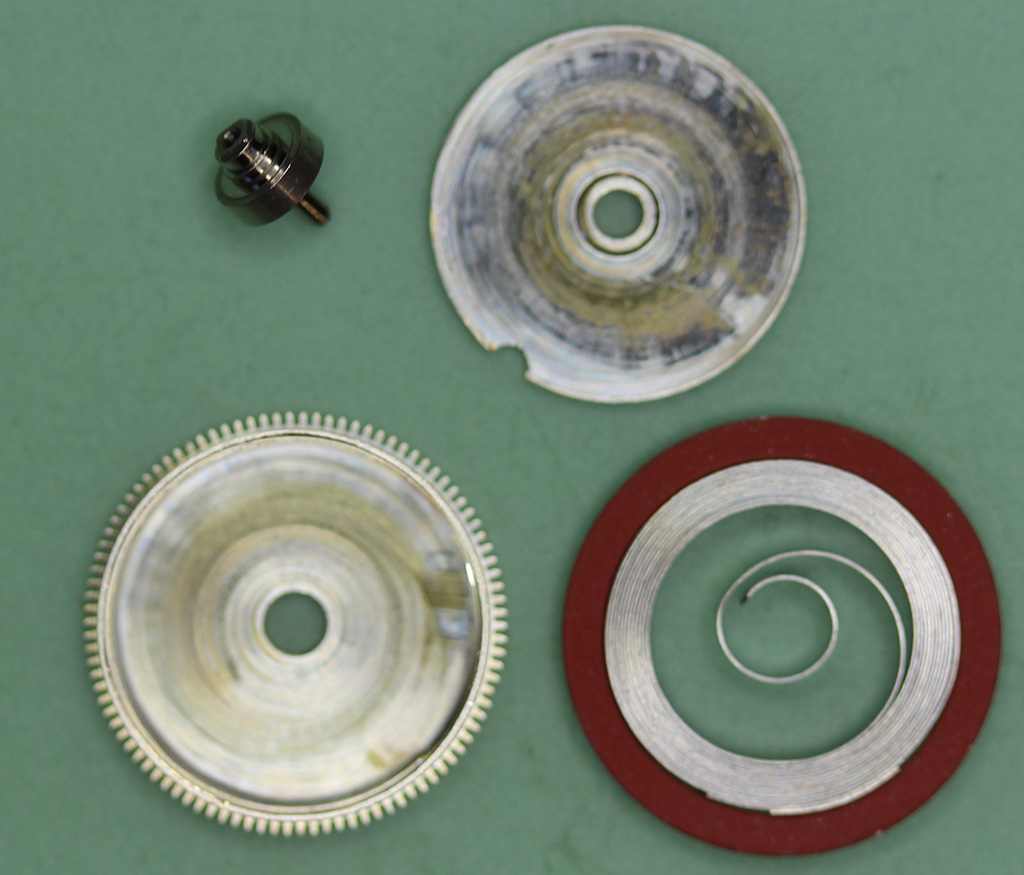
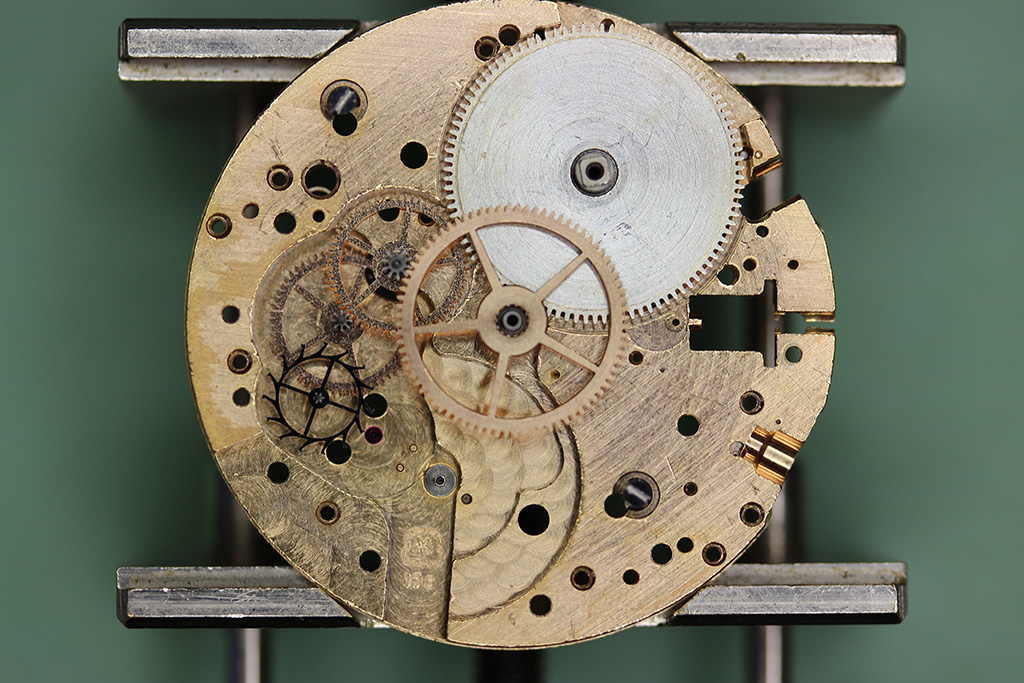
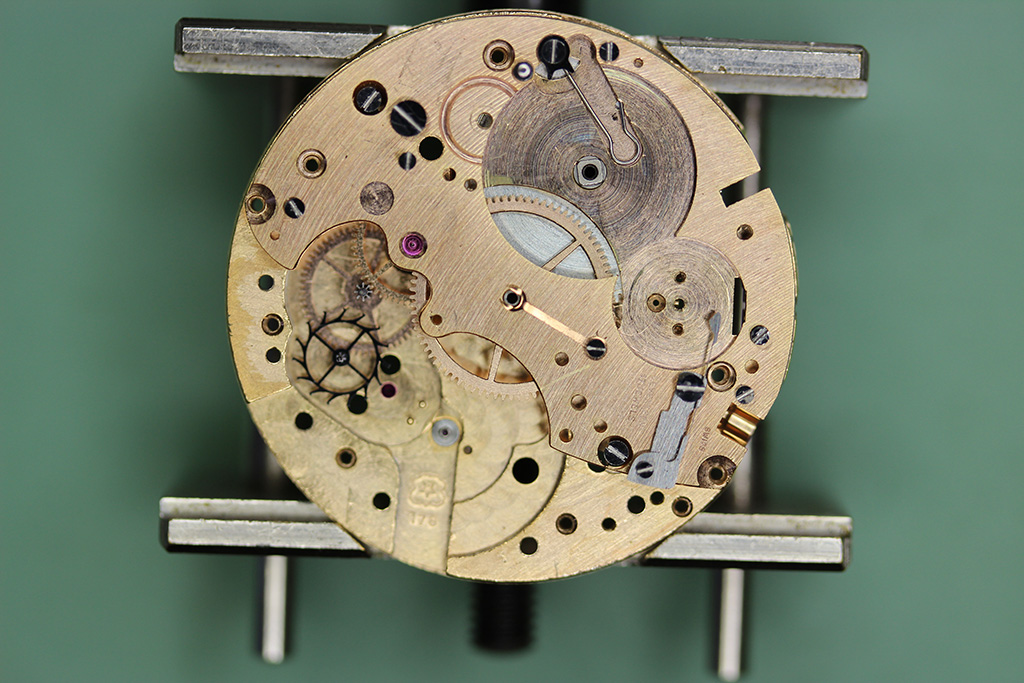
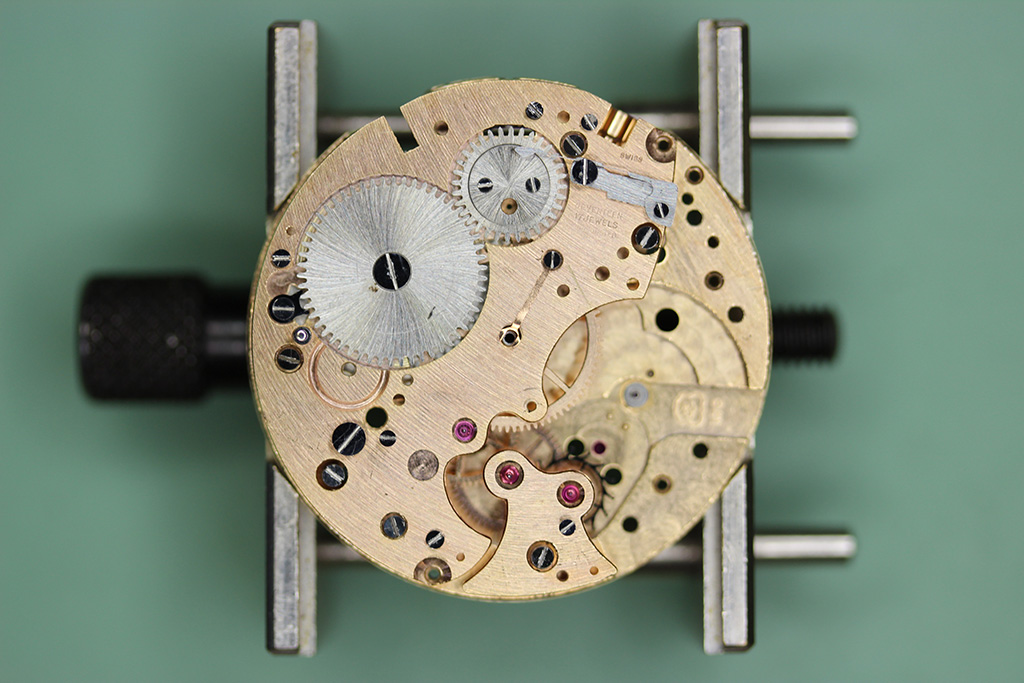
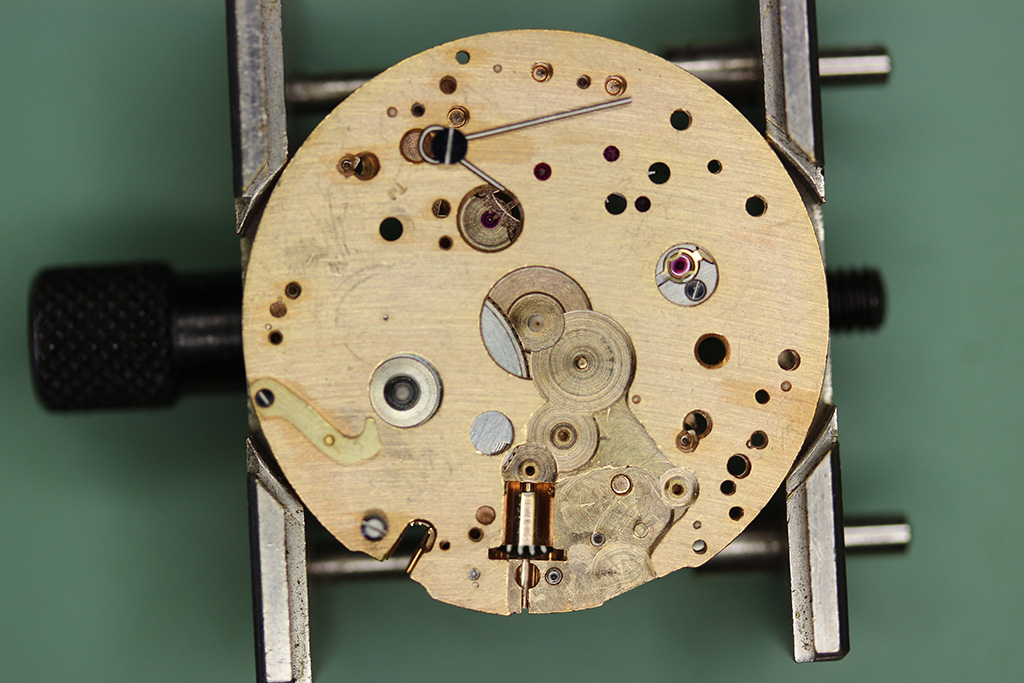
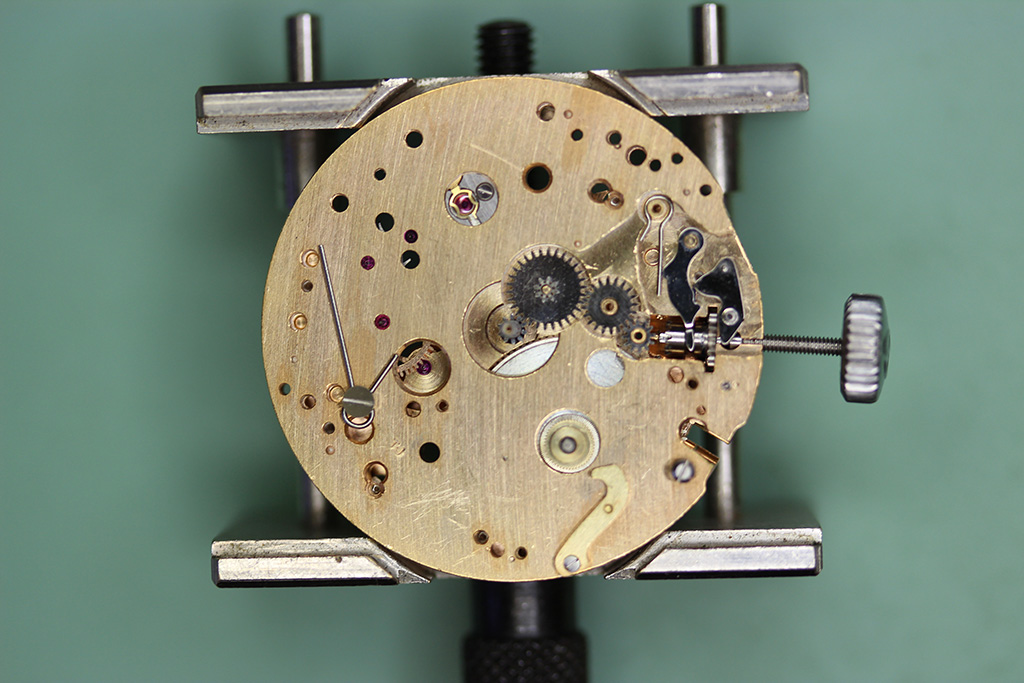
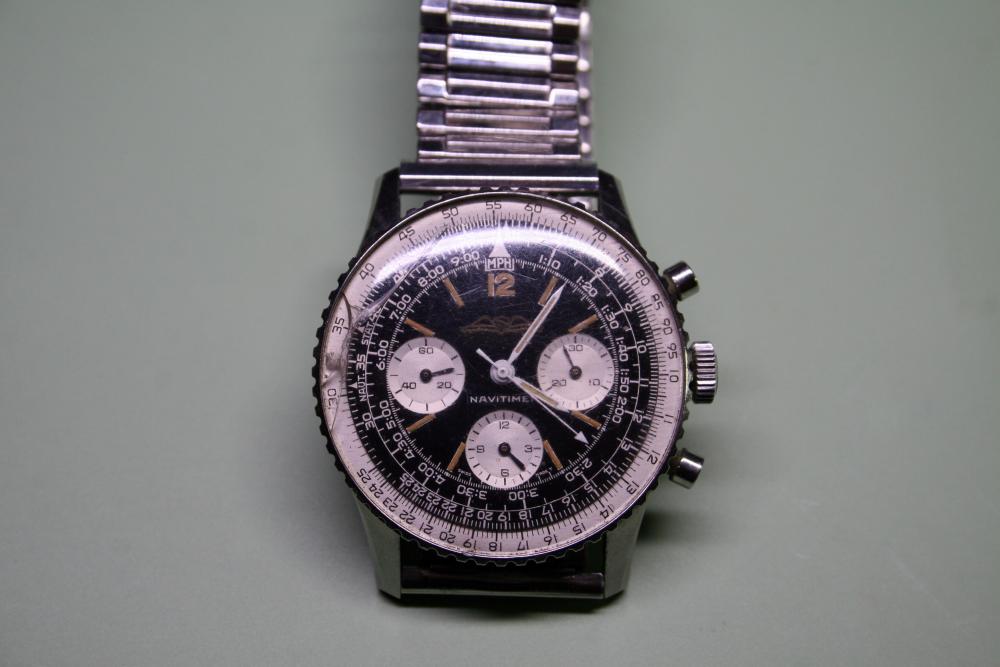
 Here we have some pictures of the Venus 178 chronograph movement which is on a vintage Breitling Navitimer. This watch had a broken mainspring and required a full strip-down and rebuild in order to fit it. Enjoy :)