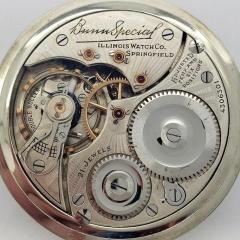
Hamilton Cal 64 service
-
Recently Browsing
- No registered users viewing this page.
-
Topics
-
Posts
-
By Neverenoughwatches · Posted
Not easy to find this one everywhere, so it depends where you are located. Joining it back together might be possible, i have silver soldered mild steel before even with traditional plumbers lead and its a pretty strong joint, but bere in mind this is only 1mm diameter. The join would need to be very accurate, it not something i have heard of anyone trying before. The part no 401 is the swiss code number and relates to watch winding stems in general -
Thanks everyone for your helpful replies. I think between us we’ve worked out what’s going on. Next job is to have a proper look at this great wheel assembly, see if I can remove the clip and the friction fit pinion, give the bits a good clean, then put it back together with a bit of blue grease. I’ll also get the pallet fork under the microscope to see if it’s ok or been damaged.
-
The cannon pinion (be it conventional style or what you see in this movement) should slip on its arbour so the hands can be set independently without affecting the gear train. If there is too much friction between the cannon pinion and the second wheel, turning the hands to set them backwards can sometimes force the escape wheel teeth to overrun the pallet stones, creating the behaviour you describe. The train is running in reverse when this happens. This can often chip the pallet stones. I’d say at least half of the watches I’ve inspected with very tight cannon pinions had chipped pallet stones. Hopefully this isn’t the case with your watch. I’m not familiar with this movement but you need to get the friction in the cannon pinion adjusted correctly. Hope this helps, Mark
-
Pallet fork was in. I’d had the movement running ok, and only removed the balance to flip it over and install the keyless works and date mechanism. The pallet fork wasn’t locking the gear train when hand setting - it was oscillating as the escape wheel rotated. This may have been in one direction only - can’t remember.
-
By watchweasol · Posted
Hi Find attached parts/repair notes for the JLC 911, might be useful. JLC_JLC 910, 911.pdf JLC_JLC 910, 911 Repair Notes.pdf
-


Recommended Posts
Join the conversation
You can post now and register later. If you have an account, sign in now to post with your account.
Note: Your post will require moderator approval before it will be visible.