Leaderboard


Popular Content
Showing content with the highest reputation on 12/08/14 in all areas
-
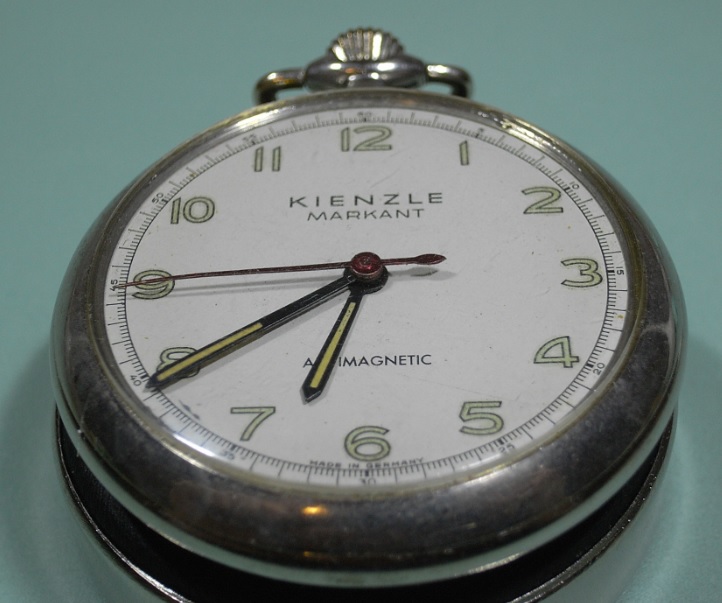
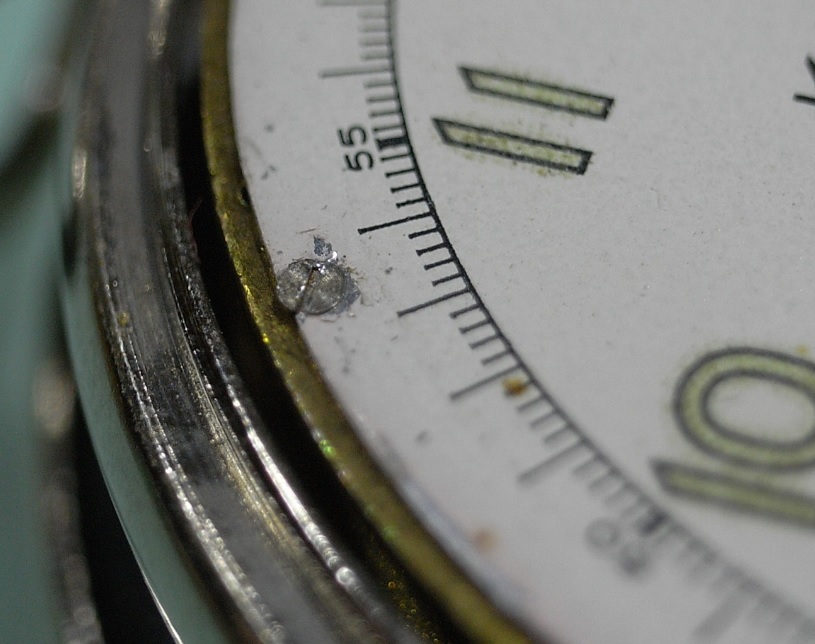
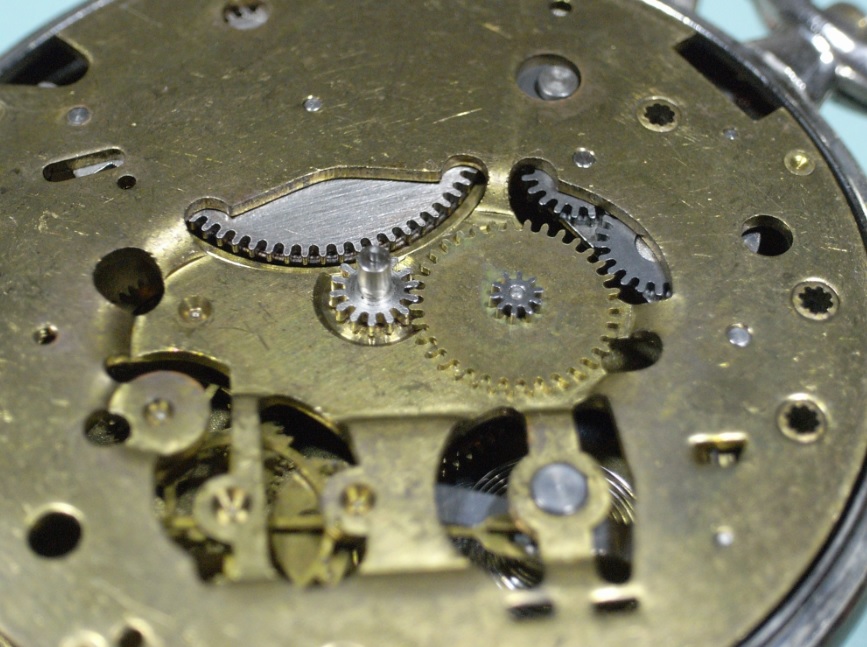
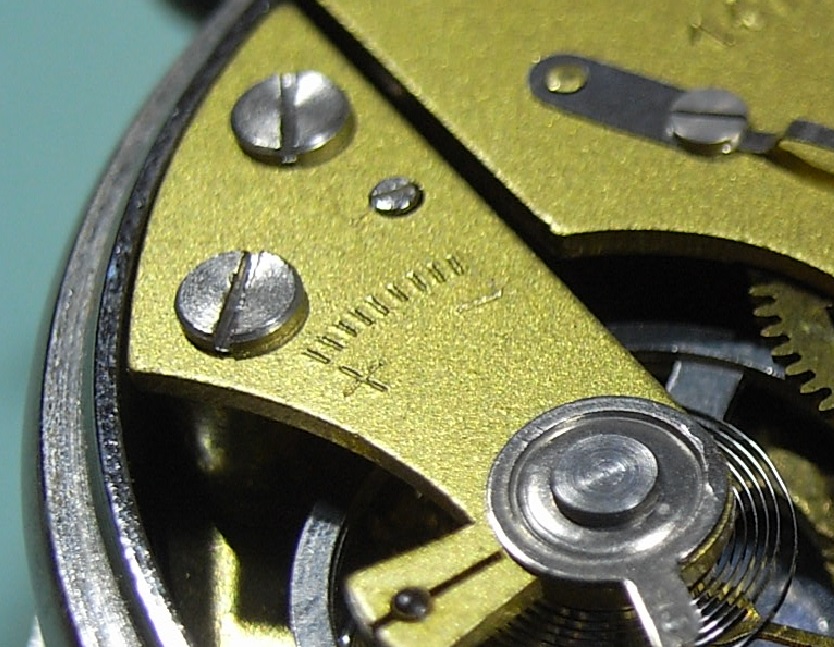
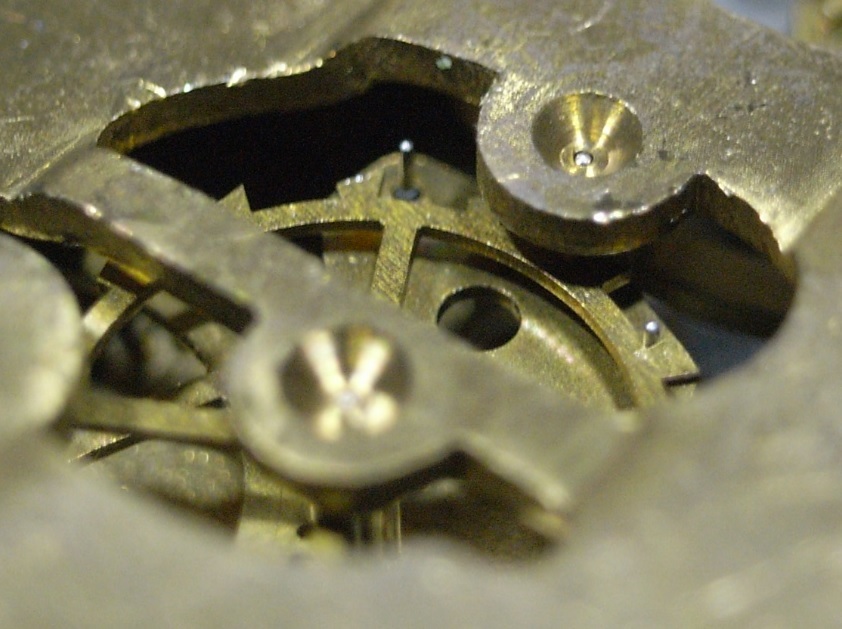
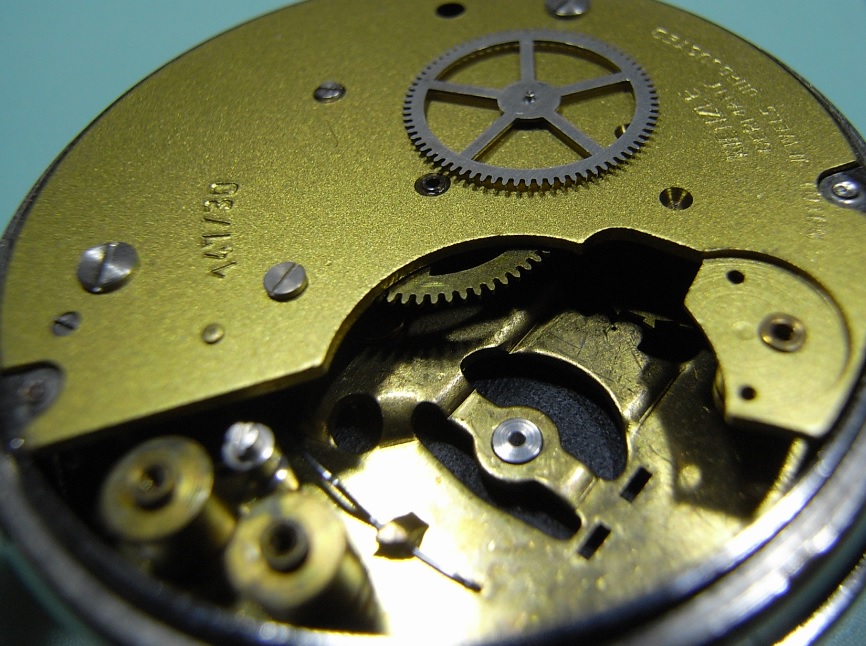
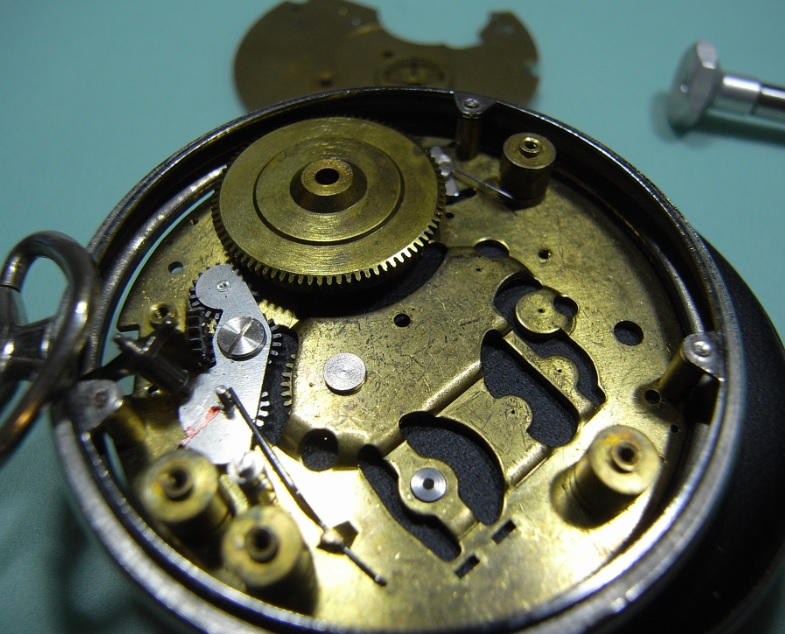
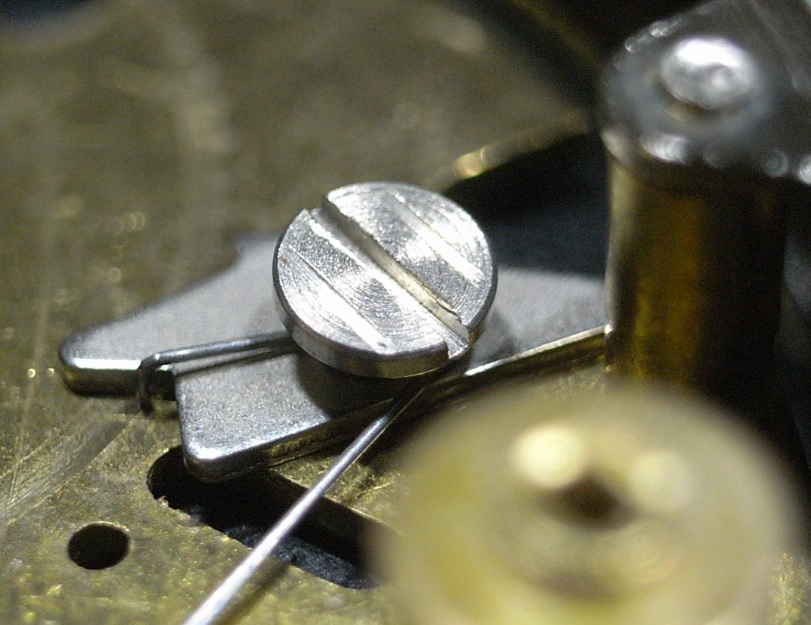
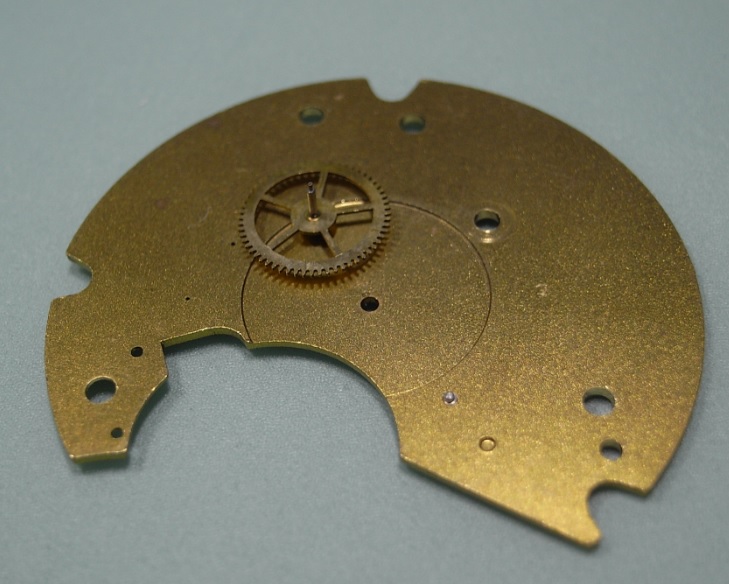
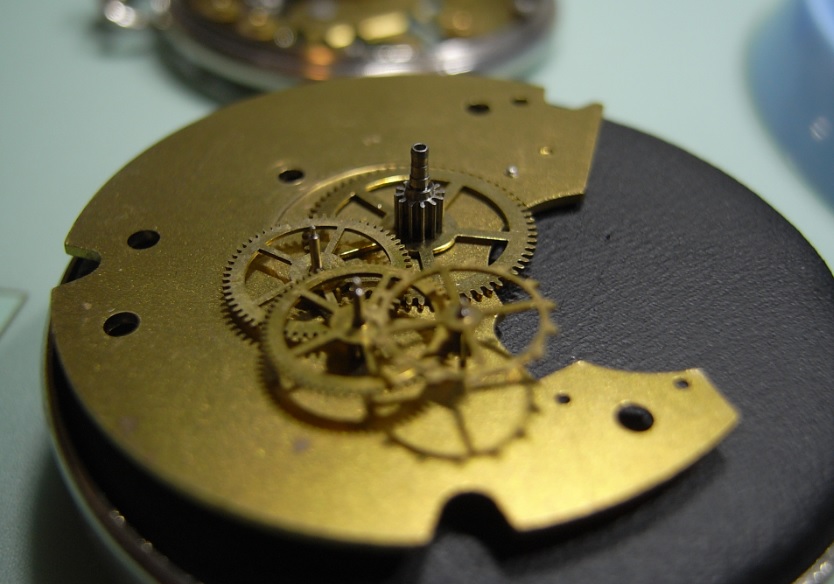
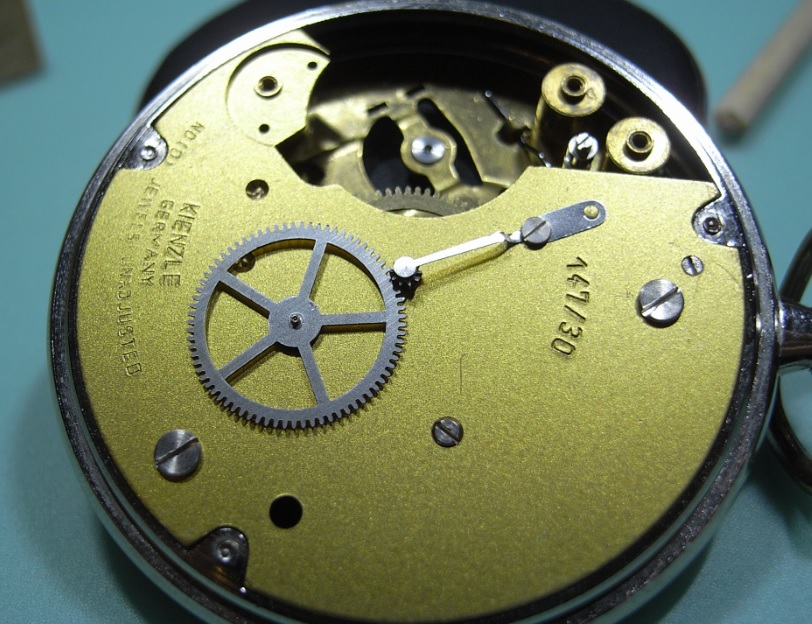
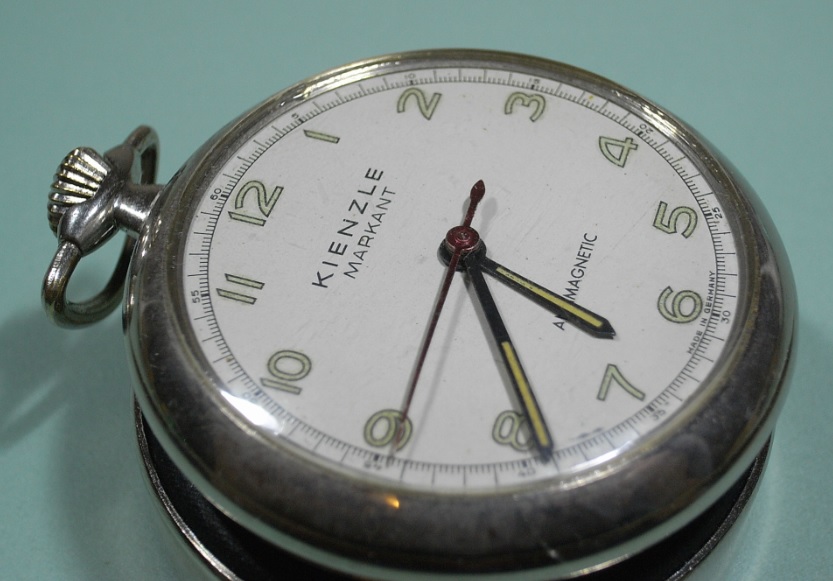
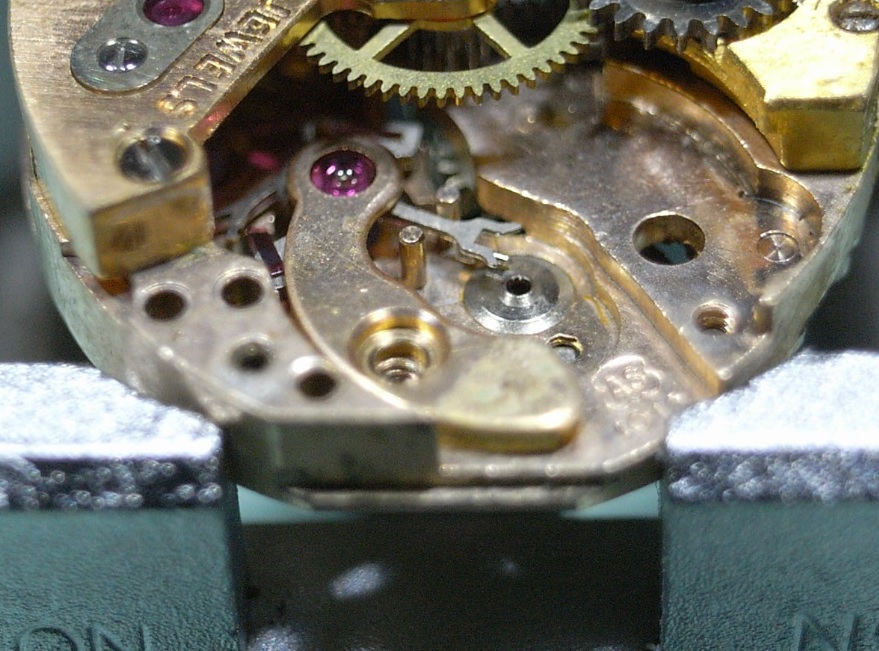
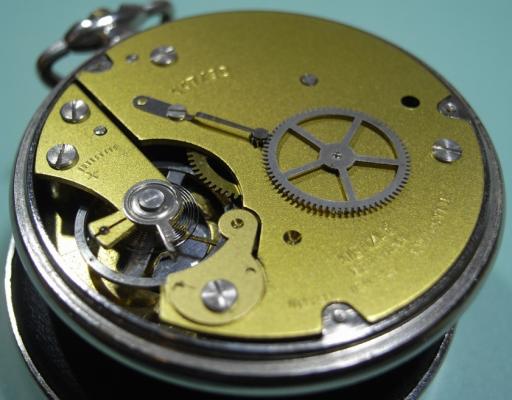
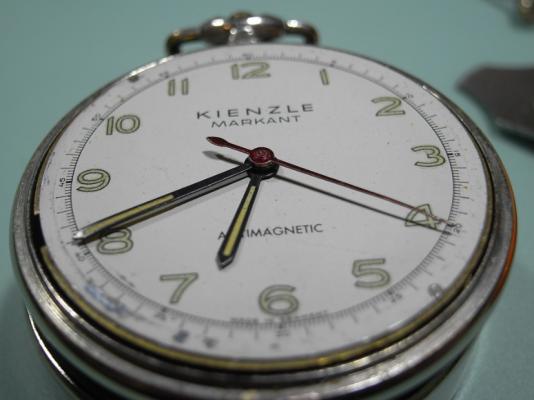
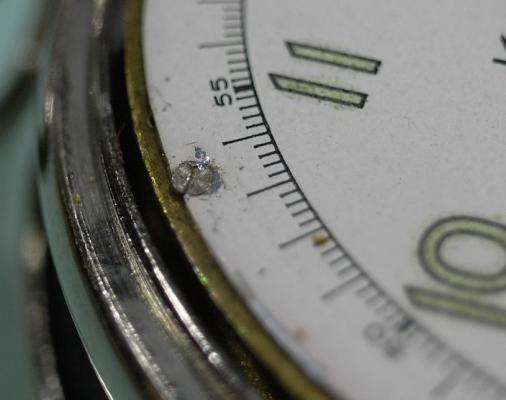
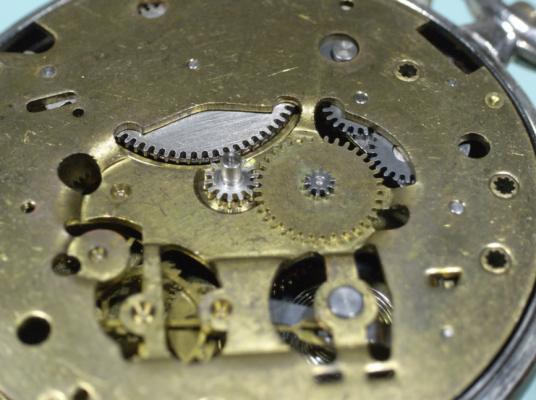
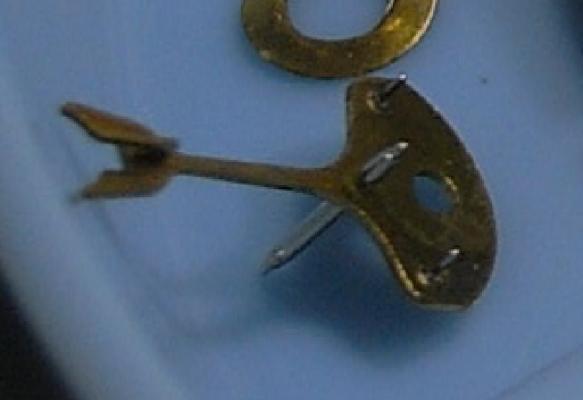
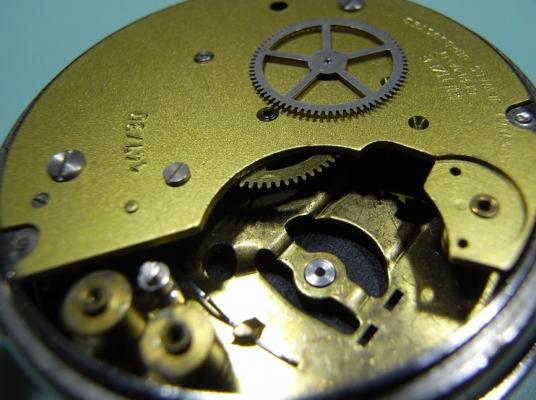
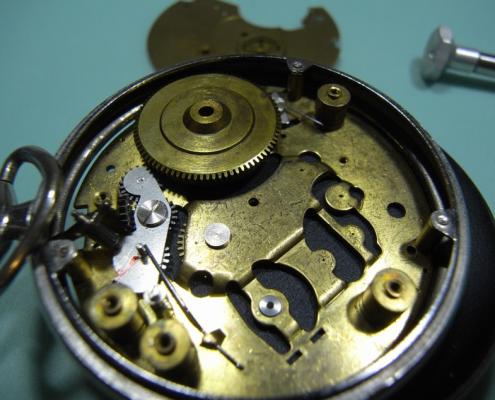
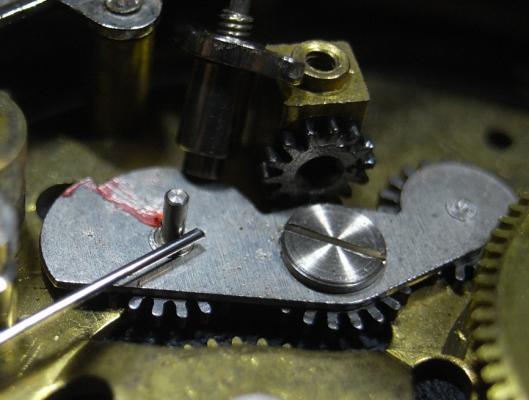
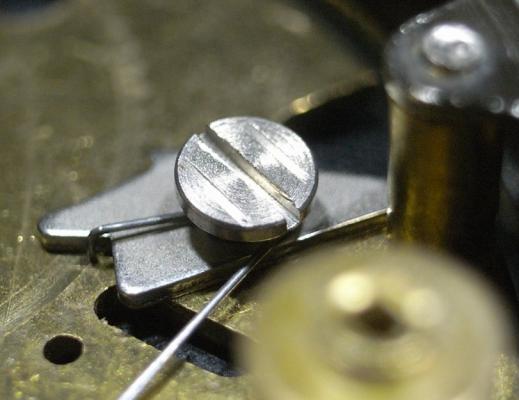
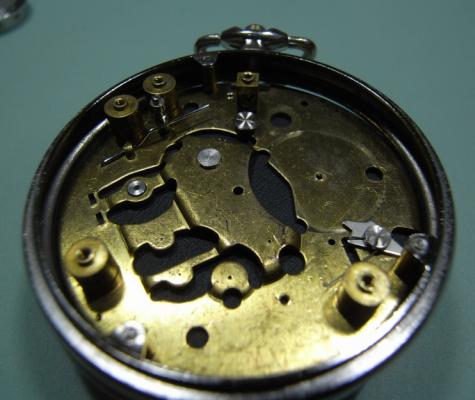
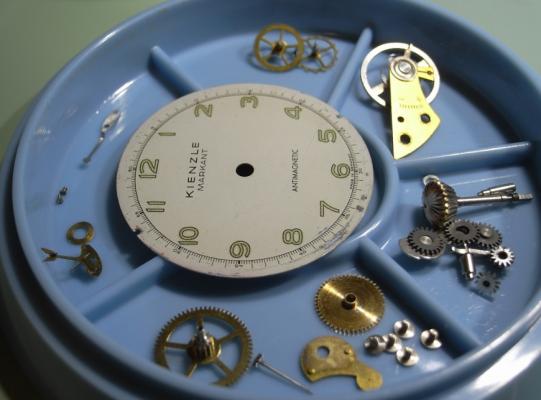
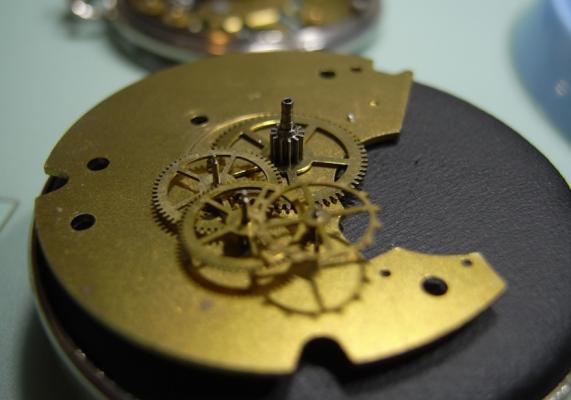
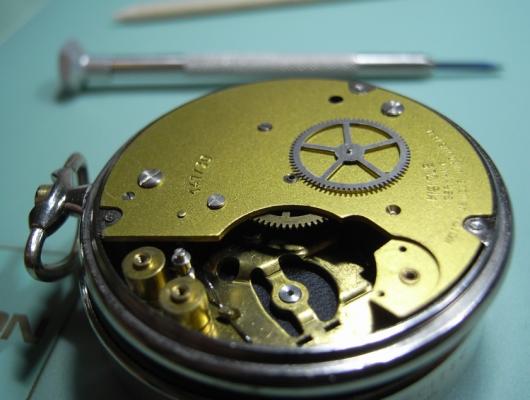
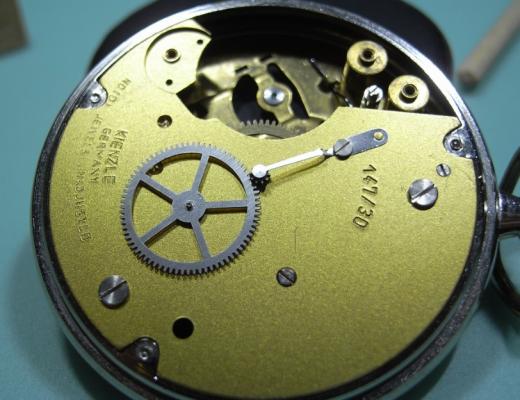
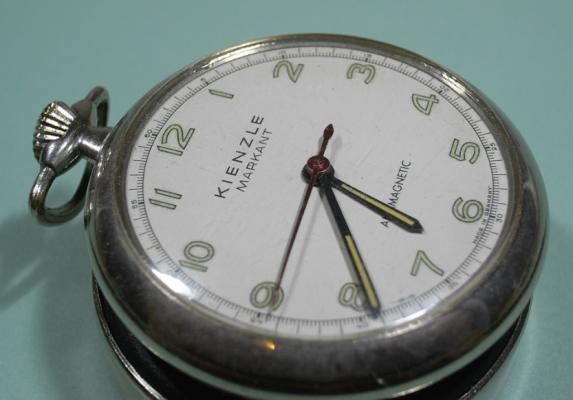
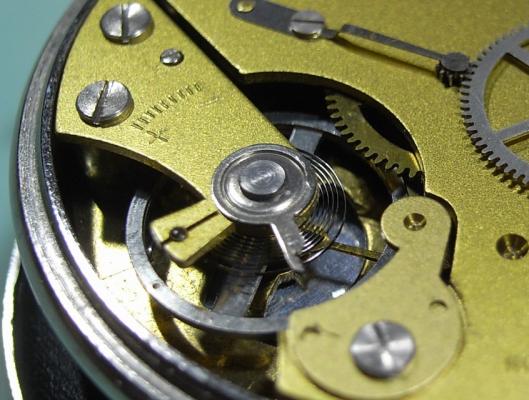
Kienzle Markant Pocketwatch Service One of my Mum's friends dropped off a pocket watch for me to service. It was her father's watch, and she used it all through her nursing career: so it held quite some sentimental value to her. She told my Mum that it did run; but only for a few minutes and then stopped, unless the crown was moved. It's a German made Kienzie Markant. I popped the back off and the movement and saw that it was VERY dry, but in good condition. First thing I notice was the stamping .... Zero (0) Jewels - Unadjusted. So this thing is no RR Standard Hamilton; but none the less a nice little project, and one that will make my Mum's friend happy :) The front was also removable via a case blade, and since the Main Plate was riveted to the case is required to be removed in order to service this movement. With the hands removed, the dial was next. It is secured by two screws on the face. Motion Work is a very basic setup. So I removed the Cannon Pinion and moved to the back of the movement. While inspecting this movement carefully, as this is my first attempt at a pocket watch, I noticed a few things that I'd never seen before... Firstly, the timing adjustment is done by a sort of jack screw arrangement. (Note: The two large screws for securing the Balance, and a smaller "Jacking Screw" to adjust the timing.) Secondly, the Fork arrangement was also something new to me. Posts instead of Pallets to engage the escapement. Here's another view the Fork removed. So I removed the tension from the Mainspring, and removed the Balance and Fork. I was a little nervous removing the Bridge, as it's a 3/4 Bridge and I couldn't see the layout of this movement, and since this is a very new style of movement to me I wanted to take reference photos. Well my nervousness was justified, and EVERYTHING lifted out with the Bridge!! ACk!! :startle: Again, something new to me was the layout of the Keyless Work. It's a rather clever rocking pinion system. Rock one way and the Mainspring is wound, rock the other and you engage the Motion Work. Thankfully the Click Screw was marked as a left-hand thread ... Note the extra stripes either side of the Driver Slot. Movement is fully stripped and ready for a bath :) Here's that nasty 3/4 Bridge that stopped me taking reference photos of the Gear Train Layout. Once all the parts were clean, it's time to get this thing back together .... Gulp! :lolu: My Heavenly Father has gifted me with skill and cunning when working with watches, and I thank and praise him for it!! To assemble the Gear Train, I placed them upside down on the 3/4 Bridge, and then lowered the Main Plate on top of them. This made the alignment of the train and pivots a breeze. I then flipped it back over, and with a few gentle wiggles and very slight pressure on the Bridge, everything was in place. I replaced the Second Wheel, and the Spring Keeper. Refitted the Motion Work and Cannon Pinion. Then the Fork and Balance. Adjusted, fitted the Dial and Hands, and Re-Cased. The Kienzie Markant is now running smoothly and continuously. It was great fun to work on, and I hope you enjoyed the walkthrough. PS. when held to the ear, the ticking sounds like an old grandfather clock :P Gotta love dem pocket watches!! Click here to view the article


 1 point
 -
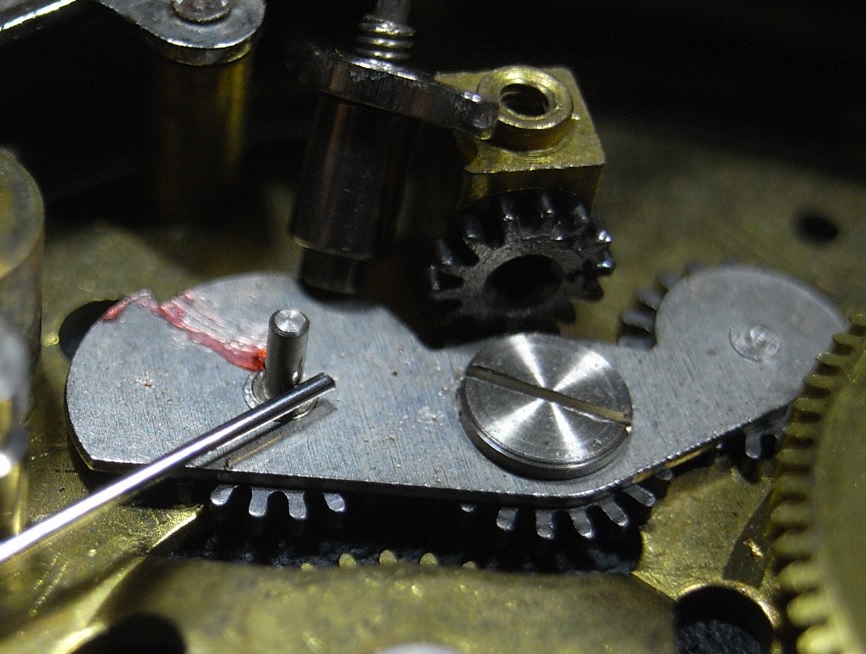
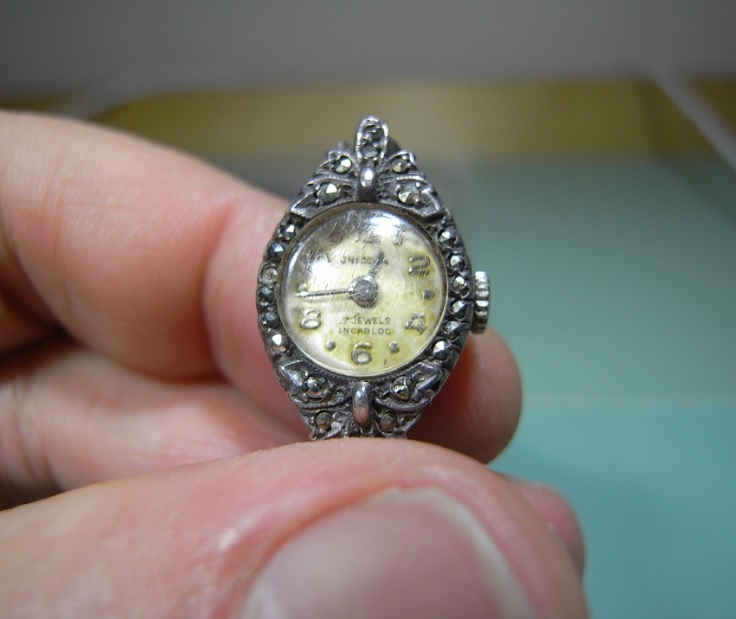
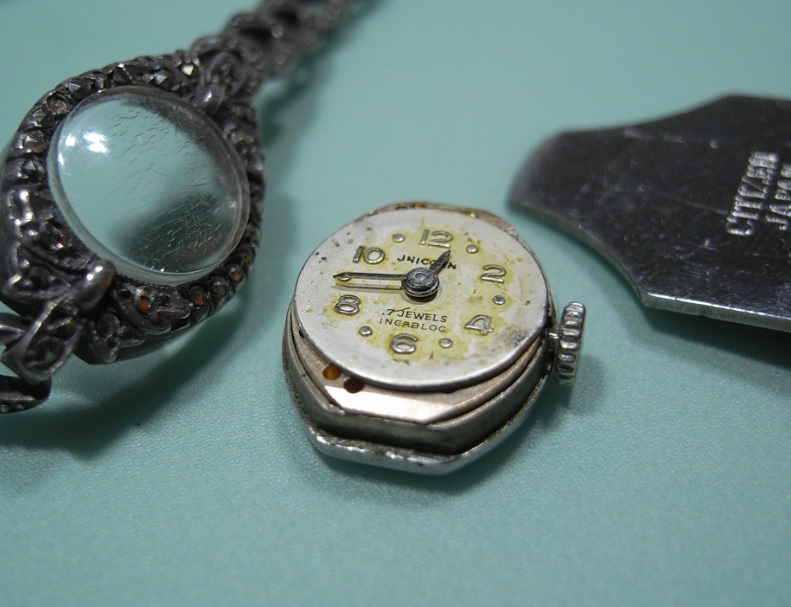
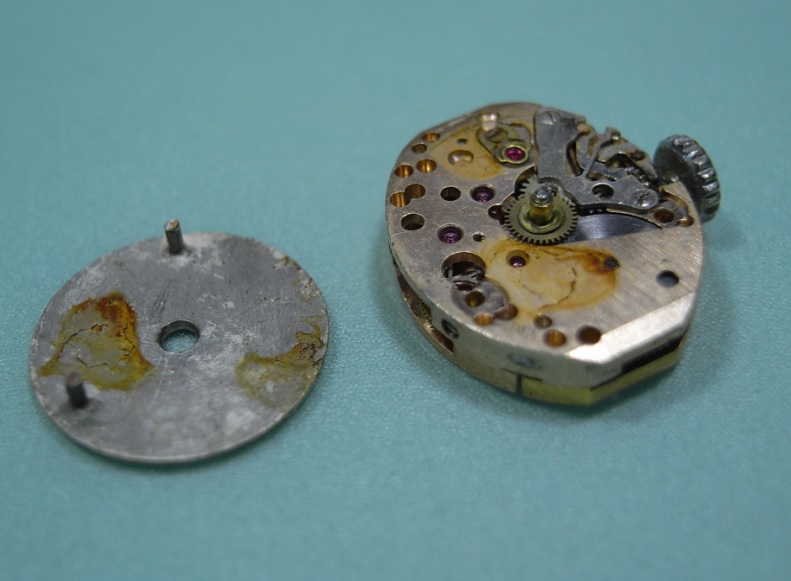
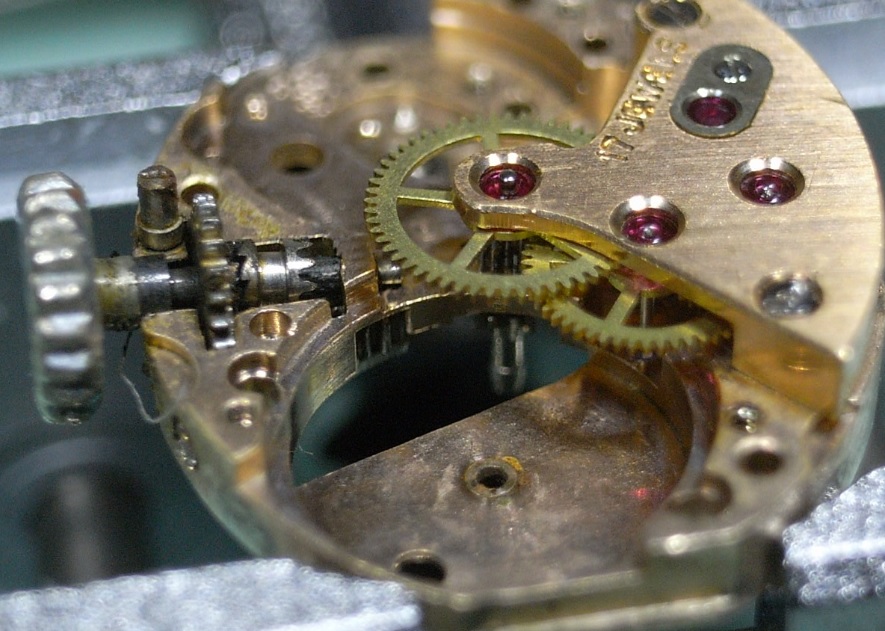
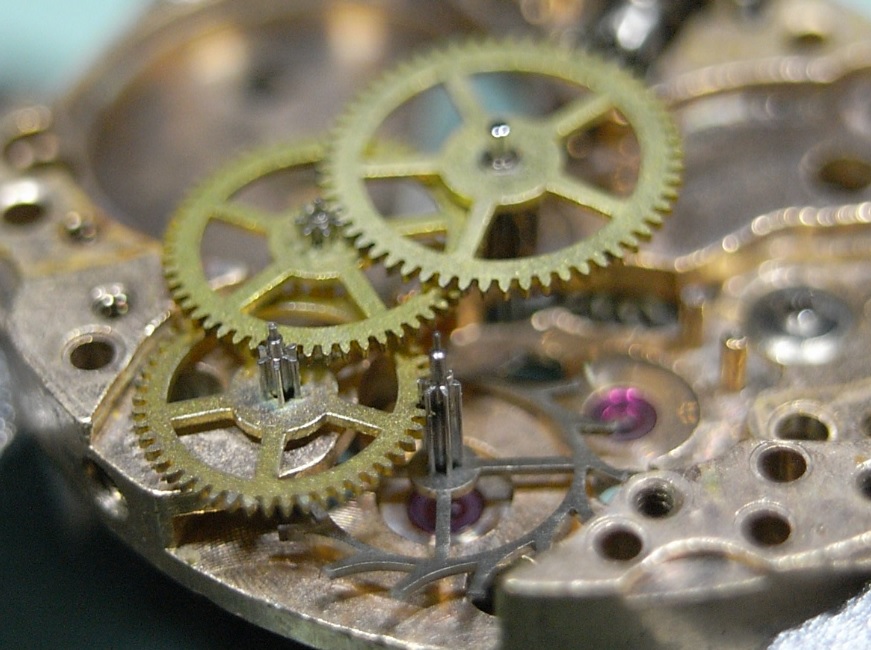
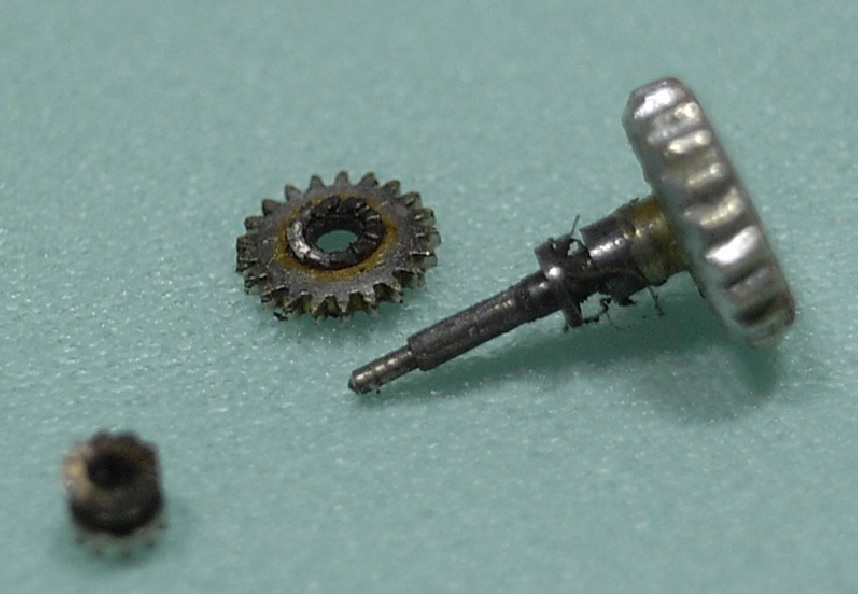
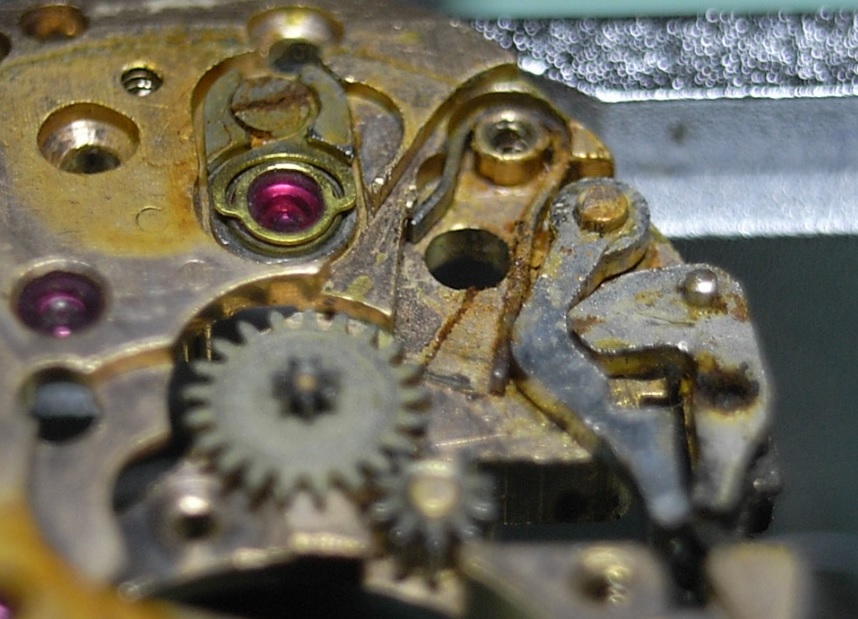
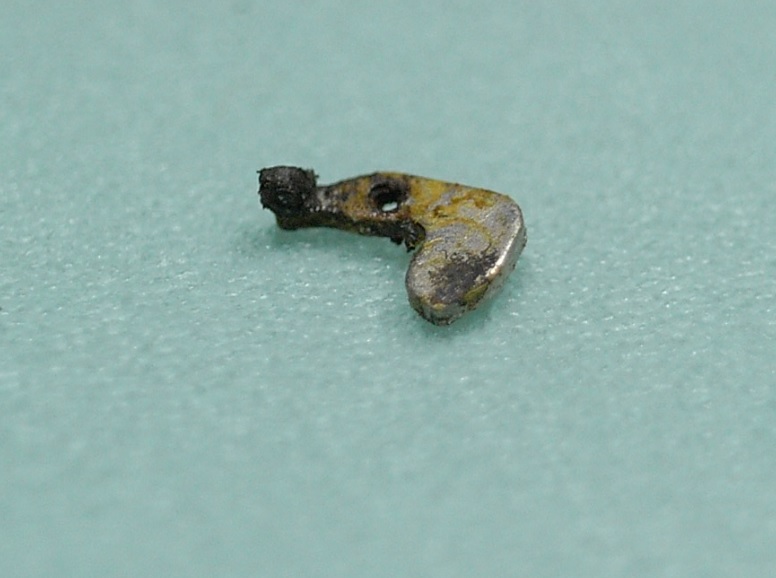
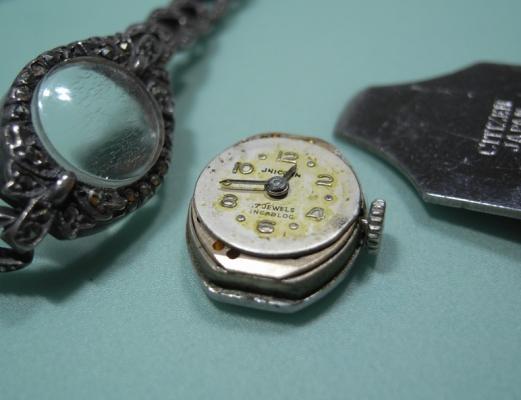
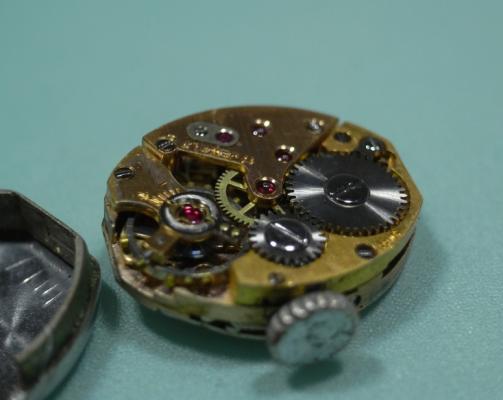
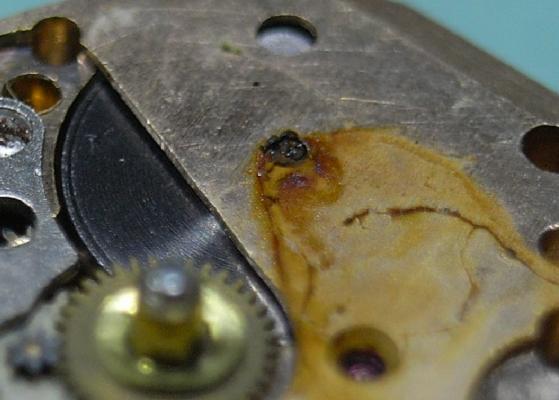
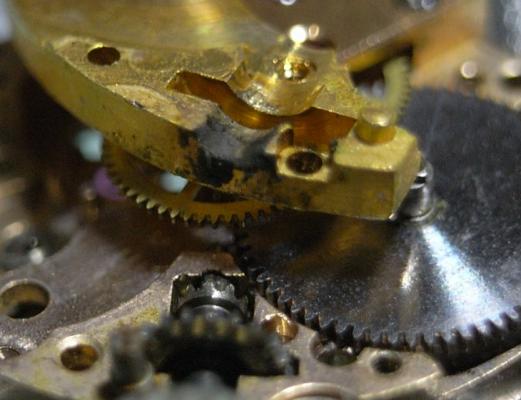
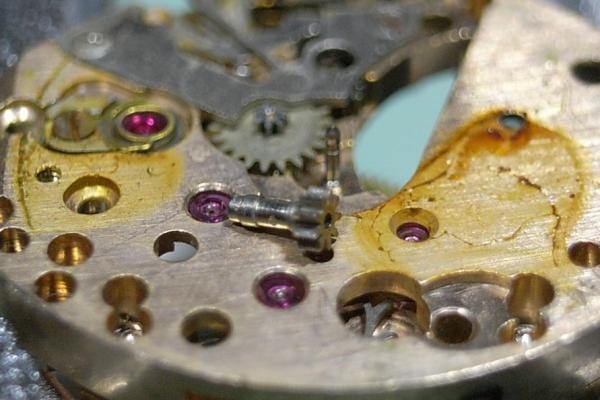
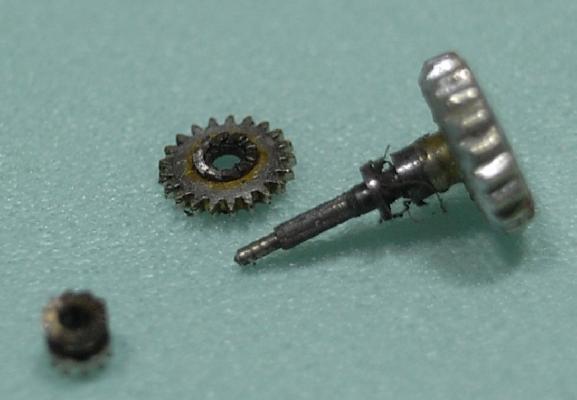
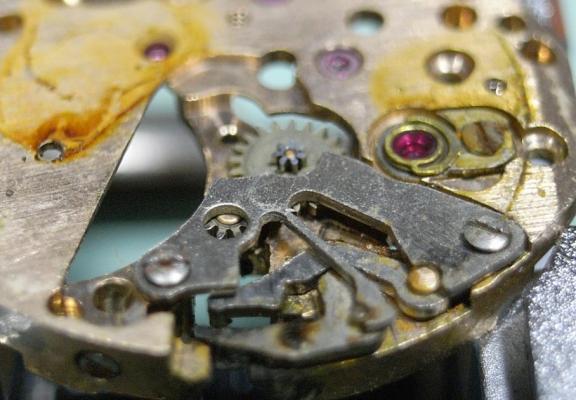
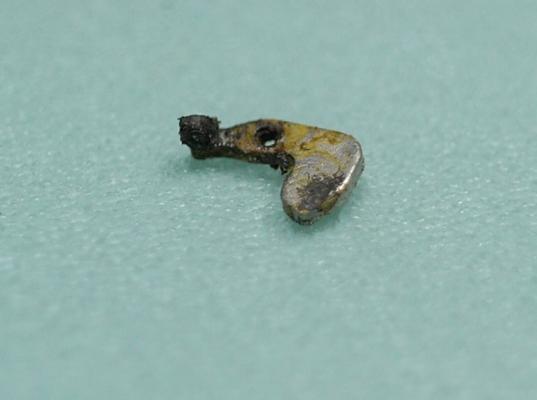
Hi fellow watch friends, back again with another service for ya :) This one is a woman's bracelet watch that were popular 20-30 years ago ... your Mum probably had/has one of these. Now when I say this movement is small, I mean it's small ... I don't think I used a driver over 0.8mm on it. And being small doesn't mean they are more difficult, but you need good optics to make working on them enjoyable. ...yes, that's my thumb! I've worked on a few of these now, and they commonly are held in the Caseback as seen below. So be careful when removing them so as you don't damage the Dial or Hands. Once I had removed the movement from the Caseback, I saw my very first indication that this job wasn't going to be a quick service. Notice that Ratchet Screw? Here's a close-up of it. I see this way too much servicing watches, and it's become my pet hate. King Kong has worked on it before me, and has tighten every screw up to 50 foot/pound ... Arrghhh!! :growl: Needless to say, when it came to removing nearly all the screws, it was a battle; but the battle was lost with the Ratchet Screw and I was unable to undo it (even after applying some heat) and it seared off ... so 1x Barrel Abor and 1x Ratchet Screw to be ordered. My mentor and trainer is a 78 year old master watch maker, and the VERY first thing he impressed on me is not to over tighten screws. "We are not torqueing down head bolts on a V8, these threads are less an a millimeter across ... use a light touch son.", is what he told me. I'm sure some old hands here can also add their words on wisdom on this matter. Ok, end of rant :P Back to the service... Firstly, I removed the Hands and Dial, and as per normal with this style of watch, there was moisture ingress. These types of watches aren't very well sealed from the elements (no Caseback Seal, no Stem Seal), so you'll nearly always encounter some rust removal in the servicing. This looked fairly light corrosion, and I was hoping it hadn't gone further into the movement. Here's one of the reasons this watch stopped. Heavy corrosion around the lower Barrel Arbor pivot. Next, as always, I removed any tension from the Mainspring, and removed the Balance and Pallets. Next I removed the Ratchet (shearing the screw in the process), Crown Wheel, and then removed the Barrel Bridge. As you can see, very old, dry, and dirty grease. Main Plate looked in good shape, which saves a LOT of work ... if this thing is covered in rust you've got your work cut out for you. Pulled the Cannon Pinion, and happily it wasn't ceased, but also is still a good fiction fit. Here's a reference photo of the Gear Train setup once the Bridge is removed. Again all looks good and no damage to any of the pivots or jewels. Stem, Clutch, and Setting wheel are filthy and typical of a non-sealed movement of this age. On to the Keyless Work, and unfortunately rust had gotten in here too. The Yoke Spring was the worst of it, but with a little time and effort, it cleaned up fine. Setting Lever needed a little work too :unsure: So the parts are in the cleaner, having a bath for the first time in 20+ years. And I've emailed the good people at Old Swiss Watch to get a new Arbor and Ratchet Screw. I'll have the assembly post up as soon as the parts arrive, and get this little movement tickin like new! Thanks for reading my post, and I hope this helps and was informative. :)


 1 point
 -
Just thinking out aloud here. You said in your previous post thread that you adjusted the banking pins inwards as they looked like they had been moved apart. Could this now be affecting the locking and unlocking of the escapement to cause knocking on the pallet jewels? If the impulse jewel is now sitting central of the pallet fork at rest then moving the banking pins back out may give the lever a bit more swing to clear the knocking on the pallet jewels. As long as it doesn't go into overbanking.1 point